
Big Druze Energy
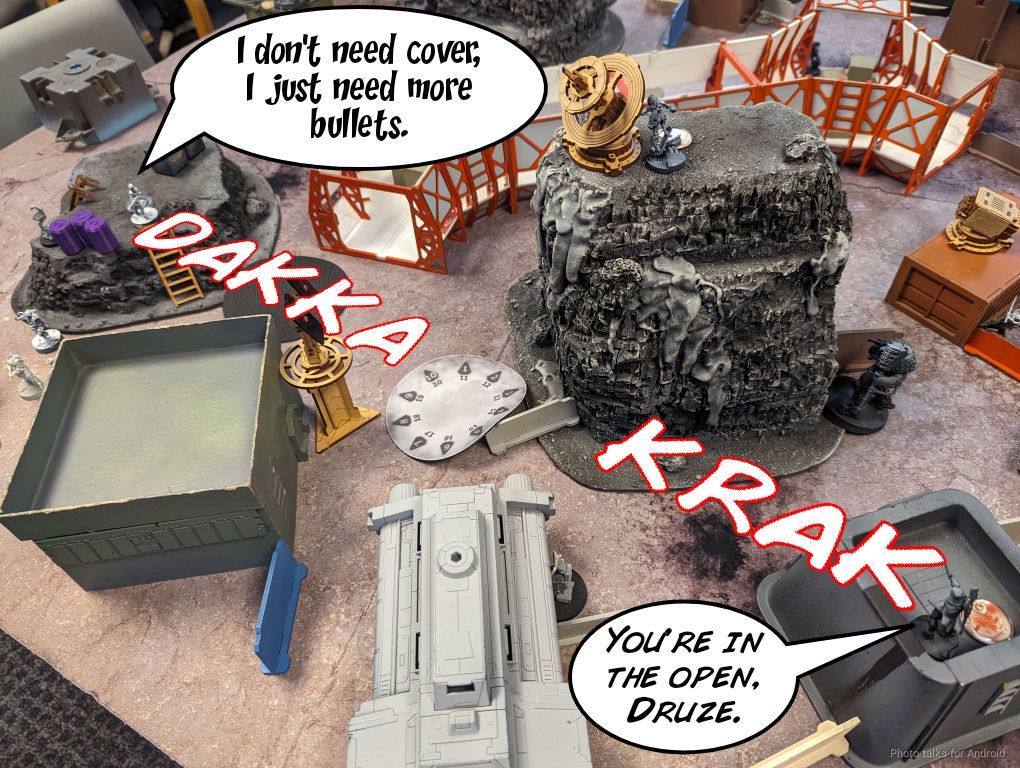
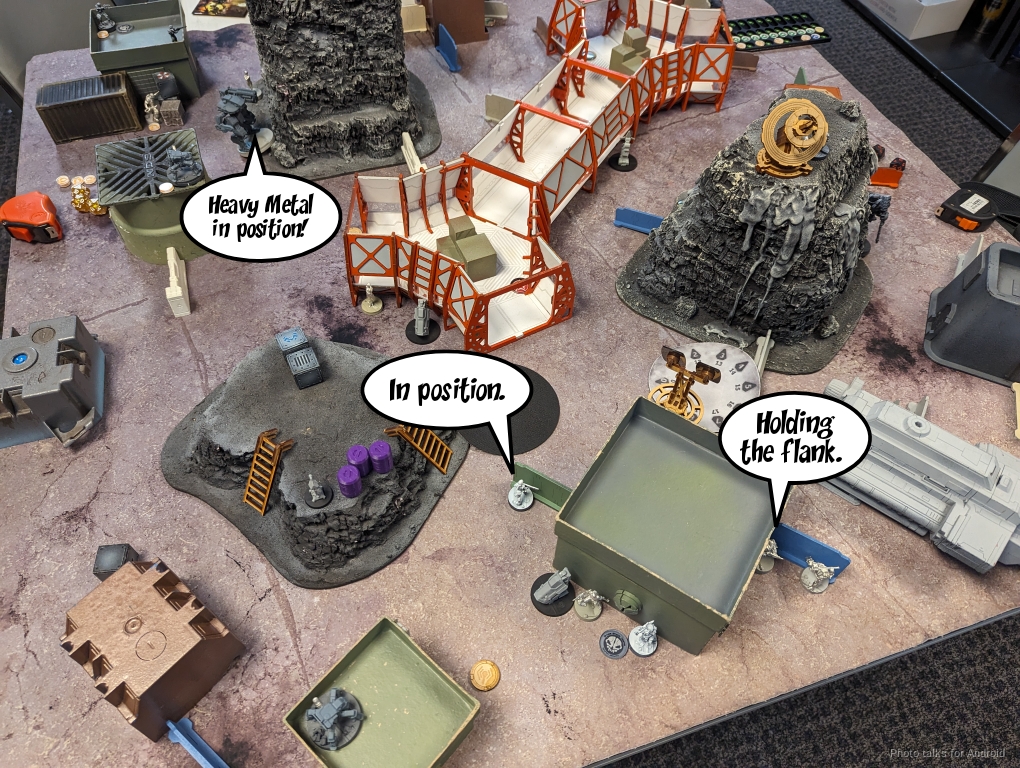
Adam (TheDiceAbide) and I were finally able to make the same game night, so we agreed to play a game of Resilience Operations, mostly to be able to try it out and speak to it on Late Night Wargames… but also because we really like it. We’re both struggling a bit to sneak in game time around family responsibilities, so the guys set up this table for us:
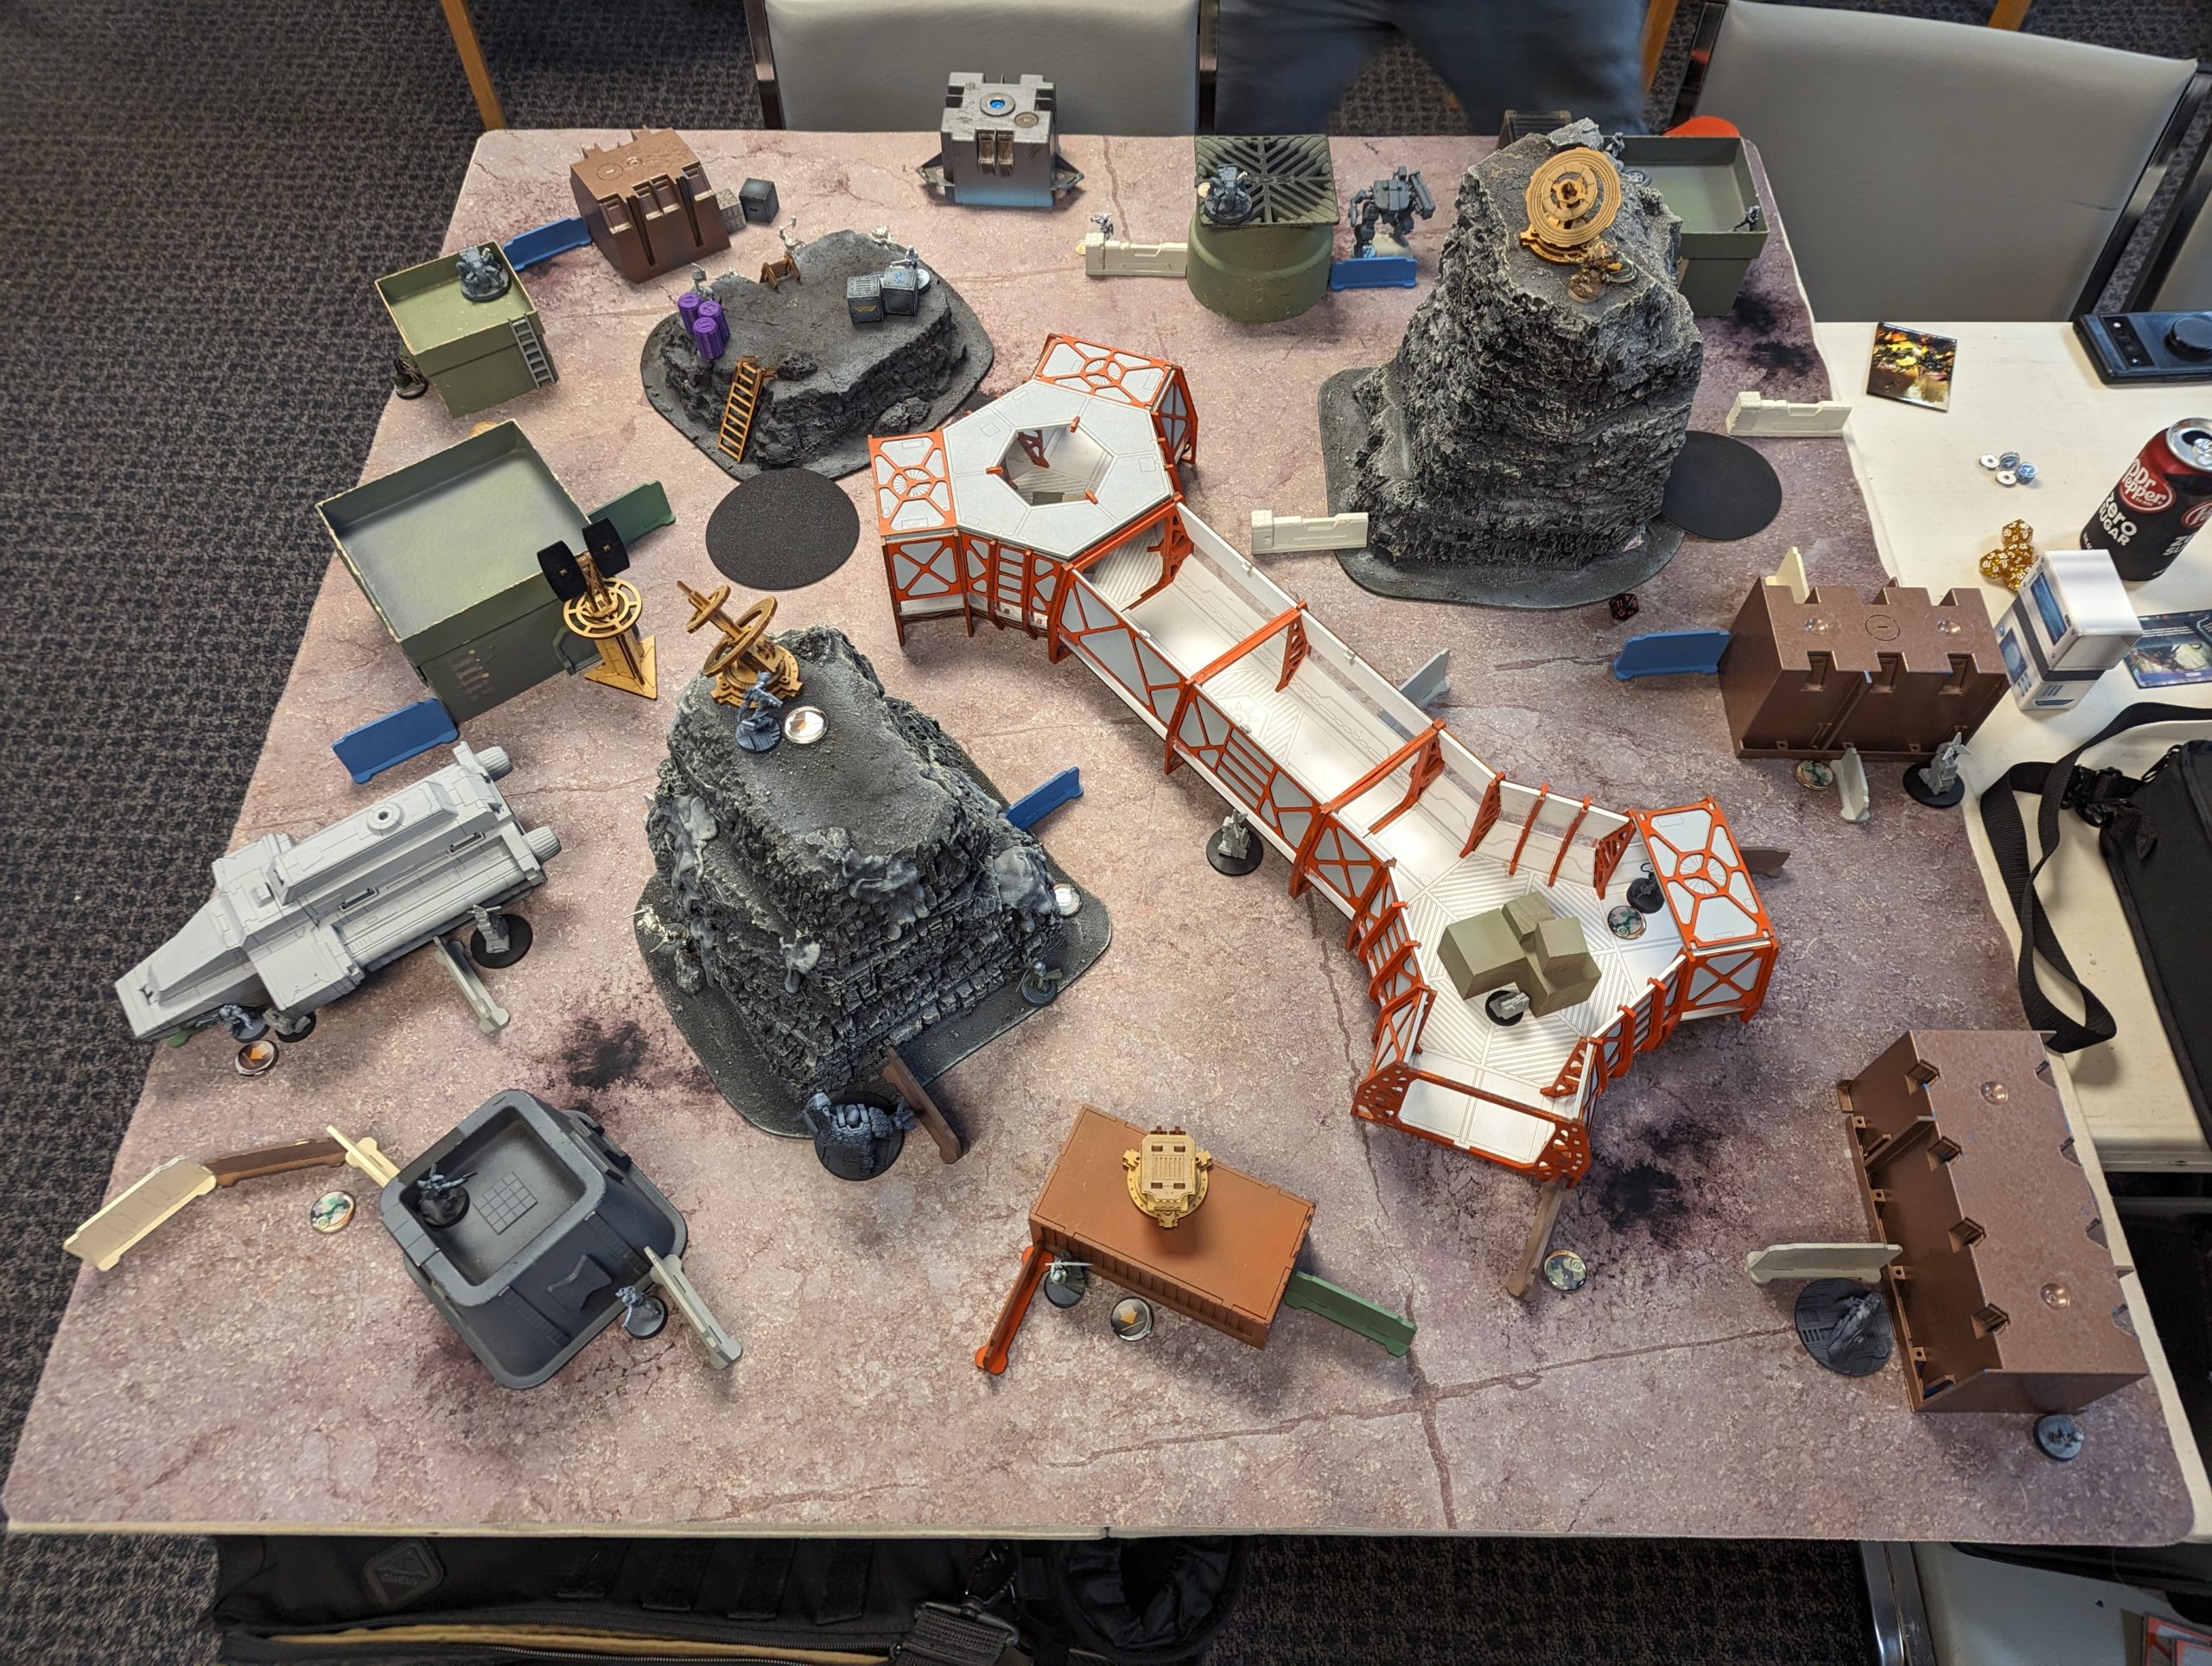
The Infinity community really is the best wargaming community!
Overview
- Mission: ITS15 Resilience Operations
- Nomads
- Appropriation
- Interrupt the Signal
- Silence
- Druze
- King of the Hill
- Silence
- Triangulate the Signal
- Battlefield Conditions
- Ambush
- Jungle Combat
- Nomads
- Forces: Nomads versus Druze Bayram Security (300)
- Deploy First: Druze
- First Turn: Druze
Cassandra Kusanagi
Kusanagi reporting PFC Bubbles is secured.

Rogue Interventor WiseKensai
Excellent work, Cassandra. How’s he doing?
He’s a little rattled, but one of the Reverend Healers off the Amethyst Sky looked him over and says he’ll be fine with a few days of rest.
That’s great news! I’ll work with Reverend Mira Rivera on the Amethyst Sky to arrange that. How does your team feel about meting out some revenge?
Mary Problems
Team feels real ready to get some revenge.
Hi Mary. I’m sending over some custom icebreakers that we’ve been cooking up. Should help with that.
░█▀▄░█▀▀░█▀▄░█▀▄░█░█░█▄█░░░▀▀▄░░░░▄▀▄
░█▀▄░█▀▀░█░█░█▀▄░█░█░█░█░░░▄▀░░░░░█/█
░▀░▀░▀▀▀░▀▀░░▀░▀░▀▀▀░▀░▀░░░▀▀▀░▀░░░▀░
Well, Cassandra?
We’re in.
I thought you might be.
One of our SIGINT drones surveilling Bianca picked up chatter from a unit of Druze contractors operating in the Montalbán: Marina and Yacht Club area. They’re setting up some sort of comms array and keep referring to some sort of “list.” We followed the money through quite a few shell corporations, and the original source is the PanOceanian Corporate Delegation to Concilium.
We’ve only managed to identify a few people on that list, but they appear to be associated with the AWU — the Ariadna Workers Union. It seems our PanOceanian backers are trying not just to get some SIGINT of their own on the AWU but also trying to silence key union members.
Do what you can to get those AWU members out of danger. We’ve also got a list of our own of High Value Targets. It’s a yacht club, some of those PanOceanian backers are bound to be there. If you can ID any of them with 100% certainty, you know what to do.
Take out the Druze comms array or otherwise disrupt it. Your call. Any questions?

Any need for discretion?
No. Do whatever you have to do.
Transport?
Enroute. Good hunting, Cassandra.
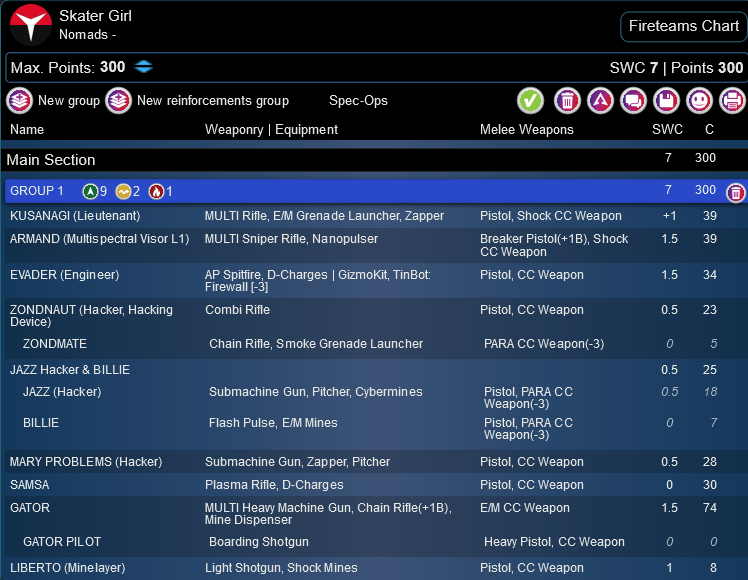
I’m really enjoying this list. I thought it would be a bit awkward, and it kinda is, but it’s pretty run to pilot. I hope I get to do something fun with Mary this time around.
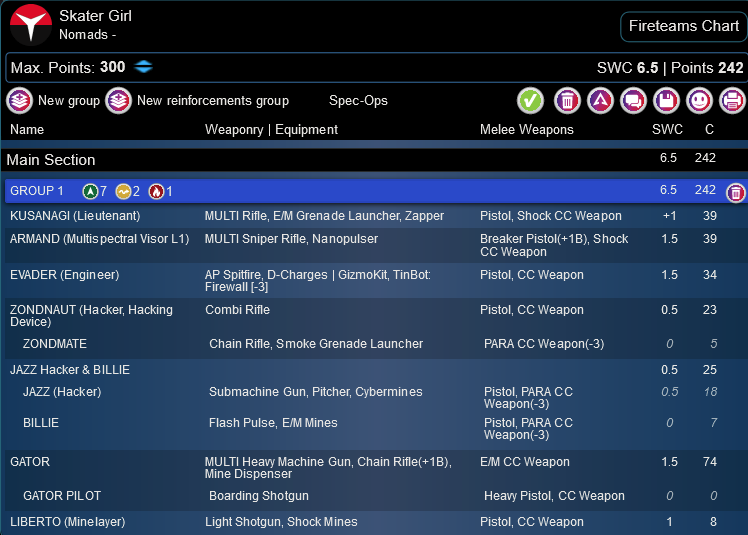
Skater Girl
ARMAND (Multispectral Visor L1) MULTI Sniper Rifle, Nanopulser ( ) / Breaker Pistol(+1B), Shock CC Weapon. (1.5 | 39)
EVADER (Engineer) AP Spitfire, D-Charges ( | GizmoKit, TinBot: Firewall [-3]) / Pistol, CC Weapon. (1.5 | 34)
ZONDNAUT (Hacker, Hacking Device) Combi Rifle ( ) / Pistol, CC Weapon. (0.5 | 23)

ZONDMATE Chain Rifle, Smoke Grenade Launcher / PARA CC Weapon(-3). (0 | 5)
JAZZ Hacker & BILLIE undefined / undefined. (0.5 | 25)
BILLIE Flash Pulse, E/M Mines / Pistol, PARA CC Weapon(-3). (0 | 7)
SAMSA Plasma Rifle, D-Charges / Pistol, CC Weapon. (0 | 30)
GATOR MULTI Heavy Machine Gun, Chain Rifle(+1B), Mine Dispenser / E/M CC Weapon. (1.5 | 74)
GATOR PILOT Boarding Shotgun / Heavy Pistol, CC Weapon. (0 | 0)
LIBERTO (Minelayer) Light Shotgun, Shock Mines / Pistol, CC Weapon. (1 | 8)
9
2
1 | 7 SWC | 300 Points | Open in Army | Copy Code
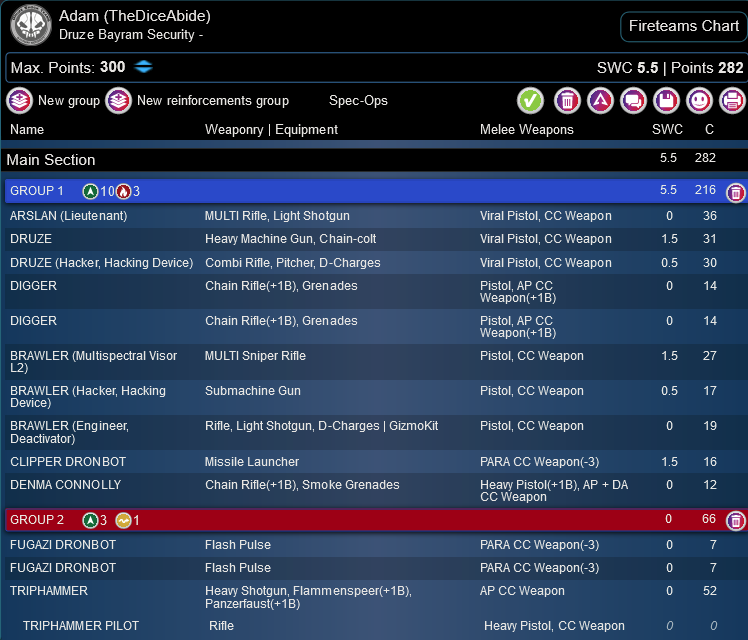
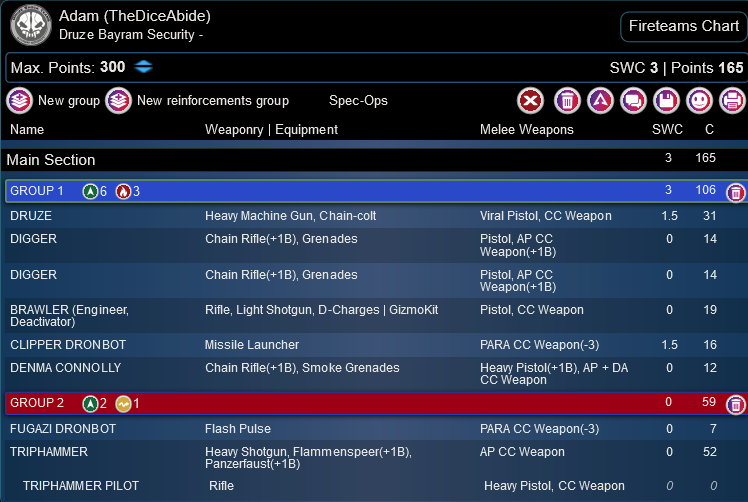
Adam’s playing Druze, with actual Druze in the list! Astounding! He’s even got a Triphammer in there so he can use the proxy that Nik (Knyx) printed up for him.
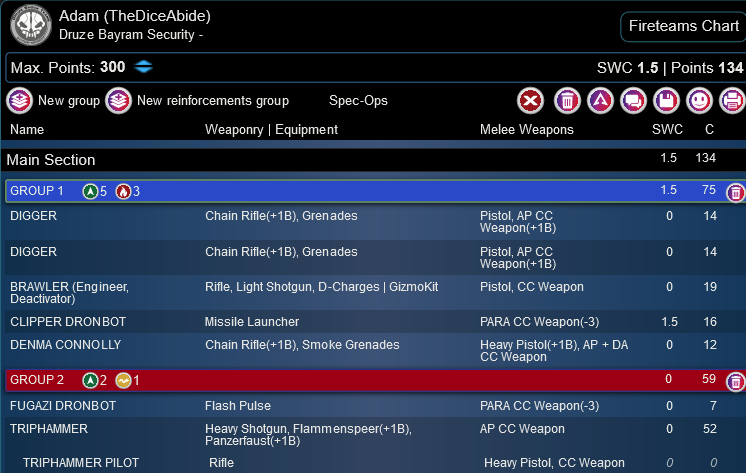
Adam (TheDiceAbide)
GROUP 1
ARSLAN (Lieutenant) MULTI Rifle, Light Shotgun / Viral Pistol, CC Weapon. (0 | 36)
DRUZE Heavy Machine Gun, Chain-colt / Viral Pistol, CC Weapon. (1.5 | 31)
DIGGER Chain Rifle(+1B), Grenades / Pistol, AP CC Weapon(+1B). (0 | 14)
BRAWLER (Multispectral Visor L2) MULTI Sniper Rifle ( ) / Pistol, CC Weapon. (1.5 | 27)
GROUP 2
CLIPPER DRONBOT Missile Launcher / PARA CC Weapon(-3). (1.5 | 16)
DENMA CONNOLLY Chain Rifle(+1B), Smoke Grenades / Heavy Pistol(+1B), AP + DA CC Weapon. (0 | 12)
FUGAZI DRONBOT Flash Pulse / PARA CC Weapon(-3). (0 | 7)
TRIPHAMMER Heavy Shotgun, Flammenspeer(+1B), Panzerfaust(+1B) / AP CC Weapon. (0 | 52)
TRIPHAMMER PILOT Rifle / Heavy Pistol, CC Weapon. (0 | 0)
YUAN YUAN Chain Rifle, Smoke Grenades / Pistol, AP CC Weapon. (0 | 8)
5.5 SWC | 298 Points | Open in Army | Copy Code
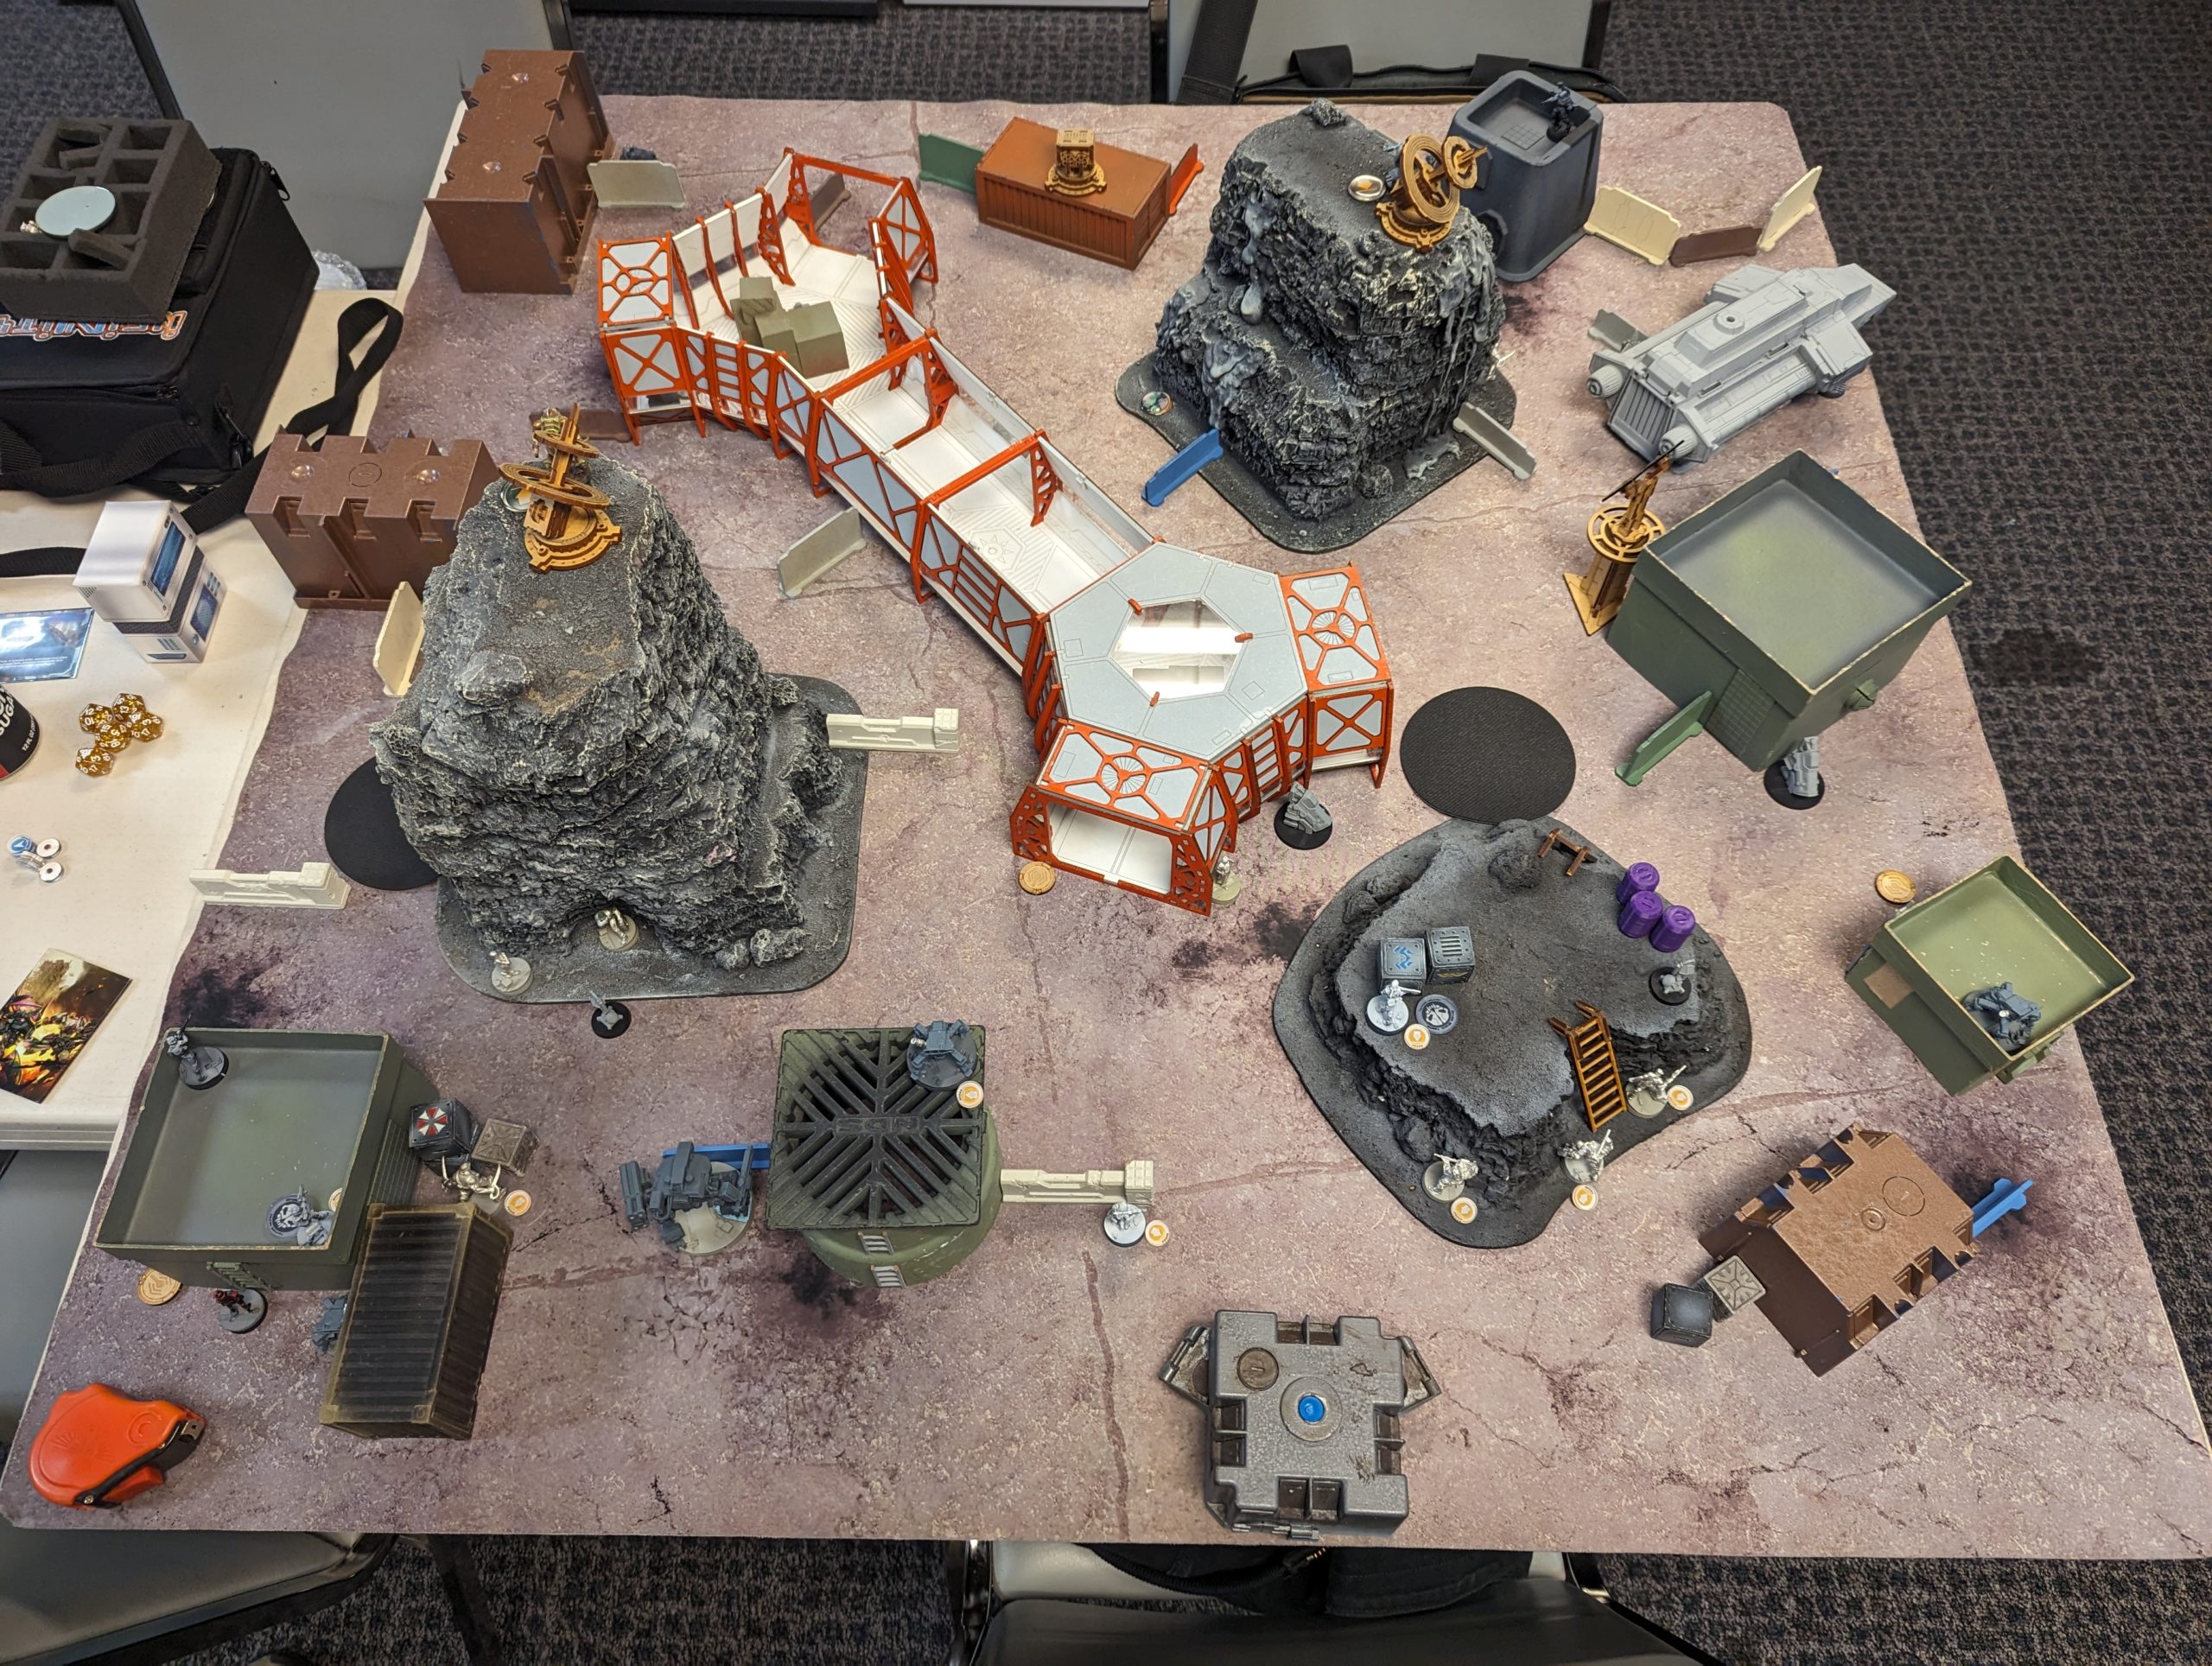
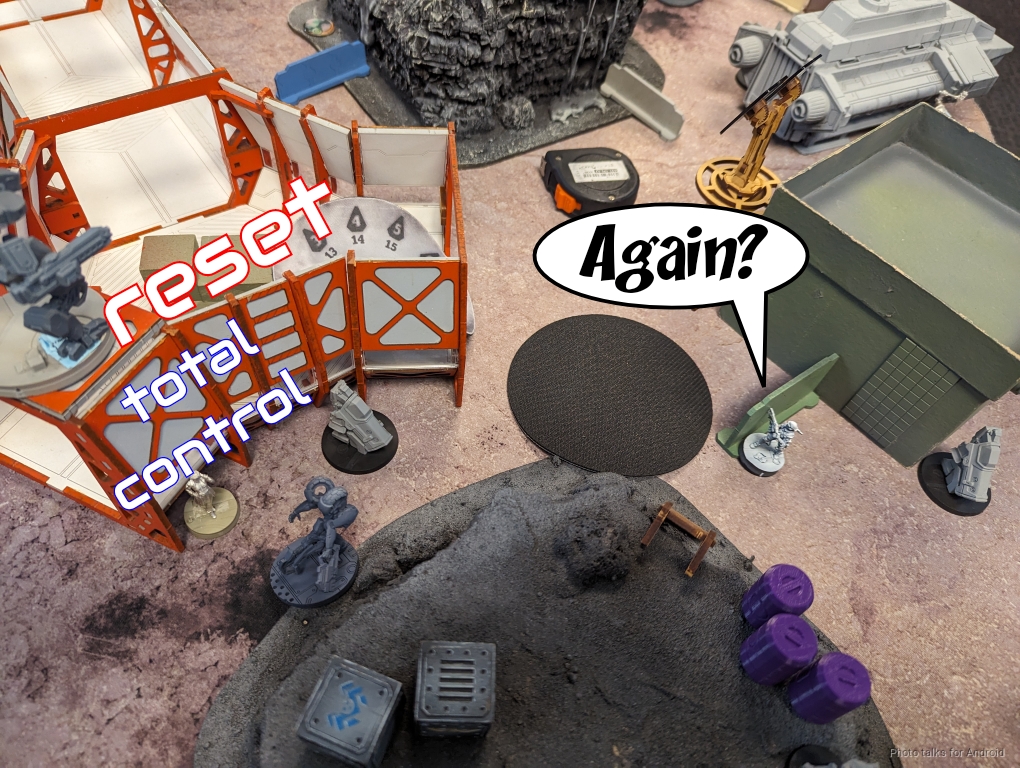
Deployment
Adam lost the rolloff. I gave him the side with what I thought was worse spots to put a TAG, so he chose to go first. I put the two Saturation Zones right in front of likely approach paths for his links, and then we each placed our mines and the truly silly amount of objectives required by Resilience Operations. The only thing that I really don’t like about it.
Adam was concerned about an attack on his left flank, so he put the Brawler haris over there with the MSV2 MSR watching the lane as well as the approach to his deployment zone on the right. A pretty good placement. The Clipper was there to refill everything, with a mine guarding them from AD troops. Denma went there as well to provide some much needed smoke for the Brawler.
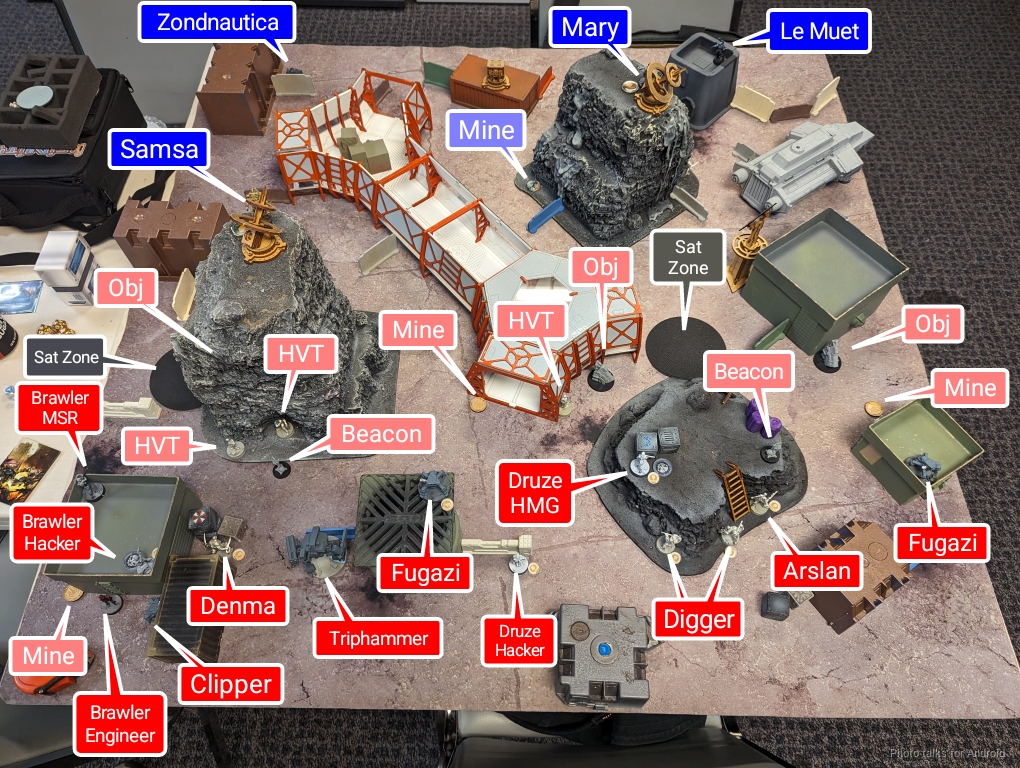
Adam’s other link went on the short little mesa/plateau on his right, with the Fugazi out to ARO stuff. He held the Triphammer in reserve. I figured I’d have to deal with the Diggers the hard way, so I put the Evader on my left. I knew the Gator would have to go behind the big rock, so that was a good synergy as well. Jazz hung out in the back covering my table edge from Yuan Yuan, and then I put a mine in her blind spot. Kusanagi did much of the same as did the Zondnautica.
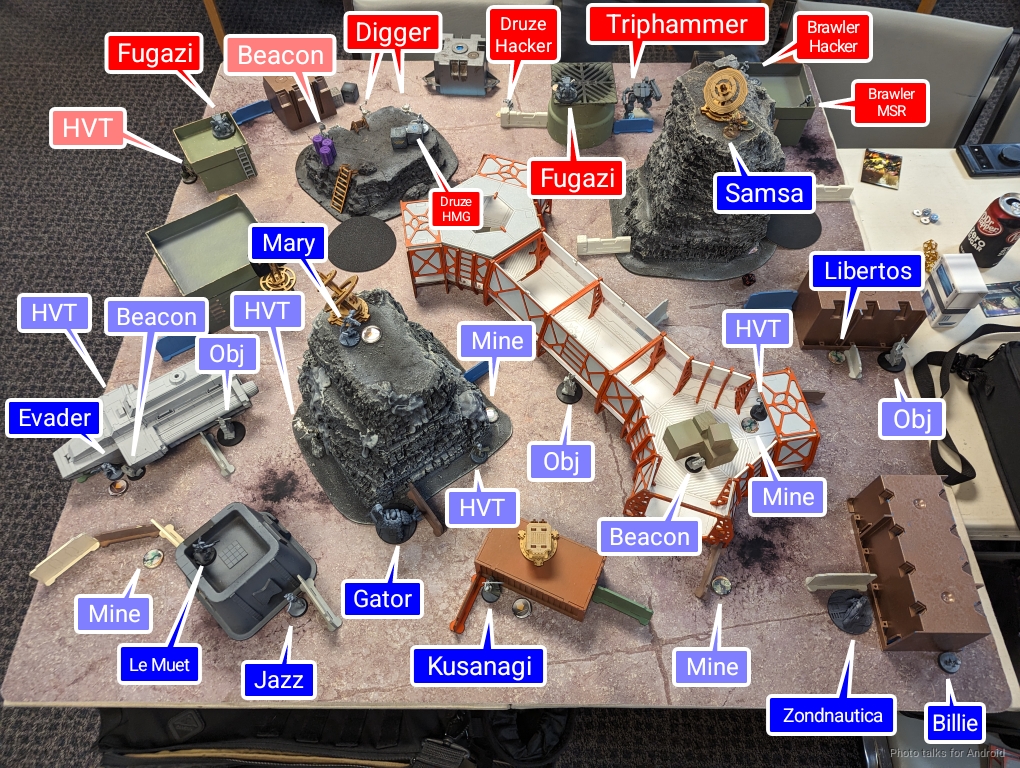
With my objective set, I knew I’d want to get the Zondnautica up the right flank to attack the HVTs and Beacon there. The other Beacon was easily attackable by the Gator, so I wasn’t worried about that. Billie was on my right as well to provide a repeater to White Noise the Brawler should I need it. I was a little worried about something rocketing up my right side so the Libertos helped screen my stuff over there.
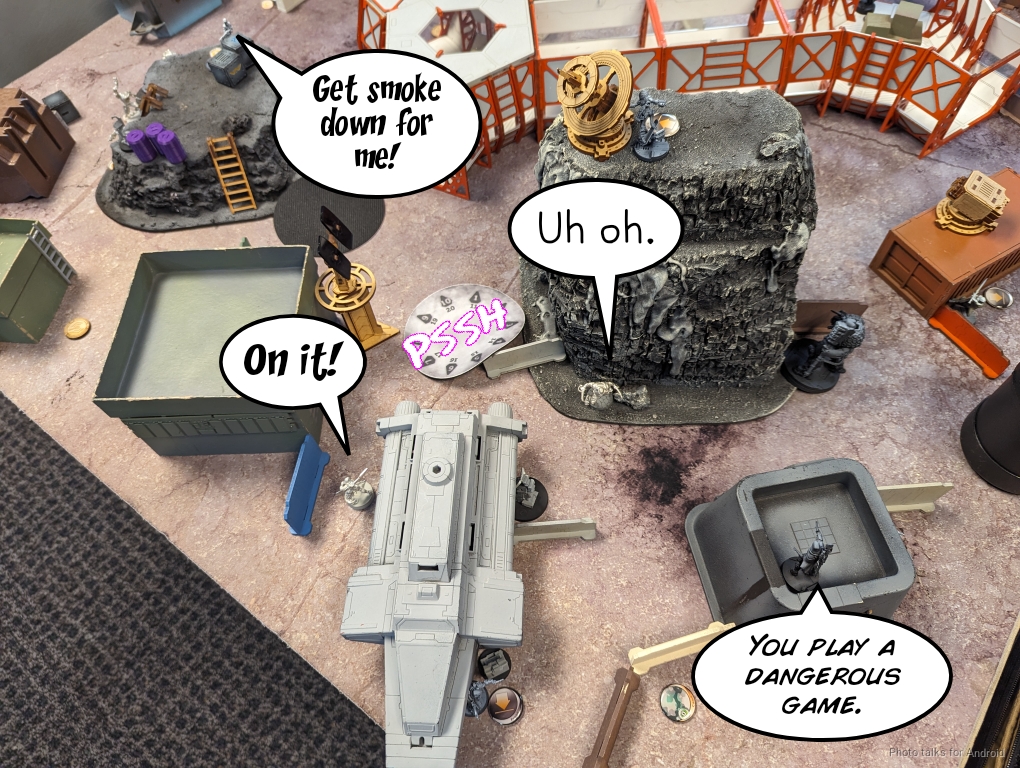
Mary sat on the big rock above everything to be annoying, and then I successfully over-infiltrated the Samsa onto the rock overlooking the Brawlers. Excellent. Adam put down his Triphammer in a reasonable spot, and then I put Le Muet down covering the Druze core.
Turn 1
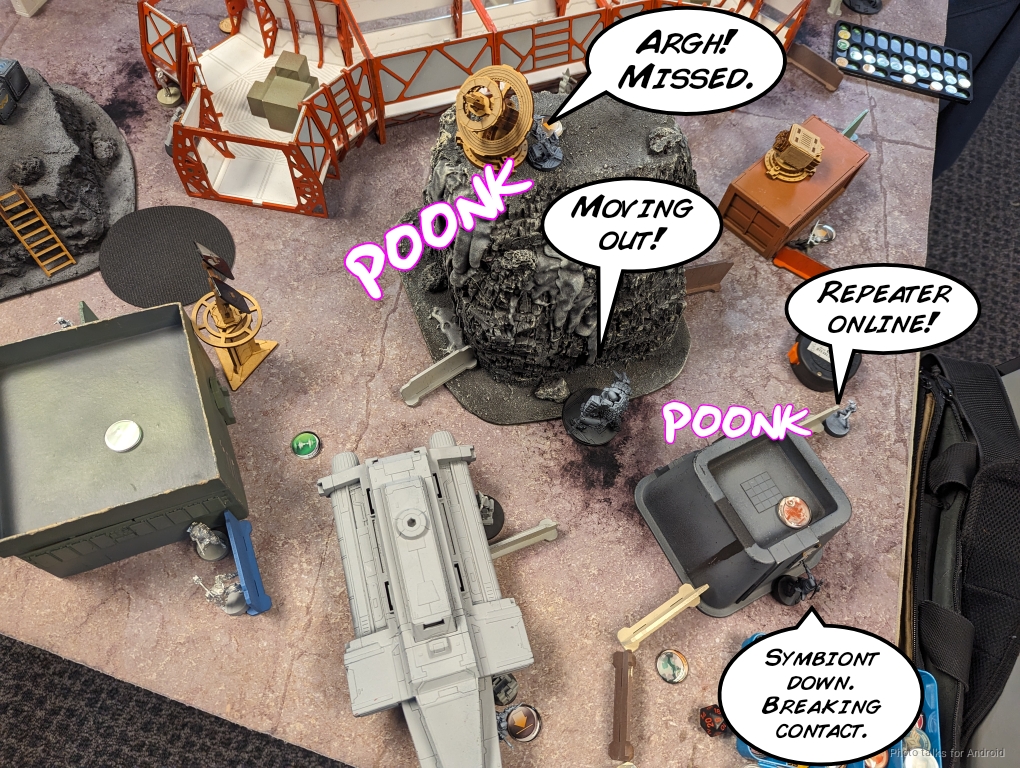
Top of 1 – Druze
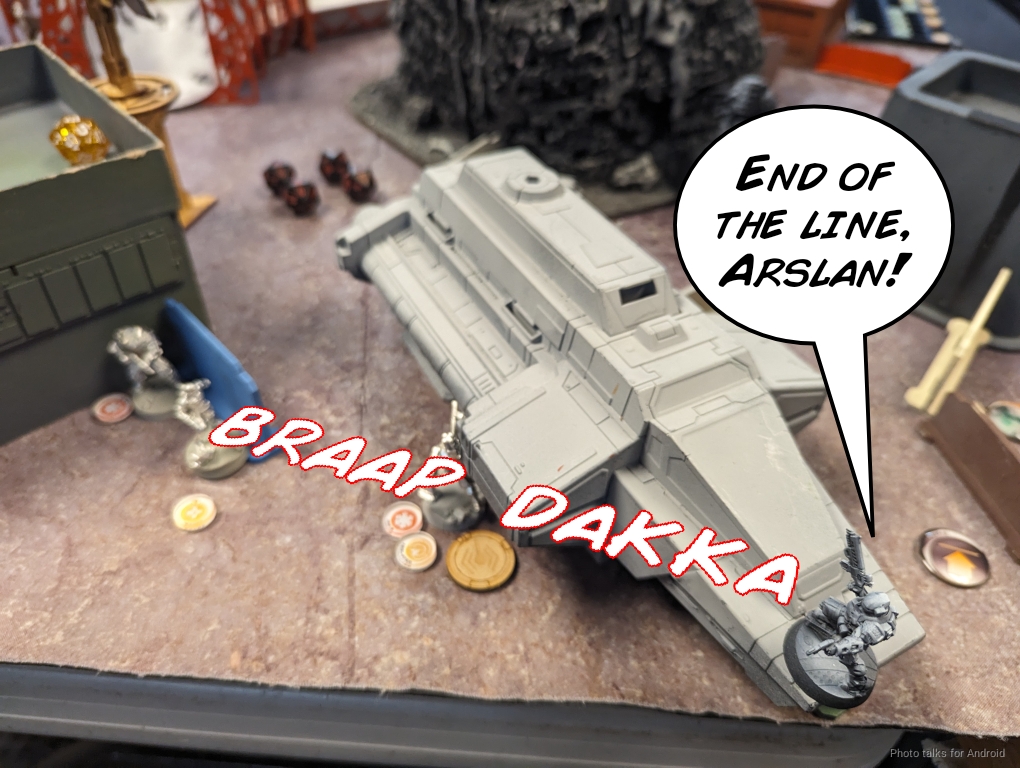
I make a pretty big mistake here and instead of docking from Adam’s smaller pool of the TAG and two Fugazis (I don’t know about the Yuan Yuan but I really should), I dock from the primary pool. I’m hoping to just fluster him with regards to handling Le Muet. He surprises me by immediately bringing on a Yuan Yuan.
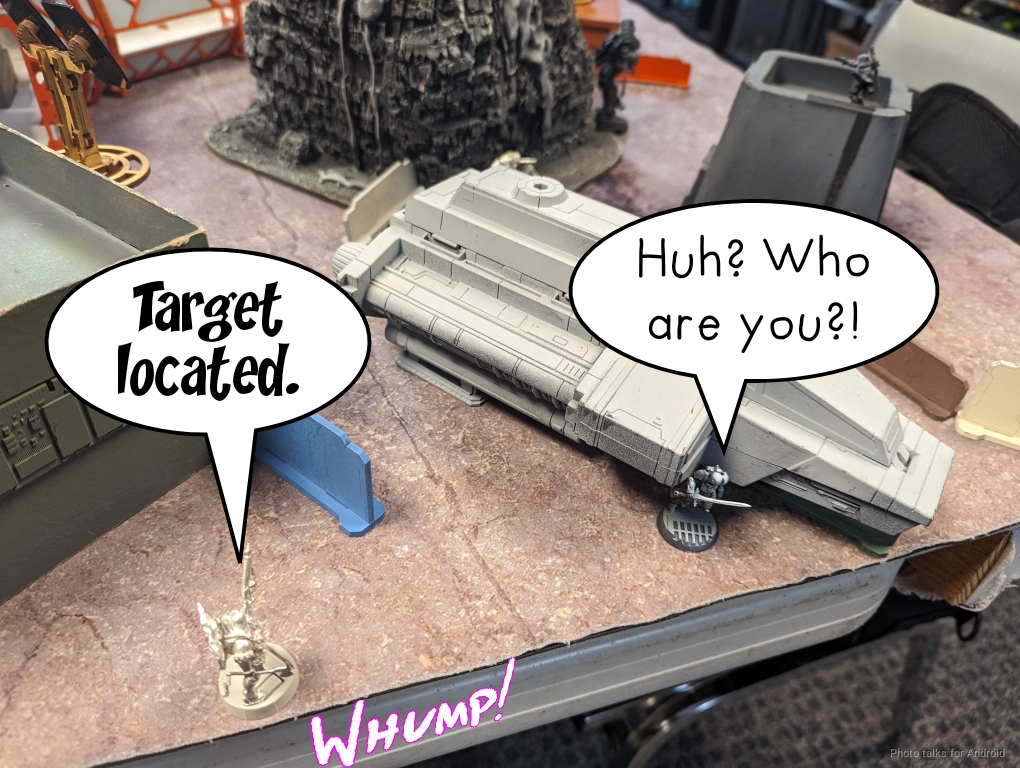
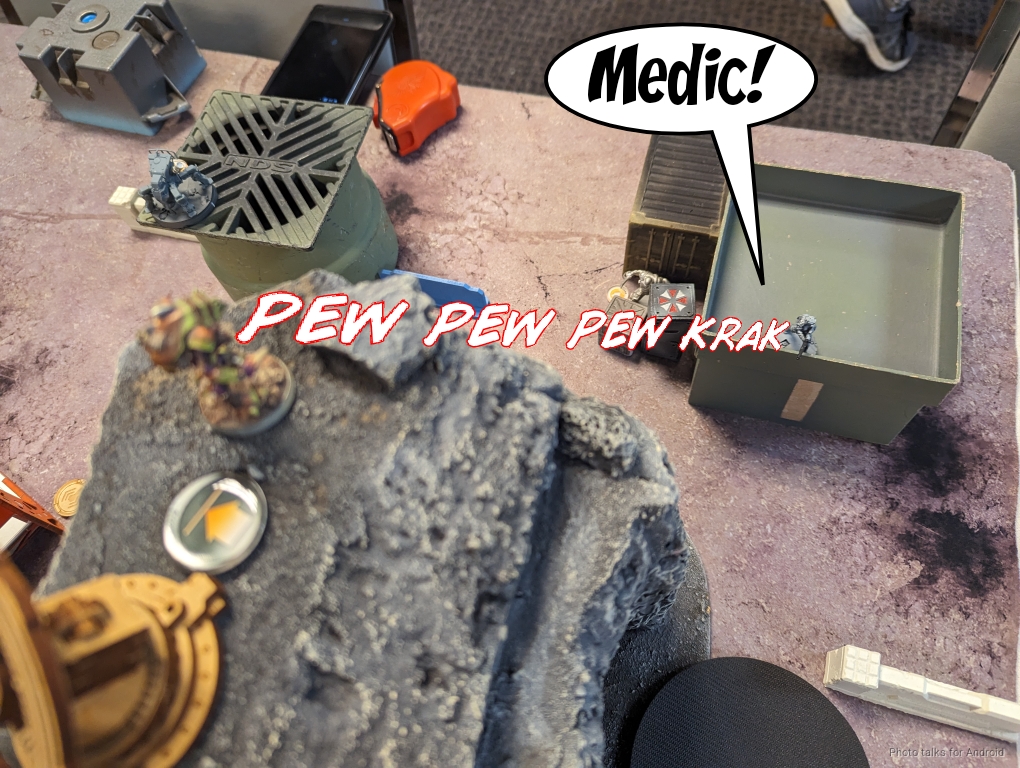
When he WIP rolls to remove an HVT, I know he’s got Silence… which is bad because it’s so hard to adequately defend the HVTs in the mission because there are FOUR of them. The Yuan Yuan wipes out the first HVT…
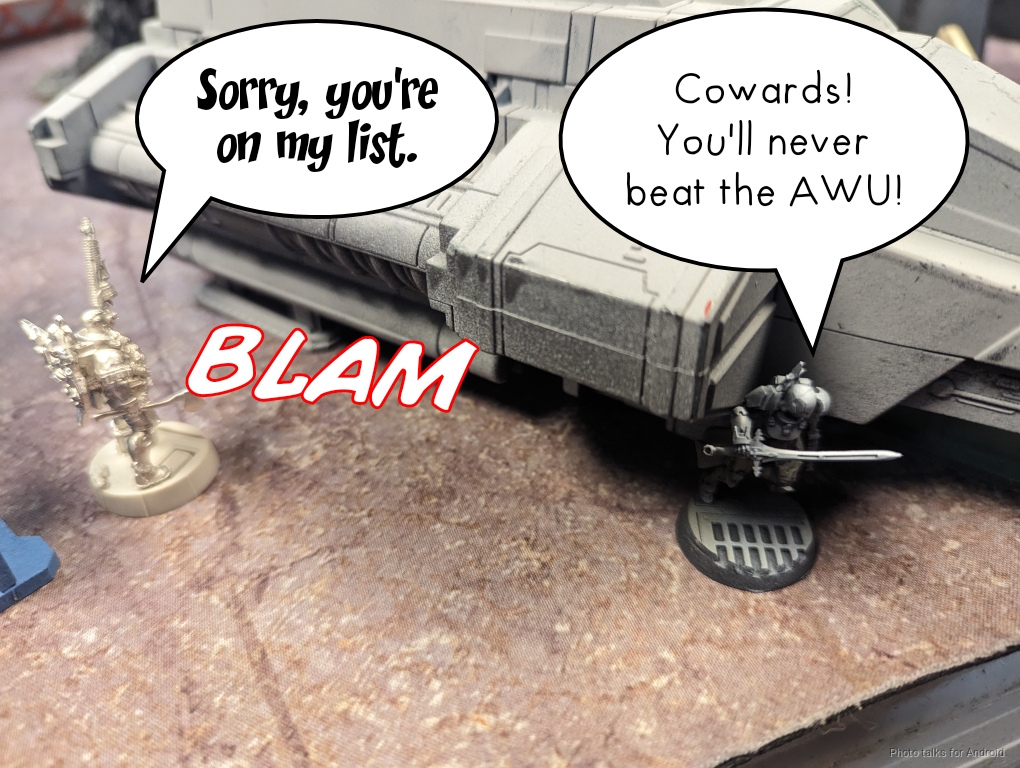
and makes an attempt on a second, but fails its WIP roll. Thankfully my Gator, Death Roll, explodes the Yuan Yuan off the table.
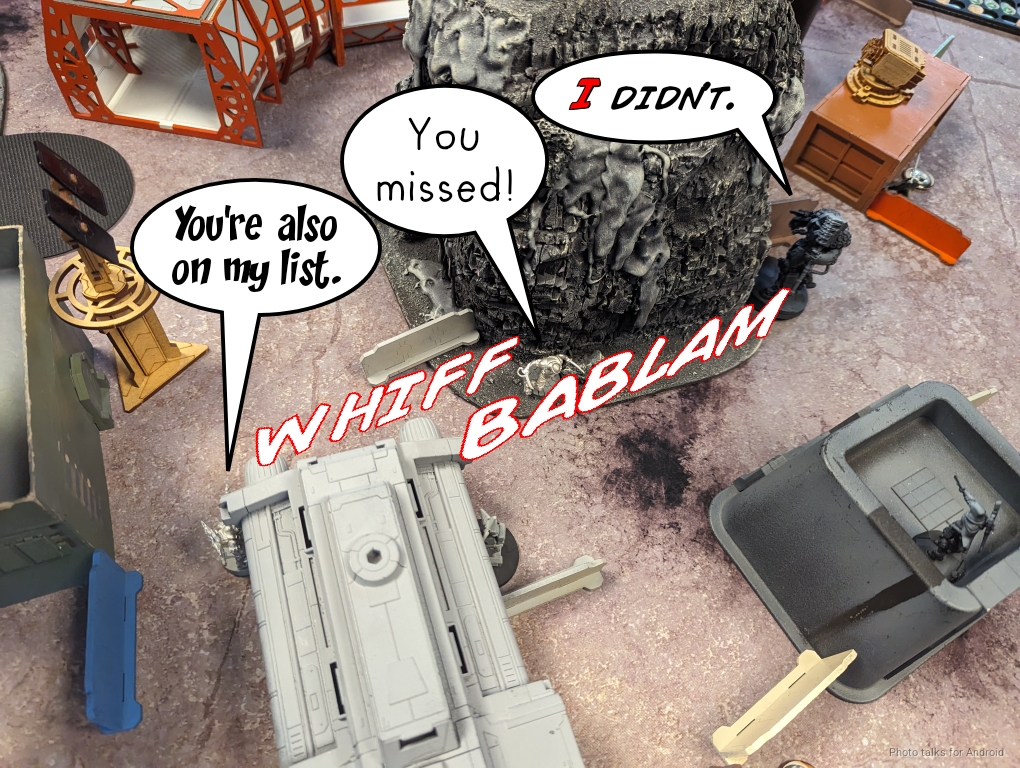
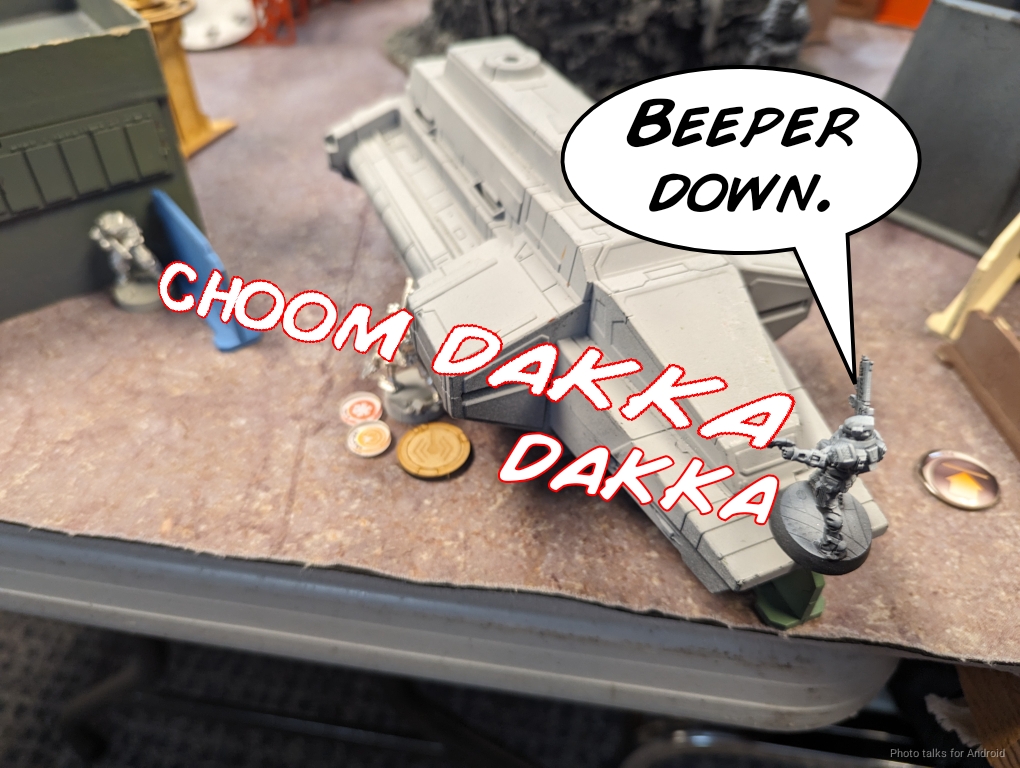
Adam then brings on a second Yuan Yuan and throws smoke to cover the Druze team. He’s hoping to take advantage of Sixth Sense to disincentivize me from shooting at them with Le Muet.
The new Yuan Yuan successfully silences the second HVT and is removed by the Gator. Not great for our Ariadnan allies in the Quantum Containment Coalition, but at least the Yuan Yuan is pasted.

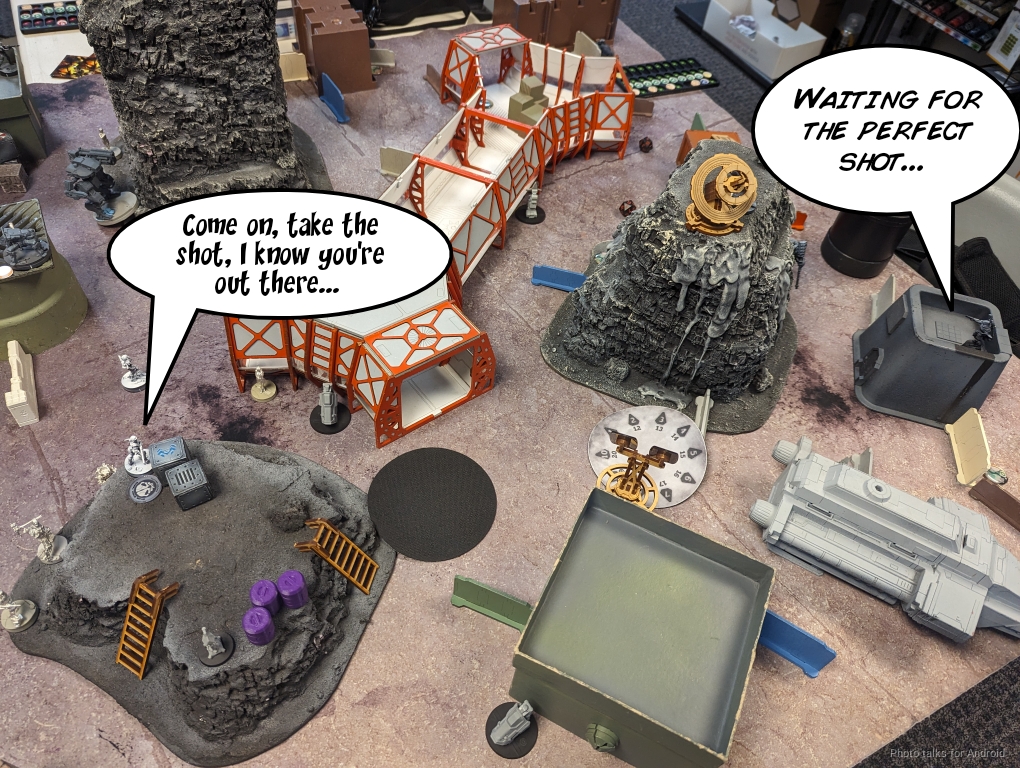
Adam then tries to bait out a shot from Le Muet on the Druze HMG, who is the link lead. He’s got burst four on 9s and I’ve got burst one on 10s.
| 16.2 | 37.4 | 46.5 |
Not great odds. I decline to take the shot and let him try whatever he’s going to try.
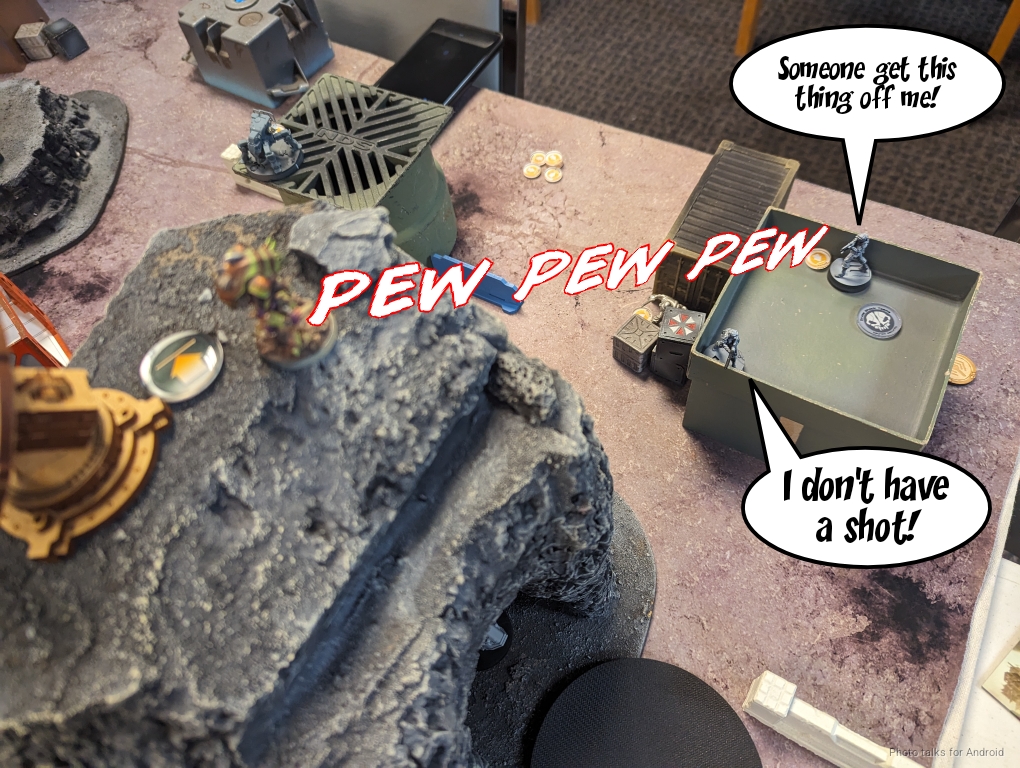
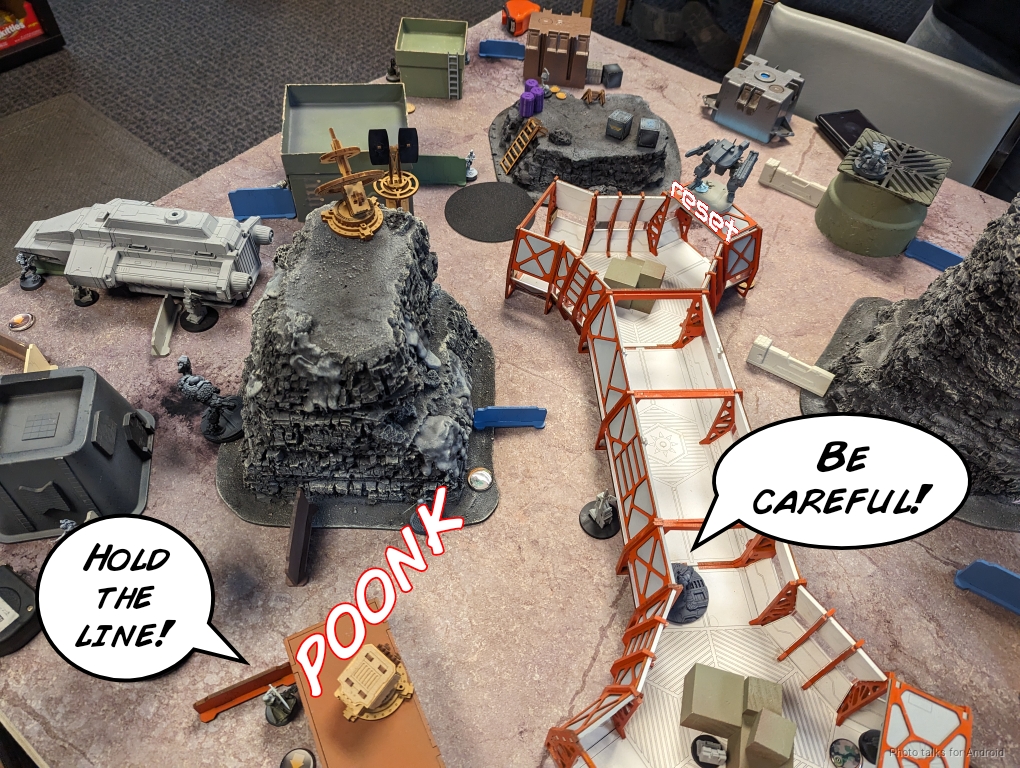
He hides the Druze HMG behind some boxes and uses the Druze Hacker to deploy some pitchers, only one of which lands, to try to build an anti-Gator zone.
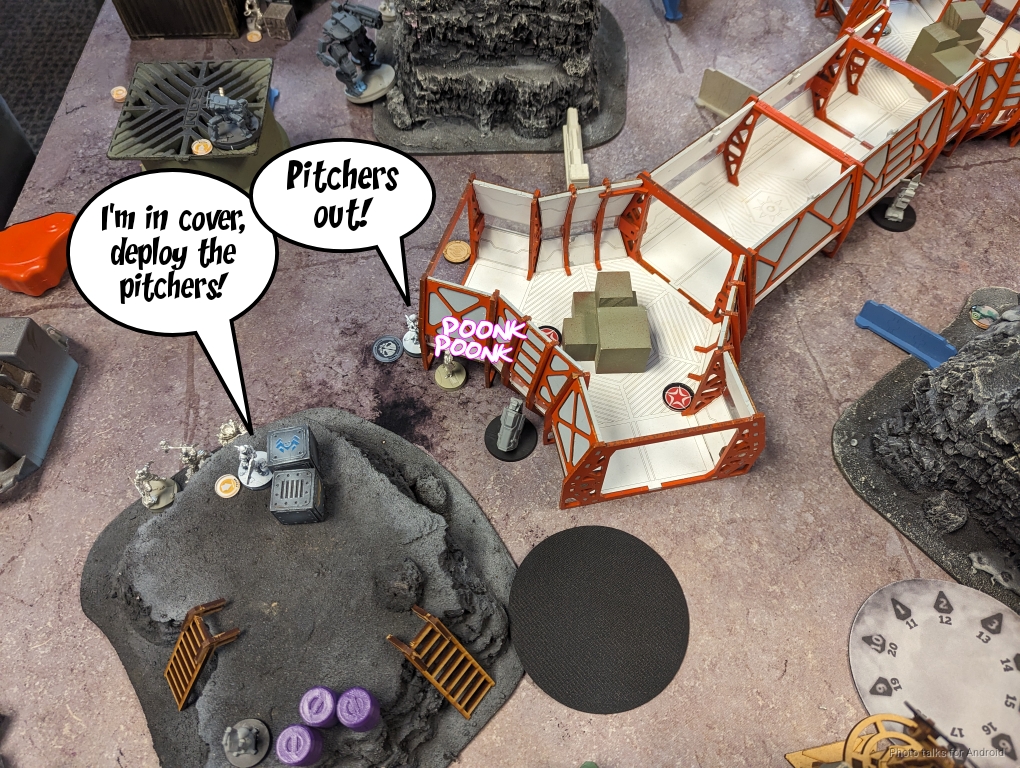
The Druze Hacker can’t escape past Le Muet unless the team cautious moves, but Adam has a more efficient idea. He pops the Druze HMG out again and dares Le Muet to take a shot. I decline, so the second short skill move sees the Druze Hacker get to safety. Smart way of getting the full movement there.
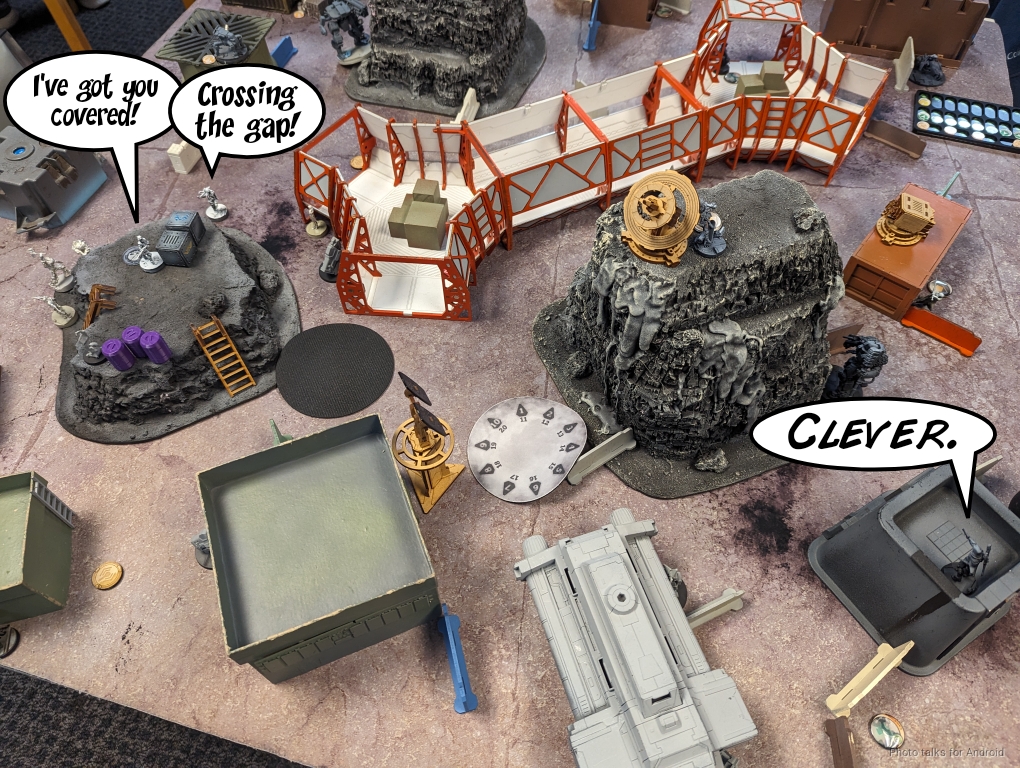
Here comes the big risk play–Adam then moves the Druze HMG out of cover to rejoin the rest of the team as they advance on my left flank. Now I’m on 13s, which I deem an acceptable level of risk:
| 29.4 | 31.5 | 39.2 |
Unfortunately for me, Adam sneaks a shot through and does a single wound to Le Muet, who goes prone. Adam’s last orders are spent tucking the Druze link into safety and advancing the Triphammer with its Tac Aware order.
Of very high relevance is the fact that Adam chooses the Druze Hacker to be his link team leader to ensure coherency.
Bottom of 1 – Nomads
My objectives for the turn are to disrupt the Druze link–they are way too close for comfort, and then I can spend some orders on the Samsa to address the Brawler problem. The Zondnautica’s approach is under the Brawler’s MSR, so I decline to use my impetuous order. I instead spend a coordinated order to fire pitchers with Jazz and Mary while getting Armand off his roof and the Gator advanced a little in case I want to go fight the Diggers. Ideally Mary will get her pitcher on the roof. Jazz’s pitcher is just there as a backup.
Sadly, Mary whiffs, but Jazz does get her pitcher down. This lets Mary try out the “new” program (Trinity with AP) on the Druze Hacker, taking it out and breaking the link.

I decide to move my attention to the Brawlers now and then spend any remaining orders on the Druze link. With the Druze hacker down, all I need is to drop the Brawler hacker and that repeater Adam spent so much effort on the first turn will be useless. Fortunately, the Samsa can easily deal with the Brawler hacker by shifting an inch. We’re in 16″ and the Brawler Hacker is out of cover. Easy, right?
| 83.1 | 16.9 |
On the first order, the Brawler crit dodges.
On the second order, I only land one hit and the Brawler passes both ARM and BTS.
On the third order, I finally land three hits, and the Brawler melts. Well that was supremely irritating!
The Samsa then finishes off the Brawler MSR with a quick burst against its return fire:
| 76.2 | 15.6 | 8.2 |
I now have a choice if I want to use the Samsa to take out the Fugazi nearby so I can go for Denma with the Samsa, but I decide I’d rather just try with the Gator to make sure I can still attempt the attack on Denma even if the Fugazi is still up. In other words, the Samsa is immune to flash pulse if I use the Gator instead.
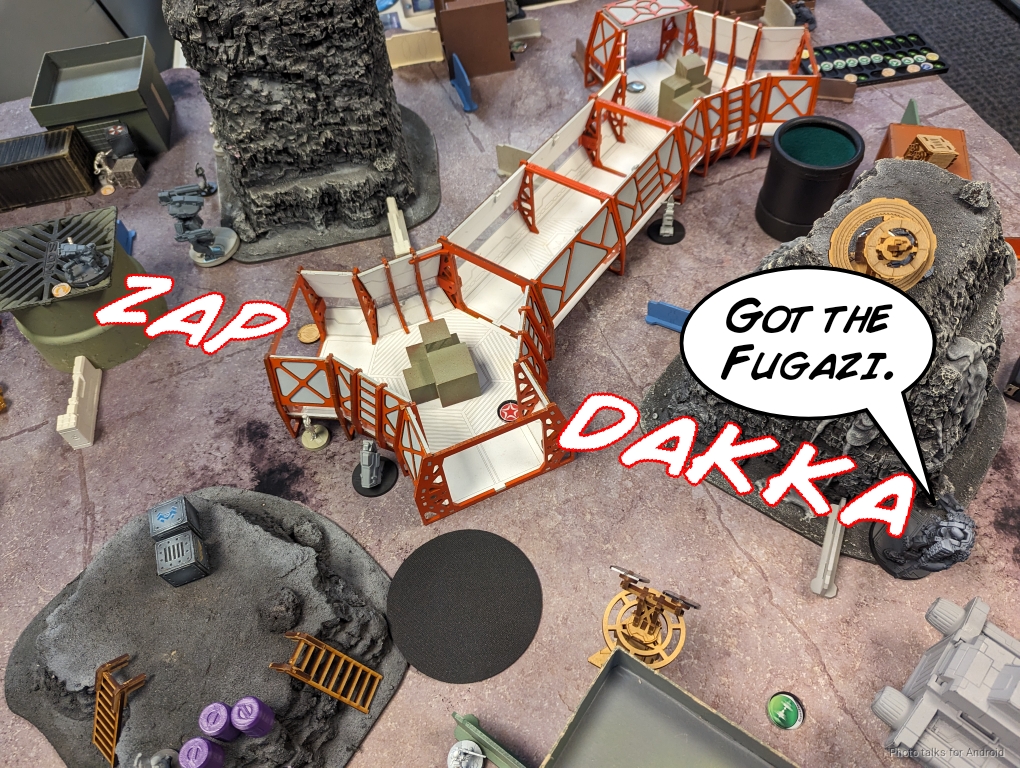
Death Roll makes quick work of the Fugazi, and then I have one order left. We evaluate the LoF implications, and determine that to see Denma I’d give the other Fugazi and more importantly, the Druze HMG a shot on the Samsa. I elect to try and lock down the Diggers instead. Mary Carbonites one and Oblivions the other, splitting burst each time to do so.
There’s a fun little interaction of what happens if the Digger is immobilized and successfully resets against that but I win the face to face with Oblivion–we think that the result is immobilized is cleared and Oblivion fires, so that’s what we go with. Mary ends the turn by whiffing a repeater to the top of the building again. I was really hoping for a safe repeater up there. Oh well.
Turn 2
Top of 2 – Druze

Adam realizes he forgot to roll for MetaChemistry on Denma, and rolls Climbing+. Well that’s quite relevant and would have been nice to know when making decisions last turn! Oh well. He starts the climb with his impetuous order…
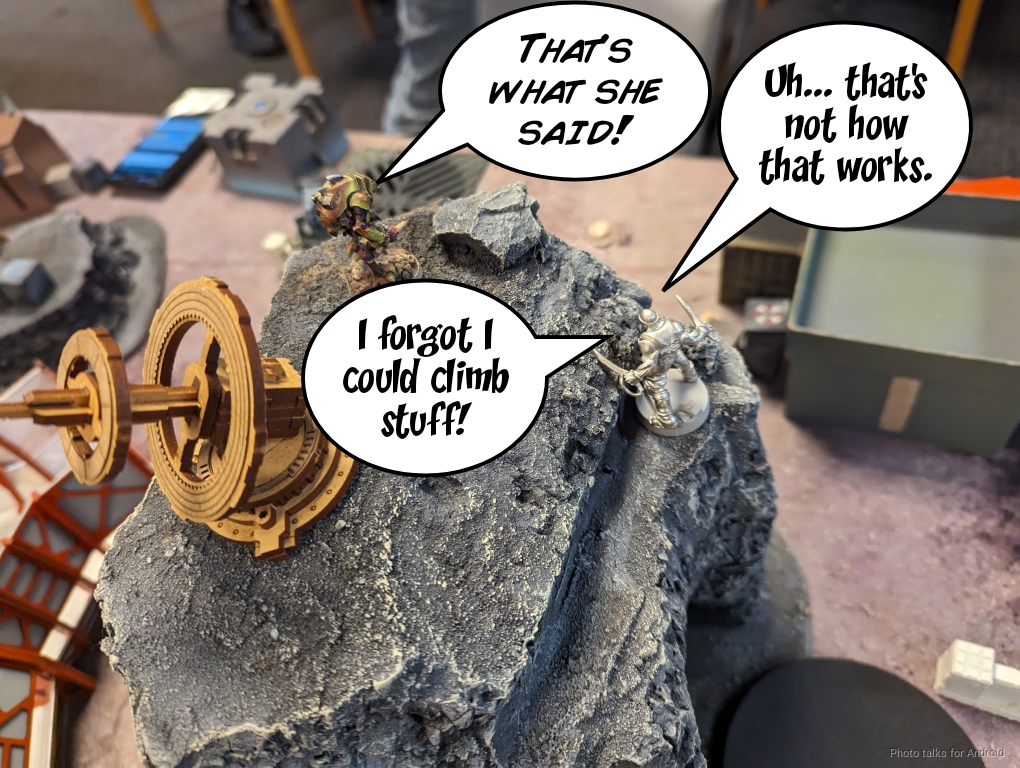
and easily kills the Samsa.
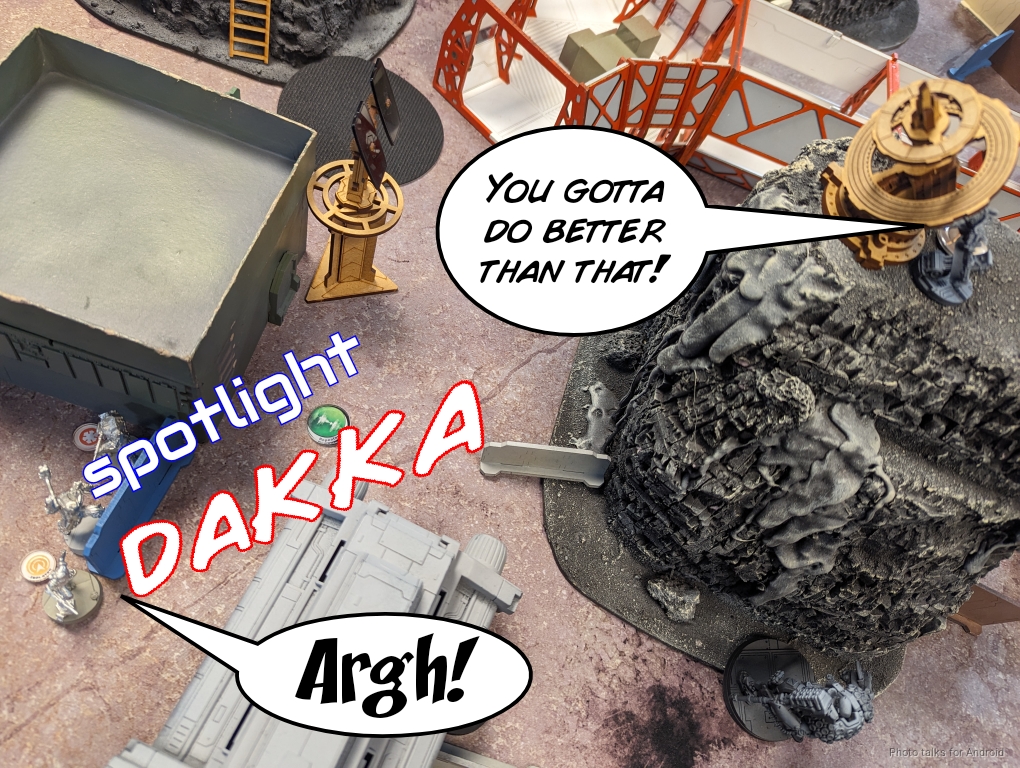
Adam wants to deal with Mary, so he sends in Arslan. I spotlight him on the way in, and then use that +3 to WIP to face to face the MULTI Rifle fire once Arslan starts shooting. This is actually quite good for me:
| 71.4 | 28.6 |
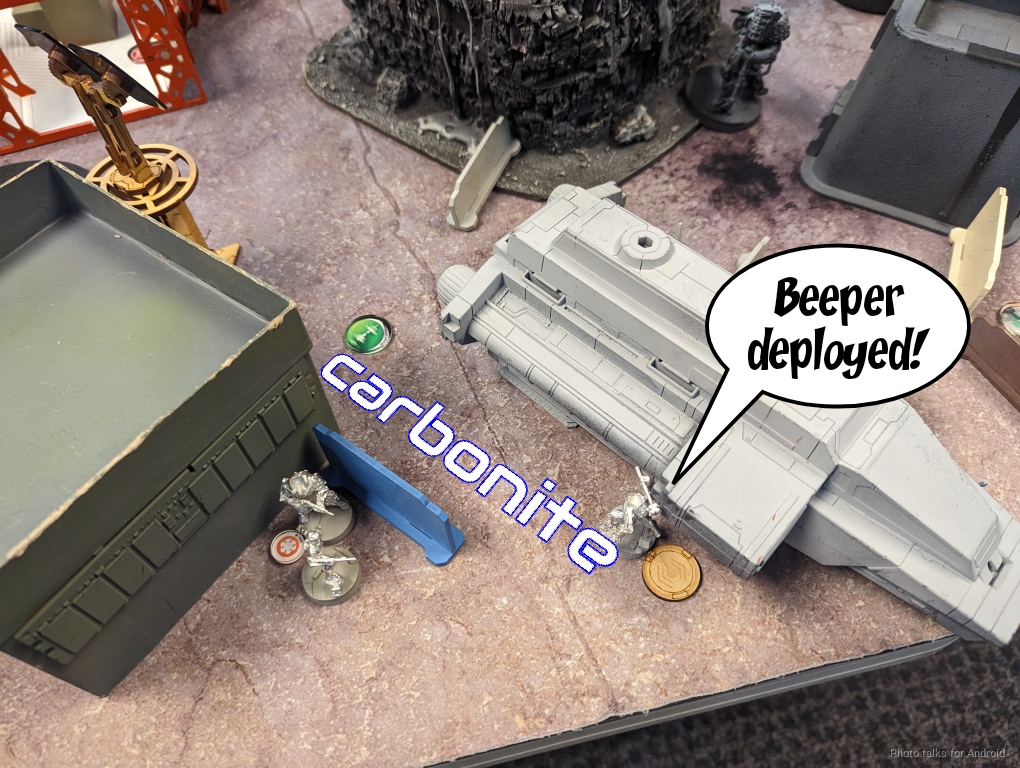
Adam decides to play to the objective next, and moves his isolated Digger to deploy a Beeper (what a silly name for an objective, but sure). Mary, Jazz, and the Zondnuatica immobilize and spotlight it.
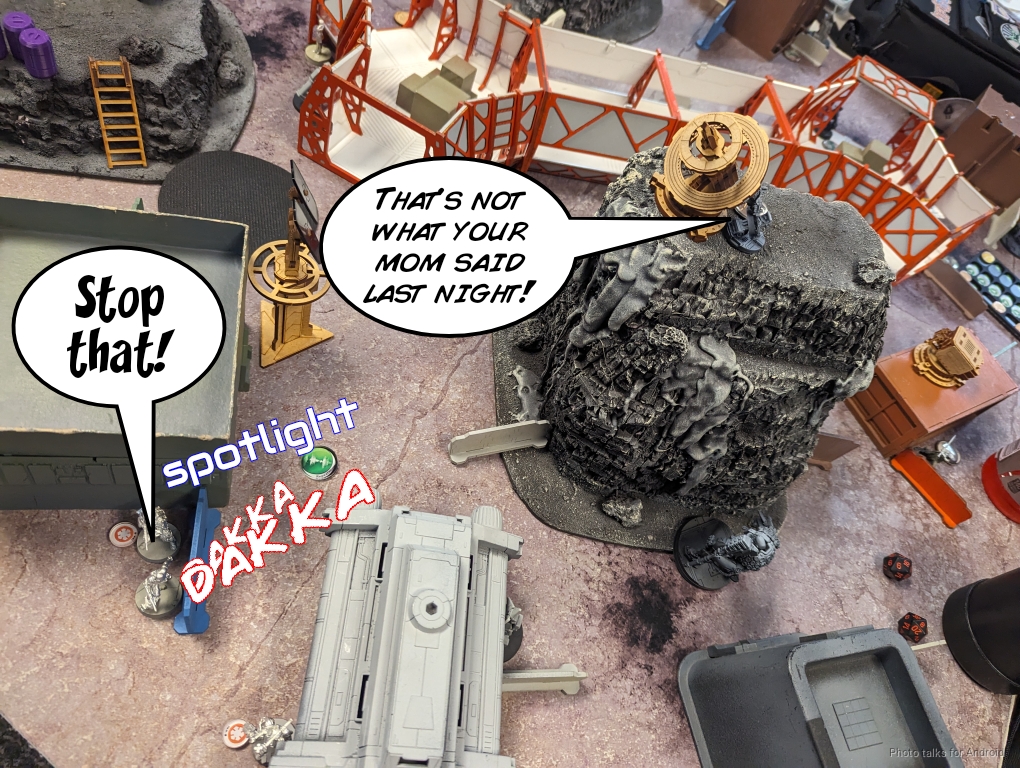
Adam then moves Arslan out a little further to see both Mary and the repeater, throwing one burst at the Repeater and two at Mary. He misses Mary but the repeater goes down.
With the repeater down, I’m forced to dodge. The new odds are better, but not crazily so, for Adam:
| 64.6 | 35.4 |
Mary finally goes down, and then it’s time to pit Arslan versus the Gator.
| 8.5 | 29.3 | 62.2 |
On the first order he thankfully fails to do a wound, and then I fail guts into cover for the next order, letting me improve my odds:
| 13.9 | 47.6 | a38.5 |
This time I land an explosive round on Arslan who makes 2/3 of his saves and escapes to his original spot. The Triphammer doesn’t have much in the way of orders and just stomps around trying to discover the Libertos before ending up on the roof of the corridor system.
Bottom of 2 – Nomads

Well, it’s time to get some objectives done. Adam’s done a good job placing his Druze HMG, so I set up smoke on it with the Zondnautica and then get under the Triphammer to try and steal it with Total Control but fail.
I threaten a template on the Druze HMG with the Zondmate but perhaps over-cautiously don’t reveal the Zondnaut. I’d really like to steal the Triphammer and just burn all of its disposable ordinance killing the Druze, but I fail to steal it again. Sigh.
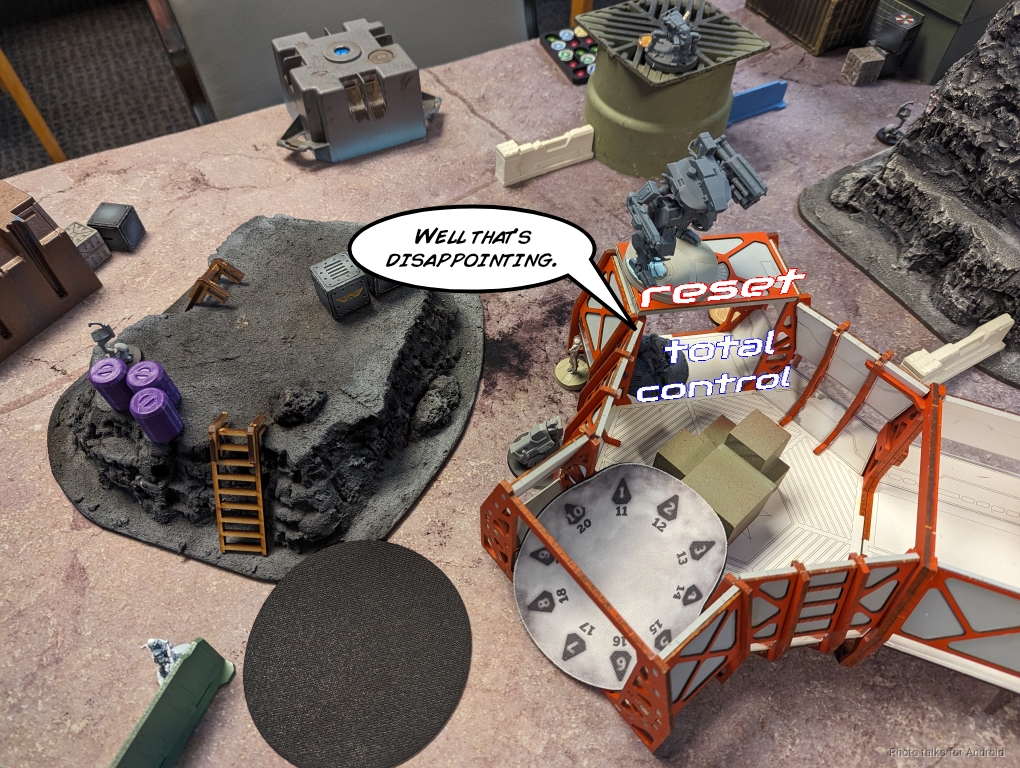
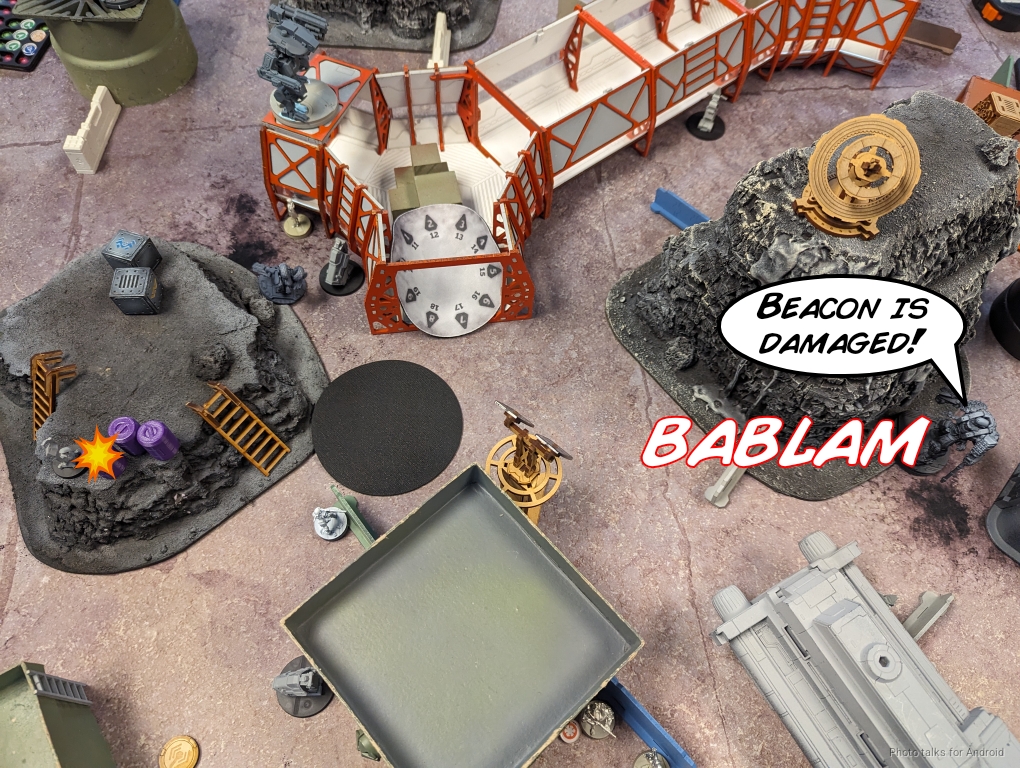
I focus on the mission and do two wounds to the Beacon the Gator can see, which is good.
Then I retreat the Zondmate and try Total Control again while the Druze HMG continues to dodge.
I’ve got a handful of orders left and Arslan is vulnerable. Thankfully I have the Evader right there and do the last wound with the AP Spitfire. This does allow the only immobilized Digger to reset out of immobilized though. The other Digger is -12’ed and thus can’t reset.
I take out the Beeper by splitting burst against the now-active Digger, who chain rifles, but both of us make our saves.
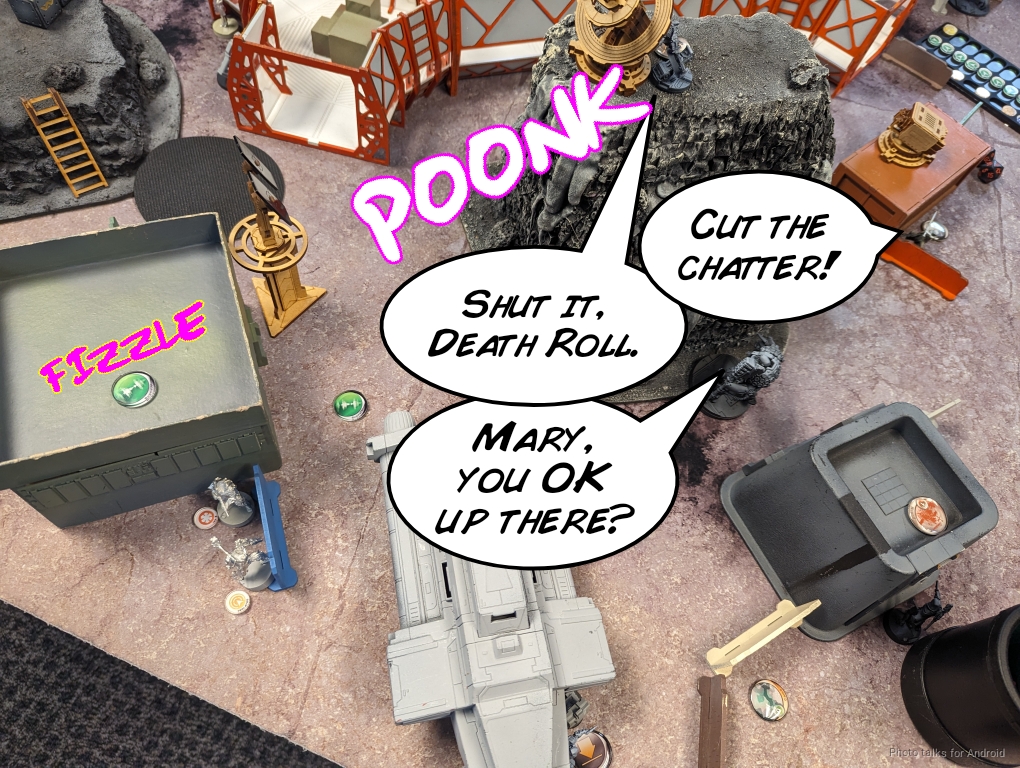
The Zondnaut remounts the Motorcycle and gets out of there, Carboniting the Tripphammer on the way. I figure I might as well try to seal the deal by landing an E/M grenade on it with Kusanagi, but I whiff and the Triphammer resets. Oh well.
Turn 3
Top of 3 – Druze
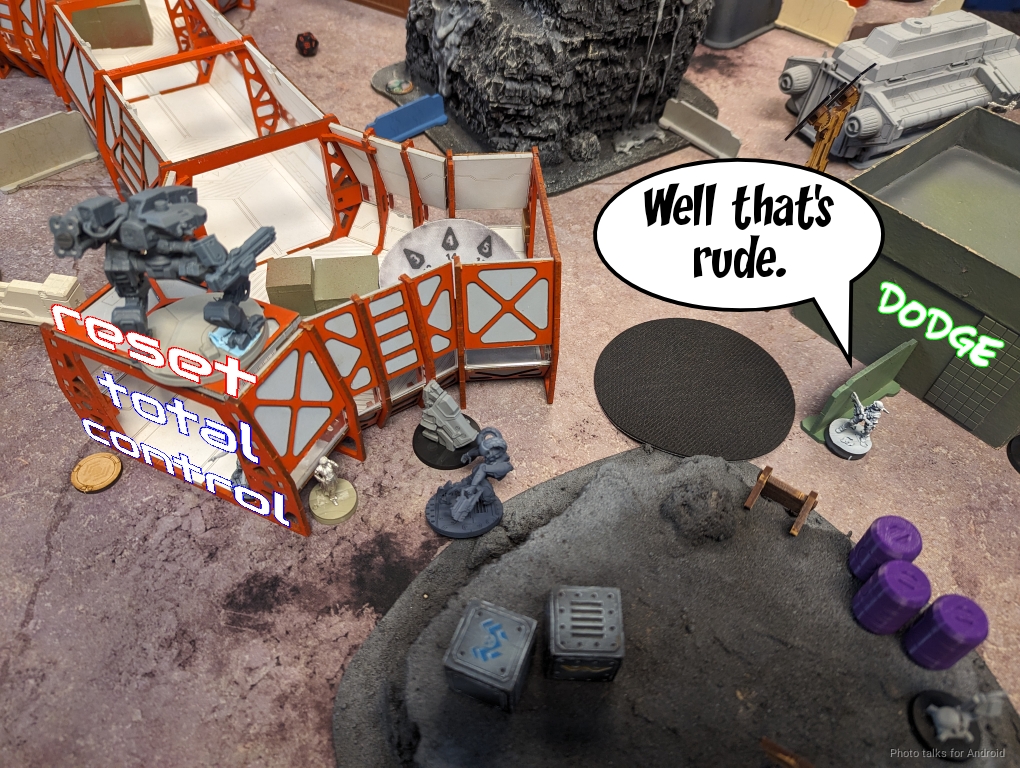
Adam’s in loss of lieutenant on Turn 3, which is great for me. He decides to just try and secure what points he can. Denma climbs down the rock. I don’t like this so I reveal the Libertos and try to take him out but he dodges past.
The Triphammer advances to try and defend Denma, who drops a Beeper.

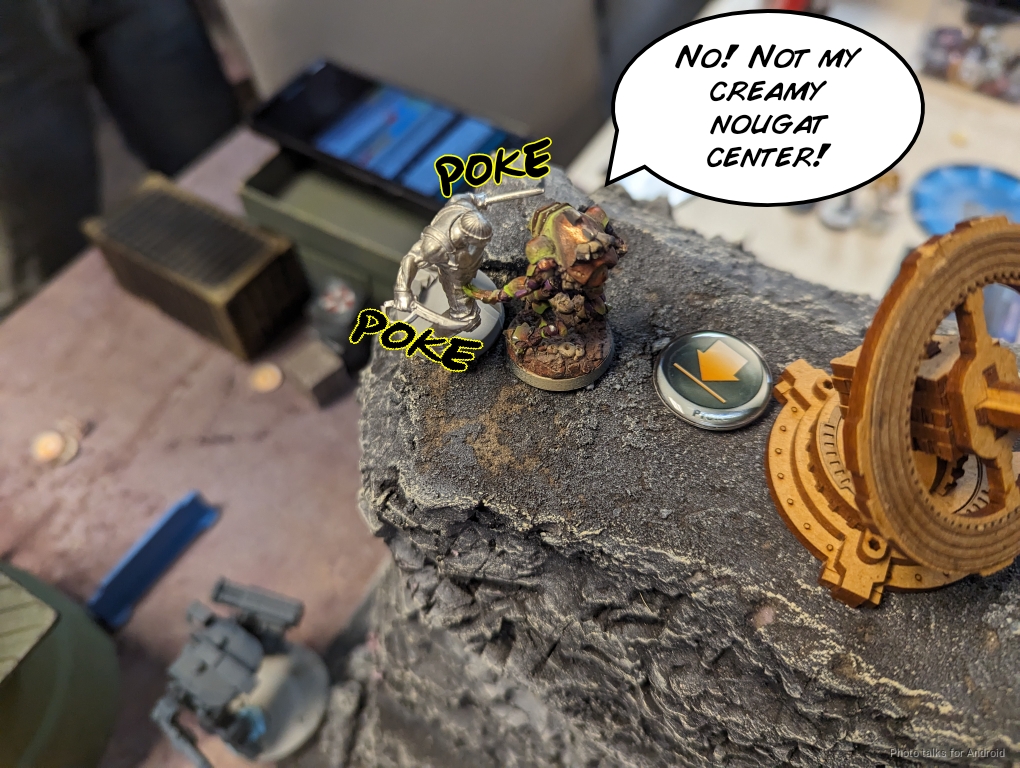
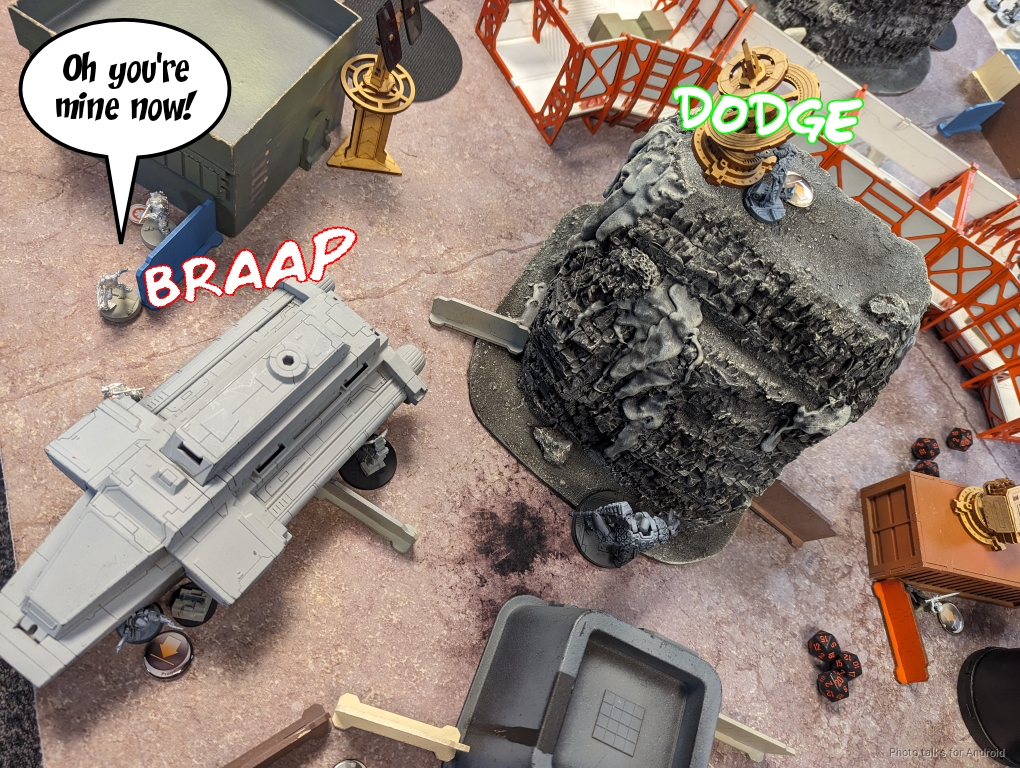
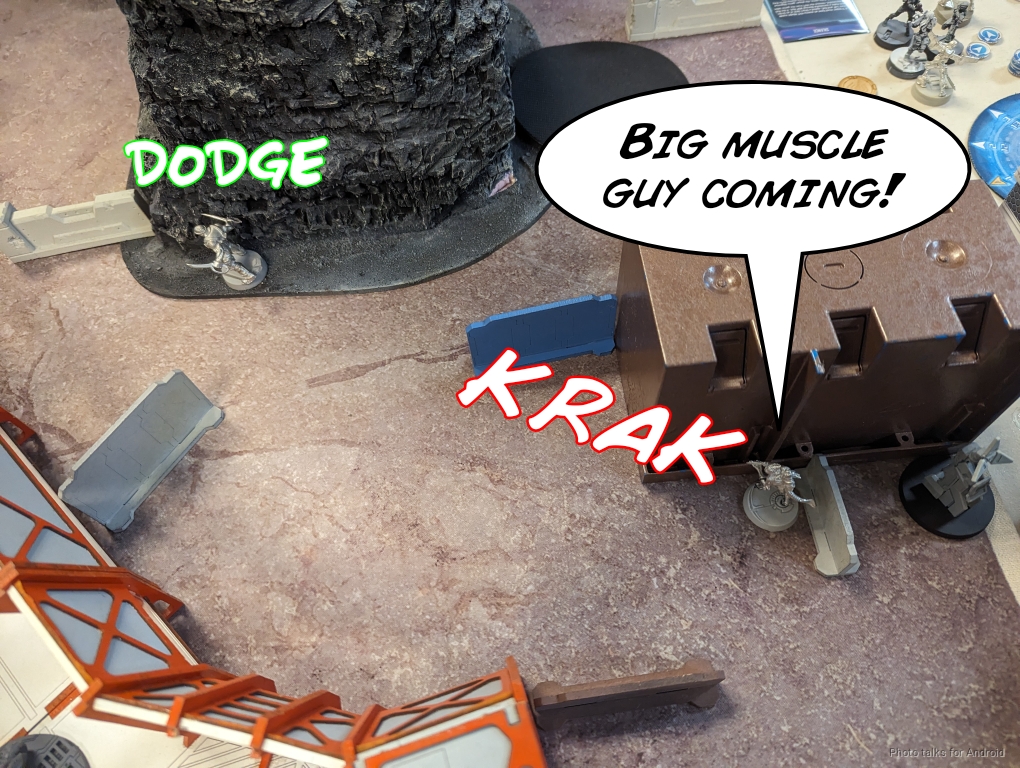
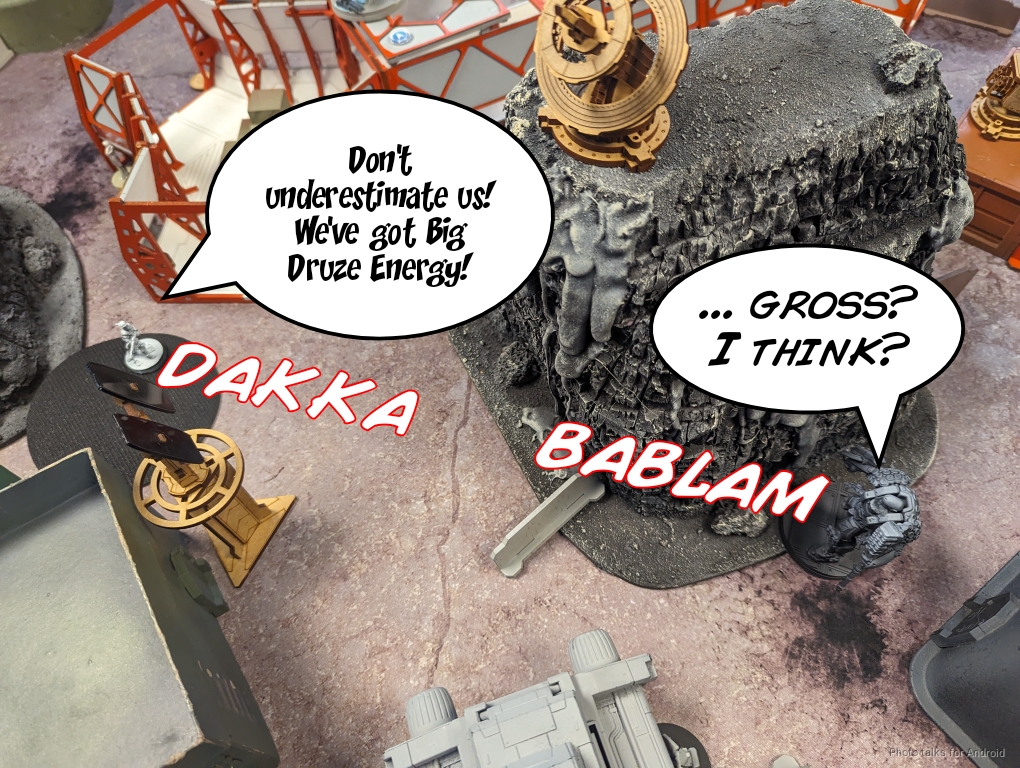
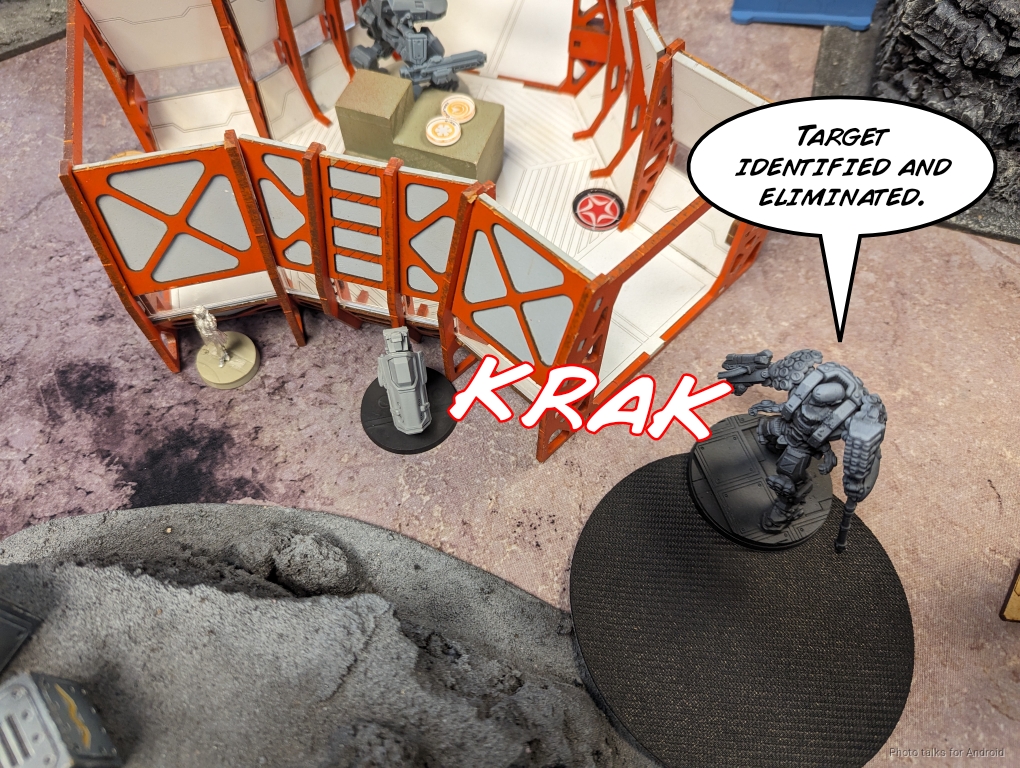
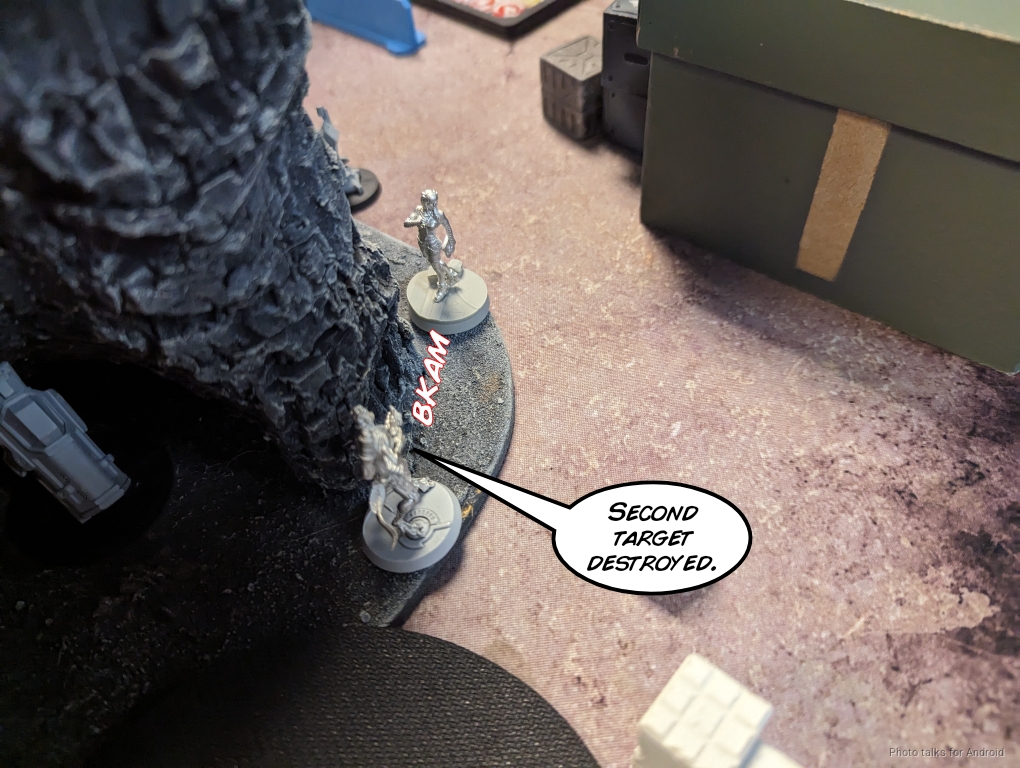
Adam then spends the Druze HMG’s order to try and get it into the tunnels to take out my Zondnautica, but even with her “big Druze energy” she is pasted by the Gator.
The Triphammer will have to do it instead, so it hops off the roof and just walks into the tunnels while the Libertos dodges, then the Clipper and remaining Fugazi get into better ARO positions.

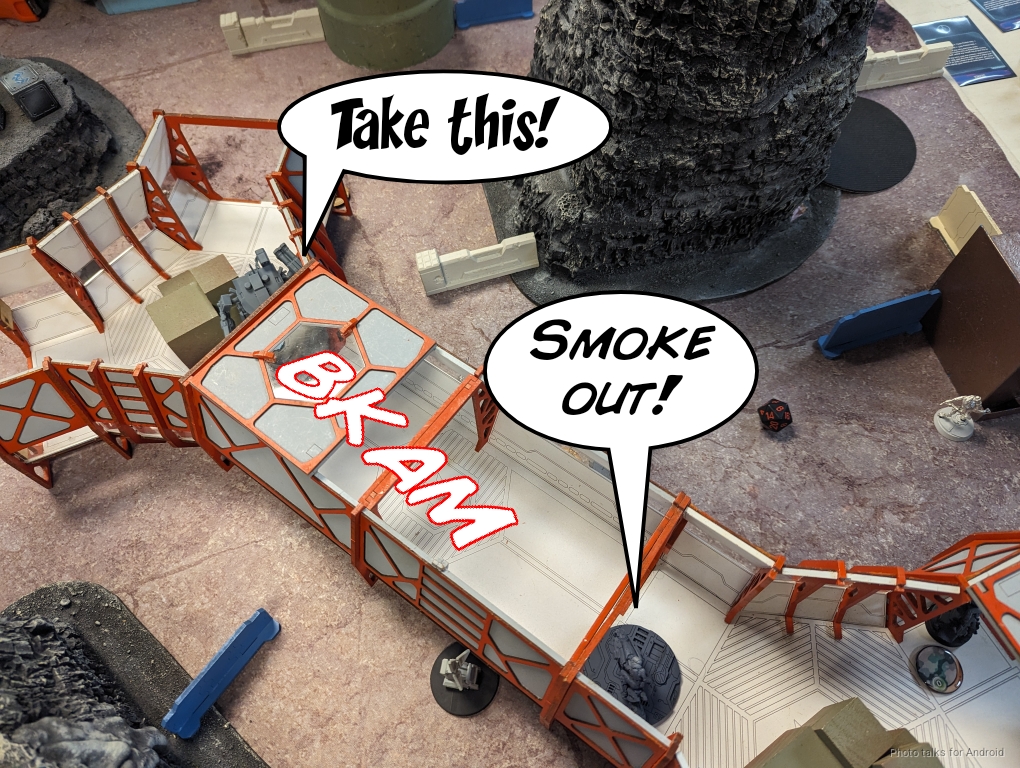
On his last order he throws some shots at the Zondnautica, who successfully smokes out the shot.
Bottom of 3 – Nomads
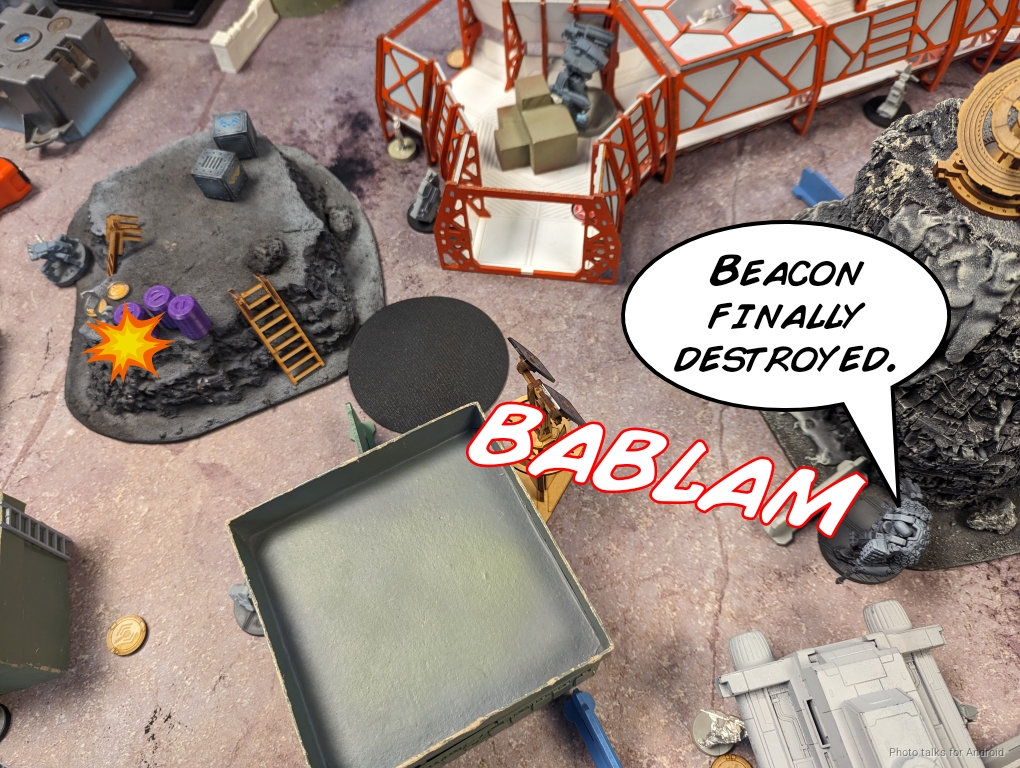
The Zondnautica can’t go anywhere without taking shots from the Triphammer, so I start the turn off by finishing off the Beacon with the Gator.
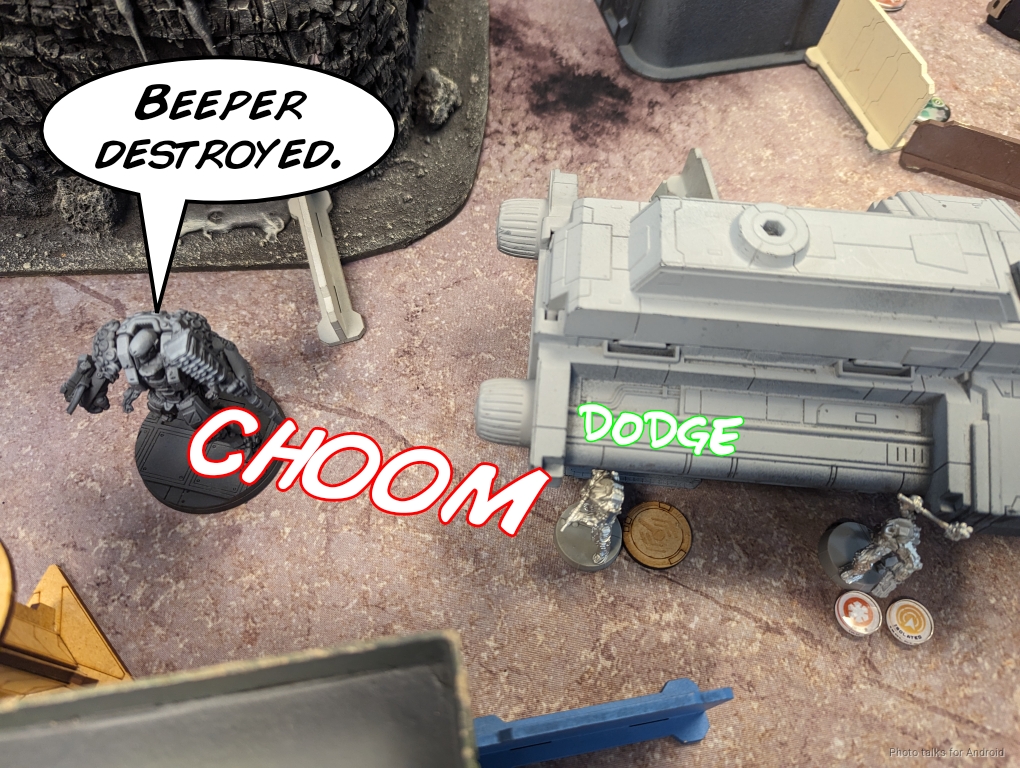
I poke out just enough to see the two Diggers and double chain rifle. The Digger that can dodge does so and fails, and both Diggers take a wound. More importantly, the Beeper goes down.
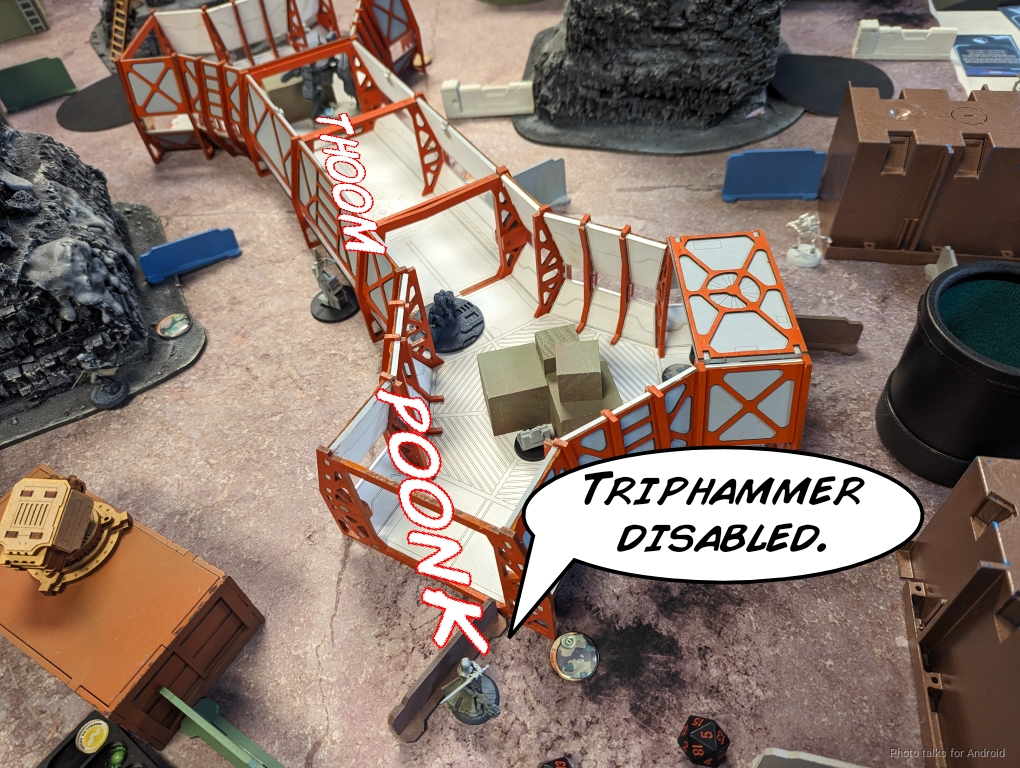
I move Kusangi in position to finally and successfully land a E/M grenade on the Triphammer, taking it out of the fight effectively as it has to reset on a 1.
The Gator successfully silences an HVT, and then I have to deal with the Clipper before I can get another HVT and the Beacon.
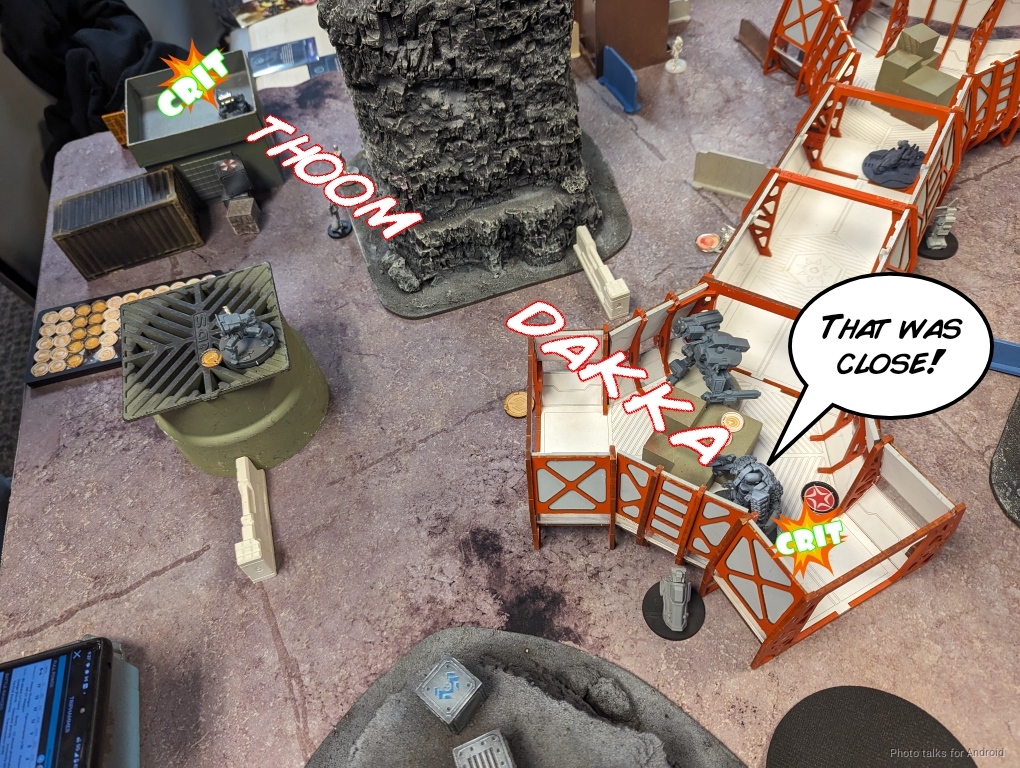
We start things off by critting each other… thank goodness too, I didn’t want to eat a missile crit at this, well, critical juncture!
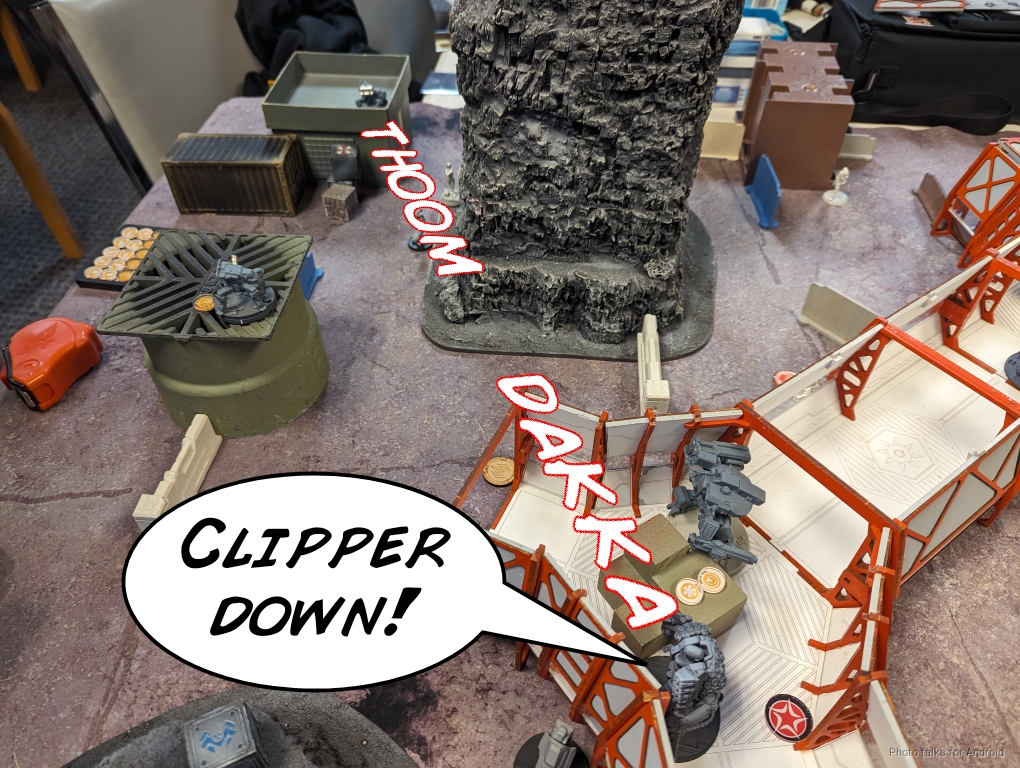
Another order takes out the Clipper easily.
I decide I don’t have the orders to get the Gator over to the HVTs and Beacon past the Fugazi, so I use the Libertos instead, taking out Denma on the way.
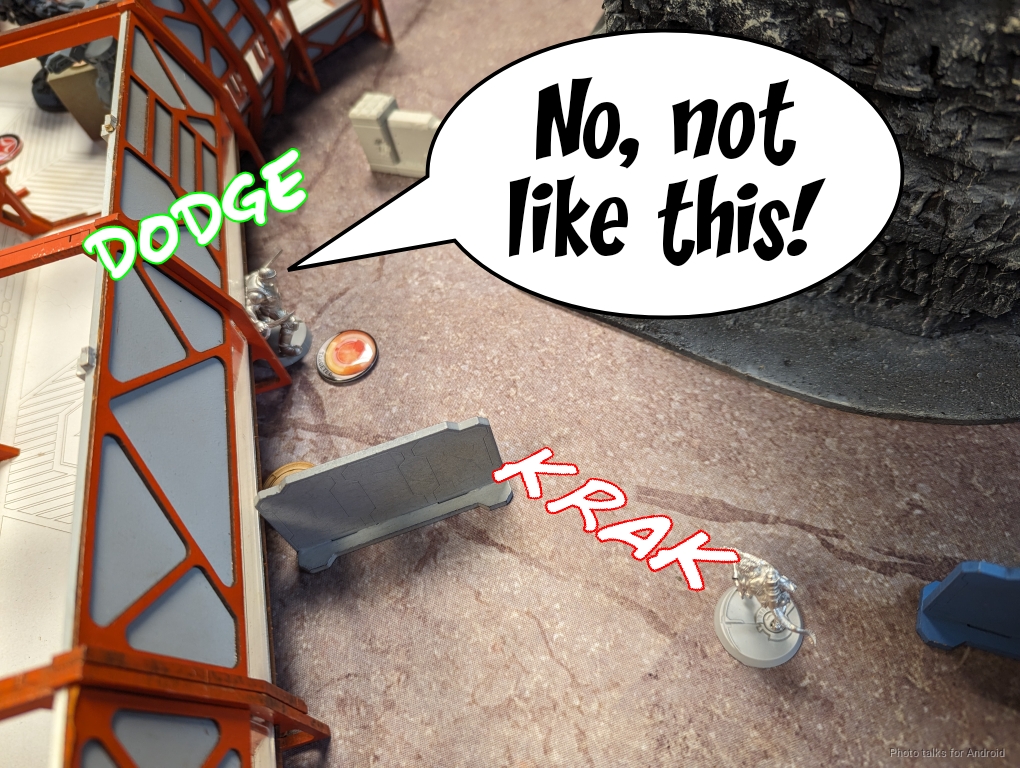
The Libertos takes out a second HVT…
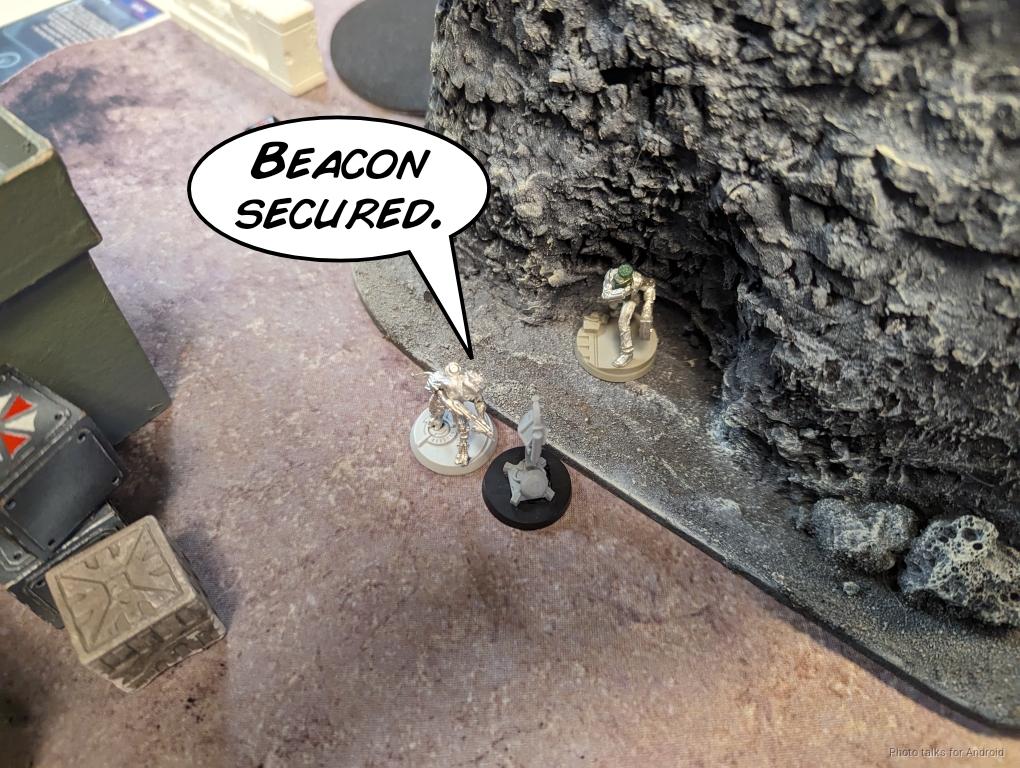
and then secures the Beacon.
What’s funny is that by me not moving the Gator anymore, I’m denying Adam King of the Hill, which is fantastic news!
We both achieved Silence. I’ve achieved one point of Appropriation and Adam has one point of Triangulate the Signal because I couldn’t take out the last beacon. I’m canceling King of the Hill and have Interrupt the Signal, making it a
8-4, 242-106 Nomad Victory!
They’re falling back. Let’s see if we can identify their two victims.
I’ve secured the two Diggers.
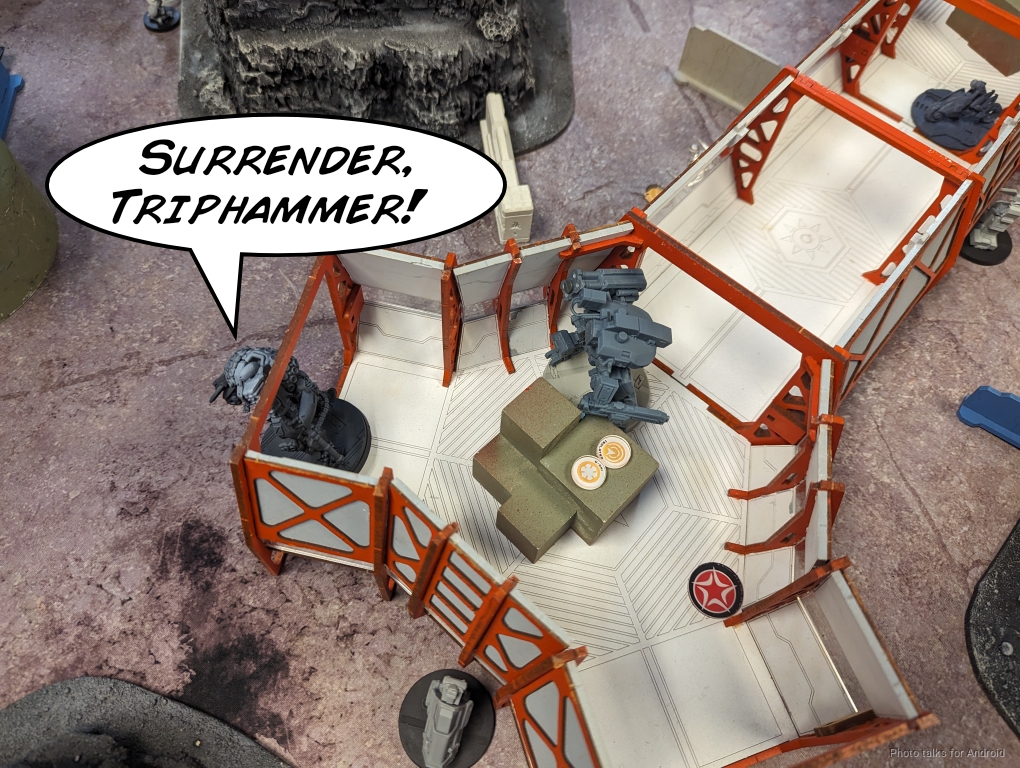
Triphammer pilot. Exit your TAG with your hands up.
Okay okay. I’m opening the hatch. Don’t shoot.
Mary’s breathing but in bad shape. I’ve called in a medevac shuttle. One of the Reverend Healers from the Amethyst Sky is inbound. The remaining Brawler and Fugazi are moving away at high speed.
Zondnaut, hunt them down.
On it, boss lady.
Jazz, get started on IDing those two Ariadnas. I’m sure our new Ariadnan allies will want to know what’s going on. Fire over a data package when you can.
They look like AWU representatives thus far. I’ll let you know when I’ve got more.
Crypto Winter, Kusanagi.
Send traffic, Cassandra.
Mission complete. We couldn’t save the Ariadnans, but the SIGINT array the Druze were trying to set up is disabled. We’ve secured one of the beacons for further analysis.
Understood. Get some rest while you can. Operational tempo is only going to increase from here. Your geist just sent over a supply request, I’ll make sure to get that looked at. WiseKensai out.
Post Game Analysis
Well, I think there were a few key mistakes by both of us. For me, it was not being smart and docking two orders from the second pool, which would have helped quite a bit. We talked about it after the game, and while it would have only delayed the push a turn, I think I might have been able to take out at least one Fugazi which would have helped some.
Also, I spent way too much time trying to Total Control the Triphammer. I was hoping to use it to do all my objectives risk-free, but I just didn’t have the dice luck to pull it off. A better plan would have been to just take out the Druze HMG with the Zondnautica as planned. I was a little concerned that the Diggers might be securing a zone for points or something, so I was somewhat distracted by that.
For Adam, I think he’s a little too fond of the MSV + Smoke + Sixth Sense trap he’s used on some unsuspecting opponents. It’s a good trick but if you know, it’s far less effective. He was actually planning on getting his link into the corridor system. Were it not for the Druze HMG on the rock, he would have been able to just cautious move past Armand, but with the Druze up there it’s harder. He eventually decided to move the link in the other direction, and had a good strategy for getting the Druze Hacker out of there. This set him up for trouble though, especially when he made the Druze Hacker the link team leader. Mary and Jazz are right there and very very good at killing enemy hackers, so I was a little surprised to see him do that.
Honestly it wasn’t a huge blunder, because I was going to start by removing the hacker then isolating the Diggers anyway, so he would’ve lost sixth sense anyway, but to lose it in one order was just more efficient for me–and he also loses burst 2 chain rifles. With the Samsa taking so long to deal with the Brawlers I couldn’t capitalize on the advantage there, but I think opening up the board on the right was way more relevant overall for me.
I am a little annoyed that we missed the Denma/MetaChemistry thing. That would have changed my turn as well as the rest of the game. The Samsa could easliy have dealt with a Carbonited Triphammer, and I definitely would have prioritized removing Denma potentially even over dealing with the Diggers. I might have just thrown out some mroe pitchers and called it good there.
Nevertheless, Infinity is a game about how you adapt to a changing situation, and I think it worked out fine. I’m still learning the Resilience Operations deck so I don’t have all the cards memorized yet. That made it a big hard to figure out what Adam was going for to counter it. I got lucky canceling out King of the Hill. Had I not that would have been a tie, I think, which is decidedly less helpful to get points for the campaign, so I’ll take the lucky break!
In any case, it’s nice to play Adam again after a long hiatus, especially with his Druze. It’s weird how much my list is appealing to me right now, I was decidedly uncertain about it when I first made it but it’s been working for me so far. Thanks for reading!


Pingback: Express Panda – MERC Recon
Pingback: Shattergrounds – The Nomad Story – Bromad Academy
Pingback: Ariadna Campaign Overview – Bromad Academy