
Isolated and Alone
Big tournaments always make a big battle report backlog for me, so it’s time to clear out the one resulting from the Salem Shitshow 2! I had a few vacation days saved up so I was able to make it down to Salem a day early to enjoy some shenanigans. Brody and Tater gave me a great demo of Malifaux…
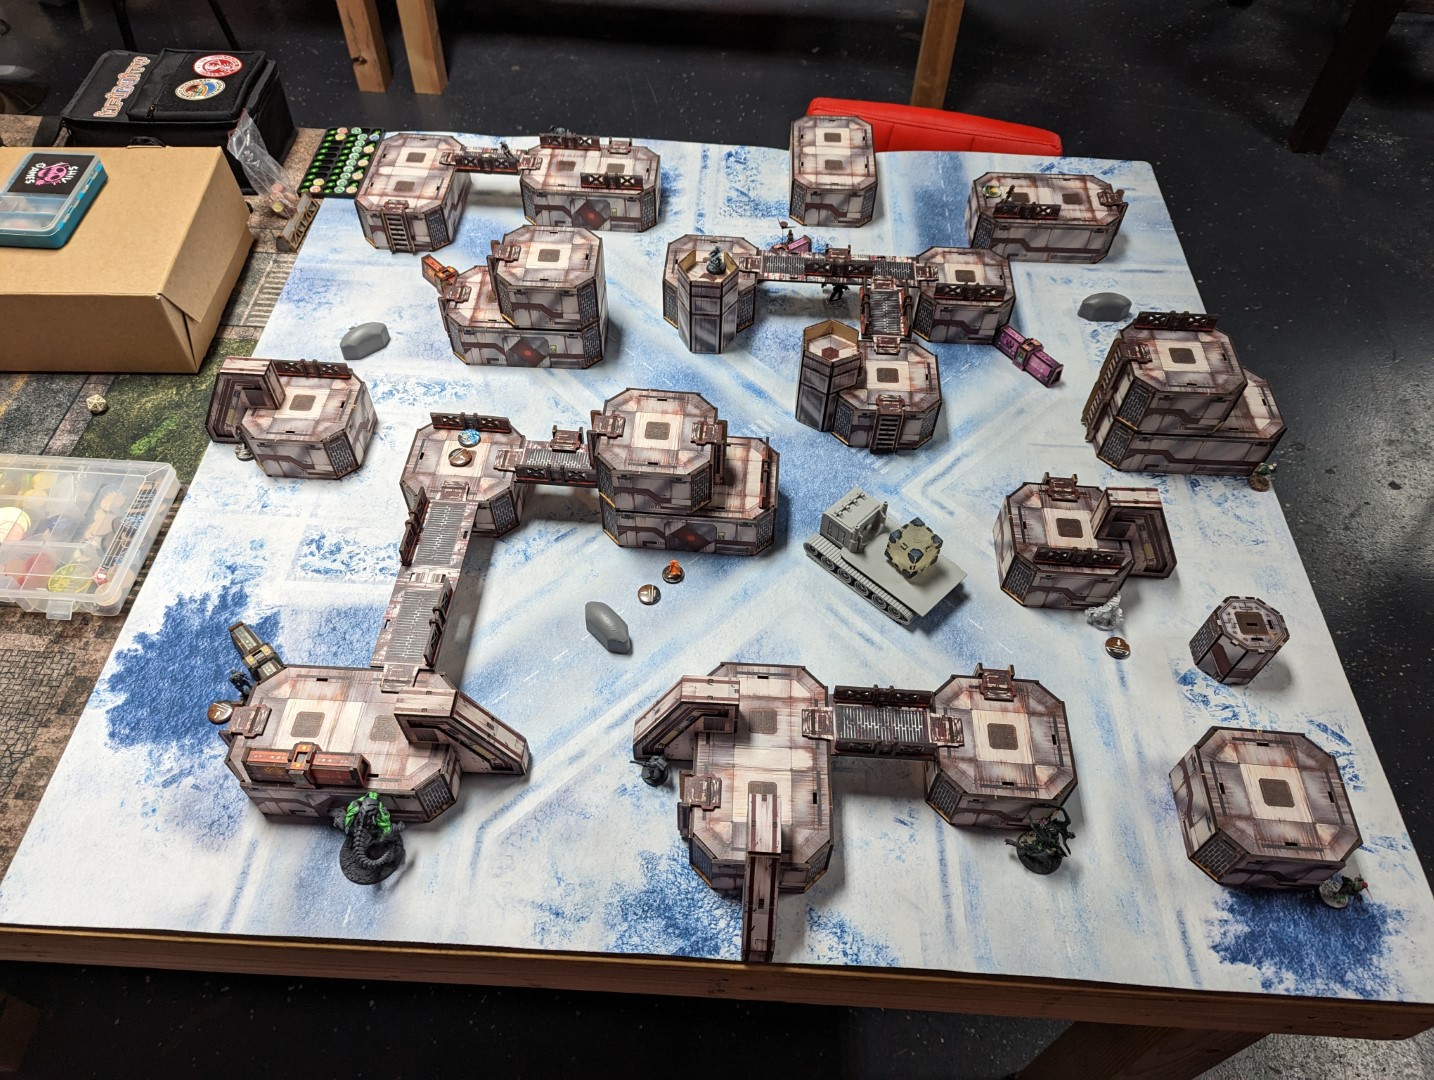
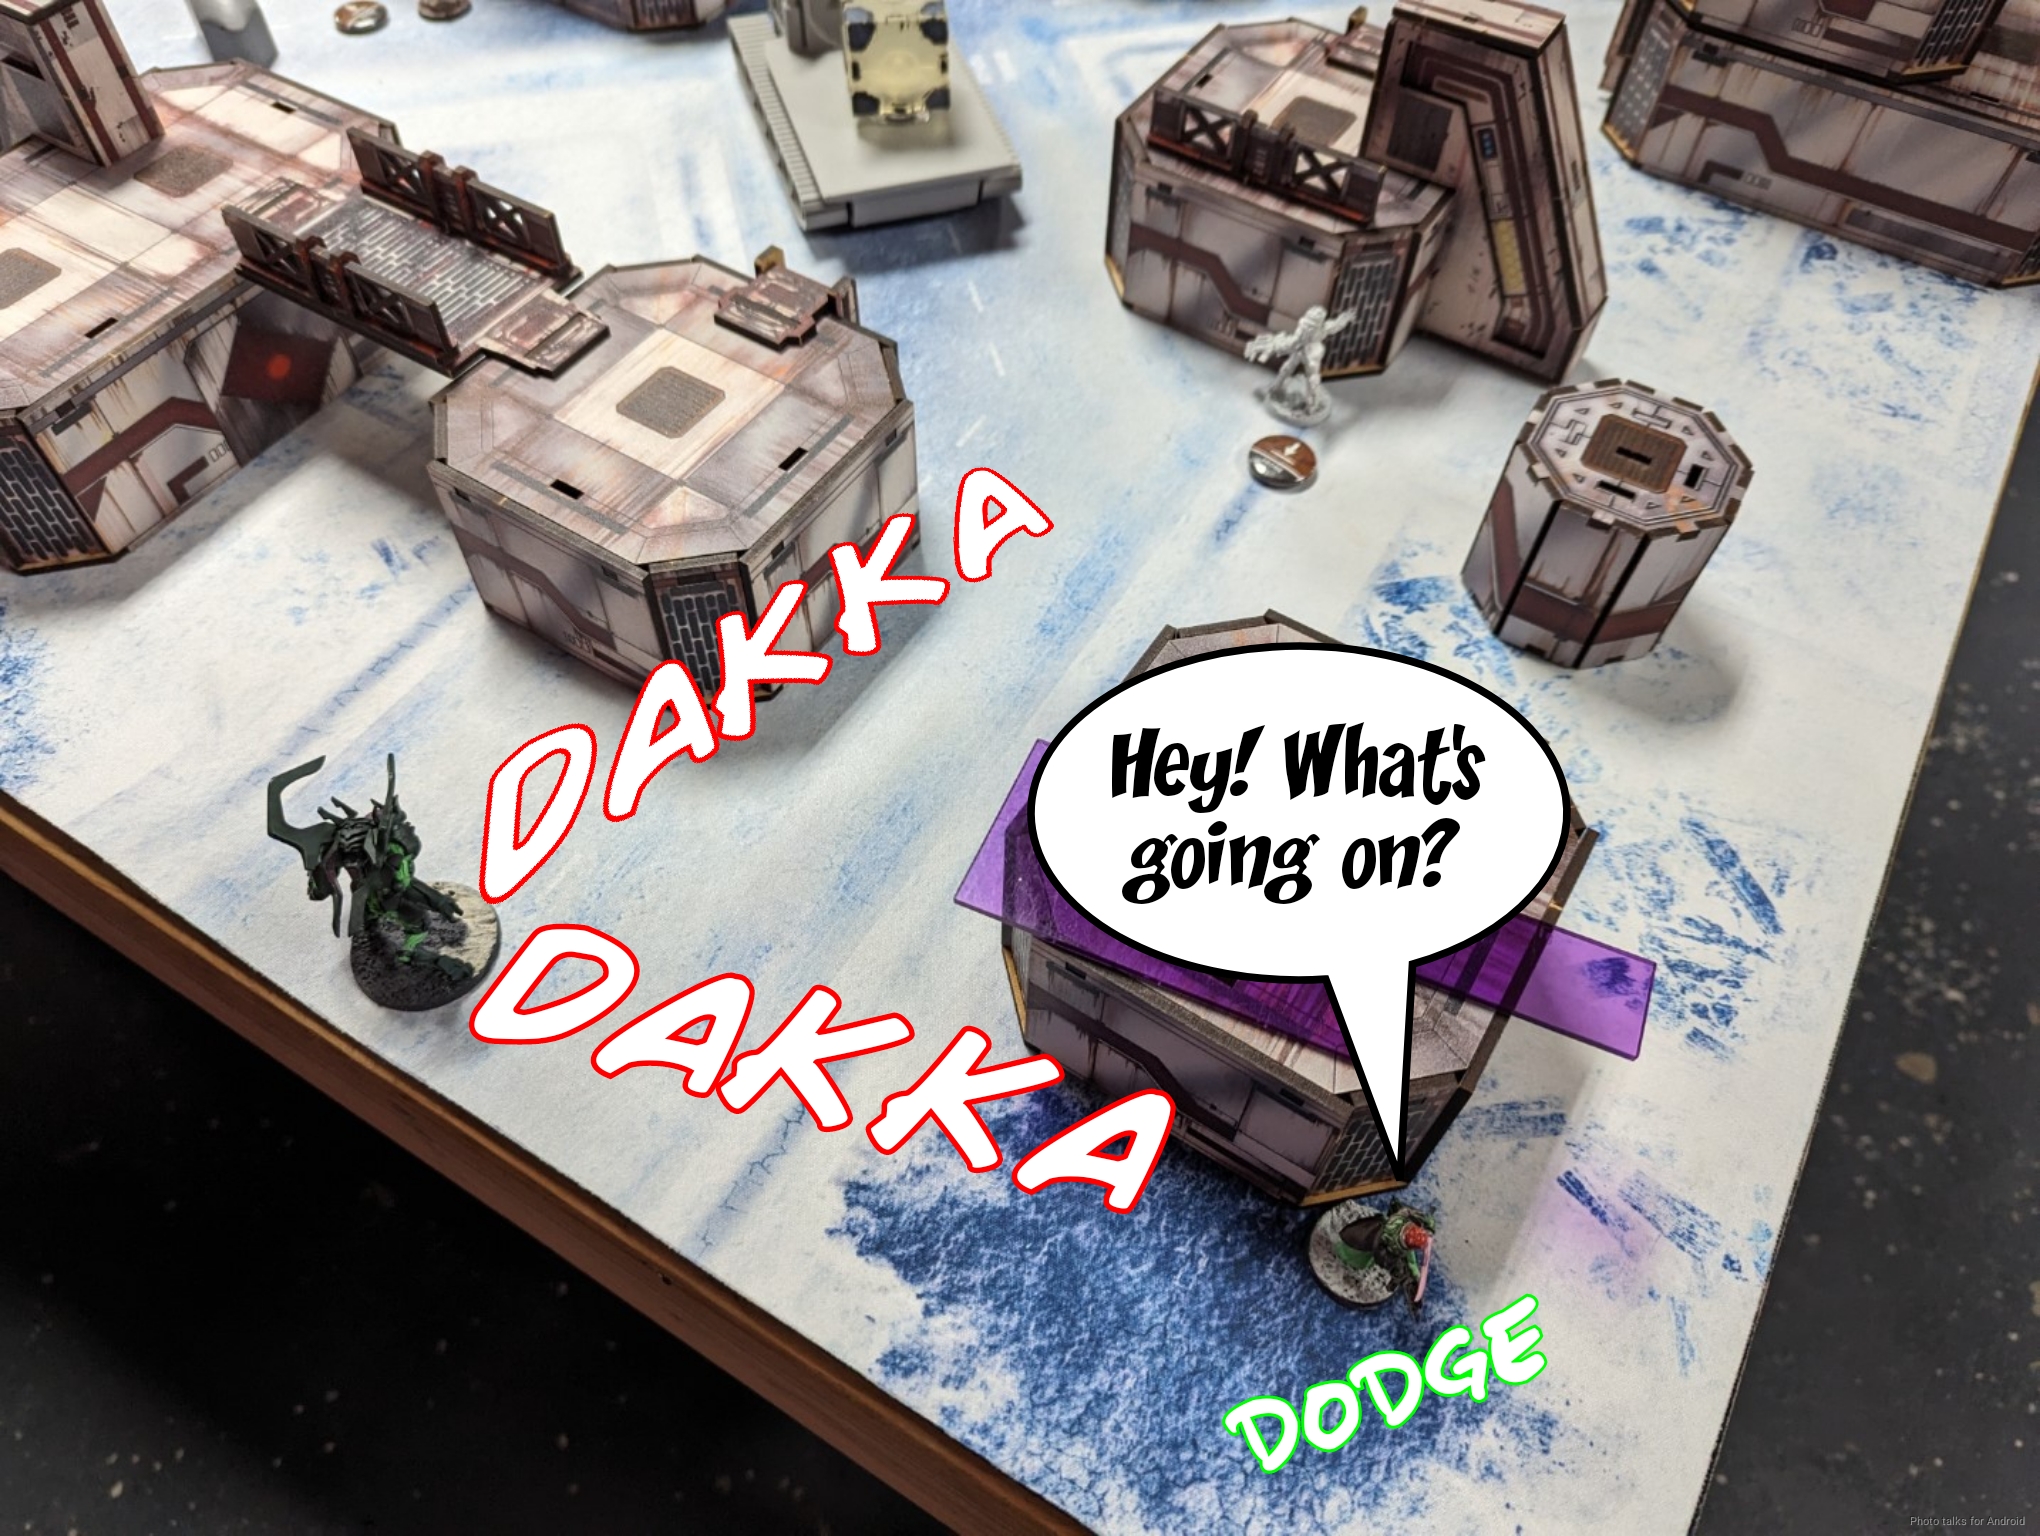
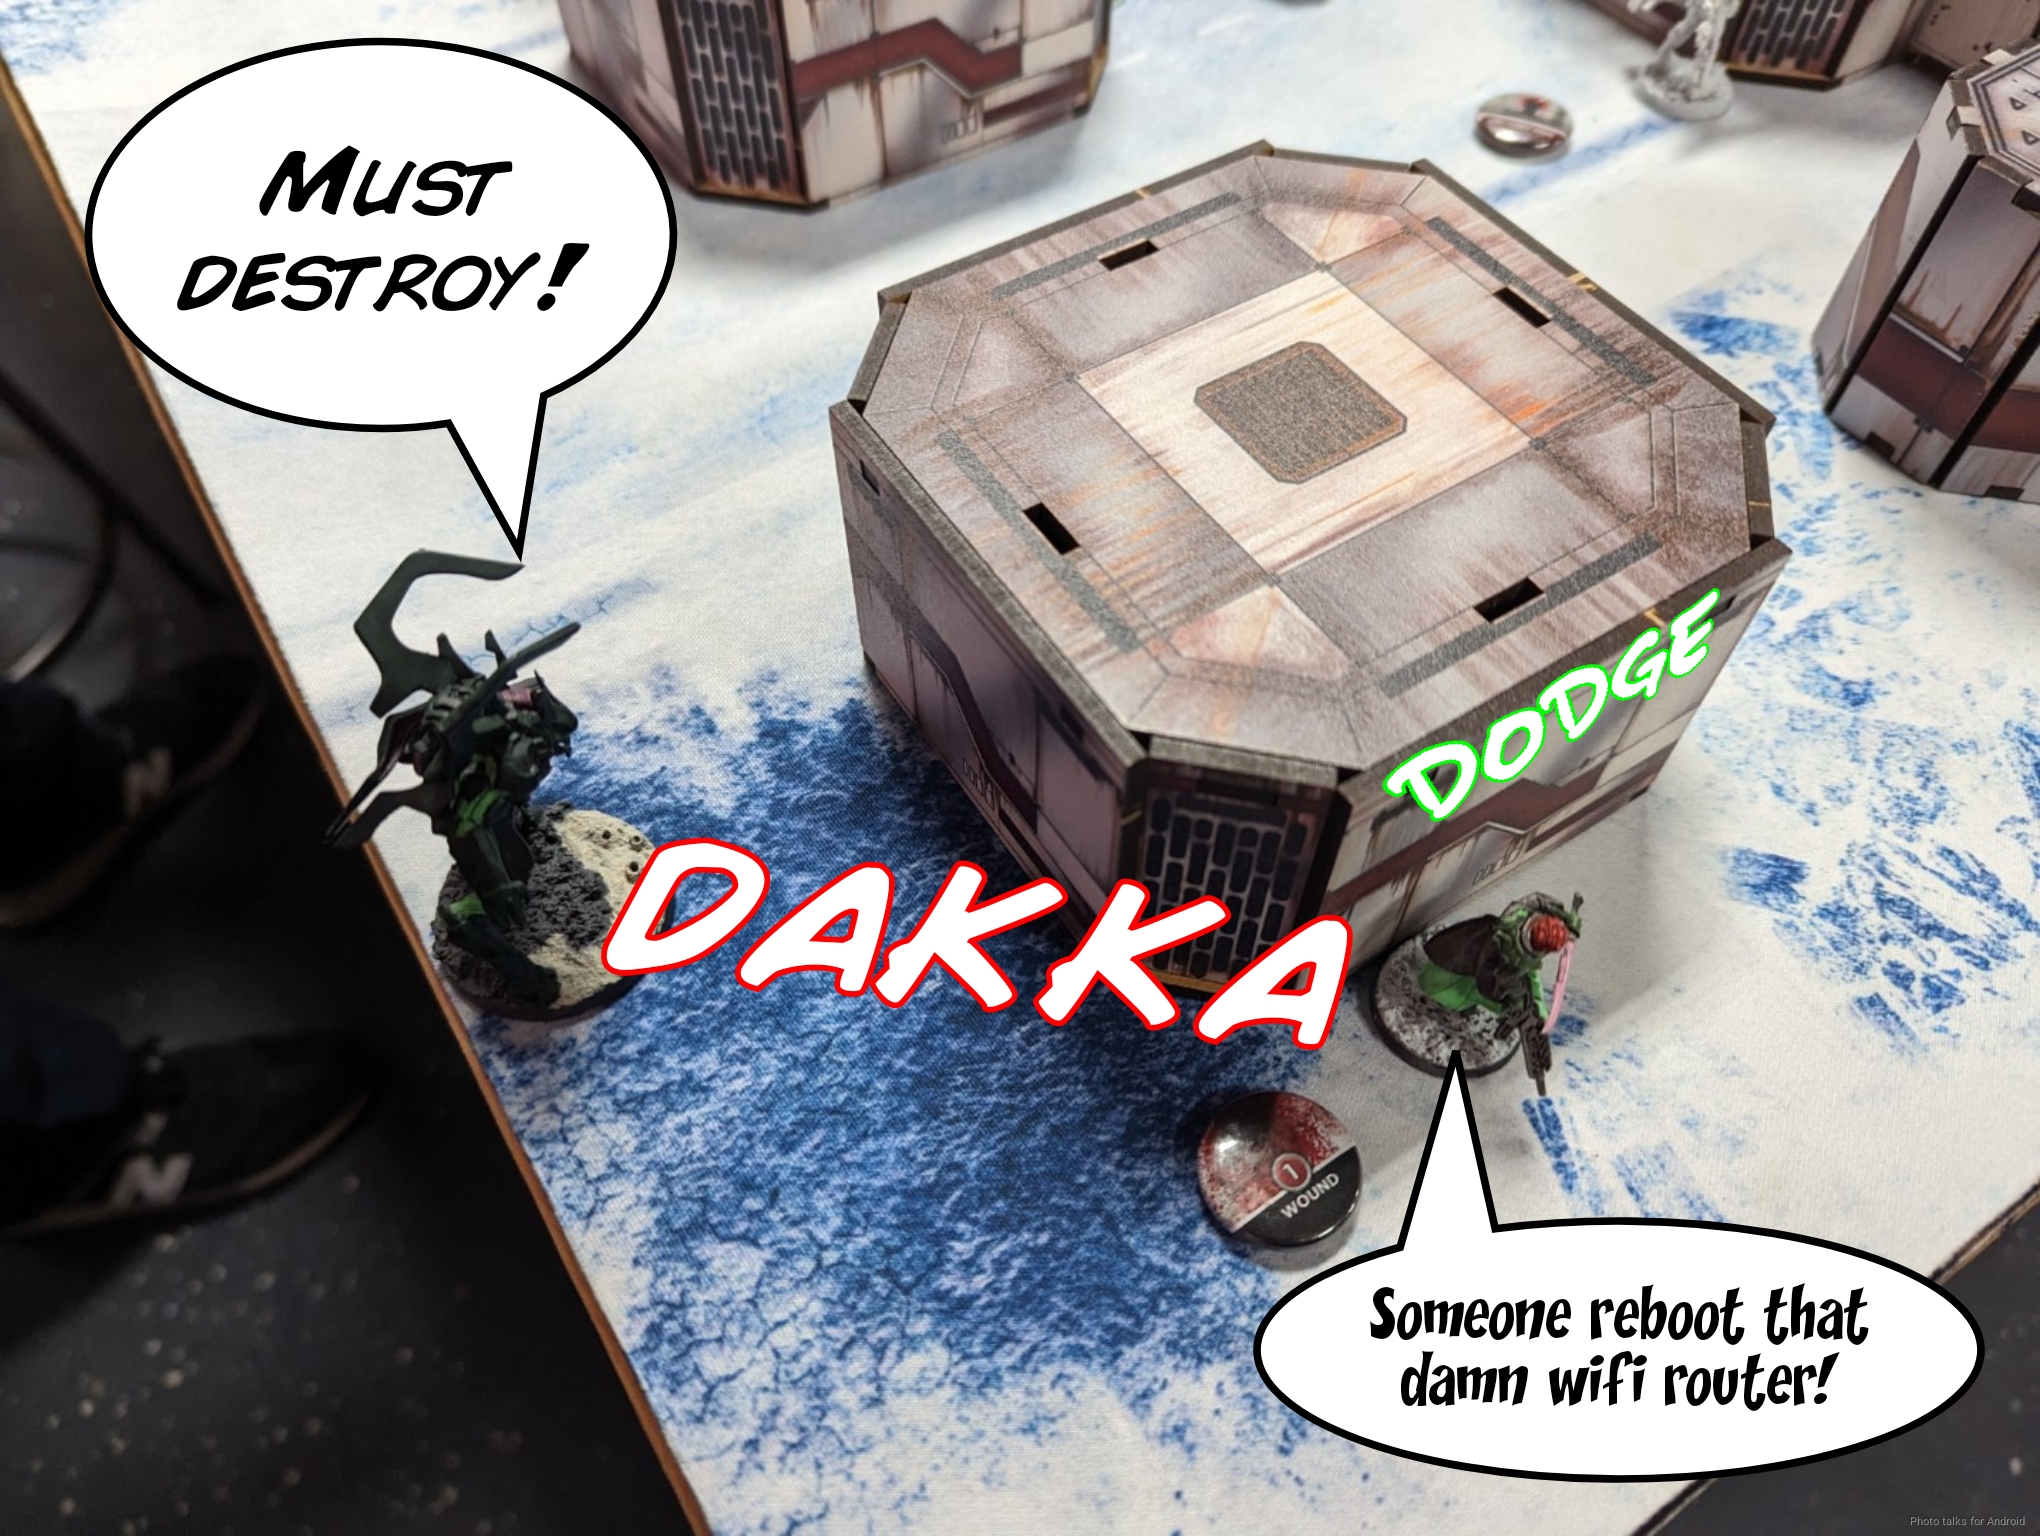
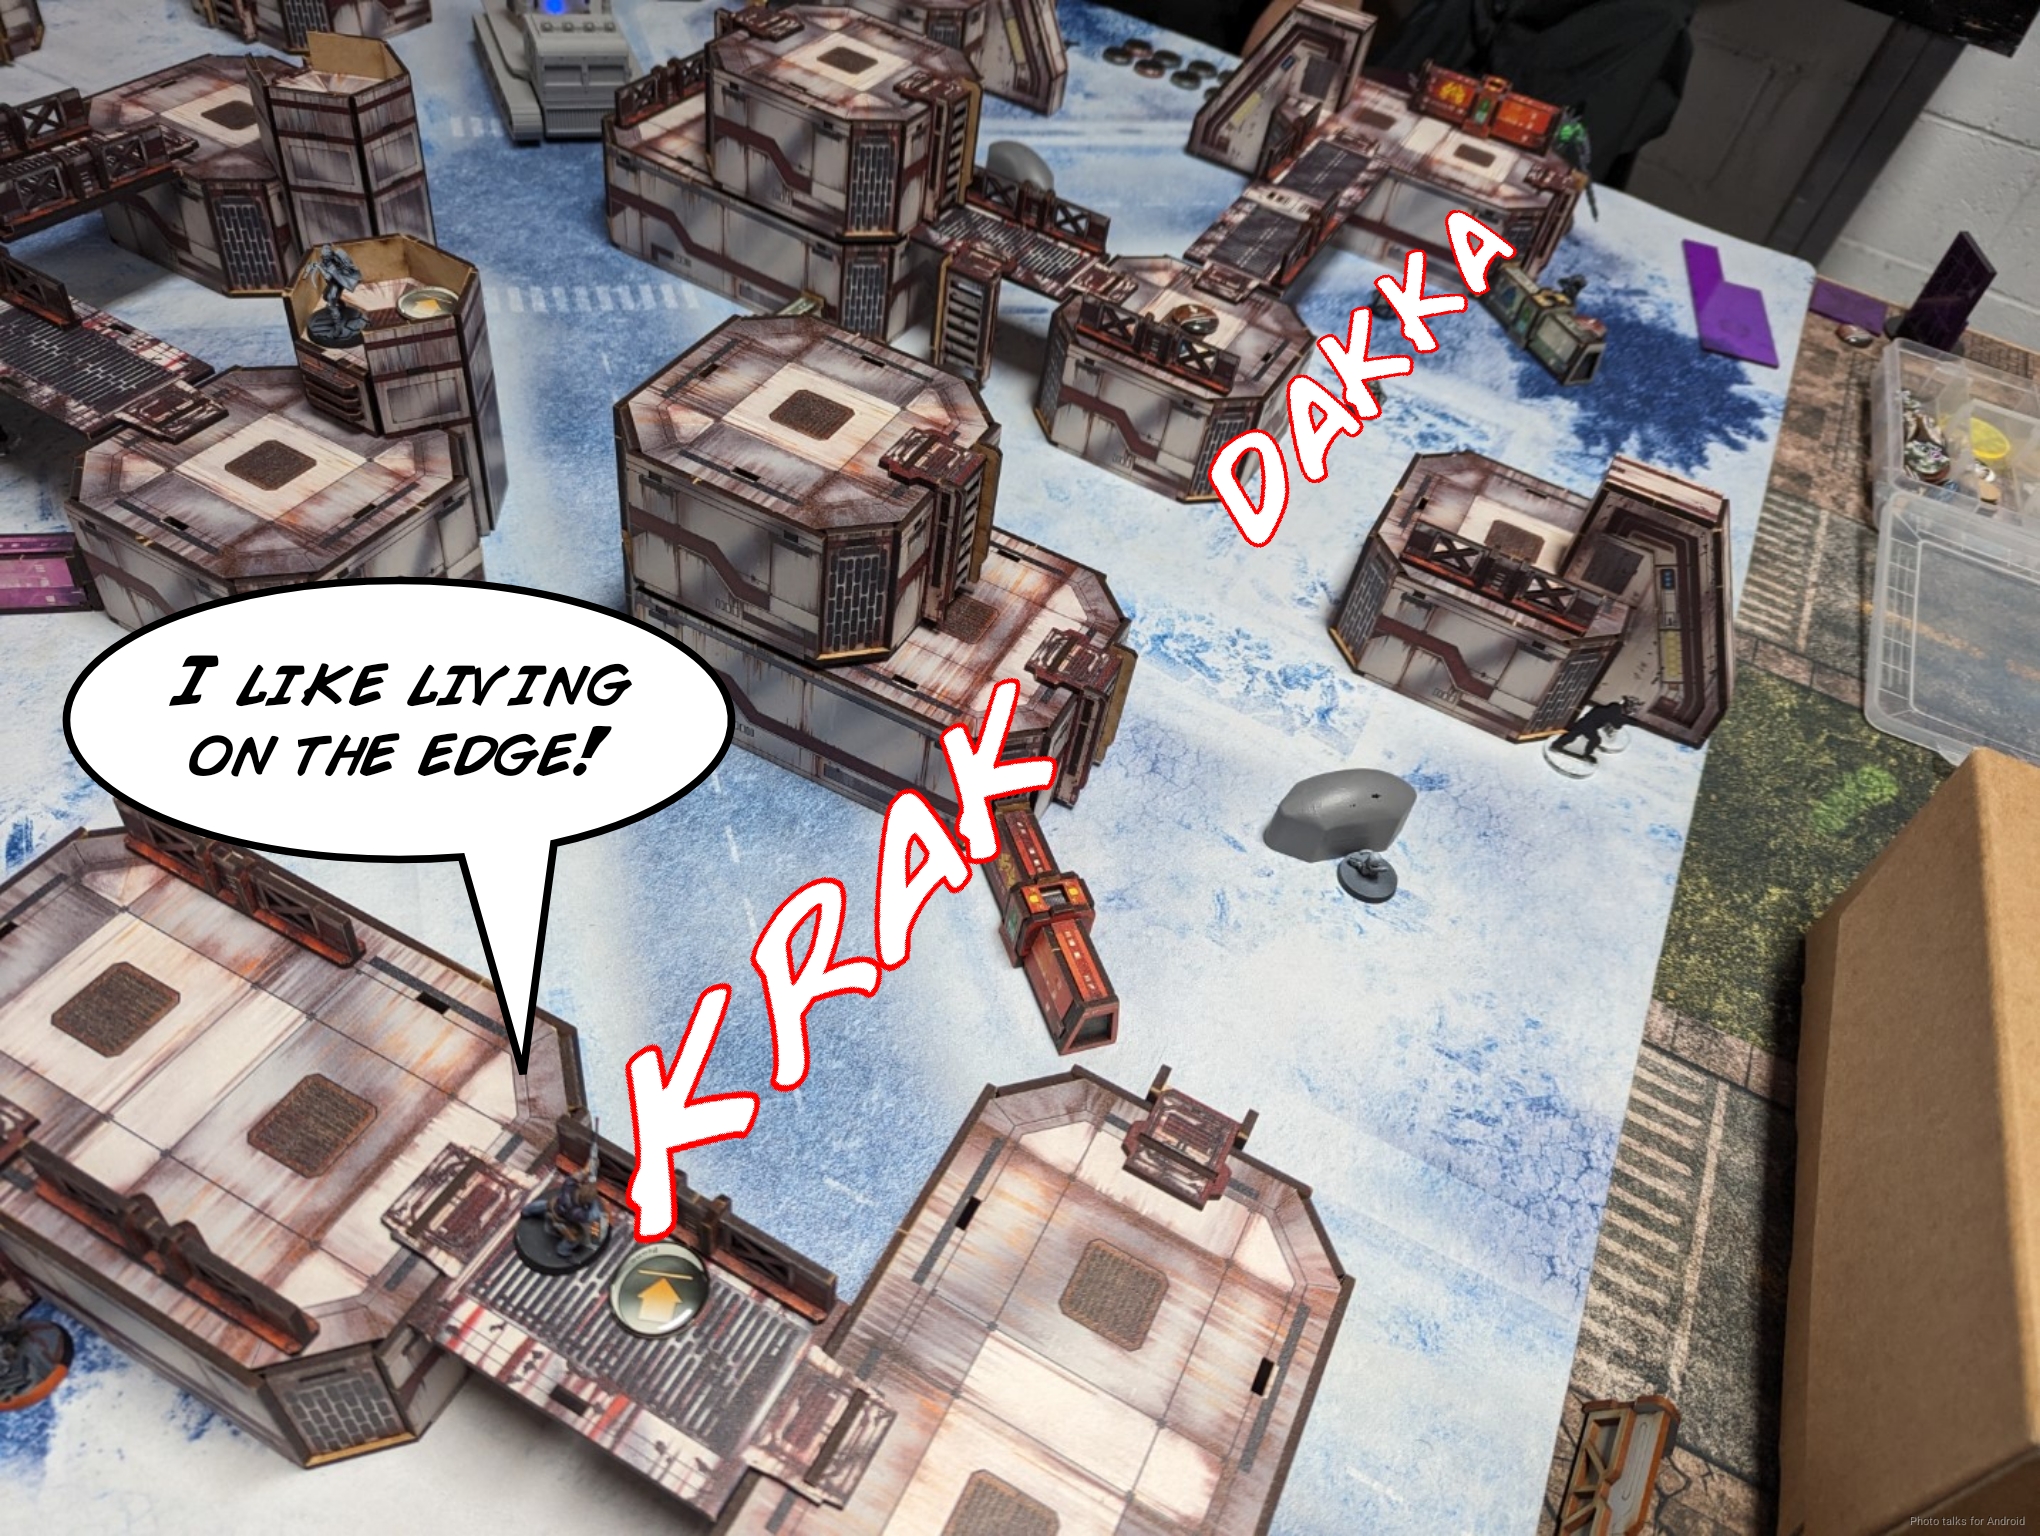
and then Birman (DataEntity) and I played a game of Infinity on this lovely Strompost Alpha table. Cole (Mooseman) eventually challenged me to a simultaneous game as Birman and I were setting up, so we were just getting all the games in!
We didn’t think too hard about choosing a mission and decided to just play Decap.
- Mission: ITS15 Decapitation
- Forces: Nomads versus Combined Army (300)
- Deploy First: Nomads
- First Turn: Nomads
Birman was running his shitshow list, so I decided to run mine as well. I was planning on running JSA most of the weekend, so I figured I’d try out my Nomads one. Not much to say about choosing what went into the list–I didn’t make it, the list randomizer did. Oh yeah–if you didn’t know, the Salem Shitshow this year was two random lists and each list had to be a different faction. I chose Nomads and Combined originally, but had my Combined list changed to JSA by Tim (Chainsaw). Brody was kind enough to roll up a random JSA list the day before the tournament so I could go home and pack it.
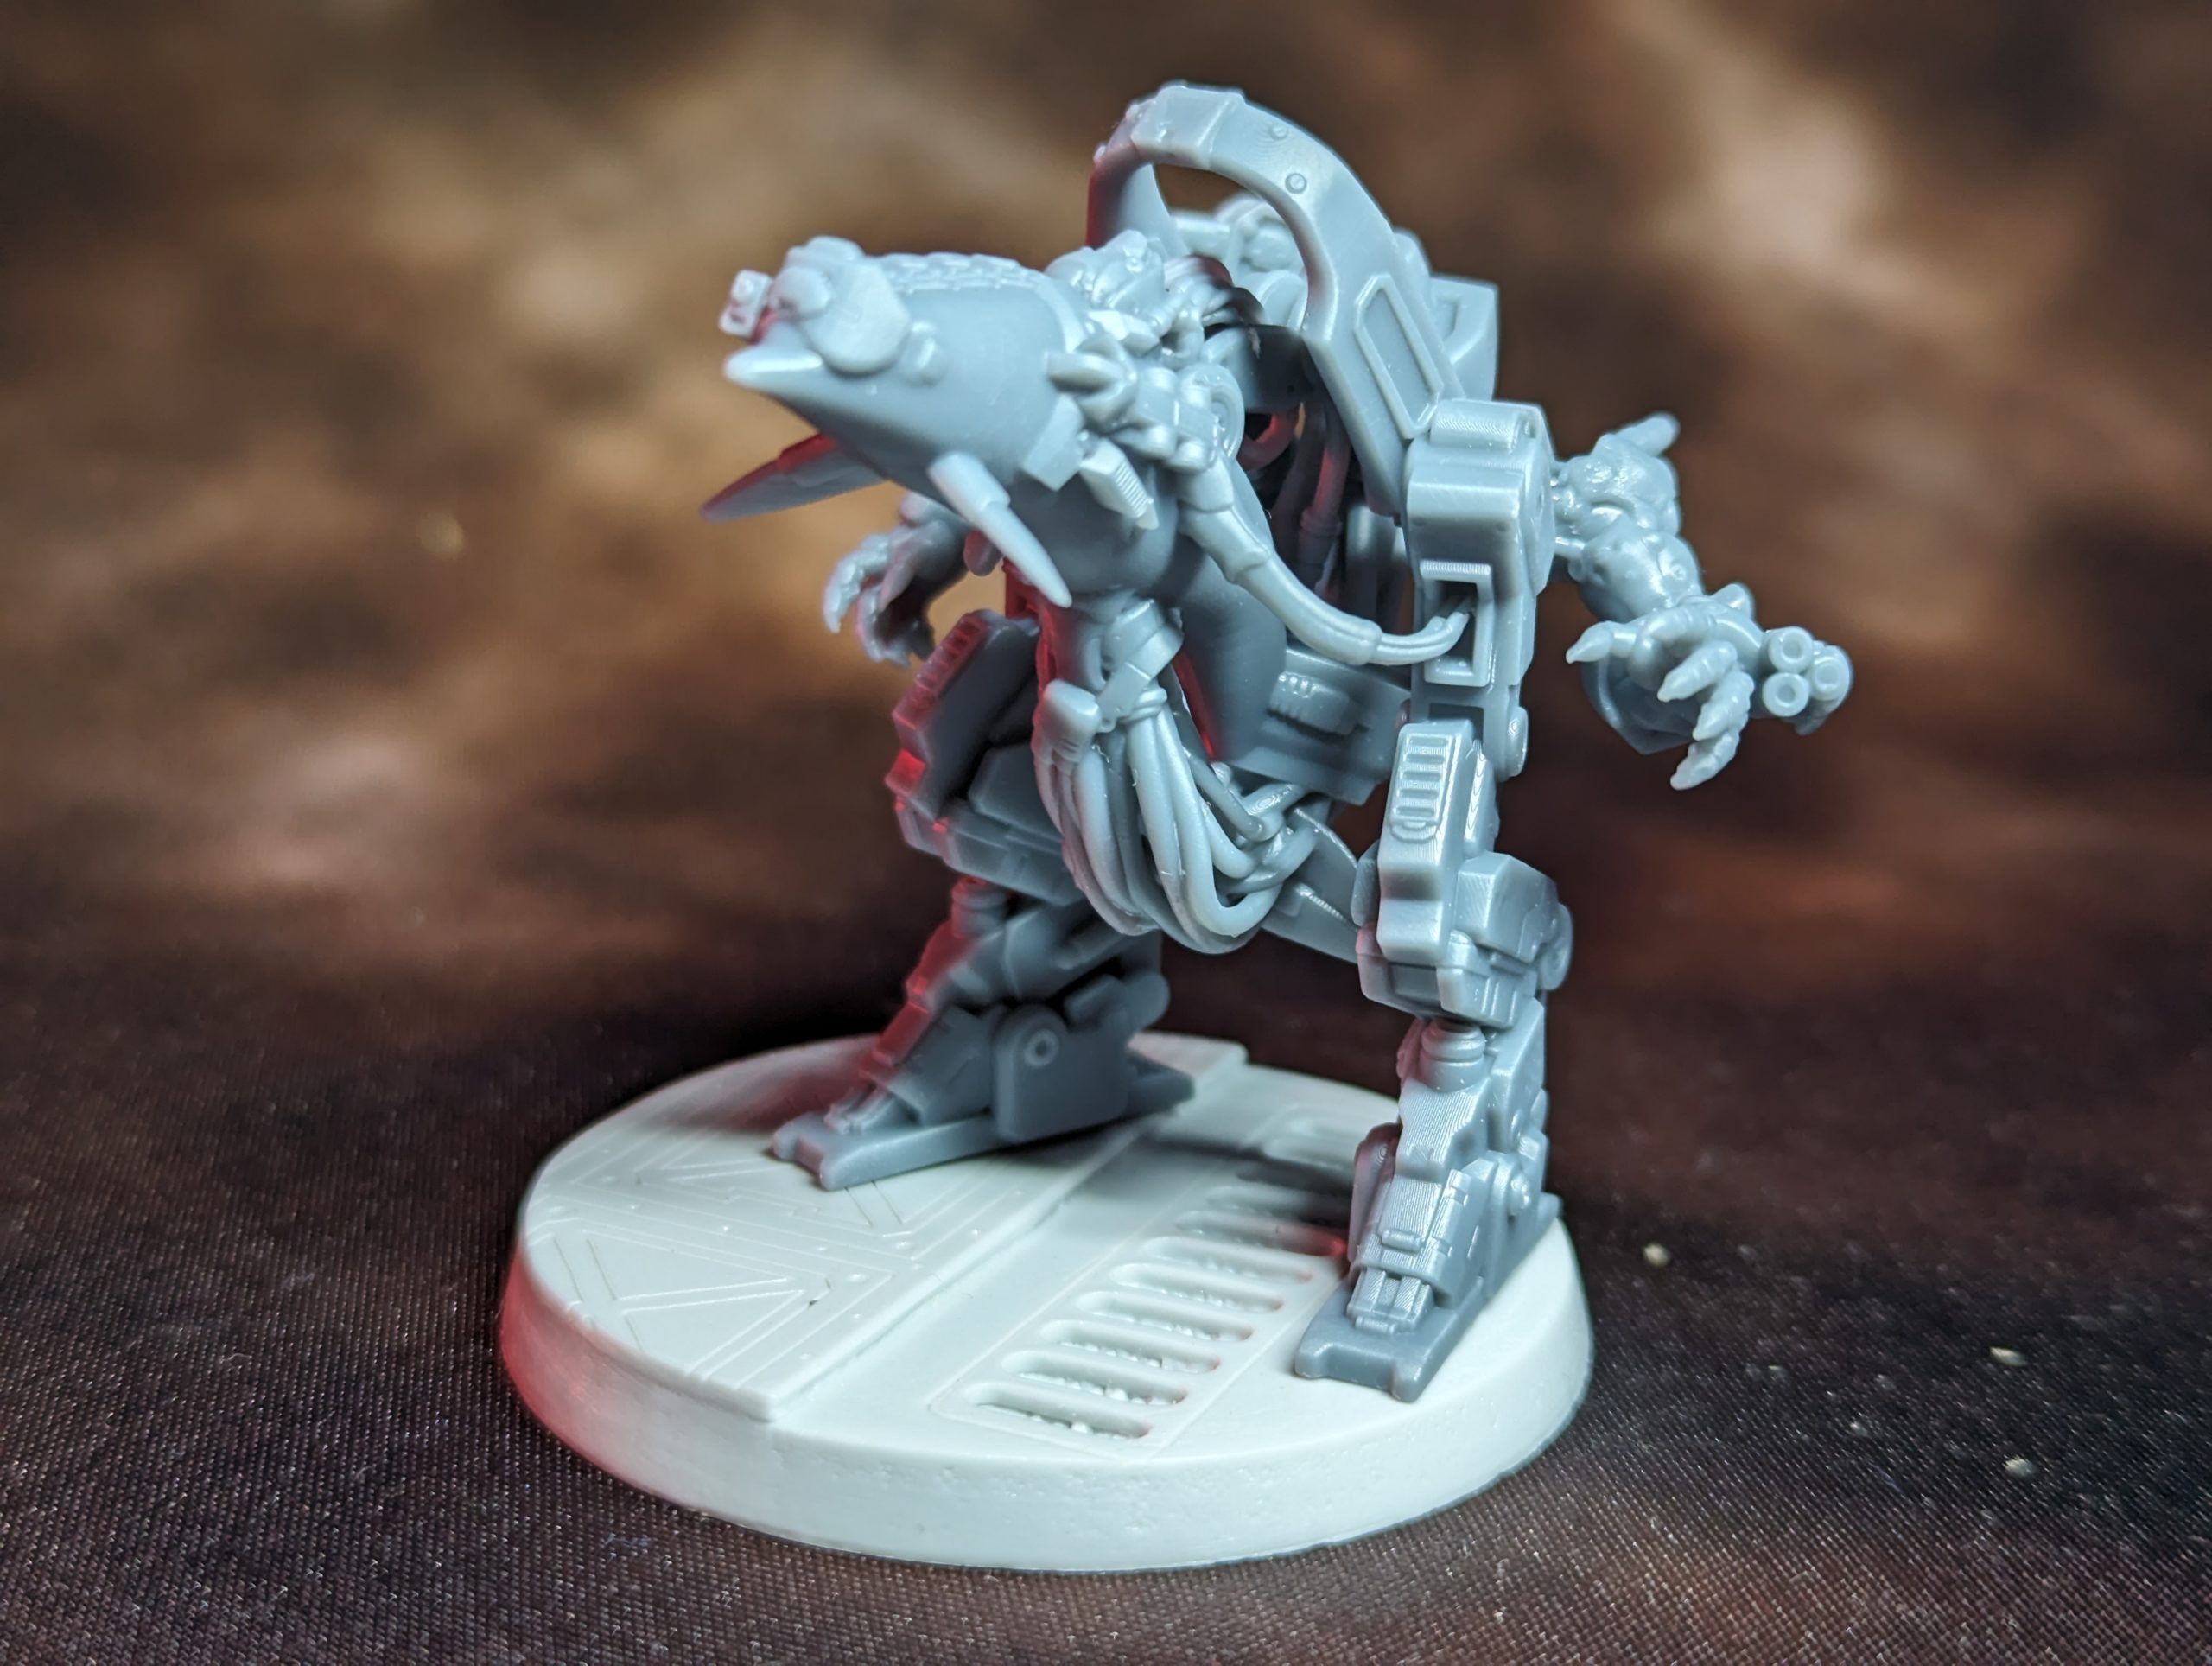
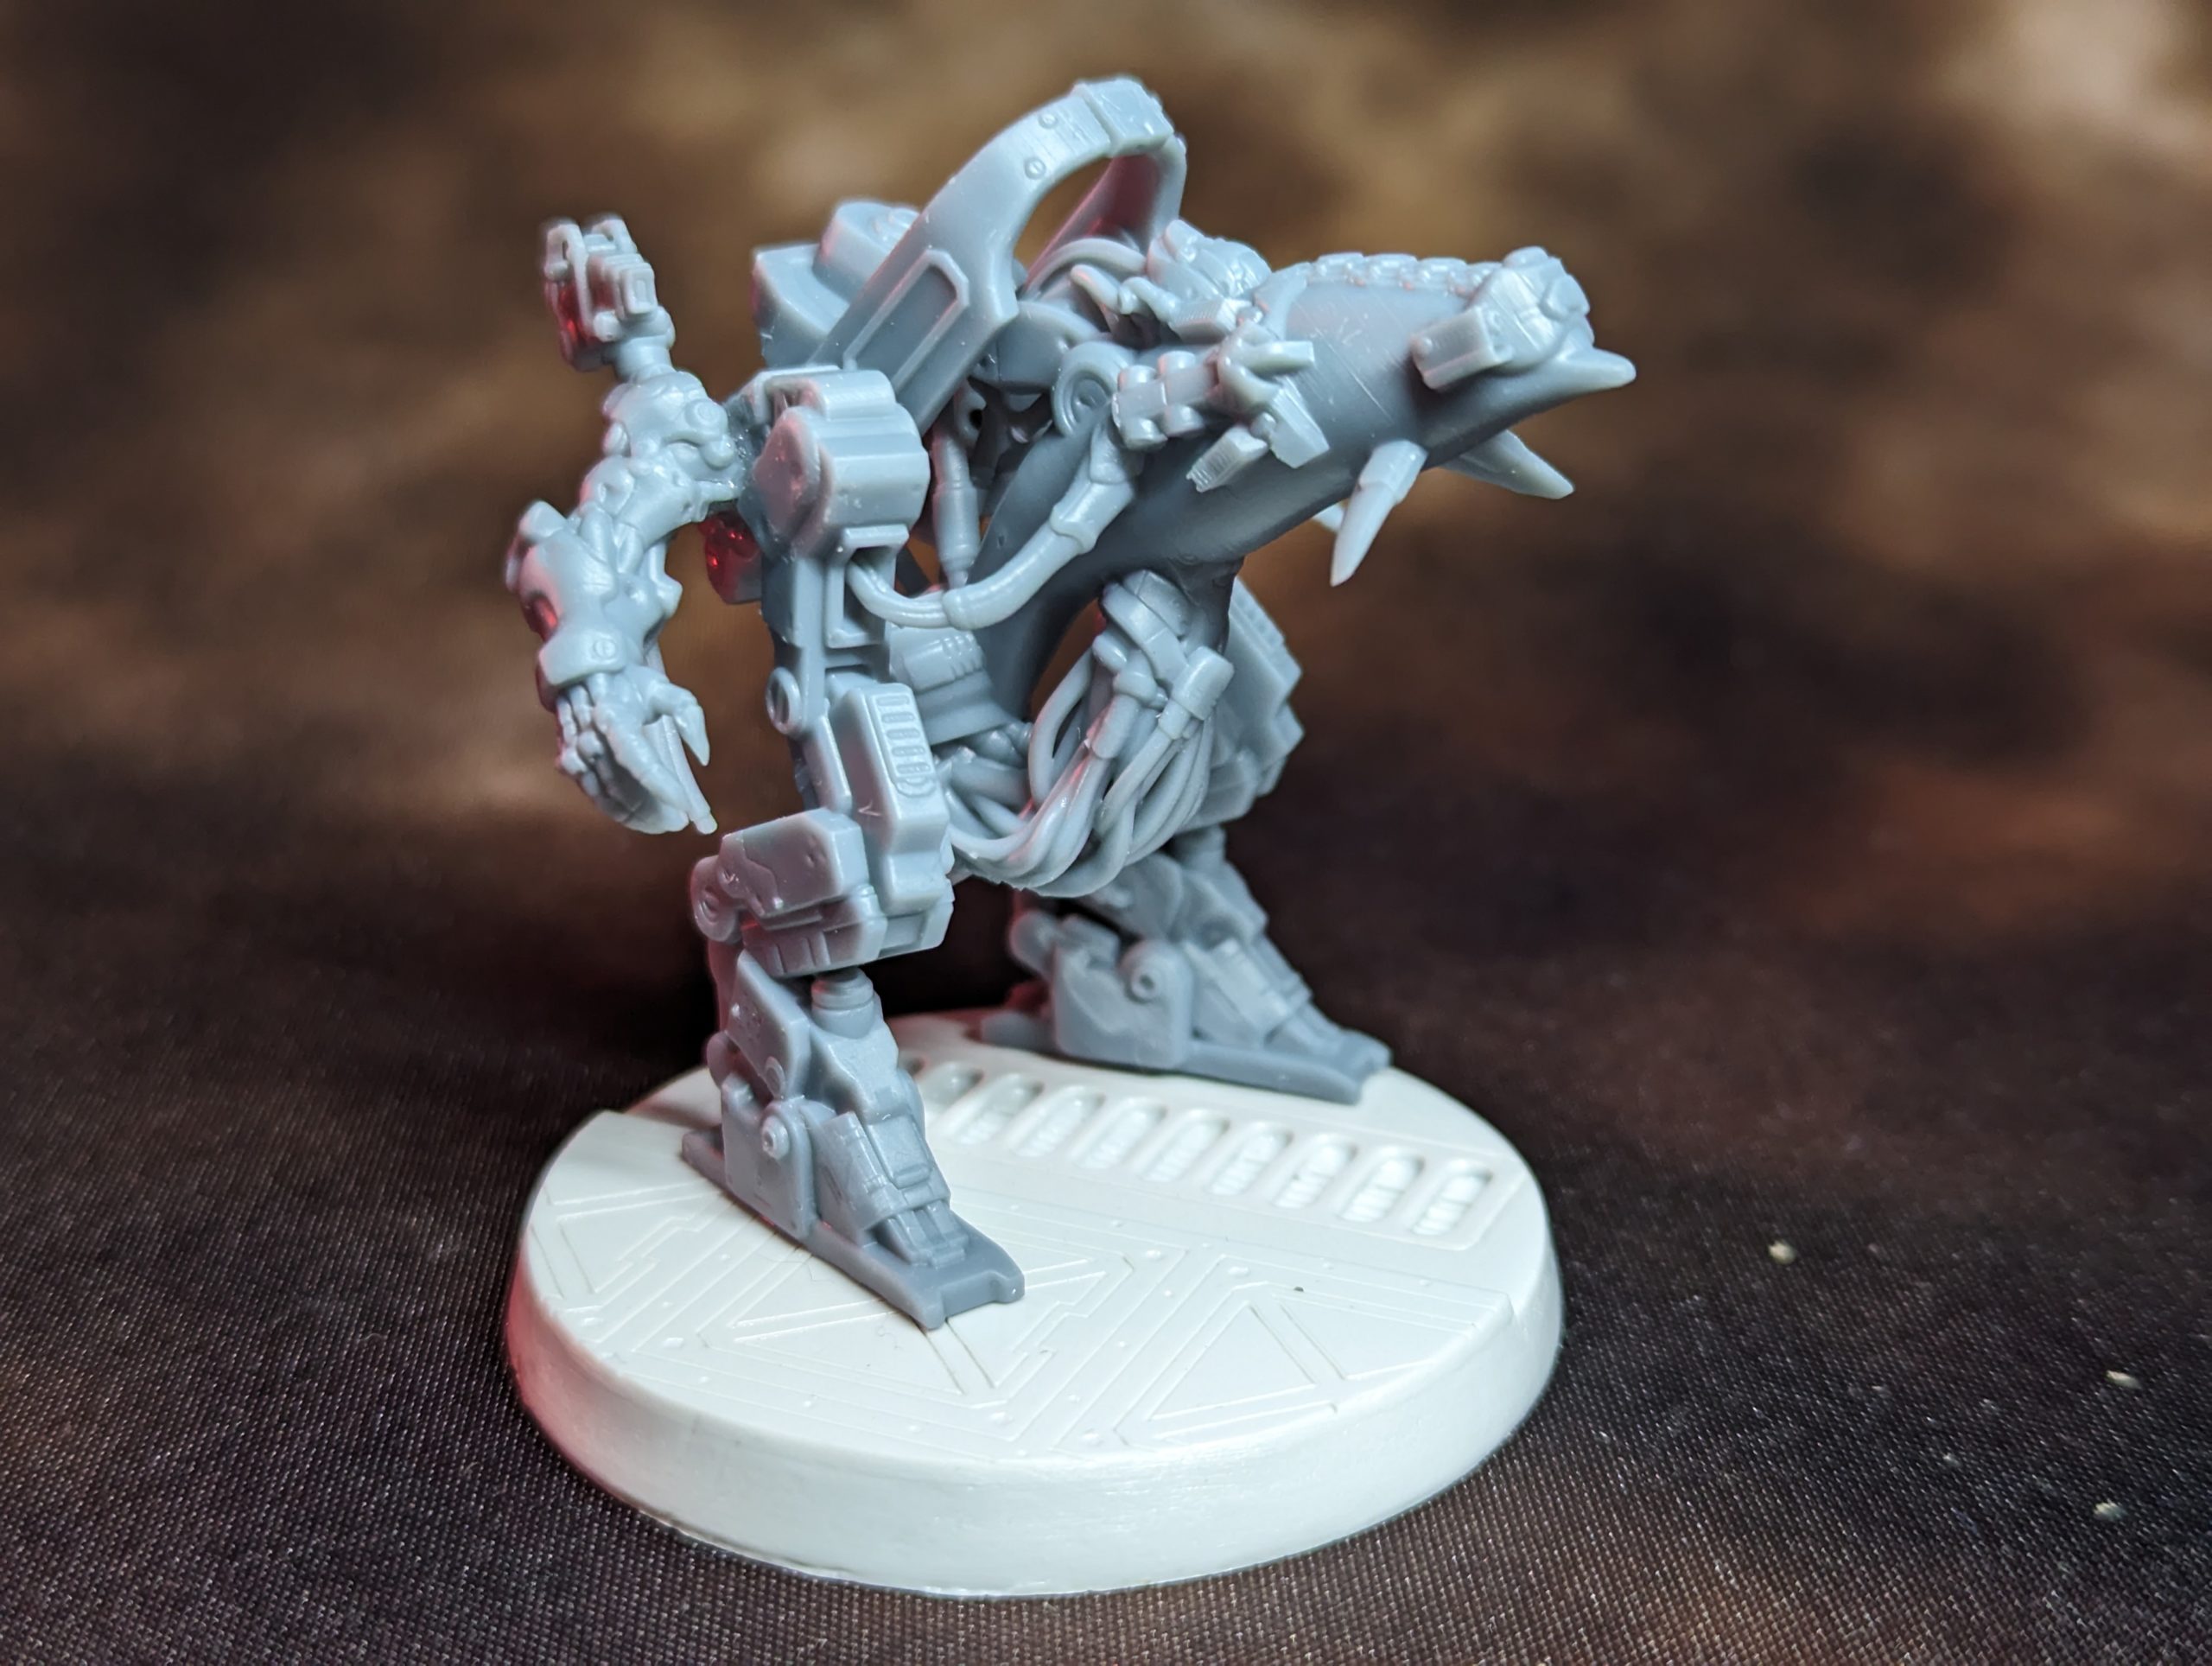
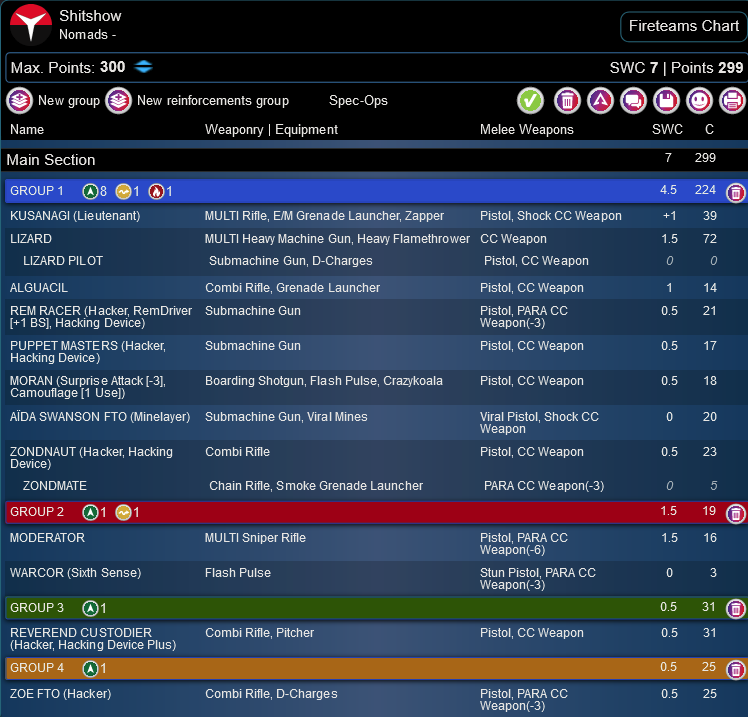
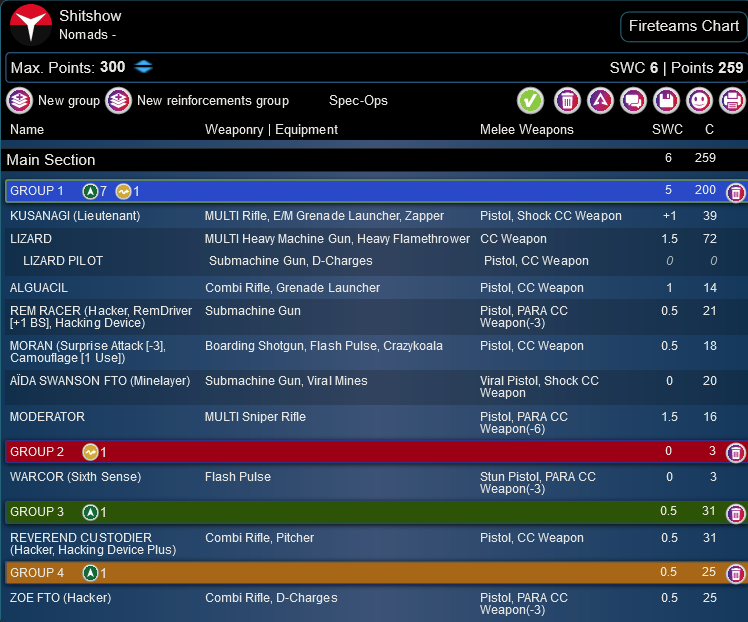
As far as my Nomad list is concerned, it’s got a fair amount of tools and a whopping 5 hackers with only one source of repeaters. I’ve also got a Dolphin class TAG (Lizard), which is pretty fun. Big thanks to Knyx for printing it out for me:
It’s a nice nod to the (somewhat) recent Shattergrounds campaign… the memes say everything:
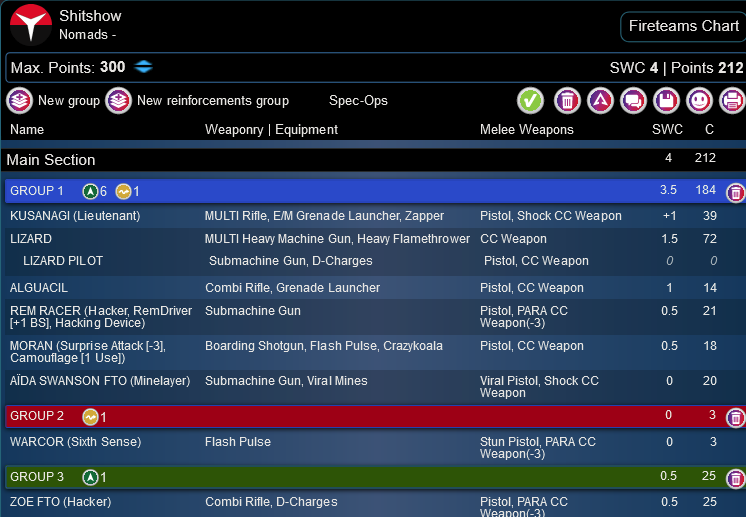
Shitshow
GROUP 1
10
1
1
GROUP 2
KUSANAGI (Lieutenant) MULTI Rifle, E/M Grenade Launcher, Zapper / Pistol, Shock CC Weapon. (+1 | 39)
DOLPHIN MULTI Heavy Machine Gun, Heavy Flamethrower / CC Weapon. (1.5 | 72)
LIZARD PILOT Submachine Gun, D-Charges / Pistol, CC Weapon. (0 | 0)
REVEREND CUSTODIER (Hacker, Hacking Device Plus) Combi Rifle, Pitcher ( ) / Pistol, CC Weapon. (0.5 | 31)
ALGUACIL Combi Rifle, Grenade Launcher / Pistol, CC Weapon. (1 | 14)
REM RACER (Hacker, RemDriver [+1 BS], Hacking Device) Submachine Gun ( ) / Pistol, PARA CC Weapon(-3). (0.5 | 21)
ZOE FTO (Hacker) Combi Rifle, D-Charges / Pistol, PARA CC Weapon(-3). (0.5 | 25)
PUPPET MASTERS (Hacker, Hacking Device) Submachine Gun ( ) / Pistol, CC Weapon. (0.5 | 17)
MORAN (Surprise Attack [-3], Camouflage [1 Use]) Boarding Shotgun, Flash Pulse, Crazykoala / Pistol, CC Weapon. (0.5 | 18)
AÏDA SWANSON FTO (Minelayer) Submachine Gun, Viral Mines / Viral Pistol, Shock CC Weapon. (0 | 20)
ZONDNAUT (Hacker, Hacking Device) Combi Rifle ( ) / Pistol, CC Weapon. (0.5 | 23)
ZONDMATE Chain Rifle, Smoke Grenade Launcher / PARA CC Weapon(-3). (0 | 5)
MODERATOR MULTI Sniper Rifle / Pistol, PARA CC Weapon(-6). (1.5 | 16)
WARCOR (Sixth Sense) Flash Pulse / Stun Pistol, PARA CC Weapon(-3). (0 | 3)
7 SWC | 299 Points | Open in Army | Copy Code
I like most of the tools in here. It’s almost a “real” list. I’d drop the Alguacil (that SWC could be used elsewhere, like a Liberto), the Rem Racer (not really going to be buffing anything except maybe the Zondmate), and shuffles some points around to upgrade the Moderator to Le Muet or a Moira MSR or something. That small edit would probably do quite a bit to give the list more teeth.
Speaking of teeth, there’s this monstrosity:
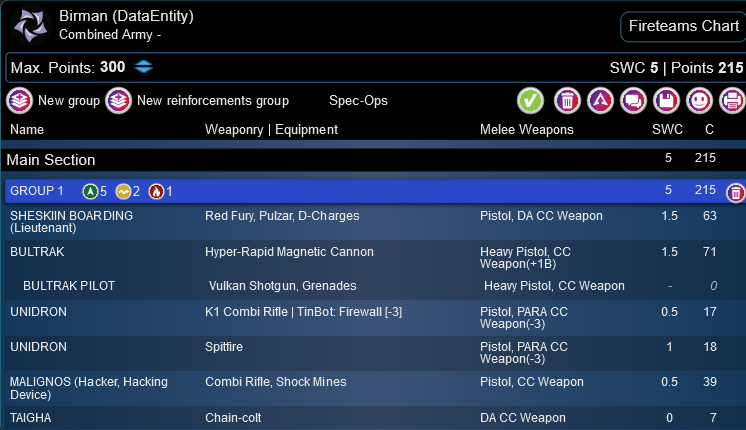
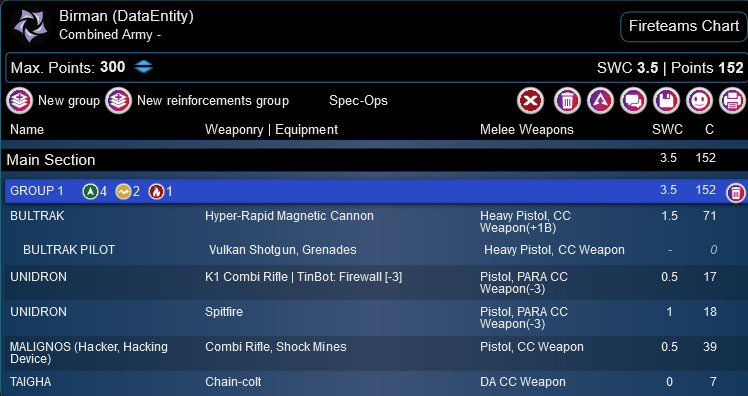
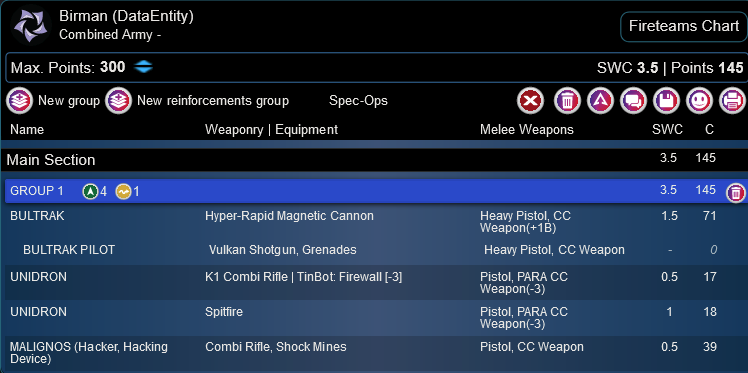
Birman (DataEntity)
SHESKIIN BOARDING (Lieutenant) Red Fury, Pulzar, D-Charges / Pistol, DA CC Weapon. (1.5 | 63)
BULTRAK Hyper-Rapid Magnetic Cannon / Heavy Pistol, CC Weapon(+1B). (1.5 | 71)
BULTRAK PILOT Vulkan Shotgun, Grenades / Heavy Pistol, CC Weapon. (- | 0)
XEODRON MULTI Marksman Rifle, Blitzen / Heavy Pistol, Shock CC Weapon. (0.5 | 51)
STALDRON Flash Pulse / CC Weapon. (0 | 0)
YAOGAT (Hacker, Hacking Device) Combi Rifle, Panzerfaust ( ) / Heavy Pistol, CC Weapon. (0.5 | 32)
UNIDRON K1 Combi Rifle ( | TinBot: Firewall [-3]) / Pistol, PARA CC Weapon(-3). (0.5 | 17)
MALIGNOS (Hacker, Hacking Device) Combi Rifle, Shock Mines ( ) / Pistol, CC Weapon. (0.5 | 39)
TAIGHA Chain-colt / DA CC Weapon. (0 | 7)
Birman’s random list is pretty brutal. It doesn’t have all the orders he might want, but it makes up for it with some very high quality orders. Those two Unidrons are surprisingly dangerous in addition to all the other nonsense this list brings. It’s not an amazing matchup against my list, but I don’t have much in the way of repeaters, so I think it’s actually pretty okay.
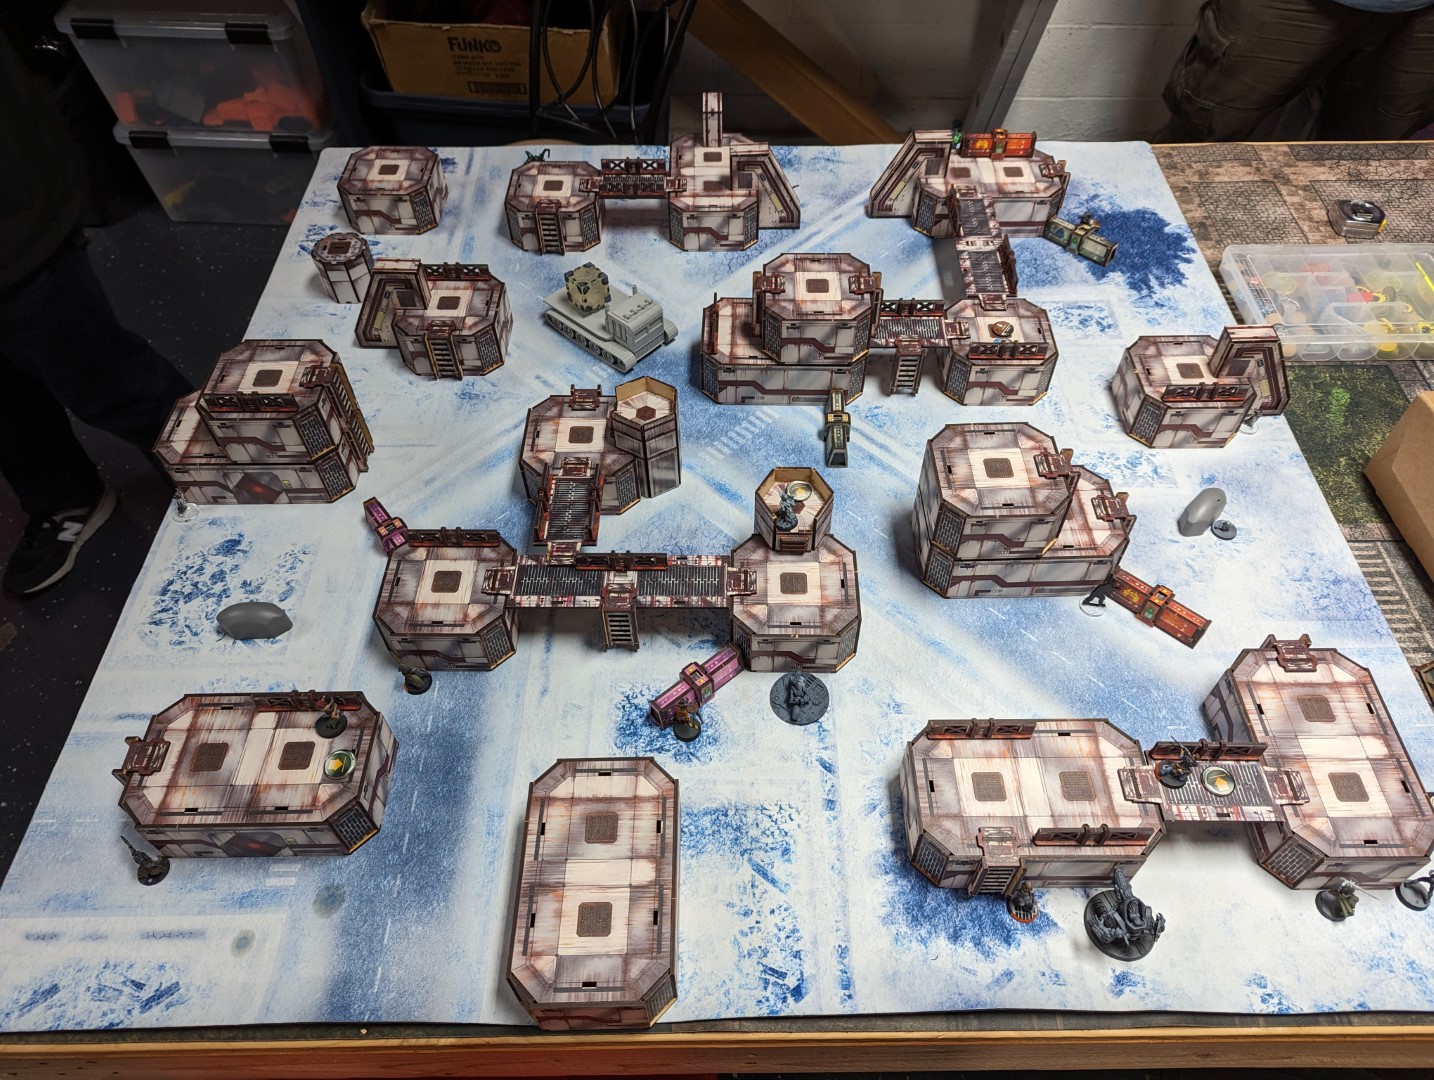
Deployment
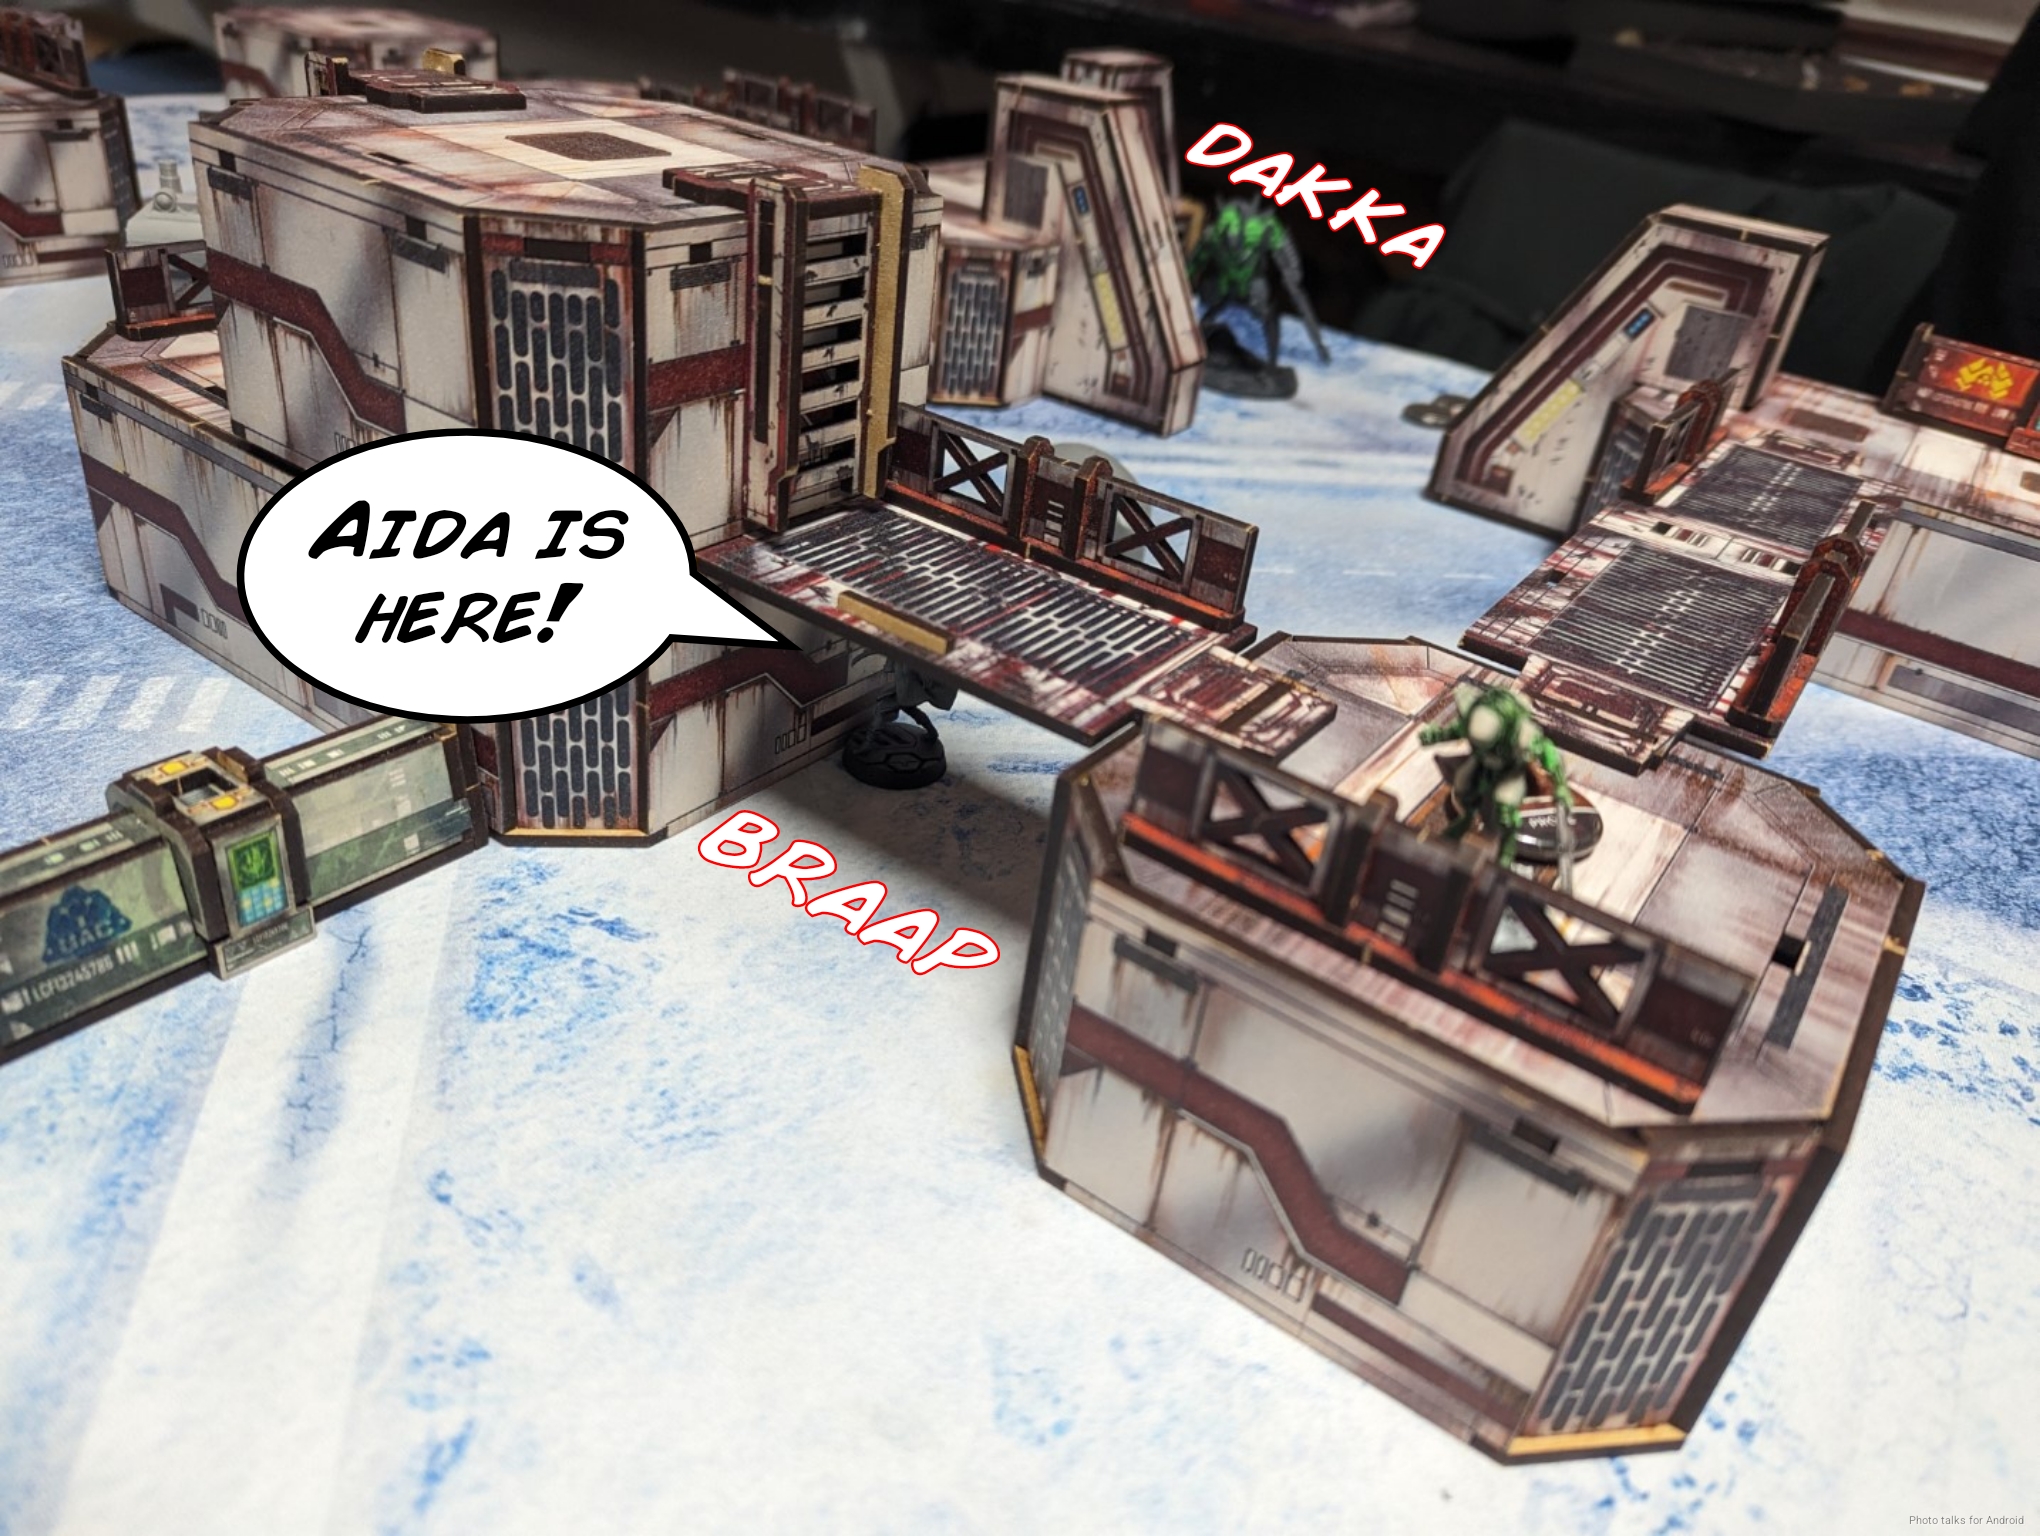
One of the first bits of data about the game that I forget is who won the lieutenant roll. In any case, I elected to go first and Birman took side. This table is quite open, and I knew I was going to have some trouble advancing past the TAGs. Thankfully there just wasn’t all that much in the midfield, but I didn’t know that at deployment time. I decided to split my designated targets–one all the way on the left which I forgot to annotate (above where it says “Remracer”) and the other all the way on the right tucked into a little pocket.
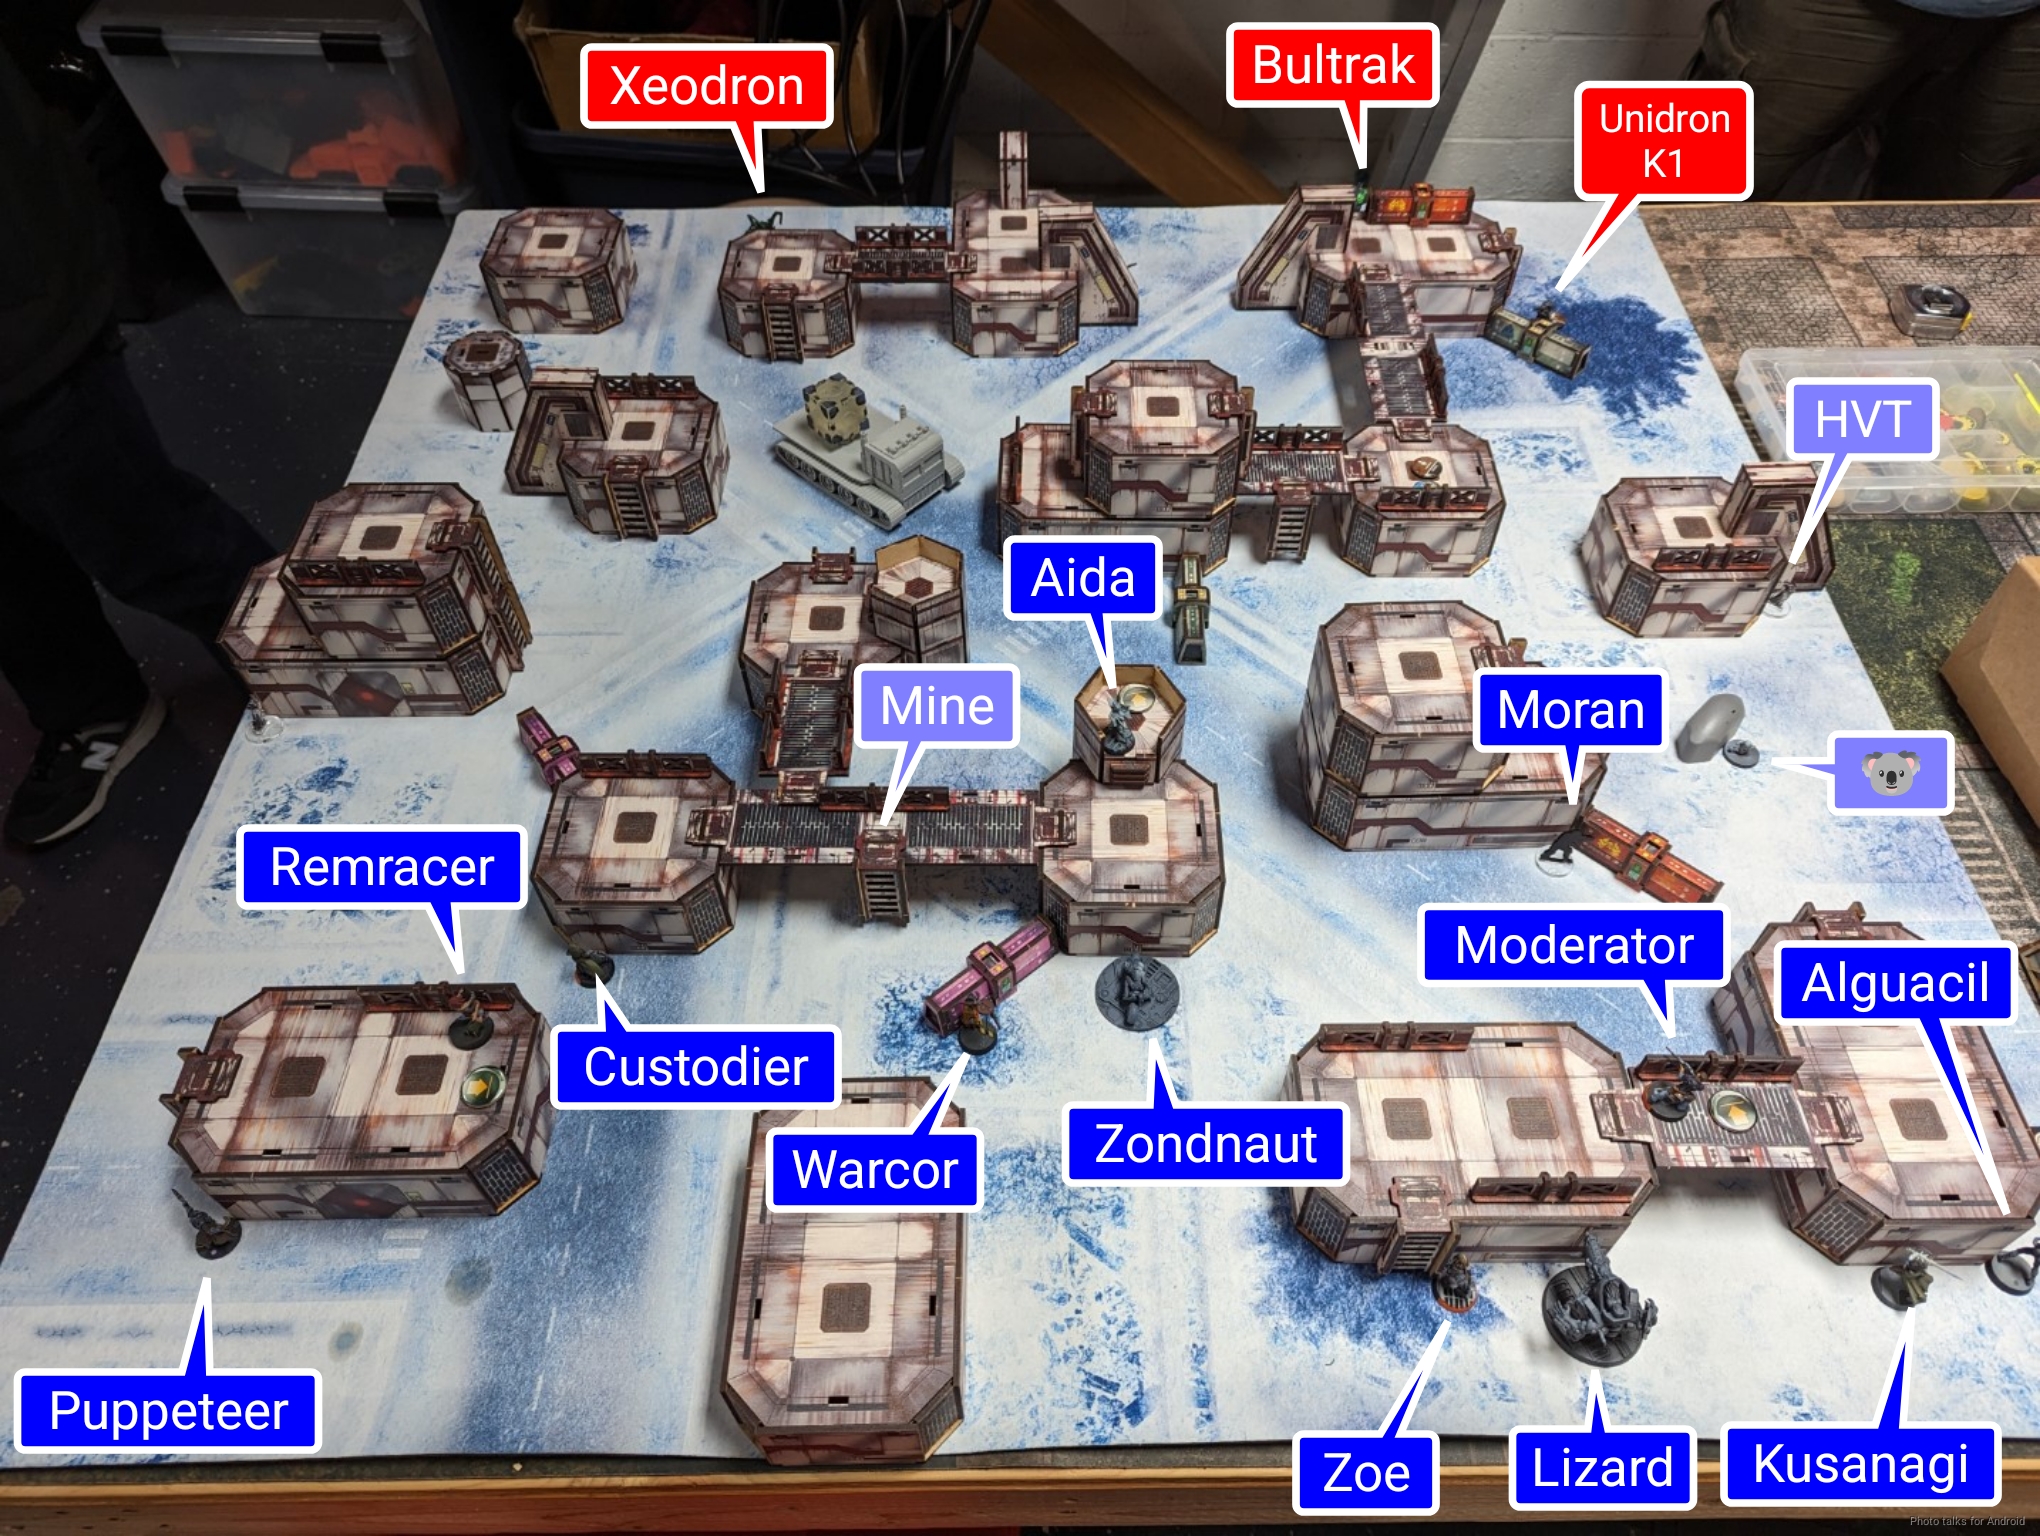
I protected the one on the right with my Moran, and the one on the left was watched by the Custodier with the Warcor watching the approach. I decided to be very conservative and hide most of my stuff, spreading my hackers out as best I could with Kusanagi all the way on the right. I held the Dolphin in reserve, intending to put it next to where I had put Zoe. Aida and her mine screened the approach to all my stuff, and then it was Birman’s turn to deploy.
He had a bit of a problem in that he was worried I’d take over one of his two TAGs, so he put them on opposite sides of a wall thing in the middle of his deployment zone, figuring that he’d at least make it difficult for me to deal with them with one another. The Unidrons were sort of tucked in, and he deployed his Malignos out of hidden deployment to get the order. The Yaogat went on the right to screen Sheeskin’s eventual deployment spot.
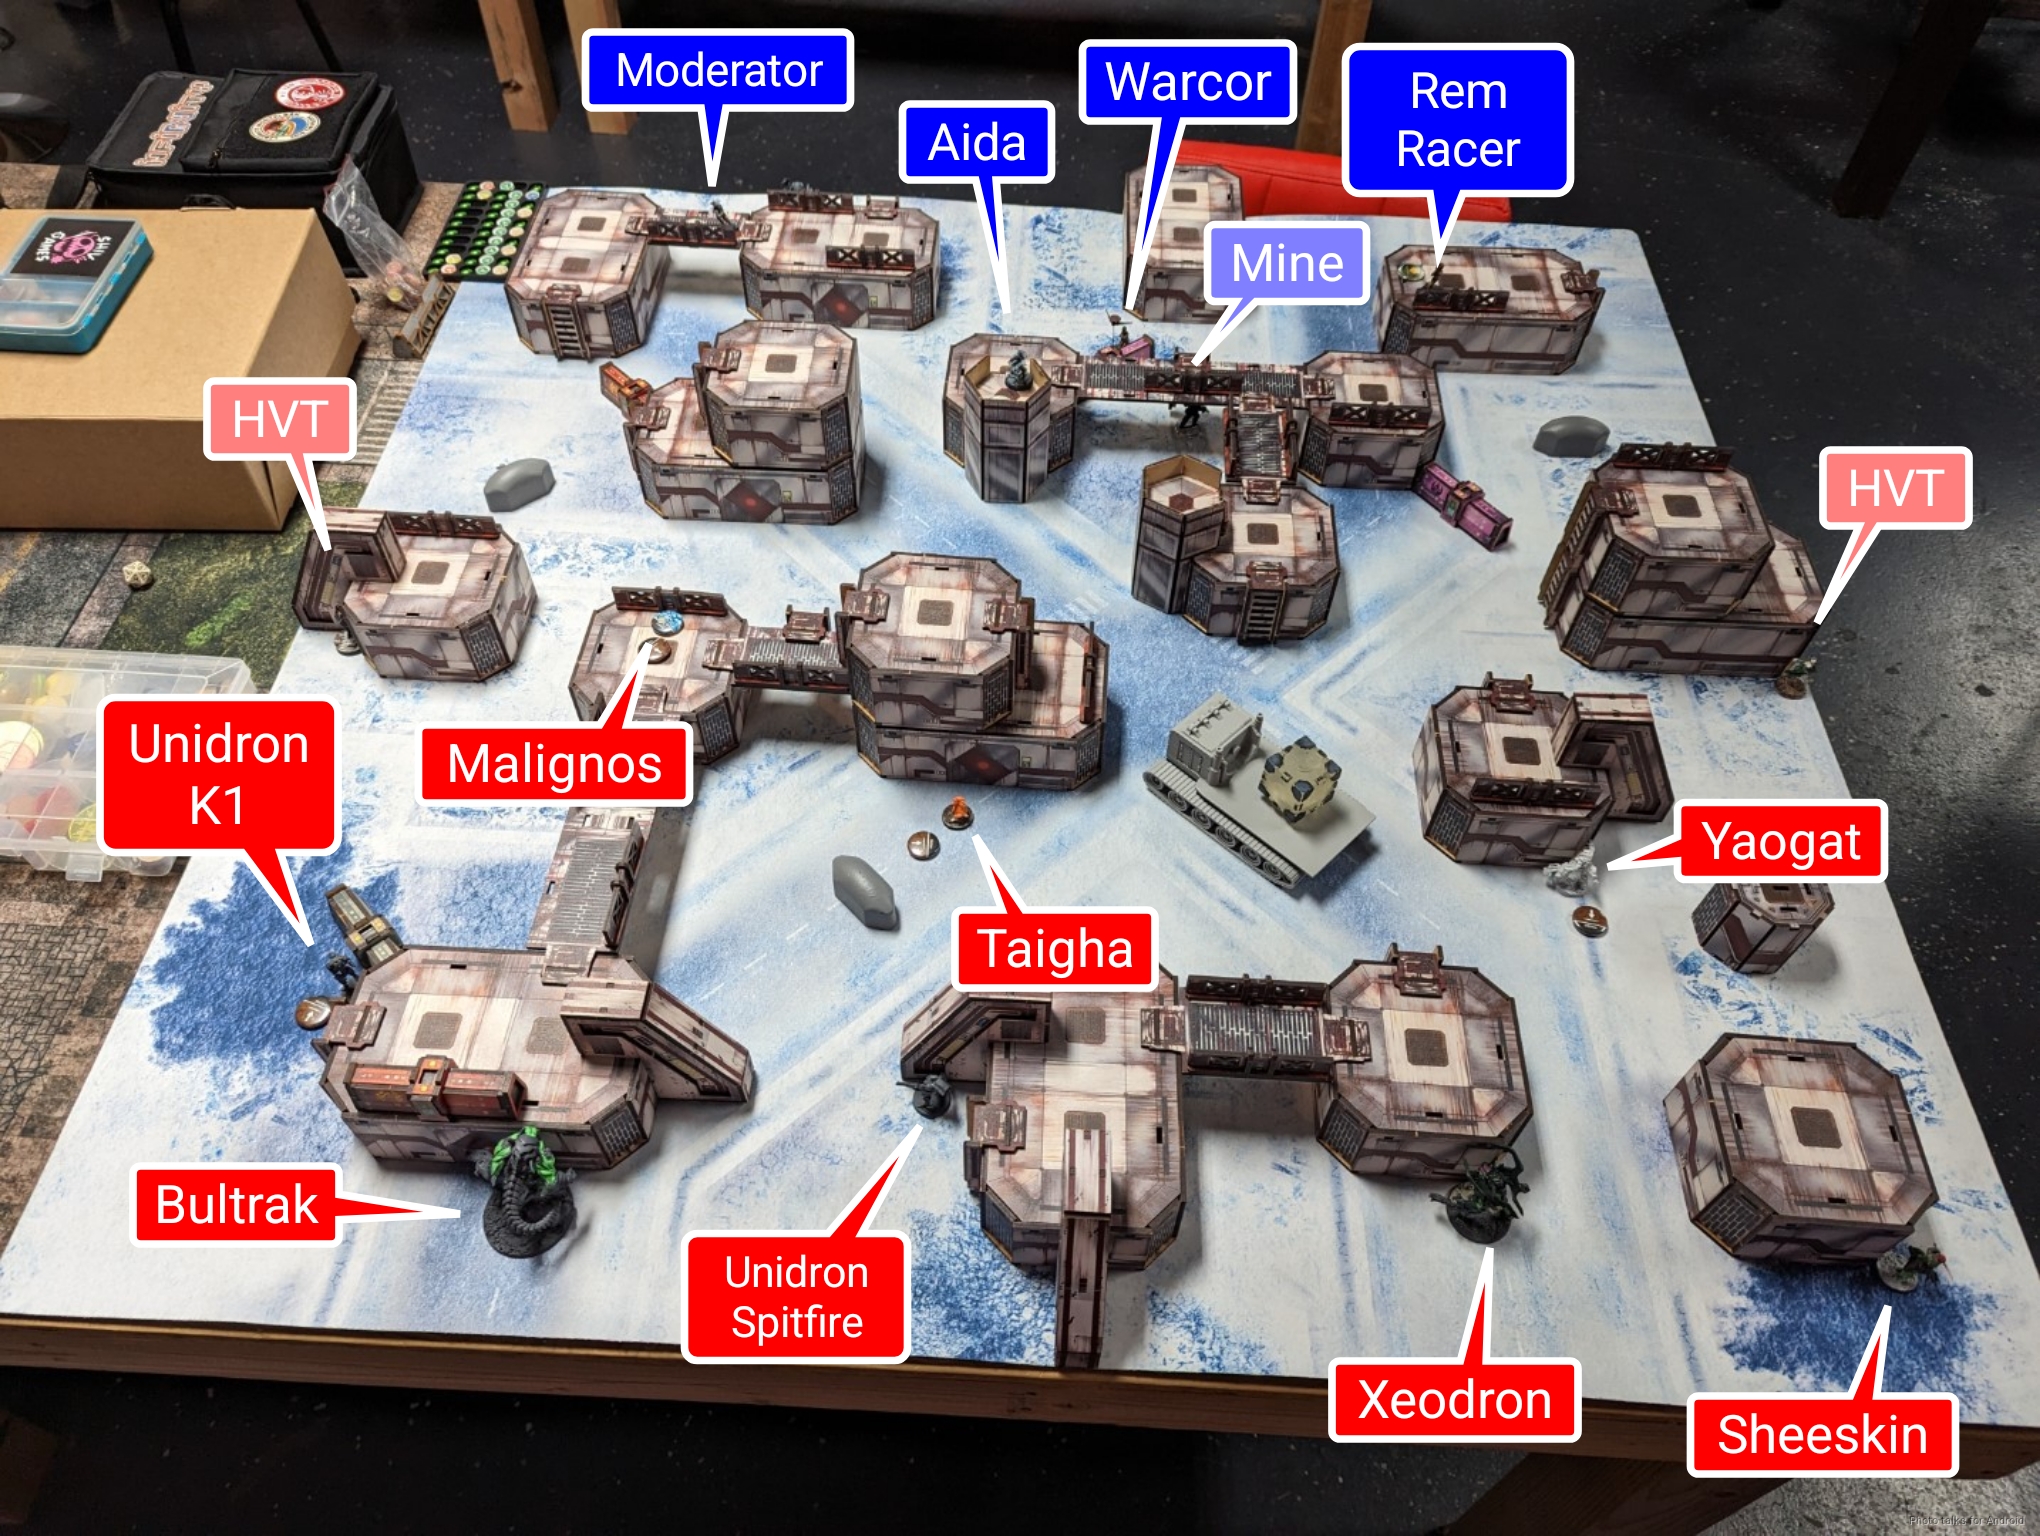
He also split his HVTs, far left and far right, and then the Dolphin and Sheeskin came down. Of note is that I deployed my Moderator prone, figuring that I would be able to cover a diagonal from his catwalk, but not get immediately iced by a TAG. It was about this point that Cole walked up and challenged me to a game so it was time to break out some Ikari on the neighboring table.
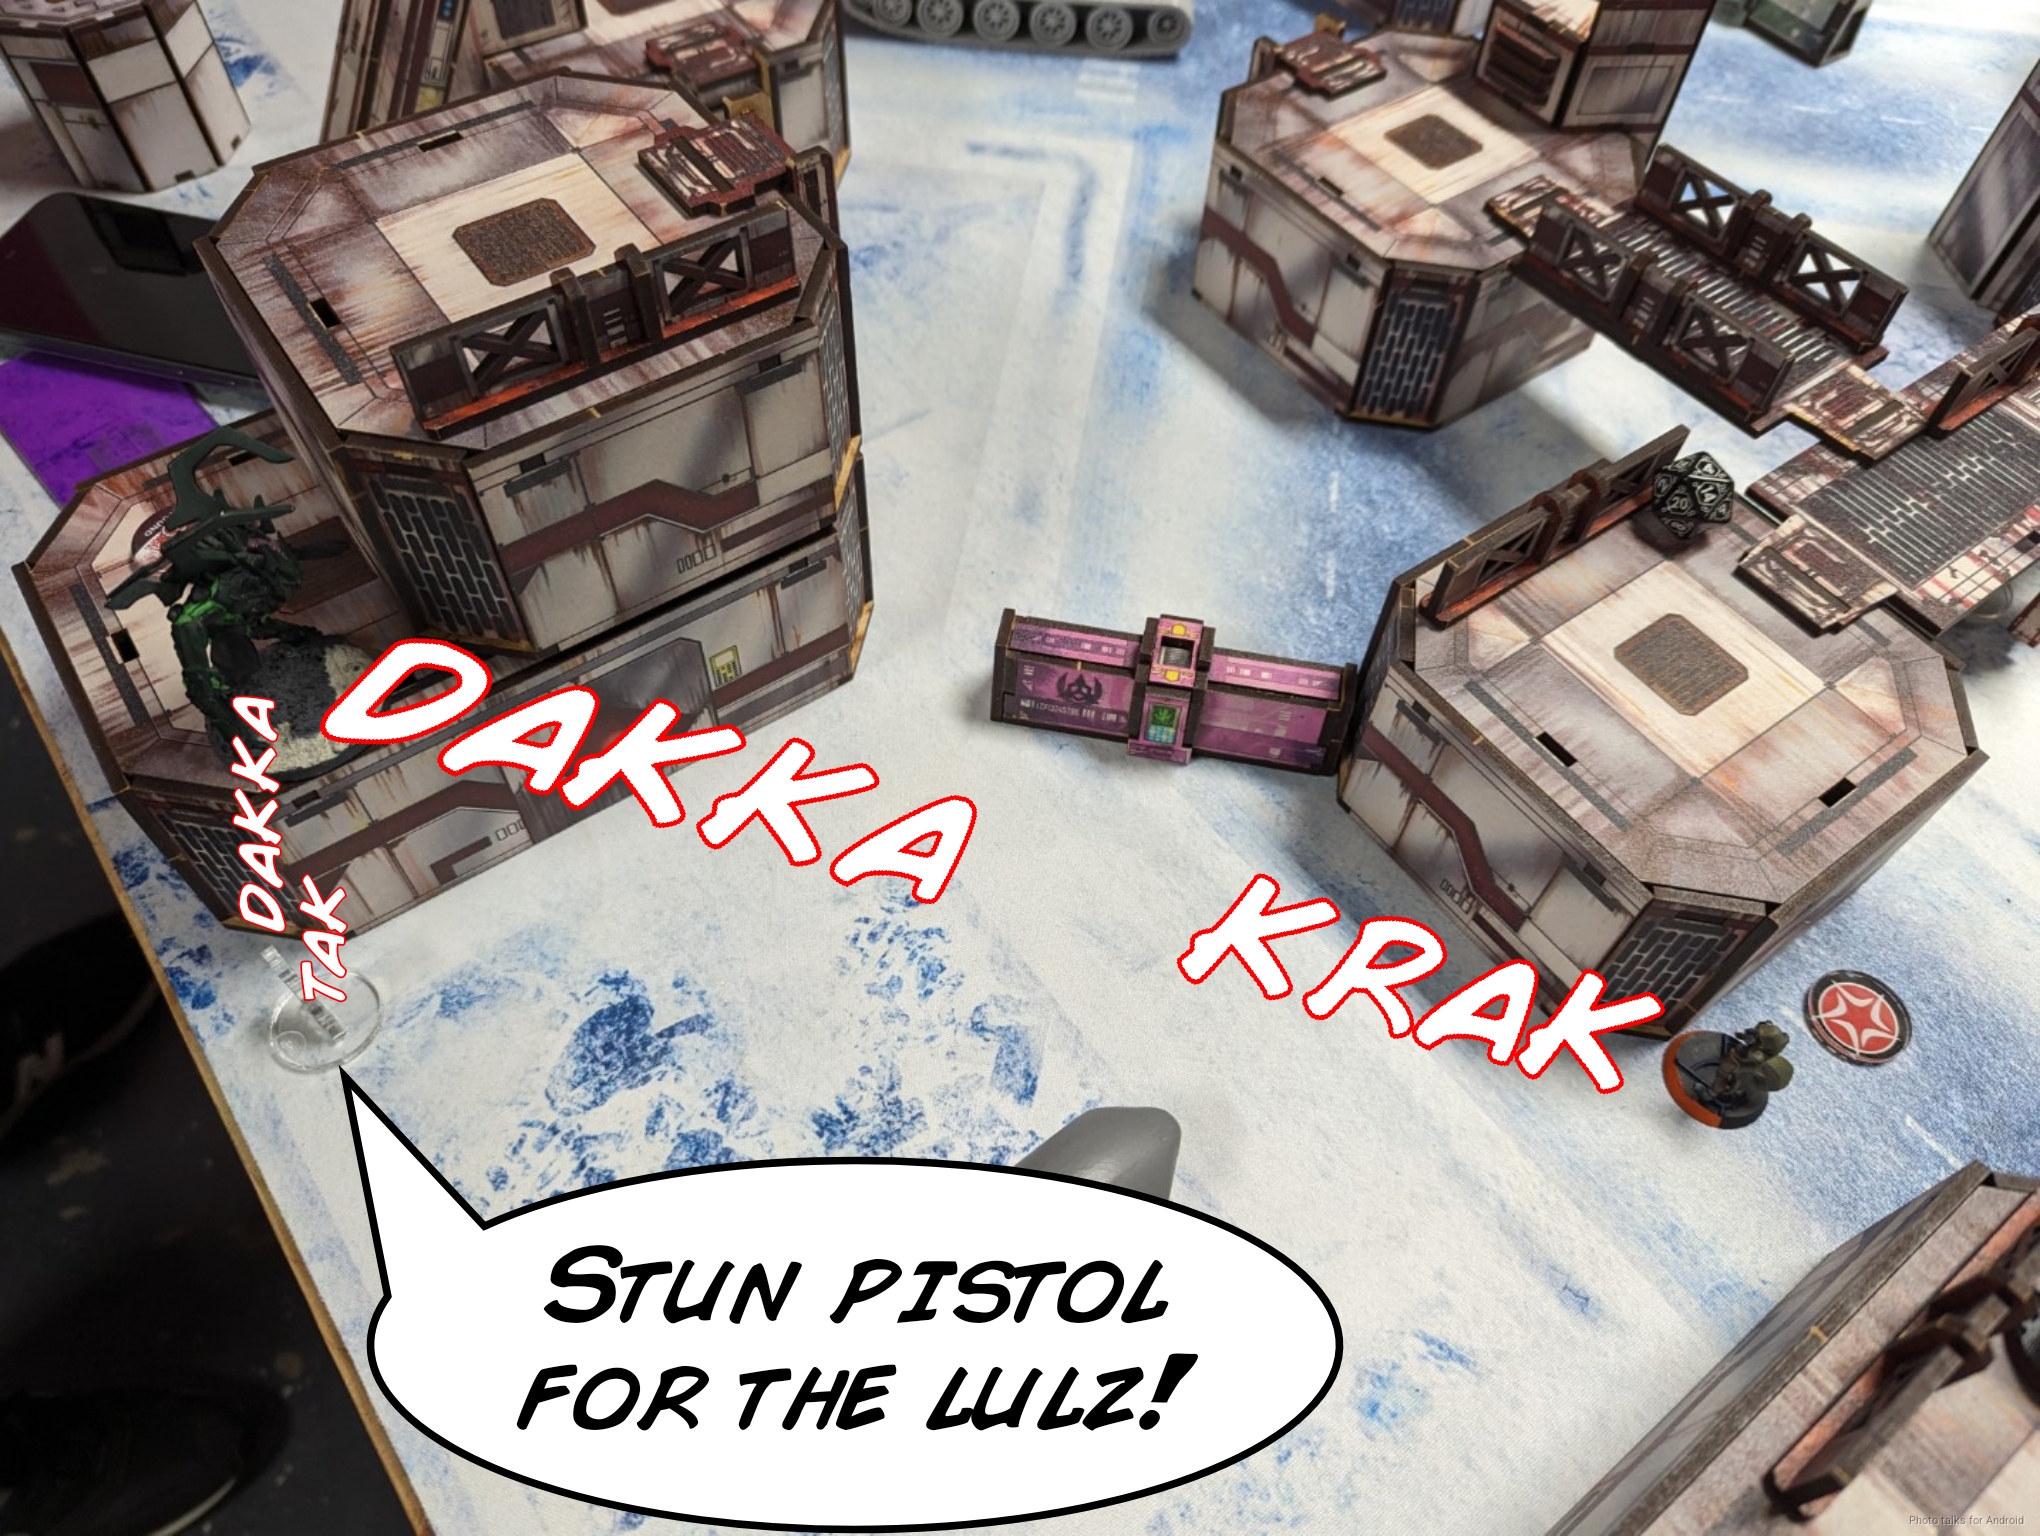
Turn 1
Top of 1 – Nomads
I decided to risk very little on my first turn and just work on objectives and trying to whittle down Birman’s already small order pool. Specifically I wanted to try and deal with his Yaogat, then set up a repeater net to buy me some time against his mostly hackable force. I figured a good start to the plan was to just roll the Zondnautica hacker forward. What a great profile!
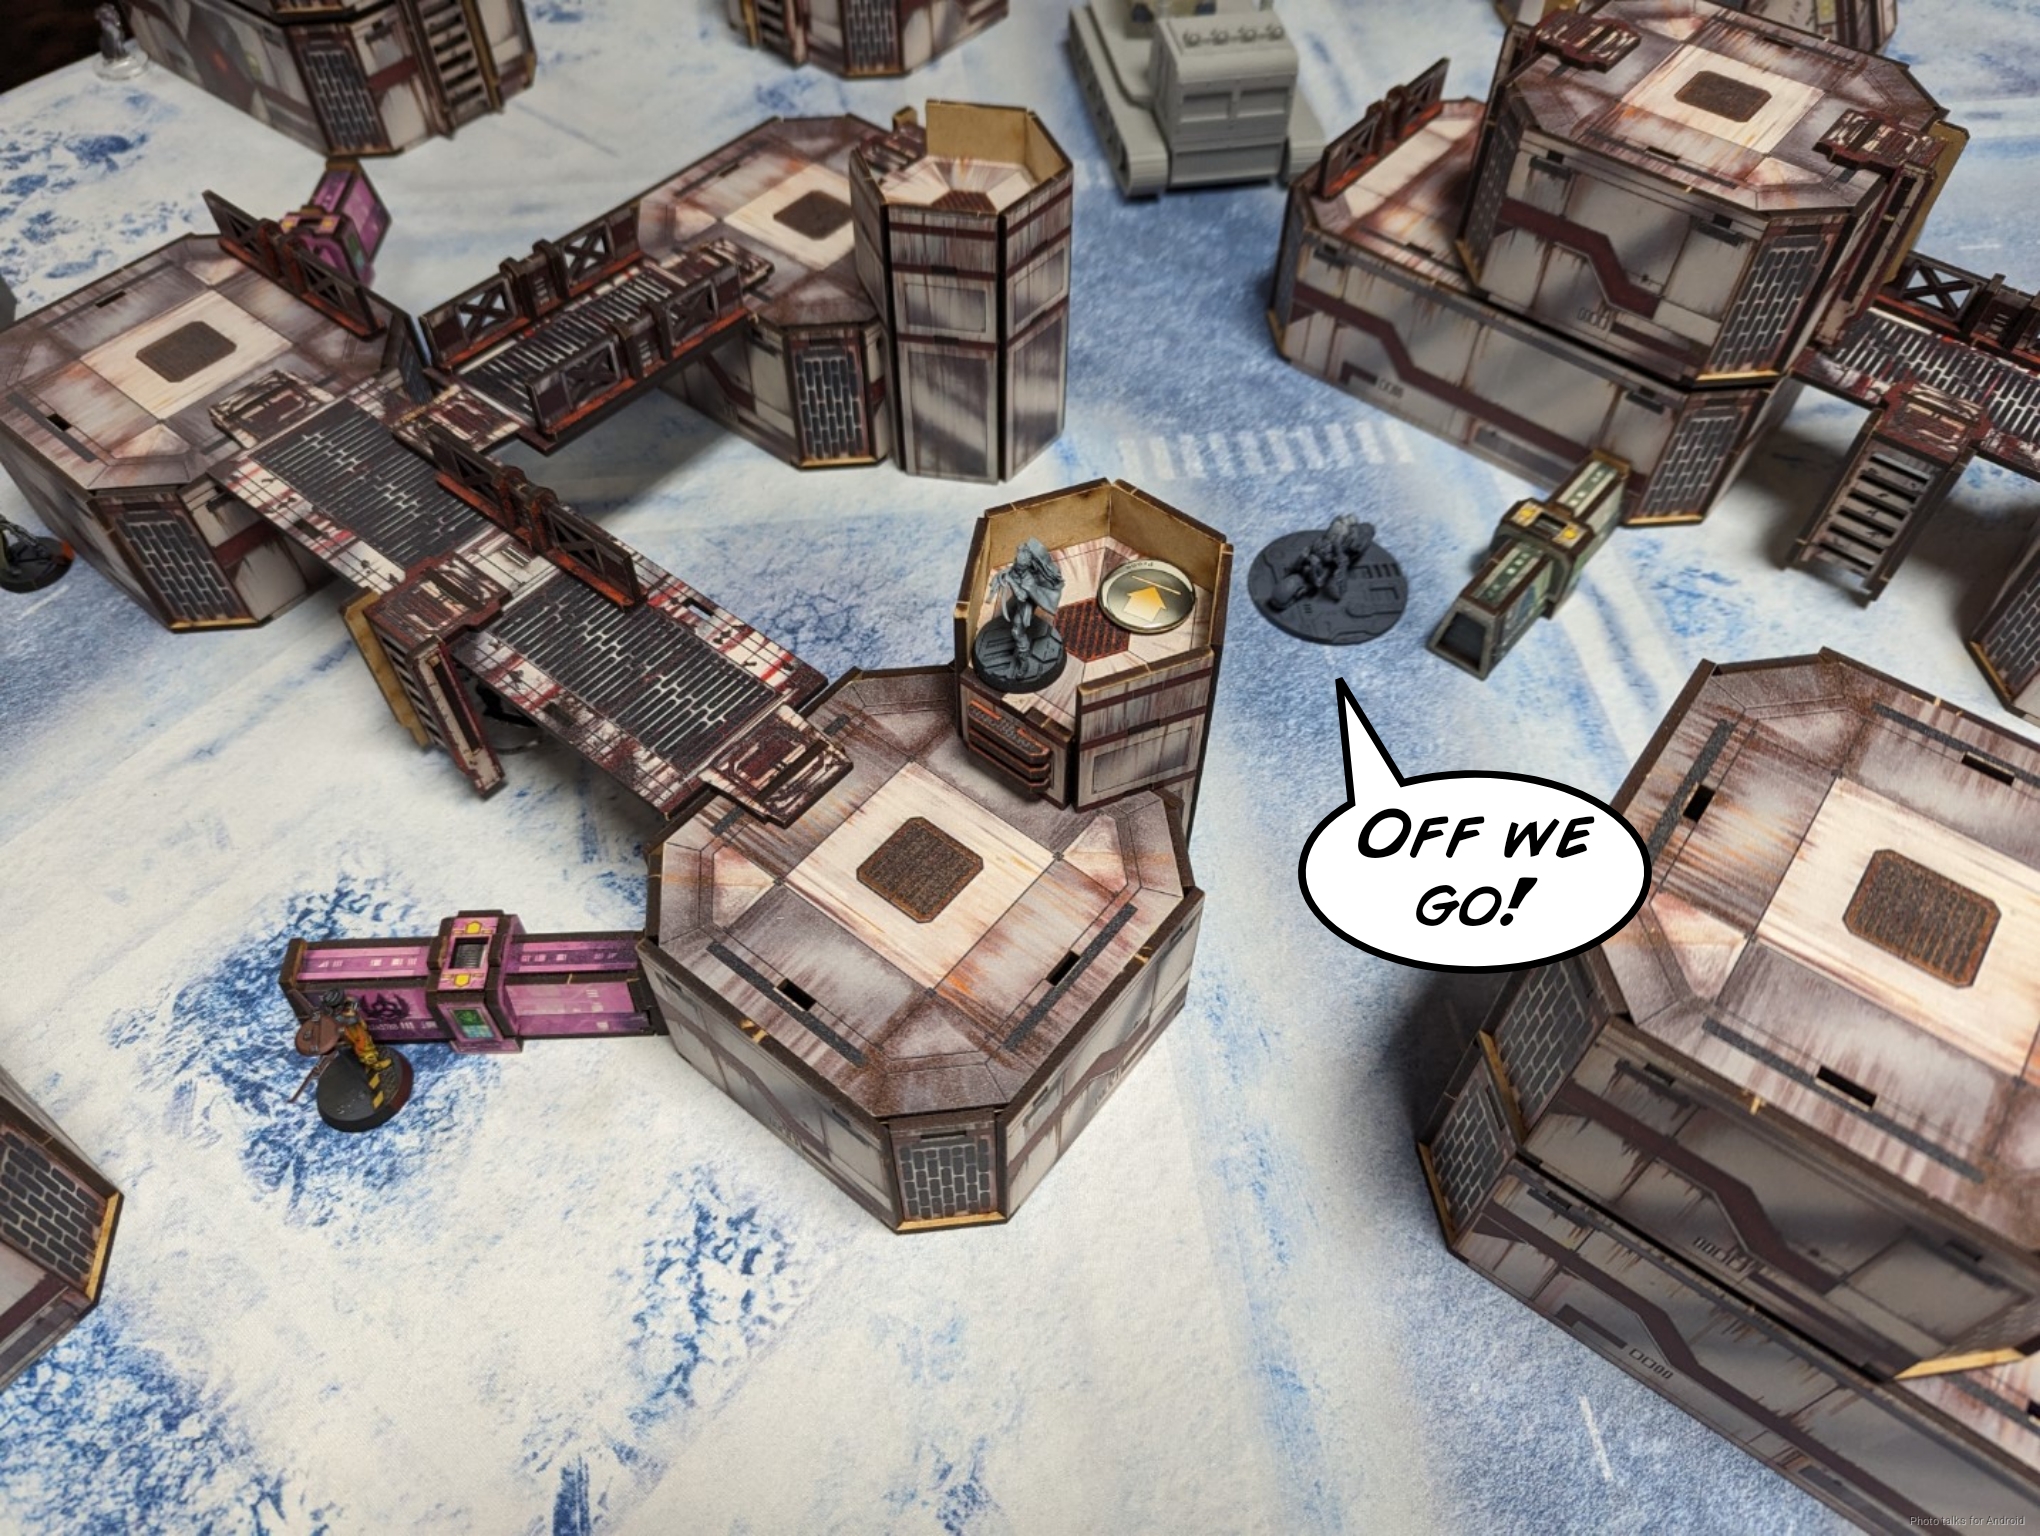
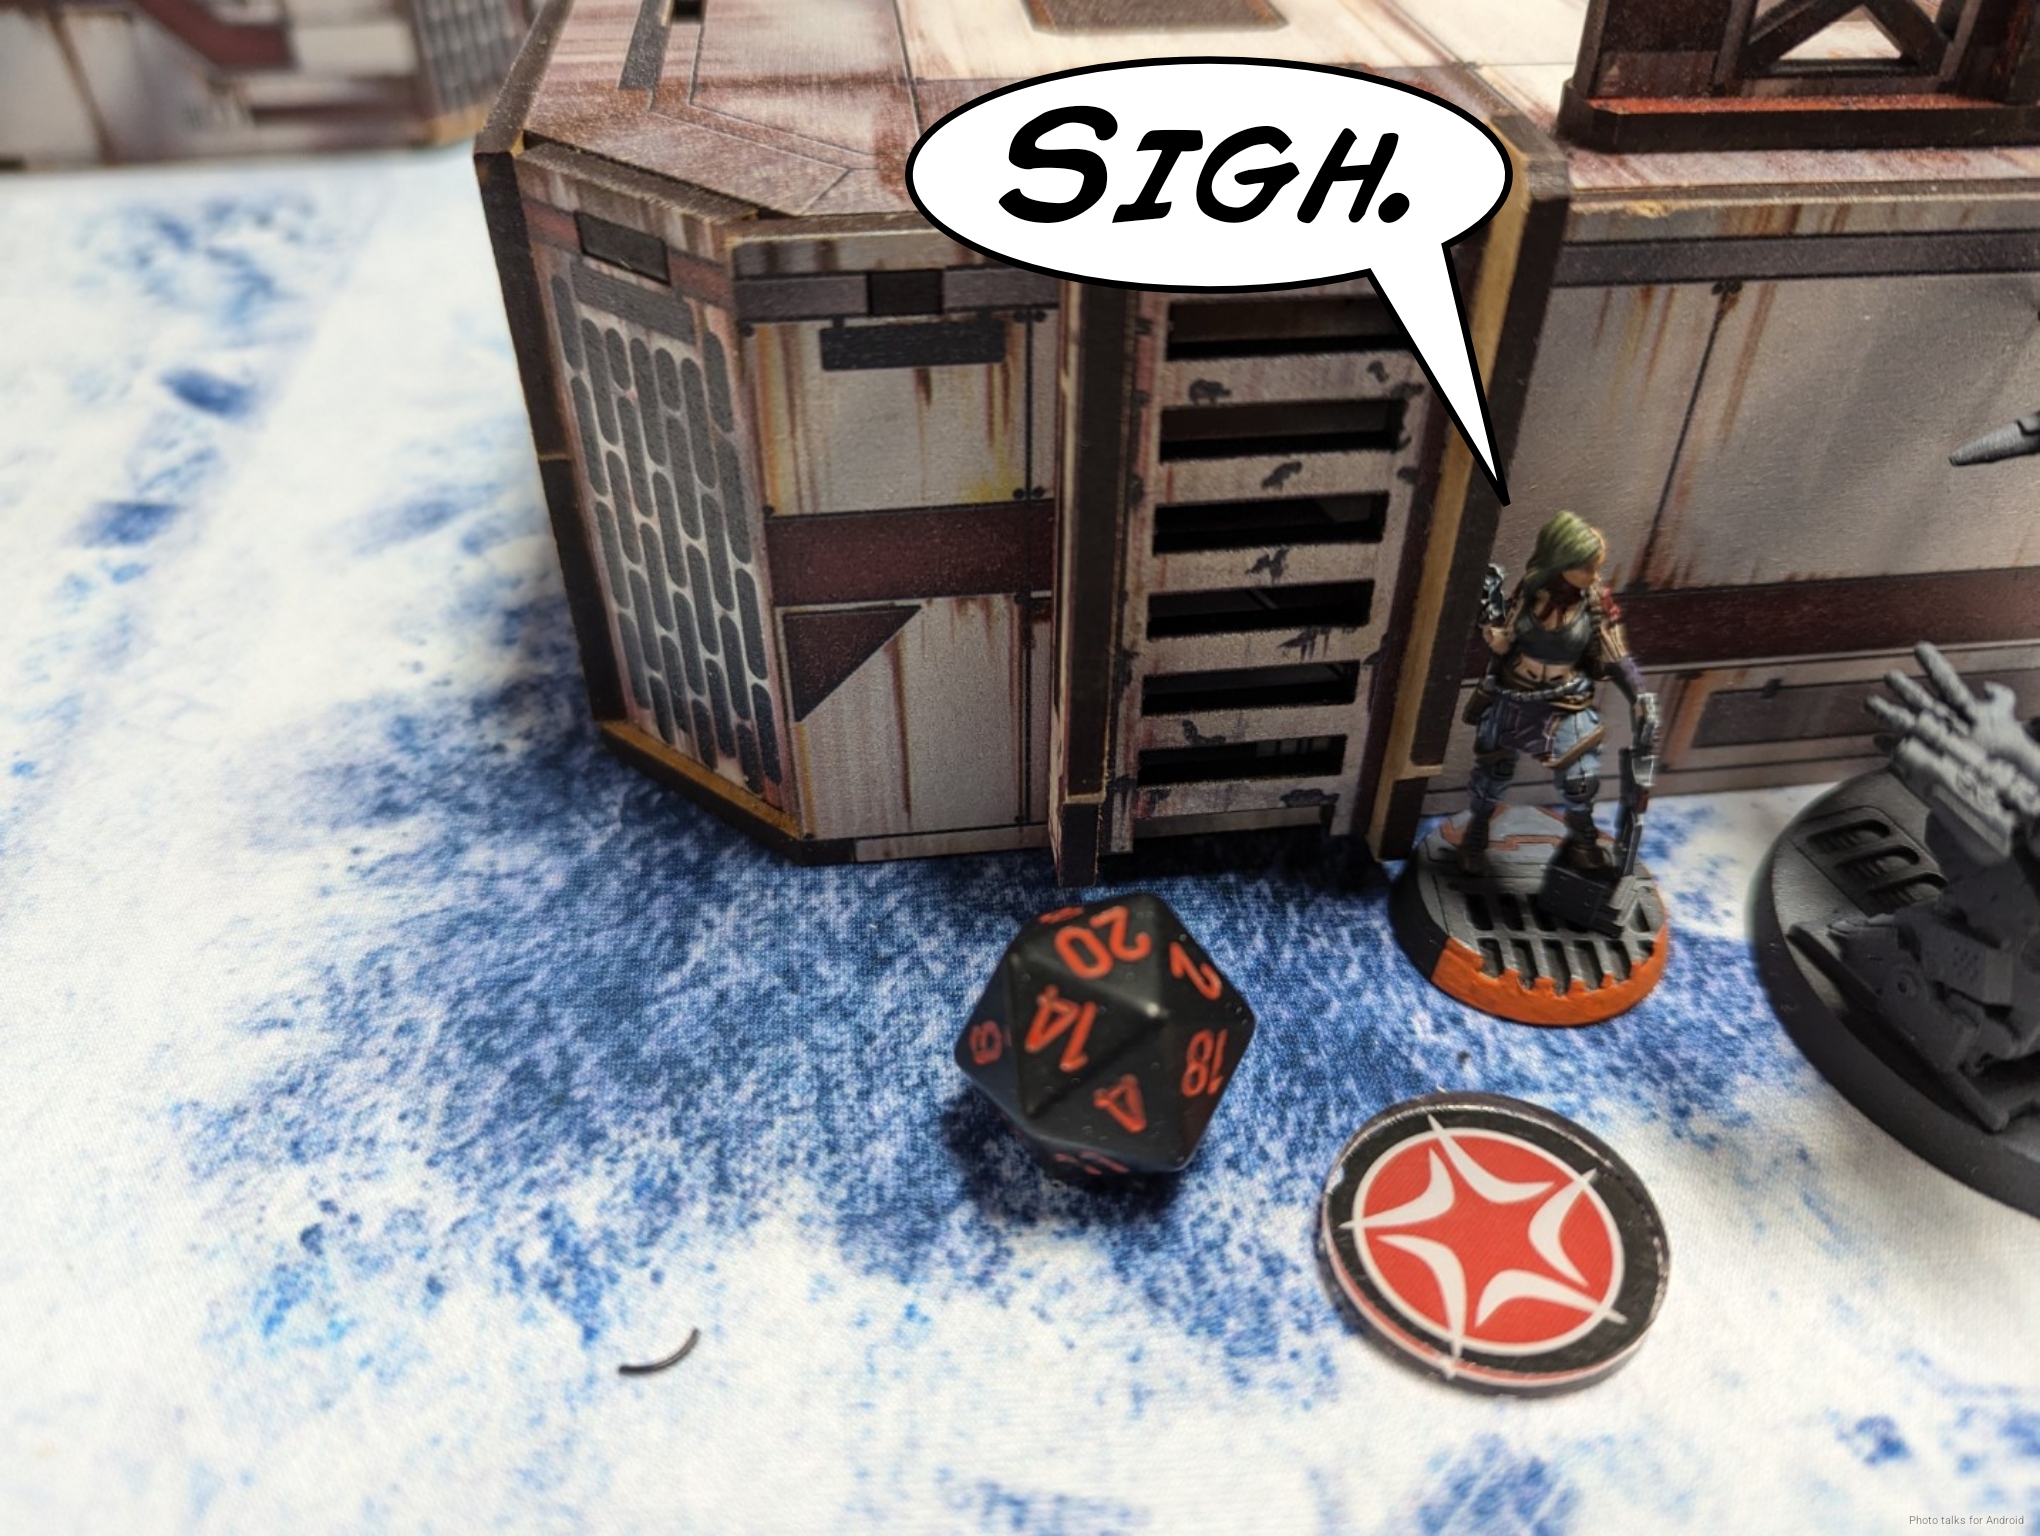
I started off by just failing to kill the Designated Target on my left…

but I eventually got it done.
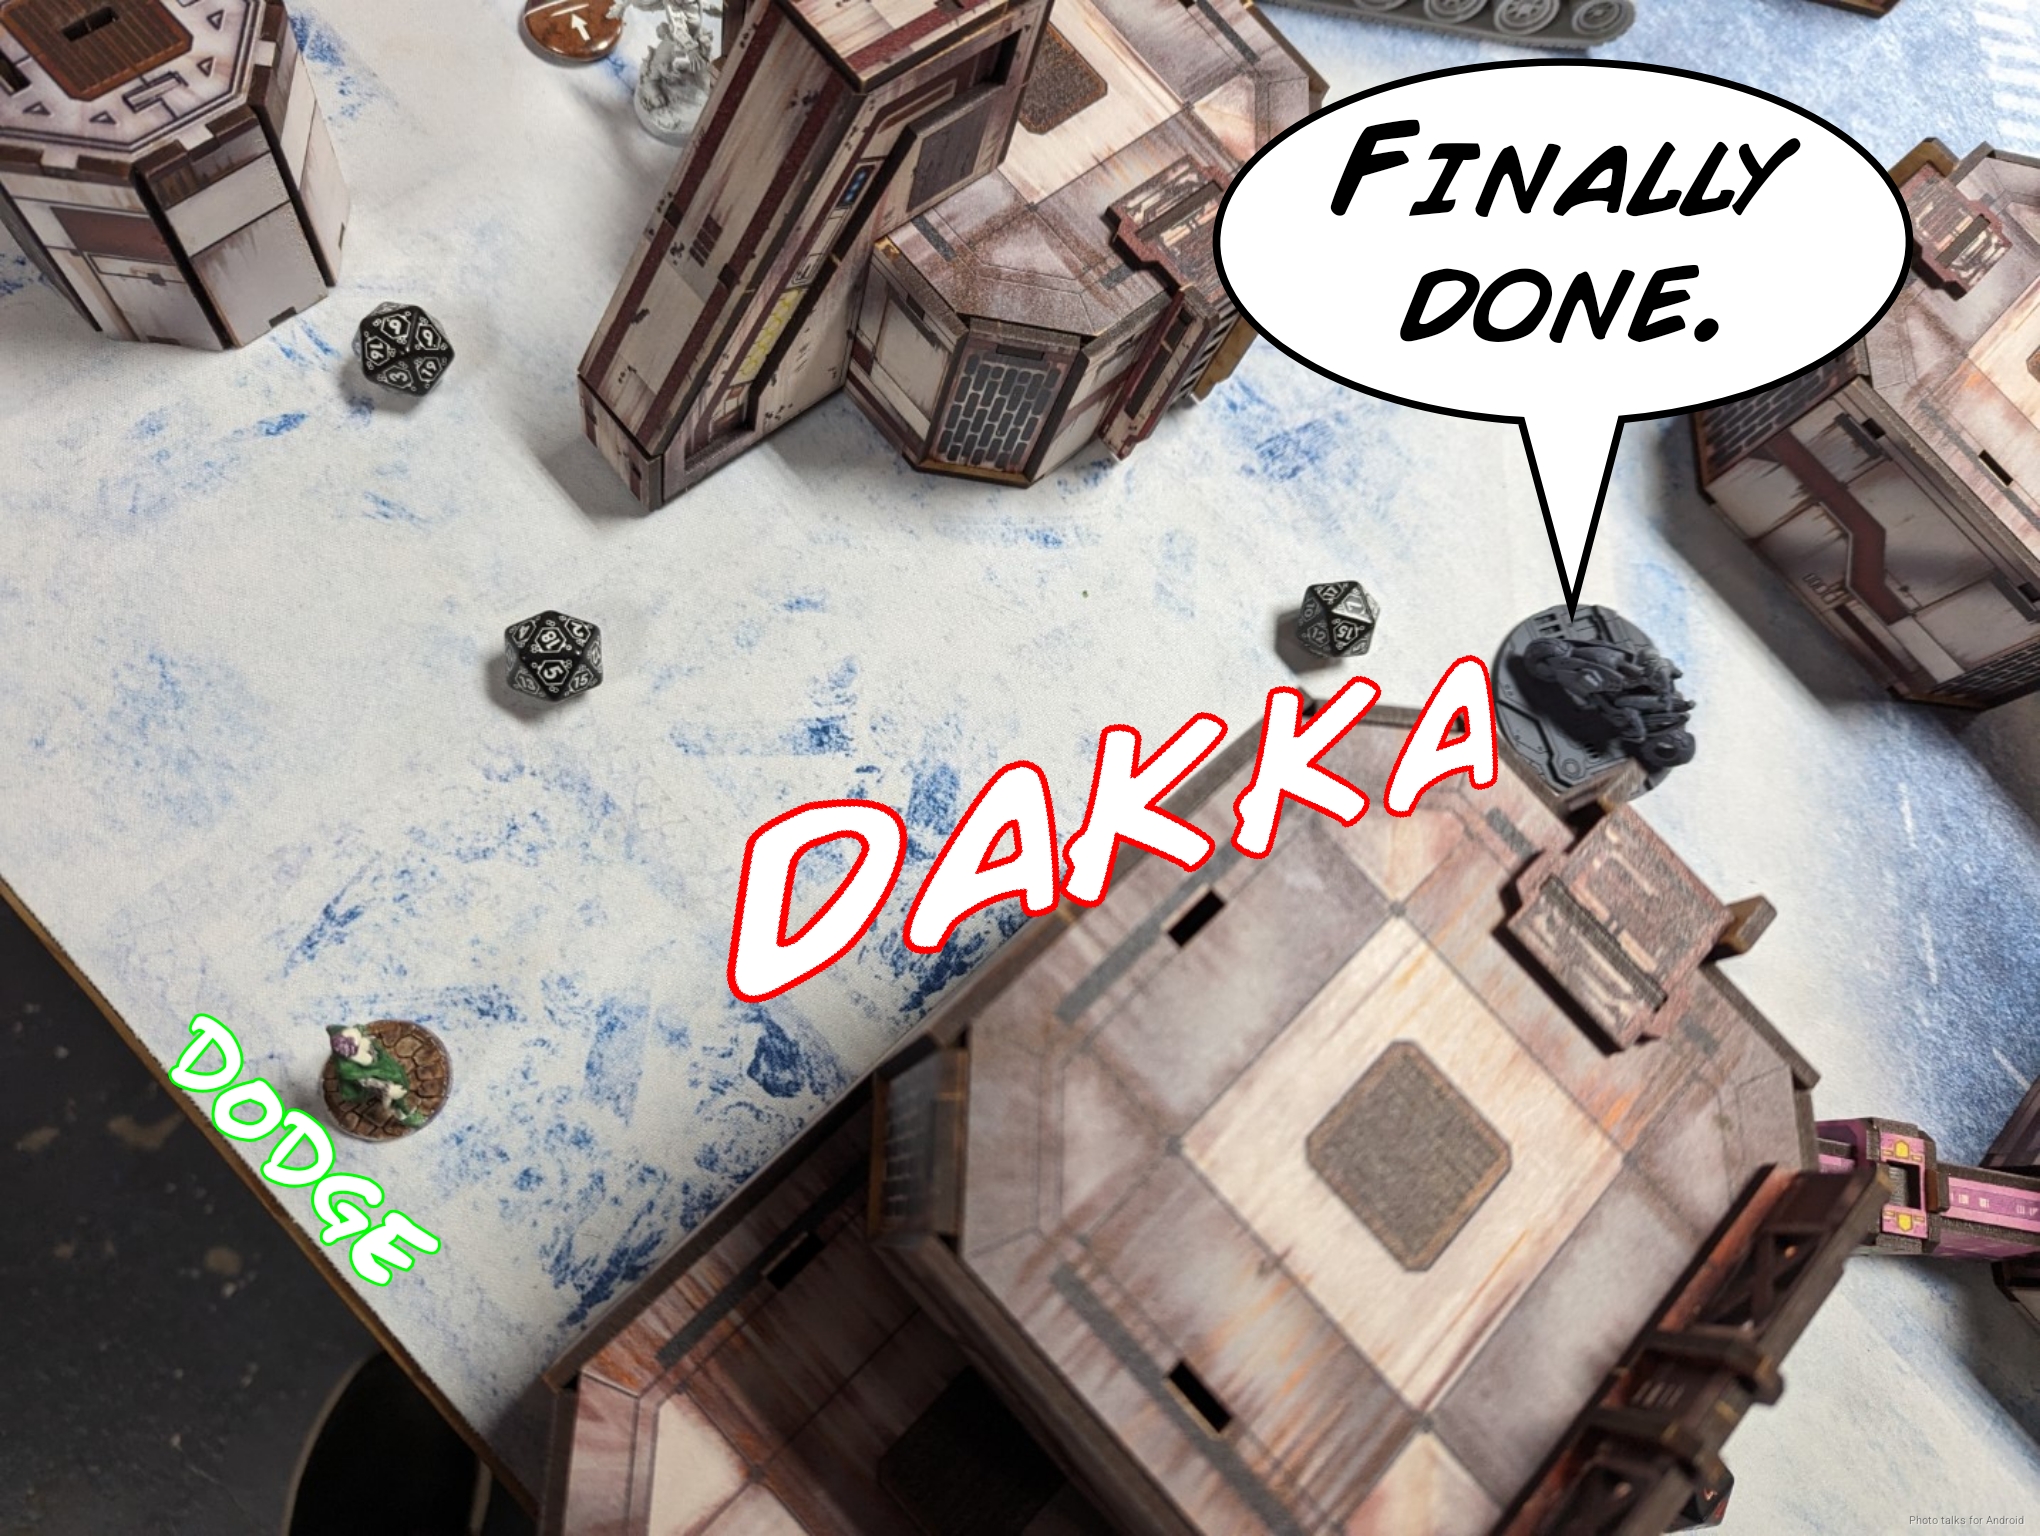
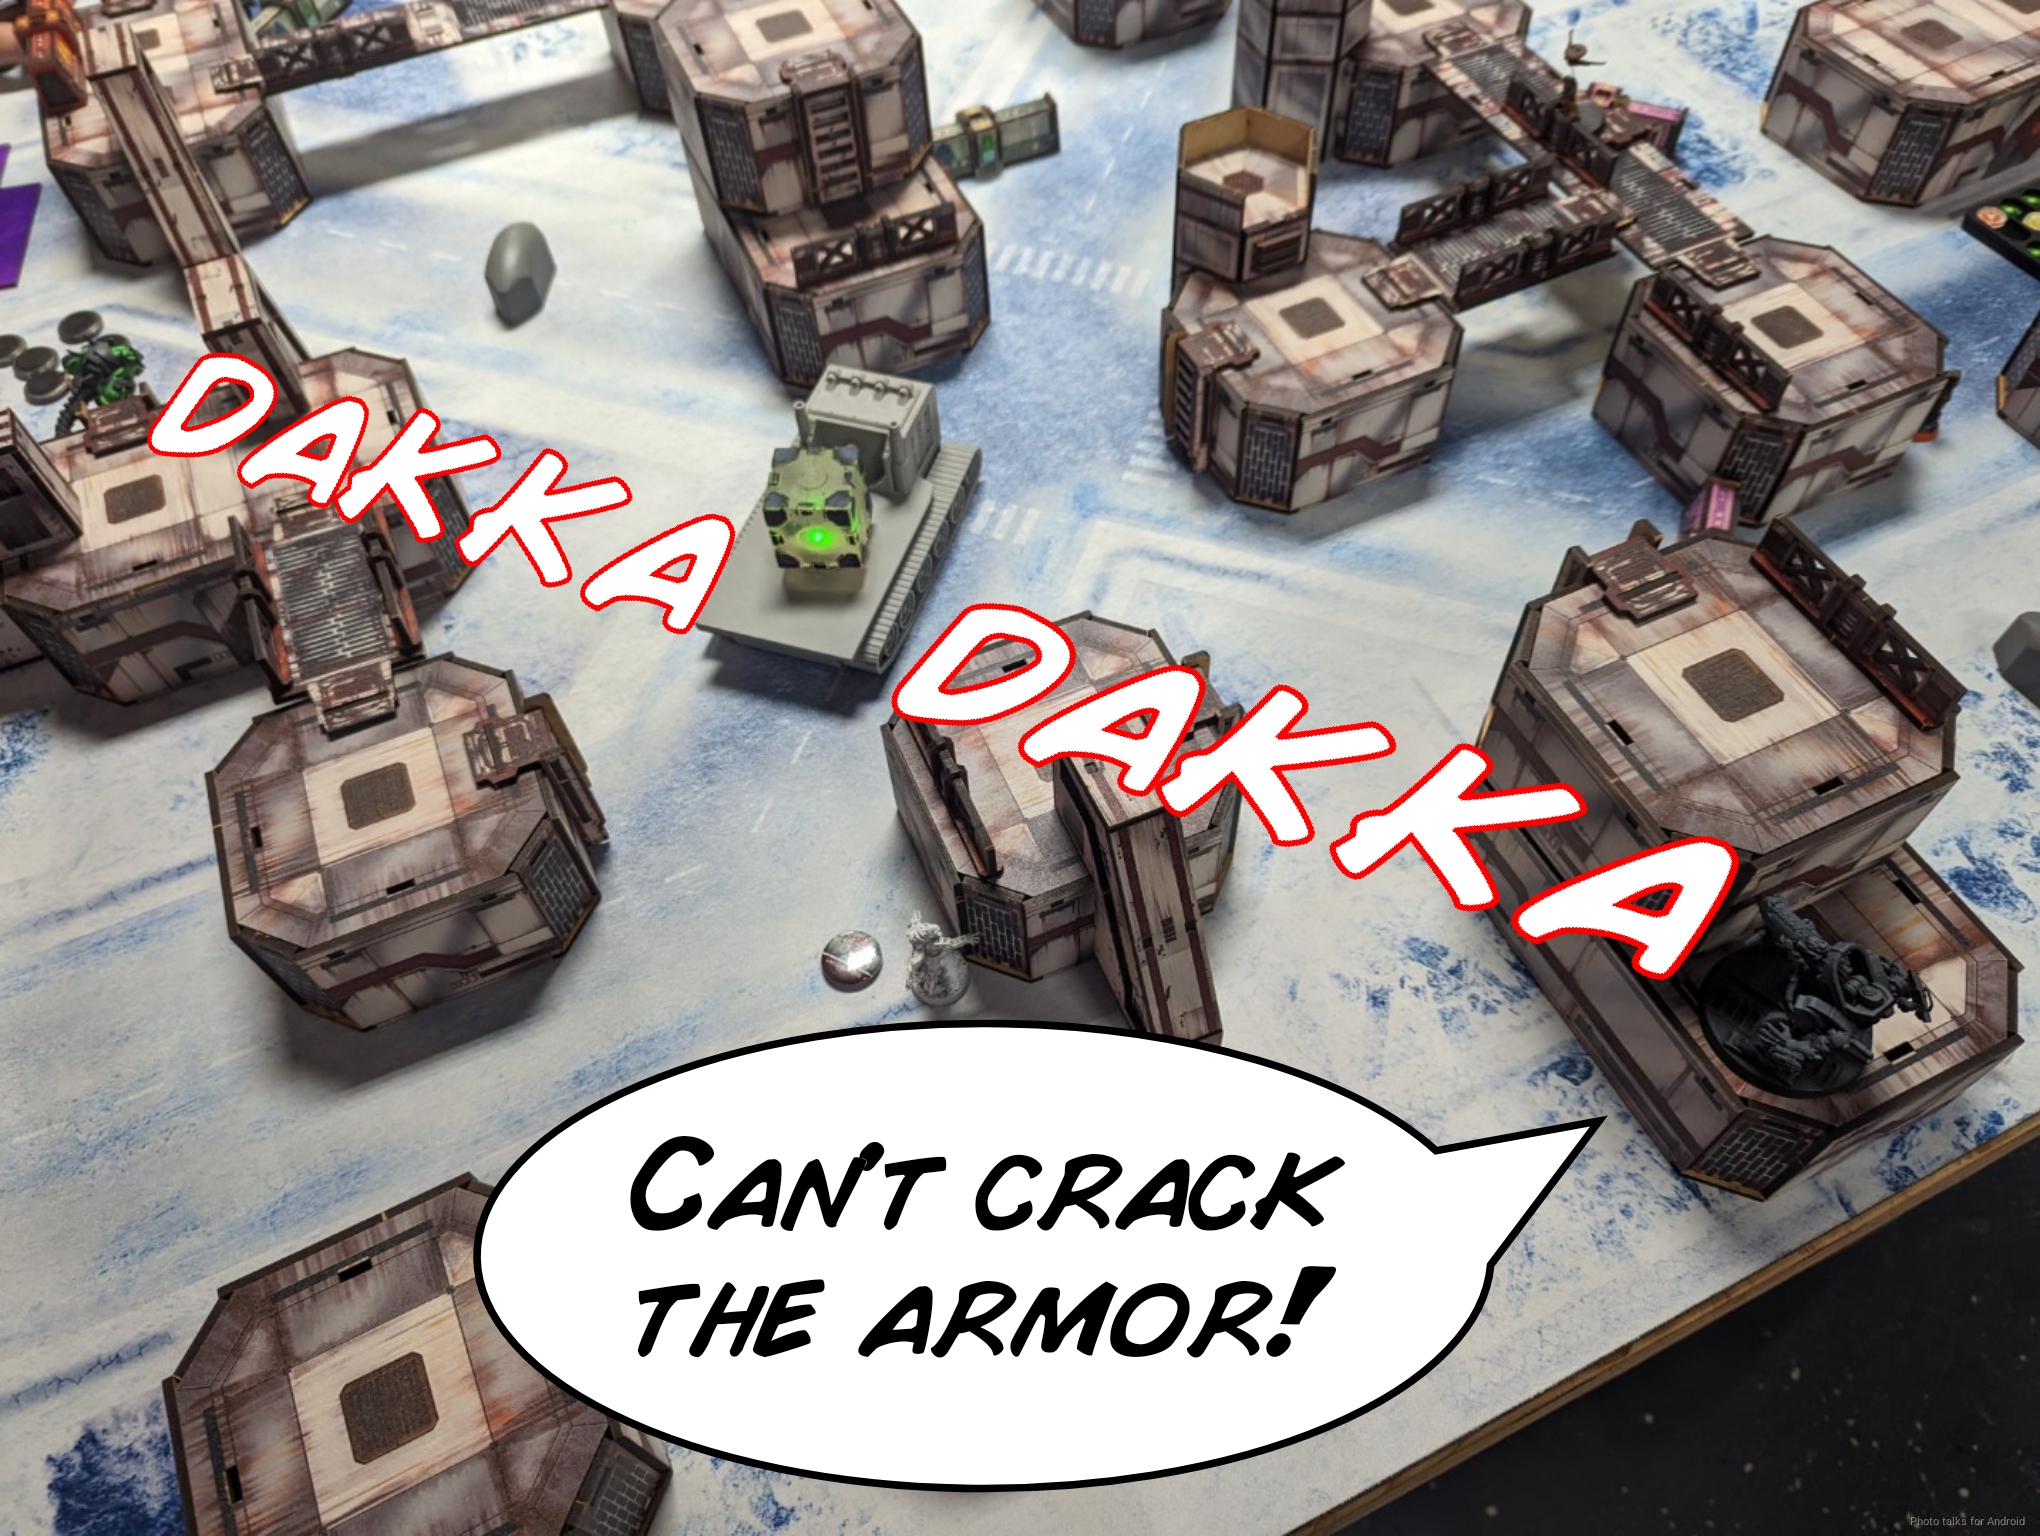
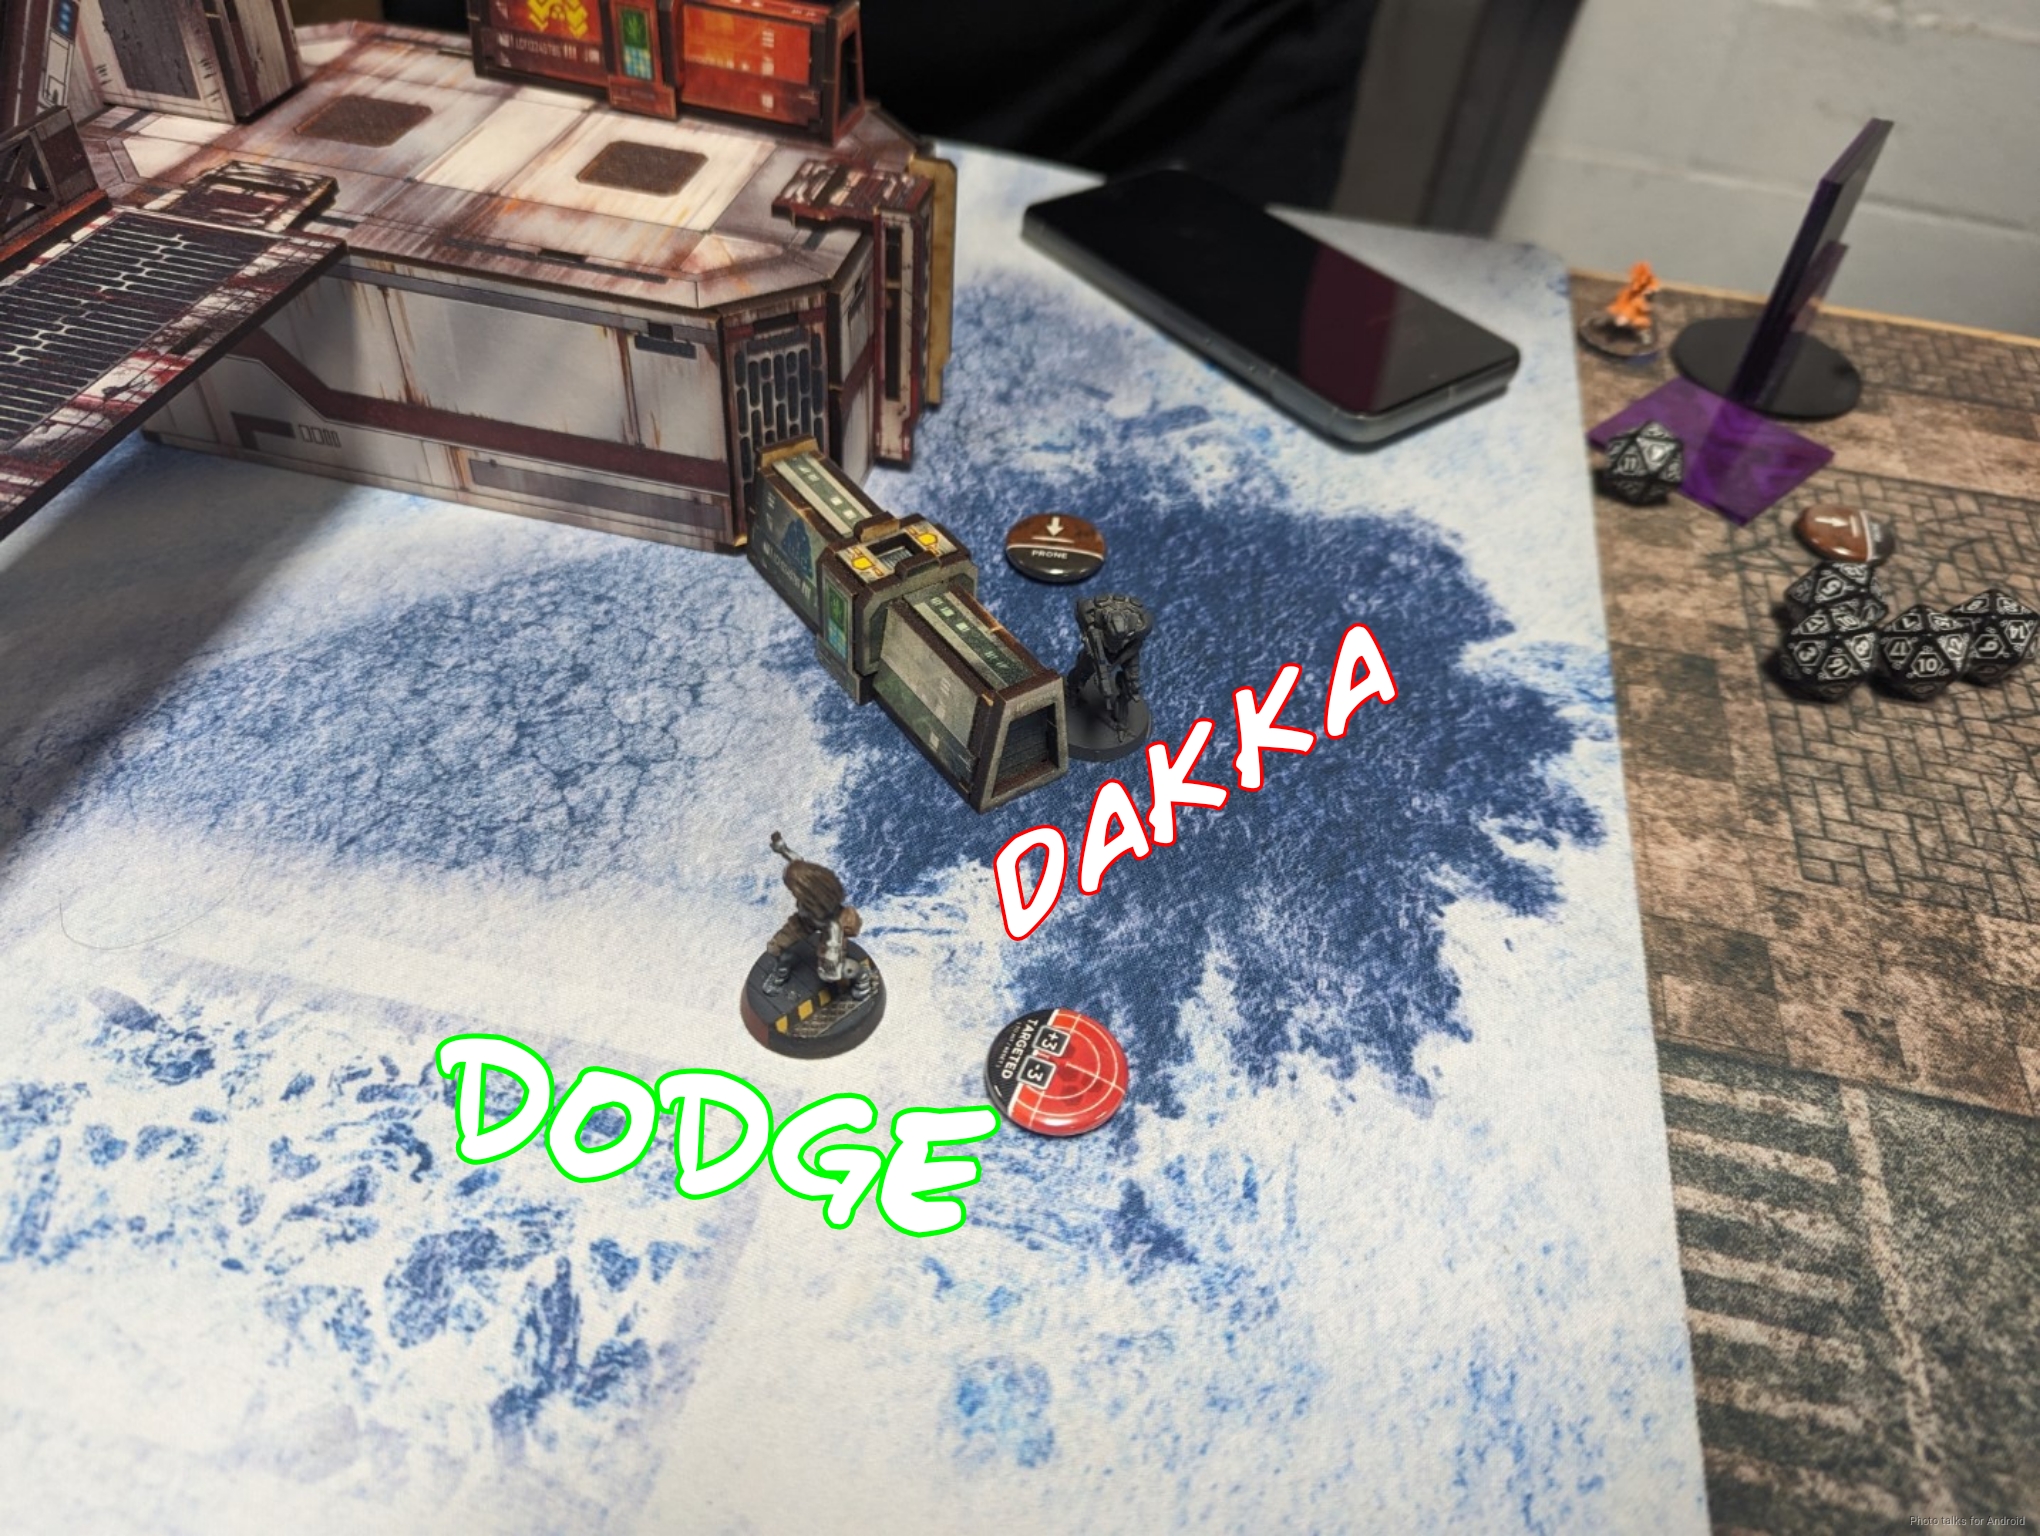
The Bultrak was watching an approach I wanted to take when engaging the Yaogat, so I tried to force it to shift with the Moderator, who was in the second pool and therefore reasonably safe to use. As luck would have it, we were both on 10s. I won the face to face but failed to crack the Bultrak’s armor.
Unable to make forward progress with the Zondnautica and unwilling to try to make (potentially multiple) burst one smoke rolls on 12s, I decided to just go for broke and try for long-bomb pitcher shot with the Custodier. If I was going to make something happen, I might as well try for a bigger payout for the risk I was going to be taking (in terms of orders, not getting shot at).
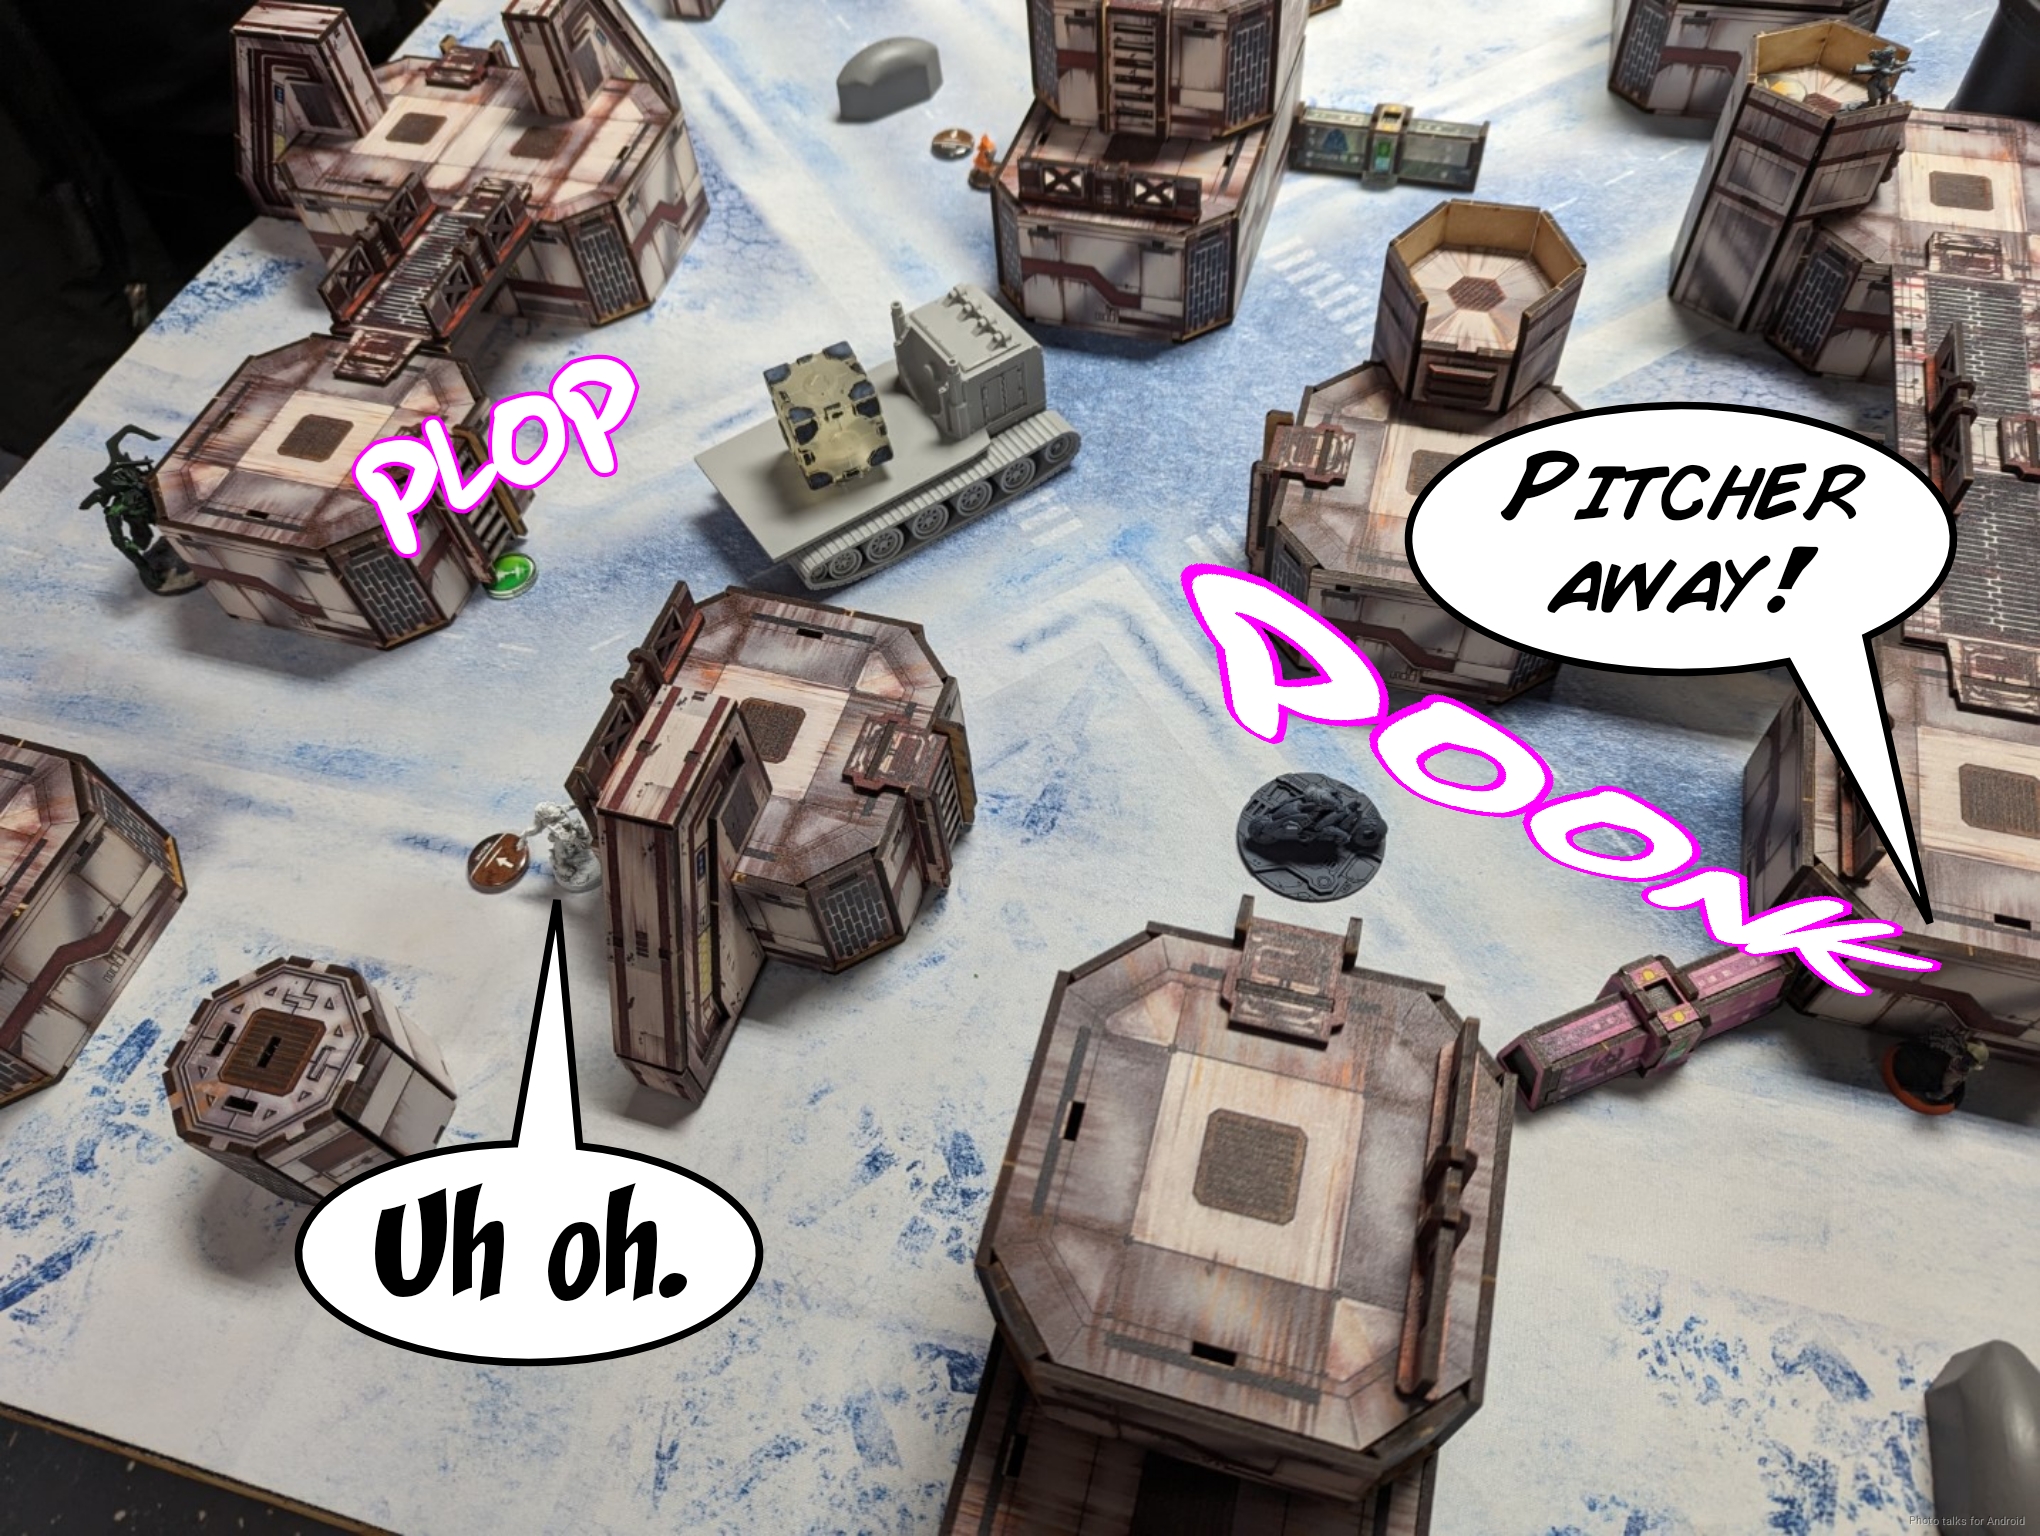
Shockingly, I land the pitcher, and start the show by trying to Carbonite the Yaogat with Zoe, who has the highest WIP… and get her isolated. The Custodier tries next on WIP14 and is also isolated. Well that’s not great.
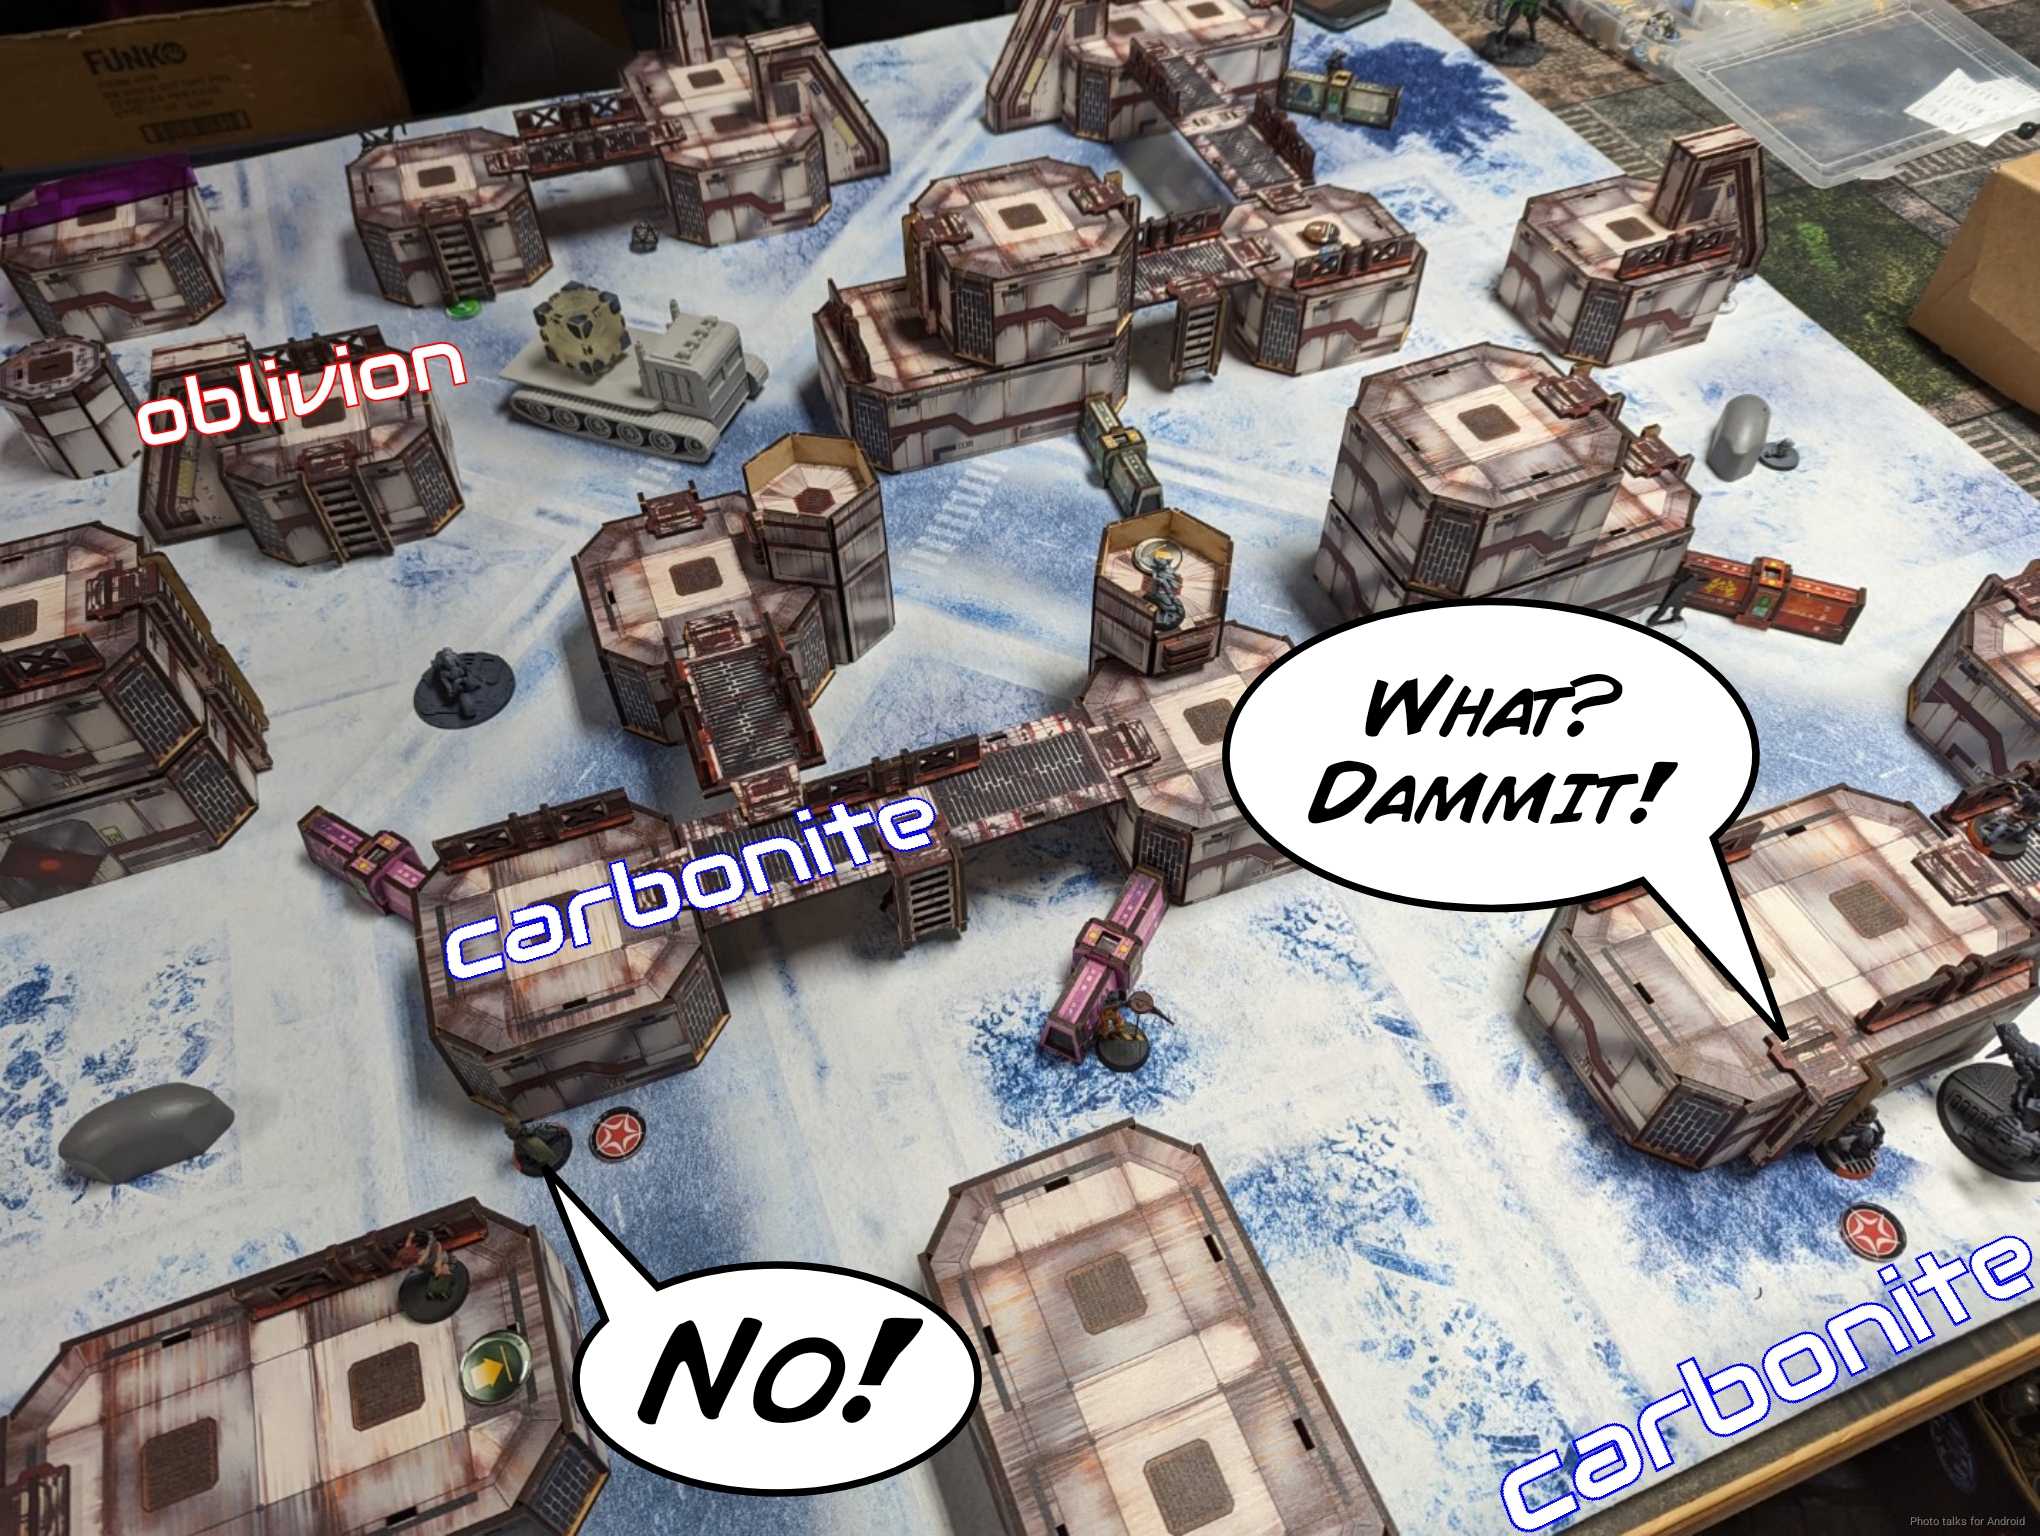
I have a deep bench of hackers though, and the Puppetmaster gets it done.
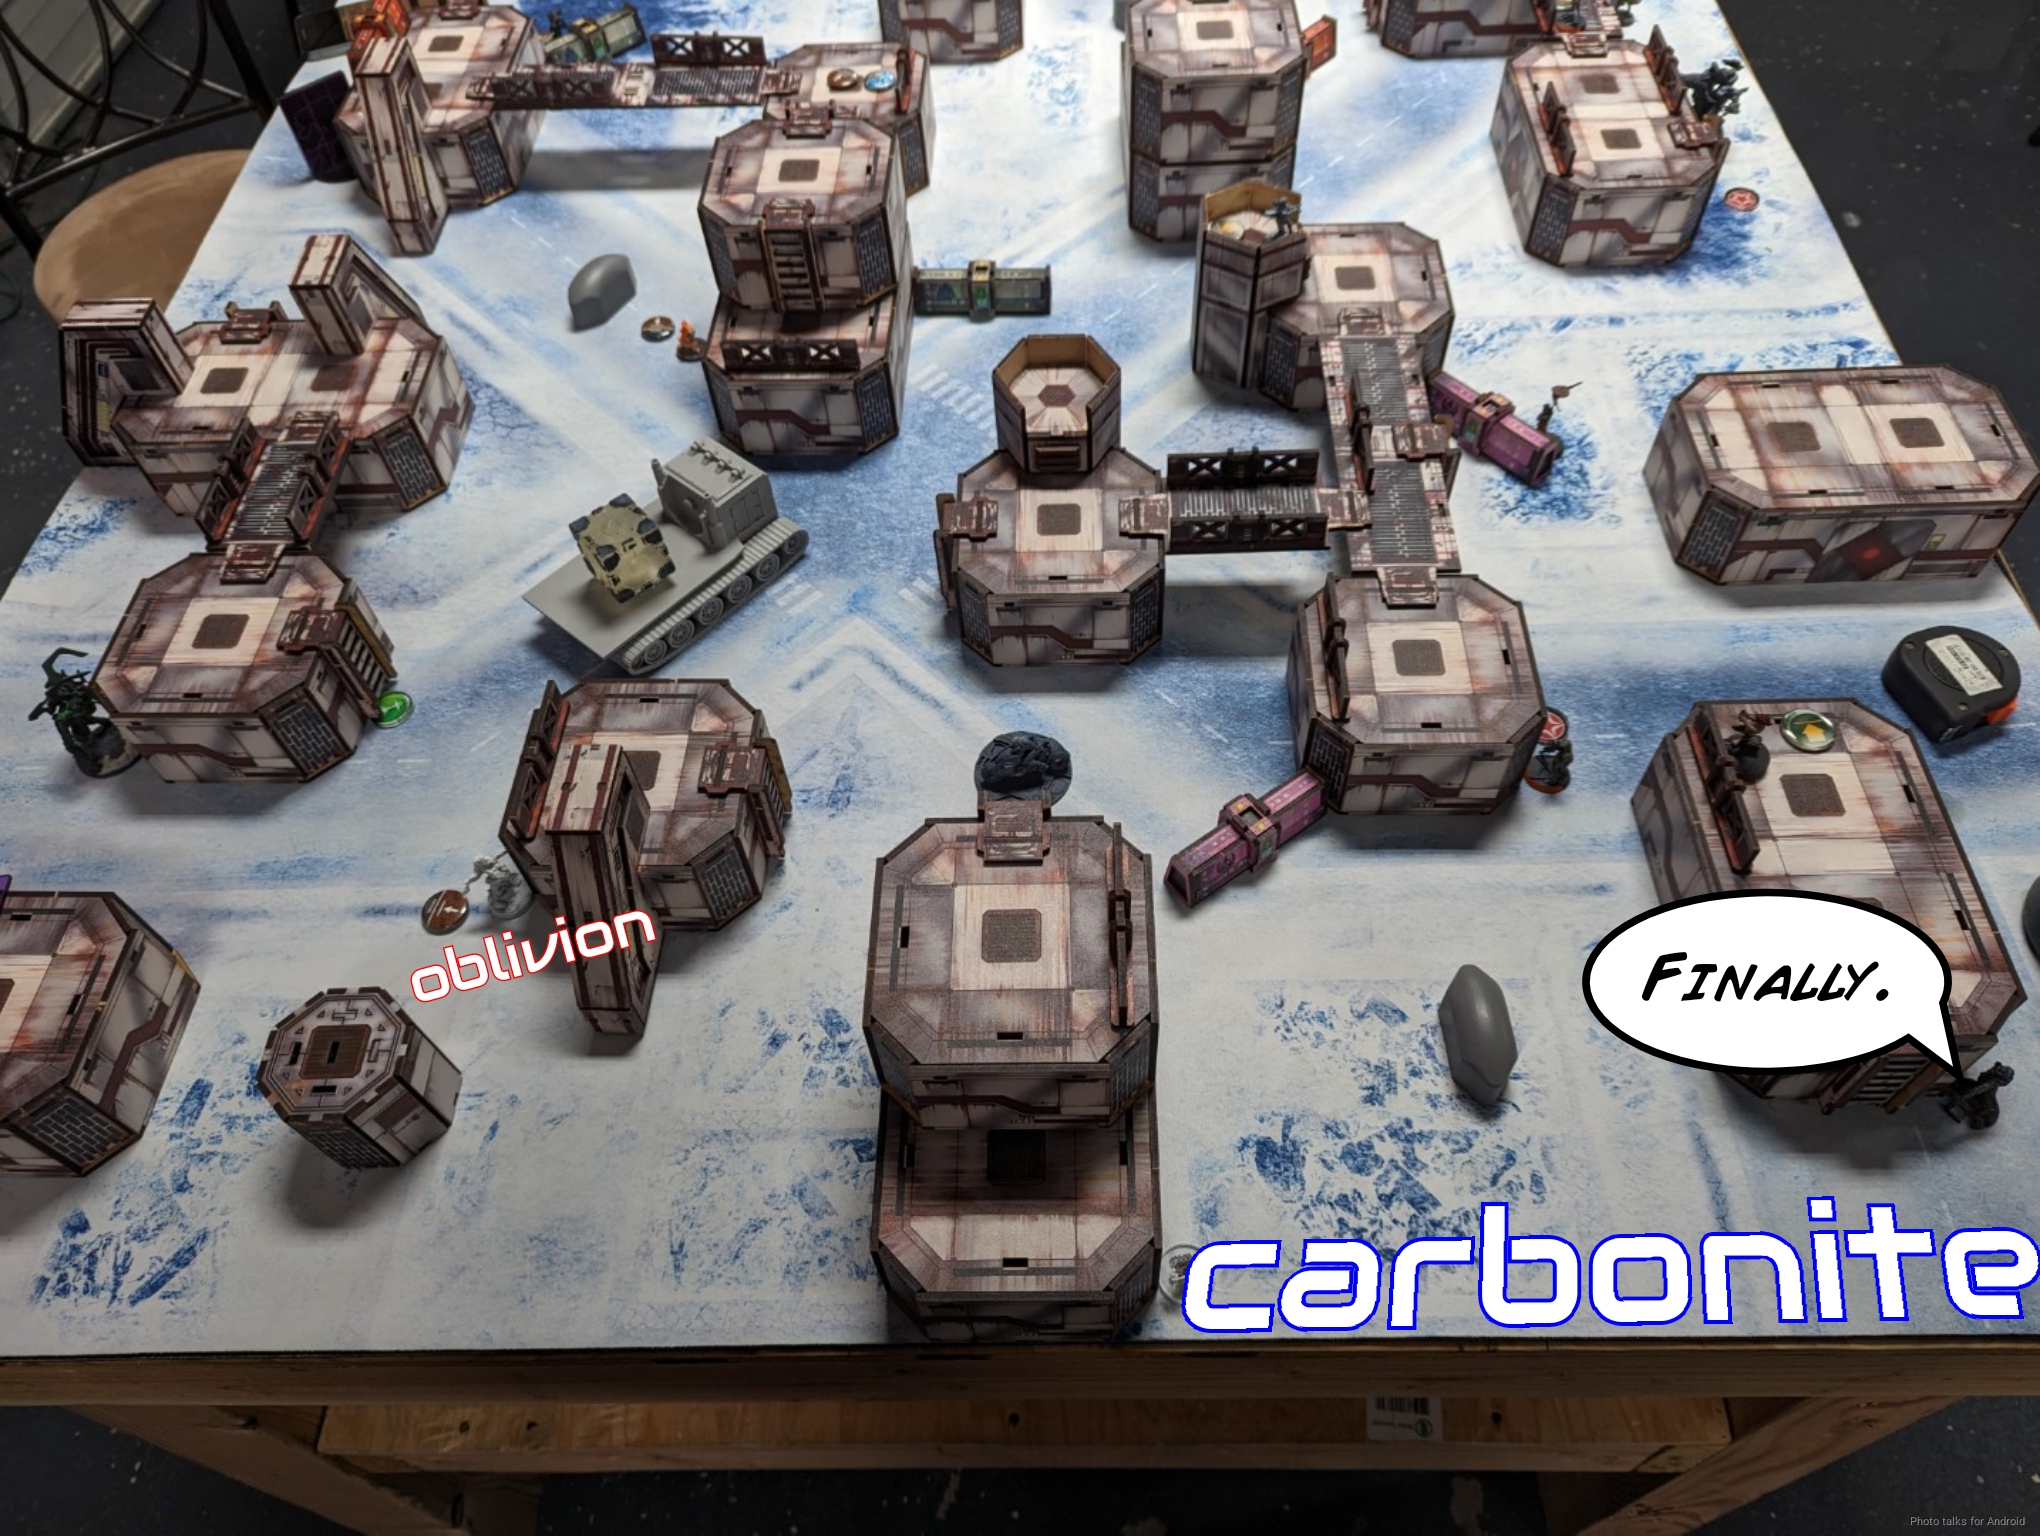
I take the opportunity to move the Zondnautica away, while the Yaogat is immobilized, and somehow manage to possess the nearby Xeodron. Well, my luck is changing it would seem.
The Xeodron is within a move of Sheeskin, so I shift straight back and throw two burst at her and one burst at the Yaogat, knocking out the Yaogat but failing to wound Sheeskin.
I’ve got one order left on the Xeodron, so I push to see around the corner Sheeskin failed guts behind and get a wound on her before I have to pass turn.
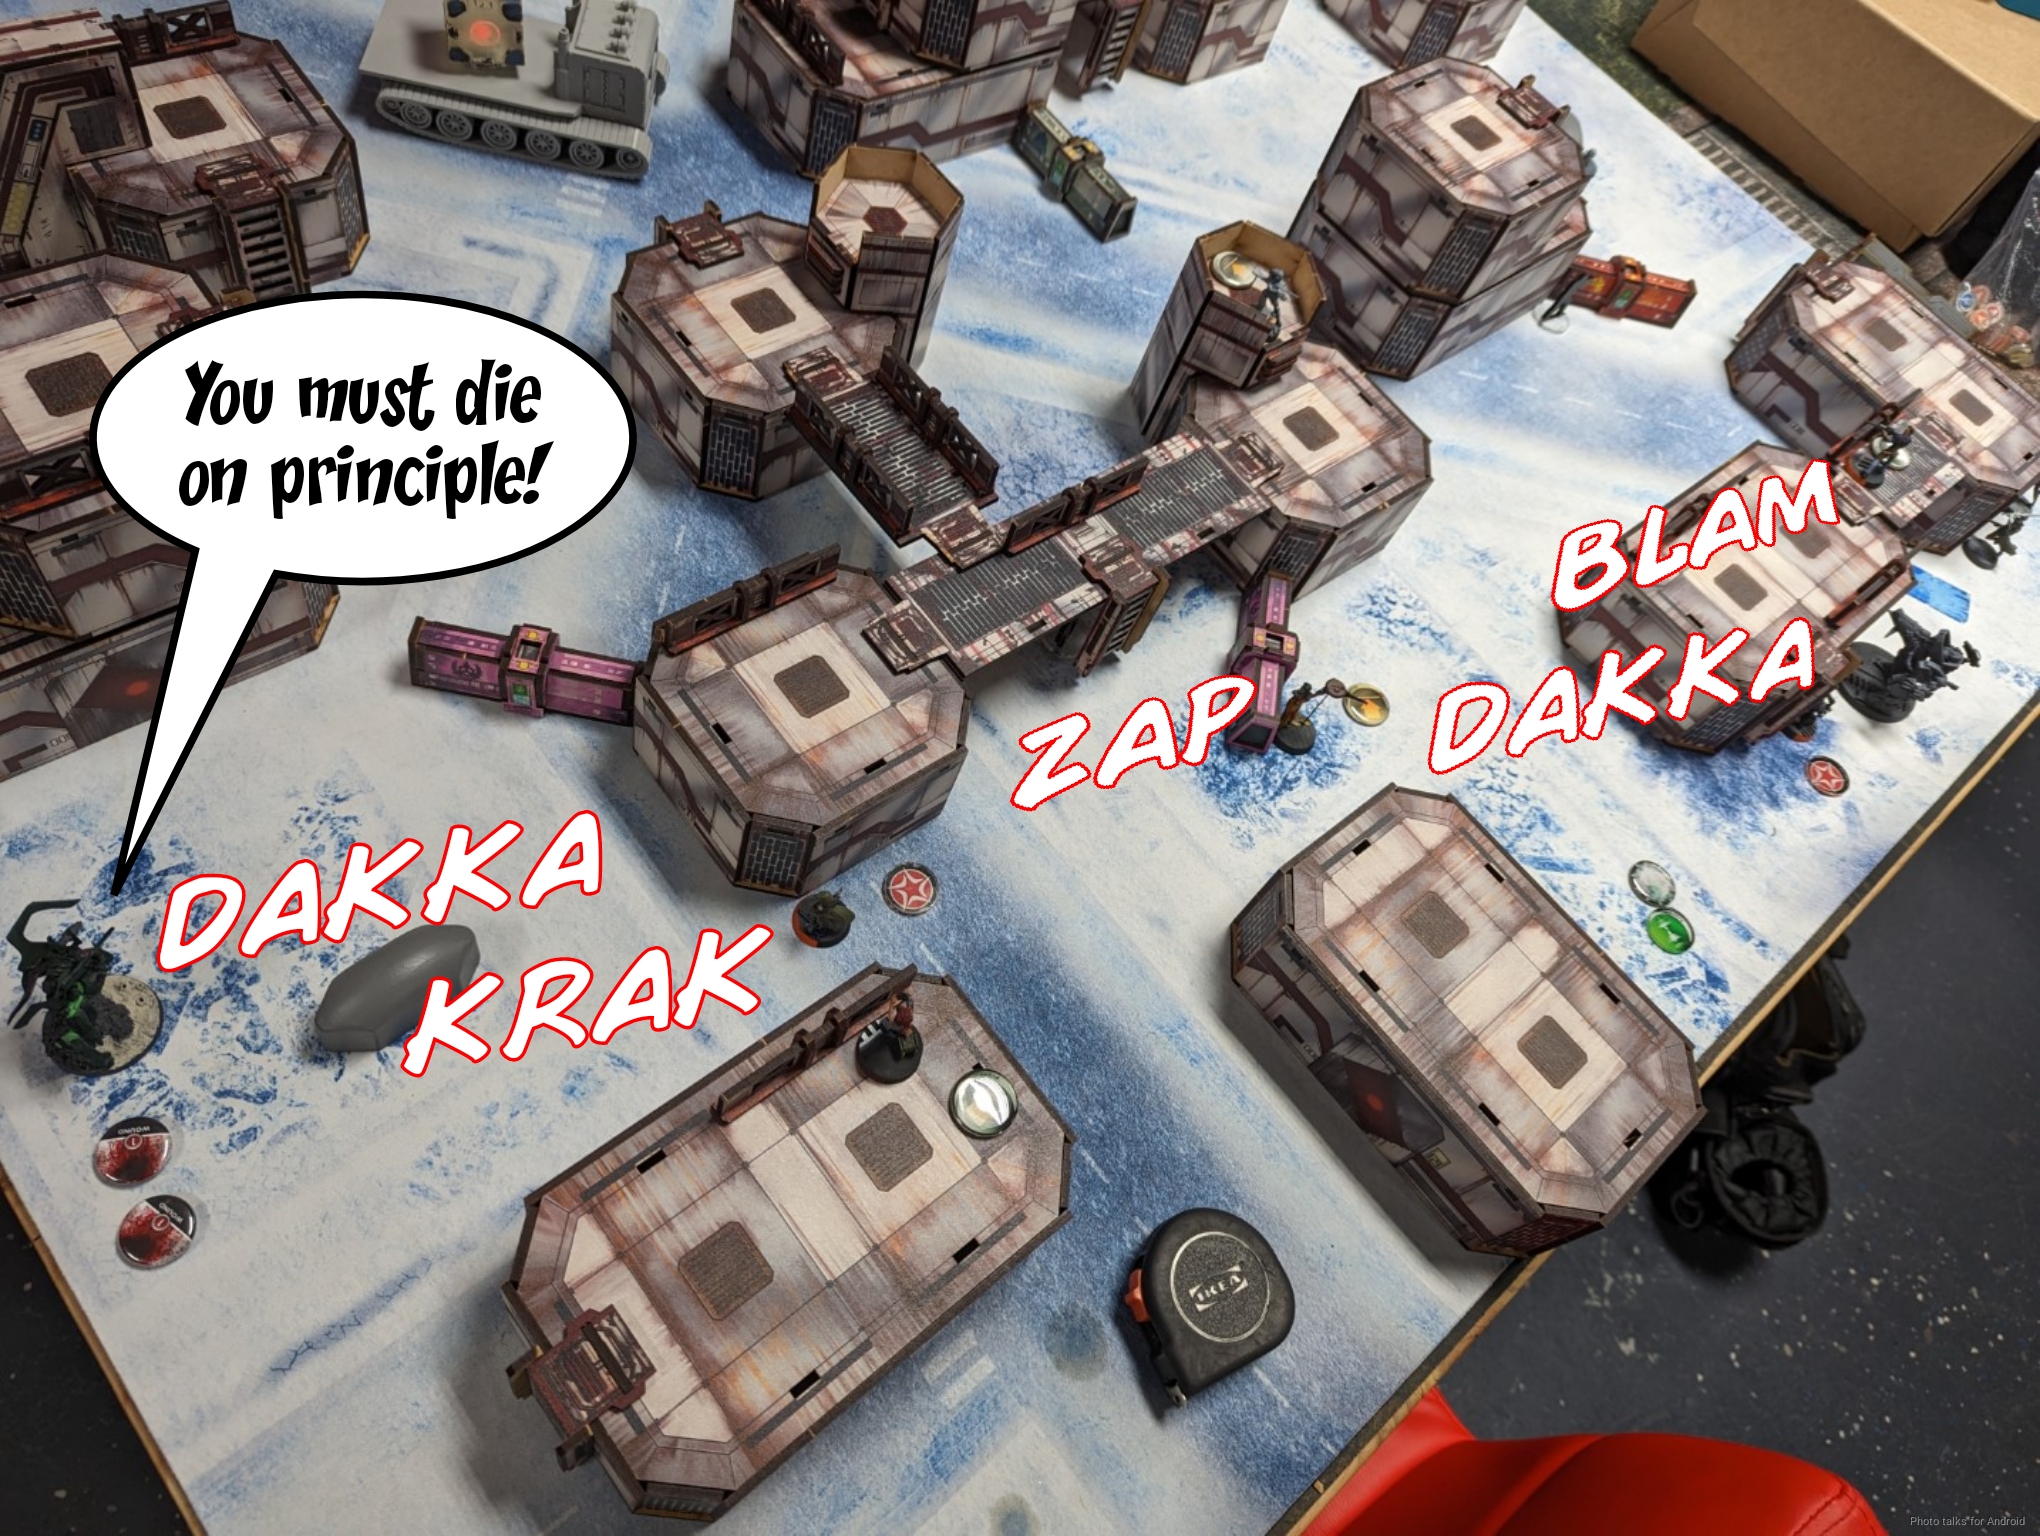
Bottom of 1 – Combined Army

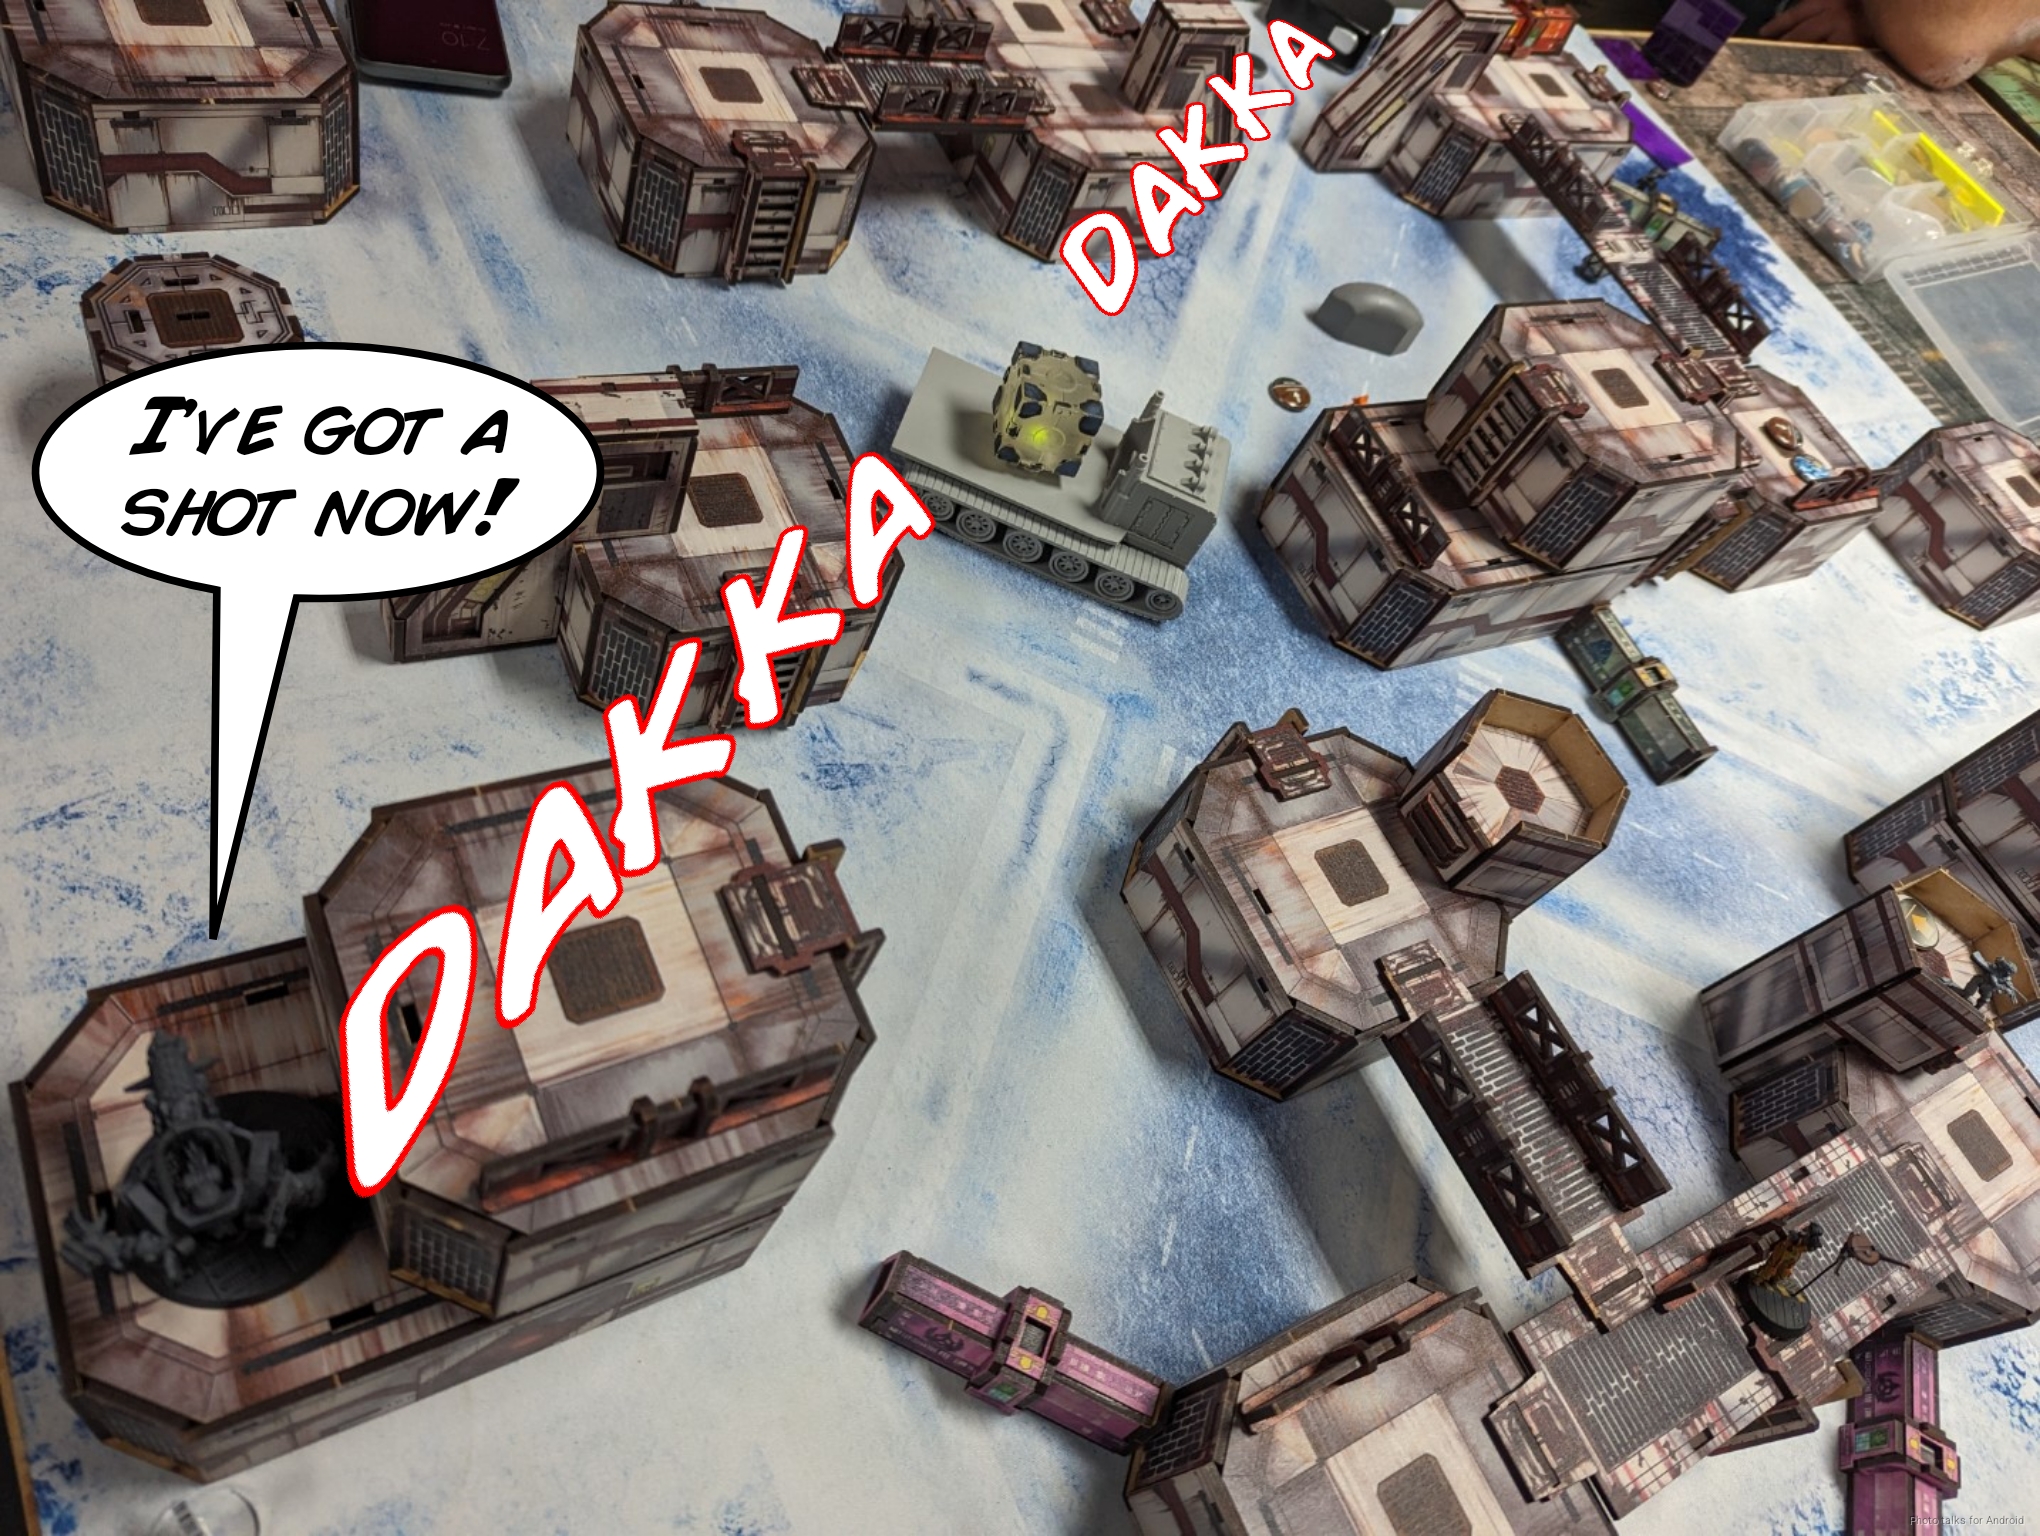
Birman of course immediately spends his command token to retake the Xeodron. As for my situation, it could be worse… like when the Bultrak one-shots the Zondnautica, which I couldn’t get far enough back to hide. I, as expected, fail the smoke roll.

This opens a forward path for the Xeodron. It takes the long way ’round the repeater and hops up on the building near my leftmost designated target. It sees both the Puppetmaster (who was out to discourage AD from walking on) and the Custodier. The Puppetmaster gets pasted, but somehow the Custodier does a wound to the Xeodron.

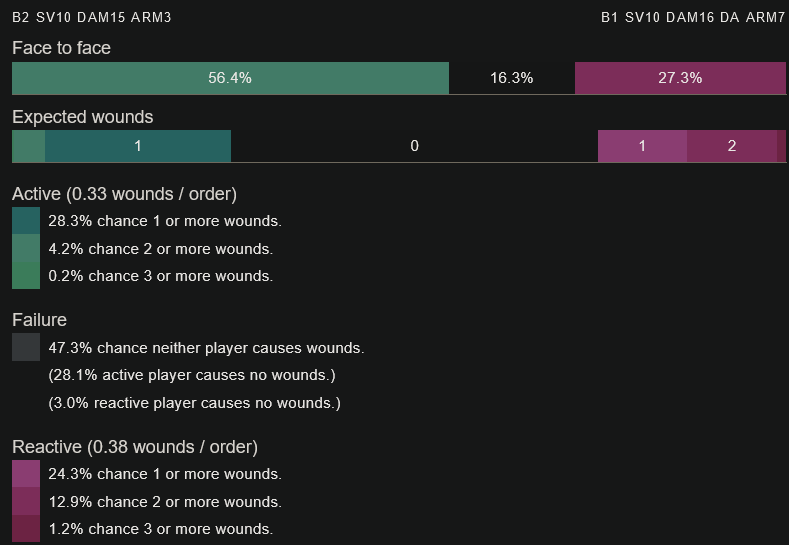
Birman keeps advancing, this time splitting burst between the Designated Target and the Custodier. For maximum lulz, I shoot the HVT’s stun pistol at the Xeodron while also returning fire with the Custodier. Again, the dice are quite good for me. In the cold light of math, we see why:
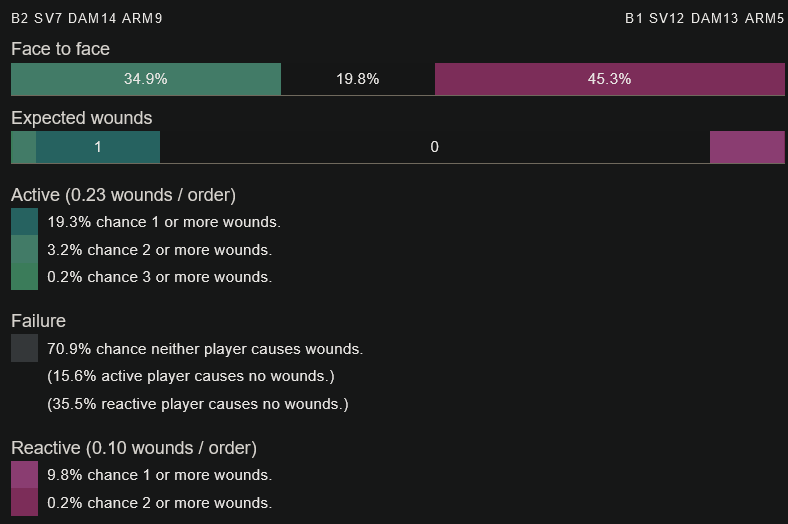
Very high likelihood of nothing happening, but a 10% chance of good things!
Good things happen, and not only does the Custodier do another wound, the HVT also passes ARM! Well, with that, Birman decides that the Custodier’s gotta go, on principle, and moves to get her out of cover. This does open him to a world of AROs, and the Xeodron is stopped by an EXP round from the Dolphin, with the Custodier surviving.
The Bultrak takes one more shot, this time on the Dolphin, but the bullets bounce off and the turn passes back to me.
Turn 2
Top of 2 – Nomads
I move the Moderator to group 1 for more orders, and then attempt to make an engineer roll with Zoe to fix her isolation… and roll a nat 20. Wrong game for that! The Custodier also tries and fails.
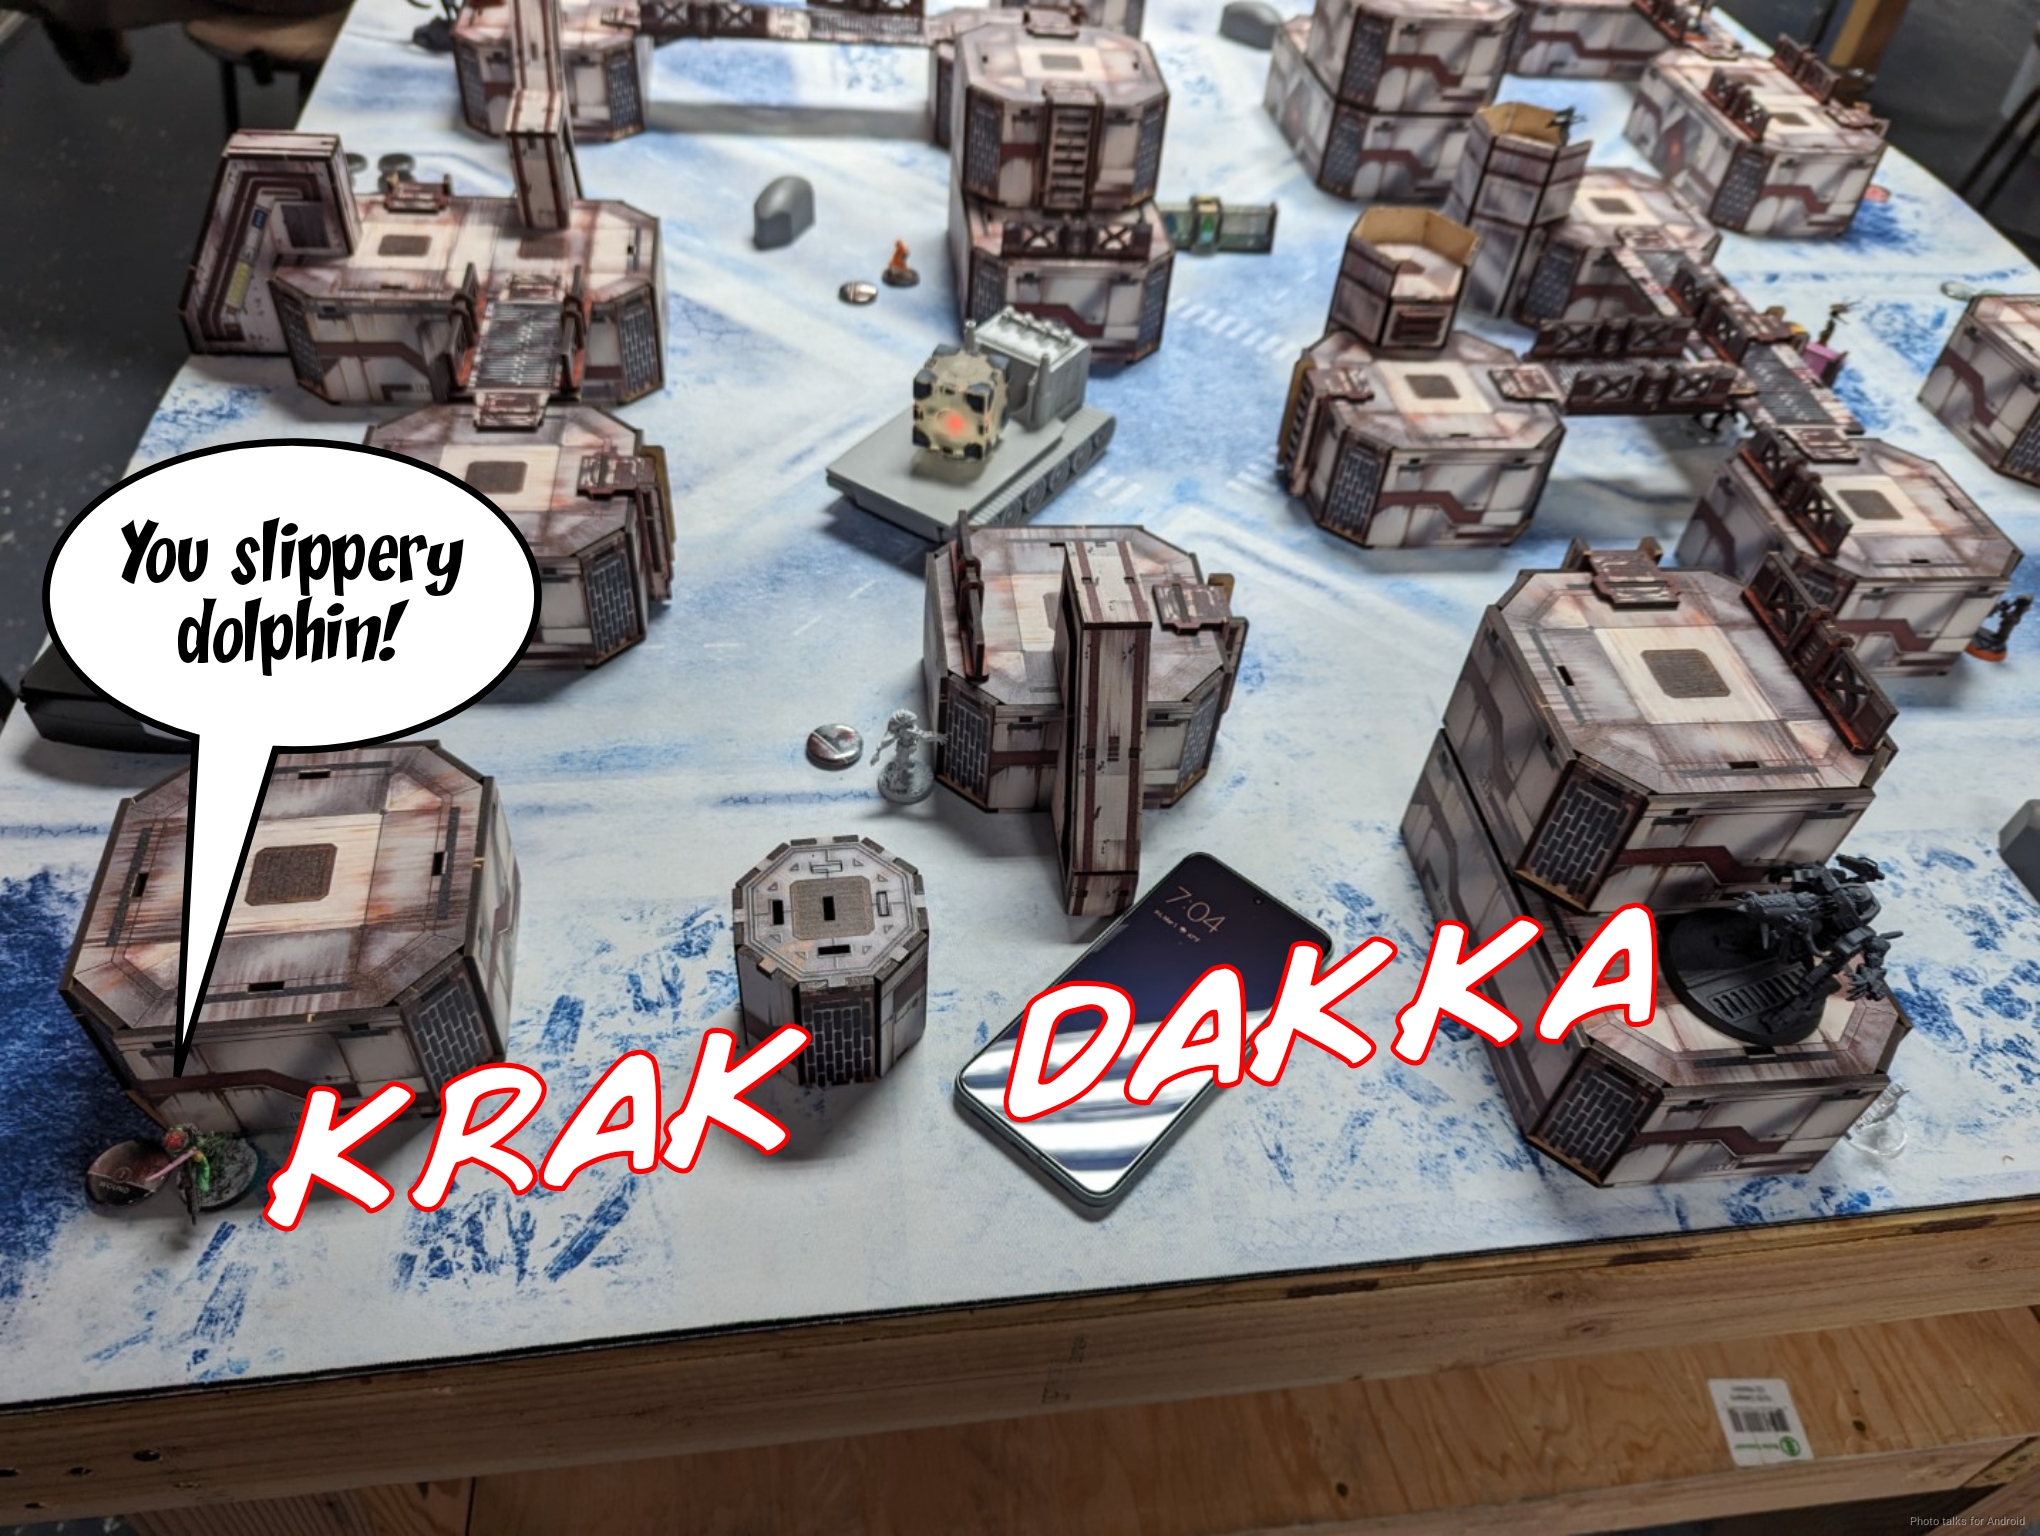
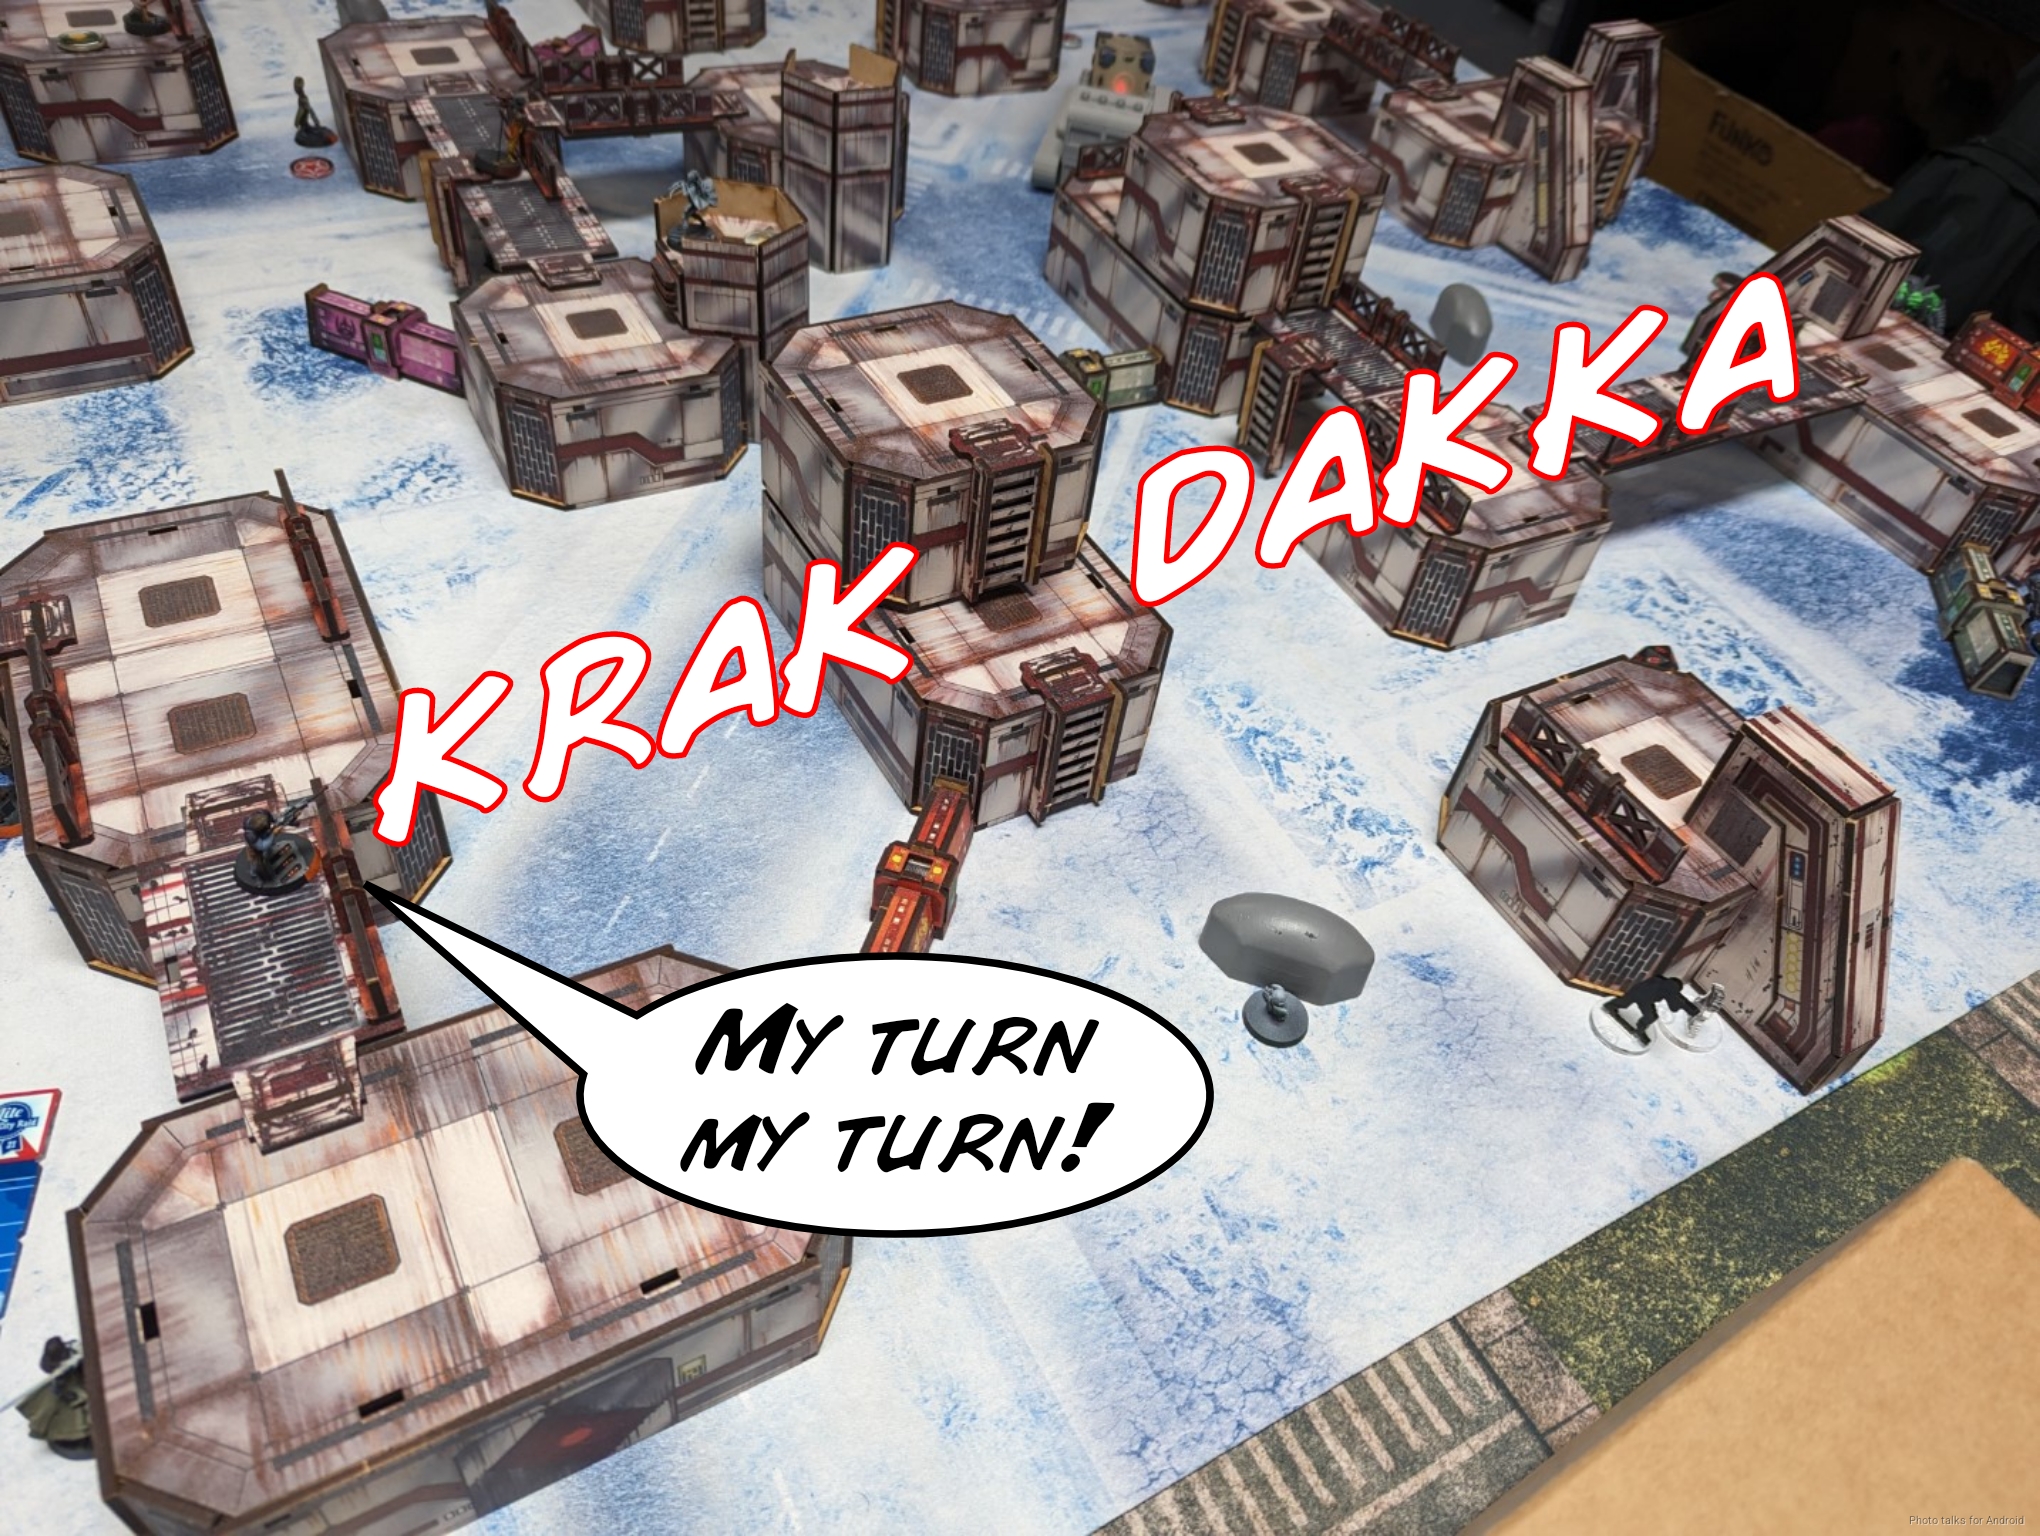
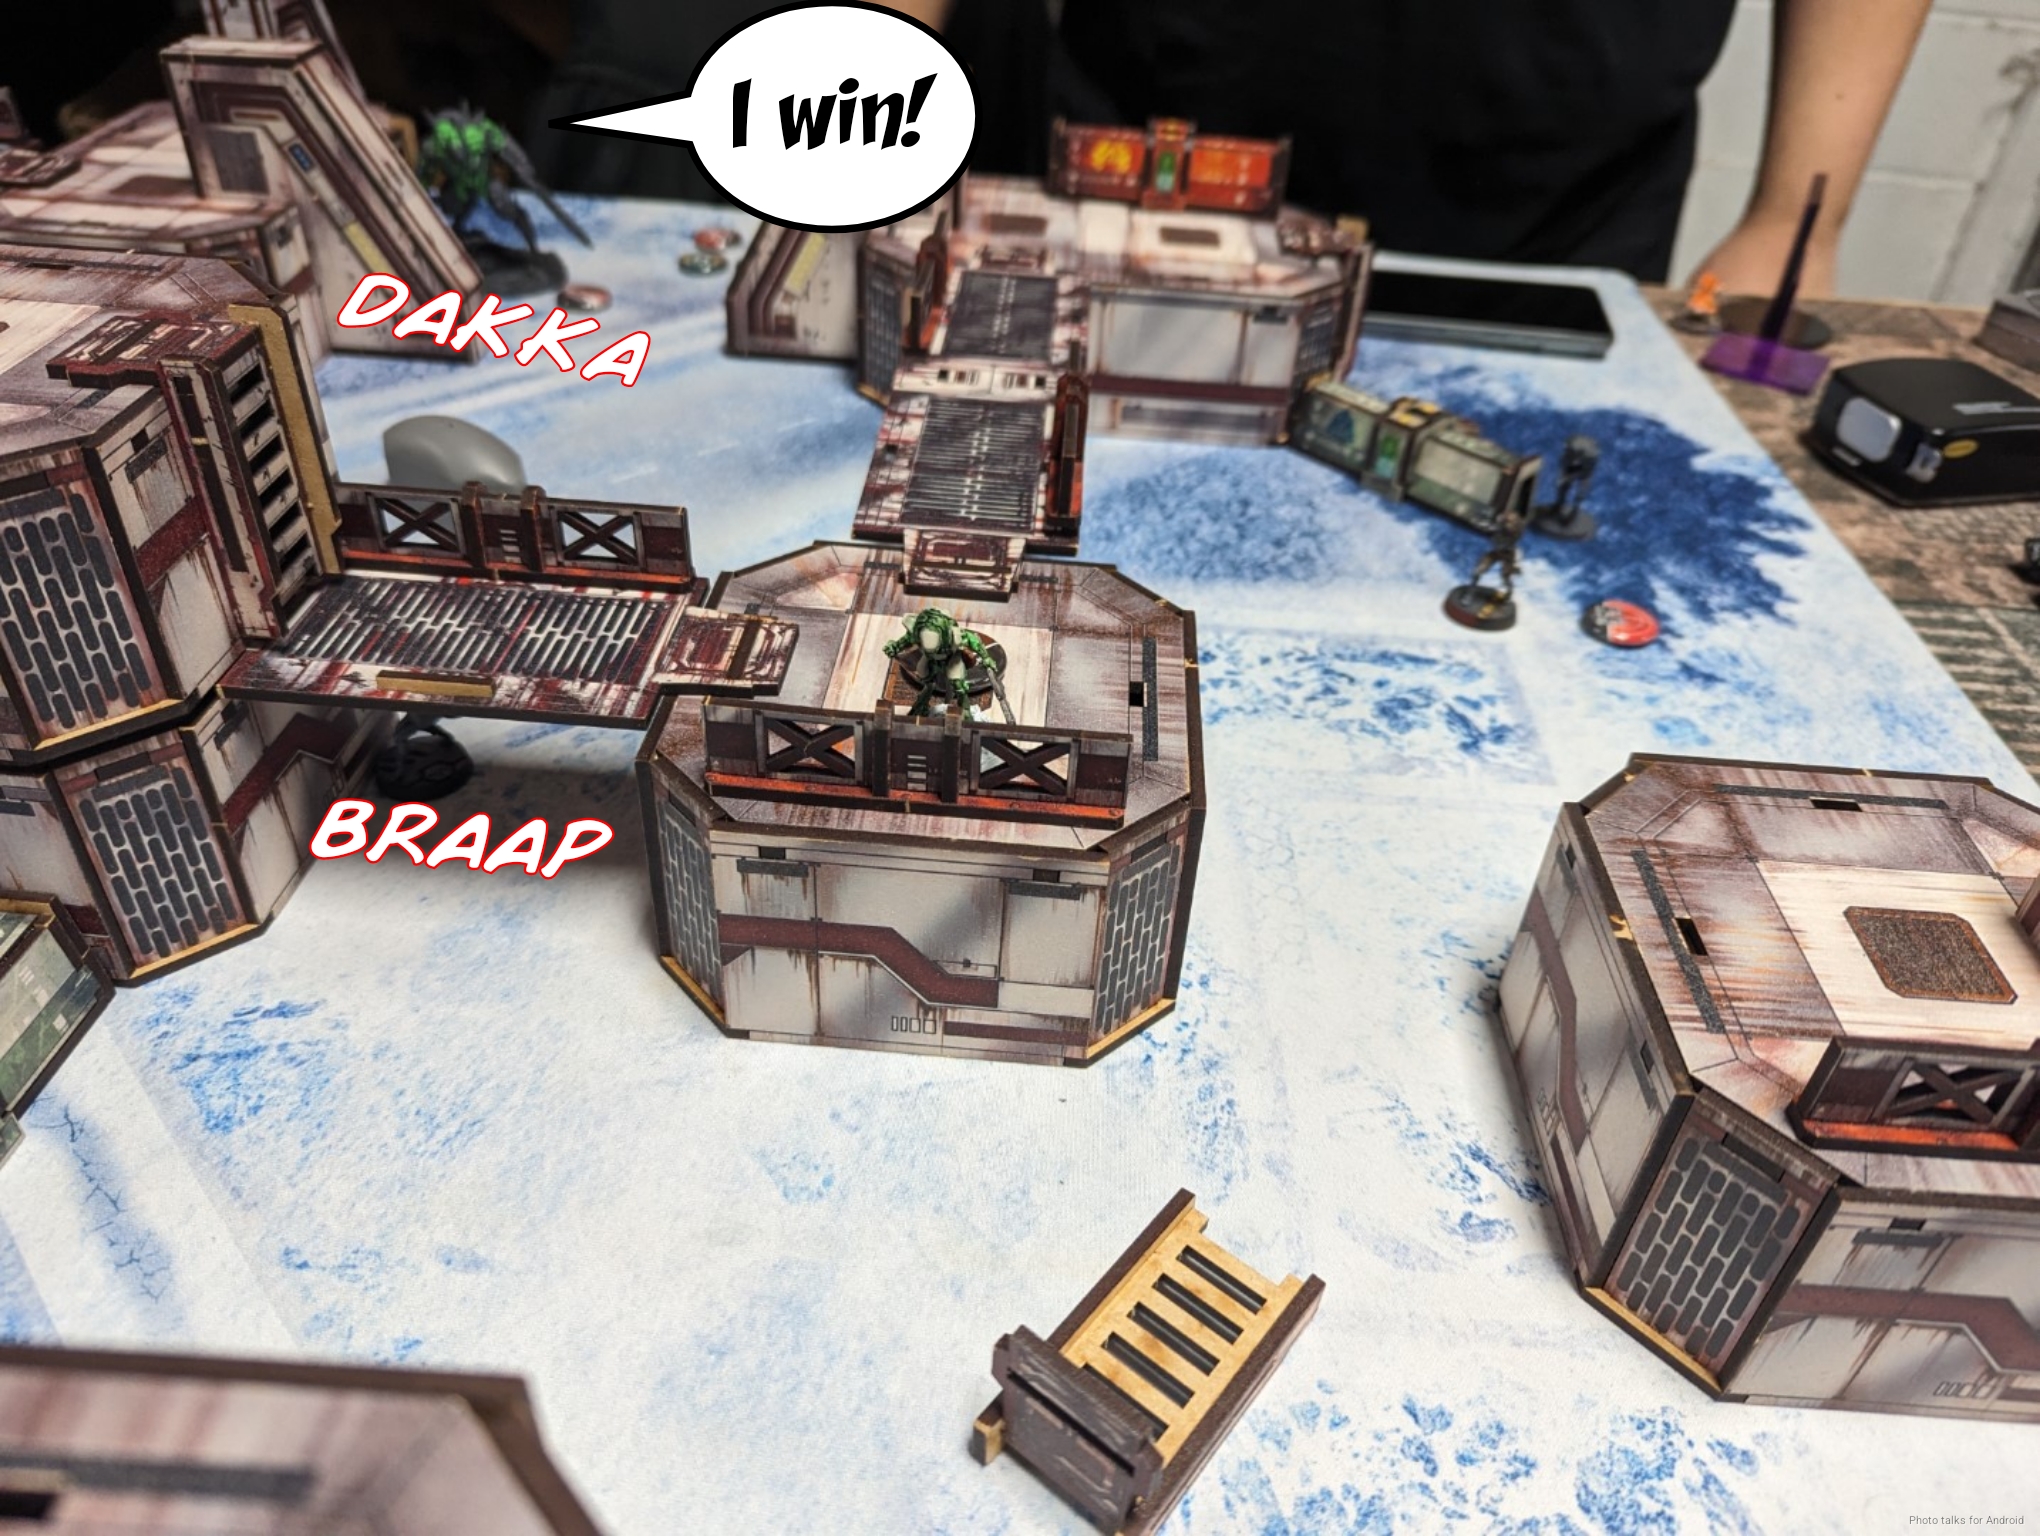
Well, can’t get too upset, Sheeskin is visible to an elevated position in the midfield, and the Dolphin moves pretty fast! I move across the table, hop on a building, and delete her, securing me the Lieutenant kill.
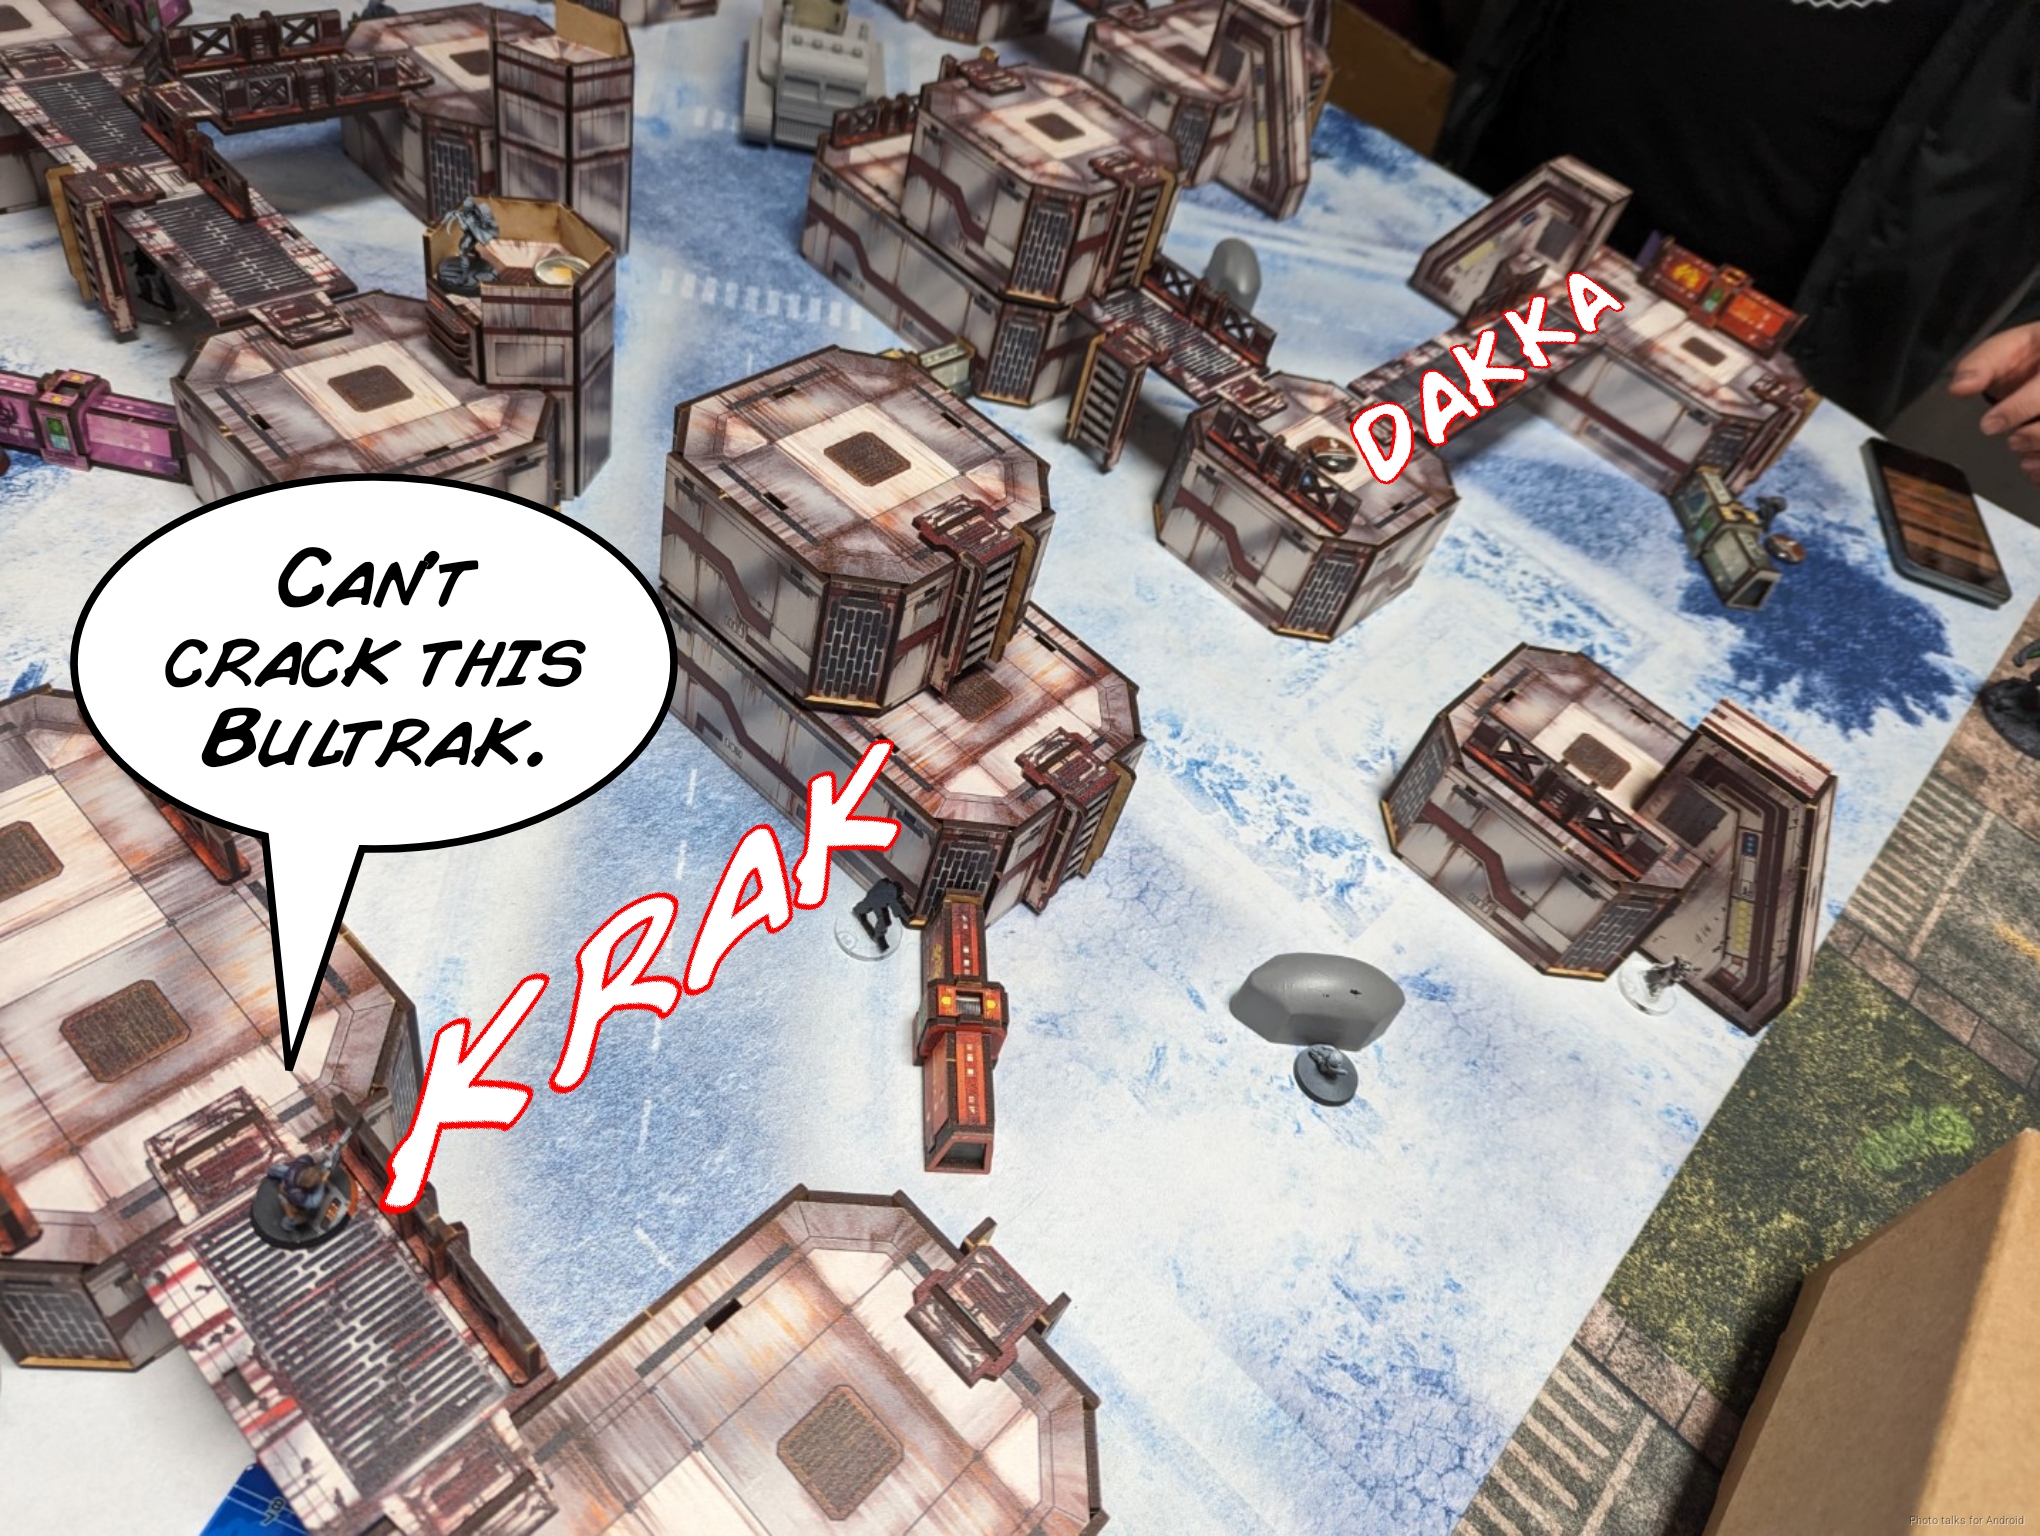
I don’t have much in the way of other things to do at the moment, given that I had to spend a fair amount of orders on moving the Lizard into position. I’d like to engage the Bultrak, but the Lizard can’t see it. I decide to use the Moderator to try and force the Bultrak to shift into view. The odds are pretty even, all things considered:
They end up going my way, i.e. I don’t die, and the Bultrak shifts after passing ARM.
I take the now-available shot with the Lizard, but fail to wound…
and then try again with the Moderator, failing to wound again.
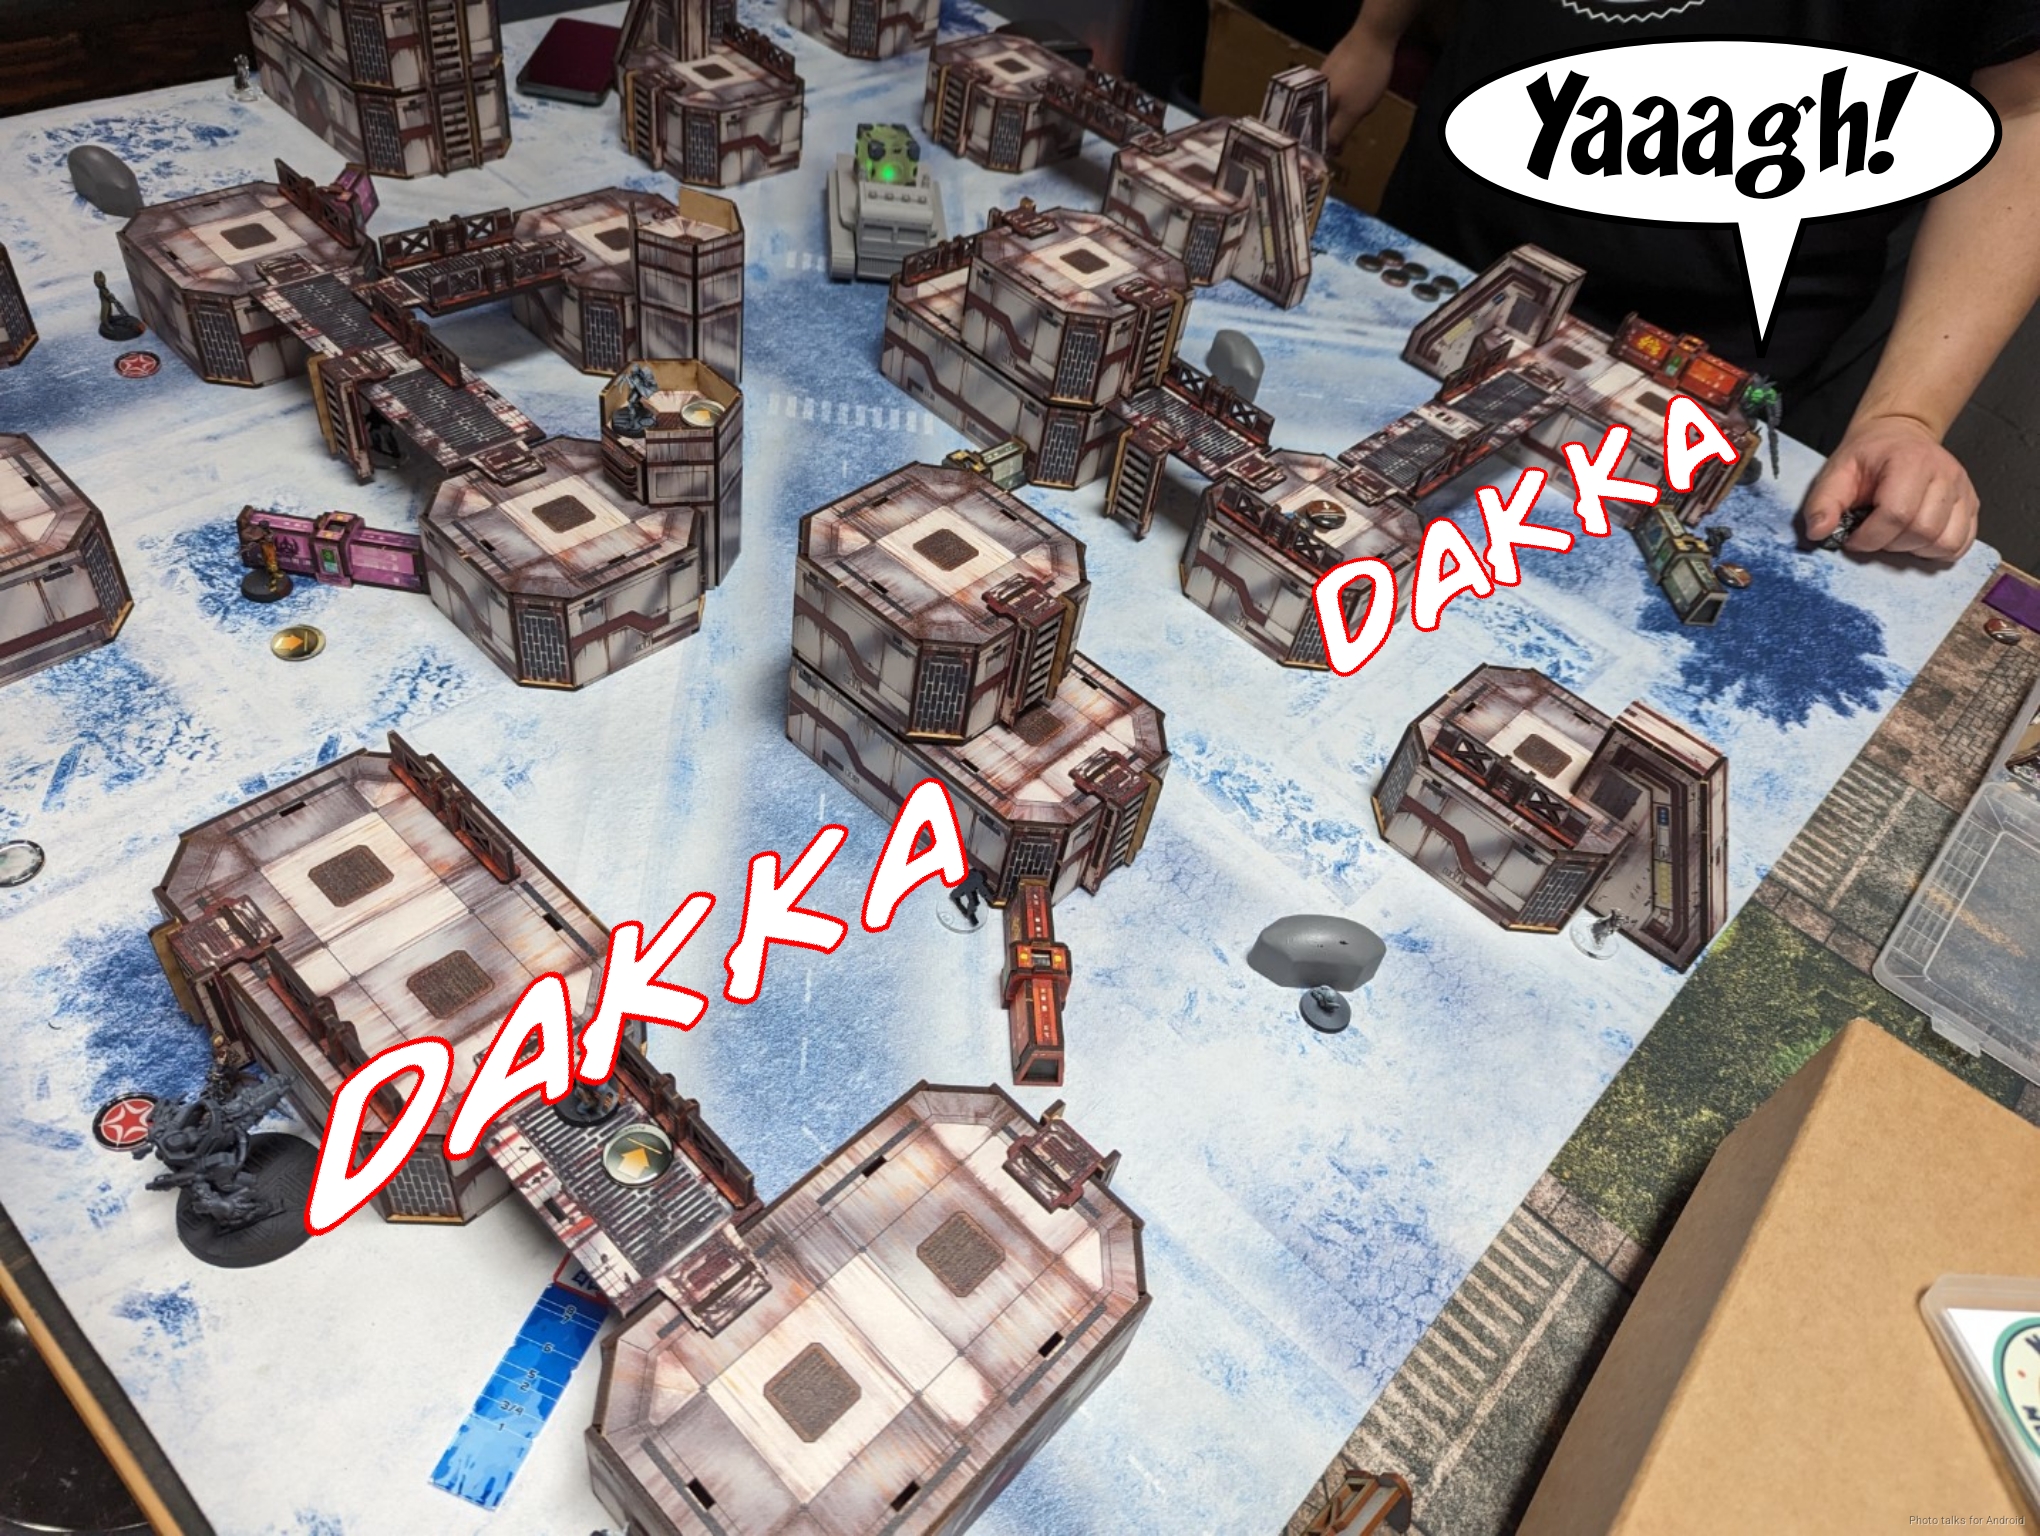
Bottom of 2 – Combined Army
The Bultrak pushes forward and challenges the Moderator, dropping it.
It keeps pushing, doing a wound to the Dolphin before I break LoF.
Birman finally takes out the Custodier by Berserking her with his Taigha, losing it to an ARO from the Dolphin.
Turn 3
Top of 3 – Nomads
Well, Birman chose the Bultrak as his new lieutenant, so I have to figure out some way of dealing with it. I start by engaging it with the Dolphin’s Tac Aware, but can’t get any damage through.
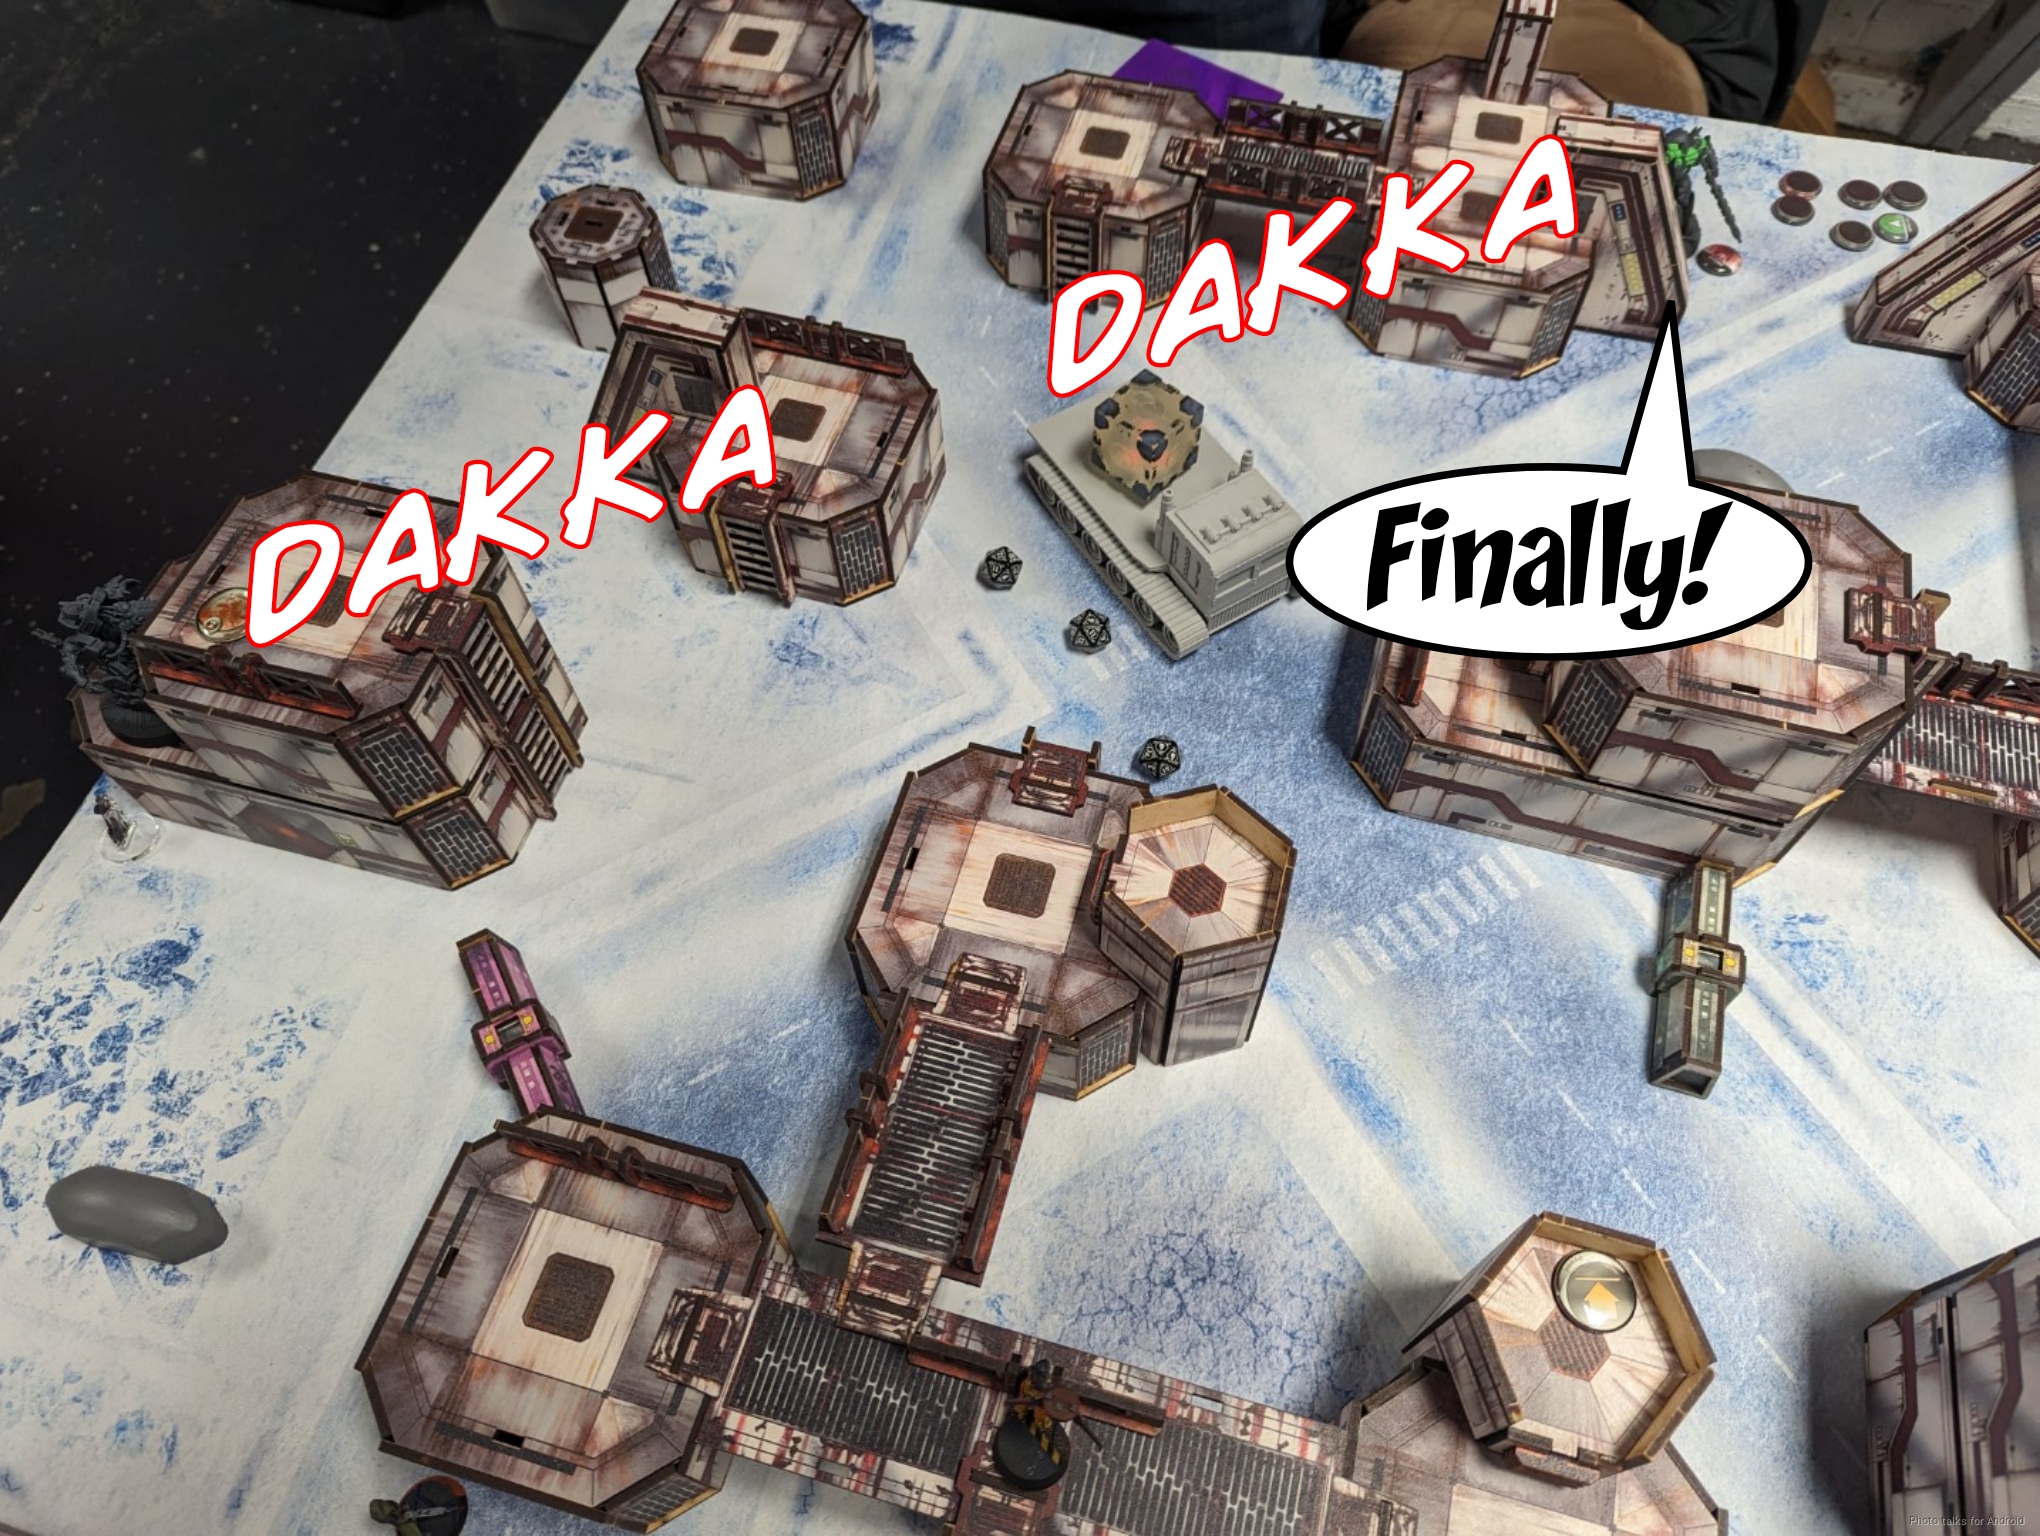
I still need to deal with the last Designated Target, so I drop a Koala with the Moran. The nearby Malignos spotlights…
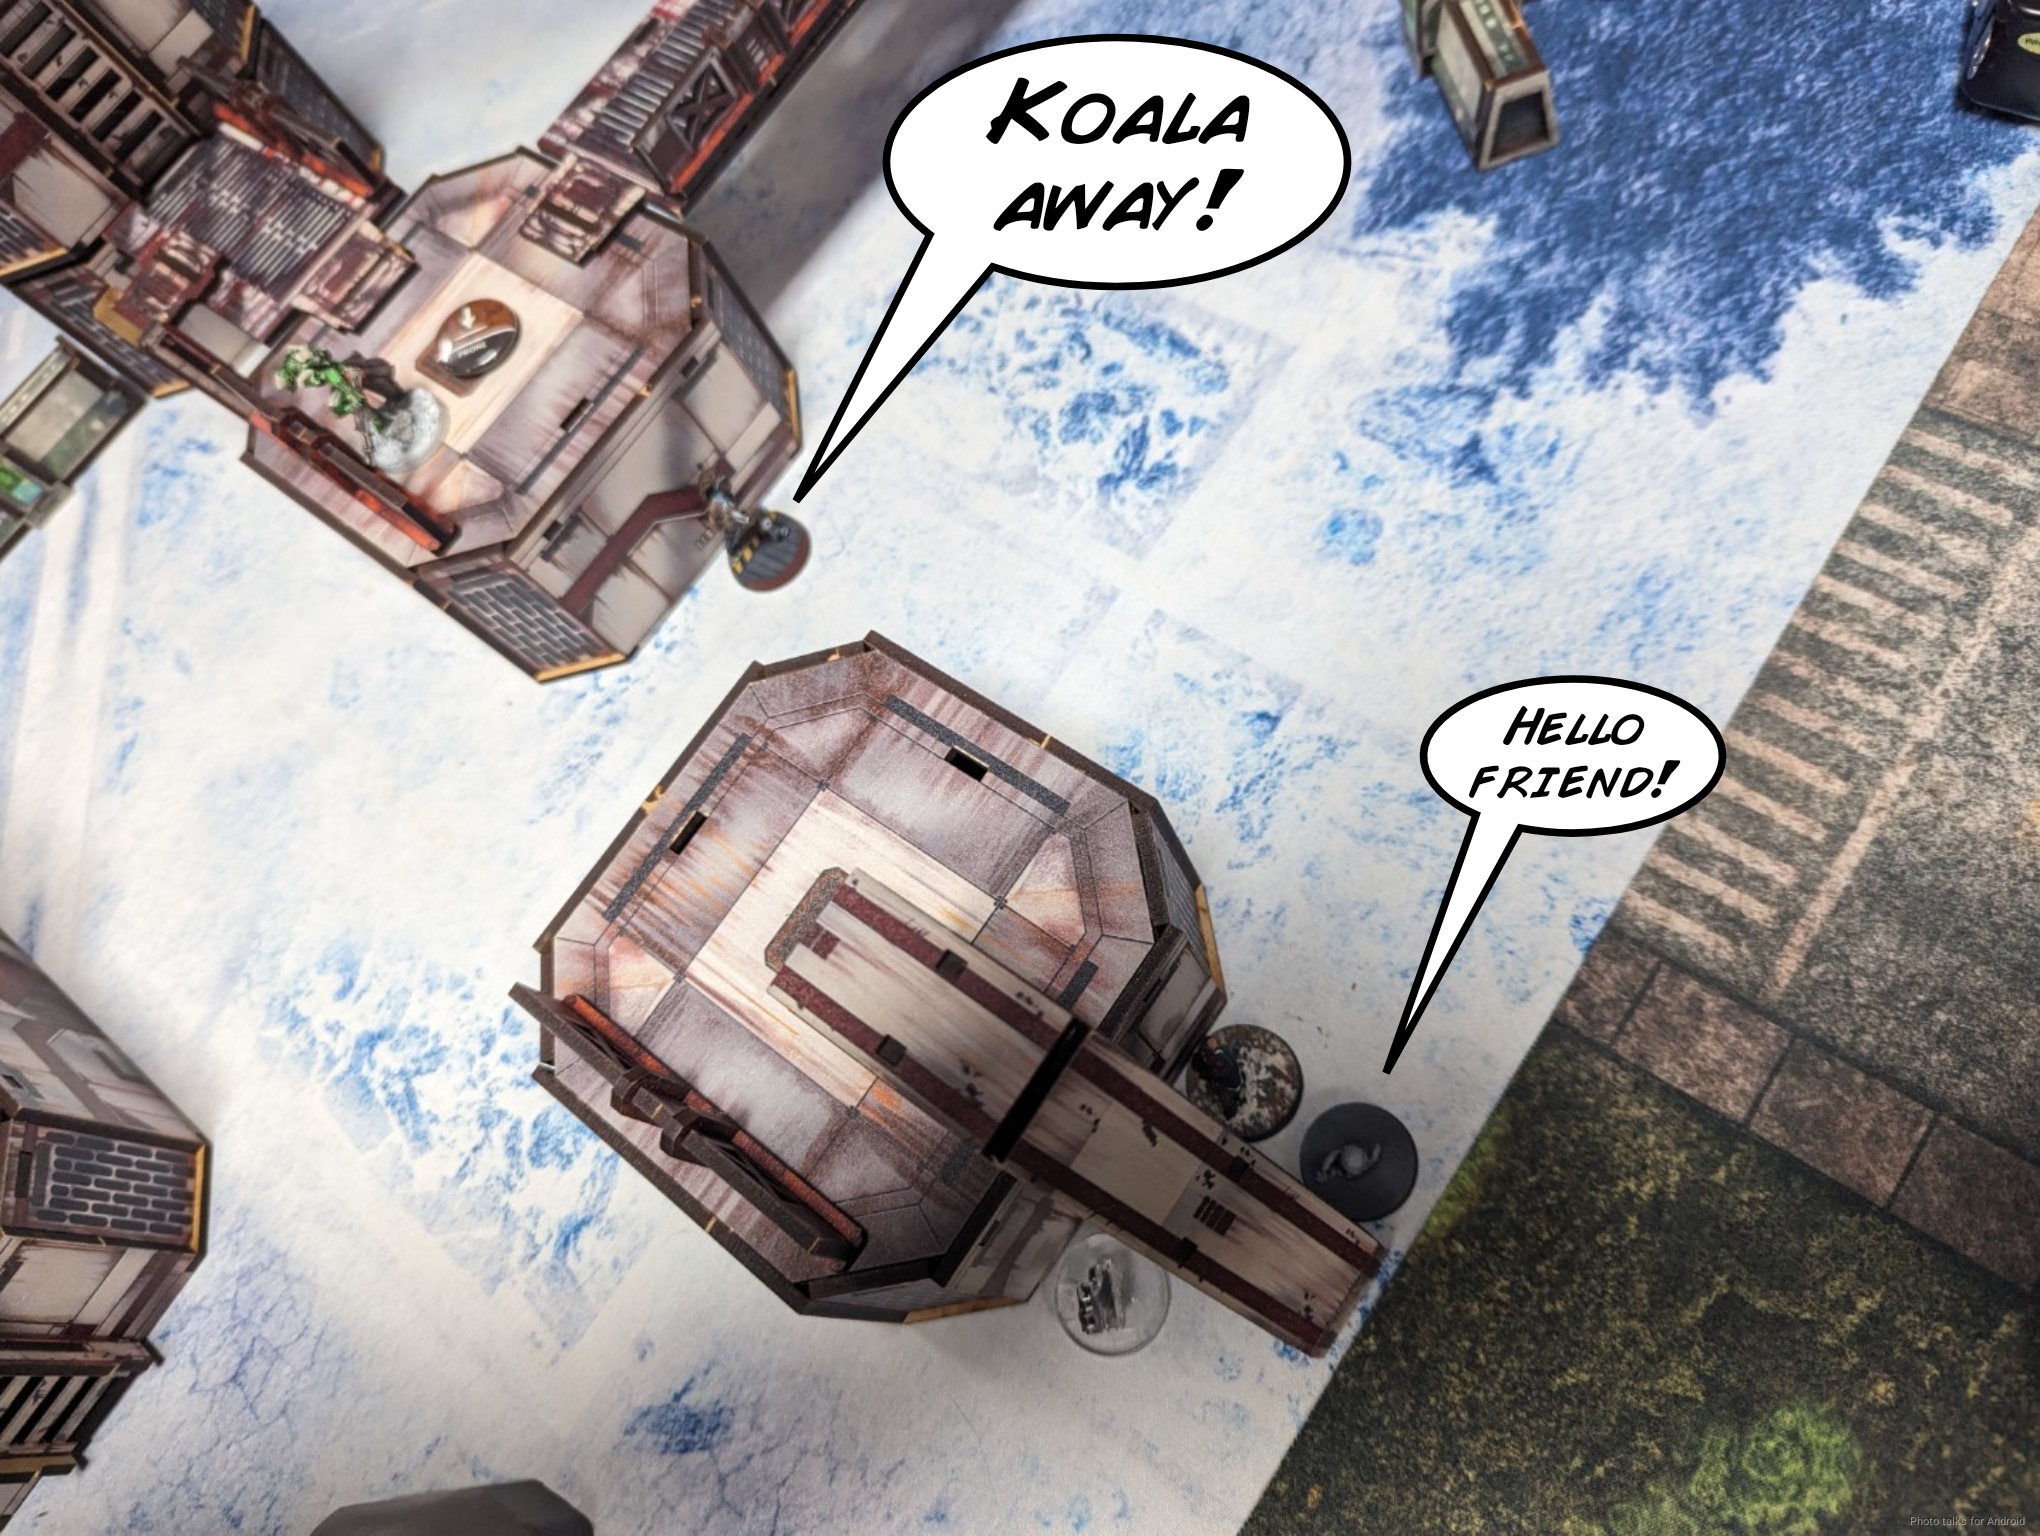
but the Koala and some combi-fire from the Moran take out the last Designated Target. I do take a shot from the Bultrak as I do this, but it whiffs.
I’ve got just enough orders to try and gun down the Bultrak with Aida, who rolled a MULTI Rifle on her booty roll. She makes a go of it, doing a wound and granting an opportunity for the Bultrak to fail guts into cover.
Bottom of 3 – Combined Army
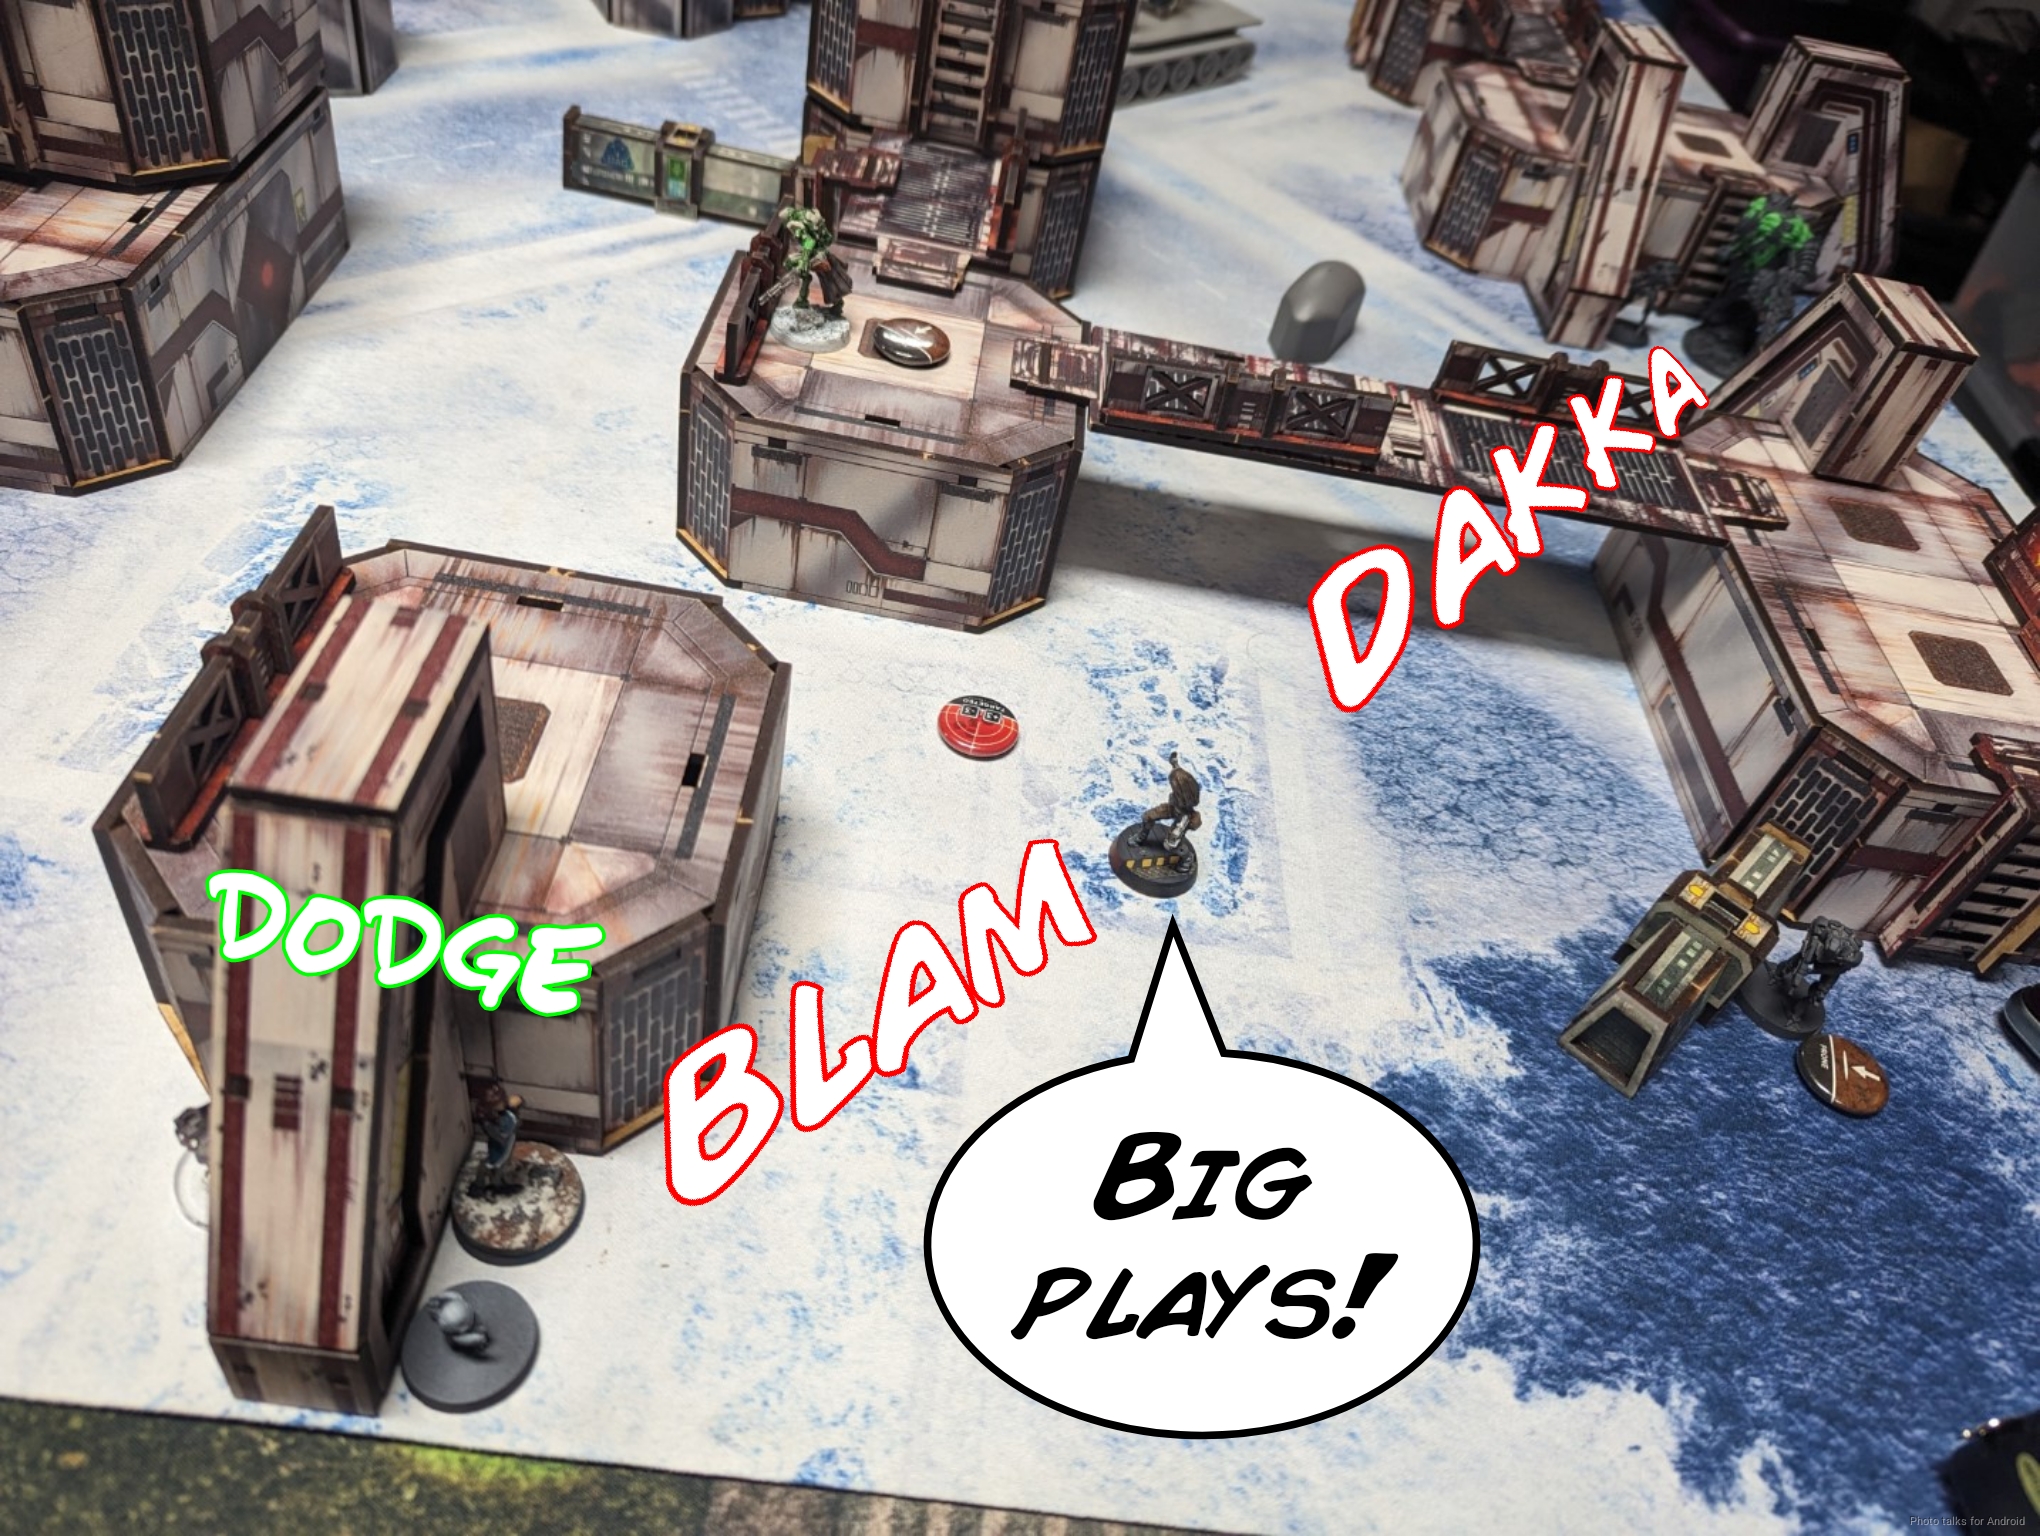
The Unidron K1 takes out the Moran, which is fine.
I lose both Aida…
and the Dolphin to the Bultrak.
That last kill swings it from 10-0 to a
7-3, 102-145 Nomad Victory!
Post Game Analysis
Birman always asks me after our games what he could have done better. Here’s a brief summary of what we went over. One easy fix was to hide Sheeskin during his first turn–leaving her out for me to just gun down was a big mistake. Of course, he wasn’t expecting me to move the TAG diagonally across the table and said as much, so there’s that. Still, when the mission is all about killing lieutenants, moving your lieutenant to a spot where it can’t be shot at is a good idea.
We agreed that he was way too aggressive with the Xeodron. He felt confident in his ability to just gun down all my combi-armed models and then tidy up the Designated Target on my left, but the Mim -6 on the Custodier really helped out. Those odds are pretty excellent for me–essentially a full 80% chance for Birman to have to spend another order, which is really great. I think he probably should have come around the side of the building and engaged just the Designated Target for the points first, then gone after my models. Keeping the Xeodron alive is also really important, especially since it has a Blitzen and can deal with my TAG pretty effectively.
I think he could have used the Unidrons to better effect too, especially the Spitfire-armed one. If the situation were reversed, I would probably have rushed me with the spitfire Unidron, as that’s low-risk and low points in comparison. It can even keep going if it takes a bad hit, so it can just walk past mines and Koalas, even Aida’s viral mine. Risking the Xeodron was probably a bit much so early in the game, clear out some of my defensive network first.
So in short, I think some more focus on low-risk plays to get mission objectives done, and then make sure to budget an order or two to make it hard for me to accomplish objectives (hiding Sheeskin, for example) would have helped a lot. I do think making sure to take out the Zondnaut was really important, so definitely a good call there.
With regards to the deployment of Sheeskin near the Xeodron, I think the deployment zone made it impossible to not have it be dangerous for Sheeskin, so screening with the Yaogat and covering the approach with the Bultrak and the Taigha was really good. I gambled on the pitcher and it worked out.
As for me, I think I should have done a coordinated hacking attack on the Yaogat to force the reset. That would have just been better, and I definitely had the hackers for that. I rarely think about that, probably because I rarely take five hackers. I think I didn’t have a good attack plan on my first turn. I probably should have lead with the Custodier and saved the Zondnautica for later. If I could’ve gotten the pitcher elevated that would have been good too. I need to revisit taking the Custodier by herself in a constructed vanilla list too. Thanks for reading!

Pingback: 2 Fasids Enter, 1 Fasid Leaves – MERC Recon
Yaogat is veteran so can’t be isolated
Yep. I was attempting to Carbonite.
Pingback: Boxed In – MERC Recon
Pingback: Wide Load – MERC Recon