
2 Fasids Enter, 1 Fasid Leaves
While Birman and I were playing a pickup game before the Salem Shitshow 2 really kicked off…
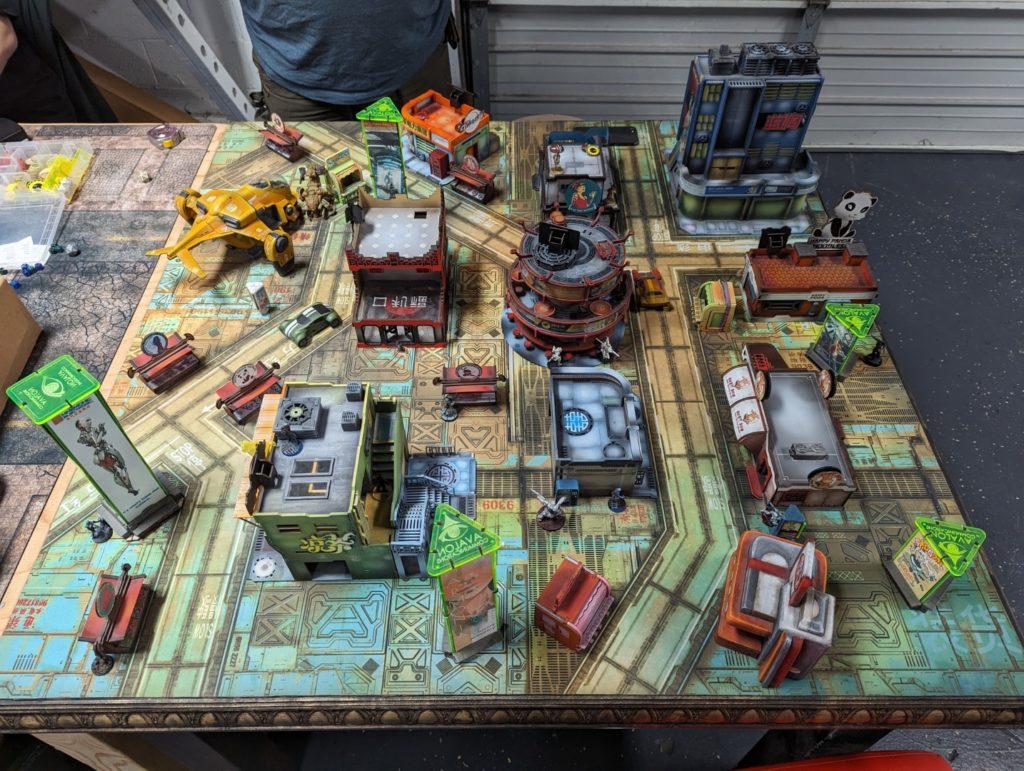
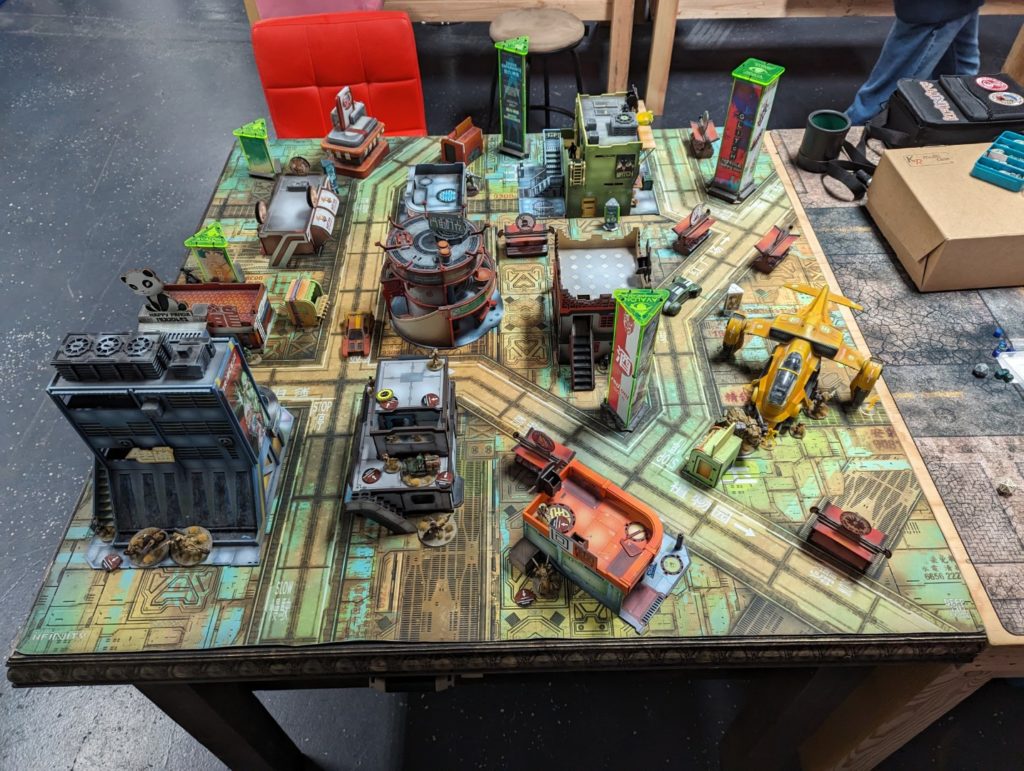
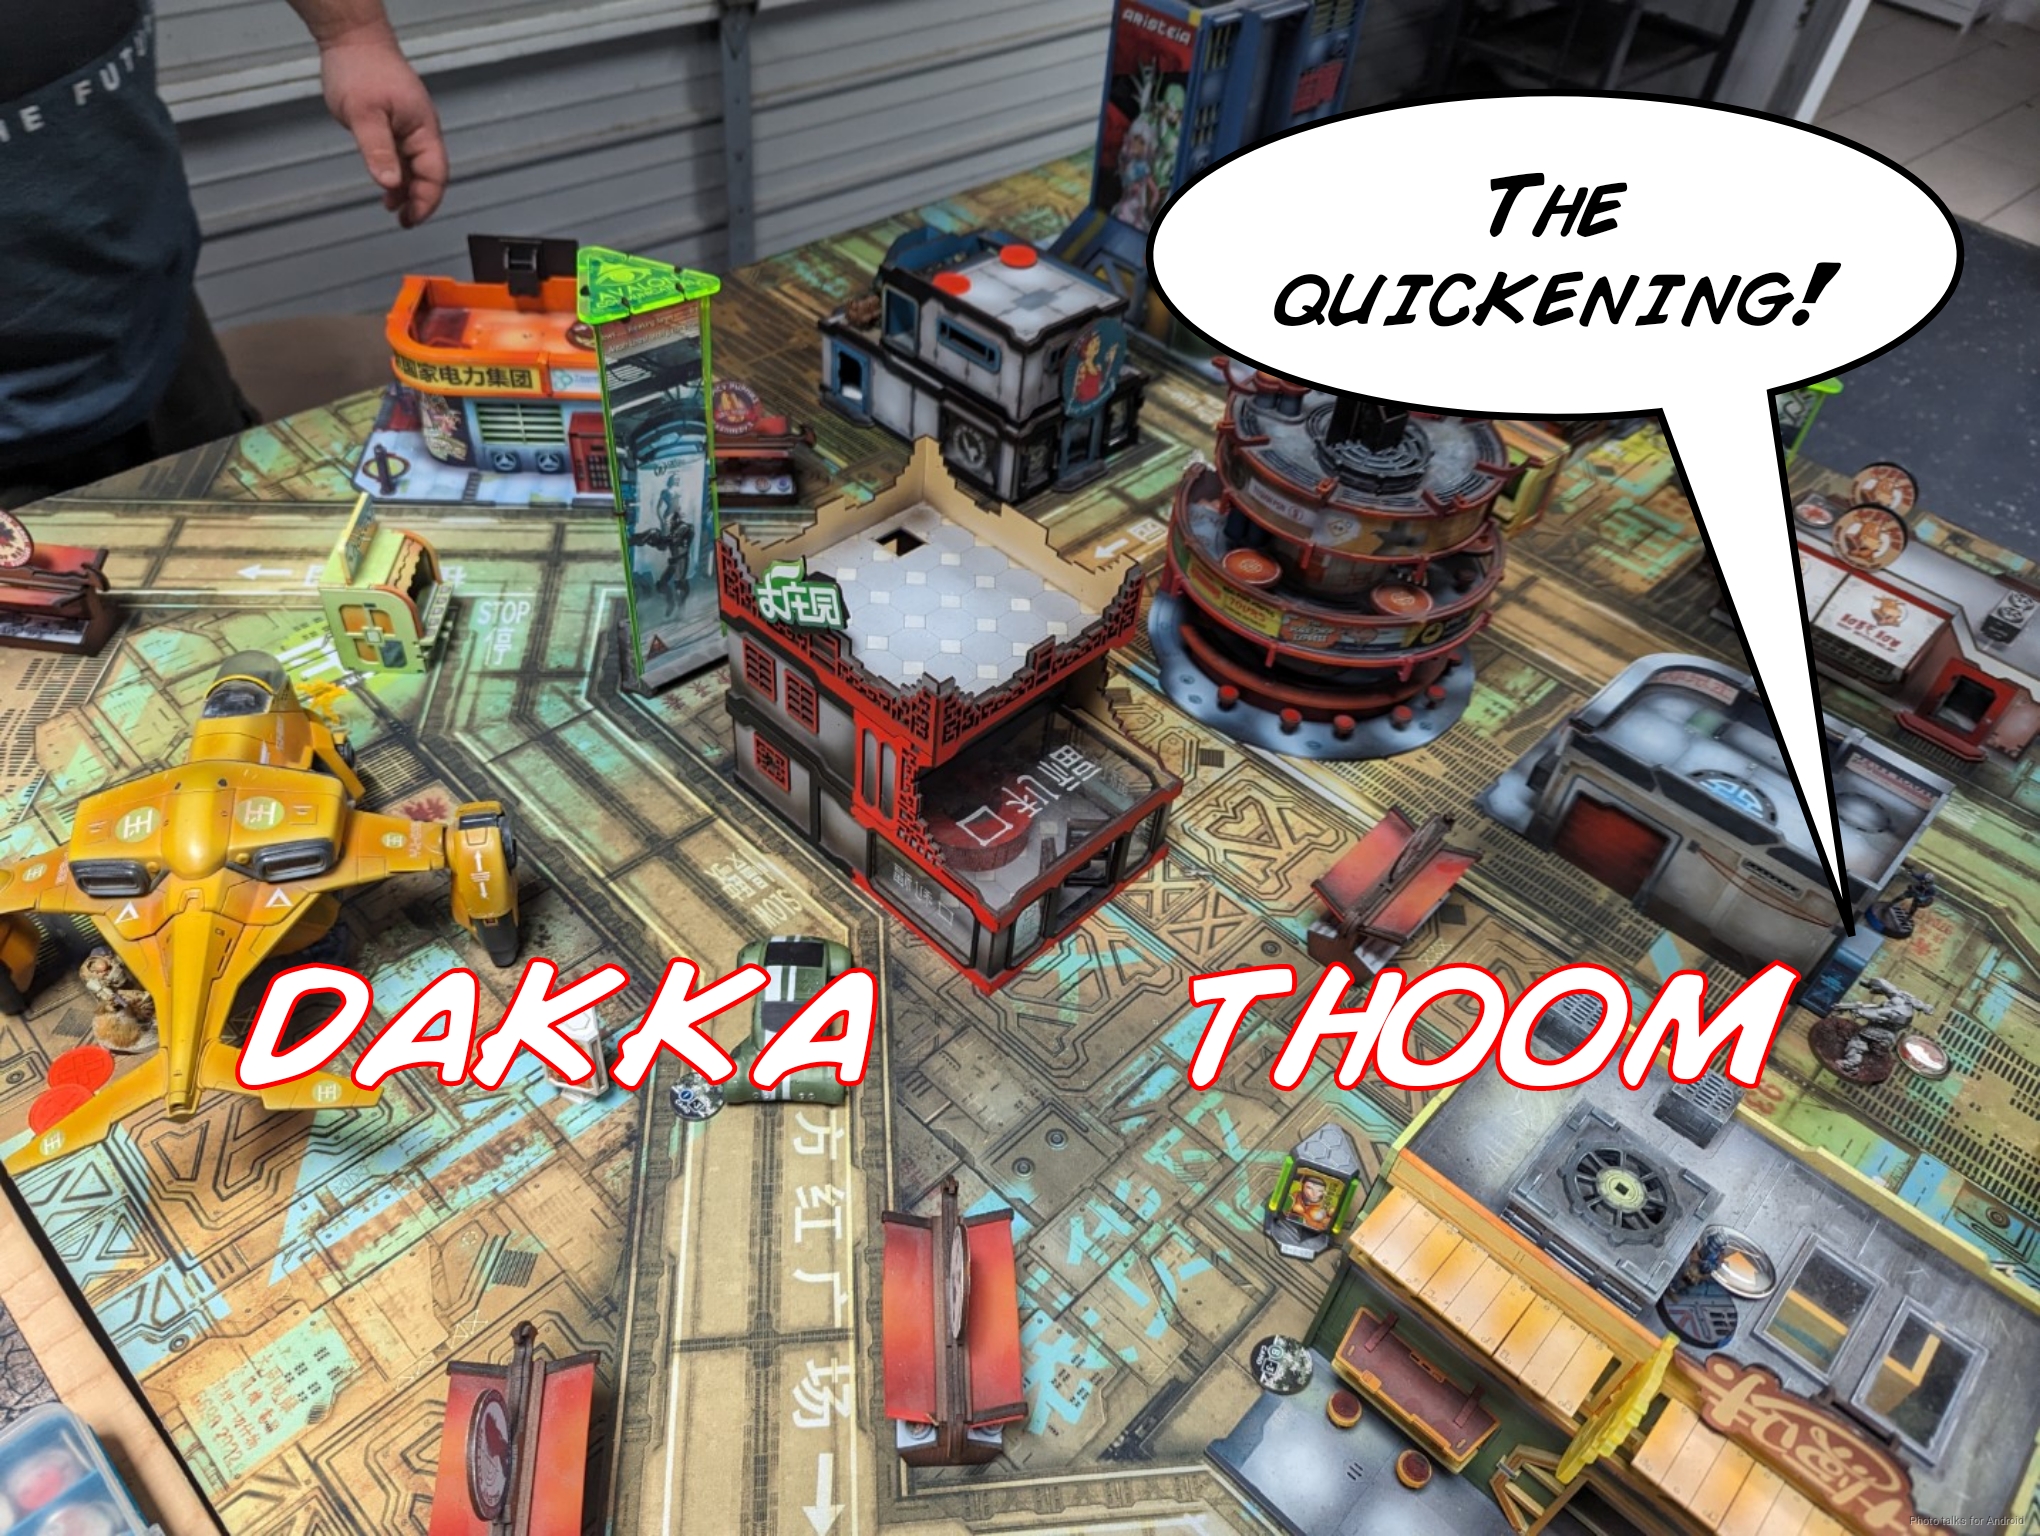
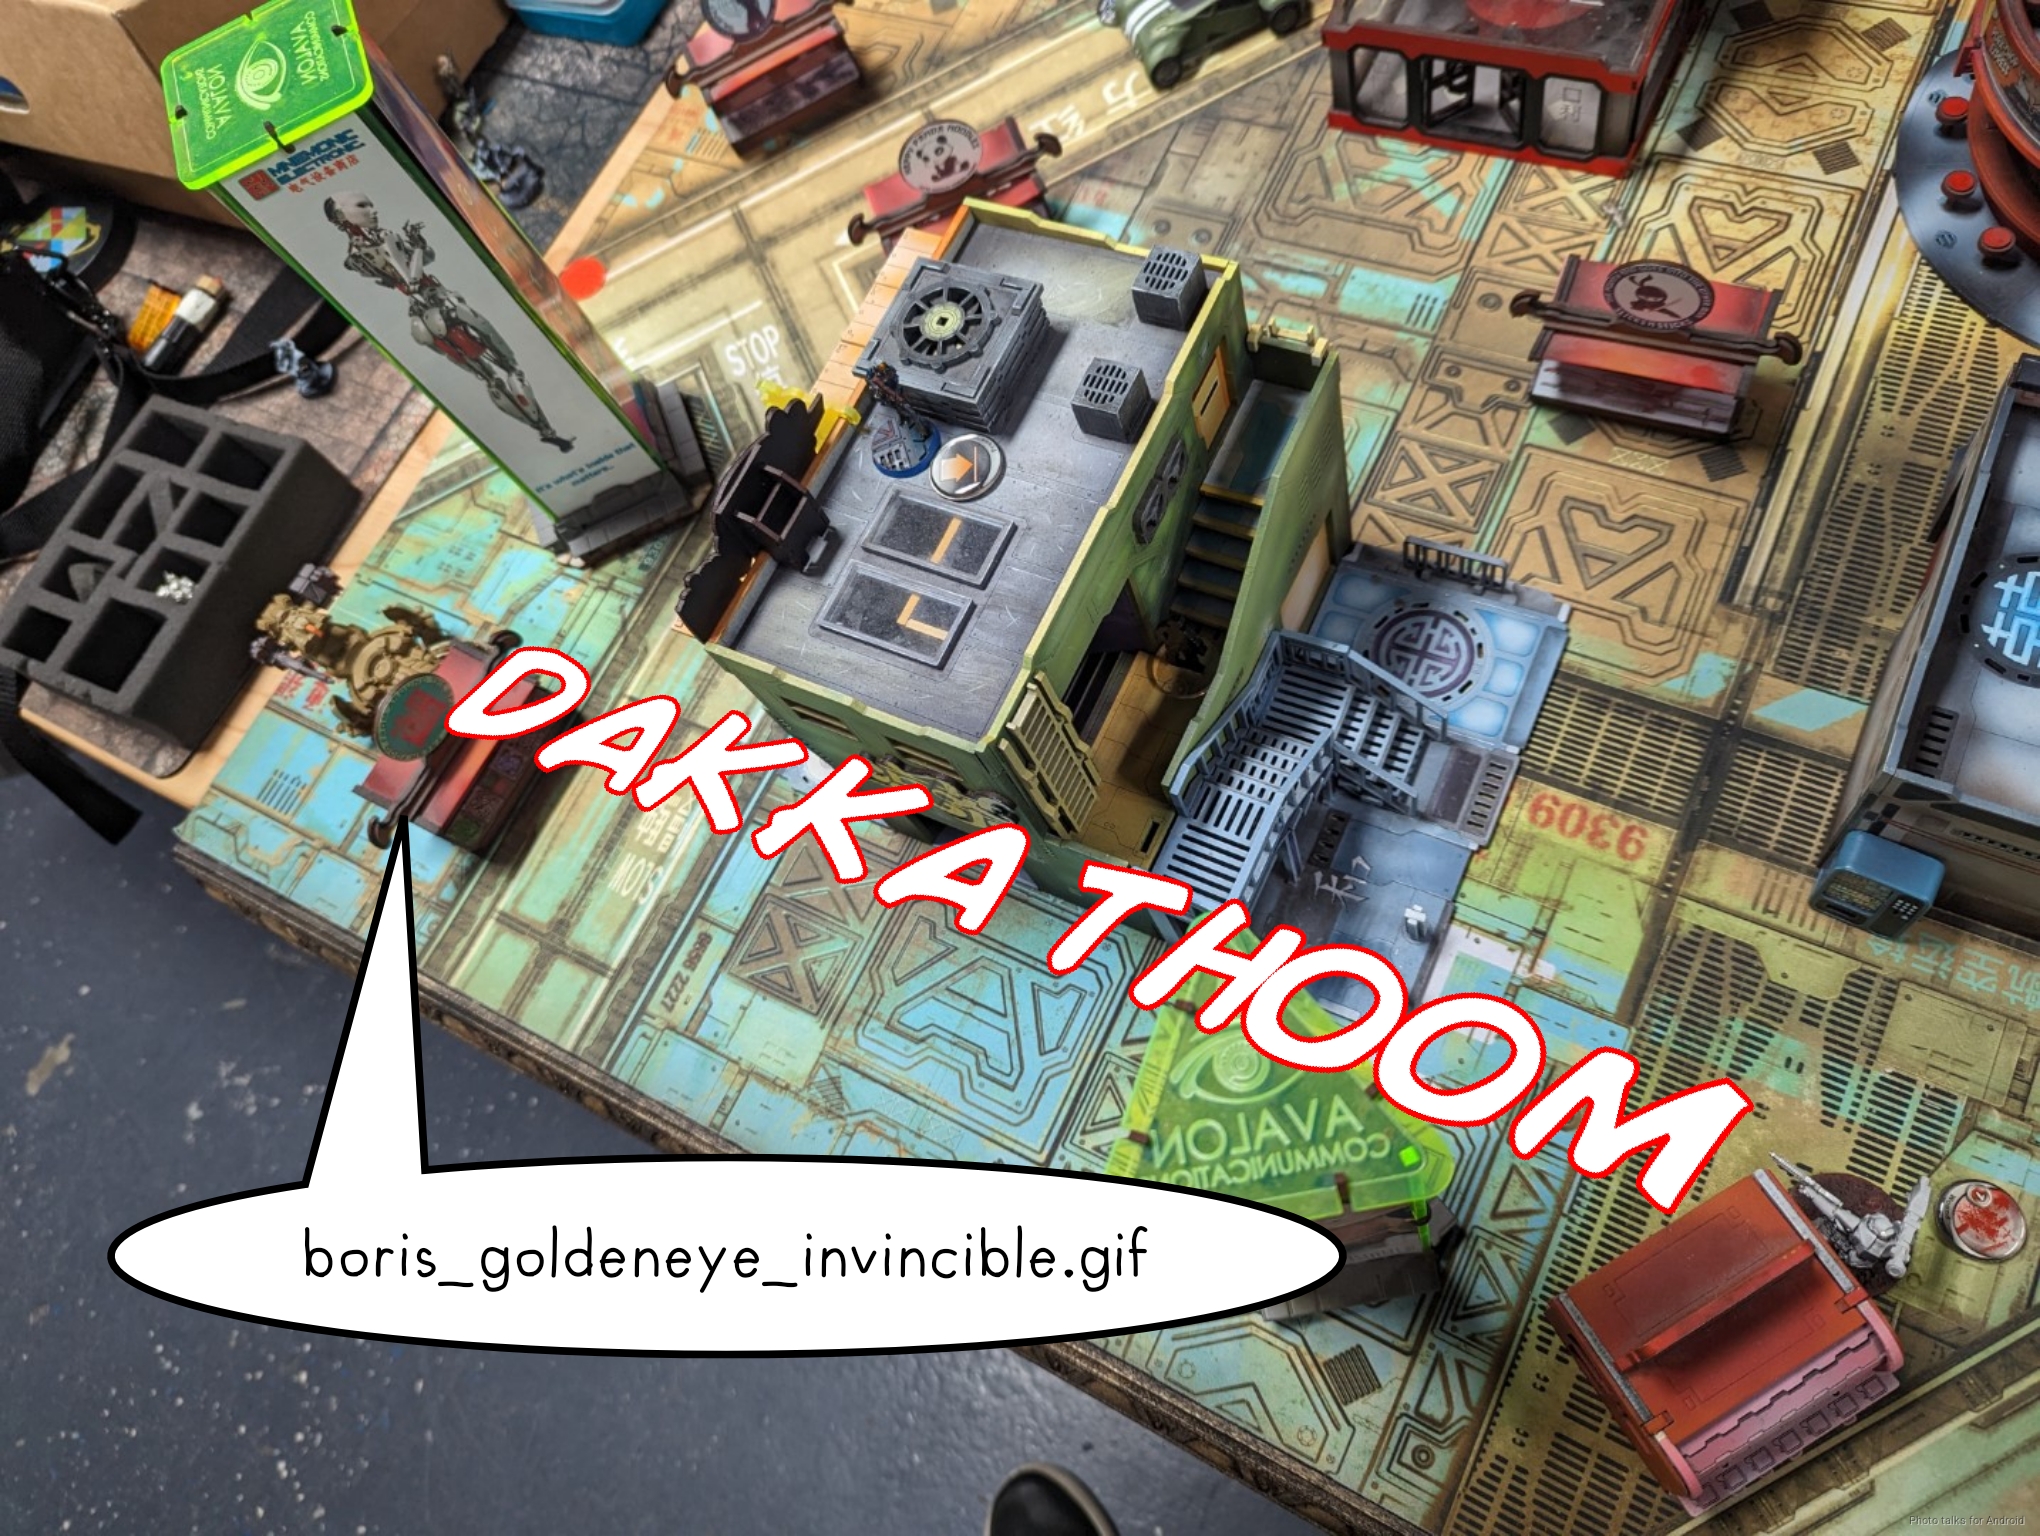
Cole walked up and challenged me to a game. I really do like this table at Shiv Games, it’s really beautiful and actually makes good use of a very polarizing game mat.
- Mission: ITS15 Decapitation
- Forces: Ikari Company versus Dashat Company (300)
- Deploy First: Ikari
- First Turn: Ikari
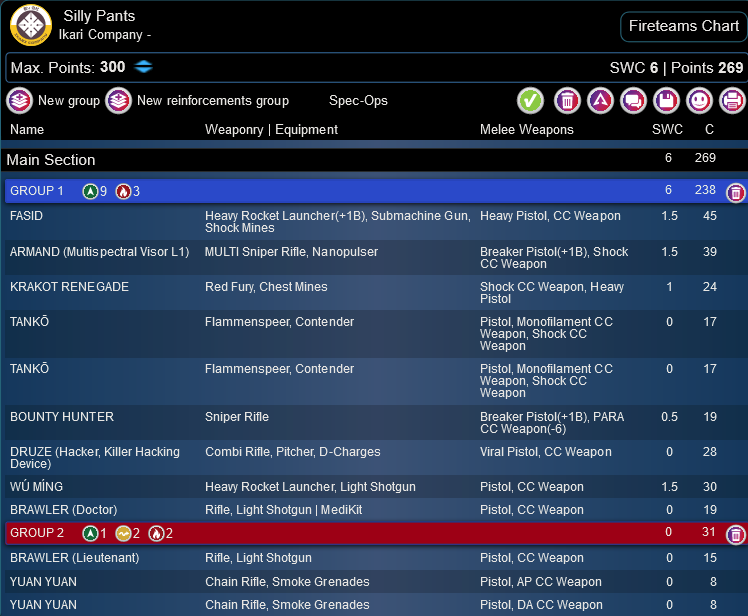
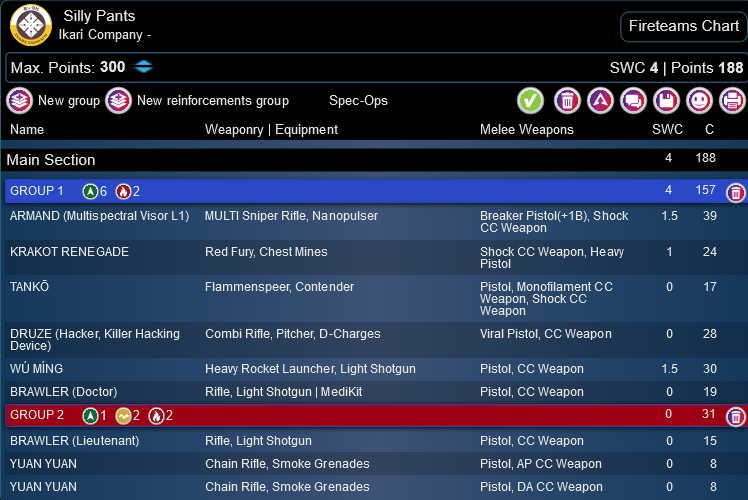
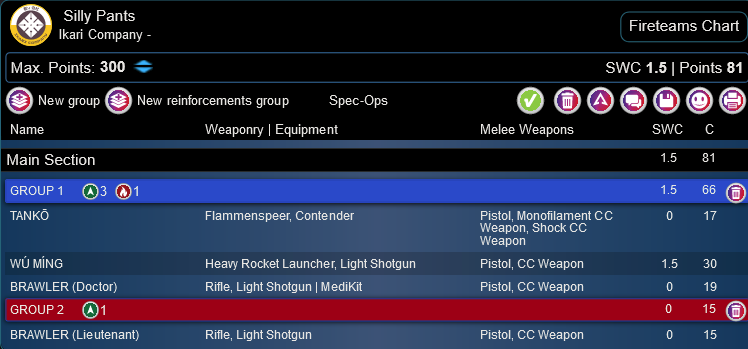
Cole wanted to fight a constructed list, and this is what I had packed:
Silly Pants
GROUP 1
10
4
FASID Heavy Rocket Launcher(+1B), Submachine Gun, Shock Mines / Heavy Pistol, CC Weapon. (1.5 | 45)
ARMAND (Multispectral Visor L1) MULTI Sniper Rifle, Nanopulser ( ) / Breaker Pistol(+1B), Shock CC Weapon. (1.5 | 39)
KRAKOT RENEGADE Red Fury, Chest Mines / Shock CC Weapon, Heavy Pistol. (1 | 24)
KENDRAT Vulkan Shotgun, Chest Mines / DA CC Weapon, Heavy Pistol. (0 | 22)
TANKŌ Flammenspeer, Contender / Pistol, Monofilament CC Weapon, Shock CC Weapon. (0 | 17)
BOUNTY HUNTER Sniper Rifle / Breaker Pistol(+1B), PARA CC Weapon(-6). (0.5 | 19)
DRUZE (Hacker, Killer Hacking Device) Combi Rifle, Pitcher, D-Charges ( ) / Viral Pistol, CC Weapon. (0 | 28)
GROUP 2
WÚ MÍNG Heavy Rocket Launcher, Light Shotgun / Pistol, CC Weapon. (1.5 | 30)
BRAWLER (Doctor) Rifle, Light Shotgun ( | MediKit) / Pistol, CC Weapon. (0 | 19)
3
YUAN YUAN Chain Rifle, Smoke Grenades / Pistol, DA CC Weapon. (0 | 8)
6 SWC | 299 Points | Open in Army | Copy Code
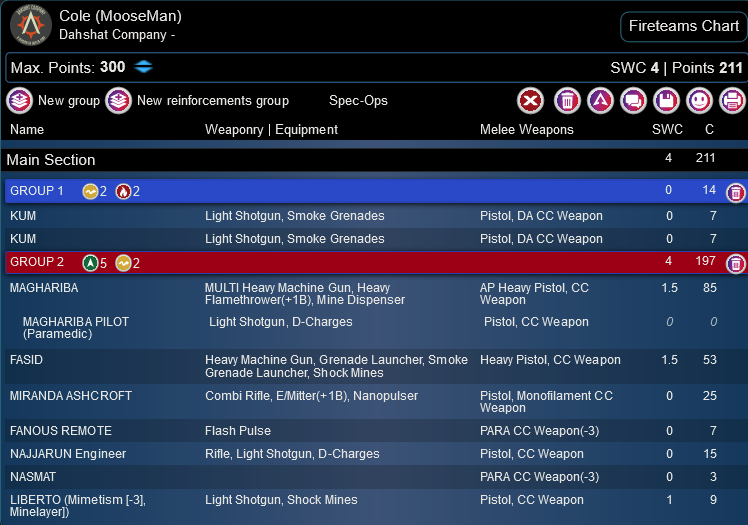
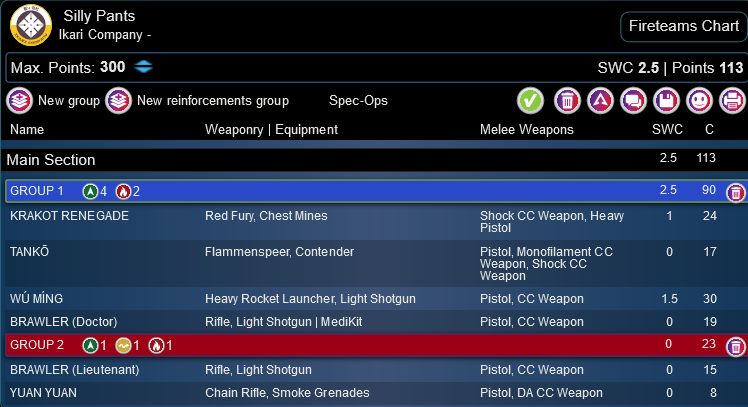
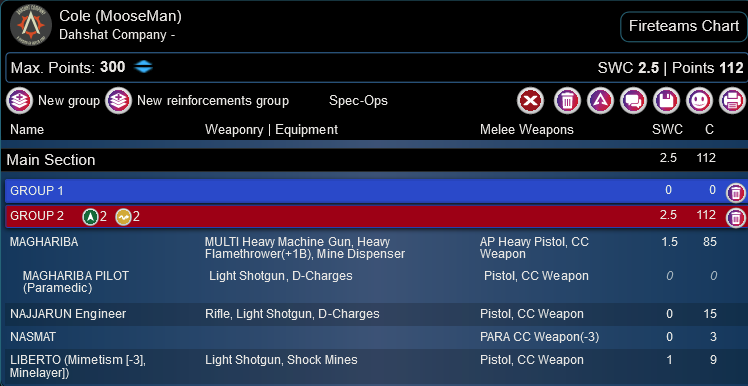
Basically it’s built around the Fasid and Armand as both attack/defense pieces to chew up the opponent’s orders. The Tanko help out with this, and I have three attacking duos. If that’s not enough, I have a chain rifle delivery system in group two. Cole decided to play Decapitation to match what Birman and I were playing on the other table and set about making a list to fight me in that mission. This is what he came up with:
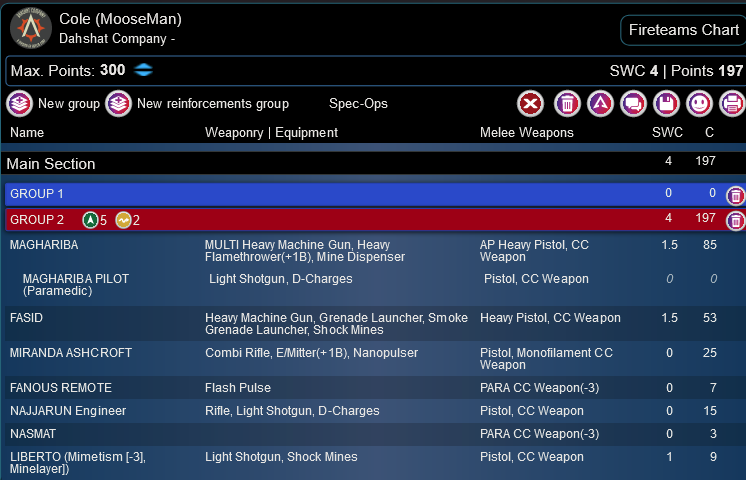
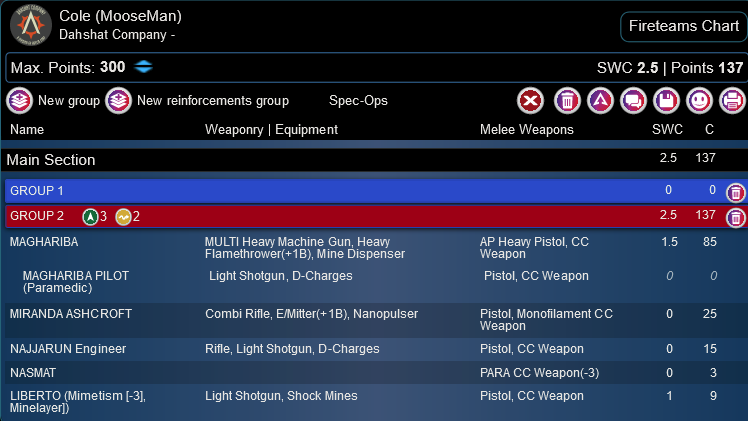
Cole (MooseMan)
GROUP 1
GHULAM (Lieutenant [+1 Command Token]) Rifle, Light Shotgun / Pistol, CC Weapon. (0 | 15)
GROUP 2
TRAKTOR MUL (Deactivator) ( ) / PARA CC Weapon(-3). (0 | 5)
MOTORIZED BOUNTY HUNTER Boarding Shotgun / Pistol, PARA CC Weapon(-6). (0 | 11)
KUM Light Shotgun, Smoke Grenades / Pistol, DA CC Weapon. (0 | 7)
MAGHARIBA MULTI Heavy Machine Gun, Heavy Flamethrower(+1B), Mine Dispenser / AP Heavy Pistol, CC Weapon. (1.5 | 85)
MAGHARIBA PILOT (Paramedic) Light Shotgun, D-Charges / Pistol, CC Weapon. (0 | 0)
MIRANDA ASHCROFT Combi Rifle, E/Mitter(+1B), Nanopulser / Pistol, Monofilament CC Weapon. (0 | 25)
FANOUS REMOTE Flash Pulse / PARA CC Weapon(-3). (0 | 7)
NAJJARUN Engineer Rifle, Light Shotgun, D-Charges / Pistol, CC Weapon. (0 | 15)
NASMAT PARA CC Weapon(-3). (0 | 3)
LIBERTO (Mimetism [-3], Minelayer]) Light Shotgun, Shock Mines / Pistol, CC Weapon. (1 | 9)
5 SWC | 296 Points | Open in Army | Copy Code
Hard to argue with Maggie and a bunch of bikes and support pieces. What’s interesting is he chose to take Maggie and the Fasid as a Duo, which is just way too much threat concentration in one area for my taste. Also his core link is a bit light on long range teeth and relies heavily on shotguns to defend the lieutenant.
Deployment
I lost the roll here. Cole gave me deployment to make my life easy in terms of staying on the same side of the table, and I chose to go first to just be aggressive, which is what Ikari wants to do. I set the Tanko up in positions where they could contest firelanes and move up the table to CC stuff. I probably should have kept them in a duo to grant them cover, but oh well. I wanted some CC threats spread out and to treat them like weird warbands. I think I can probably get the best of both worlds by keeping them in the duo on turn 1 and then unleashing them on turn 2.
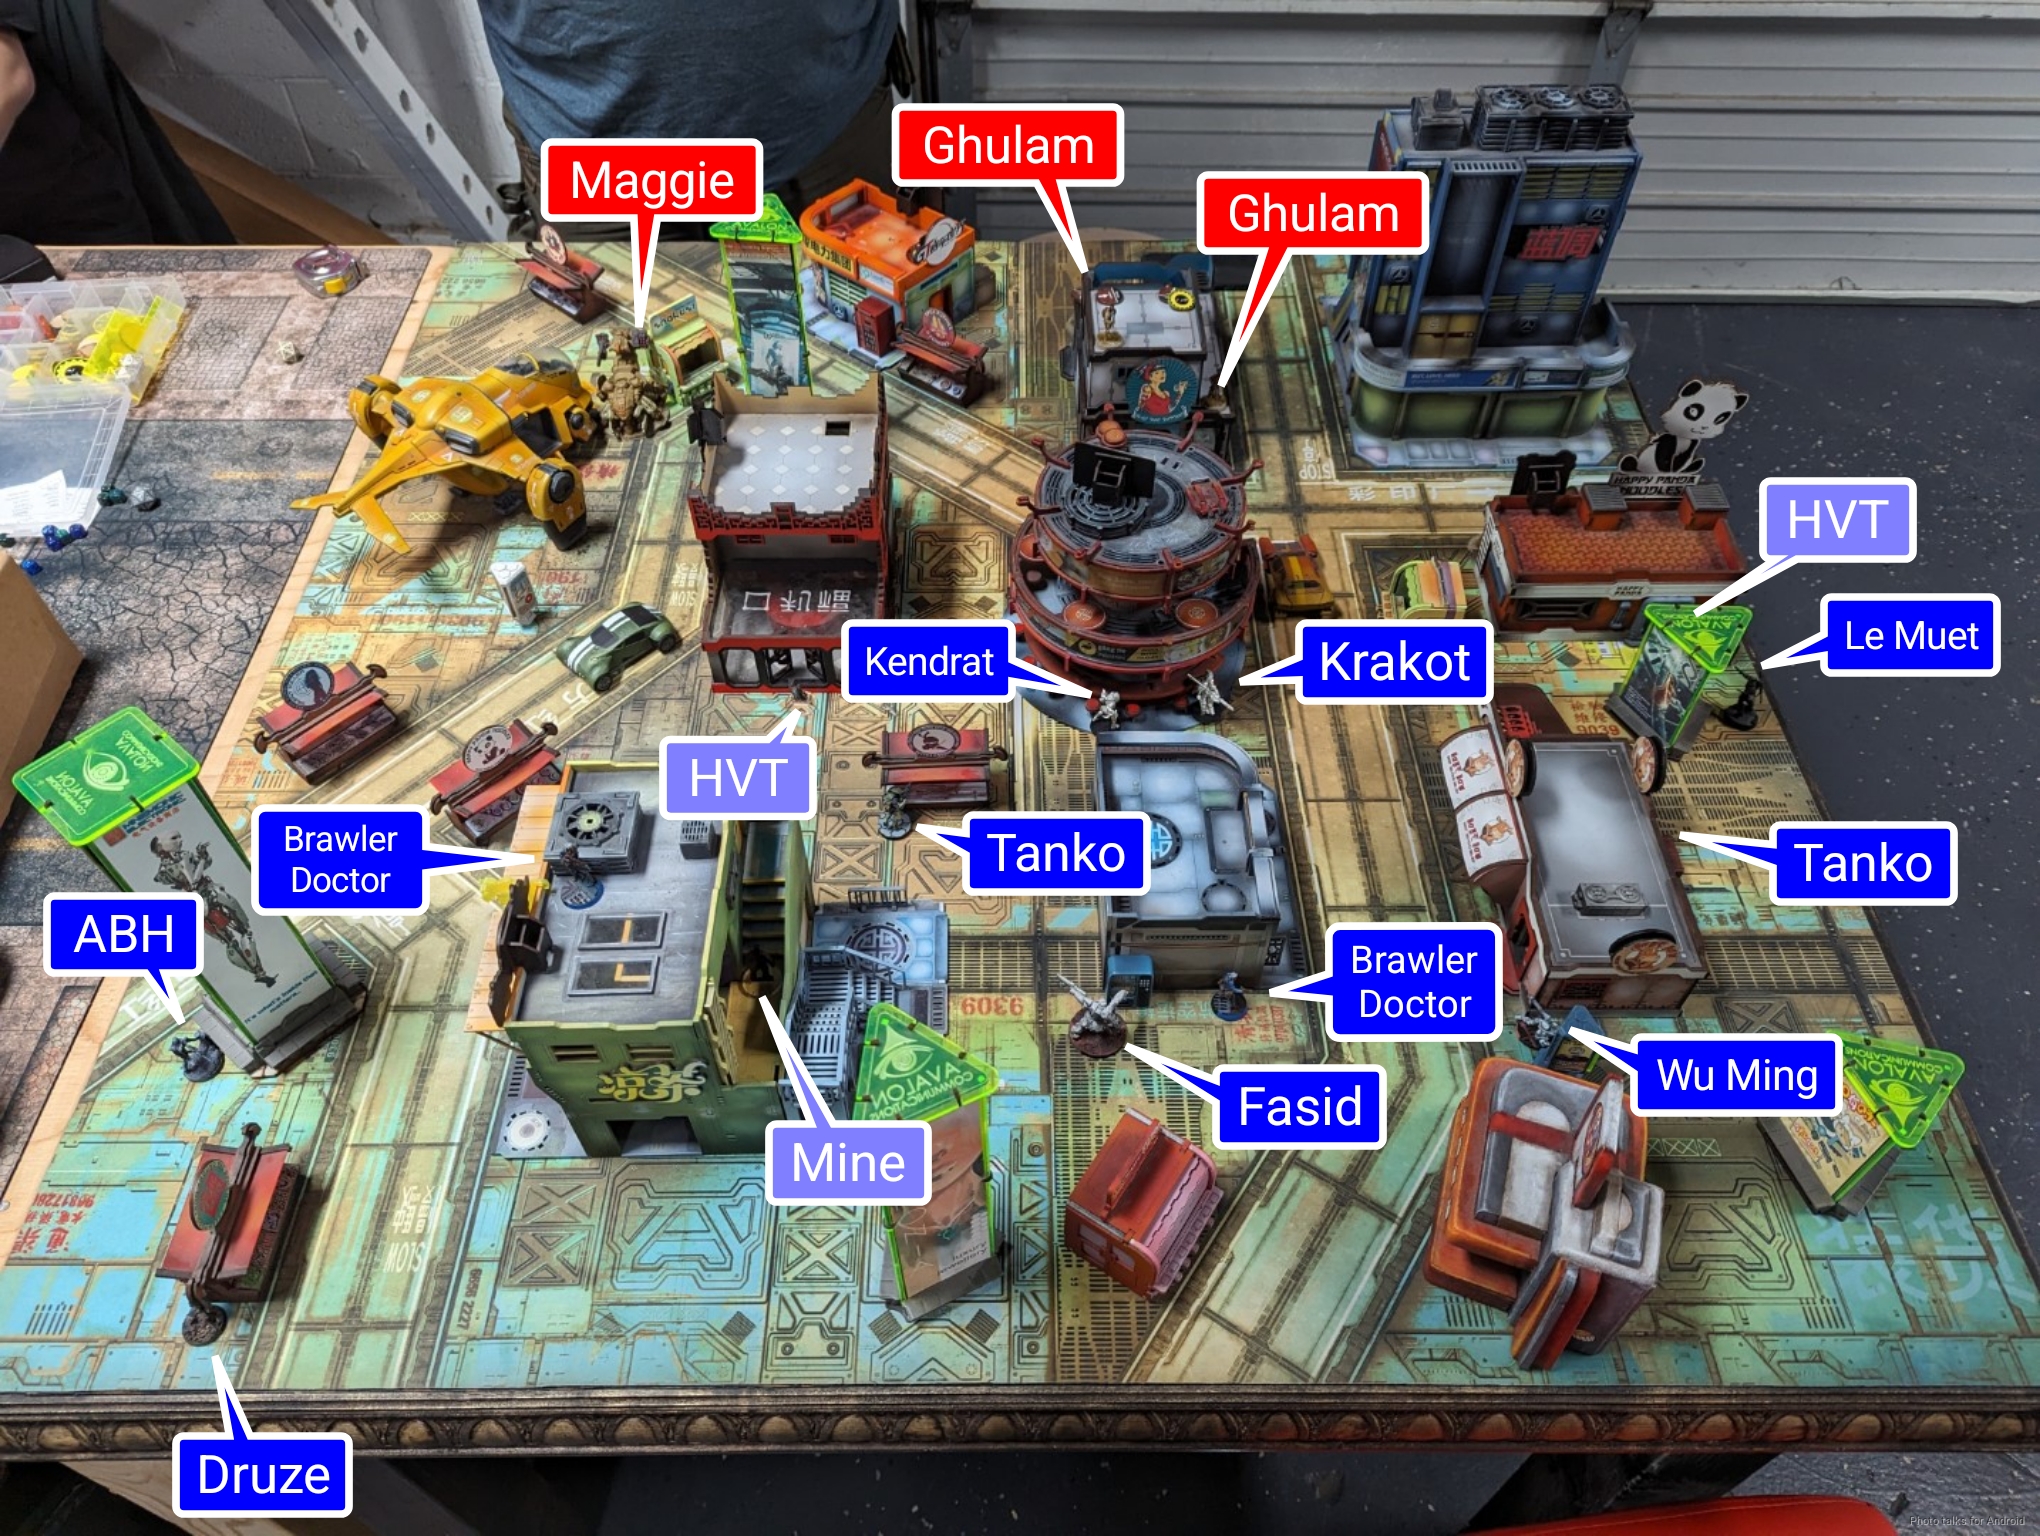
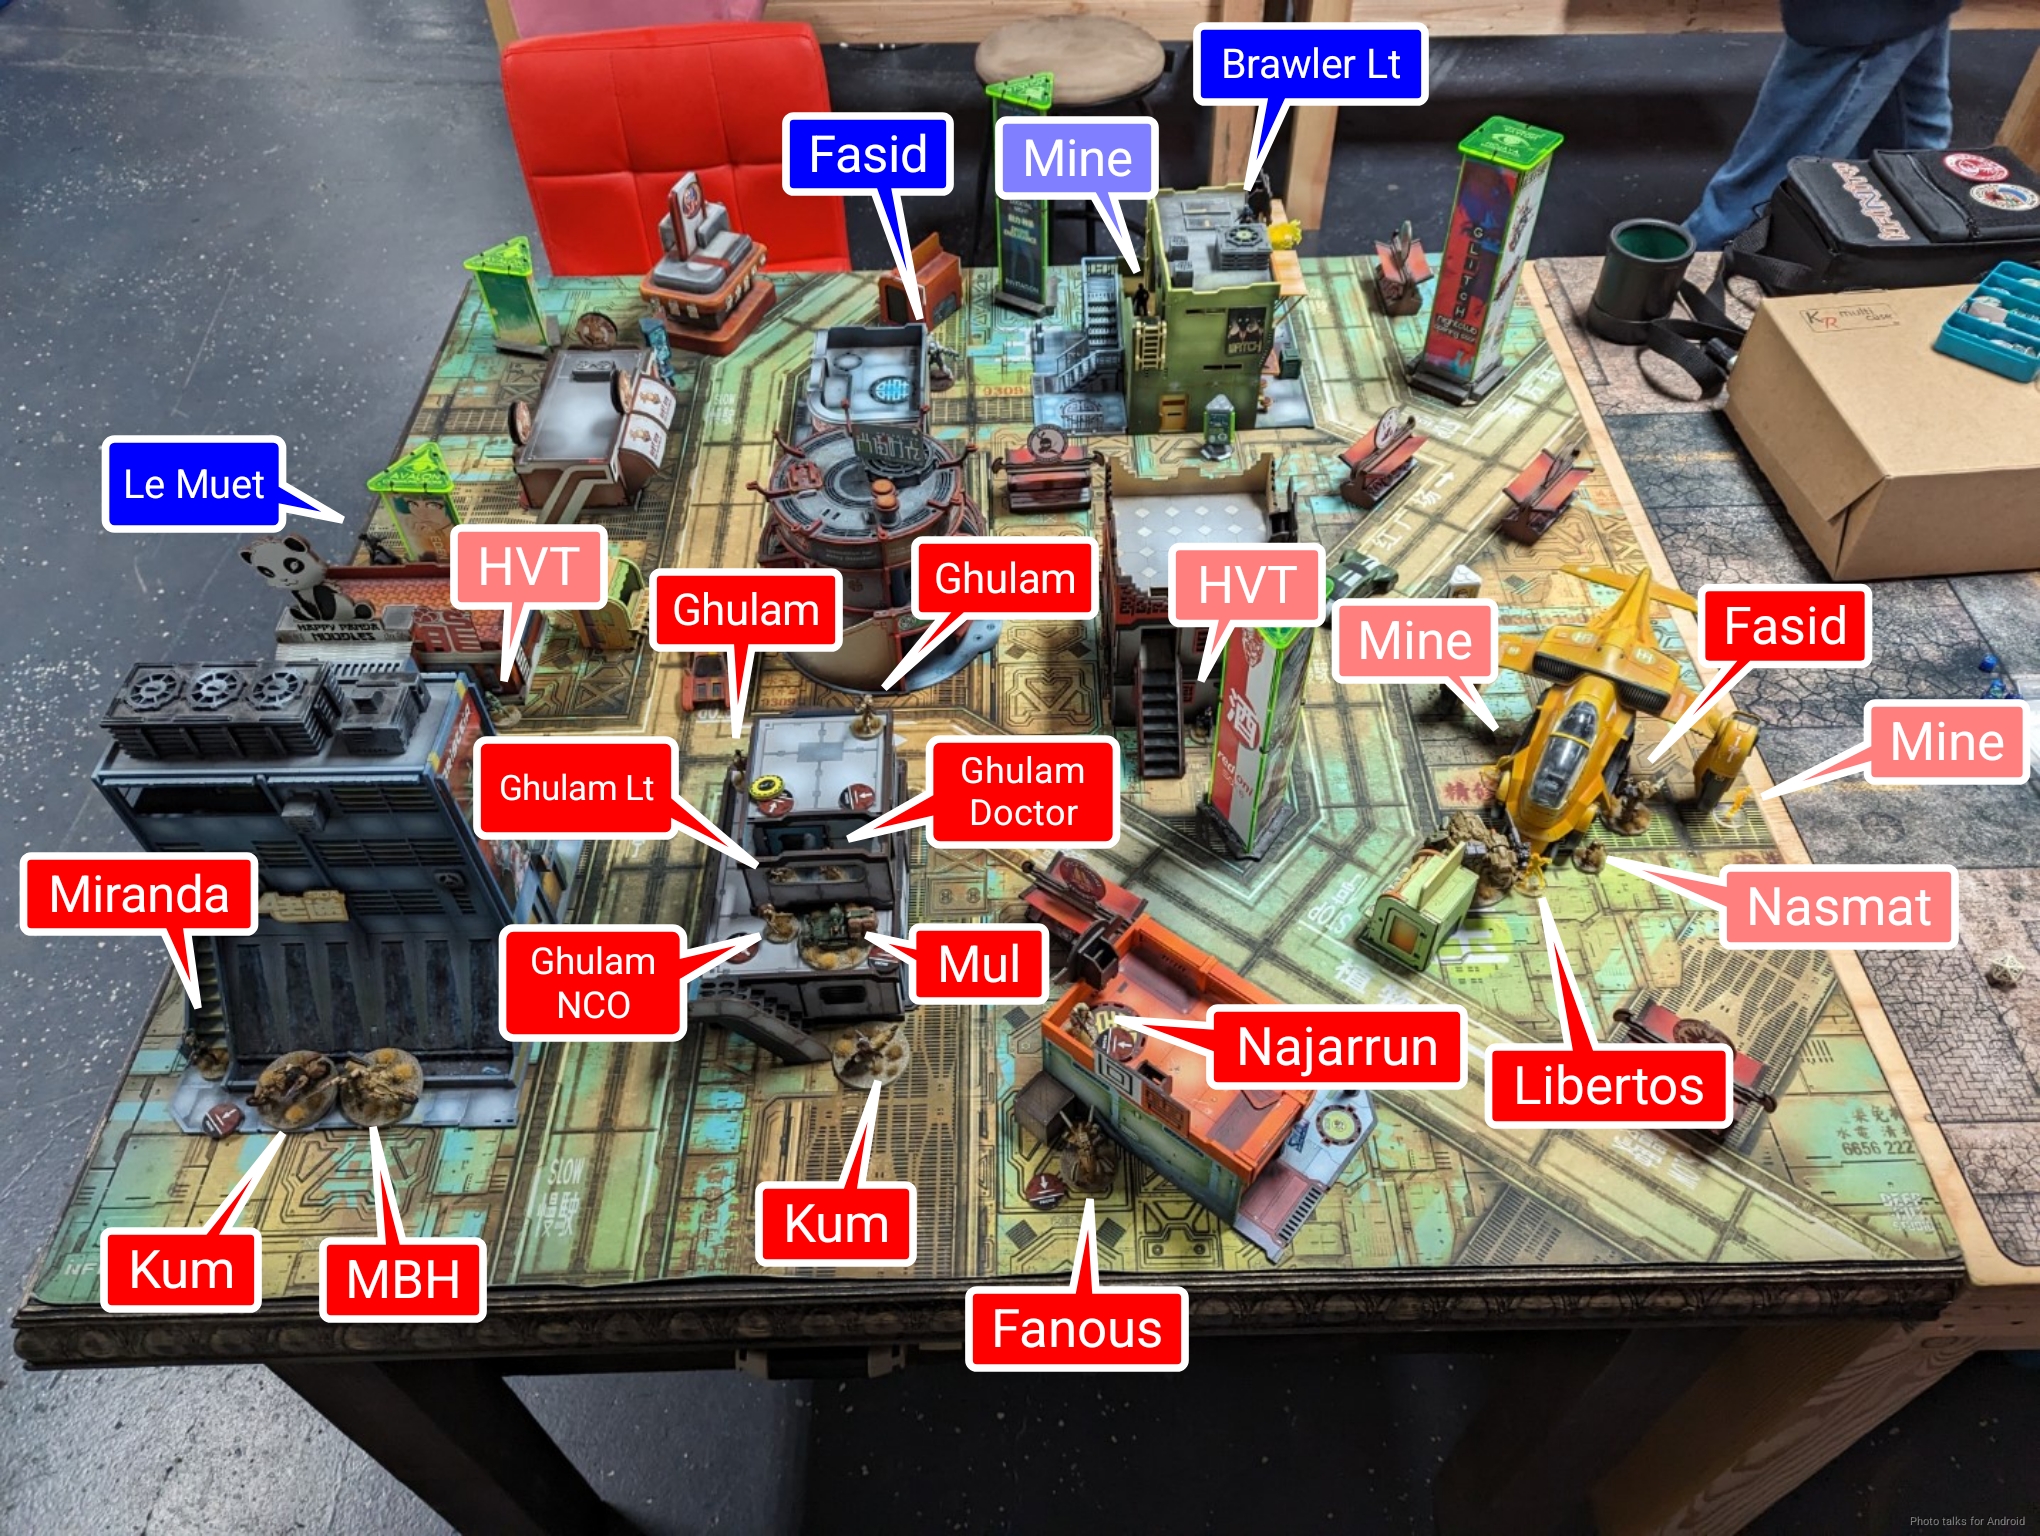
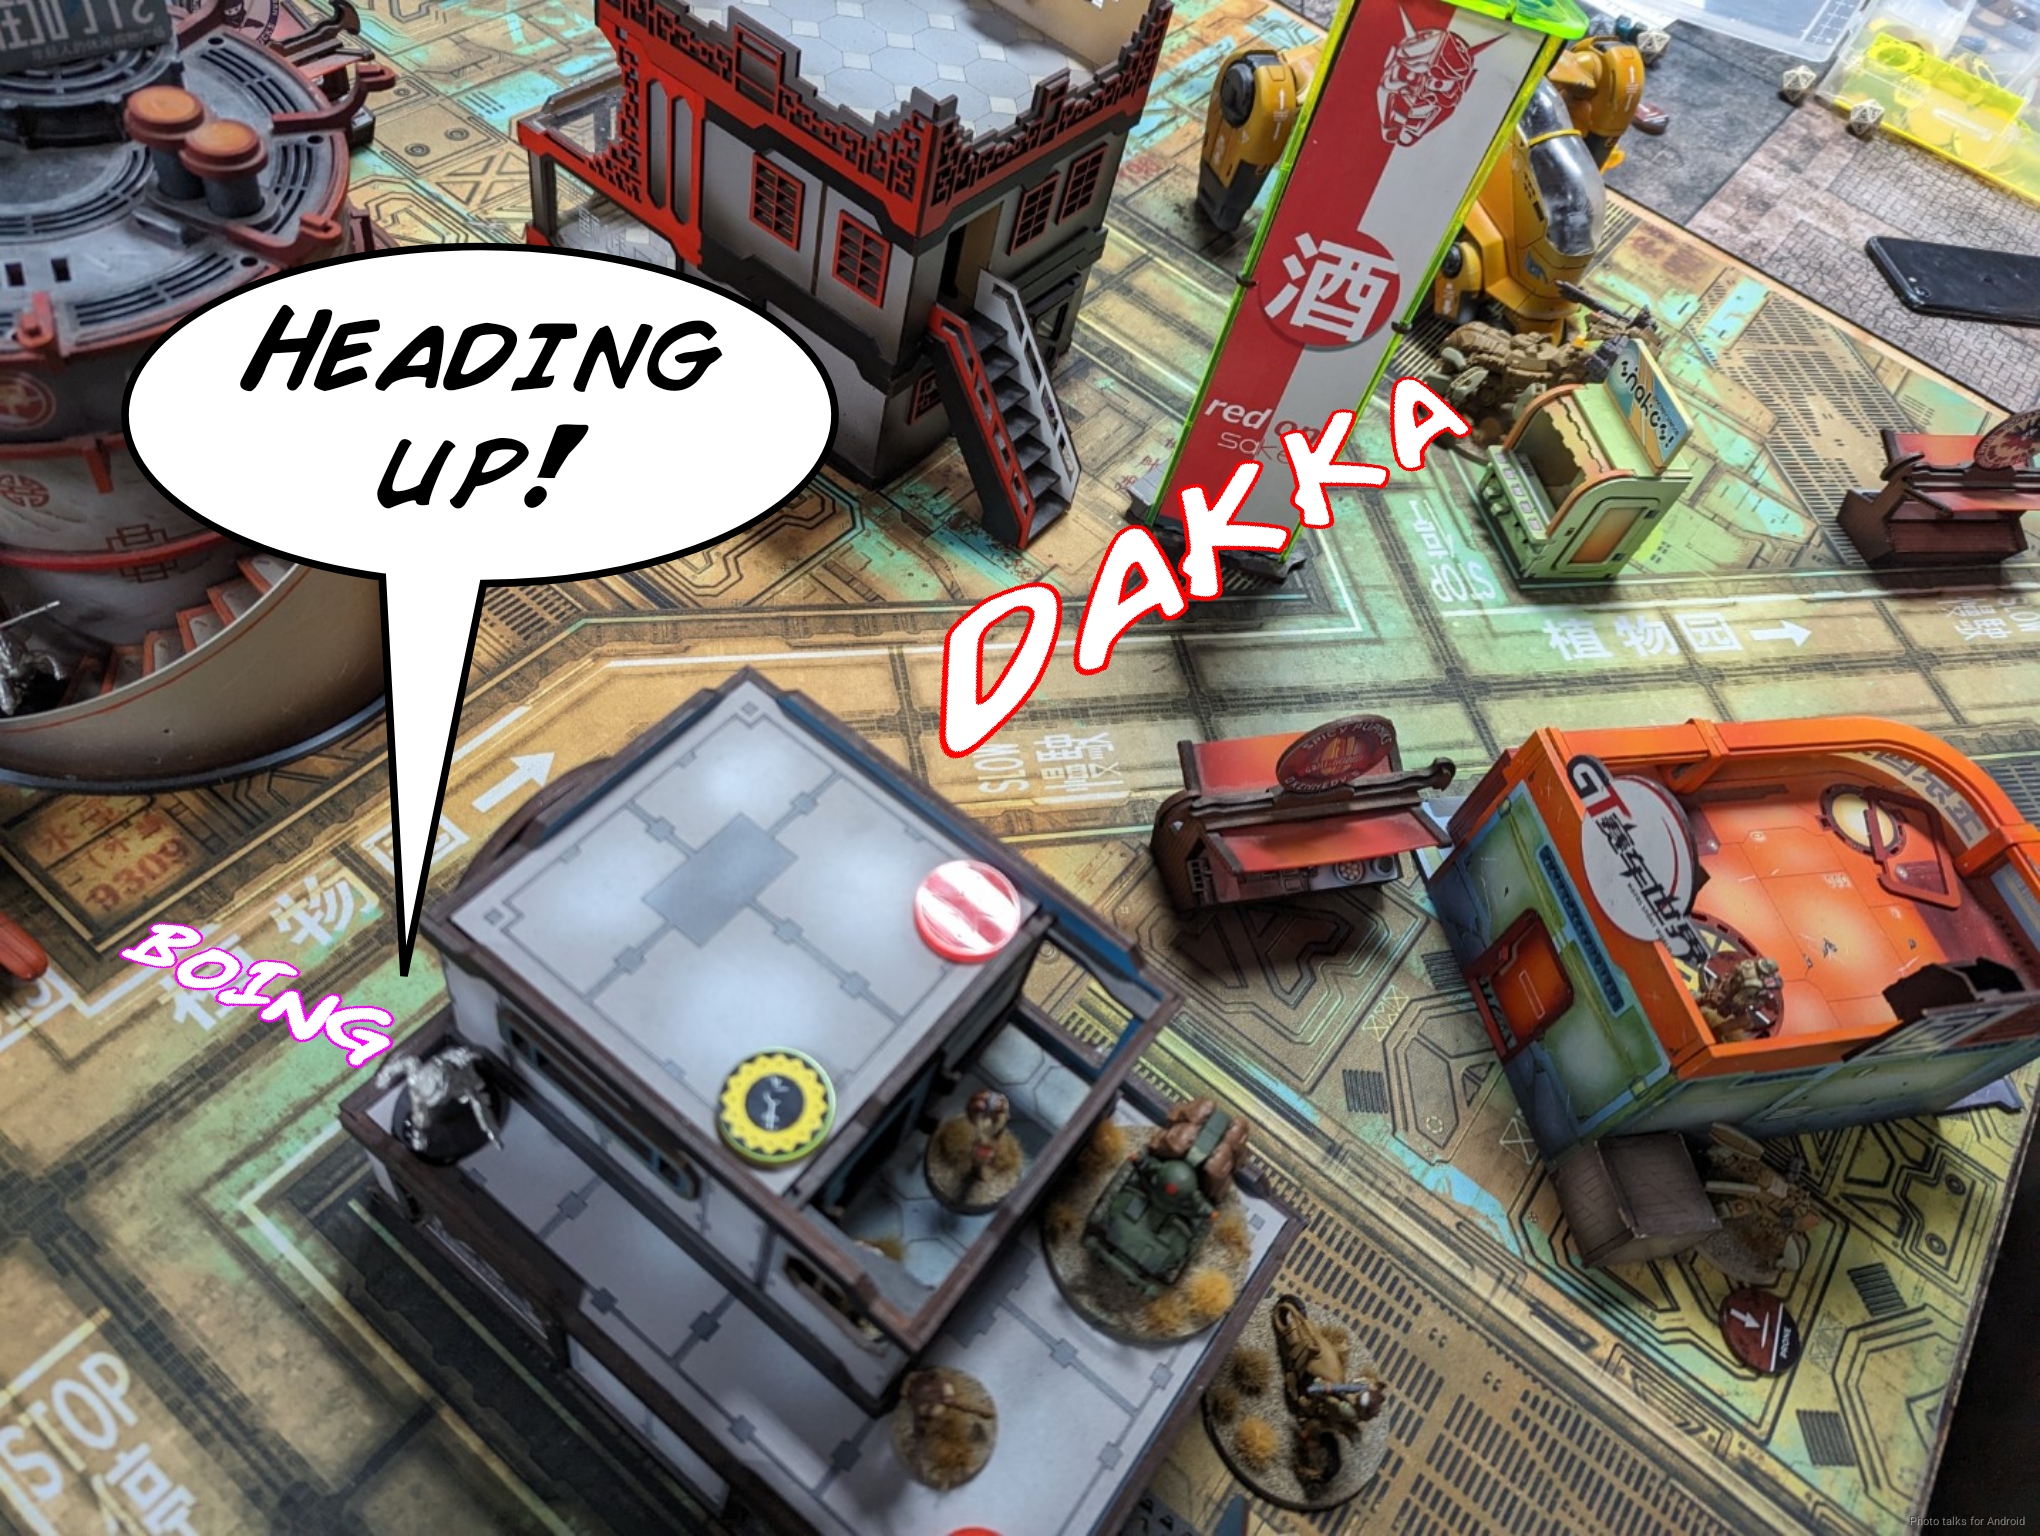
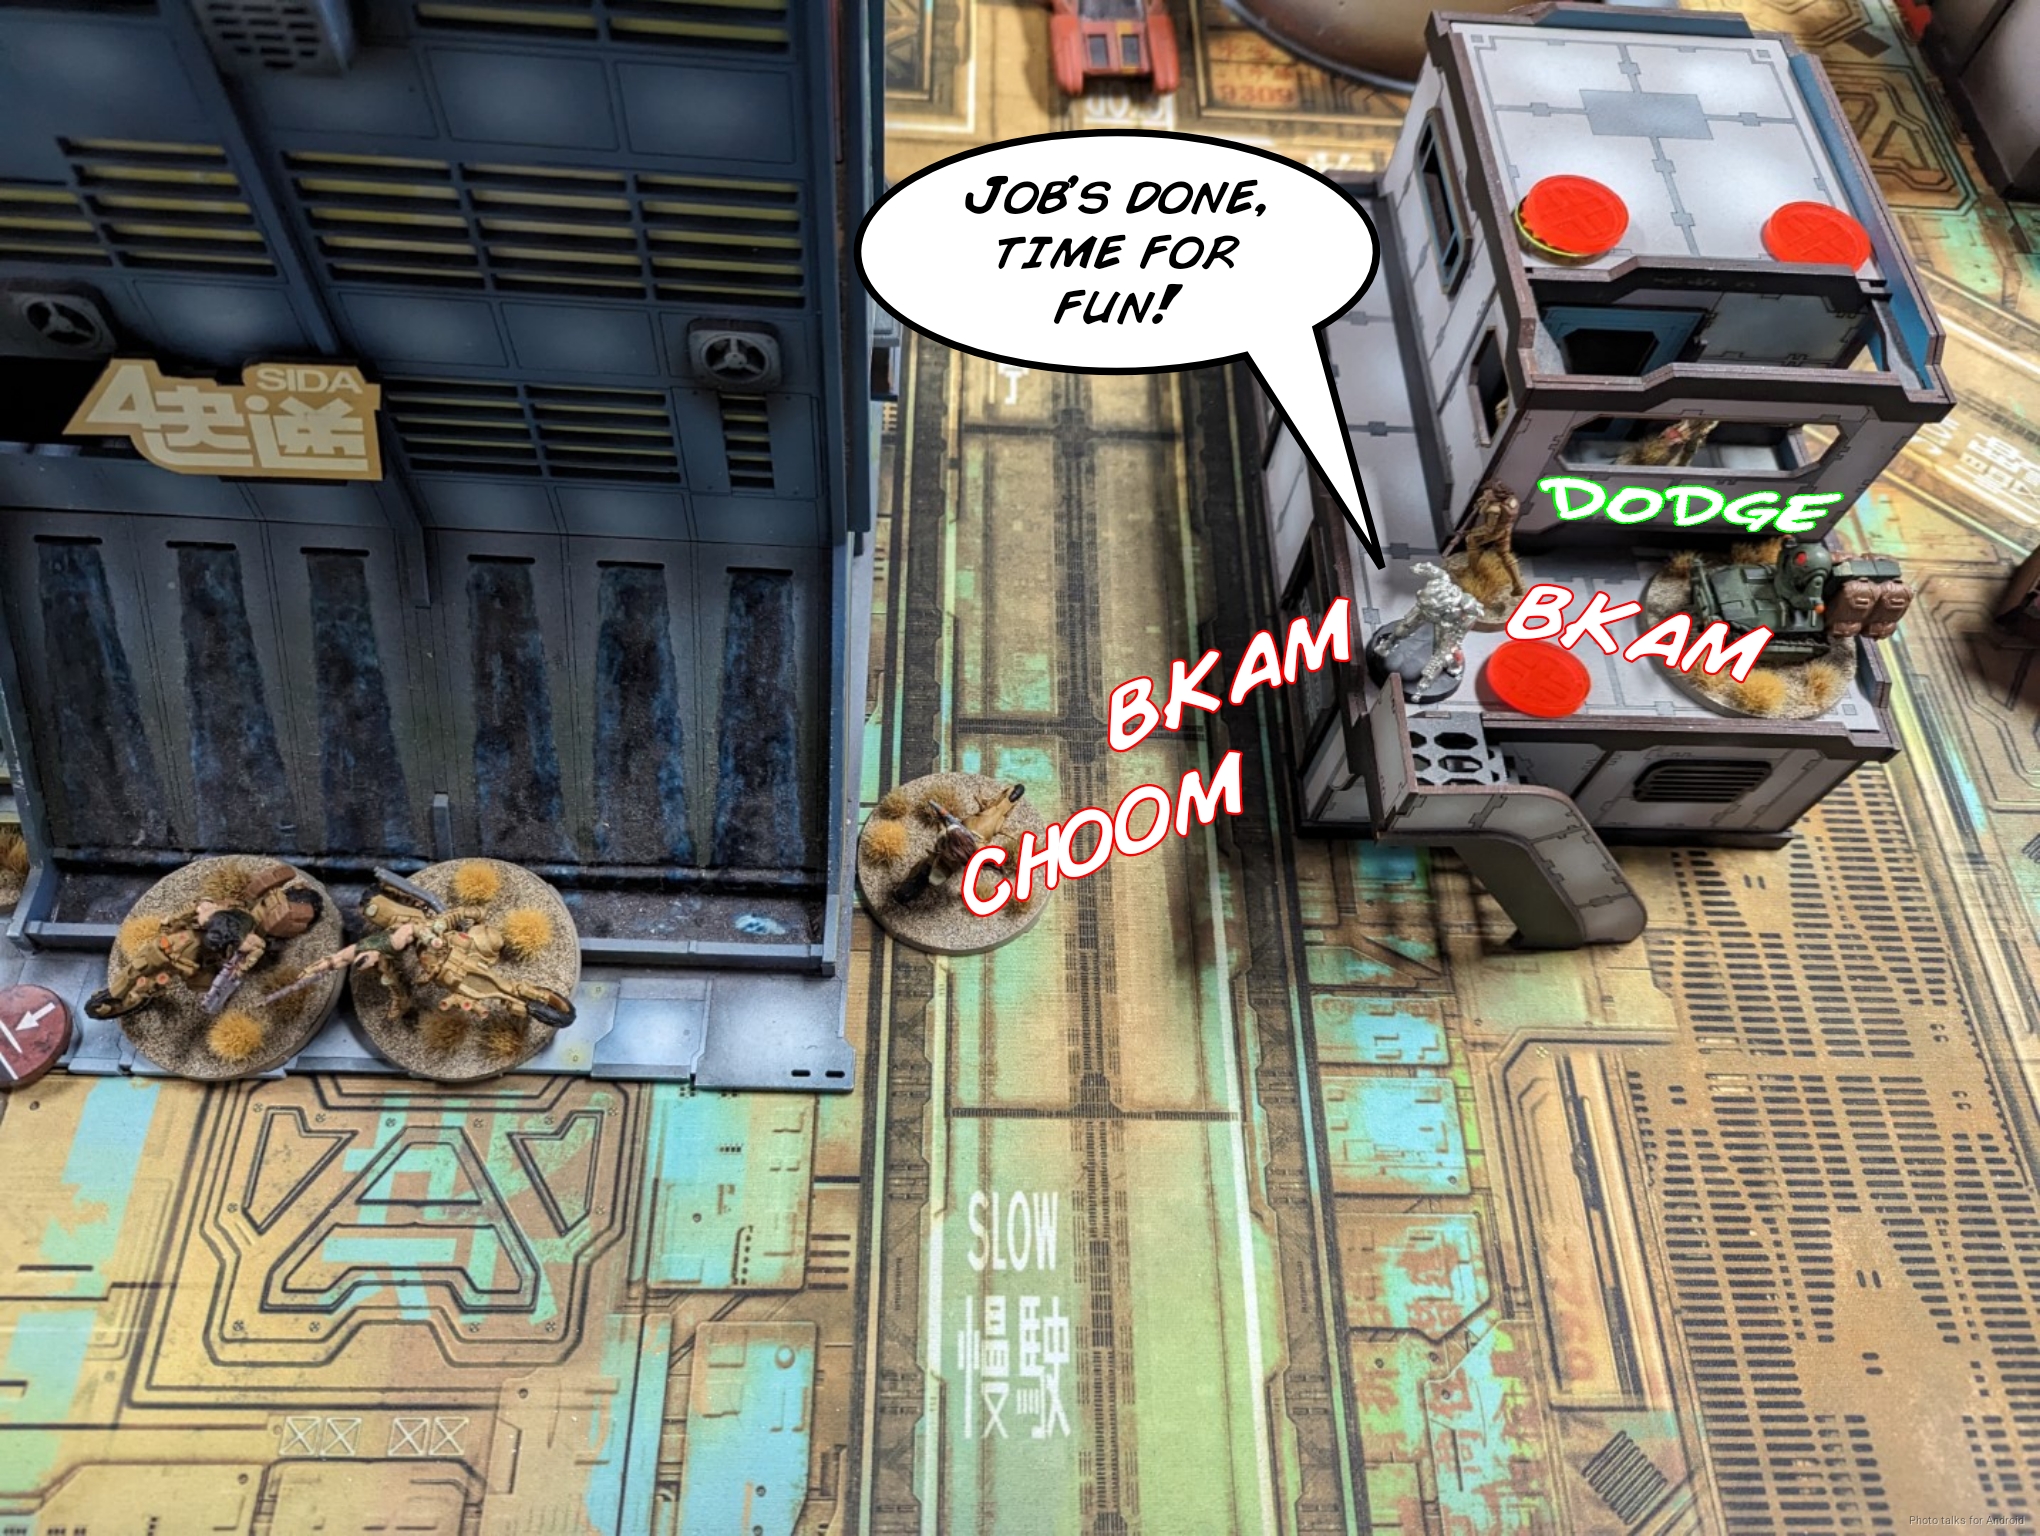
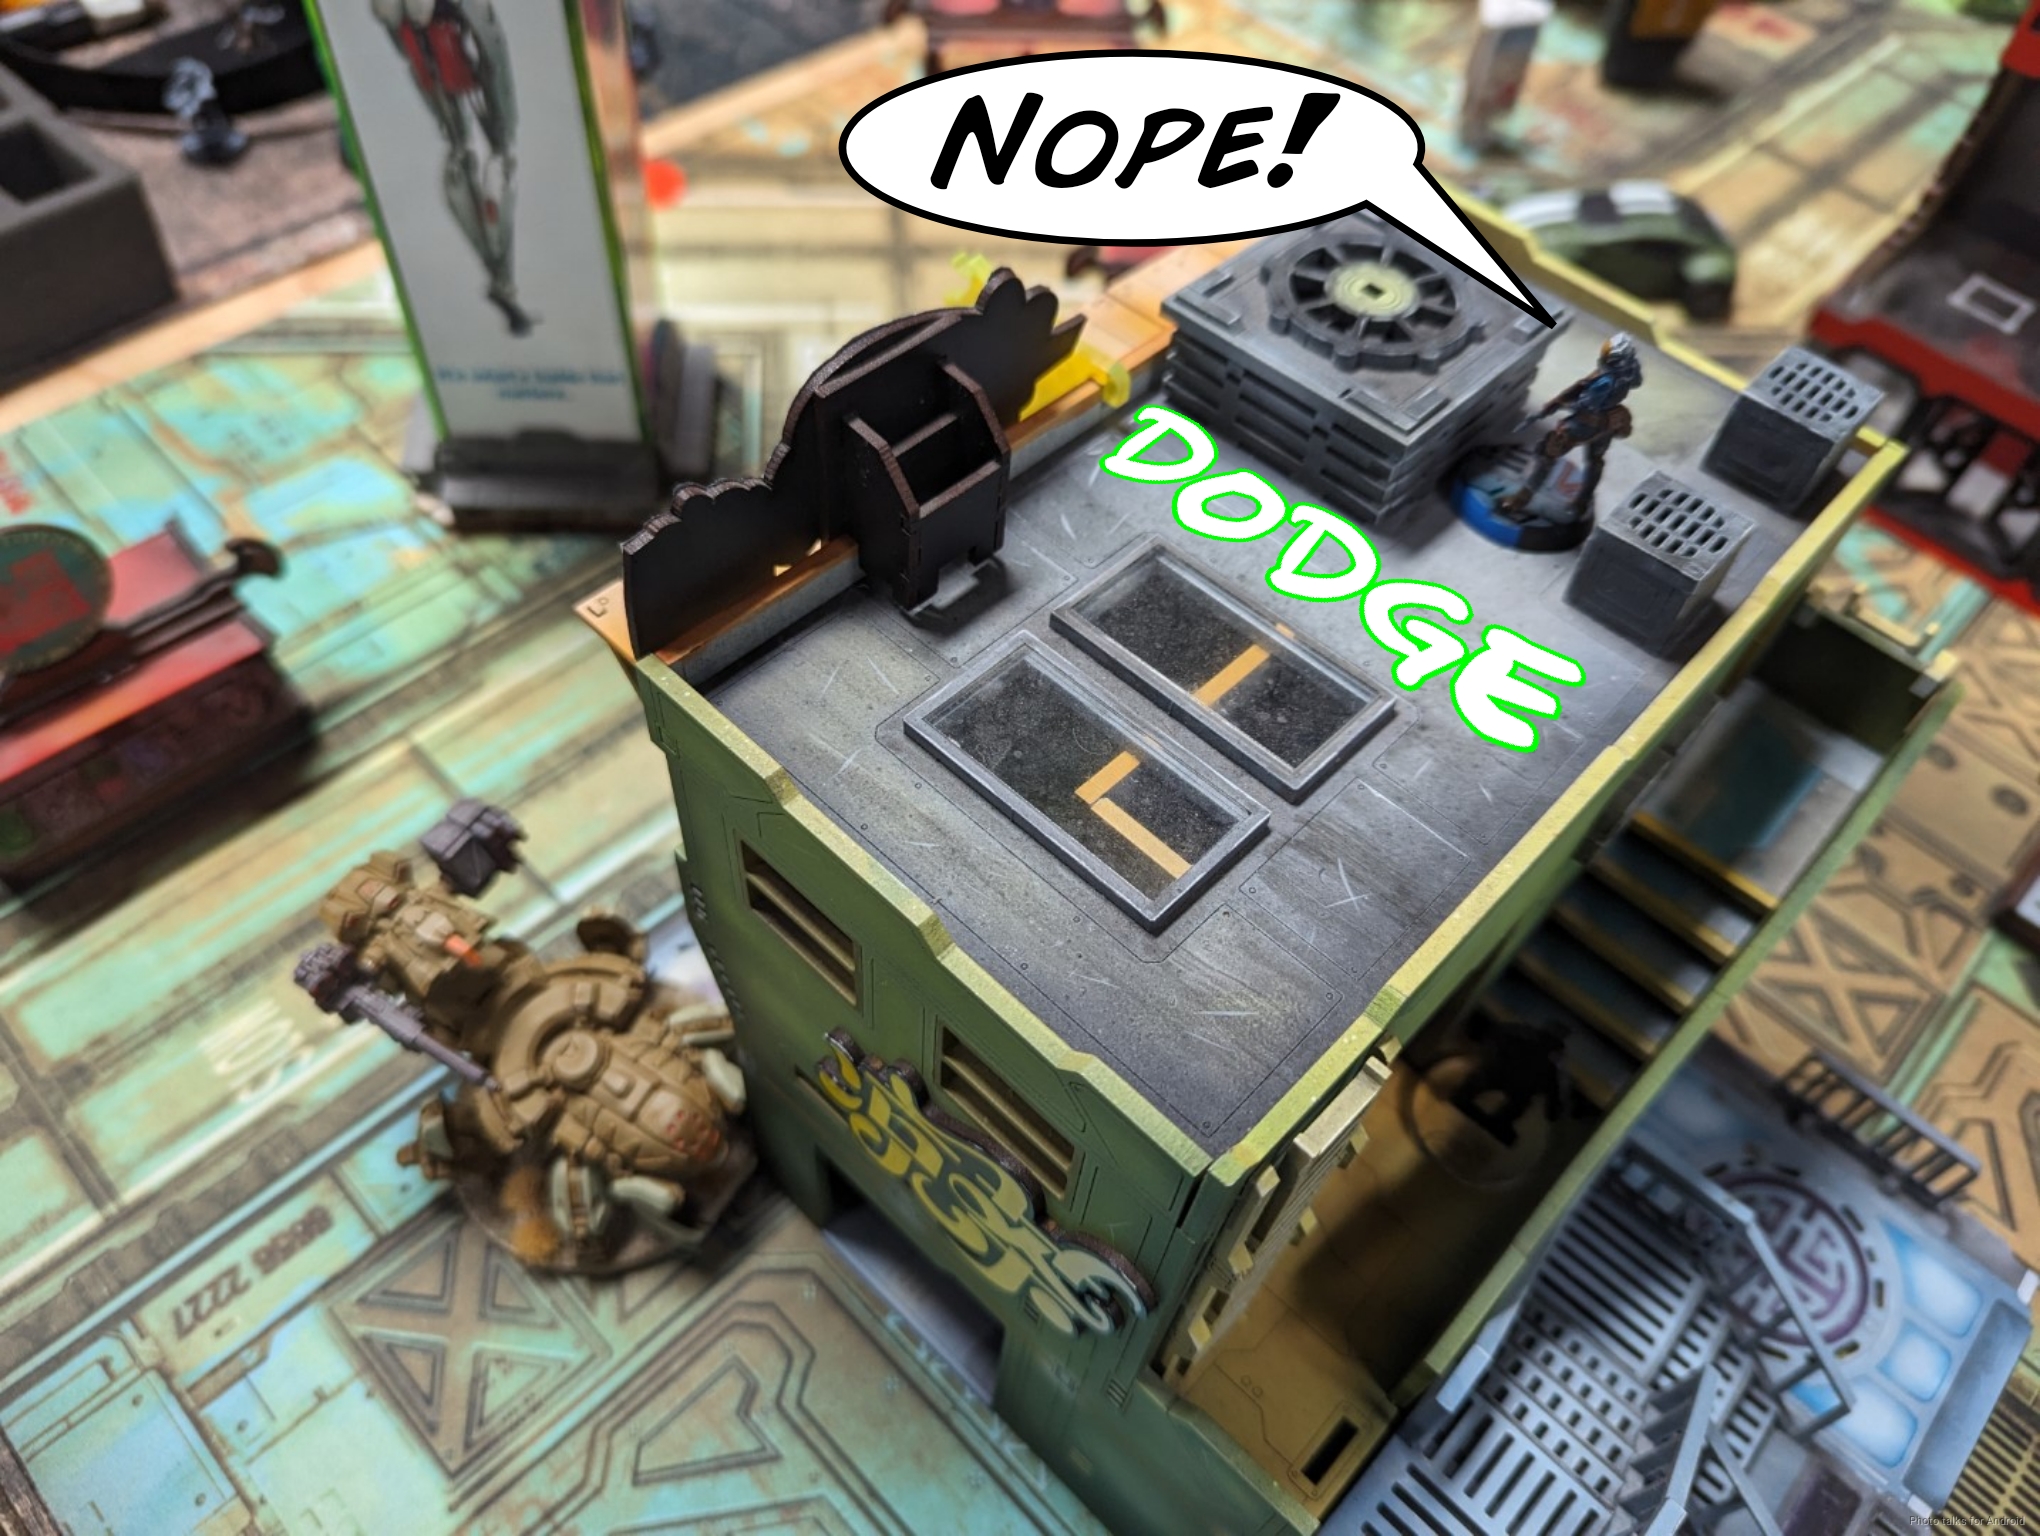
I put my Lieutenant on the roof (erroneously marked as Brawler Doctor on the left), protected it with the Fasid’s mine, and kept the Brawler Doctor close. If figured if the Fasid went down it’d only be unconscious and I’d have a chance to get it back up. The Fasid covered a diagonal firelane and the Wu Ming covered a straight firelane on the right. This meant I had a structural deficiency on the left, so that’s where the ABH/Druze duo went. I put Le Muet all the way up on the right side to attack into the deployment zone or make a run with his dual Breaker Pistols if I needed, and held both Krakots in reserve with a command token.
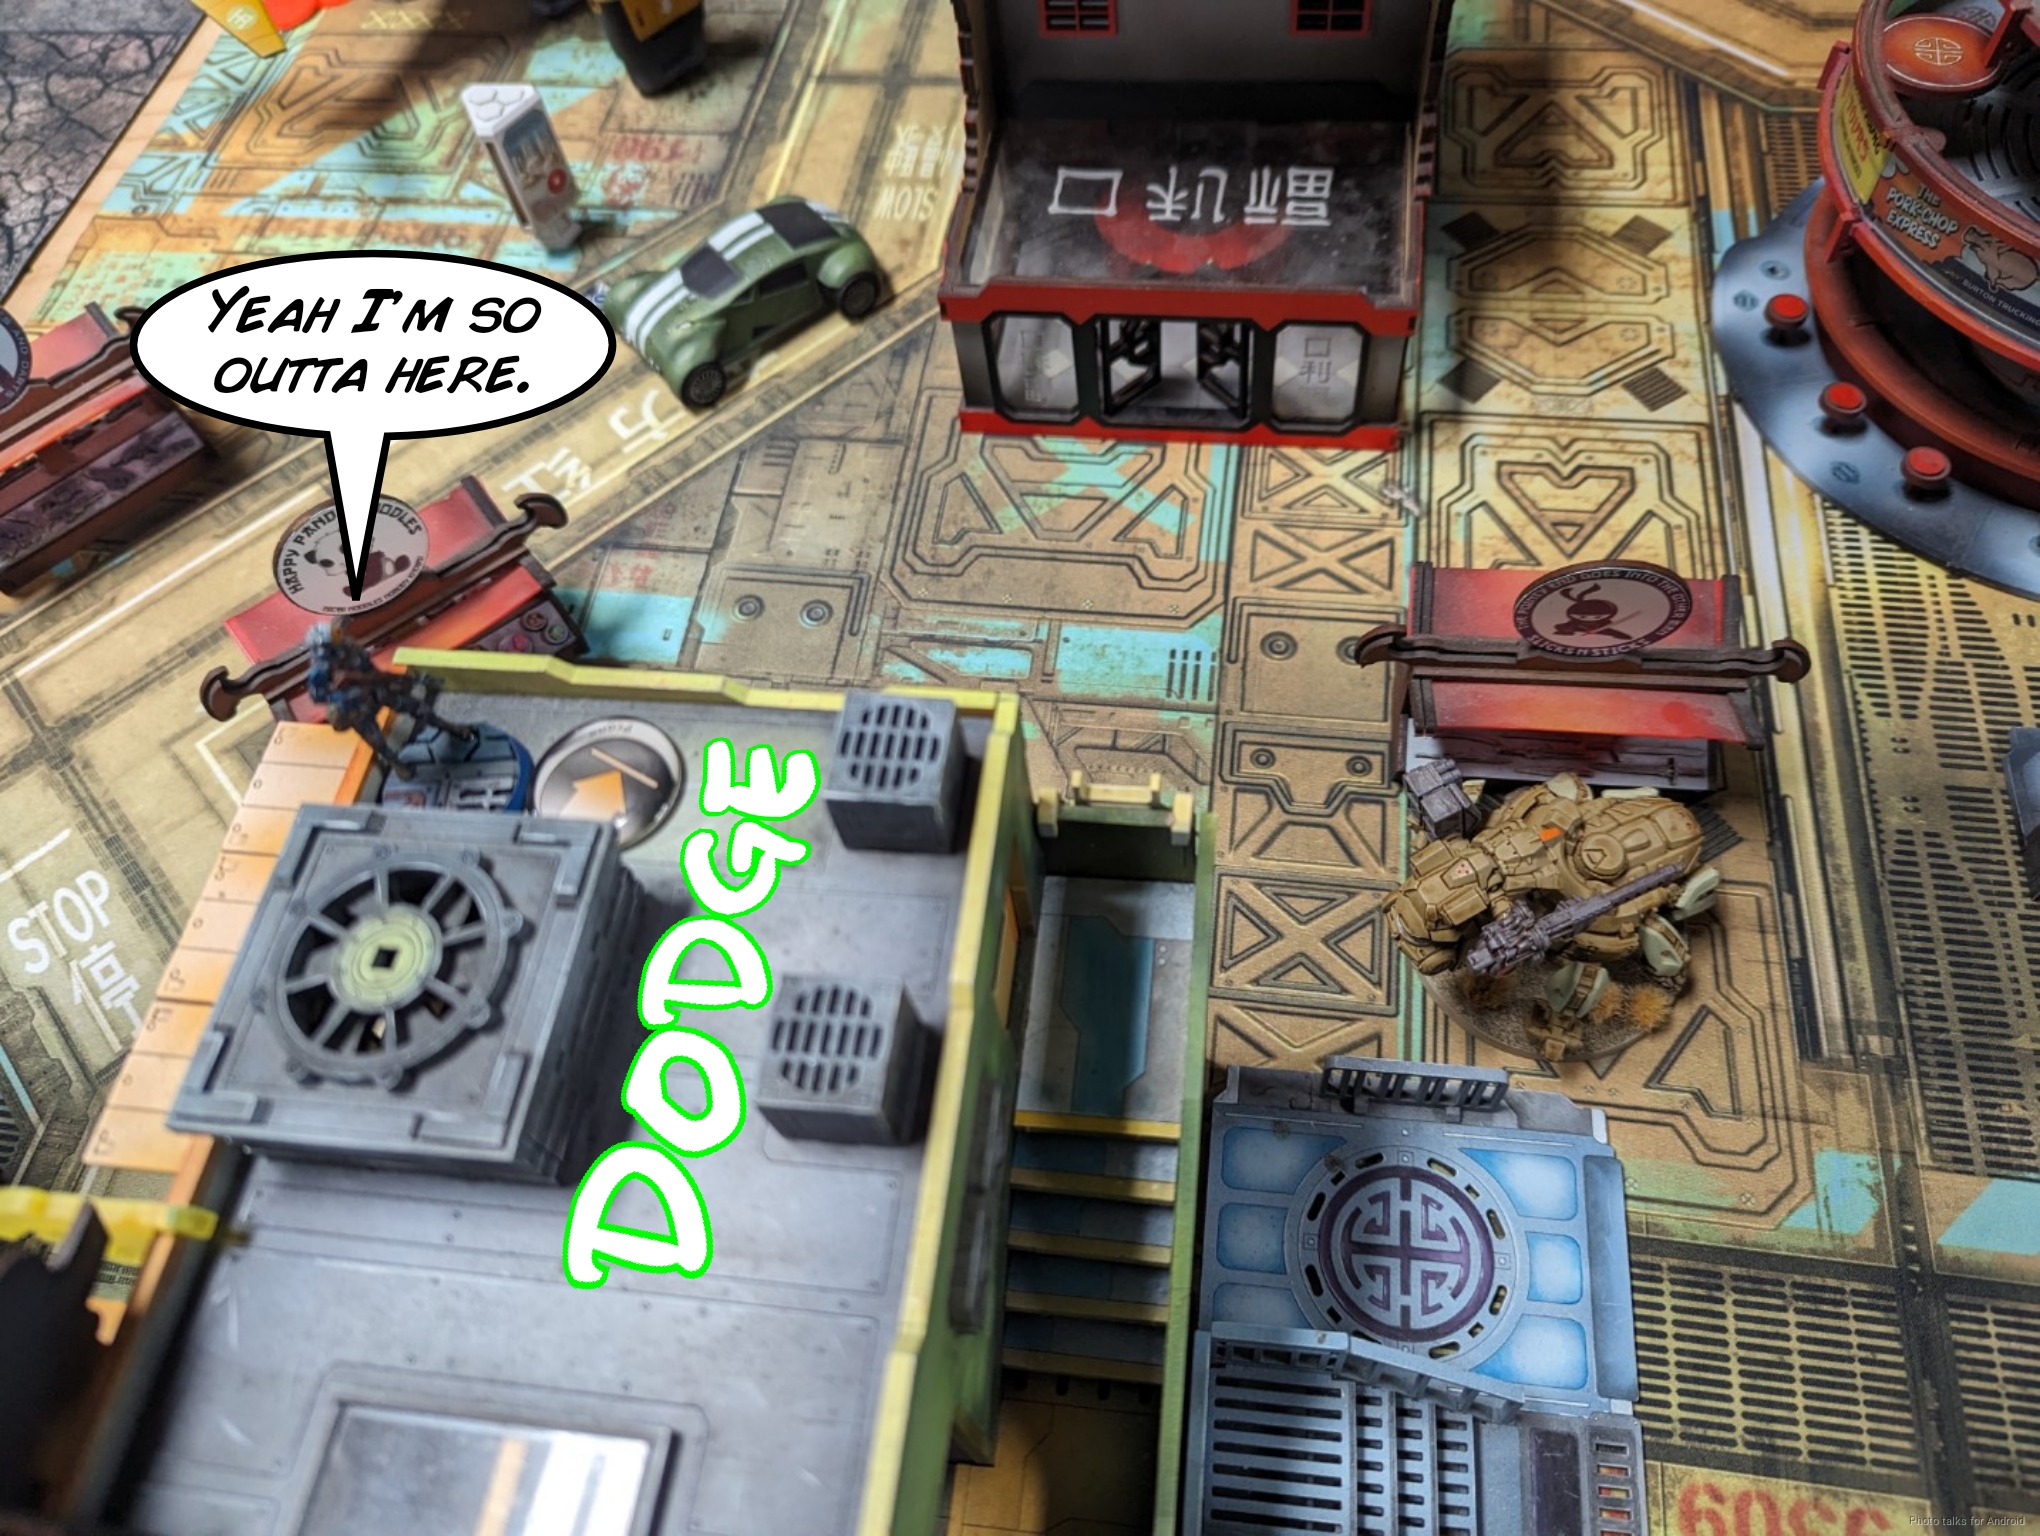
Cole castled up his lieutenant on the roof of a building in a little hallway-like structure. He stuck a Mul up there to protect the Mul, and then backstopped everything on the left with some bikes and Miranda. The He put the Fasid on the right, getting ready to put Maggie down there out of reserve, and then set up the Libertos and Fasid’s mine to really lock down the area over there.
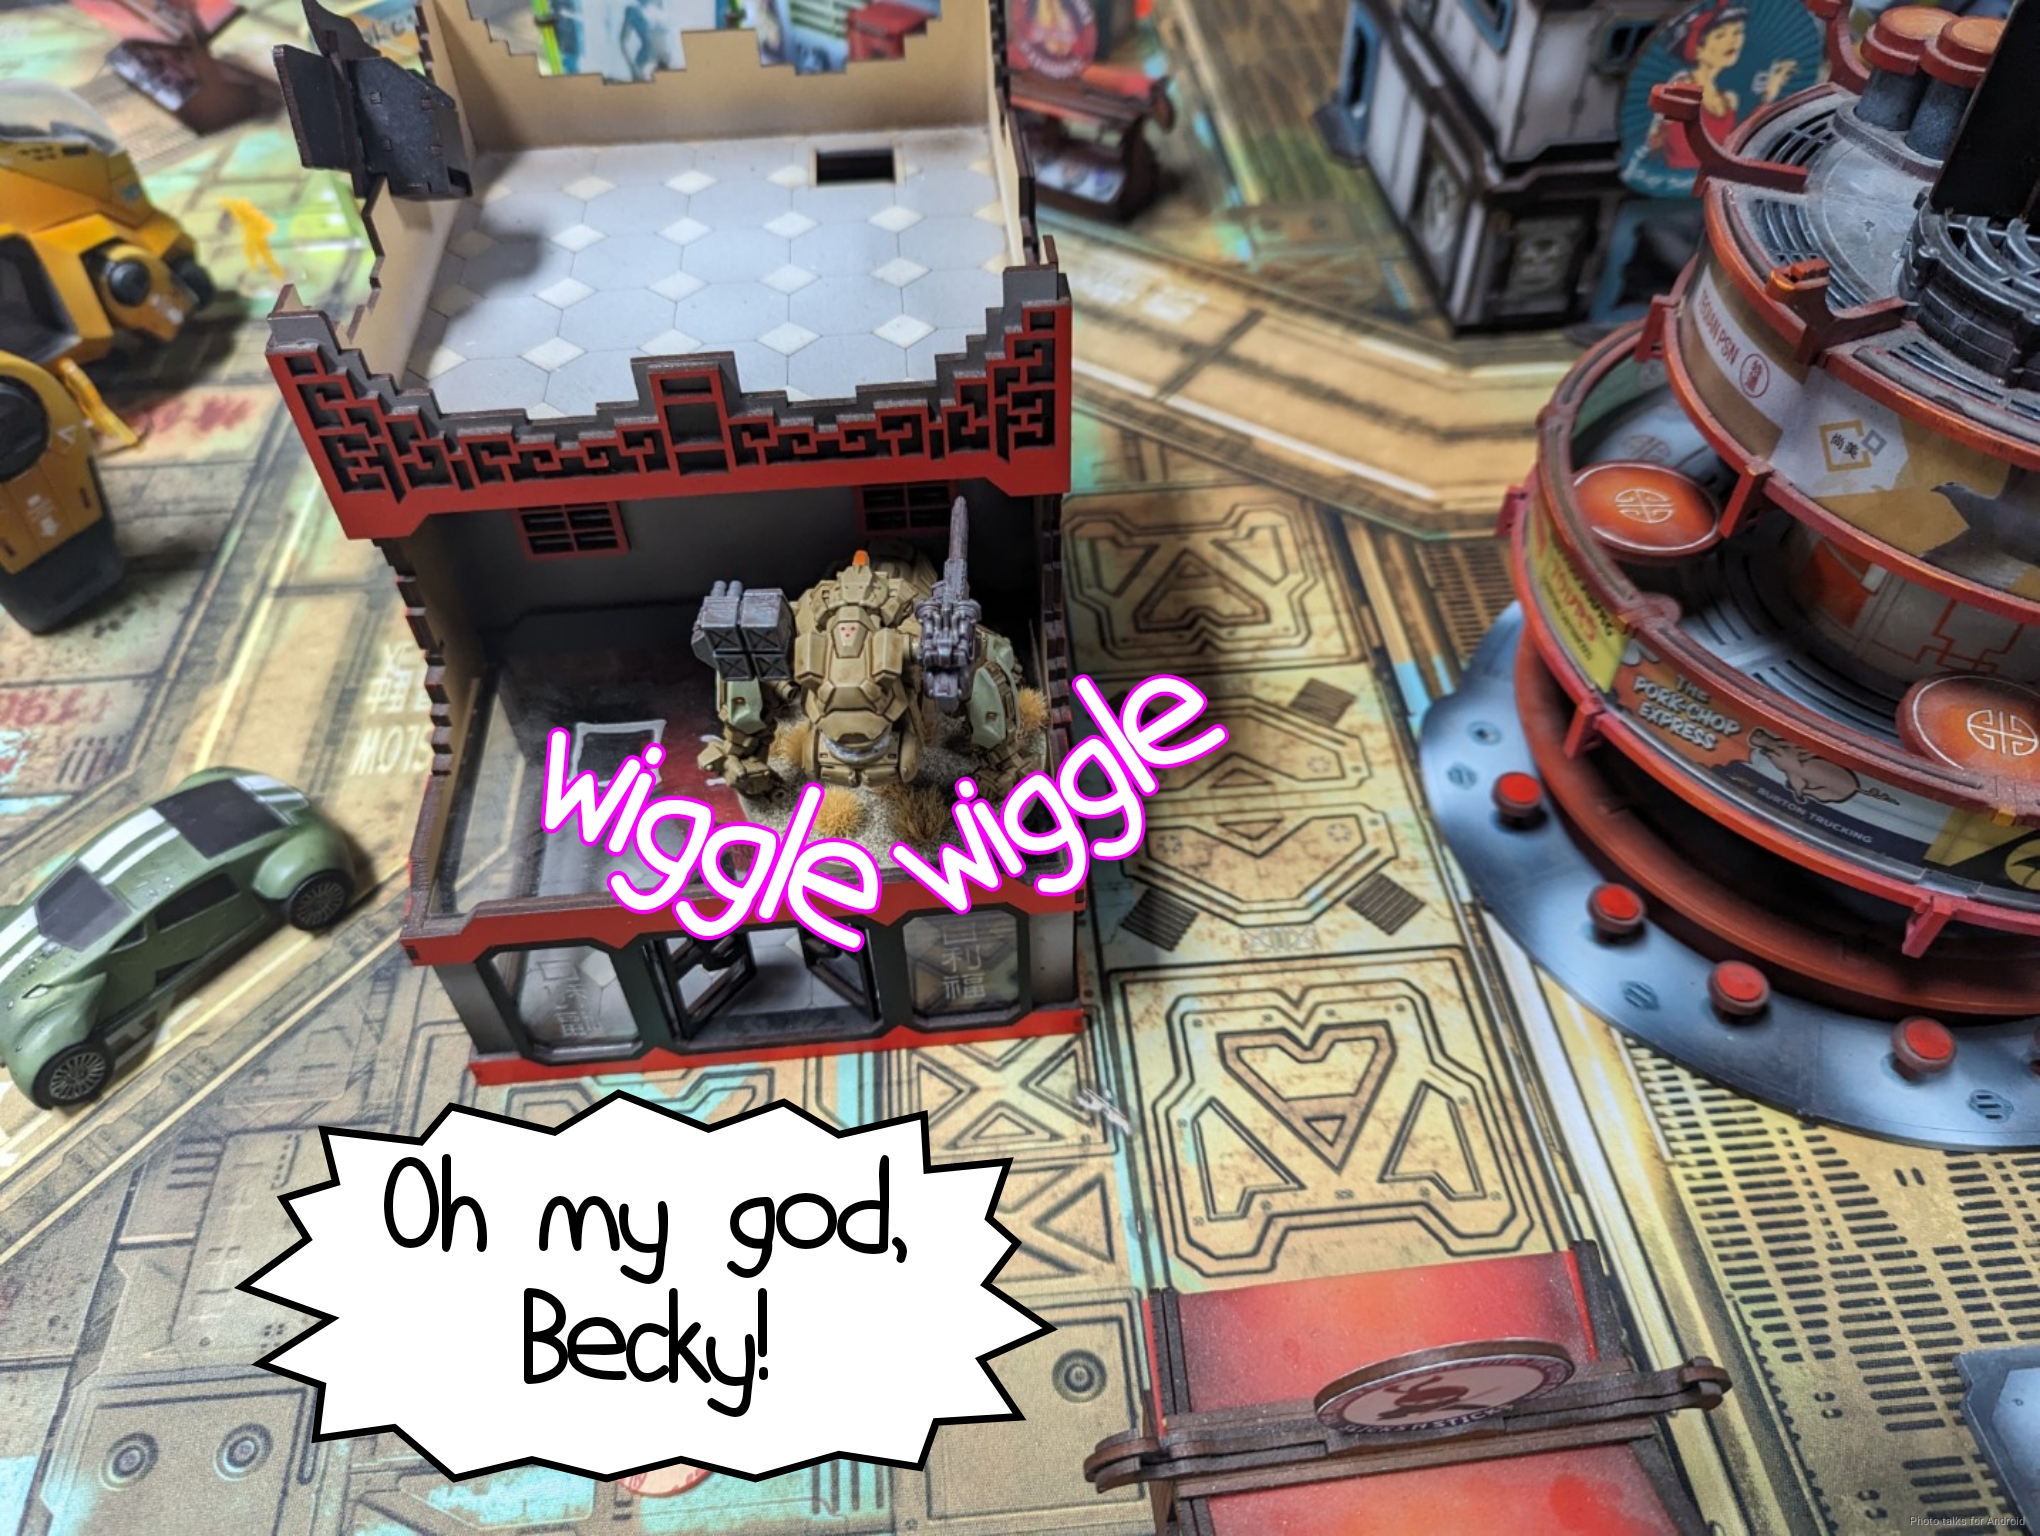
Once I put down the Krakots in the midfield, Maggie came out of reserve and we were off.
Turn 1
Top of 1 – Ikari
Of note is the fact that Cole left a pair of Ghulam out to ARO, armed only with rifles. These two Ghulam were really the only things watching the approach to the Lieutenant, and they were rifle-armed.
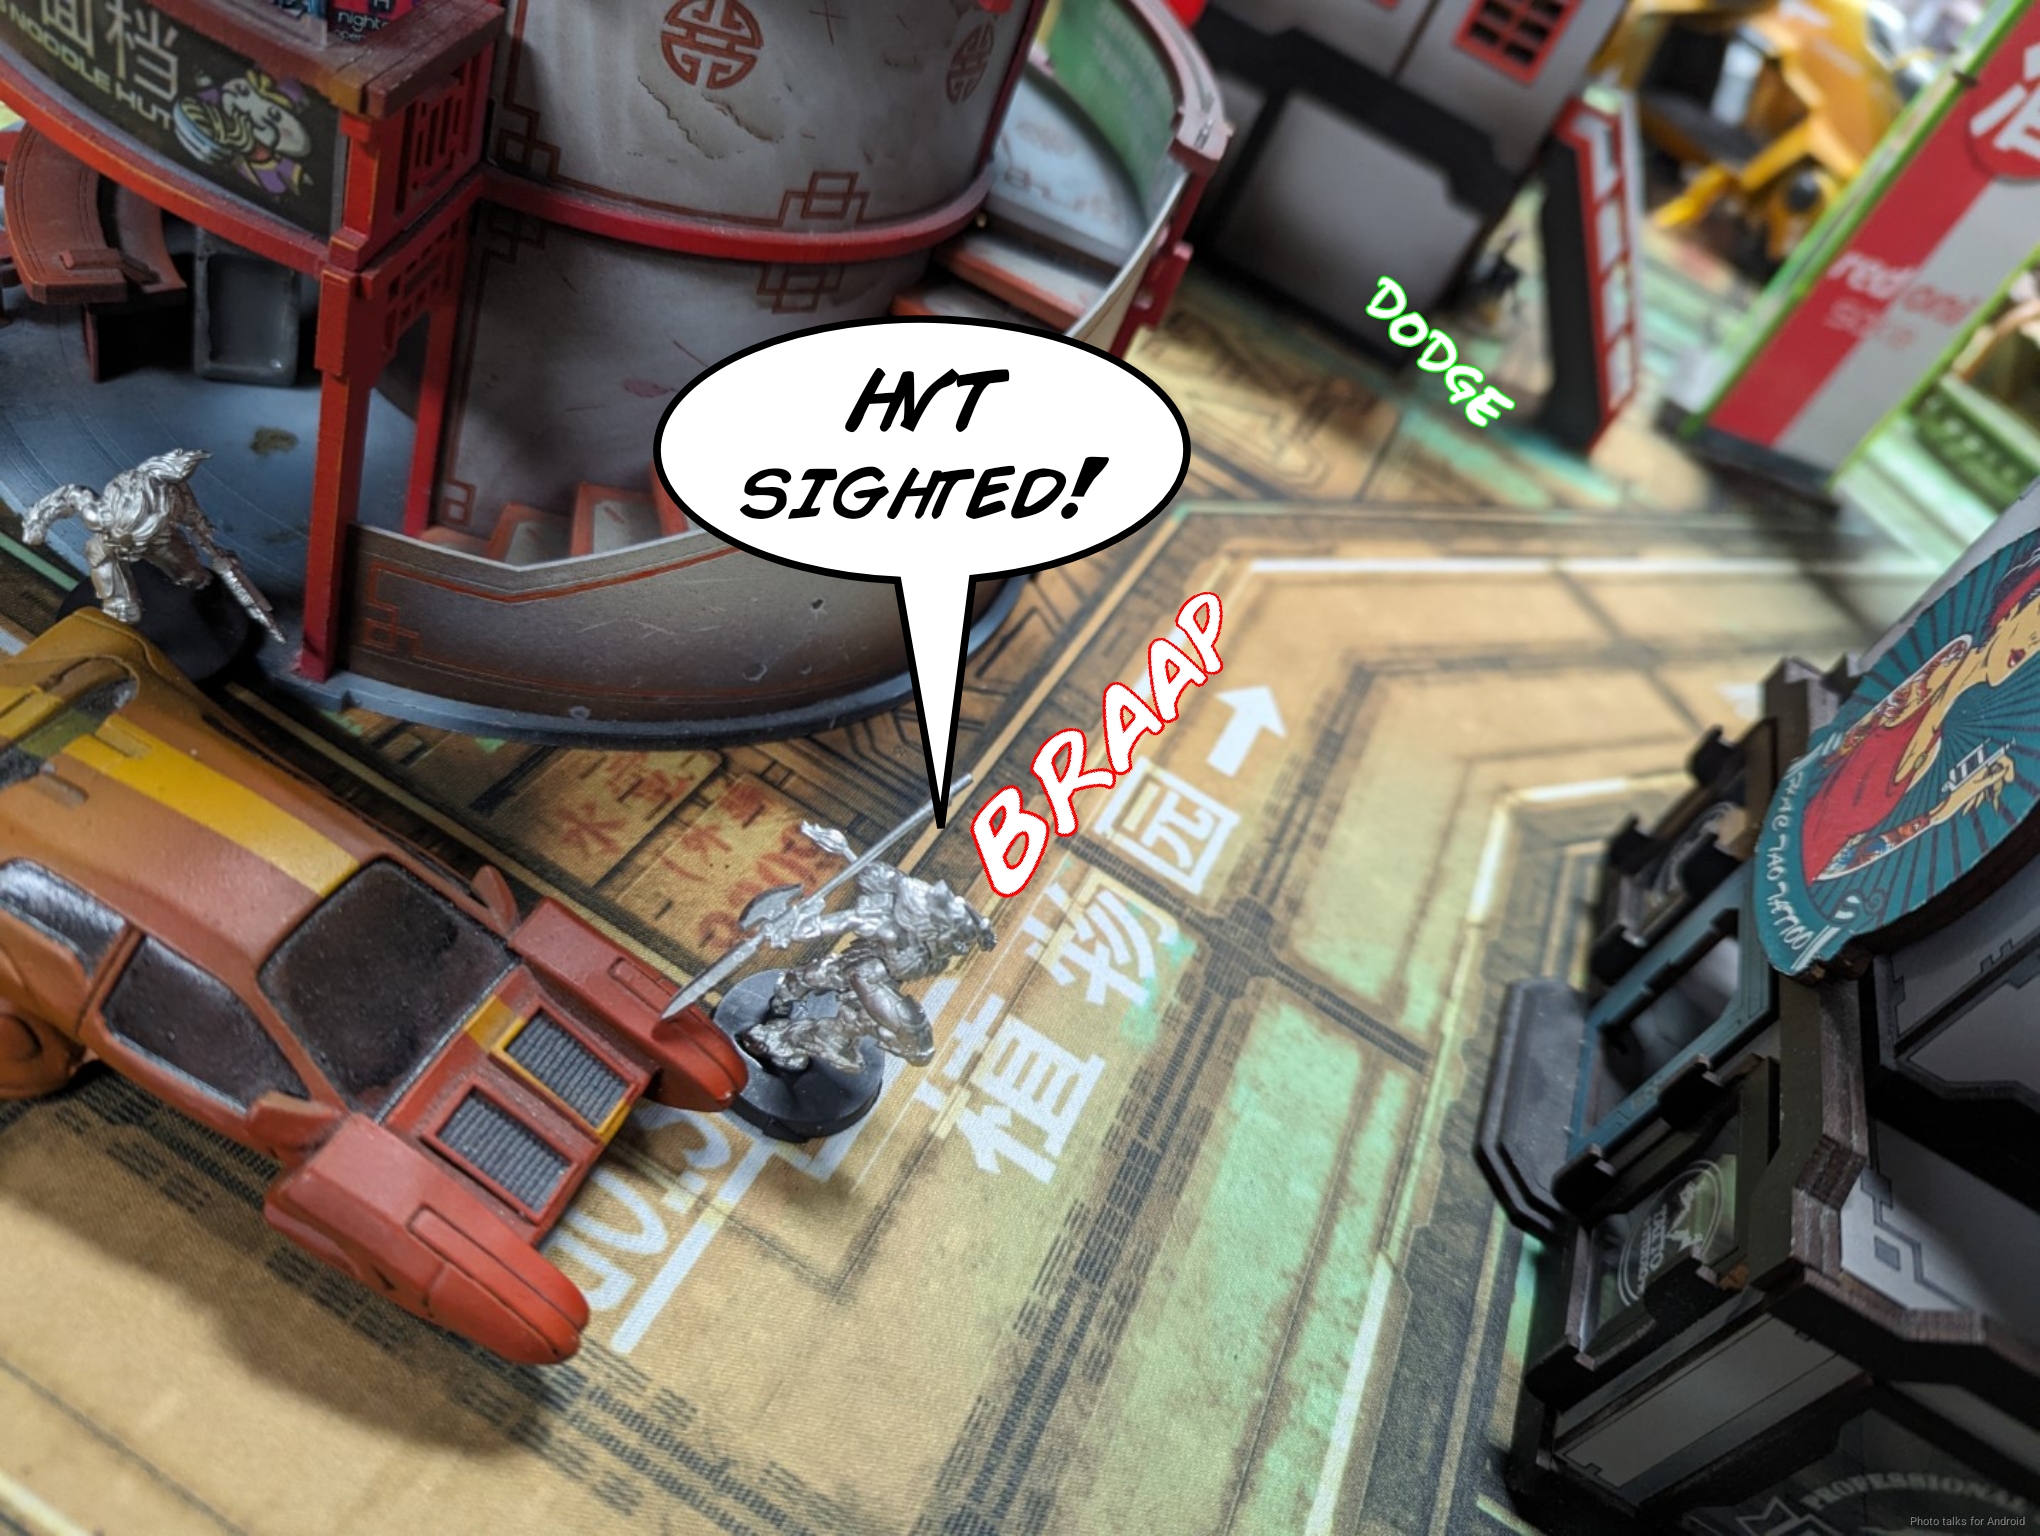
This gave me an opportunity to use the 16″ Decapitation deployment and the FD 4″ of Le Muet to really good advantage. Outside of 16″, it really isn’t much of a contest.
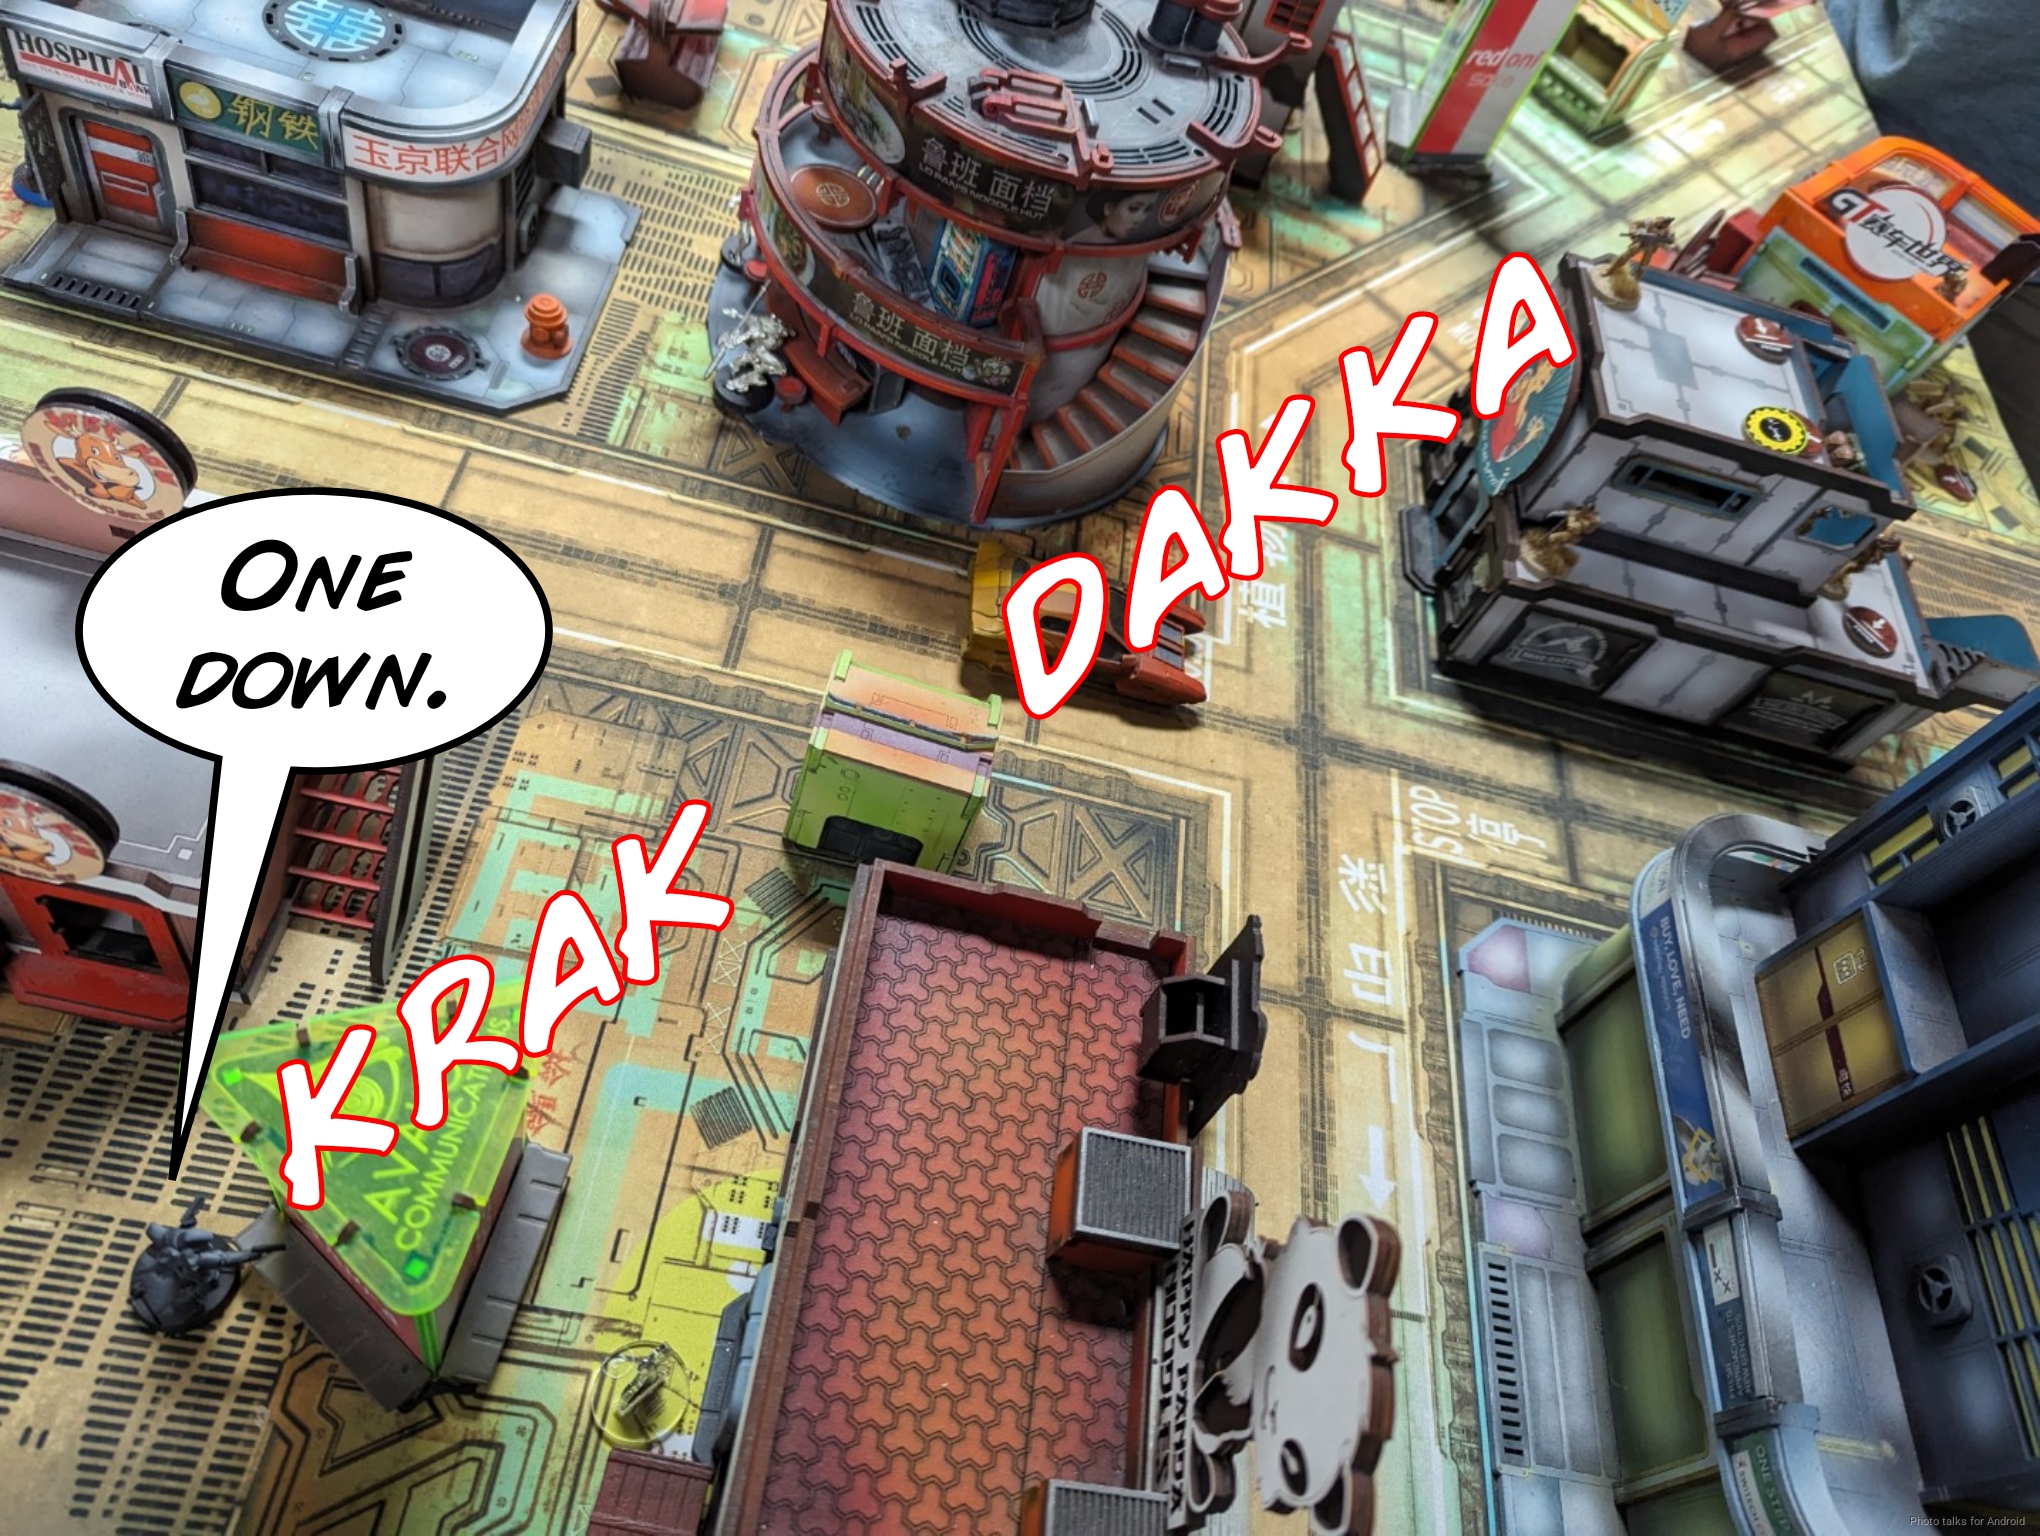
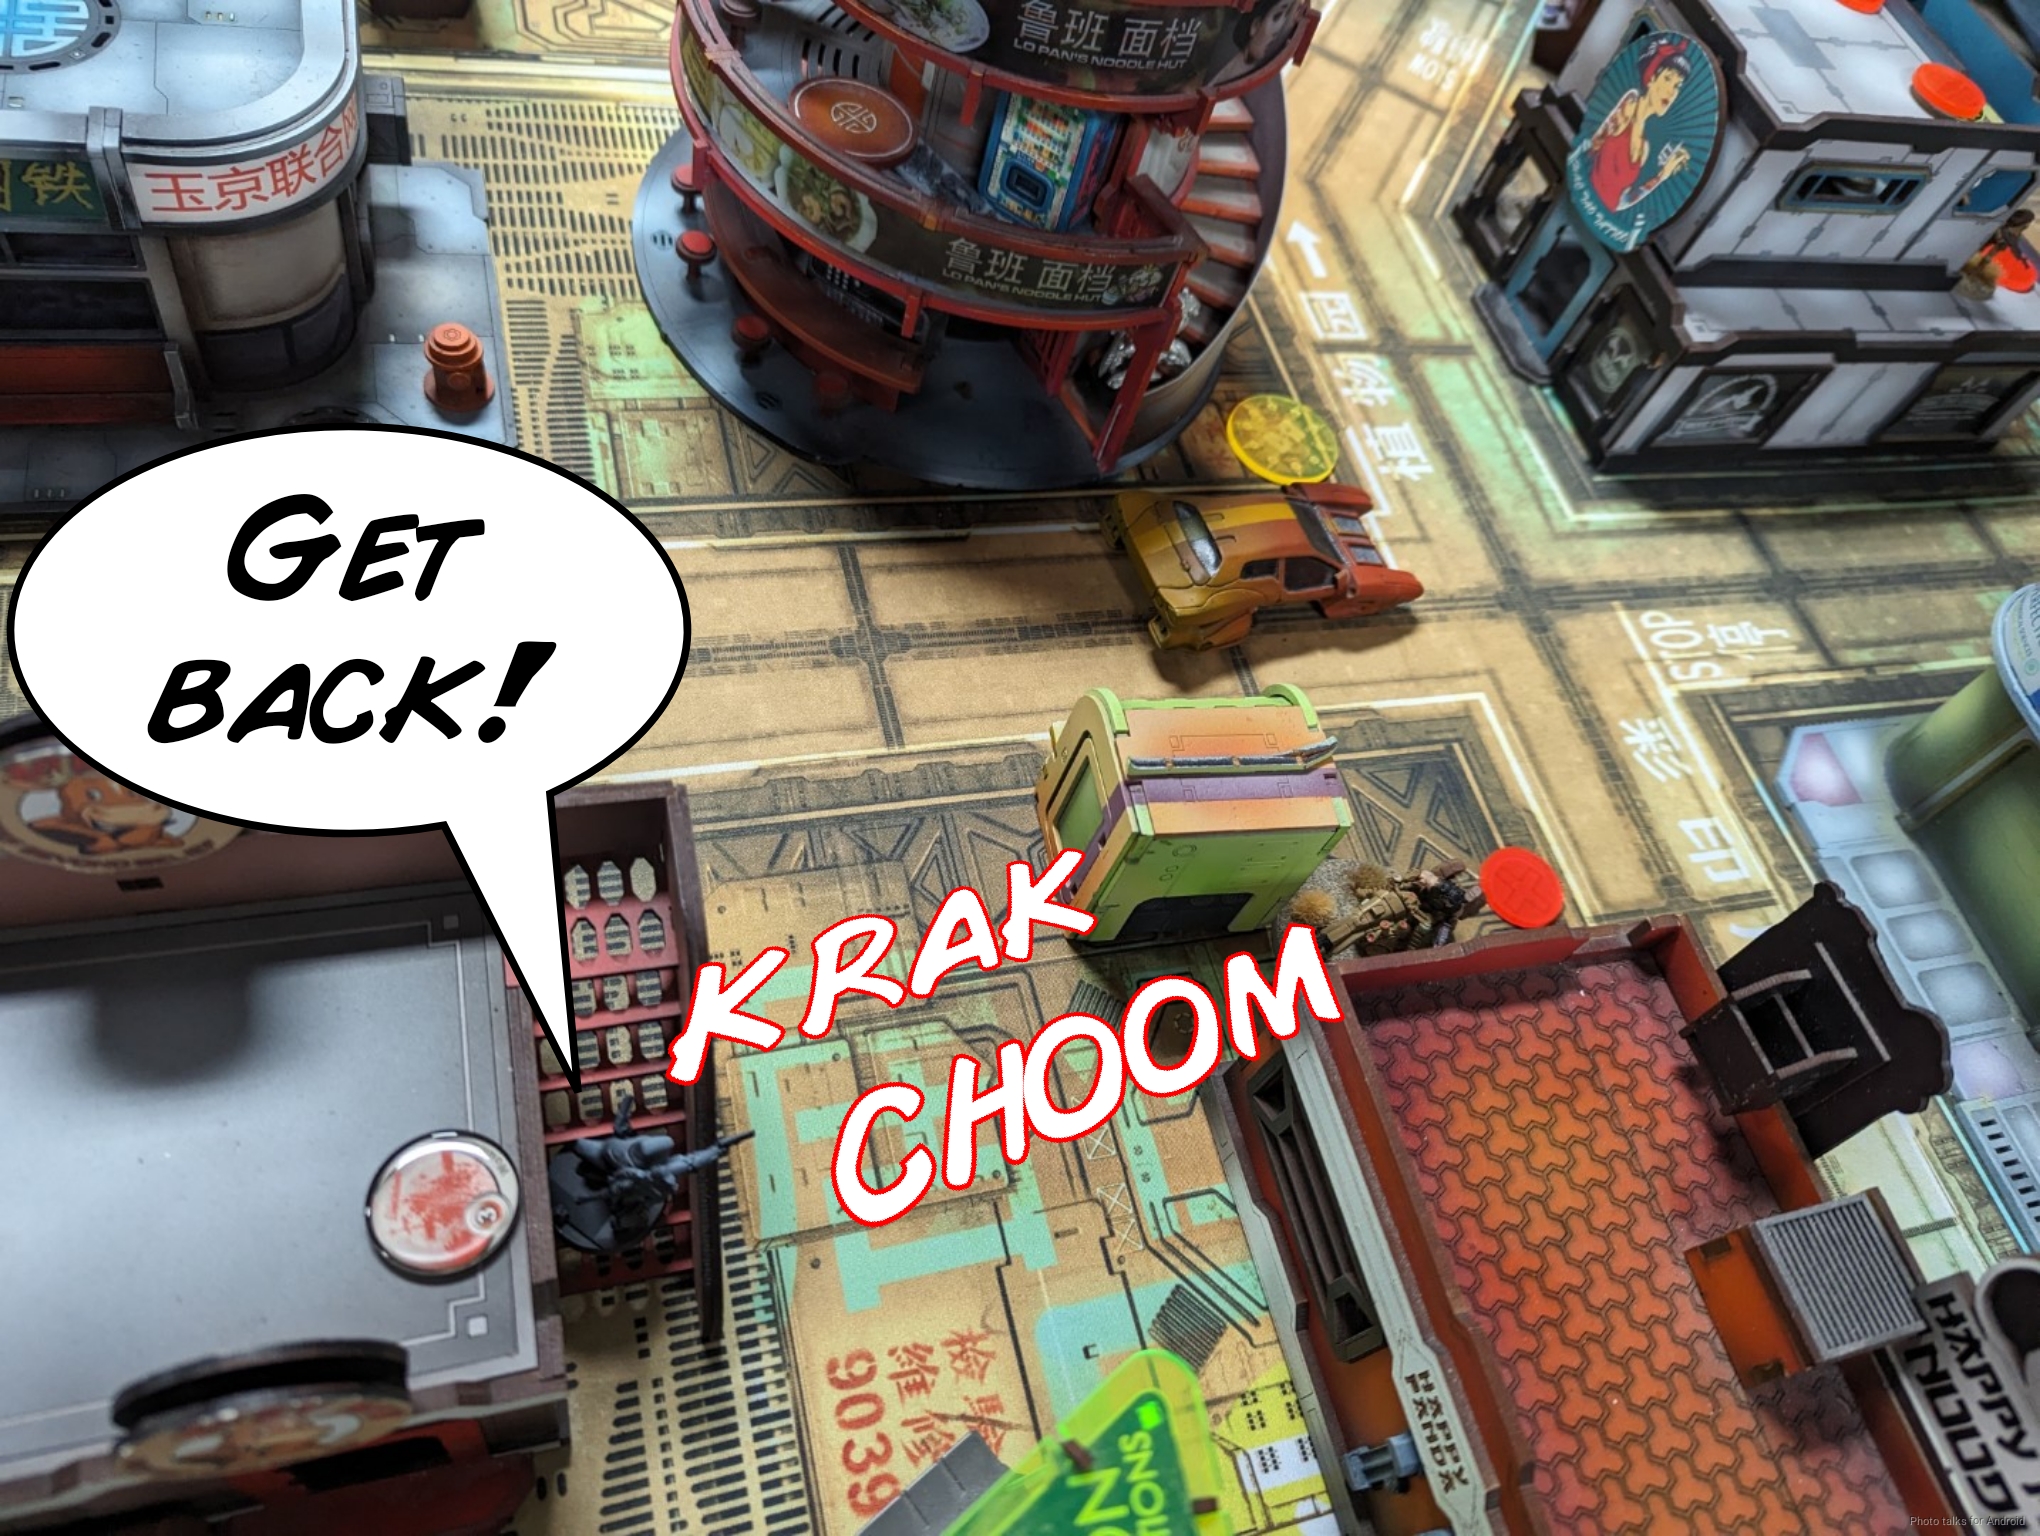
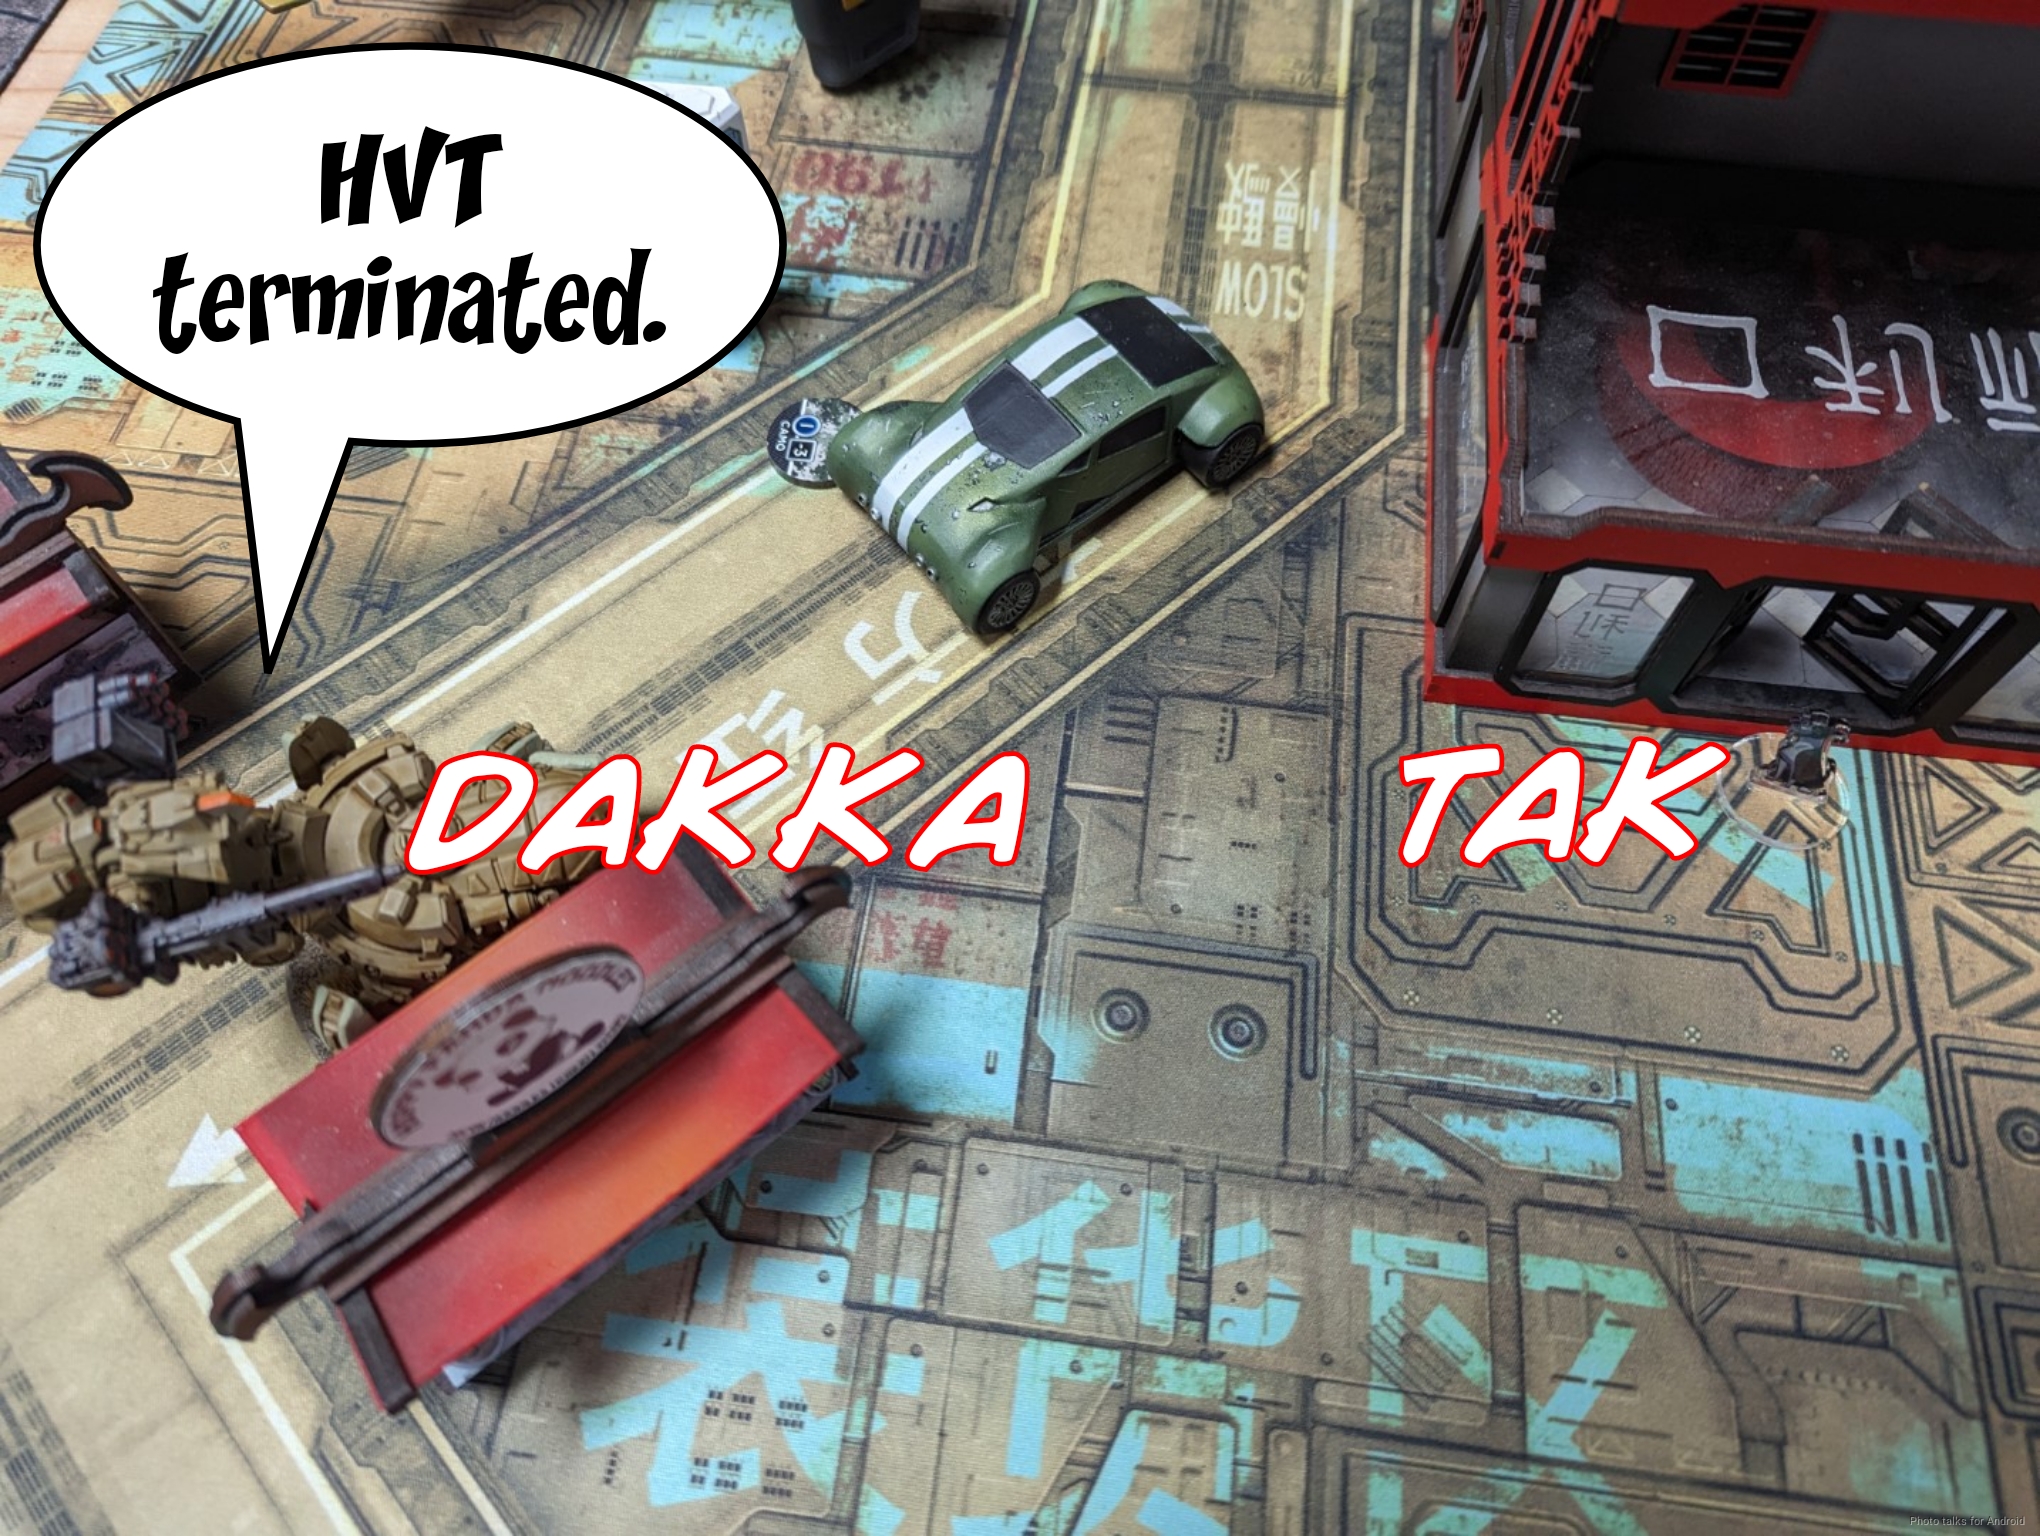
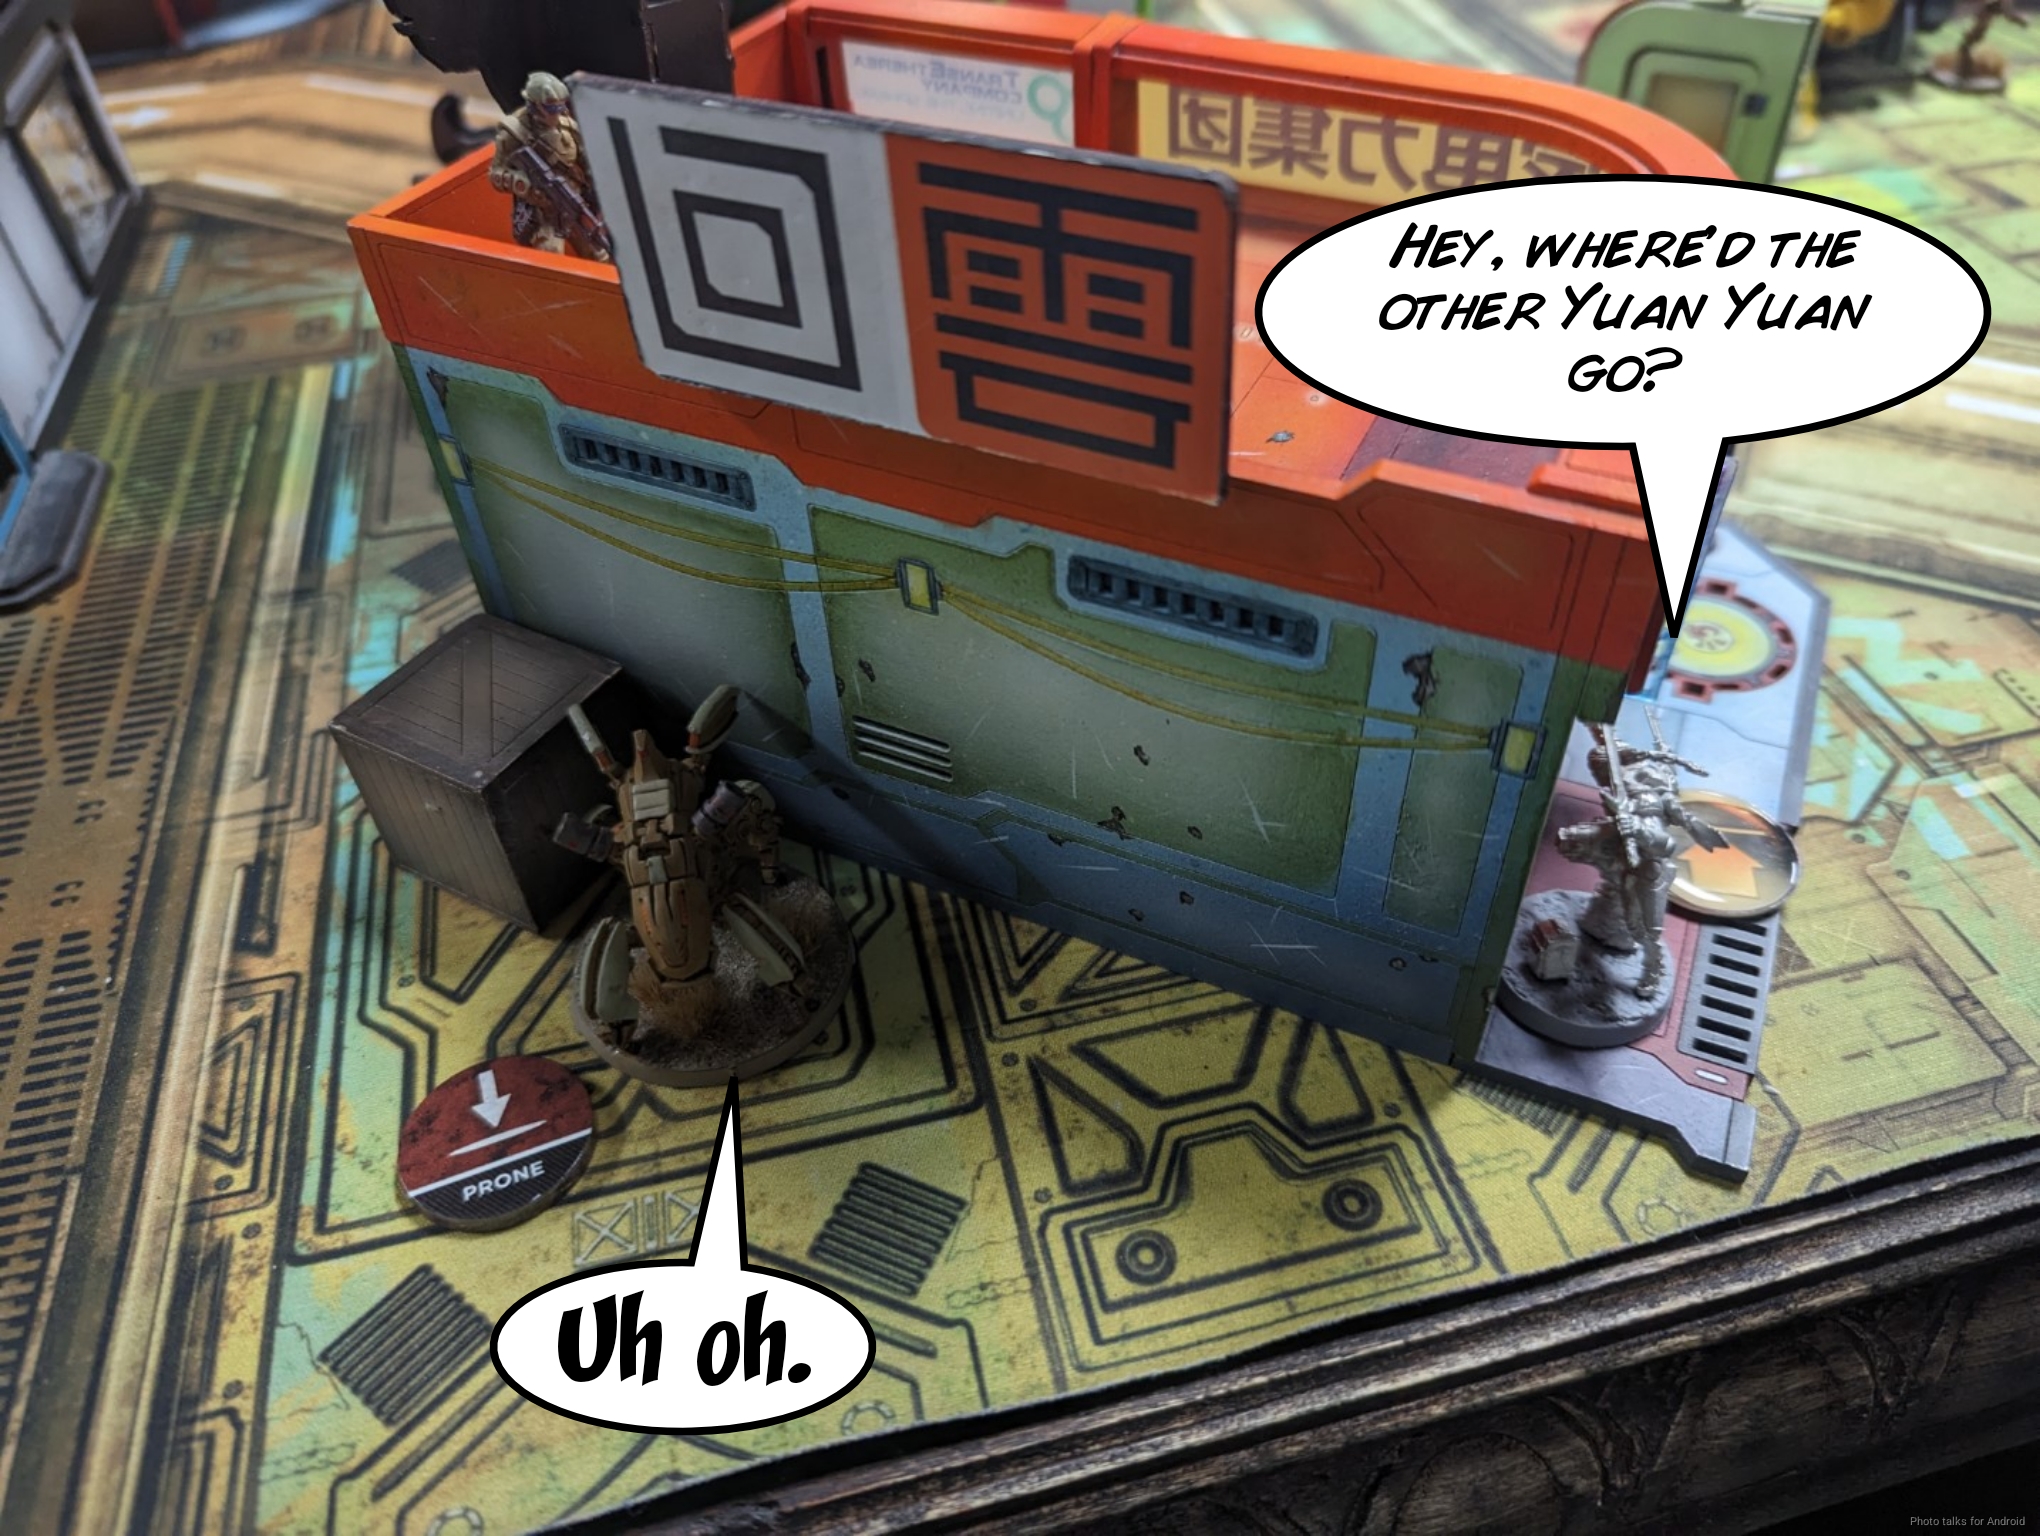
Le Muet makes quick work of the two Ghulam that are out to ARO.
This lets me bring on the Drunk Yuan Yuan, aka Adam. Nothing can see this, but the arrival of a man with a keg backpack is quite noisy and granted dodges to the remaining Ghulam.
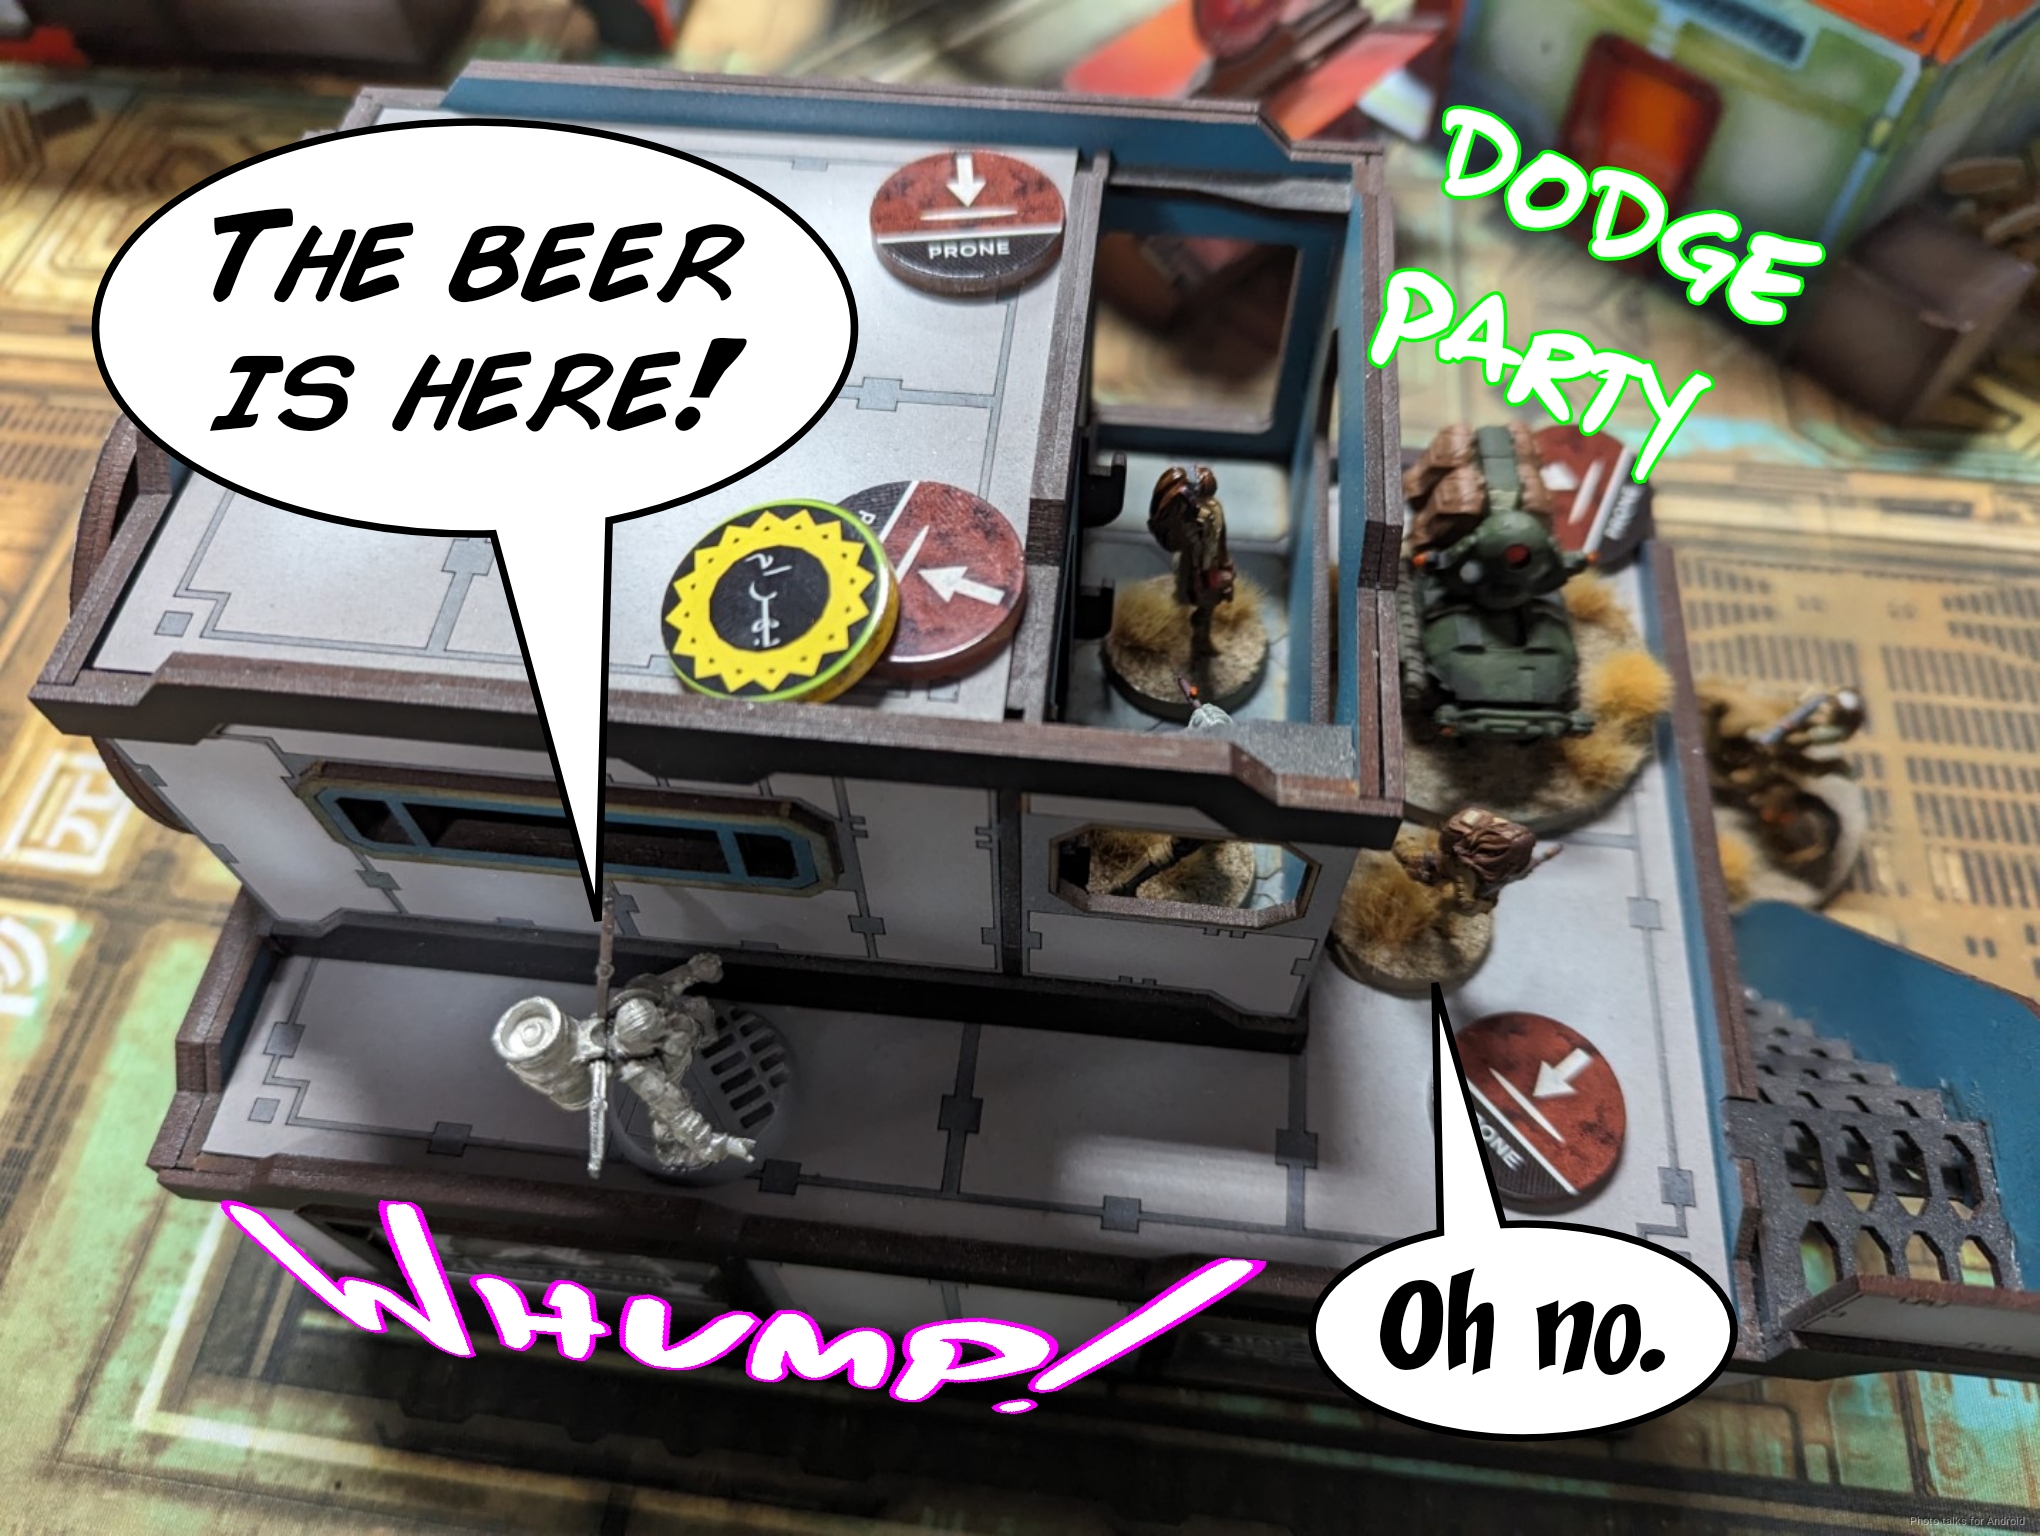
I roll Adam the Drunk Yuan Yuan around the corner and lay a chain rifle template, taking out the Ghulam Doctor but dying to a bunch of shotgun templates and a shotgun slug from a Kum. Somehow the Lieutenant survives this.
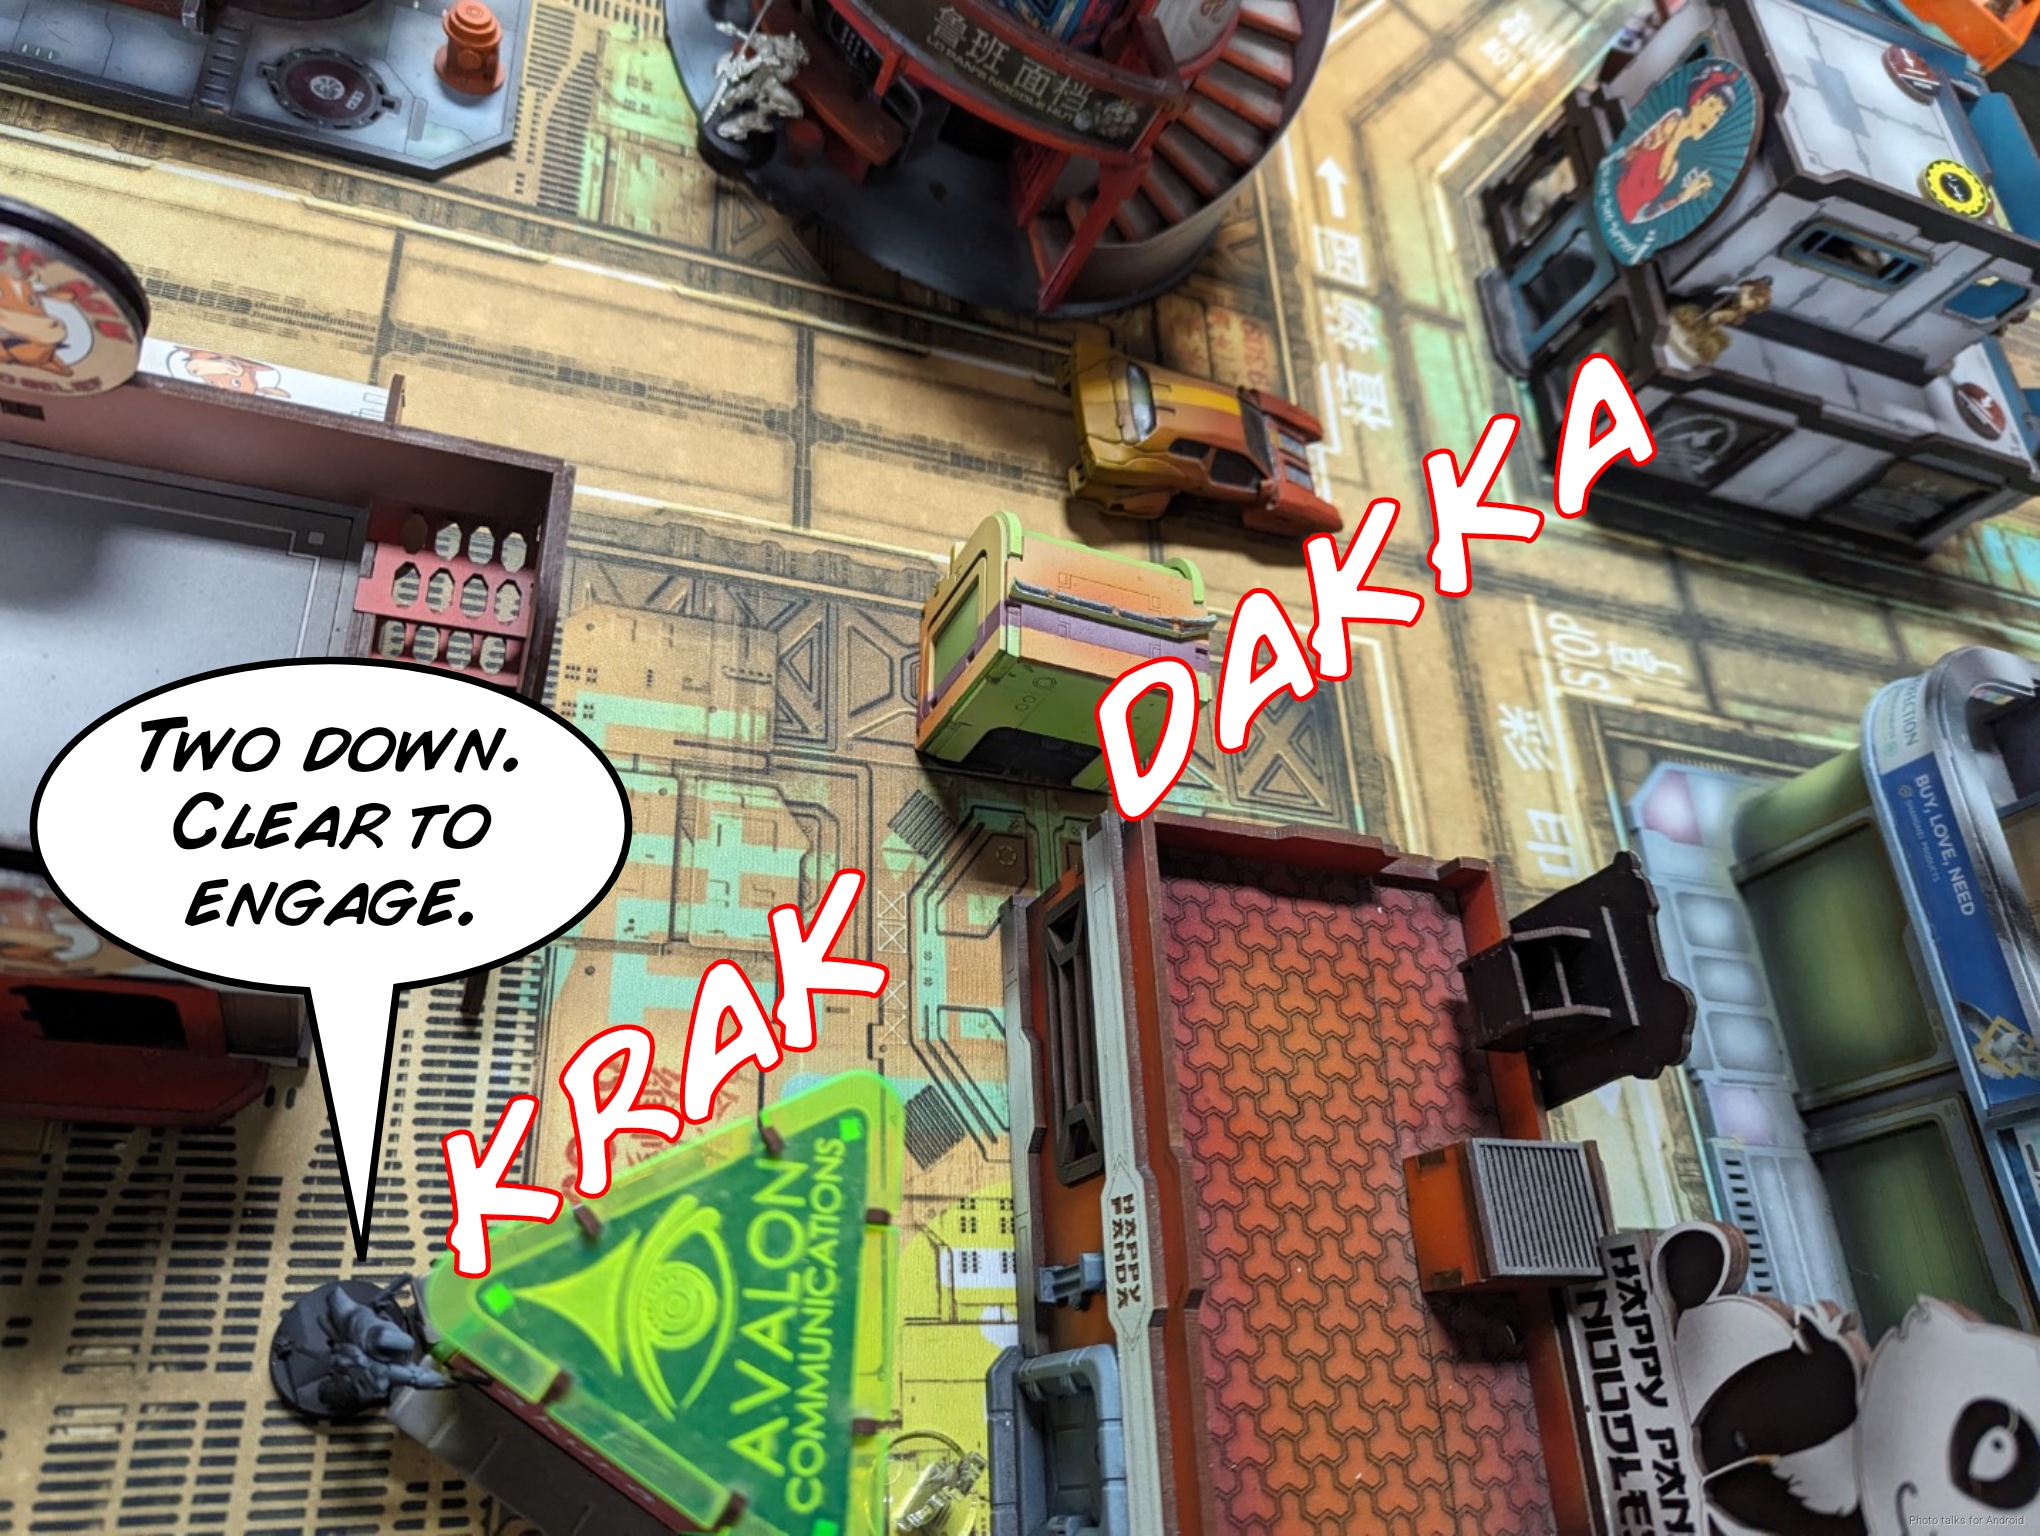
One of the remaining Ghulam dodged into view when the Yuan Yuan landed, so I quickly remove it with Le Muet while getting him into an overwatch position.
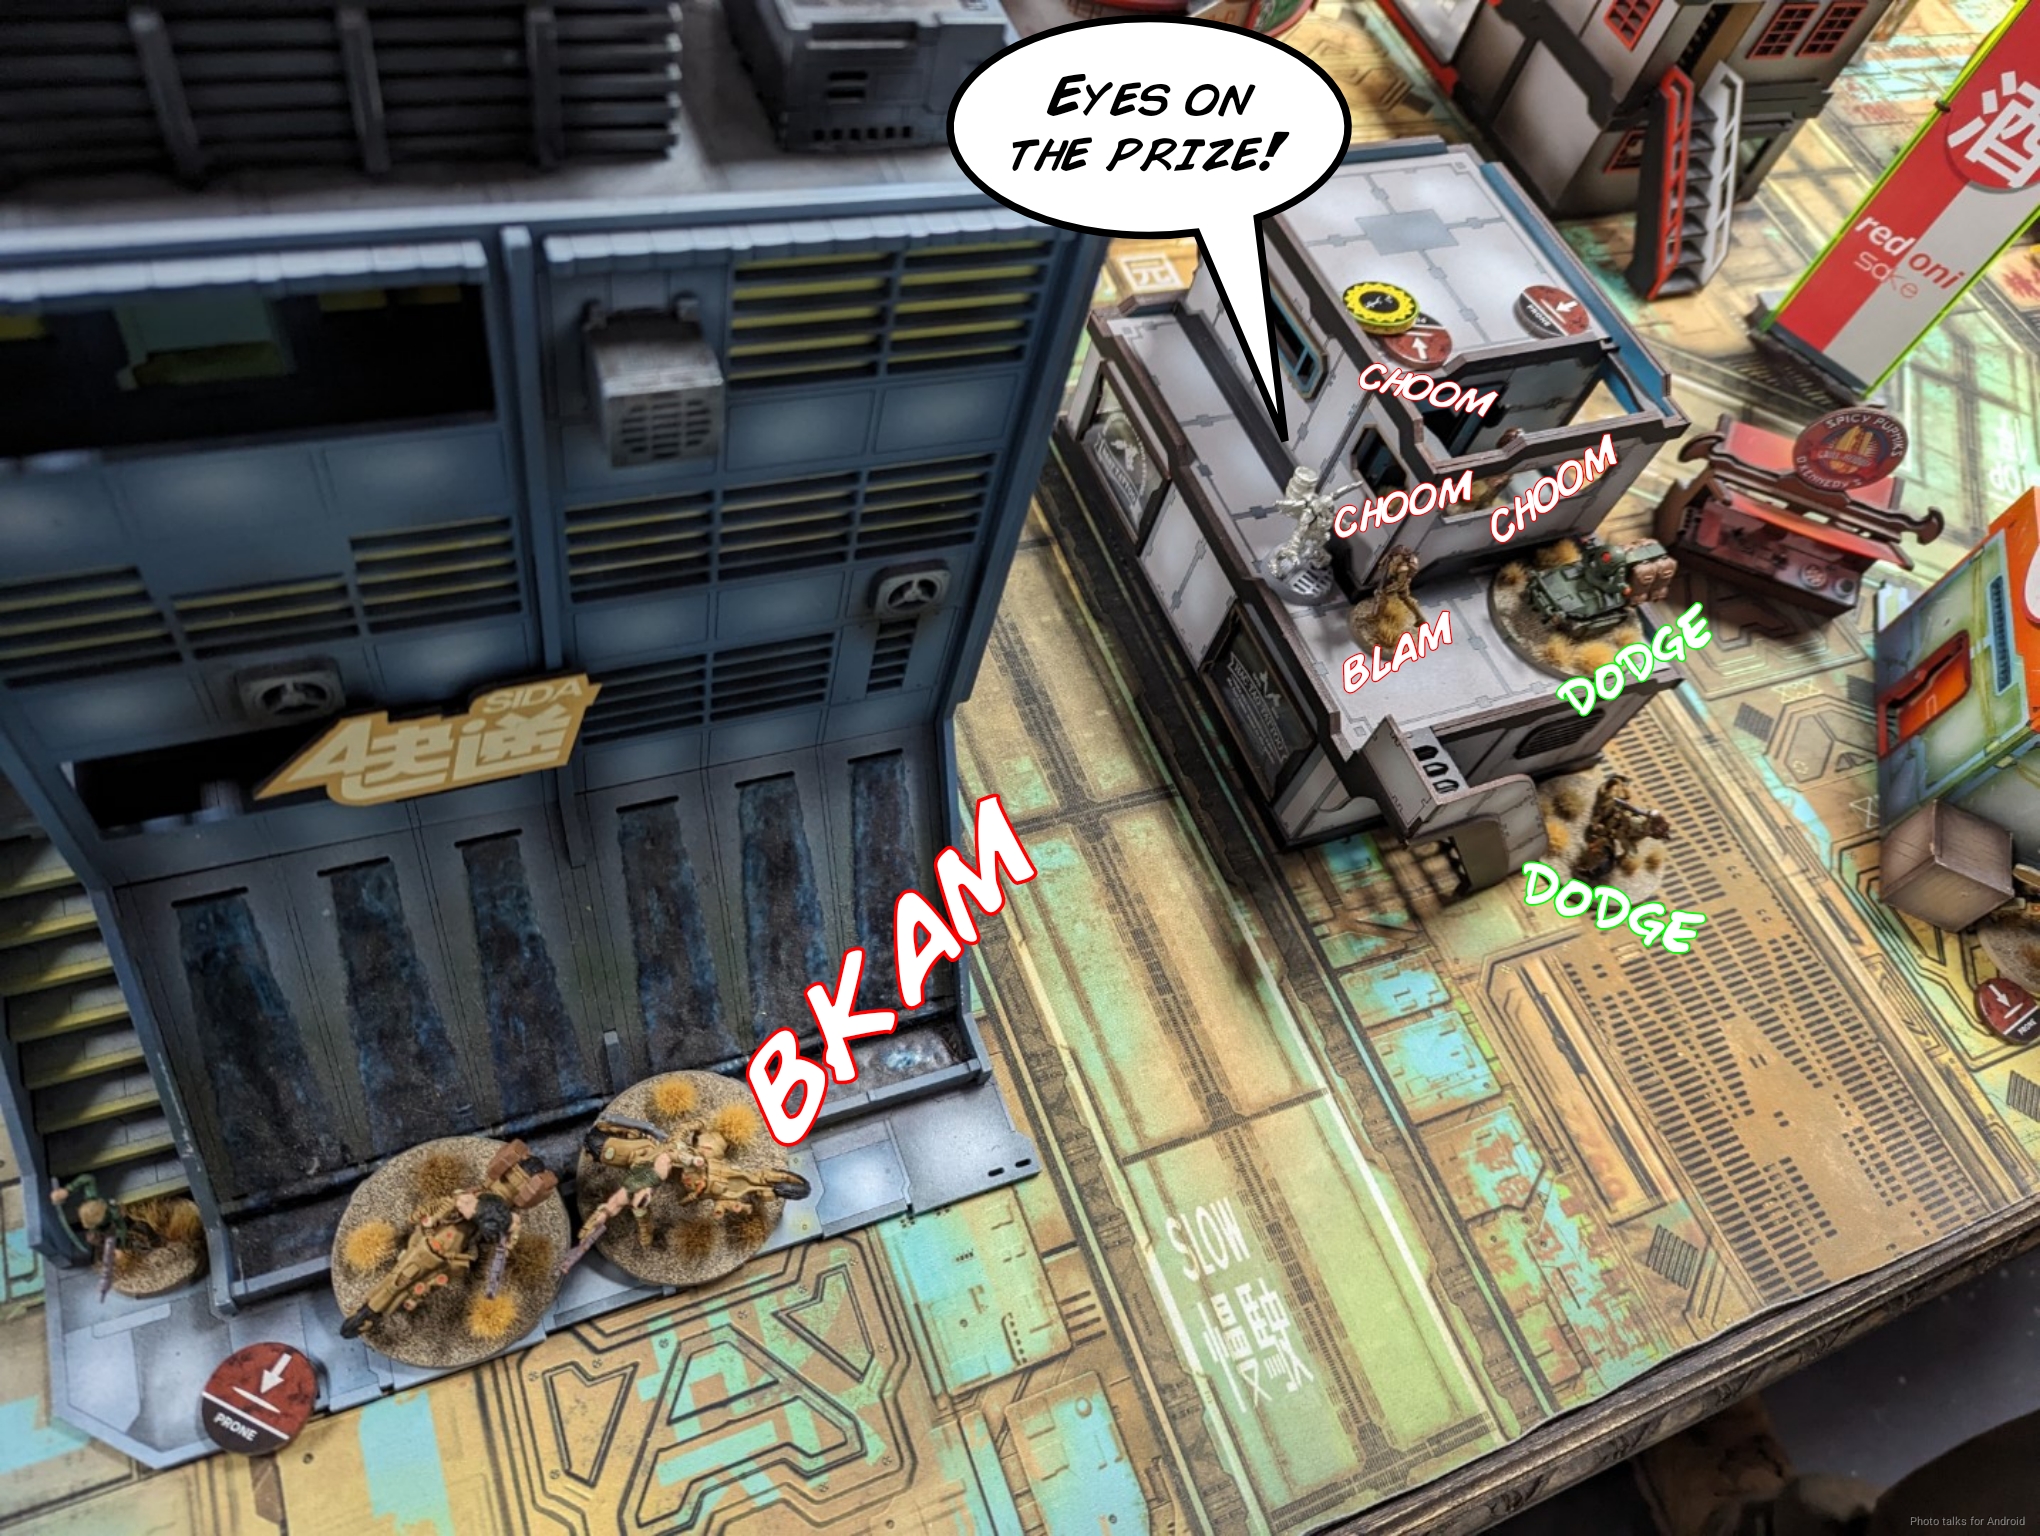
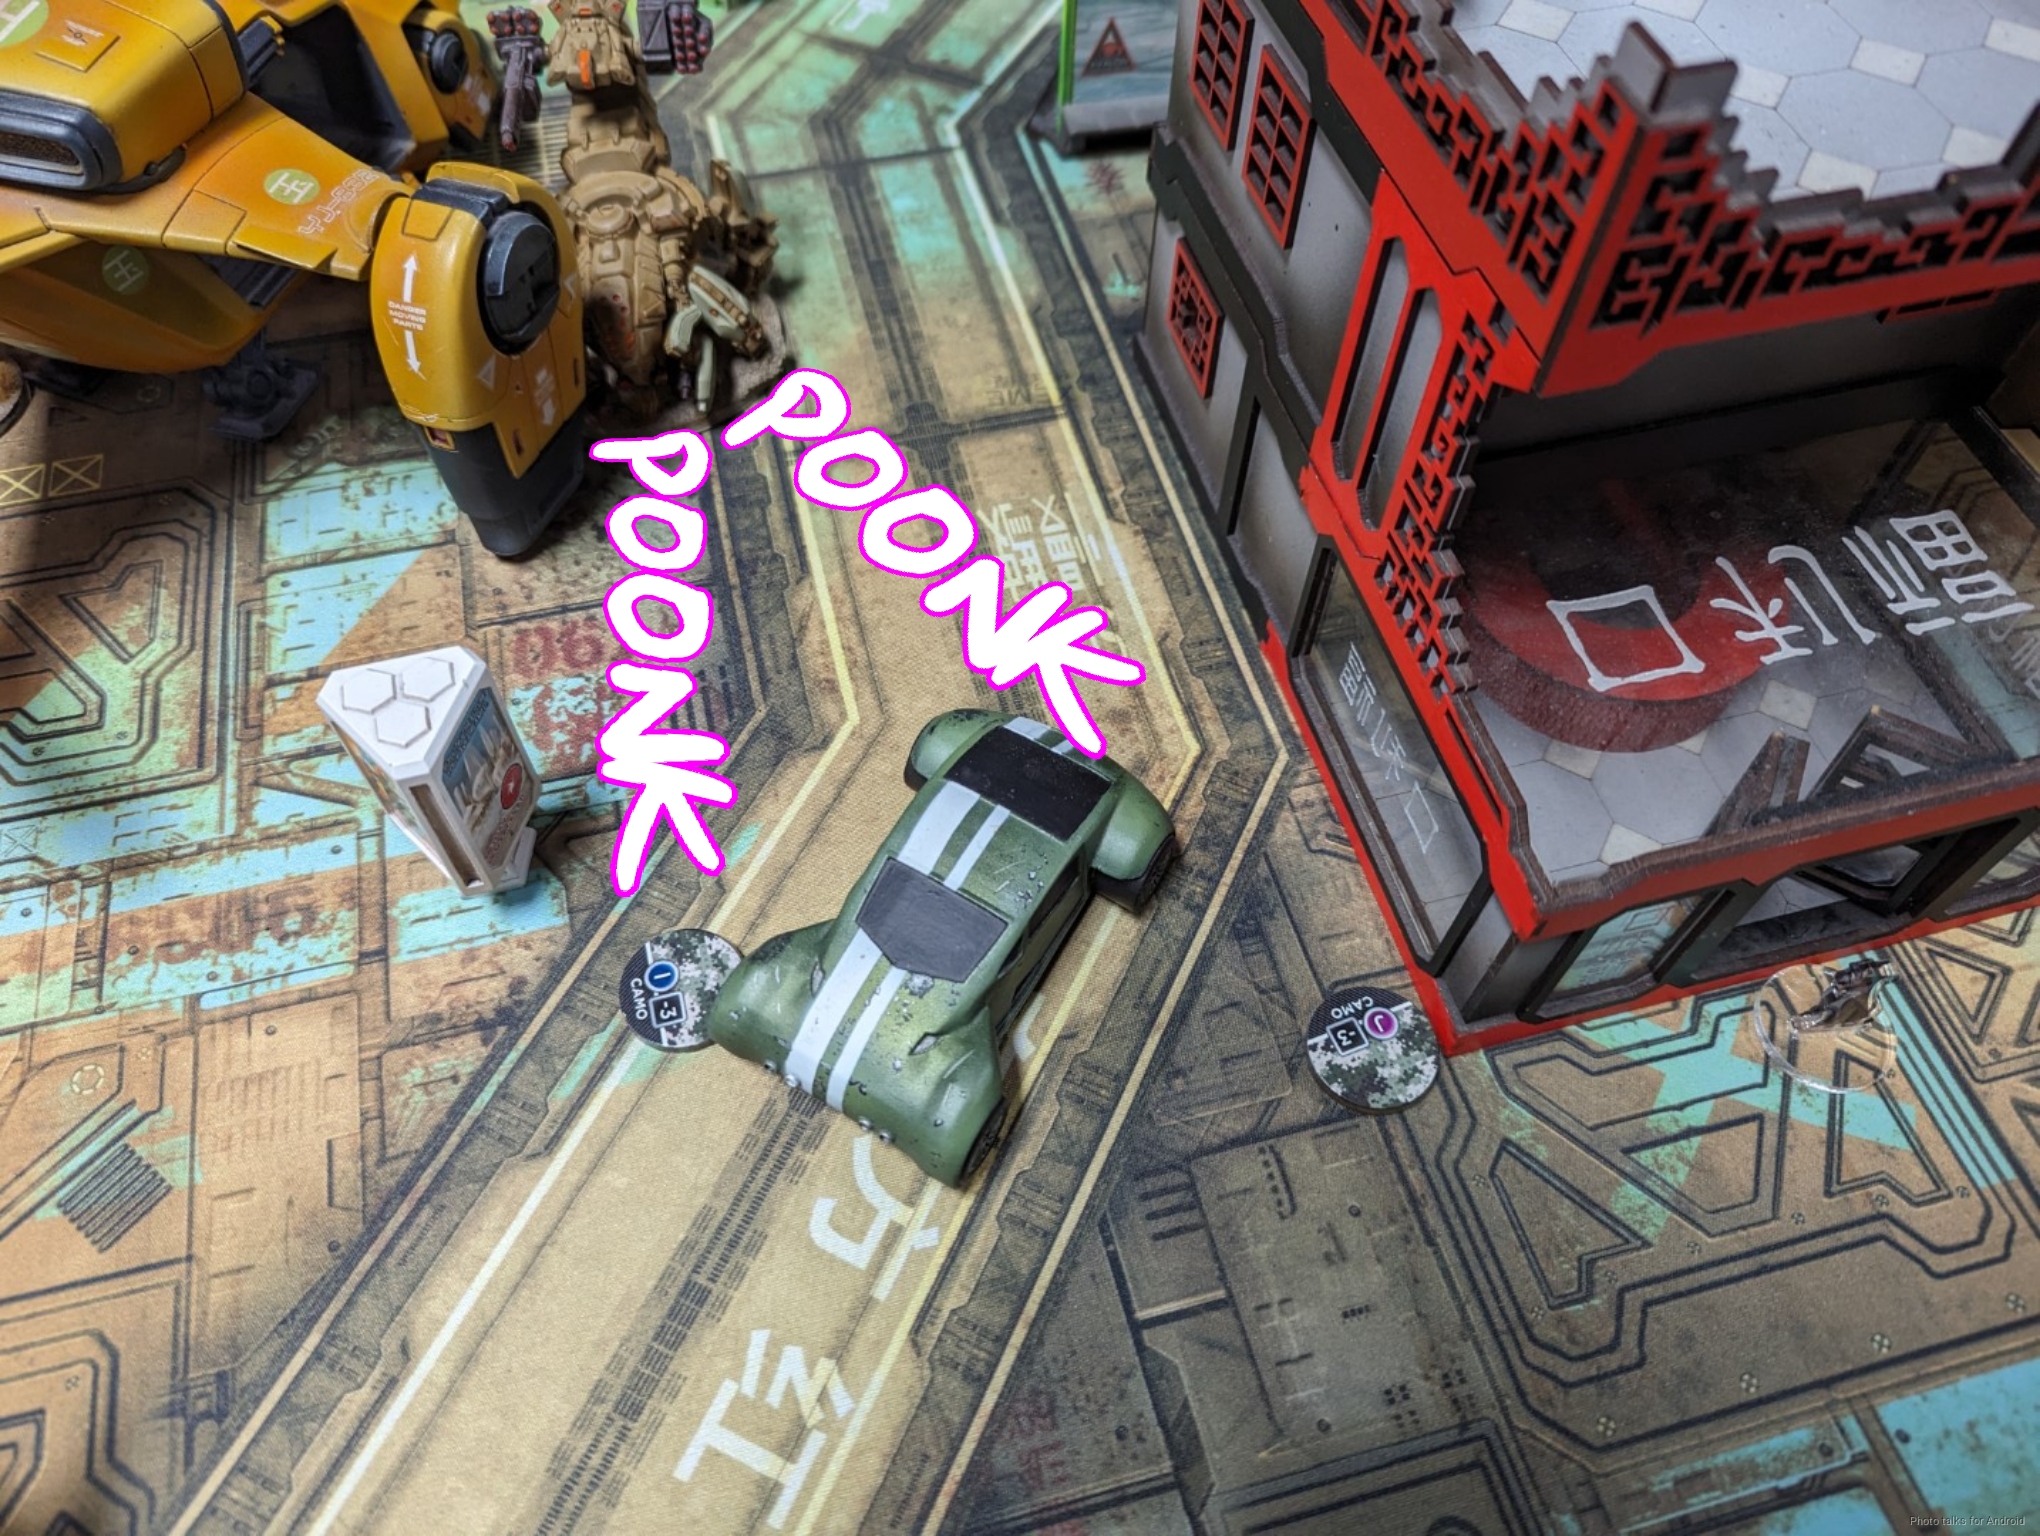
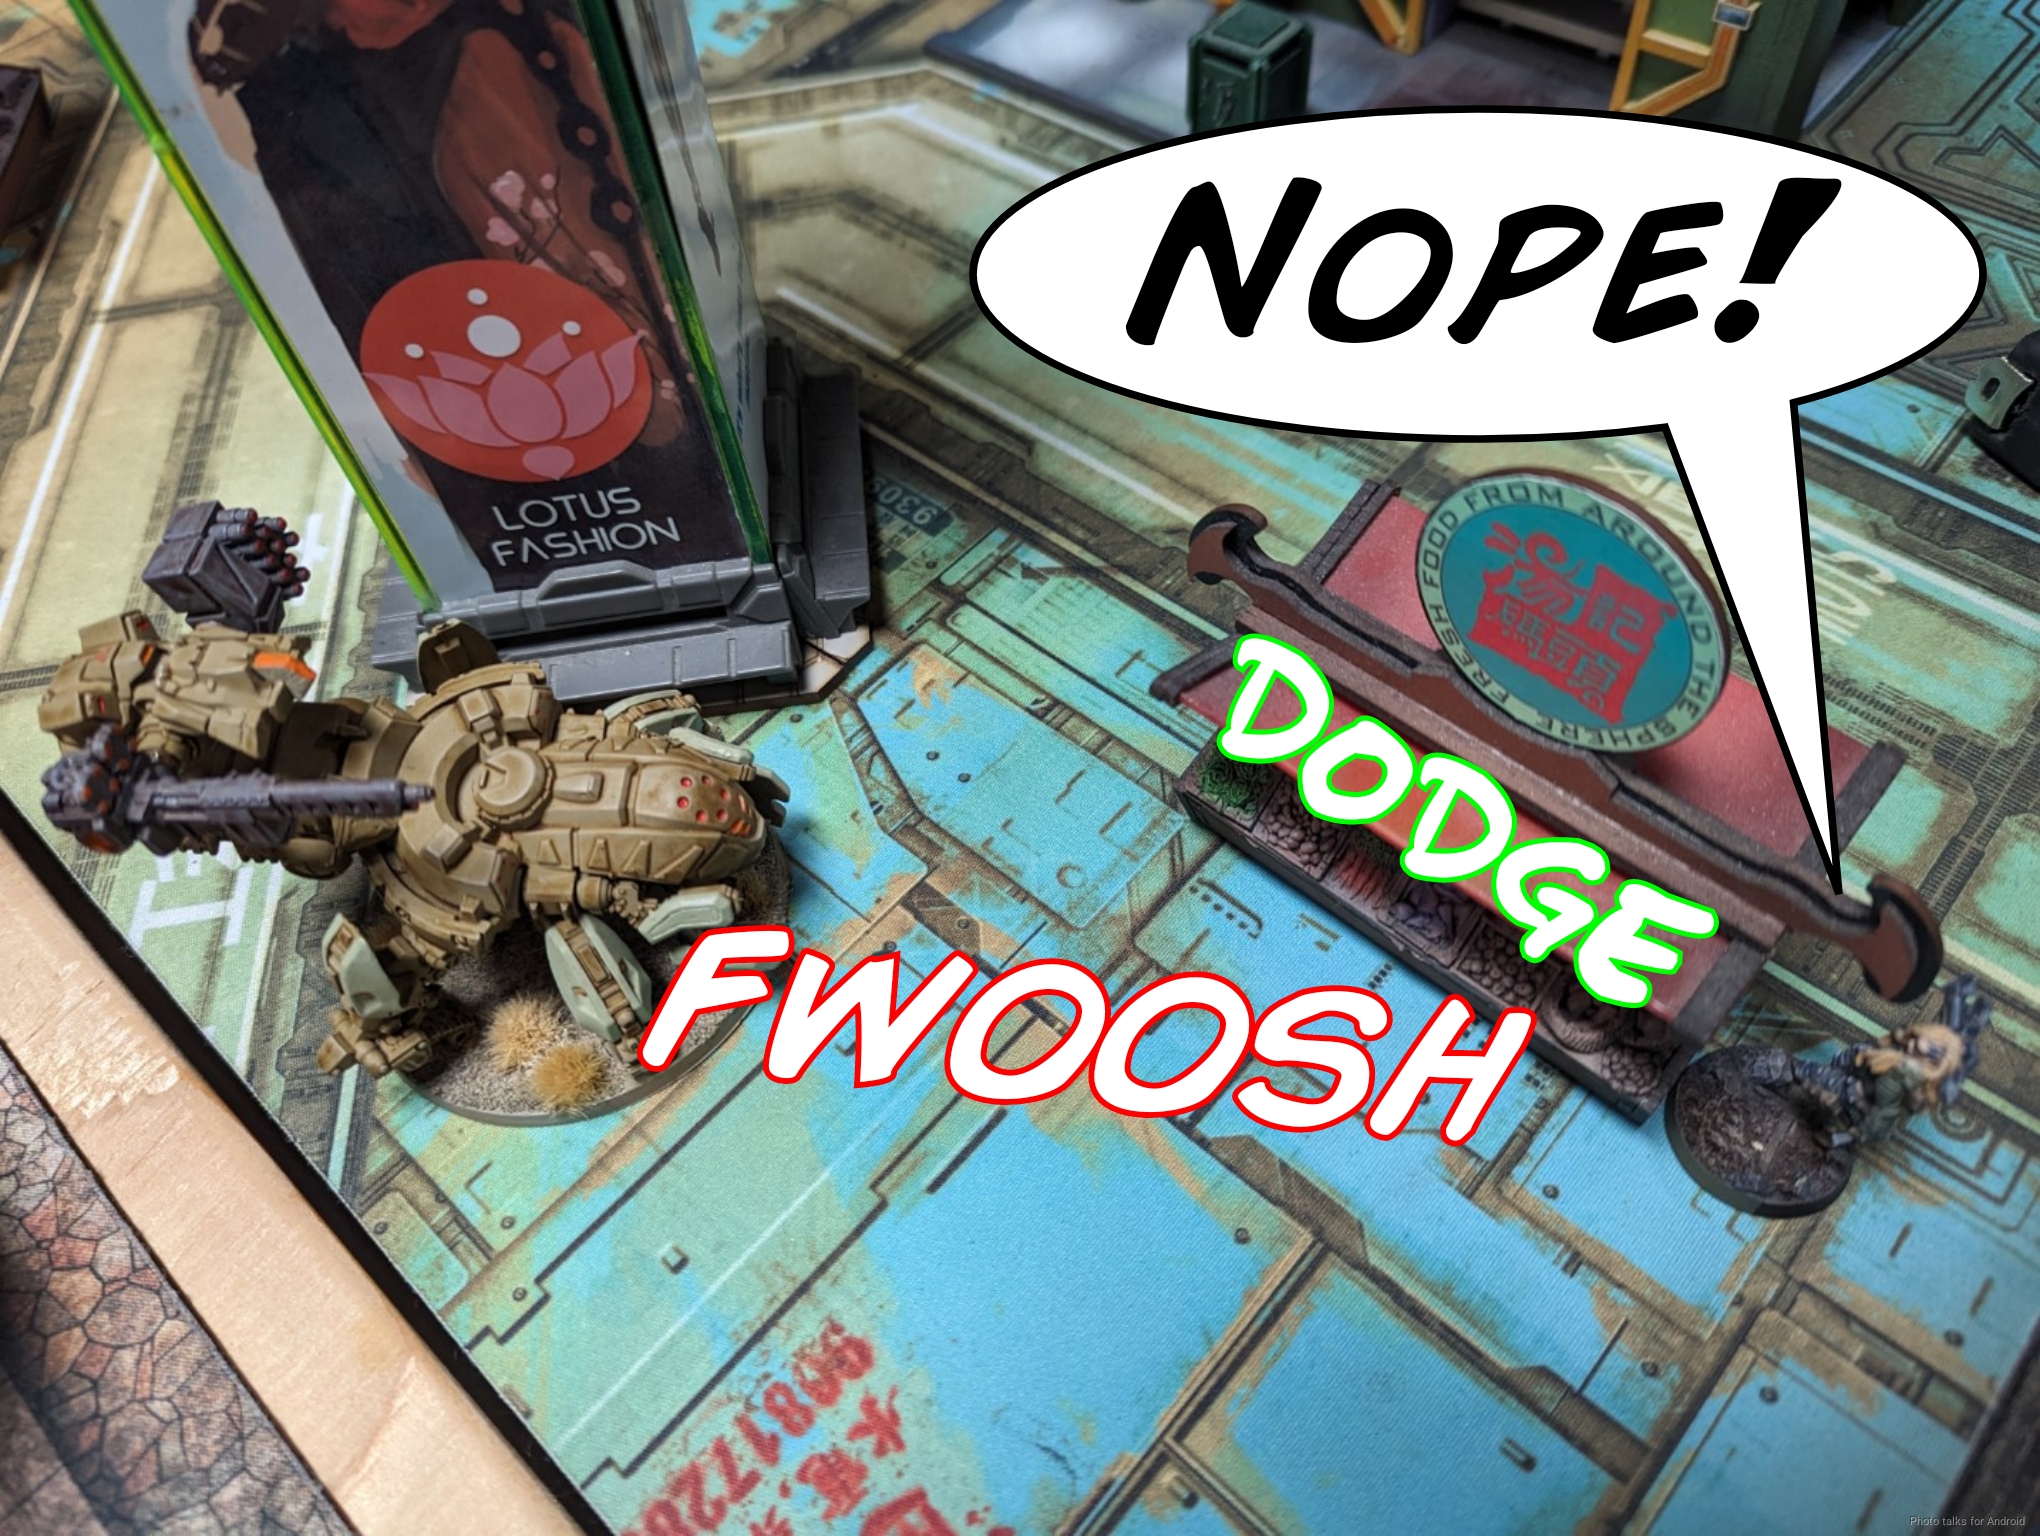
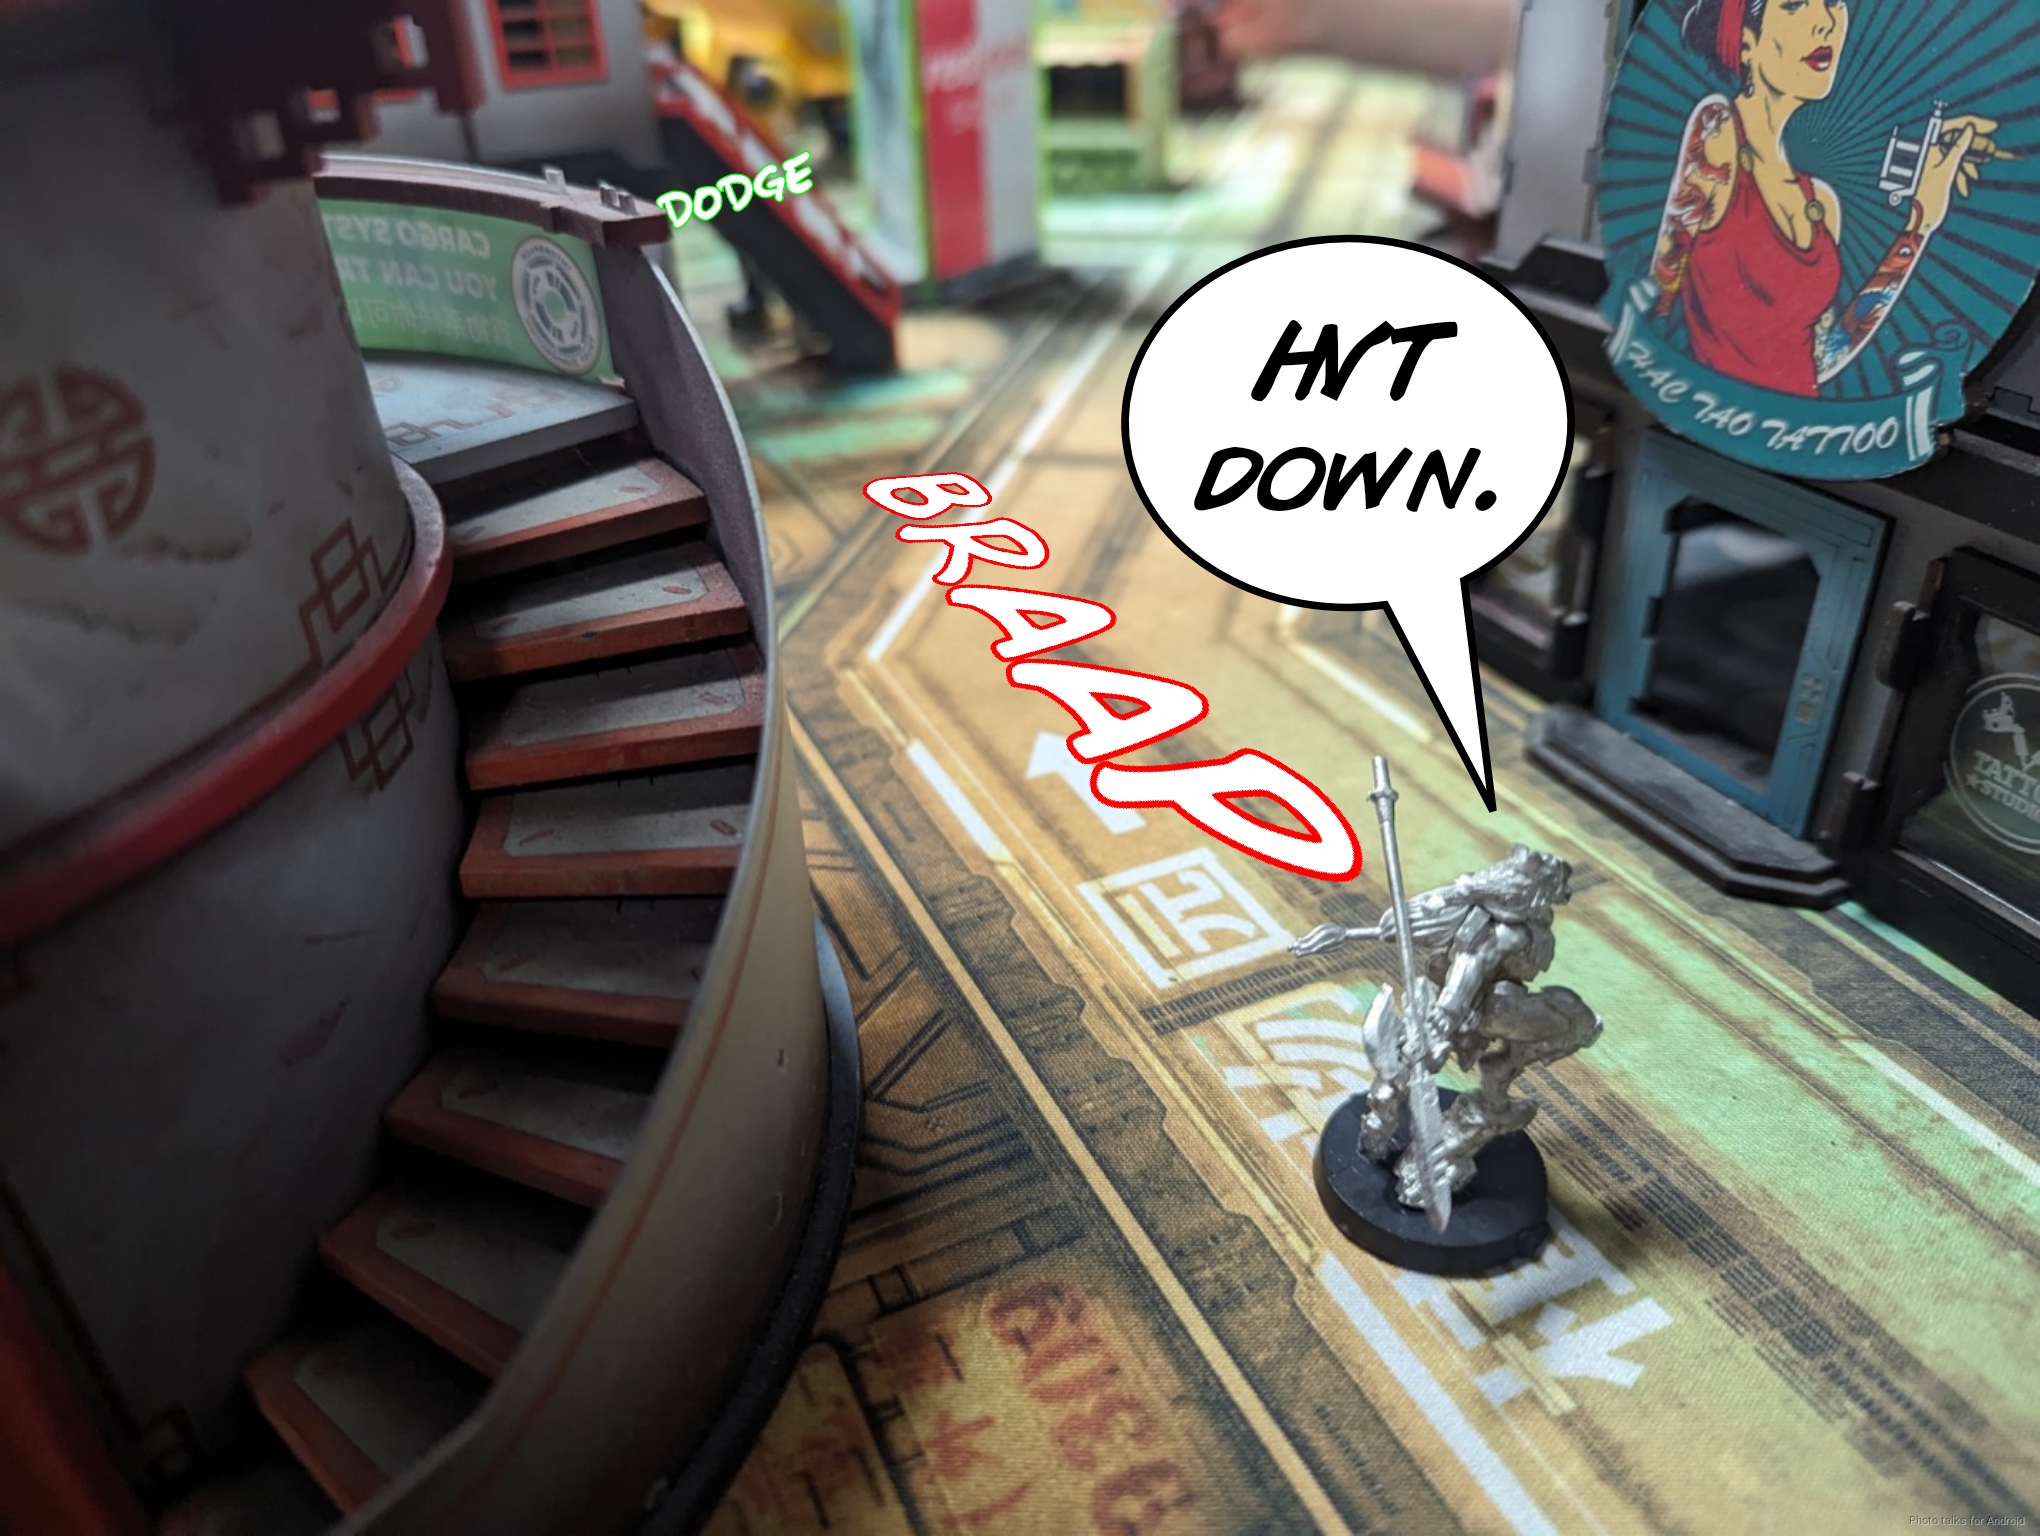
Now it’s time to use the Krakots. The Red Fury Krakot easily guns down one of the Designated Targets…
and makes an attempt on the other one, but it dodges to safety.
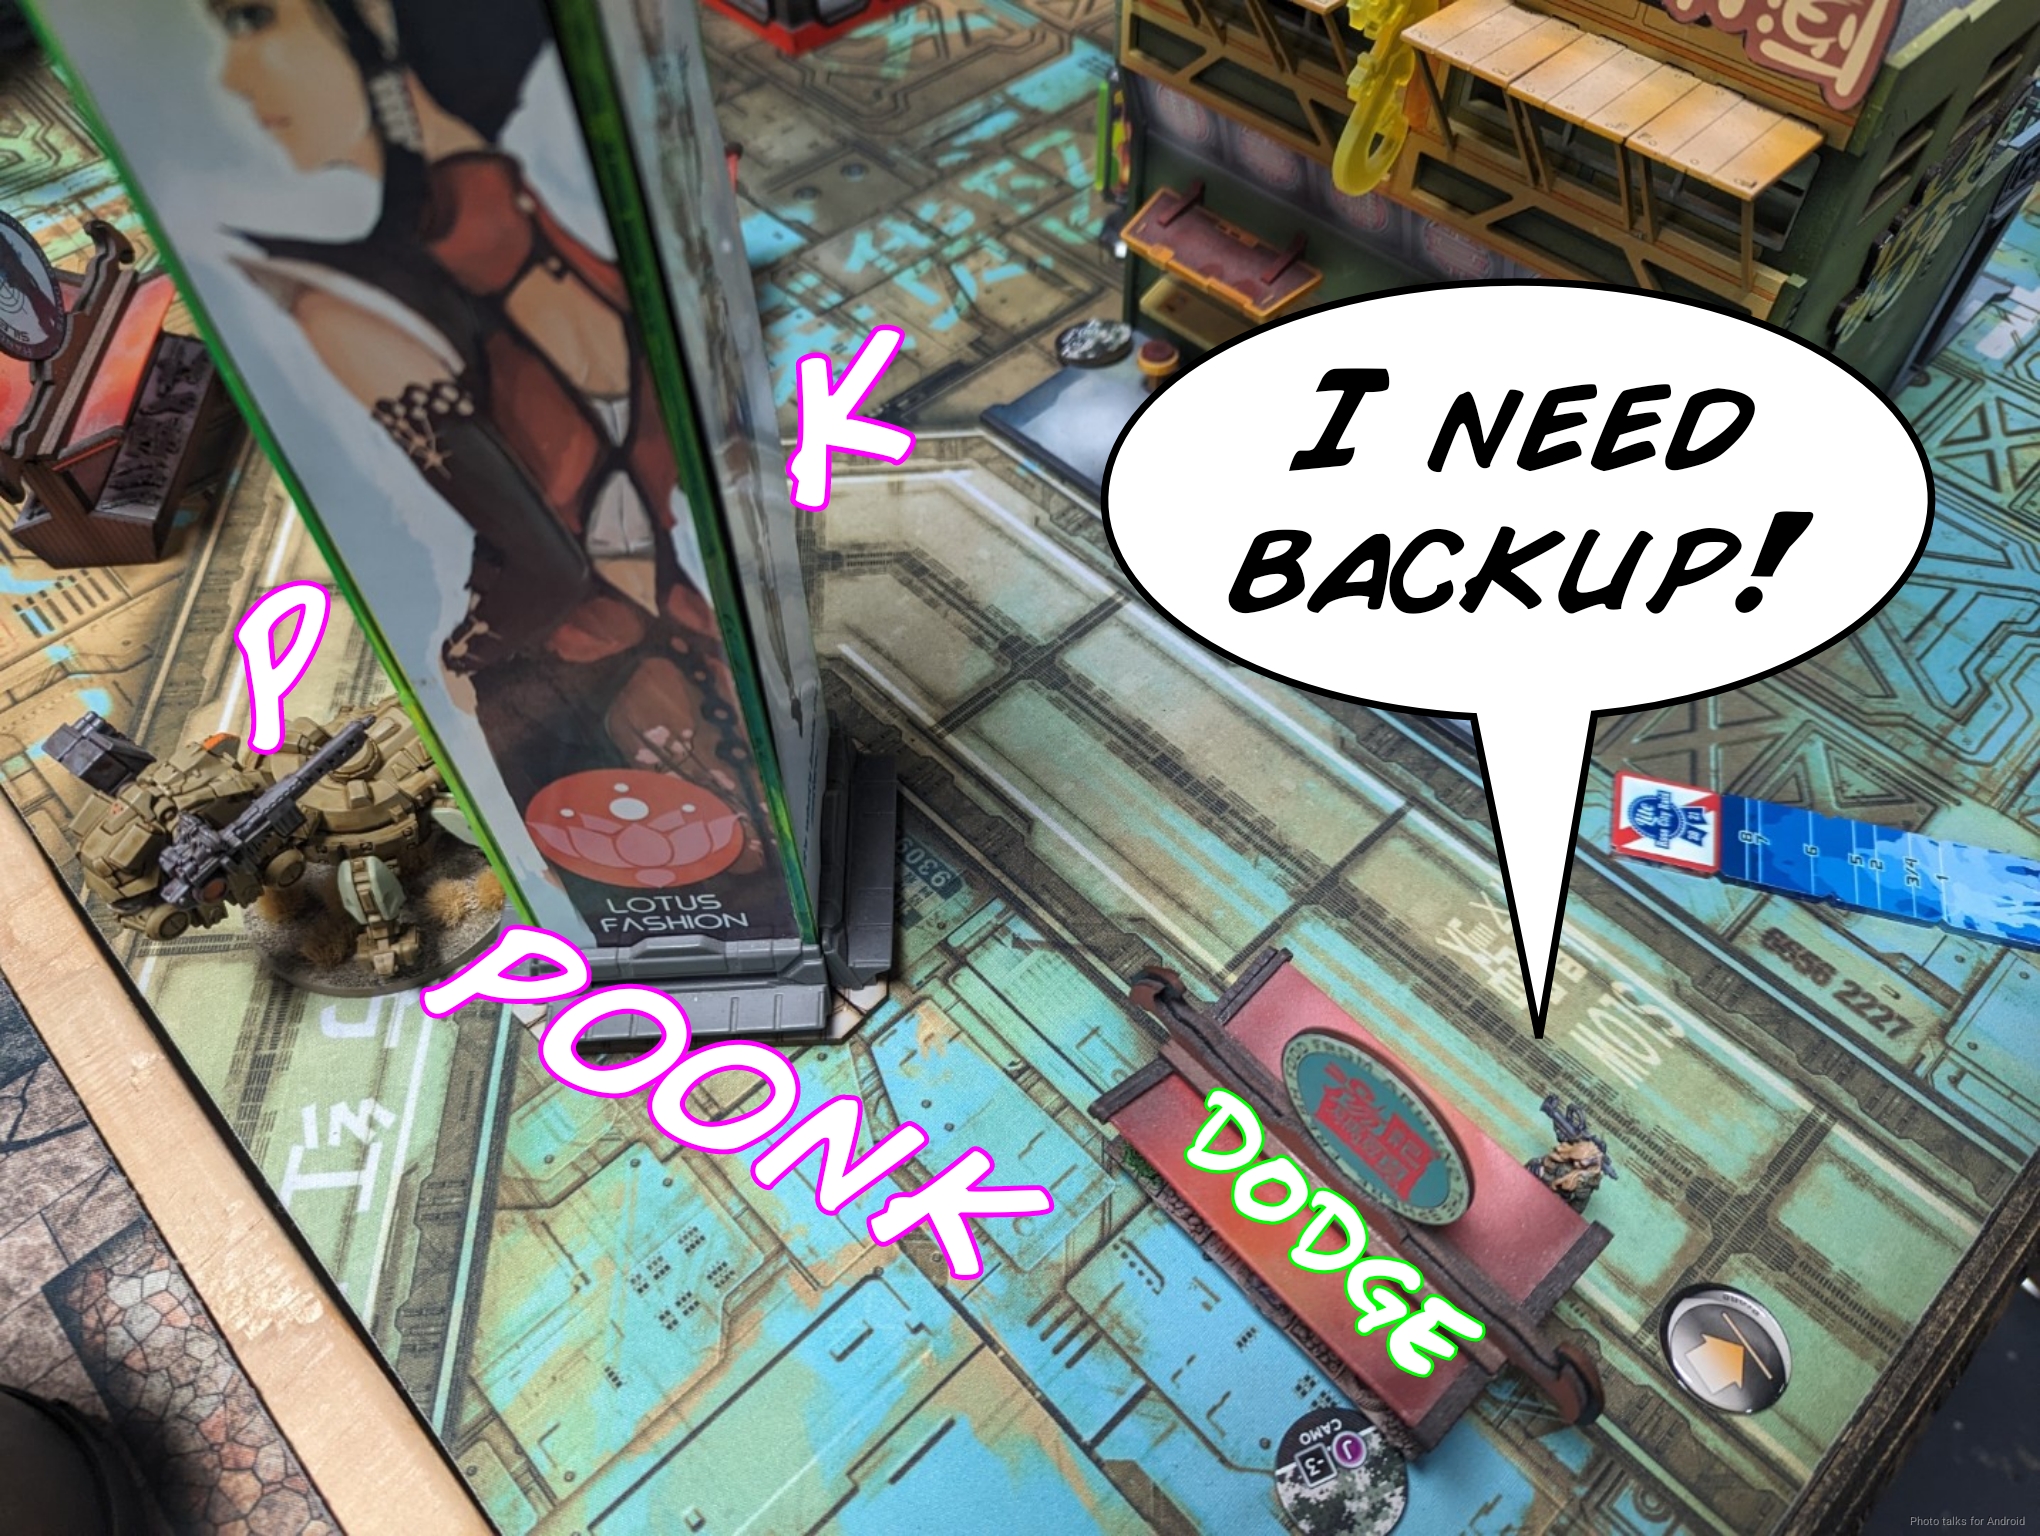
I long-skill jump Kendrat forward and the Red Fury Krakot backwards.
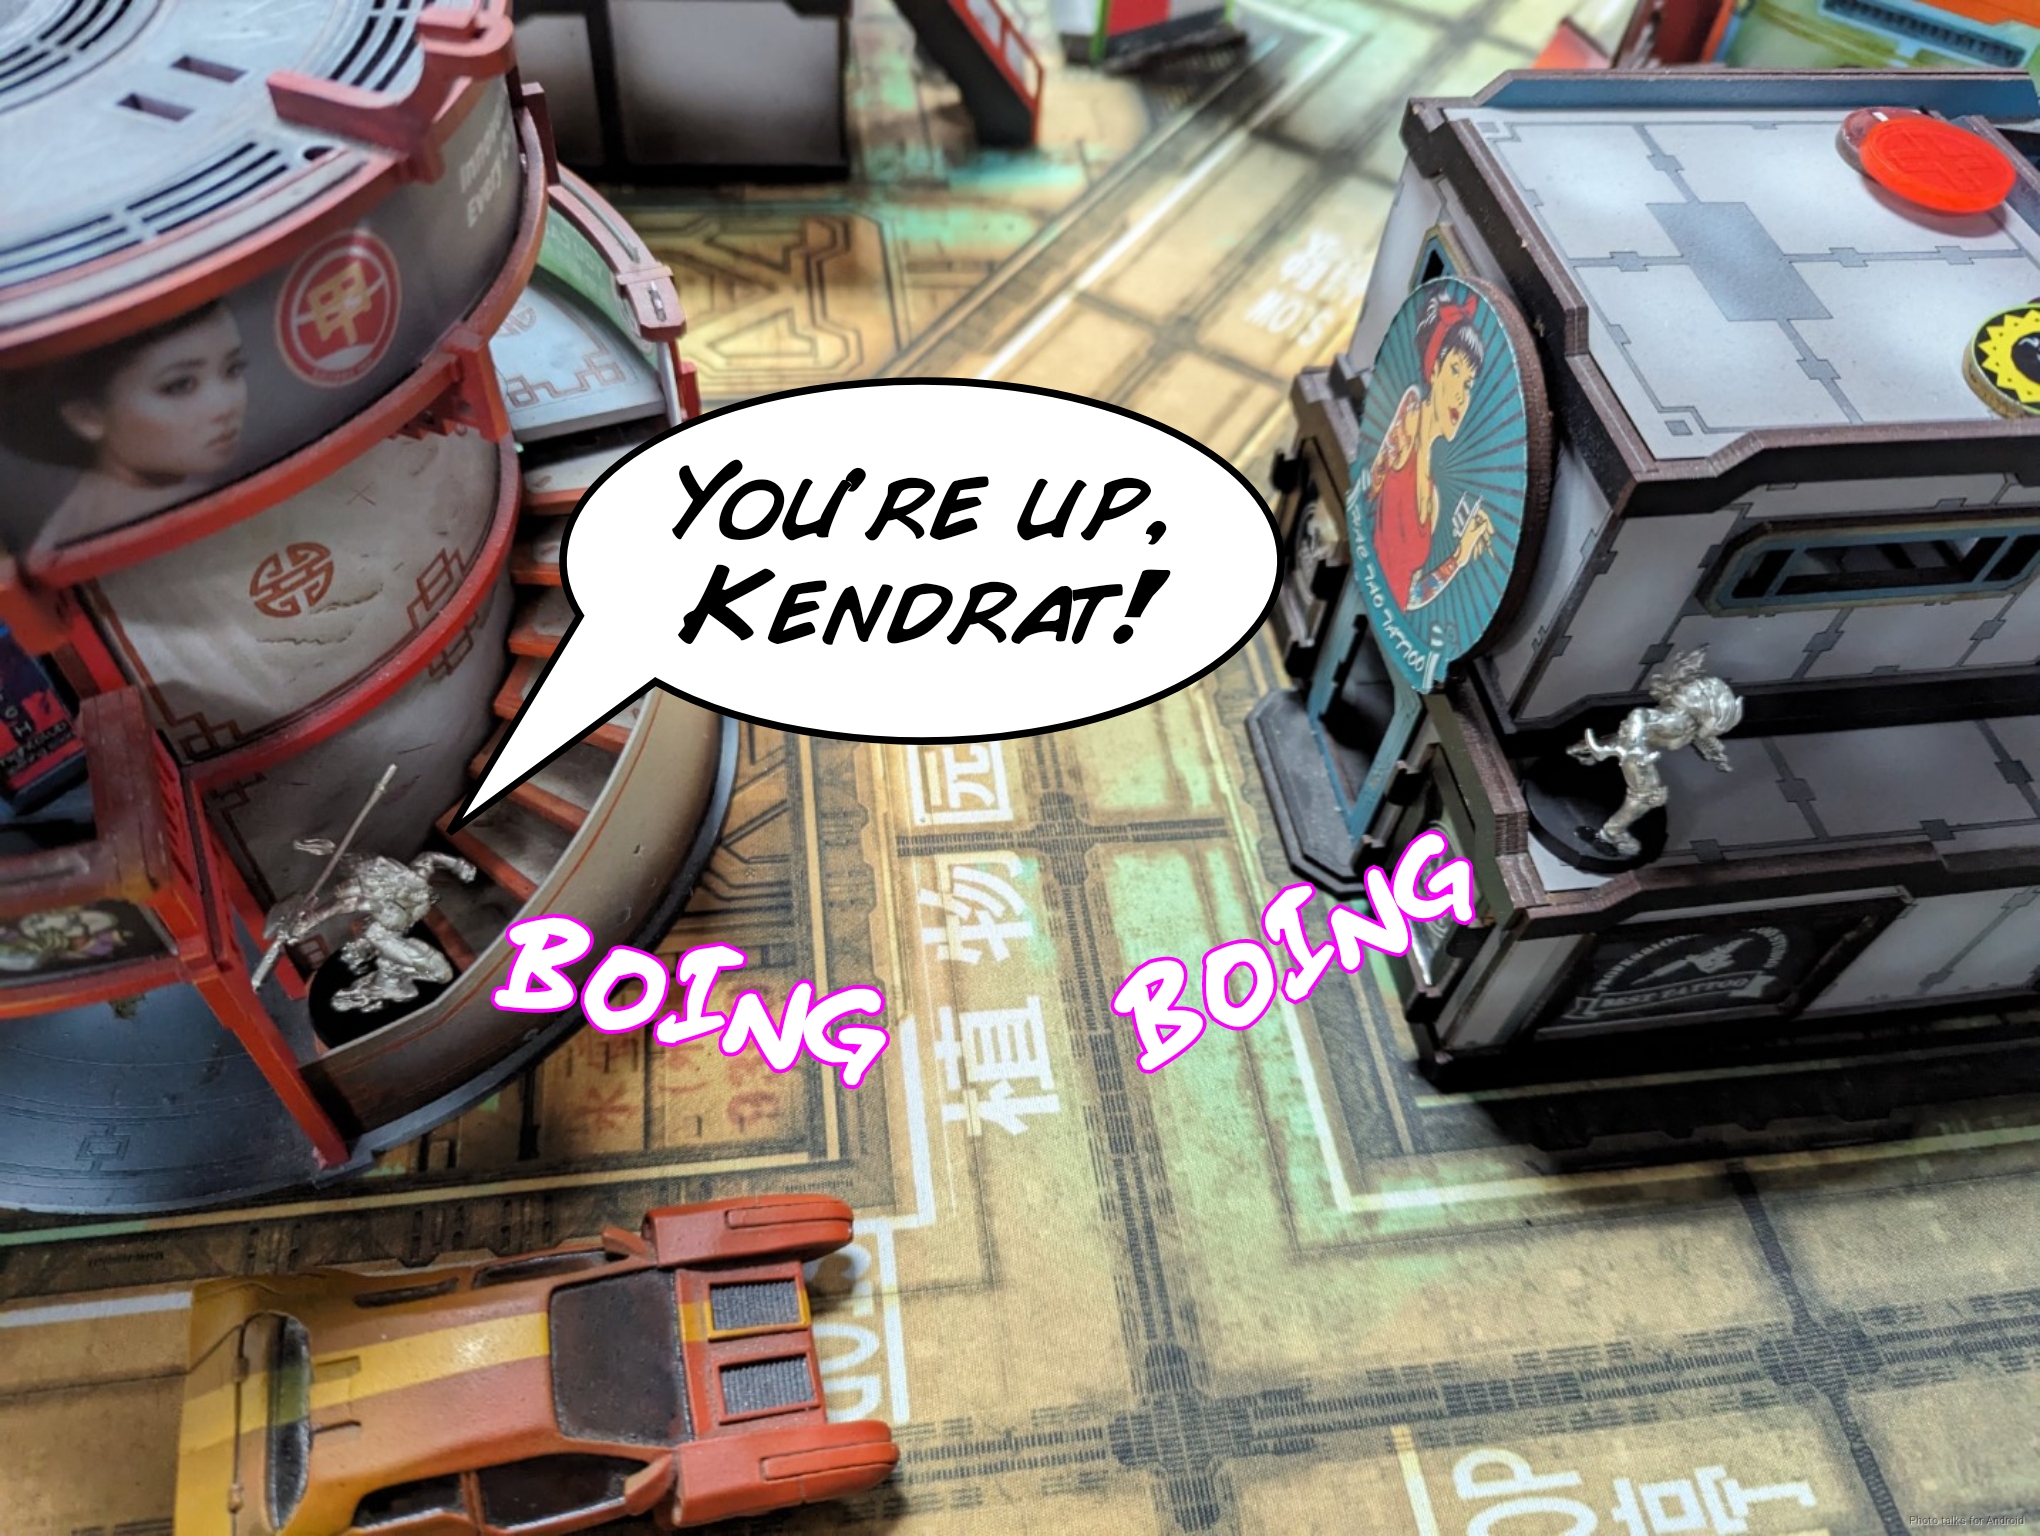
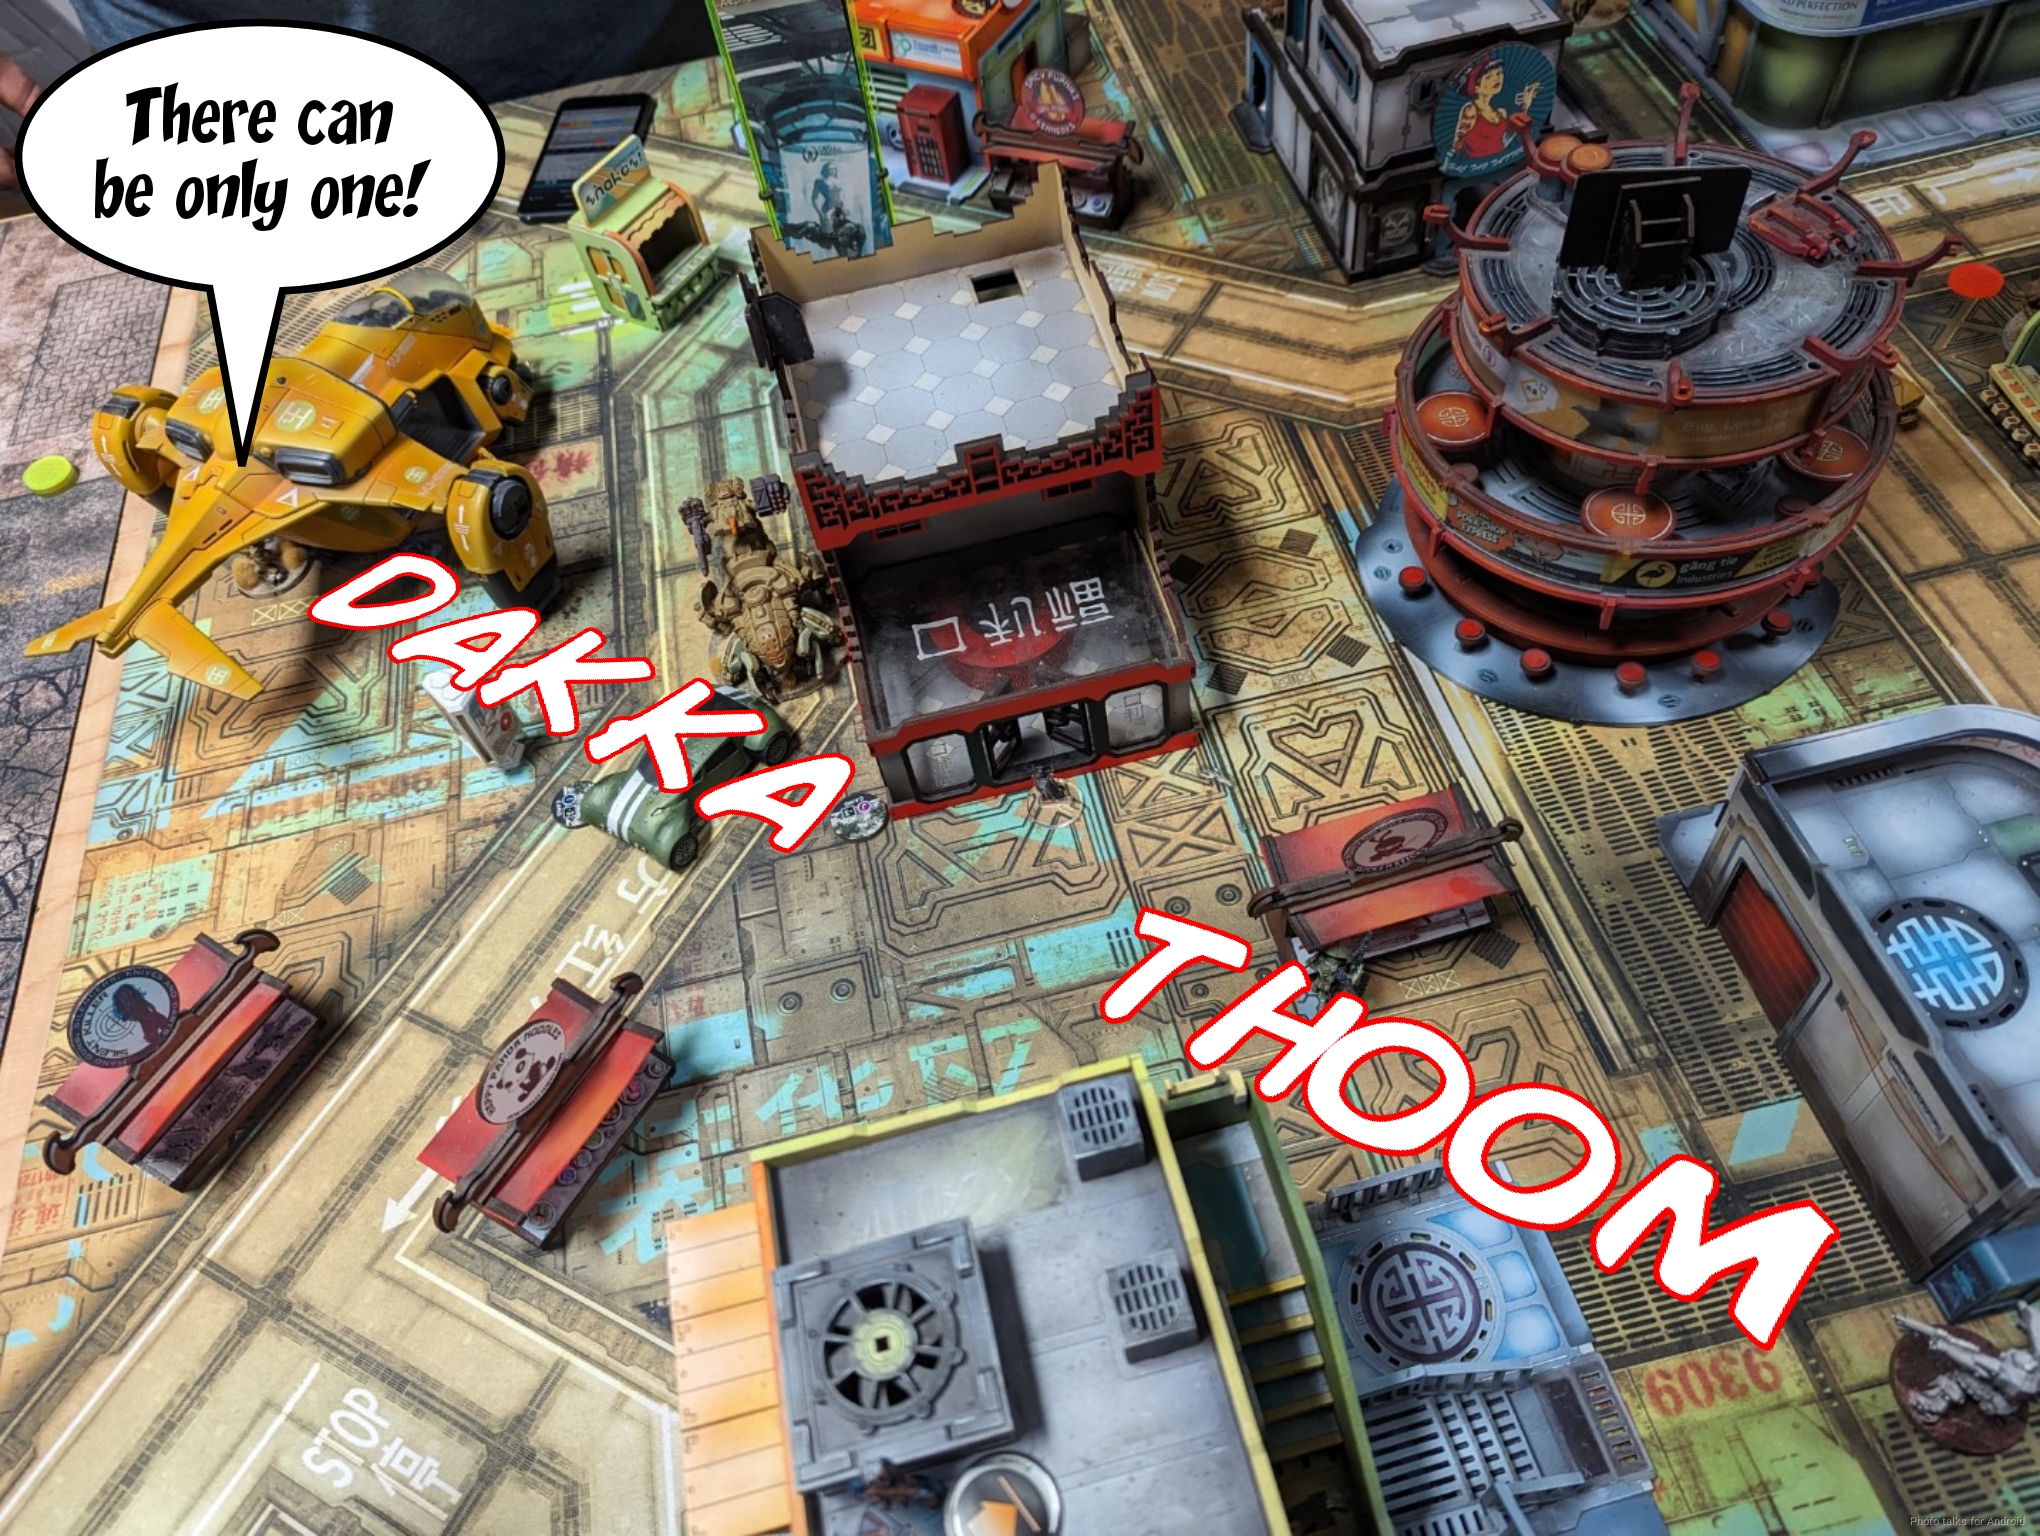
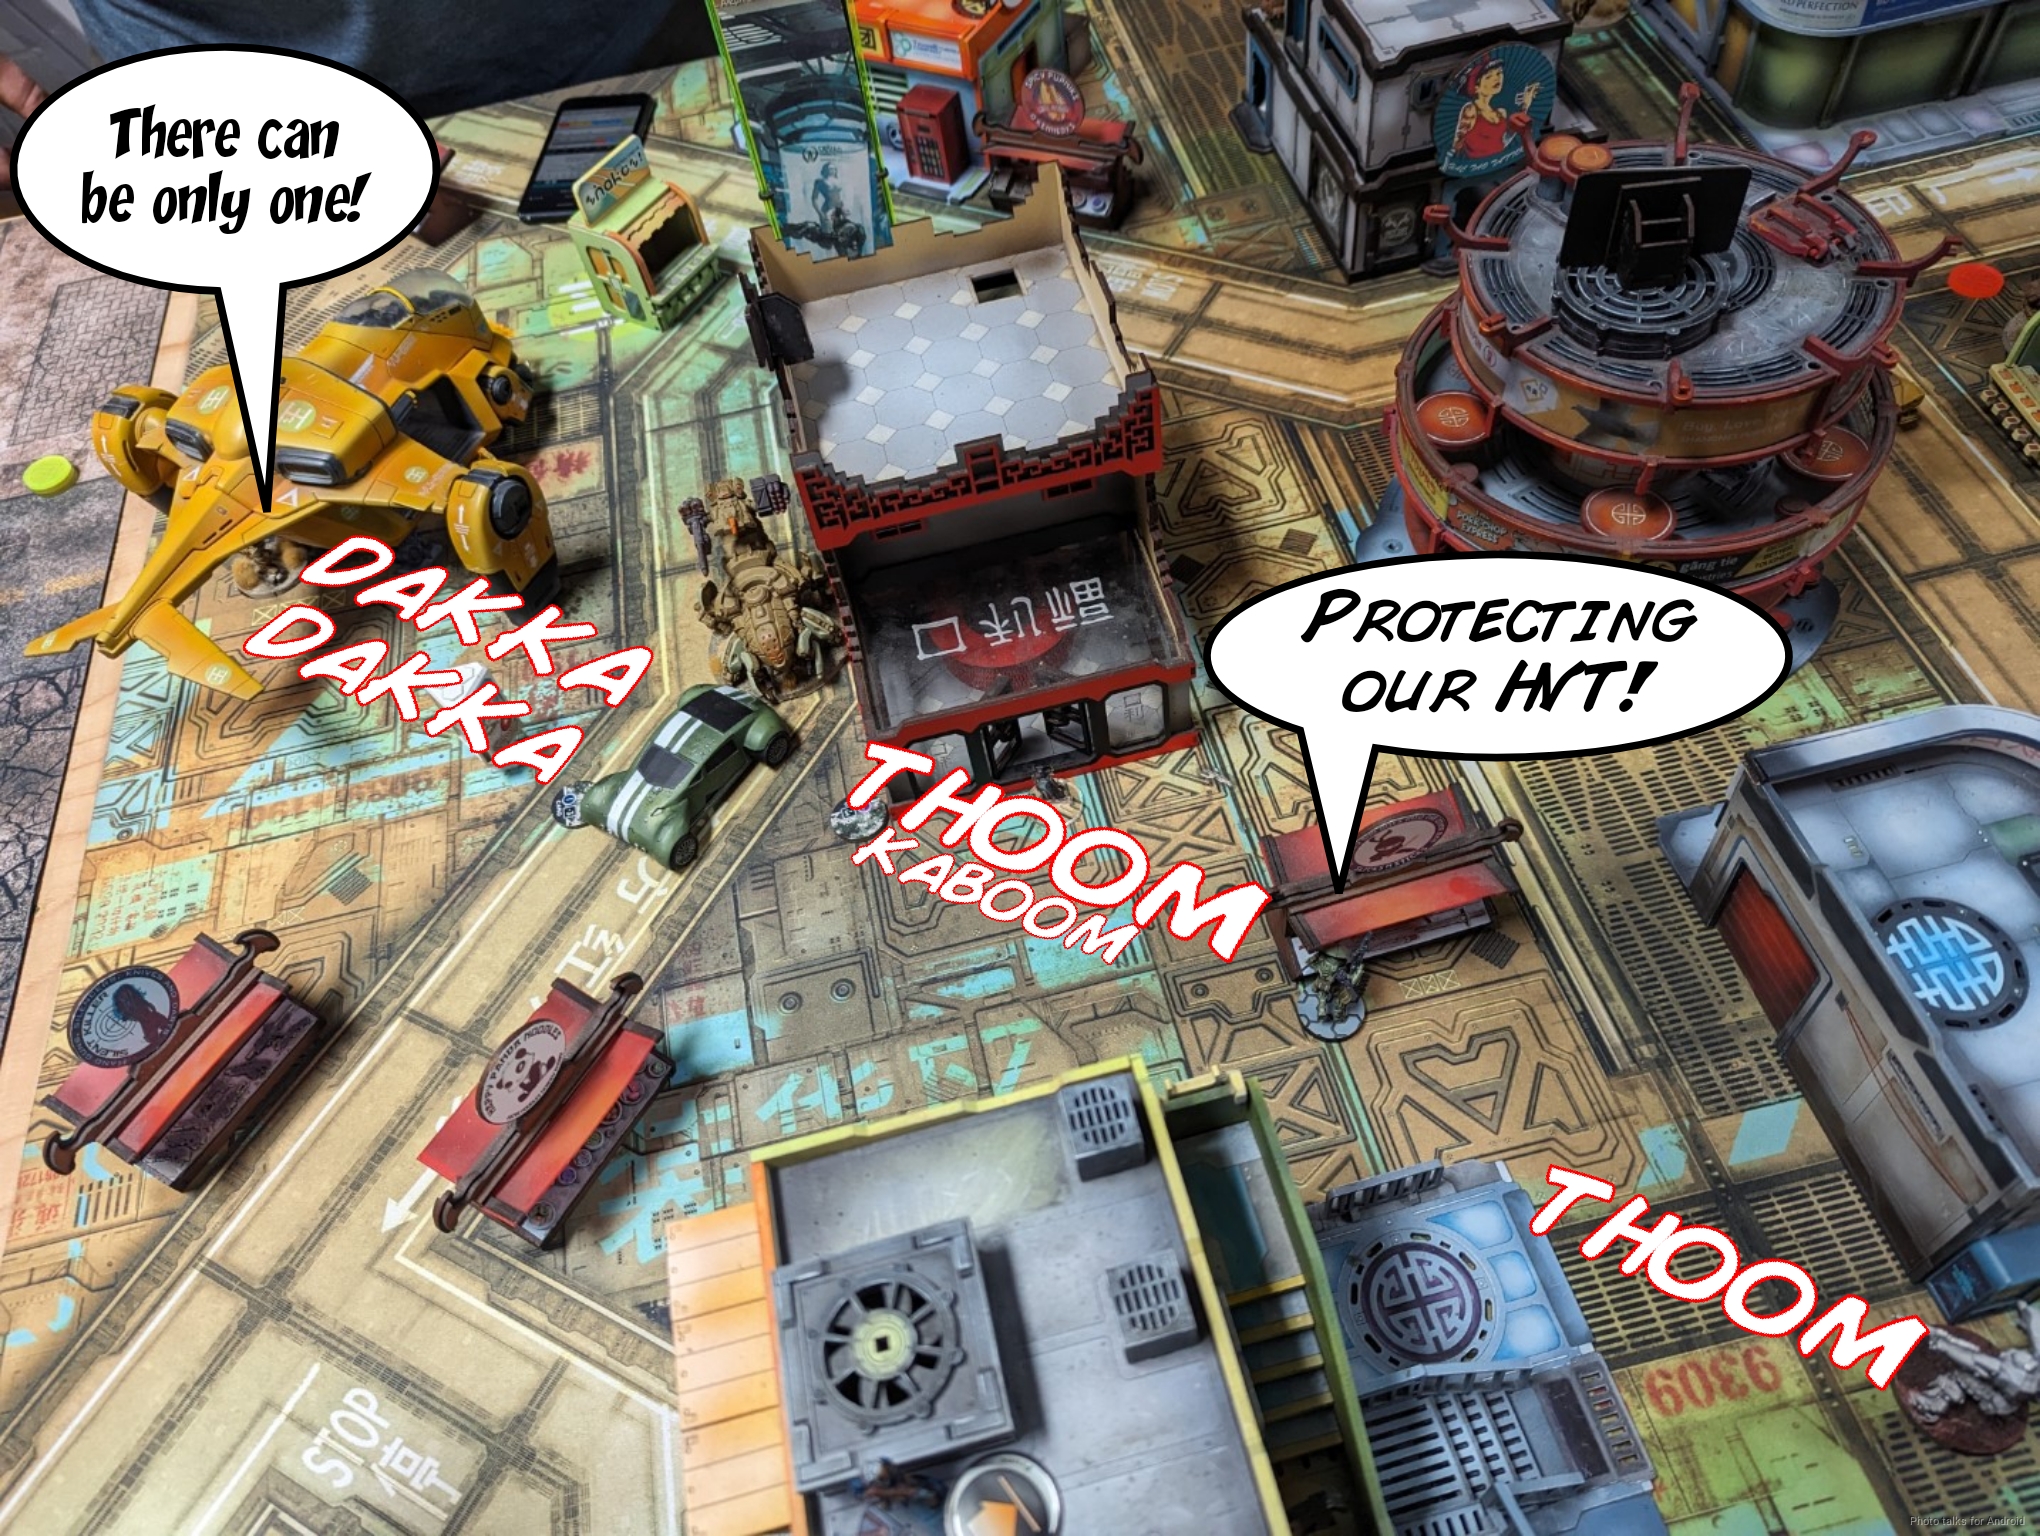
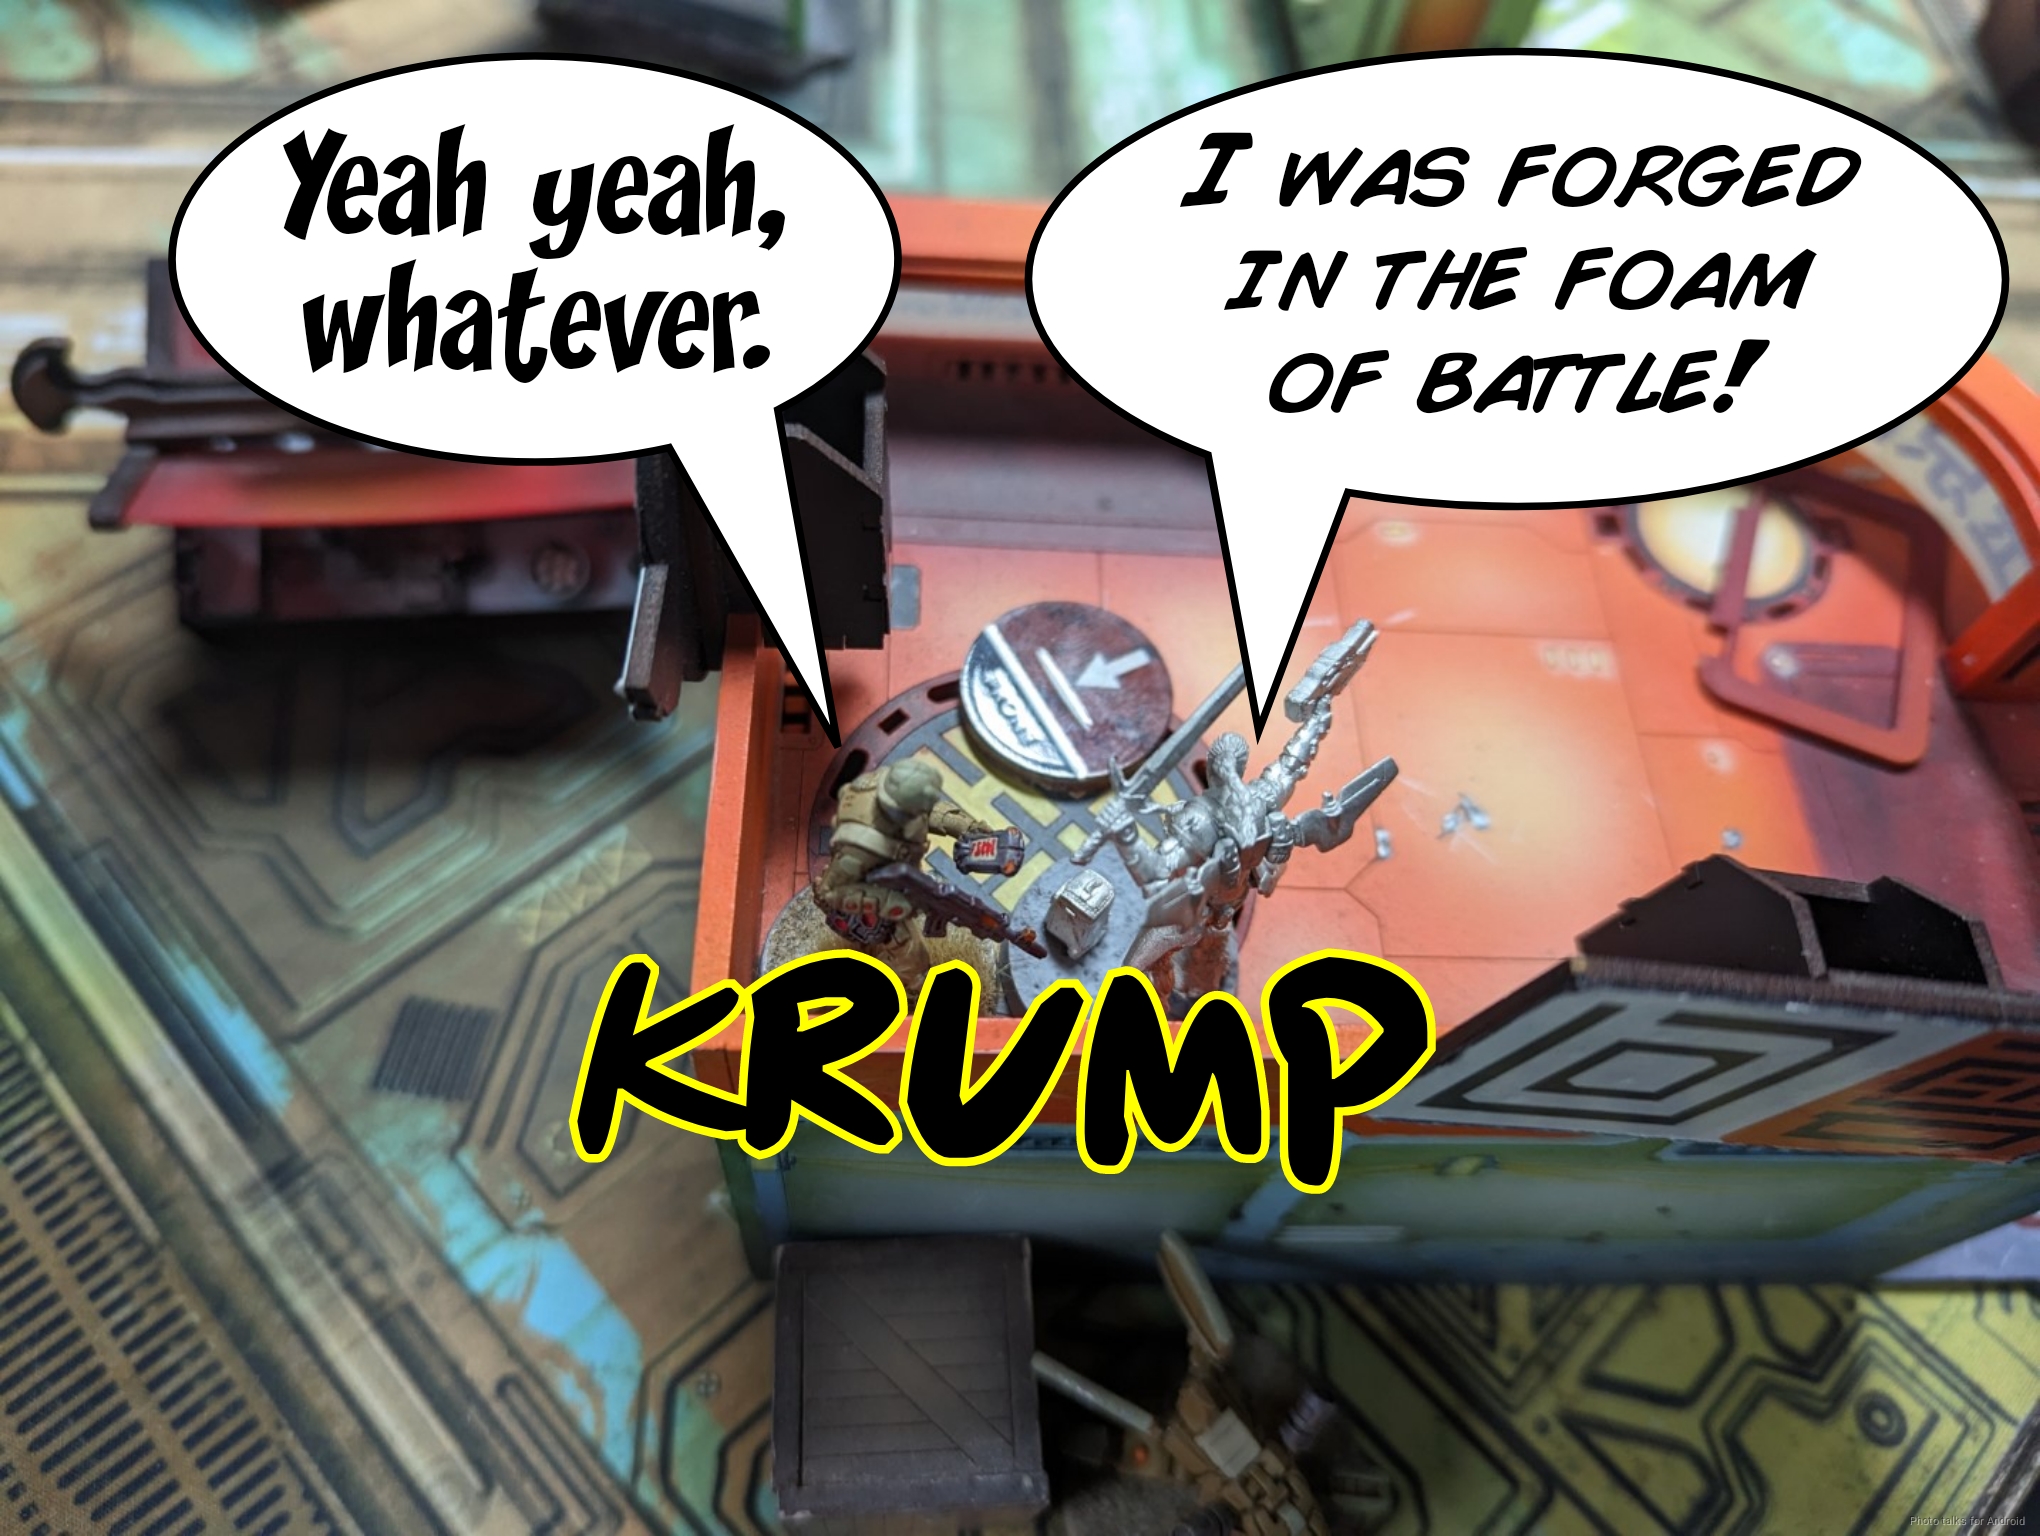
This gets Kendrat onto the roof where the Yuan Yuan landed, but does proc an ARO from Maggie. Thanks to total immunity, Kendrat survives but is now dogged.
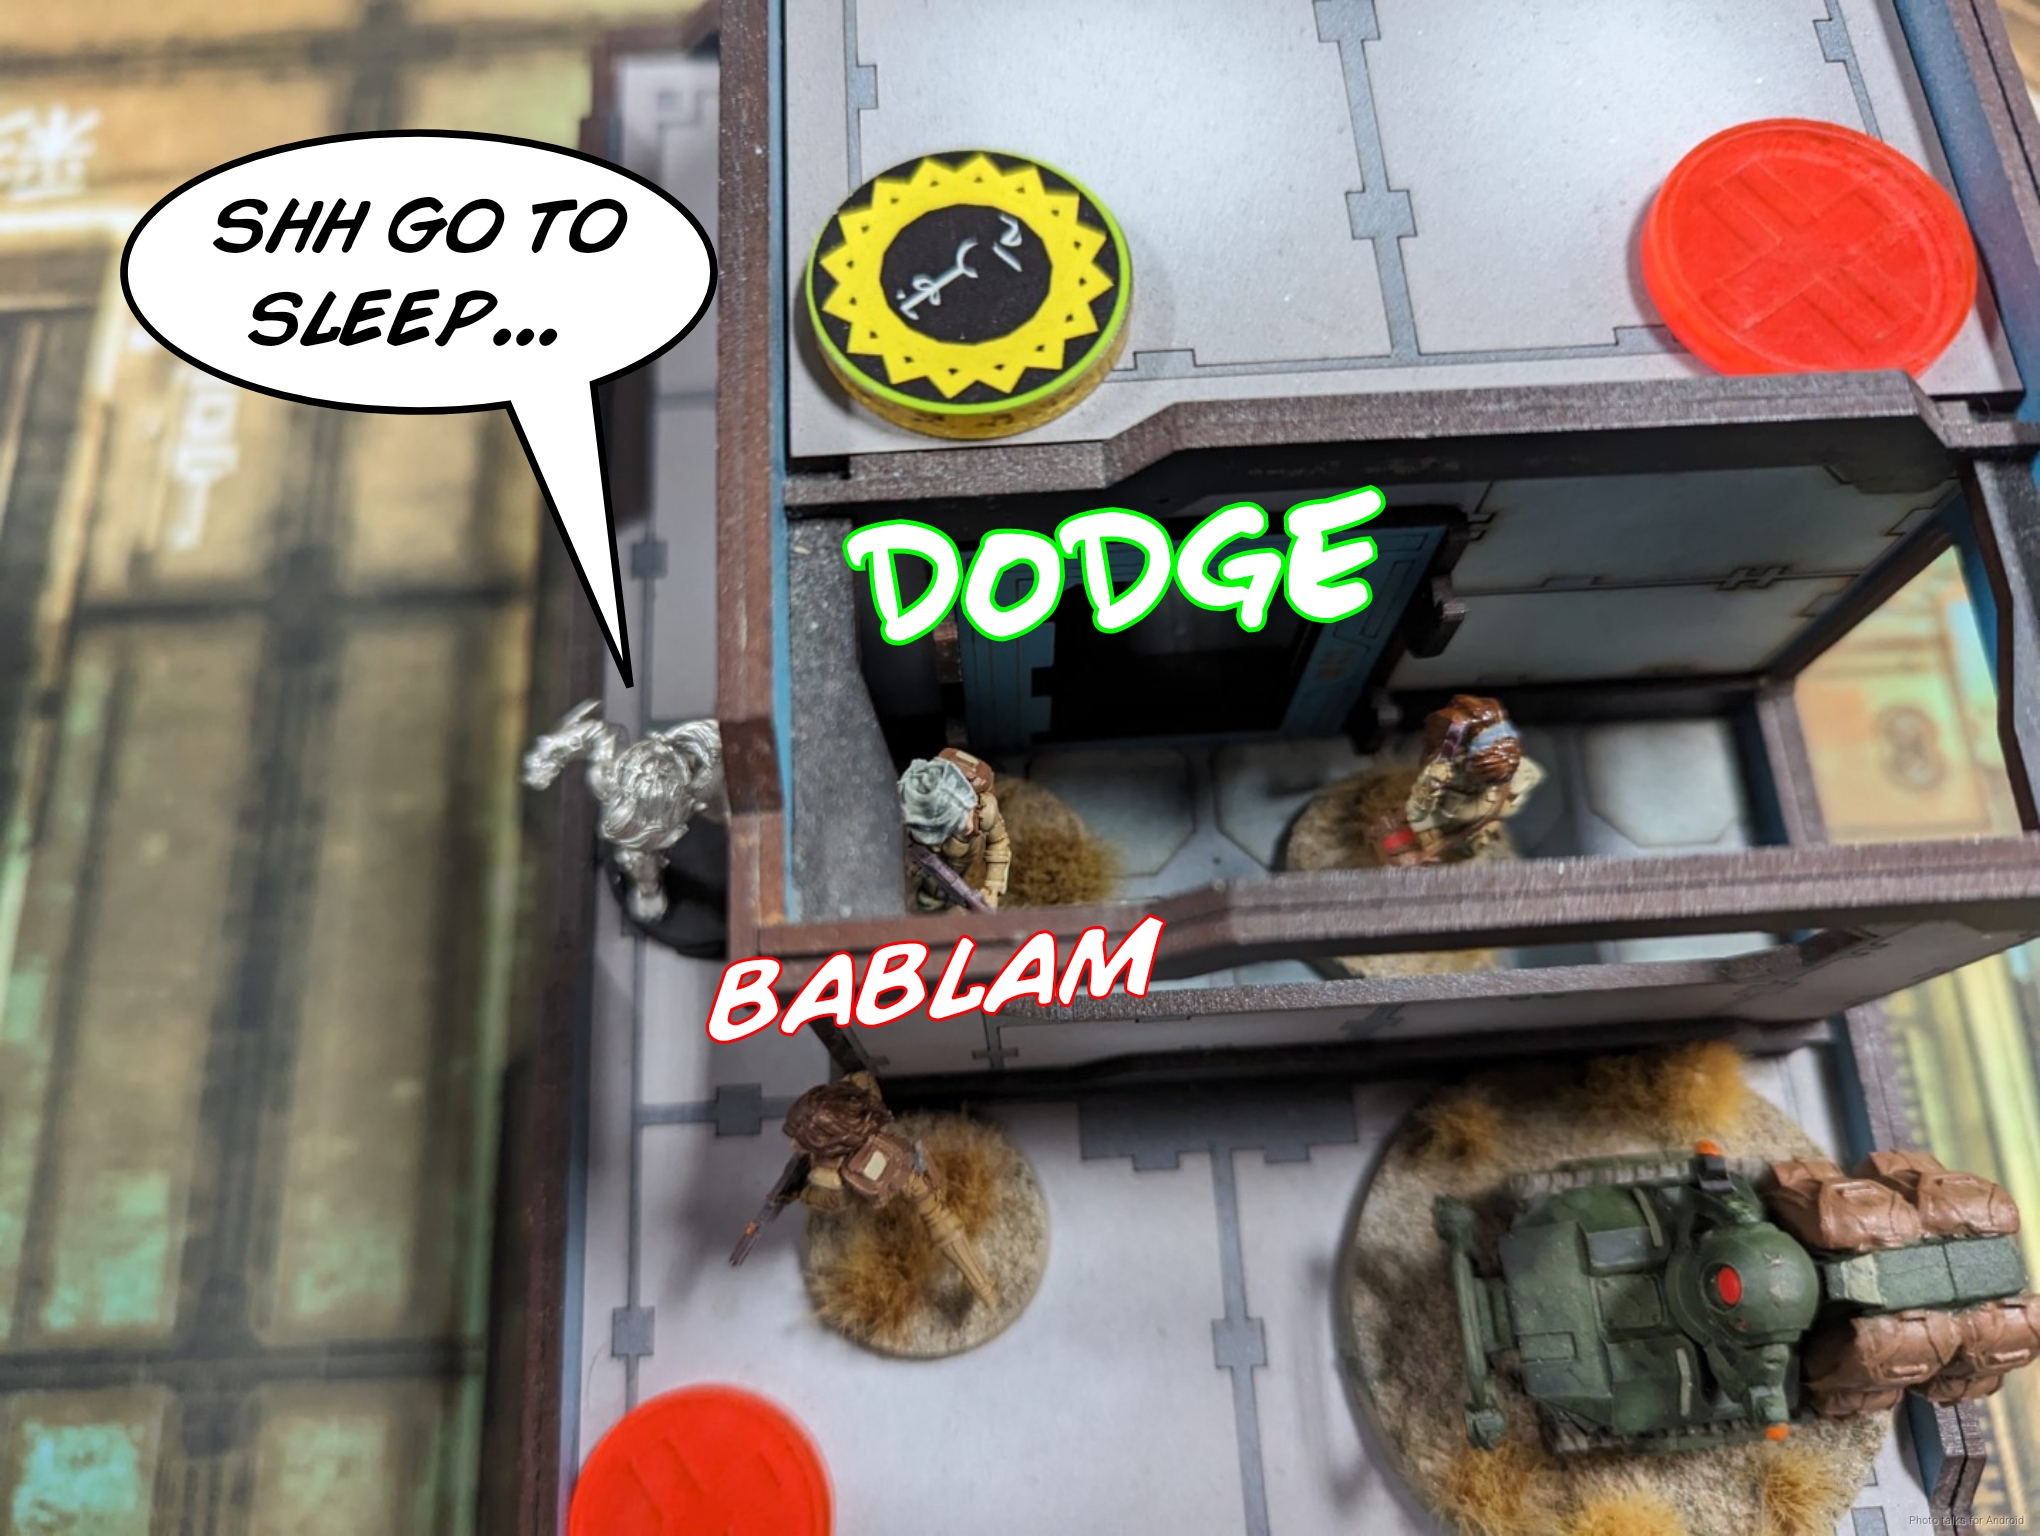
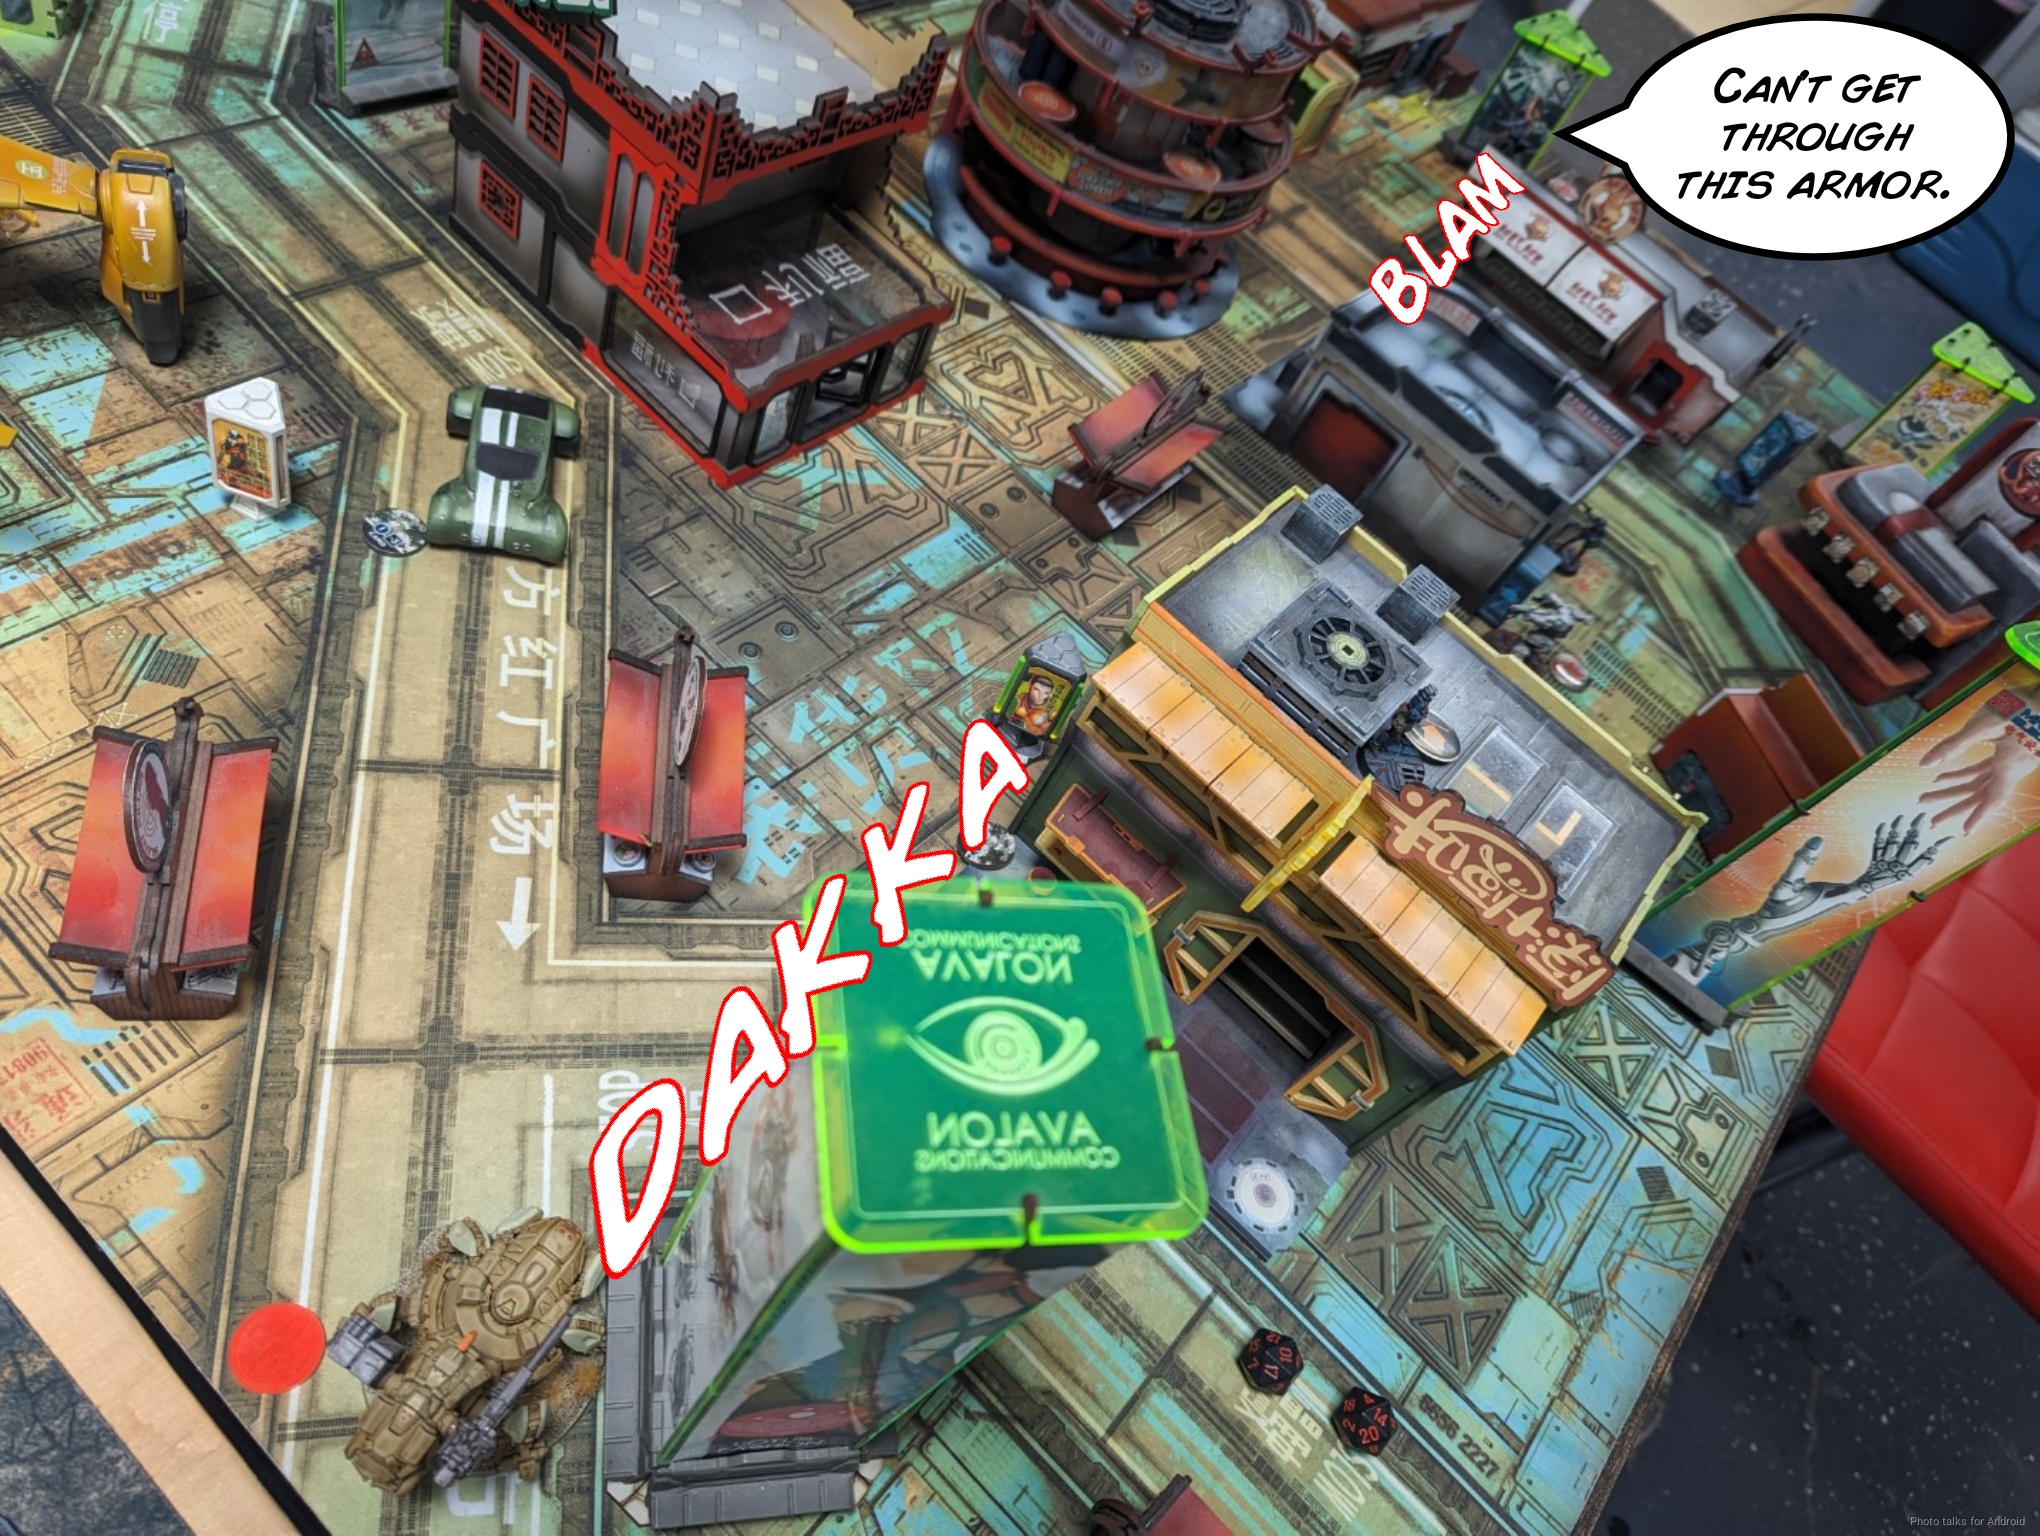
Maggie can’t see anymore, so I start blasting shotgun rounds at the Lieutenant.

It takes a bit of effort but I finally drop the Lieutenant while all the nearby stuff dodges around.
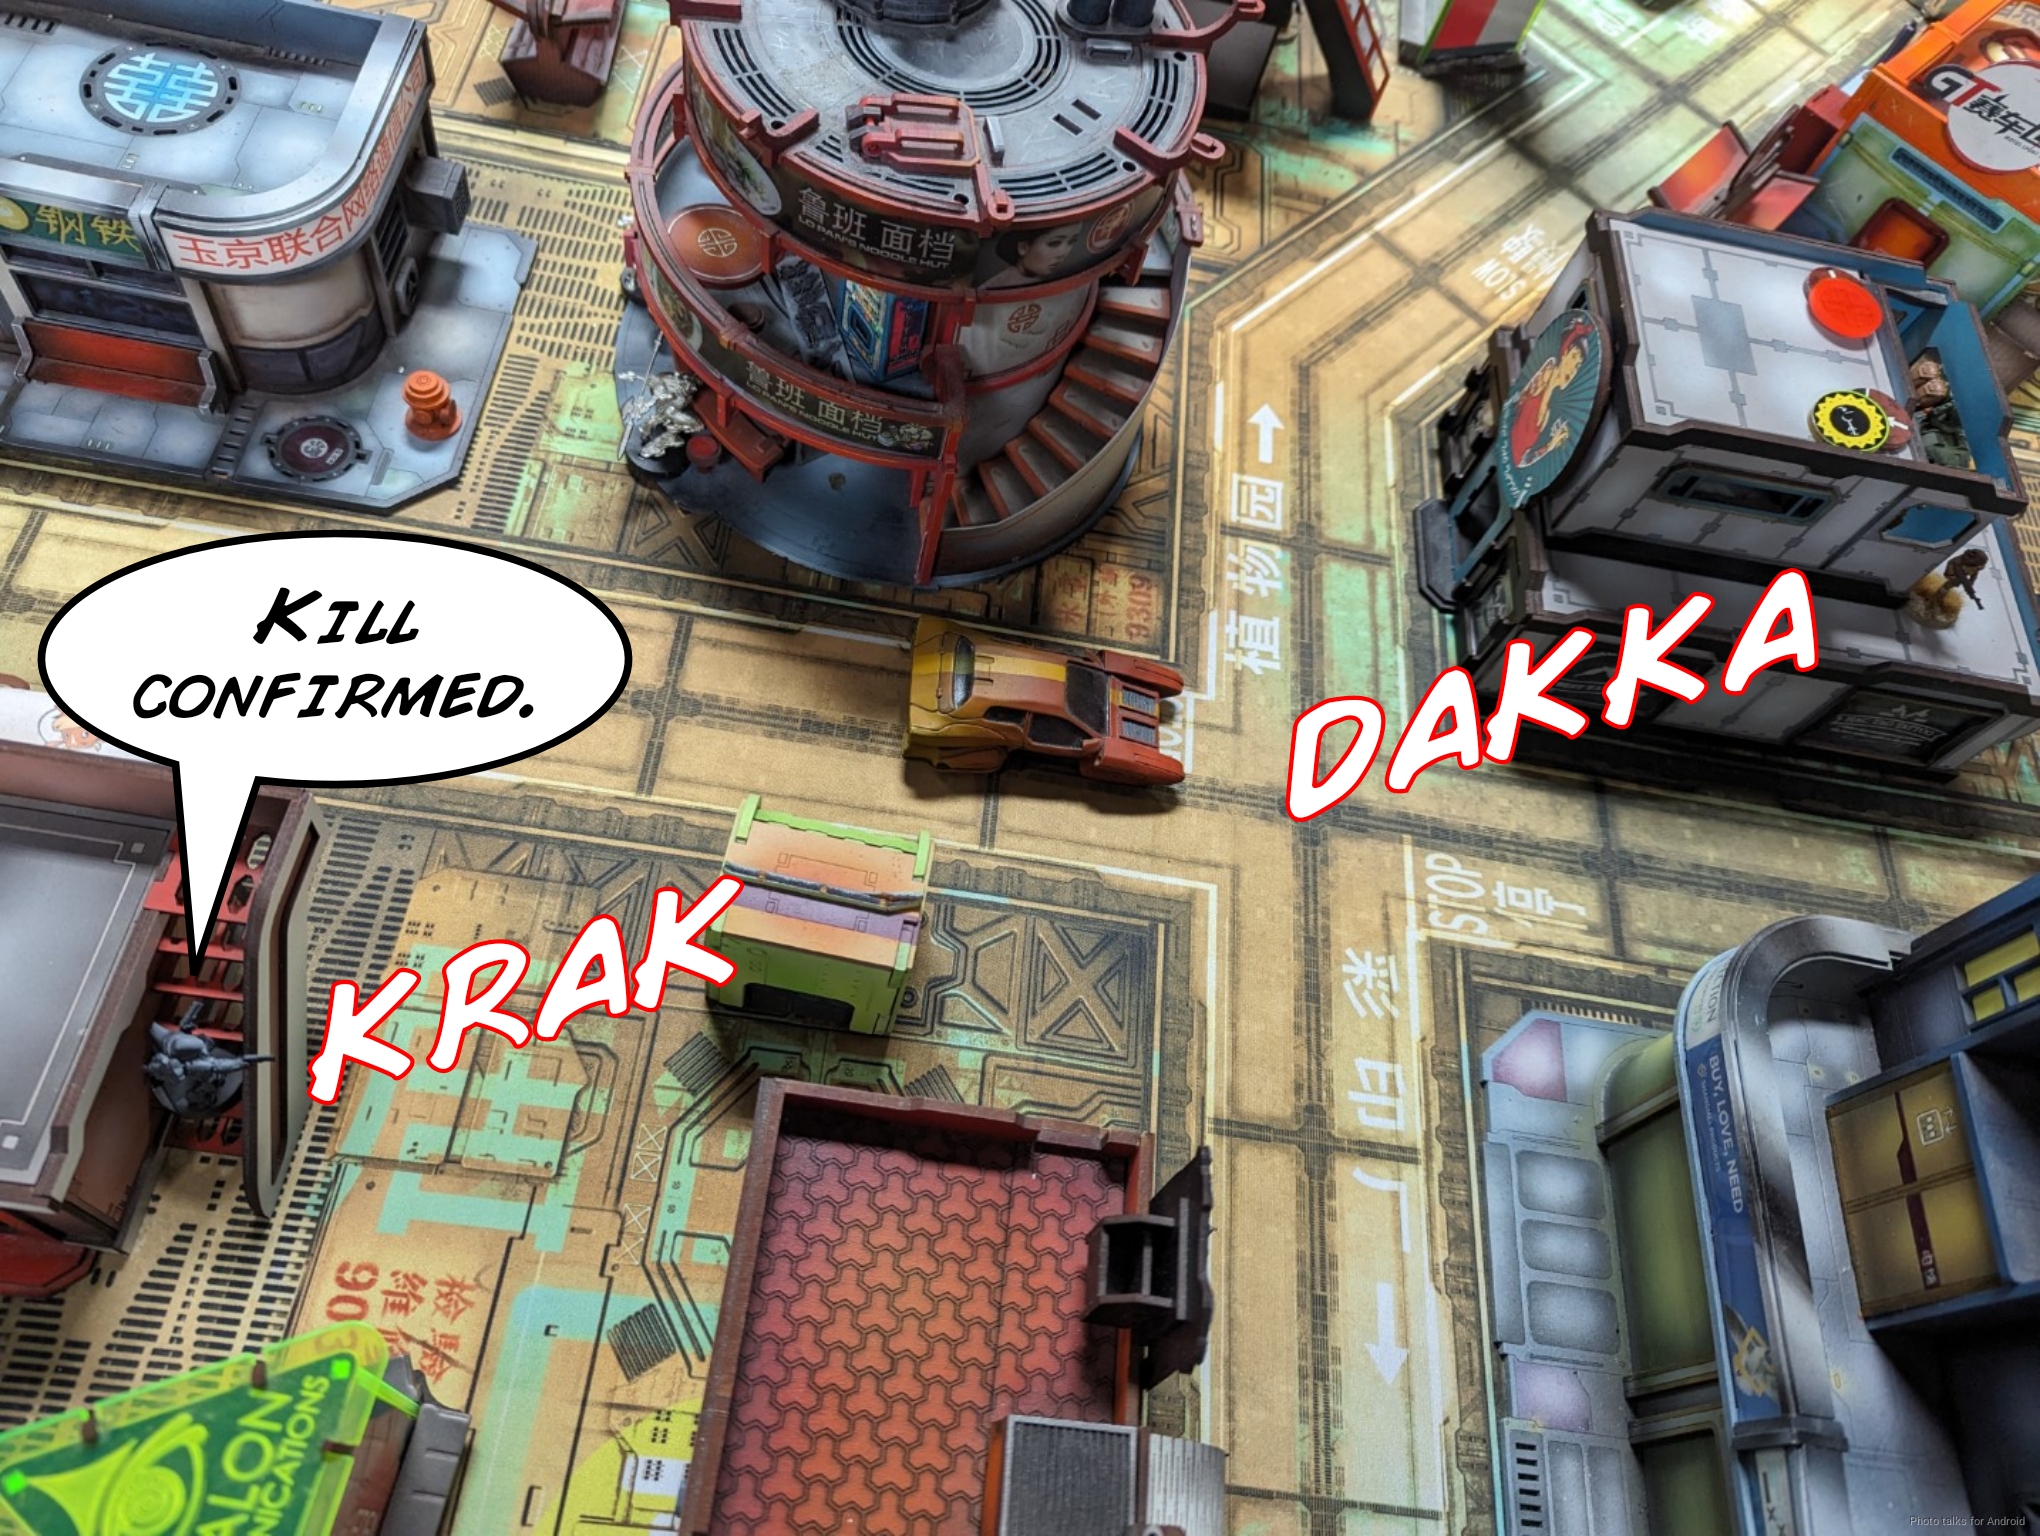
I have one order left and Kendrat’s already dogged, so I just split burst between a bike and the Traktor Mul, taking both out.
Bottom of 1 – Ramah
Well, for the cost of Kendrat and a Yuan Yuan, I’ve done a tremendous amount of damage, but Maggie is still up and her pool is unmolested. We start off with a Kum getting smoke down in front of the Krakot. Le Muet does delete the Kum though, which is nice.
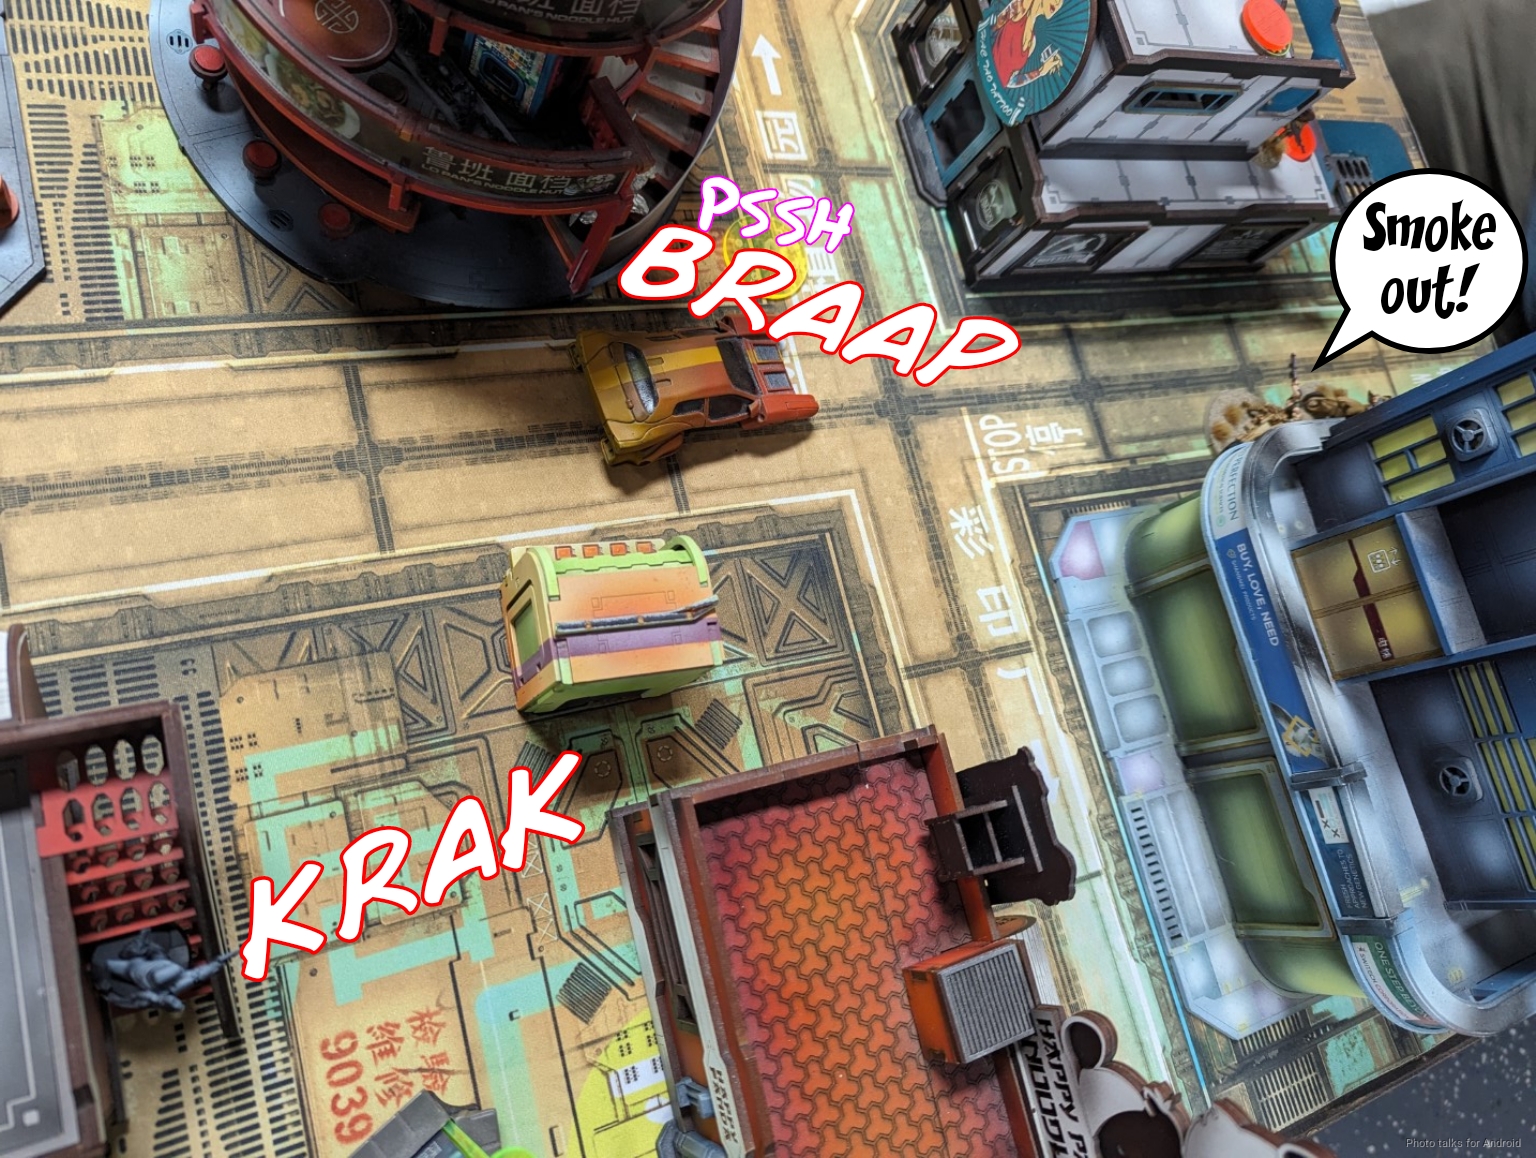
However, the second Kum can take on Le Muet, doing a wound but dying in the process. This does mean that I lose Mimetism on Le Muet, which suuuucks.
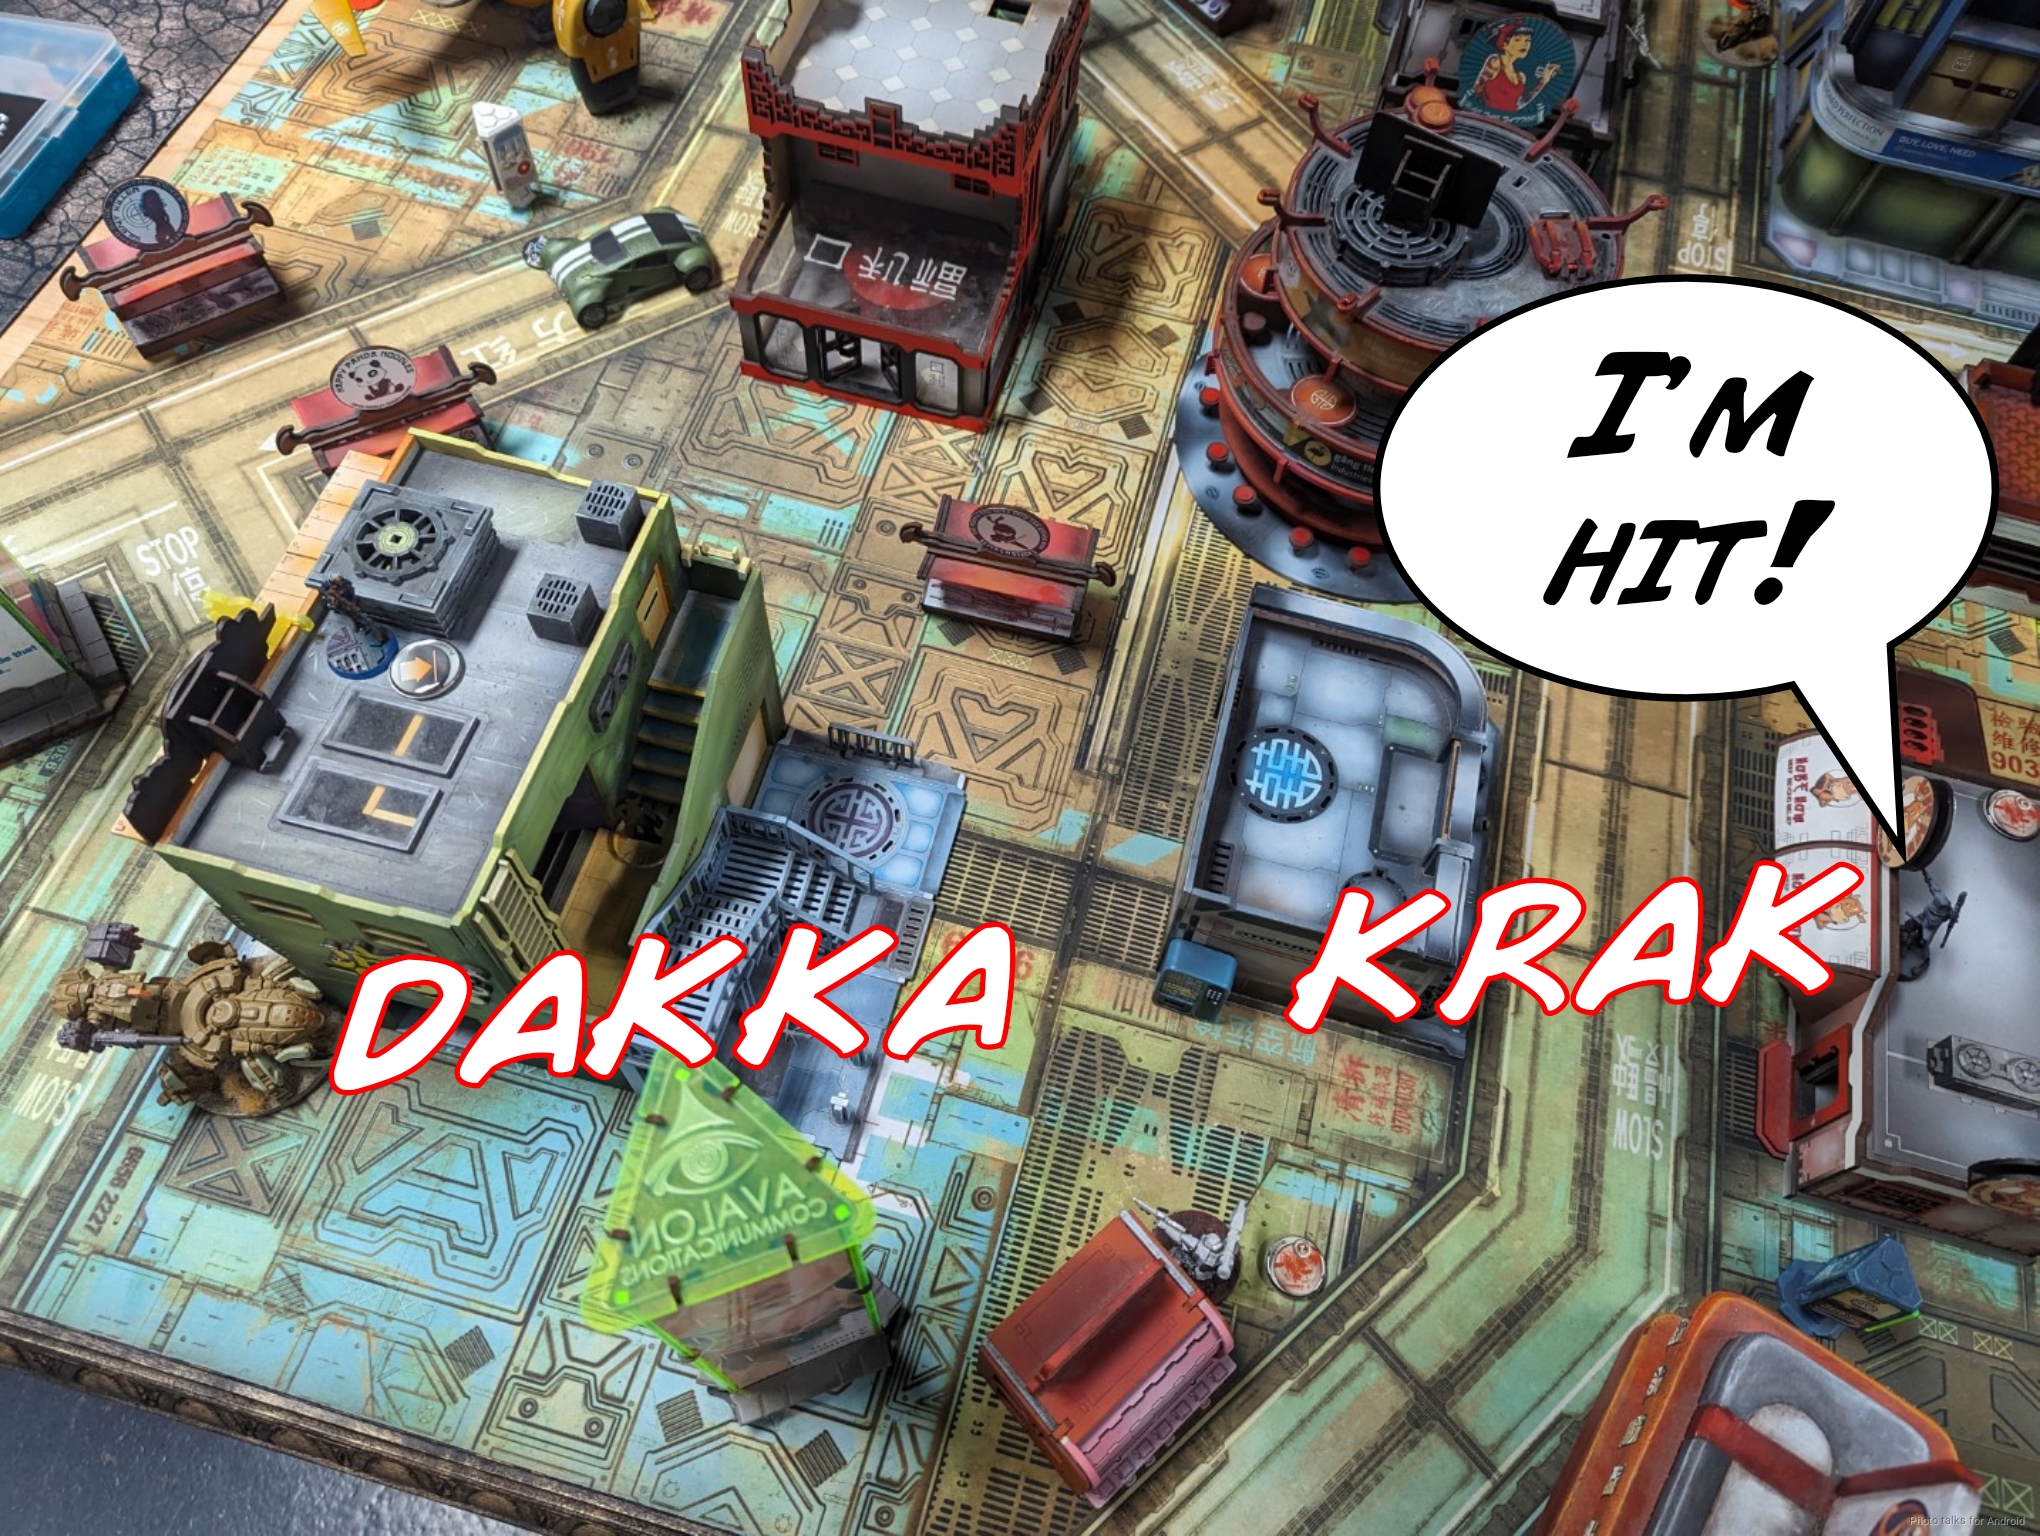
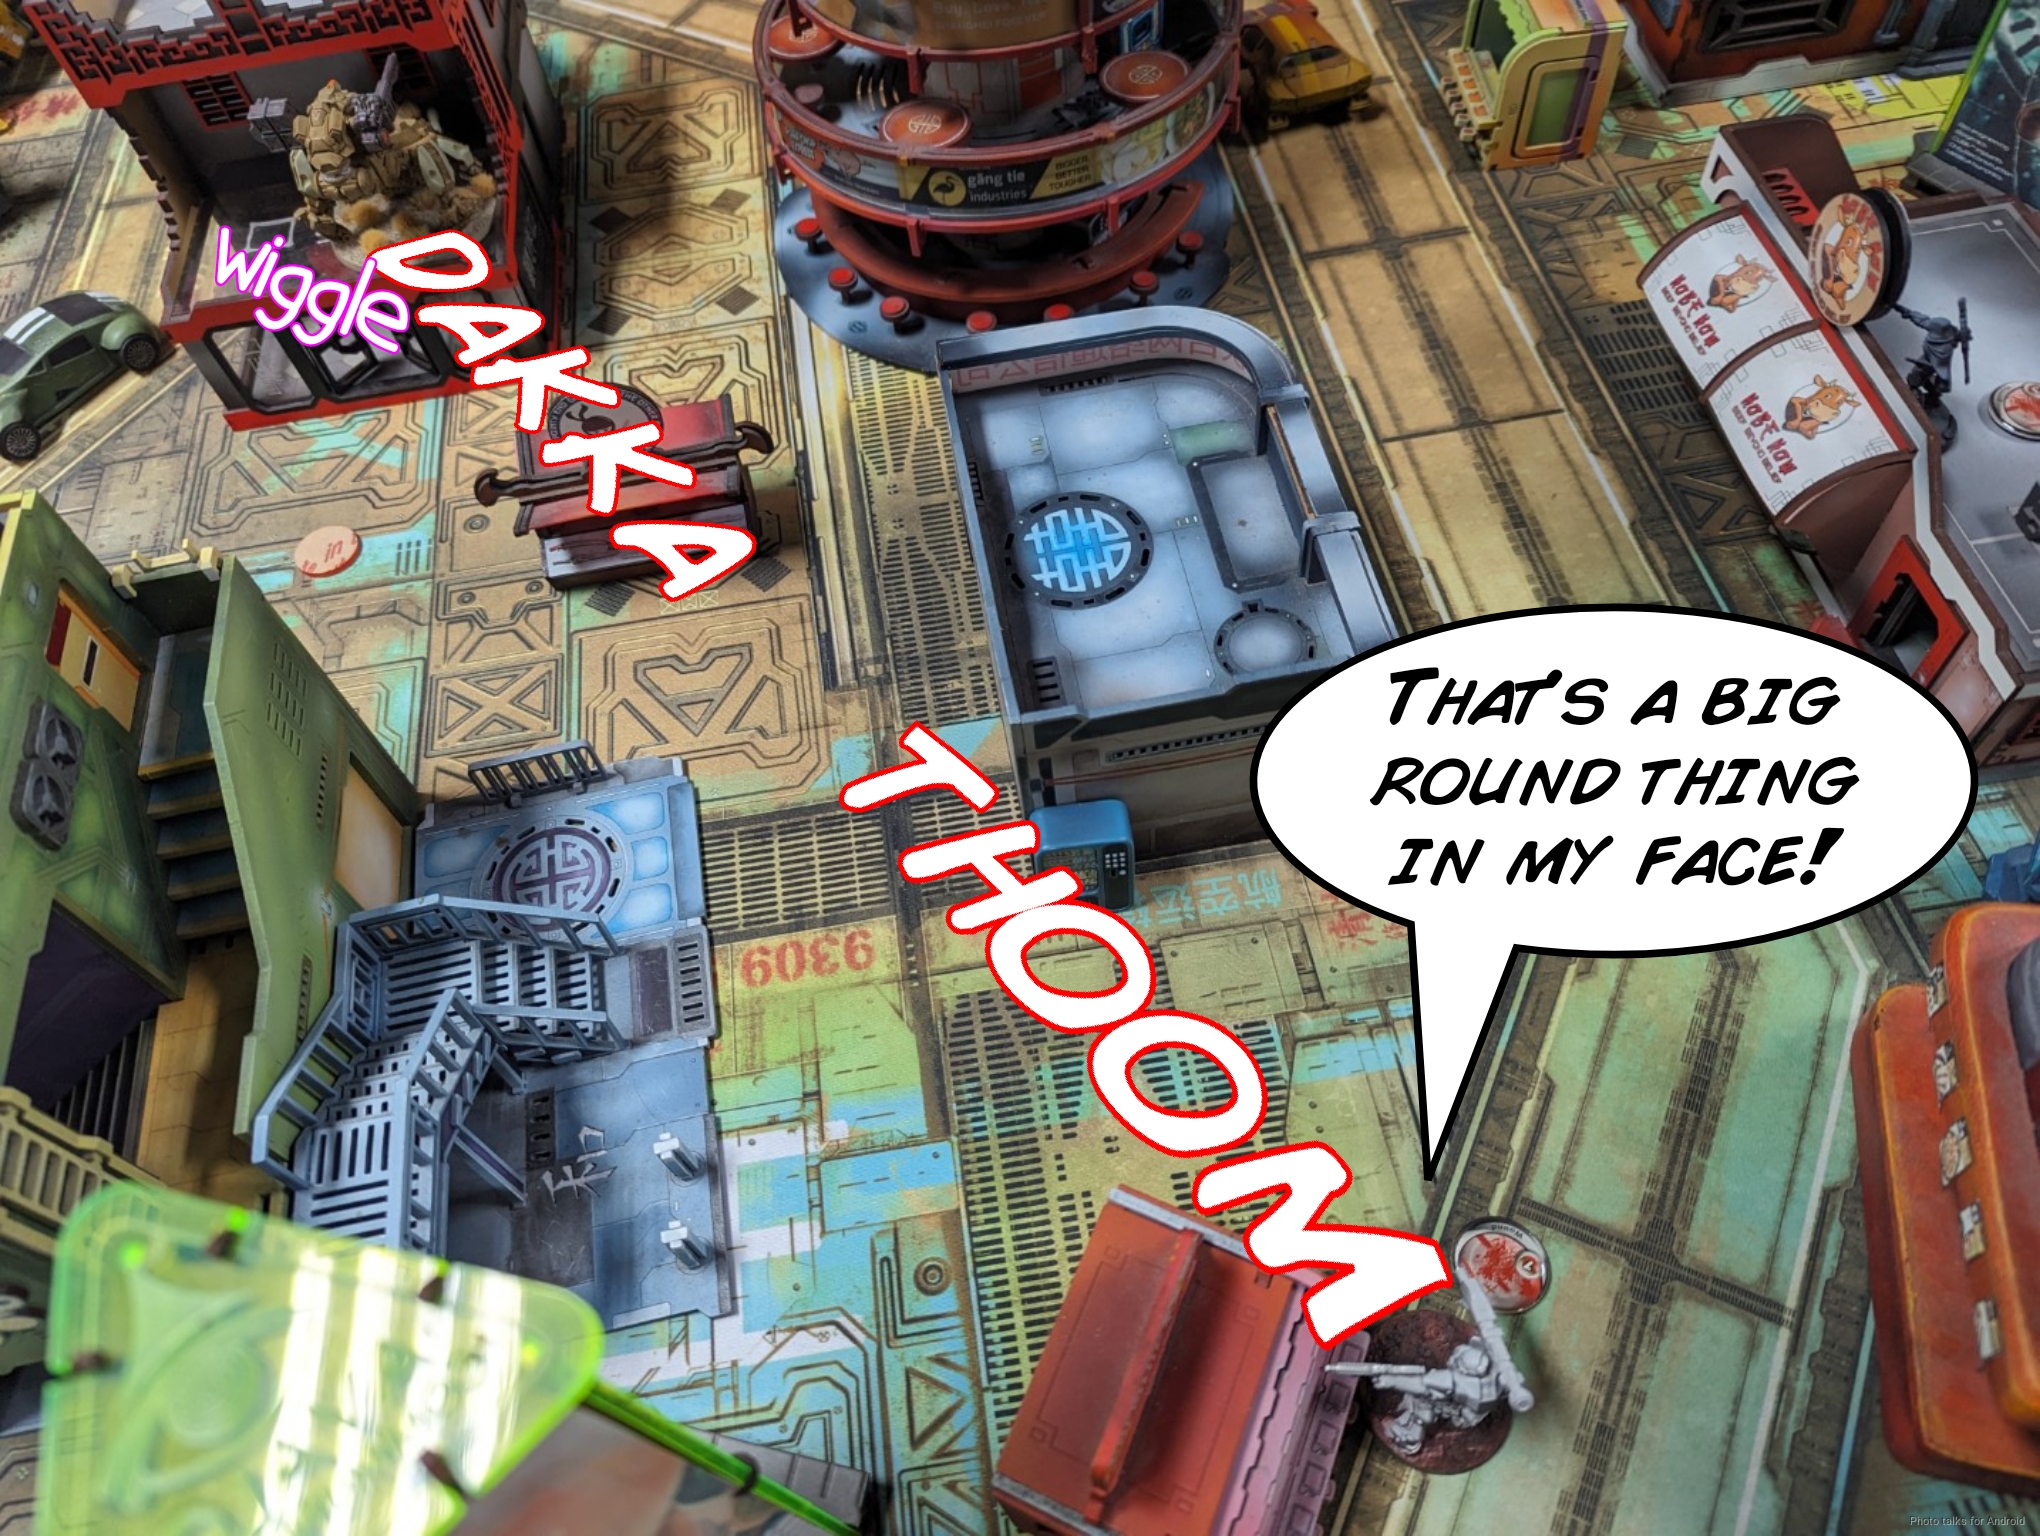
Maggie’s still up, so she starts the party by laying mines everywhere. Of note is that one of the mines covers my Designated Target.
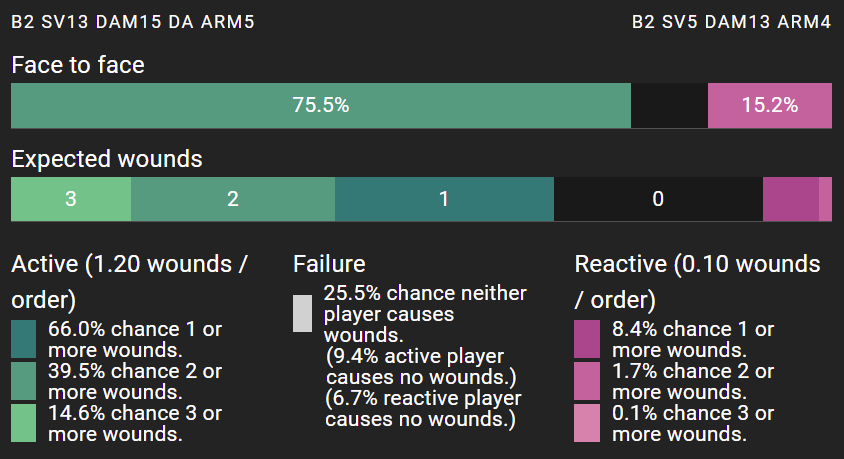
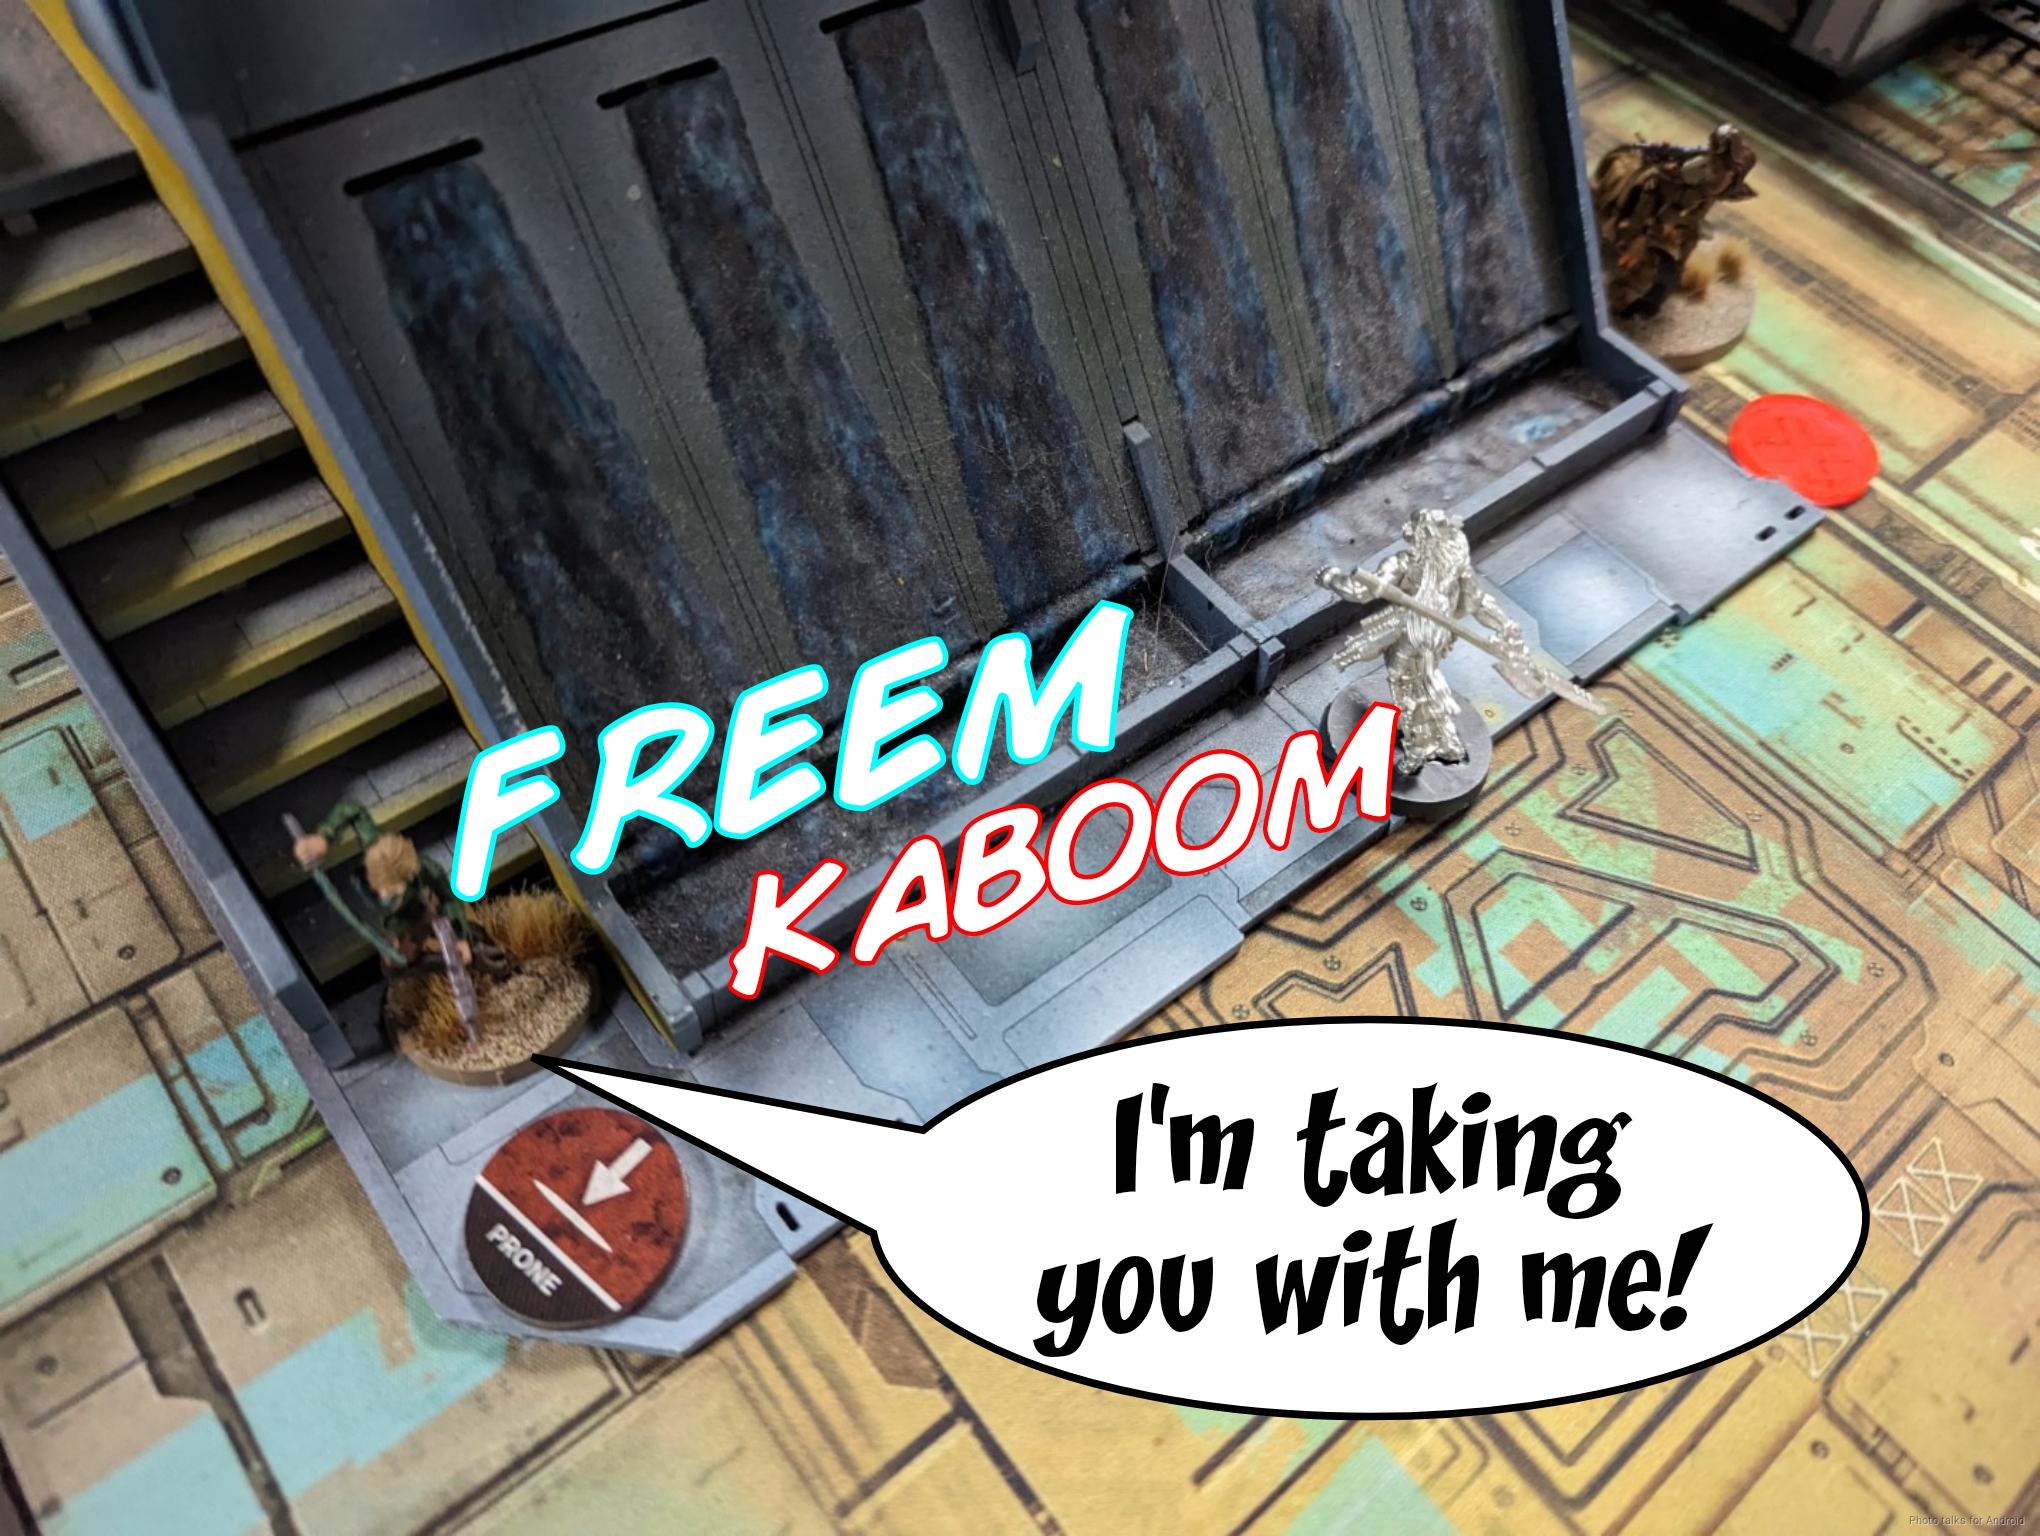
The Fasid HMG starts a fight with my Fasid HRL, doing a wound.
Running out of orders, the Fasid HMG splits burst on the Tanko and Fasid HRL, taking both down. I do safely detonate the mine past the Designated Target, which is actually what does the wound to the Tanko that drops it.
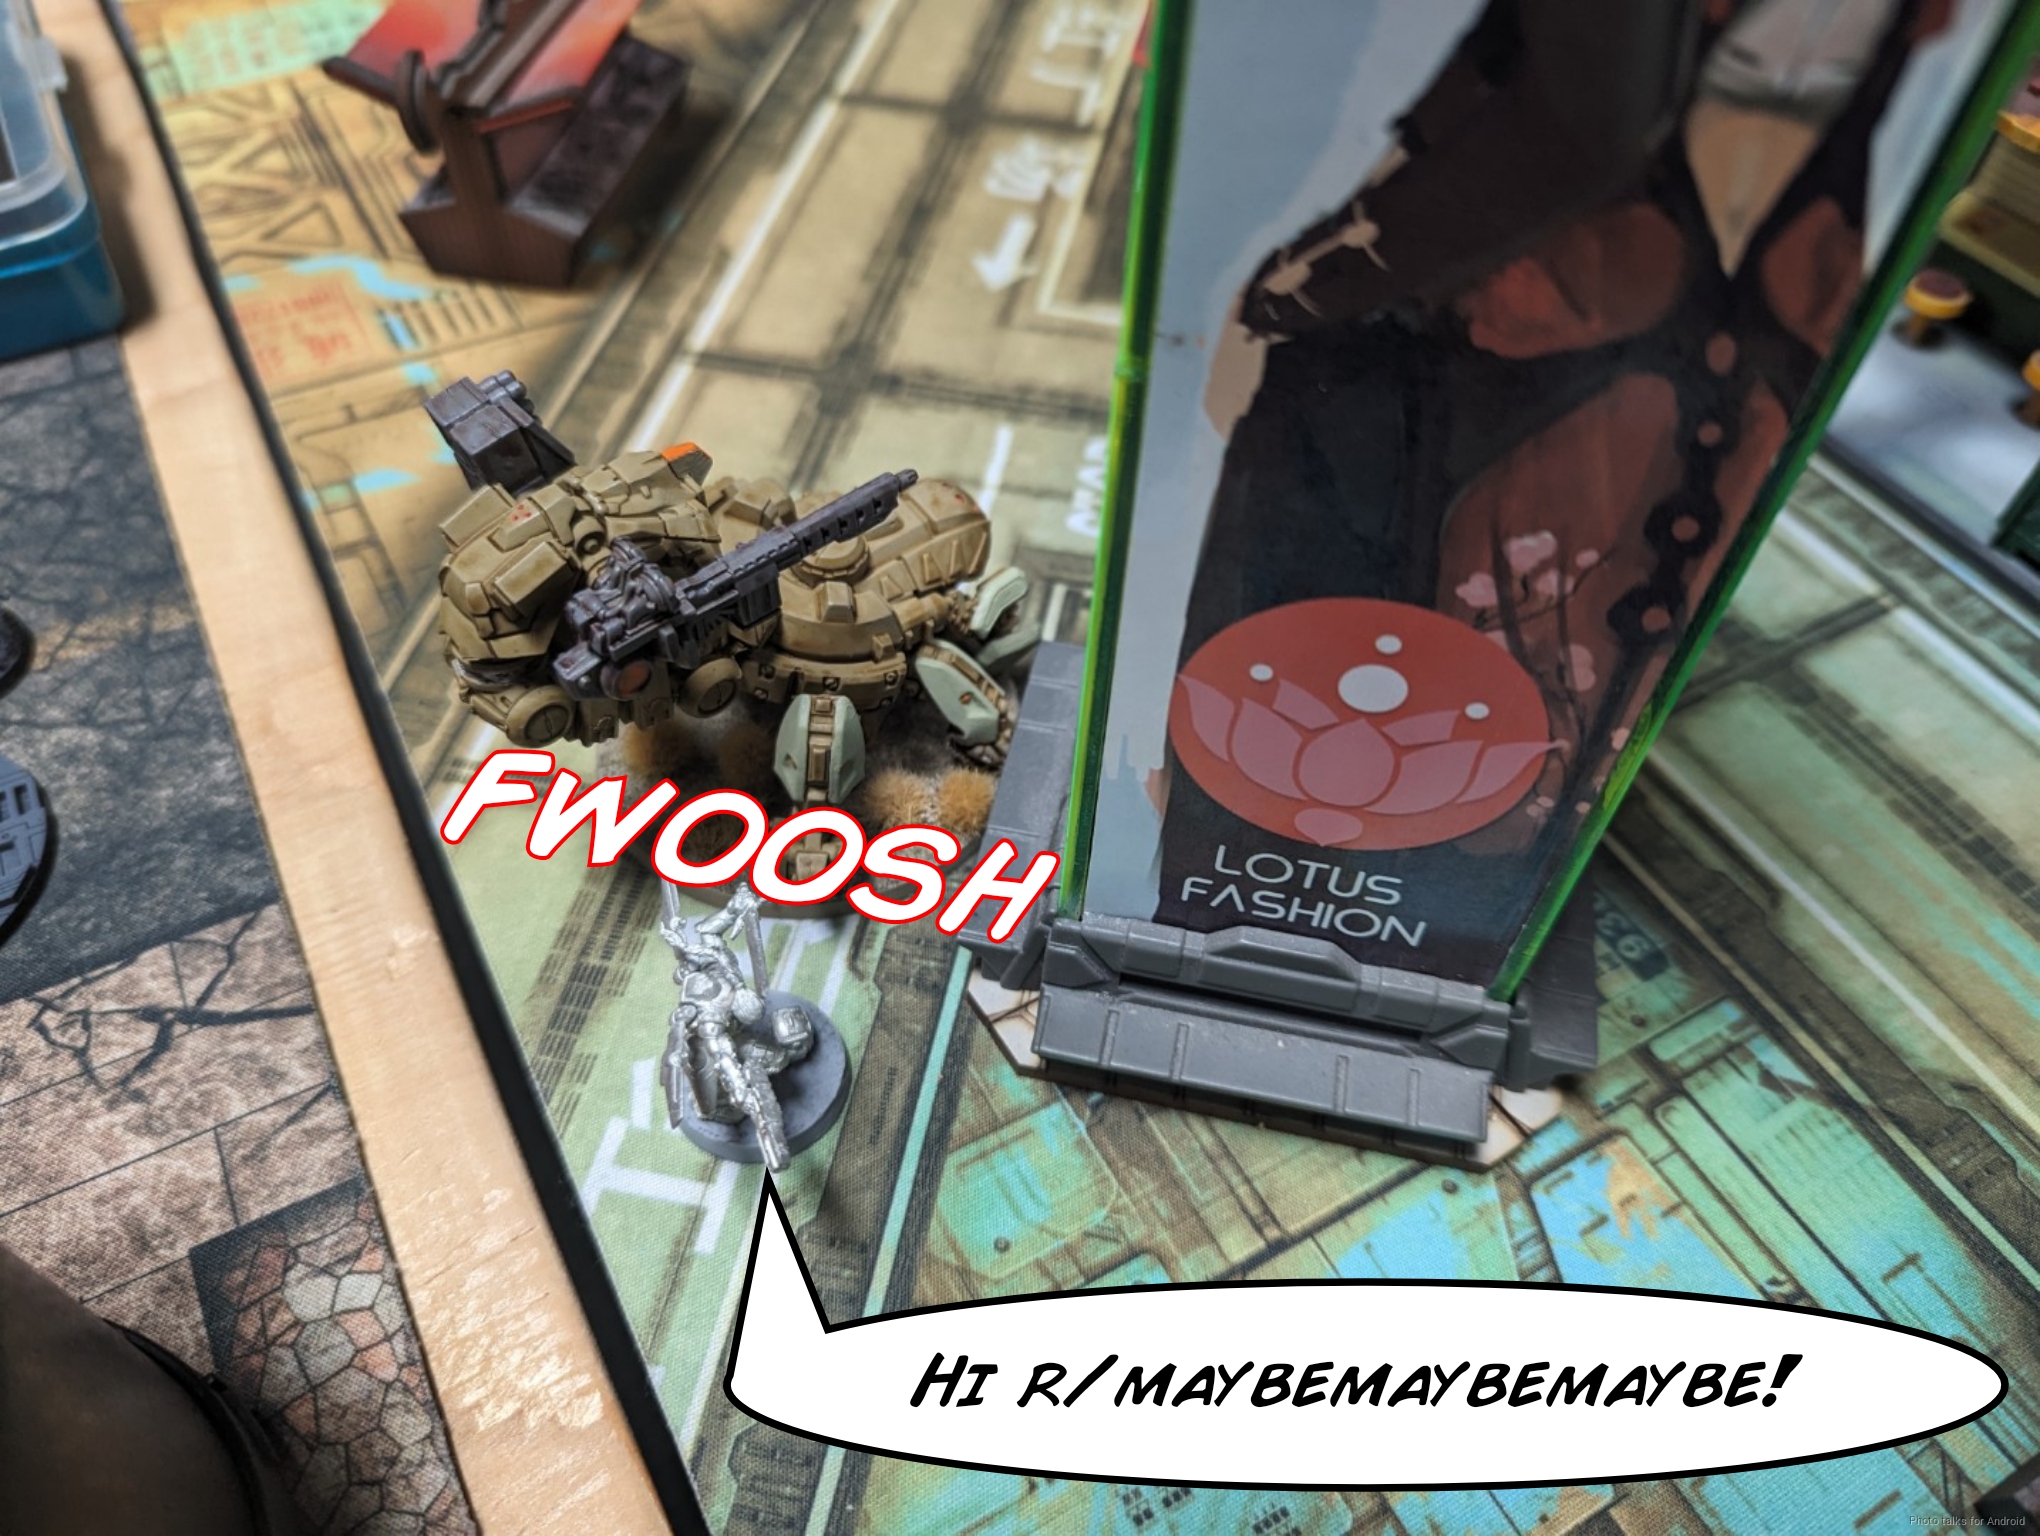
This doesn’t save the Designated Target from Maggie though, who just blaps it in one order.
Maggie keeps pushing, taking out the Bounty Hunter Sniper with a flamethrower hit…

But the Druze KHD makes it around the corner safely with a dodge against another flamethrower attempt.
Maggie retreats and sets up some more mines.
Turn 2
Top of 2 – Ikari
Well, it’s time to push and remove orders. My remaining Tanko is a weird spot and can’t get to Maggie easily, so I just go for attrition. I start by getting my objectives done and take out the last Designated Target with the Krakot’s impetuous order.
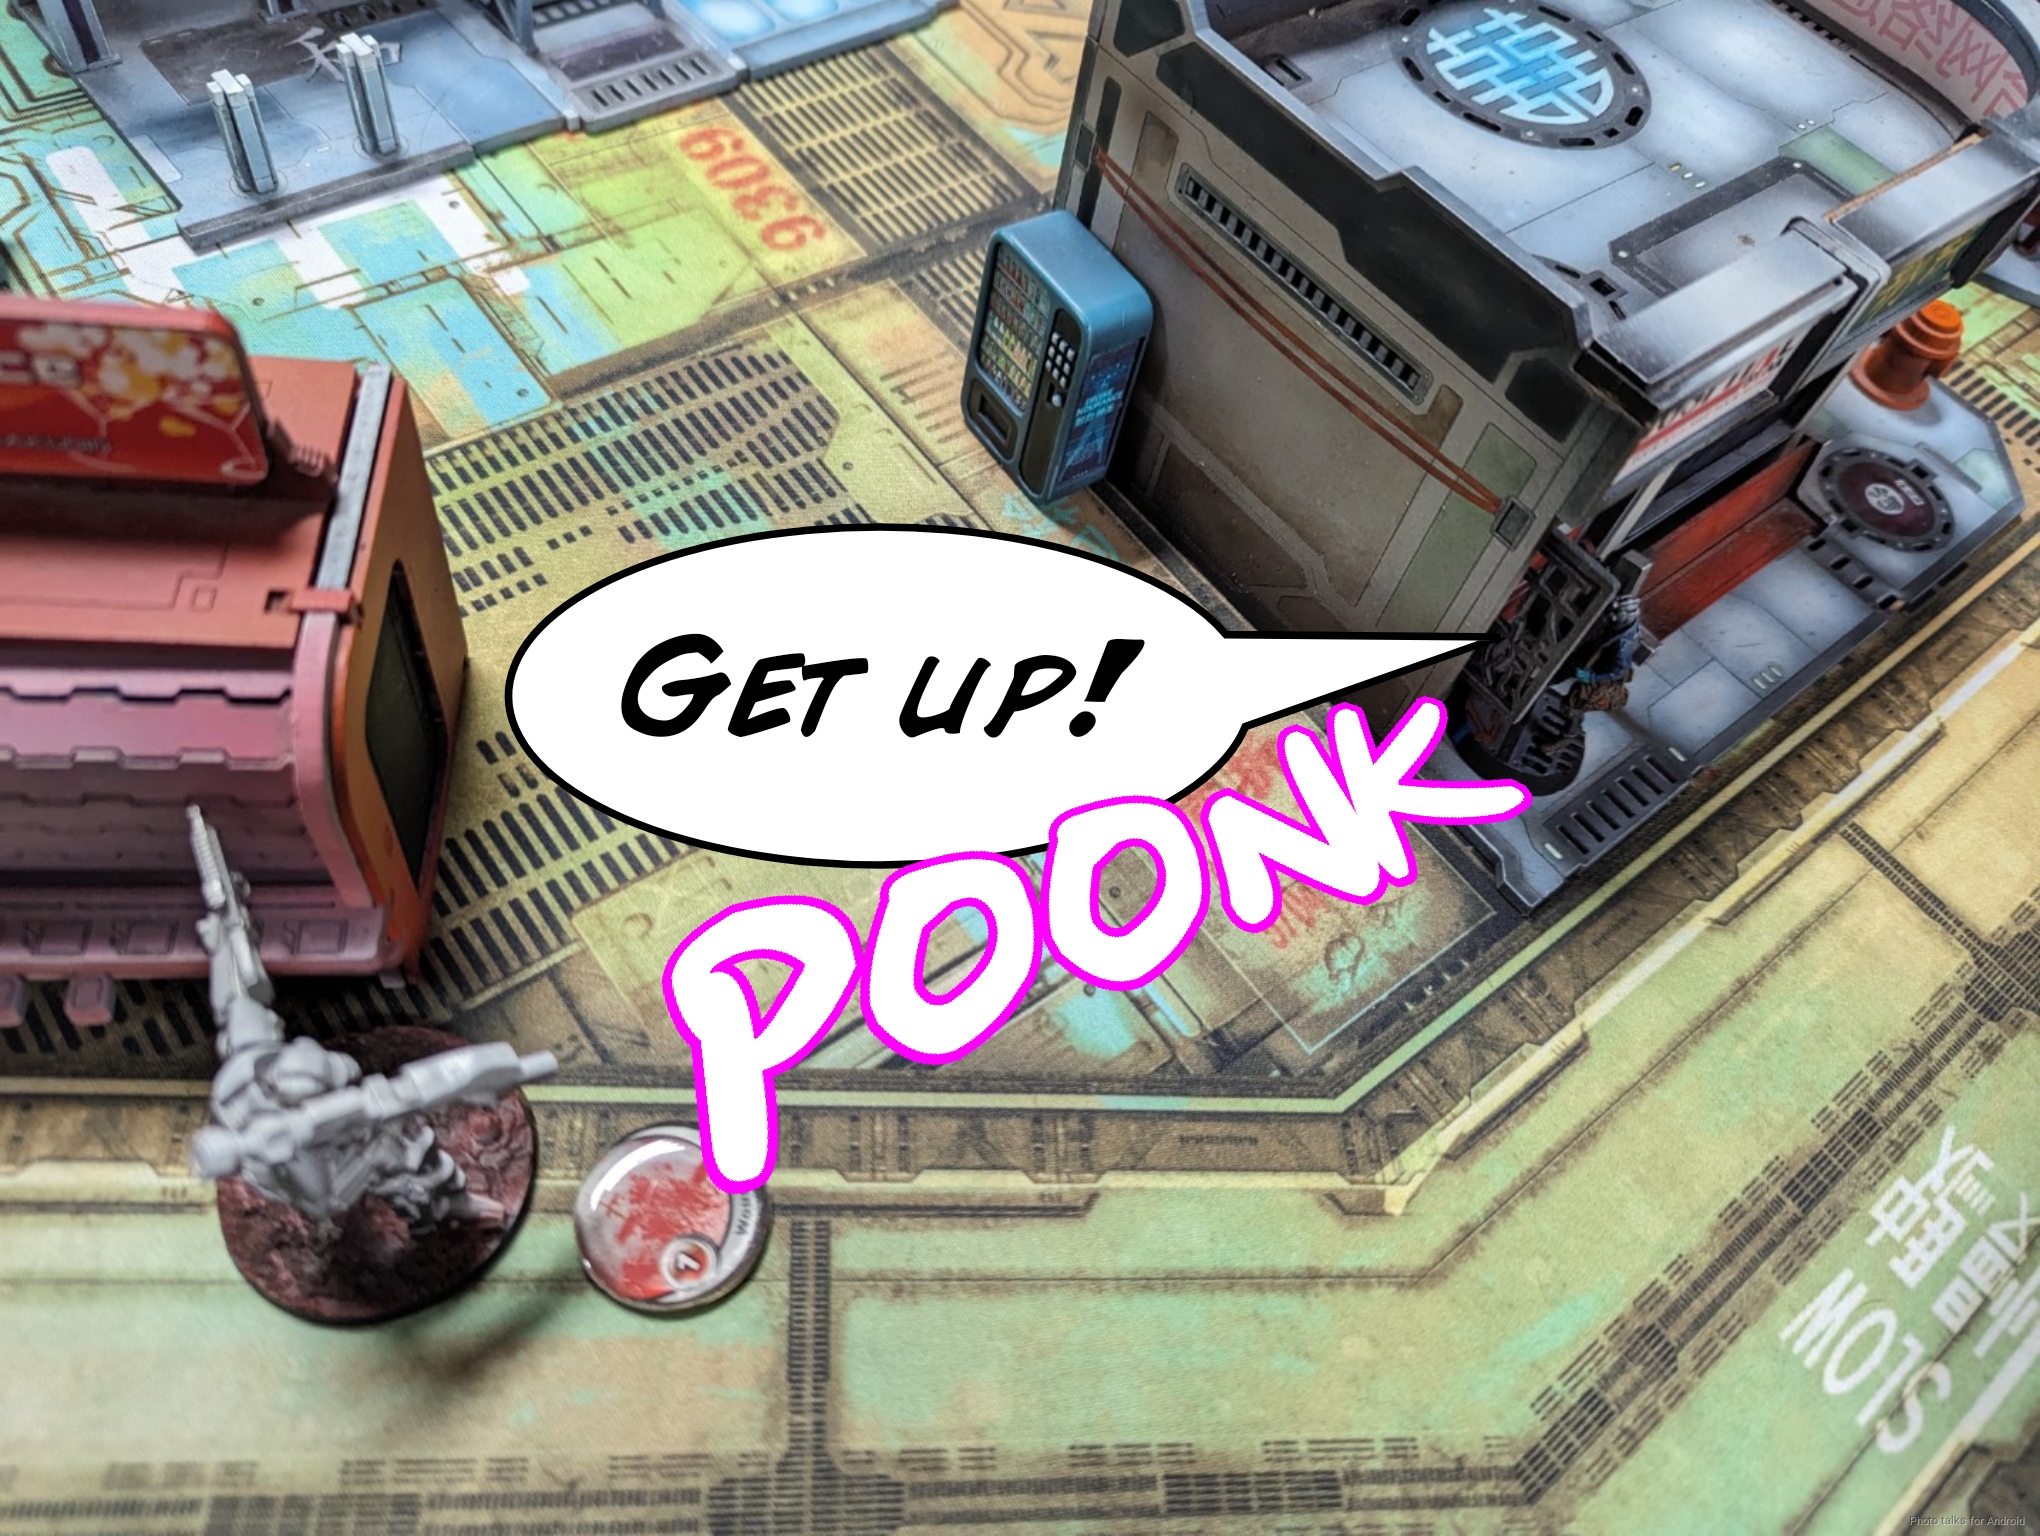
The Brawler Doctor picks up the Fasid…

who burns the Fasid HMG down, proving that he is the one.
I then attempt to land a Yuan Yuan next to the Fanous on Cole’s back table edge to take out an order, but it fails. I bring the Yuan Yuan on next to Maggie instead, figuring I’ll dodge it into close combat if it survives to tie Maggie up in close combat. The Yuan Yuan does not survive.
My last Yuan Yuan succeeds on landing next to the Fanous and takes it out.
Le Muet doesn’t have Mimetism anymore, but he does have range, so I put a wound on Maggie, who fails guts around the building to break LoF.
This does put her out of cover from the Druze KHD, so I chance the odds with her viral pistol. Cole gives me normal rolls and just templates.
Cole manages to pass all 4 saves, so Maggie doesn’t take any wounds but does roast the Druze.
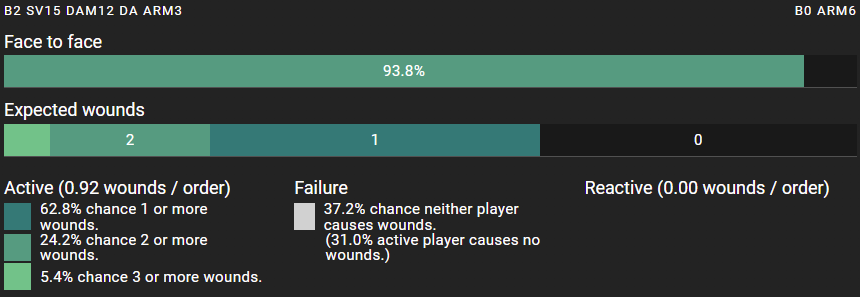
I shift the Fasid back and land some HRL shots on Maggie, but she passes all her saves again!
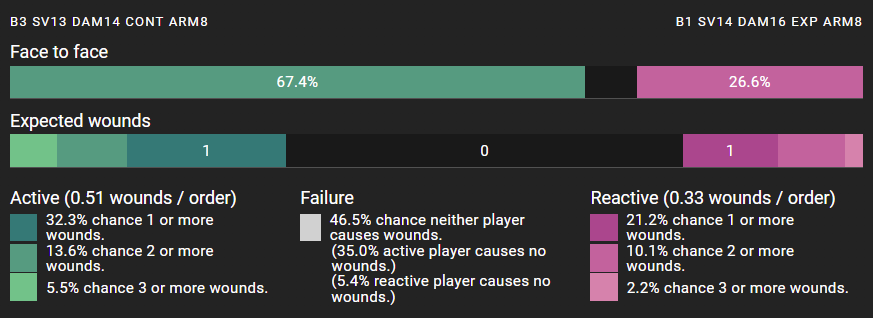
Well that’s irritating. Not particularly good odds, so I suppose I shouldn’t be surprised.
Bottom of 2 – Ramah

Well, I keep pushing hard on Cole but Maggie is just refusing to fail saves. My Fasid, however, is not so lucky.
I’ve got Le Muet up and on overwatch, but without his Mimetism he can’t hold Maggie off and also goes down.
As this is happening I’m dodging my Lieutenant around to prevent Maggie from being able to just long skill climb up and take him out.
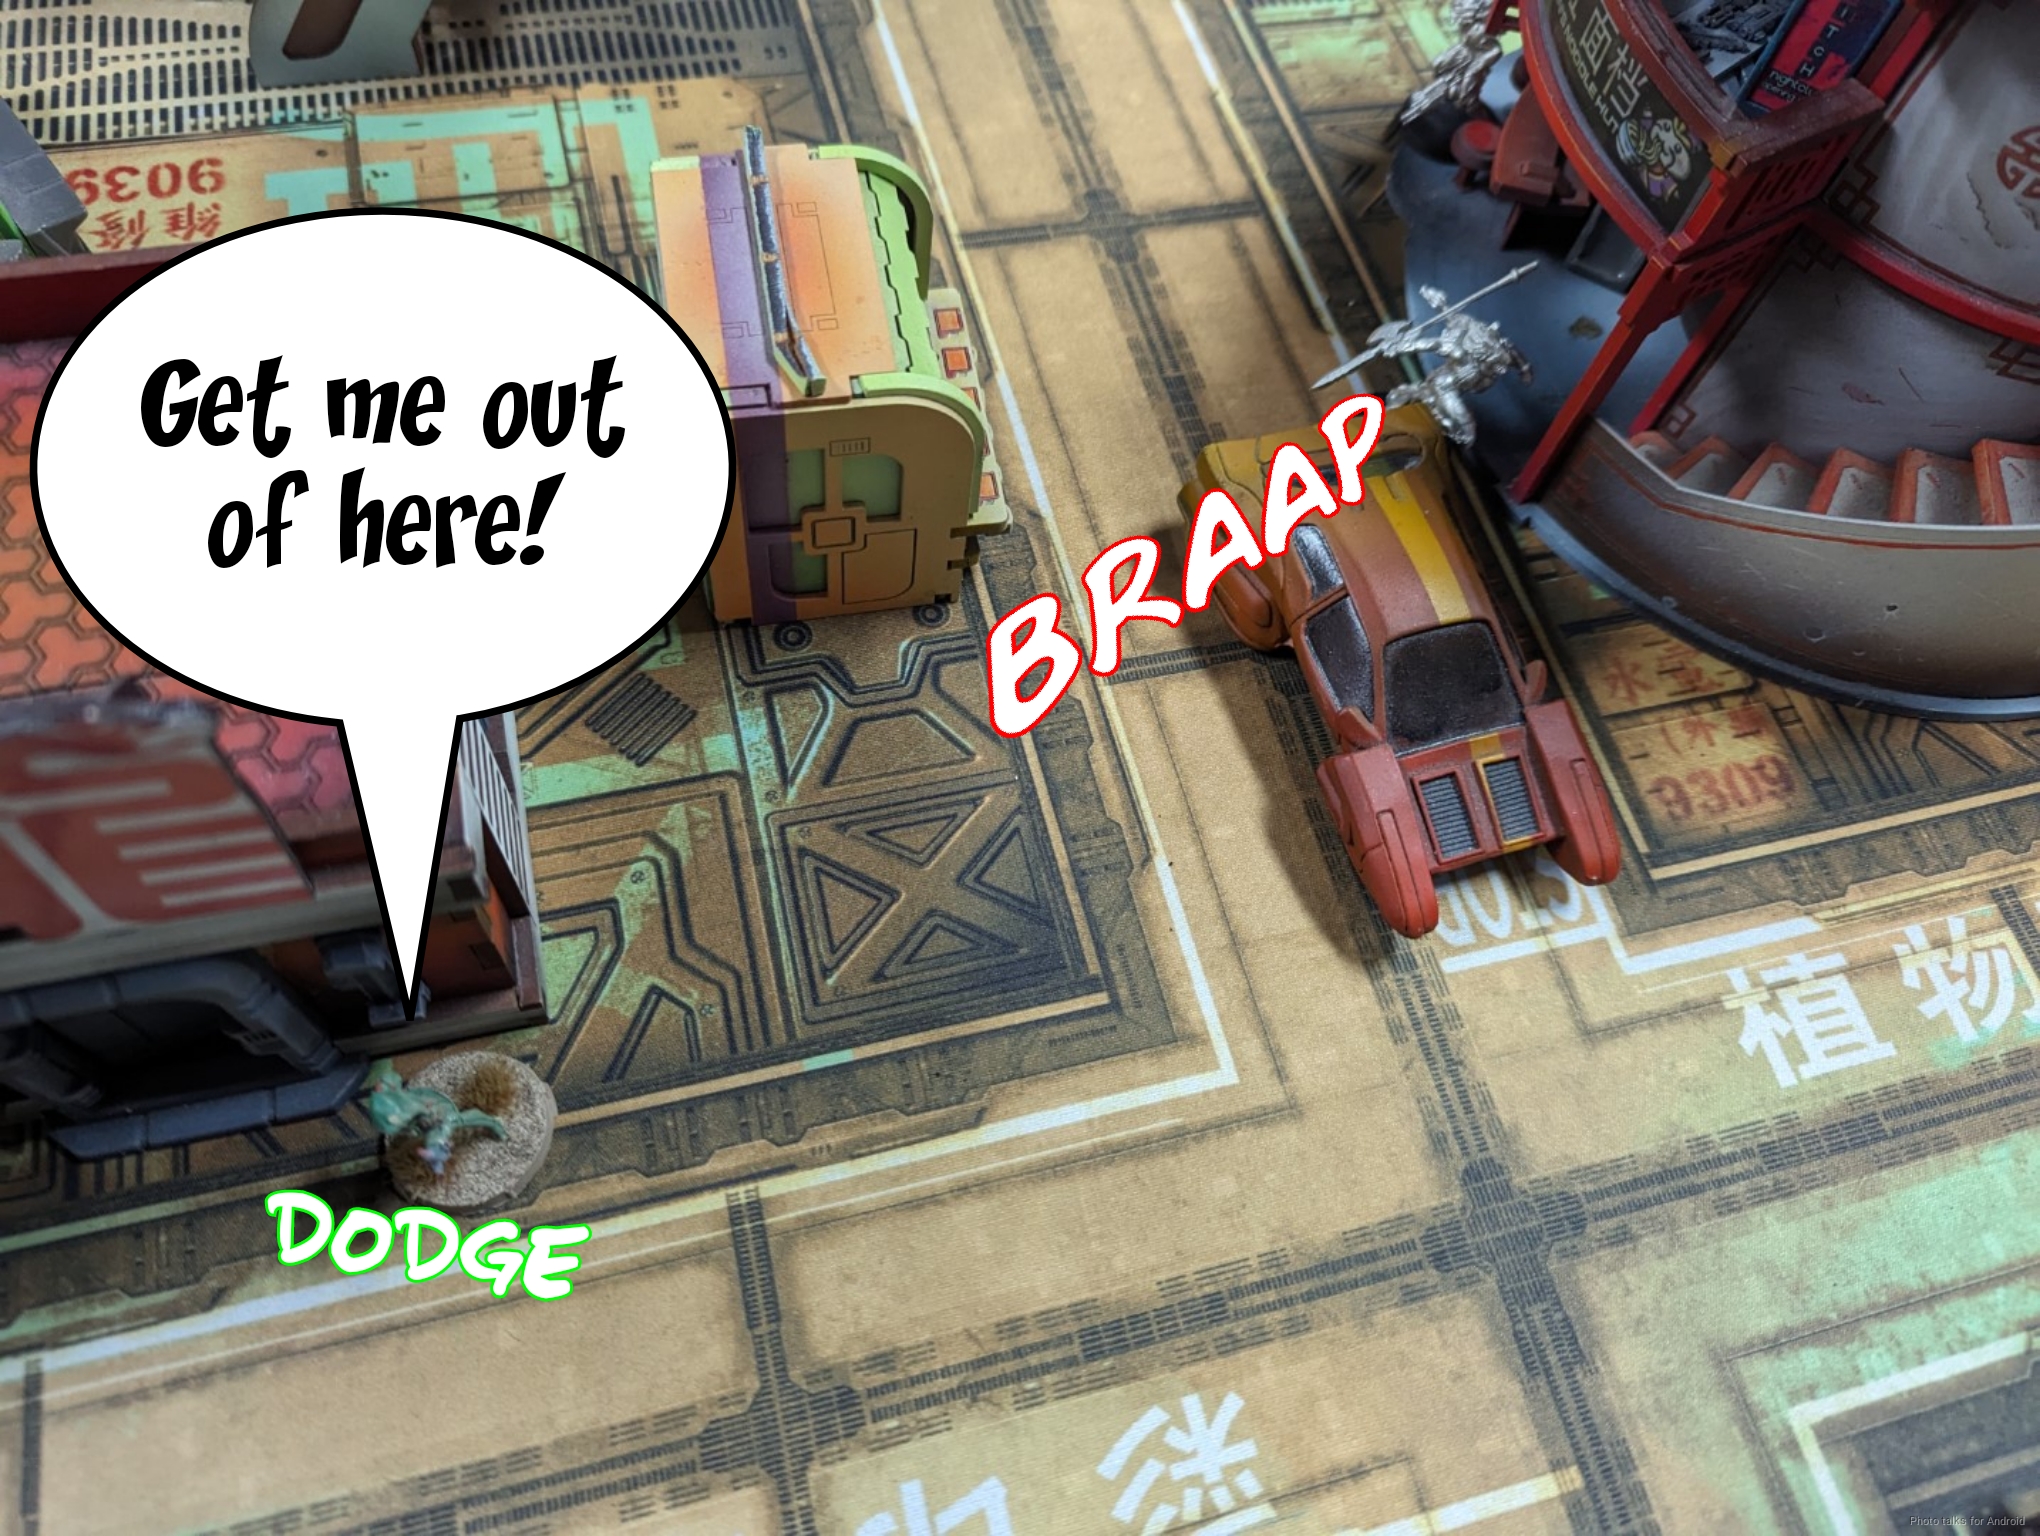
Seeing this, Cole goes for my second Designated Target, but I manage to dodge it out of the way…

also using the dodge move on the Lieutenant to really make it safe.
Cole ends Maggie in overwatch on a building, figuring if I have to long skill climb up there with the Tanko to get into CC he can at least flamethrower me on the way in.
Turn 3
Top of 3 – Ikari
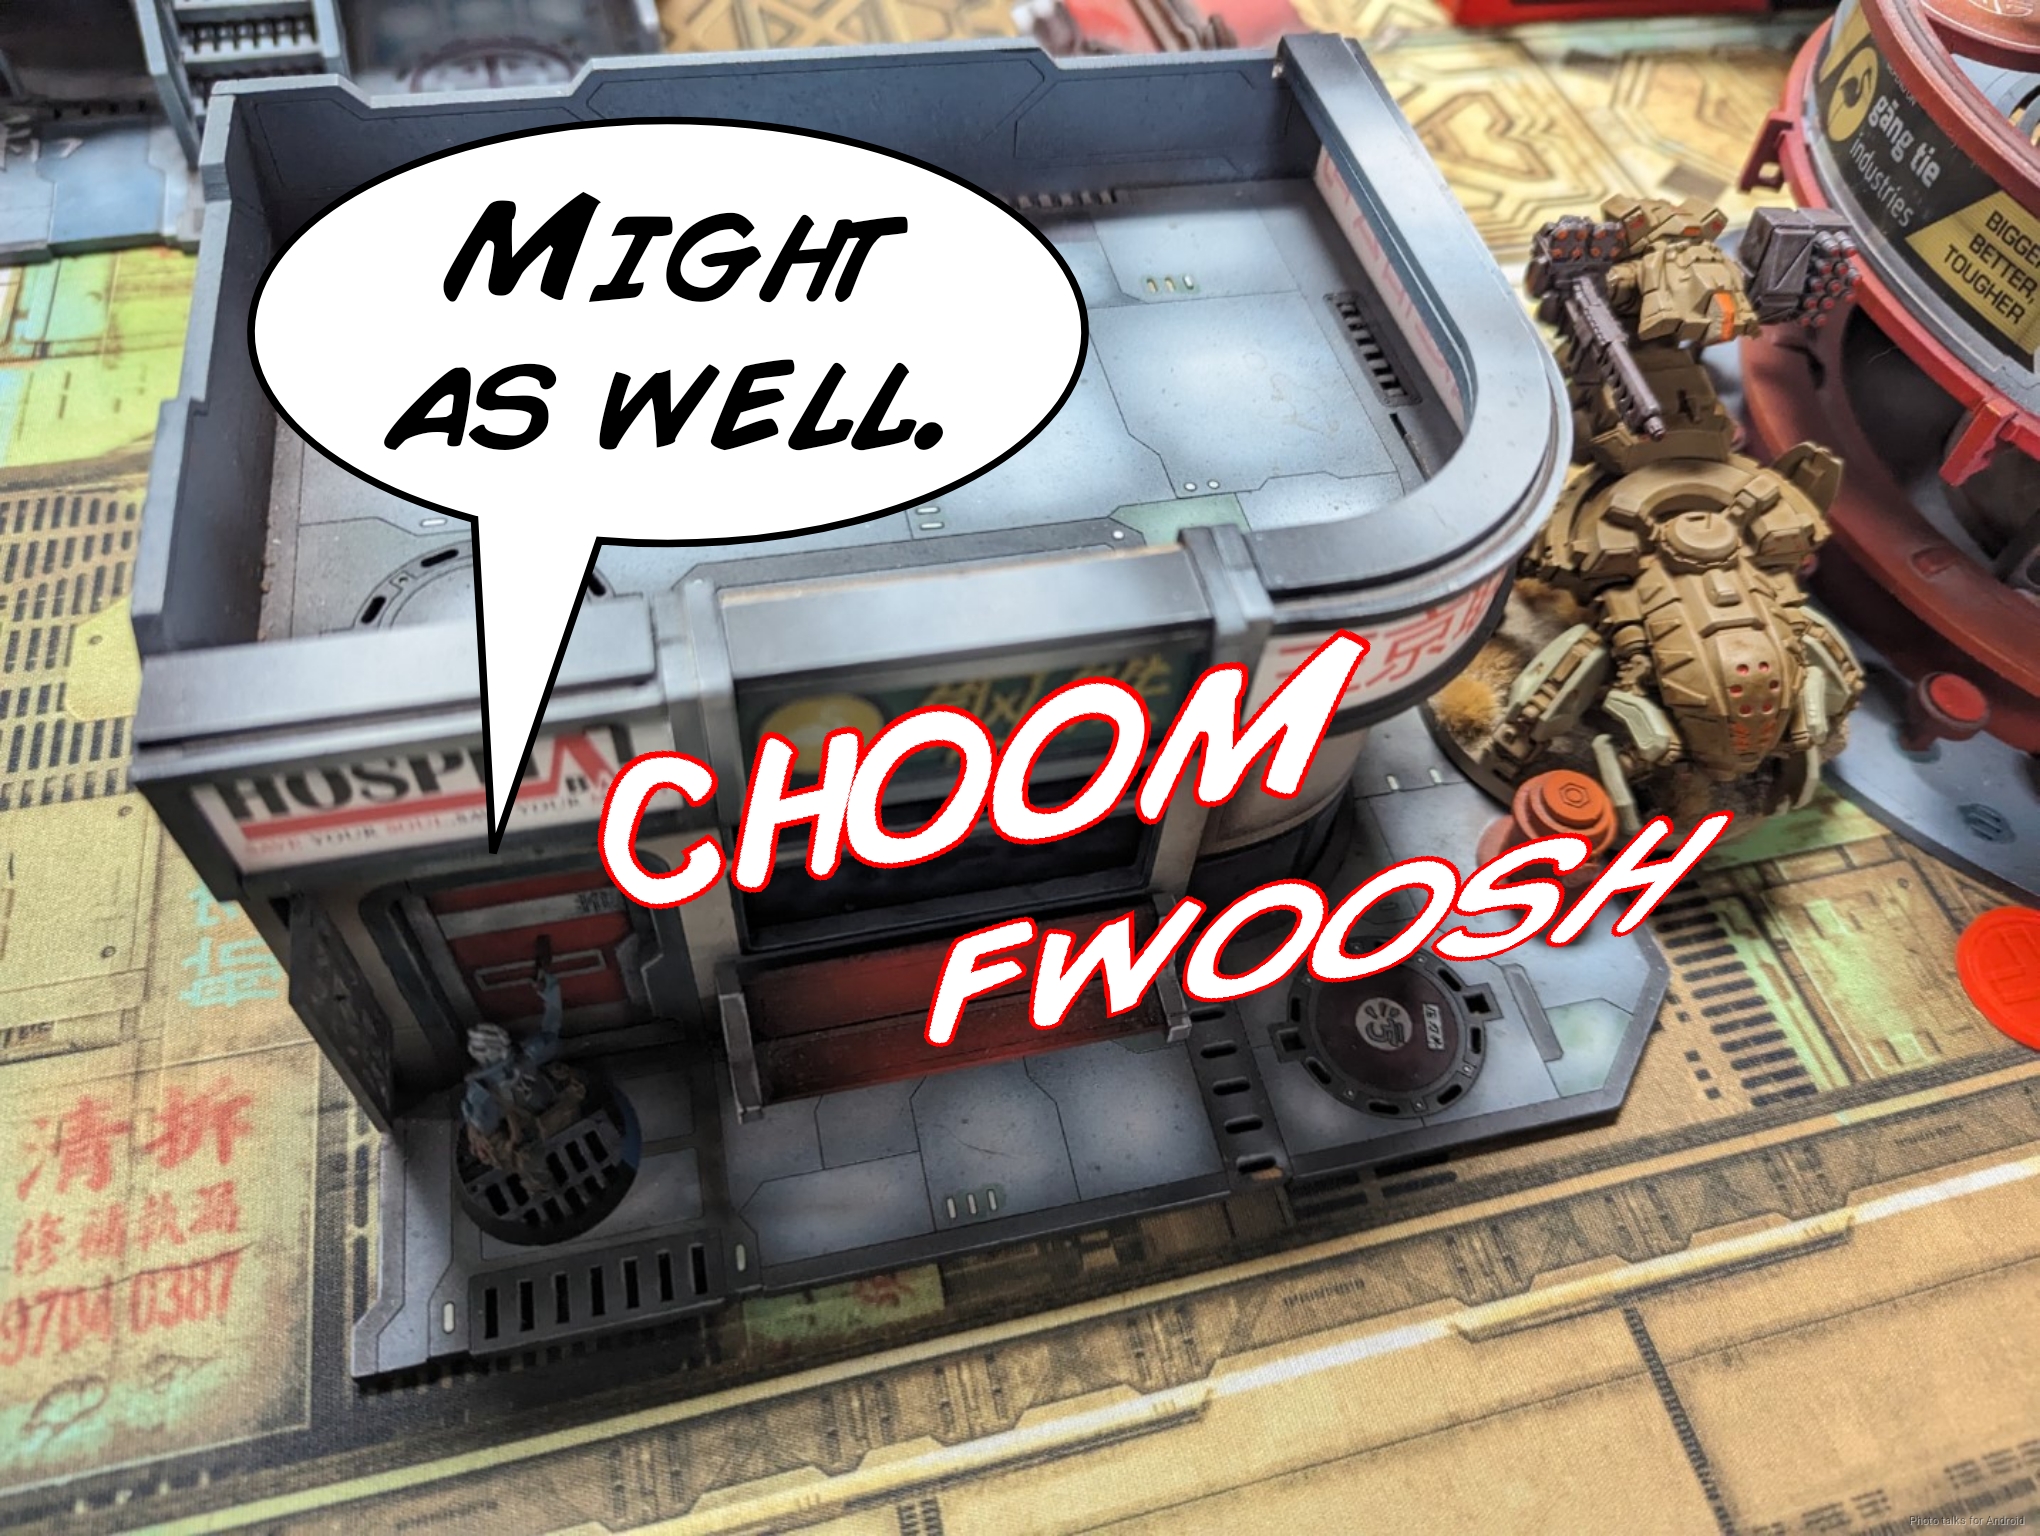
I really just need to take away as many orders as possible as I don’t think I can take out Maggie reliably. I start by using the Yuan Yuan’s impetuous order to get closer to the Naffatun on the roof and then its irregular order basing it. Cole D-Charges in ARO. I think the right call here is to take the free hit and chain rifle, but I obey the rule of cool and CC attack for my second short skill.
Unfortunately, the Battlefoam Yuan Yuan goes back into the foam after losing the face to face. The Krakot does manage to get into view of Miranda, who nanopulsars. Rather than roll against her Mimetism -6 I just go for the guaranteed hit and chest mine, trading with Miranda.
I pick the Fasid back up, this time with a MediKit from out of LoF of Maggie.
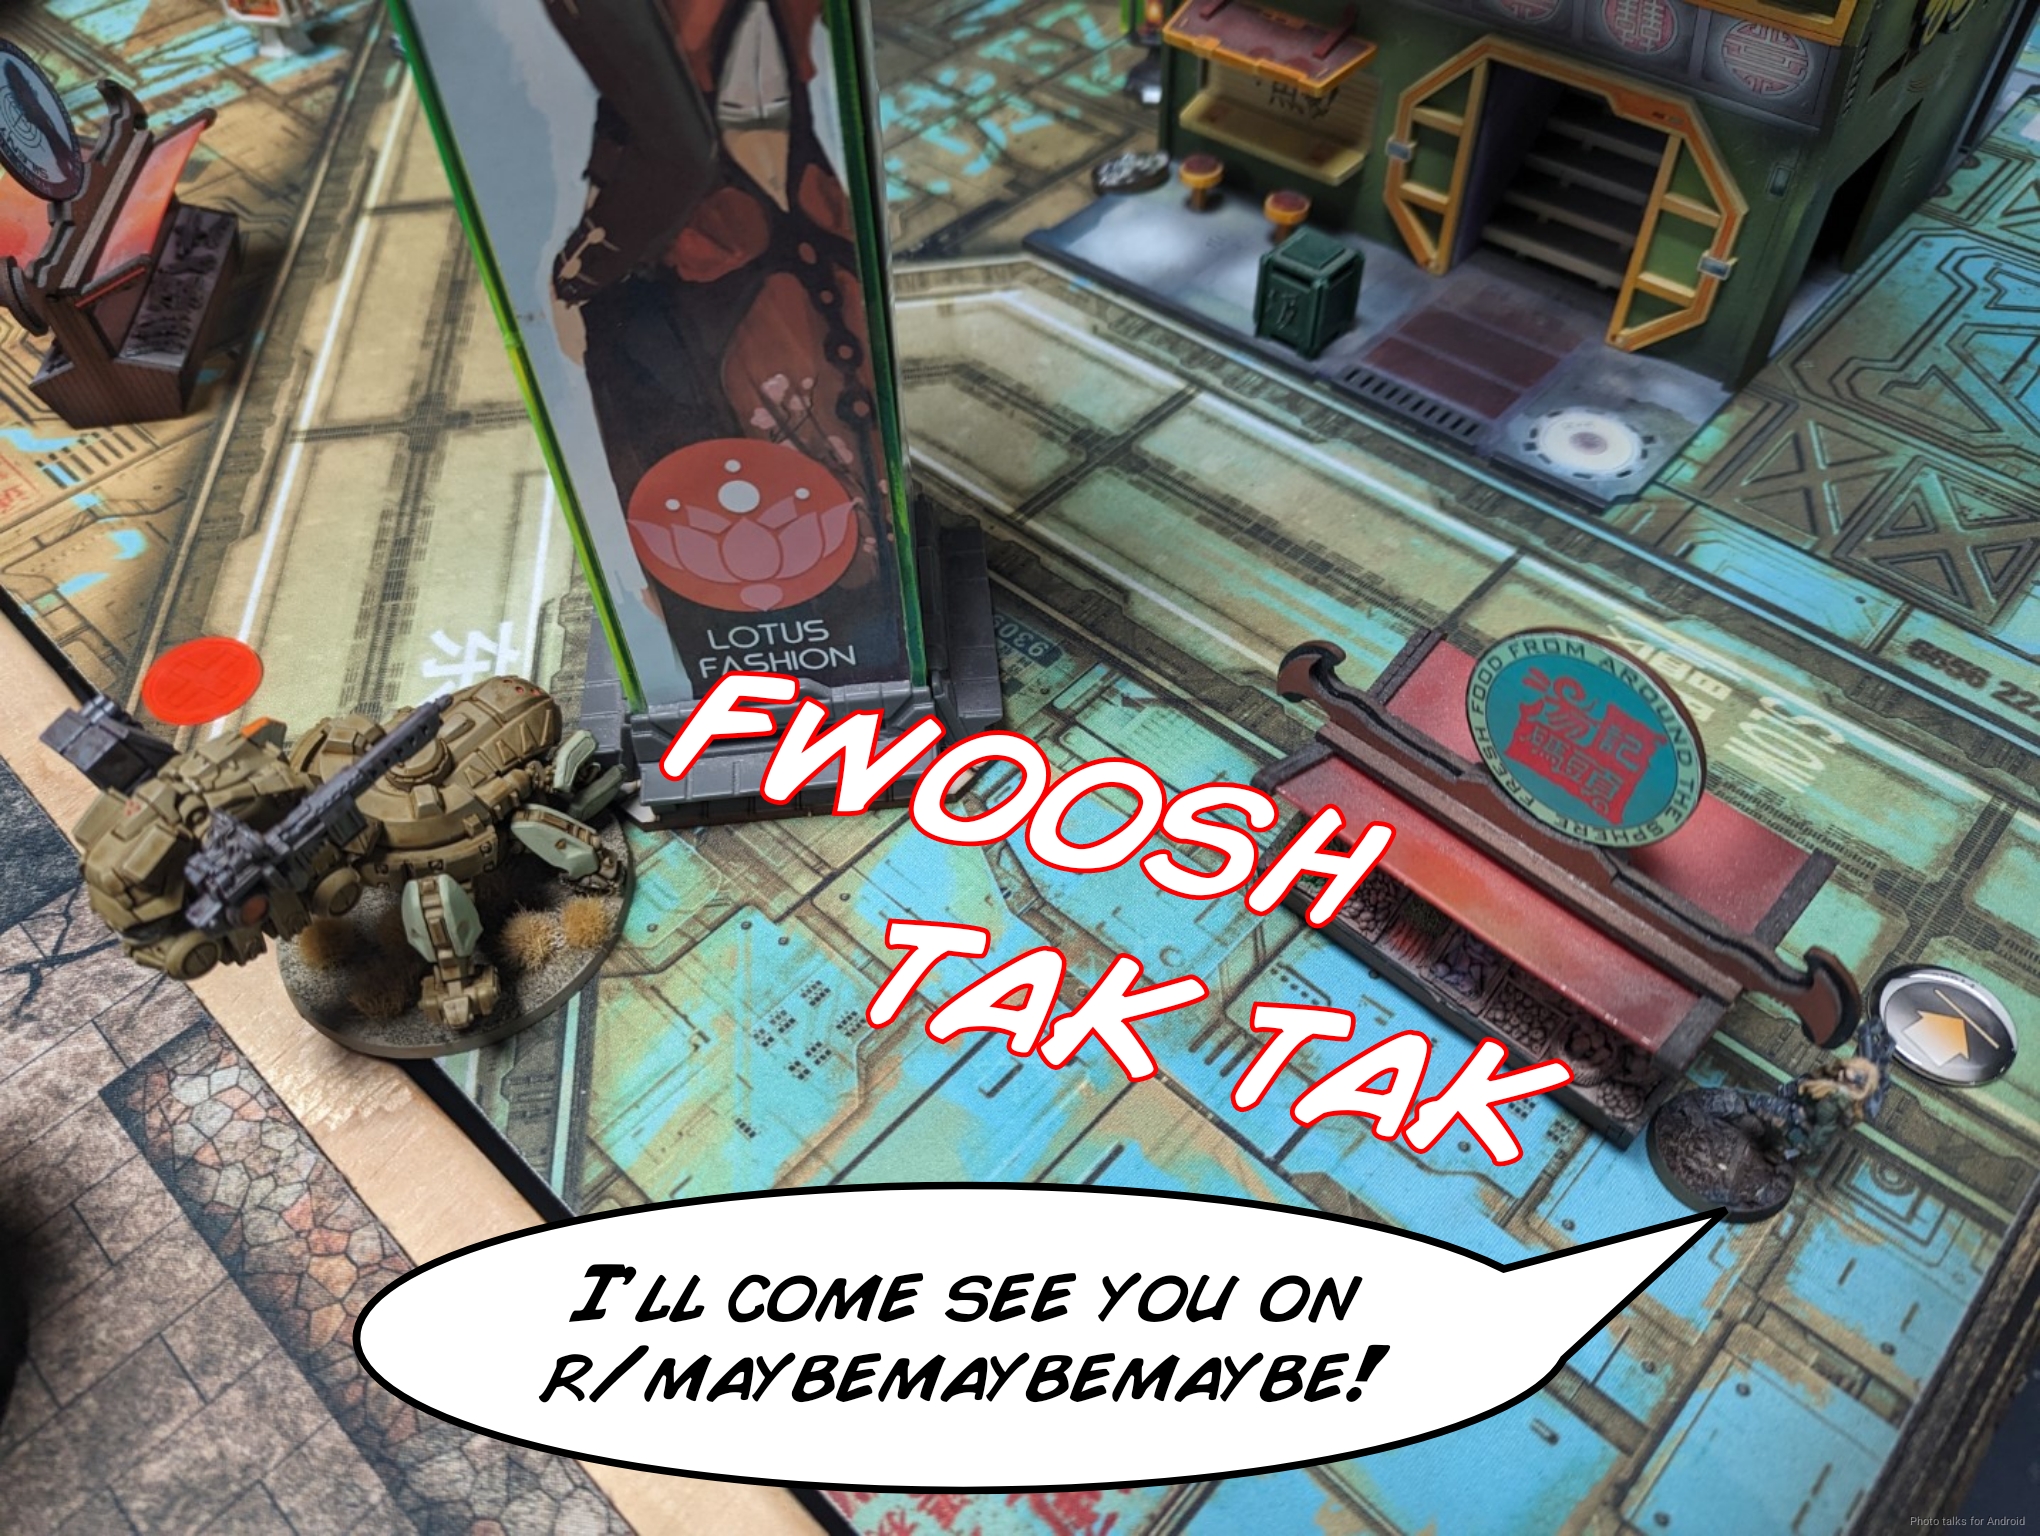
The odds aren’t great, but I make an attempt on taking out Maggie with the Fasid, and get explosive rounded off the table.
Bottom of 3 – Ramah
So I’m dumb and forget that VP are worth points in this mission. Not that it matters, because Cole is already winning on that front–what he doesn’t have, however, is the second Designated Target kill. I just throw all my remaining stuff under the bus to delay Maggie, figuring that if I can drain orders I can keep my Designated Target alive. Fortunately for me this turns out to be the right points decision as well, because if I can take out Maggie and keep some stuff alive I’ll get the points killed objective too. In any case, Maggie takes out the HRL Wu Ming easily in one burst.

Next to go is the Brawler Doctor.
Finally, as Maggie approaches the Designated Target, she’s just out of movement to see the Designated Target, who had dodged around a building earlier. I attempt to dodge my Tanko into base just for cool points, but am an inch short.
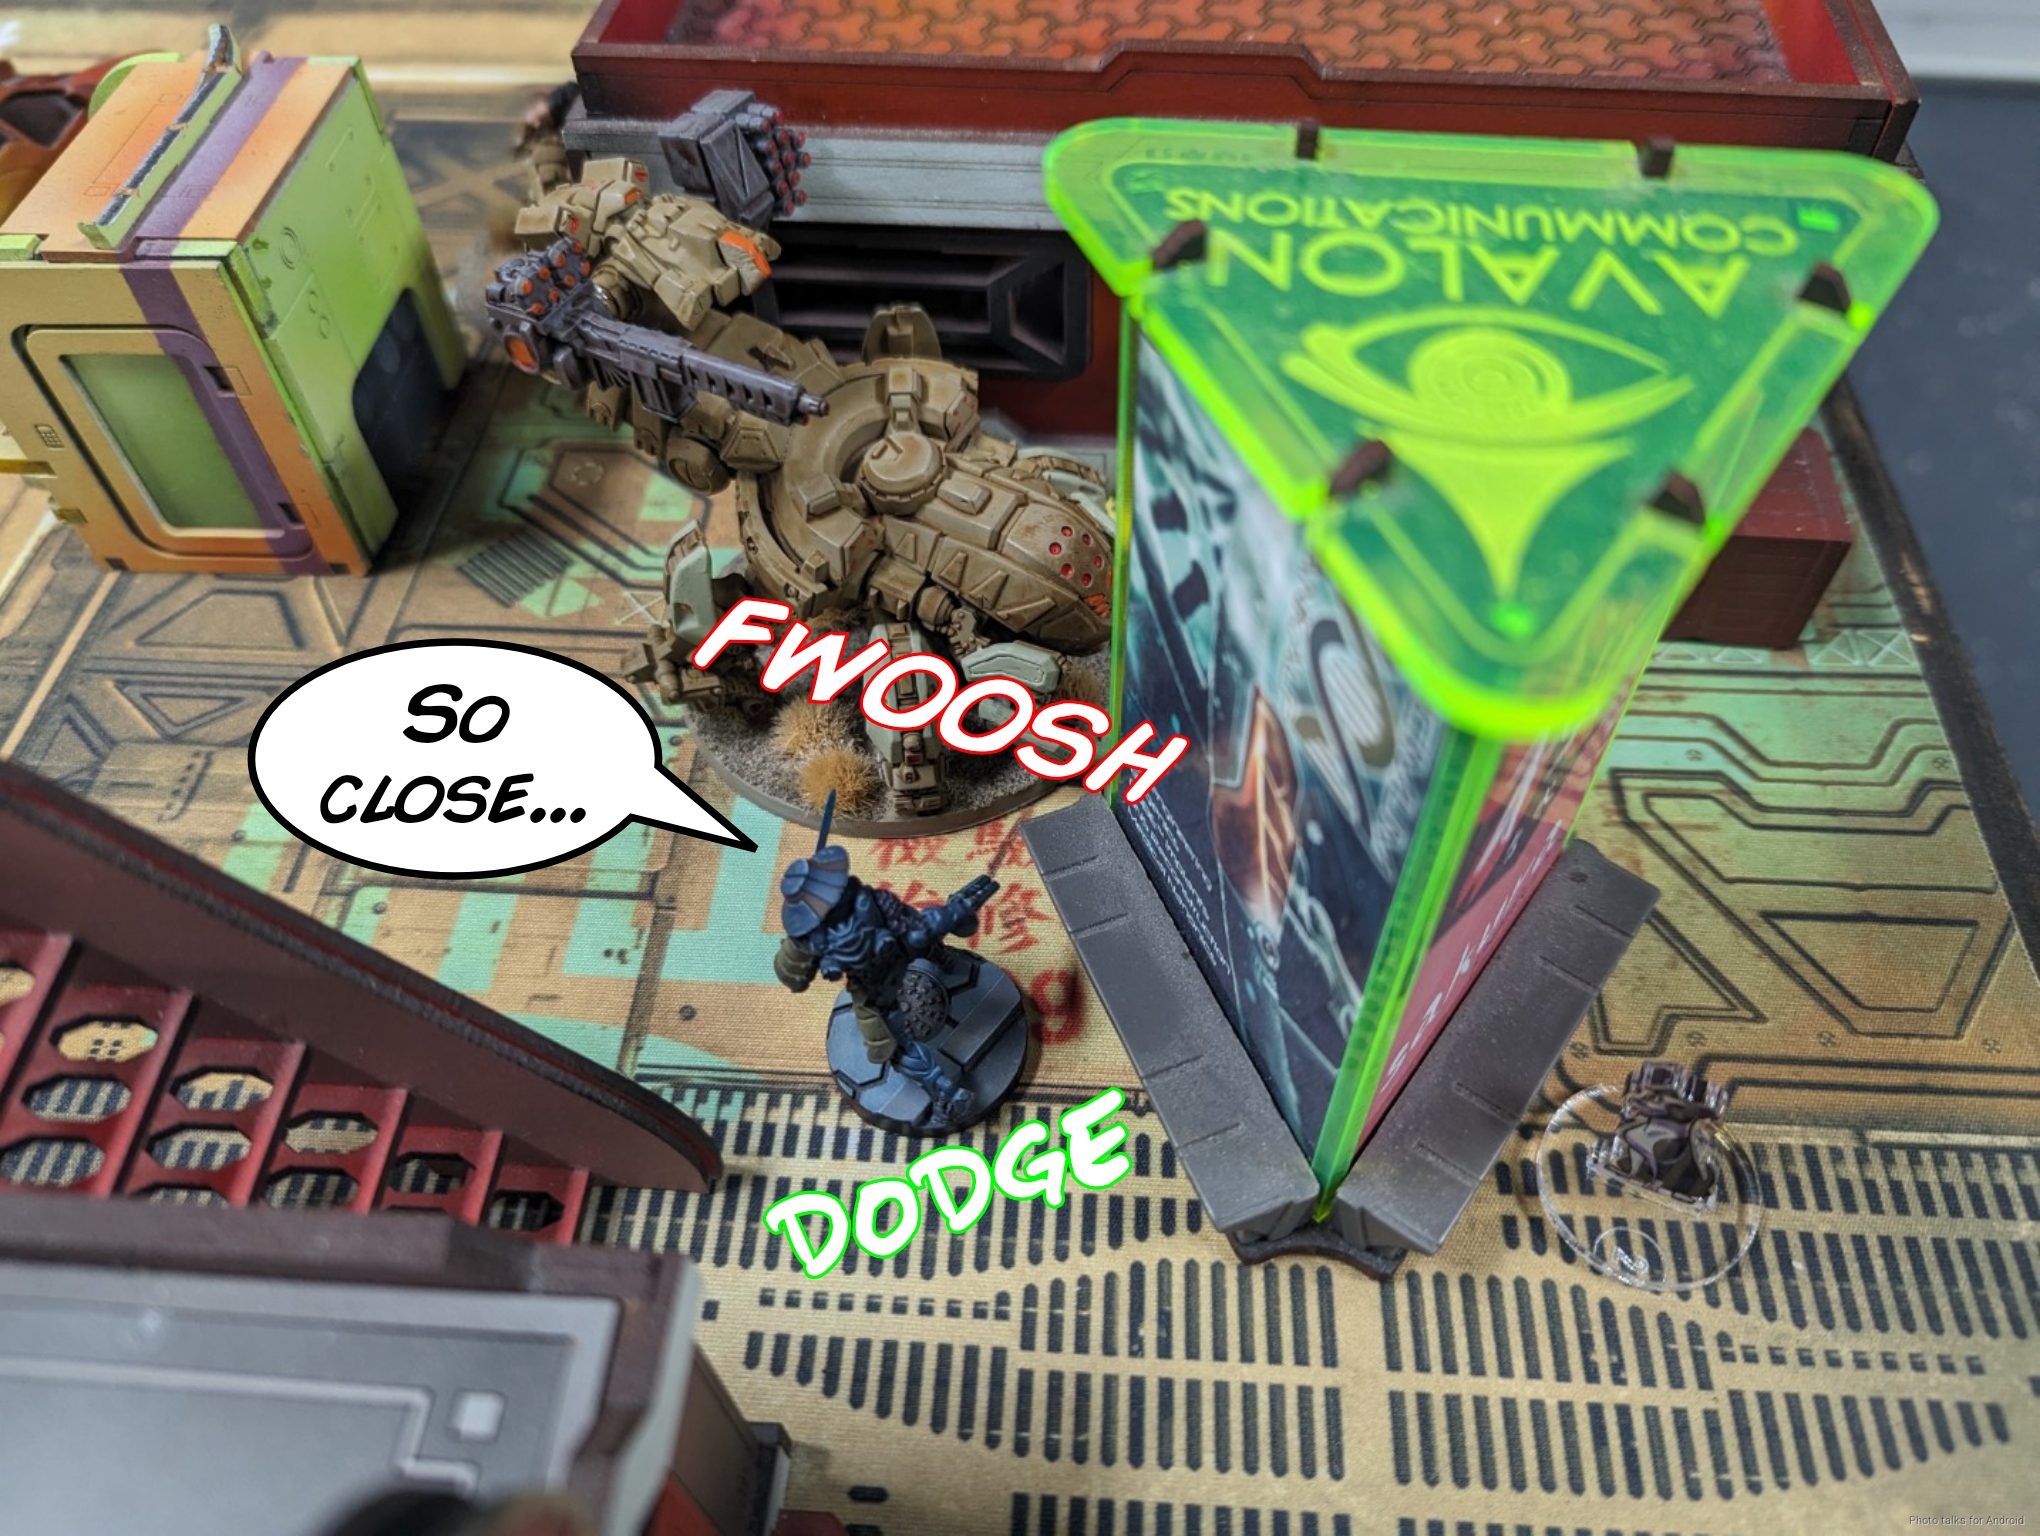
With that, it’s a
7-3, 32-112 Ikari Company Victory!
Post Game Analysis
If only that Druze KHD had been a Druze Hacker. Totally different game. I managed to make it work, just barely, by focusing very strongly on objectives and sticking to a concerted plan and leveraging all of my tools. I made some key mistakes, such as not dodging Le Muet prone against the Kum Biker. It just didn’t have enough orders to do anything, and then I could have Red Fury’ed it on the following turn.
Cole’s first group basically didn’t get a turn thanks to the Krakots and Yuan Yuan. Things went reasonably well for me, but I do question his link composition and his leaving the two rifle-armed Ghulam out to ARO the world (which included Le Muet). Both decisions seemed wildly optimistic. In contrast, Cole’s second group was quite strong, and he made good use of all his orders on Maggie.
Really goes to show you that if the only objectives are killing stuff, having a fast moving, durable attack piece works well, even if you’re low on orders. That extra 2″ of movement and the large silhouette really allow you to see lots of the of the board while also claiming cover (in most cases) so you can bully lots of stuff. I think this is where I made a big mistake with the Tanko–I needed to find a spot for a duo so they could claim cover. ARM 3 just doesn’t cut it, especially without the cover penalty to your opponent’s face to face roll.
More generally, I had placed them better, they would have been more useful. The choice of Tanko profile is also interesting. The Flammenspeer is nice because it’s basically an HRL for a bit, but I also need a real gun to advance up the board. I don’t think the Tanko profiles alone give you what you need, but I am really liking them as super-warbands. Perhaps the thing to do would be to take them with a ABH with a SWC gun, since ABH are wildcards.
I really liked the Krakot + Kendrat duo. I’ve run that a few times in the past, and it’s always been fun.
This time that duo also won me the game, so I’ll take it. As far as my second group goes, I really did like my chain rifle delivery system. I think I’ll use it again in other contexts. You basically get one chain rifle hit a turn and can potentially do it three turns in a row, which seems good. It would be worth fitting in another order in there. I don’t think the Wu Ming is what I necessarily want in this context. They want more of a link to take advantage of the beef.
I might try something like this in the future…
L GROUP 1
GROUP 2
FUGAZI DRONBOT Flash Pulse / PARA CC Weapon(-3). (0 | 7)
6 SWC | 300 Points | Open in Army | Copy Code
or if I need more specialists:
GROUP 1
GROUP 2
TOKUSETSU EISEI (Doctor) Combi Rifle ( | MediKit) / Pistol, CC Weapon. (0 | 14)
YÁOZĂO PARA CC Weapon(-3). (0 | 3)
NINJA (Hacker, Hacking Device) Submachine Gun ( ) / Pistol, AP CC Weapon. (0.5 | 35)
DESPERADO Chain Rifle, Smoke Grenades / Assault Pistol(+1B), Shock CC Weapon. (0 | 7)
6 SWC | 299 Points | Open in Army | Copy Code
Thanks to Cole for a great game, and for patiently suffering through waiting for me to play Birman at the same time. Thanks for reading!

Pingback: Picking Up the Pieces – MERC Recon