You’ve Activated My Trap Card
The day had finally arrived! The Salem Shitshow 2 started, and my first opponent was none other than Adam (TheDiceAbide)! Originally, Adam was going to be unable to attend because of some (what he thought were mandatory) professional commitments.
Much to his chagrin, those professional commitments were actually optional, so Adam set about gaslighting Jeff over at Shiv Games that Adam was always supposed to have been attending. This caused some confusion and consternation on the part of Jeff, so he paired Adam with me first round of Shitshow as “punishment.” Jeff’s words, not mine.
We’re playing on this blue and grey table, which is quite open and requires a careful approach.
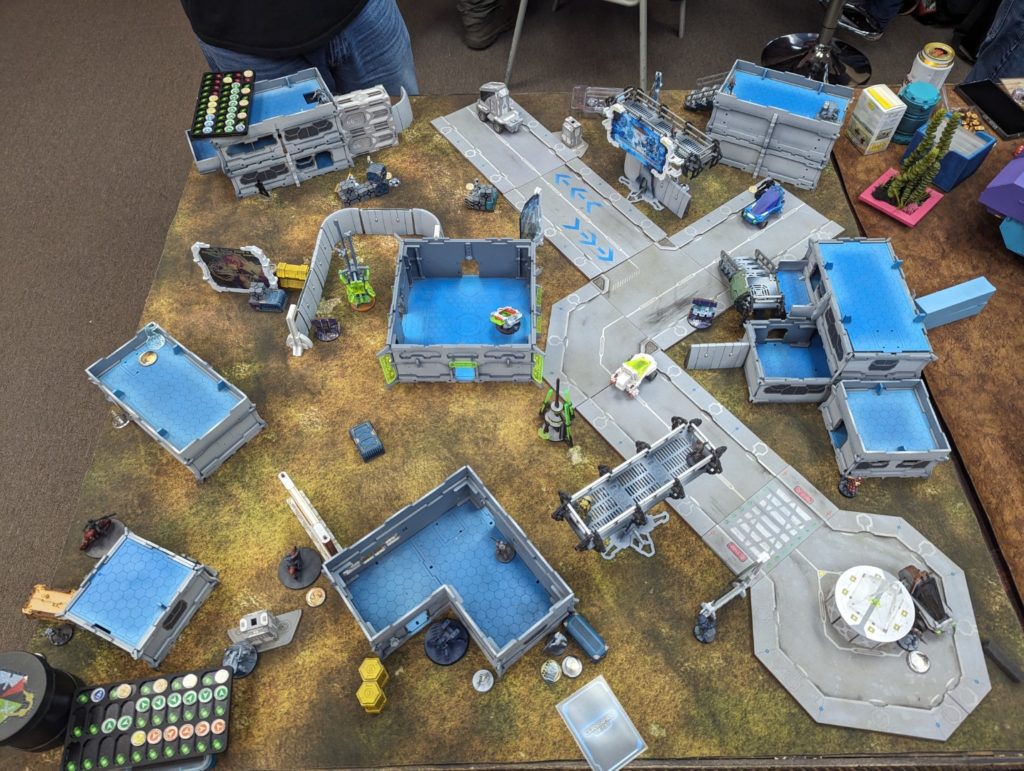
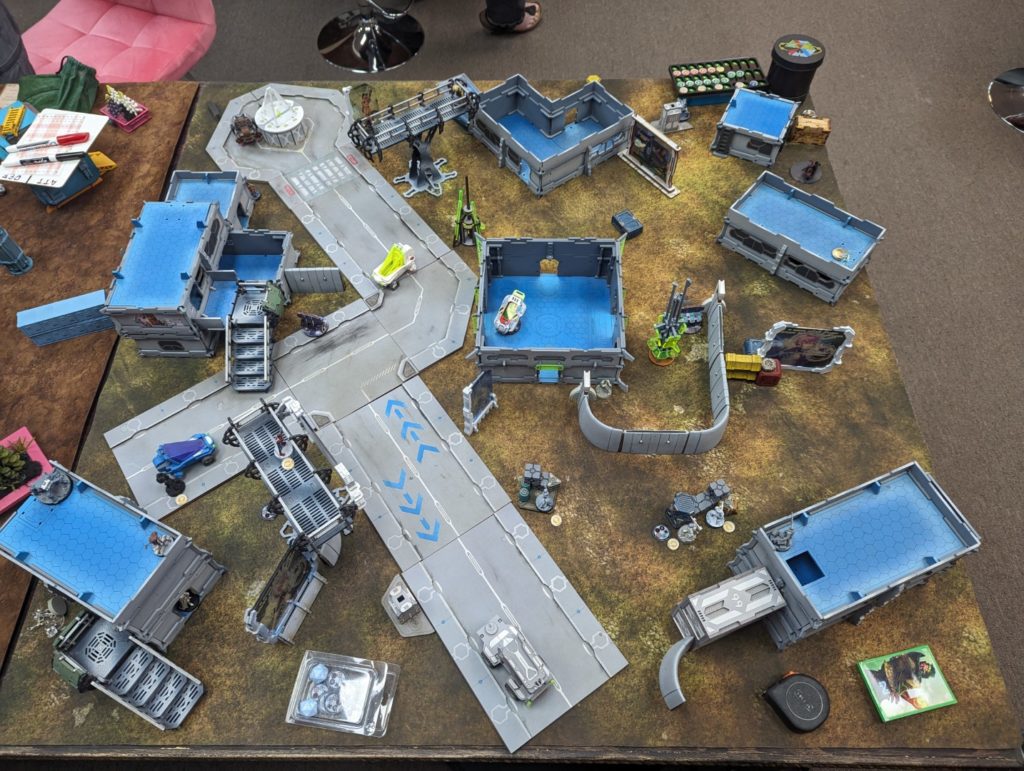
- Mission: ITS15 B-Pong
- Forces: Japanese Secessionist Army versus Ikari Company (300)
- Deploy First: JSA
- First Turn: JSA
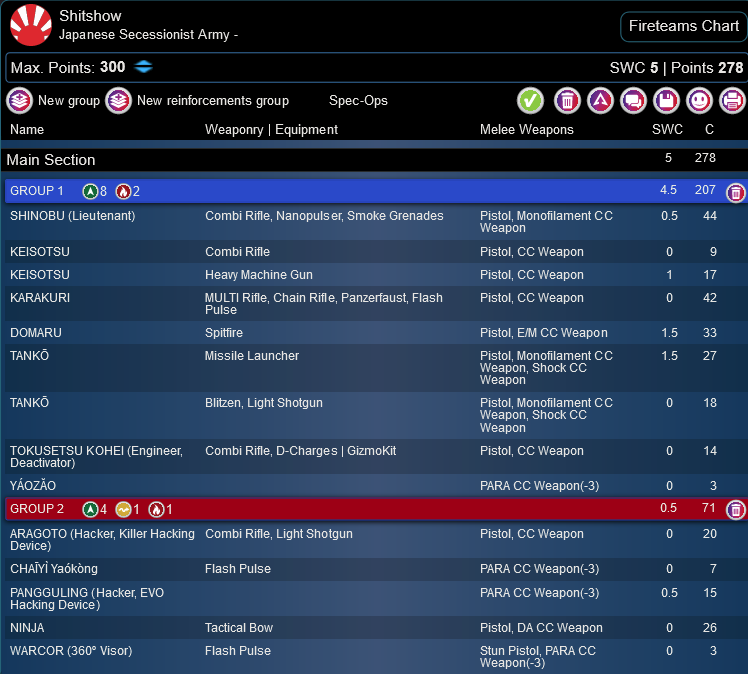
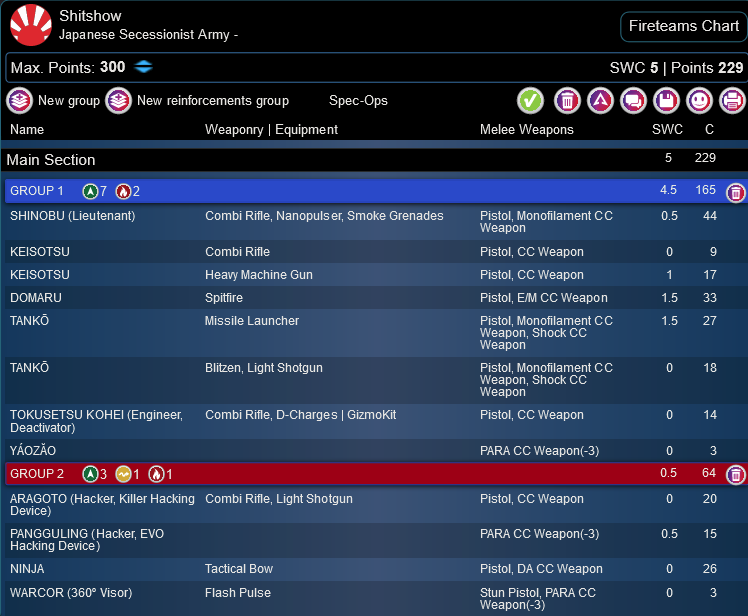
The first mission for Shitshow was B-Pong, so we had at it with our JSA and Ikari lists. Since this is the first we’re seeing the JSA list let’s talk about it a little. Shinobu lieutenant without Chain of Command is a… choice. A solo Karakuri is quite usable, especially with a MULTI rifle, and the Keisotsu HMG is actually surprisingly useful. I’ve got a pretty monstrous Haris too with a Domaru and two Tanko. I’m breaking the duos only rule here, because when you get a haris-able Tanko ML you haris it.
Shitshow
GROUP 1

8
2
SHINOBU (Lieutenant) Combi Rifle, Nanopulser, Smoke Grenades / Pistol, Monofilament CC Weapon. (0.5 | 44)
KEISOTSU Combi Rifle / Pistol, CC Weapon. (0 | 9)
KEISOTSU Heavy Machine Gun / Pistol, CC Weapon. (1 | 17)
KARAKURI MULTI Rifle, Chain Rifle, Panzerfaust, Flash Pulse / Pistol, CC Weapon. (0 | 42)
DOMARU Spitfire / Pistol, E/M CC Weapon. (1.5 | 33)
TANKŌ Missile Launcher / Pistol, Monofilament CC Weapon, Shock CC Weapon. (1.5 | 27)
TANKŌ Blitzen, Light Shotgun / Pistol, Monofilament CC Weapon, Shock CC Weapon. (0 | 18)
GROUP 2
TOKUSETSU KOHEI (Engineer, Deactivator) Combi Rifle, D-Charges ( | GizmoKit) / Pistol, CC Weapon. (0 | 14)
YÁOZĂO PARA CC Weapon(-3). (0 | 3)


5
1
2
ARAGOTO Spitfire / Pistol, CC Weapon. (1 | 21)
ARAGOTO (Hacker, Killer Hacking Device) Combi Rifle, Light Shotgun ( ) / Pistol, CC Weapon. (0 | 20)
CHAĪYÌ Yaókòng Flash Pulse / PARA CC Weapon(-3). (0 | 7)
PANGGULING (Hacker, EVO Hacking Device) ( ) / PARA CC Weapon(-3). (0.5 | 15)
NINJA Tactical Bow / Pistol, DA CC Weapon. (0 | 26)
WARCOR (360º Visor) Flash Pulse ( ) / Stun Pistol, PARA CC Weapon(-3). (0 | 3)
6 SWC | 299 Points | Open in Army | Copy Code
The rest of the list is pretty usable, an Aragoto Duo and Ninja are great, even though the Ninja is just a plain tacbow. It’s almost a real list–definitely need some tweaks but I’d run something very close to this.
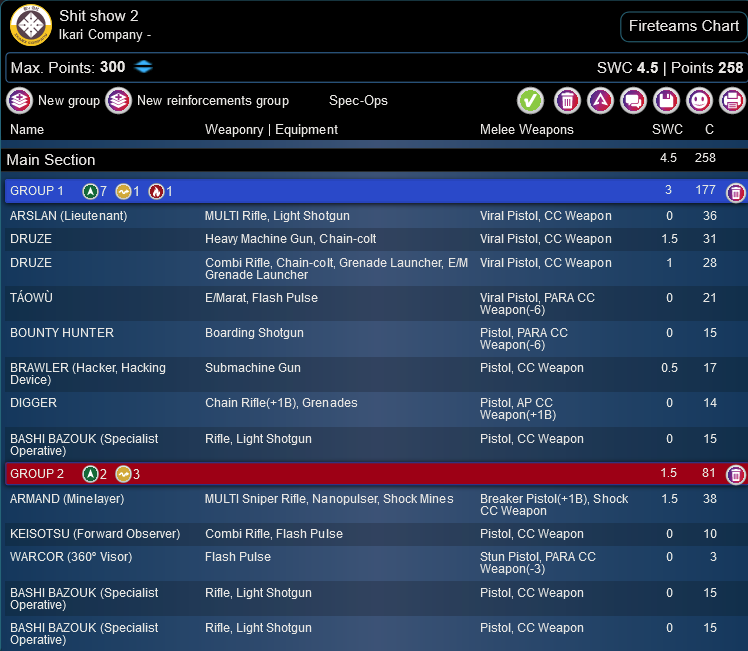
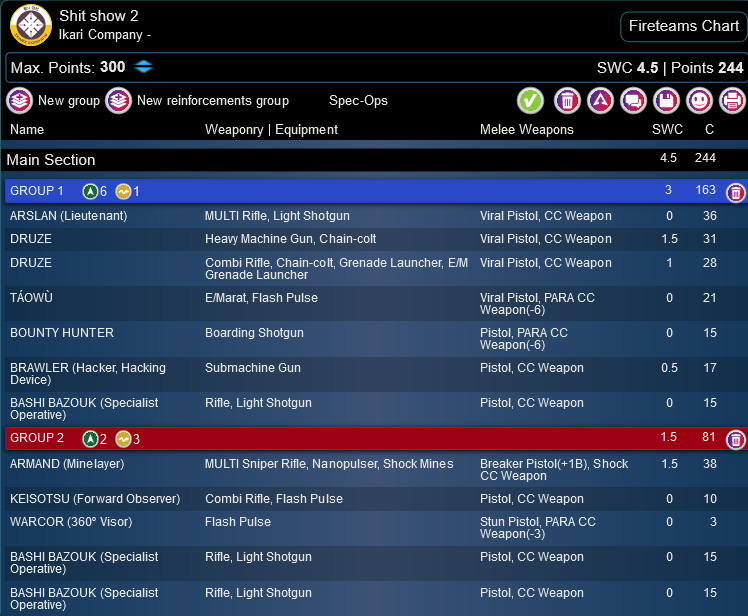
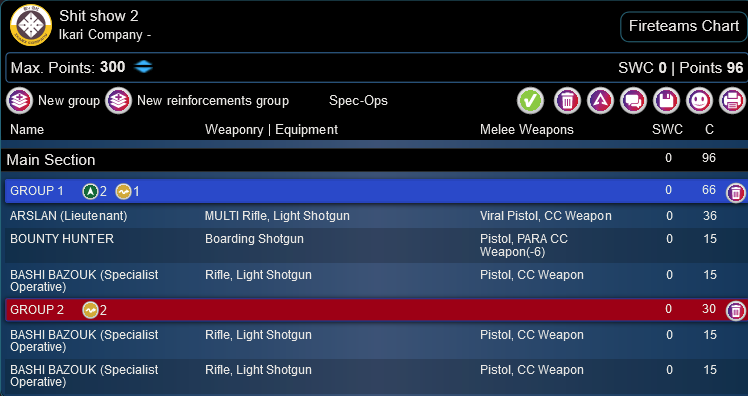
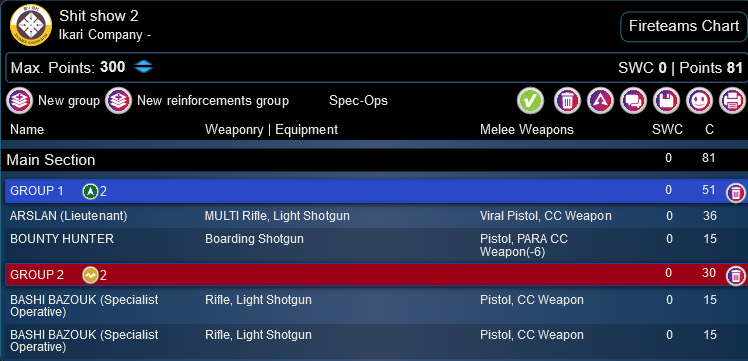
Adam rolled this ridiculous Ikari list with triple Bashi. There’s a bunch of linkable stuff in group 1, which is great, but it would be better in Druze instead of Ikari in terms of link flexibility. The Armand unfortunately isn’t the “right” one, but the Minelayer is actually pretty relevant here against Shinobu. He’s also got the same Ninja I got, which will be relevant… spoilers!
Shit show 2
GROUP 1

8
1
1
GROUP 2
ARSLAN (Lieutenant) MULTI Rifle, Light Shotgun / Viral Pistol, CC Weapon. (0 | 36)
DRUZE Heavy Machine Gun, Chain-colt / Viral Pistol, CC Weapon. (1.5 | 31)
DRUZE Combi Rifle, Chain-colt, Grenade Launcher, E/M Grenade Launcher / Viral Pistol, CC Weapon. (1 | 28)
TÁOWÙ E/Marat, Flash Pulse / Viral Pistol, PARA CC Weapon(-6). (0 | 21)
CLIPPER DRONBOT Missile Launcher / PARA CC Weapon(-3). (1.5 | 16)
BOUNTY HUNTER Boarding Shotgun / Pistol, PARA CC Weapon(-6). (0 | 15)
BRAWLER (Hacker, Hacking Device) Submachine Gun ( ) / Pistol, CC Weapon. (0.5 | 17)
DIGGER Chain Rifle(+1B), Grenades / Pistol, AP CC Weapon(+1B). (0 | 14)
BASHI BAZOUK (Specialist Operative) Rifle, Light Shotgun / Pistol, CC Weapon. (0 | 15)


3
3
ARMAND (Minelayer) MULTI Sniper Rifle, Nanopulser, Shock Mines / Breaker Pistol(+1B), Shock CC Weapon. (1.5 | 38)
KEISOTSU (Forward Observer) Combi Rifle, Flash Pulse / Pistol, CC Weapon. (0 | 10)
NINJA Tactical Bow / Pistol, DA CC Weapon. (0 | 26)
WARCOR (360º Visor) Flash Pulse ( ) / Stun Pistol, PARA CC Weapon(-3). (0 | 3)
BASHI BAZOUK (Specialist Operative) Rifle, Light Shotgun / Pistol, CC Weapon. (0 | 15)
BASHI BAZOUK (Specialist Operative) Rifle, Light Shotgun / Pistol, CC Weapon. (0 | 15)
6 SWC | 300 Points | Open in Army | Copy Code
Deployment
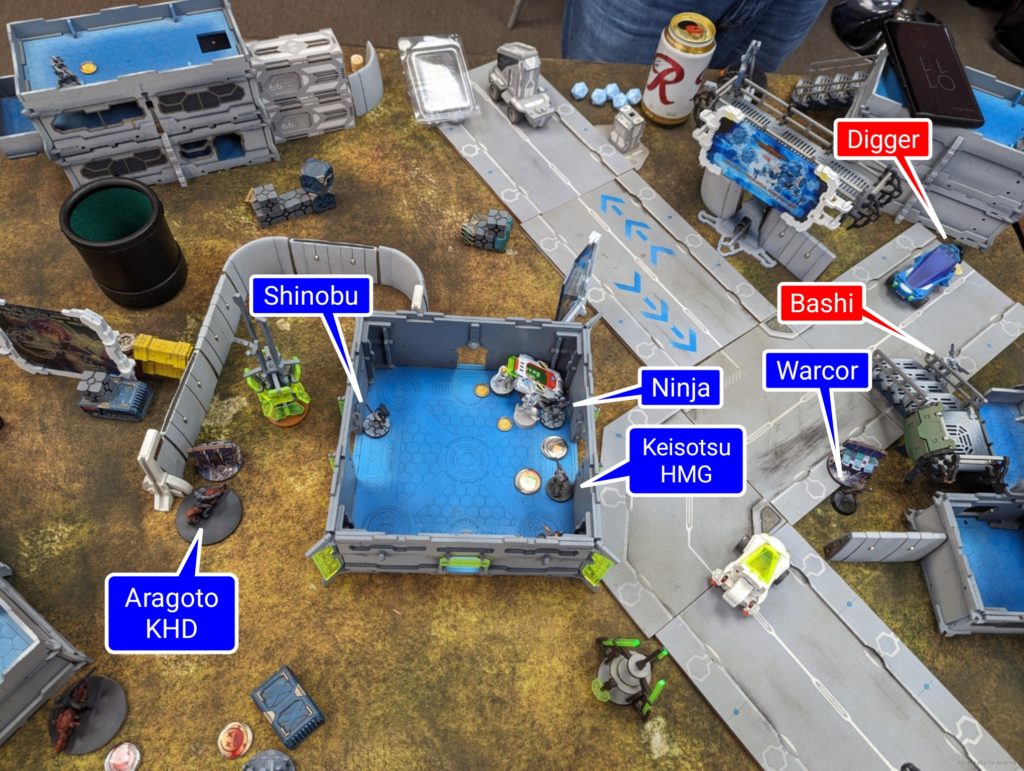
Adam took deployment to force me to take first turn, so I obliged. This was going to extra difficult for B-Pong, since the mission tends to favor the second turn, but I figured it would be better than trying to survive whatever Ikari could throw at me in an alpha. The armory really chopped the table up, which helps, but that meant I could lock down the very open right side with the Tanko ML and the Warcor. I put the bikes on the left to take advantage of the relatively closed approach which would favor their speed. I stuck the Keisotsu HMG in the central building in my DZ to be a backup gun in the center of the table–similar plan with the Domaru. The rest of the stuff was just sort of around. I held both Shinobu and the Karakuri in reserve.
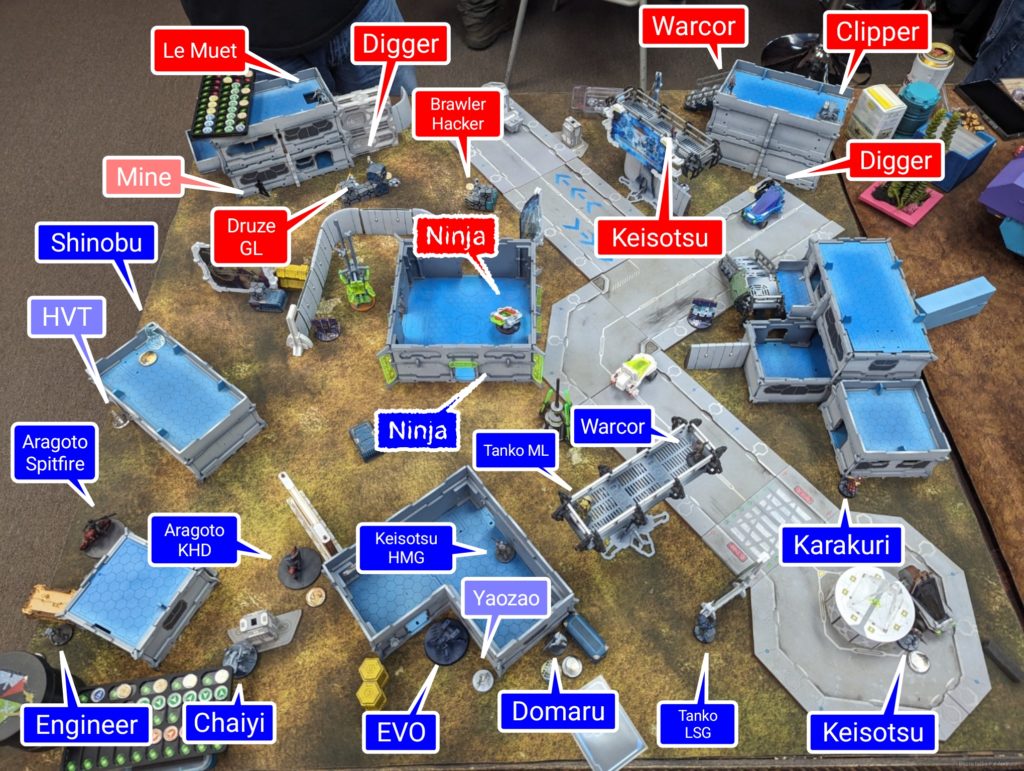
Adam copied my “missile ARO the whole world” plan with the Clipper watching the same part of the table as the Tanko ML. He put all the linkable stuff on that side, along with the Druze HMG to punch out of that region, and then stuck another link on the right with the Brawler Hacker, Digger, and Druze.
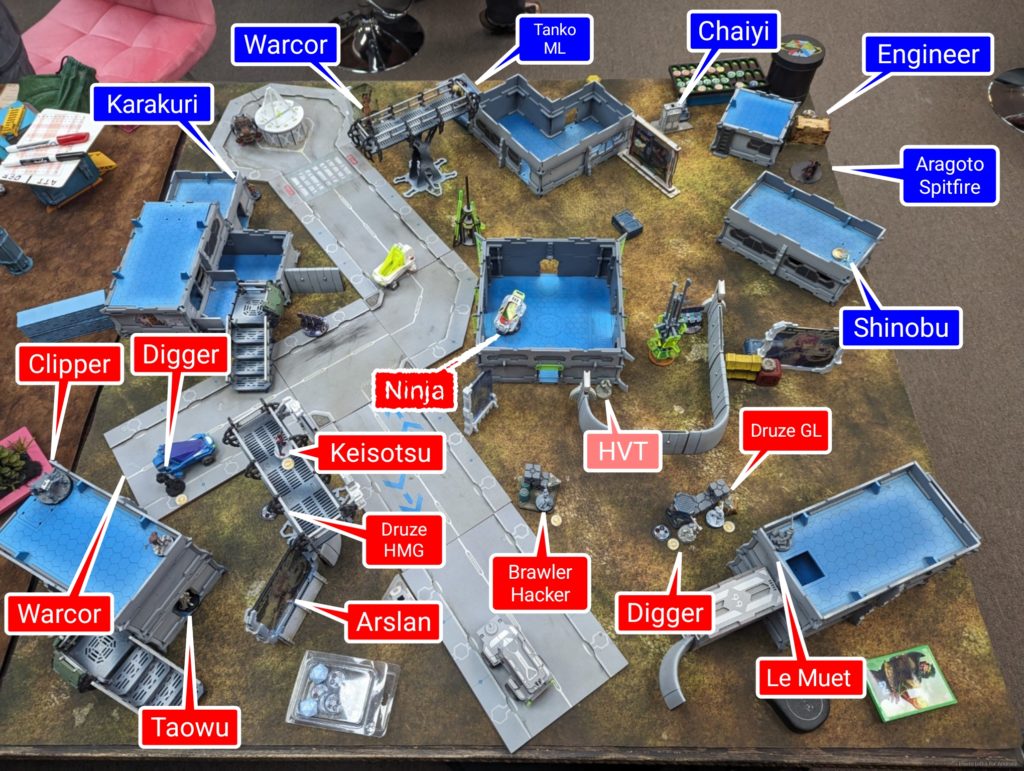
I put Shinobu down on my far left on a building, then put the Karakuri in a position to fight the Clipper. Le Muet came down on the roof near Shinobu, and most importantly, put his mine to protect all his stuff from Shinobu climbing around. Le Muet was also watching my bikes, which was not great.
Turn 1
Top of 1 – JSA
Adam took two orders from my first pool and then we were off to the races. I start by making a hole on the right side of the map by throwing the Karakuri at the Clipper. We’re inside 24″ but outside 16″ by the time I see the Clipper, so the odds are kinda bad for both of us. The good news is I can try multiple times because of Total Immunity and 3 structure.
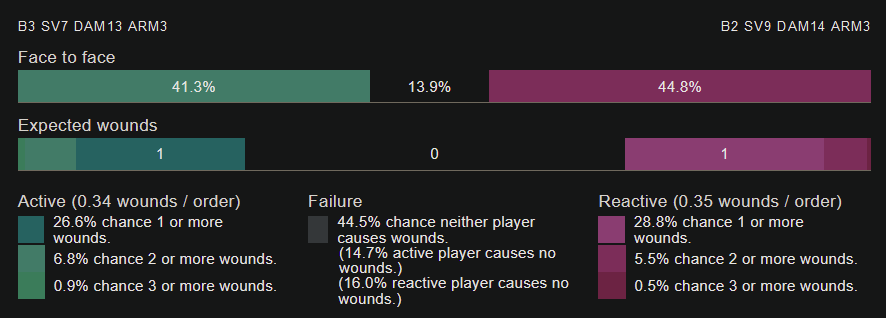
It takes two tries and a structure, but the Clipper drops. I try my luck against the Digger that’s there, but just force it into total cover.
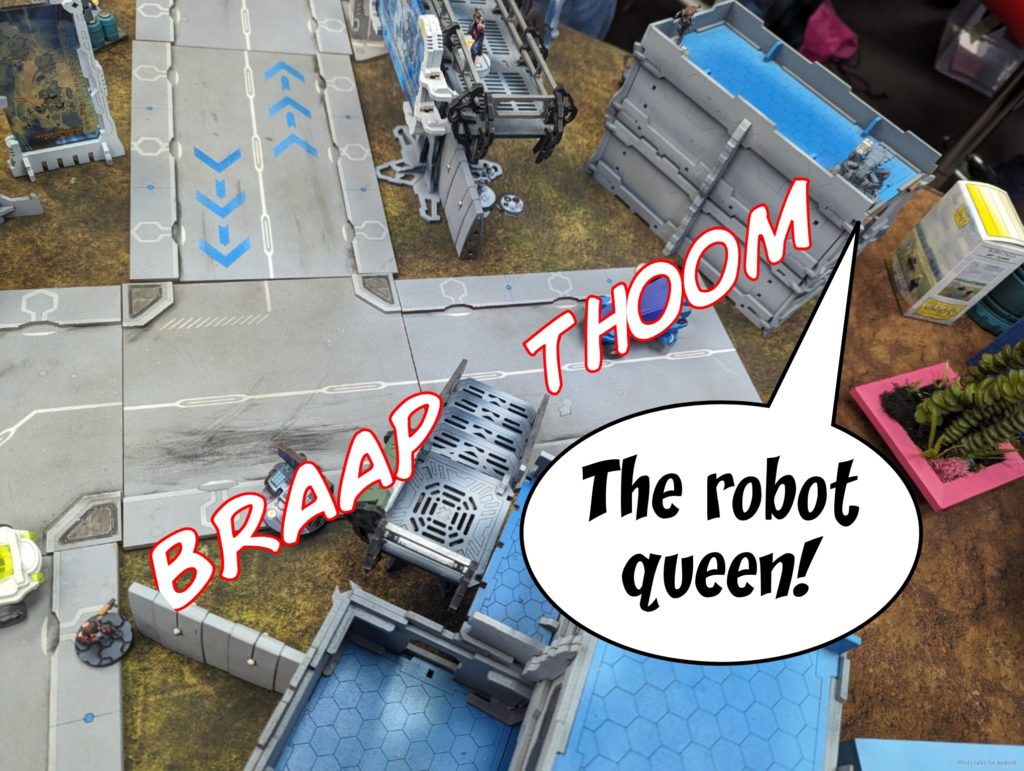
Next up–Le Muet. I have to break the bike link, but that’s okay. Not great odds again, but I manage to do a single wound to Le Muet pretty quickly.
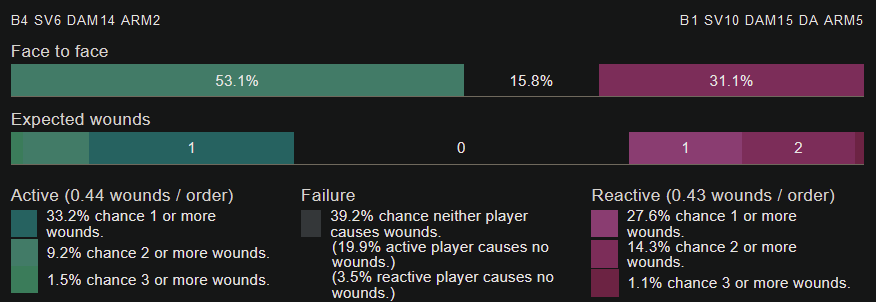
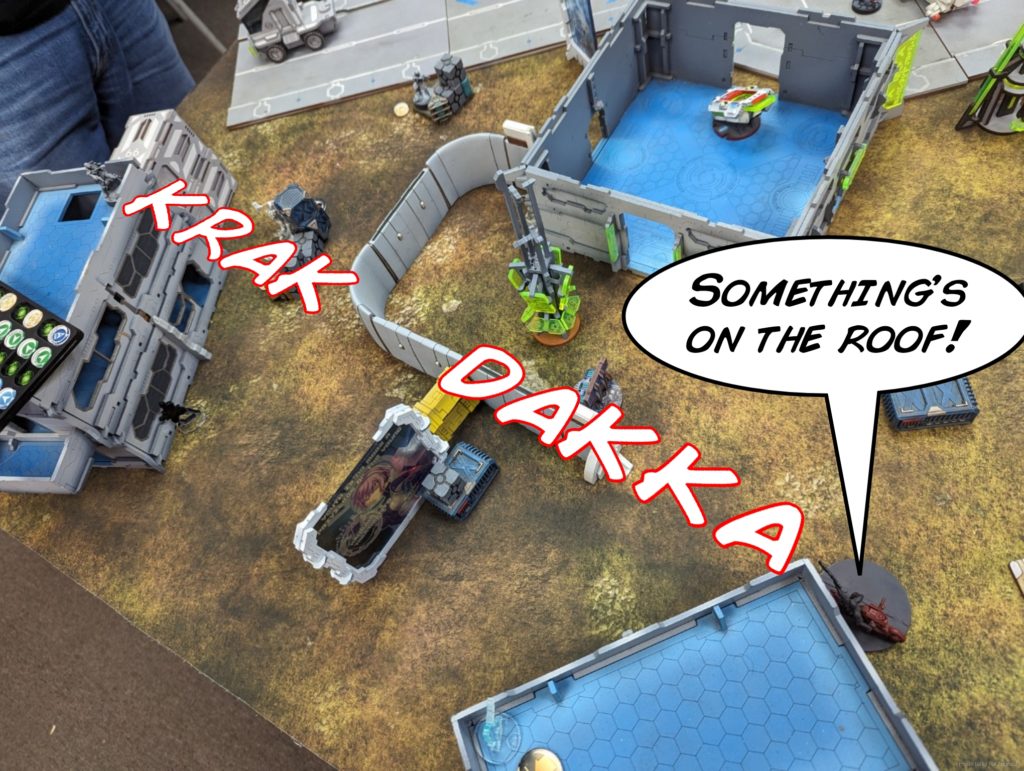
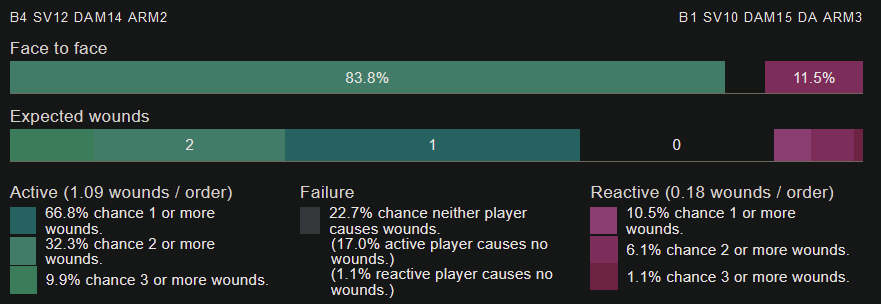
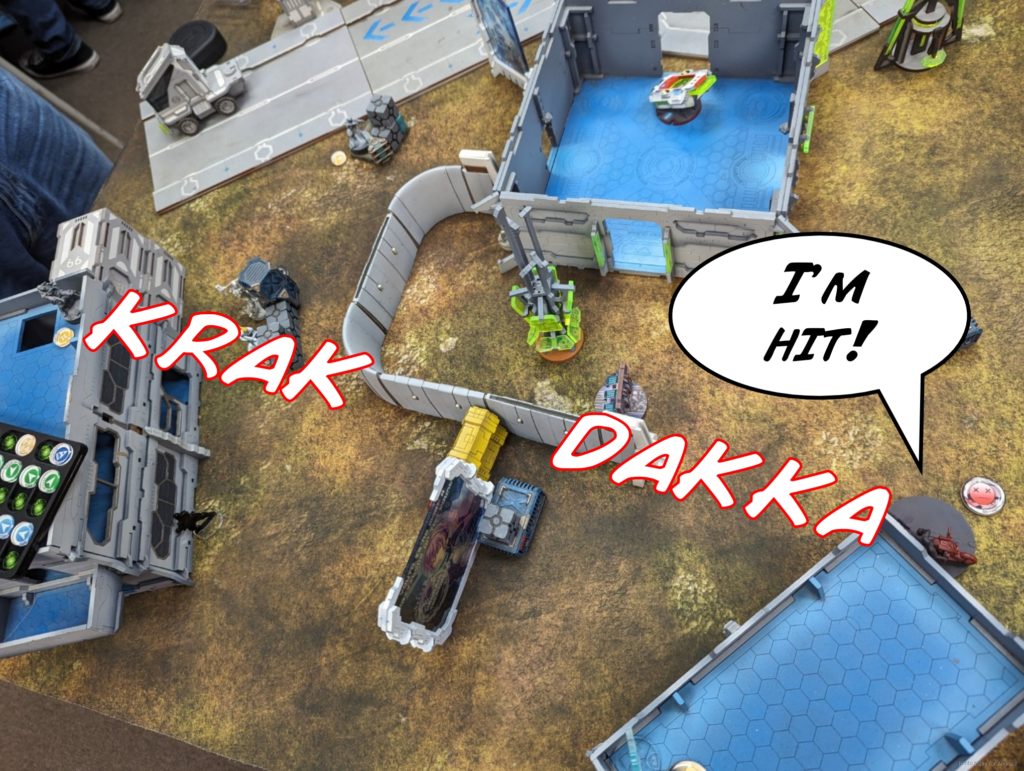
Sadly, even though Le Muet gets significantly worse after he takes his first wound, I lose the Aragoto Spitfire on the next order:
Le Muet really needs to go away, so I take a big risk and pop Shinobu up from prone and surprise shot him at just outside 16″.
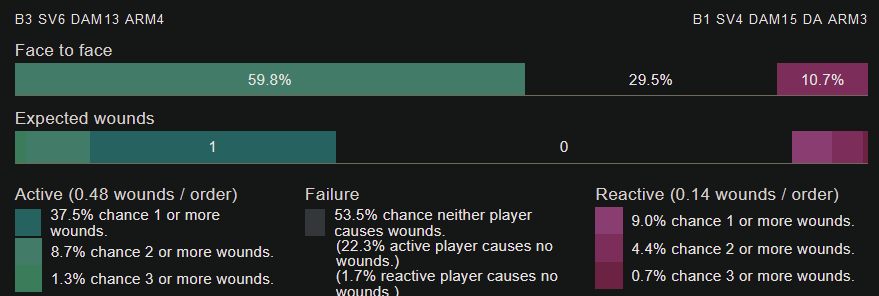
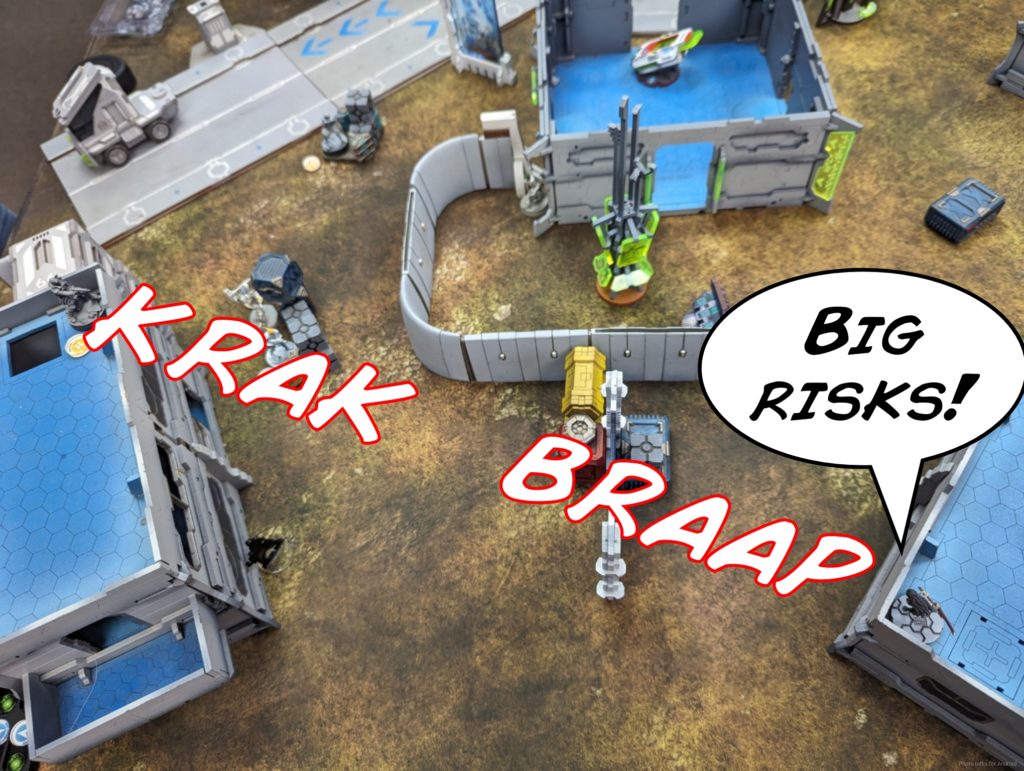
This does manage to force Le Muet prone though, which lets me get the Karakuri into the armory to deal with the Beacon. As I long-skill punt the Beacon 4″, Adam reveals his tacbow Ninja and dodges into CC.
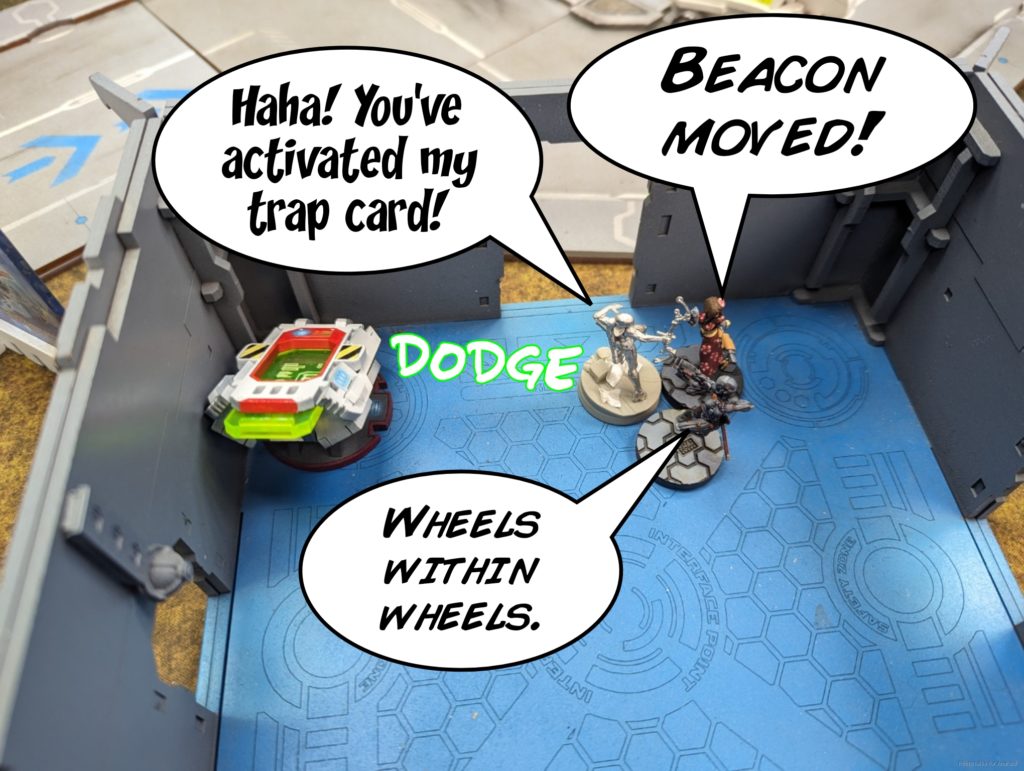
I then reveal my own tacbow Ninja and surprise attack him! Burst 2 and the surprise make a huge difference:
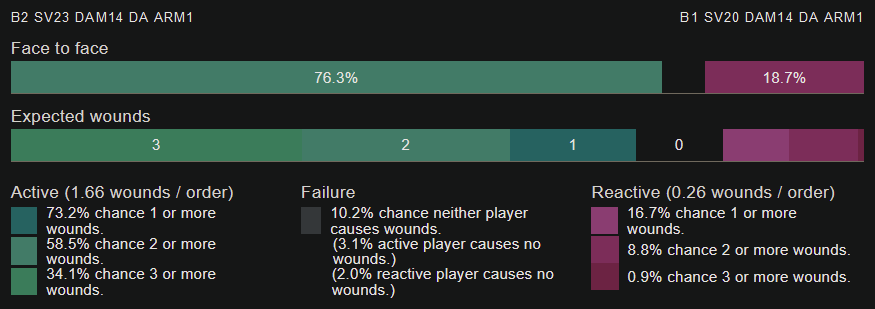
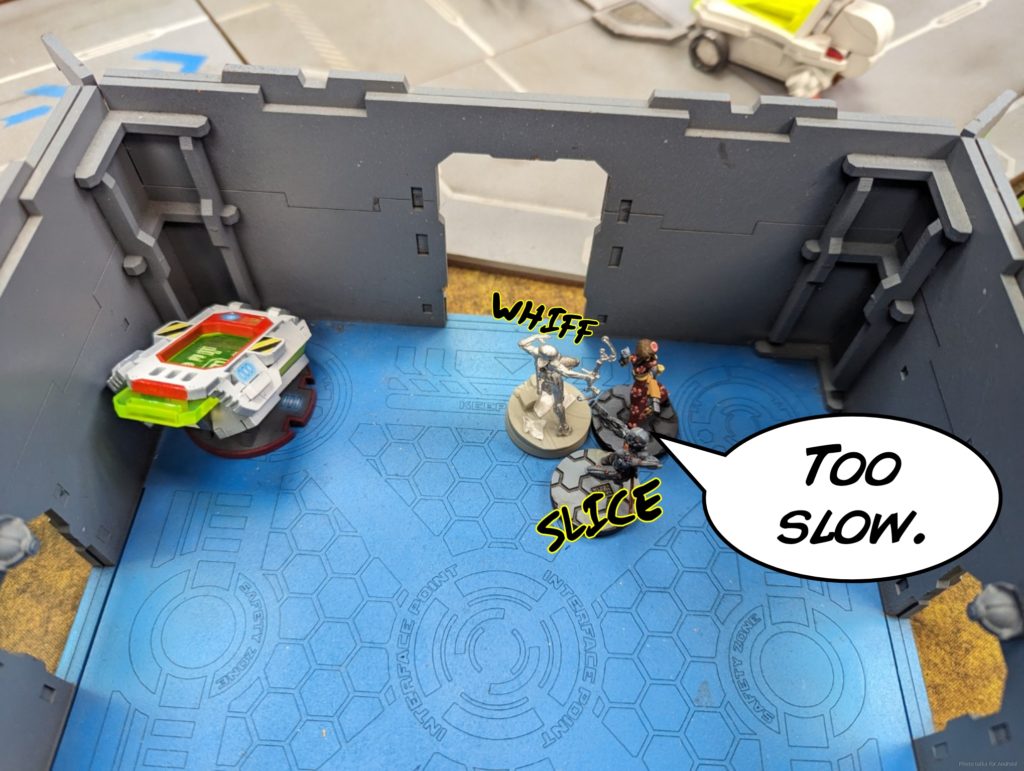
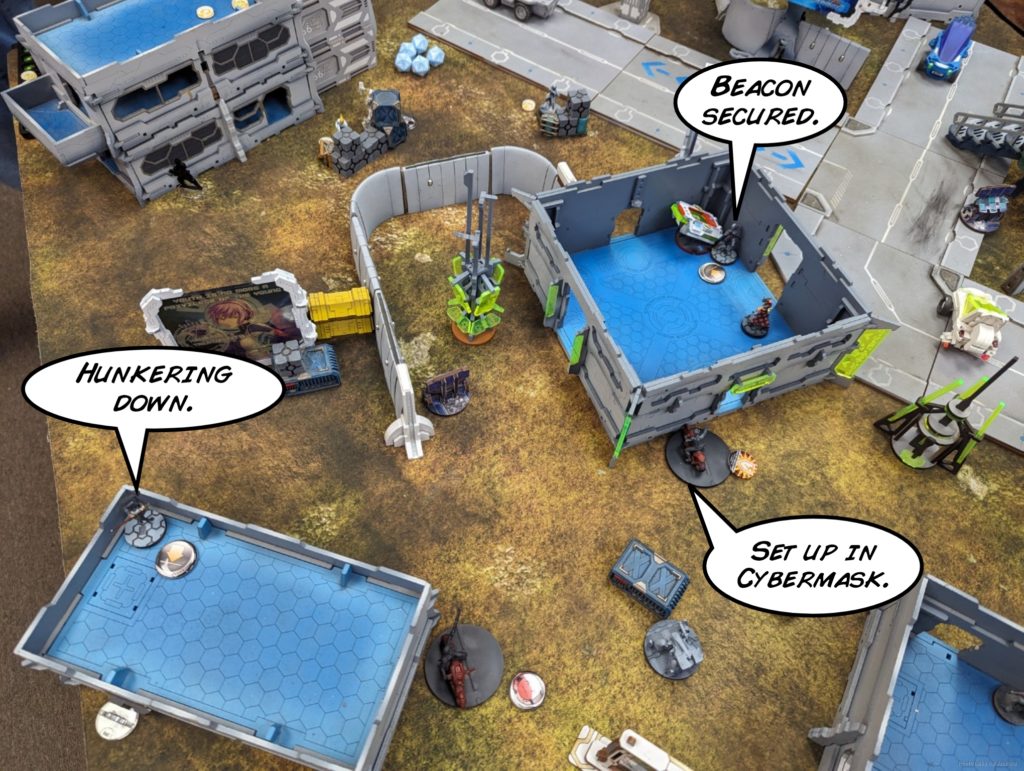
I coordinate Shinobu prone, the Ninja into base contact with the Beacon on Adam’s table half, and move the Aragoto KHD up. I finish the turn by throwing the Aragoto into Cybermask. I figure with the KHD there, it will at least discourage the Brawler hacker from walking into the room and messing with the Karakuri.
Bottom of 1 – Ikari
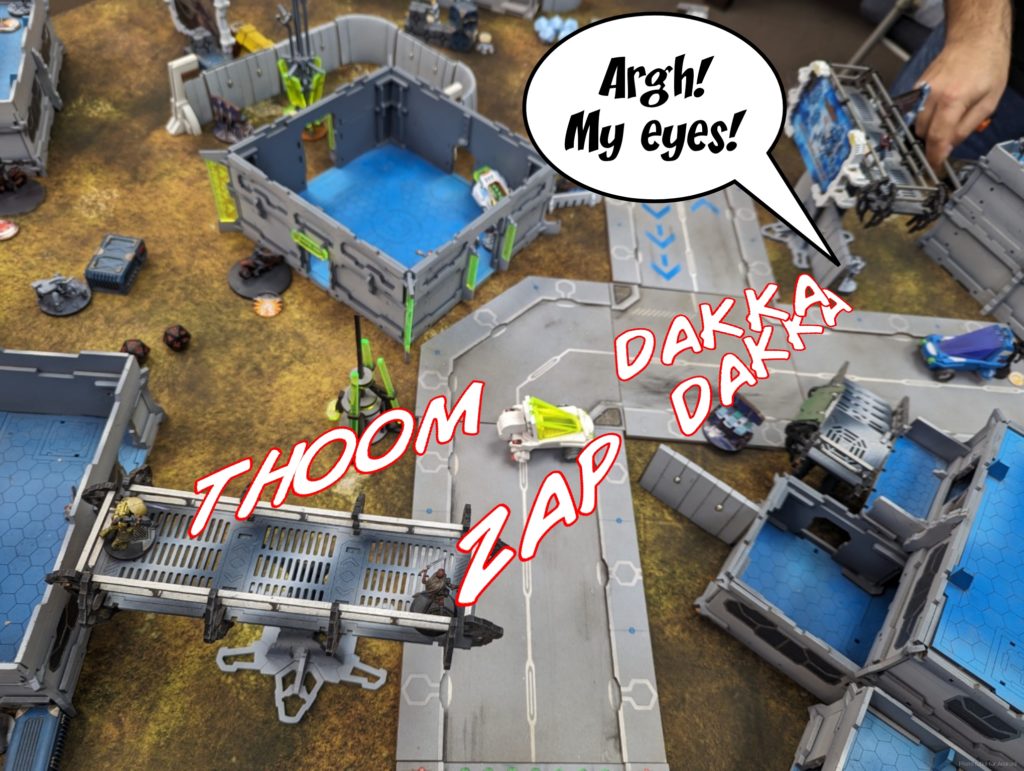
Adam wants to open up the table just like I did by dropping the Clipper. He doesn’t have a Karakuri, so his option is a linked Druze HMG versus the Tanko. He splits burst between the Tanko ML and the Warcor. The Druze wins the fight against the Tanko but the bullets bounce off the Tanko’s armor. Most importantly–the Warcor wins the face to face and successfully stuns the Druze HMG, closing this line of play for the turn.
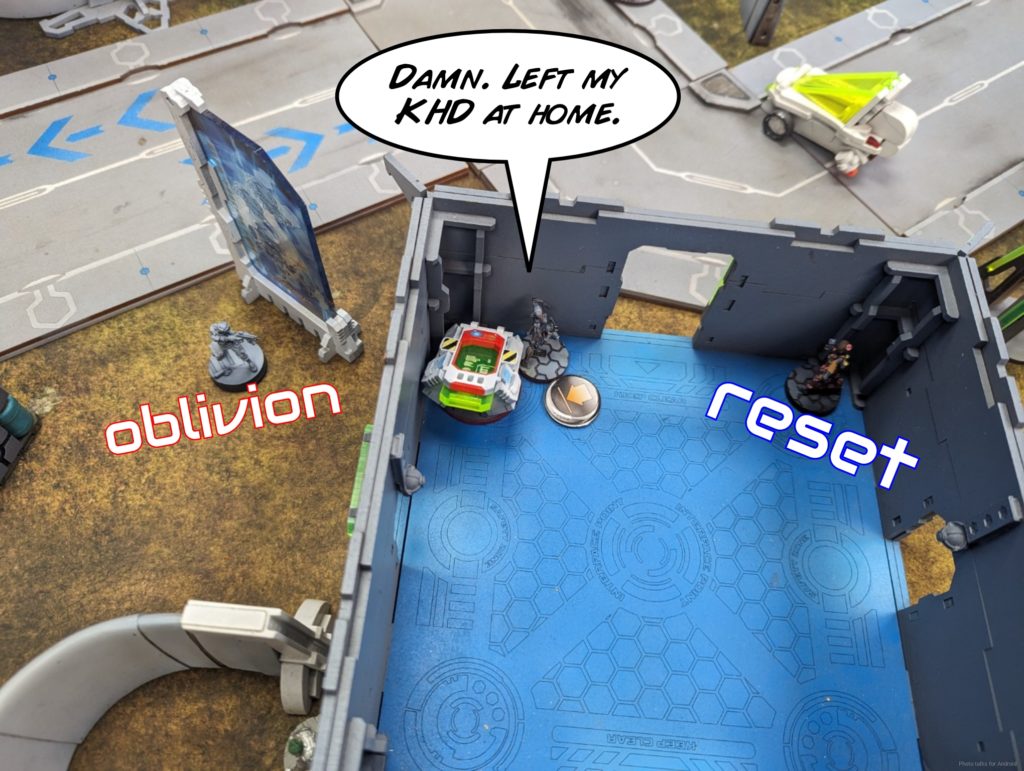
Adam’s all about finding options though, so he starts by throwing an Oblivion at the Karakuri in the armory. Not a bad plan, as it will grant -9 to all future resets, but a Carbonite is probably better in the active turn if you want to kill the Karakuri. My poor Ninja realizes she left her iPad with the KHD app on it at home, so she’s forced to sit this one out. Adam wisely keeps out of ZoC of the Aragoto KHD nearby.
With the Karakuri Oblivioned, Adam sends in the Digger. The Karakuri saves, staying at 2 STR, but the Digger takes a hit.
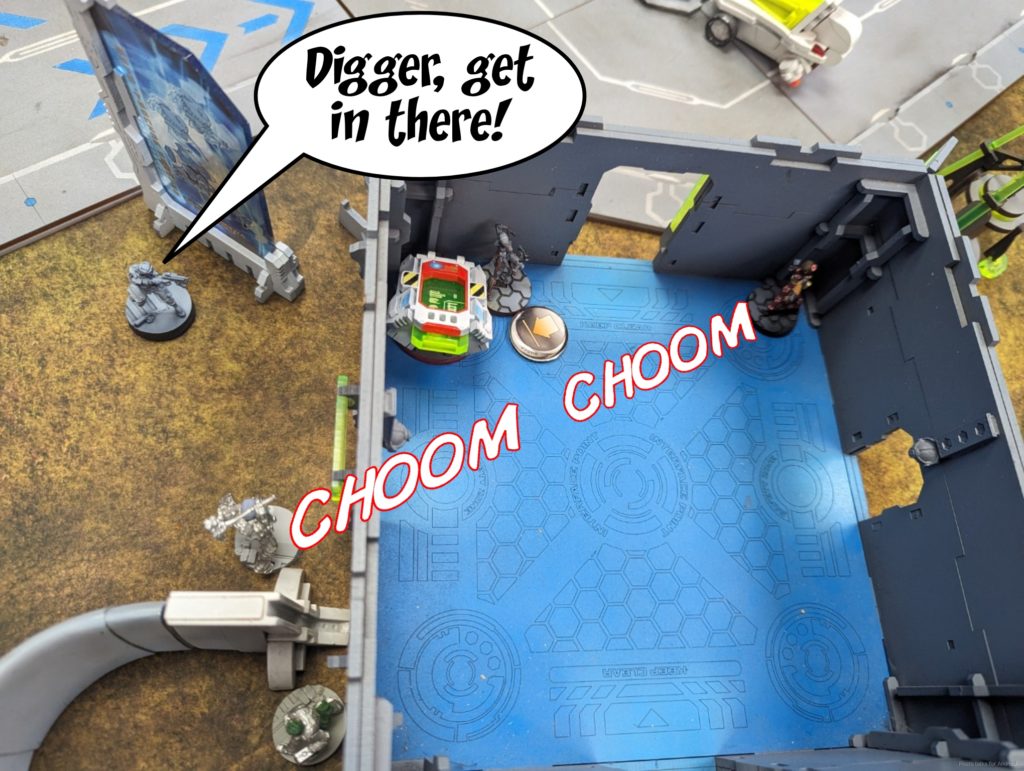
The Digger moves in to try and hit the Ninja in CC. It’s just out of movement range, so Adam settles for taking another chain rifle shot on the Karakuri, doing another STR taking the Karakuri to 1, but the Karakuri manages to drop the DIgger.
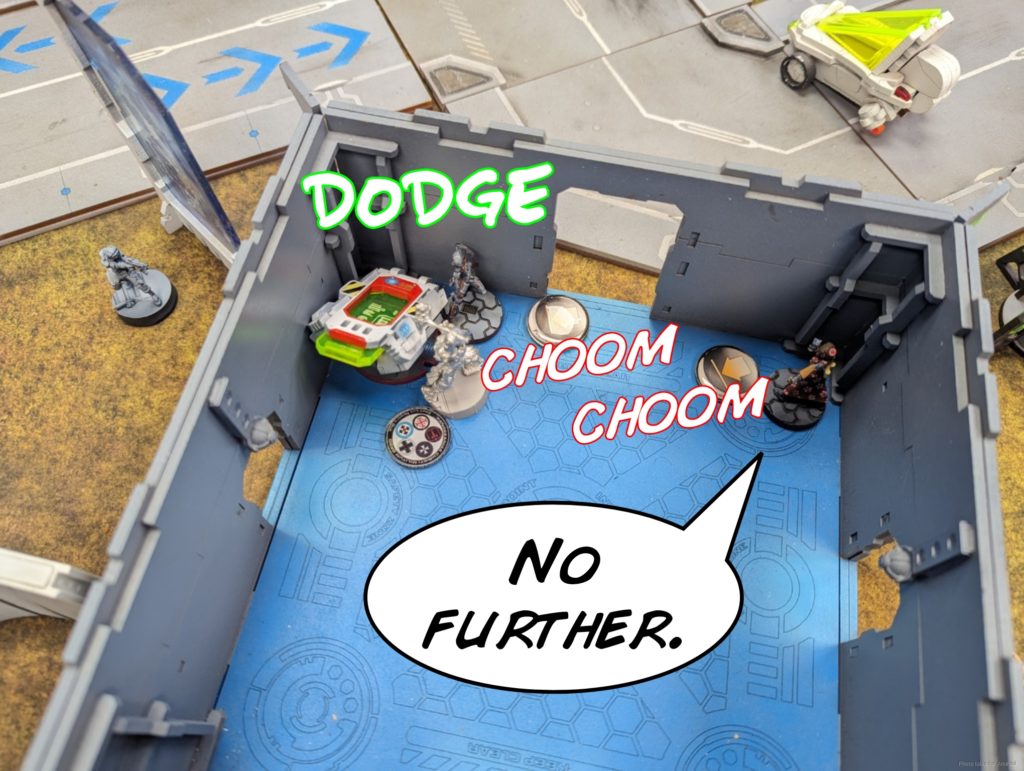
Adam still has a Druze left, so he peeks the Karakuri and drops her with the +1 DAM on his Combi.
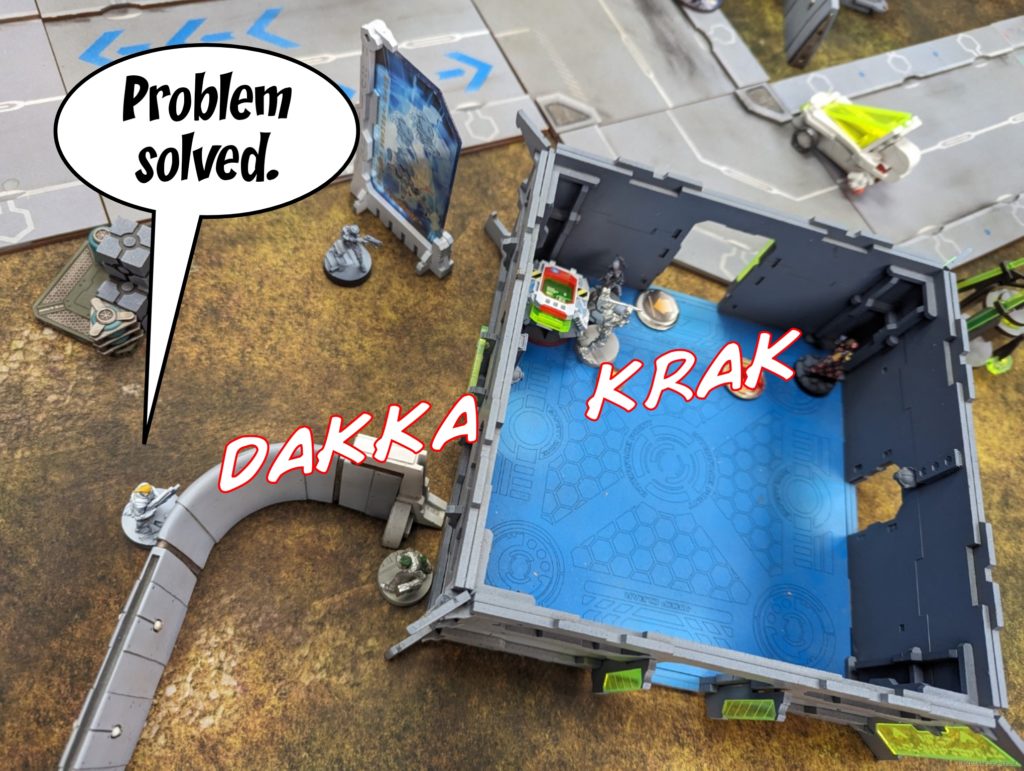
The Druze does manage to base the console, firing a chain colt at the Ninja, who dodges successfully.
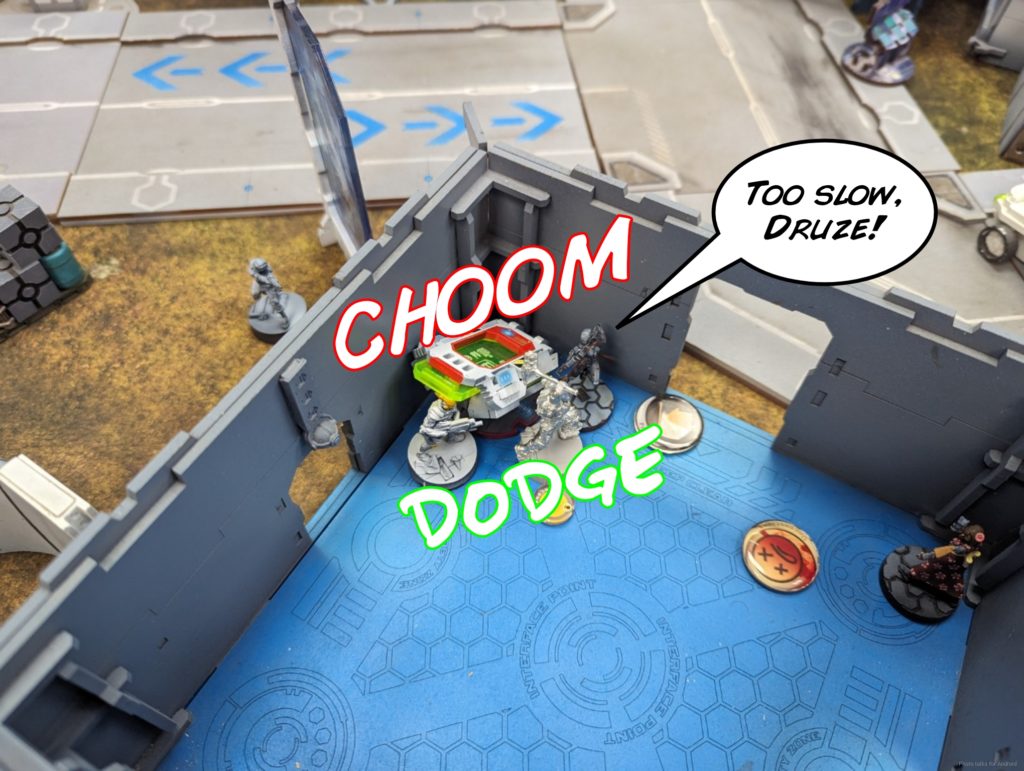
Le Muet stands back up and aces the Flash Pulse bot I had moved up to control the console on my next turn, and with that, it’s back to me.
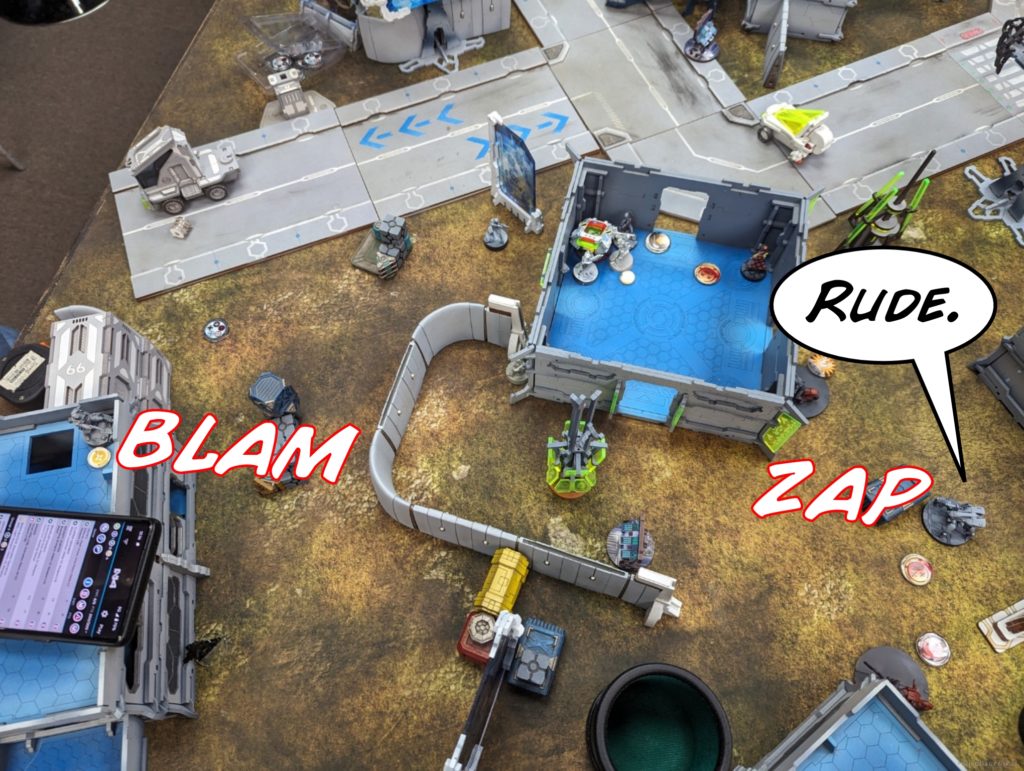
Turn 2
The beacon is on Adam’s side of the table but contested, so that’s 1 point for me.
Top of 2 – JSA

It’s back to me, so it’s time to get some work done. Shinobu re-camos out of line of sight of Le Muet, sneaks past him, going prone, and ices the Druze with a burst of Combi fire.
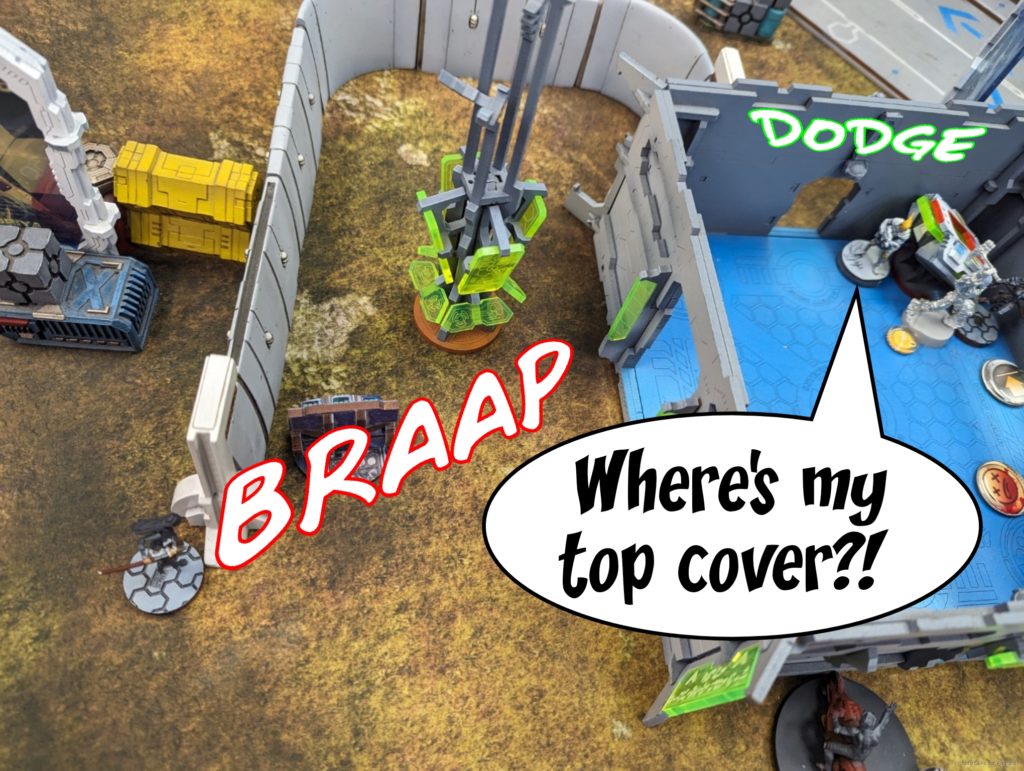
She then stands up to see Le Muet and drops him too.
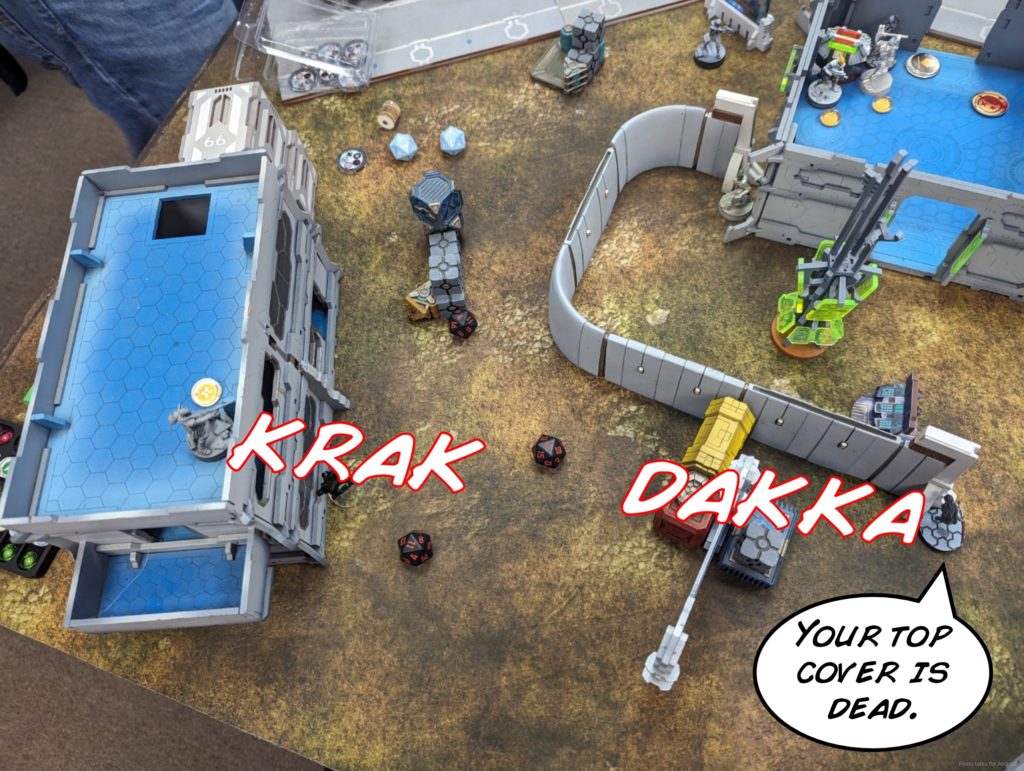
The Brawler hacker is next…
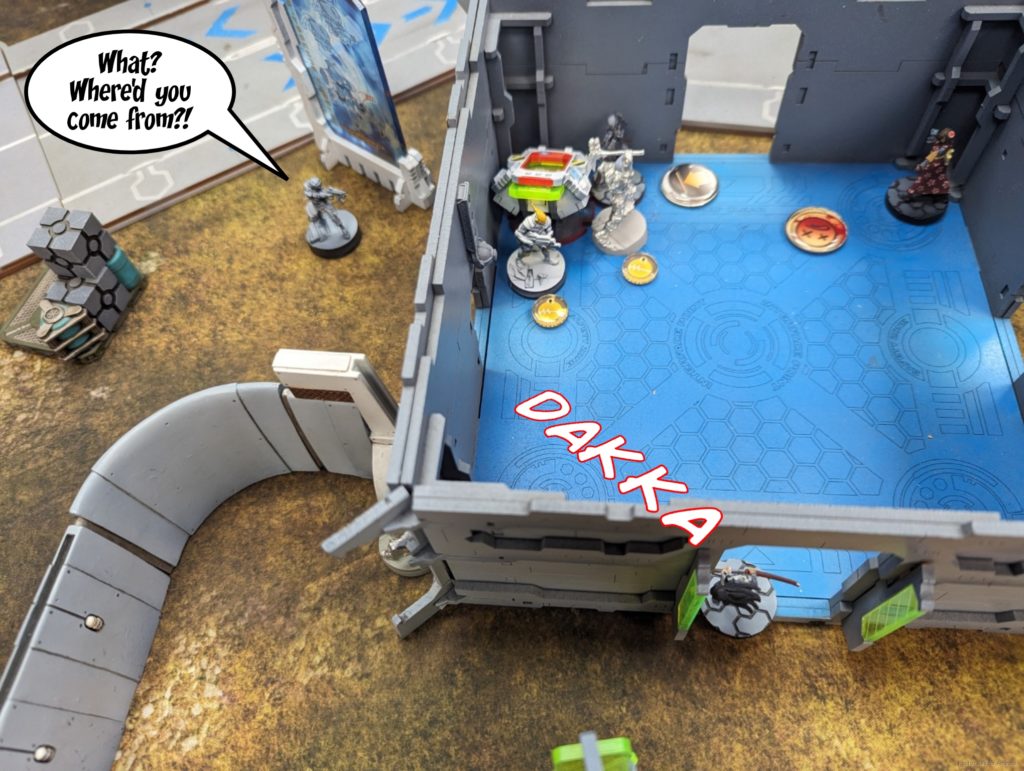
but he passes ARM and breaks LoF by moving closer to the Armory. This is fine, because the Aragoto KHD gets off her bike and melts the Brawler’s brain.
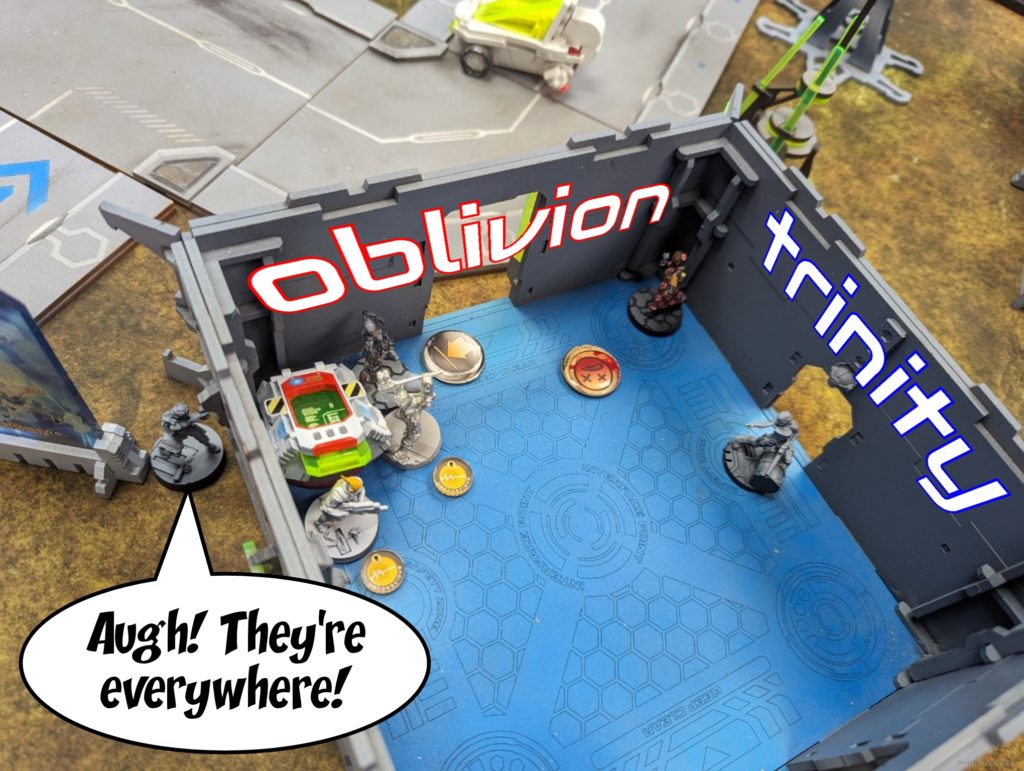
With the threats around the Armory removed, the Aragoto is free to get back on her bike and touch the console on the left to control it.
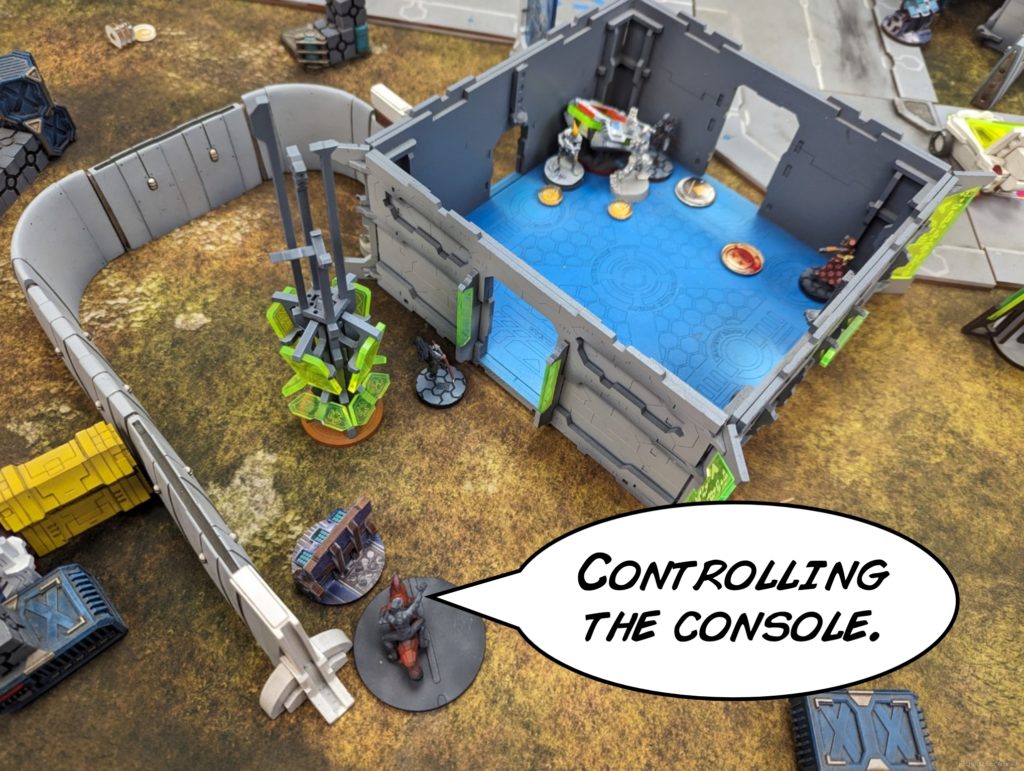
I tuck Shinobu somewhere safe and recamo her, passing turn.
Bottom of 2 – Ikari
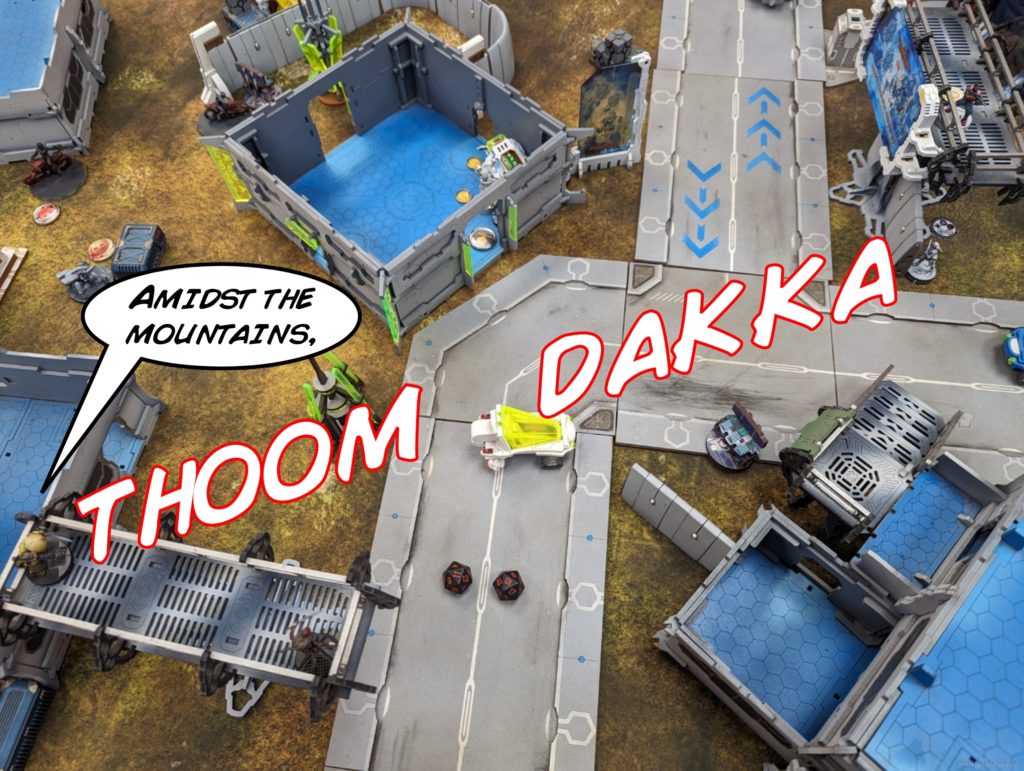
Adam really needs to get out of his deployment zone and to the consoles/beacon. He starts by trying to down the Tanko ML with the Druze HMG. I roll a 10 and an 11, so that literally explodes in fire.
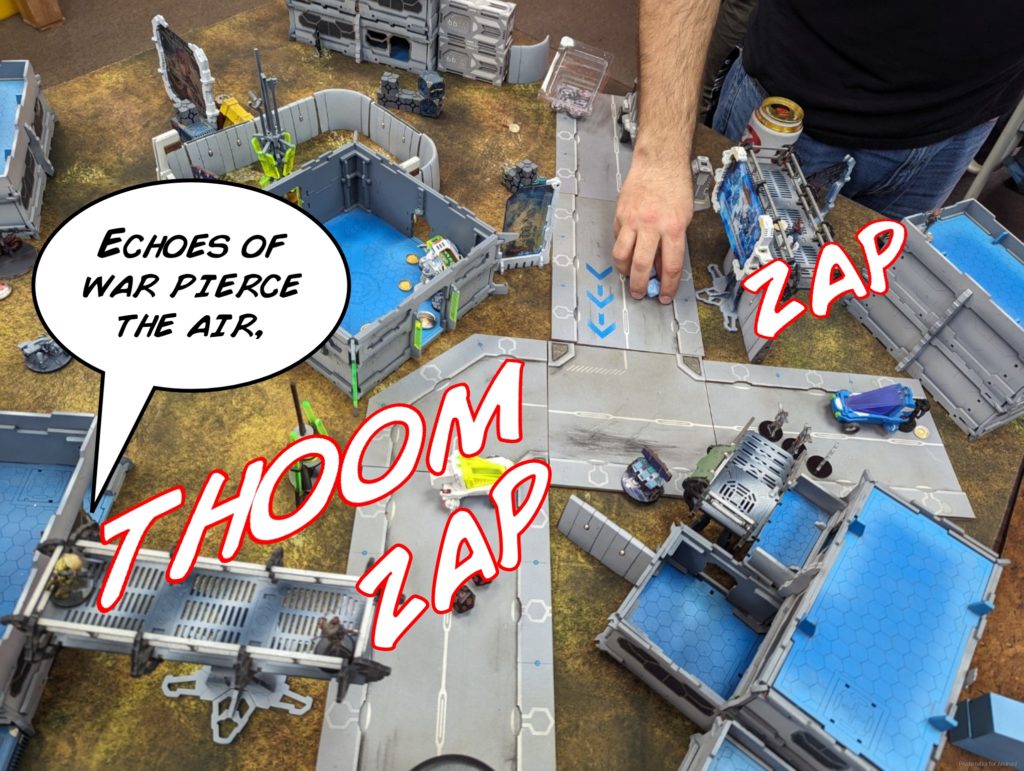
The Warcor tries next, and gets deleted also.
Finally, Taowu tries, revealing himself as not a Brawler doctor, and gets blown up for his trouble too.
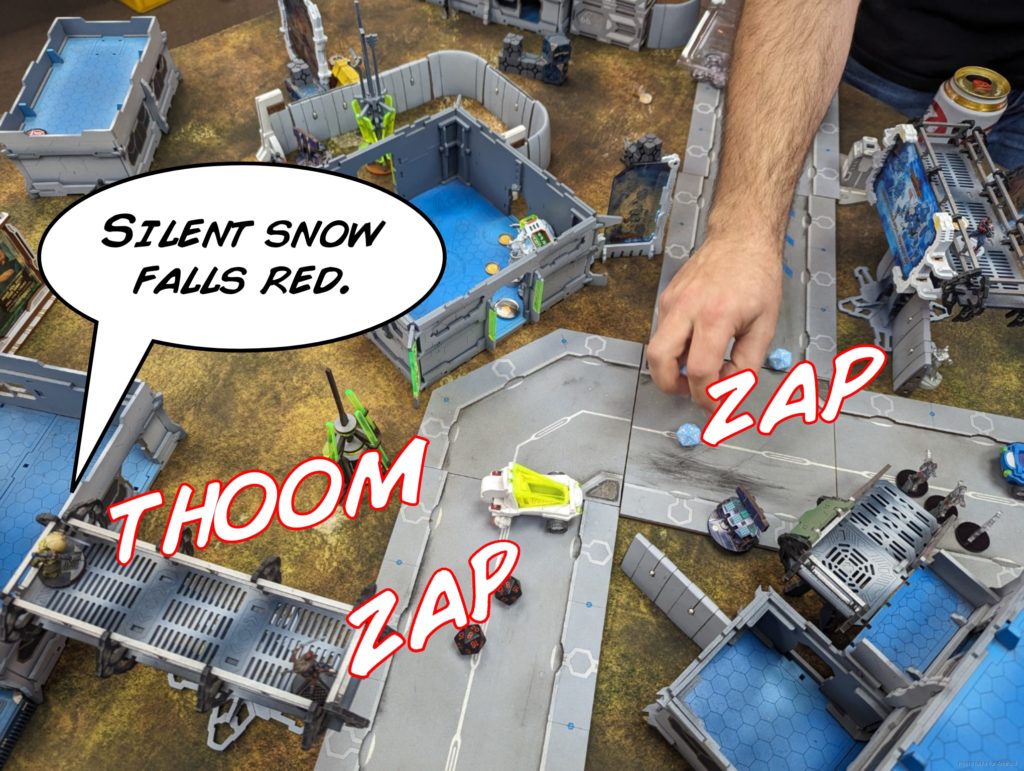
Adam’s got one gambit left, which is to throw the Keisotsu at it, and that of course fails.
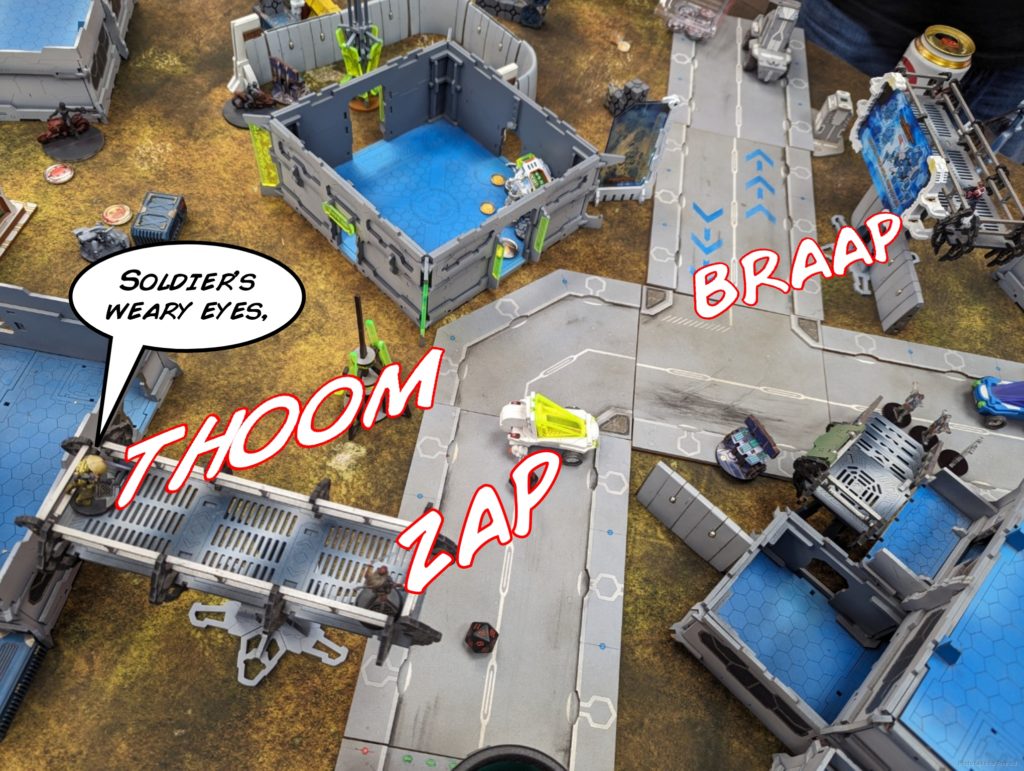
Adam brings on one of his Bashi and passes turn.
Turn 3
I’m now controlling the Beacon and a Console, bringing my OP total to 4.
Top of 3 – JSA

Well, that Bashi needs to go, so I move the Keisotsu HMG and open up some enfilade fire on the string of Bashi Holoechos. I guessed right, putting burst two on the real Bashi, but it doesn’t matter because it makes its saves and ducks around the corner of the stairs.
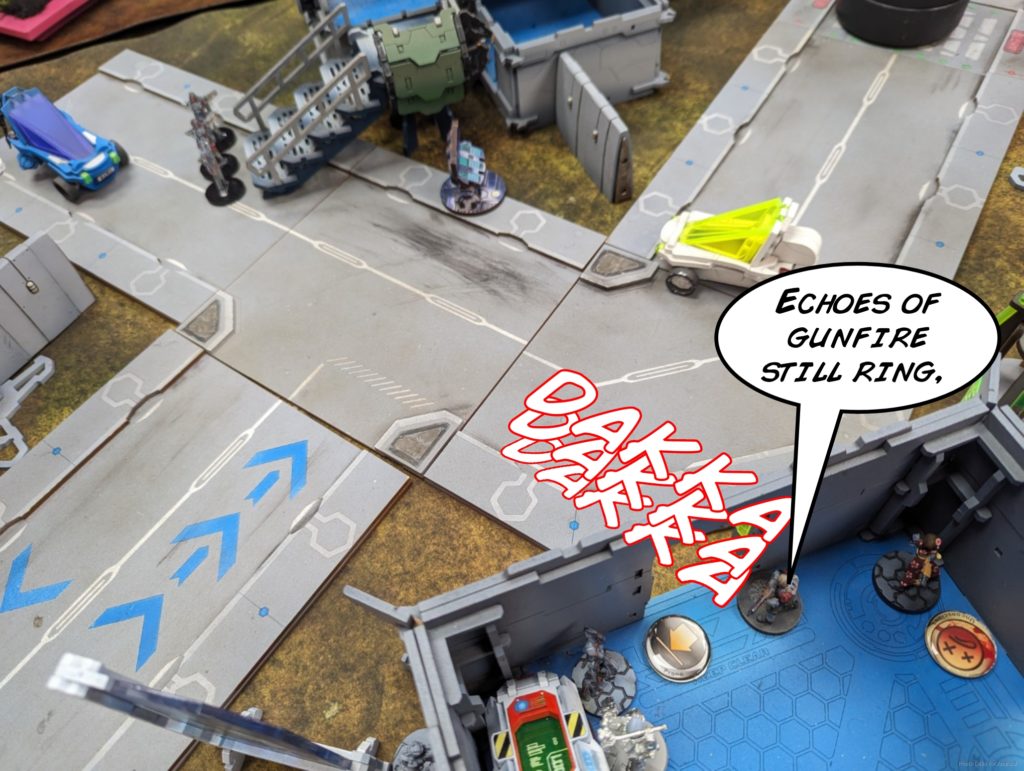
I move to secure the right console with my Warcor and pass turn, which takes a shocking number of orders, set everyone else up to defend the Beacon and other avenues of approach, and pass turn.
Bottom of 3 – Ikari

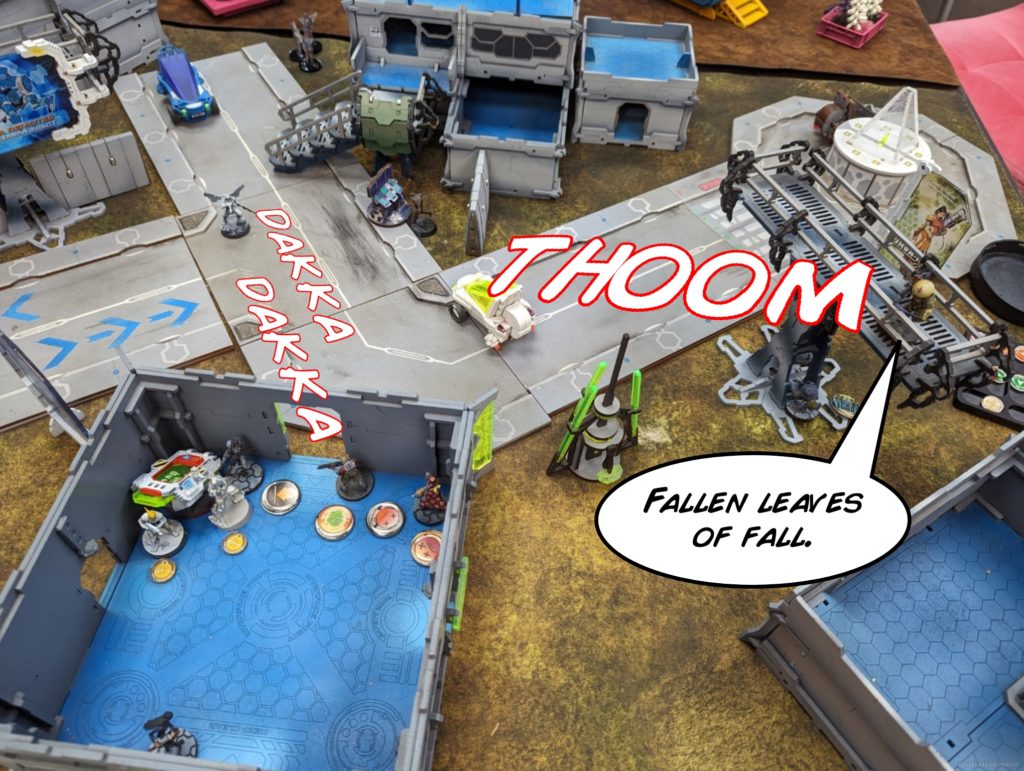
Adam goes into the tank for a bit and decides to just roll the Bashi out to try and get to the console. I foolishly declare shots on one of the Holoechoes from my Keisotsu HMG instead of delaying and letting the Tanko ML template all of them. Very silly of me. I guessed wrong and lose the Keisotsu HMG, but the Bashi vaporizes from the Tanko’s missile.
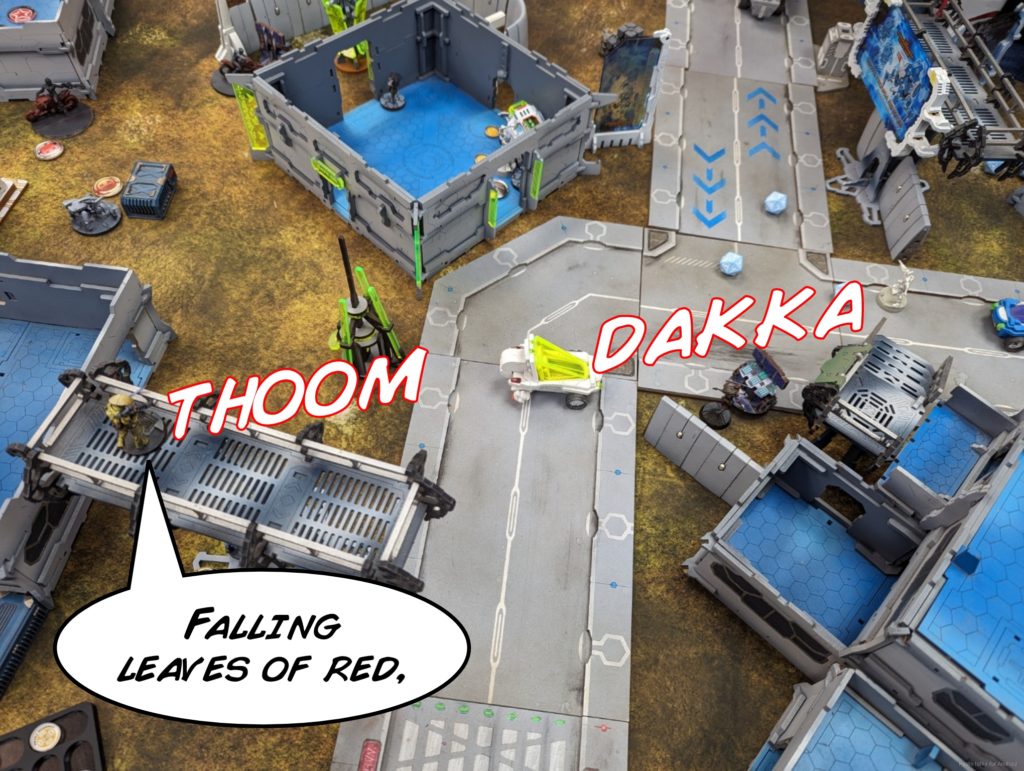
Arslan makes an attempt to fight the Tanko, and hits a hard wall. Of missiles.
And that’s game! Adam brings his last Bashi on to cancel my secure the HVT.
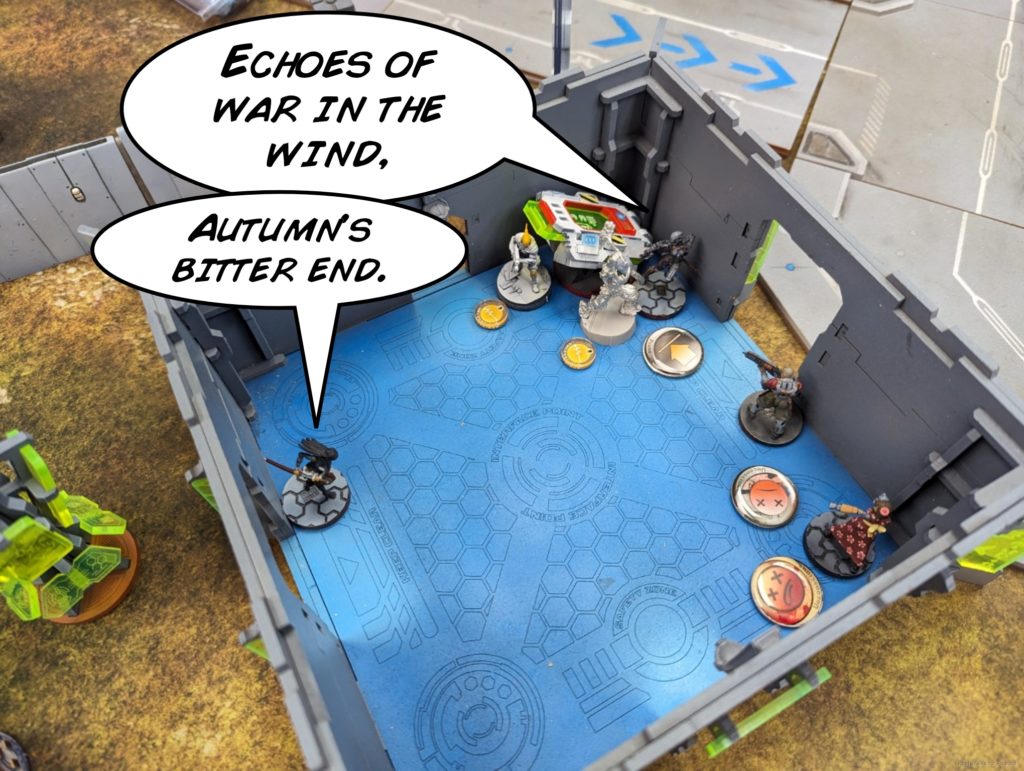
And that brings us to a
7-0, 229-45 Japanese Secessionist Army Victory!
Post Game Analysis
Clearly the Tanko ML performed very very well this game, and the armory really helped me hold the beacon by making JSA’s CC skills very relevant. I also had the exact correct solution for Adam’s Ninja in the form of my own Ninja says well, which was very amusing to the two of us at the time.
I think Adam lost this game because he just couldn’t really escape his deployment zone and I just kept the pressure up consistently through the turns. It was also serendipitous that I had a Karakuri to deal with his missile bot, allowing me to get out my deployment zone. I was a bit surprised he wasn’t set up to do a coordinated against the Tanko with Le Muet and the Clipper or something, especially because the Tanko ML was visible at time of his deployment.
There were also some locations that he could have brought one of his three Bashi on to get some work done. It would not have been very efficient in terms of orders, but I think it would have been successful and probably done more to open up the table for him. It wasn’t like he didn’t have the orders to do it after the Druze HMG got flash pulsed early. One other consideration would have been to set up at least one Bashi on the table as some sort of hard ARO, perhaps his own Tanko ML, a Brawler MSV2 sniper, etc. He can’t link it, but at the very least he can show one to me and shape my deployment and movement for at least the first turn. Certainly more effective than what actually happened.
I think he had some strong potential plays to remove the Tanko, but he decided to go for other attacks instead. The Digger attack into my Ninja was a reasonable alternative, just sort of leaving the Druze to deal with the Tanko on Turn 2. It going so poorly for him made it very difficult to recover, especially after I started acing things with Shinobu. On that note, I was very impressed with her ability to just be a highly mobile midfield combi. The buff to BS12 isn’t a significant statistical boost, but it’s a very big confidence boost, and then you get confirmation bias when it goes well. I think I’ll be using her and the Ninja FO more often to get some work done.
In any case, this was a big confidence boost to the start of the tournament, to take on a decent Ikari list piloted by Adam and to win it so decisively. It was by no means easy, there were a lot of risks that I took, especially with Shinobu, that could have dramatically changed the game. It was j

“Shinobu lieutenant without Chain of Command is a… choice”
— isn’t it kind of NOT a choice in this format? Or does shit show not work the way I’m thinking (you get to pick your Lt. or something…?)
Pingback: Vroom Vroom – MERC Recon