

Unnecessary Sacrifices
As I discussed in my last battle report, Adam and I were planning to play a game of Biotechvore with my JSA to prepare for the JSA episode of Late Night Wargames…
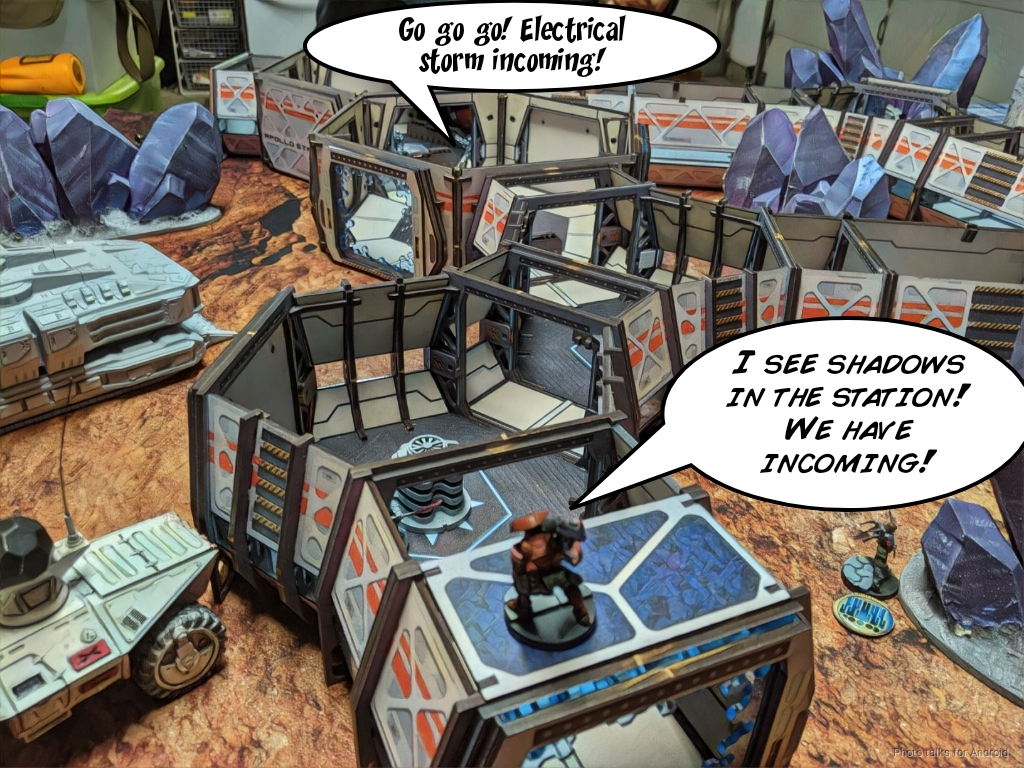
…so here it is! Adam set up the most punishing table for our game and brought a hard matchup for JSA: Military Orders. It’s very shooty (JSA is less good at shooting by far) and has a pretty decent chance of standing up to JSA in a toe-to-toe sword fight.
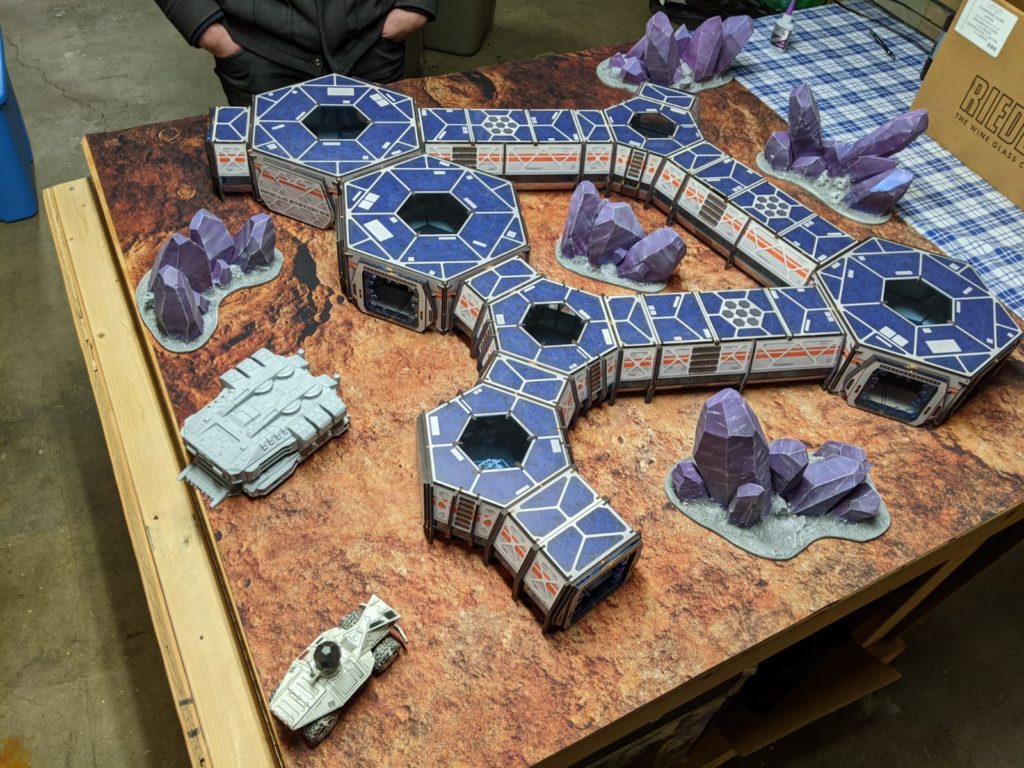
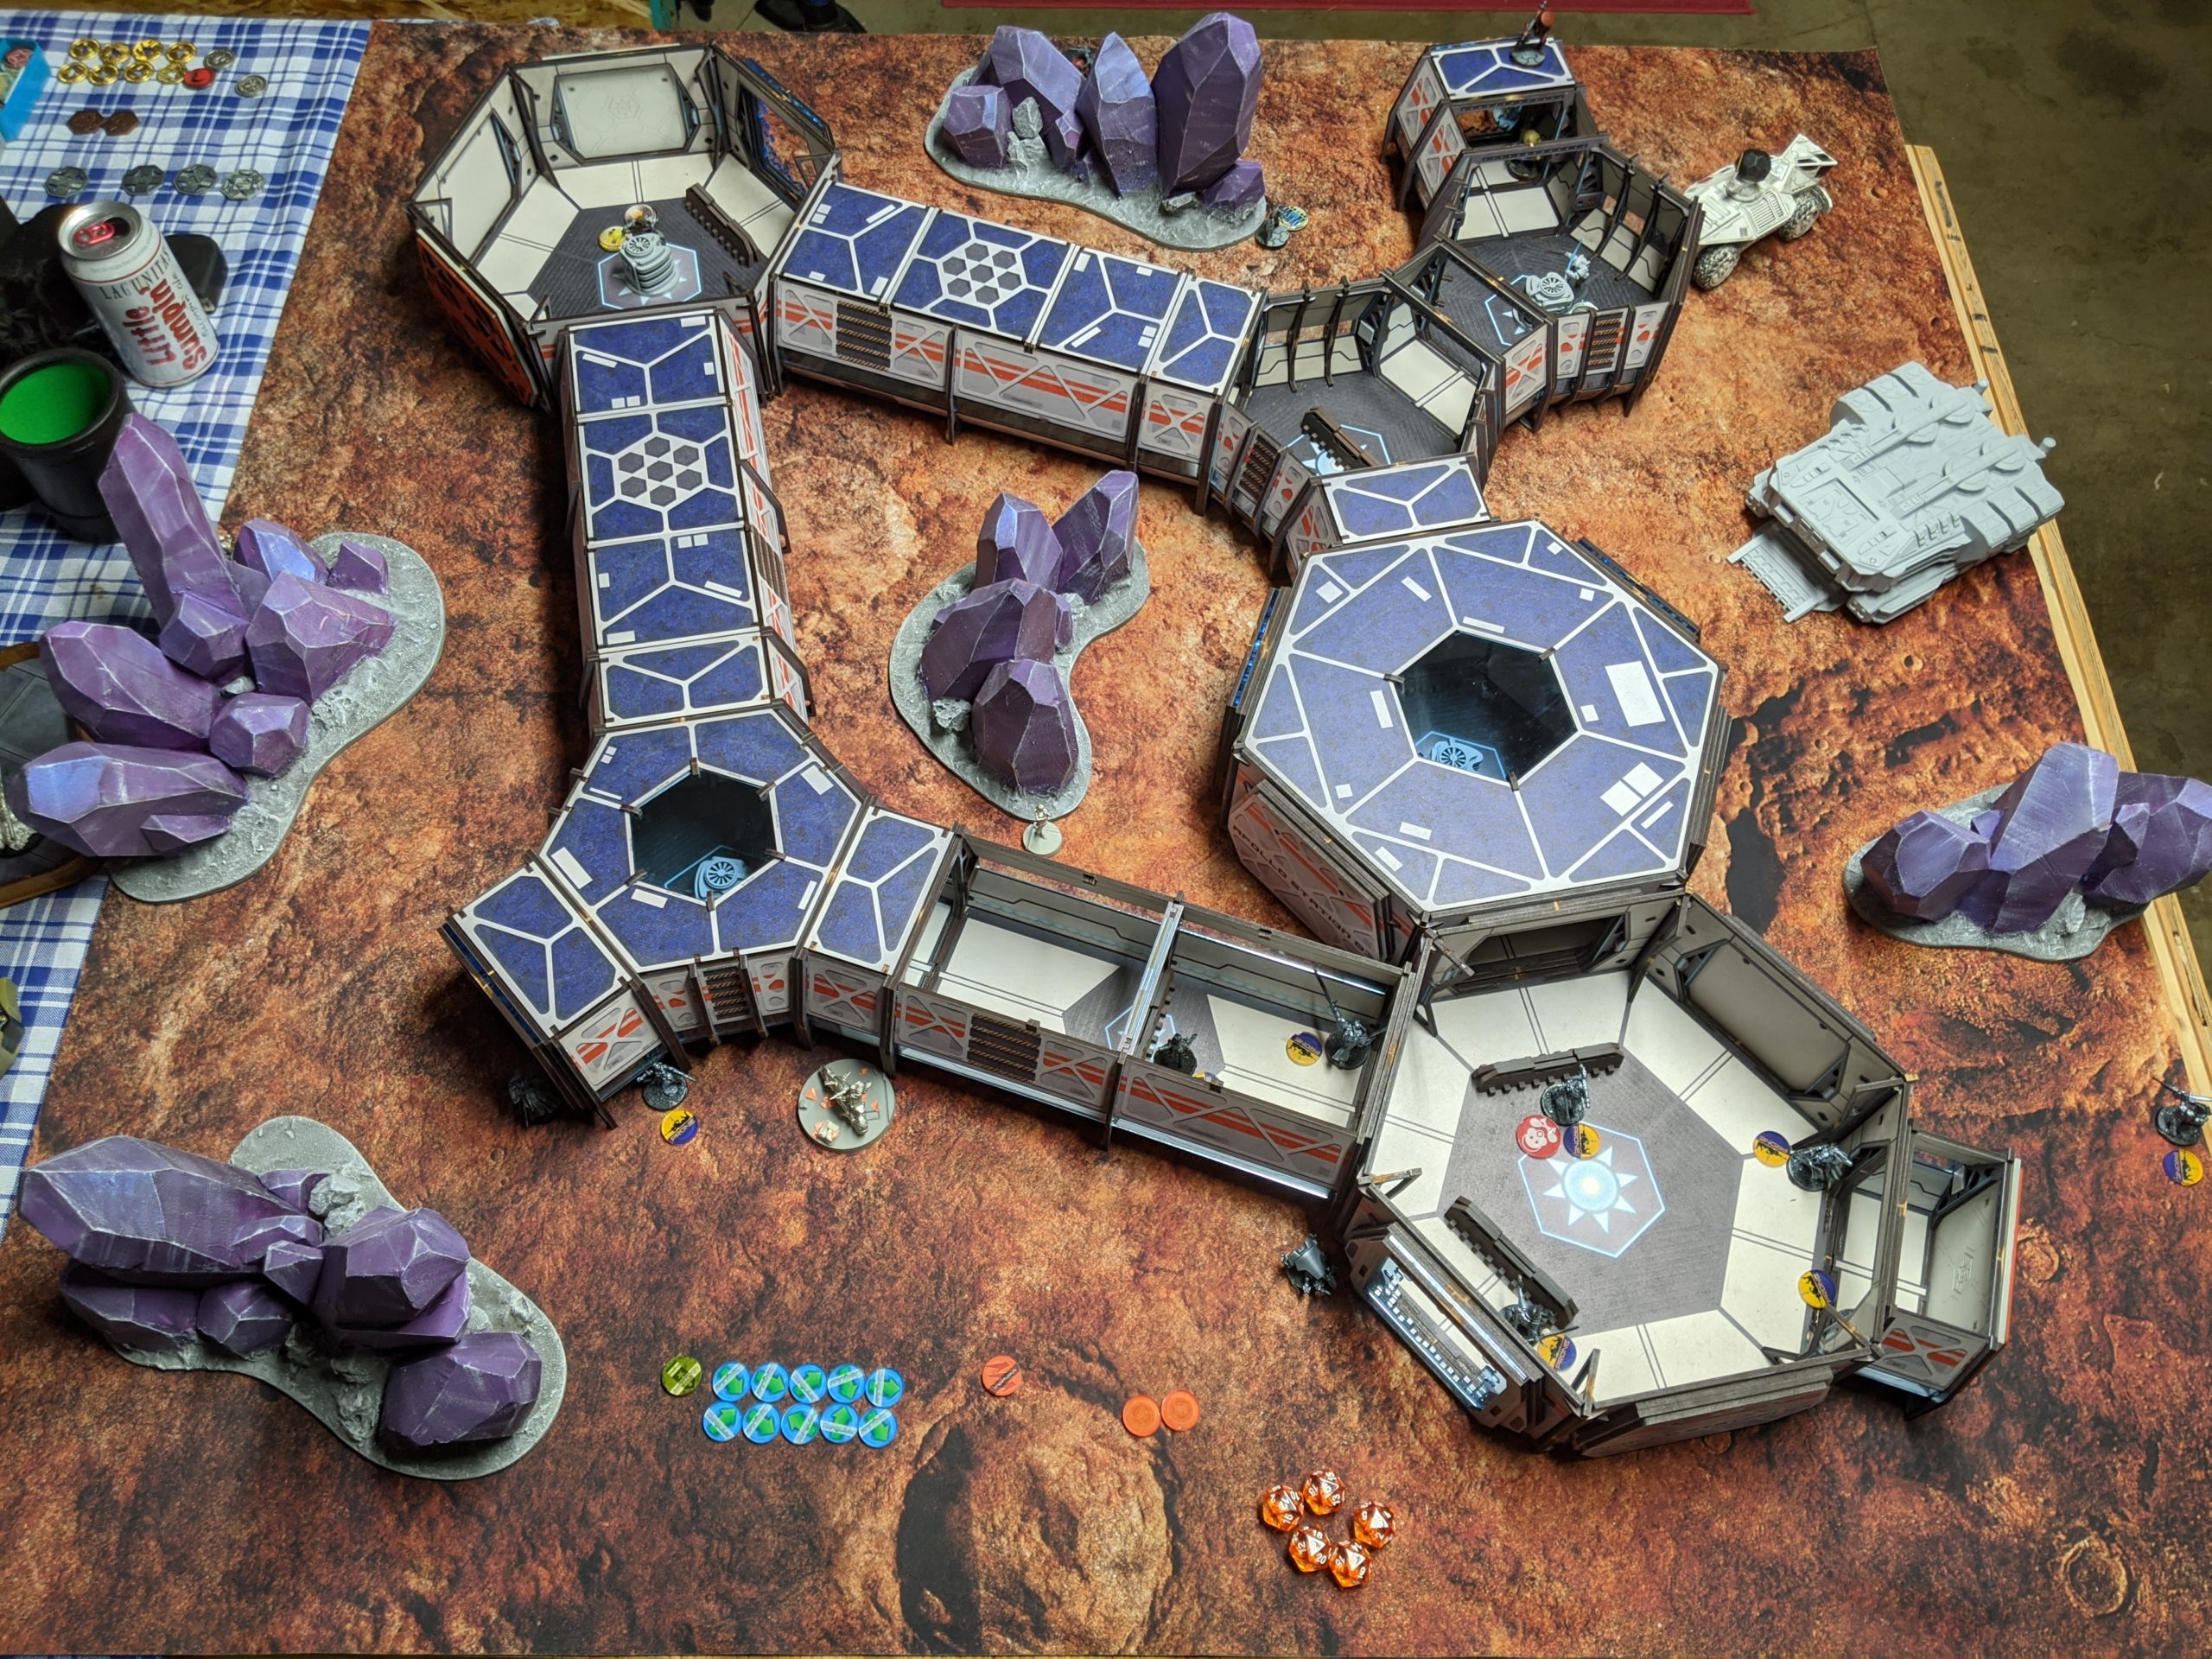
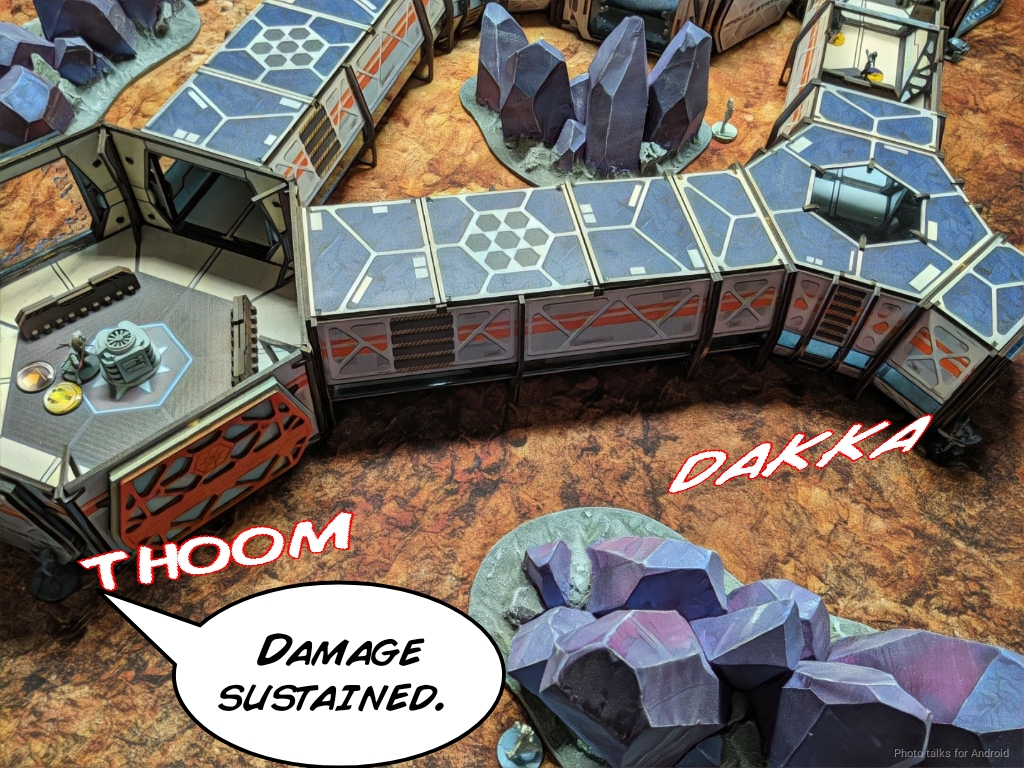
Still, I love this table. It’s so striking and characterful and demands a lot of careful play, all things I love. If you want your own copy of this table (it’s pre-painted too!), you can get it here:
The lack of cover on the roof now only applies if both models are both on the roof, which makes the high ground quote powerful. Also, the structural ribs inside the station now provide cover as well. Adam added some inner “security walls” and other scatter which also helped a lot. We also decided that the exterior of the station would be Zero-G terrain, which basically didn’t matter at all given that we basically only had bikes outside the station. Finally, the doors to the exterior of the station were treated as saturation zones.
Overview
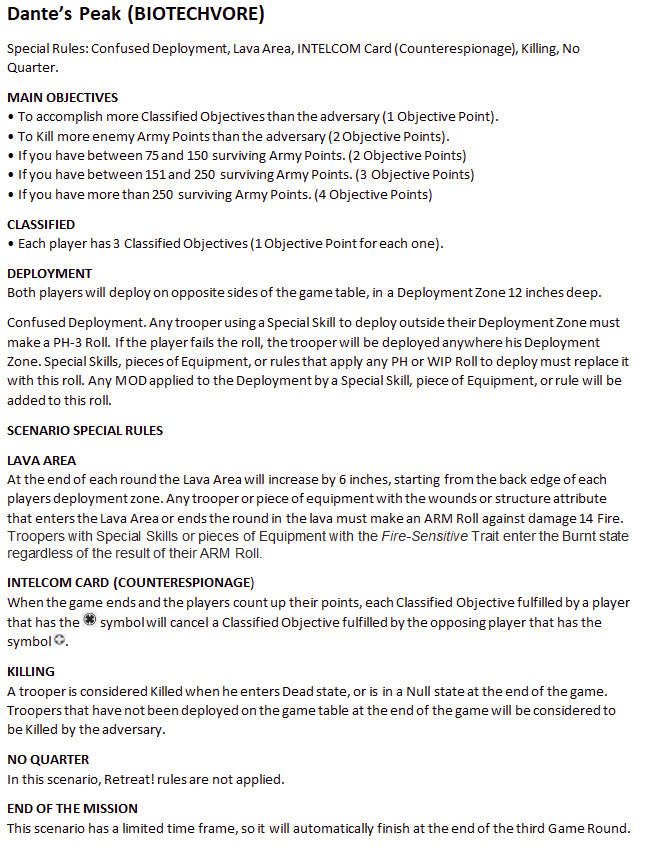
- Mission: Dante’s Peak (Biotechvore)
- Forces: Japanese Secessionist Army versus Military Orders (300)
- Deploy First: MO
- First Turn: MO
After playing the Dante’s Peak version of Biotechvore at the Humboldt Irregular, Adam and I have decided to always play Biotechvore that way:
Here are the rules for the Dante’s Peak version. The major change is a 12″ deployment zone with the “lava” area growing by 6″ a turn. This forces you to advance all the way to 18″ by the third turn. We forgot about the fire part and just treated it as a DAM14 BTS save, but that’s not really a big deal.
I made my list before I knew Adam was going to make us play on the space station table, so it has a pair of Tanko missile launchers in it. That turned out to be a good thing, as we’ll see. My goals for the list were:
- It can solve the Biotechvore problem, i.e. it has mobility and
- It is representative of an interesting JSA list archetype to discuss on the Late Night Wargames show.
- It capture some “uniquely JSA” aspect of the faction, again for discussion.
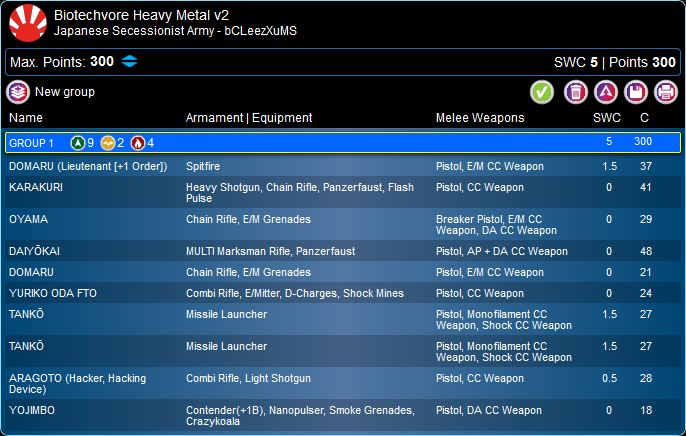
This is what I ended up with. I took a 10 model, 15 order list built around a Domaru core and a Karakuri Haris. The idea was to showcase the new links as well as the order efficiency options that it seems JSA has borrowed from the Invincible Army. First off, JSA now has a +1 Lieutenant Order option thanks to the Domaru Spitfire Lieutenant, which pairs nicely with the Daiyokai retaining its late-N3-era buff to gain NCO. Also a welcome addition was Neko Oyama’s gain of Tactical Awareness, which is just a fun addition.
I ended up taking two main links:
- Karakuri + Oyama + Domaru Spitfire — I put Oyama here to help power the Haris up the field with his tactical awareness order. Adding the Spitfire Domaru here handles the heavy weapons slot, allowing the Karakuri to take the heavy shotgun. I wasn’t sure if I liked the Heavy Shotgun in this edition, so I wanted to try it.
- 2x Tankos + Daiyokai + Domaru + Yuriko – This core covers all rangebands from 8″ to 40″ with all kinds of awful awful things from Missiles to E/Mitters to E/M Grenades. If you get close enough some very scary swords will poke you to death as well. Thanks to the Daiyokai, this link gives you two “free” orders to get out of the lava zone. Also it let me take the Tanko Rangers!
I also needed to get some way to grab classifieds on the table. I figured that between the Karakuri, Yuriko, and an Aragoto hacker I’d be able to get something done. Adam took a beefcake link with Joan being solo. His link has a lot of useful stuff in there like a Missile Launcher, KoJ spitfire, doctor, and KHD to protect it. The rest of his forces have more coverage for classifieds as well as MSV2 to defend against his expectation that I would have a ton of TO or ODD on the table.
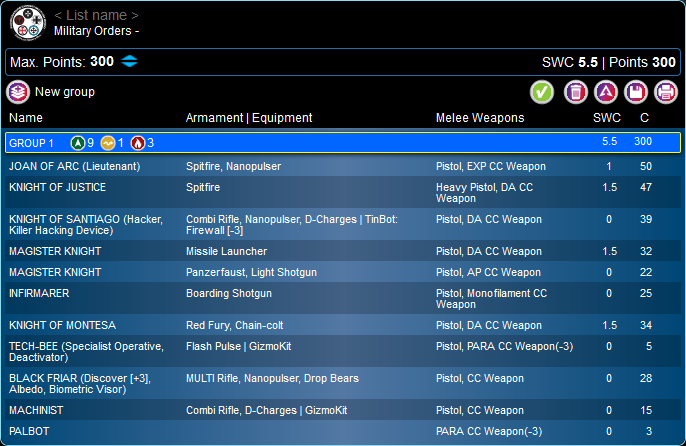
I’m pretty impressed with his list–it’s very characteristic of him and has some fun toys in it!
Deployment
I won the roll off and decided I wanted Adam to have to fight through a bunch of missiles and panzerfausts to get up the table, so I gave him what I thought was the weaker side. He dumped his link spread out in one of the big rooms, figuring that I’d likely have a missile launcher or two on the table. He put his Black Friar on the right side of the table behind some crystals, intending to rocket it up the side and box me in with mines.
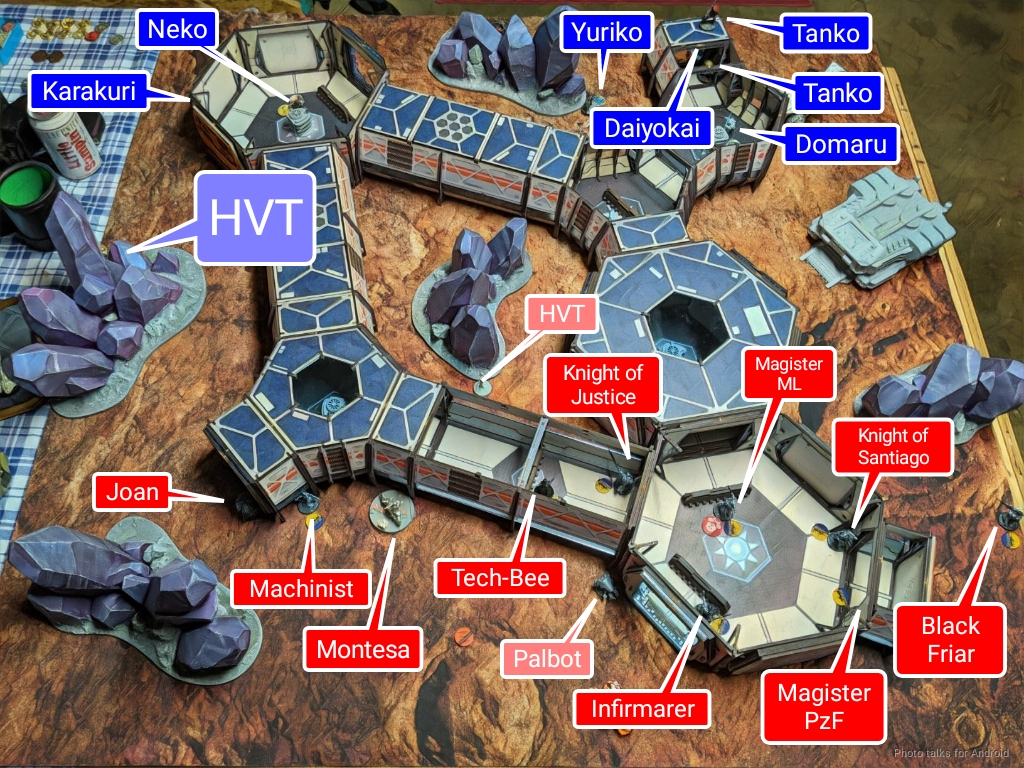
His Machinist and the TechBee went on the other side of the table, along with the Montesa.
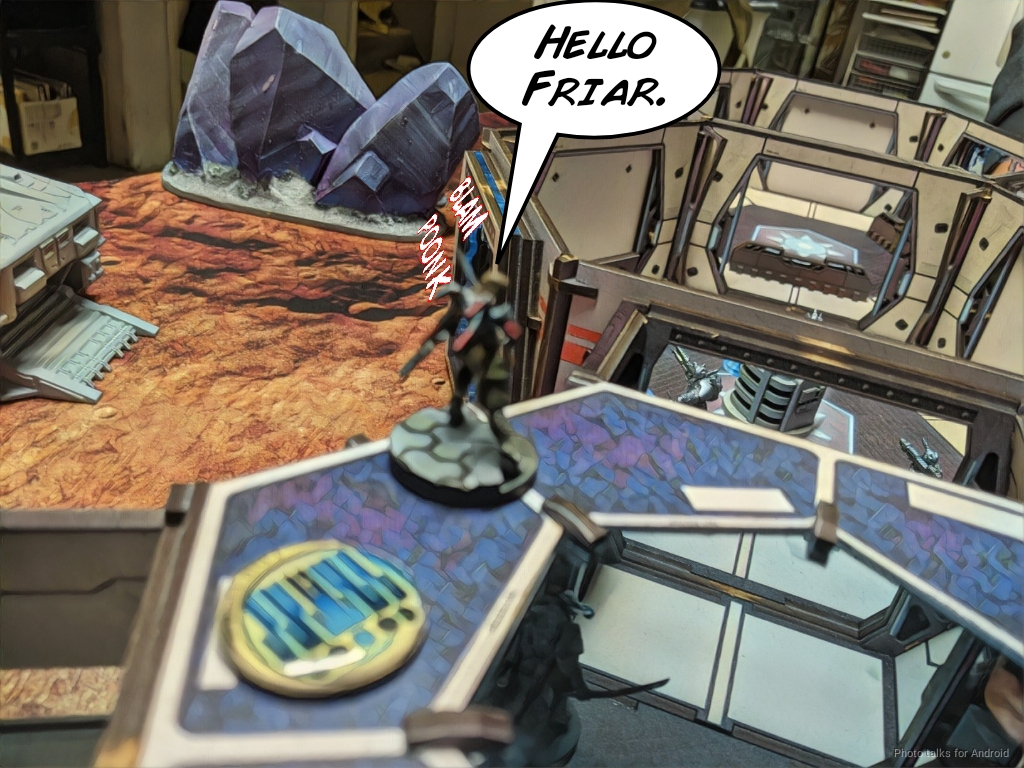
I deployed my 5-man link on the left to counter his, with the Tankos and Daiyokai out to ARO. I put my yellow Tanko ML inside the tunnels with the REd one on the roof watching the Friar’s necessary approach path. Unfortunately, I missed that there was a shot on Adam’s link through the open door of the space station so I didn’t cover them with the Red Tanko’s missile. I did at least remember to put the Domaru in the corridors where its toolkit would be the most useful. Yuriko stayed far away from everything to protect my backfield from airborne deployment as well as a run-around by the Montesa.
I was actually pretty concerned about the Montesa, so I put the Karakuri out on that side to hopefully Panzerfaust it, then screened the right side corridor with Neko. I hoped that Neko prone behind a box pretending to be my lieutenant would be enticing enough for Adam to try and snipe him. I protected my actual Lieutenant by putting her outside and watching the back table edge for AD troops. My Aragoto hung out in the far back, to provide one more ARO against the Montesa if it got through both the Karakuri and Yojimbo. At that point I would be in serious trouble and just hoping for dice luck. Adam plopped Joan down in a spot to face off against the Karakuri and then I dropped Yojimbo down to protect my backfield from both her and the Montesa.
Turn 1
Top of 1 – MO
Joan does two wounds to the Karakuri on the first order, popping out and back into the corridors. Figuring that Joan wasn’t going to challenge the Karakuri again, I elected to remain where I was in hope of shooting down the Montesa as it came around the corner.
Adam starts advancing his link, and it’s now that we realize that my Tanko does have a shot into the station. If only I had put him a little to the left, I could have really made things difficult for Adam!
Adam then reactivates Joan and does a third wound to the Karakuri before diving her back into the station. Drat! Fooled me! Adam’s link continues to advance, carefully avoiding the Red Tanko’s line of fire and not exposing themselves to the Yellow Tanko or the Daiyokai.
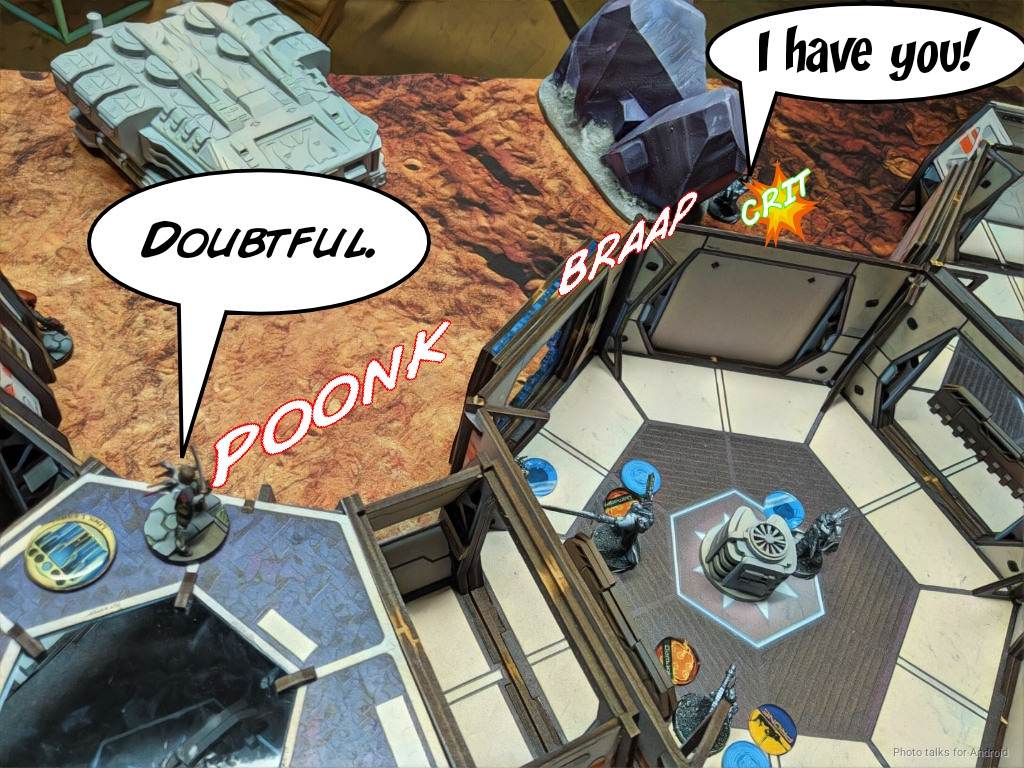
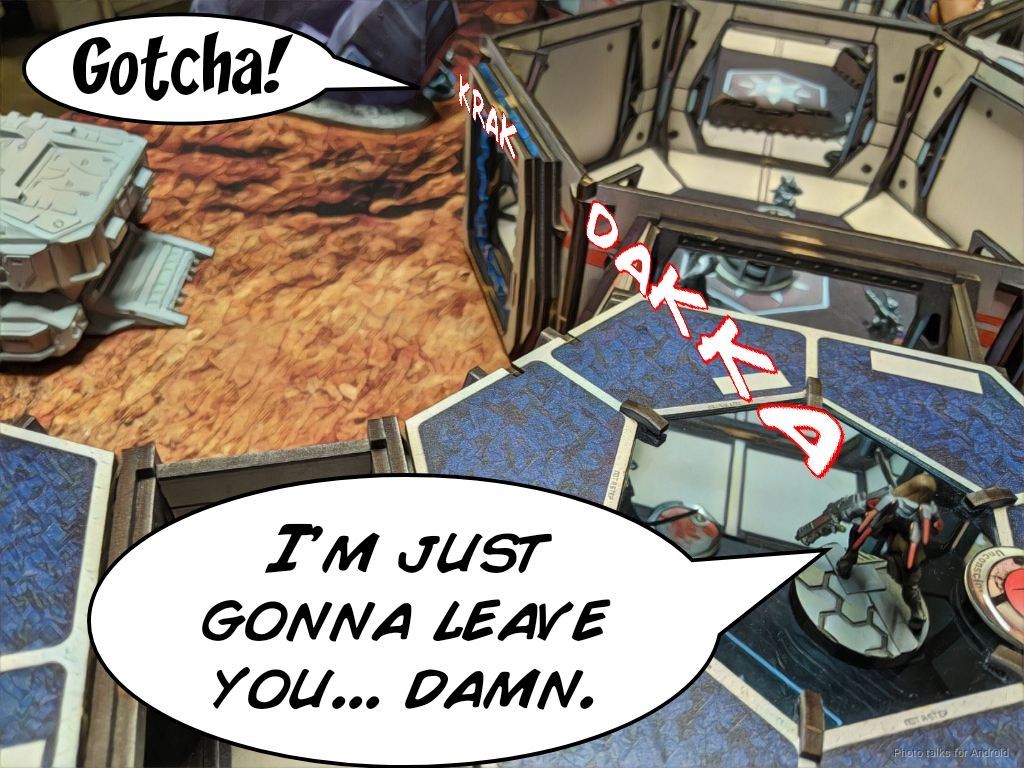
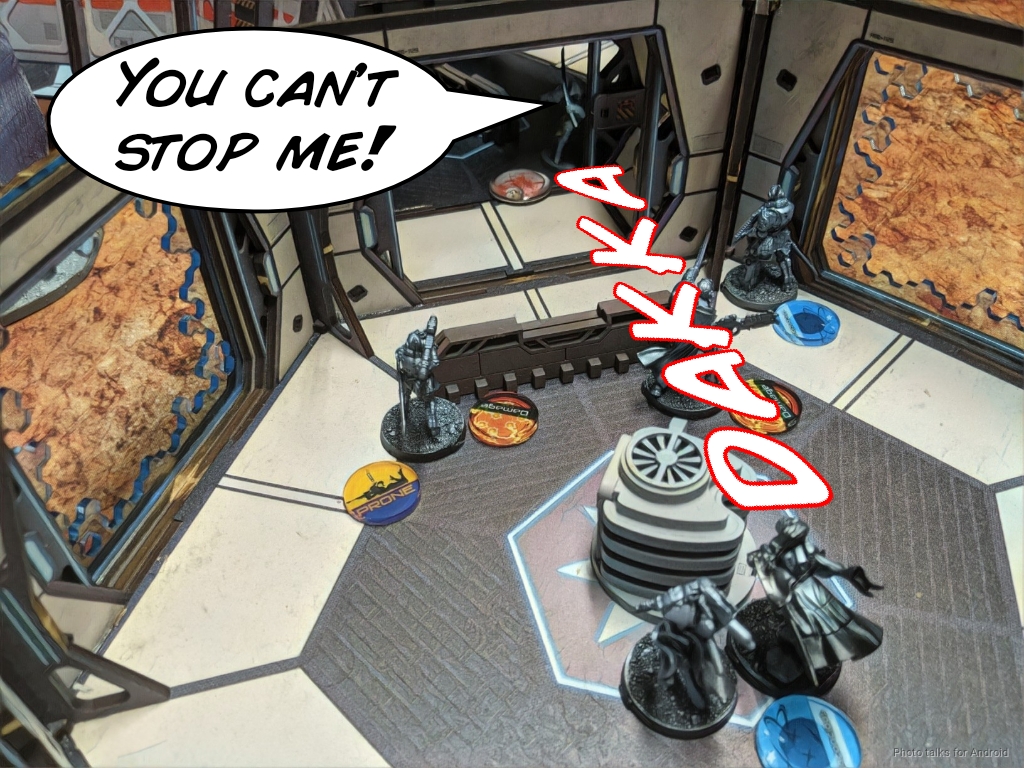
Finally the Knight of Justice pops into view and engages the just the Daiyokai through the saturation zone of the door force field.
It takes two orders but the Daiyokai is eventually shot off the table. I should’ve definitely failed guts after the first wound because the Daiyokai was such an integral part of my order efficiency plan thanks to NCO. Ah well. Adapt and overcome! Adam shuffles his link around some more and swaps the KoJ for the Magister missile and drops a missile onto my Yellow Tanko. I fire back and roll low, letting Adam land two hits. Goodbye Yellow Tanko, you will be missed!
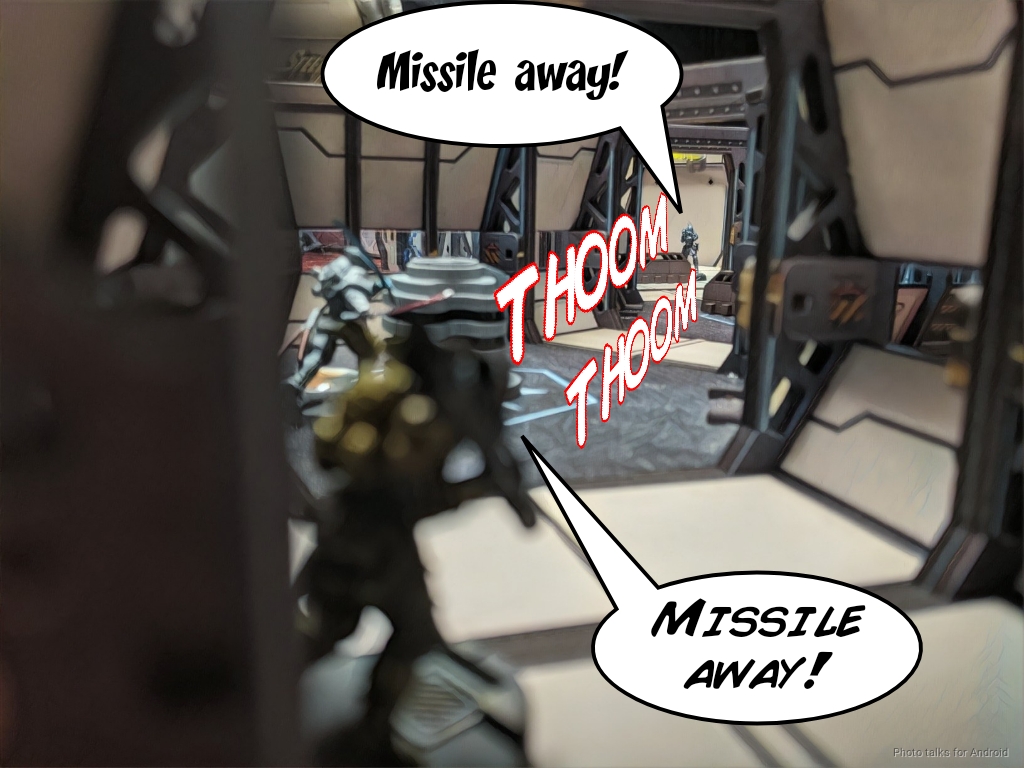
At this point, Adam rolls the Montesa up and grabs “Follow Up” off of my HVT near my downed Karakuri.
Bottom of 1 – JSA
I decide to try out Yojimbo’s new Contender +1 Burst against the Montesa. We both whiff. Not terribly auspicious!
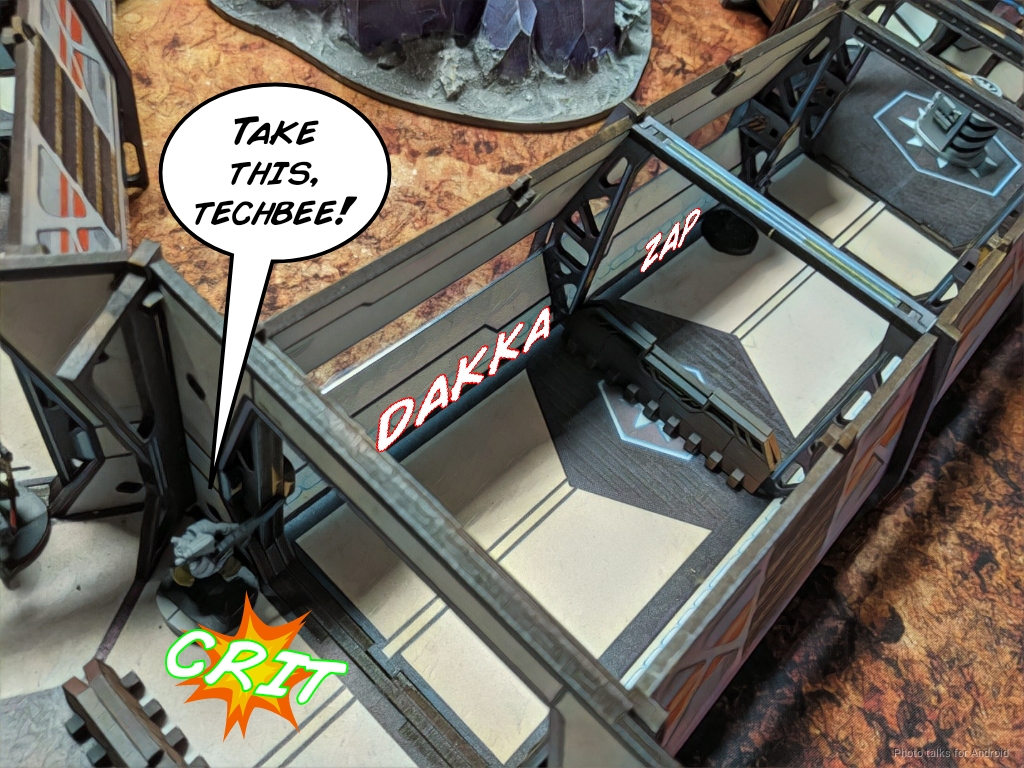
My core link advances. I get Yuriko on the roof and the Red Tanko into position to see the Infirmarer and Knight of Santiago through the saturation zone. I split burst, taking them both out with missiles!
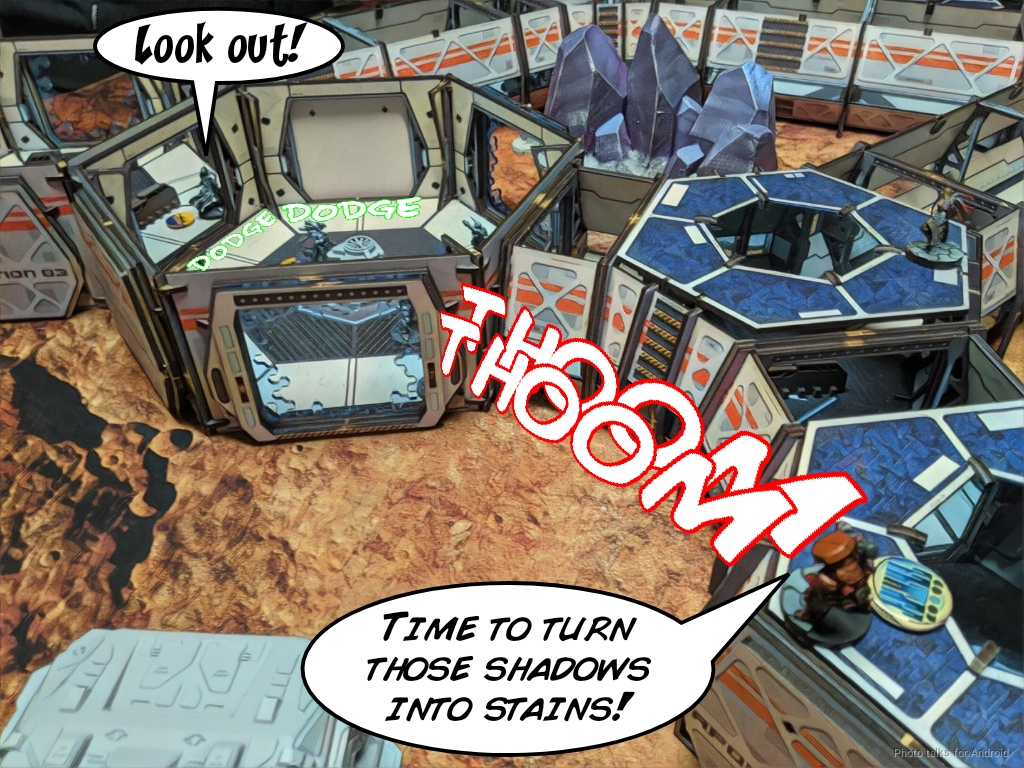
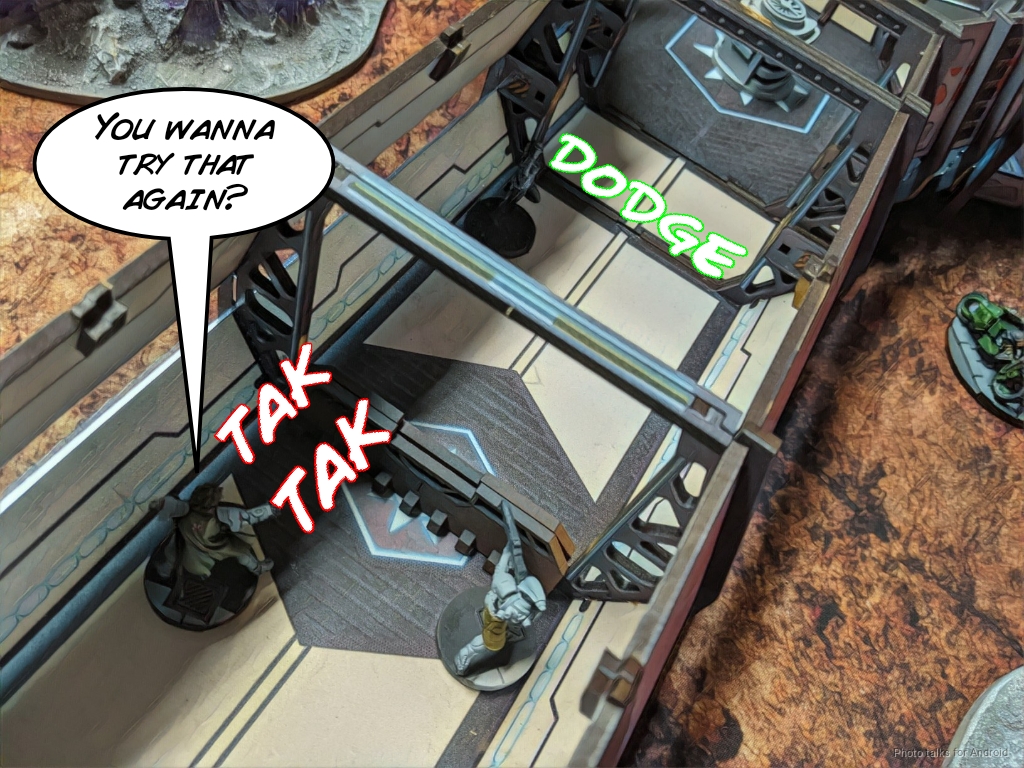
This movement also lets the Domaru get within 8″ to start throwing E/M grenades. I start by turning the Magister missile off, and manage to crit and hit the Knight of Justice shortly thereafter. Forcing 5 saves is enough to get through BTS 9. The E/M grenade that hits the KoJ clips the other Magister Knight but it dodges successfully.

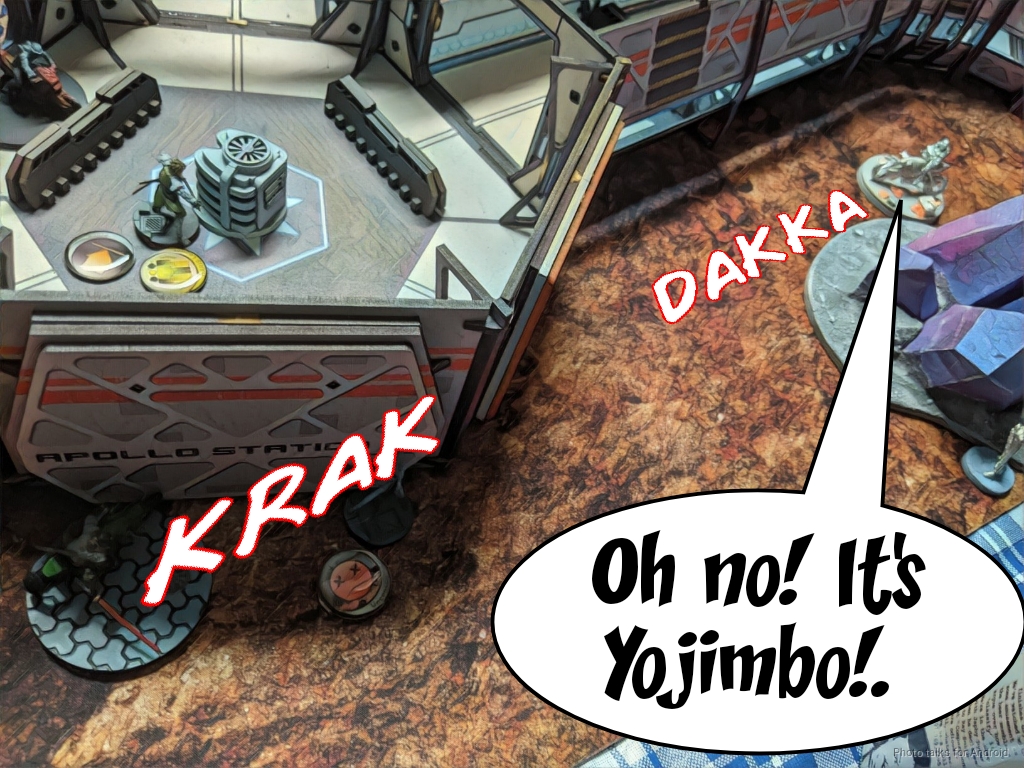
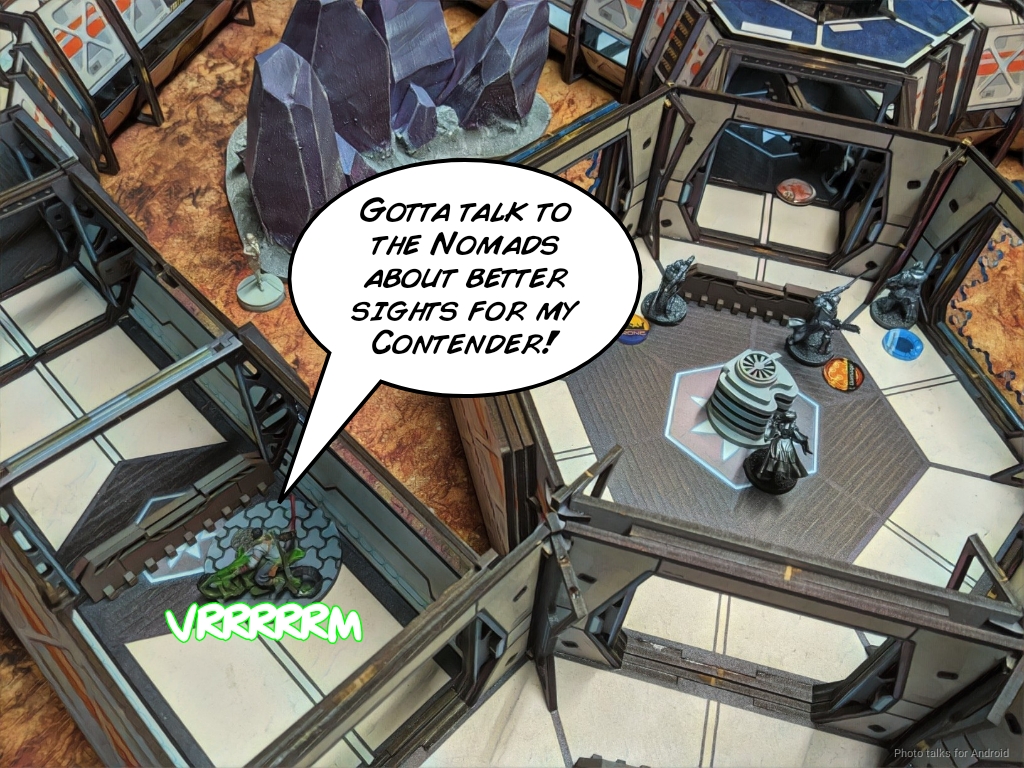
I’m feeling lucky, so I keep pushing with Yojimbo’s irregular order. This time, I hit and Adam fails both Contender saves, taking the Montesa down!

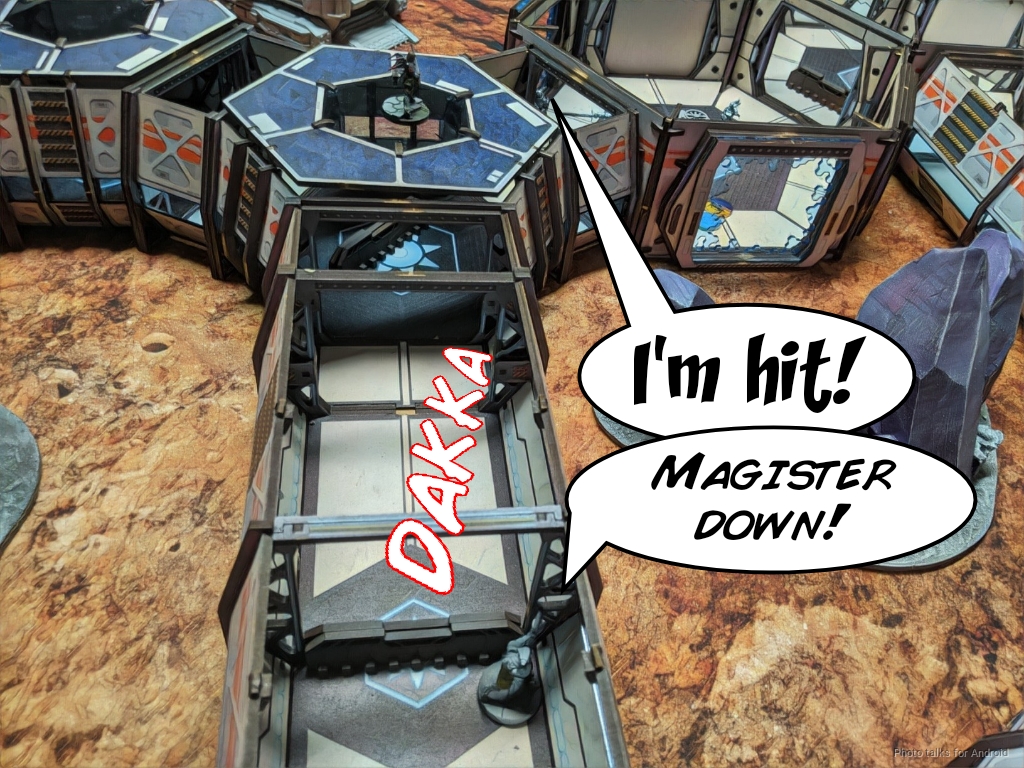
I need to take out that remaining Magister, so after using Neko’s tac aware order to slingshot into position, I activate my Domaru Spitfire Lieutenant. Two Lieutenant orders of DAM 15 spitfire is more than enough to drop the Magister.
I notice that Yuriko has a shot on the Black Friar, so I fire a pair of E/Mitter shots at him and whiff. In retrospect, I definitely should’ve shot him with her burst 4 combi, I was just seeing the blue with all the E/M explosions!
The Aragoto makes its way into the corridor system, and then I pass turn.
Turn 2
Top of 2 – MO
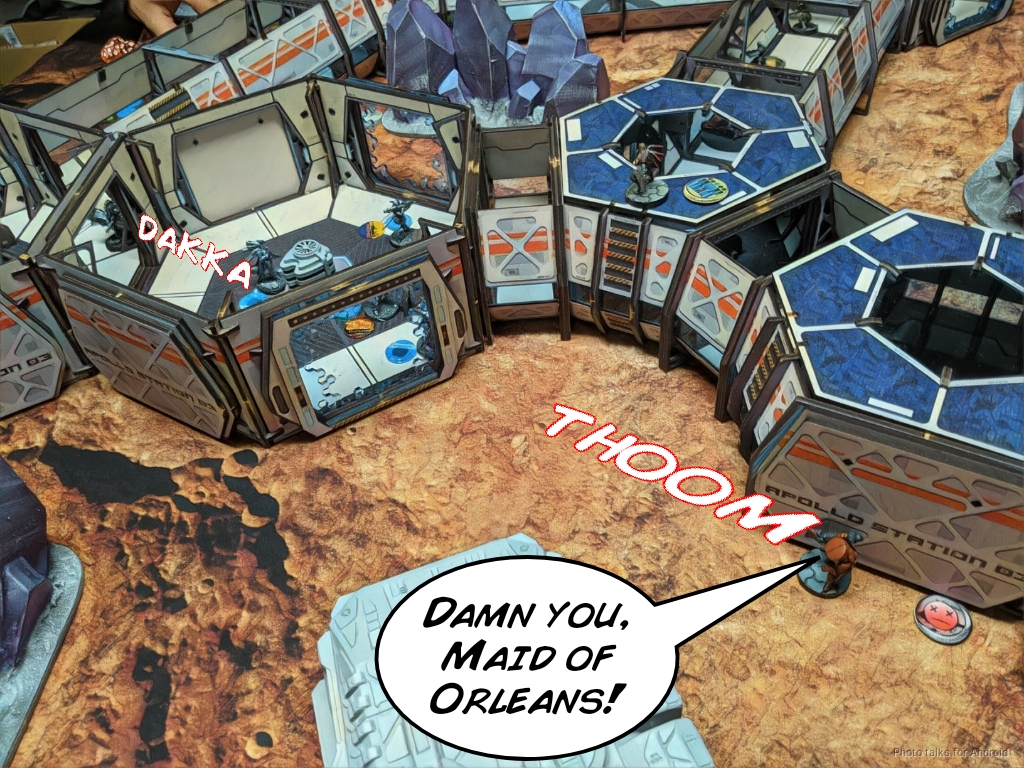
With Yuriko exposed, Adam tries to take her out with the the Black Friar, but I crit E/M him, isolating the Friar and putting a stop to any further shenanigans.
Joan makes her way from across the table to gun down my Red Tanko, and then Adam’s out of orders.
Bottom of 2 – JSA
Yojimbo snags “In Extremis Recovery” from the Montesa and the Aragoto stays put as she’d have to go towards the mess in the room full of knights.
I try to get Yuriko out of there to bring up a full 3-model core with her, Neko, and my Spitfire Lt, but she gets unlucky and rolls bad on her combi shots into the isolated Black Friar. A pair of failed DA saves and she’s off the table.
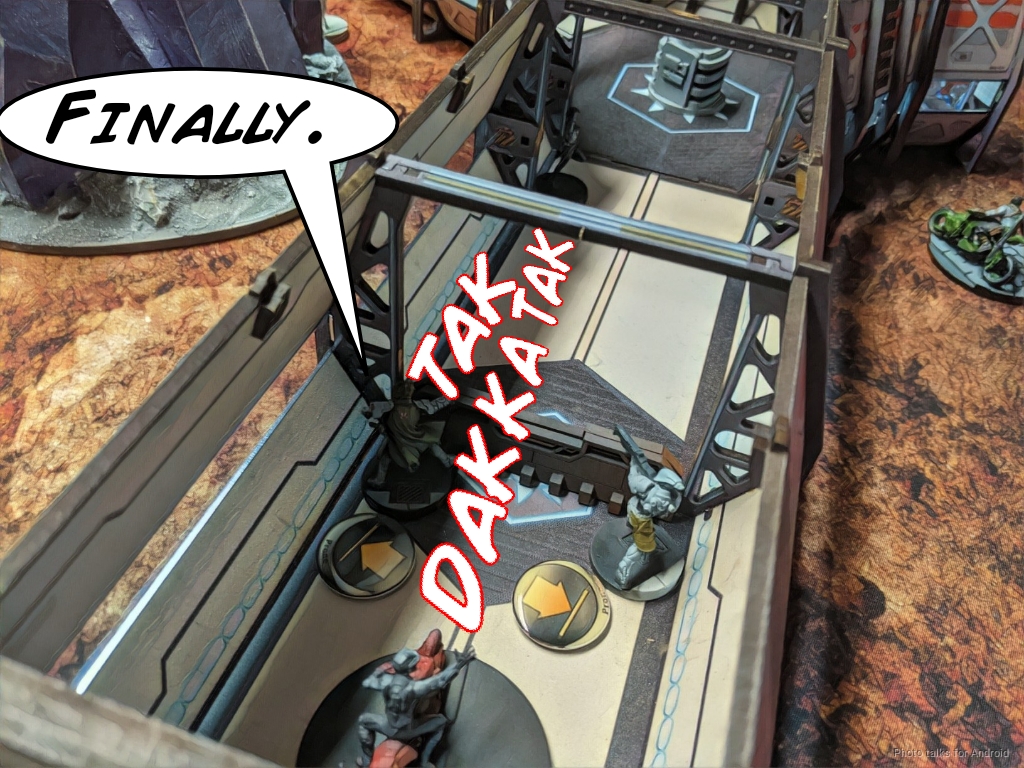
I decide to not worry about the link on the right and spend my Lieutenant orders trying to down the Tech Bee, who promptly crit flash-pulses my Domaru. I had forgotten that she was frenzied and lost cover, but thankfully between Adam and I we managed to remember and sort all of that out.
Neko tries to remove the TechBee next, threatening a chain rifle but actually using his Breaker pistols, but fails again.
I finally get the Aragoto into the mix, and fail to kill the TechBee again!

Finally, with a Coordinated Order to get the Aragoto out of there (she’s my only remaining specialist), Neko and the Aragoto finally drop the pesky Tech Bee.
Turn 3
Top of 3 – MO
Adam has a grand total of two orders left–Joan’s order and her Lieutenant order. She manages to barely escape the lava zone and put a wound on my Domaru who hucks E/M grenades at her with gleeful abandon.
Bottom of 3 – JSA
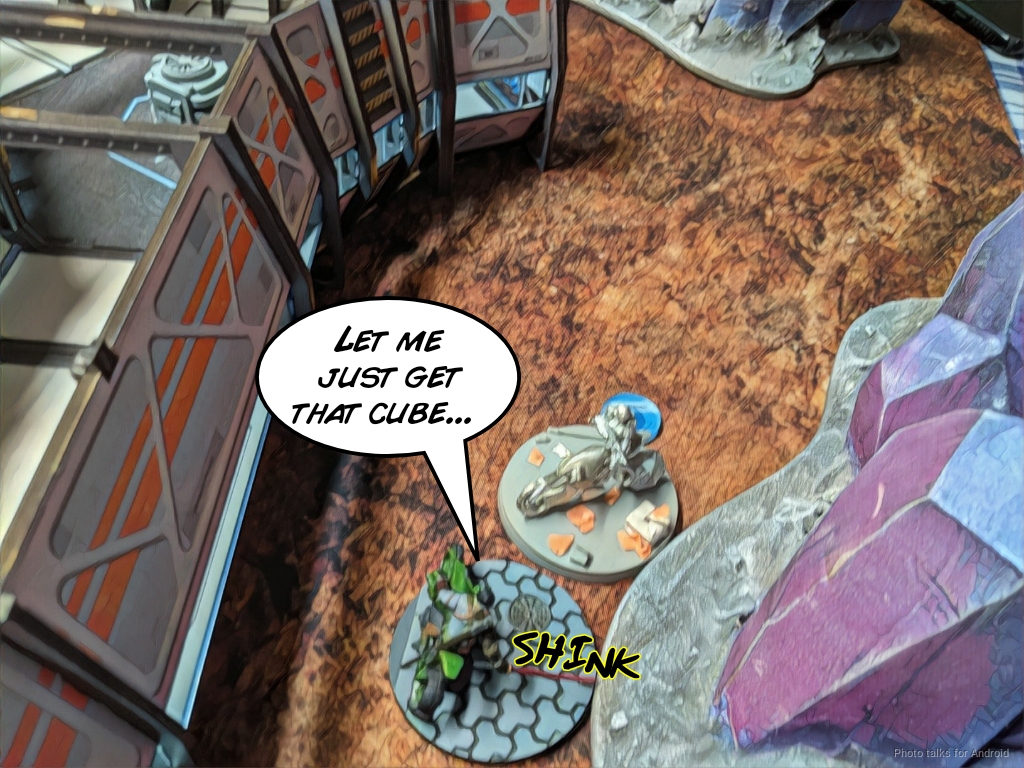
We do a quick tally of points and discover that all I need to do to win is to get all 3 classifieds and kill _something_. I decide to go after the Magister ML as that’s the easiest target. The Aragoto grabs “HVT: Designation” and everyone moves out of the danger zone before I attempt to take on the Magister. Yojimbo easily gets behind the entire link even in spite of the 1″-1″ movement penalty for Zero-G terrain. I fire a total of 4 contender shots into the Magister and whiff them all, but I end in Zone of Control of the HVT, securing it.
This gives me 3 classifieds to Adam’s 1, giving me an extra point. Adam’s got 150 something remaining and I’ve got 120 something, so he manages to bring it to
6-6 Tie!
Post Game Analysis
Well, it’s been a hot minute since I’ve played JSA, so I’m definitely a little rusty. I think I got a little overconfident and didn’t fail guts back into total cover with the Karakuri or the Daiyokai, which cost me quite a few orders. That’s actually the origin of the battle report title–Unnecessary Sacrifices. If nothing else that would’ve put me up a crap ton of orders thanks to NCO.
Yojimbo is much scarier now with a BS12 burst two contender. I’m very pleased by that upgrade, and it’s a nice consolation for him losing burst two in melee. I was definitely very lucky that I didn’t get him shocked off the table fighting that Red Fury, but I was feeling under pressure to get something done so I just went for it.
I really liked my list and the toolkit it brought to the table. It gave me that “just like riding a bike” feeling of familiarity even though this was the first time I’ve taken a full Domaru core before. Domaru were scary before and they’re terrifying now. That +1 Damage turned out to be relevant too, turning the spitfire into a shorter-range HMG and upgrading the E/M grenades for maximum pain. I think the struggle now will be to keep them out of future lists, because they’re so fun!
I was really happy with the way I played my active turns as well. I didn’t over commit and took very careful, calculated risks. A complete opposite to my last game versus Erik! There were definitely areas for improvement though. I think I should have capitalized on my Domaru Spitfire’s location and frenzy status to push her towards Joan at the bottom of two to try to get some more points off the table on Adam’s side. I could’ve easily shot down some stuff from out of LoF of Joan and then perhaps even challenged the Maid of Orleans herself–after reforming a link to remove frenzy, of course. Neko and the Aragoto could easily have handled that one little Tech Bee by themselves (obviously they had trouble in the game but statistically they should have been fine and in actuality were).
I think I lost this game due to some very minor, very correctable issues like my Spitfire positioning that I just described, and the not-falling-back issue with the Karakuri and Daiyokai. I like this list a lot and am really excited to try it out again! I might try to find a way to include a doctor, but I suspect that would be a waste of points and orders in practice. If the Kempetai gained a Paramedic profile though…
One could make the argument that the Karakuri and Daiyokai drained two orders in dying (total of 4, one to damage, one to kill), and that kept Adam’s link bunched up. I don’t think that two more orders would have made a hugely significant difference in outcome though, although it’s hard to say. I suspect that Adam would’ve spent those orders doing something like rescuing his Machinist (who died to the advancing biotechvore zone), and I would’ve had more orders and options on my first turn to really put the hurt on Adam’s link. I think my counterstrike took 6 effective orders off the table in one turn, which is brutal for a limited insertion list.
I’m really excited to finish getting through all the factions in N4 and return to my favorites like JSA for a second try… Thanks for reading! Take care, stay safe.


Pingback: Mission 035: Limited Insertion – Bromad Academy