Humboldt Irregular 2019 – Day 1
Instead of schlepping myself to work on a Friday morning, James (RomanLegion), Adam (TheDiceAbide), and I piled into my trusty car and started the 7-hour trek south to get to Humboldt County in northern California. If you’re looking for Day 2, here it is!
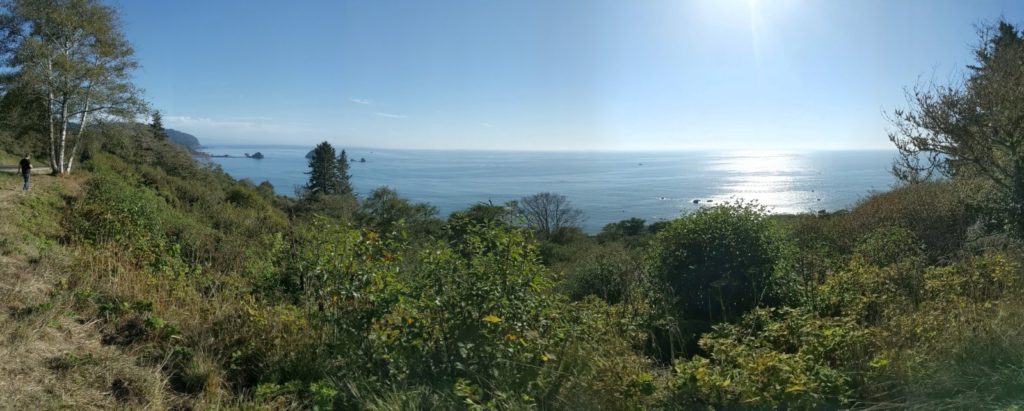
We did a little bit of strategizing in the car, but we spent most of the trip admiring the view.
Once we arrived in town, we met up with the locals for some grub, brew, and good company.
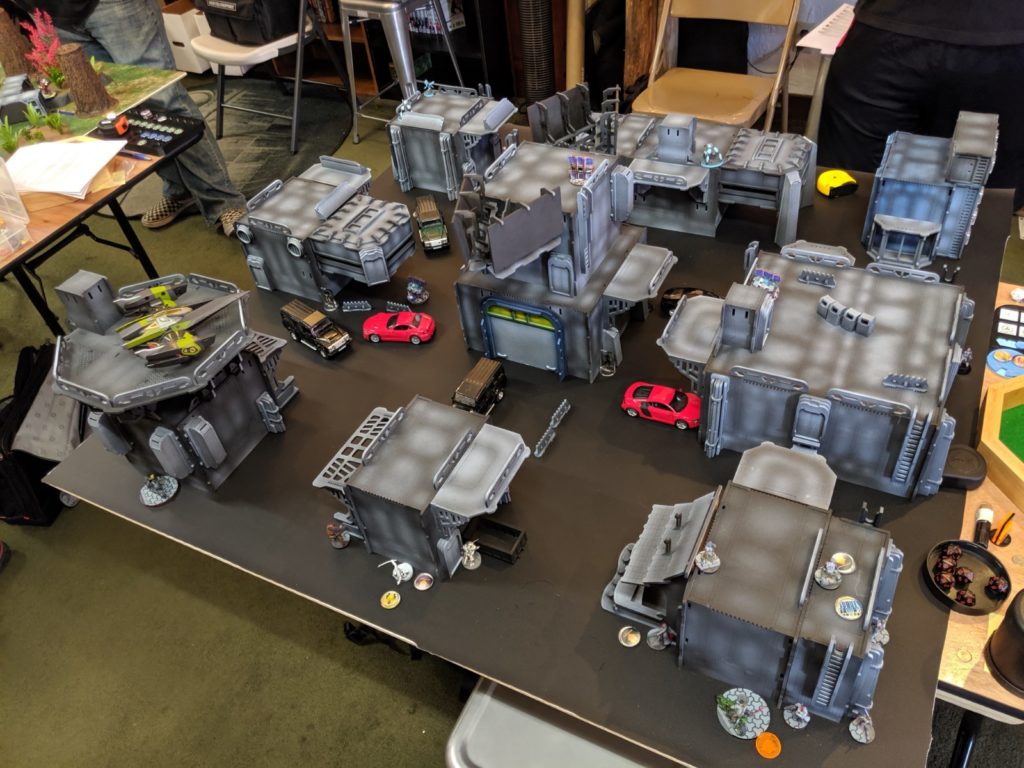
After probably having a few too many, we got ourselves over to the Scruffy Nerd Herder to help set up tables (and sober up) before retiring for the night. The Nerd Herder is more of a comic shop than anything else, but they have a great selection of Infinity stuff to support their local community. If you ever are in town, do stop by. Their proprietor, John, is a pretty swell guy and will happily talk shop with you for hours.
The Humboldt Irregular was something a little different. I’ll let the organizers speak for themselves:
Nestled deep in the Redwoods, our Northern California Infinity chapter is hosting a two day tournament with a twist. With a focus on sportsmanship and entertainment our tournament theme this year is the “Director’s Cut.” Five of your favorite ITS 10 missions have been re-edited, re-mastered and re-released to include themes and homages from some of the best cult movie classics of the 80’s and 90’s.
You can find the entire mission packet here, but I’ll include the relevant parts in each battle report.
 Game 1 – The Warriors
I was lucky enough to get paired up with Erik (Teelskire) for my first game. He unfortunately couldn’t make it up for Rose City Raid 2019, but that didn’t prevent him from winning the 2019 Q1-Q2 Cascadia Painting Contest!
He was also playing Nomads, which automatically gets him bonus points in my book. Sadly, I was simultaneously excited to meet him and pretty tired from the previous day’s drive, so I forgot to take my usual deployment pictures. A real shame too, because his models were painted beautifully!
Overview
- Mission: The Warriors (Frontline)
- Forces: Japanese Secessionist Army versus Nomads (300)
- Deploy First: JSA
- First Turn: JSA
Mission Scoring
MAIN OBJECTIVES
- To dominate the nearest Sector to your Deployment Zone (1 Objective Point).
- To dominate the central Sector (2 Objective Points).
- To dominate the farthest Sector from your Deployment Zone (4 Objective Points).
- To kill more gangers then your opponent (2 Objective Points).
CLASSIFIED
- Each player has 1 Classified Objective (1 Objective Point).
Mission Special Rules
DEPLOYMENT
Both players will deploy on opposite sides of the game table, in a standard Deployment Zone 12 inches deep. It is not allowed to deploy in base to base contact with a Ganger.
GANGERS
There are a total of six Gangers on the game table. Each player will place three Gangers on the game table in deployment order but before either player deploys their army. The players must deploy their Ganger models a minimum of 4 inches outside of any Deployment Zones at at least 4 inches from each other. Players cannot place their Gangers either on top of or inside of any Scenery Item or Building, always deploying it in an accessible location on the table. Scenery placement must facilitate this.
Gangers are considered hostile to both players. The player who has the Reactive Turn decides on the ARO of the Gangers and controls them as though they were their own troopers during the Reactive Turn. Gangers always fail Guts tests.
At the end of each round, every Ganger will take a single short skill to use a BS attack against the closest model within it’s LOF, or a CC attack if in the engaged state. The model being targeted may ARO as normal.
Ganger
| MOV | CC | BS | PH | WIP | ARM | BTS | W | S |
| 4-2 | 15 | 11 | 11 | 13 | 2 | 3 | 1 | 2 |
Equipment: 360° Visor, Rifle, CC Weapon
Main Differences
The Warriors is basically Frontline with 6 hostile BS 11 rifles hanging out somewhere in the midfield. Whoever goes first will definitely be able to get more ganger kills, so in our morning coffee strategy session we thought it best to put more AROs on your opponent if you were going second. Seemed reasonable.
Welcome to Nope Town
GROUP 1 |9
1
2
KUROSHI RIDER Lieutenant Combi Rifle + Light Flamethrower / Breaker Pistol, AP + Shock CCW. (0 | 33)
YURIKO ODA Combi Rifle + E/Mitter, D-Charges, Antipersonnel Mines / Pistol, CCW. (0 | 23)
KEMPEI (Chain of Command) Boarding Shotgun / Pistol, CCW, Electric Pulse. (0 | 21)
KEISOTSU (Forward Observer) Combi Rifle / Pistol, Knife. (0 | 10)
GROUP 2 |
KARAKURI Mk12, Chain Rifle, D.E.P. / Pistol, Knife. (0 | 43)
YOJIMBO Contender, Nanopulser, Smoke Grenades, CrazyKoalas (2) / Pistol, DA CCW. (0 | 21)
TANKŌ Missile Launcher / Pistol, Monofilament CC Weapon, Shock CC Weapon. (1.5 | 32)
MIYAMOTO MUSHASHI (Regular, Fireteam: Haris) Chain Rifle, Flash Pulse / Pistol, AP CCW, EXP CCW. (0.5 | 28)
6 SWC | 300 Points | Open in Infinity Army
Adam has been ragging on me to start playing two order group JSA. Which means at least 13 orders to make it worthwhile. I had some trouble figuring out what to play for this tournament in general. I decided to do a redux of the double Tanko ML list I brought to the Best of the Pacific Northwest. That list also had two bikes to make up for the lack of mobility, but this time I dropped the Ryuken to add more missiles and a Karakuri.
I made the silly? mistake of not putting Yojimbo into the second group, which was somewhat of a problem during the tournament, but ah well. I did like the fact that I added a bunch of extra bodies for the link, which is something that Barakiel has promoted before and I found useful during the tournament. The second group of this list is very throwaway, which is funny because it’s 90+ points. Expect to lose it, but it’s draining a bunch of orders from your opponent. If it lives, though…
Game 1 – Teelskire
MOBILE BRIGADA Lieutenant MULTI Rifle + Light Flamethrower / Pistol, Knife. (0 | 39)
INTERVENTOR Hacker (Killer Device Plus UPGRADE: Lightning) Boarding Shotgun, 1 FastPanda / Pistol, Knife. (0 | 20)
ZERO (Forward Observer) Combi Rifle, Antipersonnel Mines / Pistol, Knife. (0 | 19)
SPEKTR Hacker (Assault Hacking Device) Combi Rifle / Pistol, Knife. (0.5 | 36)
DAKTARI Combi Rifle / Pistol, Knife. (0 | 14)
INTRUDER HMG, Grenades / Pistol, CCW. (1.5 | 42)
KRIZA BORAC HMG / Heavy Pistol, CC Weapon. (2 | 54)
SIN-EATER MULTI Sniper Rifle / Pistol, CCW. (1.5 | 33)
HELLCAT Boarding Shotgun / Pistol, Knife. (0 | 21)
Erik brought a grab bag of Nomad models with the two HMG kings–the Kriza and the Intruder. He also brought something I rarely see, a Sin-Eater MSR. It was a real pain in our game, and I’ll have to revisit using it when I eventually circle back to playing Nomads soon. I’ve got a fair amount of time piloting Nomads, and while this list isn’t really my jam, many of my favorite units are in it.
I think my primary issue is that this list is weighted more heavily towards direct killing power than I usually do. This is a reflection of the mission composition though, so that makes sense.
Deployment
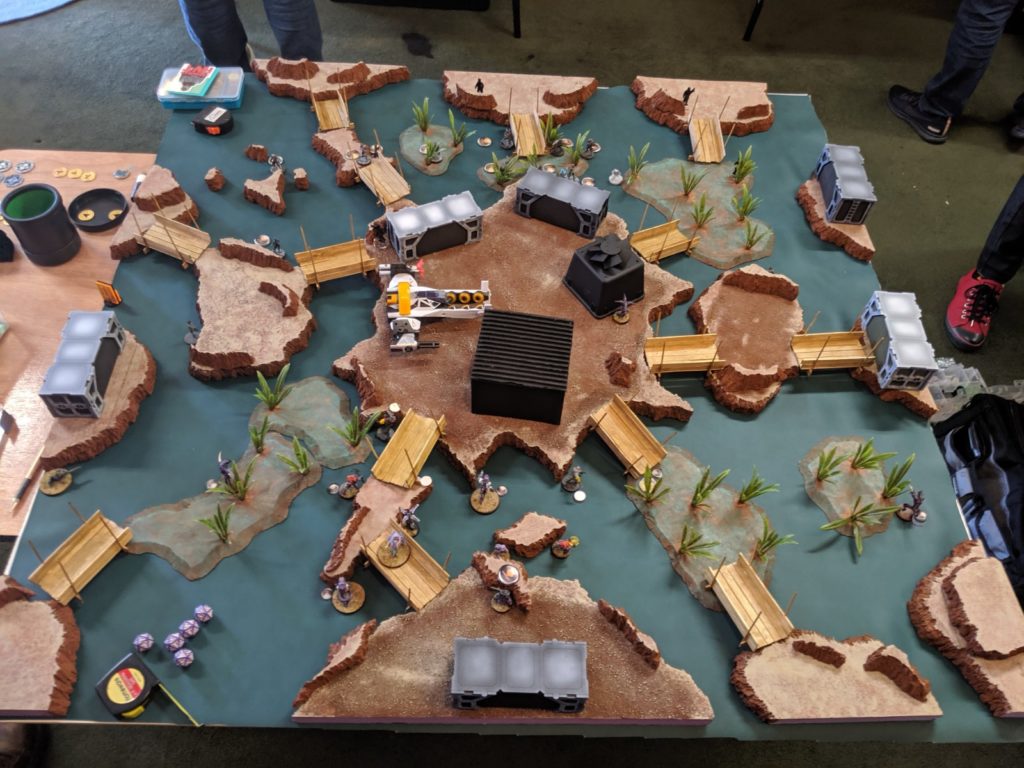
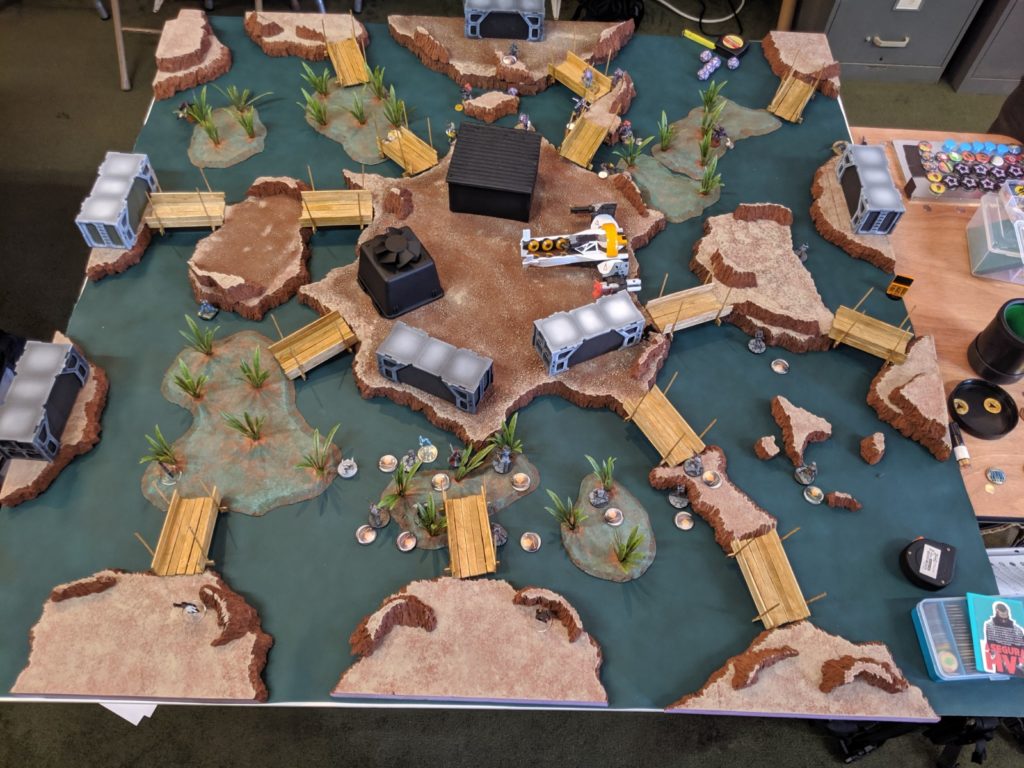
I dropped the ball on this one and was too busy talking shop with Erik to take pictures of deployment. Here are some pictures from another game on this table to give you at least a feel for the layout.
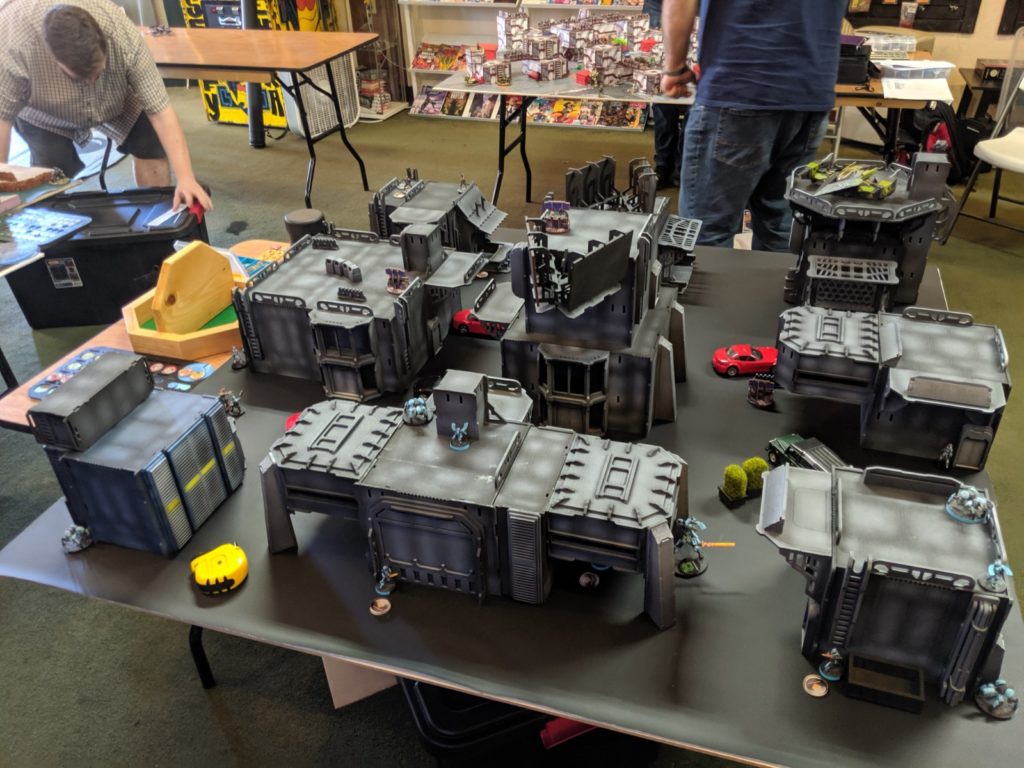
I put my gangers in the open with easy LoF to all of them, then I set up on the side with the large central building in the deployment zone. One Tanko and Musashi went on the roof of that building with the Tanko watching the long firelane from the roof, as they could make it into the first scoring zone by crawling forward. The second Tanko when on the ground floor, using a car for cover.
My link deployed on the right side, tucked into various parts of the building, with a Keisotsu and Yuriko tucked into the columns of the building roughly where the Marut is in the picture above. Yojimbo went on the right with Kuroshi rider in the middle. My Karakuri went on the left with a single Keisotsu for backup.
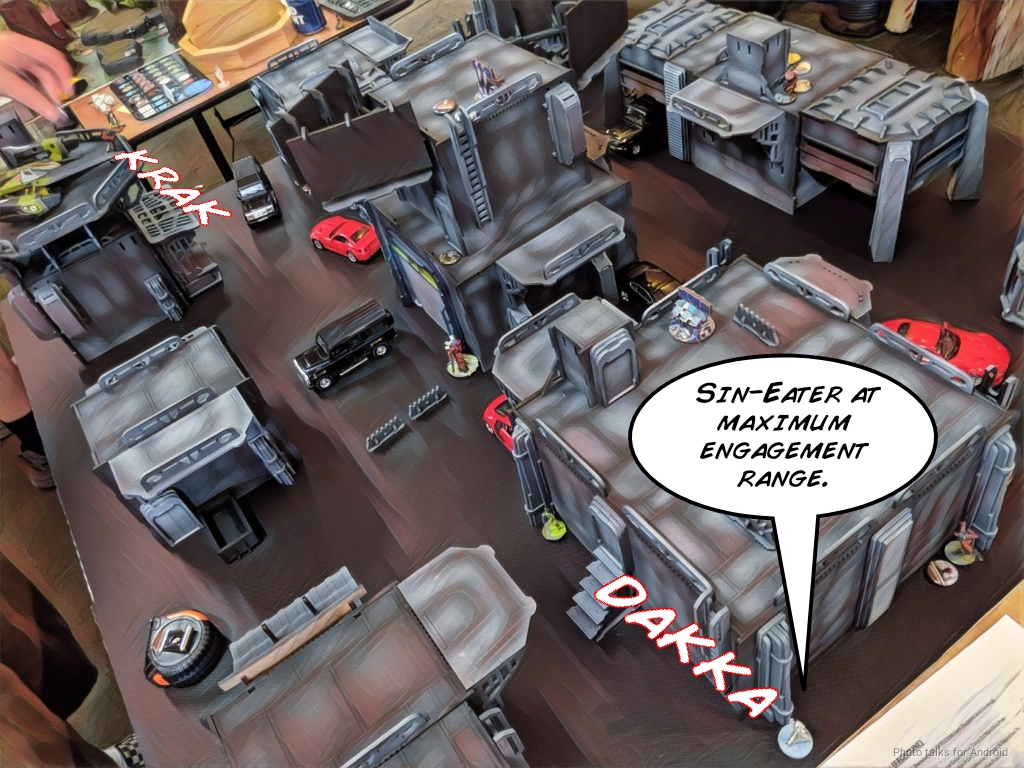
Erik deployed his Brigada, his Daktari, and his Kriza all bunched up where my Tanko haris is in the picture below (in the center). His Sin Eater sat on top of the helipad on the left overlooking entirely too much of the board, and he put his Spektr and Zero on the tall central building to score points at the end of the game.
His other Zero was on the ground floor on the left, with the Intruder hanging out on the right in cover, watching that big firelane. He also put his gangers on my side of the table to generate a bunch of AROs and box me into my deployment zone.
Turn 1
Top of 1 – JSA
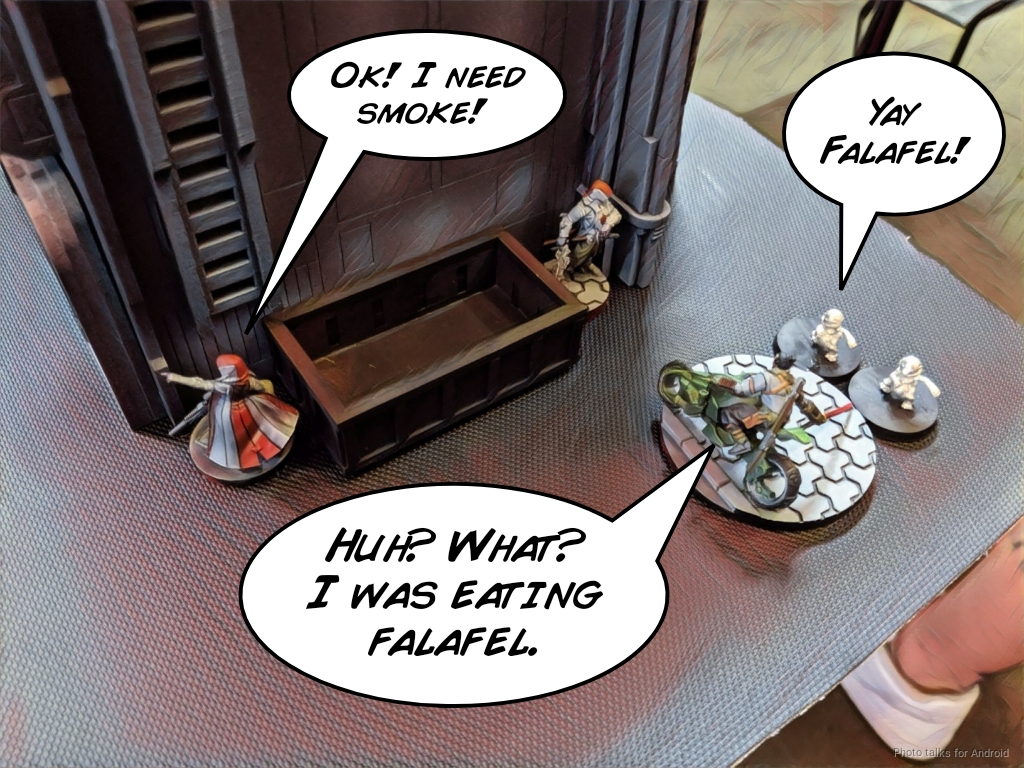
I put Yojimbo into the second combat group with a command token and Erik docked me two orders from that group. Smart! After canceling Yojimbo’s impetuous order with a regular one, I only had his irregular order to throw smoke onto my Kempetai MSV2… so I of course flub the roll.
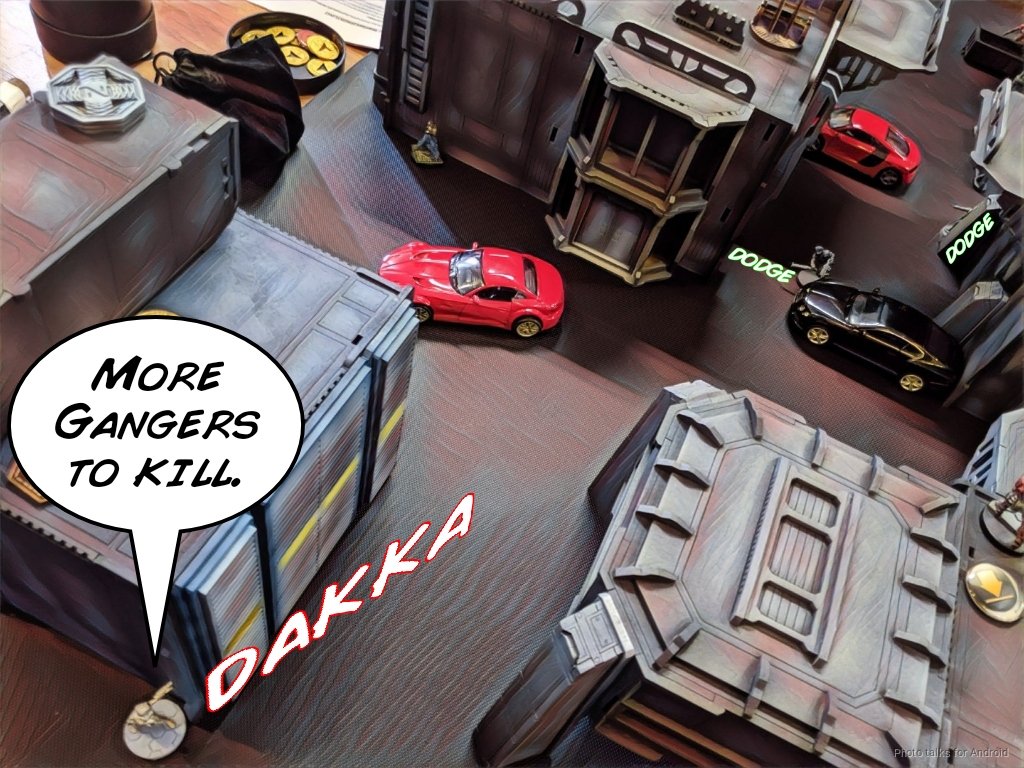
Kuroshi Rider didn’t want to move either, so I left her where she was. Well, if I can’t take out the Sin Eater through smoke, it’s time to start plinking away at the gangers. The Kempetai pokes out a little and starts gunning them down.
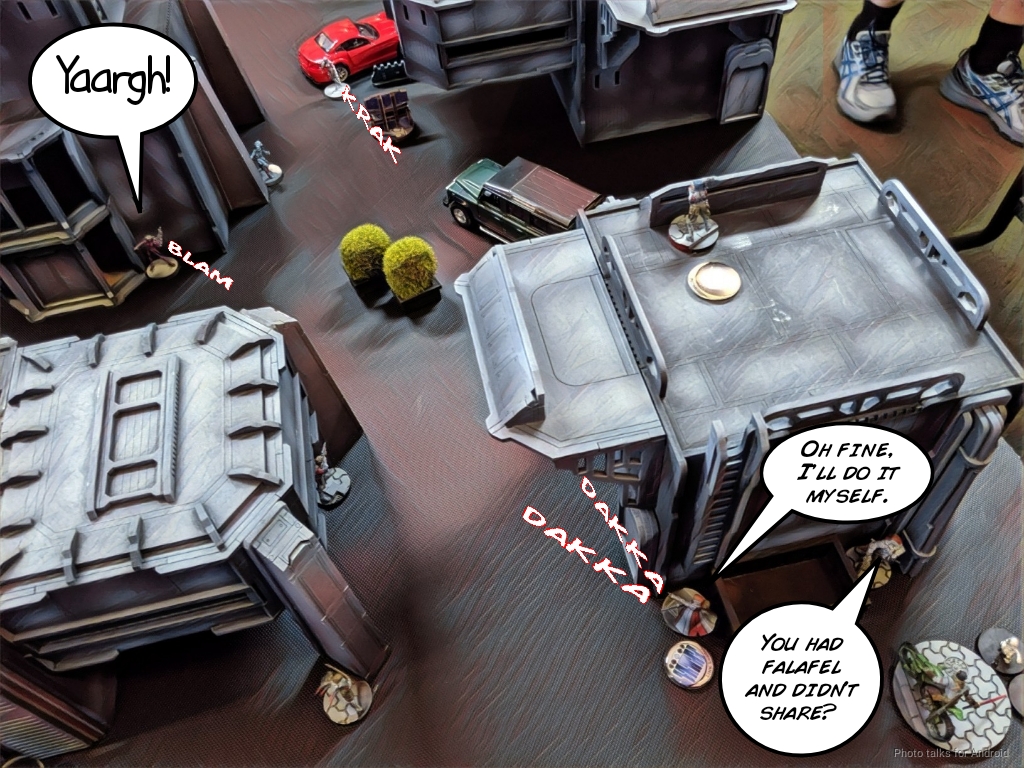
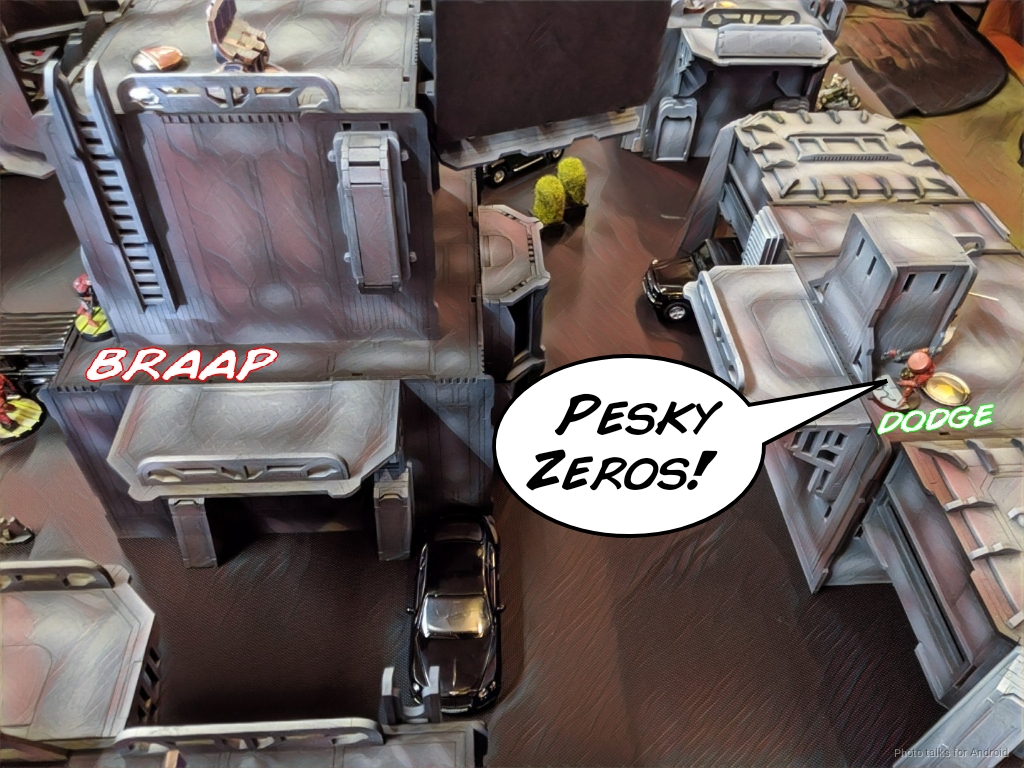
There are some on the other side of the table, so the Karakuri takes entirely too many orders to take them out.
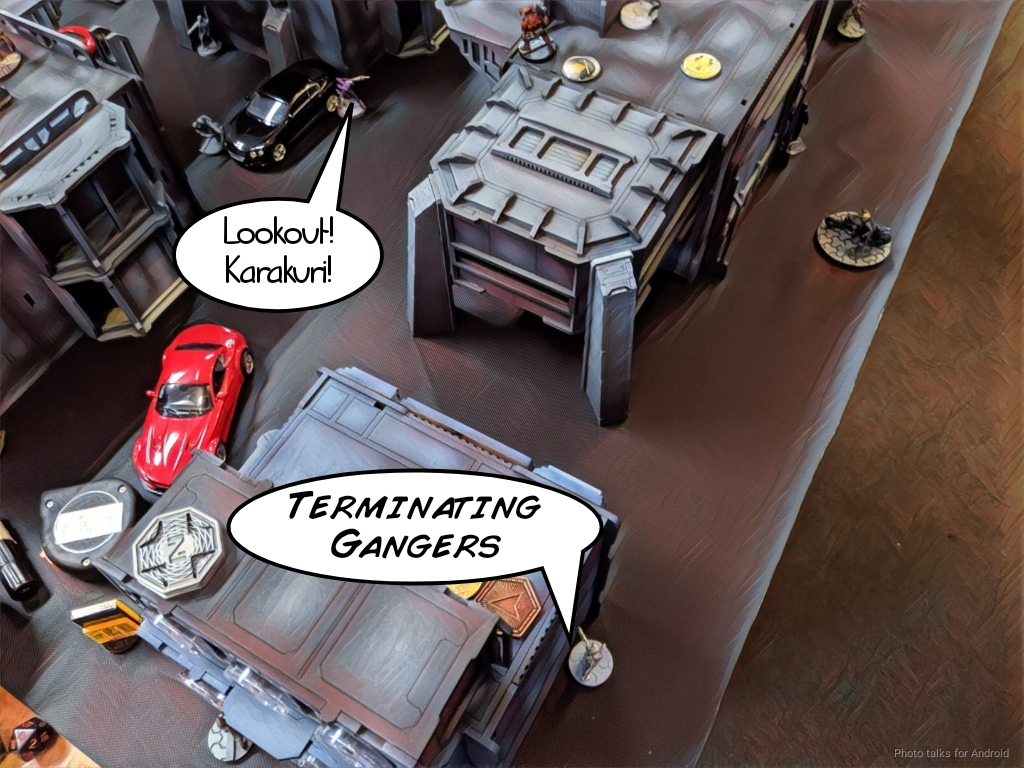
One even manages to dodge his way back into cover before dying.
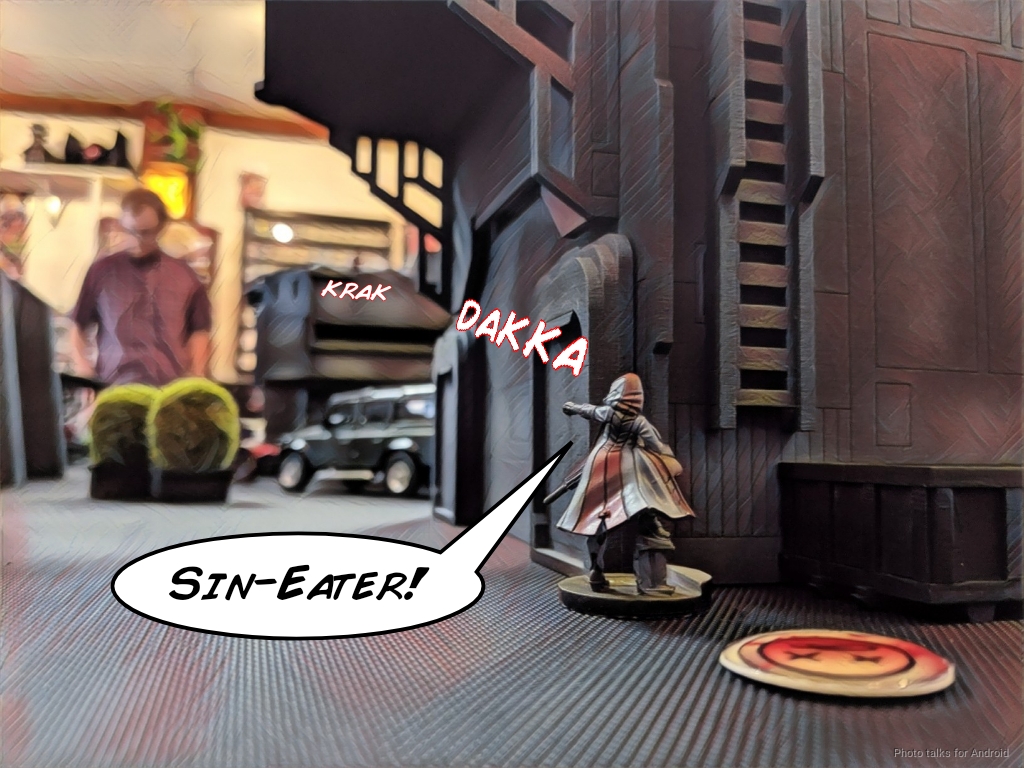
I can afford to go for a risky play of going after the Sin Eater now, so I try for it.
| 28.46 | 27.12 | 44.42 |
I roll four misses and take a single DA round to the face, which knocks out my Kempetai.
There’s one ganger left, which I take out by shifting Yuriko into a position to ARO the Kriza if it decides to come that way. After reforming the link and shuffling up the Keisotsu on the left, I pass turn.
Bottom of 1 – Nomads
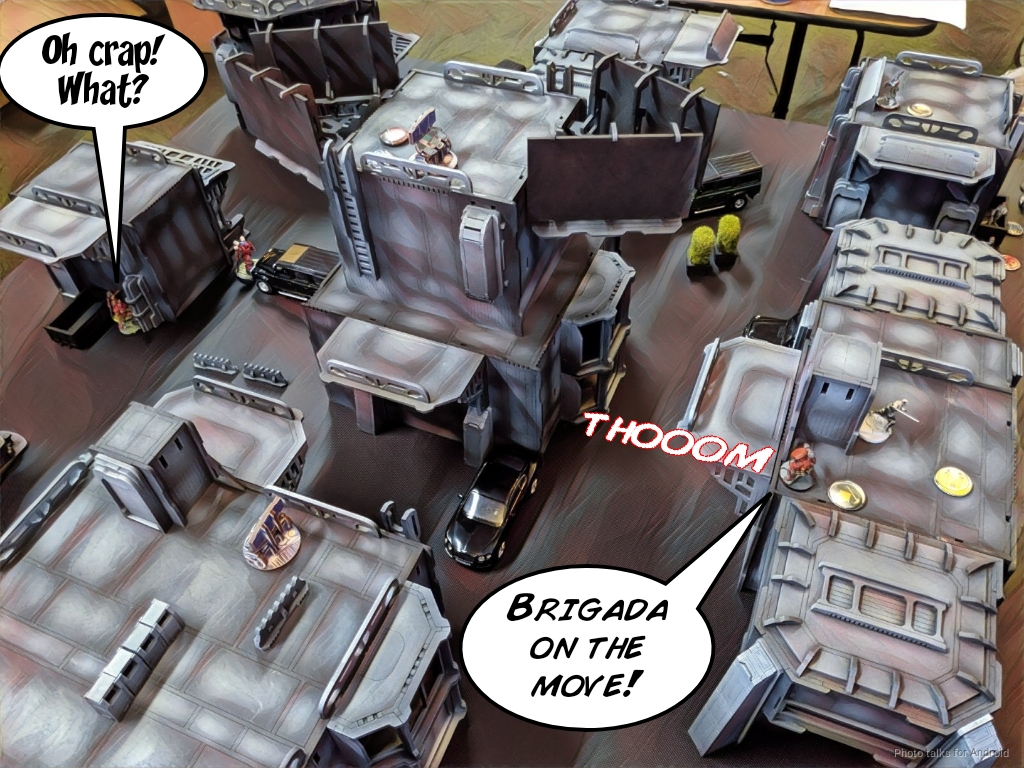
Erik decides to chance a coordinated move-move with his Brigada (who I suspected was his Lt), Daktari, Kriza, and Zero on the tall central building. The issue is that one of my Tanko can see both the Daktari and Kriza as they’re walking around in the open and can template them both. I suggest a dodge or some other course of action, but Erik is committed–he wants to get his troops moved up. I applaud his focus, but sadly the Brigada and the Daktari exploded.
Erik goes for the Hellcat drop next, trying to hunt my link team, but sadly deviates off the table and back into his deployment zone.
He has whichever classified requires getting one of those cool trooper types into LoF of my HVT, which is something the Hellcat can do. The Hellcat chugs its way up the board and makes it into LoF of the Keisotsu I had moved up into the middle to guard my HVT and takes her out.

Finally, he surprise shots one of my Tankos with the Zero on the central building, but fails to wound.
Erik’s out of orders so he passes turn.
Turn 2
Top of 2 – JSA
After canceling impetuous orders again, I start pushing up the Karakuri, first taking out the Hellcat. Erik’s also got a Interventor KHD on that side of the table and the Karakuri makes short work of that as well.
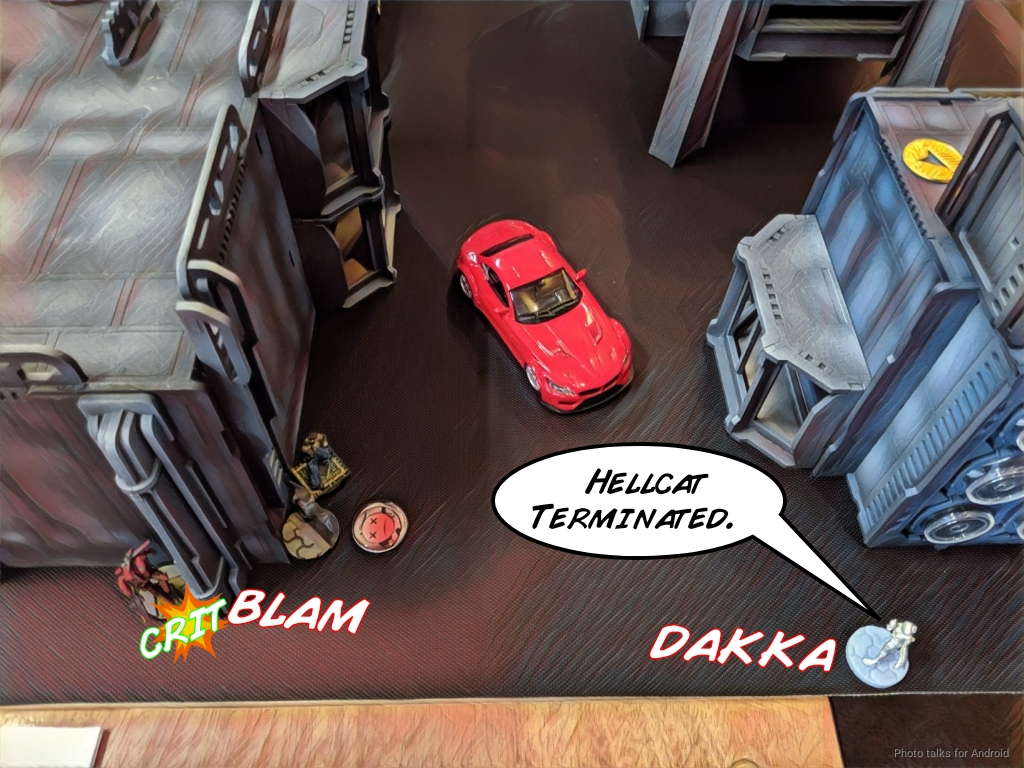
I then take a big risk and throw some Mk12s at extreme range to remove the Sin Eater. I have pretty meh chances for this to work, but I’m in cover and the Sin Eater isn’t so I’m just hoping for the best.
| 16.49 | 39.70 | 43.81 |
I’ve got three dice on 4’s and Erik’s got two on 13’s. He rolls two 14’s, I roll a single 3, and DAM 15 does the rest. Don’t try this at home, kids!
I retreat around the corner and pass turn. With the Sin-Eater down, my next turn will be much more mobile as the bikes are now free to move.
Bottom of 2 – Nomads
I was right about Erik’s Lt being the Mobile Brigada, so he’s in Loss of Lieutenant. Unwilling to take this fact lying down, he starts spending orders on the Kriza like it’s his job! First the Keisotsu ML goes down to a double crit…
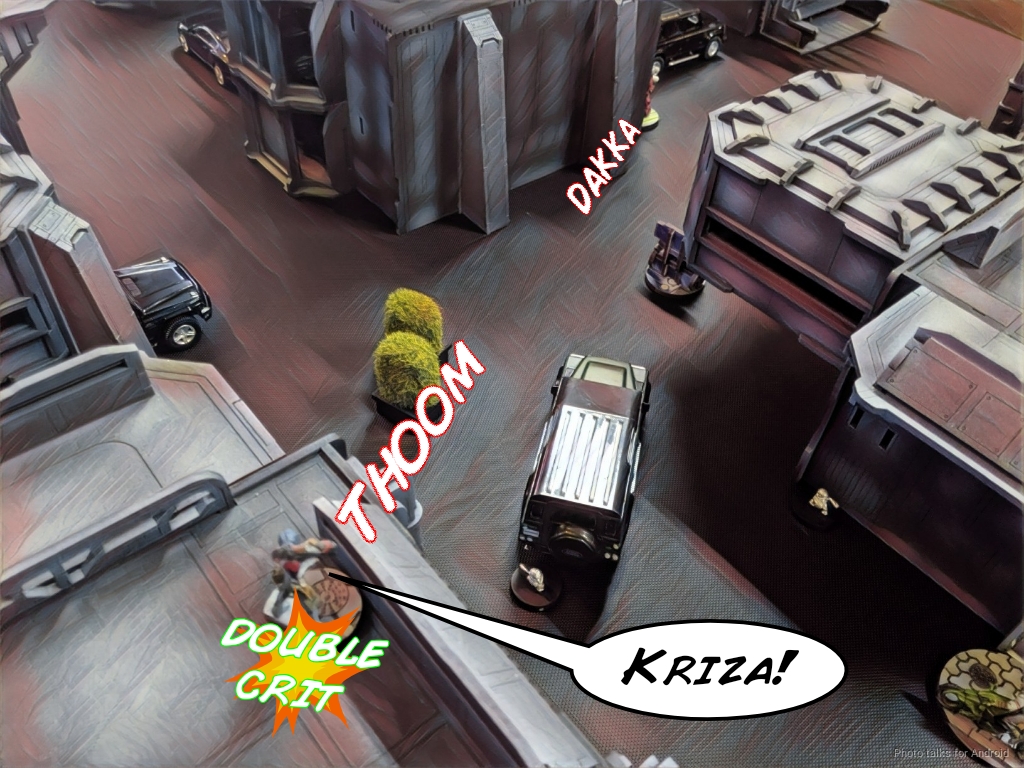
then the Kriza rolls out in front of Yuriko and the Tanko ML, killing Yuriko and putting a wound on the Tanko! What a boss!
His Zero makes a reappearance and puts a wound on my Tanko, forcing it into cover, and then he’s out of command tokens and orders.
Turn 3
Top of 3 – JSA
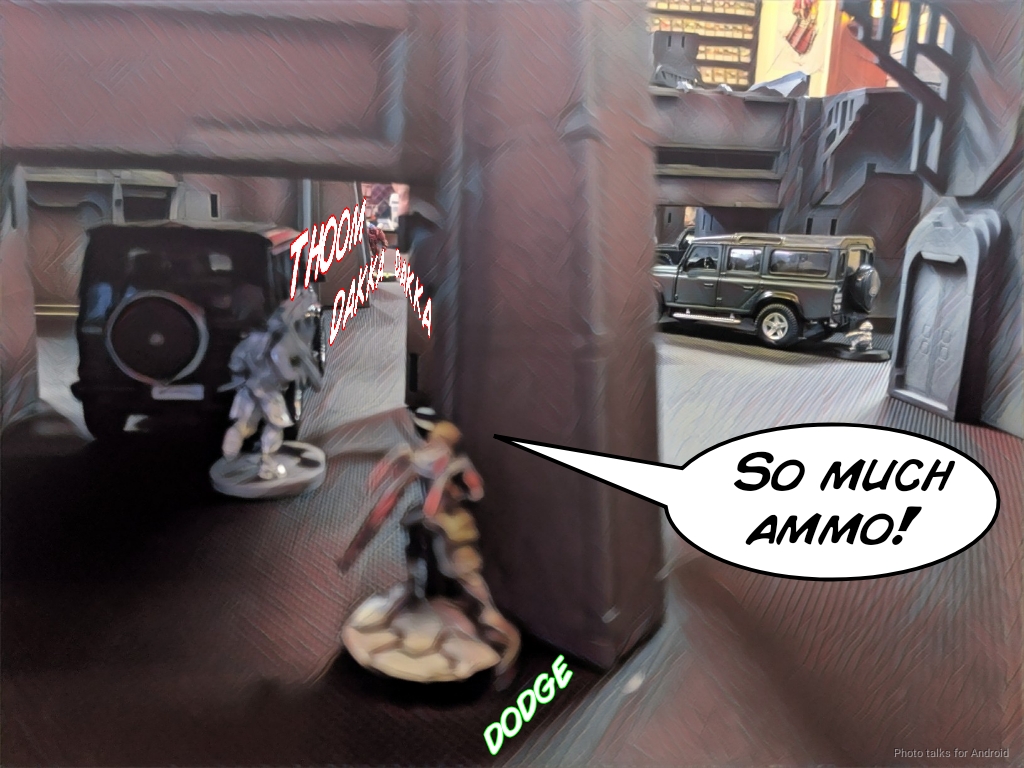
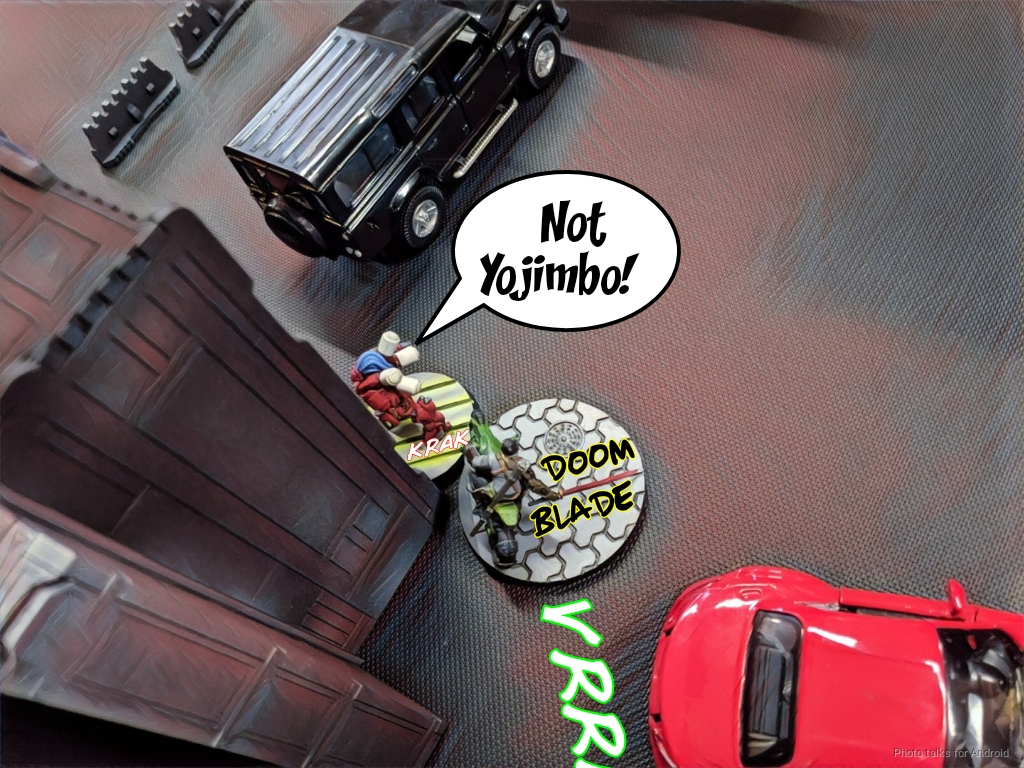
I unleash Yojimbo, who immediately rolls into base to base with the Kriza after going into NWI from the Kriza’s HMG fire. I choose MA3 to negate Full Auto. As it turns out, this was the wrong decision–I get a pretty significant boost to my odds of KOing the Kriza in one order (and to winning the face to face roll) by choosing MA4. It is slightly less safe though. While I don’t crit, Yojimbo manages to do two wounds thanks to DA.
I get a Keisotsu and Kuroshi Rider (with her impetuous and lt order, very efficient!) into the middle zone, and pile my Tanko Haris into the near zone. My Karakuri pushes all the way into Erik’s DZ, takes out Erik’s Zero on the roof, and discover-chain rifles Erik’s Intruder.
Bottom of 3 – Nomads
I ran out of orders, but Erik’s now in retreat. I’ve got the near zone, Kuroshi Rider + a Keisotsu out-point the Spektr AHD, and it turns out that Yojimbo is fully within the far zone. With the Karakuri securing Erik’s HVT, it’s a
10-0 Japanese Secessionist Victory!
Post Game Analysis
I think that one mistake of losing the Brigada and the Daktari in Erik’s first turn snowballed into a major collapse for him. The table didn’t do him any favors either. There are several main firelanes on the table, which form a “#” essentially. Two horizontally in front of each deployment zone, and two running the length of the table, DZ to DZ. Erik set up an Intruder HMG to cover one of the DZ to DZ firelanes and the Sin Eater to cover the other, as well as the firelane across his deployment zone.
This was all well and good, but I elected to not use the firelanes until absolutely necessary, and contested them with quality AROs from the Tankos. This basically removed the Intruder and Sin Eater from consideration as my Karakuri was free to move around on the table edge thanks to all the tall buildings. It did deny free movement for my bikes, but I was perfectly content to sit in my deployment zone for my first turn and deal with the Gangers while remaining out of LoF from all of Erik’s AROs (which included the Kriza watching the same firelane as the Sin Eater).
Once the Sin Eater was gone, I was able to use the bikes to push forward and get some work done. Erik didn’t set up the same way, instead opting to contest the main firelanes which we both had locked down with good AROs. The Kriza is capable of pushing through a firelane on his own, but the Brigada MULTI isn’t, especially if he’s hampered by a coordinated order.
Erik had a good Loss of Lieutenant turn though, ramboing the Kriza around, killing two orders and almost killing the Tanko on that side without even taking a hit in return. We discussed post game how he could’ve used the Spektr to dismantle my Tanko ML on turn one though. He could’ve easily dropped a -12 to hit on my Tanko, and while the combi isn’t particularly high damage, he could’ve denied me cover by being above me and seeing most of my base behind what meager cover geometry I had. Using the Zero was alright, but he was just out of 16″ so his chances dropped dramatically once my Tanko dodged into cover. This would’ve given him a whole turn with the Kriza to push a firelane and put me into a tough position.
In general, I was pretty happy with my plan and the way it played out:
- Use the Tankos to slow Erik down–they killed his Lt and slowed down the Kriza.
- Clear the way for the bikes with something–Kempetai didn’t do it, but the Karakuri did.
- Push the bikes forward late game to get stuff done–Yojimbo being in the far zone and taking out the Kriza is textbook.
Thanks to Erik for all the work he put in on the tournament–he assembled and painted three tables as well as 6 models worth of prize support! The fact that he was around to play and give me a great game was just icing on the cake. Thanks Erik!
Regarding the custom mission, I think it was fun. I’m not entirely sure about it being balanced, as killing the gangers is very easy for the first turn player, but this is probably offset by having the last turn in an area control mission. I’d be happy playing it either way (normal or custom) in a tournament, but I’d need a few more plays to really get a feel for balance.

Game 2 – Dante’s Peak
I’ve been only a few degrees of separation away from Reuben due to being friends with a bunch of folks in his meta. I’d met him a few times at various events, but never actually rolled dice with him.
At the time of the tournament, Reuben was ranked at #1 in the world for the ITS X season and had just returned from a great showing at the Interplanetario. So it was with a healthy amount of mixed apprehension and excitement that I shook his hand, wished him a good game, and got down to business.
Overview
- Mission: Dante’s Peak (Biotechvore)
- Forces: Japanese Secessionist Army versus Combined Army (300)
- Deploy First: JSA
- First Turn: JSA
Mission Scoring
MAIN OBJECTIVES
- To accomplish more Classified Objectives than the adversary (1 Objective Point).
- To Kill more enemy Army Points than the adversary (2 Objective Points).
- If you have between 75 and 150 surviving Army Points. (2 Objective Points)
- If you have between 151 and 250 surviving Army Points. (3 Objective Points)
- If you have more than 250 surviving Army Points. (4 Objective Points)
CLASSIFIED
- Each player has 3 Classified Objectives (1 Objective Point for each one).
Mission Special Rules
DEPLOYMENT
Both players will deploy on opposite sides of the game table, in a Deployment Zone 12 inches deep.
Confused Deployment: Any trooper using a Special Skill to deploy outside their Deployment Zone must make a PH-3 Roll. If the player fails the roll, the trooper will be deployed anywhere his Deployment Zone. Special Skills, pieces of Equipment, or rules that apply any PH or WIP Roll to deploy must replace it with this roll. Any MOD applied to the Deployment by a Special Skill, piece of Equipment, or rule will be added to this roll.
LAVA AREA
At the end of each round the Lava Area will increase by 6 inches, starting from the back edge of each players deployment zone. Any trooper or piece of equipment with the wounds or structure attribute that enters the Lava Area or ends the round in the lava must make an ARM Roll against damage 14 Fire. Troopers with Special Skills or pieces of Equipment with the Fire-Sensitive Trait enter the Burnt state regardless of the result of their ARM Roll.
Main Differences
It’s basically Biotechvore with moving death zones that are fire damage. Pretty awesome and thematic. What’s really important is that you get normal 12″ deployment zones as opposed to the 8″ zone of Biotechvore… so you don’t have to worry about your guys at first… but….
GROUP 1 |
OYAMA Lieutenant Chain Rifle, E/M Grenades / Breaker Pistol, AP CCW, EXP CCW. (0 | 28)
GROUP 2 |
RYŪKEN (Forward Deployment L2, ODD) Submachine Gun, Antipersonnel Mines, D-Charges / 2 Breaker Pistols, Knife. (0.5 | 24)
SHINOBU Combi Rifle, Nanopulser, Smoke Grenades / Pistol, Monofilament CCW. (0.5 | 47)
SHIKAMI Contender, Nimbus Grenades / Assault Pistol, DA CCW, AP CCW, Knife. (0 | 45)
TOKUSETSU EISEI Doctor (MediKit) Combi Rifle / Pistol, Knife. (0 | 14)
YÁOZĂO Electric Pulse. (0 | 3)
5 SWC | 300 Points | Open in Infinity Army
There was too much terrain for me to really want to take my bike list, so I took my other list. If I could succeed at the confused deployment roll on my Ryuken-9 and Kitsune, I’d be in pretty good shape. The table itself was full of open firelanes–most of the “islands” did not block LoF to even S1 models! To compensate for this, it was covered in lots of difficult terrain patches that also granted saturation and low-visibility effects. This further convinced me to not take bikes–I’d be dodging at -6 on a bike. I figured having all the ODD would be helpful as well.
Game 2 – Polynikes
GROUP 1 |GROUP 2 |
CHARONTID Lieutenant Plasma Rifle, Sepsitor Plus / Heavy Pistol, Knife. (0 | 77)
Q-DRONE HMG / Electric Pulse. (1 | 26)
KRAKOT RENEGADE 2 Chain Rifles, Grenades / Pistol, DA CC Weapon. (0 | 14)
DĀTURAZI Chain Rifle, Grenades, Smoke Grenades / Pistol, AP CCW. (0 | 14)
HAIDUK AP Marksman Rifle / Pistol, Knife. (0.5 | 22)
MED-TECH OBSIDON MEDCHANOID Combi Rifle, D-Charges / Pistol, Knife. (0 | 23)
SLAVE DRONE Electric Pulse. (0 | 3)
SEED-SOLDIER (Forward Observer) Combi Rifle, D.E.P. / Pistol, Knife. (0 | 17)
MAAKREP TRACKER Hacker (EI Hacking Device) Boarding Shotgun, Grenades / Pistol, Knife. (0.5 | 34)
TAIGHA Chain-colt / AP + Shock CCW. (0 | 5)
ÍMETRON . (0 | 4)
SHROUDED (Minelayer) Boarding Shotgun, Dazer / Pistol, Knife. (0.5 | 24)
2.5 SWC | 300 Points | Open in Infinity Army
Reuben’s not a huge fan of links either, and he basically only plays vanilla Combined. I’m no Combined expert, but I know enough to understand that the units in the list were carefully selected for their toolkit. Having so many impetuous orders is also a good thing for Biotechvore. I found out later that this was the list he used for The Thing (Unmasking), which in this incarnation needs some quality close combat specialists. The Shrouded with dazer is just murderous in Biotechvore if you can land it, and having two MSV2 units helps deal with people’s smoke shenanigans.
Deployment
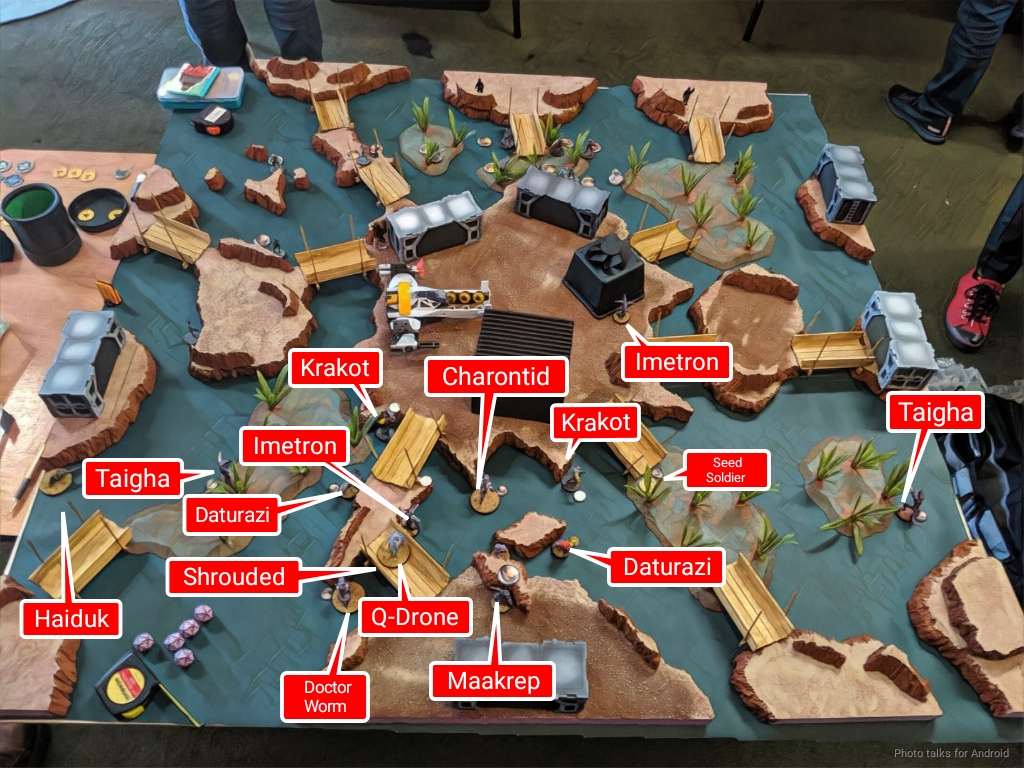
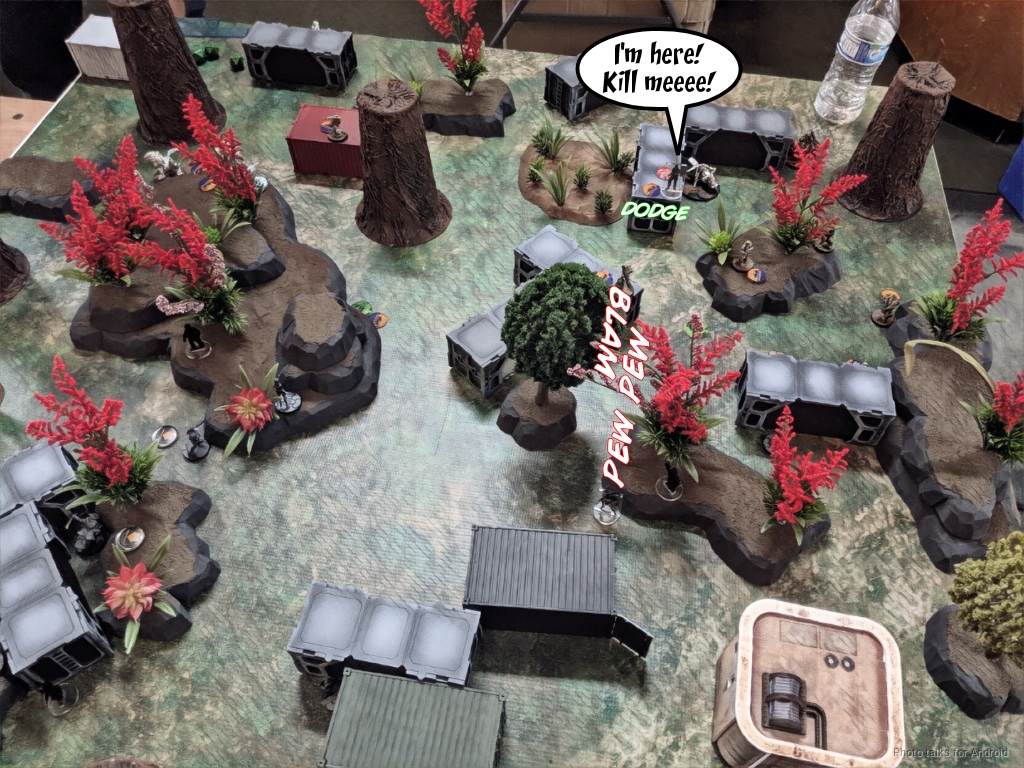
There are four turns to the game of Infinity, and the first is deployment. The sides of of the board are pretty open–only the central area has tall buildings to block LoF. As a result, I deployed in a big blob in the center, intending to use Kitsune to cover the central gap with some smoke and then go to work with the Kempetai. One Ryuken-9 SMG made its roll so it got to deploy out of danger. I made sure to put everything 6″ forward so I could spend all my orders problem solving instead of panicking and trying to get stuff out of my deployment zone. I was concerned that Reuben might drop a Fraacta or something in behind me so I put two mines on likely landing spots.
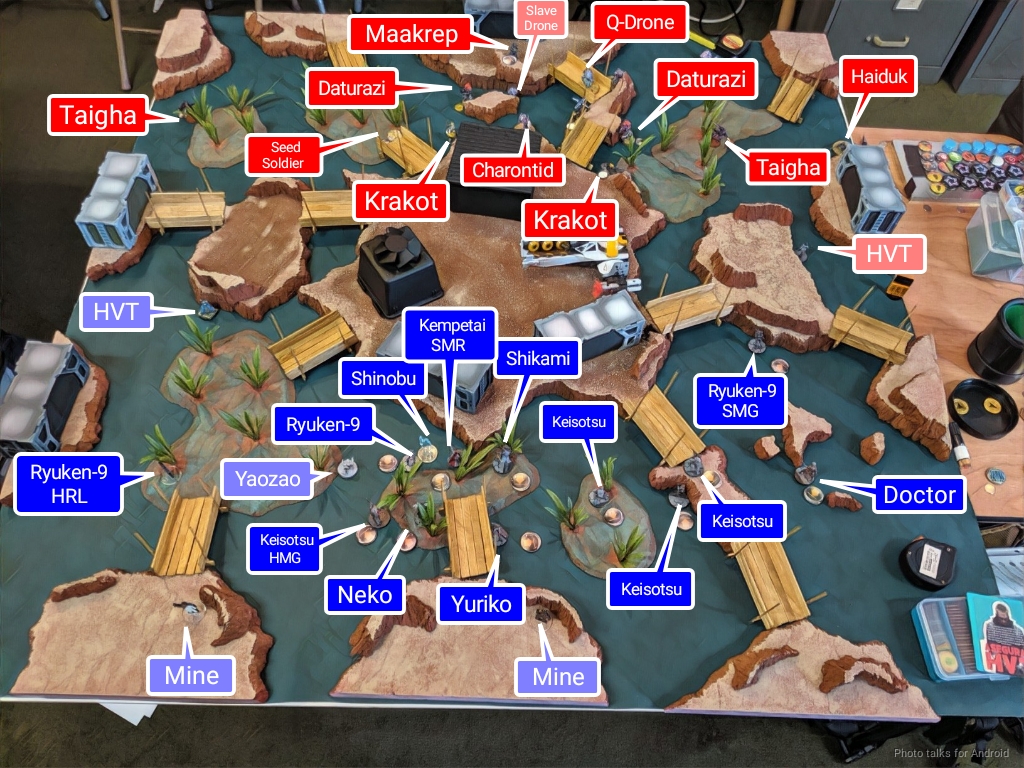
Reuben’s deployment was equally blobby in the middle. This table was a real bear to deploy on.
Both of us took a long time in deployment, and neither of us were happy with it. I attempted to land Kitsune for a suicidal first strike on Reuben’s Charontid, but failed. He attempted to drop a Dazer on me by over-infiltrating his Shrouded minelayer, but thankfully failed the roll. With that exercise over, we got started.
Turn 1
Top of 1 – JSA
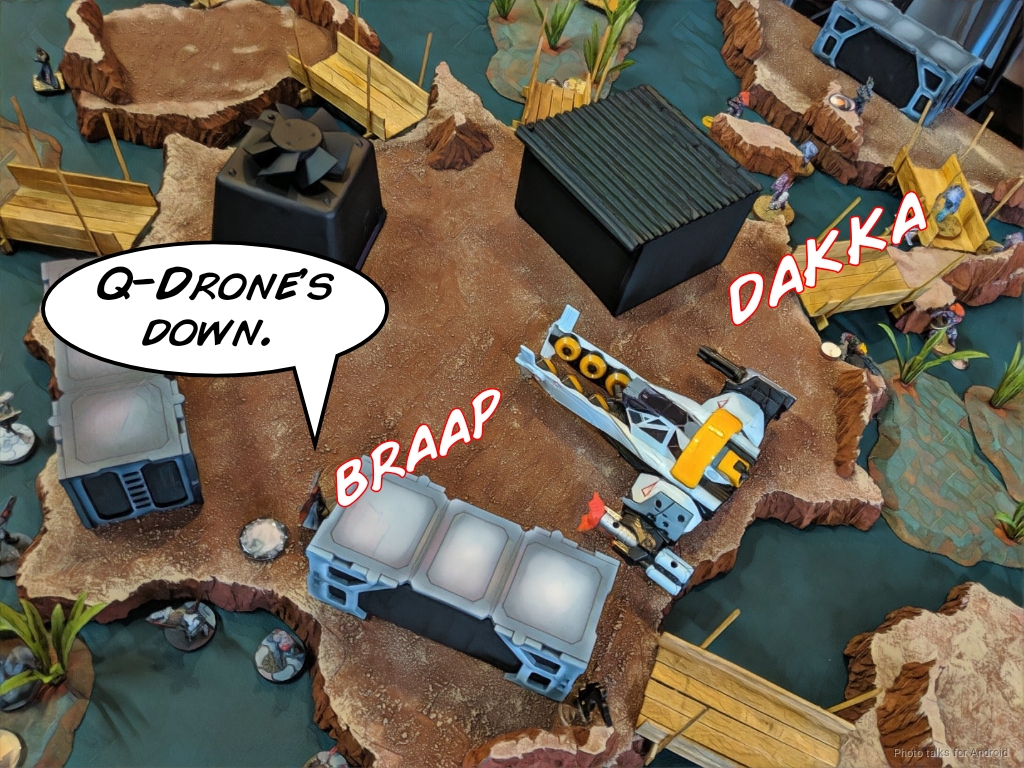
I started things off by trying to take out some of Reuben’s key pieces. The Q-Drone was my first task. Kitsune had deployed pretty close to my Kempetai after failing the roll, so I used her to drop some smoke.
| 67.33 | 17.11 | 15.55 |
I roll four misses and take a single hit in return. Thankfully, I pass ARM and get to try again, which is enough to drop the Q-Drone. I know Reuben’s got Dr. Worm nearby, so I spend another order to take the Q-Drone off the table. The link team is flopping around during this time, just… trying to find some better positioning, and totally failing.
I recamo Kitsune before I forget, and then I push the Ryuken-9 HRL up, taking out a Taigha and a Imetron on the way before I run out of orders in pool two. I then try to take out the Haiduk with the Kempetai SMR.
| 68.17 | 25.26 | 6.58 |
Well, about a 25% chance for me to just waste orders, so that’s exactly what happens for 2 or so orders.
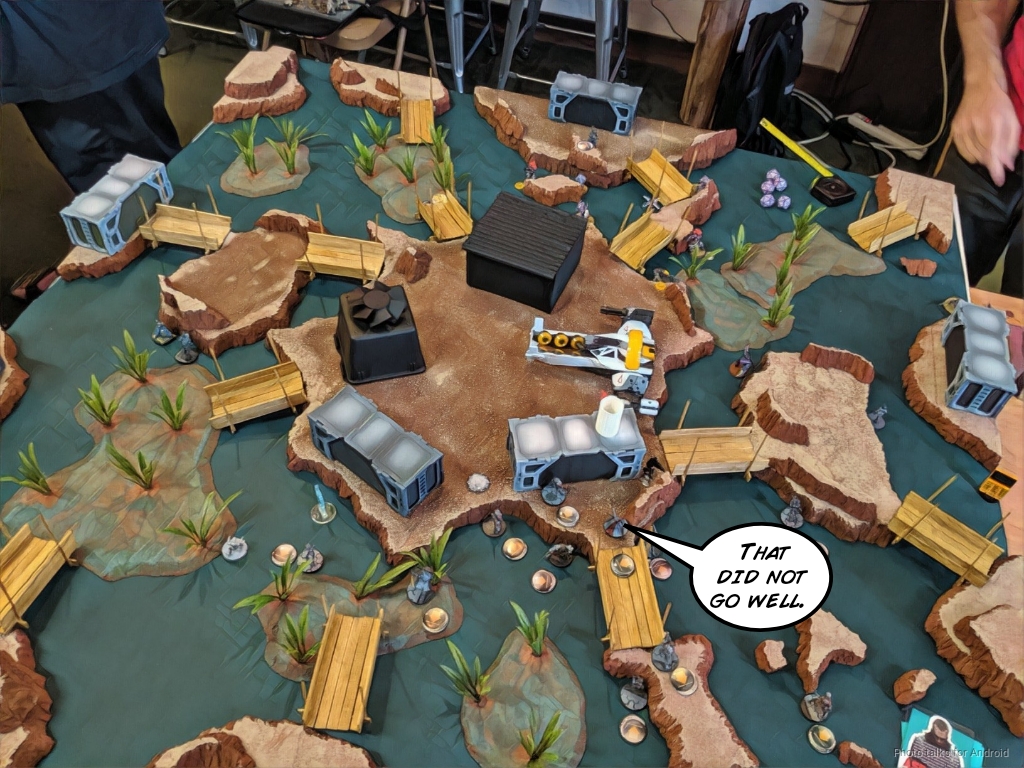
I end my turn thoroughly annoyed with my placement. Everything is bunched up to get covered by templates, I have no real AROs against Reuben’s 5 (I killed one Taigha) impetuous troops, and I’ve only taken out one attack piece without doing anything about Reuben’s Charontid. This is going to suck.
Bottom of 1 – Combined Army
All of Reuben’s impetuous troopers scoot forward, and then the Taigha makes it into view of a bunch of my stuff. I shoot with the Kempetai and Yuriko, and the Ryuken dodges. Reuben makes the correct choice (like Nate, he doesn’t make mistakes) and chain-colts the two firing models. Thankfully, I pass all my ARM saves and the Taigha does not.
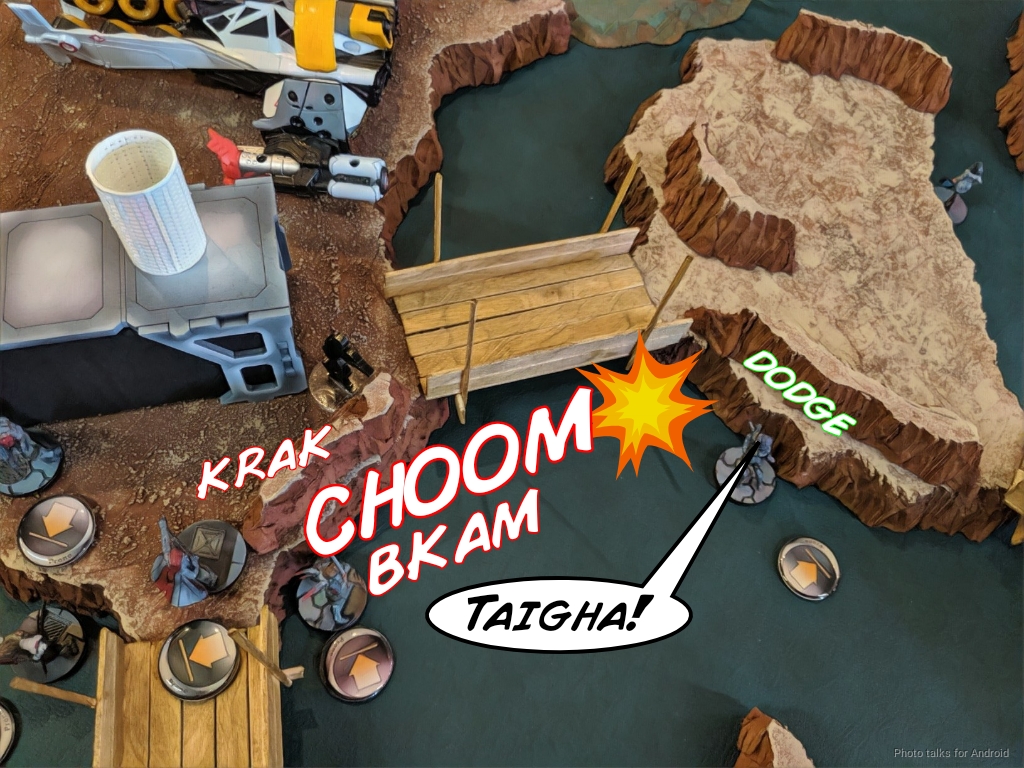
One of the Krakots Berserks my Ryuken-9 HRL, and we trade. Thankfully I didn’t miss with my heavy pistol. Then Reuben does something I don’t expect, mainly because I never see this. He throws smoke out to 16″ with one of his Daturazi.
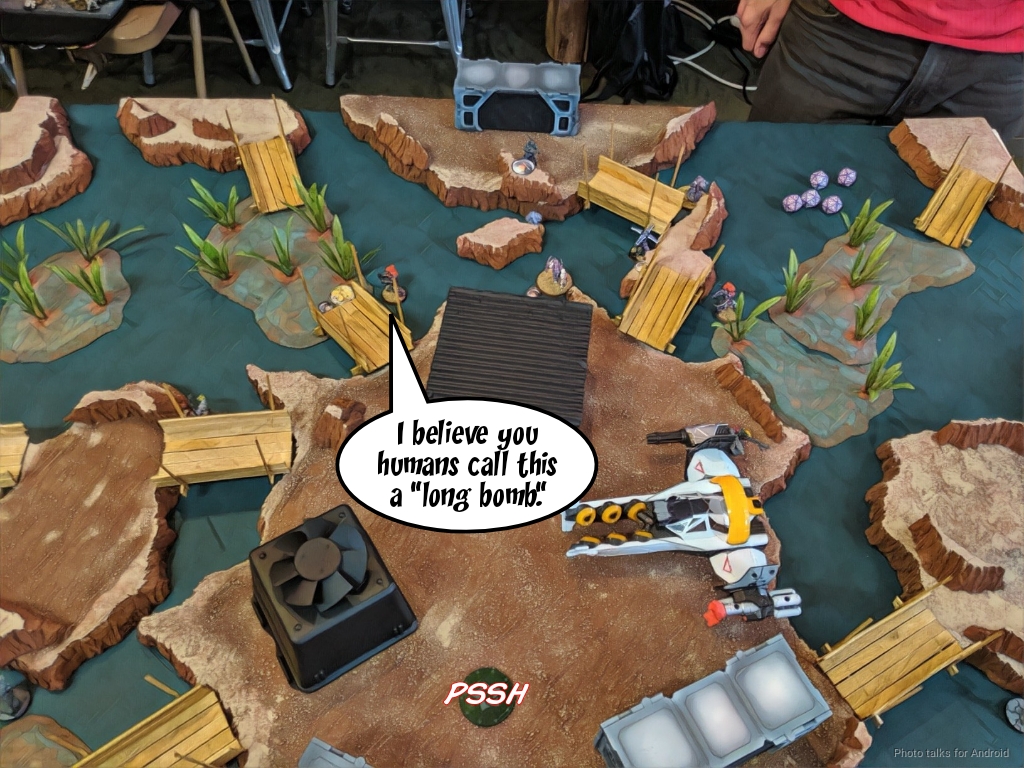
Honestly, this isn’t even bad statistically (55%), and the Daturazi sticks the landing. Reuben is so highly ranked for a reason–most players, myself included, tend to try to maximize odds out of dogma. In this case, I might’ve tried to get within 8″, but Reuben knew the odds and (almost certainly) had a backup plan if this failed.
He wanted smoke exactly there, asked his Daturazi for it, and got it. Worth incorporating these sorts of risks into my play more often. I noticed that Reuben’s got a more accurate eye for range estimation than I do. What do I mean by that? Well, when I play with Adam, we generally eyeball range and don’t measure. Sometimes things are on the edge of 16″, so we measure then. I saw some ranges that I thought might be outside of 16″, like this long bomb smoke. Reuben assured me that it was within 16″, but was more than happy to show me that it was 15″ or whatever it was with his tape measure.
In other words, his error bars on estimation are smaller than mine. That may not seem like a big deal, but it has implications for planning movement, attack vectors, grenade throws/shots, or estimating ARO rangebands. Infinity is a purposeful game of positioning because ranges are so important! If you can effectively pre-measure by being really good at estimation, then you are a leg up in the decision making process. Even being faster at play because of this pays dividends. You’re expending less mental energy in small decisions which lets you spend it on the important ones.
In any case, Reuben then starts to advance his Haiduk but doesn’t want to start taking AROs from my Doctor if he doesn’t have to. His big plan is to get the Sepsitor into play, so the Charontid starts moving up, clearing the Doctor almost as an afterthought on the way.
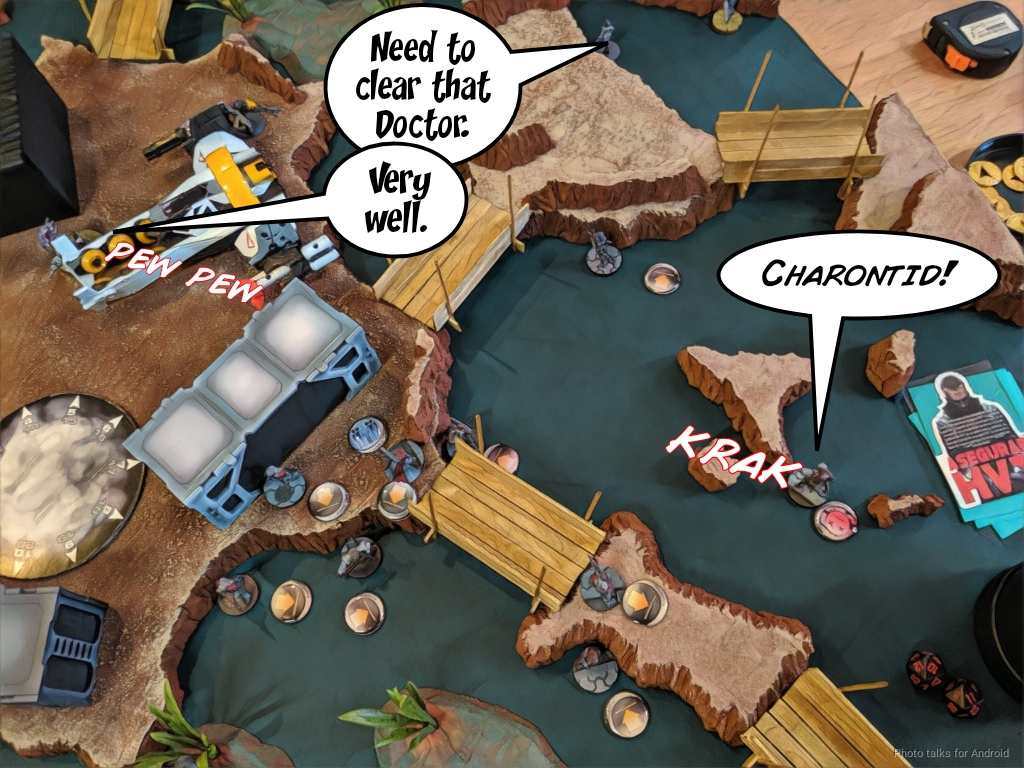
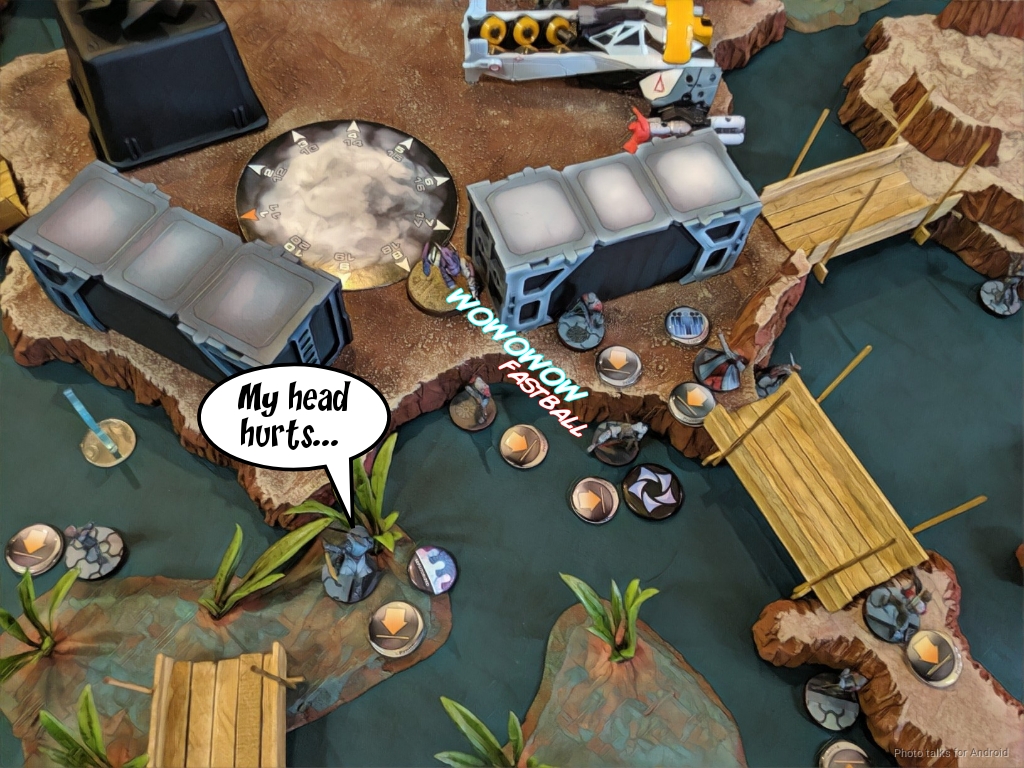
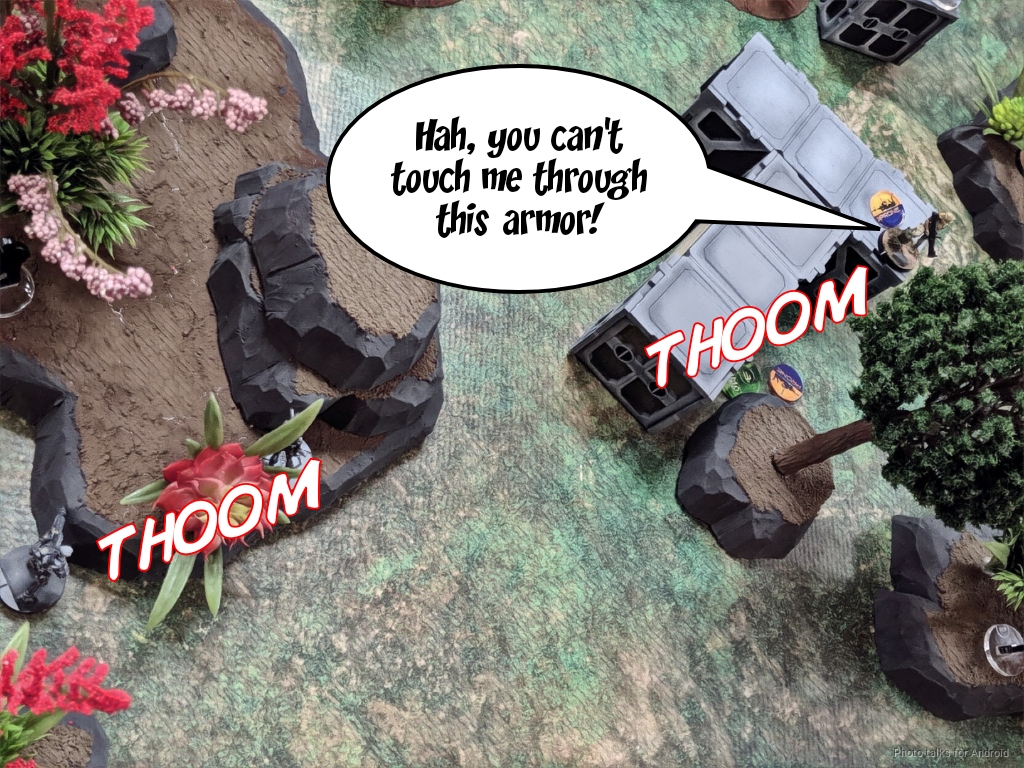
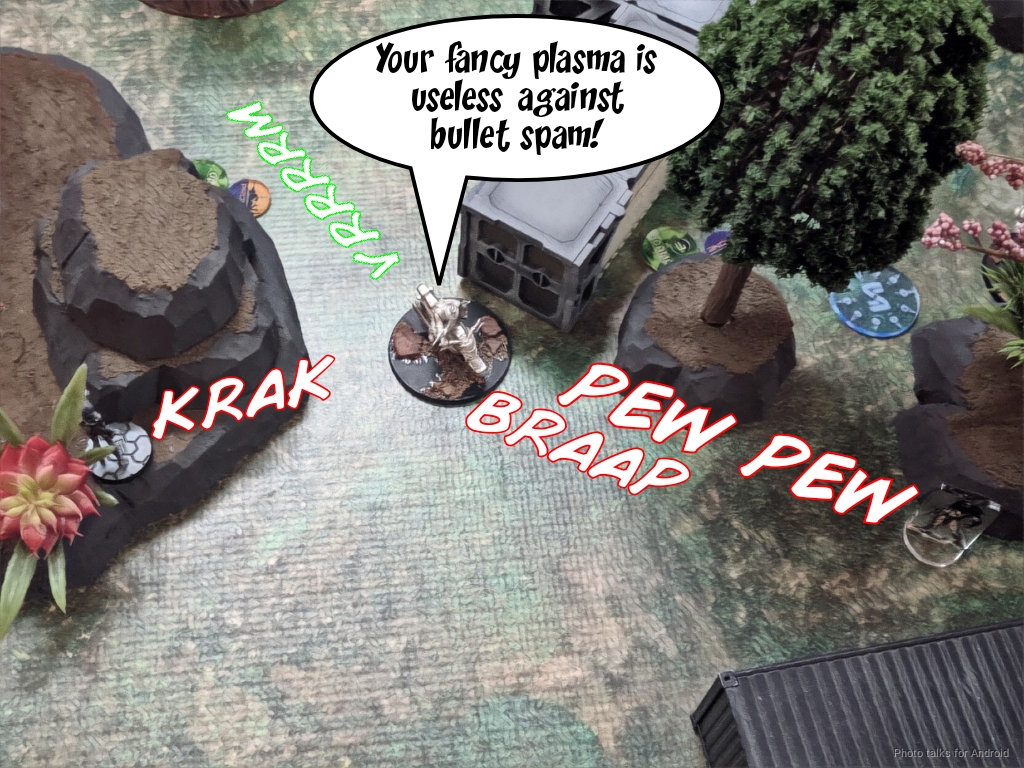
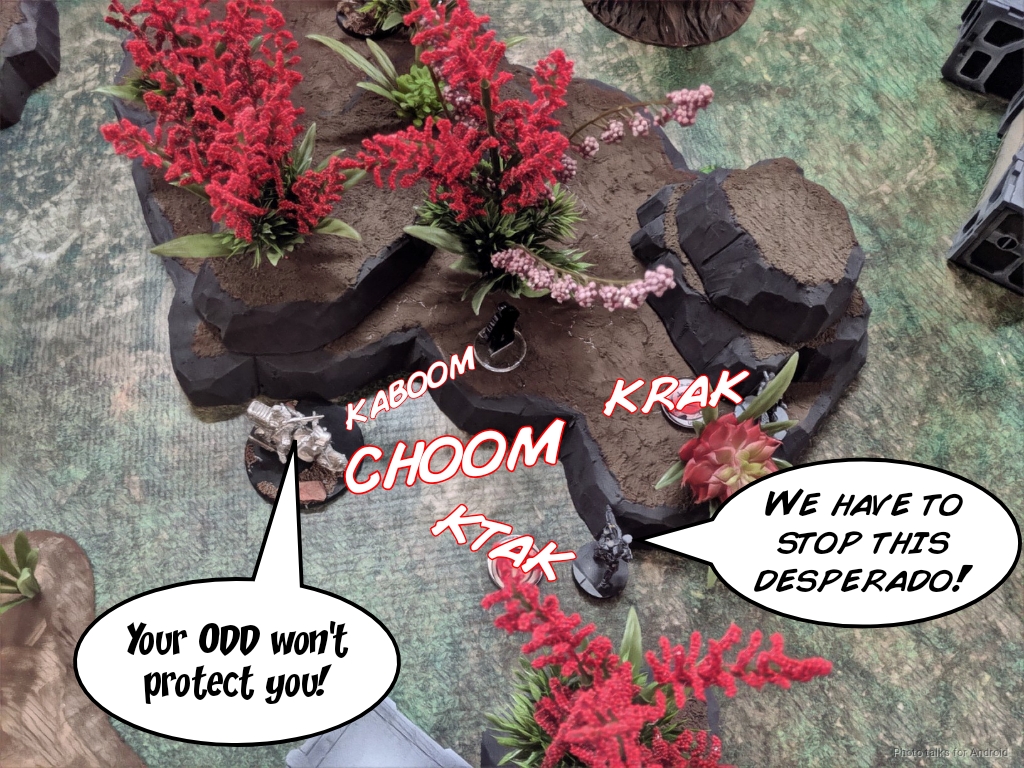
I had actually forgotten about the Sepsistor on the Charontid. This wasn’t Reuben’s fault, as he had provided me with a courtesy list and had reminded me during deployment. I just wasn’t thinking about it, so when he came into view of my Shikami, I immediately shot back with a contender, assuming that I was about to get plasma rifled. Instead, I was making a save against Sepsitor after whiffing with the contender!
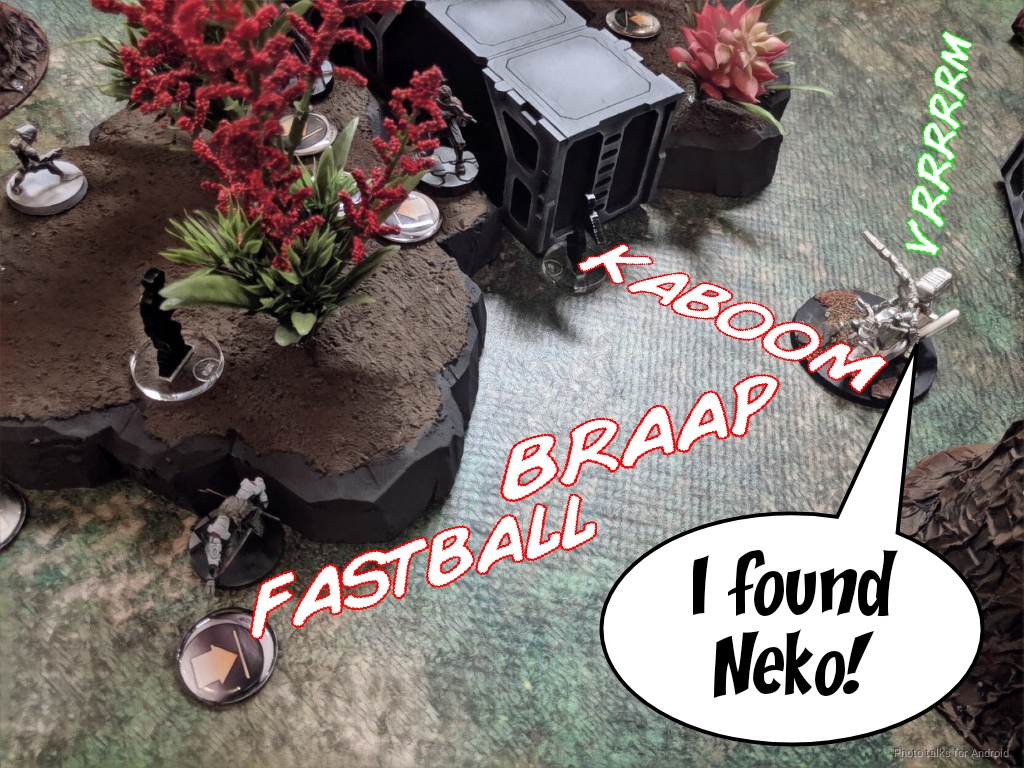
Now I was down a Shikami! Reuben kept on the pressure, intuitive attacking just Neko through the smoke. I respond by fastballing two grenades at the Charontid.
| 45.89 | 38.48 | 16.54 |
I actually have a pretty reasonable chance of not getting Sepsitorized and maybe even E/Ming the Charontid, but of course that doesn’t happen.
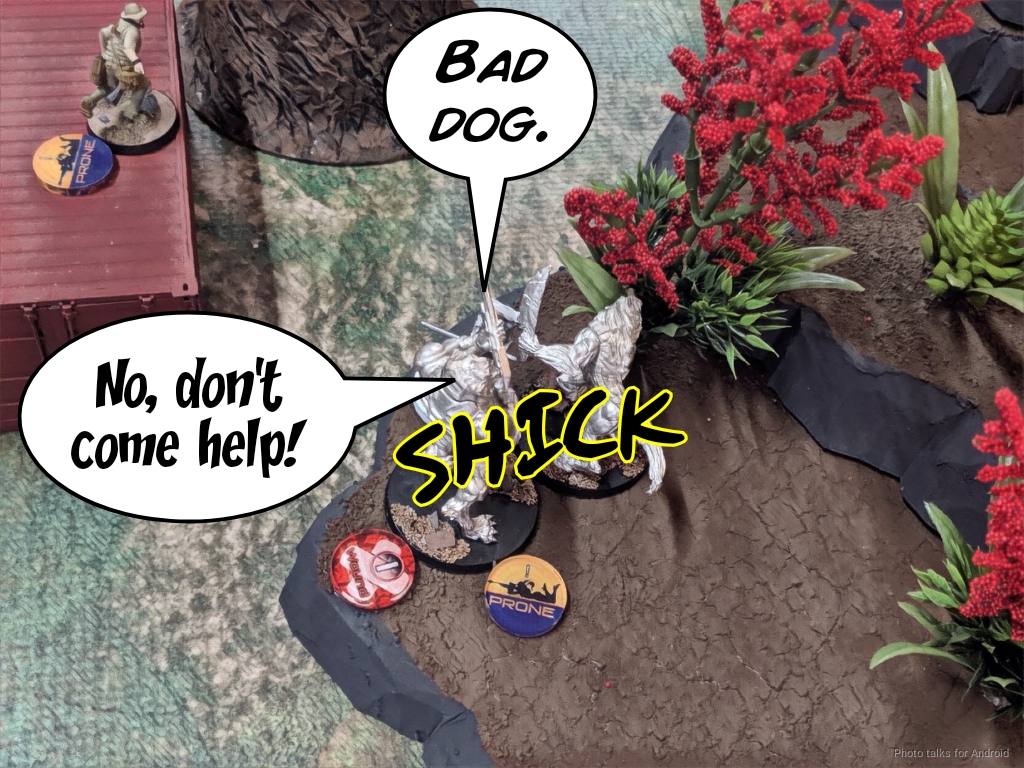
The link’s broken, and Reuben just uses Neko to go slice the Kempetai in half, taking a wound from one of the models that can see him as he does so. I forget which one.
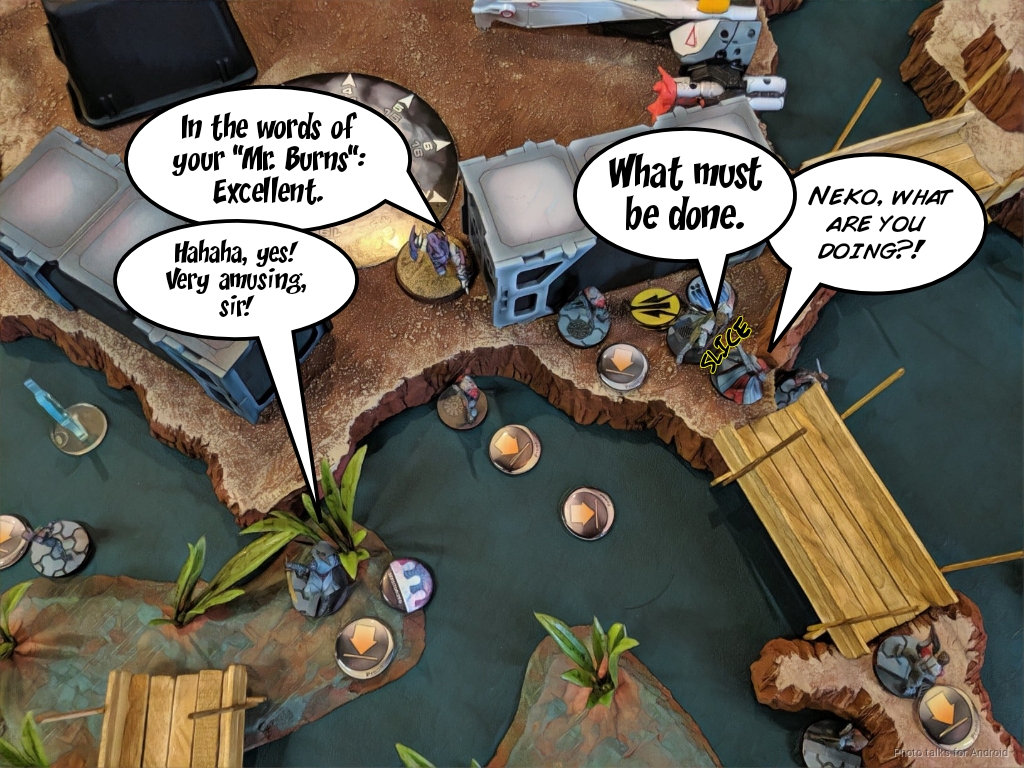
Reuben retreats his Charontid, after having spread the enlightenment of the EI to Neko and my Shikami, and passes turn.
Turn 2
Top of 2 – JSA
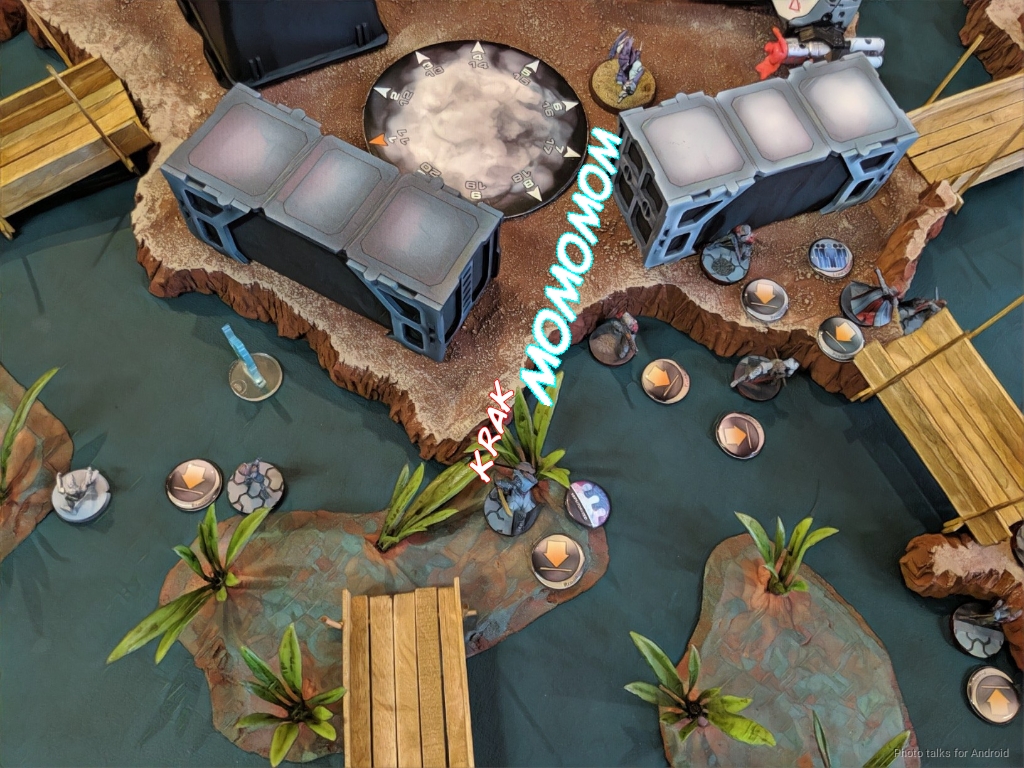
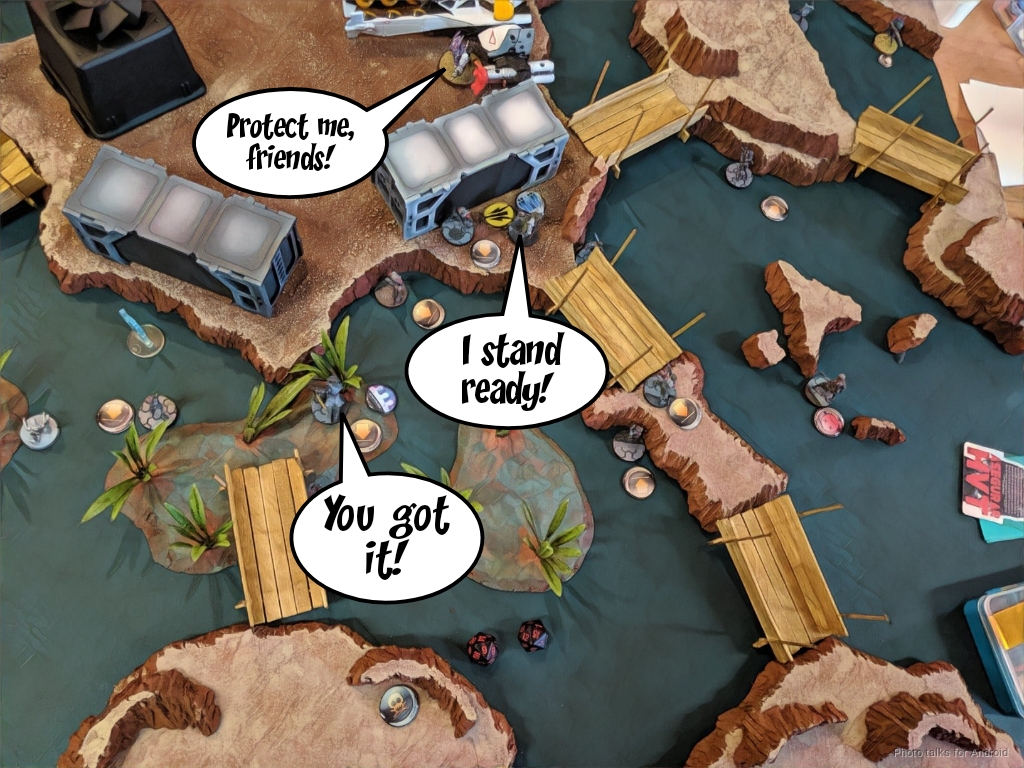
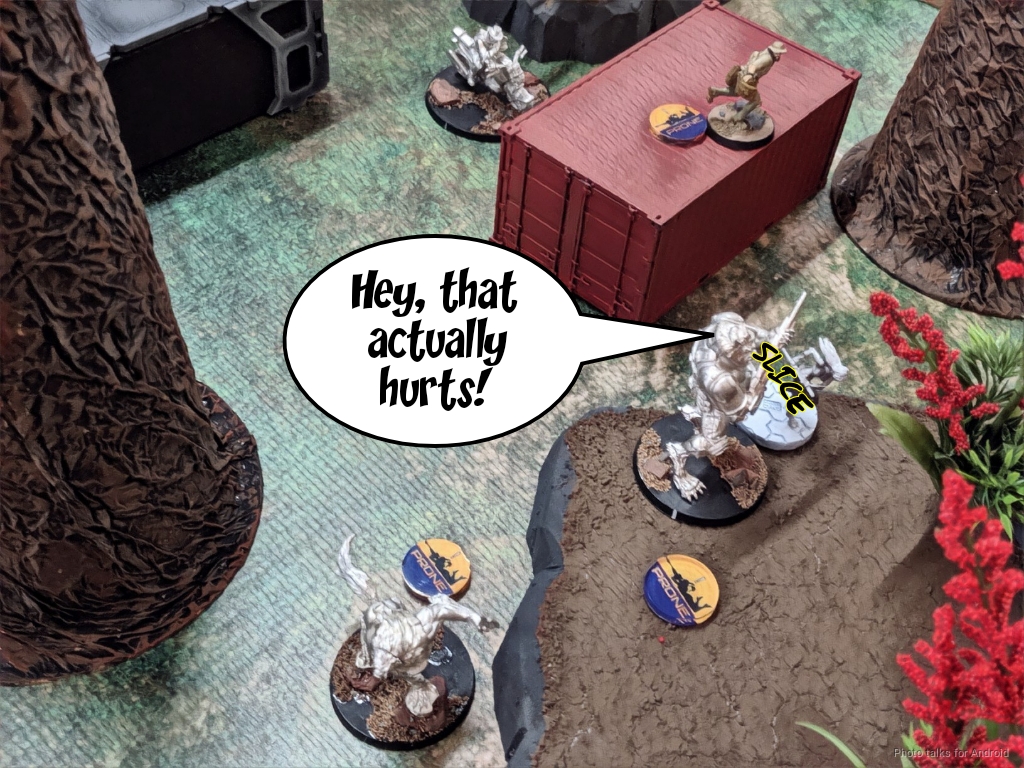
I’m in loss of lieutenant, which is pretty rough, but not feeling all that bad about things. I see some clear mistakes on my part, which Reuben exploited well. Knowing what went wrong always does a lot to improve my mood. In any case, I set about recovering. Neko’s got a lot of stuff covered with a chain rifle, so I send in a Ryuken, who is about the only thing that can hit him without causing collateral damage.
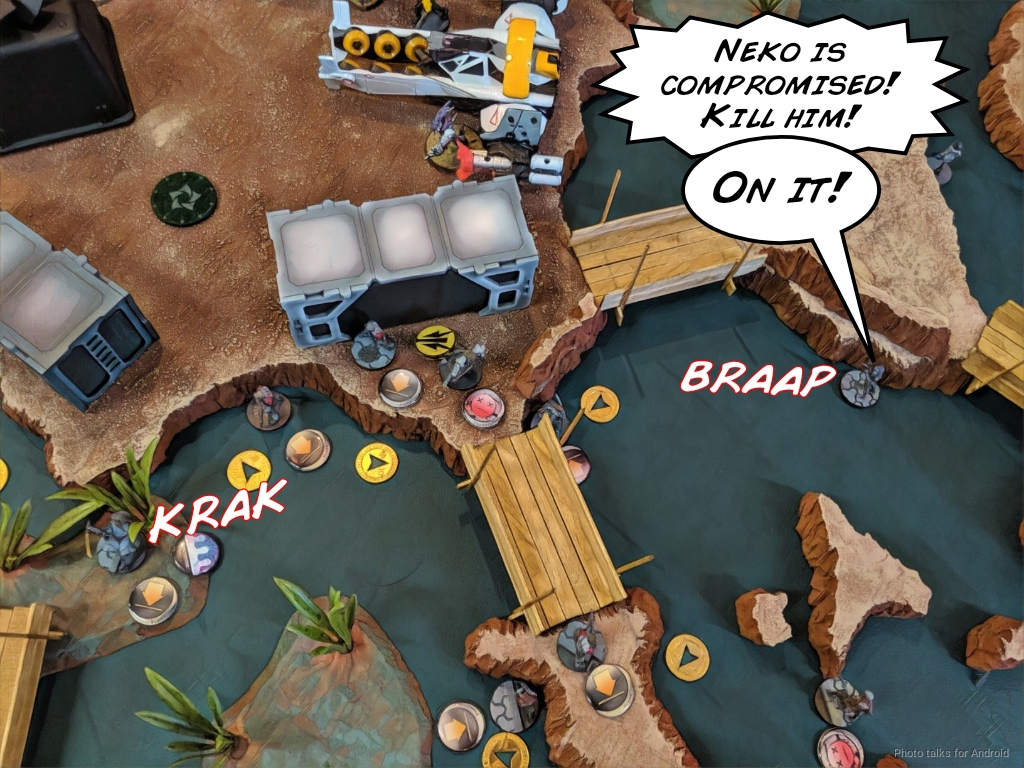
One order does it, dropping Neko unconscious, but I lose the Ryuken to his chain rifle and a contender shot from the Shikami which is just within 16″. Now I have to deal with the Shikami. Kitsune handles it without any problems. I chose MA3 to further improve my crit chances and tack on more negatives in addition to surprise attack. Thankfully I crit and the Shikami goes down.
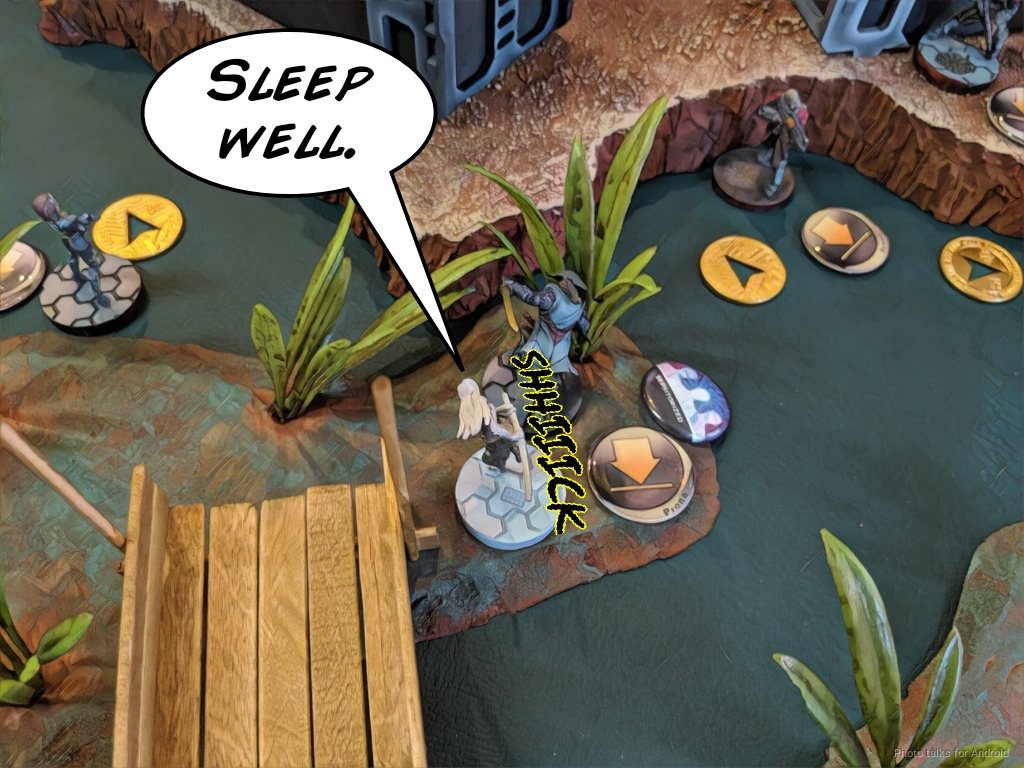
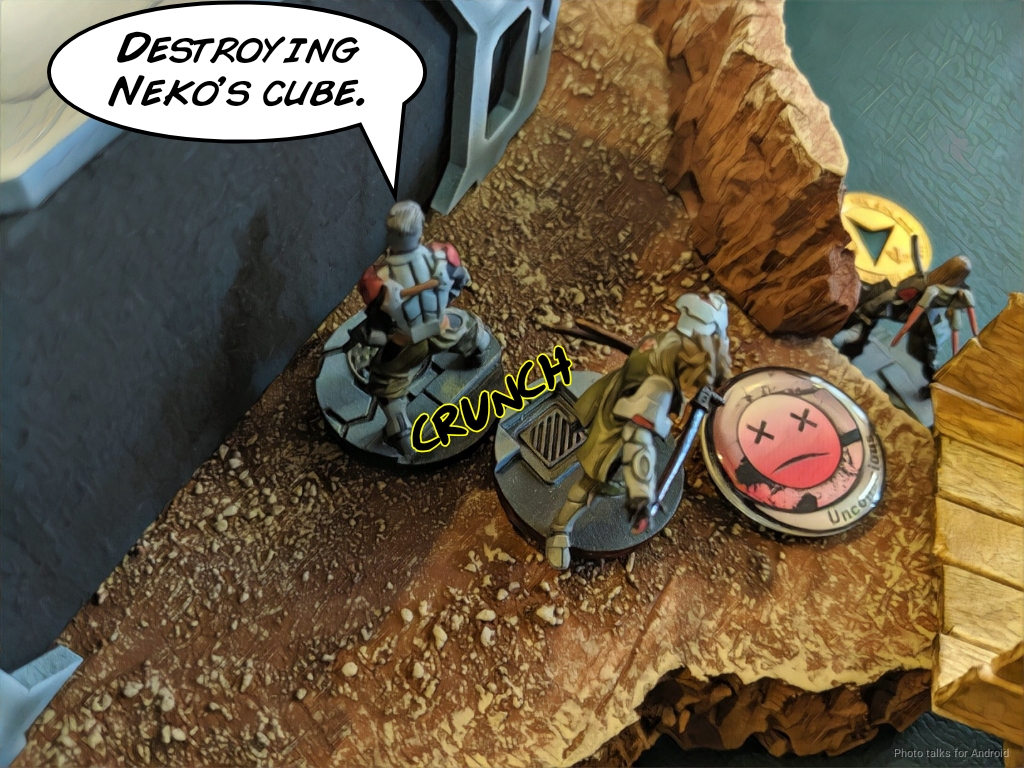
I coup de grace Neko with a nearby Keisotsu to get Extreme Prejudice, at which point Reuben jokes that he liked Neko so much he had been considering getting Dr. Worm up there to pick him back up!
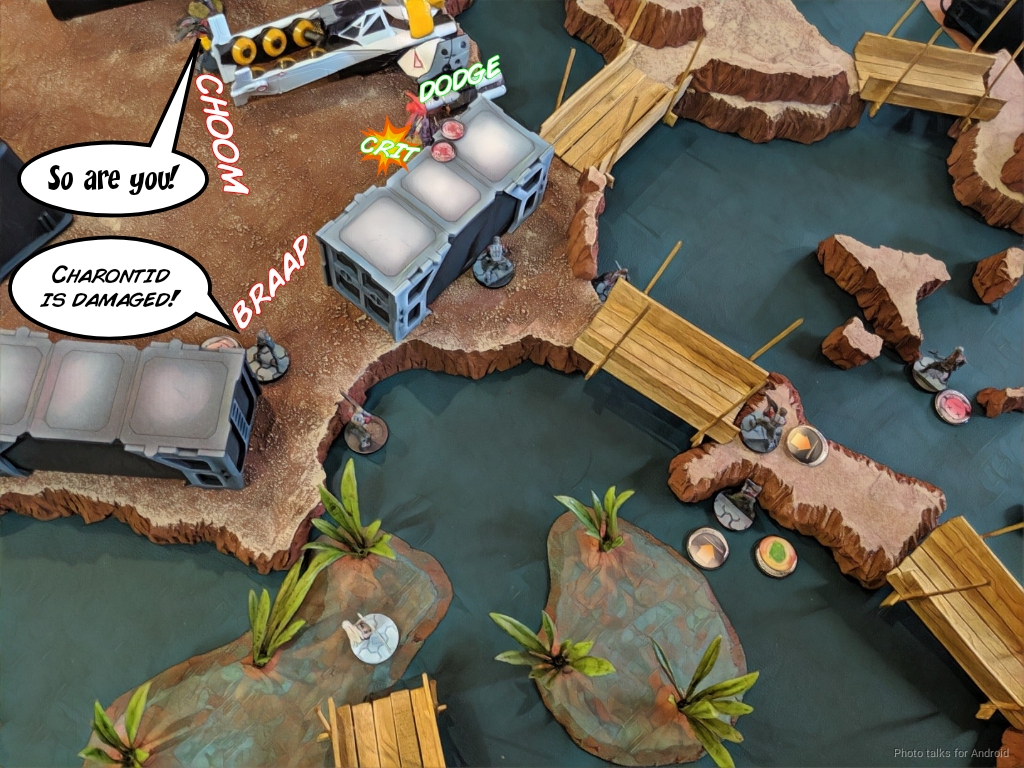
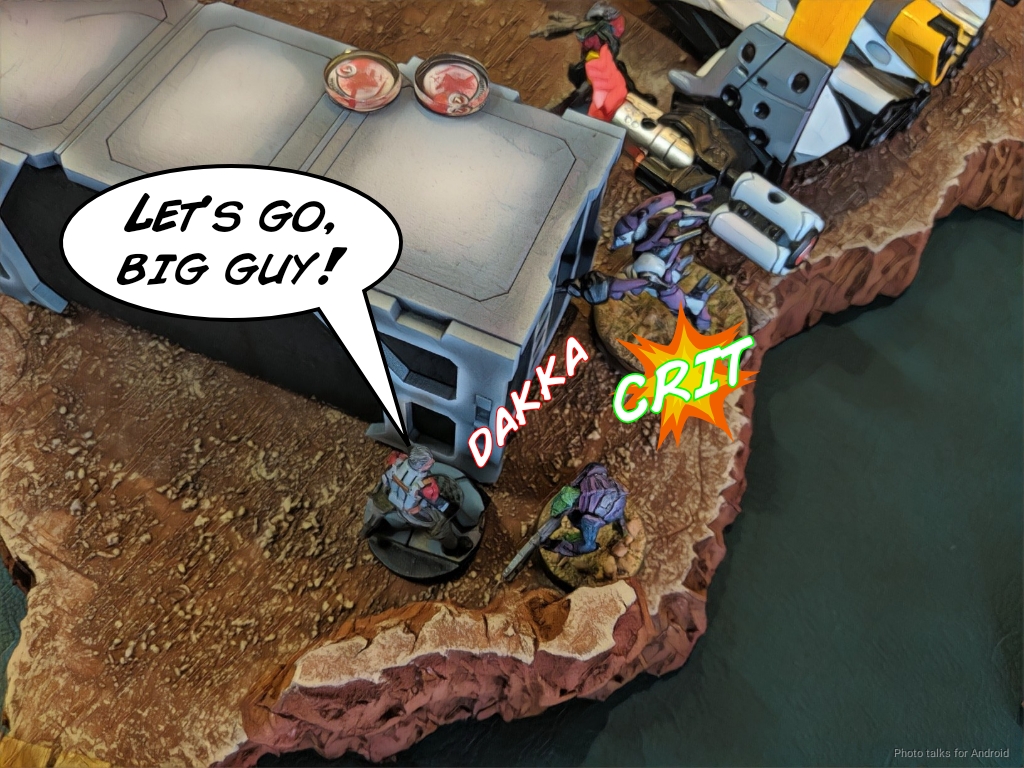
I attempt to take out the two Daturazi I can see, who are currently on the big central island, with the Keisotsu HMG and fail miserably. I then spend the rest of my turn going after the Charontid with my remaining Ryuken-9 SMG, critting twice over two orders to put it into NWI but losing the Ryuken to a chain rifle shot from the nearby Krakot.
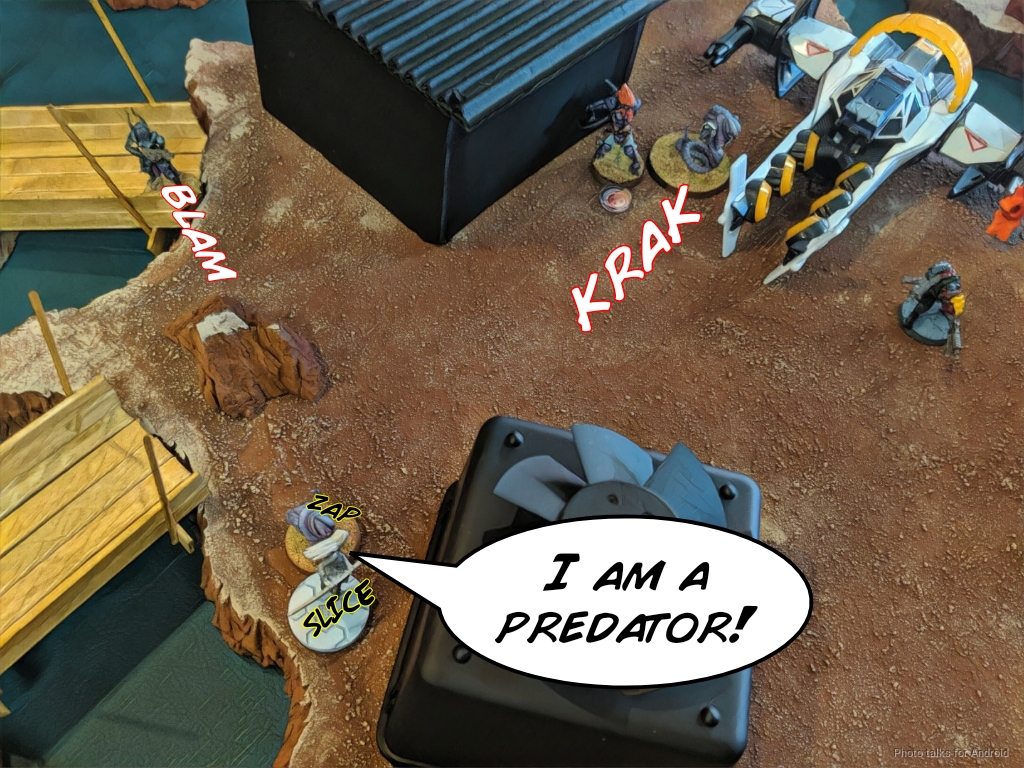
Honestly, not a bad recovery turn for being in loss of lieutenant! I took care of two sepsitorized models, got a classified, and am halfway to another classified, Predator!
Bottom of 2 – Combined Army
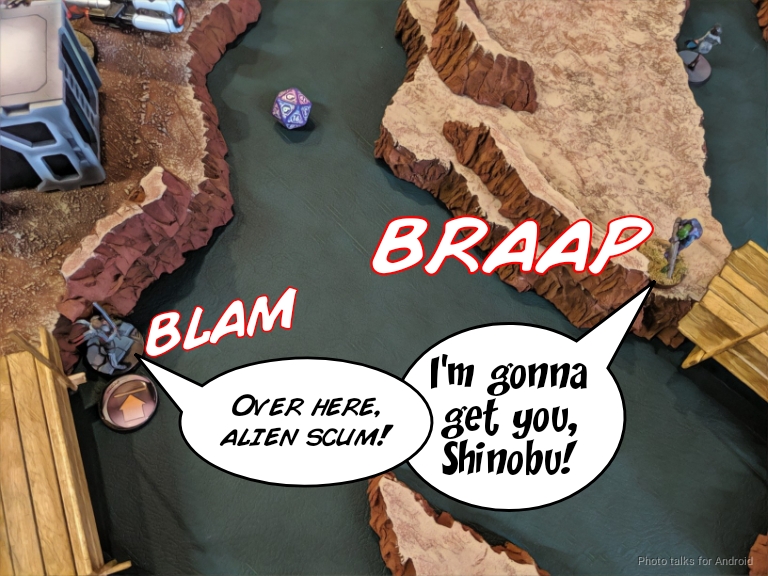
Of course, even though I had an okay recovery turn, Reuben had a whole turn to make things terrible again. His Haiduk went after my Keisotsu that coup de grace’d Neko. Thankfully, I don’t die.
He keeps pushing up and goes after Kitsune with the Haiduk. I had nominated Kitsune as my Lt, figuring that everyone else was either a) dead or b) going to die to lava. It’s at this point that I realize, to my horror, that Kitsune is probably in the lava zone! It doesn’t go to 12″ until the end of Reuben’s turn, so hopefully I’ll be able to dodge out of it without dying.
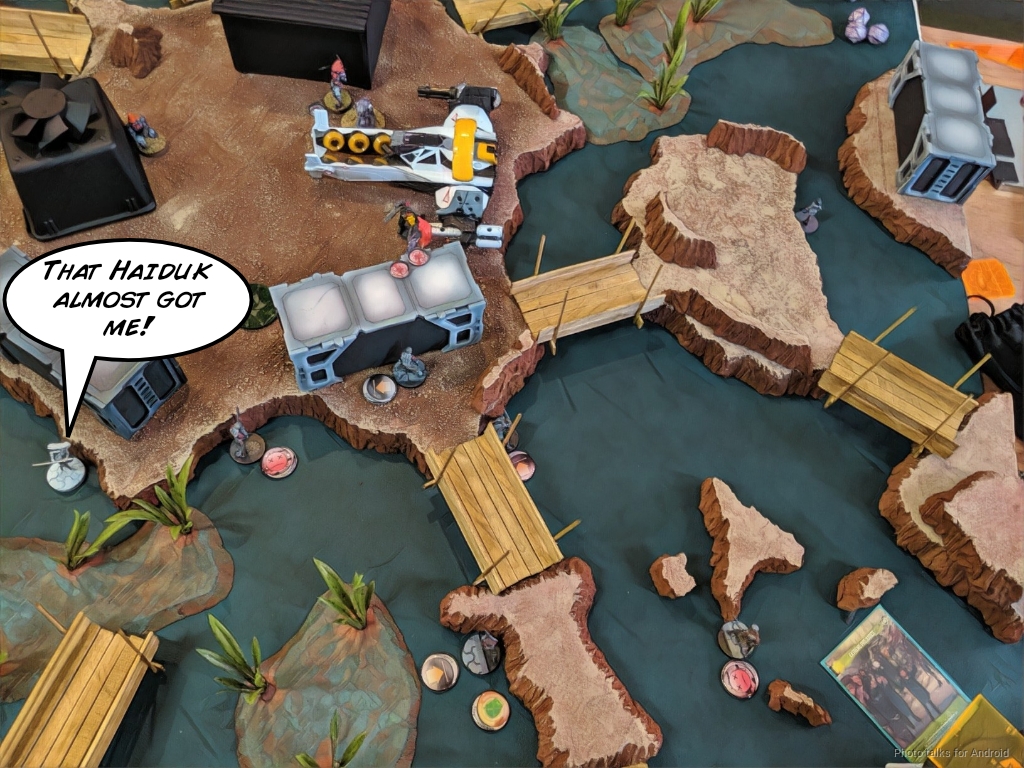
Thankfully, the Haiduk shooting at Kitsune lets her win two face to face rolls by dodging out of the lava zone! PHEW! Yuriko actually manages to tag the Haiduk with a combi rifle round on the second order, which is great too.
Unwilling to let me keep Yuriko, Reuben sends in his Shrouded minelayer, shooting her in the face with a shotgun while she drops a mine and my Keisotsu tries to take out the Shrouded.
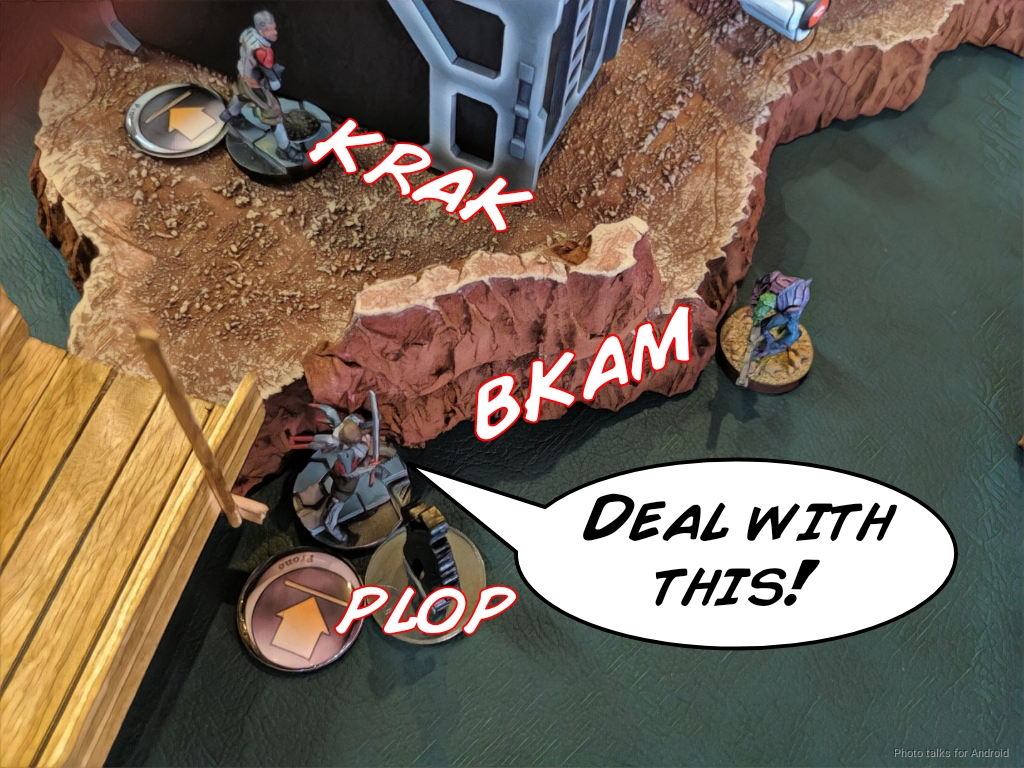
Yuriko dies, and then the Shrouded climbs up to take out the Keisotsu, failing to take out the Keisotsu but also not dying to the mine. Sigh. At some point during all of this Reuben does the correct thing and shuffles the rest of his stuff out of the impending doom area to join Pierce Brosnan in the safe area.
Turn 3
Top of 3 – JSA
Okay, I’m literally down to just Kitsune and one Keisotsu now, everyone else either having gotten shot, sepsitorized then shot or stabbed, or having lost the “floor is lava” game. I don’t have much else to do other than try to get as many classifieds as possible and murder as much of Reuben’s stuff as I can.
On principle, I start with the Keisotsu next to the Charontid and crit it again.

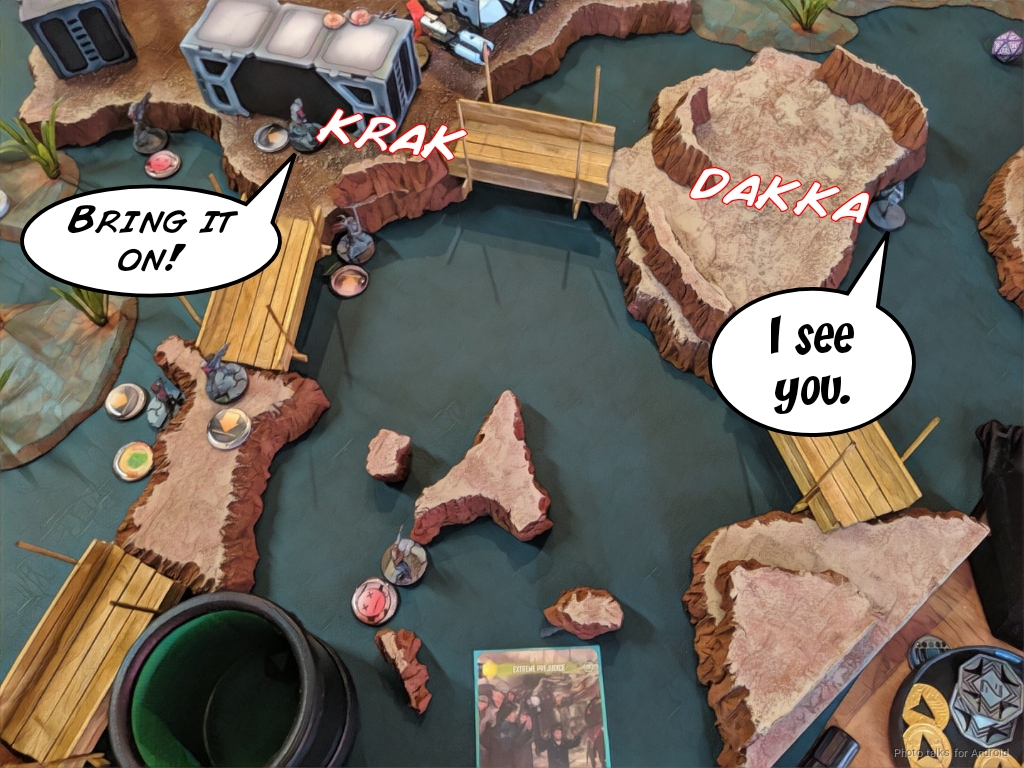
Now I’ve got to see about getting another classified so I don’t just get totally ruined. I have just enough to move-move with Kitsune’s Lt order and then move-CC a Slave Drone.
Reuben obliges me in not murdering Kitsune on her move-move, assuming I was going to shoot some of his warbands. CC25 is BARELY enough for me to beat the Slave Drone’s electric pulse (that would’ve SUUUUUCKED), so I get Predator when it fails its mono save. Kitsune is still alive, so I shrug and pass turn.
Bottom of 3 – Combined Army
The warbands come in and start chain rifling away. Kitsune dodges everything…
but she cannot deal with the Maakrep’s shotgun, going unconscious. This lets a Daturazi come in and CC her to get Reuben predator!
He picks up another classified (I forget what), and then secures my HVT. I’m tabled, but have at least managed to kill a ton of his stuff so it’s not a total runaway 10-0 situation.
8-2 Combined Army Victory!
Post Game Analysis
Neither of my lists were particularly well suited for Biotechvore–faced with limited time and energy, I elected to not spend too much mental resources on list building for the mission and hoped to just muddle through it.
I basically decided to just wing it day of, which is not something you can do against the #1 ranked ITS X player in the world, Reuben (Polynikes)!
Biotechvore presents a pretty unique challenge, as you have to think about units that you ordinarily wouldn’t spend time on to save them from the incoming lava flow (or nano bees or whatever the normal scenario is all about).
I say these things not to massage my ego—goodness knows I have one. Rather, I say these things as an illustrative example of how preparation and planning are critical.
I didn’t have a plan for my list for this mission, I didn’t have a coherent plan for deployment, and I didn’t have a plan for getting my units sorted at the end of the first turn.
Once the chips fell and I had a concrete problem presented to me: “deal with two sepsitorized units, achieve classifieds, and kill stuff,” my brain starting working again, but at that point it was way too late.
Reuben and I did a little post-mortem after the game. He gave his usual “I only play Combined” caveat, but agreed with me that the main problem was one of positioning. He rightfully countered my bellyaching about the table with the comment “we both had to deal with it,” which is absolutely correct.
One other suggestion he offered was that I should’ve dumped as many orders as I could’ve into the HRL, driven it up the board and then shot into his mess of units there. That would’ve been much better, but would have required me to have the forethought to put him into group 1.
So, in short, I made a pretty large error in positioning by the end of my first turn as a result of not having a clear deployment or movement plan, and then that error was throughly exploited by an excellent player.
He did comment that the intuitive attack against Neko was quite risky, but he rolled exceedingly well–I think one under a crit. In any case, I can now say that I’ve played Reuben. If you’ll allow me some hubris, while he’s certainly a more experienced, consistent, and purposeful player than I, the skill gap is not so large for me to not understand why he is better than me. There’s quite a lot to unpack there, and I’m still digesting it, but I left the game feeling quite comfortable with the outcome. I knew why and how I had been bested.
Regarding the custom mission, I like it. I think I’d make it so that the lava advanced on your side and did damage at the end of your turn instead of just at the end of each round, but I like that it’s just a less stressful Biotechvore. Whether or not that’s a good thing is debatable, I just know that I appreciated the extra breathing room in the early game. It does, however, push everyone into the center of the map very aggressively by the end of turn 2, so make sure to bring template weapons! I personally don’t super enjoy Biotechvore, so this was a welcome alteration to bump it up a few notches in my book.
Game 3 – Predator
I was getting a little tired and cranky at this point. The toll of driving for 7 hours the previous day was weighing on me, and I wasn’t feeling all that well. Fortunately, Adam (TheDiceAbide) was my round three opponent! I knew what no matter what happened, it would be over quickly and I could relax. Adam has been itching to play his USARF so I knew I was in for some freedom!
Overview
- Mission: Predator (Decapitation)
- Forces: Japanese Secessionist Army versus USAriadna Ranger Force (300)
- Deploy First: JSA
- First Turn: JSA
Mission Scoring
MAIN OBJECTIVES
- To kill more Army Points than the adversary (2 Objective Points).
- To kill the same amount of Lieutenants as the adversary (2 Objective Points, but only if at least 1 Lieutenant is killed by the player).
- To kill more Lieutenants than the adversary (3 Objective Points).
- To kill the enemy Predator/Commando model (2 Objective Points).
- To kill the enemy Predator/Commando model with your Predator/Commando (3 extra Objective Points).
CLASSIFIED
- There are no Classified Objectives.
Mission Special Rules
DEPLOYMENT
Both players deploy on opposite sides of the game table, in a Deployment Zone 16 inches deep.
SPECIAL CHARACTER
At the beginning of the game each player rolls a d20. The player who rolls highest can choose to add their choice of Special Character to their army (Predator or Commando). The player who rolled lower gets the other. The game then proceeds as normal.
Each player adds the Special Character to one of their combat groups ignoring the rule for maximum number of units in a combat group. The Special Character has the following special rules.
- It does not generate orders but can receive regular orders as normal.
- It cannot be moved between combat groups.
- It cannot have wounds restored to it by any means.
- When it is reduced to zero wounds it immediately enters the Dead state and is removed from play.
- It is worth 50 Army points for determining Objectives.
Predator
| MOV | CC | BS | PH | WIP | ARM | BTS | W | S |
| 4-4 | 23 | 12 | 14 | 13 | 4 | 3 | 2 | 2 |
Special Skills: Super Jump, Climbing Plus, Martial Arts L3, CH: Mimetism, Kinematica L1, Hyper-Dynamics L1
Weapons: Plasma Rifle, EXP CC Weapon
Commando
| MOV | CC | BS | PH | WIP | ARM | BTS | W | S |
| 4-4 | 19 | 14 | 13 | 13 | 2 | 0 | 2 | 2 |
Special Skills: Minelayer, Forward Deployment L1, Religious Troop, Multi Terrain
Weapons: HMG, Heavy Flamer, Boarding Shotgun, Anti-Personnel Mines, Rifle, Pistol, Knife
Main Differences
This is a pretty significant departure from traditional Decapitation. You’re basically playing two simultaneous, mutual assassination missions. I dig it. Also the Commando’s loadout is hilarious.
GROUP 1 |
GROUP 2 |
5 SWC | 300 Points | Open in Infinity Army
I designed this list for Decapitation. Neko is very difficult to kill, especially in a 5-man link, and everything else in the list is either intended for Lt hunting (Shinobu + Shikami) or is intended to delay my opponent with mines, etc. The Ryuken-9 are also my workhorses in the list–they need to take out my opponent’s defenses in order to let Shinobu or the Shikami to slip through.
Game 3 – TheDiceAbide
GROUP 1 |
MARAUDER Molotok / Heavy Pistol, Knife. (1.5 | 28)
GROUP 2 |
112 Light Shotgun / Pistol, CCW. (0 | 12)
DEVIL DOG Heavy Shotgun, Smoke Grenades + 1 K-9 Antipode / AP CCW. (0 | 41)

DESPERADO Chain Rifle, Smoke Grenades / 2 Assault Pistols, CC Weapon. (0 | 13)
ROSIE Light Rocket Launcher, Light Shotgun, D-Charges / Pistol, Knife. (0 | 22)
FOXTROT Rifle, Light Grenade Launcher / Pistol, Knife. (1 | 20)
MAVERICK Submachine Gun, Light Rocket Launcher / Pistol, Knife. (0.5 | 22)
WARCOR (360º Visor) Flash Pulse / Stun Pistol, Knife. (0 | 3)
5.5 SWC | 299 Points | Open in Infinity Army
Adam was wearing his “Van Zant’s Got Your Back!” T-shirt as a bit of a mind game. I didn’t actually expect Van Zant, as I didn’t recall any of his lists that he shared before the tournament containing Van Zant… but I couldn’t rule out an Airborne Ranger. I elected to assume AD for safety.
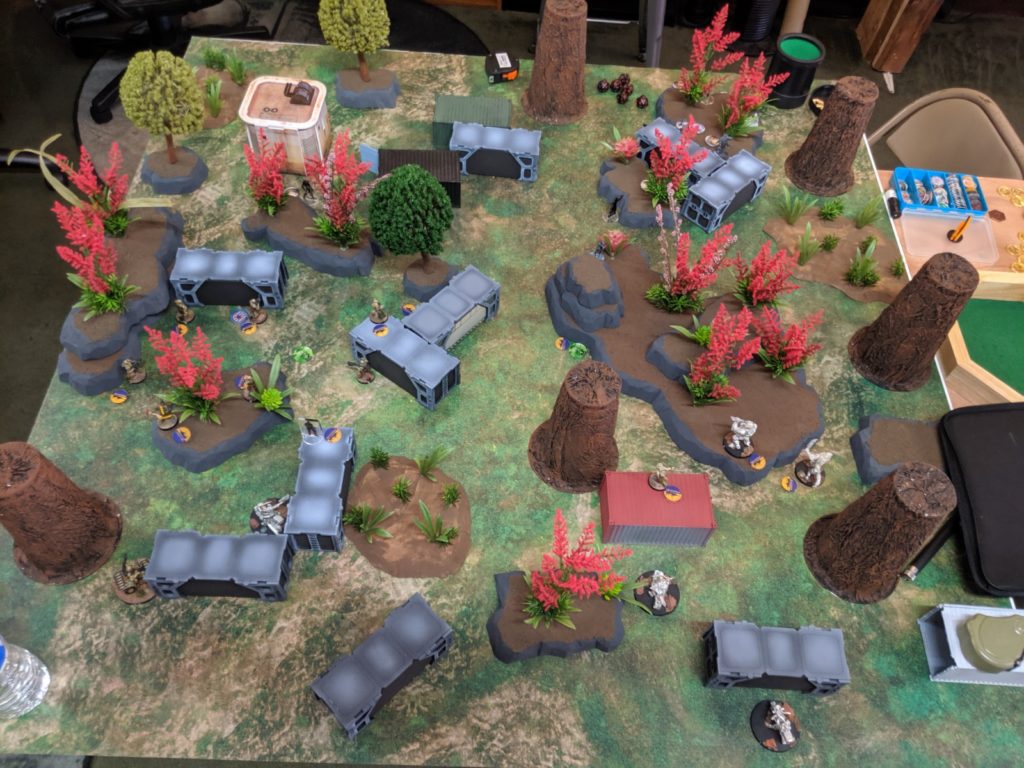
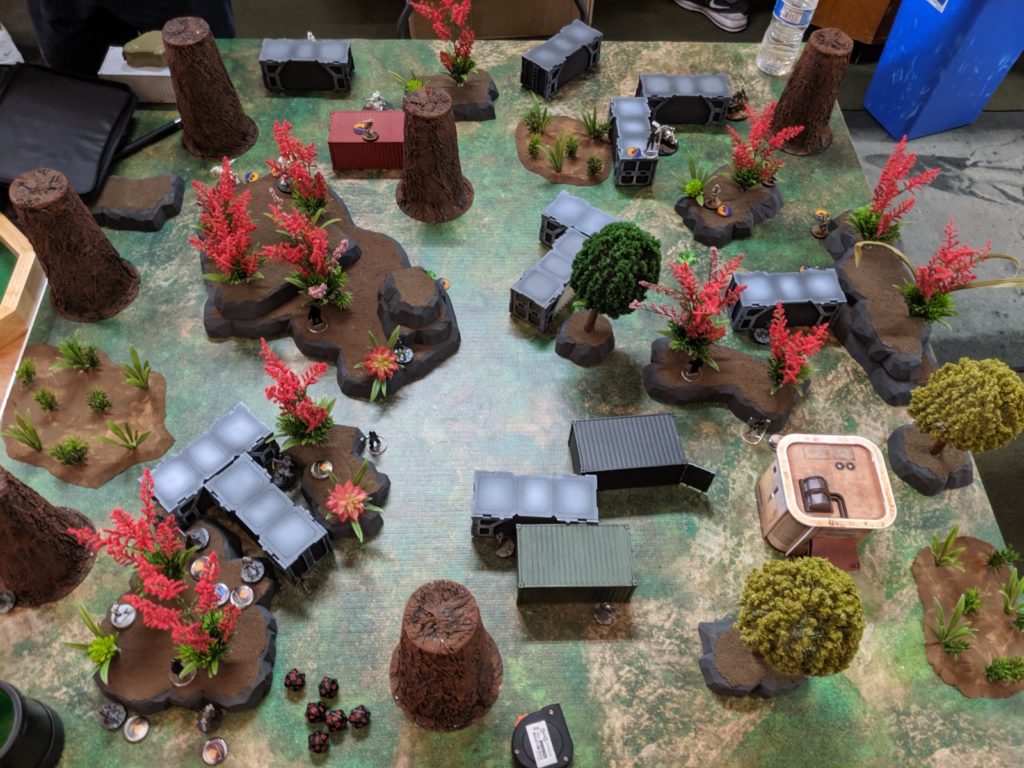
Deployment
I went first, so I castled up Neko in the left corner of my deployment zone and surrounded him with mines and linked AROs. I put a Ryuken SMG and HRL in front of him with the Doctor’s bot nearby just in case.

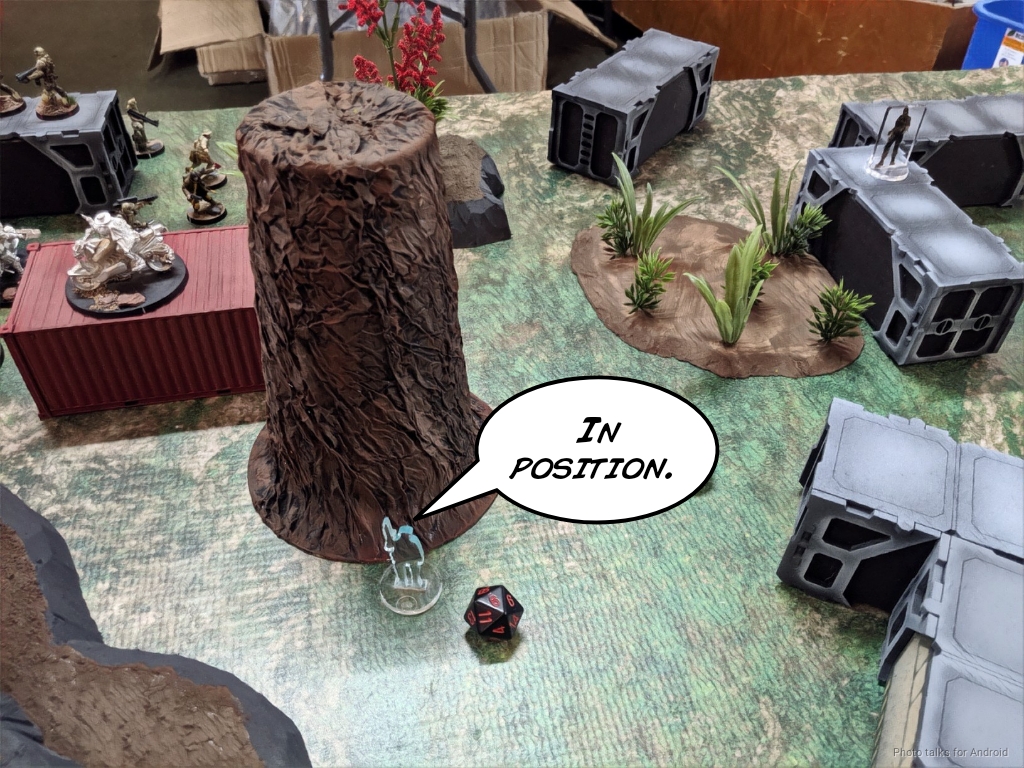
I knew this pile of units would be too juicy of a target for Adam to not go after it with a Devil Dog, so I successfully over-infiltrated Kitsune near where I thought Adam might deploy the doge-man.
A single Ryuken-9 SMG went on the right, just in case, and then it was Adam’s turn to deploy. He put his Marauder link on my right, since that was farthest from all my stuff, including my Shikami, and then just dumped a pile of bikes on the table with Rosie screening everything.
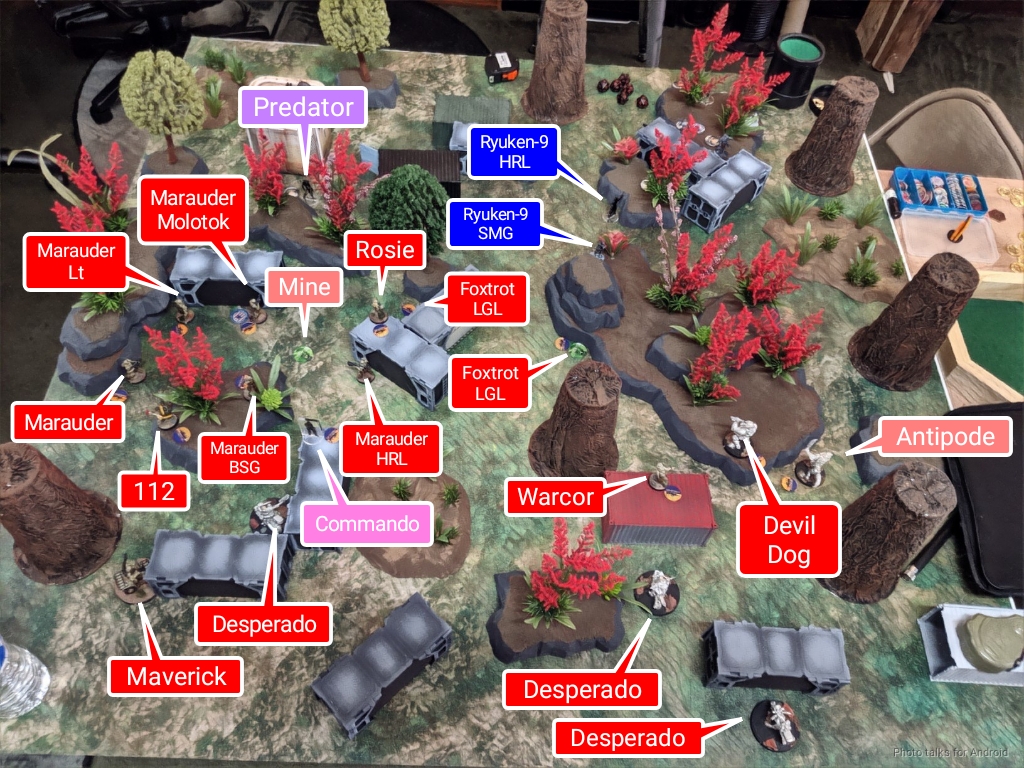
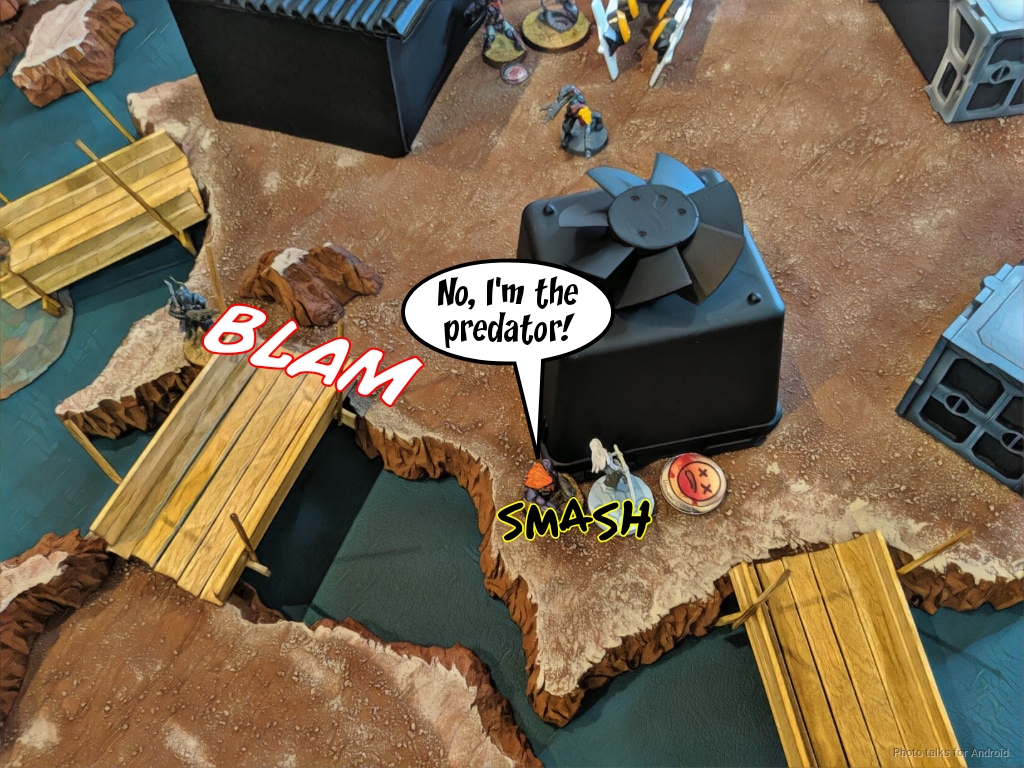
I deployed my Predator near the Marauder link, and Adam obliged my bloodlust by putting the Commando on a roof nearby.
Turn 1
Top of 1 – JSA
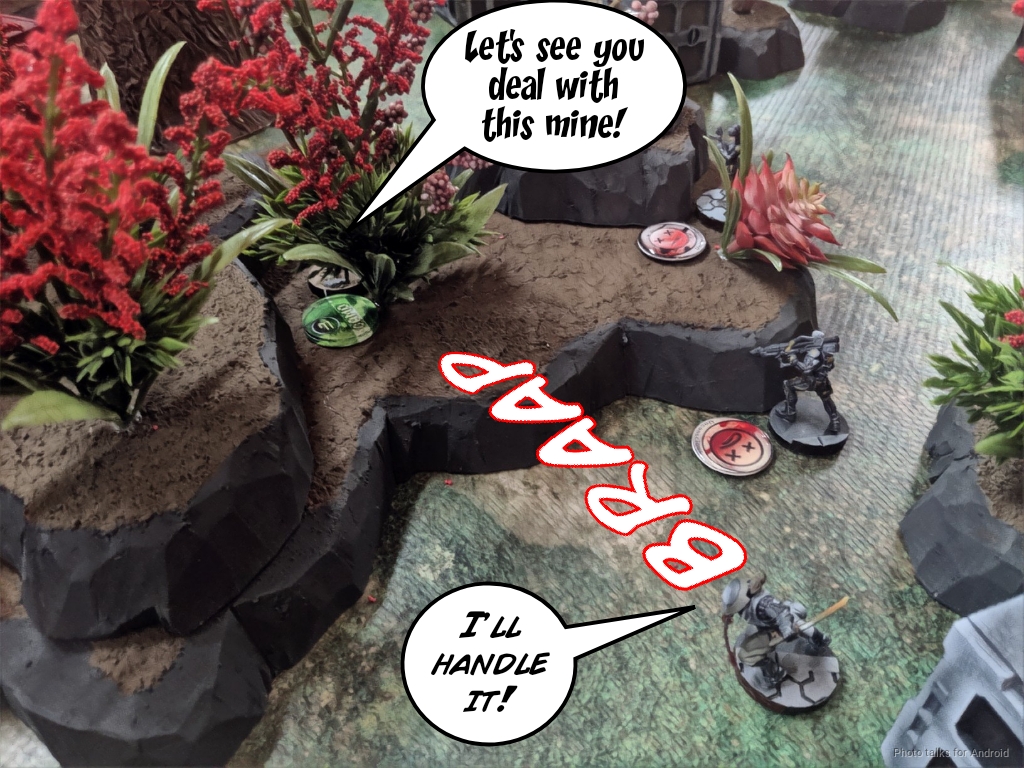
I started things off by trying to remove Rosie with the Ryuken-9 HRL. After blowing my entire second order pool shooting rockets at her and having them bounce off her armor, I was getting a little annoyed.
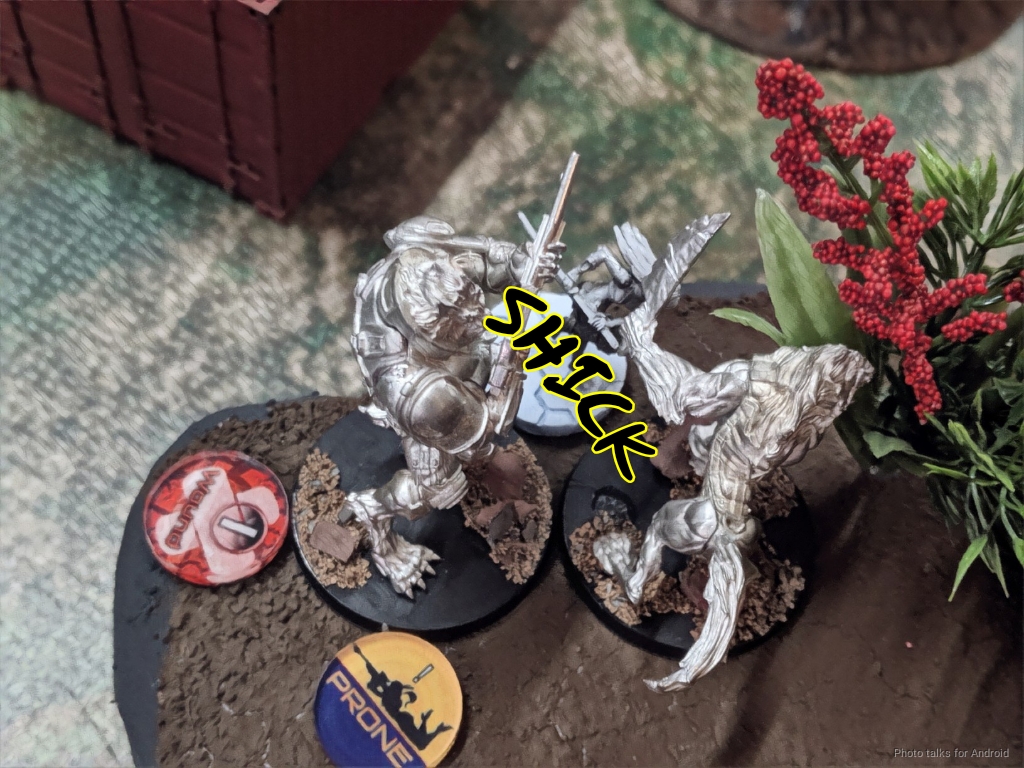
I knew I had to deal with the Devil Dog, so I sent in Kitsune. I crit on my CC roll, but that’s not enough to kill the Devil Dog!
I foolishly? attempted to swing again, but the dog passed ARM. I then blew up a ton of orders shooting Rosie with plasma from my Predator, finally doing a wound and putting her dogged. I gave up and just shot at the Commando with my last two orders but Adam made every plasma save. This was getting ridiculous.
Apparently he had been making ridiculous ARM saves all day, and I was the latest victim of his dice even using impact templates to negate cover and rolling against his 0 BTS. Throughly annoyed, I passed turn.
Bottom of 1 – USARF
Thankfully, impetuous meant that the Antipode came to help the Devil Dog…
which let me MA5 to get burst two and -6 CC on Adam. This was enough to take out the Devil Dog, finally.
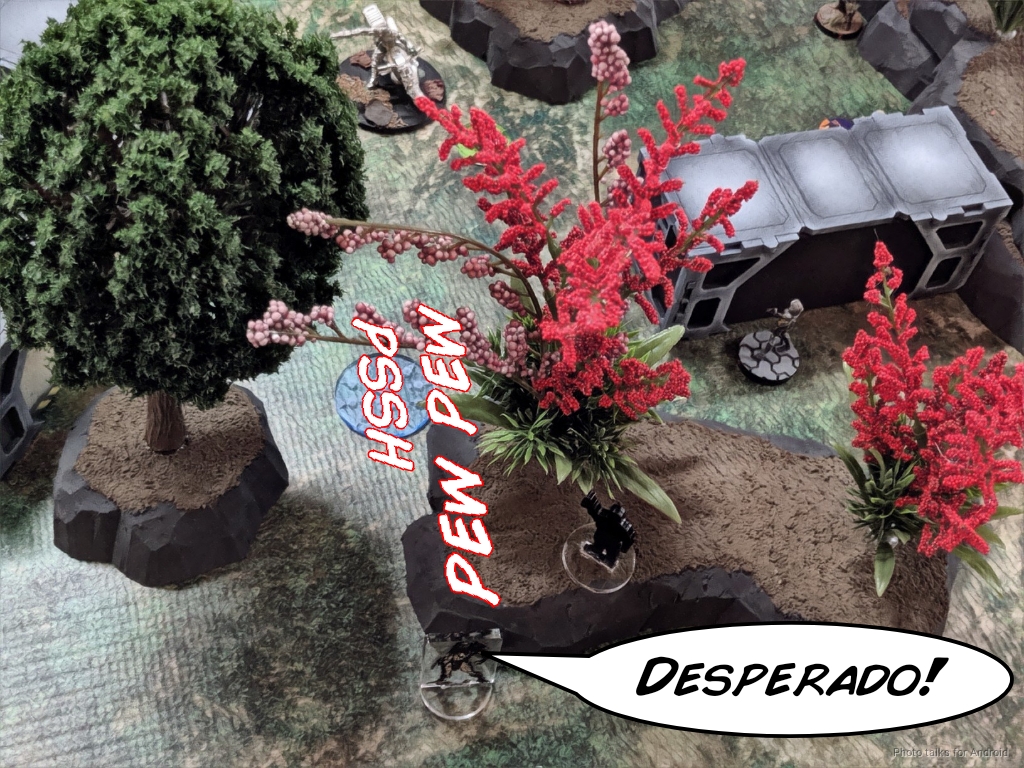
I opted to disengage from the Devil Dog, which was probably a mistake, as then I was vulnerable to chain rifles. I hoped my nanopulsar would work against the Desperado that came rolling up and I’d tank the chain rifle, but I failed ARM and Adam made his BTS save.
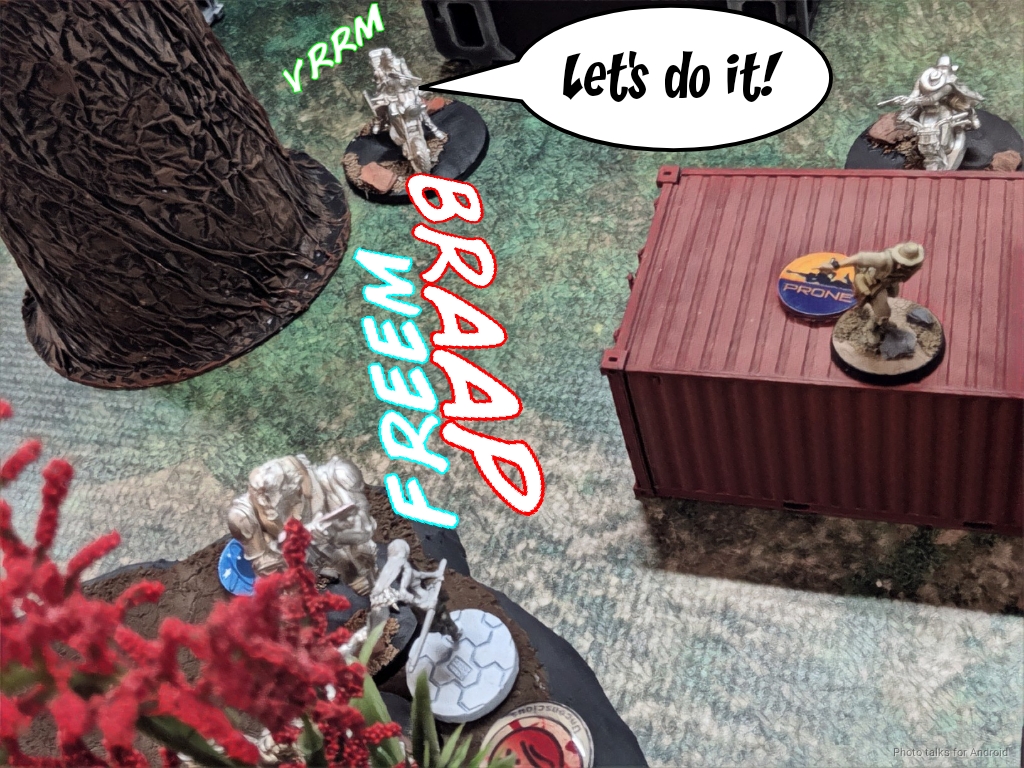
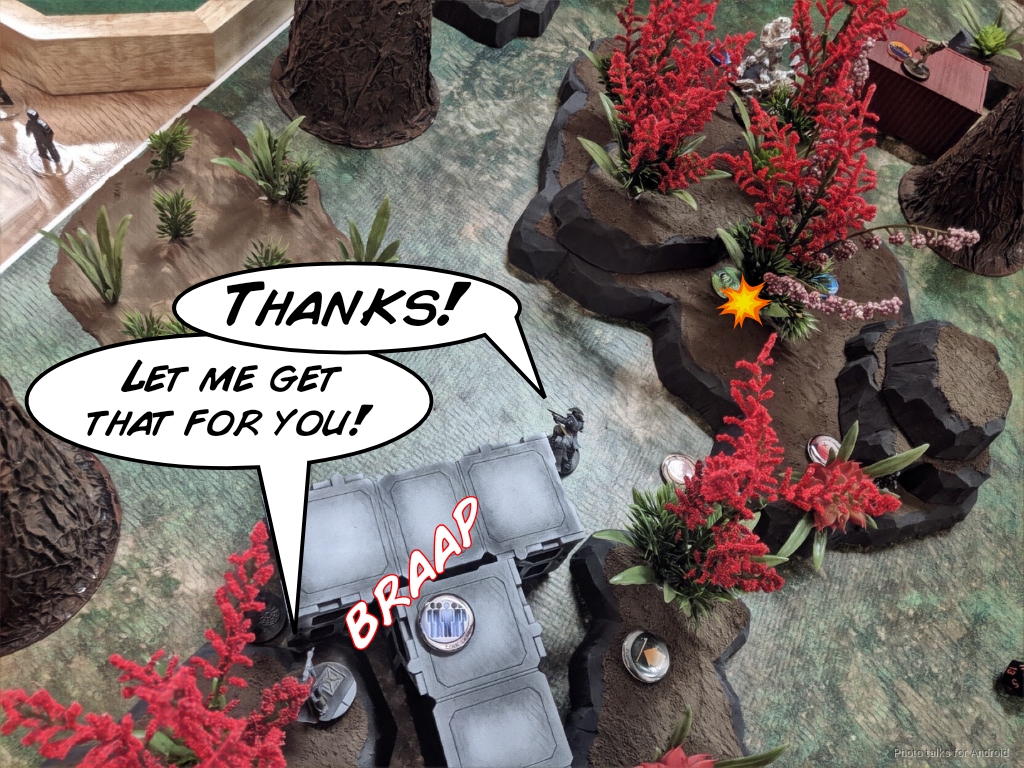
Another bike came rolling up, ignoring my Predator’s plasma with smoke…
but dying to a mine after taking out my Ryuken-9 on the right.
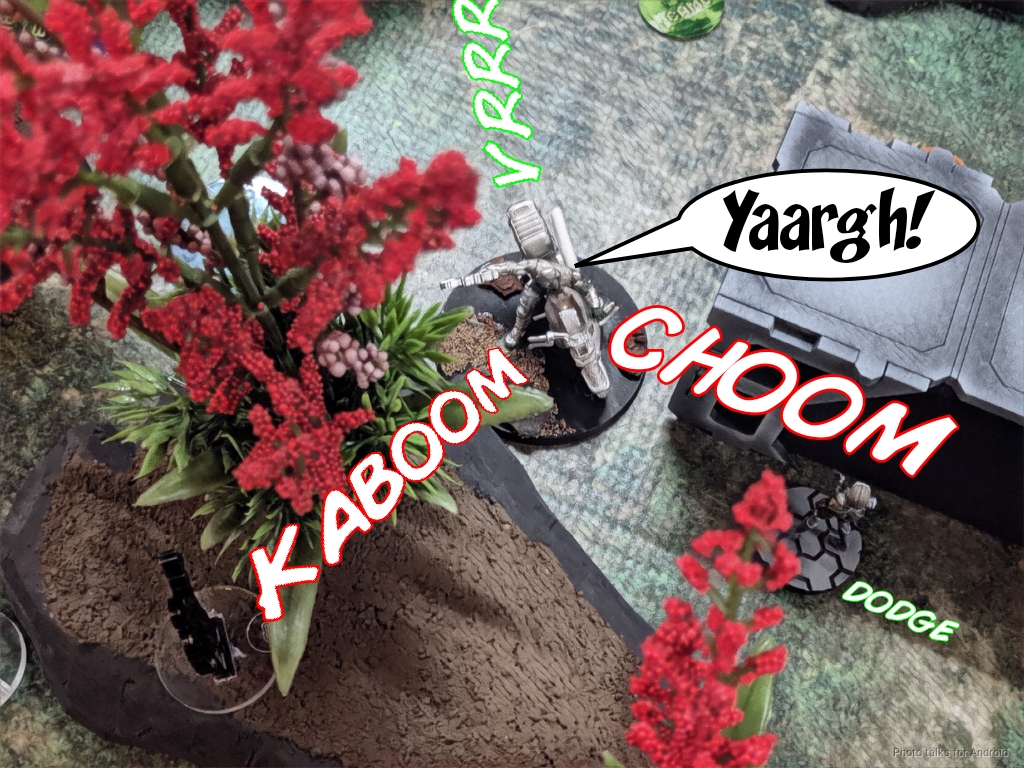
I lose the Predator to a double assault pistol, with the bike dying to my Ryuken’s ARO. This is quite frustrating because the plasma template would’ve covered the Foxtrot behind the bike, but I whiffed entirely.
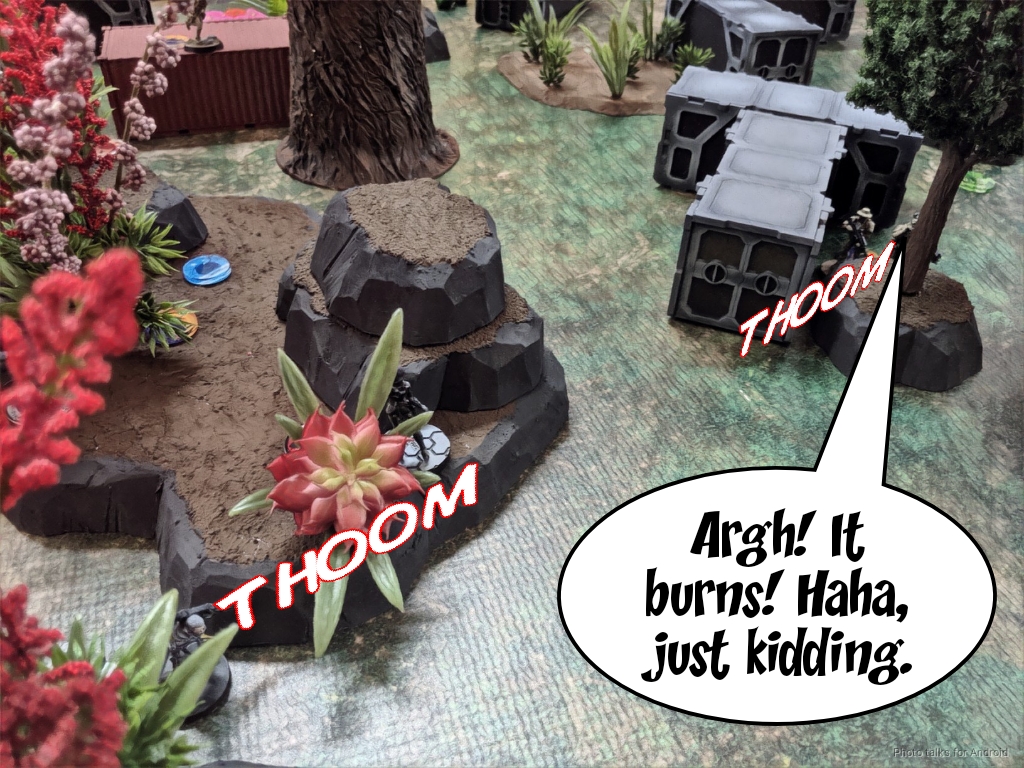
Another bike rolls in, tanks shots from both Ryuken on the left, tanks a mine hit, and KOs both Ryuken on the left with a chain rifle. What’s happening with all these ARM saves? USARF armor isn’t even relevant, Adam’s just rolling 17+ on all his saves!
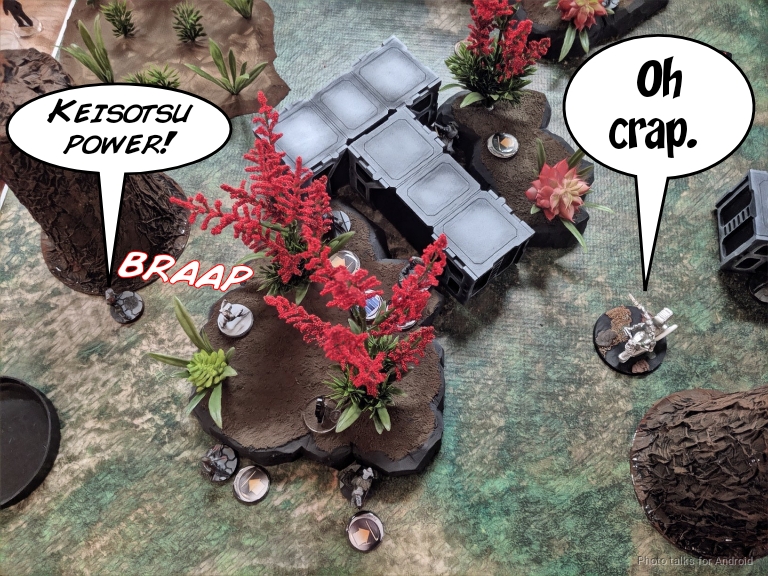
With the way clear, that bike makes it all the way to my deployment zone and dumps 5 dice into Neko. It tanks a mine and a bunch of return fire without incident, but thankfully Neko’s fastballed E/M grenade stops it in its tracks.
I’ve lost all three Ryuken now, which is pretty bad, so Adam decides to make things worse by coordinating spec-fired grenades on my link from his two Foxtrot LGLs. Thankfully he rolls really high on all of his orders and nothing happens to me.
Turn 2
Top of 2 – JSA
I’ve got one unlinked Keisotsu on the left that the Desperado can’t chain rifle, so I use it to shoot through the saturation/low-vis zone and take it out. Finally, Adam fails an ARM save.
My Shikami breaks cover and guns down one of the Foxtrots, who drops a mine.
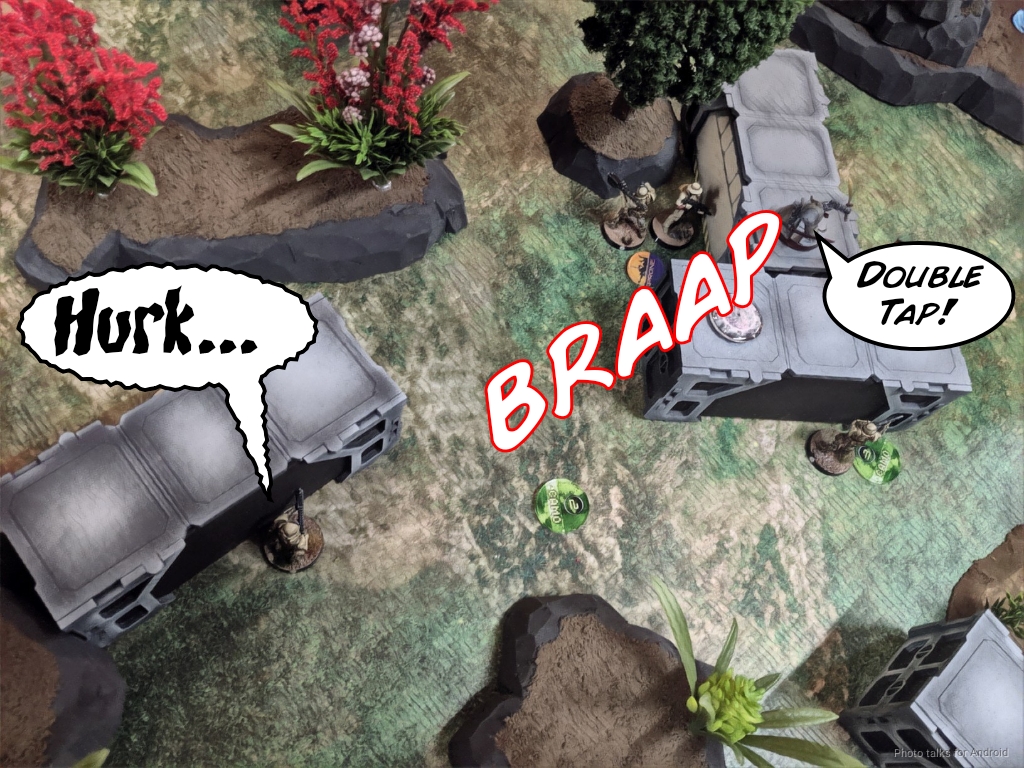
I stand my Kempetai up and start taking shots at Adam’s Commando, finally dropping it.

With that out of the way, I use the Kempetai to remove the mine covering my Shikami.
This in turn lets me pick up the Ryuken-9 HRL with my doctor’s bot. I then promptly split burst between the Marauder Molotok and the Paramedic with the HRL through a low-vis and saturation zone to negate their link bonuses. I hit both and burn them both off the table.
I’m feeling pretty glum and on the back foot still, so after I shuffle the Shikami to safety in the trees where the Foxtrot was, I pass turn.
Bottom of 2 – USARF
Adam informs me that he’s in bad shape too. Apparently he’s down to 8 orders from an original 20. I’ll take it! He spends his turn setting up some defenses and taking out my Kempetai SMR with his Marauder HRL. After his Marauder and my Ryuken have an HRL slap-fight, he’s out of orders and has to pass turn.
Turn 3
Top of 3 – JSA
I try to take out his HRL with my HRL again, killing his Warcor in the process, but nothing comes of it. Even the Foxtrot standing next to the HRL passes ARM.
I’ve got a good deal of orders left, so I run the Shikami out of cover, super jump to see the top of the crates near his Marauder and Foxtrot, and stick a Nimbus grenade there. I climb up and belly crawl into position out of LoF of the mines protecting his Lt and gun the Marauder Lt down. Adam wisely breaks suppression to dodge, otherwise he’d have been zeroed out!
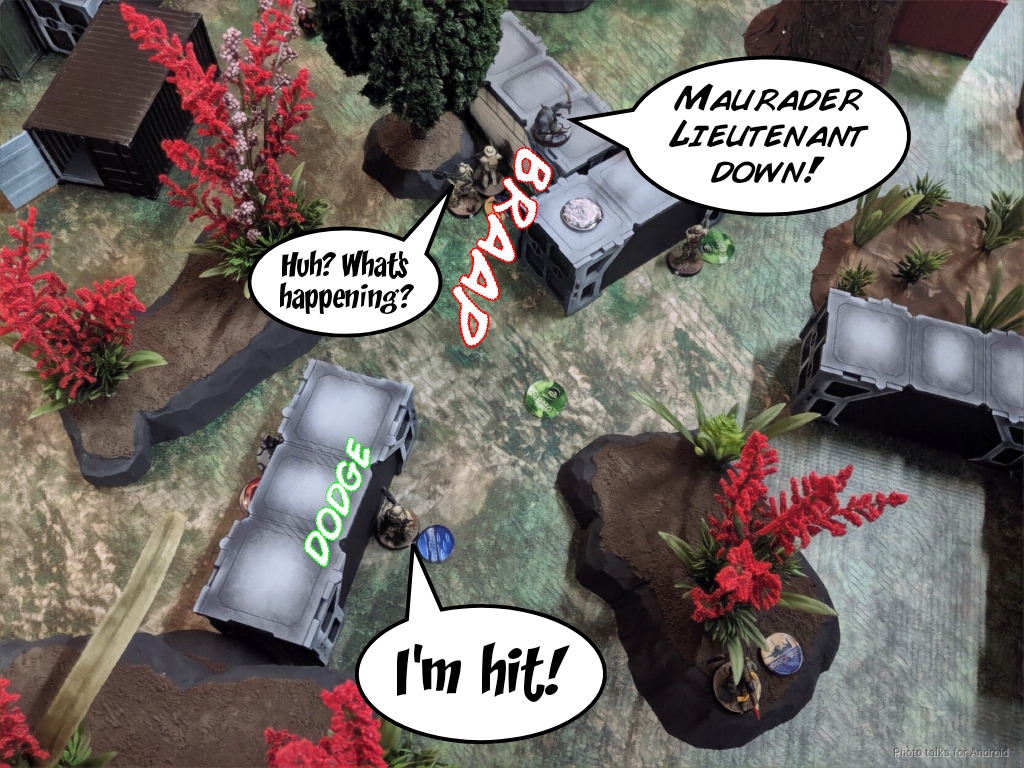
The 112 is nearby so Adam elects to have the Marauder go unconscious and not dogged, so I shoot him again to finish him off.
At this point, the Foxtrot and Marauder finally pass the change face rolls they’ve been failing this whole time, so I gun them down too with the Shikami’s assault pistol.
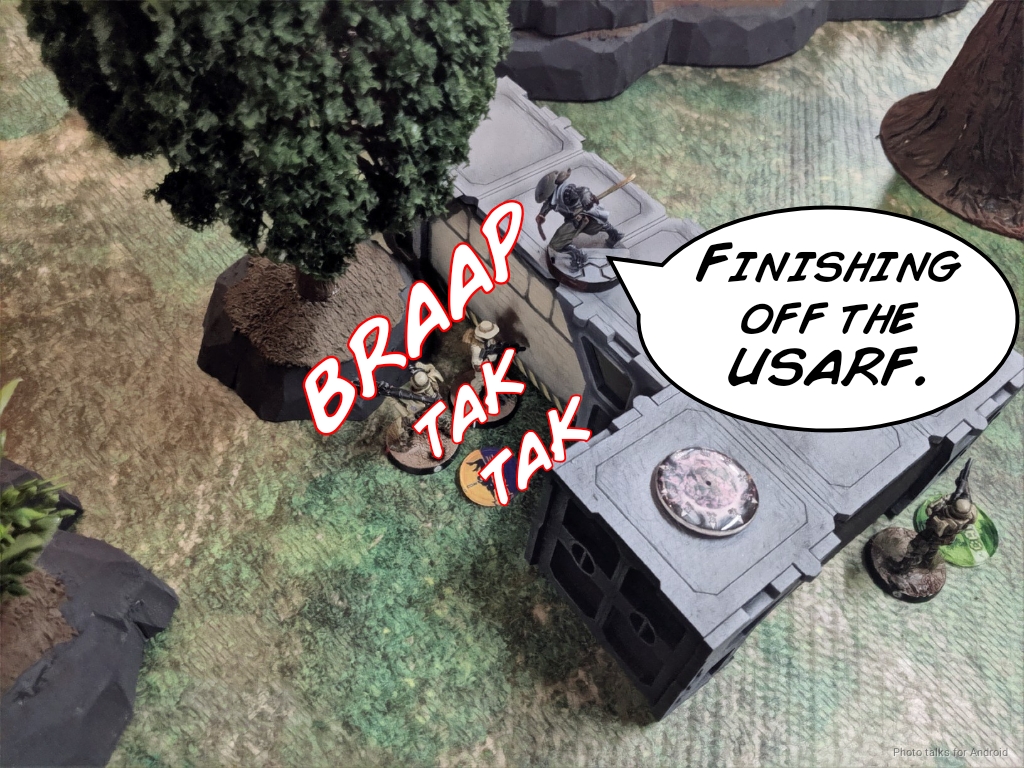
Adam’s only got the 112 and the Marauder BSG left, so he elects to call it there.
7-2 Japanese Secessionist Army Victory!
Post Game Analysis
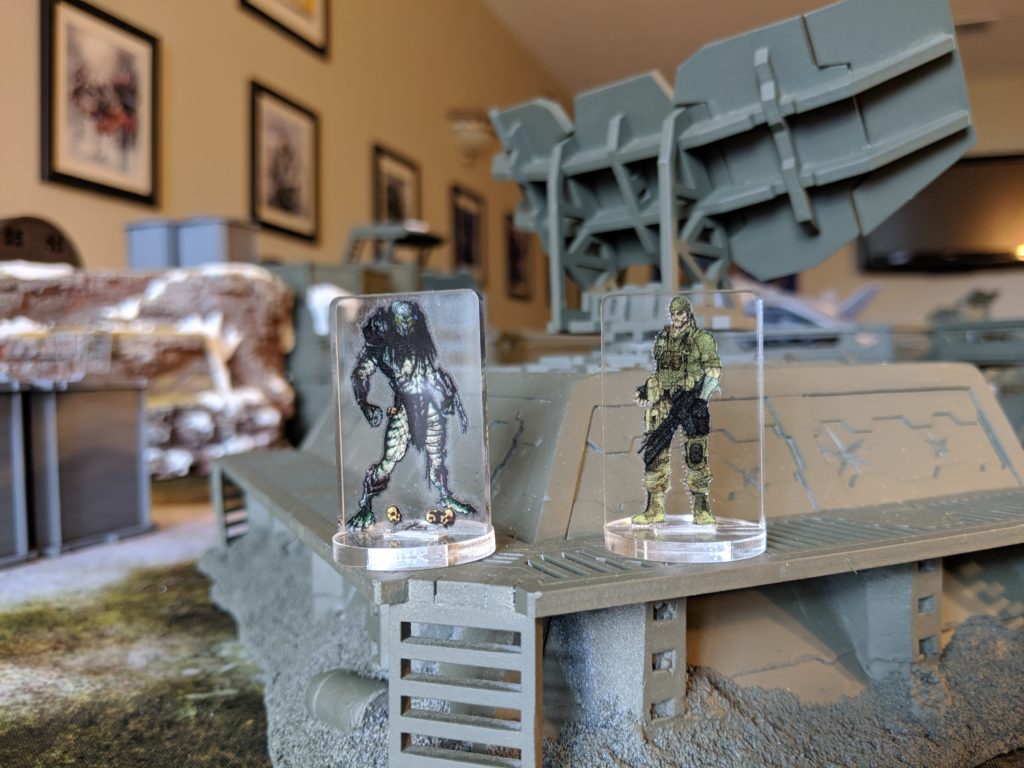
I’m a fan of this scenario. I don’t particularly enjoy Decap in general, but switching it to basically what amounts to DataTracker versus DataTracker was loads of fun. Ray got Every Little War to print up some sweet Predator and Commando tokens for our use too.
Adam and I always play lightning fast. We were done with the round in just over an hour, so we had plenty of time to cross the street and get some coffee while everyone else was finishing up their games. I think we both came to the same conclusion that it was a pretty brutal game for the first two turns for both of us and that his ARM rolls were a bit on the ridiculous side. Thankfully, regression to the mean is a thing and it all sorted itself out by the end.
There’s a few lessons here. One is the old adage of know your opponent and know yourself and you’ll win a hundred battles sort of thing. I know what Adam’s USARF can do, I know how he plays them, and I knew I had to take out his Devil Dog before I lost everything on that side, hence Kitsune. I also got a little cocky with my Predator–plasma is amazing but shooting through a saturation/low-vis zone still sucks for everyone.
The other is that the Shikami is brutal if you can get him set up right. Adam’s been going on and on about I should be playing > 10 order JSA. I don’t want to go as far as to say he was right, but having extra things on the field definitely helped me be a little more resilient to the bikes being really aggressive. My Ryukens do alot of dying against Adam. I think it’s because he knows how awful they are if they get an active turn against exposed things.
In general USARF falls apart if you systematically take out its key pieces. I think I did that by taking out the Devil Dog, the Marauder Molotok, and winning the attrition gambit against the bikes. Having the Doctor helped a lot too, my HRL did a lot of work for me. I dunno, not a lot of huge groundbreaking findings from this game, just some solid play from both of us with me just having enough things in the right places with dice doing the rest. Well, that’s a wrap for Day 1, Day 2 will have The Italian Job (Supplies) and The Thing (Unmasking)! Thanks for reading.