Humboldt Irregular 2019 – Day 2
Day One of the Humboldt Irregular was great fun!
Time for the second day of games: Supplies and Unmasking.

Game 4 – The Italian Job
I drew Obadiah (nehemiah) as my round four opponent. I’ve played Obi a few times before, and I know him to be a cagey, solid player and a great friend! I don’t get to play him enough, so I’m glad I got another chance to.
Overview
- Mission: The Italian Job (Supplies)
- Forces: Japanese Secessionist Army versus Tartary Army Korps (300)
- Deploy First: JSA
- First Turn: JSA
Mission Scoring
MAIN OBJECTIVES
- For each Supply Box Controlled at the end of the battle (1 Objective Point).
- If you have Controlled more Supply Boxes than your adversary at the end of the battle (3 Objective Points).
- If your adversary has no Controlled Supply Boxes at the end of the battle (2 Objective Points).
CLASSIFIED
- Each player has 2 Classified Objectives (1 Objective Point each).
Mission Special Rules
THE CREW
During Deployment, players must declare which troops from their Army List are given a Crew token.
COMMON RULES OF CREW TOKENS
- Any single troop can only be given 1 token.
- Crew tokens must be placed at the same time as the troop it’s being given to.
- Troops must be on the game board in order to be eligible for a token. Troops in Hidden Deployment or troops that haven’t yet been deployed (Example: AD) may not be given a Crew token.
- Troops in Marker State may be given a Crew token
CREW TOKEN BENEFITS
- Wheelman – This trooper adds +2 to its first MOV value.
- Face – This trooper can deploy in the Impersonation 2 state.
- Muscle – This trooper gains V: No Wound Incapacitation.
- Tech – This unit may re-roll one die every time they make a normal WIP check (i.e. if the roll is NOT face-to-face).
- Bankroll – This trooper gains Tactical Awareness.
Main Differences
This is basically Supplies with some fun perks for your units. The Humboldt guys gave us some tokens to use for this, and they were pretty sweet! Some hilarious things can occur, like having a Karakuri with IMP-2 state.

Welcome to Nope Town
GROUP 1 |9
1
2
KUROSHI RIDER Lieutenant Combi Rifle + Light Flamethrower / Breaker Pistol, AP + Shock CCW. (0 | 33)
YURIKO ODA Combi Rifle + E/Mitter, D-Charges, Antipersonnel Mines / Pistol, CCW. (0 | 23)
KEMPEI (Chain of Command) Boarding Shotgun / Pistol, CCW, Electric Pulse. (0 | 21)
KEISOTSU (Forward Observer) Combi Rifle / Pistol, Knife. (0 | 10)
GROUP 2 |
KARAKURI Mk12, Chain Rifle, D.E.P. / Pistol, Knife. (0 | 43)
YOJIMBO Contender, Nanopulser, Smoke Grenades, CrazyKoalas (2) / Pistol, DA CCW. (0 | 21)
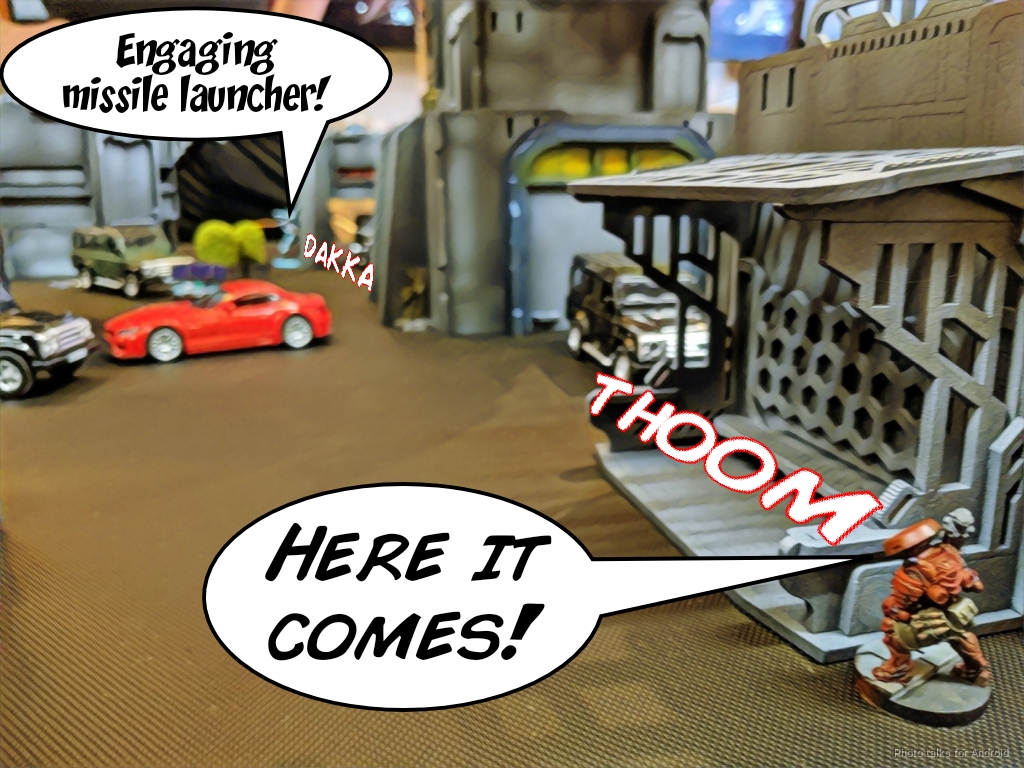
TANKŌ Missile Launcher / Pistol, Monofilament CC Weapon, Shock CC Weapon. (1.5 | 32)
MIYAMOTO MUSHASHI (Regular, Fireteam: Haris) Chain Rifle, Flash Pulse / Pistol, AP CCW, EXP CCW. (0.5 | 28)
6 SWC | 300 Points | Open in Infinity Army
I took my bike list to Supplies, as I built the list for this mission. Kuroshi Rider for grabbing stuff from the Tech Coffins and Yojimbo for going to steal Obi’s if necessary. Tankos to be a royal pain in the butt for Obi. I do more discussion of the list in Day 1’s tournament report.
Game 4 – Nehemiah
GROUP 1 |GROUP 2 |
VASSILY (Chain of Command) T2 Marksman Rifle, Akrylat-Kanone, D-Charges / Heavy Pistol, Knife. (0 | 39)
STRELOK (Forward Observer) Boarding Shotgun / Pistol, Knife. (0 | 20)
TANKHUNTER Lieutenant AP Rifle, Adhesive Launcher, D-Charges / Pistol, Knife. (1 | 25)
SPETSNAZ (CH: Ambush Camouflage) HMG / Pistol, CCW, Knife. (1.5 | 38)
SCOUT (Minelayer) Ojotnik, D-Charges, E/Mauler / Pistol, Knife. (0.5 | 30)
PAVEL McMANNUS Ojotnik, Chain-colt, Antipersonnel Mines / Pistol, T2 CCW, Knife. (0 | 31)
WARCOR (360º Visor) Flash Pulse / Stun Pistol, Knife. (0 | 3)
LINE KAZAK Rifle, Light Grenade Launcher / Pistol, Knife. (1 | 13)
ASSAULT PACK . (0 | 25)

x3 ANTIPODE AP CC Weapon. (- | 15)
5.5 SWC | 300 Points | Open in Infinity Army
Obi brought some serious camo spam nonsense to the table. I resolved to just ignore all his camo and do my best to just play to the mission. He brought an antipode pack though, which was a bit worrisome. I don’t have a ton of close combat and I know they were going to come hunting the supply box once I grabbed it.
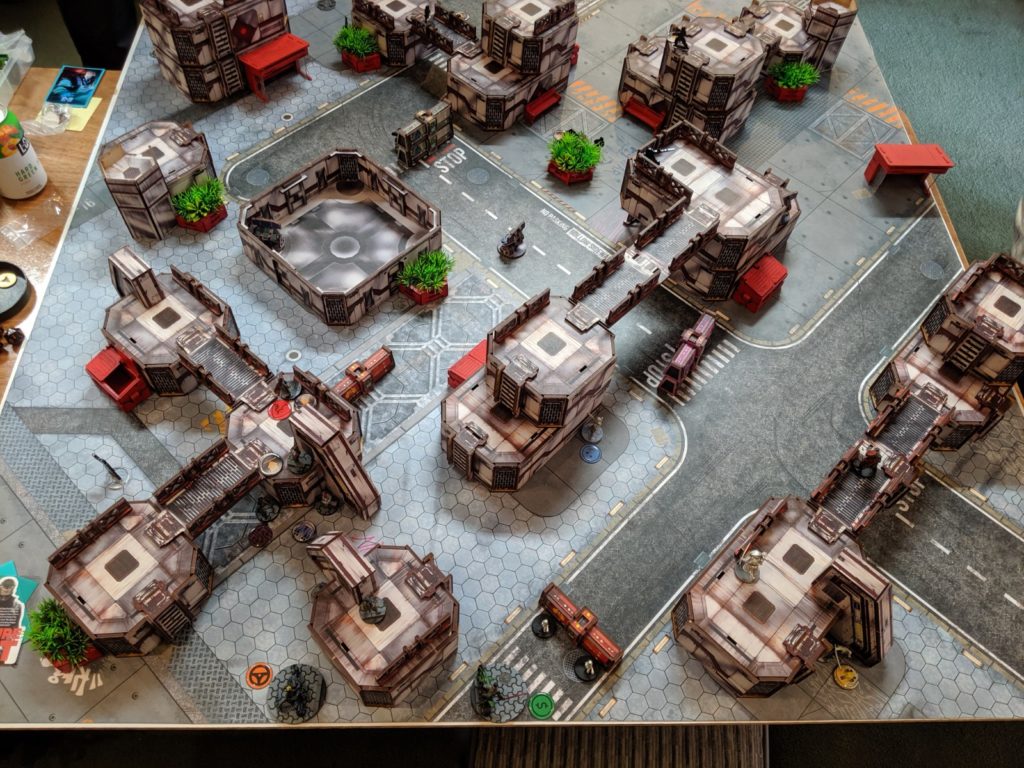
Deployment
Obi I think chose side, so I decided to go first. There was a natural bunker on the left, so I deployed my link there with the Tanko on catwalks on the right covering much of the board including the approaches to my knot of guys on the left. The Keisotsu ML covered the other major firelane across the right half of my table side.
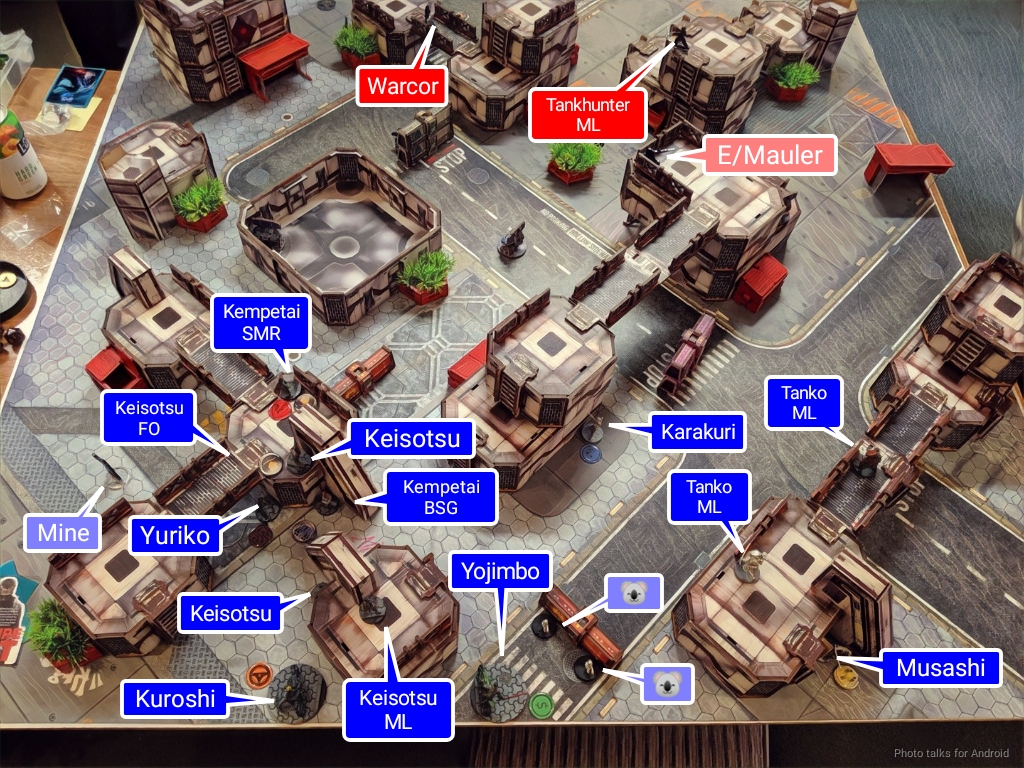
Here were my crew choices:
- Wheelman – Kuroshi Rider – This trooper adds +2 to its first MOV value. – I did this because she’s then 6-4 MOV off her bike, which was relevant.
- Face – Karakuri – This trooper can deploy in the Impersonation 2 state. – Mostly for the lulz.
- Muscle – Kempetai SMR – This trooper gains V: No Wound Incapacitation. – She dies all the time, so…
- Tech – Yuriko Oda – This unit may re-roll one die every time they make a normal WIP check (i.e. if the roll is NOT face-to-face). – Didn’t have a better plan…
- Bankroll – Yojimbo – This trooper gains Tactical Awareness. – Moar smoke!
With that, Obi started deploying. He put a Tankhunter ML and Vassily out to ARO me and hid most of the rest of his stuff. He spread out most of his threats and generally did a great job of covering all the relevant angles.
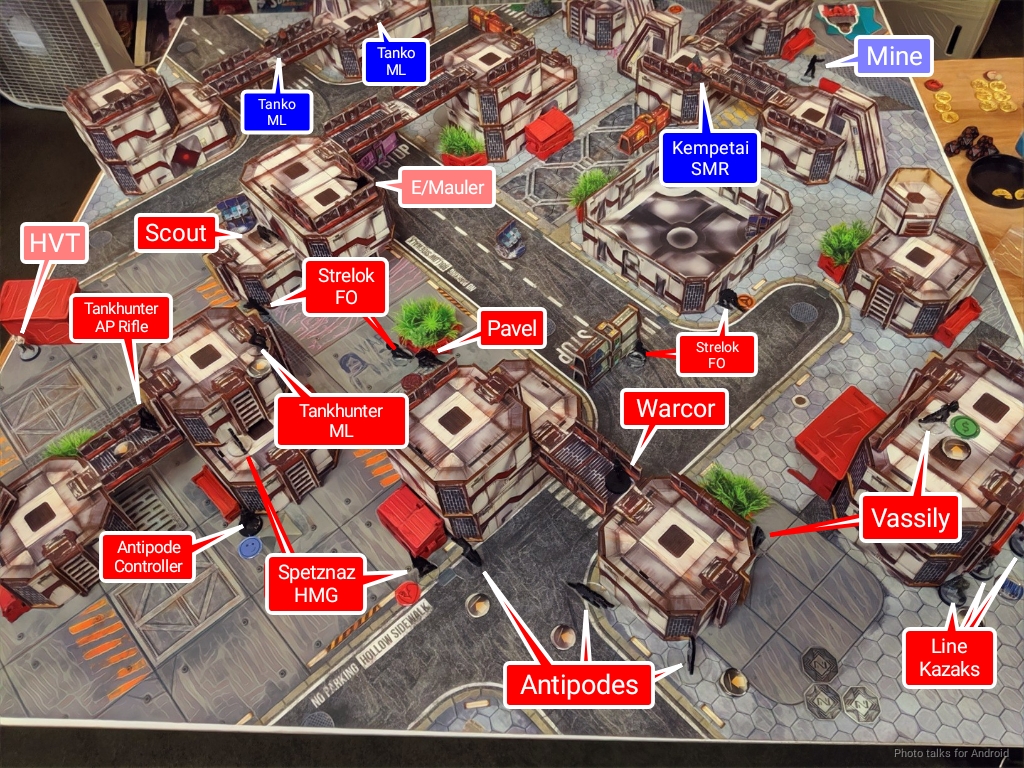
Obi’s crew choices were as follows:
- Wheelman – Strelok – This trooper adds +2 to its first MOV value. – Go fast, specialist!
- Face – Antipode Controller – This trooper can deploy in the Impersonation 2 state. – Smart. Protect the controller.
- Muscle – Spetznaz – This trooper gains V: No Wound Incapacitation. – Duh.
- Tech – Pavel – This unit may re-roll one die every time they make a normal WIP check (i.e. if the roll is NOT face-to-face). – I suspect this was just the “whatever seemed best” choice.
- Bankroll – Vassily – This trooper gains Tactical Awareness. – Moar bullets!
I held Yojimbo in reserve to give me the best chance of getting impetuous smoke, so I put him in the place where I wanted smoke. Obi deployed a Scout Minelayer with his E/Mauler to attack my Tankos but placed the E/Mauler in a place that would threaten a nasty ARO. I fell for it.
Turn 1
Top of 1 – JSA
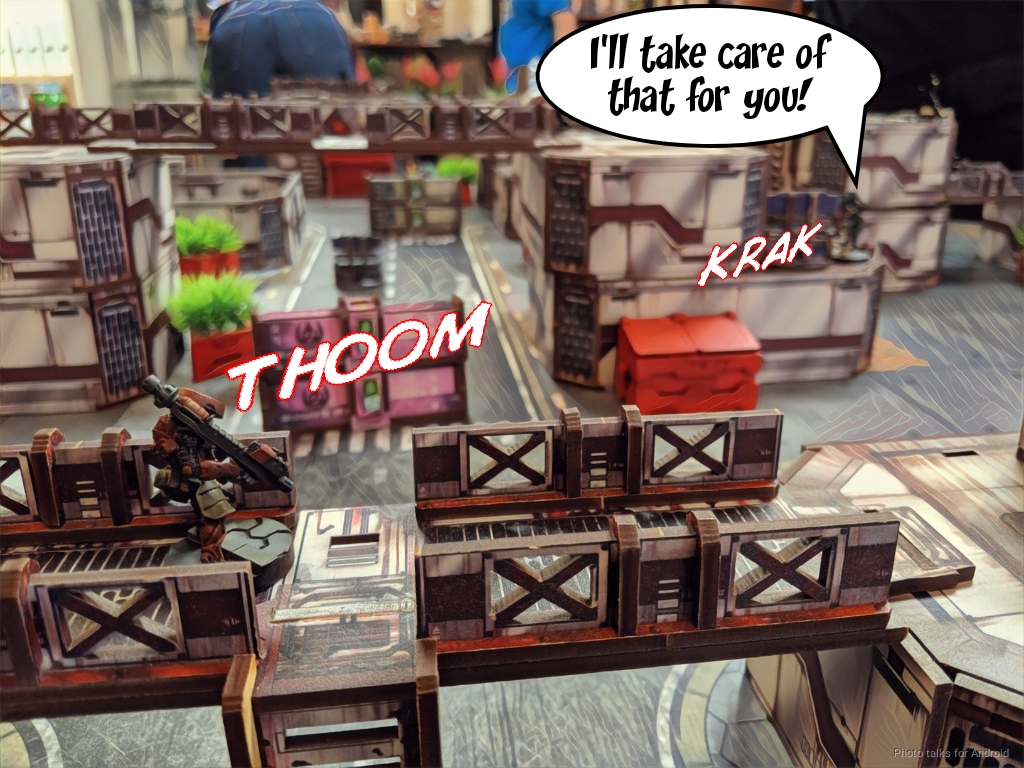
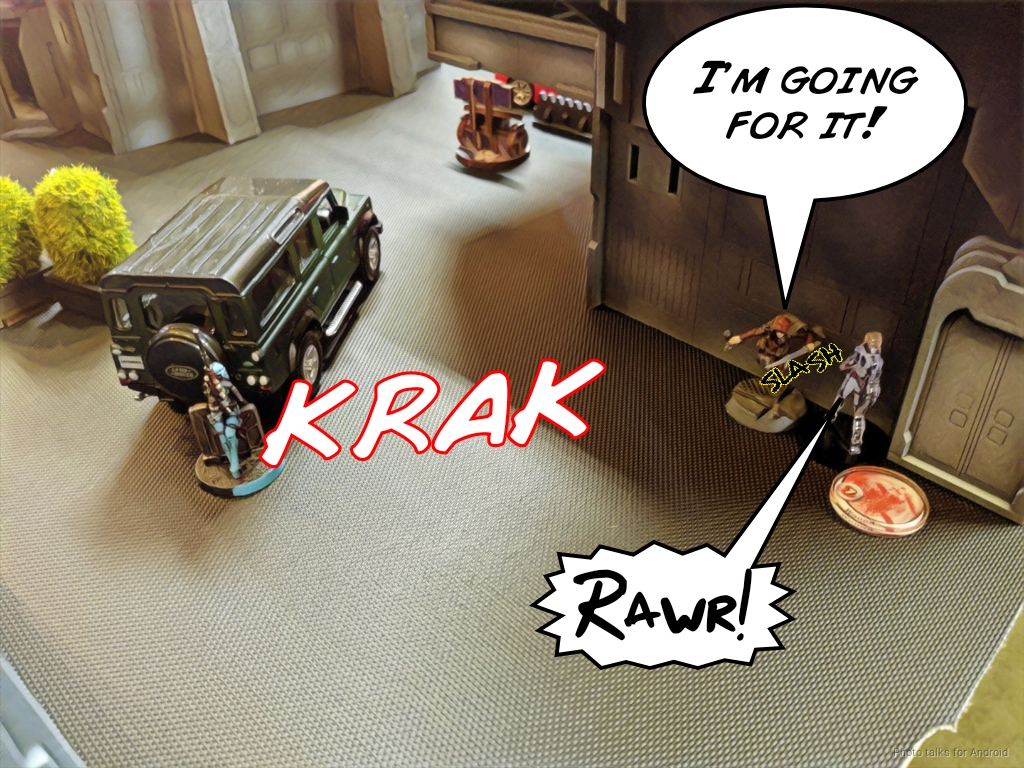
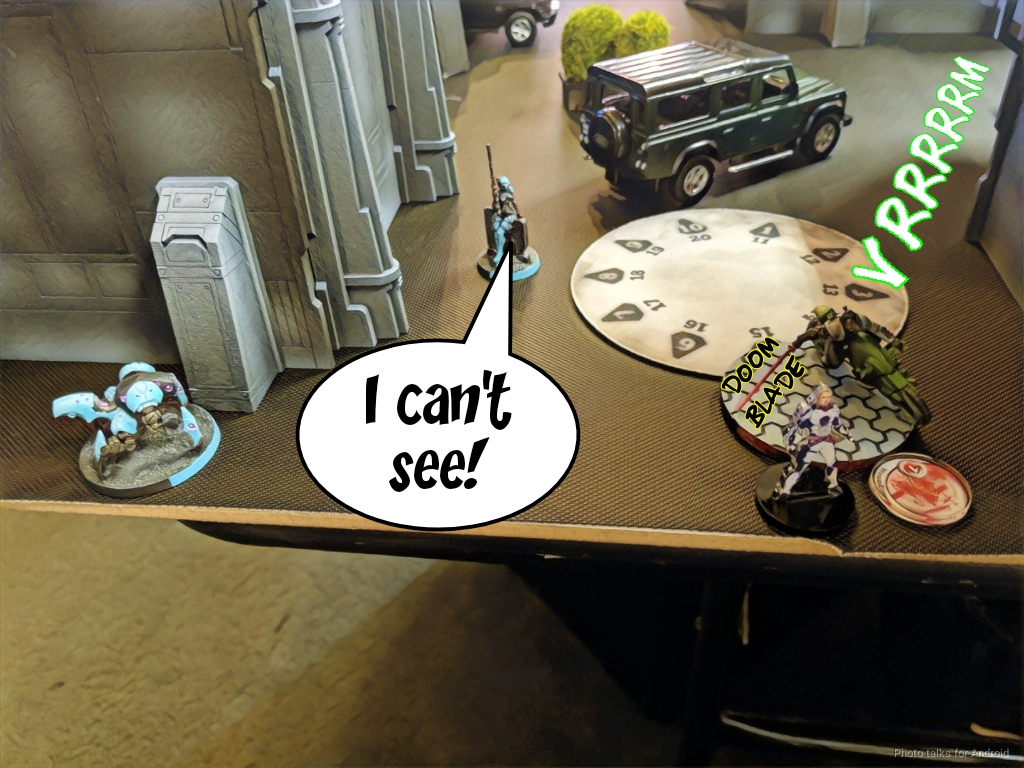
I stuck to the gameplan and just straight up ignored Obi’s camo assets. I first swapped Yojimbo to group two, then used his impetuous order to cover Kuroshi Rider with smoke. I canceled her impetuous order because 10″ is a looong impetuous move, and I knew I would have plenty of movement later thanks to Wheelman. Yojimbo completed his smoking up of her path, and then she made her supplies run. A whopping 16″ move got her to the door of the armory with no trouble, and then a 6-4 MOV got her in and out of the armory quickly, especially in light of my multiple failed WIP rolls to retrieve the box.
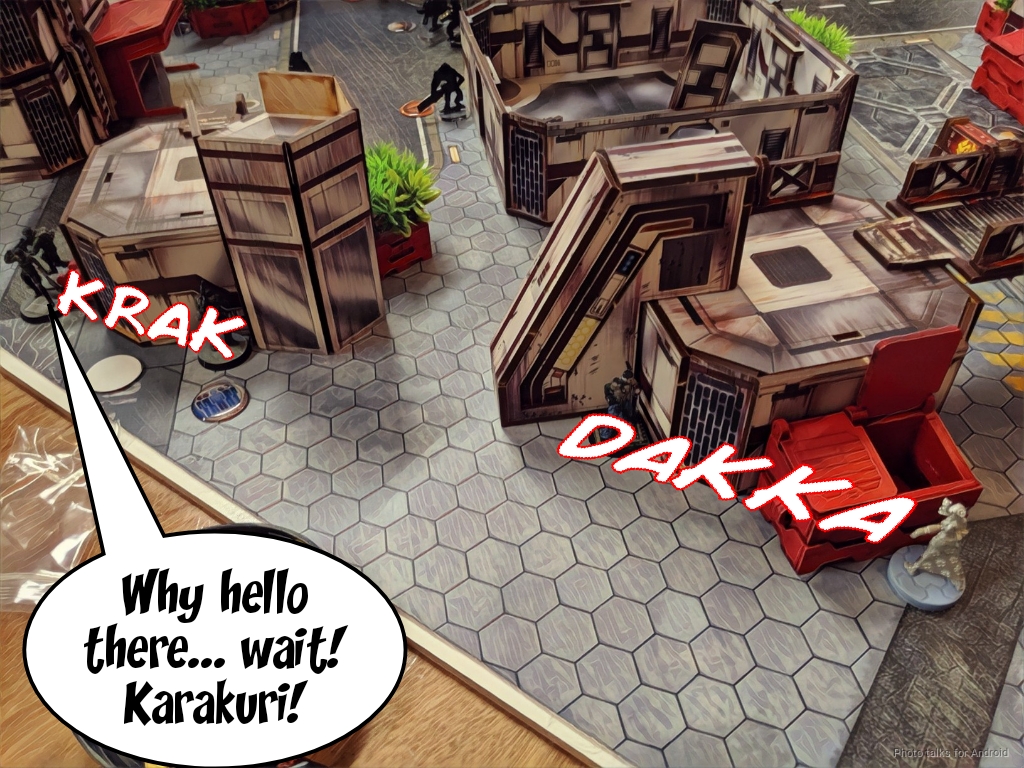
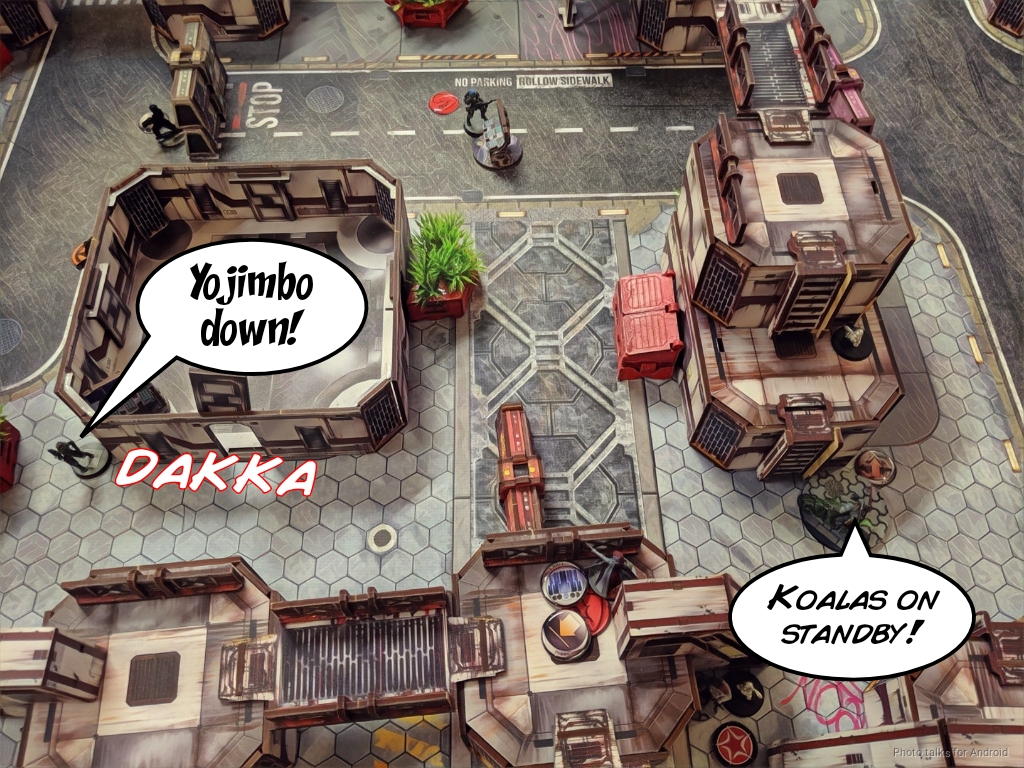
The Karakuri made her run next, getting discovered out of IMP-2 by Obi’s Warcor. No matter. No one else made an effort to dissaude her from grabbing the central box, so I blew the rest of my command tokens retreating the two of them into the best defensible position as I could.
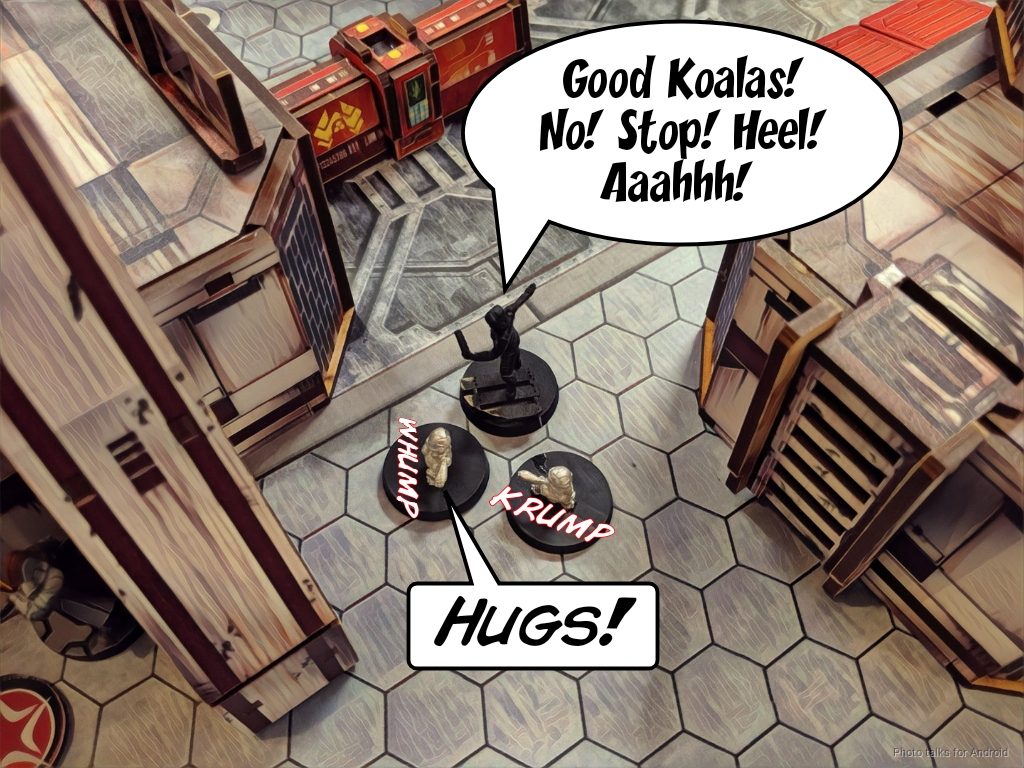
I attempted to get some smoke onto the Karakuri to take the box from her with Yojimbo but failed. I instead settled for spreading his Koalas out to make digging out my boxes difficult.
Bottom of 1 – TAK
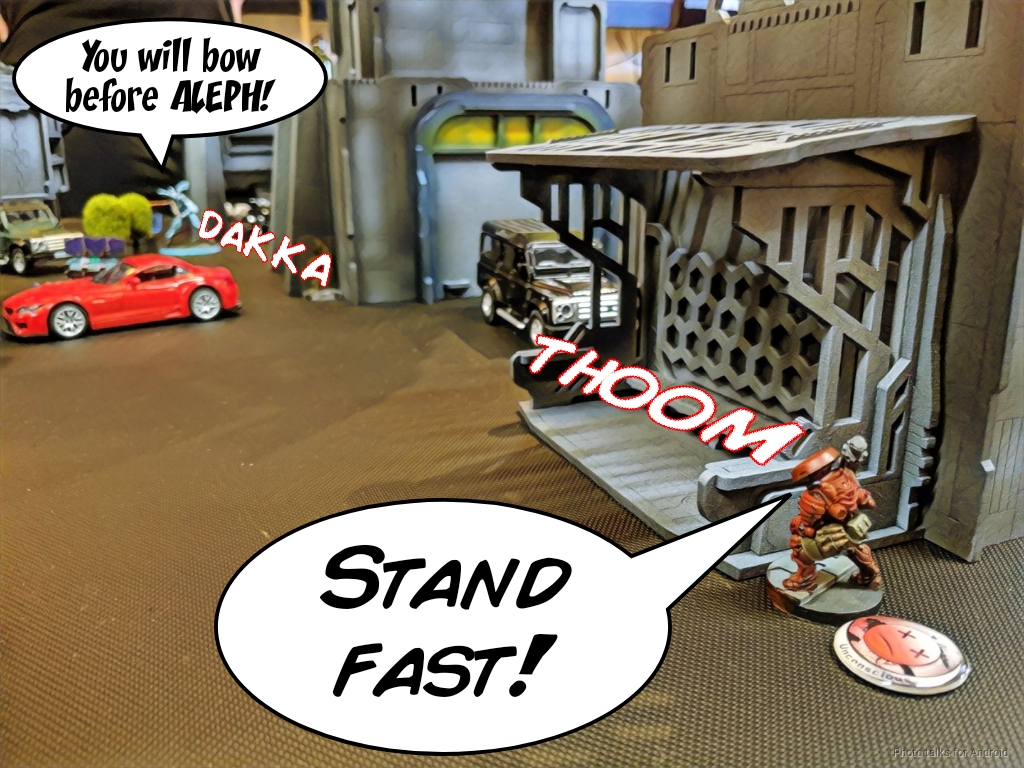
Obi starts things off by advancing his link team, hoping to punish my tight deployment by making use of their LGL. He quickly discovers that my Tankos are watching that approach and so he has to deal with them first.
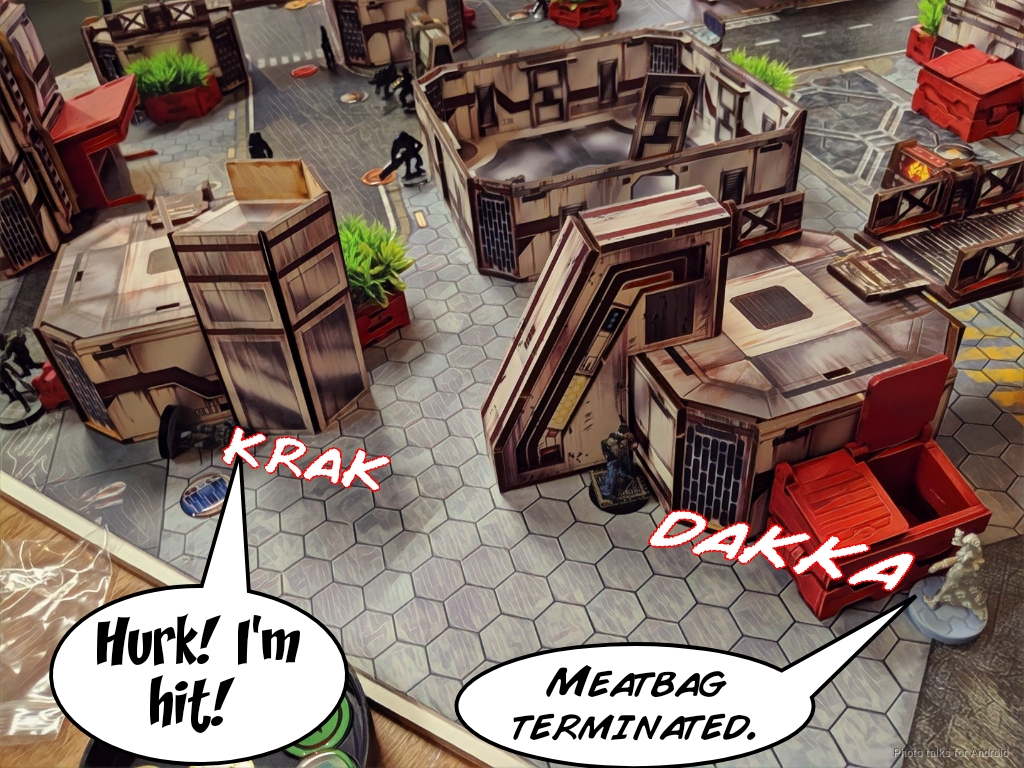
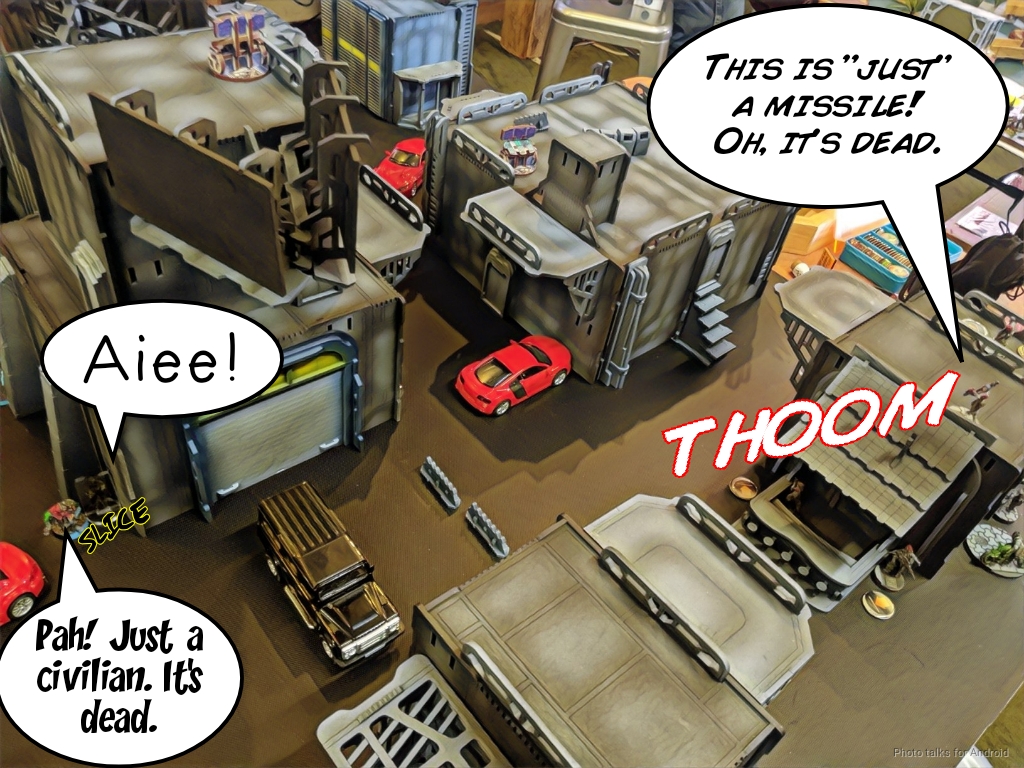
His Scout minelayer one-shots the first Tanko as I sloppily placed in a place where Obi could deny it cover on the catwalk. BOOO! Ah well.
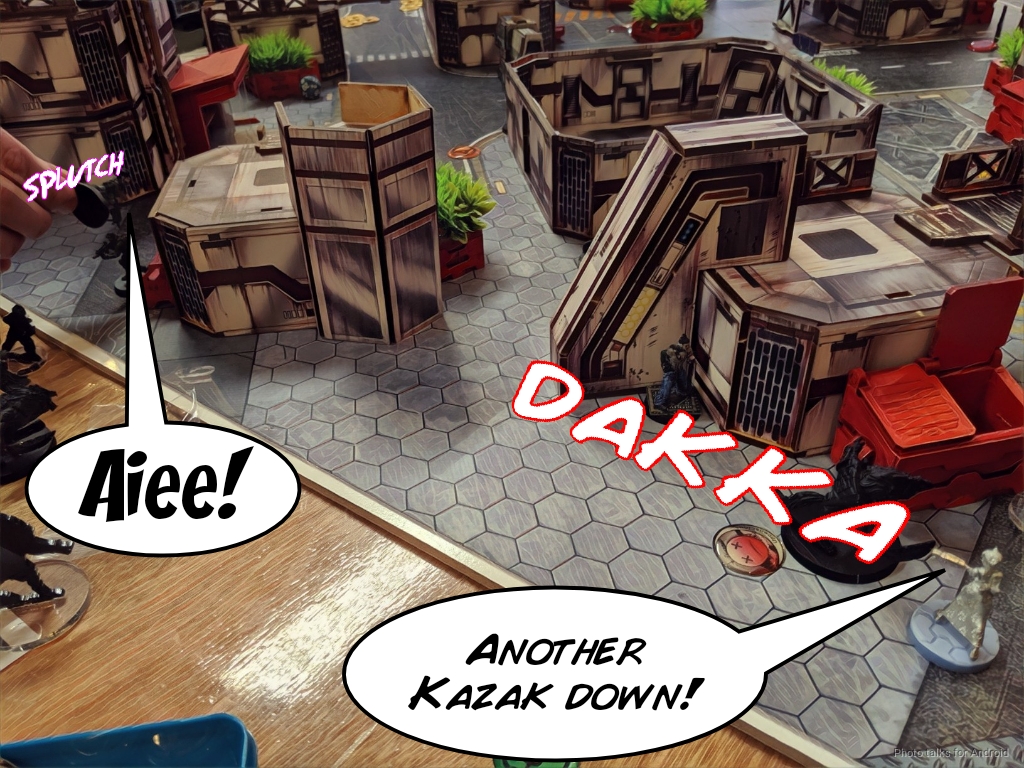
The Line Kazak can now safely see Yojimbo and puts a wound on him. I fail guts around the corner.
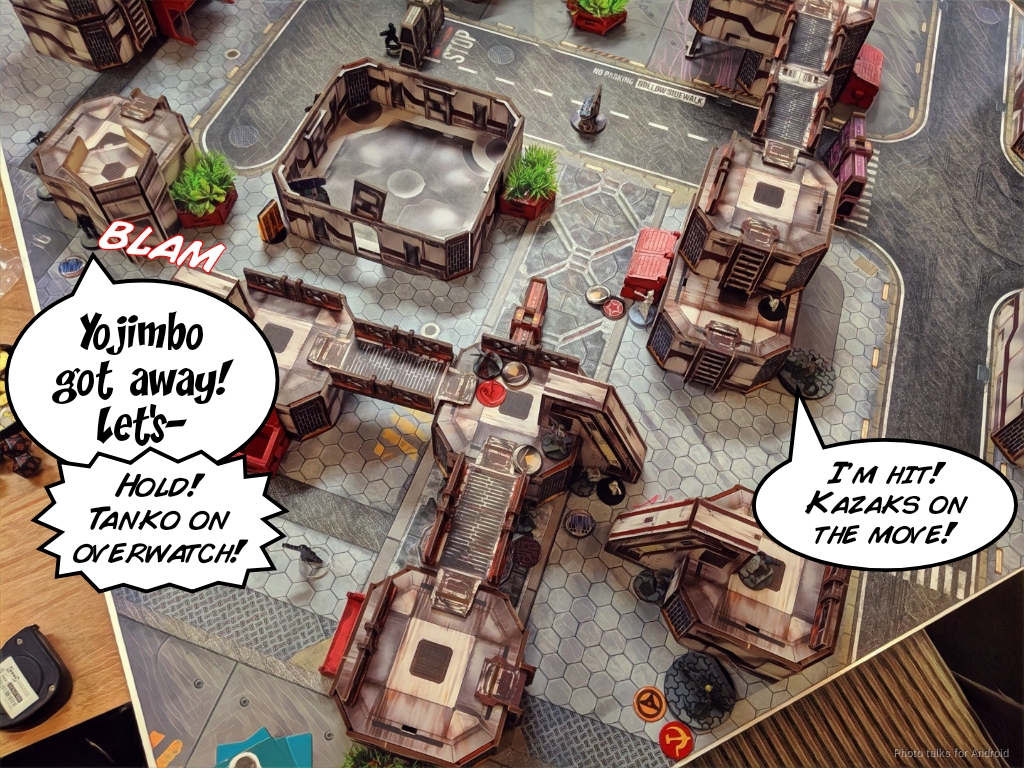
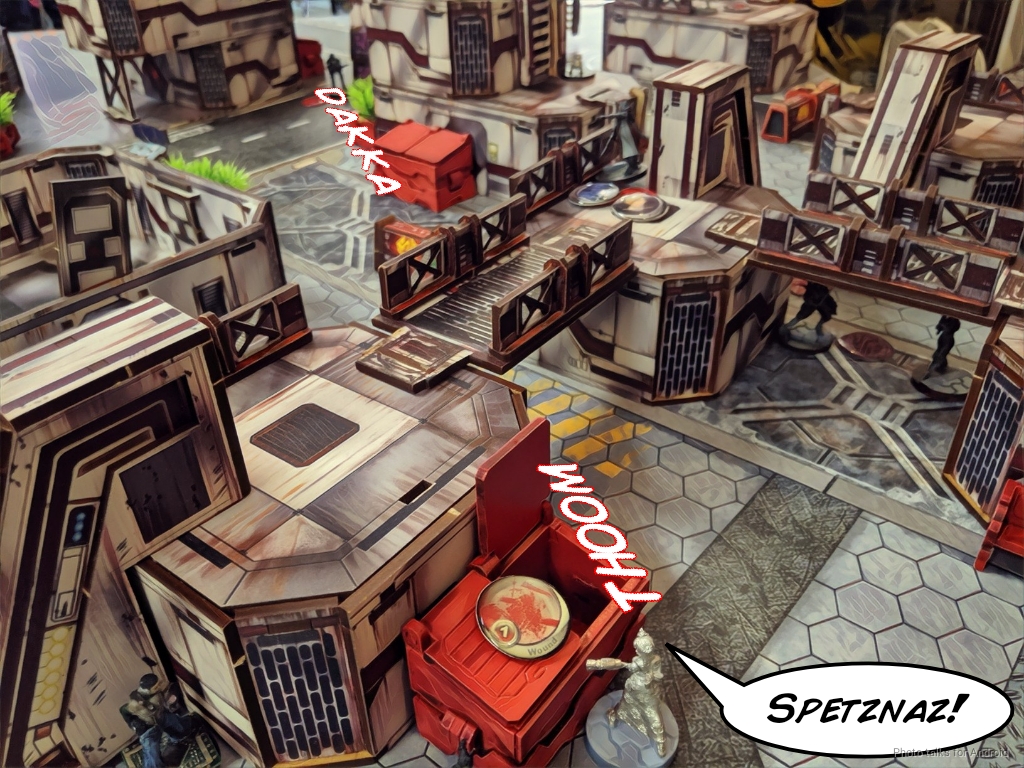
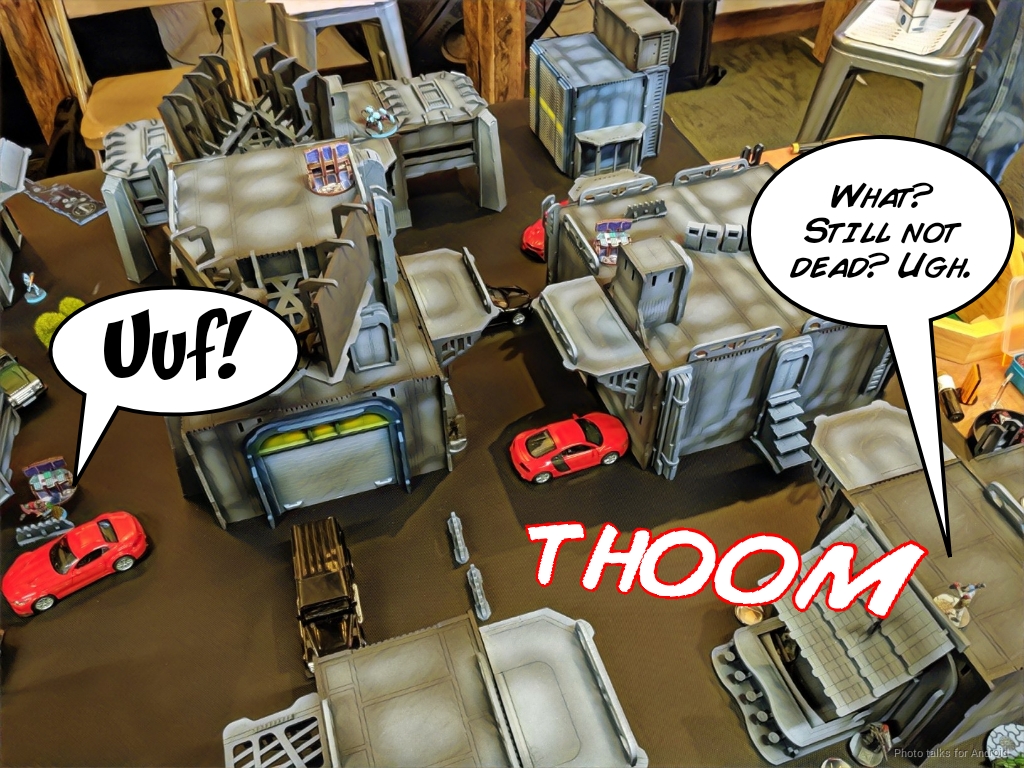
The second Tanko goes down to a coordinated order between the Spetznaz HMG, Tankhunter ML, and the same troublesome Scout after some manuevering from Obi. I roll a 1 on my dodge and just get obliterated by all the fire.
Thankfully that’s most of Obi’s turn spent dealing with my Tankos now, so he passes turn, understandably frustrated. I’m also a little bummed that I lost most of my ARO presence, but I think we both spent our resources wisely, so to speak. He did make sure to take the time to recamo all his assets though, which was very smart.
Turn 2
Top of 2 – JSA
I pass off my Karakuri’s box to my Kempetai BSG before making my way to attack the Line Kazaks. Obi catches me in the open within template range of Yuriko’s mine, so he reveals his Tankhunter ML to take the shot. My Karakuri keeps on walking and just tanks the missile, but the mine goes poof (or I guess I should say “Kabooom!”).
The first Line Kazak manages to tank some Mk12 hits and fails guts to safety…
but the link leader is not so lucky.
I stand up my Kempetai SMR and punish the Tankhunter for breaking camo, shocking it off the table.
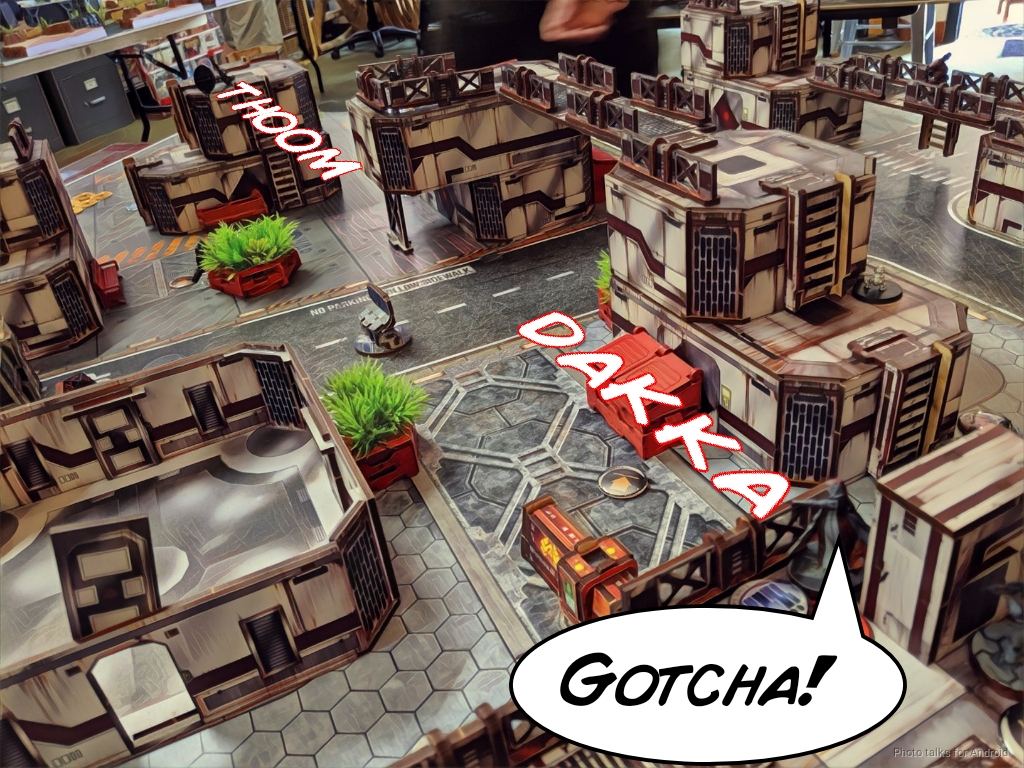
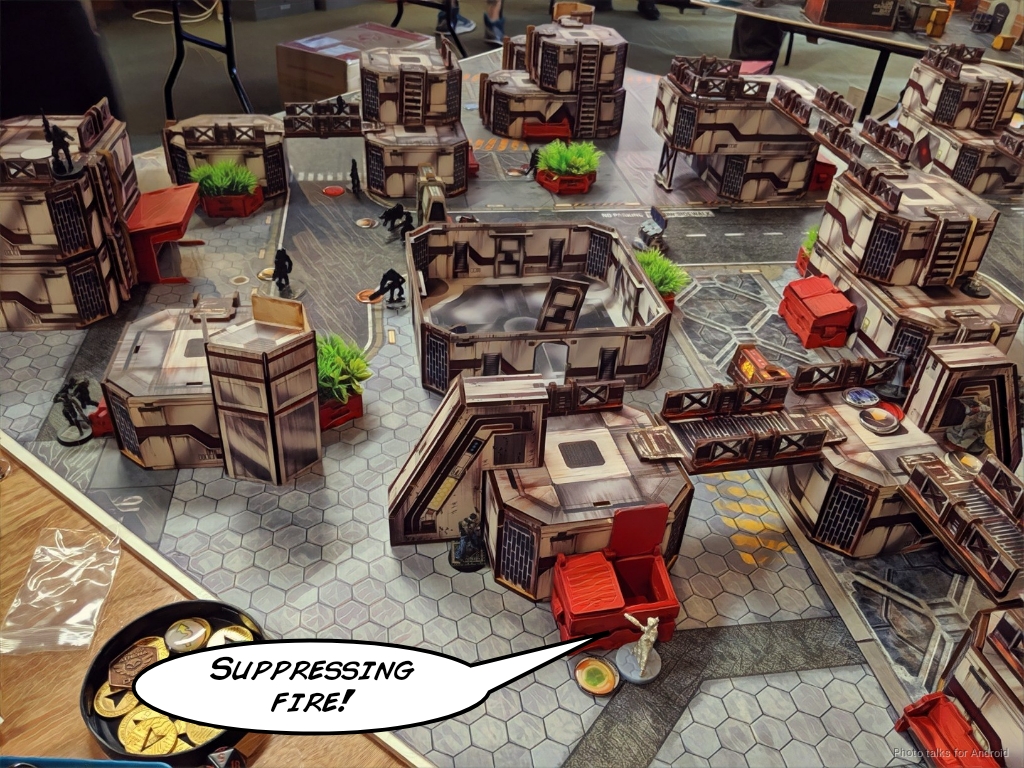
I throw Kuroshi Rider into suppression with her Lt order…
and the Karakuri as well.
Bottom of 2 – TAK
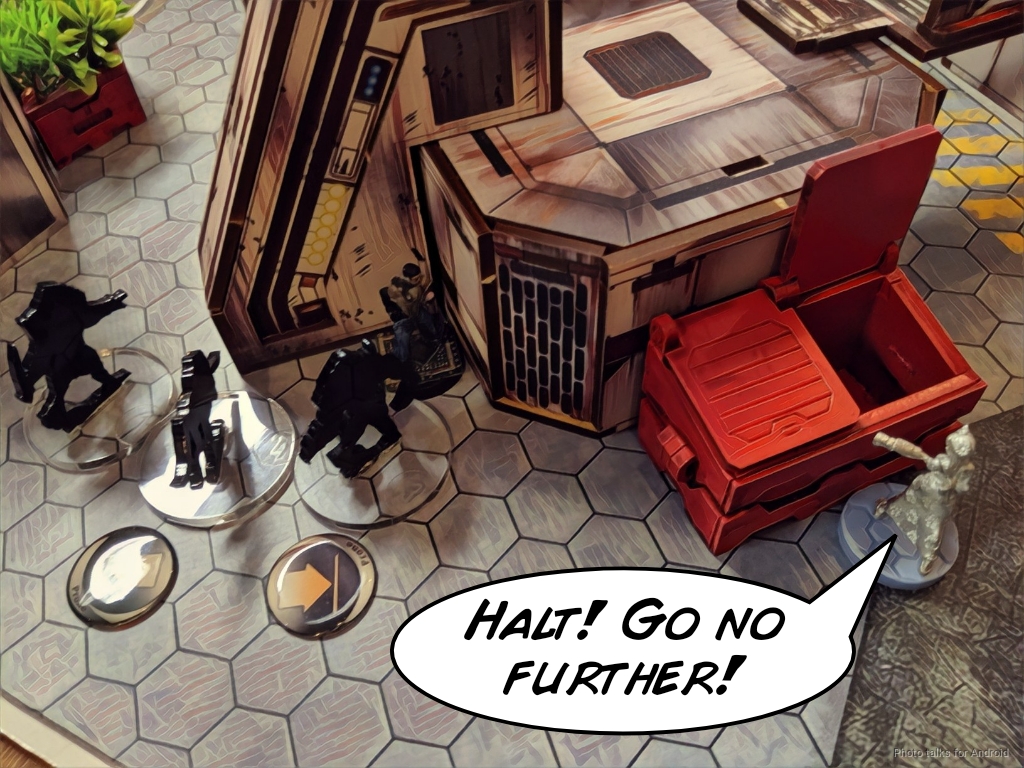
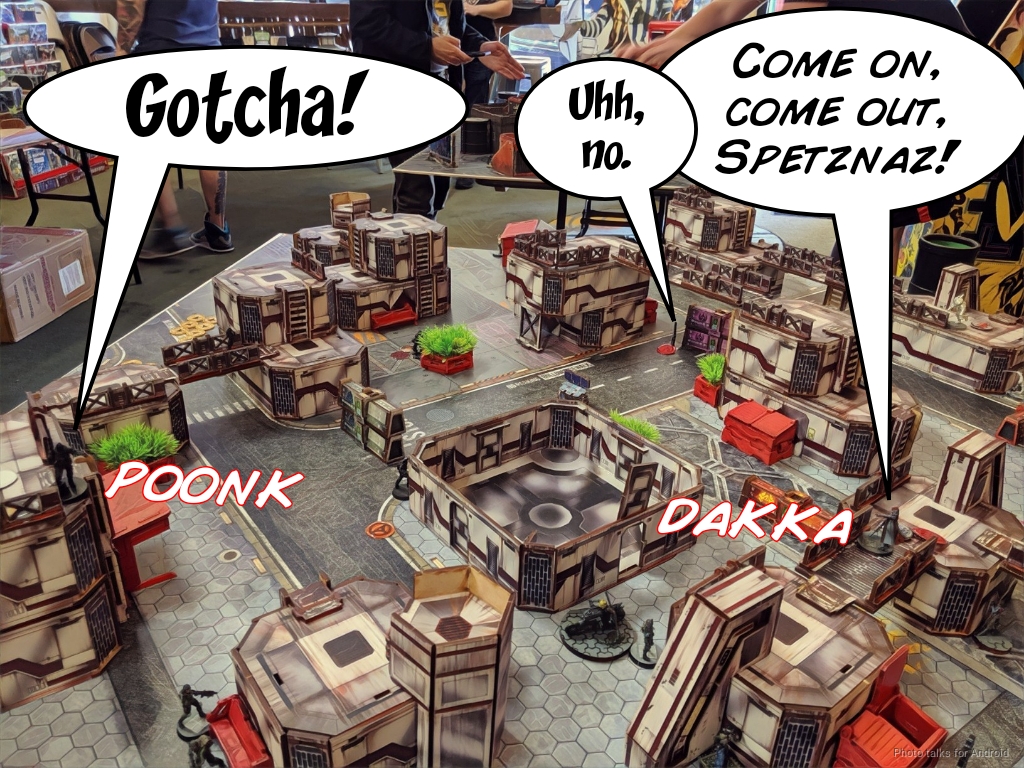
I had hoped Obi would attack the Karakuri directly, but I knew this was wishful thinking. He unleashed the wolves instead. I managed to discover the first one…
which let me chain rifle all three as they came in for the close combat attack.
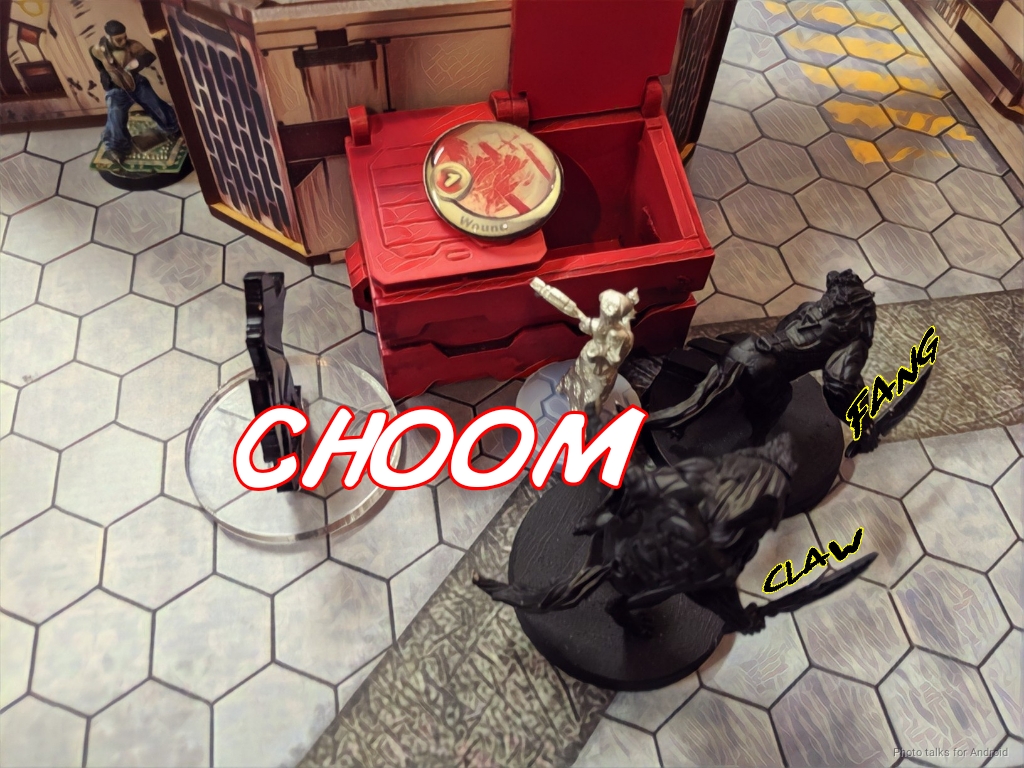
All three failed their chain rifle saves, and all of my nearby assets on overwatch shot two of them completely off the table. I only took a wound, so I’ll call that a huge win!
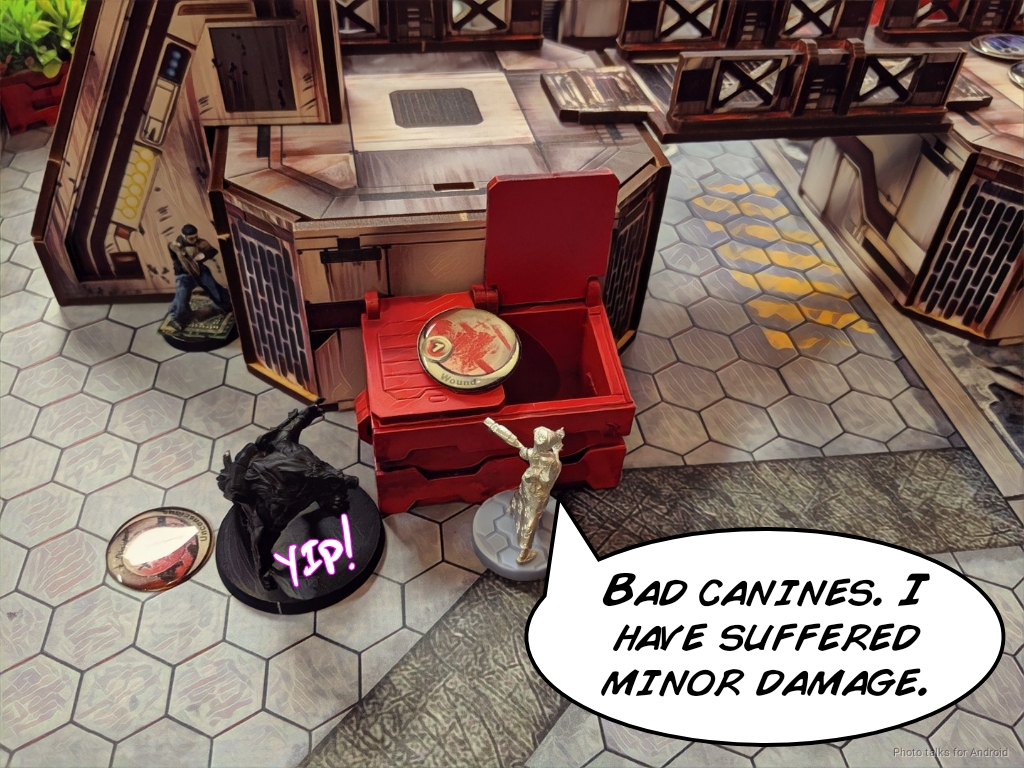
Yojimbo was in NWI, so when a Line Kazak popped out to take a shot I didn’t risk losing the Koalas and just threw the them into standby, losing Yojimbo in the process.
After taking out my Keisotsu ML, Obi then shot my Karakuri with his Spetznaz, basically ignoring my DEP on 7’s with his four on 15’s. Even with ARM 9 in cover I took two wounds and went unconscious instead of dogged to let Yuriko pick my robot up.
Obi grabbed the last box with a Strelok, recamoed the Spetznaz, and passed turn.
Turn 3
Top of 3 – JSA
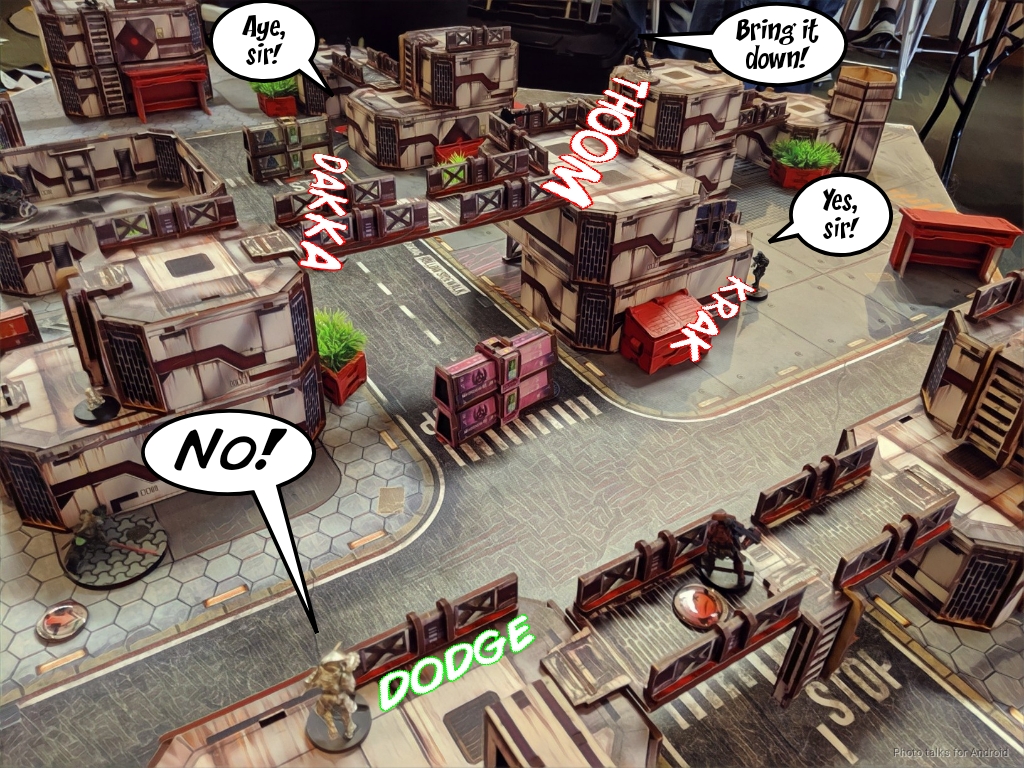
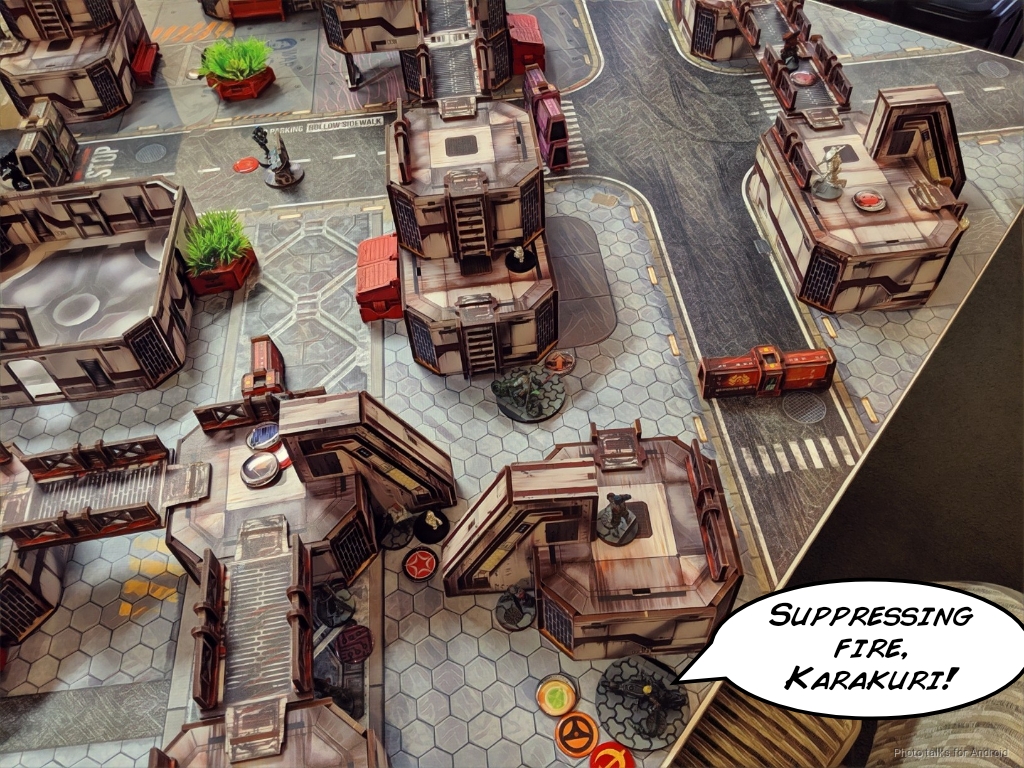
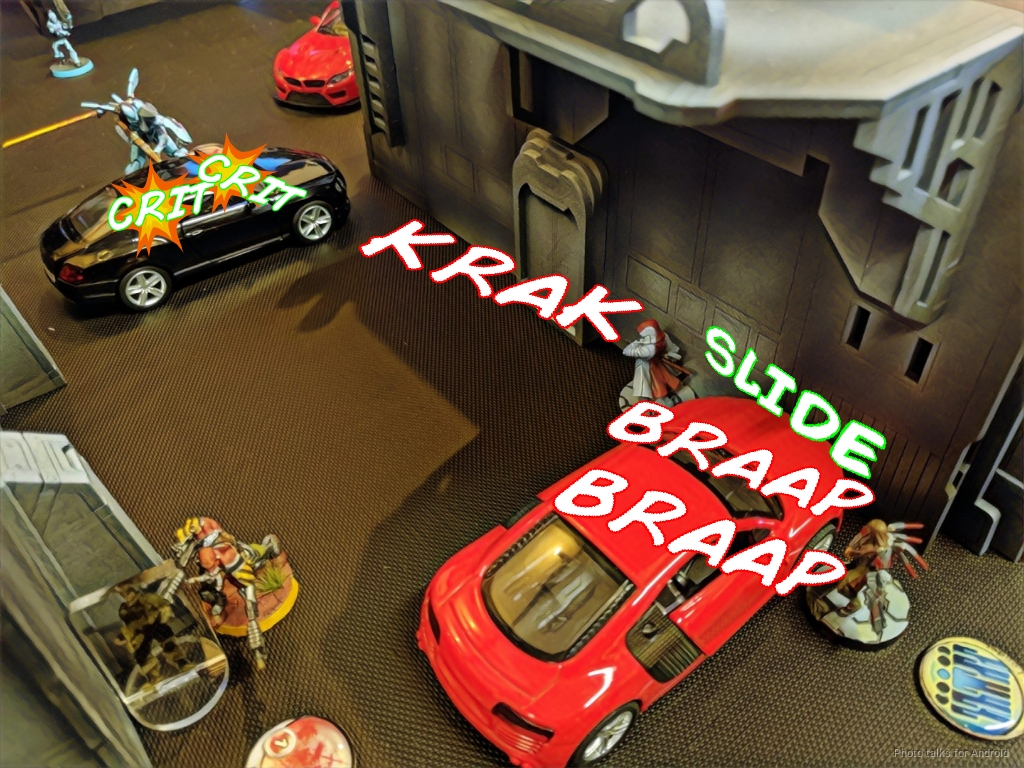
I knew that if I could hang onto both boxes, I had this game, so I decided to set up some more defense and try to damage Obi’s order pool. Yuriko grabbed the box from Kuroshi Rider, picked up the Karakuri, and retreated to my back left corner while laying a mine. With Yojimbo dead, I just moved Musashi into a position to cover my Kempetai BSG with a WIP 15 flash pulse. After this I had some more orders to go cause some trouble with Kuroshi Rider, which is exactly what I did.
Wheelman let her rocket up the table to try and flamethrower the Line Kazak that took out Yojimbo as well as one of Obi’s Streloks (sadly not the box carrying one). The Kazak successfully engaged and the Strelok dodged. As if in consolation, Vassily’s T2 round bounced off of Kuroshi’s armor.
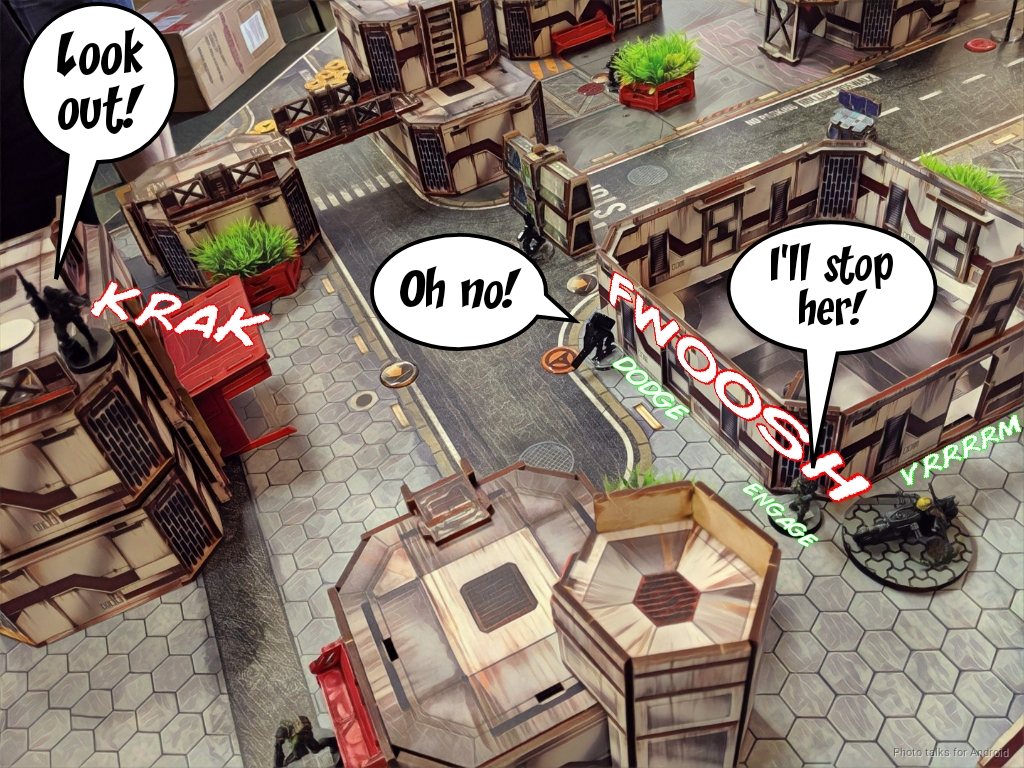
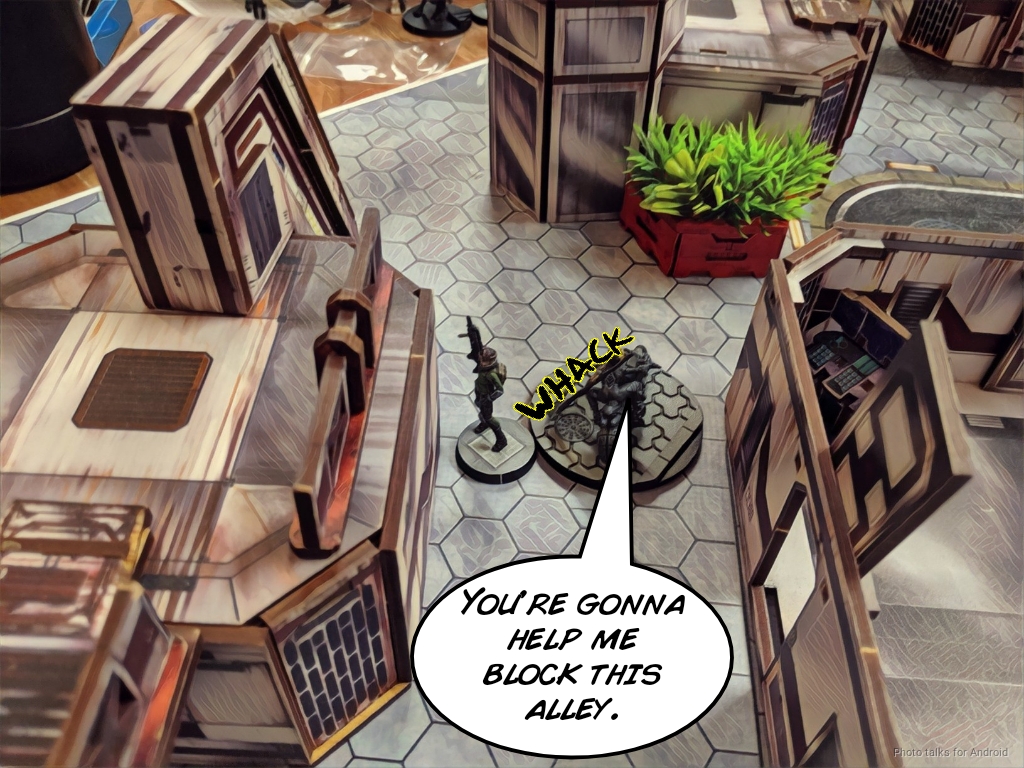
I placed the Kazak to block the alleyway. Of course, Obi could just move through the Kazak, but I found this amusing so I did it.
With Kuroshi out of the picture, I decided to start attack Obi’s order pool by going after the Kazaks. The Karakuri accounted for one, and then I decided to “go big or go home.”
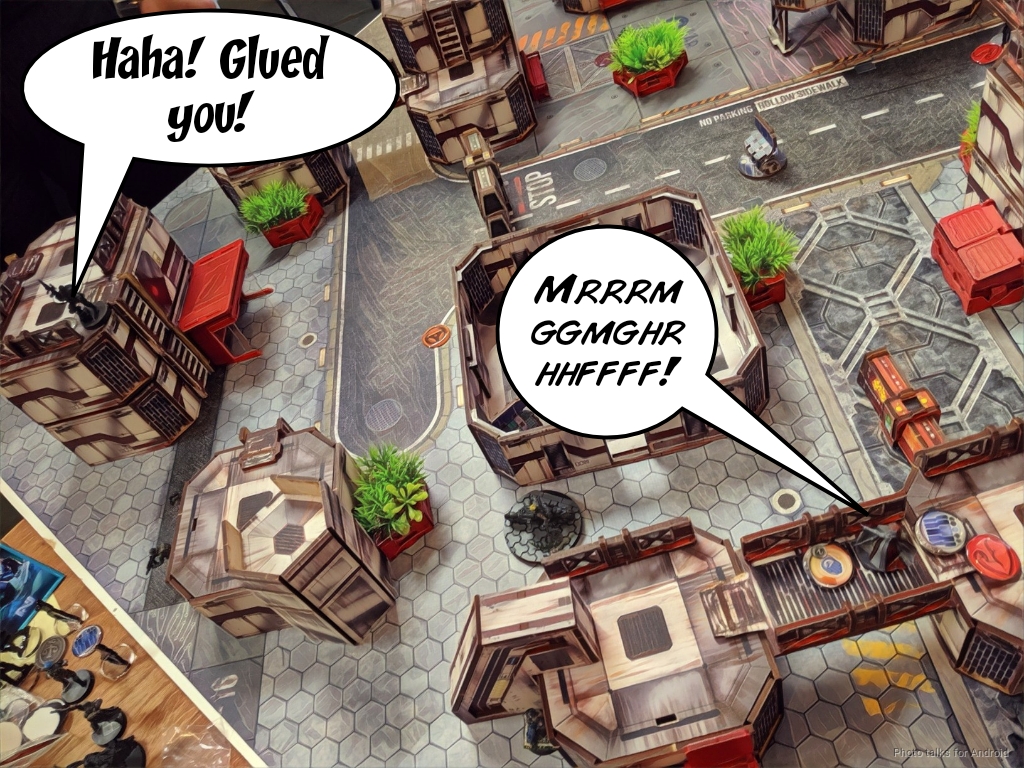
I moved the Kempetai SMR to see both Vassily and the Spetznaz, hoping to bait the Spetznaz out of camo. Obi is far too good a player to fall for that, so I ended up just face to facing Vassily.
Obi actually managed to glue my Kempetai! Hilarious!
Out of orders but still with a 3-man link, I passed turn, hoping to retain both boxes.
Bottom of 3 – TAK
Obi started things off by moving his Antipode Controller in IMP-2 state. I discovered it with my glued Kempetai, who wasn’t useful for much else.
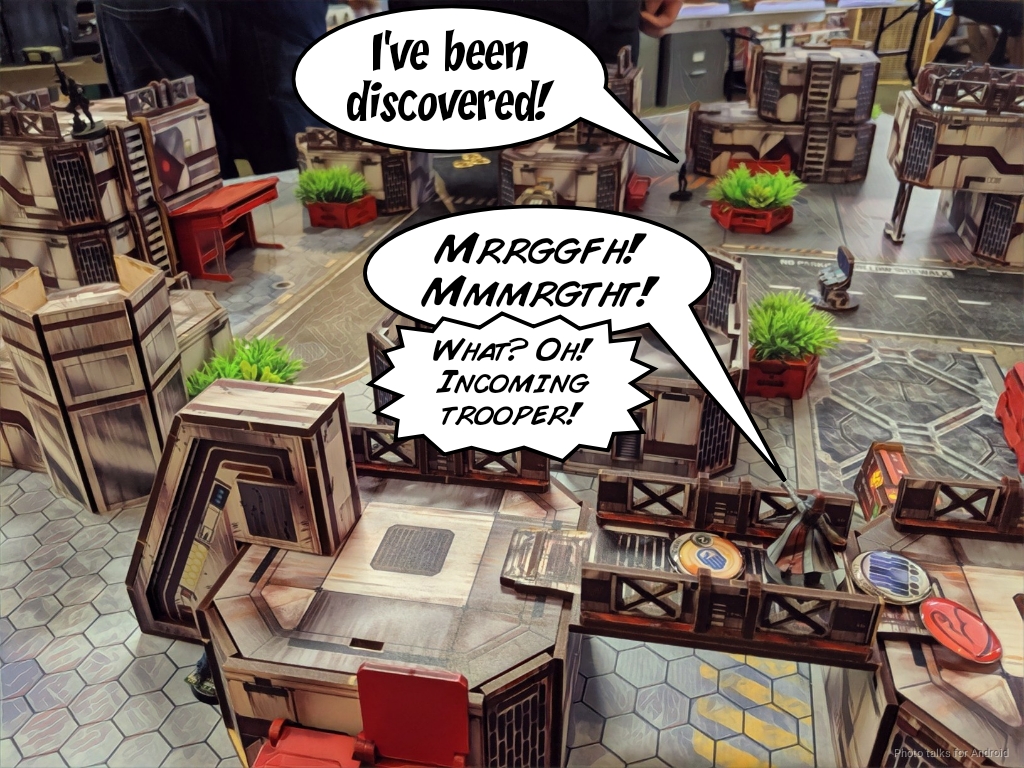
This didn’t bother Obi in the slightest, as he had planned to just sacrifice her to clear the Koalas, which is exactly what happened.
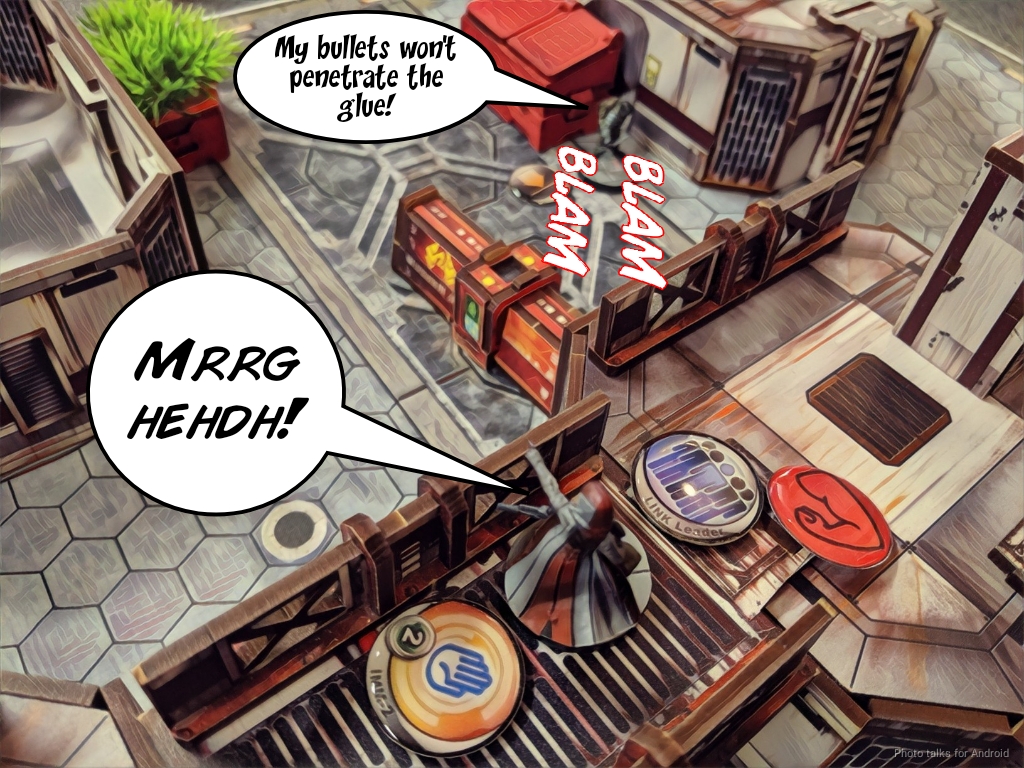
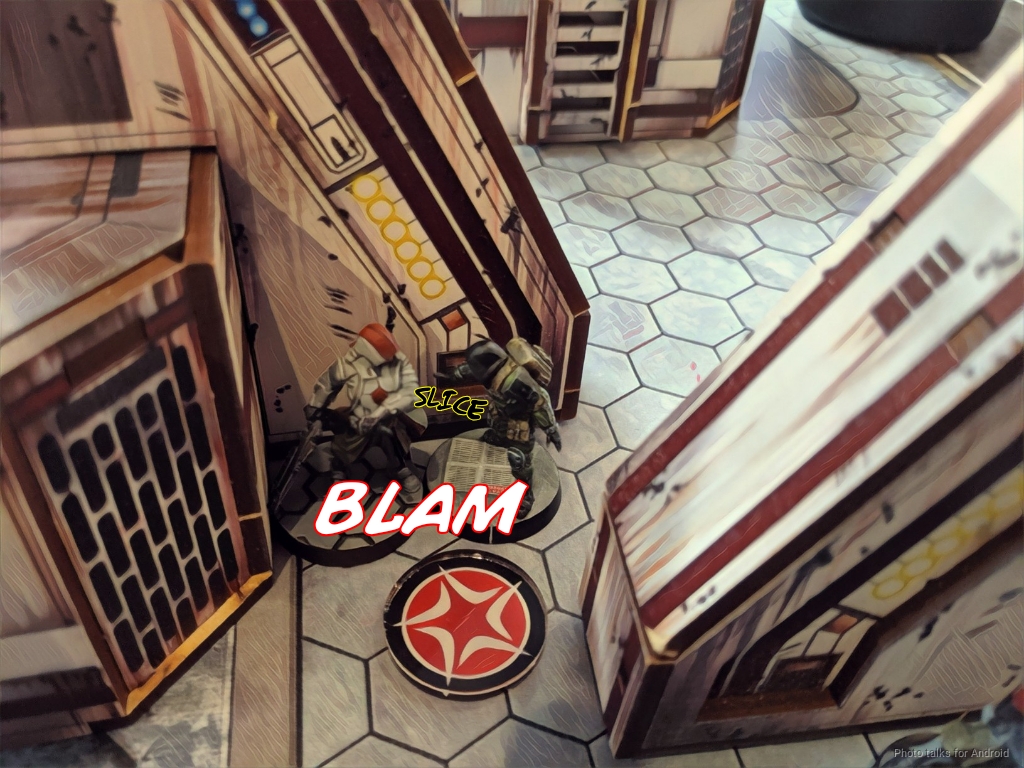
Obi wanted to break my link to deny my Kempetai BSG burst two in ARO, so he started throwing things at my poor glued Kempetai. He started with Vassily’s Bankrolled Tactical Awareness order. Three shots from Vassily’s T2 marksman rifle didn’t do it. The Tankhunter Lt’s AP rifle with the Lt order didn’t do it either. The glue was extra armor, it seemed!
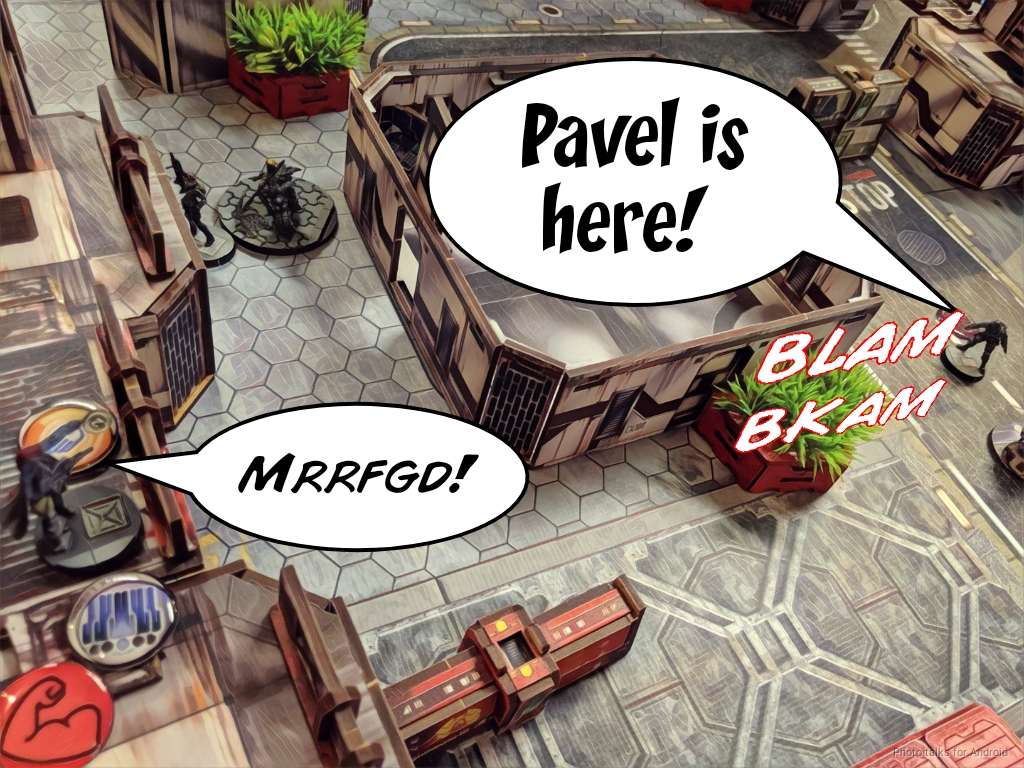
With no more time to waste, Obi activated Pavel, shooting his Ojotnik as he went. More bullets bounced off the glue!
Even an up close chain colt didn’t damage my poor, glued Kempetai!
Pavel recamoed to get past Musashi…
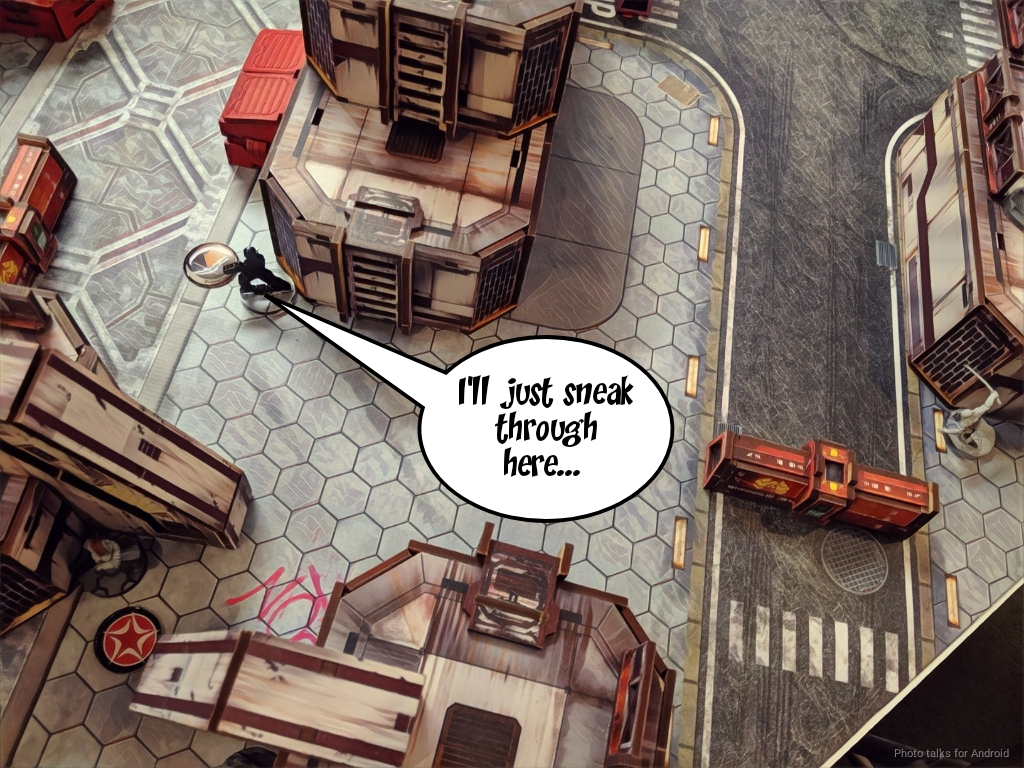
but was unable to fool the crafty aristo!!
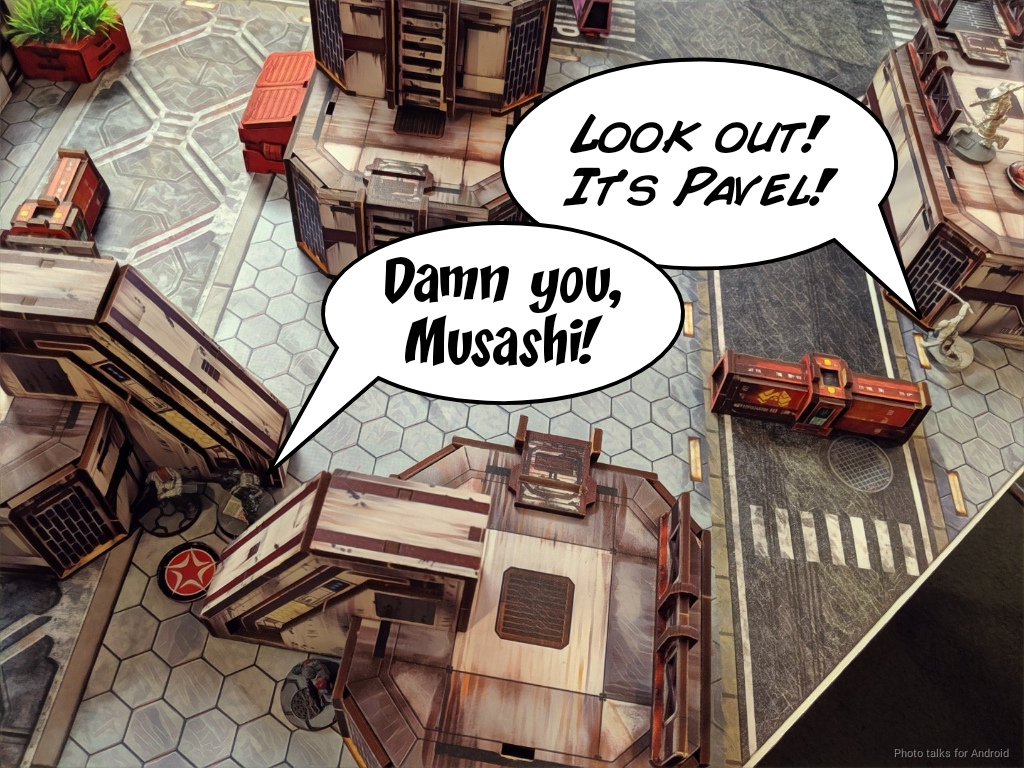
Without any other recourse and on his last order, Pavel goes to punch my Kempetai in the face, but I just barely outroll him.
Obi had a classified from something or other, so it was a
5-2 Japanese Secessionist Army Victory!
Post Game Analysis
Well, the list did what it was supposed to do, and I let it. That’s basically the long and the short of it. I made a few mistakes, like leaving one of the Tankos a bit out of cover, but I don’t think that would’ve made a huge difference in the long run.
I do think that using fast or durable units to grab the boxes and then swapping the boxes to more defensive units was a good idea. I’m not sure I would’ve had much success had I gone second. I would’ve had to rely heavily on the bikes and the Karakuri to take care of business. All that camo to chew through! I’m annoyed just thinking about it.
Not much else to say about the game. I got very lucky on some of my rolls, especially my ARM rolls at the end of the game, but I was in general pleased with my play and decisions. I don’t think Obi made any serious mistakes during the game, but I do think he should’ve contested the central objective more with multiple AROs. Even a Karakuri can’t handle stacked AROs when she’s out in the open.
We did have a long discussion later in the day about his thoughts on TAK in general. He’s finding that camo spam encourages people to turtle like I did, and/or ignore the camo, as I did. I think a Spetznaz parachutist or a Dog Warrior is a good solution to this issue, and he more or less agreed with that.
The changes to this mission were fun and flavorful. I don’t think they’re necessary, but if for some reason you’re bored with regular supplies, they don’t unbalance the game and add some fun twists.
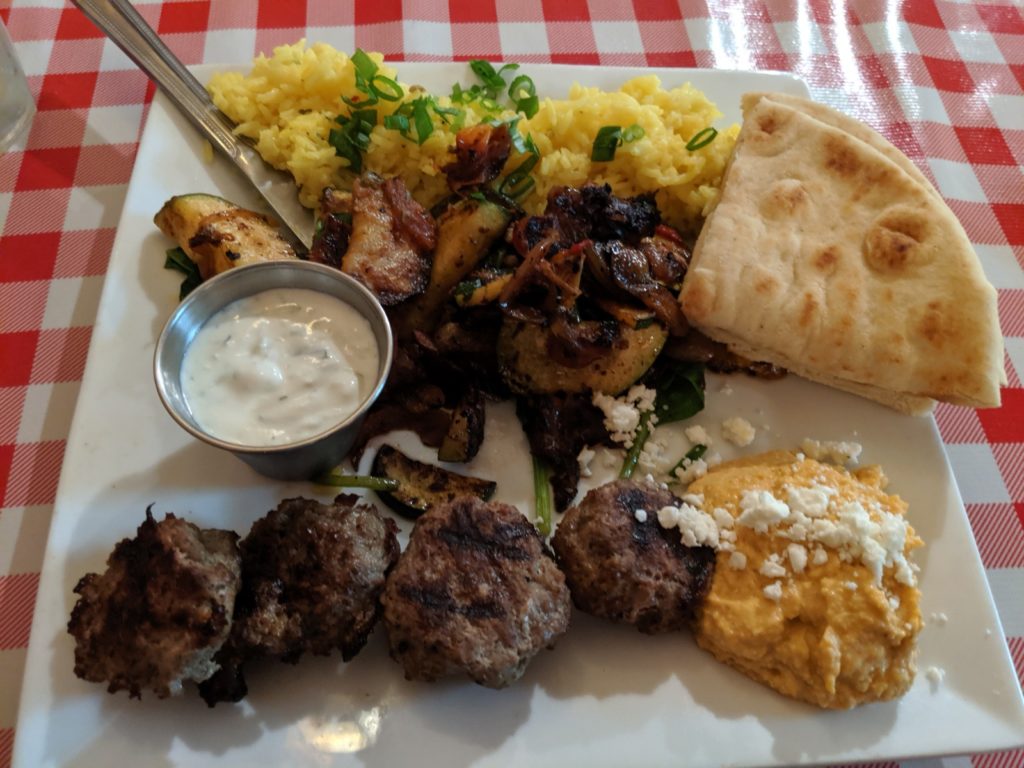
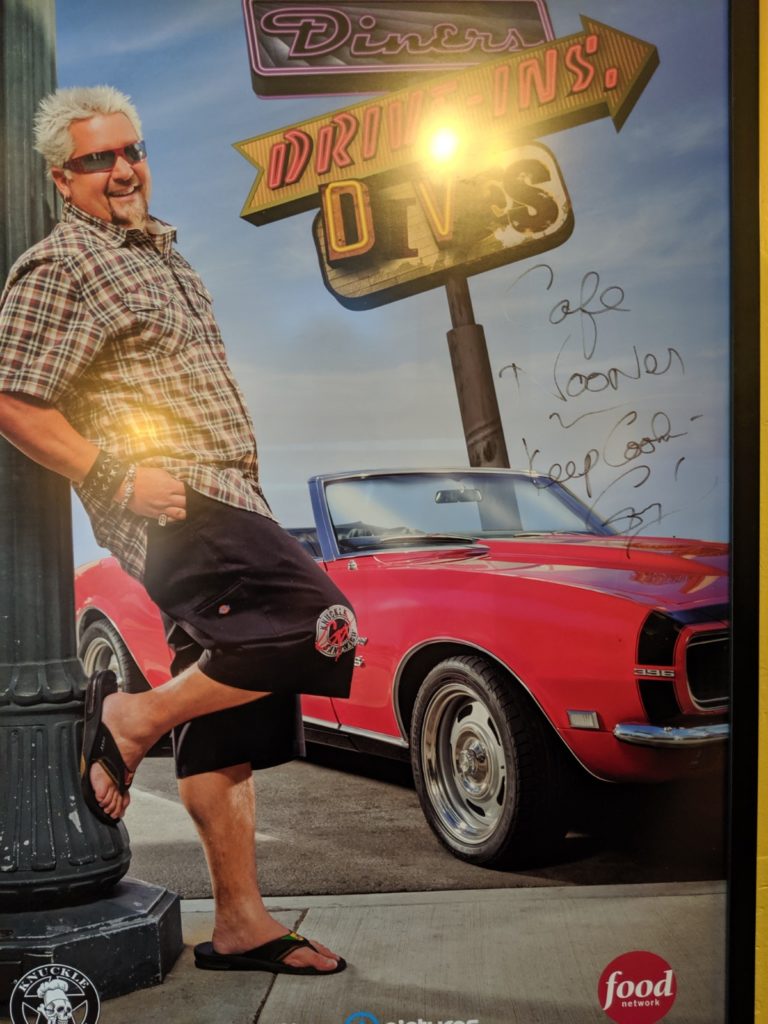
With round 4 over, it was time to break for lunch. In spite of Cafe Nooner being recommend by Guy Fieri, it was actually pretty good! Had a nice kofta kabob.
Game 5 – The Thing
When we returned, I found myself paired with James (GorkkTheOrc), a Humboldt local like Erik (Teelskire). I was glad to have the opportunity to play another local, especially James! This was because he and I got in touch via my battle report posting on Reddit, and our discussions snowballed into the Humboldt guys planning this tournament! So in that way, it was a fitting end to a great tournament, even in spite of him playing ALEPH (bletch!).
Overview
- Mission: The Thing (Unmasking)
- Forces: Japanese Secessionist Army versus ALEPH (300)
- Deploy First: ALEPH
- First Turn: ALEPH
Mission Scoring
MAIN OBJECTIVES
- To Kill The Thing, but only if it has been previously Revealed (3 Objective Points).
- To Kill The Thing with your DataTracker (2 extra Objective Points).
- To Kill more enemy Target Decoys, but only if they have been previously Revealed (1 Objective Point).
- Acquire more weapons or items from the Panoplies than the adversary at the end of the game (2 Objective Point).
- Have your The Thing not Killed at the end of the game (1 Objective Point).
- Have your DataTracker not Killed at the end of the game (1 Objective Point).
CLASSIFIED
- There are no Classified Objectives
Mission Special Rules
SUBTERFUGE
Each of the players will deploy three HVTs at least 8 inches outside of your Deployment Zone, but only one of them will be The Thing. This choice will be made by each player during the Deployment Phase, it will be considered Private Information and must be written down to show to your opponent if necessary. The other two HVTs are considered Target Decoys. All the HVTs have an HVT Profile (Neutral Civilian) until they are Revealed as The Thing or Target Decoy. An HVT applies the HVT Profile (Designated Target or The Thing) as soon as it has been Revealed as such.
PANOPLIES
There are three Panoplies, placed on the central line of the game table. One of them is in the center of the table and the other two 12 inches from the edges (see map below). Each Panoply must be represented by an Objective Marker or by a scenery piece of the same diameter (such the Info Hubs by Micro Art Studio)
DATATRACKER SPECIAL ORDER
The DataTracker has a special extra Irregular Order that is for his use only, and this Order cannot be transformed into a Regular Order. This Order is not included in the Order Pool, it is an additional Irregular Order exclusively for the DataTracker
HVT REVEAL
In order to reveal a Designated Target or The Thing, a trooper must be in the engaged state with an HVT. Once an HVT has been based, the player who placed it must reveal whether it is a Designated Target or The Thing. On the order that the HVTs are revealed, the only attacks that can be declared against them are CC attacks.
DESIGNATED TARGET AND THE THING
In this scenario, once an enemy’s HVT figure is revealed as a Target Decoy or The Thing, that HVT isconsidered an enemy trooper instead of a Neutral Civilian, so it can be targeted by Attacks. On the order that the HVTs are revealed, the only attacks that can be declared against them are CC attacks. Killing that enemy HVT does not cause loss of the game nor gives compensatory Objective Points to the adversary. HVTs revealed as a Target Decoy or The Thing will be reactive and hostile, reacting to any Order performed by an enemy active trooper in LoF or ZoC.
The Thing
| MOV | CC | BS | PH | WIP | ARM | BTS | W | S |
| 4-4 | 21 | 13 | 13 | 13 | 3 | 3 | 3 | 2 |
Special Skills: Natural Born Warrior, ODD, Hyper Dynamics L1, Kinematica L2, Sixth Sense L2
Weapons: Pulzar, Breaker CCW
Designated Target
| MOV | CC | BS | PH | WIP | ARM | BTS | W | S |
| 4-4 | 6 | 6 | 11 | 11 | 1 | 0 | 1 | 2 |
Weapons: Stun Pistol
Main Differences
This is a pretty significant departure from the norm. Instead of pushing buttons you have to just walk up to the civilian and hope it’s not The Thing. If it is, it will straight up maul you and tank three hits.
Revealing is interesting. Basically you first short skill move into base contact, at which point your opponent tells you if the civilian is The Thing or not, then they declare AROs. If it’s The Thing, it will try to CC you to death, otherwise it will try to stun pistol you in close combat. Your only legal second short skill is to try and CC back. SCARY.
GROUP 1 |
GROUP 2 |
6 SWC | 300 Points | Open in Infinity Army
I had originally intended to take my Shinobu + Shikami list for this mission, as Shinobu is the strongest close combat piece I can take. The game took place on the same table as I played Erik on, so I knew that I’d need my missile launchers to cover all the giant firelanes.
Game 5 – GorkkTheOrc
MARUT Lieutenant (Strategos L3) MULTI HMG, Heavy Flamethrower, Nanopulser / AP CCW. (3 | 120)
ZAYIN Rebot HMG / Electric Pulse. (1 | 26)
LAMEDH Rebot Flash Pulse, Sniffer / Electric Pulse. (0 | 8)
MYRMIDON Chain Rifle, Nanopulser, Smoke Grenades / Pistol, AP CCW. (0 | 16)
KRAKOT RENEGADE 2 Chain Rifles, Grenades / Pistol, DA CC Weapon. (0 | 14)
PROXY Mk.1 Engineer Combi Rifle, Nanopulser, D-Charges / Pistol, Knife. (0 | 10)
YUDBOT Electric Pulse. (0 | 3)
PROXY Mk.2 Hacker (Assault Hacking Device) Boarding Shotgun, Nanopulser / Pistol, Knife. (0.5 | 21)
PROXY Mk.5 (Forward Observer) 2 Submachine Guns, Nanopulser, E/M Grenades / Pistol, Knife. (0 | 10)
I was very pleased to discover that James was playing a Marut list! Triple ML is a great matchup against limited insertion TAG list! He definitely isn’t attempting subtlety in the list whatsoever. The main issue was going to be where that pesky Proxy Mk2 was going to end up.
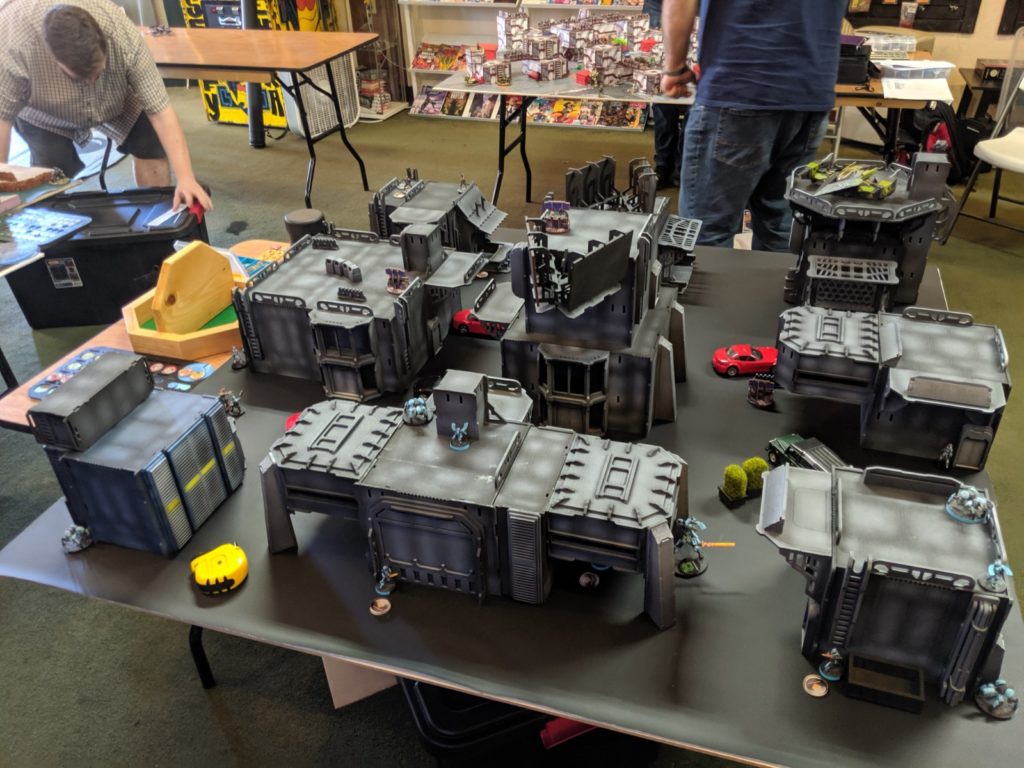
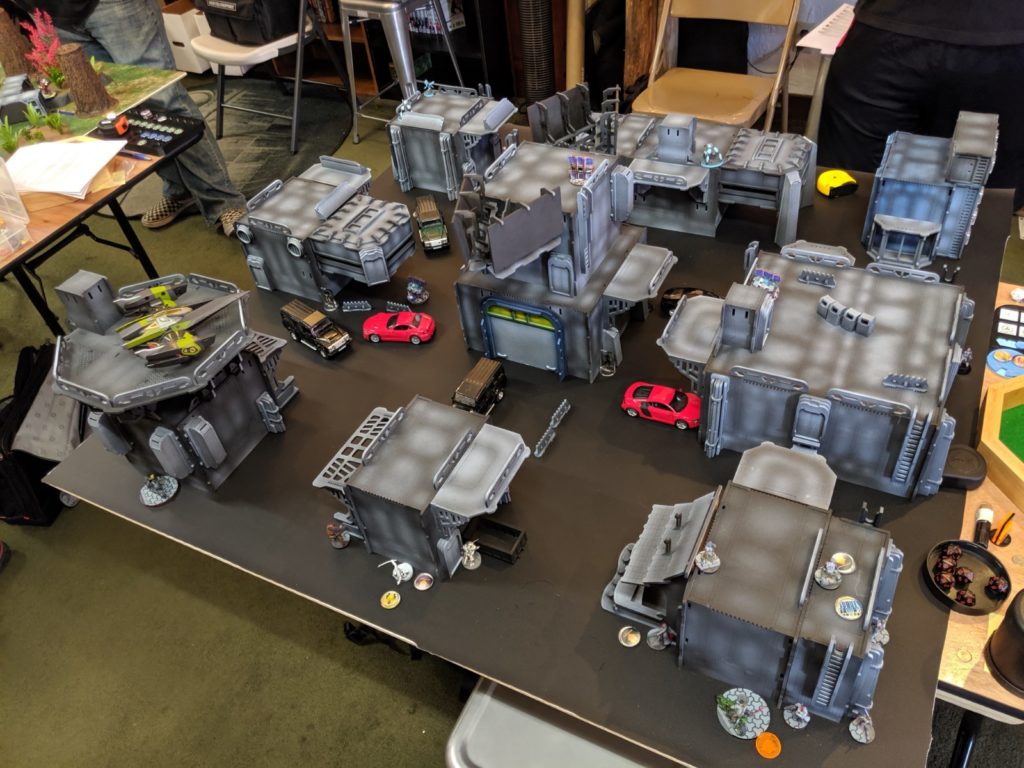
Deployment
We started things off with James informing me that I was going to have to abide by the rules of Strategos L3. Alrighty then. He basically had a mirrored deployment: a Krakot, Myrmidon, Zayin, Lamdeh, and Yudbot on both sides of the table, covering more or less evenly spaced HVT markers.
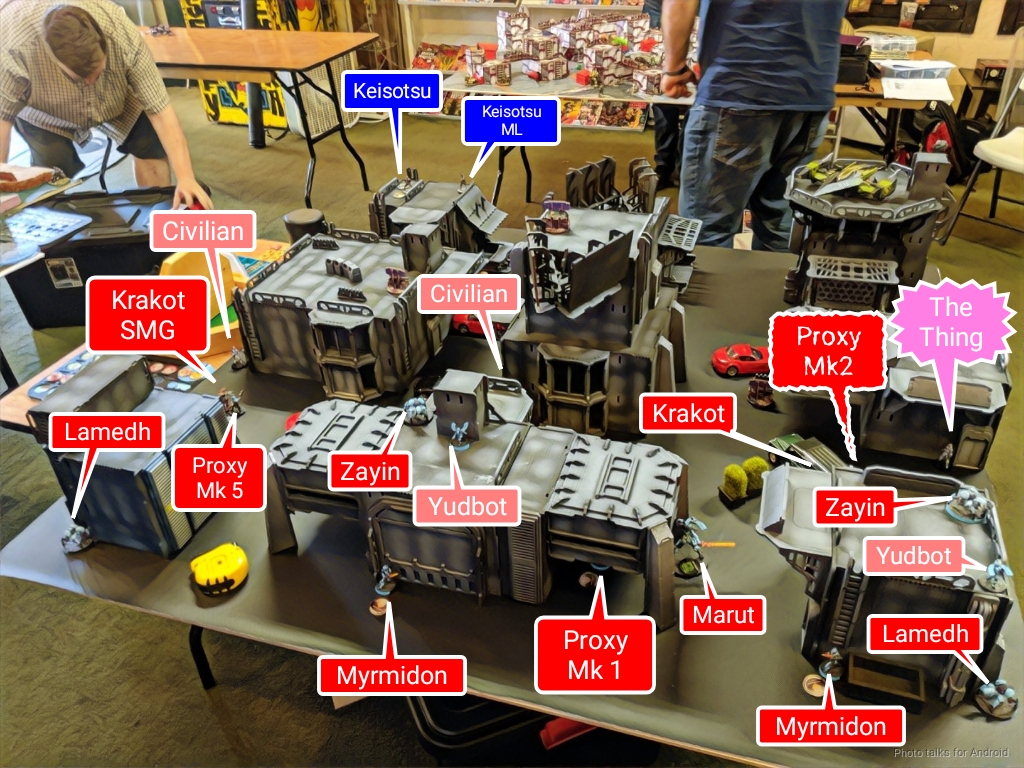
I wasn’t going to get any hints as to which HVT was the real one or where his Marut was going to go, then. Bah humbug. I decided to try and mirror my coverage of the firelanes as much as I could then. Each Tanko took one firelane, and then I stacked the Keisotsu core and ML up on the right firelane along with Yojimbo to provide smoke. I was a little concerned with the approach along my right table edge, so I tasked a Keisotsu and Yuriko to watch it.

The Karakuri and Kuroshi went on the left, mostly because I needed something over there. I figured that James would put the Marut over there given that it would only have to fight one, not two missile launchers. I was right. The Proxy Mk 5 went on my right with the Mk 1 engineer near the Marut. Makes sense… now where was the Mk 2??
Turn 1
Top of 1 – ALEPH
James canceled the Krakots’ impetuous orders rather than expose them to missile fire. Even though they both rolled Total Immunity + Dogged, that doesn’t mean they can survive two DAM 14 hits to the face. Quite reasonable.
The Marut then went after my Tanko from outside of 32″! Unfortunately, we both whiffed.
| 41.73 | 24.78 | 33.49 |
This was a bit of a bummer, because then James ran the Marut forward, out of cover, to get within 32″, effectively reversing the odds.
| 33.77 | 21.52 | 45.71 |
The Tanko took two hits and failed both saves.
You have to play to the mission in Limited Insertion, so James did just that, sending the Krakot after one of my HVTs. It appeared in view of my Keisotsu ML, who whiffed twice on her missiles, letting the Krakot gank my poor civilian unmolested.
Thankfully, the same could not be said for James’s next order, when he started towards the other HVT, snagging something from the panoply on the way. Even Total Immunity and Dogged can’t save you from two hits and two failed saves.
The Marut went after my Keisotsu ML next. This time I scored a hit, knocking two wounds off of it.

James did the right thing and retreated the Marut to the Mk 1 engineer. Unfortunately he had to blow almost all of his command tokens on rerolls to get it back to full health. Laughing at his poor luck, he passed turn.
Bottom of 1 – JSA
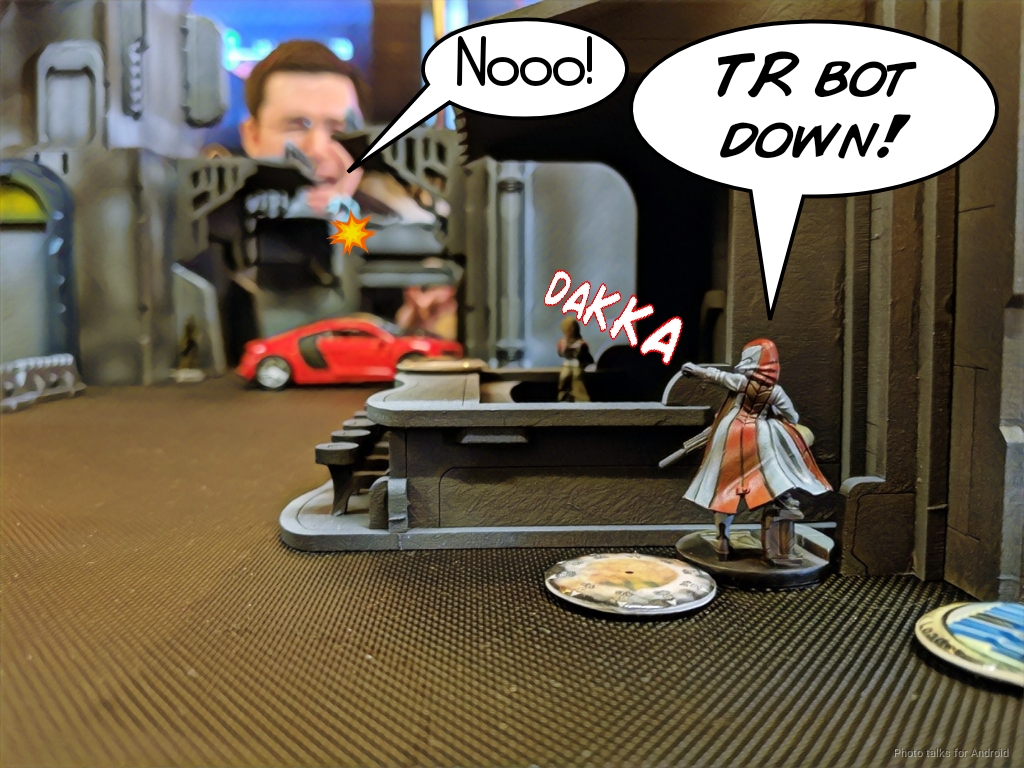
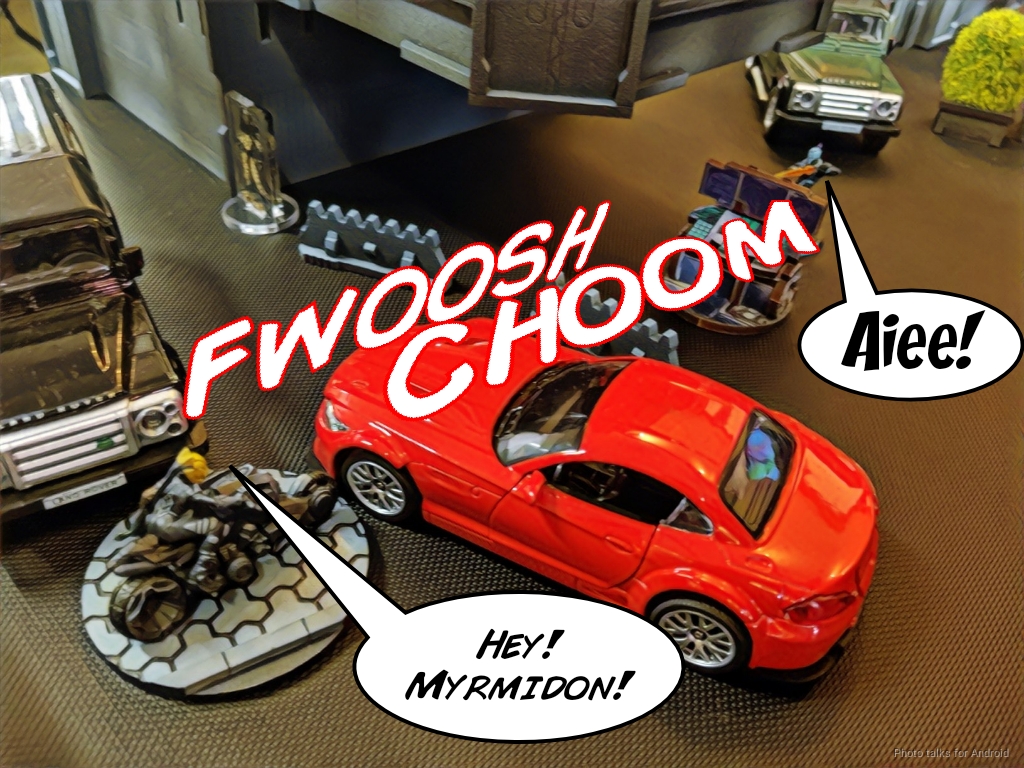
I canceled both bike’s impetuous orders–this time I hadn’t added Yojimbo to the second pool. No sense in losing the bikes to the TR bots. Yojimbo threw some smoke for the Kempetai and she blasted the TR bot on my right off the table, much to James’ dismay. I made sure to form a link that didn’t include any troopers (like the Keisotsu ML) visible to the TR bot to keep my mans safe!
This opened a path for me to get Yojimbo to one of James’ HVTs. I hopped him off the bike (proxied by Rhonda Burgundy) and sliced that civilian to ribbons.

I then scooted Yojimbo all the way back to my deployment zone to keep him safe. JSA bikes are awesome! I still had some orders to spend in my second group, and I spent them moving the other Tanko to take a shot at the Marut, who was basically back where it started. Again, both of us whiffed.I reformed the Keisotsu link to include the ML and passed turn.
Turn 2
Top of 2 – ALEPH
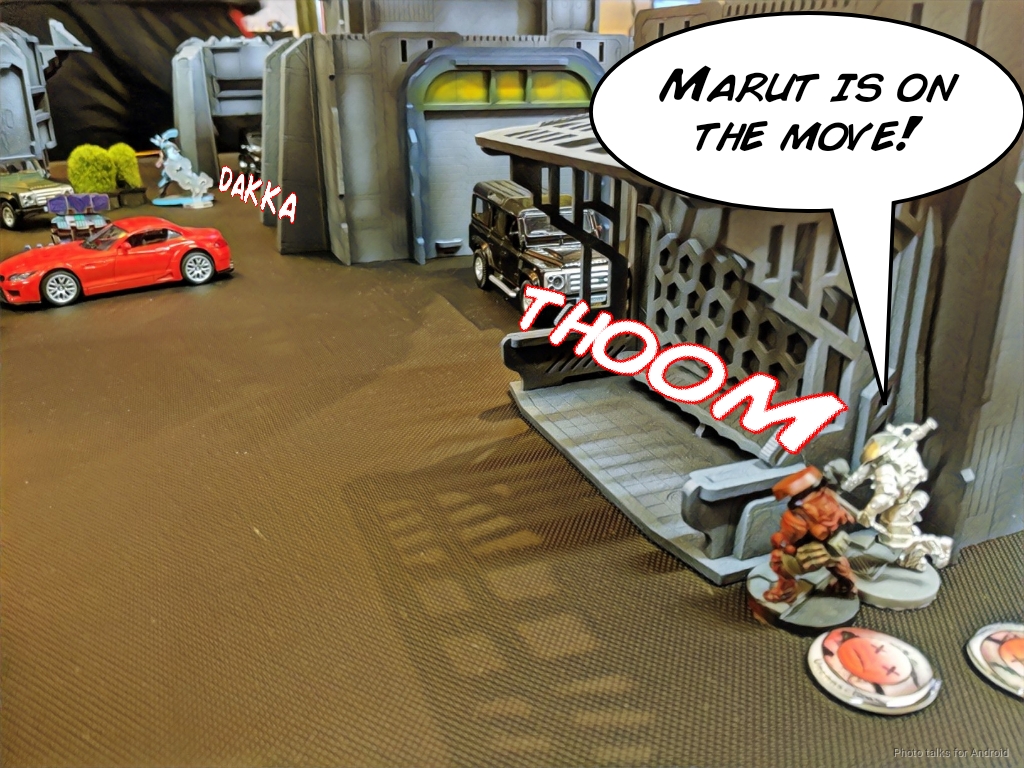
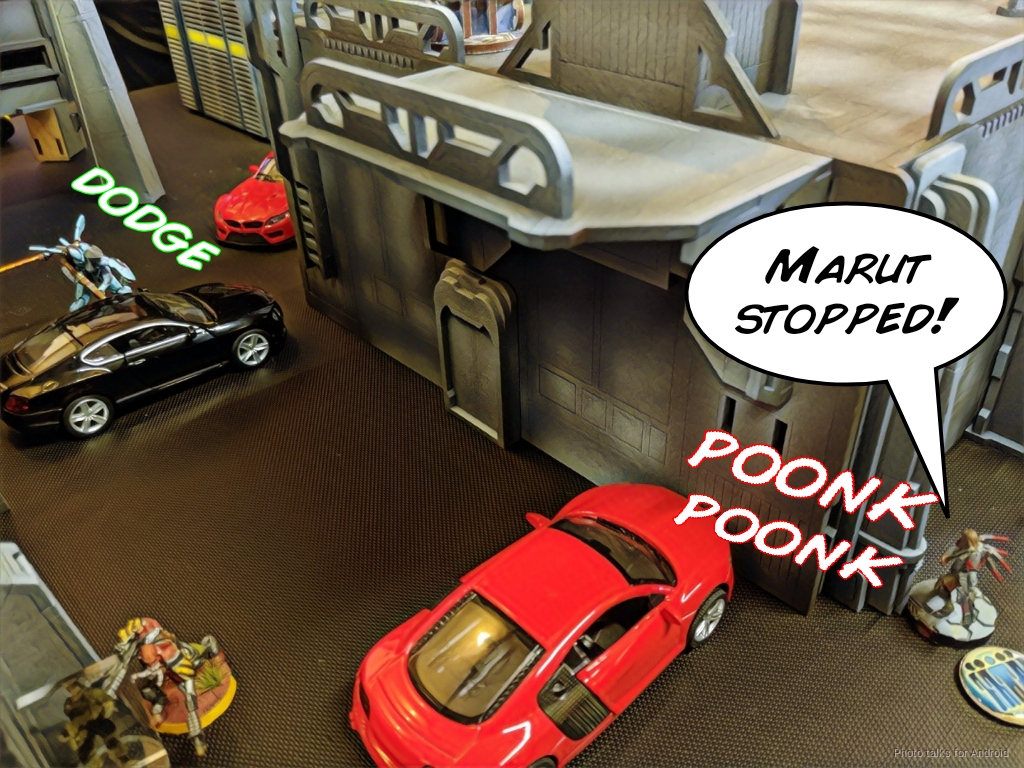
The surviving Krakot canceled its order again, unwilling to get shot by my Keisotsu ML and Kempetai. This time, James set up smoke for the Marut with the nearby Myrmidon, and that was enough to take out the Tanko as the Marut drove forward into the open.
| 6.50 | 15.22 | 78.27 |
The Marut then got into view of my Kempetai and Keisotsu, splitting burst and taking them both out.
It took up residence behind a luxury car (typical ALEPH), and then the Krakot went to work, dodging a Koala on the way to…
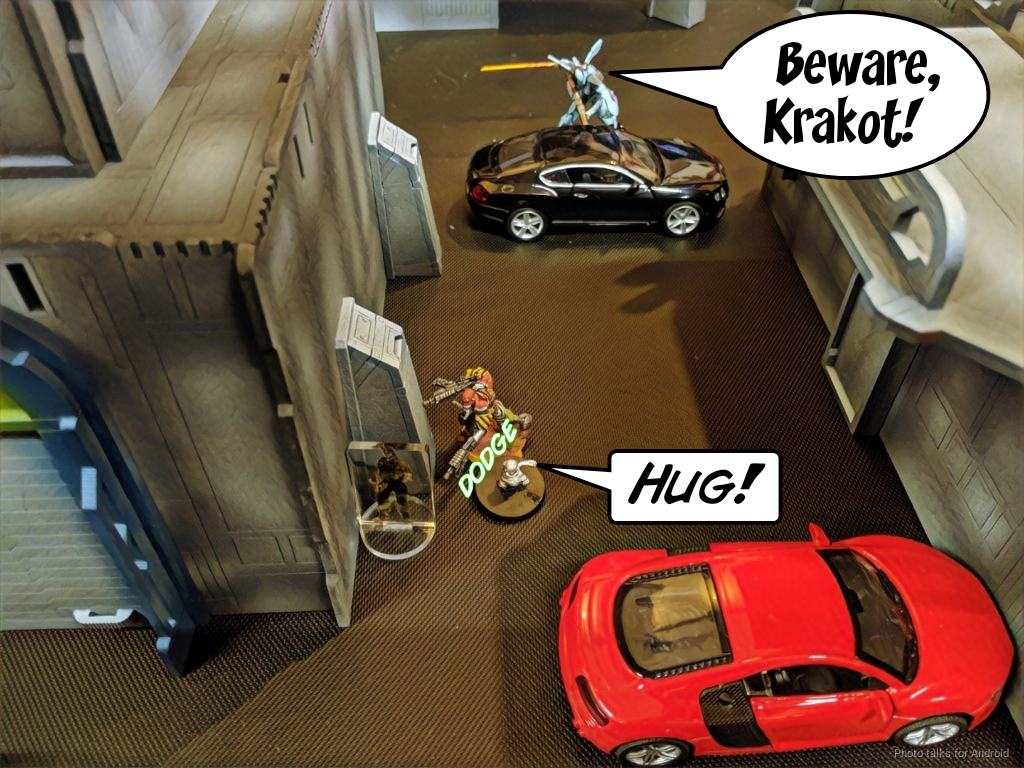
THE THING! AHHH! I forget who won the face to face roll, but nothing happened.
James was out of orders at this point, so he passed turn.
Bottom of 2 – JSA
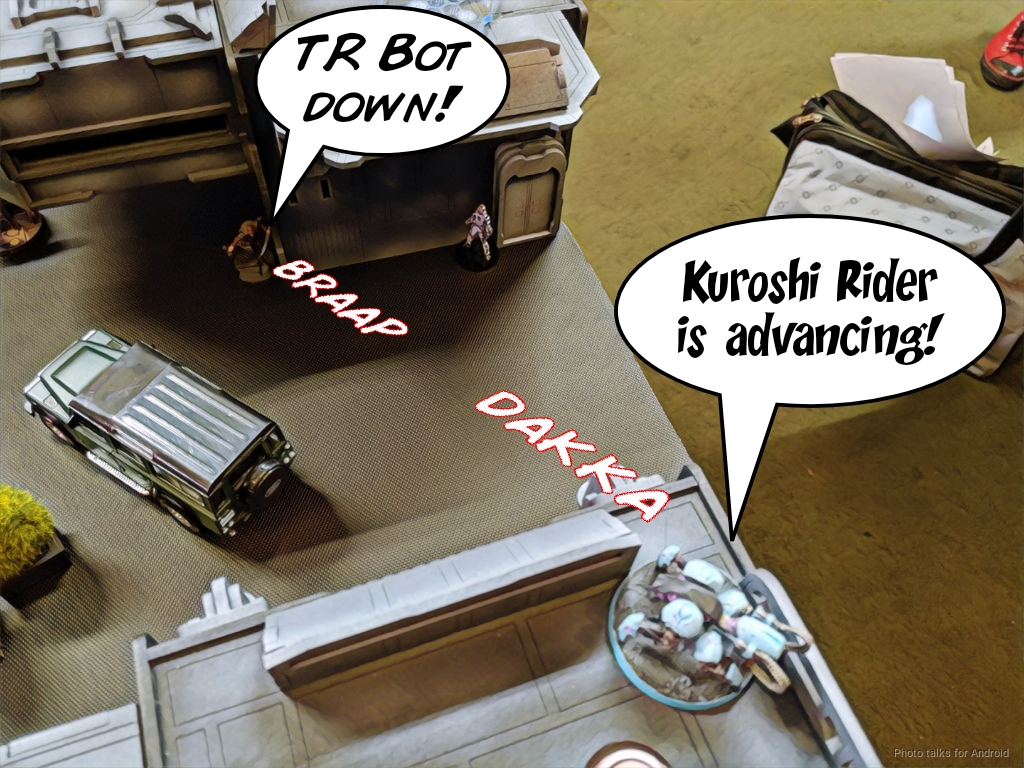
I canceled Yojimbo’s order, as the Marut was right there. Kuroshi Rider had a clear path to advance though, so I sent her in. I suspected the HVT on my left was The Thing on James’ side. I wasn’t sure why but I just had a feeling. If I turned out to be wrong, Yojimbo had an easy advance along the side of the table that the Karakuri used in the first game to the last HVT on turn 3. In any case, Kuroshi Rider burned down the Myrmidon on the left, but took a wound from the chain rifle and went dogged. No matter.
She got within 16″ and took out James’ last TR bot. Not the best odds, but pretty decent.
| 42.87 | 30.15 | 26.98 |
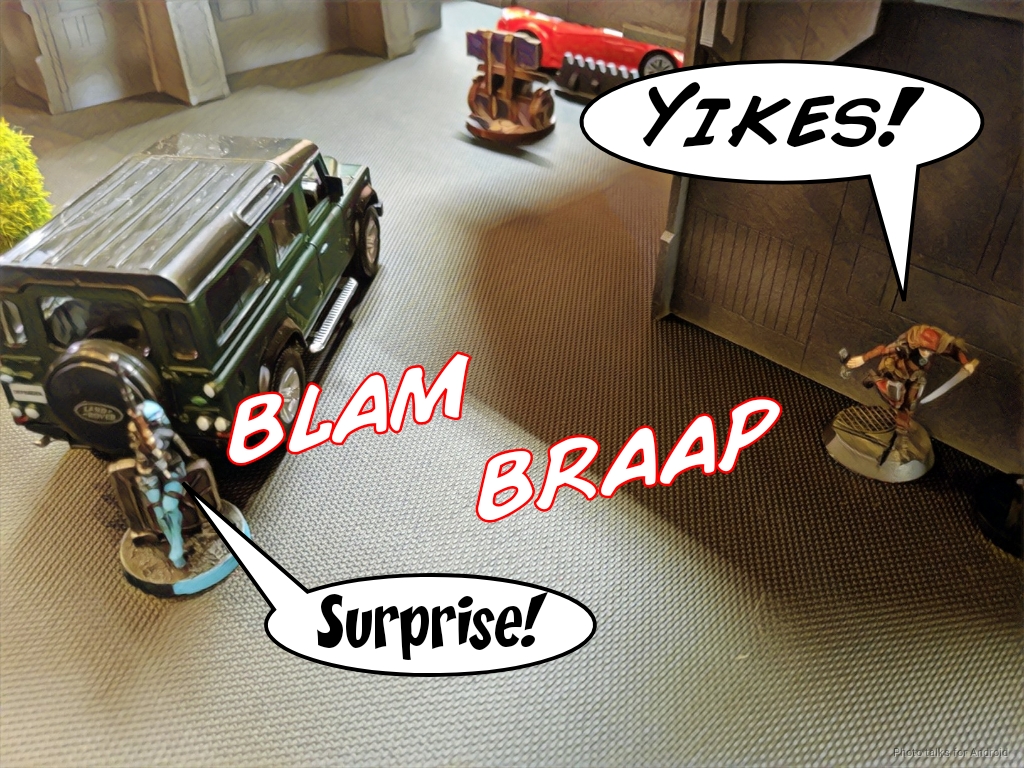
I was using Rhonda Burgundy as my proxy for a dismounted Kuroshi, so that’s why you see her being surprised by a Proxy Mk 2 with BSG here! I waffled for a long time as to what to do.
| 33.22 | 32.34 | 34.44 |
Had I not lost a wound to the chain rifle earlier, flamethrower is absolutely the right call… as it stood, I shot back with my combi, losing the face to face roll but passing ARM. Phew!
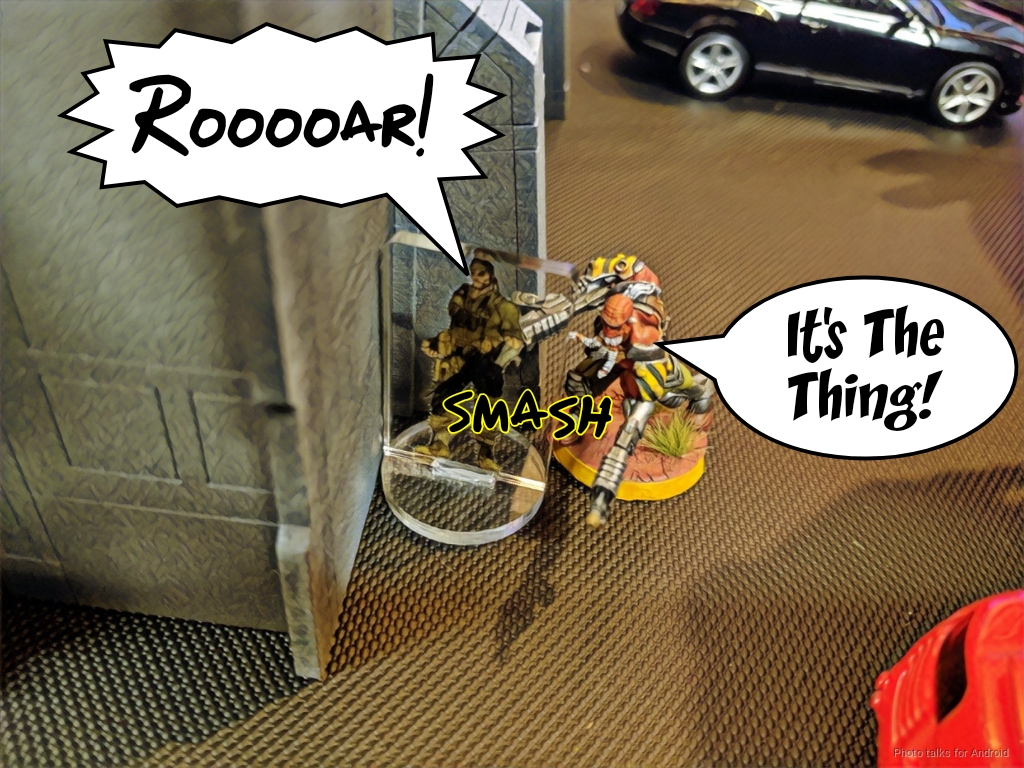
Kuroshi was dead anyway, so I just sent her in against The Thing! I had guessed correctly! I rolled a crit, lost Kuroshi to the Proxy Mk 2’s shotgun, and did a single wound to The Thing.
I had a few orders left, which were just enough to get Yuriko into view of the Marut and prove to the world that the correct Yuriko profile is forever the E/Mitter profile.
| 46.96 | 36.21 | 16.82 |
My irrational love of E/M weapons was reinforced by scoring two hits on the Marut, forcing a whopping four BTS saves. James failed two, Isolating and Immobilizing the Marut!
Turn 3
Top of 3 – ALEPH
James was in loss of lieutenant and without much to do. He played to the objective and attempted to take out my The Thing, doing only a single wound with the Krakot thanks to some great rolling on my part.
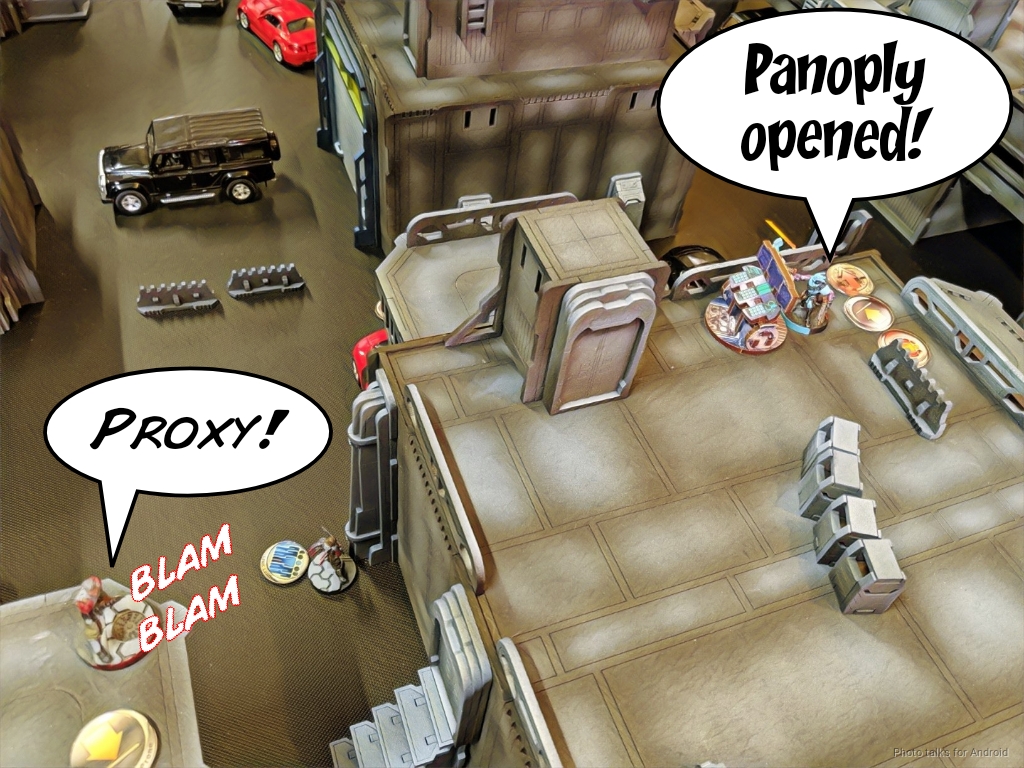
The Proxy Mk 1 was too far to get to the Marut–James had used his remaining command token on a coordinated order at some point, so he elected to secure the more Panoply points by using the Mk 5 to grab another thing out of the Panoply. One of my Keisotsu put a wound on it, but it didn’t matter.
After advancing his Lamedh and his remaining Myrmidon, James passed turn.
Bottom of 3 – JSA
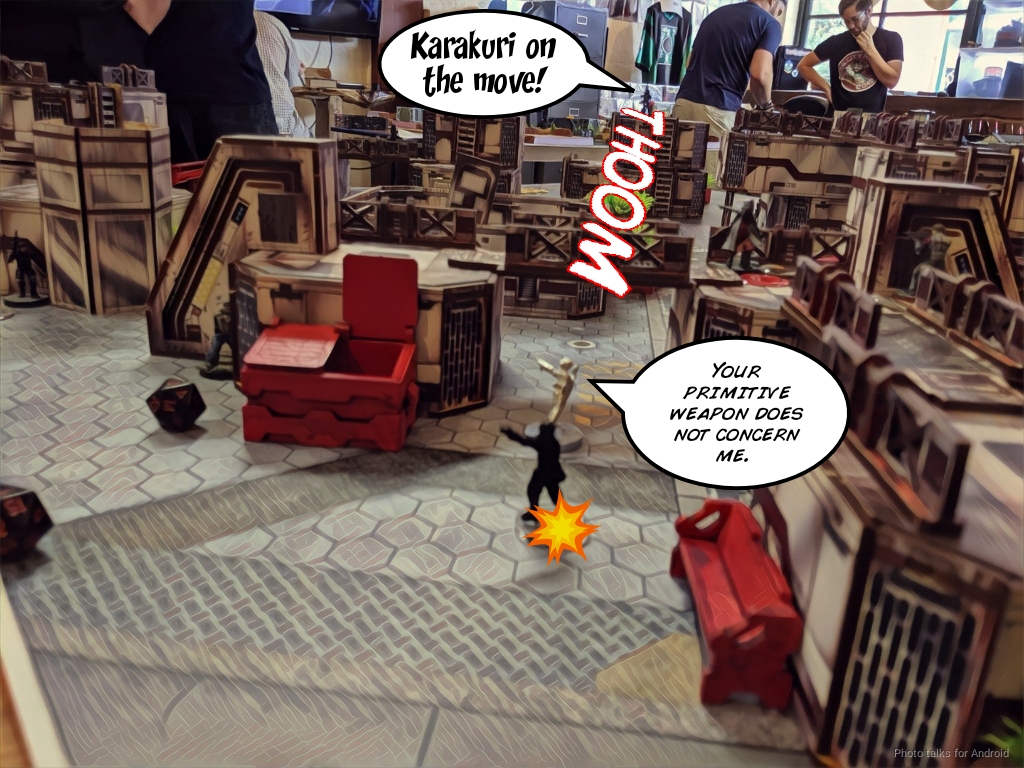
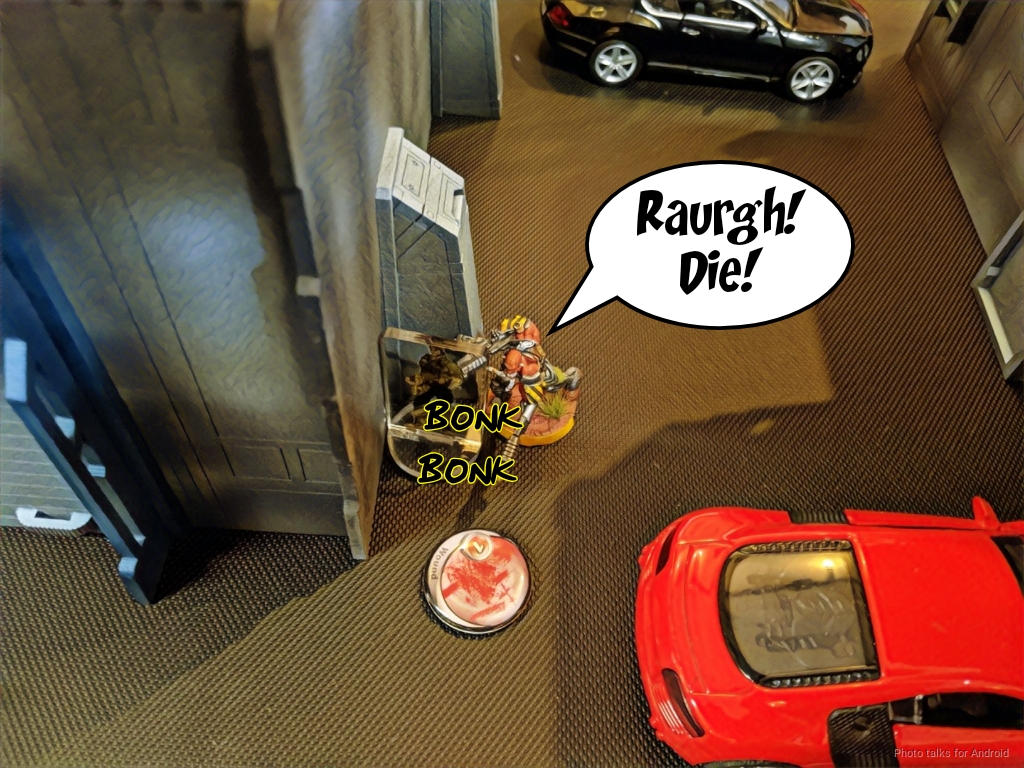
Well, there were no meaningful AROs left aside from the Myrmidon’s pistol, the flash pulse bots, and the Proxy Mk 2 covering James’ The Thing. This is exactly what Yojimbo is for. I rocketed him from one corner of the table to the other, throwing smoke in exactly the right places (even giving the Mk2 a dodge) and finished off The Thing in a single swing!
I figured I should go for the major victory by denying James the Datatracker survival points, but how? I had two orders and the Lt order on my Kempetai chain of command left… Probably not enough to kill a Marut in cover, but why not just go for broke?
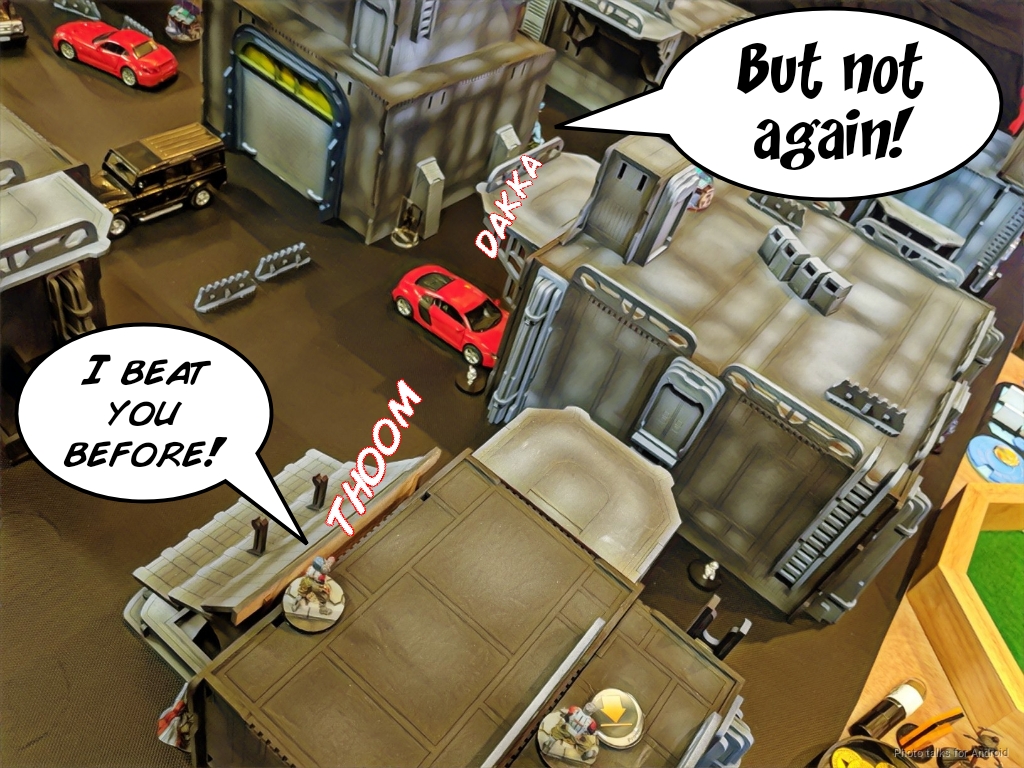
Yuriko empties a combi rifle mag into the Marut, scoring a crit and two hits, with James passes. Another order and another mag of combi rifle ammo gets me another crit and two hits, with the Marut passes ARM on easily. These two orders let me get the Kempetai BSG into view though, so I break him out of the link by spending his Lt order. He slides across the hood of the car, blasting away with his shotgun. Both slugs hit, and one of them takes out something important, KOing the Marut!! The crowd goes wild!
That was easily the most fun game of Infinity I’ve played in recent memory, and it came complete with a photo finish! JSA’s bikes, link redundancy, and Yuriko’s E/Mitter all came together to deliver me a
7-2 Japanese Secessionist Army Victory!
Post Game Analysis
Wow. What a game. I was really pleased with the performance of my list and my choices in piloting it. I think James did a great job piloting his list as well. He was hoping for the Krakot to take a wound from The Thing so he could fall unconscious and blow up the chest mine and then gun The Thing down with the Marut. An interesting plan, but thankfully one that did not come to fruition!
A really tight game played by both of us. There were probably a few minor tweaks on both sides, but nothing glaring comes to mind at the moment. Thanks to James for a great game!
I gotta say I love this version of Unmasking way more than the regular one. Yes, it forces some hard list choices, but it is SO FUN. Walking up to an HVT and praying it doesn’t explode in razor tentacle death is just hilarious! I think this mission caught some of the other players unprepared, but JSA has enough close combat specialist density that I made out okay. Definitely give this variant a try on one of your future game nights–you won’t be disappointed. It’s hard to capture that weird mix of apprehension and elation when you dive a close combat specialist onto the HVT and hope for the best, so just go try it for yourself!
Final Thoughts
I ended the tournament with 11 TP, tying Reuben, but I was 5 OP behind him, giving me second place. I’ll take it! For prize support, Erik (Teelskire) had done an amazing job painting up the Outrage box. First, second, and third place would get to round robin pick a model to take home. First place got 3 models, second 2, and third 1.
Reuben’s first pick was Beba. And why not!? I took Jethro, and James (RomanLegion) took Nadakai. Reuben grabbed Emily next, and I took Uhahu, giving Reuben Domovoi, which is who he wanted of the two. I’m excited to put them both on the table! I’ll probably use this Uhahu as my Mary Problems (I think she’s one of those Baker Module kids or something too?), and who doesn’t want to field two Druze MSRs?
Everyone also got these dope pint glasses:

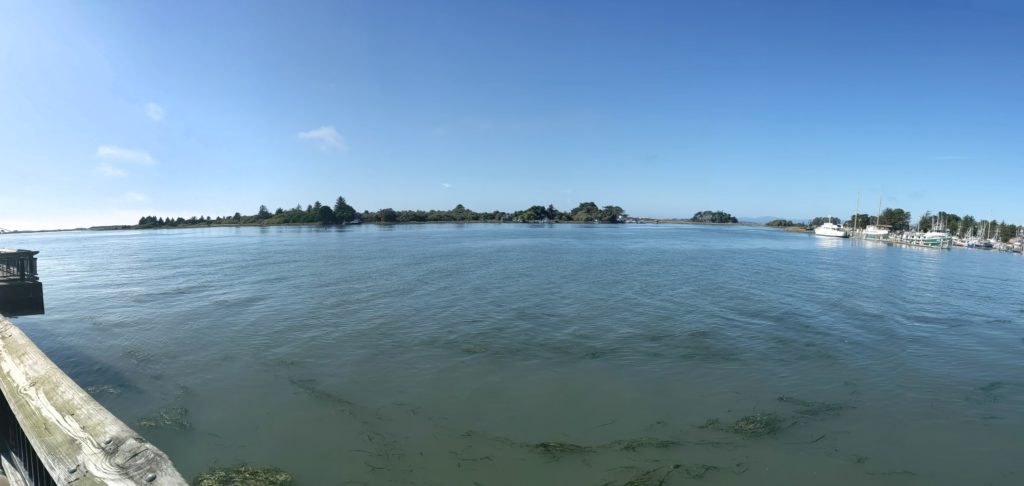
After a long two days of gaming, we enjoyed some of the local sights. Even with 2.5 hour rounds, there was still enough time to just relax, get some ice cream, and check out the waterfront.

If you’re thinking about going next year, definitely do it! The drive through the Redwood Forest alone is worth it! I’ll admit I was very skeptical of the altered missions going into the tournament, but I can safely say that they’re really fun and not broken. If you’re feeling like a change of pace, give them a try!
A huge thank you to Ray, James, Erik, the Scruffy Nerd Herder, and the rest of the Humboldt crew for putting on such a great event! I look forward to playing whatever crazy missions they cook up next year. Adam and I are hoping next year’s theme is Humboldt: The Musical…