

Get Out of the Robot?
Game two was against Joel (TheIchi). He was playing vanilla Nomads and we were paired up on the airplane table. I’m of course very familiar with both his faction and the table, which gave me a pretty big advantage. In an attempt to decrease the punishment level of the table, we relaxed the terrain rules a bit. You still stop when you touch terrain, in this case the MDF bases that all the plane parts are on, but you can continue moving if you want. You still take the movement penalty, and of course lines of fire that cross the MDF bases are considered to go through low-vis and saturation zones.
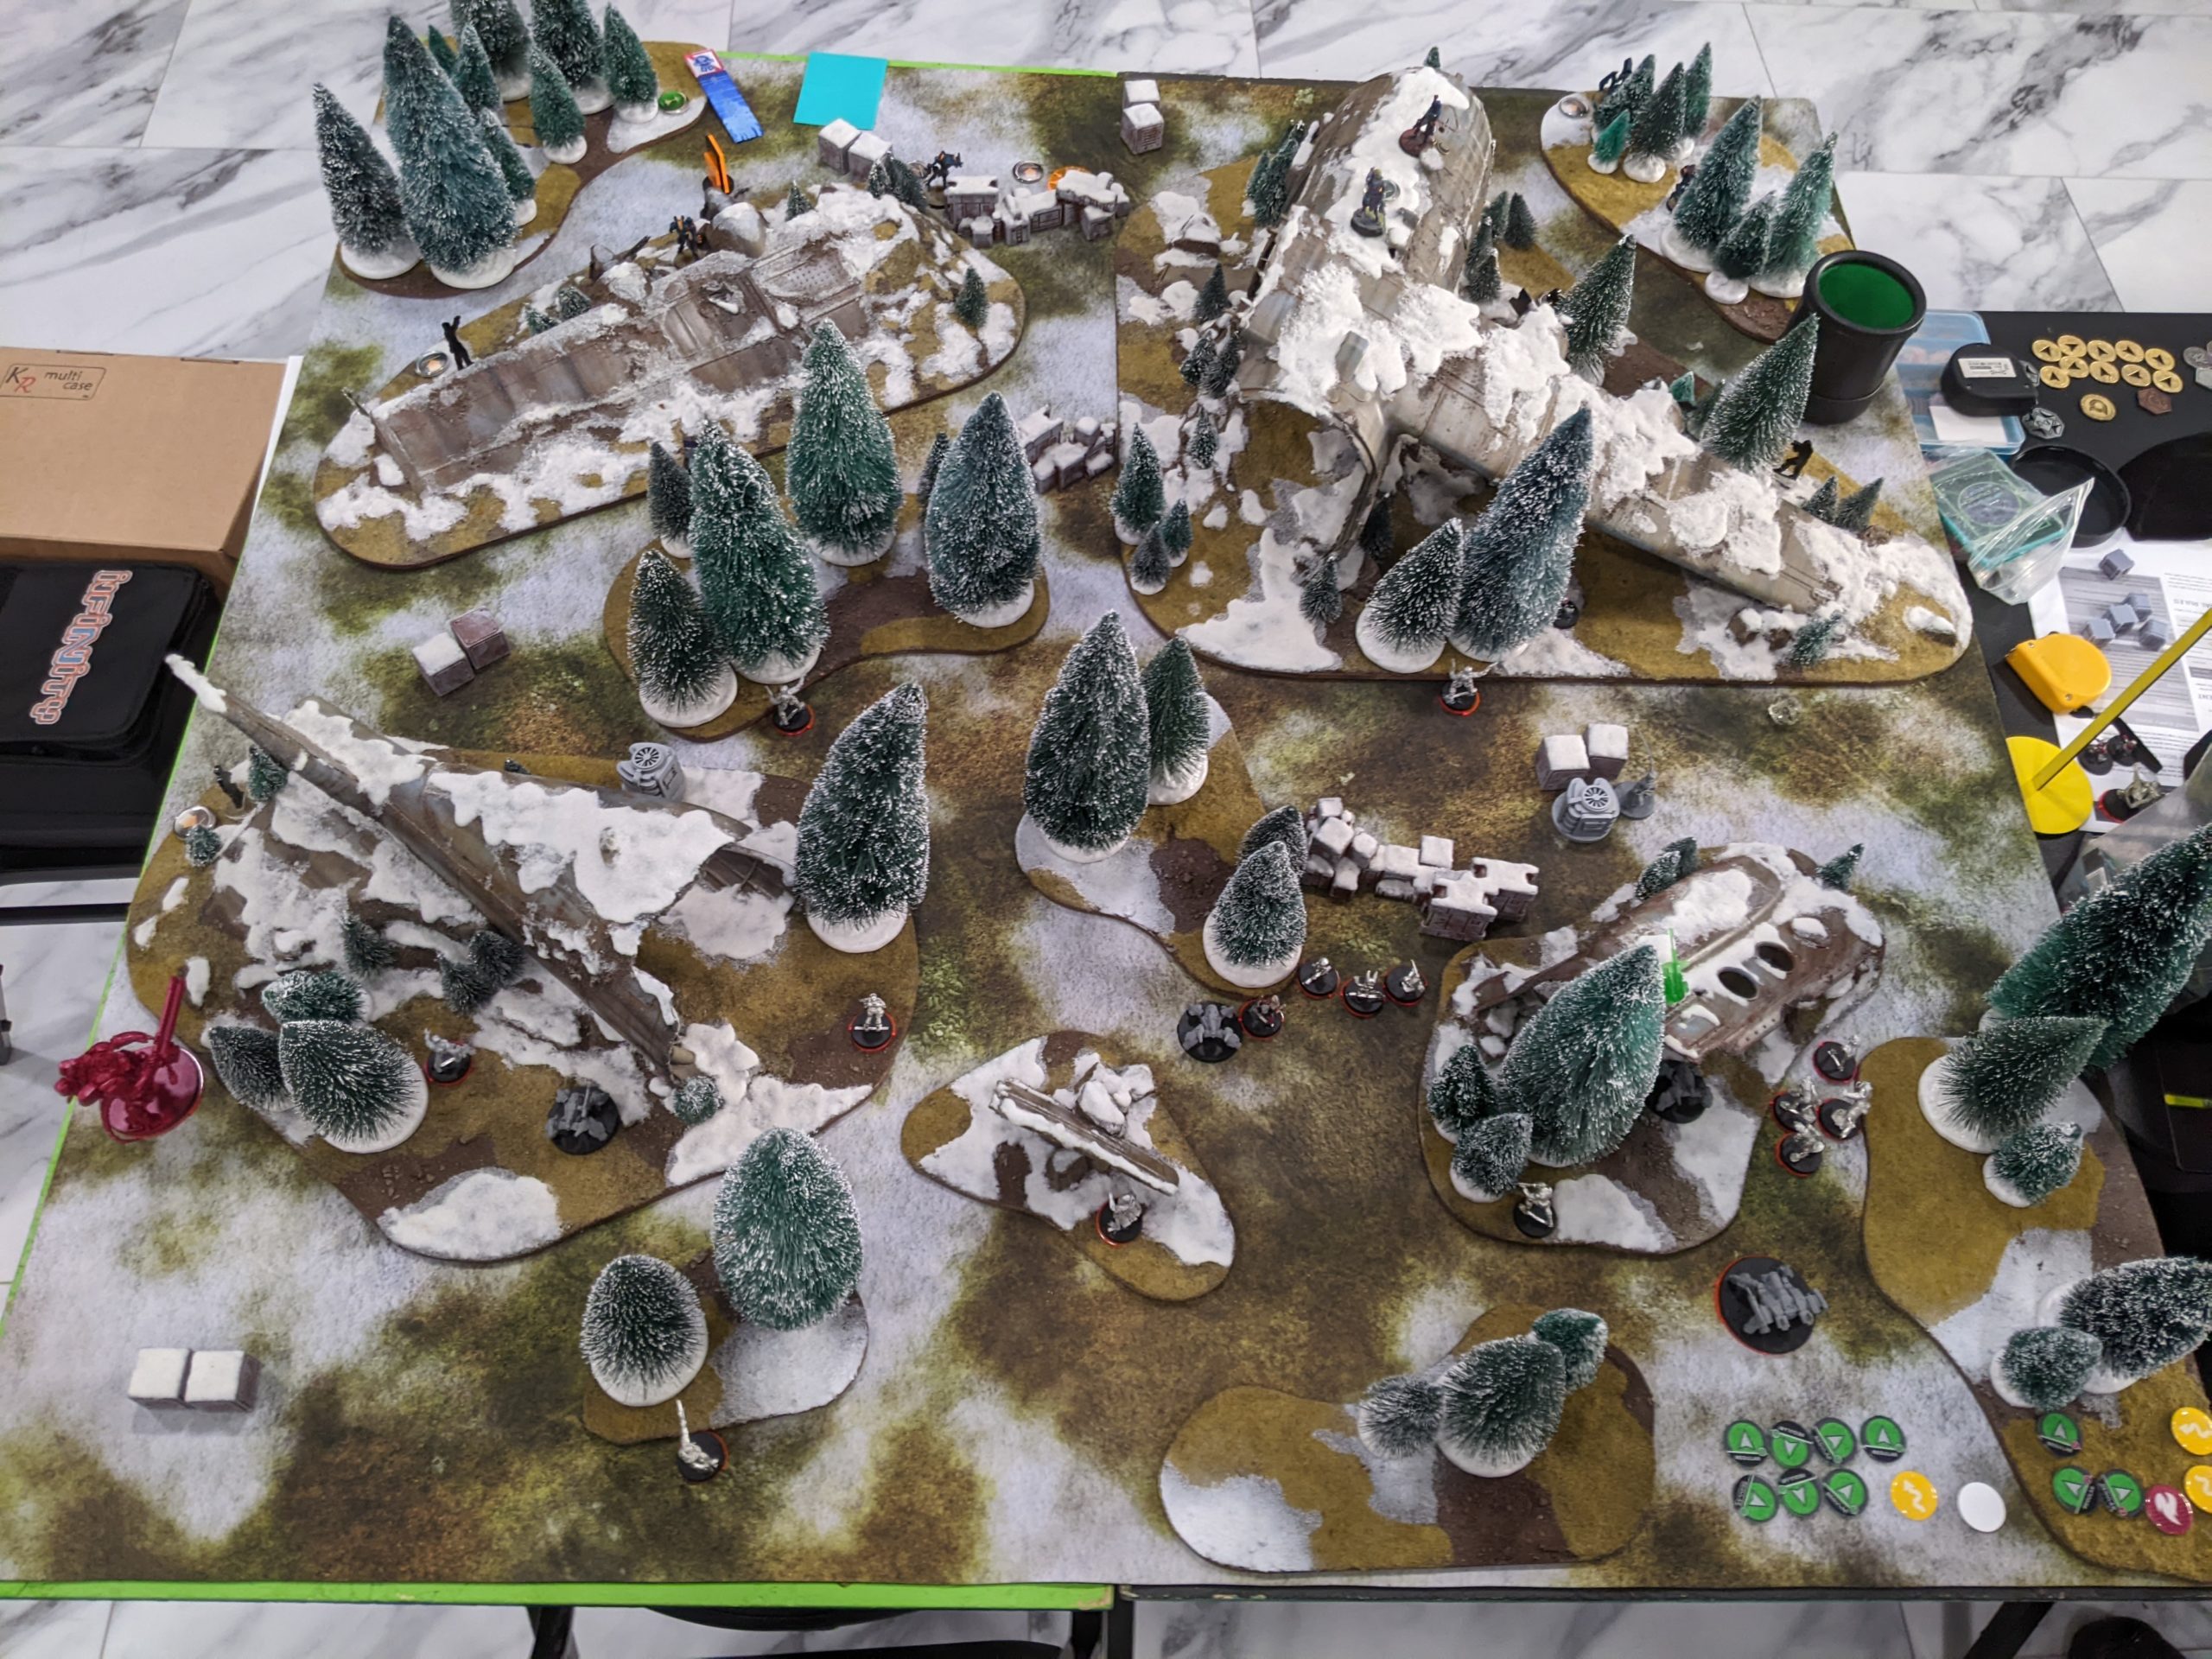
Many people think that this is a very open table because they play the trees as “suggestions for area terrain zones” as opposed to actual conical solids that block LoF and are immobile. It’s generally pretty hard to explain to people who have played systems like 40k or Warmahordes and are used to that sort of area terrain. Thankfully as the owner of the this table I could at least make sure Joel knew what was going on.
Overview
- Mission: ITS13 Supremacy
- Forces: Combined Army versus Nomads (300)
- Deploy First: Nomads
- First Turn: Nomads
I made the same mistake as last game where the Libertos was in Group 1 and I just didn’t get an order from the Imetron. Have a look at the previous tournament game writeup if you want more discussion of the game:
Santa’s Coming to Town v6
GROUP 1
10
1
GROUP 2
ANATHEMATIC (Lieutenant, Hacker, Hacking Device [UPGRADE: Trinity (+1B)]) Plasma Rifle, Nanopulser ( ) / Pistol, Shock CC Weapon. (0.5 | 76)
OVERDRON Plasma Sniper Rifle(+1B) / Shock CC Weapon. (1.5 | 58)
STALDRON Flash Pulse / CC Weapon. (0 | 0)
RINDAK (Paramedic, Forward Deployment [+8″]) MULTI Rifle(+1B), Blitzen / Heavy Pistol, PARA CC Weapon. (0 | 37)
CALIBAN (Engineer, Deactivator) Submachine Gun, Pulzar, D-Charges ( | GizmoKit) / Pistol, CC Weapon. (0 | 28)
GREIF-OP (Surprise Attack [-3], Impersonation [IMP-2]) Combi Rifle, D-Charges / Breaker Pistol(+1B), CC Weapon. (1 | 21)
Bit (Hacker], Killer Hacking Device [UPGRADE: Oblivion]) Submachine Gun, Pitcher ( | Deployable Repeater]) / Pistol, CC Weapon. (0.5 | 21)
IKADRON (Baggage, Repeater) Light Flamethrower(+1B), Flash Pulse / Pistol, PARA CC Weapon(-3). (0 | 9)
R-DRONE Flash Pulse / PARA CC Weapon(-3). (0 | 7)
ÍMETRON . (0 | 6)
4
LIBERTO (Minelayer) Light Shotgun, Shock Mines / Pistol, CC Weapon. (1 | 8)
TAIGHA Chain-colt / AP + Shock CC Weapon. (0 | 5)
4.5 SWC | 300 Points | Open in Infinity Army
Joel’s list is in but not all in on the missile bot plan. He’s got the Vertigo and 2x Moran package, of course. Instead of Jazz, he took Mary Problems, which is a very fun choice. Double Moderators to hide the Lieutenant is very normal, as is a Clockmaker and Morlock, especially once you see the Szalamandra hit the table. He’s even got a Salyut EVO and Stempler. With that many things it’s hard to find points for a Zondbot, but the Clockmaker has +1B Gizmokit to cover, so it’s probably fine?

GROUP 1GROUP 2
MODERATOR (Lieutenant) Combi Rifle / Pistol, PARA CC Weapon(-6). (0 | 9)
MARY PROBLEMS (Hacker) Submachine Gun, Zapper, Pitcher / Pistol, CC Weapon. (0.5 | 28)
MORLOCK Chain Rifle, Smoke Grenades / Assault Pistol, AP CC Weapon. (0 | 6)
MORAN (Repeater) Combi Rifle, Flash Pulse, D-Charges, Crazykoala ( ) / Pistol, CC Weapon. (0.5 | 17)
PUPPET MASTERS Submachine Gun / Pistol, CC Weapon. (0 | 12)
PUPPETBOT (Forward Observer) Boarding Shotgun, Flash Pulse / PARA CC Weapon(-3). (0 | 12)
VERTIGO ZOND Missile Launcher / PARA CC Weapon(-3). (1.5 | 17)
SZALAMANDRA Hyper-Rapid Magnetic Cannon, Heavy Flamethrower / CC Weapon. (2 | 72)
SZALAMANDRA PILOT Contender(+1B) / Pistol, CC Weapon. (0 | 0)
TRANSDUCTOR ZOND Flash Pulse / PARA CC Weapon(-3). (0 | 7)
STEMPLER ZOND Combi Rifle, Flash Pulse / PARA CC Weapon(-3). (0 | 16)
CLOCKMAKER Combi Rifle, D-Charges ( | GizmoKit [+1B]) / Pistol, CC Weapon. (0 | 18)
CHIMERA Combi Rifle, Nanopulser, Eclipse Grenades / Viral CC Weapon, Pistol. (0 | 20)
3X PUPNIK DA CC Weapon. (0 | 3)
SALYUT (Hacker, EVO Hacking Device) ( ) / PARA CC Weapon(-3). (0.5 | 15)
5.5 SWC | 299 Points | Open in Infinity Army
What’s interesting is the inclusion of the Uberfall in the same combat group as the TAG. I think both are pretty order hungry, so having them in the same pool limits your options somewhat. Not a problem, just something to play around. What was really unusual was the triple FO Puppetbots. It sort of makes sense in conjunction with the Vertigo plan, but it felt very strange.
I discovered during deployment that Joel wasn’t aware that the Puppetbots had to be in coherency with the spearhead of the control unit and had been deploying and activating them out of coherency. This meant it had gone very well for Joel in his previous game of Supplies during the tournament where he grabbed all three boxes with the FO bots and retreated them simultaneously, which explains the list and the strategy. Honestly brilliant but sadly illegal.
The Peripheral rules are fantastically complicated and obtusely written, so I want to be clear that I’m certain that this was just a honest mistake on Joel’s part. I only mention it here because sometimes people read these reports and discover they’ve been playing things wrong (or I’ve been playing things wrong). In other words, I’m sure there’s someone else playing Puppetbots without the coherency requirement, so I wanted to just call attention to the rule mistake to help the community.
Once we clarified the rules, he deployed in coherency and we moved on.
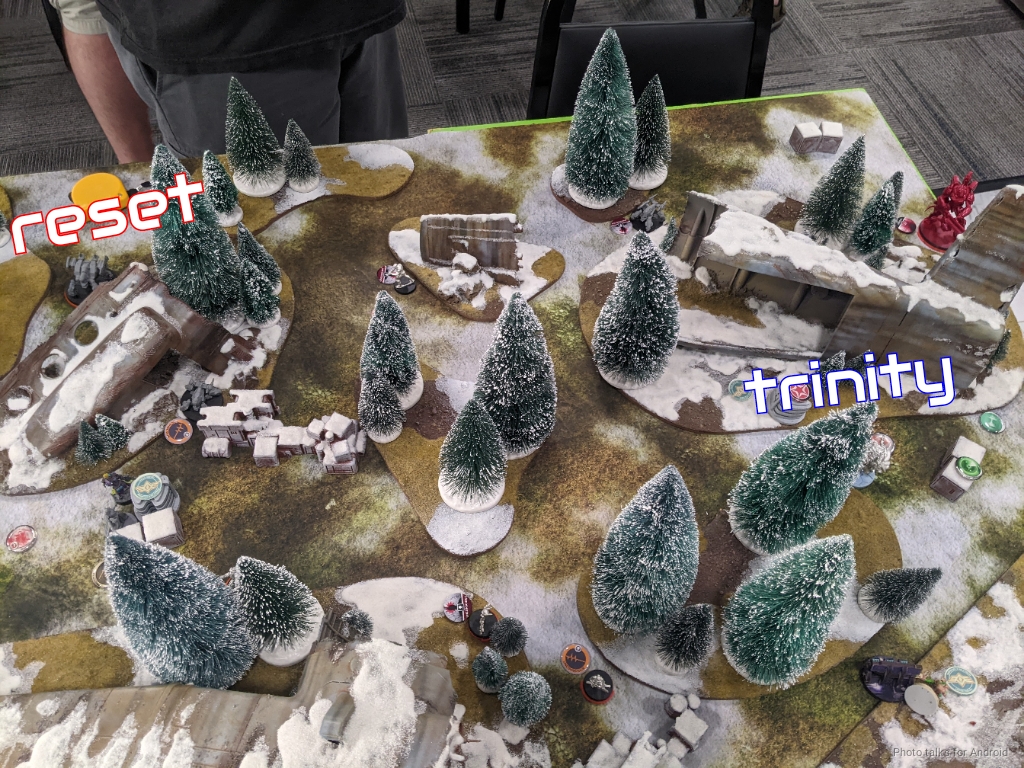
Deployment
I think I won the rolloff? That’s always the datapoint that leaves my head when enough time elapses between a game and the writeup. In any case I chose deployment. I was confident in my ability to counter deploy a vanilla Nomads list on home turf, to put it succinctly. Joel had a few proxies in his list so don’t be surprised if you see some models that aren’t what they seem!
In all honesty, it’s a pretty standard vanilla Nomads deployment. Morans near the centerline about 16″-24″ apart from one another and then a pile of stuff behind it. Most of the things that Joel has don’t want to interact with me, like the Puppetmaster, two Moderators, the Clockmaker, and the EVO. He put the Transductor, Mary, the Puppetbots, and the Uberfall pretty far forward to be able to interact immediately, and then put the free TR turret atop some plane wreckage to control my movement.
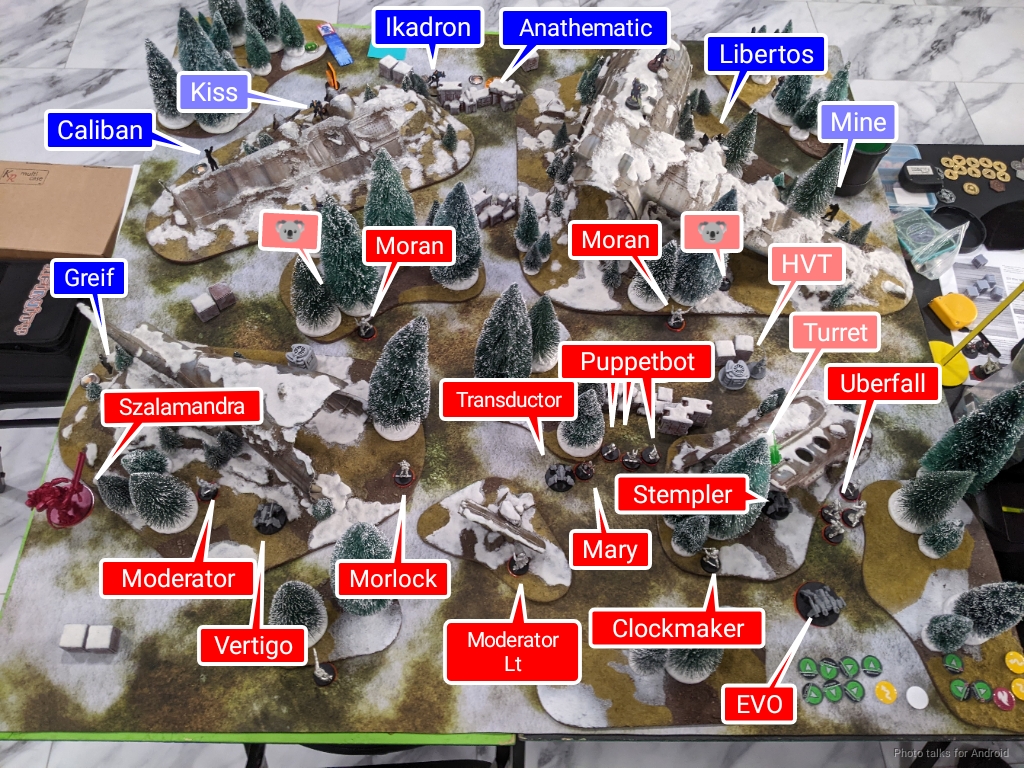
I copied him and placed my turret very high. There were enough points missing that I was expecting either a Gecko + Carlota or a bigger threat like a Szalamandra. I deployed accordingly with the Turret watching the backline. I keep forgetting to pack a Turret so I just used a Sukuel ML I had in my bag.
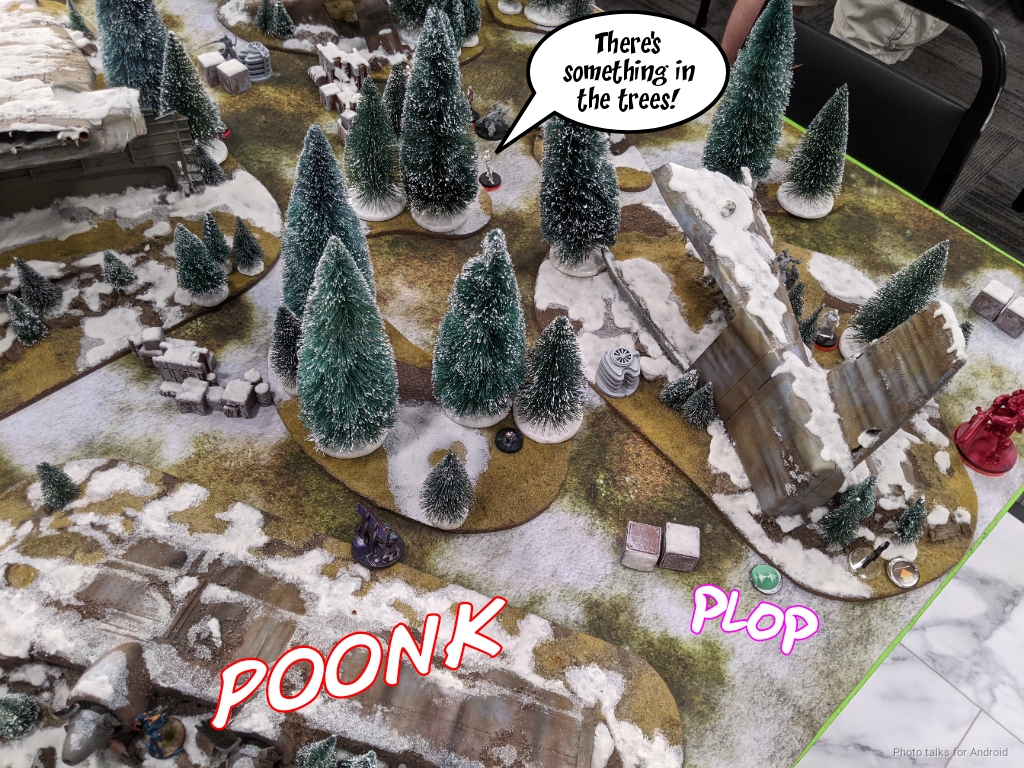
The Taigha and Ikadron were also deployed against Carlota. I figured the Overdron would be a pretty juicy target, so I set up a bunch of AROs against the backline, including the Anathematic, prone. Carlota wasn’t getting an easy landing, that was for sure.
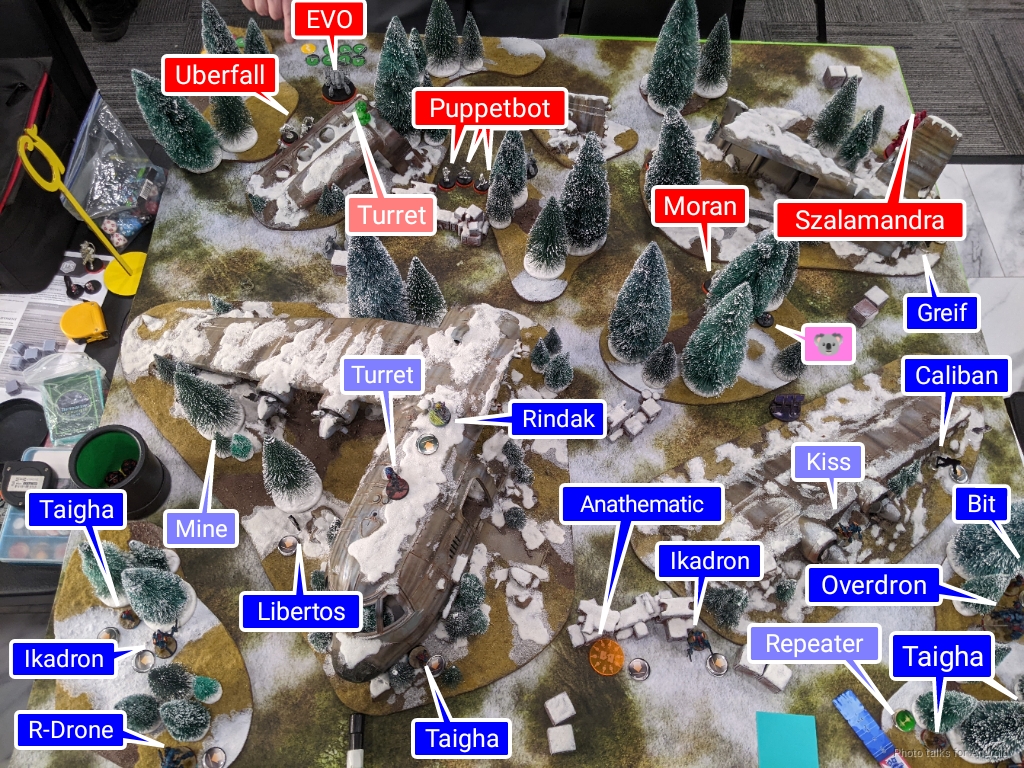
I knew I wanted to put the Overdron in the stand of trees on the right, but I also wanted to hold it in reserve, because I didn’t know what Joel was bringing as his reserve. If it was Bran or something, I didn’t want to bleed any information about the TAG’s placement. Kiss went on the plane wing to ARO things.
Still, I knew he’d have some way of getting repeaters near the TAG, either advancing a Moran or chucking a Pitcher, so I put Bit right next to where I wanted the Overdron to go to fight Mary Problems if this happened. The Rindak and Caliban hung out near the consoles on either side, with the Rindak all the way near the Turret on top of the plane, prone, to take advantage of Climbing+.
I put the Greif all the way on the right to start harassing the Moran there as well as attack into Joel’s backline, and then I put the Libertos on the left to screen the Uberfall’s approach. I was pretty confident I could weather one turn of Uberfall, especially because I would have a shot on them with the Overdron as they advanced, so I was happy with the defensive net I had there.
Joel’s holdback was a Szalamandra, which suggested to me that there probably wasn’t Carlota, but maybe a cheaper Tomcat. I think he got spooked by the Greif. Having the Szalamandra basically on one flank near my pitchers felt fine, so that was probably the best I could expect. The fact that the Szalamandra and the Uberfall were both in the same group made me feel pretty confident in my ability to keep most of my forces intact for Turn 1.
I placed the Overdron in the exact spot I planned, where I’m covering both the Uberfall and the Puppetbots movement path forward, and then we were off!
Turn 1
Top of 1 – Nomads
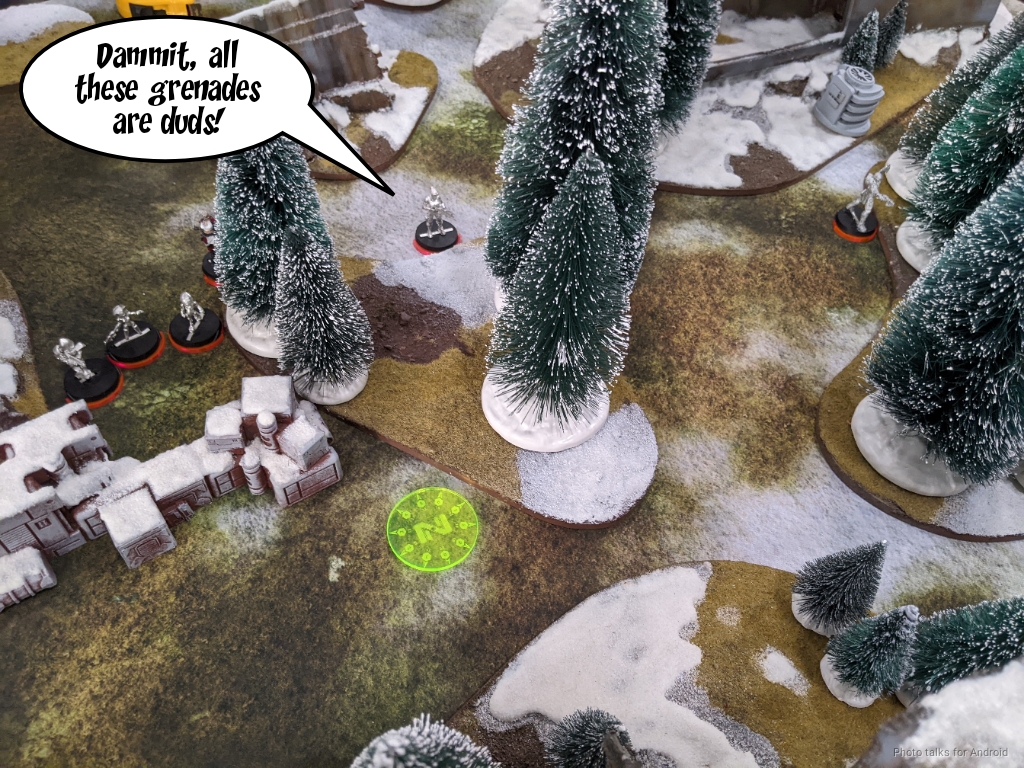
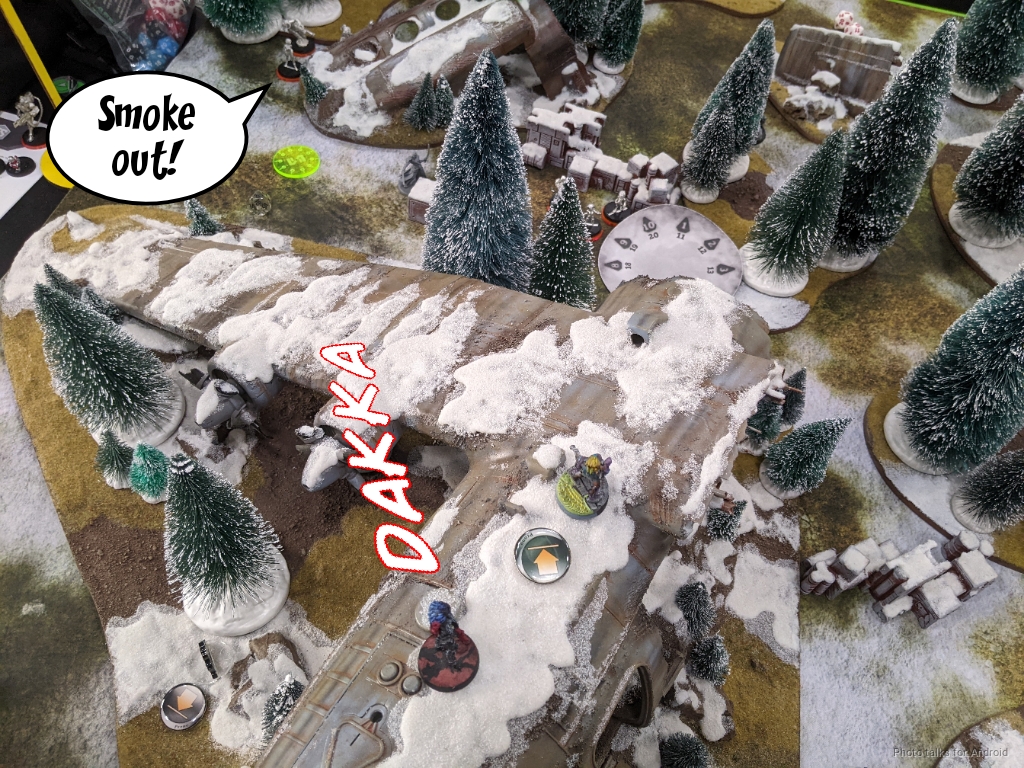
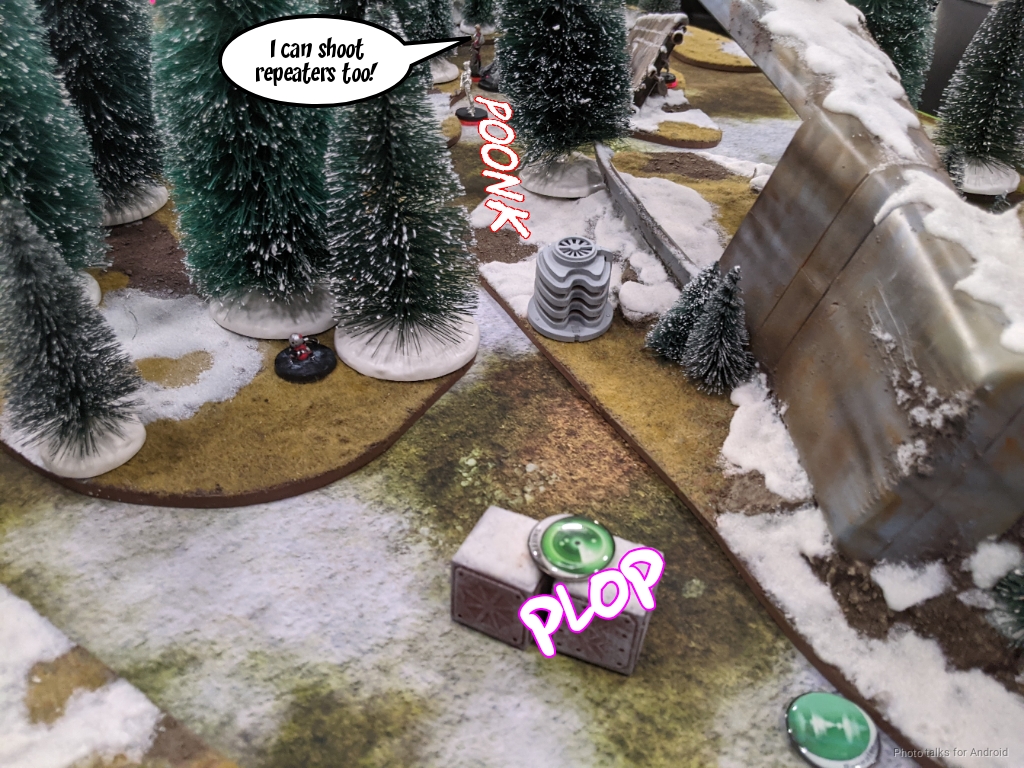
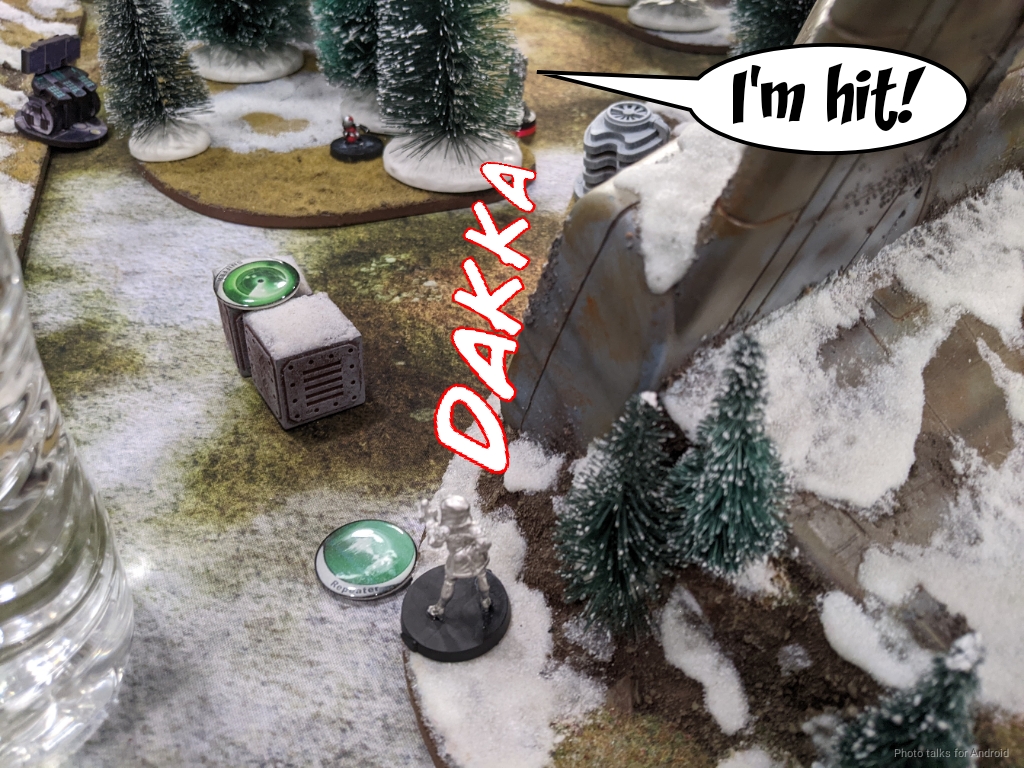
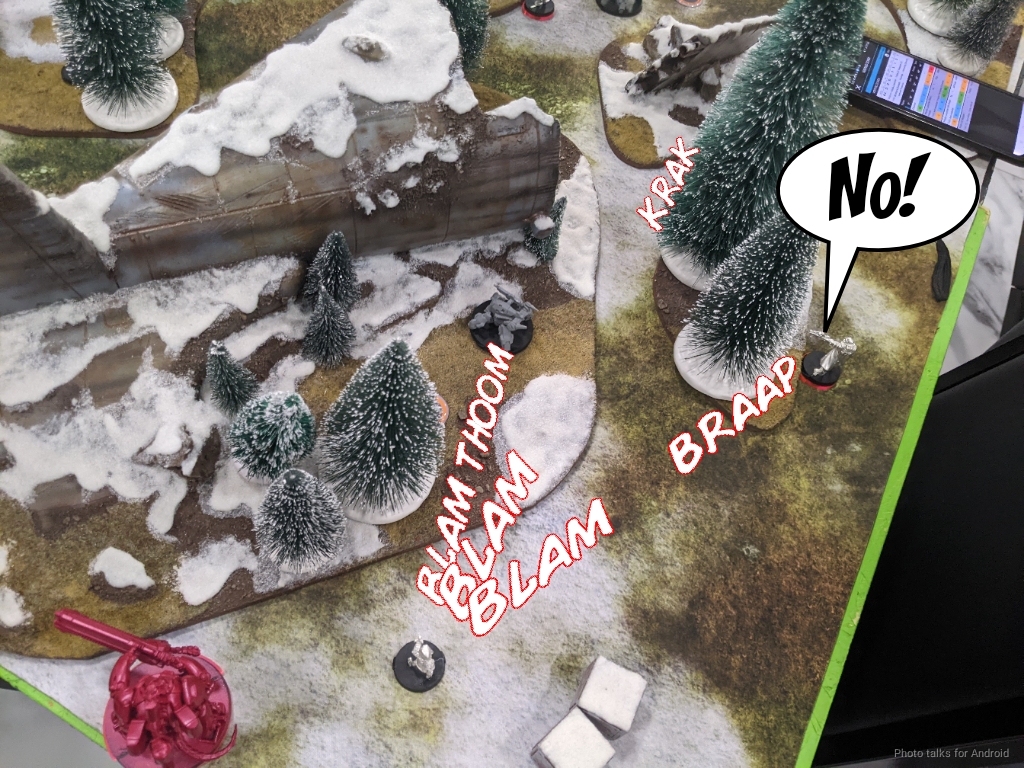
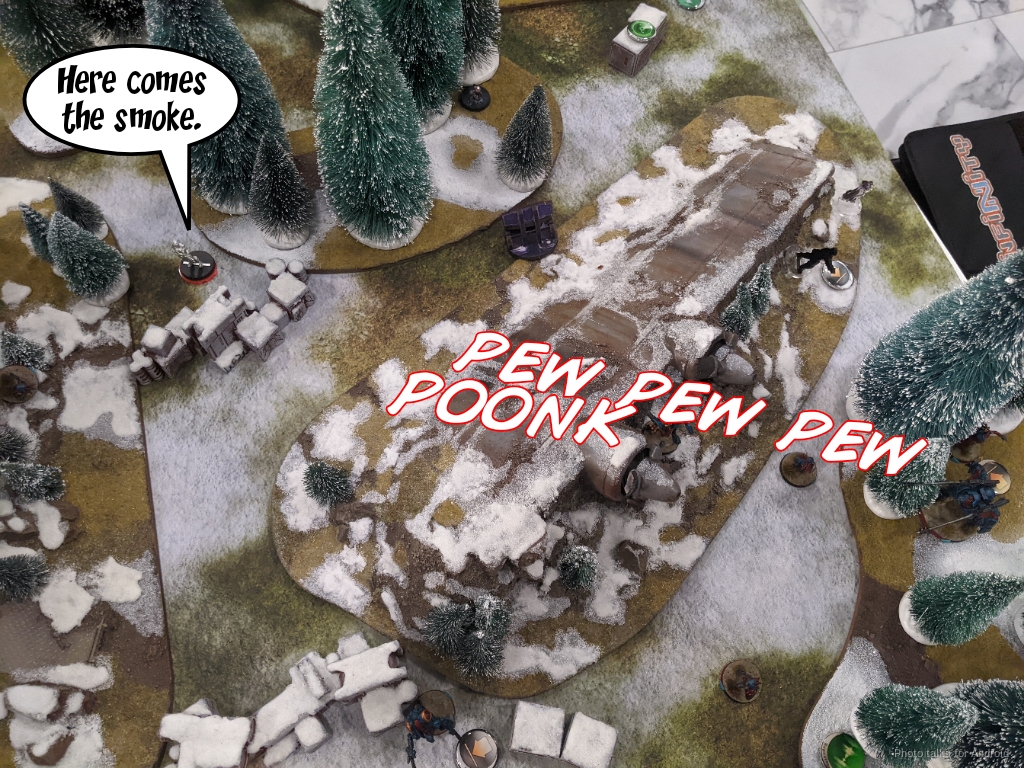
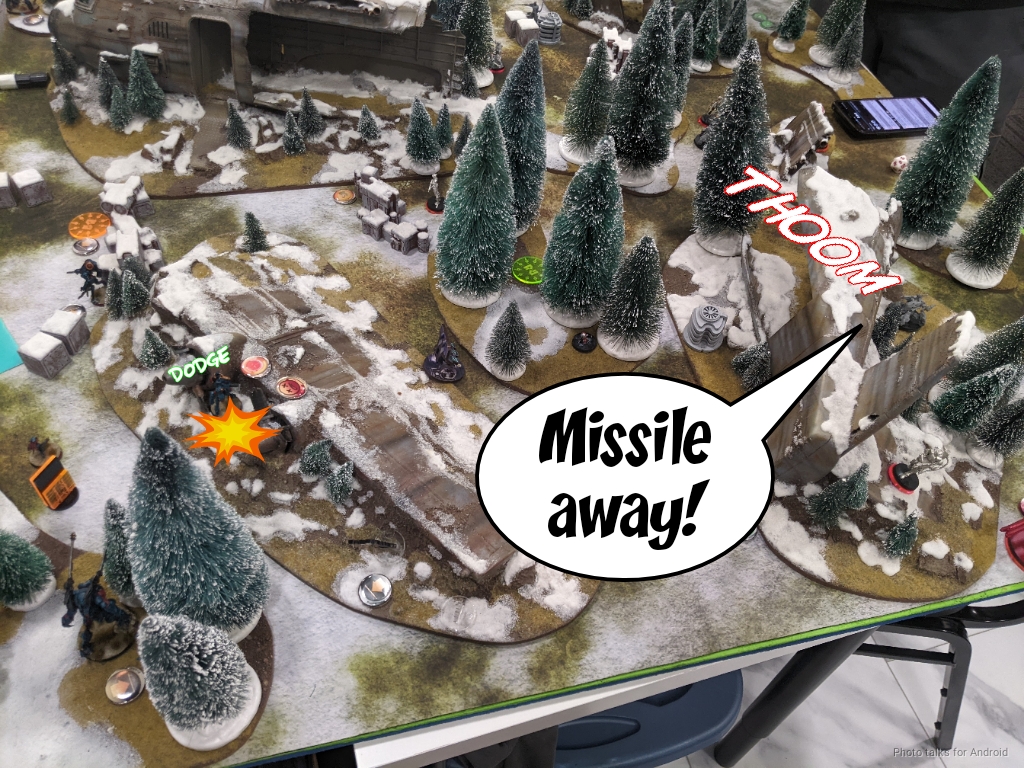
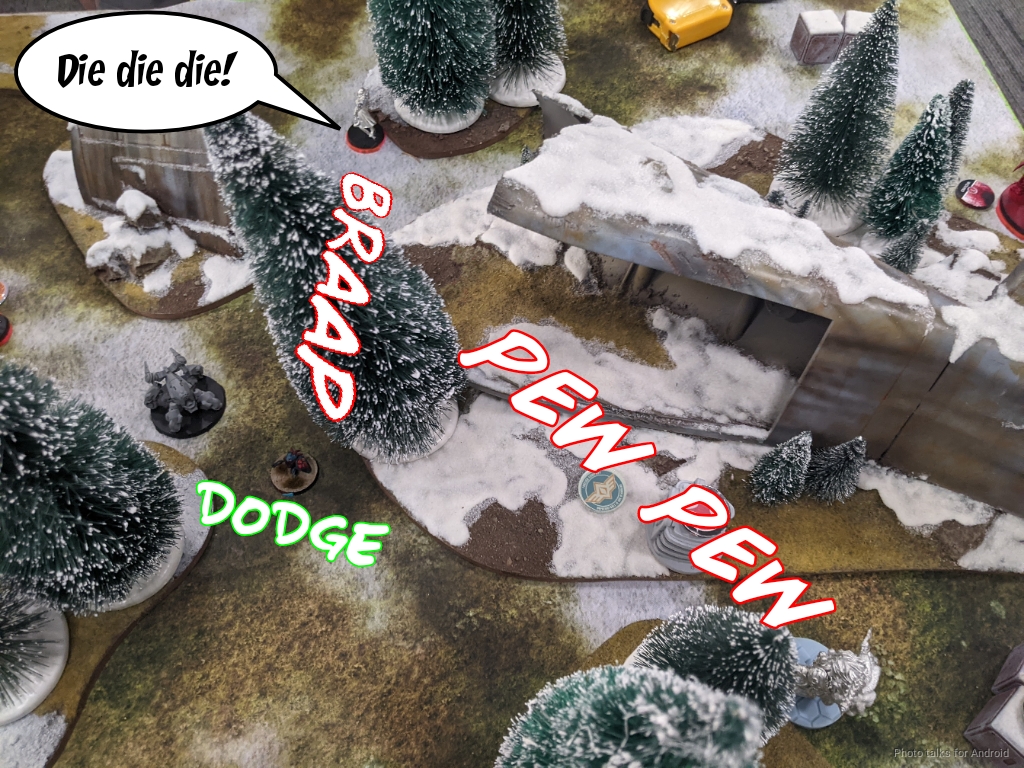
My objective: retain as many orders as possible and slow Joel down. I docked the Uberfall/Szalamandra group 1 order thanks to the Puppetactica, which isn’t a lot, but those are two very order hungry units so I’m fine with it. Joel starts off by moving a Morlock forward to throw smoke for everyone. Due to the low-vis zone, the Morlock whiffs its smoke roll, so the Uberfall forgo their impetuous. I do see the first part of the Morlock’s movement with Kiss, so I fire a pitcher near the Szalamandra and hope I have it within 8″. Even if it’s out, it does make it difficult for the Szalamandra to advance freely. This doesn’t grant a free flamethrower on the Greif because of the Impersonator state, so this is okay. I could have tried to stretch the shot further to guarantee it being in 8″, but I was worried about firing outside of 16″ into a low-vis zone with Kiss’s terrible BS. I barely land the pitcher, so what’s done is done.
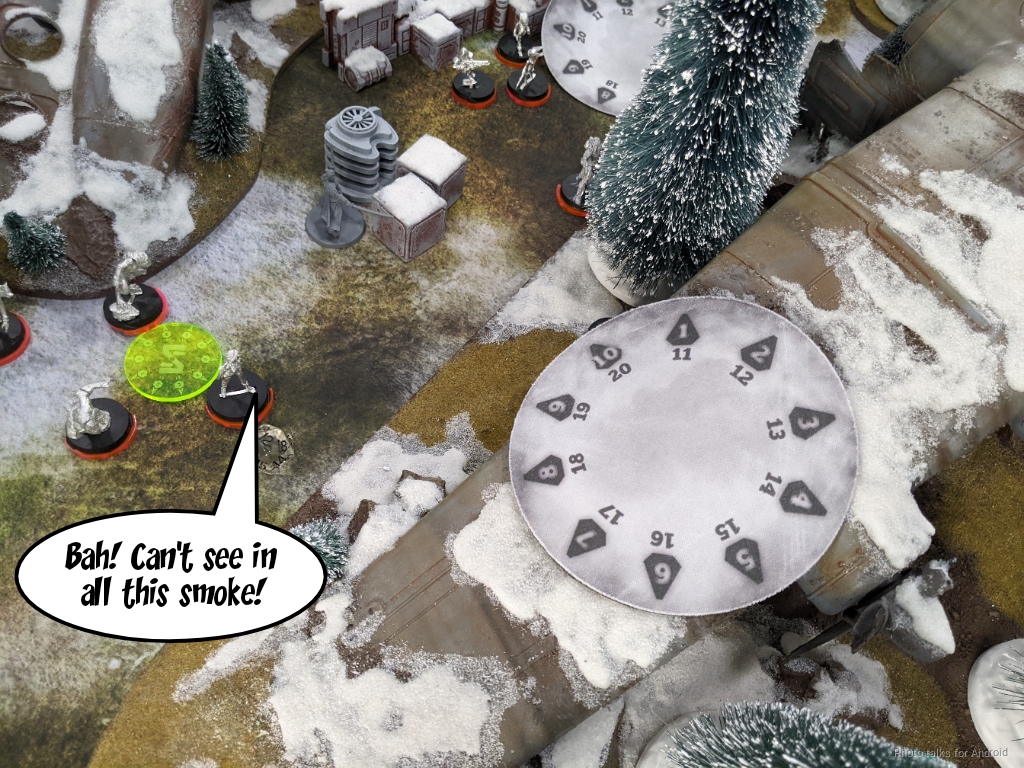
Poor Joel spends a good 3-4 more orders tossing smoke grenades. He finally lands it, meaning the Uberfall and Puppet Bots can move forward.
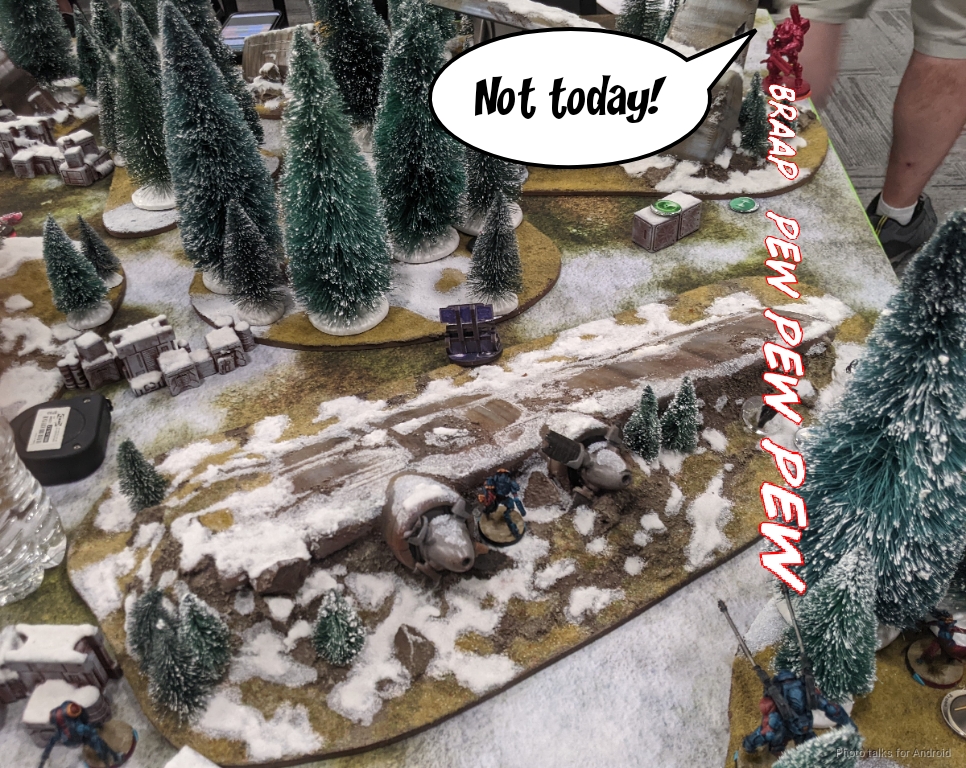
The Puppetbots walk into the smoke to take a quadrant. They’re in the open, but Joel is relying on their dodge to save them I guess? The turret can still see the Uberfall’s advance, so Joel is forced to contest the fire with eclipse smoke from the Chimera. I’m at 2 on 4’s, because I’m in bad range shooting through low vis and saturation, so this goes fine for him.
The Szalamandra moves into view of the Greif and tries to discover it. I let him make the attempt. Thankfully he fails the attempt!
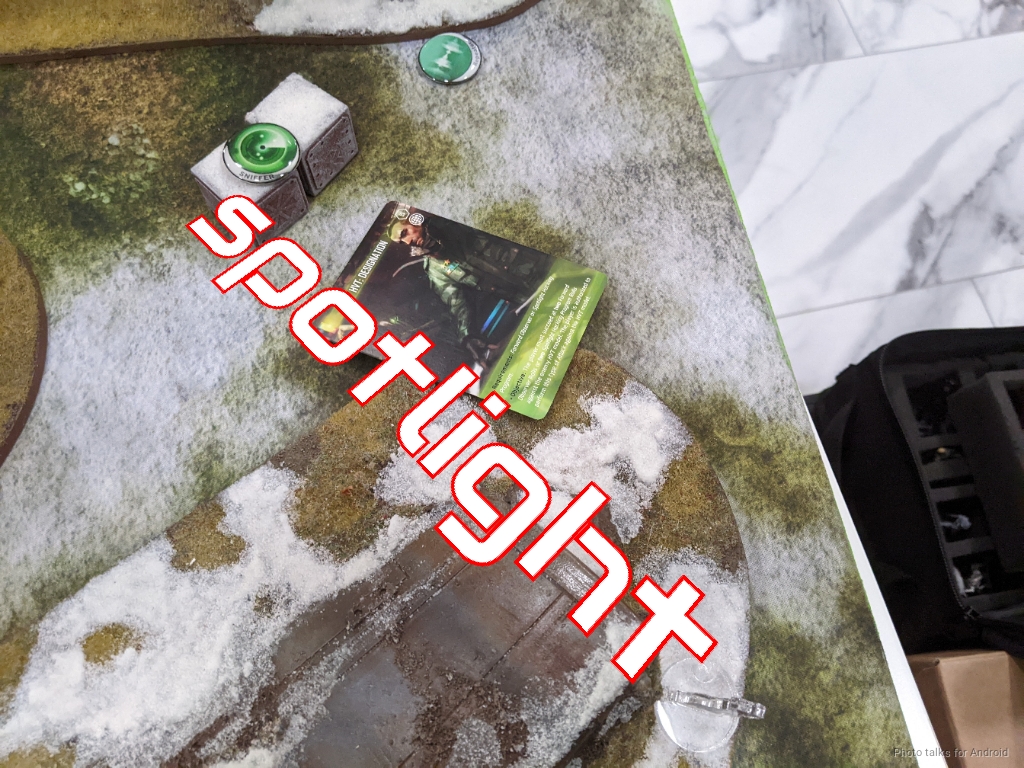
Mary Problems fires her own pitcher next to mine.
She spends two orders and snags HVT: Designation.
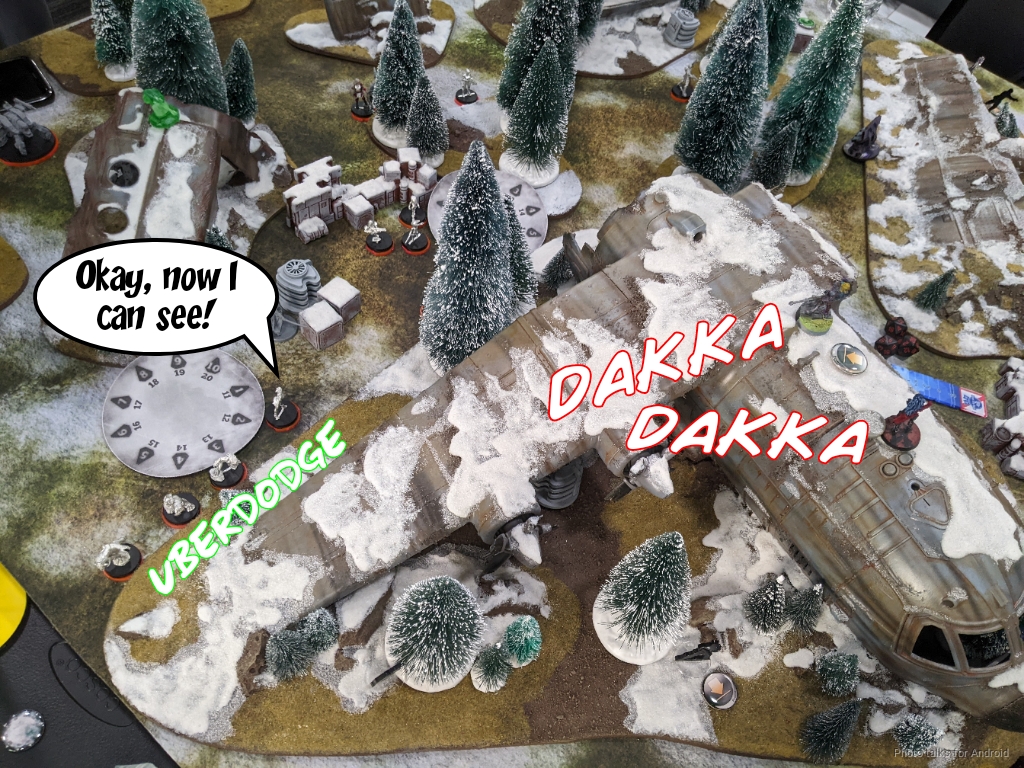
The Uberfall walk into their smoke and try to block LoF to the turret by spec-firing eclipse smoke, but that of course doesn’t go well.
Joel really wants them to be in my quadrant and force me to deal with them, so he walks them out of the smoke and dodges against my fire. The Rindak can only see one of the Pupniks as he’s prone, so he takes a shot there, and the Turret throws two on 10’s at the Chimera, now that we’re in 16″ but still in the saturation/low-vis zone.
I beat the Chimera’s dodge and drop her. I’ll take it!
Bottom of 1 – Combined Army
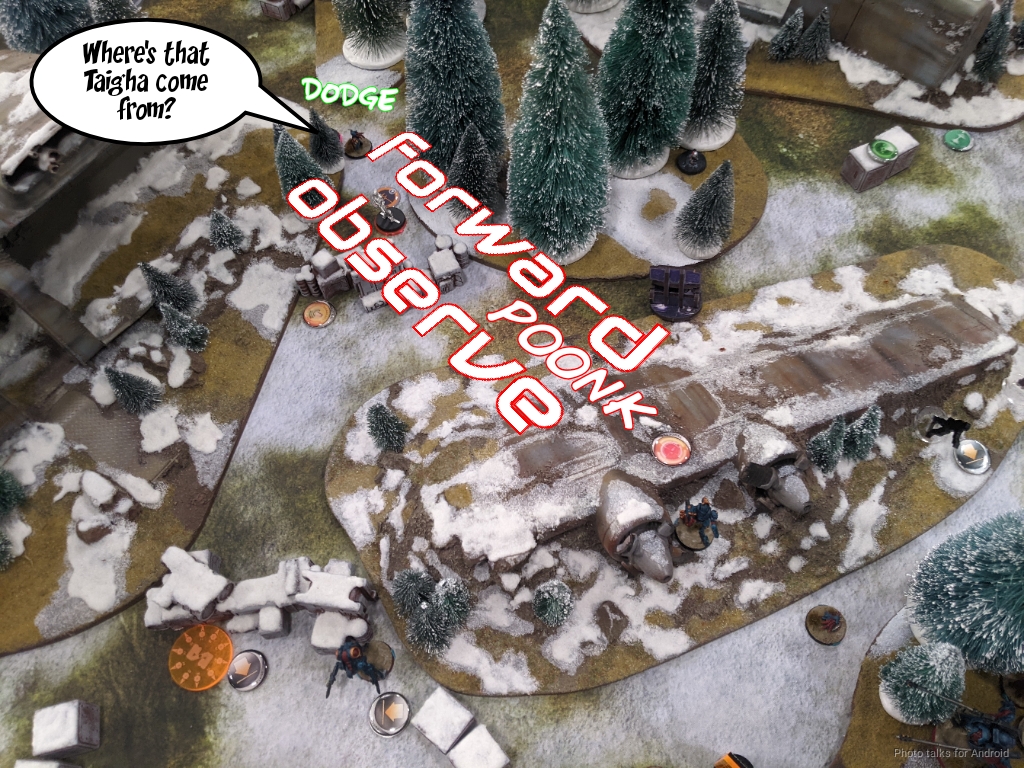
After moving what Taigha I can, I activate the Overdron. The Puppetbots are in the open and all clustered up, so I split burst through the low-vis saturation zone, effectively still getting burst three by templating all three puppet bots simultaneously. Joel’s plan of relying on their dodge works, and only one puppet bot dies from this.

I keep the pressure up and fire again, taking out Joel’s turret and another Puppetbot. The third bot dodges to safety. I can now start dismantling the Moran repeater network. The Greif scoots out of LoF of the Szalamandra, who discovers. I suppose I should’ve just shot it with Breaker Pistols on the way out for free, but I want the movement. In any case, I’m behind the Moran and out of 8″ so surprise shot isn’t relevant. A quick burst 2 of combi fire and the Moran is down. I do get spotlit by Mary Problems for my efforts though.
The other Moran needs to go away, so I send in the Libertos. Everyone discovers except the Moran, so I just double template the Moran and Puppetbot. The Moran actually throws out another Koala instead of dodging, but I’m not mad about that decision. I think it’s actually pretty good. I pass the Koala save on the existing Koala from deployment, which is pretty important. The Moran goes down, and the Puppetbot takes a wound, and I get spotlit again by Mary.

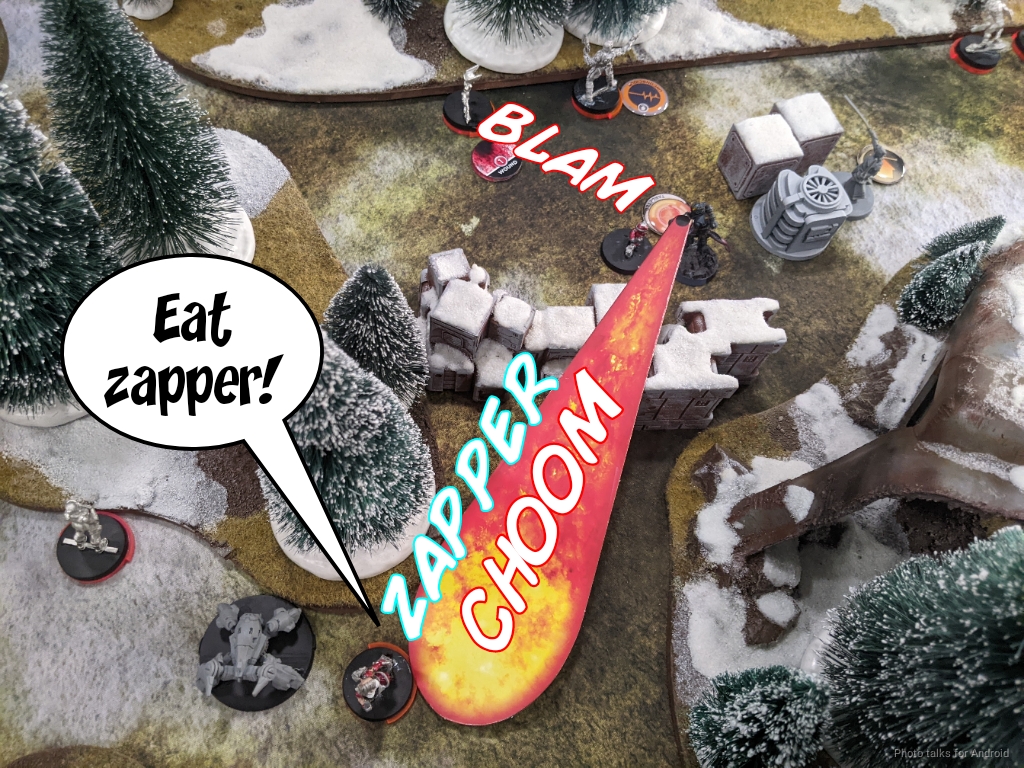
I’ll take this absolutely amazing and lucky turn of events, and I just vault the boxes the Libertos is behind and threaten Mary. Instead of dodging, she Zappers, which I think is a huge mistake, so I just double-template and drop her. Between the Koala, the Puppetbot’s ARO, and the Zapper, the Libertos is definitively stopped, but Mary is dead as is the Moran, and the Koalas are gone. Absolutely amazing amount of work out of the Libertos. No notes!
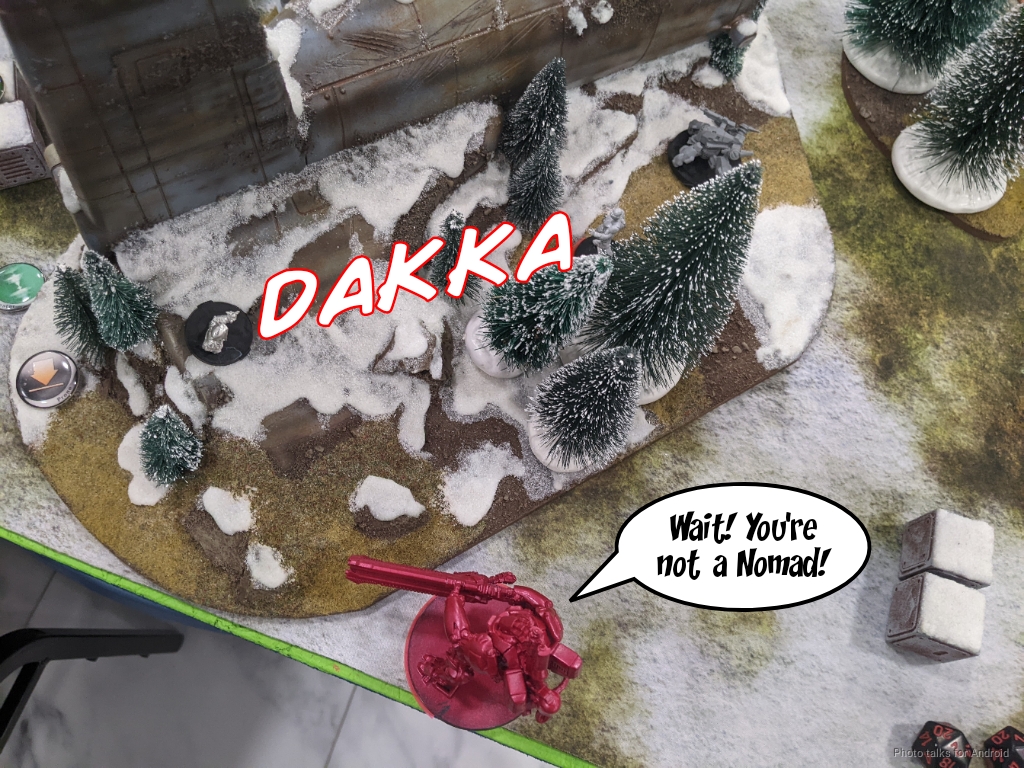
The Greif reimpersonates and I walk around the tail of the plane to see the Moderator that might be Joel’s Lieutenant. Joel declares discover with everyone, which lets me take two free shots at the Moderator, knocking it out.
I move again and dodge the Szalamandra’s flamethrower.
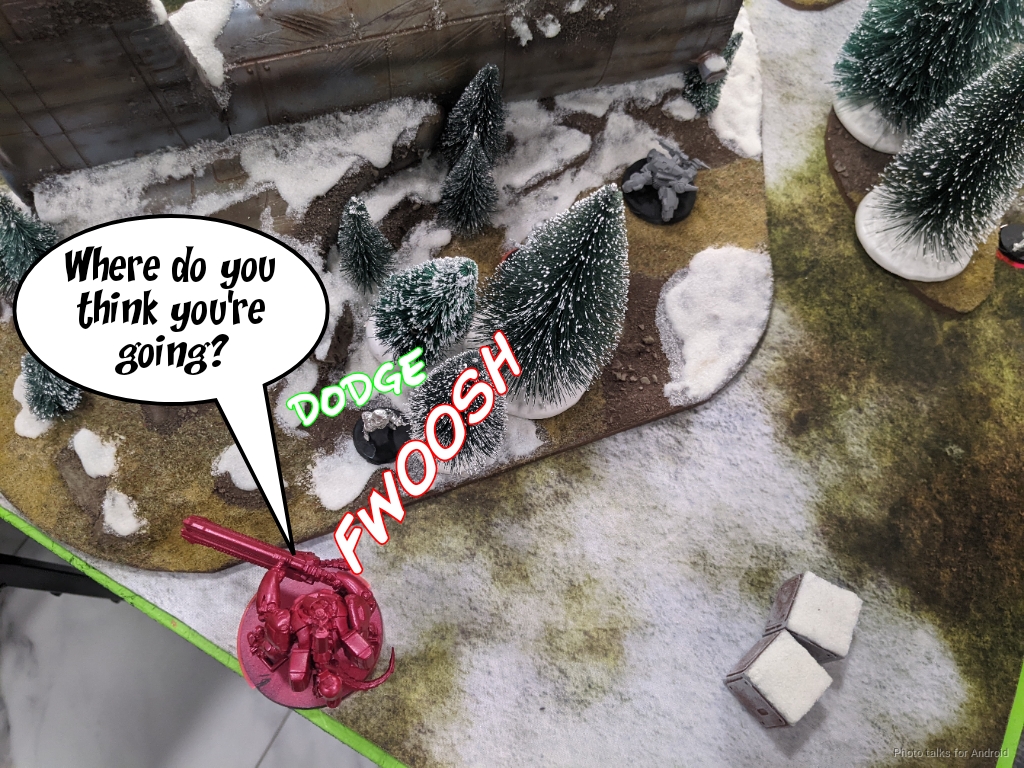
I then move into the open and split burst 3 ways targeting the Vertigo, the remaining Moderator, and the Puppetmaster. I fail all three shots and the Vertigo sticks a missile. No more Greif, but this feels pretty good to me.
The Szalamandra’s out of cover, so I spend my last order and try to put a wound on it with the Overdron. I hit, but it passes ARM/BTS and I pass turn.
Turn 2
I was too concerned with murder that I lost sight of the objective and cost myself two points. I should’ve just left the Greif in its zone after killing the Moran, which would’ve given me three quadrants. I was just so distracted and enticed by the possible lieutenant kill.
Top of 2 – Nomads
The Morlock moves forward and tries to smoke its way past the Overdron. It goes horribly and the Morlock melts. I do manage to land another pitcher in the midfield with Kiss though.
Joel really wants to shoot missiles at stuff, so he forward observes Kiss with his Puppetbot against a ADHL shot then drops a missile on Kiss.
Kiss doesn’t survive, but he absolutely did his job.
At this point, Joel wants to flip a console. He’s got a Stempler, an EVO, and the Clockmaker on the table as specialists, but he also has a KHD in the Szalamandra!
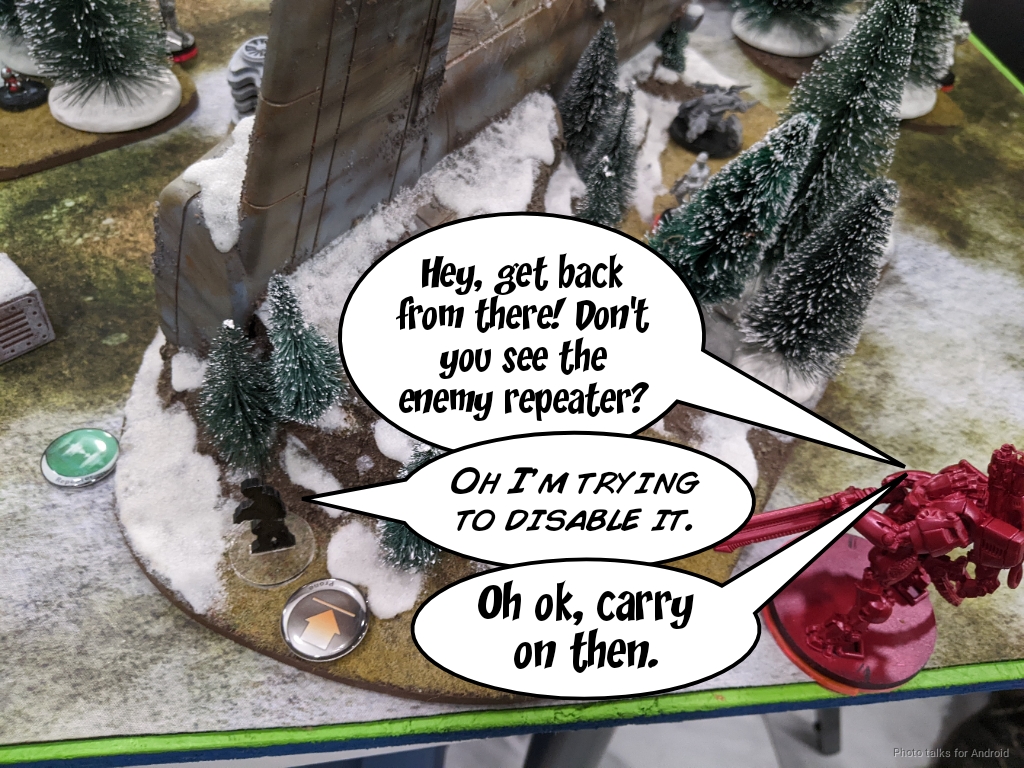
Shinji gets out of the robot, behind the Szalamandra to avoid getting hacked through my repeater. He Cybermasks, then walks towards the the console.
He has to walk all the way around to the other side of the console to avoid the repeater, but he does flip the console successfully. Unfortunately, he doesn’t have the orders to retreat to the TAG.
Bottom of 2 – Combined Army
My objective for this turn was to fix the quadrant problem. I need to clear the last puppetbot, which is easy thanks to a nearby Taigha.
I clear the last Koala on my right with that Taigha, and then I’m good to start advancing the Anathematic.
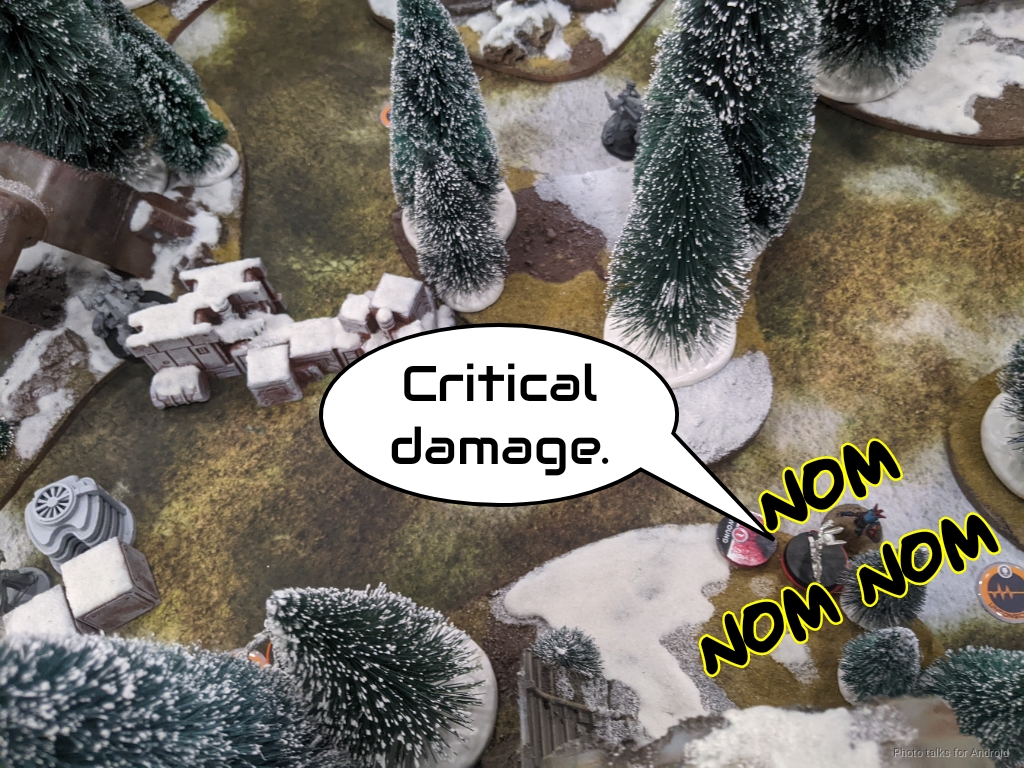
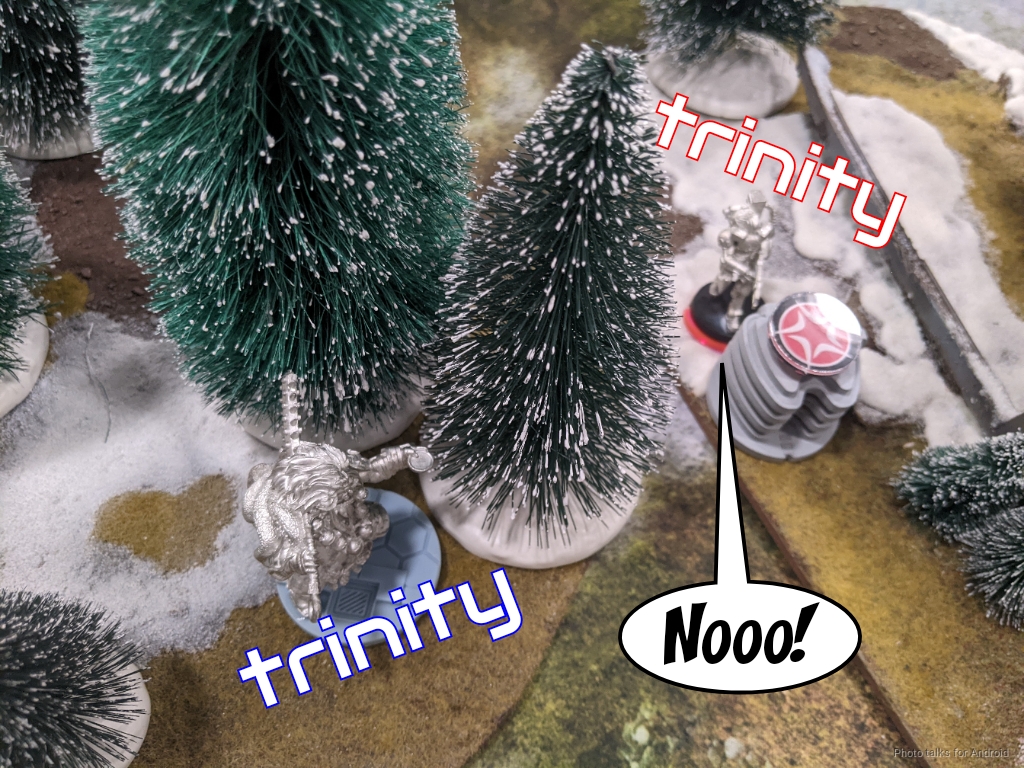
I get hit with a Trinity crit on the way in from the Szalamandra pilot, but burst 4 on 19s is a hell of a drug as Tim says, and the Anathematic’s voodoo tech turns the pilot’s brain to jelly on the next order.
This lets me start plasma-ing things with the Anathematic, and I drop the nearby flash pulse bot.

I’m now overwatching Joel’s deployment zone with the Anathematic, so I feel safe to go get the console with the Anathematic as well as the console on my side with the Caliban. I move the Rindak forward as well, and then pass turn.
Turn 3
The Anathematic gives me three quadrants, so I get my two points.
Top of 3 – Nomads
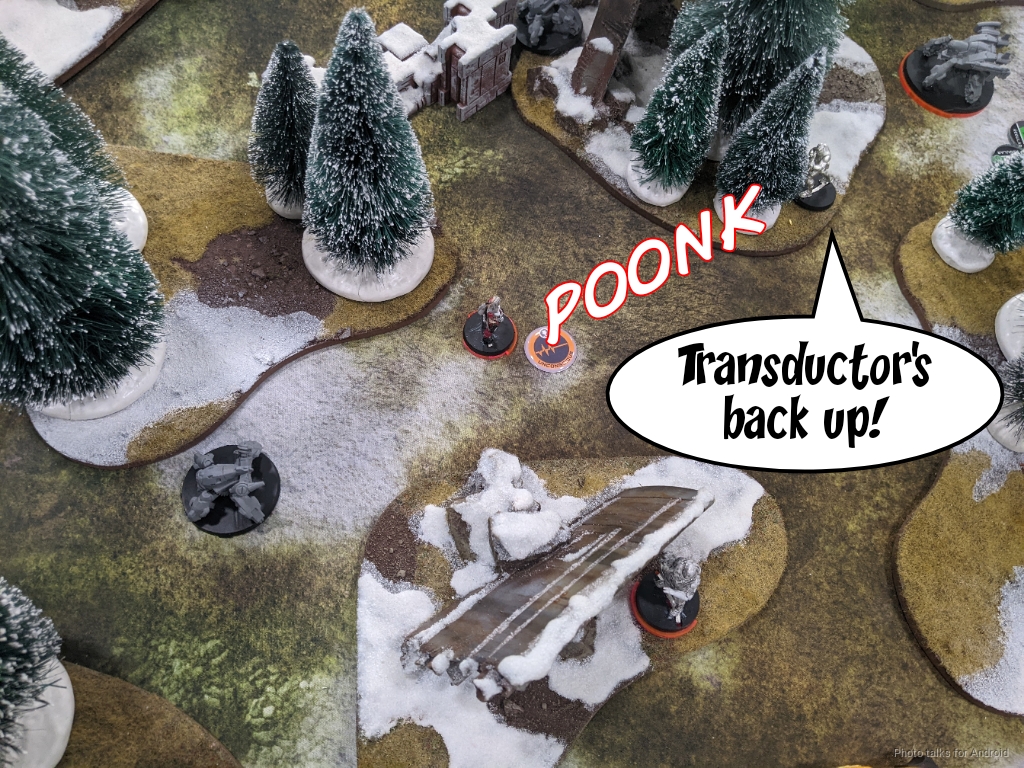
The Clockmaker picks the Transductor back up with a long bomb Gizmokit, giving Joel a much needed speedbump on my last turn.
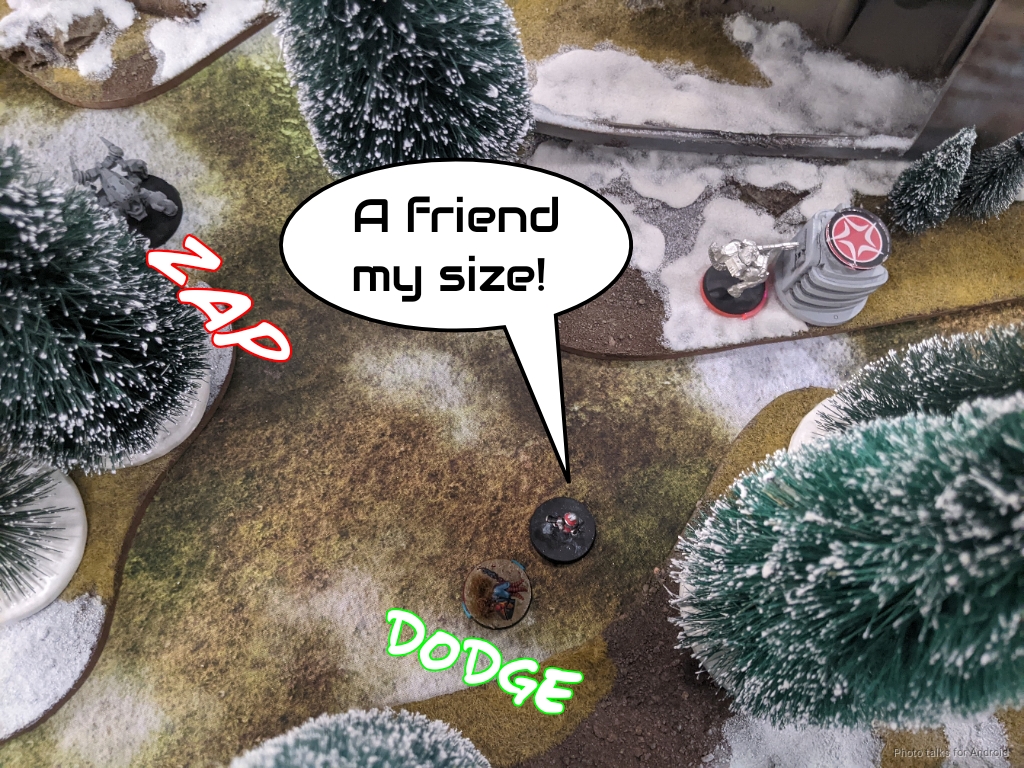
He then starts working on the various threats near his deployment zone. The Puppetmaster tries to take down my Taigha but gets plasma’ed by the Anathematic.
The Stempler challenges the Rindak, but I dodge to avoid the incoming shots.
The Moderator Lt comes around the corner and keeps forcing the issue, so I dodge up the plane wreckage to get out of LoF, and the Anathematic plasmas down the Moderator.
Bottom of 3 – Combined Army
At this point, all I need to do is secure the HVT and the zone. The Rindak drops the Stempler without issue.

I’m concerned that the EVO might dodge into the zone and contest the Rindak, so I just delete it through Mary’s pitcher via the Anathematic.
The Rindak flips the console he’s standing next to, secures the HVT, and that’s that. I have a few more orders left but we call it.
8-2, 250-16 Combined Army Victory!
Post Game Analysis
Well, first off, as I’m looking at this, I could’ve had an 10-1 victory just by reimpersonating the Greif after killing the Moran and then just leaving it. Then I can probably advance the Caliban or Rindak at the bottom of 1. 3 orders of Rindak pushing the left flank puts a fair amount of pressure on Joel especially since the Szalamandra can’t help really. In any case, 2 more objective points would have been a big deal for my tournament standings.
I think Joel was on the back foot at the start because he’d probably been practicing with the puppetbots out of coherency, and that was probably a big part of his planning for the mission. Having to spend 3-4 orders just landing smoke was also a pretty big deal. I think once that happens you just have to cede the board to me. Pushing the Puppetbots and hoping for good dodges against plasma is extremely risky. Sometimes risk pays off, it did take me a few order to deal with them, but I don’t think the gain there was necessarily worth it. Hiding your forces instead of advancing into the open is better in the long run in this case, I think.
I’m not very comfortable with the Uberfall play. The Chimera is a beast in close combat, it’s true, but she is unbelievably fragile against even a BS 10 combi rifle, as we discovered with the turret just taking her out. She relies entirely on careful placement to keep her safe in the reactive turn, and in the open is insufficient against the kind of death a vanilla combined list can apply.
I think stuff started to unravel because Joel pushed a ton of stuff in the midfield. It was a good distraction and cost me two points because of the distraction, but I don’t think losing all that material was worth it. Having Mary so far forward was also dangerous. She’s not a frontline fighter, and Nomads have sooooo many ways to project hacking that you can use another pitcher source or similar. There’s already Morans in the midfield as well.
I think there was definitely opportunity to advance the TAG as well and get it into the fight. All that had to happen was the Moran near the Greif steps back, shoots the repeater that I launched with Kiss, and then the TAG is free. I’m certainly not going to stop it with the Greif. Just walking the TAG into the nearest quadrant would have done a lot to shape the game as well.
I think there were just too many open lines of play and not enough orders for Joel to do everything he wanted to do. All of the ideas he had were good. Getting the puppetbots forward? Good. Uberfall threatening me and maybe CCing my toys? Good. TAG shooting stuff? Good. All at the same time with like 2 orders for each? Questionable.
The table obviously didn’t help. I have significantly more play time on that table than basically anyone else, so I know how to properly control my tempo on that table. If you’re not prepared for the table, you can end up in a situation where you try to move, end up not being able to, and are stuck in the middle being sad, which is exactly what happened. I don’t think the table affected things to the point that it was significantly different than what would have happened on a more “normal” table though, but it certainly didn’t help.
The other thing that I would say is that I think spending all those extra orders on the Morlock to get smoke down was perhaps a mistake. If you’re going to invest that much effort into landing smoke, you end up trapped in this mindset where you “have to use it.” Then you end up in a situation where you have puppetbots just standing around in the open. If the smoke doesn’t land with the impetuous and the irregular, you’d better be prepared to find a different solution.
I think this game is a good example of the difficulty in recognizing and overcoming the mindset of: “I have to X.” If something’s not working, it’s important to recognize that and then stop and try something else. Just hiding the puppet bots perserves the toolkit for later. You get me two points for taking 3 quadrants by not contesting them, but you have a pile of 2 wound boarding shotguns to clear me out.
And of course there’s the getting out of the Szlamandra play. I think it would have been much safer to just flip the console with any of the other specialists at hand. The EVO is also a hacker and can do that if you want the hacker bonus. Anyway, this game was pretty one sided by the time it got to the bottom of 2, and I’d like to thank Joel for his good attitude throughout. It’s not fun when that happens in any context, and I hope that this brief analysis was helpful, and that the game was a useful learning experience. Thanks for reading. On to game 3!


Pingback: The Third Player – MERC Recon
Pingback: If I Can’t No One Can – MERC Recon