Tatary Orthodoxy
Adam and I haven’t played a game in awhile so he kindly agreed to playtest Critical Mass with me:
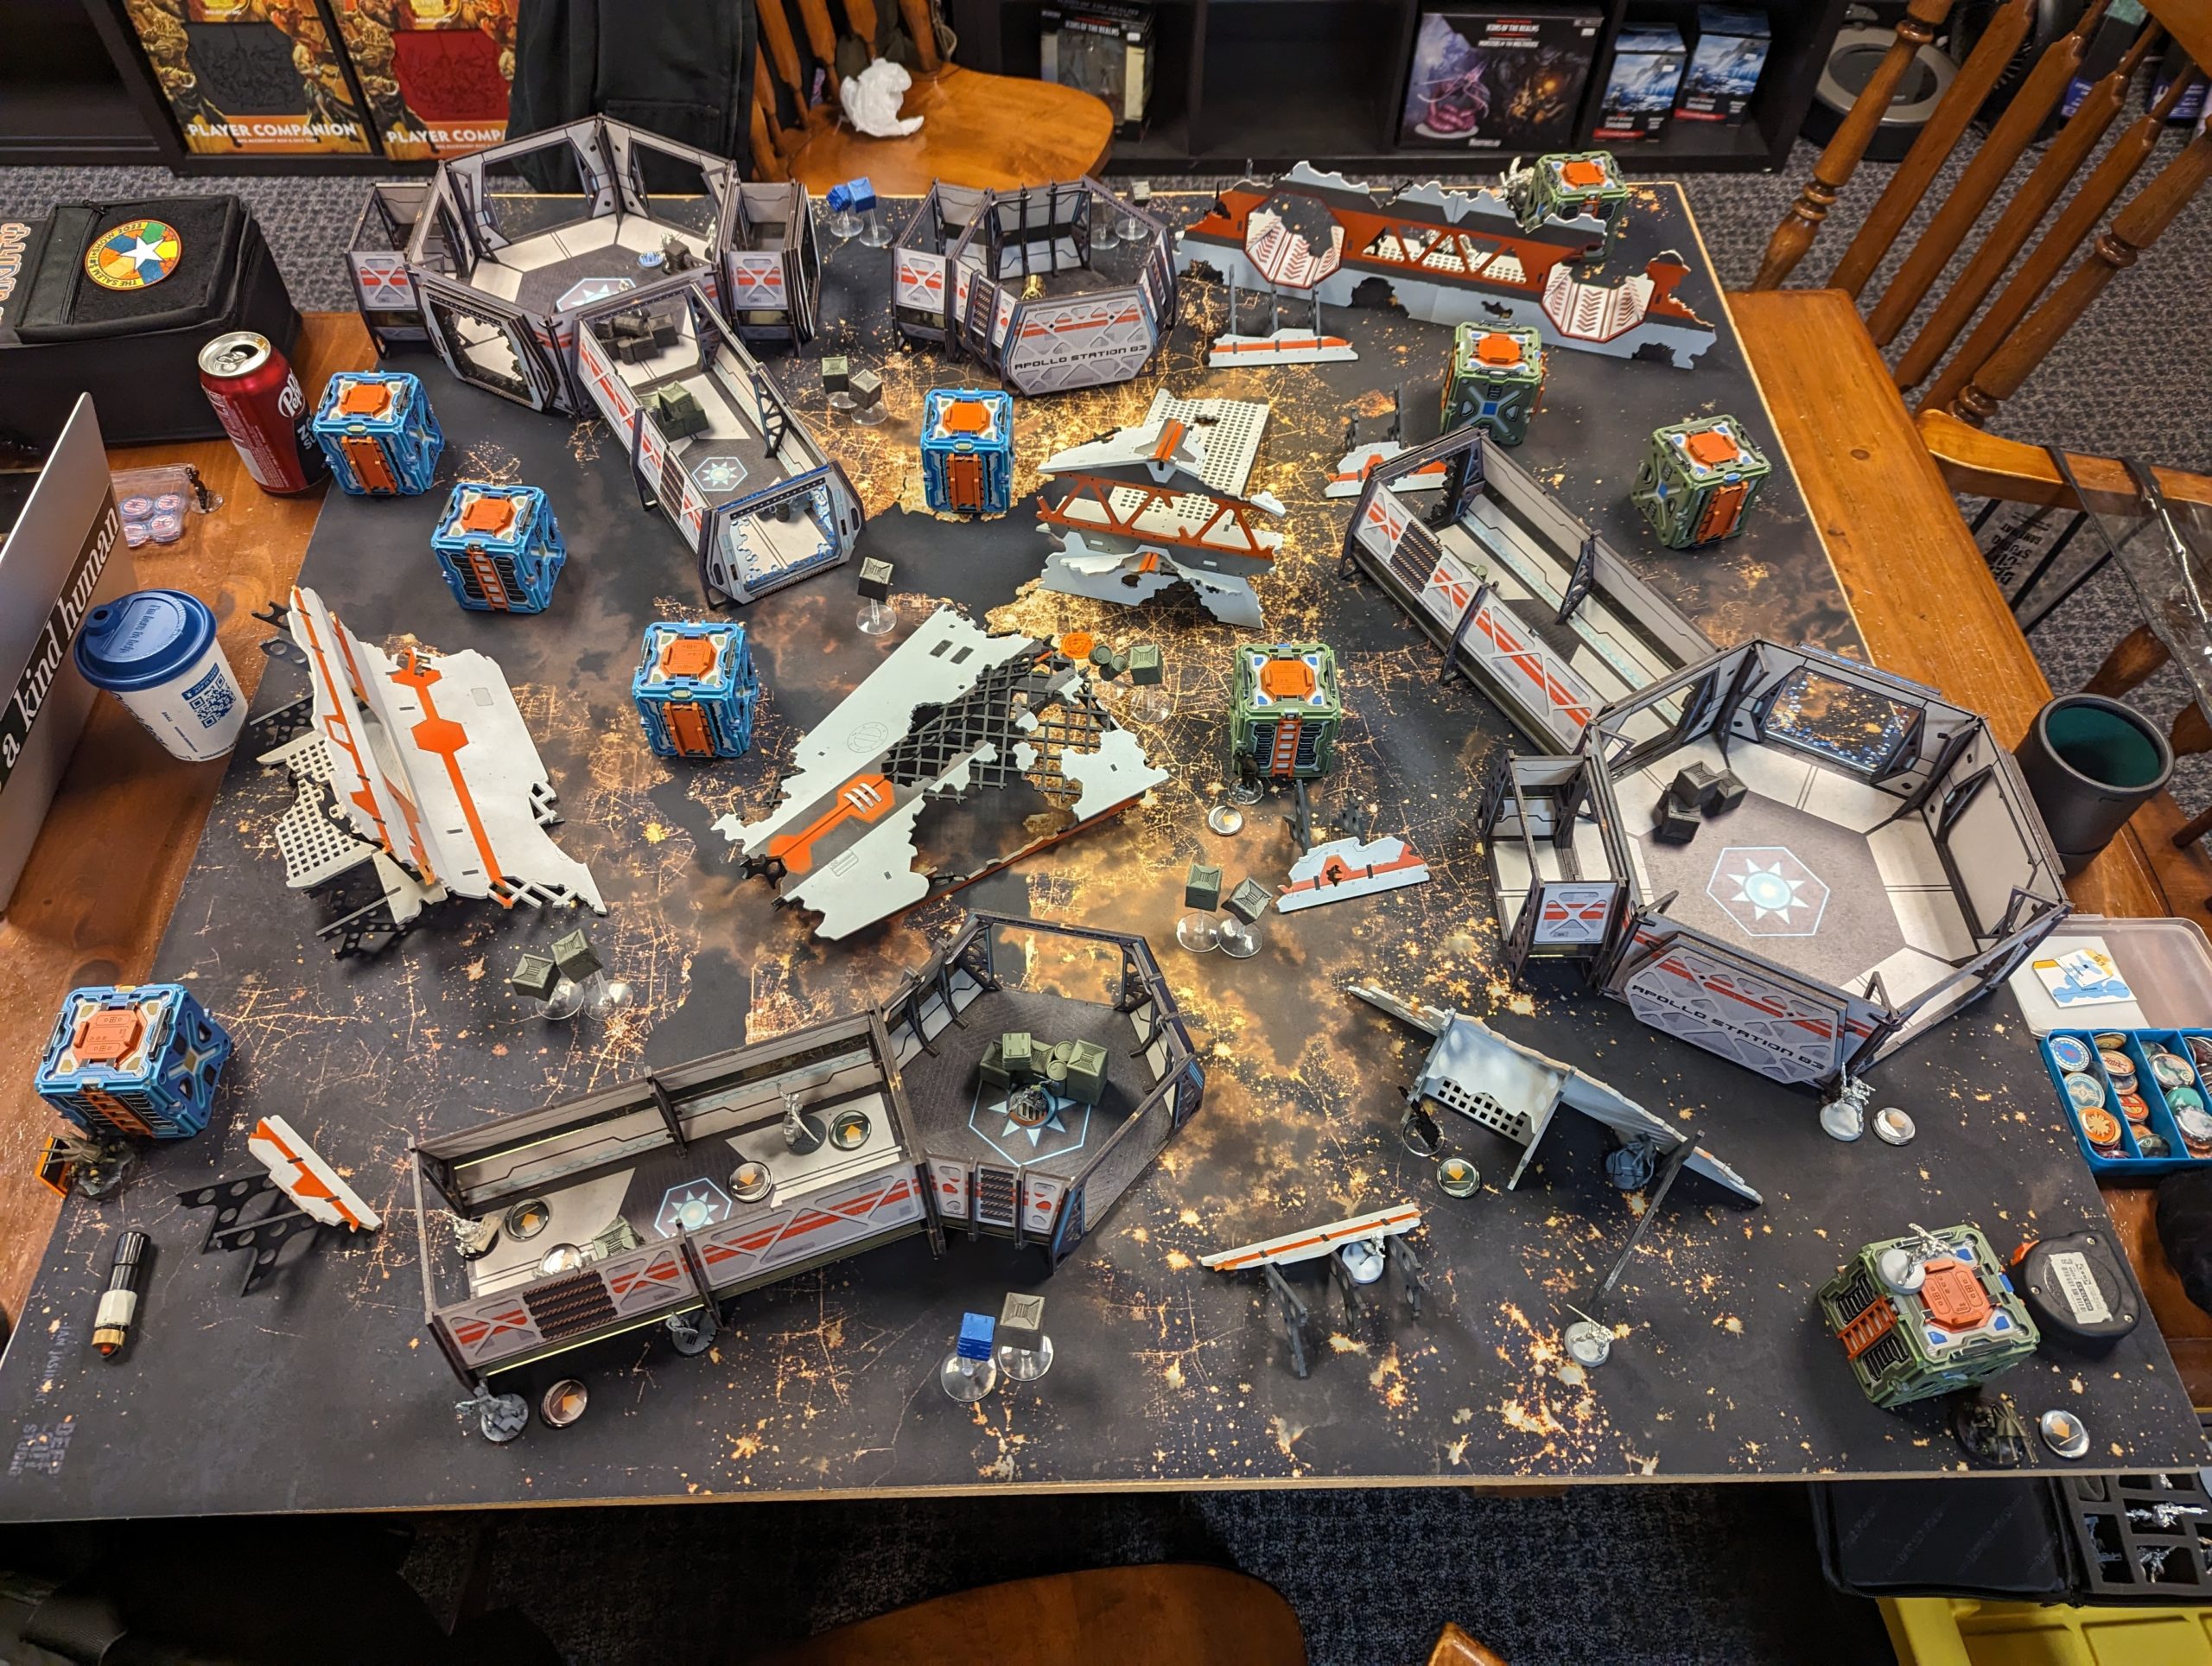
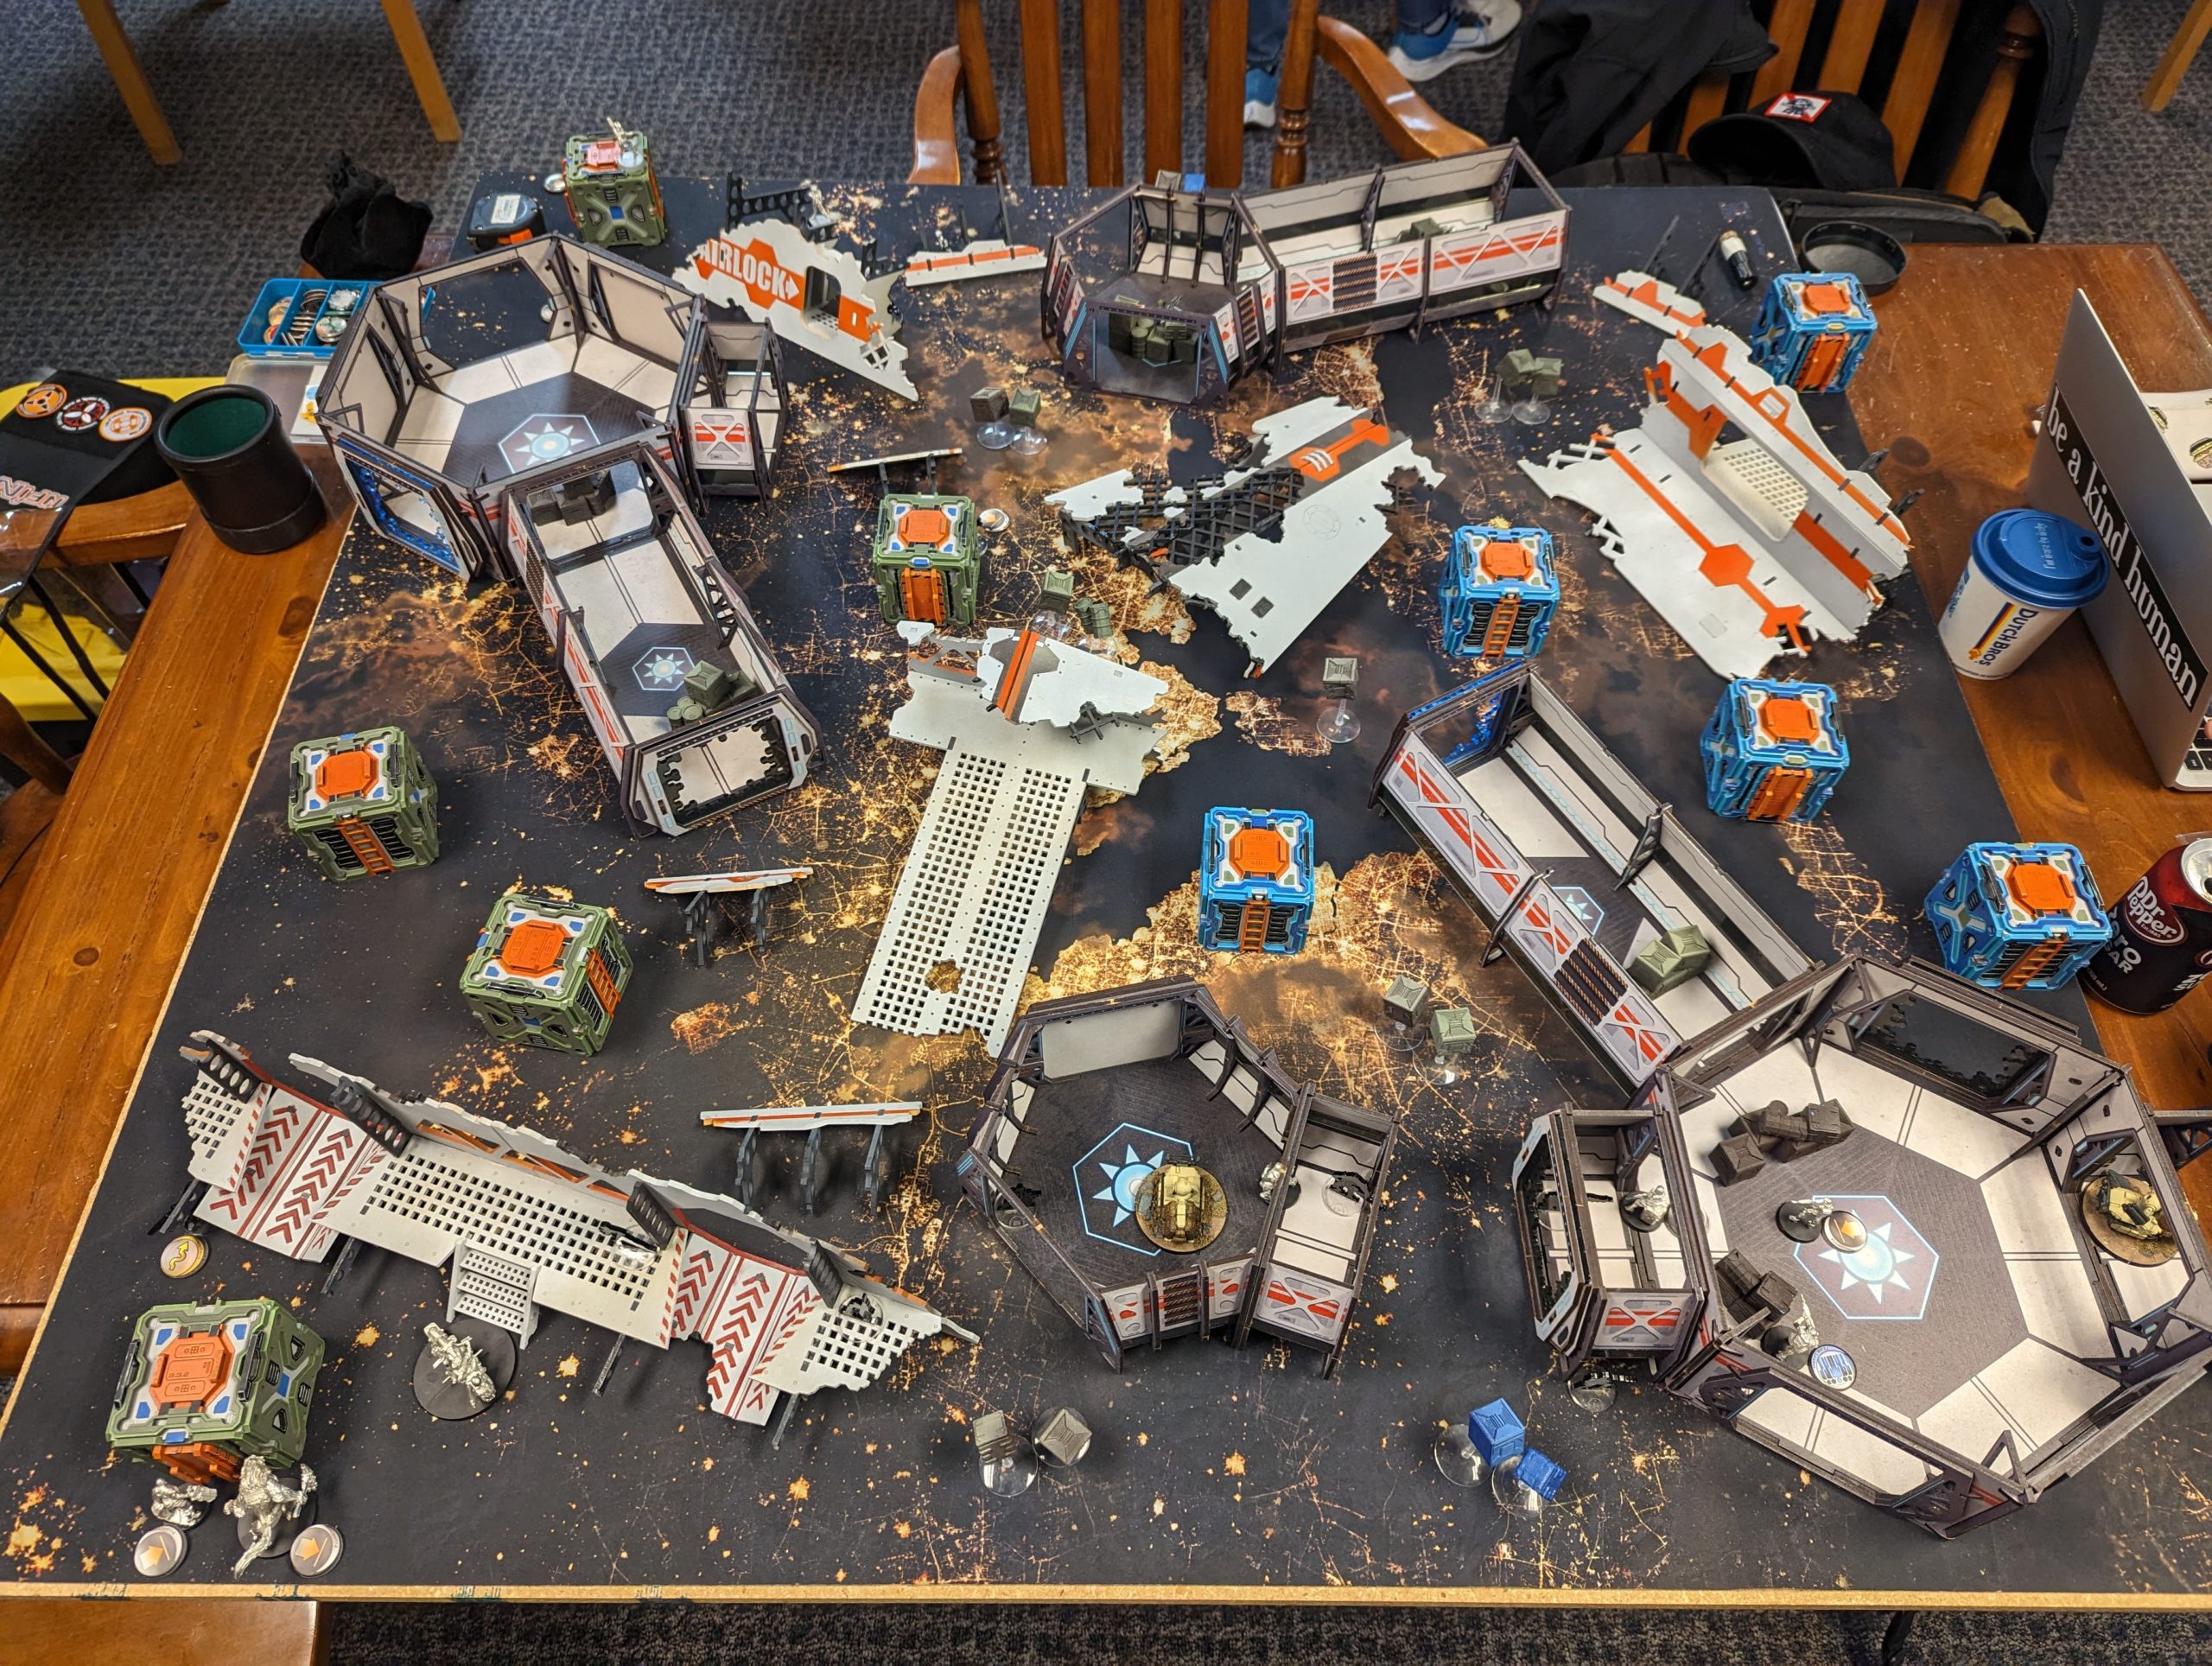
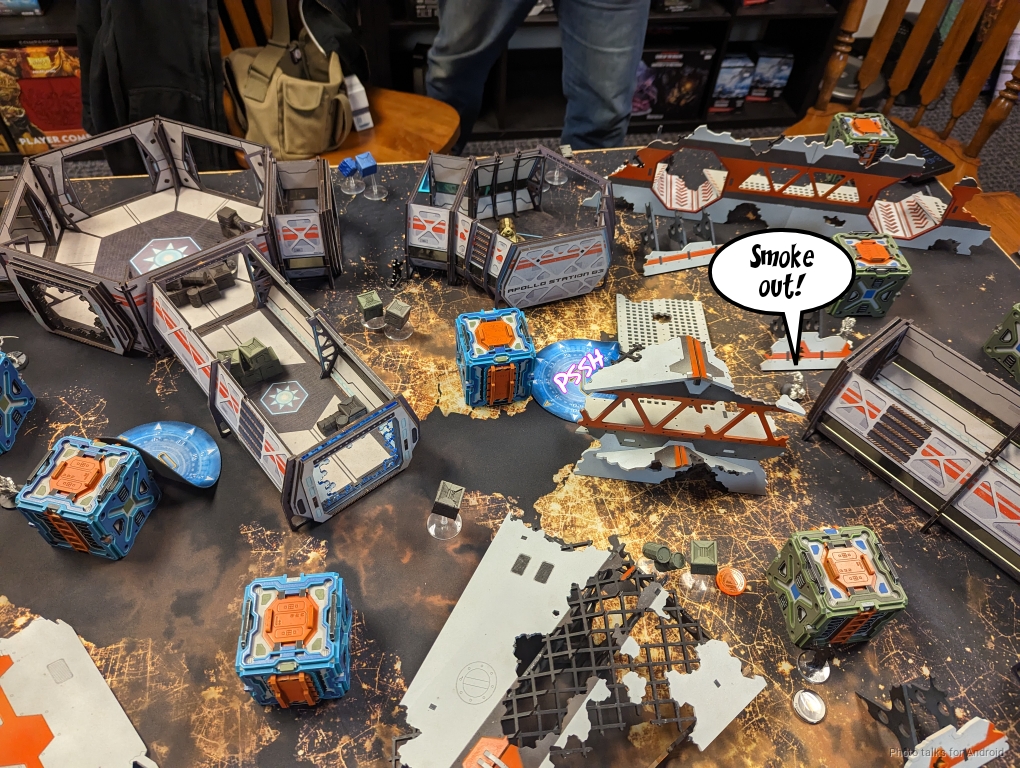
We’d both had a pretty rough day, so after I set up the space station table, Adam suggested we play without rooftops to simplify the game… this was actually very impactful as it really makes the terrain very cluttered and blocks a lot of LoF and ability to project power. We’ll see how as the game unfolds!
Overview
- Mission: Critical Mass
- Forces: Foreign Company versus Tartary Army Korps
- Deploy First: TAK
- First Turn: TAK
Here’s a copypasta of the mission description from the last writeup for your convenience:
We’re playing a custom mission that I developed off an idea that Obi (Nehemiah) and Pete (YueFei23) suggested. The mission has since evolved into what I think is a significantly better state, thanks to a key suggestion from James (RomanLegion), but this was our first ever test of it so I’ll give you the first draft’s rules.
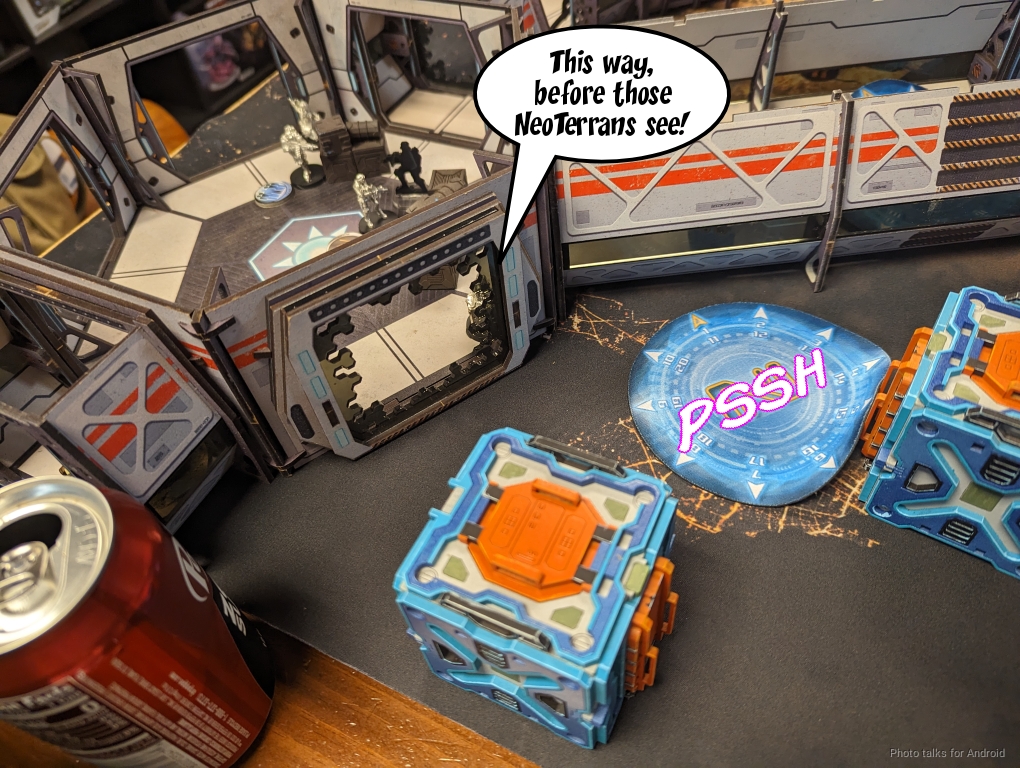
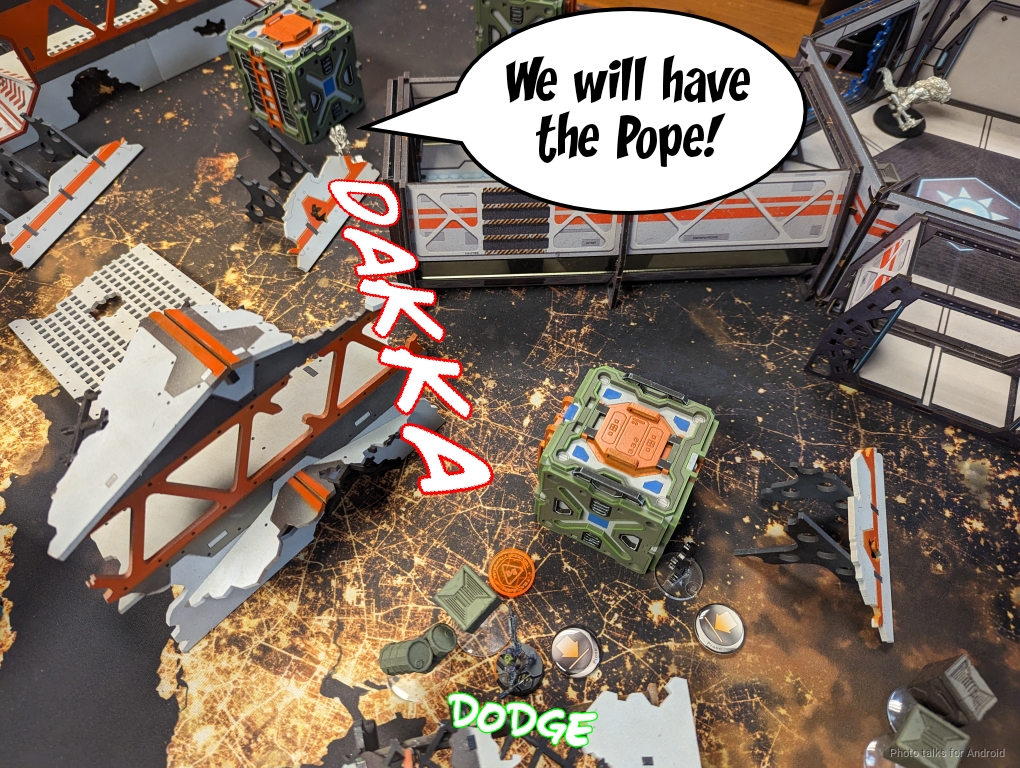
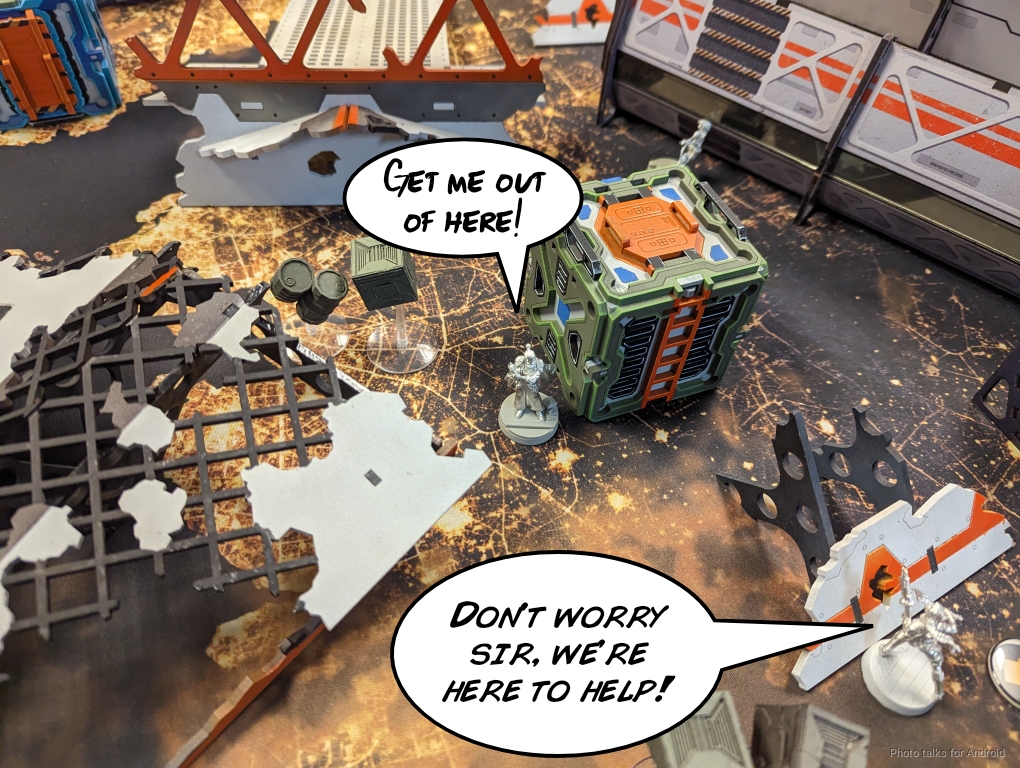
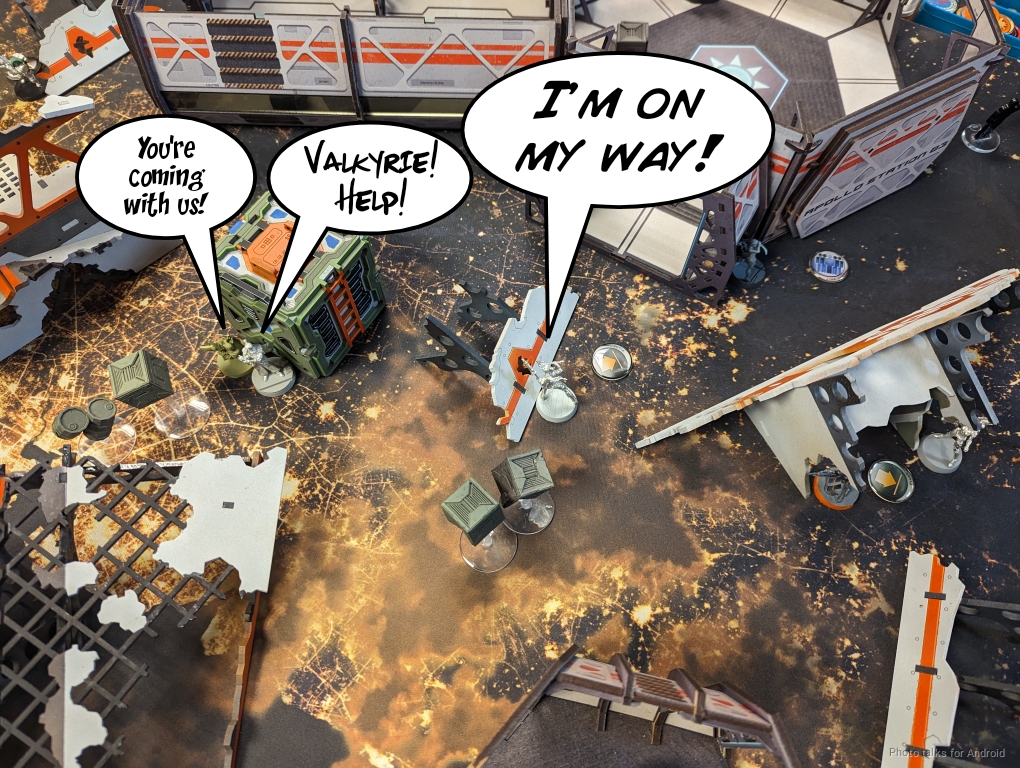
Here’s the gist: the head of the NeoVatican, aka the SPACEPOPE has been ejected from Shephard One, his air/space craft and his escape pod is about to land in a demilitarized zone. Both sides guarding the zone are scrambling to retrieve the SPACEPOPE, but have had very little warning, so Biotechvore deployment is in effect. In other words, 8″ deployment zones and Confused Deployment (everything outside the DZ takes PH -3 to deploy). To be clear, there is no Biotechvore zone, so you’re not taking damage.
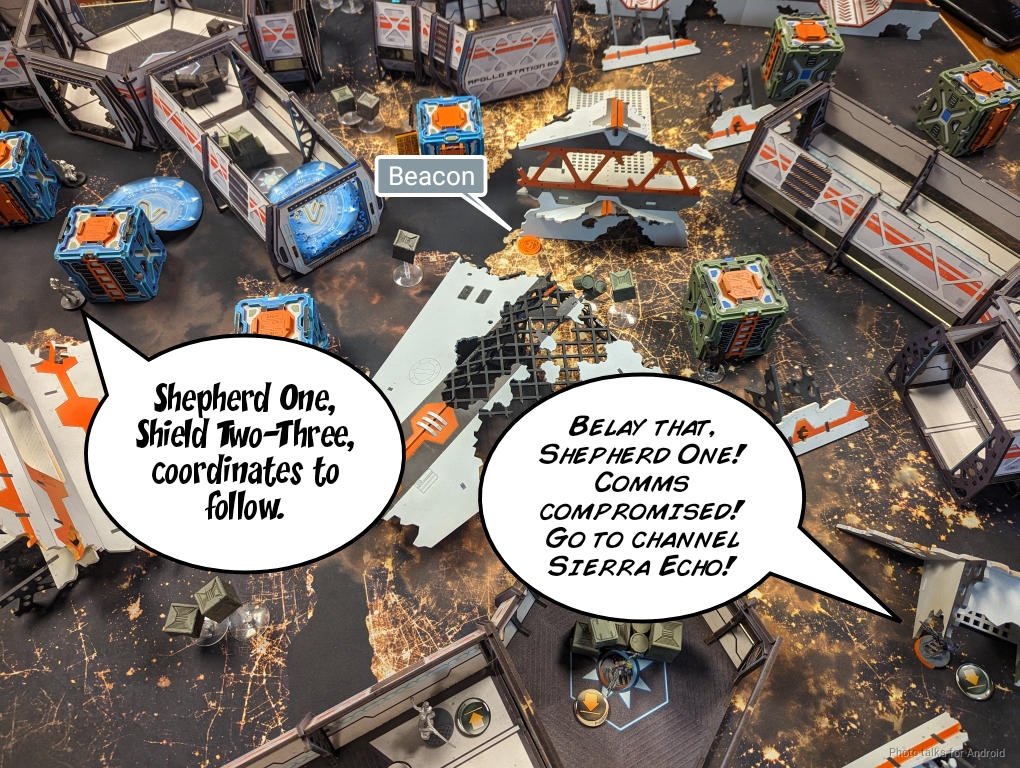
For the first two turns, you’re scrambling to secure a 25mm beacon representing the exact position the SPACEPOPE will occupy at the top of turn 3 when they land. The way you do that is by securing the quadrant (same as in Quadrant Control) that the beacon is in. Securing the beacon quadrant on Turn 1 gets you 2 points, then 3 points on Turn 2.
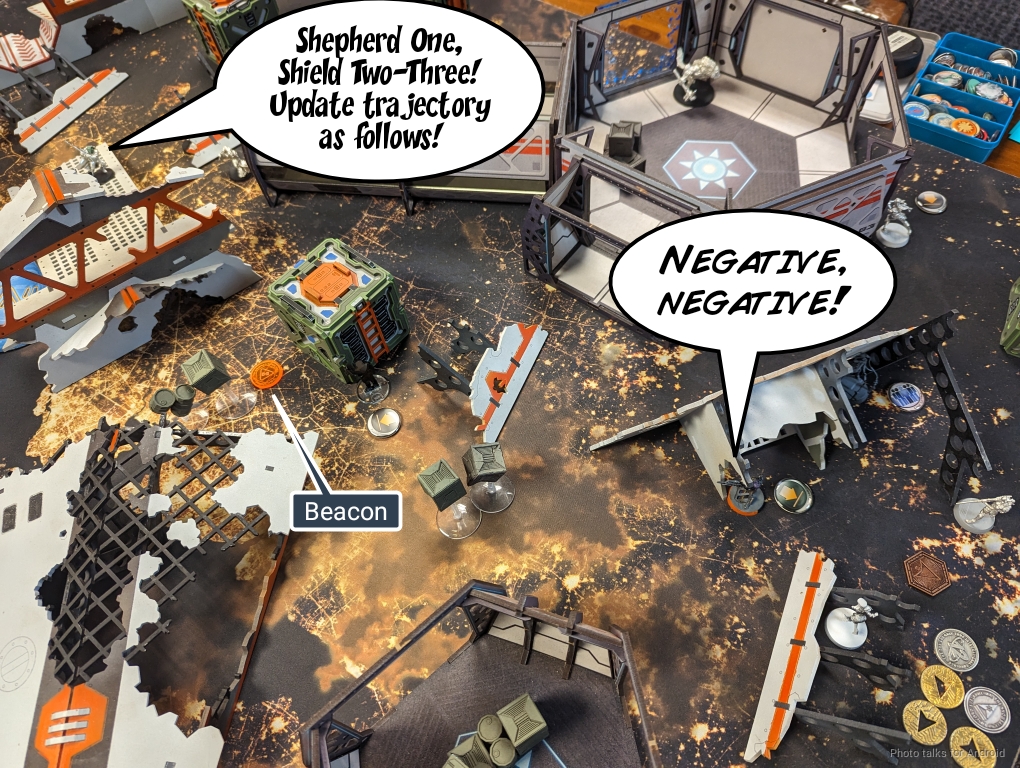
Once the SPACEPOPE shows up, you just gotta CivEvac them (2 points) to your deployment zone (2 more points). There’s one classified in this early version. However, the beacon starts in the direct center of the board, which means it’s not in any quadrant! To address this, the mission allows you to move the beacon with a successful Forward Observe or Spotlight roll, obeying the normal rules for those abilities in the active turn.
However, your opponent can make this a face to face by also declaring Spotlight or Forward Observe. They don’t need to ARO the active model, they just need to either see the beacon as you attempt to move it or have it in their hacking area. This still gives the active turn burst bonus to Forward Observe. Furthermore, it gives you incentive to use Forward Observe over Spotlight due to the burst 2.
If the active player succeeds in their roll (or wins the face to face), they may move the beacon as if it’s a prone trooper up to 2″. If they fail or lose the face to face, nothing happens and the order is expended. This is to represent the two forces frantically trying to vie for control of the beacon by sending conflicting telemetry to Shepherd One.
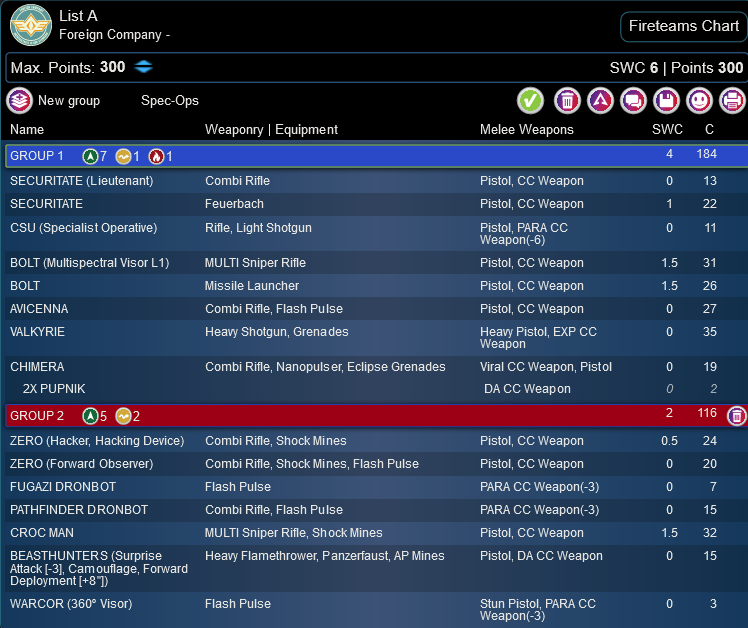
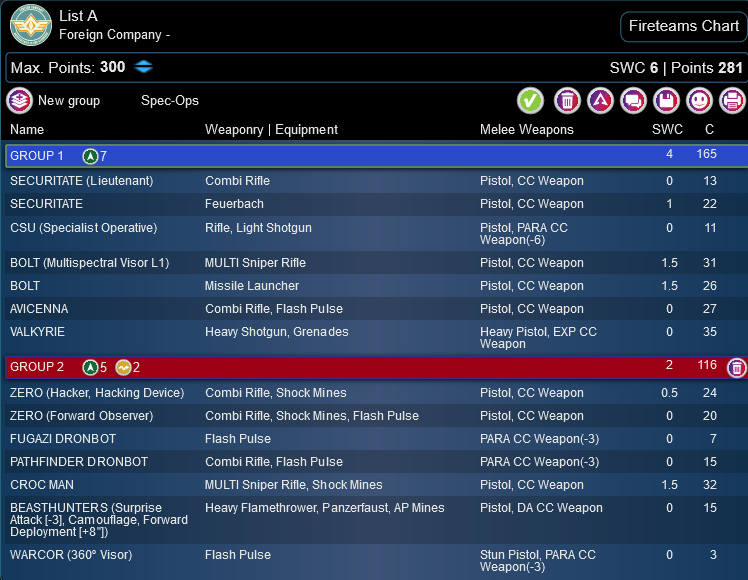
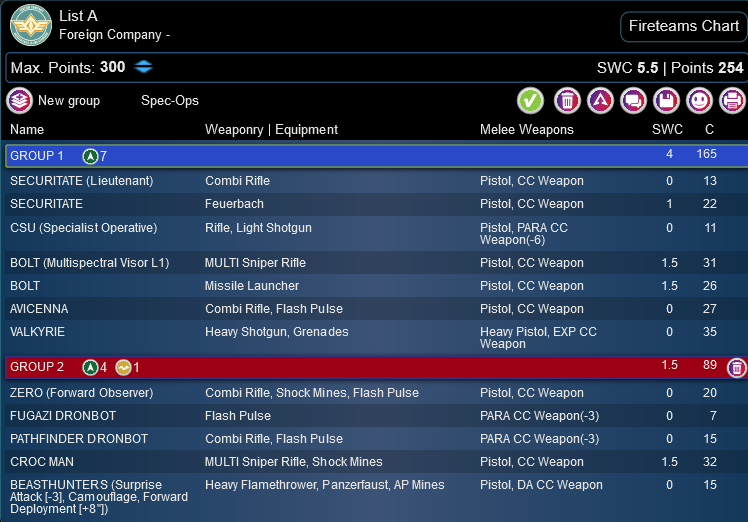
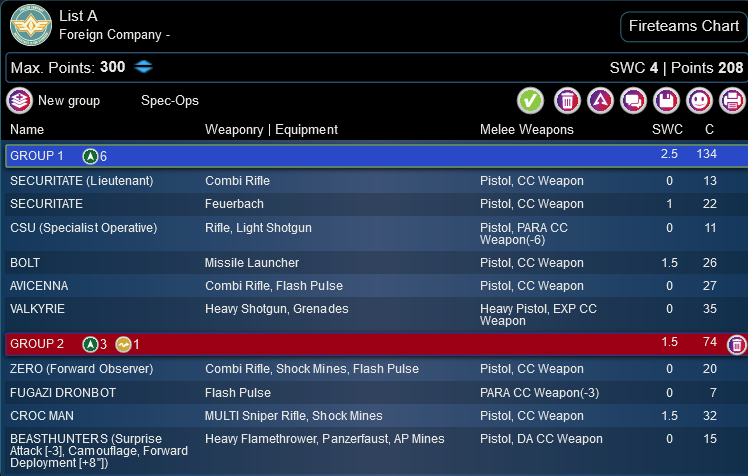
Worth noting that we decided to disallow Secure the HVT, as it was very silly. After the last game, I decided to change up the list a little bit. I dropped the Akali for a Beasthunter and swapped the Croc Man FO to a MSR, figuring I wanted some additional ARO presence or an attack vector.
List A
GROUP 1
7
1
1
SECURITATE (Lieutenant) Combi Rifle / Pistol, CC Weapon. (0 | 13)
CSU (Specialist Operative) Rifle, Light Shotgun / Pistol, PARA CC Weapon(-6). (0 | 11)
BOLT (Multispectral Visor L1) MULTI Sniper Rifle ( ) / Pistol, CC Weapon. (1.5 | 31)
AVICENNA Combi Rifle, Flash Pulse / Pistol, CC Weapon. (0 | 27)
VALKYRIE Heavy Shotgun, Grenades / Heavy Pistol, EXP CC Weapon. (0 | 35)
GROUP 2
CHIMERA Combi Rifle, Nanopulser, Eclipse Grenades / Viral CC Weapon, Pistol. (0 | 19)
2X PUPNIK DA CC Weapon. (0 | 2)
ZERO (Hacker, Hacking Device) Combi Rifle, Shock Mines ( ) / Pistol, CC Weapon. (0.5 | 24)
FUGAZI DRONBOT Flash Pulse / PARA CC Weapon(-3). (0 | 7)
PATHFINDER DRONBOT Combi Rifle, Flash Pulse / PARA CC Weapon(-3). (0 | 15)
CROC MAN MULTI Sniper Rifle, Shock Mines / Pistol, CC Weapon. (1.5 | 32)
BEASTHUNTERS (Surprise Attack [-3], Camouflage, Forward Deployment [+8″]) Heavy Flamethrower, Panzerfaust, AP Mines / Pistol, DA CC Weapon. (0 | 15)
WARCOR (360º Visor) Flash Pulse ( ) / Stun Pistol, PARA CC Weapon(-3). (0 | 3)
6 SWC | 300 Points | Open in Army | Copy Code
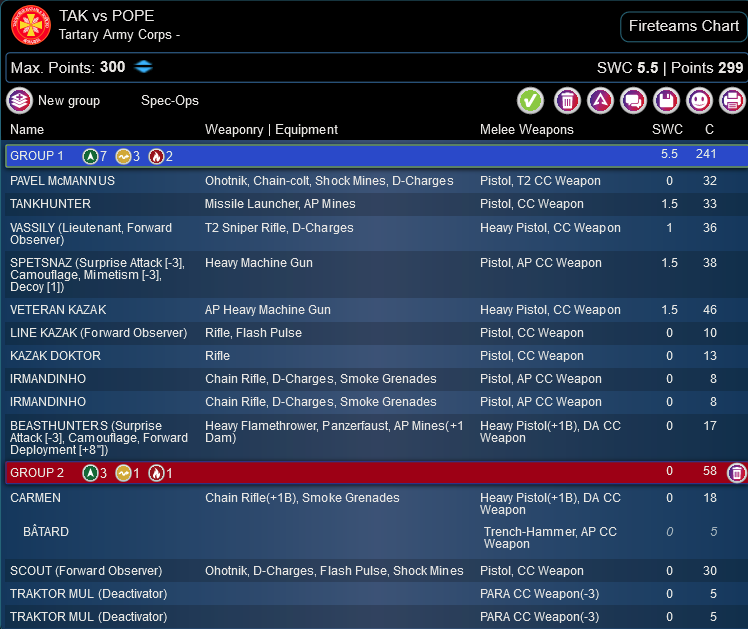
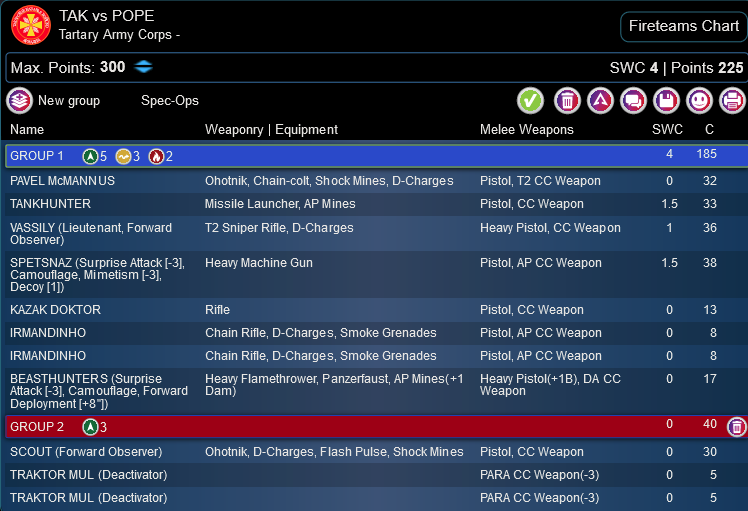
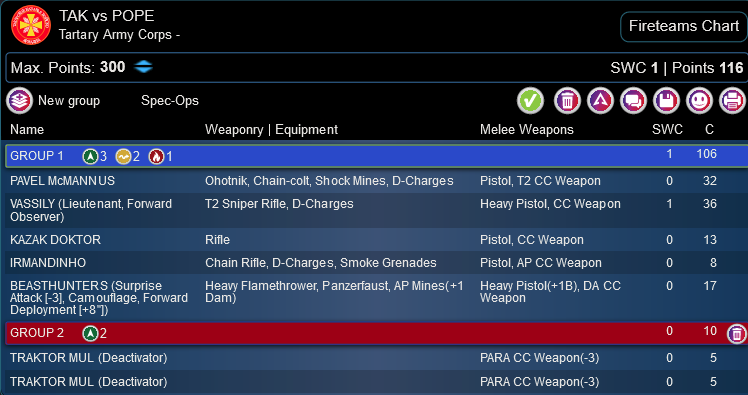
Adam’s playing TAK, having built the the army for the… 4th? time after selling it several times? What a glutton for punishment! Anyway, he’s playing it link light, which I definitely approve of, with the link being a Kazak doctor, a Line Kazak FO, and the Vet Kazak HMG. He’s got a really ridiculous amount of death packed into the list too, just all the heavy weapons.
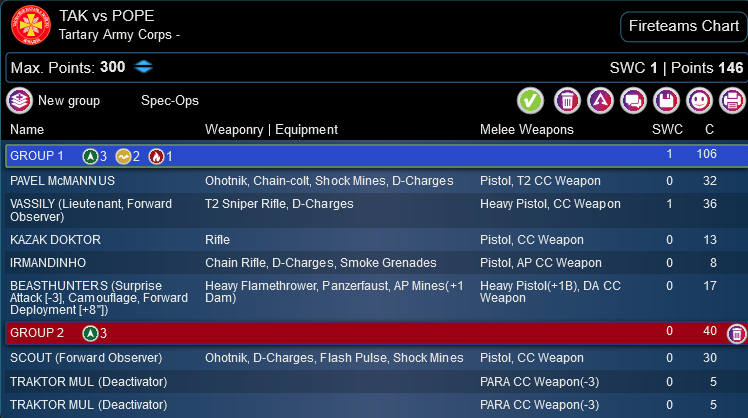
TAK vs POPE
GROUP 1
PAVEL McMANNUS Ohotnik, Chain-colt, Shock Mines, D-Charges / Pistol, T2 CC Weapon. (0 | 32)
TANKHUNTER Missile Launcher, AP Mines / Pistol, CC Weapon. (1.5 | 33)
VASSILY (Lieutenant, Forward Observer) T2 Sniper Rifle, D-Charges / Heavy Pistol, CC Weapon. (1 | 36)
SPETSNAZ (Surprise Attack [-3], Camouflage, Mimetism [-3], Decoy [1]) Heavy Machine Gun / Pistol, AP CC Weapon. (1.5 | 38)
VETERAN KAZAK AP Heavy Machine Gun / Heavy Pistol, CC Weapon. (1.5 | 46)
LINE KAZAK (Forward Observer) Rifle, Flash Pulse / Pistol, CC Weapon. (0 | 10)
KAZAK DOKTOR Rifle / Pistol, CC Weapon. (0 | 13)
GROUP 2
IRMANDINHO Chain Rifle, D-Charges, Smoke Grenades / Pistol, AP CC Weapon. (0 | 8)
CARMEN Chain Rifle(+1B), Smoke Grenades / Heavy Pistol(+1B), DA CC Weapon. (0 | 18)
BÂTARD Trench-Hammer, AP CC Weapon. (0 | 5)
SCOUT (Forward Observer) Ohotnik, D-Charges, Flash Pulse, Shock Mines / Pistol, CC Weapon. (0 | 30)
TRAKTOR MUL (Deactivator) ( ) / PARA CC Weapon(-3). (0 | 5)
5.5 SWC | 299 Points | Open in Army | Copy Code
One thing that I find Adam does often is to do a 10-4 combat group split. This would prove to be a big deal, as Carmen and more importantly the Scout FO ended up without much in the way of orders on turn 1.
Deployment
I won the rolloff and chose side, so Adam decided to go first. This was perfect, as then I would get to see how the mission performed going second as opposed to first, like my first playtest game. One thing that Adam noticed immediately was that without the rooftops, he was completely unable to see the beacon. I offered him the opportunity to adjust the terrain, but Adam is a big proponent of playing it as it lies, so he declined.
8″ deployment doesn’t often lend itself to very coherent deployment strategies unless you’ve thought about it carefully. Adam had a fair amount of issues with the deployment zone, primarily that he couldn’t use many of his long range and heavy hitting tools without access to the rooftops. Some of the deployment was easy–he just stuck the Tractor Muls inside buildings to be safe, and then put Carmen and Batard on the left to have a straight shot up the left flank.
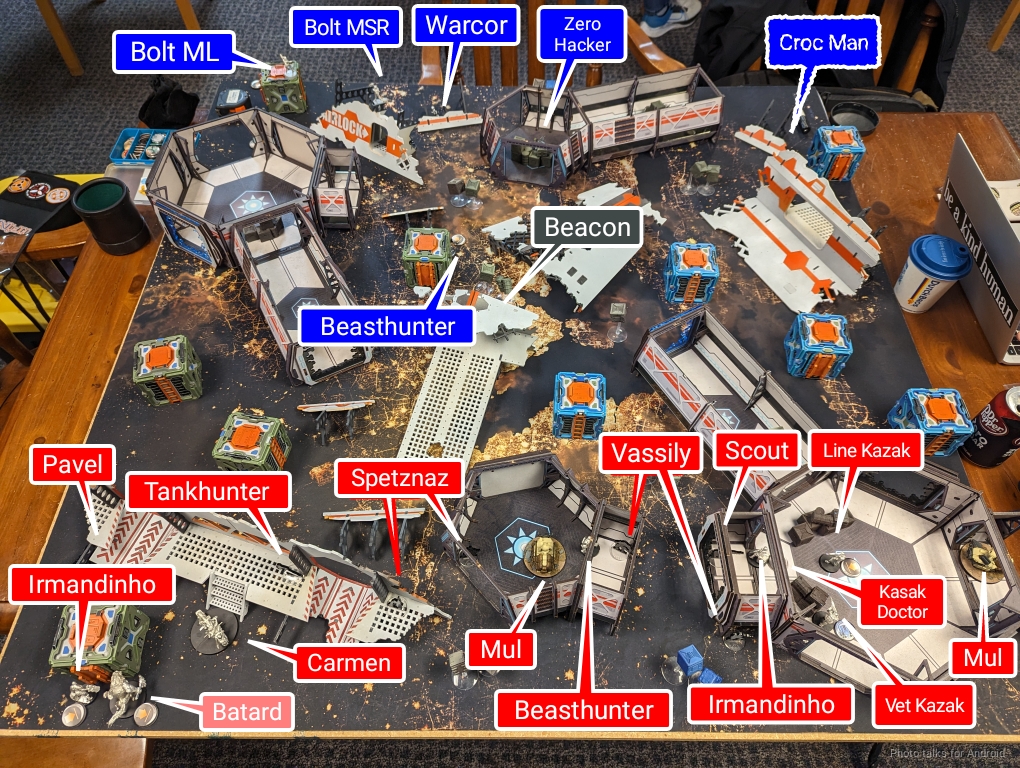
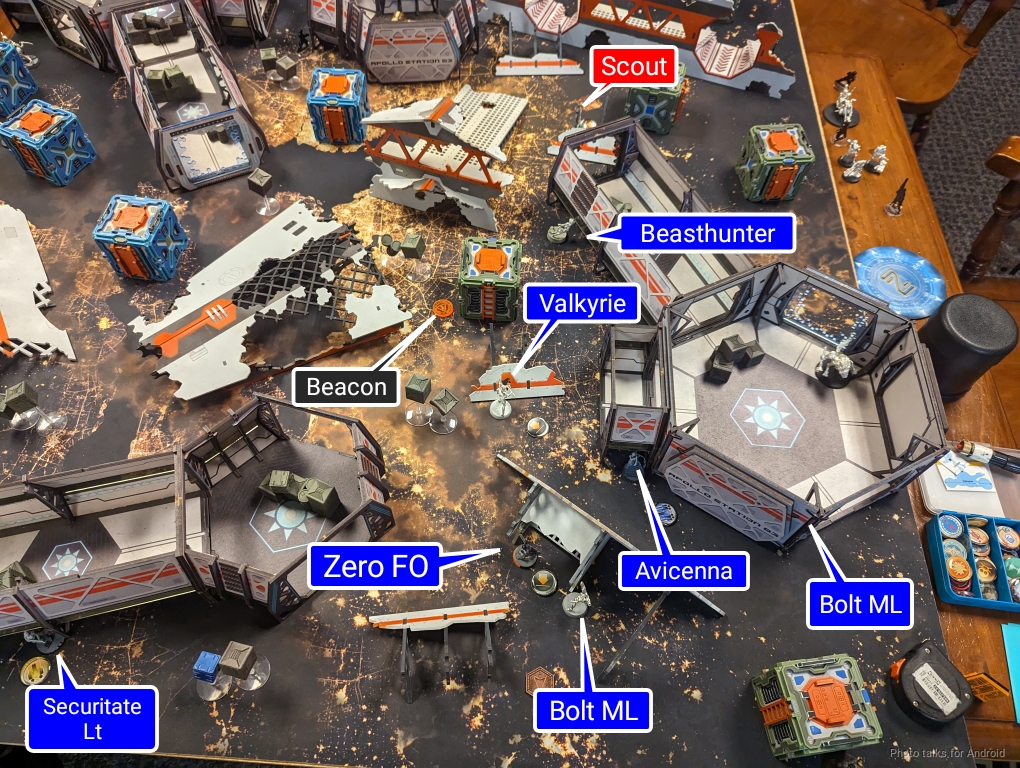
His two Irmandinhos went on either side of the table, and then he clustered his guns in the middle of the table with the link on the right. I think he held the Scout in reserve, and failed an infiltration roll for Confused Deployment with the Beasthunter. I castled up my Bolts on the right with a direct line of fire to the Beacon, and put the Bolt ML on a box to have good coverage of most of the table.
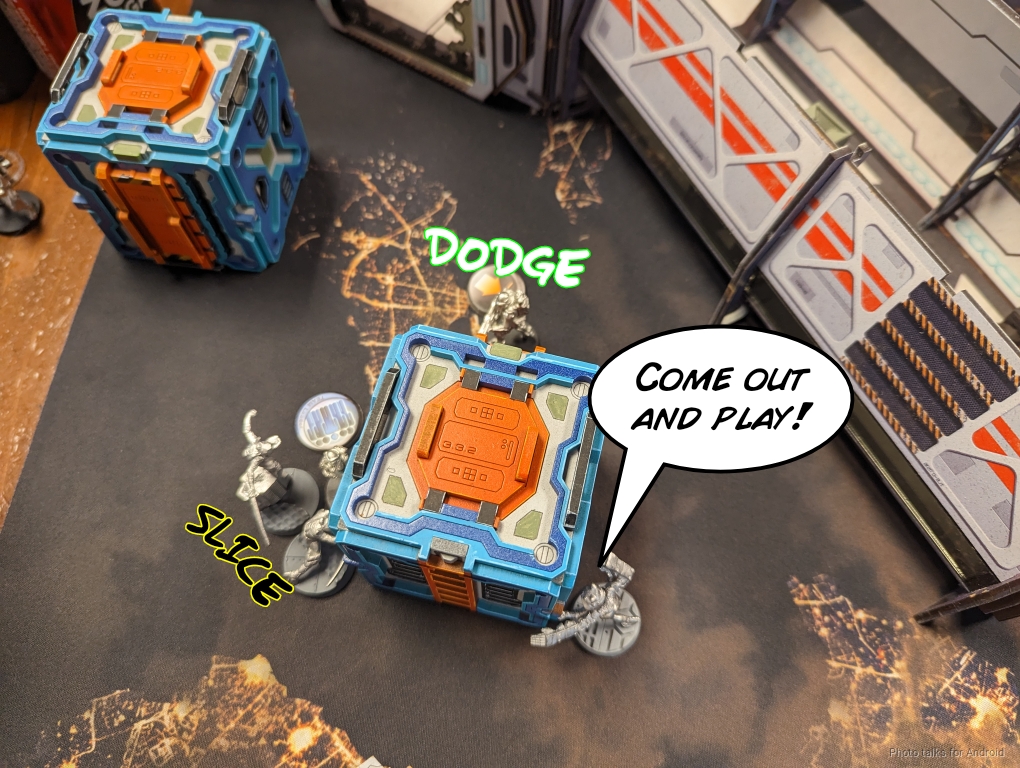
I knew Adam would try to get Carmen in there to deal with the link, so I put Valkyrie on the corner to fight that, and put the Croc Man in a position where it could shoot into the building as Carmen rolled in. I attempted to land the Zero Hacker on the beacon and failed, deploying in a spot where it could rush forward easily, and then set up the other Zero watching the beacon with Bolt MSR backup.
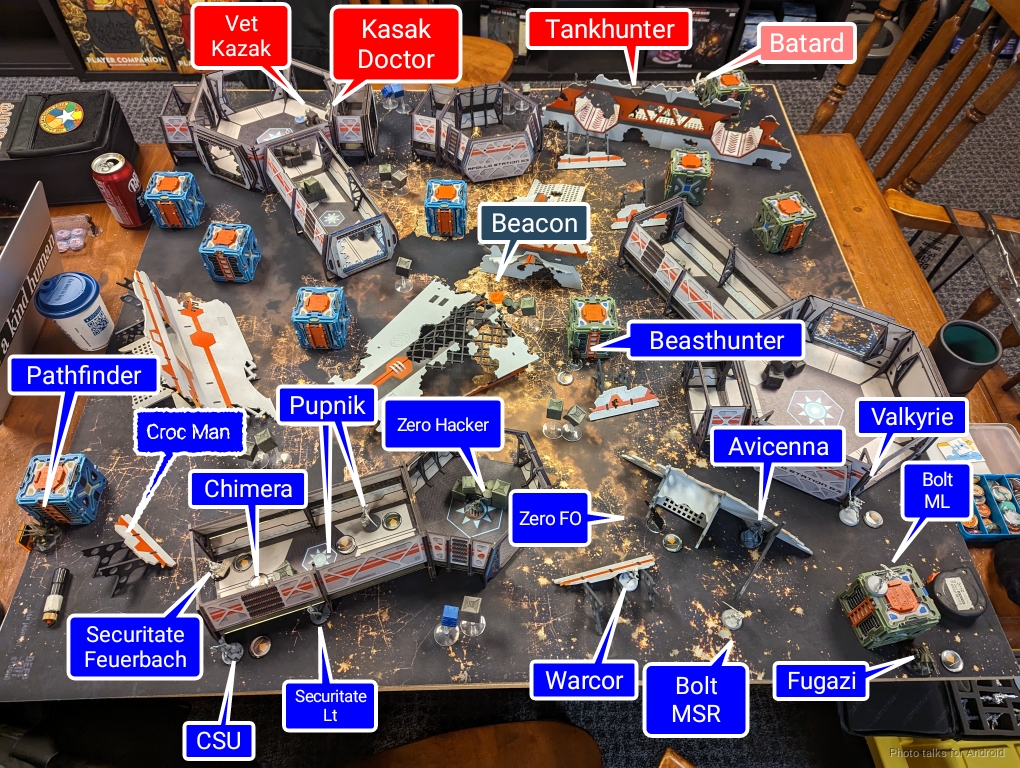
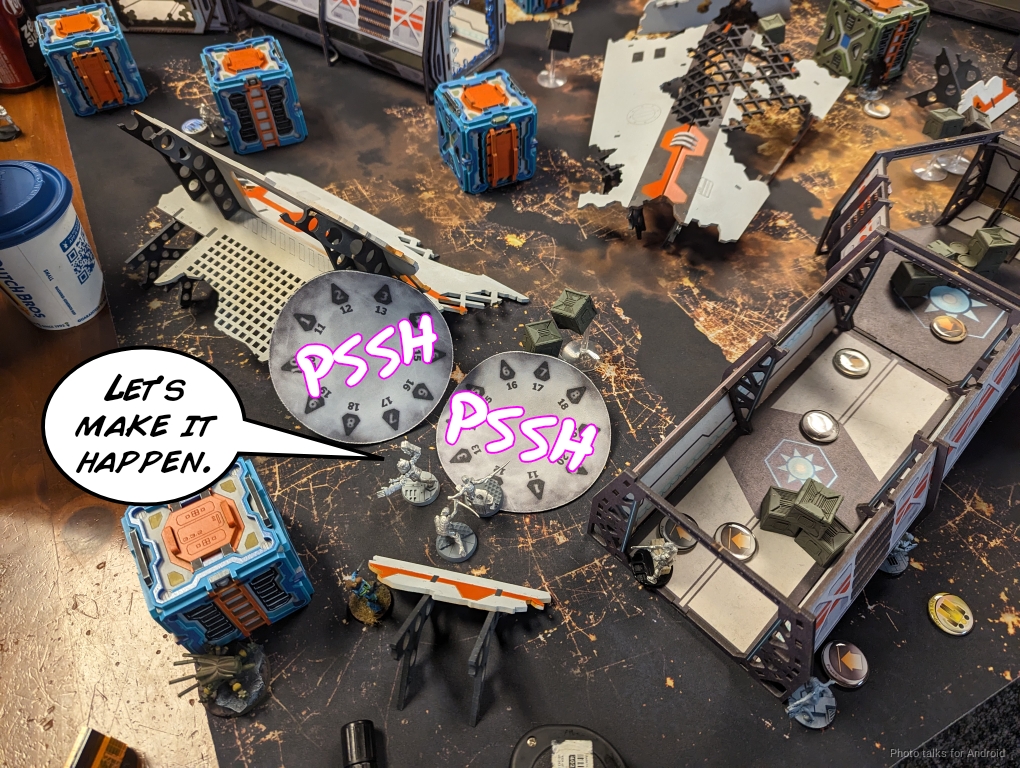
I’m worried about Spetznaz, so I setup the Securitate to defend the left table edge and the Chimera as well, and put the Pathfinder all the way on the left to give me another attack vector. The Warcor is out to ARO the world, and I held the Beasthunter in reserve. Adam puts down his Scout, and I then make the roll for the Beasthunter, parked right on top of the Beacon (or at least as far as FD 8″ would let me be).
Turn 1
Top of 1 – TAK
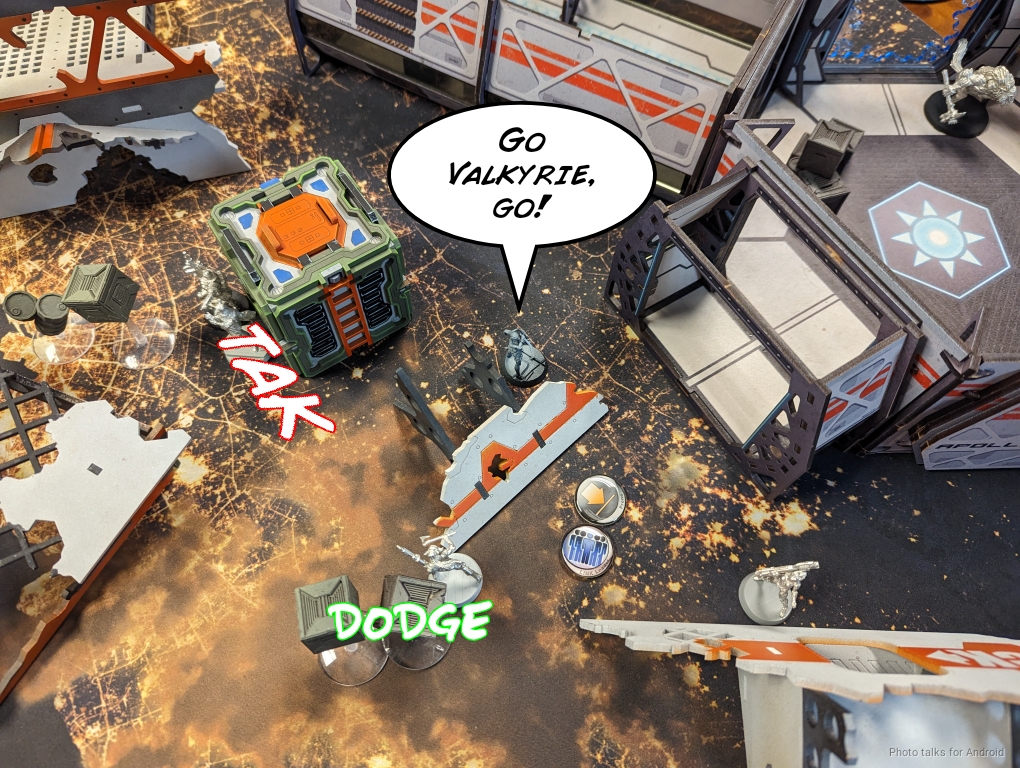
Adam tells me that Carmen is in group two with 3 regular, 1 irregular, and one impetuous. She also rolled +4 ARM! I immediately dock two orders from that pool. This has the effect of either a) forcing Adam to develop Carmen into the midfield, which will let me kill her with Valkyrie, or b) over-extend Carmen and let me take her out with the Croc Man. She won’t have enough orders to smoke effectively, and I know Adam will want to land a juicy chain rifle on the Bolt ML and Valkyrie. In some sense, he has to, because the Bolt ML is watching so much of the board.
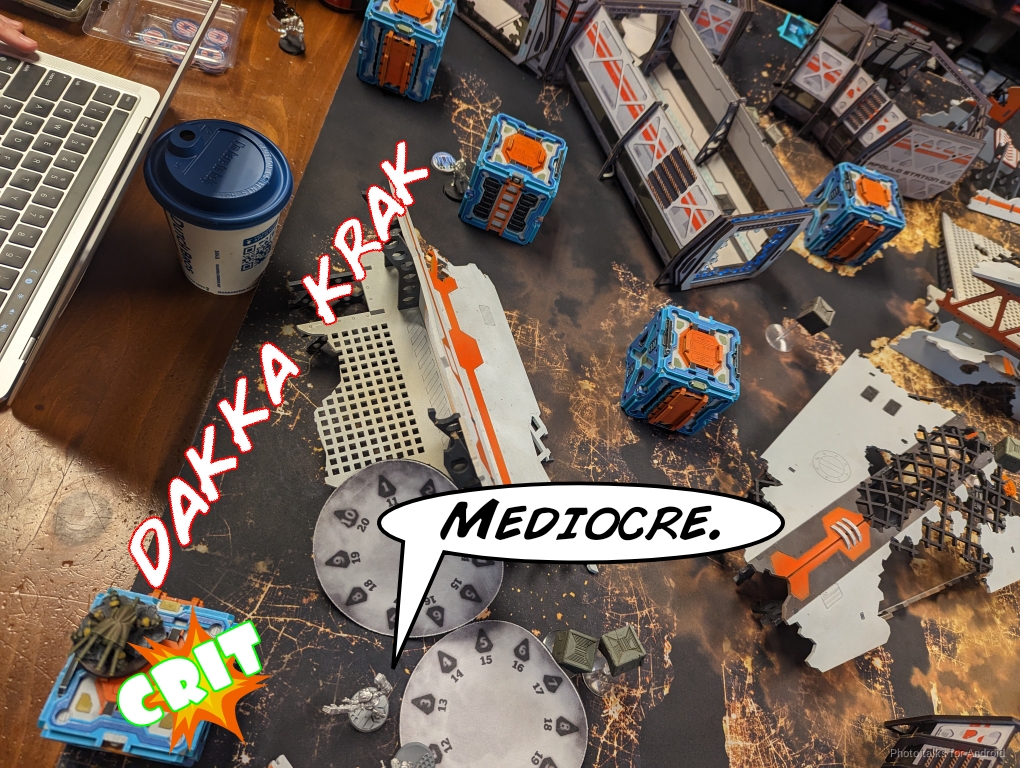
As expected, Adam rockets Carmen forward and sets up a chain rifle shot, backing it up with a Trench-Hammer throw by Batard at long range. I contest this by just dodging with Valkyrie and the Bolt ML, flash pulsing Carmen with the Fugazi for good measure. I also reveal the Croc Man and fire on Carmen.
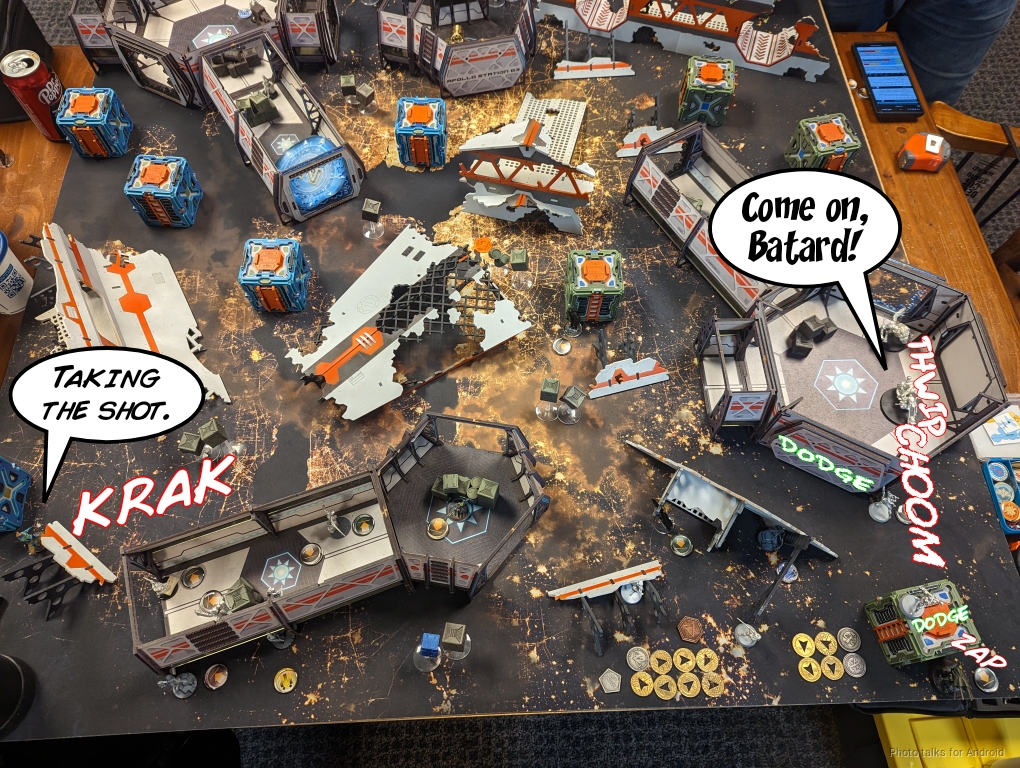
Carmen goes dogged thanks to the Croc Man’s shot, gets flash pulsed, and both the Bolt ML and Valkyrie make their dodges easily. Couldn’t have asked for a better outcome, that’s exactly what I wanted. Set up some bait, then spring the trap. It was quite unlikely that I would lose both Valkyrie and the Bolt ML, meaning my 3-strong link bonus would still be up, and Avicenna can possibly fix everything.
Now that I’ve handled Carmen, Adam needs to get creative. He decides to focus on the objective, and sets up smoke to block the Bolt ML from seeing the Vet Kazak link.
The link advances and the Line Kazak FO fights my Zero FO for control of the beacon, moving it once back towards Adam and out of LoF of my Zero FO.
Bottom of 1 – ForCo
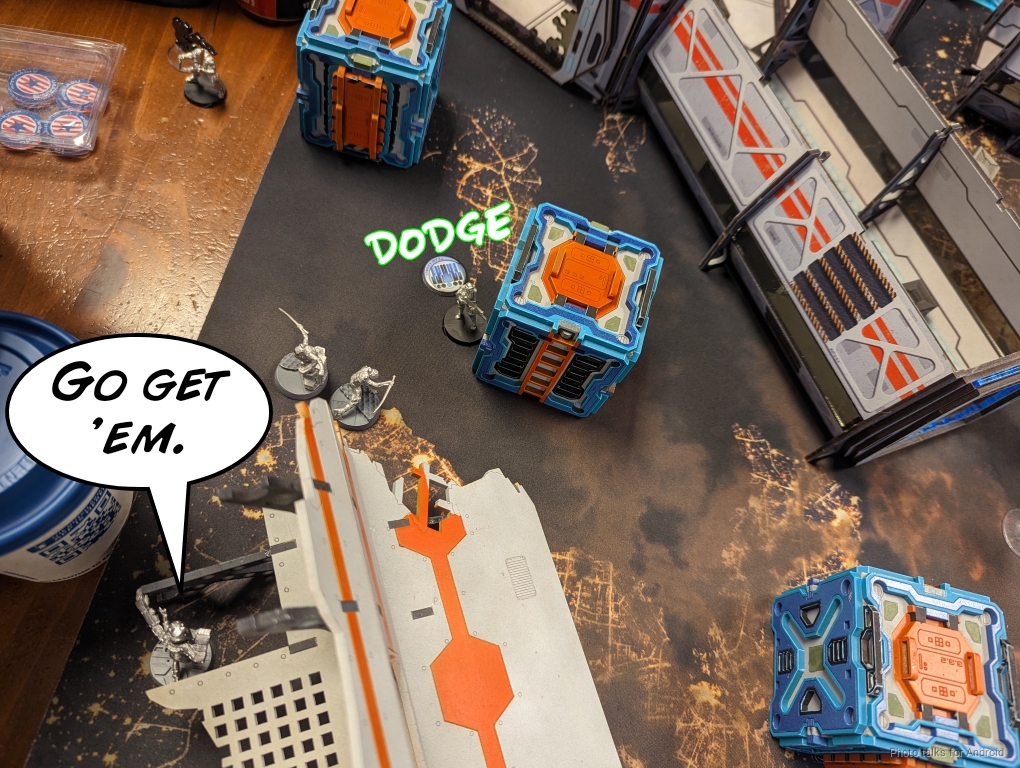
Okay. All I have to do this turn is move the beacon into a quadrant I control, and I’m good. I can afford to spend most of the first pool attacking, and the second pool getting objectives done. Ideally I’ll take out the Line Kazak so I can move the beacon uncontested. The Uberfall make their way forward and smoke past some AROs.
I’d like to break the link before I roll in, so I use the Pathfinder to do it. Unfortunately, the Line Kazak crits the Pathfinder, and that ends those plans. Thankfully it only cost me a tac aware to do it, so I still have plenty of orders in group 2.
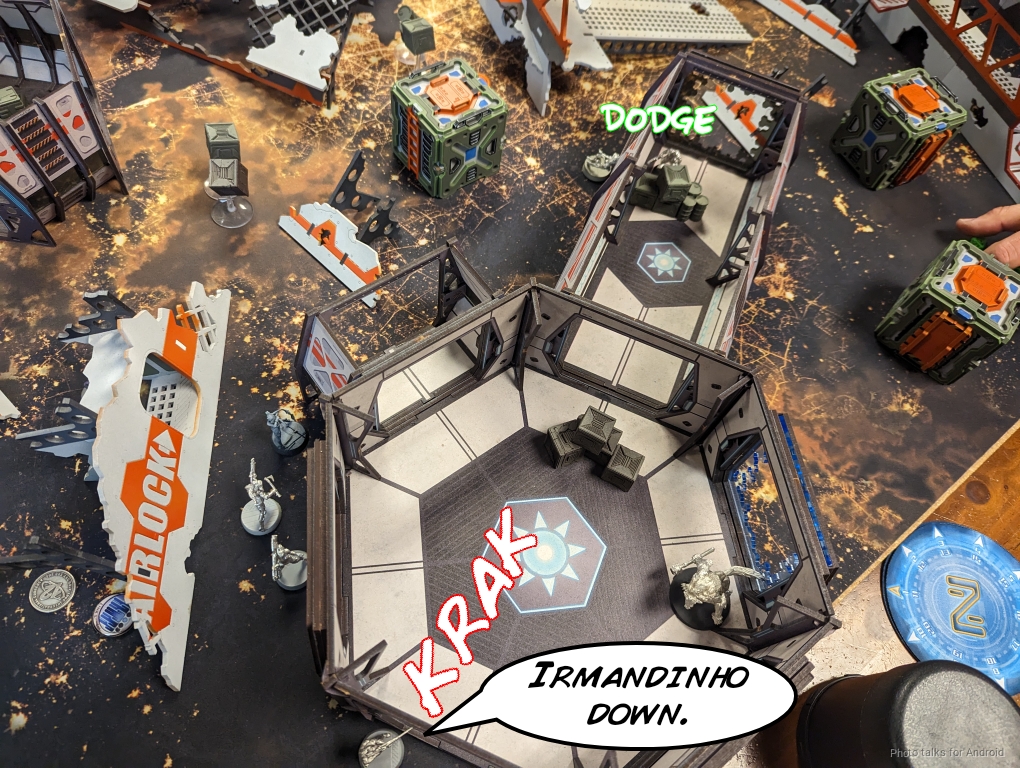
The Pupniks make a run on the Line Kazak, forcing it to dodge away as the Chimera brings up the rear.
The Vet Kazak dodges away, staying prone to avoid getting shot by the Bolt ML, but the Line Kazak gets devoured by the Pupniks.
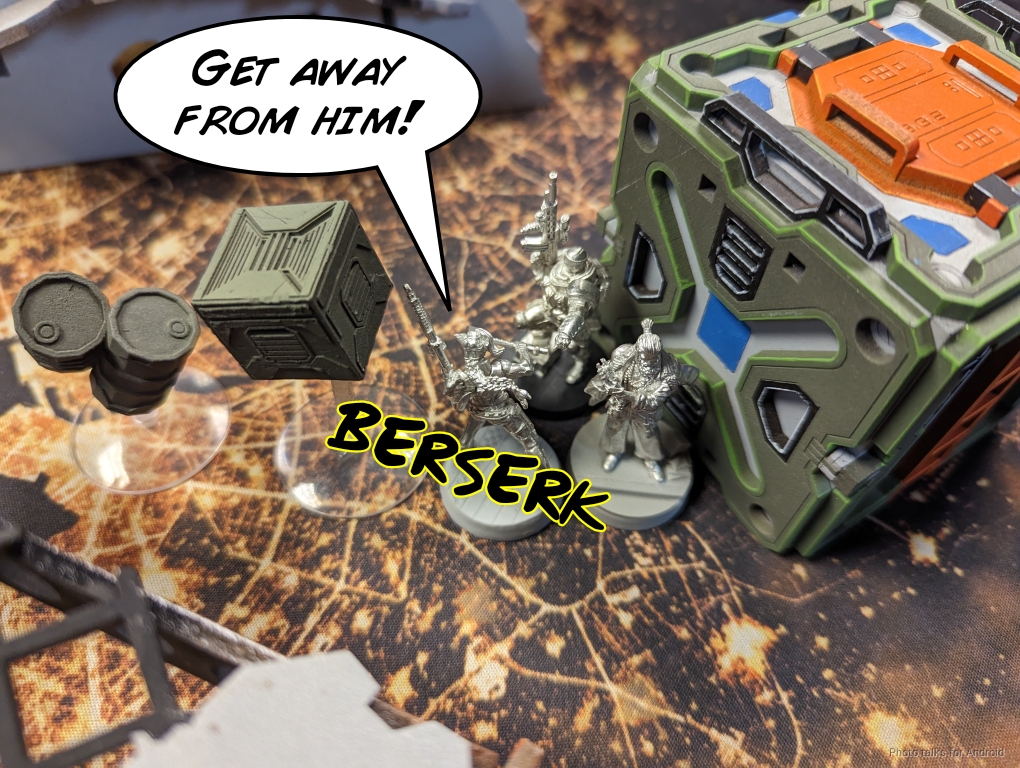
The Line Kazak does take out one of the Pupniks, as I did the trick where I attack with the one that Adam didn’t ARO get a budget berserk, and then I roll the Chimera in on the Vet Kazak to viral it off the table.
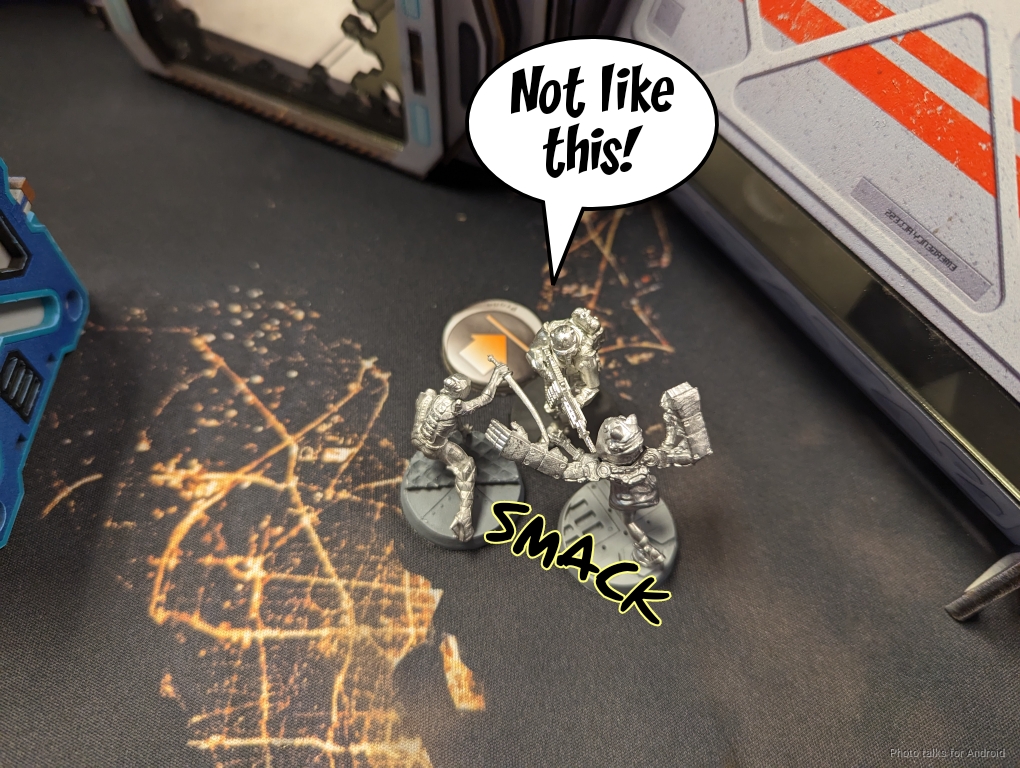
Next I try to get fancy and move the Chimera into base with the Irmandinho. I don’t have enough movement to move the Pupnik into base with the Kazak doctor, so I dodge both of them against the Irmandinho’s chain rifle and the Kazak’s shot. I should have nanopulsared or something here, because I fail my dodge and I lose the Chimera. Boo. Well, as least I’ve removed the Vet Kazak and a forward observer!
I move the Zero hacker on top of the beacon and hack the beacon back into view of the Zero FO. Using the Zero FO, I then move the beacon into a quadrant that I control.

Turn 2
2 points to me for having the beacon quadrant controlled.
Top of 2 – TAK

Well, now I’ve given Adam some targets to engage. The Spetznaz goes to work and takes out my Zero hacker easily, but is stalled out hard by my Warcor who just passes an unreasonable amount of ARM saves before going down.
The Irmandinho on my right sets up smoke for the Scout FO…
who then spends a bunch of orders shuffling the beacon away while my Zero FO contests.
Adam spends the rest of his orders setting up to defend the beacon, stacking the Irmandinho, the Scout FO, the Spetznaz, and the Tankhunter on that firelane before passing turn.
Bottom of 2 – ForCo
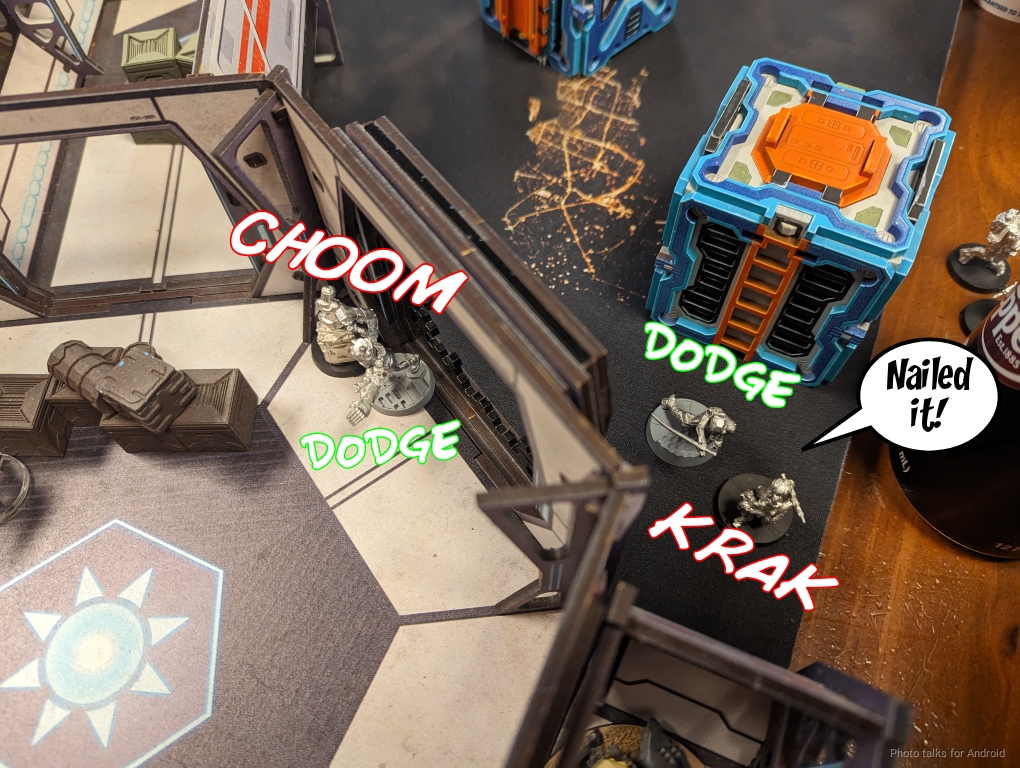
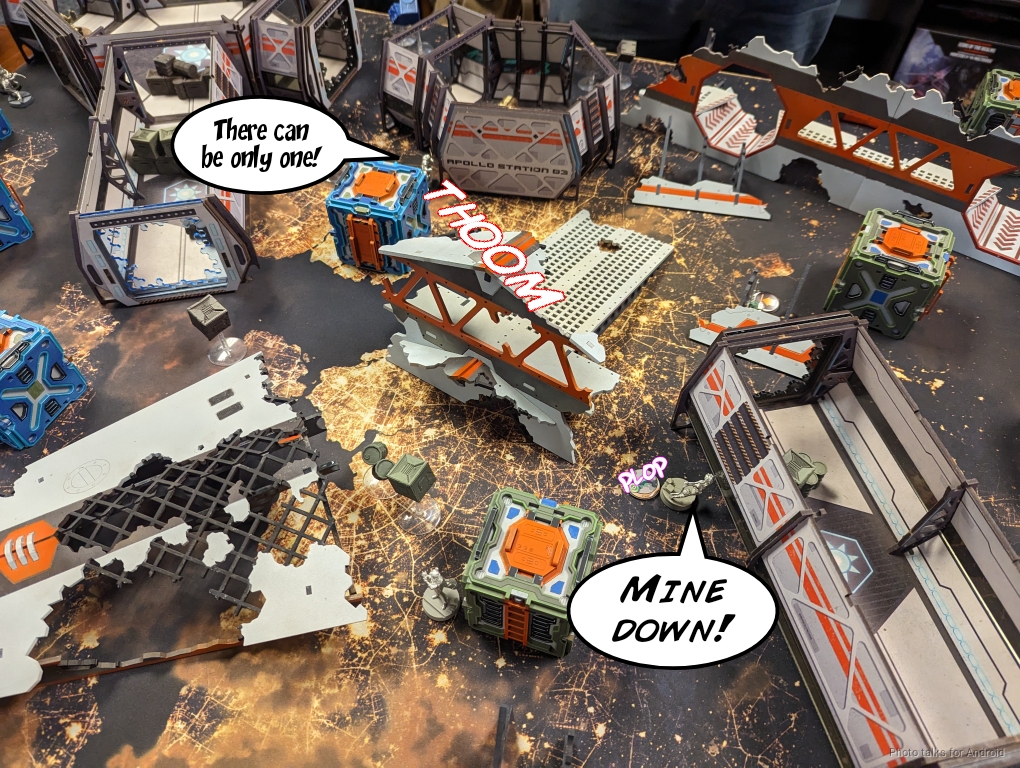
I move the Beasthunter into position and lay an AP mine covering the Spetznaz, the Scout FO, and the Irmandinho. The Irmandinho dodges away, but the Spetznaz and Scout fail to dodge away. I then move the Bolt MSR into view and ask for AROs. Adam reveals the Tankhunter so I split burst–two on the Tankhunter one on the Spetznaz.
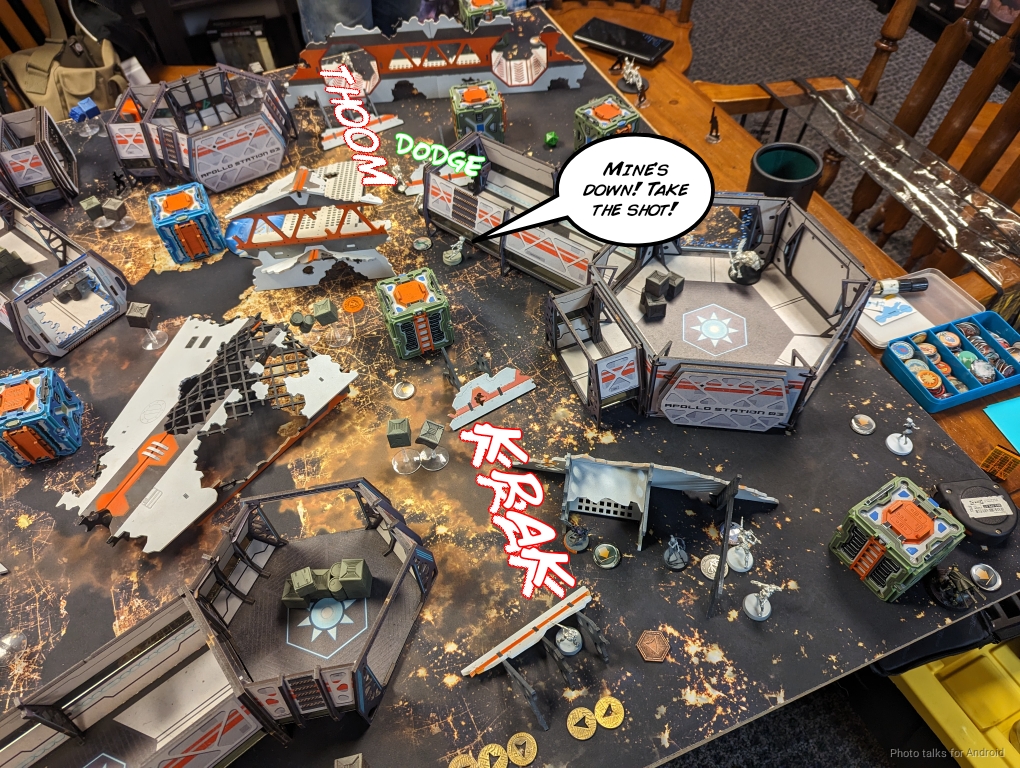
The Spetznaz and Tankhunter die to the Bolt and the Scout fails its dodge against the mine, but passes ARM, failing guts out of LoF. The Irmandinho needs to go away, so I move the Bolt MSR into the corridor it’s hiding in and take it out.
I move the beacon back towards me even more, and then set up the Bolt link to defend it.
Turn 3
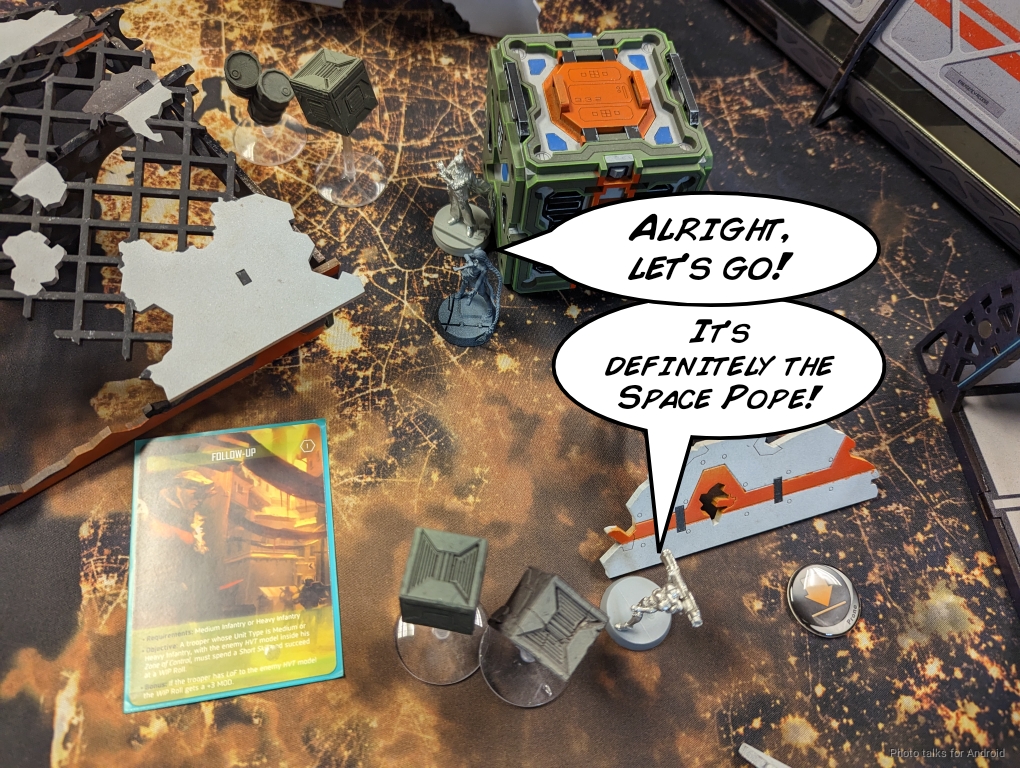
I’m still holding the quadrant with the beacon, so that’s 4-0 for me now. The Space Pope shows up, and then it’s Adam’s turn to get some work done.
Top of 3 – TAK
Adam decides to just hail mary Vassily in, but first he needs to clear the way. His remaining Irmandinho blocks LoF to the Croc Man, temporarily solving that problem.

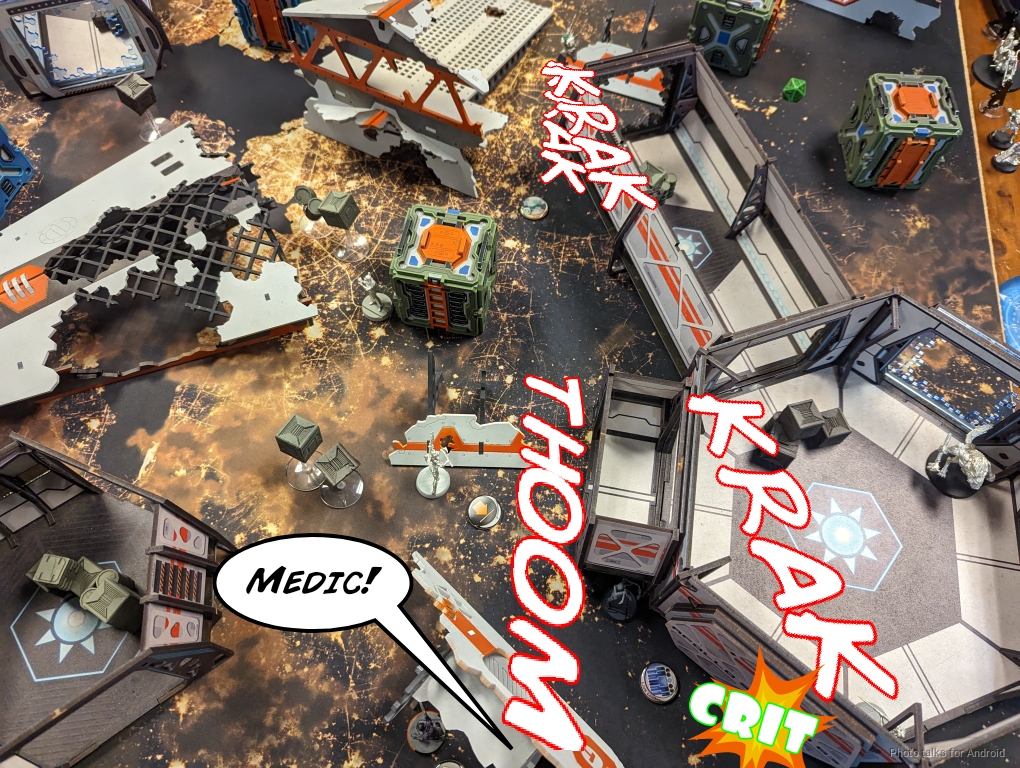
Adam fights my Beasthunter with his Beasthunter and panzerfausts it off the table… but not before I drop a mine.
The Scout then splits burst against my Bolt MSR and Bolt ML. The missile wins the fight but the sniper gets crit and dies. This also clears the mine!
This leaves Adam with just enough orders get Vassily into base to base with the Space Pope and CivEvac it, then it’s back to me!
Bottom of 3 – ForCo
Well, I 100% don’t need to do this, but I move into view with Valkyrie and dodge against Vassily’s heavy pistol. I roll a 15 and take a wound…
and on principle berserk into Vassily, turning him into a fine red mist. I do lose Valkyrie, and I 100% could have just triple templated Vassily, but when you get a chance to Berserk, you take it!
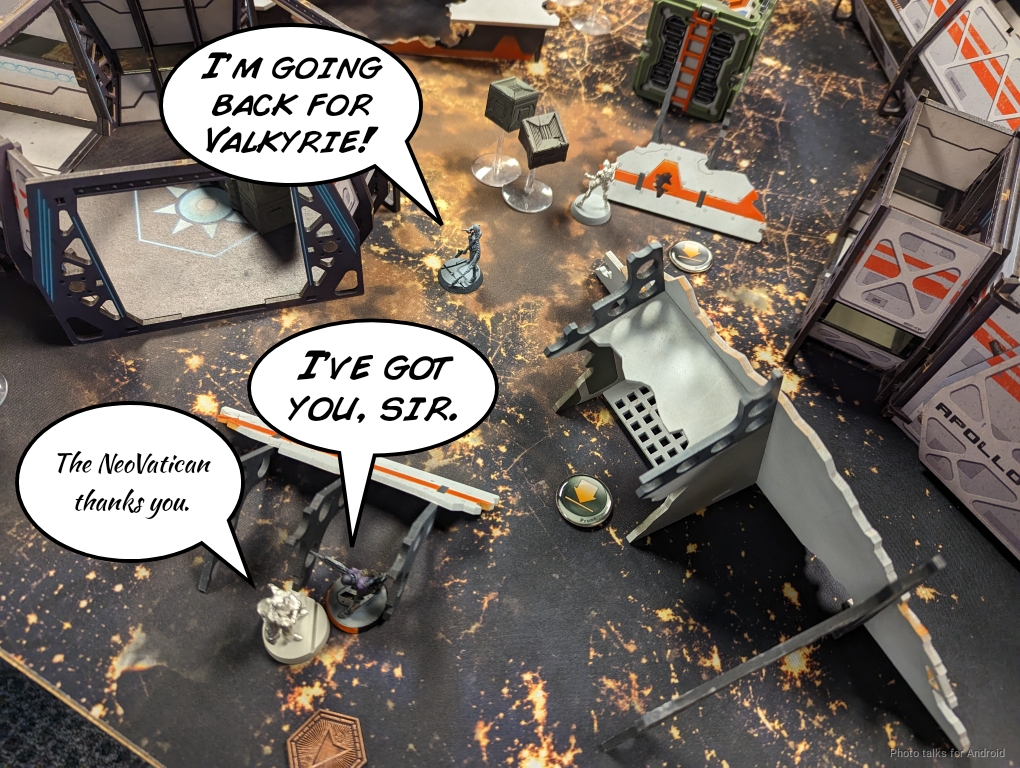
Avicenna grabs the Pope and the Bolt ML gets me Follow Up.
Avicenna scoots the Pope to my Zero FO, who then relay-races him into my deployment zone.
10-0, 208-80 Foreign Company Victory!
Post Game Analysis
Adam’s criticisms of the table setup are valid, but the table was never designed to function without rooftops! Now we know for sure, as this was the first time either of us have played with roofs disallowed. He was very annoyed because there just wasn’t a good spot for him to advance without being out of cover to one of my AROs (although of course the Bolts don’t care about cover).
I don’t agree with his first turn priorities. I think he should have done the following:
- Cancel Carmen’s impetuous order
- Set up smoke on the beacon with the Irmandinhos
- Spent 3 orders on the Scout moving the Beacon away, uncontested
- Whatever orders he could spend on the Line Kazak FO moving it further
This doesn’t do any damage to me, but does force me to come to him through some pretty nasty AROs. I have the tools to do it, but then I’m probably over-extended in the midfield, and Carmen can pounce on me during turn 2. Honestly I just disagree with his combat groups–just moving Pavel and the Tankhunter into group two would have helped a lot.
Also, he intentionally didn’t attempt to make confused deployment rolls on the Scout or Pavel. I think this was a mistake. Yes, you can fail, but a quick coordinated recamo will reset state, and at least making the attempt I think is pretty important, especially because of his complaint about not being able to see the beacon from his deployment zone.
I don’t think the dice were terribly unkind to him, aside from the string of 3-4 orders it took for a Spetznaz HMG to remove a Warcor. I Just had the right tools, a good read on my opponent, and a very oppressive ARO presence exacerbated by the table favoring me. I was also feeling quite pleased with my “big brained” play with the Croc Man versus Carmen.
With regards to the mission, I think it’s still missing something. I discussed it with James (RomanLegion) over lunch a few days later, and he suggested the current incarnation of the mission, which I think is very much the correct one:
| Points | Timing | Objective |
| 2 | End of Round 1 | Dominate the quadrant with the beacon. |
| 2 | End of Round 2 | Dominate the quadrant with the beacon. |
| 2 | End of Game | Have the HVT in CivEvac state with a friendly model. |
| 2 | End of Game | Have killed more enemy specialists. |
| 1 | End of Game | Have killed the same number of specialists (at least one). |
This way the person with the Space Pope at the end is rewarded, but not crazily so, and there’s a real risk/reward to leaving FOs out to ARO the beacon as they can be killed and are worth points. Upping the number of classifieds to two helps as well, because so much of the mission’s points are mutually exclusive.
I also really like the Move Beacon mechanic–Forward Observers get an active turn burst bonus, hackers are stuck to burst 1 but can do it out of LoF, etc. It’s a nice little self regulating rule.
One thing that is still worth thinking about: confused deployment is a big deal in this mission. Controlling the quadrant can come down to who makes the confused deployment roll, and it might be a little weighted in favor of the player who goes second… but there’s a chance for the first player to make it difficult. You can even control your risk exposure by leaving FO troopers in camo or putting a repeater near the beacon to protect your hackers.
I’m very happy with the mission design. It’s really fun, I think both players, regardless of turn order, have a good chance at winning it. It also rewards measured risk taking and careful development of your forces over multiple turns, which are things I really enjoy about the game. There’s also less of an emphasis on just murdering stuff, which is something that I also like.
Anyway, I think that the table conspired to make this very difficult for Adam and probably made second turn really too strong. As a result, I don’t want to overreact and make a bunch of changes without more testing. Thanks to Adam for playing through a very frustrating game for him, and to you for reading! If you try this mission, please write me at mailbag at latenightwargames dot com and let me know how it went.