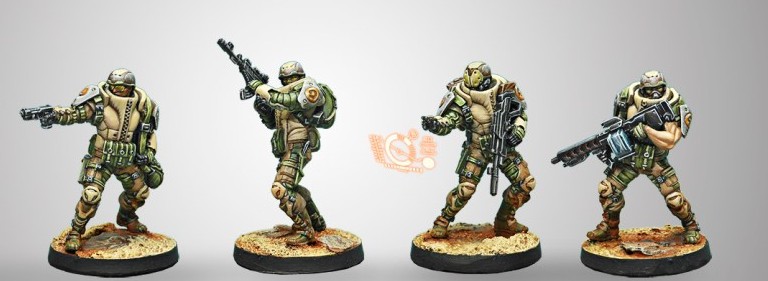
Djanbazan Biceps
The better half was out traveling, so I had a bachelor’s weekend–the perfect excuse to have Andrew over for a game of Infinity. I set up a less dense version of my Strompost Alpha table, which I think is a little more sane than the version that was played at the last tournament.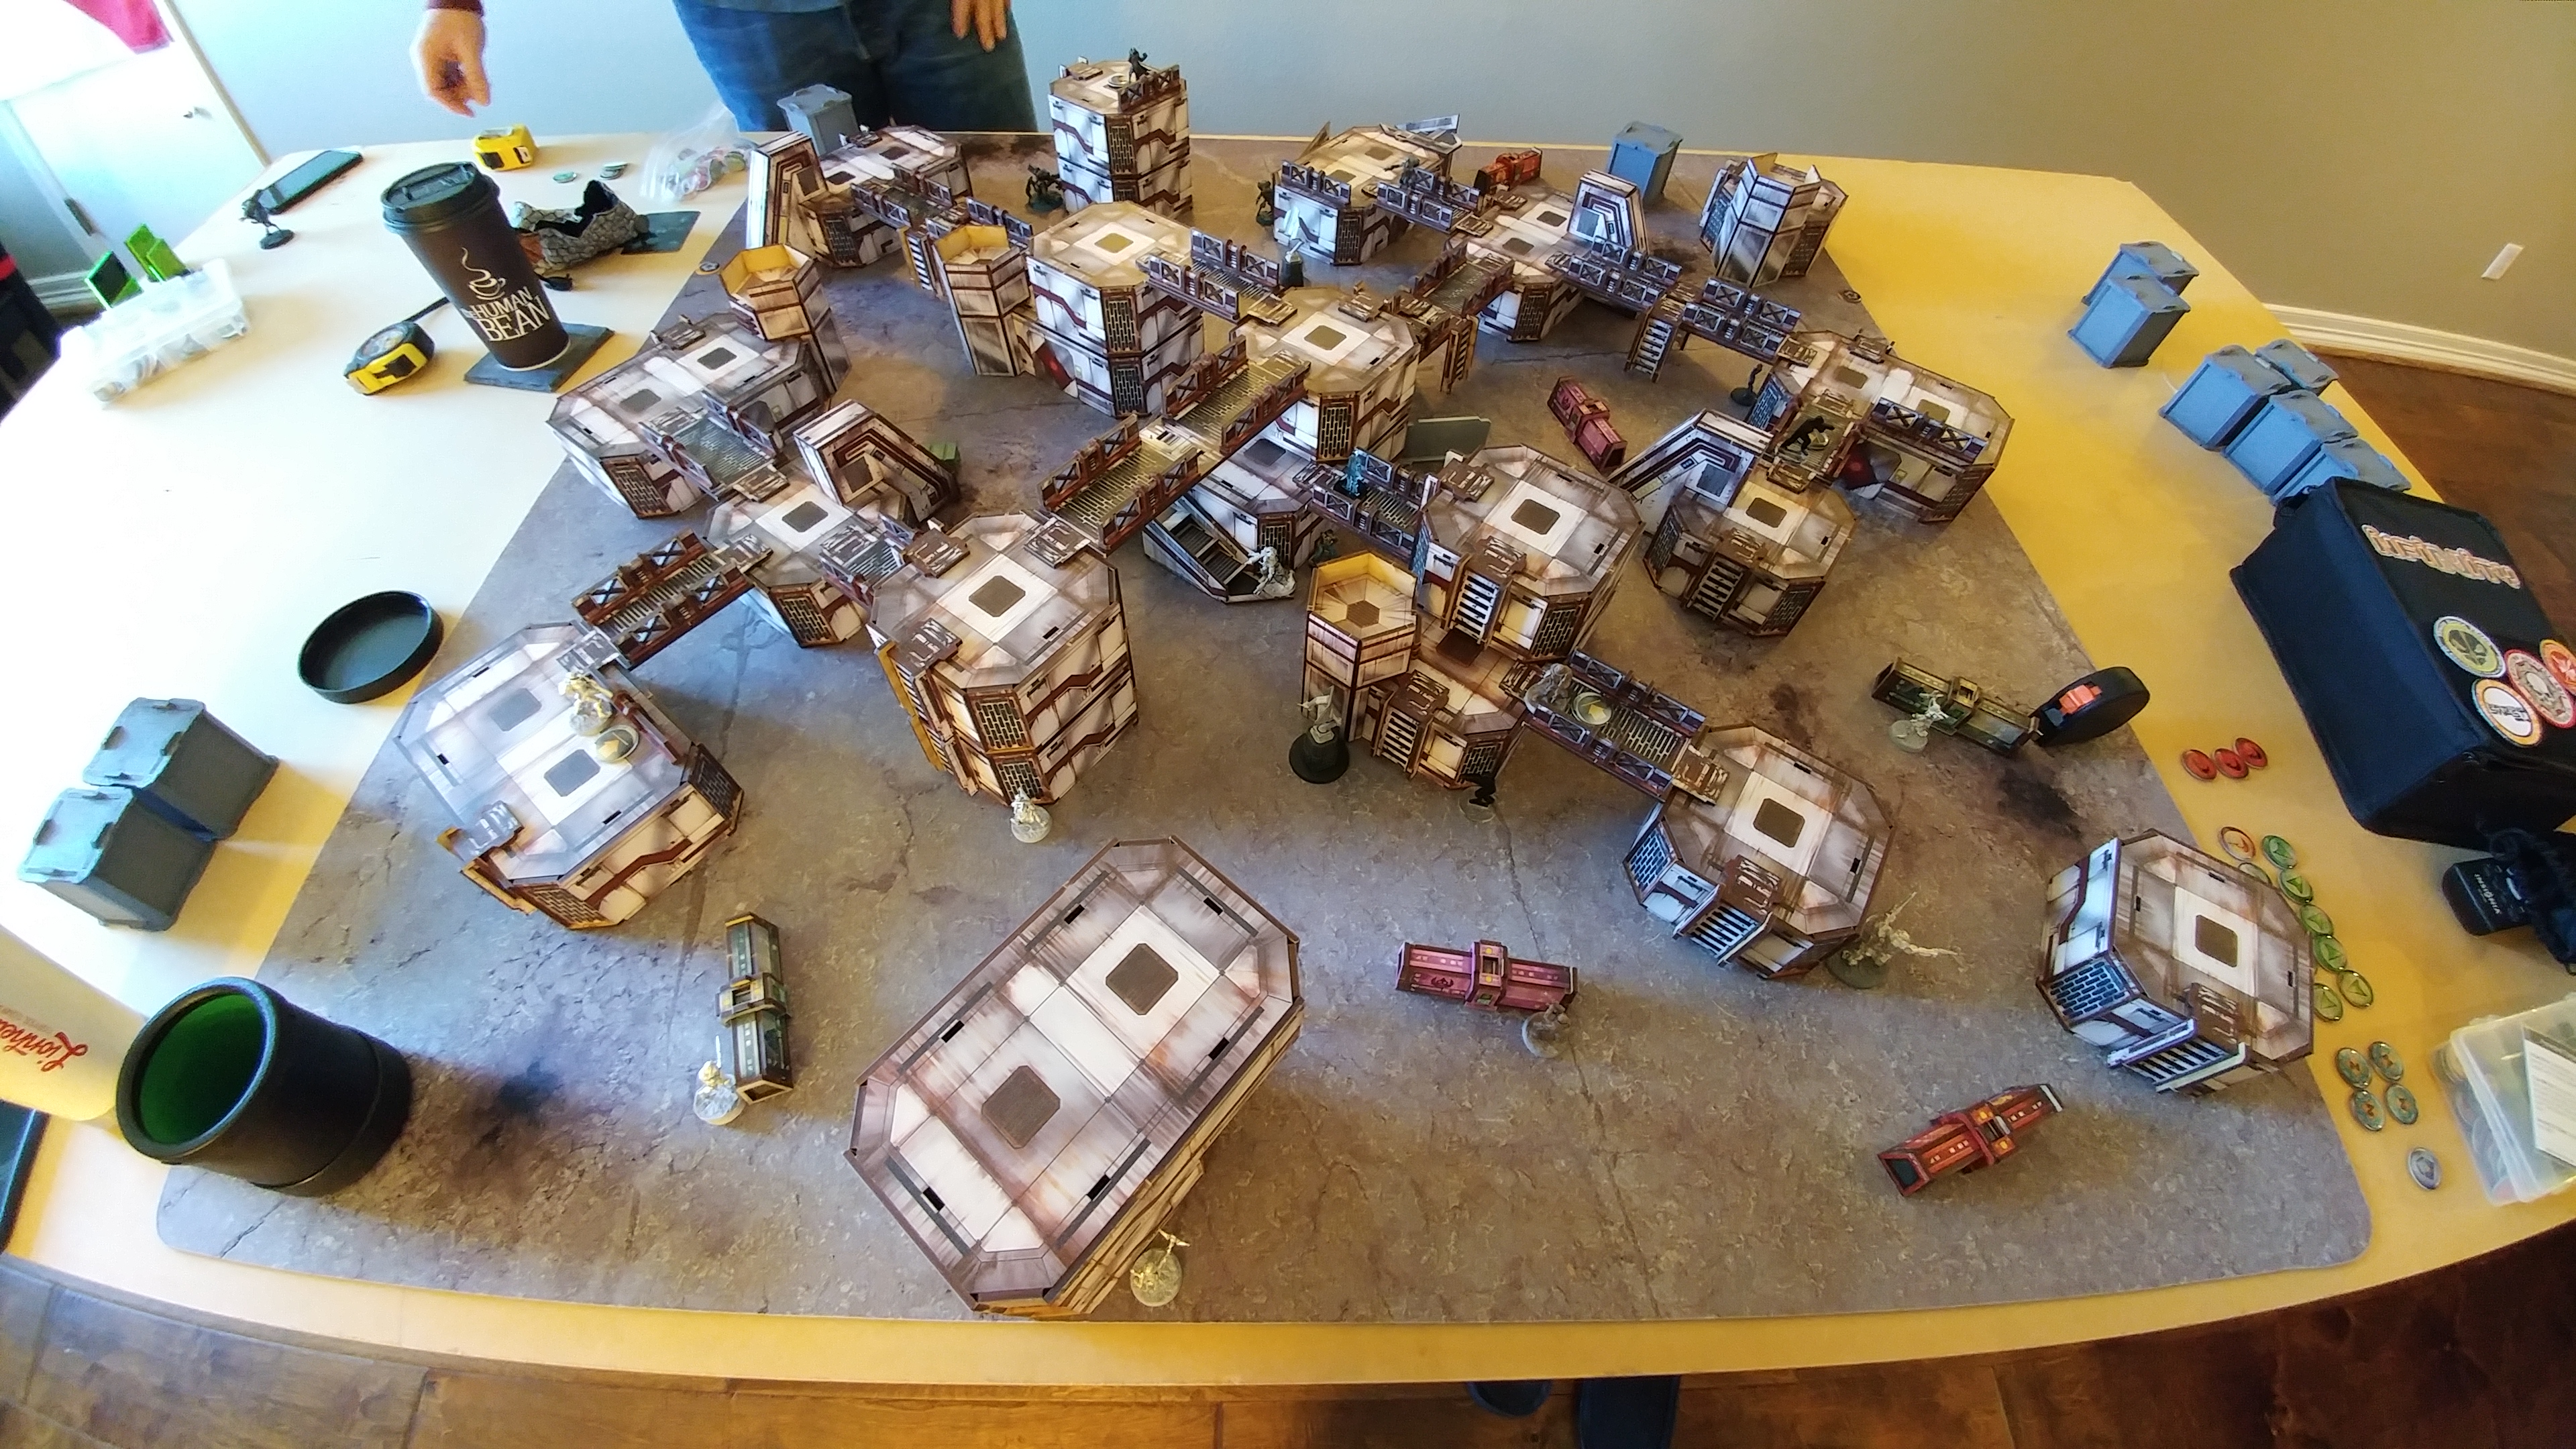 I’m helping Adam with the 2018 Rose City Raid, so I didn’t think I was going to play in it. As it turns out, I’m going to fill in case of an odd number of players or drops or something, so I needed to get some more practice in. Andrew had never played Looting and Sabotaging before, so we settled in for a practice game of that scenario over some coffee.
Overview
- Mission: Looting and Sabotaging
- Forces: Haqqislam versus Combined Army (300)
- Deploy First: Haqqislam
- First Turn: Haqqislam
[img]https://assets.infinitythegame.net/infinityarmy/img/_logosweb/logo_401.png[/img][b] Looting and Sabotage[/b]
[b]GROUP 1 | [/b][img]https://assets.infinitythegame.net/infinityarmy/img/_logosweb/orden_regular.png[/img]10 [img]https://assets.infinitythegame.net/infinityarmy/img/_logosweb/orden_impetuosa.png[/img]1
[img]https://assets.infinitythegame.net/infinityarmy/img/_logosweb/401/logo_37.png[/img] [b]BARID Hacker (Hacking Device) Lieutenant[/b] Rifle + Pitcher / Pistol, Knife. (1 | [b]21[/b])
[img]https://assets.infinitythegame.net/infinityarmy/img/_logosweb/401/logo_6.png[/img] [b]DJANBAZAN[/b] HMG / Pistol, Knife. (1.5 | [b]35[/b])
[img]https://assets.infinitythegame.net/infinityarmy/img/_logosweb/401/logo_6.png[/img] [b]DJANBAZAN[/b] Shock Marksman Rifle / Pistol, Knife. (0 | [b]29[/b])
[img]https://assets.infinitythegame.net/infinityarmy/img/_logosweb/401/logo_43.png[/img] [b]FASID[/b] HMG + (Smoke and Normal) Light Grenade Launcher, Antipersonnel Mines / Heavy Pistol, Knife. (2 | [b]53[/b])
[img]https://assets.infinitythegame.net/infinityarmy/img/_logosweb/401/logo_31.png[/img] [b]HAWWA’ Hacker (Assault Hacking Device)[/b] Boarding Shotgun, D-Charges / Pistol, Knife. (0.5 | [b]26[/b])
[img]https://assets.infinitythegame.net/infinityarmy/img/_logosweb/401/logo_12.png[/img] [b]FIDAY[/b] Rifle + Light Shotgun, Smoke Grenades / Pistol, DA CCW, Knife. (0 | [b]31[/b])[img]https://assets.infinitythegame.net/infinityarmy/img/_logosweb/401/logo_48.png[/img] [b]KRAKOT RENEGADE[/b] 2 Chain Rifles, Grenades / Pistol, DA CC Weapon. (0 | [b]14[/b])
[img]https://assets.infinitythegame.net/infinityarmy/img/_logosweb/401/logo_41.png[/img] [b]HASSASSIN HUSAM YASBIR (Infiltration, Holoprojector L2)[/b] Rifle + Light Shotgun, Nanopulser, Smoke Grenades / Pistol, Viral CCW, Knife. (0 | [b]34[/b])
[img]https://assets.infinitythegame.net/infinityarmy/img/_logosweb/401/logo_7.png[/img] [b]RAGIK[/b] Boarding Shotgun / Pistol, CCW. (0 | [b]25[/b])
[img]https://assets.infinitythegame.net/infinityarmy/img/_logosweb/401/logo_1.png[/img] [b]GHULAM[/b] Sniper Rifle / Pistol, Knife. (0.5 | [b]16[/b])[b]GROUP 2 | [/b][img]https://assets.infinitythegame.net/infinityarmy/img/_logosweb/orden_irregular.png[/img]3 [img]https://assets.infinitythegame.net/infinityarmy/img/_logosweb/orden_impetuosa.png[/img]3
[img]https://assets.infinitythegame.net/infinityarmy/img/_logosweb/401/logo_40.png[/img] [b]MUTTAWI’AH[/b] Chain Rifle, E/Marat, Jammer, Smoke Grenades / Pistol, Knife. (0 | [b]5[/b])
[img]https://assets.infinitythegame.net/infinityarmy/img/_logosweb/401/logo_40.png[/img] [b]MUTTAWI’AH[/b] Chain Rifle, E/Marat, Jammer, Smoke Grenades / Pistol, Knife. (0 | [b]5[/b])
[img]https://assets.infinitythegame.net/infinityarmy/img/_logosweb/401/logo_40.png[/img] [b]MUTTAWI’AH[/b] Chain Rifle, E/Marat, Jammer, Smoke Grenades / Pistol, Knife. (0 | [b]5[/b])
[b] 5.5 SWC | 299 Points |[/b] Open in Infinity Army
[img]https://assets.infinitythegame.net/infinityarmy/img/_logosweb/logo_601.png[/img][b] Combined Army[/b]
[img]https://assets.infinitythegame.net/infinityarmy/img/_logosweb/601/logo_51.png[/img] [b]NEXUS Lieutenant (Specialist Operative)[/b] Combi Rifle / Pistol, Knife. (1 | [b]16[/b])
[img]https://assets.infinitythegame.net/infinityarmy/img/_logosweb/601/logo_33.png[/img] [b]SPHINX[/b] Spitfire, 2 Heavy Flamethrowers / EXP CCW. (2 | [b]106[/b])
[img]https://assets.infinitythegame.net/infinityarmy/img/_logosweb/sep.gif[/img] [img]https://assets.infinitythegame.net/infinityarmy/img/_logosweb/601/logo_33.png[/img] [b]SCINDRON[/b] Flash Pulse / Knife. (0 | [b]0[/b])[img]https://assets.infinitythegame.net/infinityarmy/img/_logosweb/601/logo_16.png[/img] [b]MED-TECH OBSIDON MEDCHANOID[/b] Combi Rifle, D-Charges / Pistol, Knife. (0 | [b]23[/b])
[img]https://assets.infinitythegame.net/infinityarmy/img/_logosweb/601/logo_35.png[/img] [b]SLAVE DRONE[/b] Electric Pulse. (0 | [b]3[/b])
[img]https://assets.infinitythegame.net/infinityarmy/img/_logosweb/601/logo_41.png[/img] [b]IKADRON (Baggage, Repeater)[/b] 2 Light Flamethrowers, Flash Pulse / Pistol, Electric Pulse. (0 | [b]9[/b])
[img]https://assets.infinitythegame.net/infinityarmy/img/_logosweb/601/logo_41.png[/img] [b]IKADRON (Baggage, Repeater)[/b] 2 Light Flamethrowers, Flash Pulse / Pistol, Electric Pulse. (0 | [b]9[/b])
[img]https://assets.infinitythegame.net/infinityarmy/img/_logosweb/601/logo_12.png[/img] [b]SPECULO KILLER[/b] Boarding Shotgun, Smoke Grenades / Pistol, Monofilament CCW, Knife. (1 | [b]34[/b])
[img]https://assets.infinitythegame.net/infinityarmy/img/_logosweb/601/logo_18.png[/img] [b]Q-DRONE[/b] Plasma Rifle / Electric Pulse. (1 | [b]25[/b])
[img]https://assets.infinitythegame.net/infinityarmy/img/_logosweb/601/logo_48.png[/img] [b]E-DRONE[/b] Combi Rifle / Electric Pulse. (0.5 | [b]28[/b])
[img]https://assets.infinitythegame.net/infinityarmy/img/_logosweb/601/logo_55.png[/img] [b]Bit Hacker (UPGRADE: Expel)[/b] Submachine Gun + Pitcher, Deployable Repeater + KISS! / Pistol, Knife. (0.5 | [b]19[/b])
[img]https://assets.infinitythegame.net/infinityarmy/img/_logosweb/sep.gif[/img] [img]https://assets.infinitythegame.net/infinityarmy/img/_logosweb/601/logo_55.png[/img] [b]KISS![/b] Adhesive Launcher / Electric Pulse. (- | [b]4[/b])
[img]https://assets.infinitythegame.net/infinityarmy/img/_logosweb/601/logo_28.png[/img] [b]RASYAT[/b] Boarding Shotgun, D-Charges, Eclipse Grenades / Pistol, DA CCW. (0 | [b]28[/b])
[img]https://assets.infinitythegame.net/infinityarmy/img/_logosweb/orden_regular.png[/img]10 [b]| 6 SWC | 300 Points |[/b] Open in Infinity Army
Deployment
I won the roll off and chose to go first. Andrew chose deployment zone based on how much cover (or lack thereof) was around the AC2, and gave me the side with more cover near the AC2. I am really digging the idea of a lone Ghulam sniper, so I took one to round out my points and SWC and put her in cover watching an approach to my AC2. My Djanbazan HMG flexed mightily atop a building on my left flank, intending to pressure that side if I needed to, or remove things approaching my AC2. I put a trio of Mutts down, one on each flank, right up against the edge of my deployment zone, and one basically on my table edge near my AC2. I figured this would give me more “time” with a Mutt near my AC2 to Jammer anything that came a knockin’. My other Djanbazan covered the AC2 from pretty close range, backed up by an Al Fasid anchoring my right flank (I remembered the mine this time!). My Barid Lt hung out on top of the first level of catwalks, ready to advance and pitcher up the midfield with his Lieutenant order. I don’t have a Barid so I proxied my Djanbazan hacker instead.
 My Al’Hawwa lay on a catwalk near the right panoply, threatening to hack anything that walked by and capable of grabbing gear for points if necessary. Yasbir and the Krakot hung out basically in the dead center of the board with my HVT. I figured I’d just use Yasbir to smoke for the Krakot to get him there on turn 1.
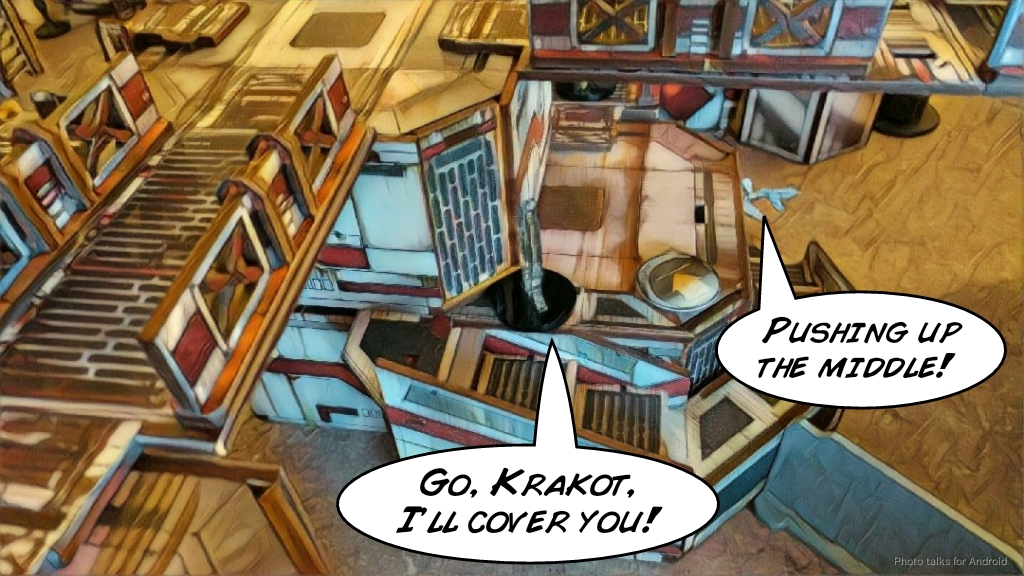 My gameplan was to drop the Fiday near the AC2 and between him and Yasbir smoke up the general area around the AC2, drop in the Ragik after buffing combat jump with the Barid, then smash the AC2 with the Krakot, the Fiday, and my Ragik. That plan survived just about as long as it took for Andrew to deploy. The first thing he did was ask where my hackers were, and then put Bit and Kiss on the same side.
 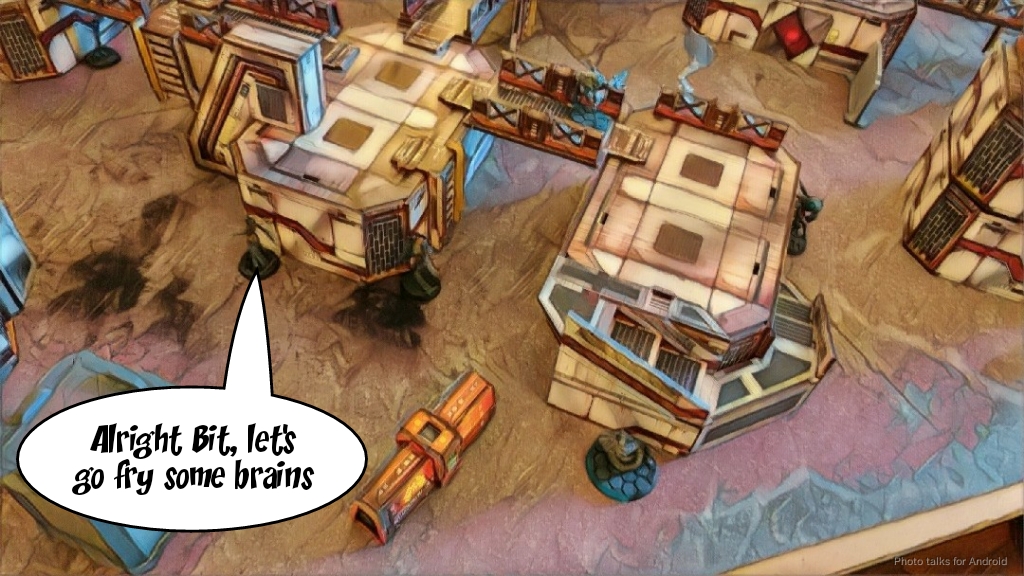 No! My plans! He covered the AC2 with Ikadron flamethrowers, one on a catwalk overlooking, the other peeking around the corner. The Q- and E-Drones were on my left, with the Q-Drone watching one of the approaches to the AC2, and Dr. Worm was slightly behind Bit and Kiss.
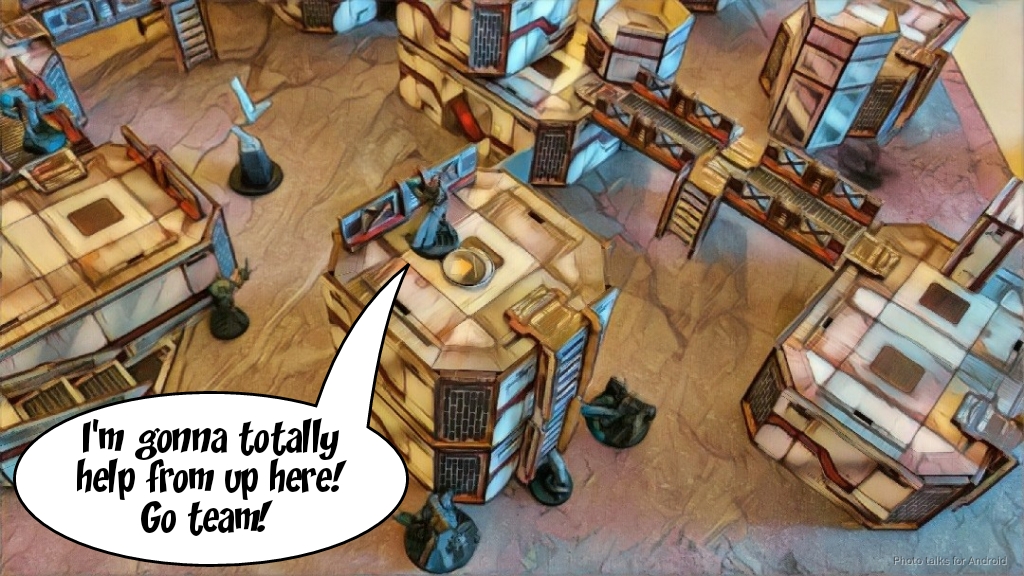 Andrew plunked his Lieutenant on top of a building and then shooed me away to hidden deploy his Sphinx. I responded by putting my Fiday just outside of his deployment zone, prone, within a single short skill crawl of Bit. The positioning was great, her S2 standing silhouette would block LoF to the Fiday and then when she was disposed of I’d be in cover. Excellent! Andrew, understandably, frowned, but then countered with a Speculo just outside my deployment zone, near my AC2 ready to tie all my units up. He was hoping that I would sink my whole turn into trying to deal with it, to buy himself time. I tossed a DataTracker token next to the Krakot, and Andrew did the same with Dr. Worm. We shook hands and started rolling dice!
Turn 1
Top of Turn 1 – Haqqislam
The Mutt I had put on my table edge just saunters up to the Speculo and drops a smoke grenade at its feet, neutralizing the threat. I start things off by slicing and dicing Bit with my Fiday, then gun down Dr. Worm and the Ikadron on the catwalk with the Fiday’s guns.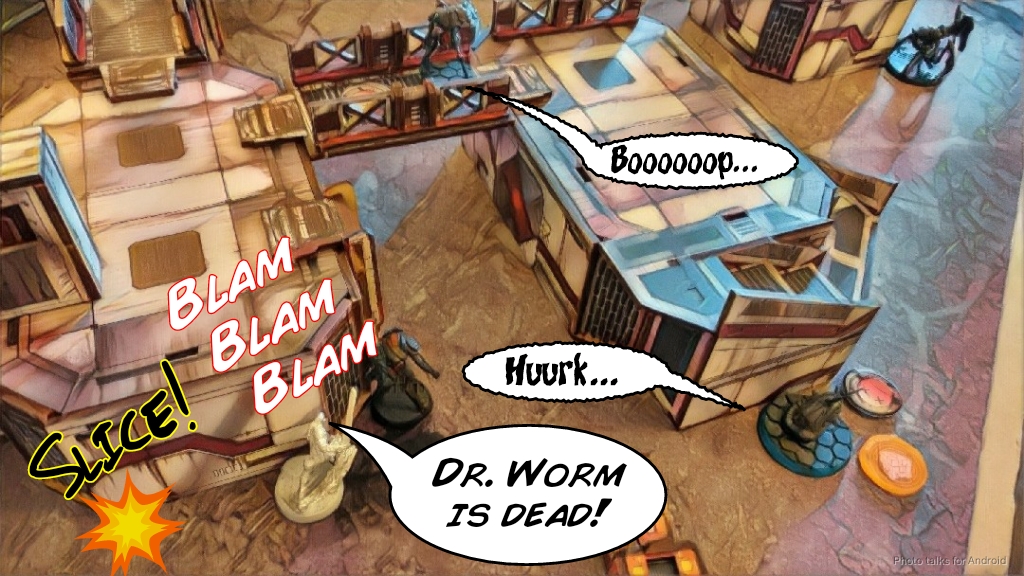 I don’t have a ton of orders and I kinda want to saturate Andrew with threats, so I drop in a Ragik and try for my HVT: Kidnapping classified. I succeed at the roll, and then try to get fancy by doing coordinated orders to shift things into better positions, including the Ragik. I’ve only got one order left at this point, and my plan is to try and discover the Speculo through the smoke using the Djanbazan shock marksman rifle. Andrew chooses this moment to reveal his Sphinx to take a cross-map shot at my Ragik. I play the odds and hope he’ll miss and stick to my plan.
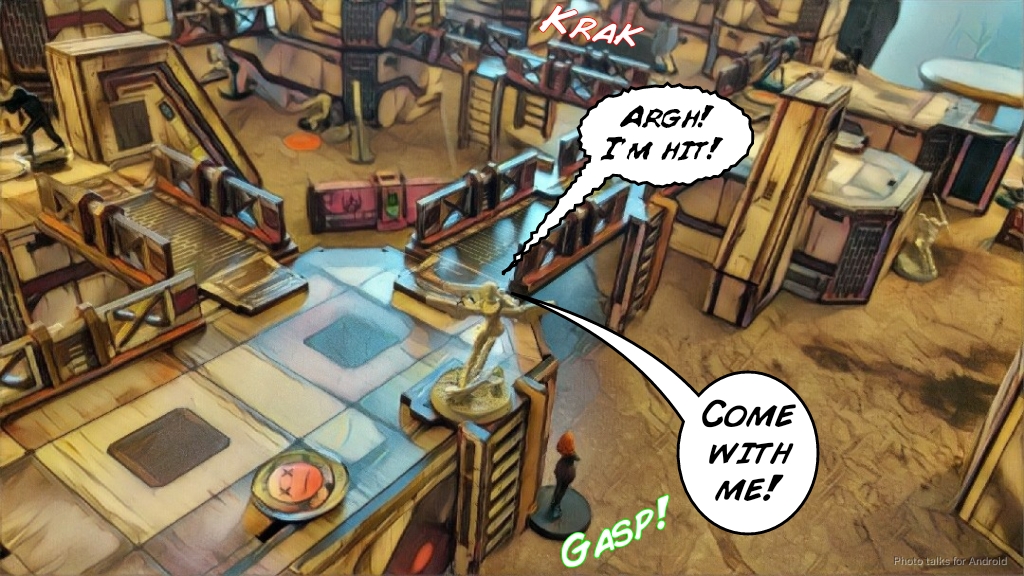 Sadly, the Sphinx hits and I fail my ARM save and my discover roll. I decide to go unconscious instead of dogged, which I think was a mistake. I could’ve moved the Ragik again and moved the civilian closer to my Al’Hawwa to better guarantee Secure the HVT since the Ragik is going to die. In any case, I spend another coordinated order to position the Al Fasid and get my Al’Hawwa closer to a ladder, which will let me get him to the panoply faster next turn, now that I know the Sphinx is on the other side of the table. I spend the Mutts’ irregular orders setting up to deal with the Speculo.
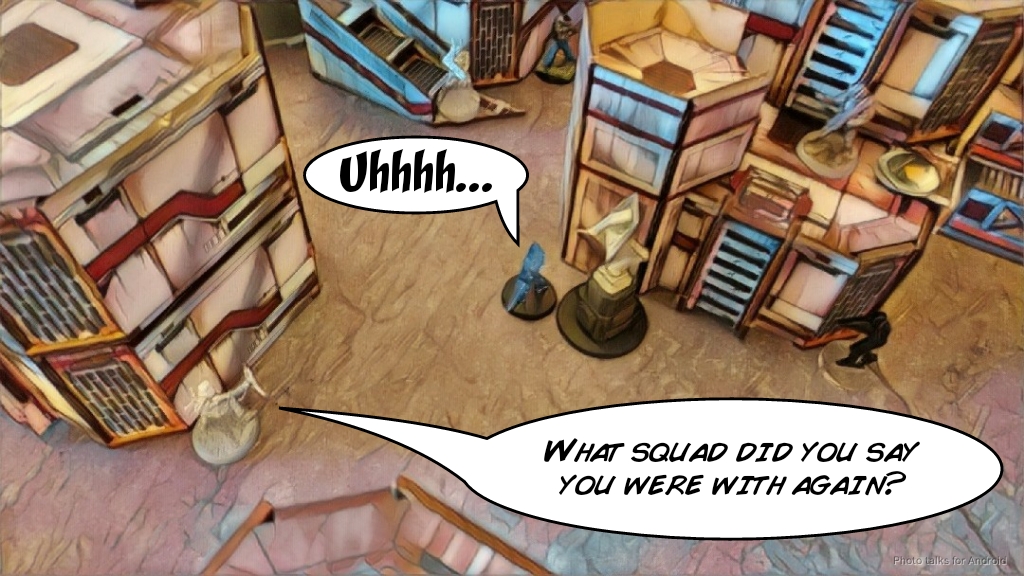 I figure one of the Mutts or the mine will get it before it does too much damage. I might lose the Djanbazan marksman rifle or Al Fasid but if that happens that’s a lot of Andrew’s order pool so I’m okay with that. Worst case he figures out that my nearby Barid is my Lieutenant and I’m in LoL next turn, but my positioning is okay and I’ve got a few midfield threats and an active Fiday in his deployment zone. I pass the turn.
Bottom of Turn 1 – Combined Army
Andrew starts by Climbing+ his Sphinx up into a tower and begins gunning things down. I manage get some smoke down with Yasbir, but the nearest Mutt goes dogged. I do manage to plink a wound off with my Ghulam sniper though, who catches the Sphinx climbing up.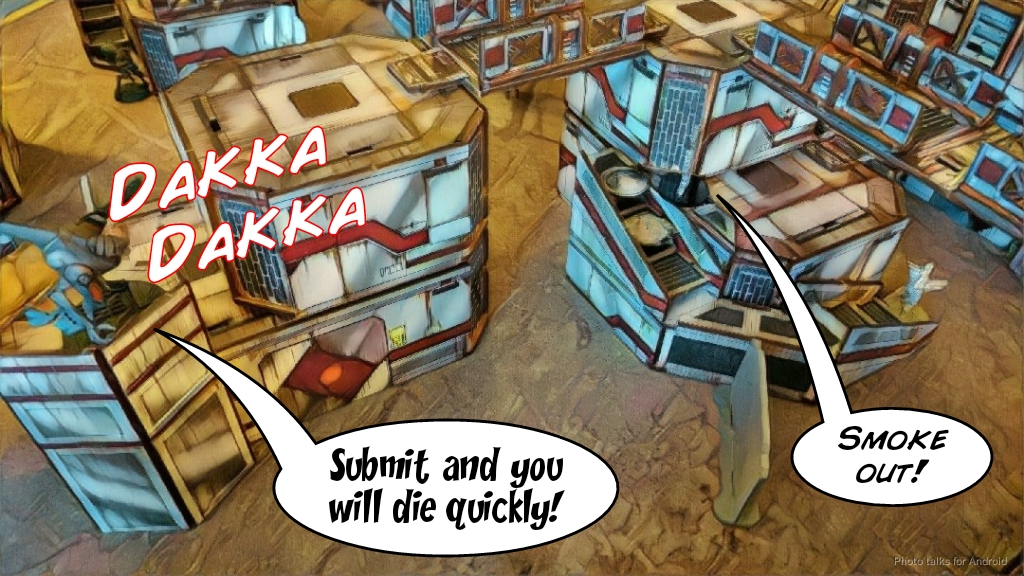 Another order and the Sphinx climbs down to see more of my deployment zone. My Barid goes down to the Sphinx, and the dogged Mutt manages to stick some smoke. Any closer and it’ll start taking Jammer hits or worse yet, E/Marats.
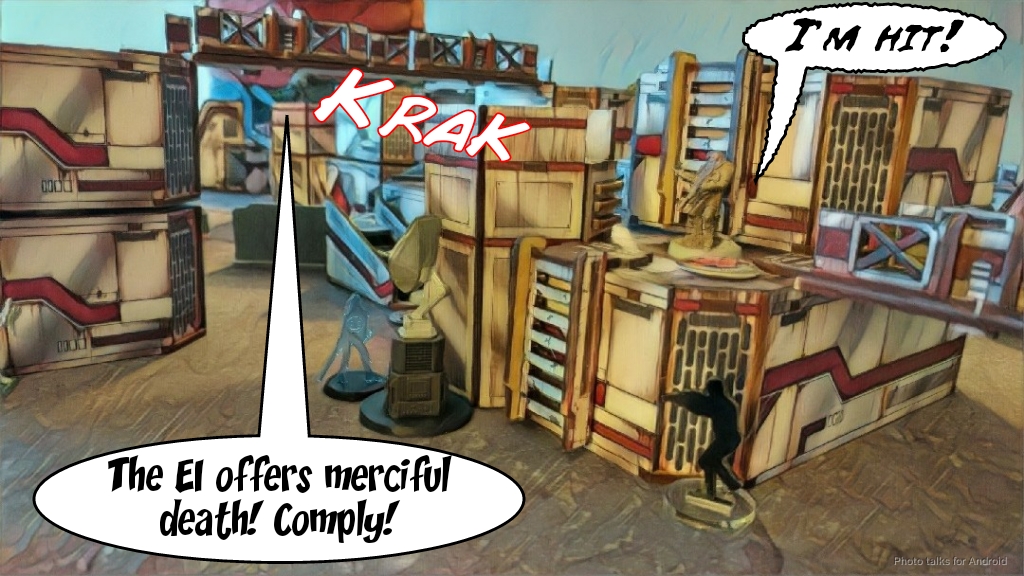 My Ghulam Sniper plinks another wound off the Sphinx before going down to a hail of fire.
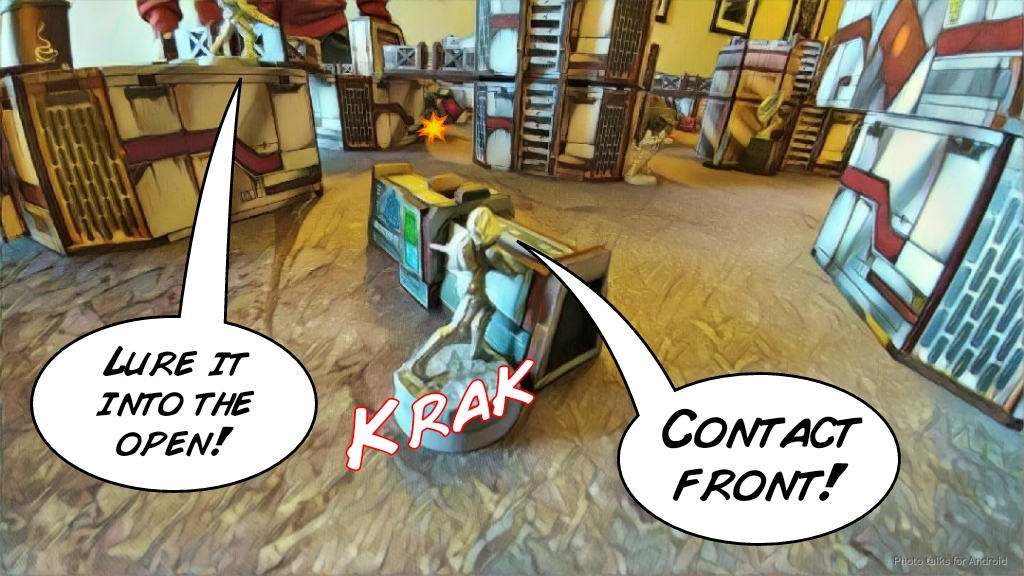 With that, Andrew’s basically out of orders and has to settle for moving the Sphinx a better position through the smoke to get into cover. I shoot at it through the smoke with my Djanbazan marksman rifle, but of course it doesn’t really scratch the paint thanks to ARM6.
Turn 2
Top of Turn 2 – Haqqislam
Well, I had expected to be in Loss of Lieutenant, but I had expected to trade for a dead Speculo. Now I’m just in plain ol’LoL. Fortunately Yasbir, my Ghulam, and the Mutt tied up the Sphinx long enough to run out Andrew’s order pool and mitigate the damage. The Mutt that had started in the center is just close enough to run around the corner and get in the Sphinx’s face. Andrew understandably waffles a bit, not sure what the best course of action is — they’re all bad — and finally elects to flamethrower me in the face. He fails his BTS roll against my E/Marat and is out of the fight! Phew! Talk about trading up! My Mutt survives the flamethrower by going dogged and passing his second ARM roll.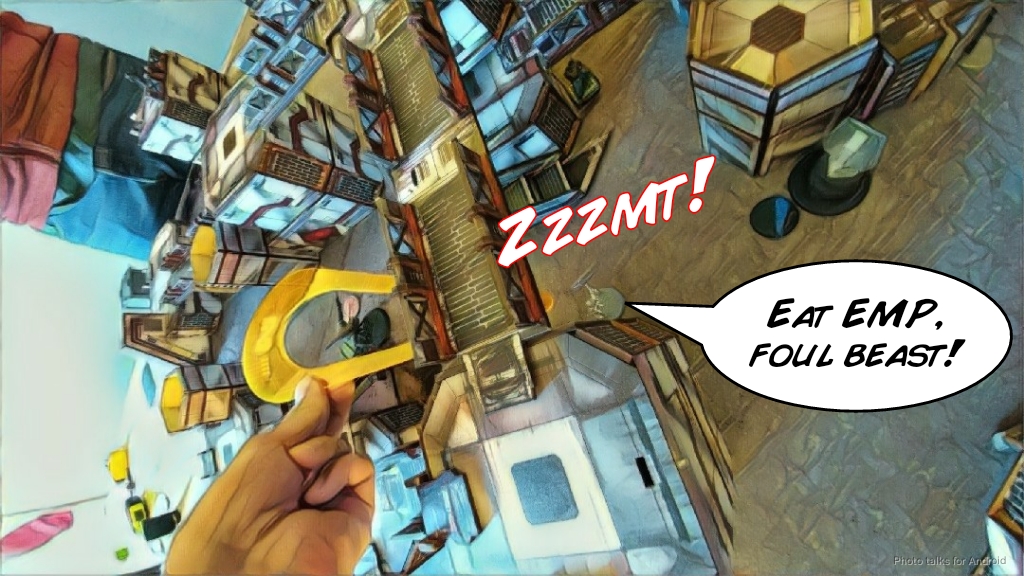 The remaining Mutt on my right just chugs up the board, throwing smoke when necessary to get across some gaps… this does put it pretty close to the AC2 though… Now, back to the dogged Mutt. I spend its irregular order and chuck smoke for my HMG Djanbazan, who stands up and drops the Q-Drone through a convenient keyhole. I re-impersonate the Fiday, which is now my Lieutenant, with its order.
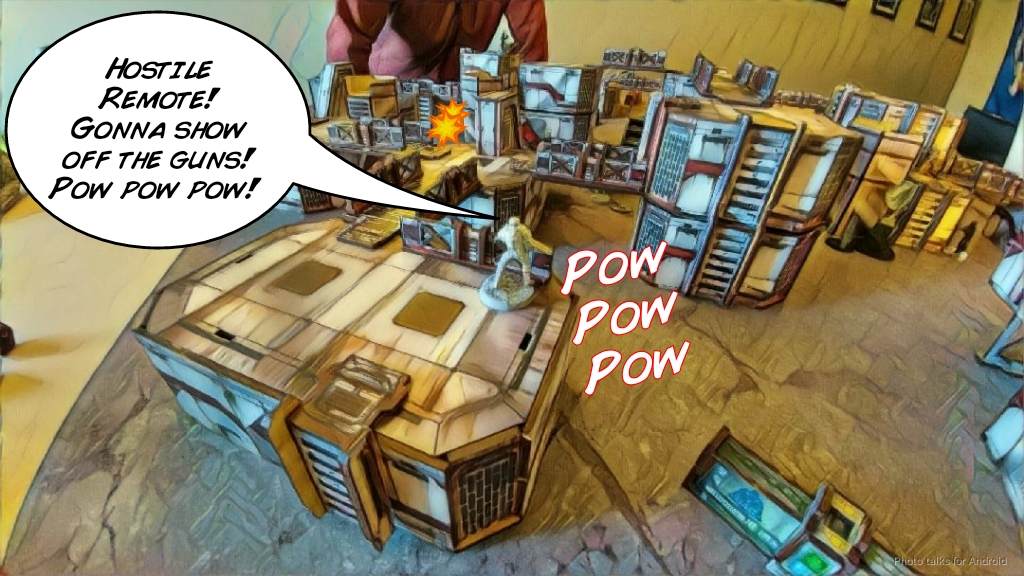 Thanks to the Krakot and the Al Fasid I have some regular orders to spend, so I move the Al’Hawwa into position to get to the right panoply on turn 3 and throw the Fasid into suppression before passing the turn back to Andrew.
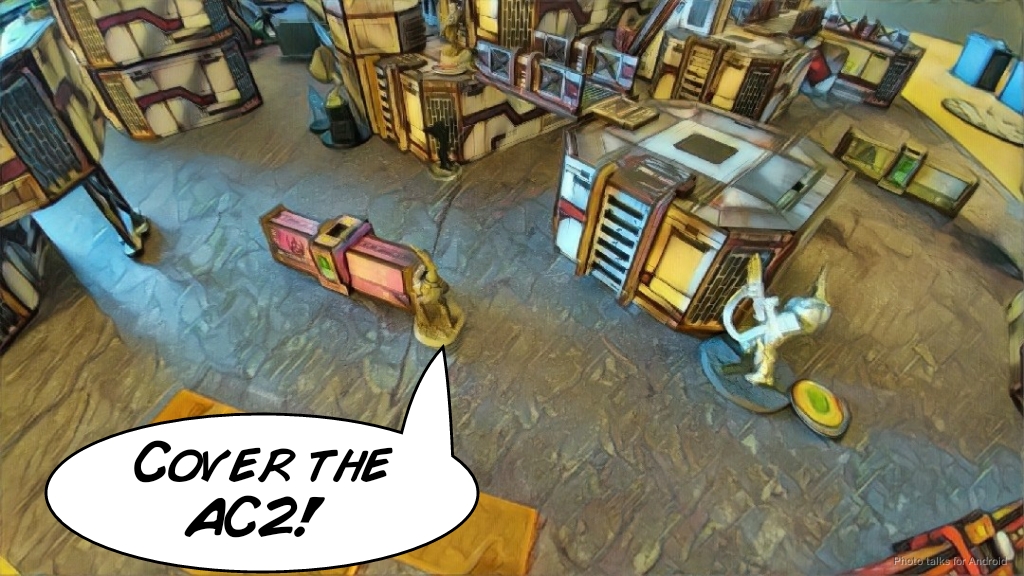
Bottom of Turn 2 – Combined Army
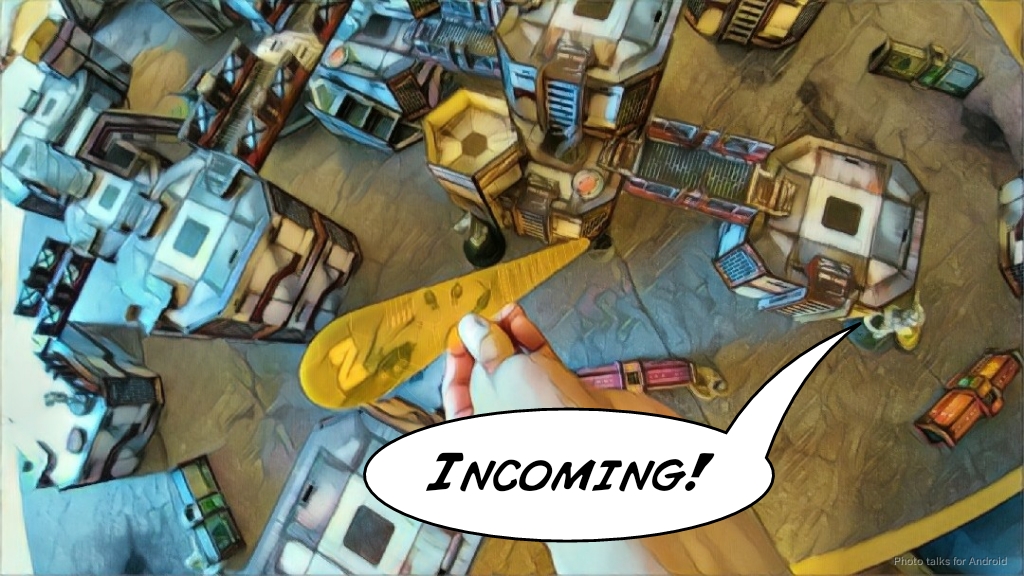
I’ve done a fair amount of damage to Andrew’s order pool, but he comes out swinging. The E-Drone takes out Yasbir, but the Speculo fails to take out my Djanbazan shock marksman, going down to shock. Shortly thereafter a Rasyat shows up on my left table edge and takes out my Djanbazan HMG from behind — that’s what happens when you fail a ton of dodge change face rolls. With that it’s back to me.
Turn 3
Top of Turn 3 – Haqqislam
My remaining Mutt pushes into range of the AC2, tossing smoke behind it to cover the Krakot’s approach. I land the smoke, and the E-Drone puts the Mutt dogged. The Krakot makes it into the smoke, then I move the Fiday up with my Lieutenant order, throwing smoke to cover the AC2. It takes me a few orders, but all three of them get in base to base and the Krakot manages to finish off the AC2. 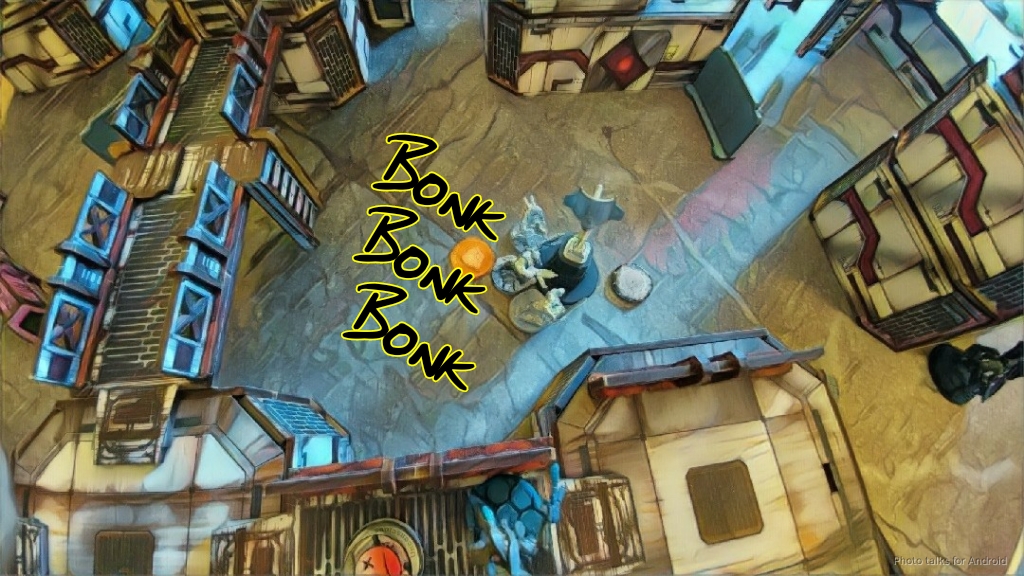 I spend my last two orders getting something out of the panoply with the Al’Hawwa, it doesn’t seem super relevant so we don’t bother rolling for it, and then I pass the turn to Andrew.
Bottom of Turn 3 – Combined Army
The Rasyat makes it to the middle of my deployment zone, only to be caught by the mine that the Al’Fasid left there. He fails the dodge and is shocked off the table.
 Andrew spends his Lieutenant order to exact revenge on my Fiday and Krakot, dropping them both.
 We measure and my Al’Hawwa is within 8″ of Andrew’s HVT and mine is clear, giving me Secure the HVT after all. I’ve got more things out of the panoply, destroyed Andrew’s AC2, and protected mine, giving me a
10-0 Haqqislam Victory!
Thanks to Andrew for taking the trip out to visit and for hanging out with me for a post game lunch too!
Notes
Notes for Me
- I think I need to change the Djanbazan shock marksman to a doctor, with a bot. I’ll have to find the points somewhere. I should be leveraging the Haqq WIP and Doctor Plus.
- I’m liking the tweaks to the list, but the Barid is super squishy and vulnerable…
- Double MSV2 is great!
- I should’ve used the Ragik’s dogged to move the HVT closer to my Al’Hawwa to really lock down Secure the HVT. Ah well.
- I was really pleased with the Mutts’ performance this game. Starting the one on my central board edge really paid off.
- This list has a lot of useful access to smoke. I’m digging it.
- Ghulam sniper does work if you let her just plink away continuously.
- Yasbir feels consistently meh. I guess it’s because I have so many strong attack pieces that he just sorta doesn’t need to do anything. Also, his viral CCW is useless against the AC2. I’m interested to see how he stacks up in a mission where anti-material isn’t a requirement.
- I have been making use of his his midfield smoke — that’s helpful. Perhaps I need to think about that more, especially given my double Djanbazan.
- Mutts have too many good tools. I’ve made use of the E/Marat twice now. Why don’t Nomads get one!?
- This mission is very much about tempo. You either want to blitz an opening on the AC2 first turn if you can, or slow roll it and go for the turn 3 snipe. I didn’t have a choice, really. I had to respond to Bit and Kiss and the threat they posed to my Lt, and then Dr. Worm and the Ikadron were easy followup targets.
- I also really think that unless you’re custom-made for this mission, like McMurrough who has 6-4 MOV, smoke, and a PH19 (with MA2) AP+DA CCW, you need to have multiple guys in base to base with the console for maximum efficiency.
Notes for Andrew
- I think there was a safe way to approach the AC2 on Turn 2. You could’ve dropped in the Rasyat just outside the view of my Krakot and Djanbazans, then eclipse smoked the AC2 and started punching. The AC2 itself would’ve blocked the mine from going off, so that probably was your best bet.
- The Sphinx ended up way too close to my Mutts. There’s no good way to deal with them other than shooting them from outside 8″.
- We talked about the list–perhaps a change to include a BSG+Grenades Maakrep would be useful to at least temporarily deny me smoke on the AC2.
- I think you asked the Speculo to do too much. Playing around impersonators is pretty straightforward, just set up AROs (you should do this at deployment anyway) and then just ignore them.
- Looking at the photos after the game, I think you missed some dodge change face and warning opportunities against my Fiday on turn one.
- The Sphinx did some serious work for you turn 1. If I hadn’t had so much smoke I would’ve been in real trouble.
- Sniping anti-material troopers is highly encouraged. I think if you had killed my Fiday and my Krakot I would’ve been done.