
Rooftop Table Beta Test
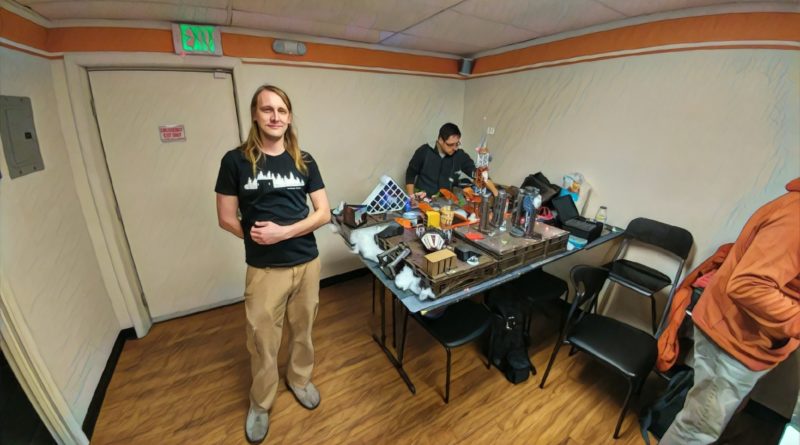
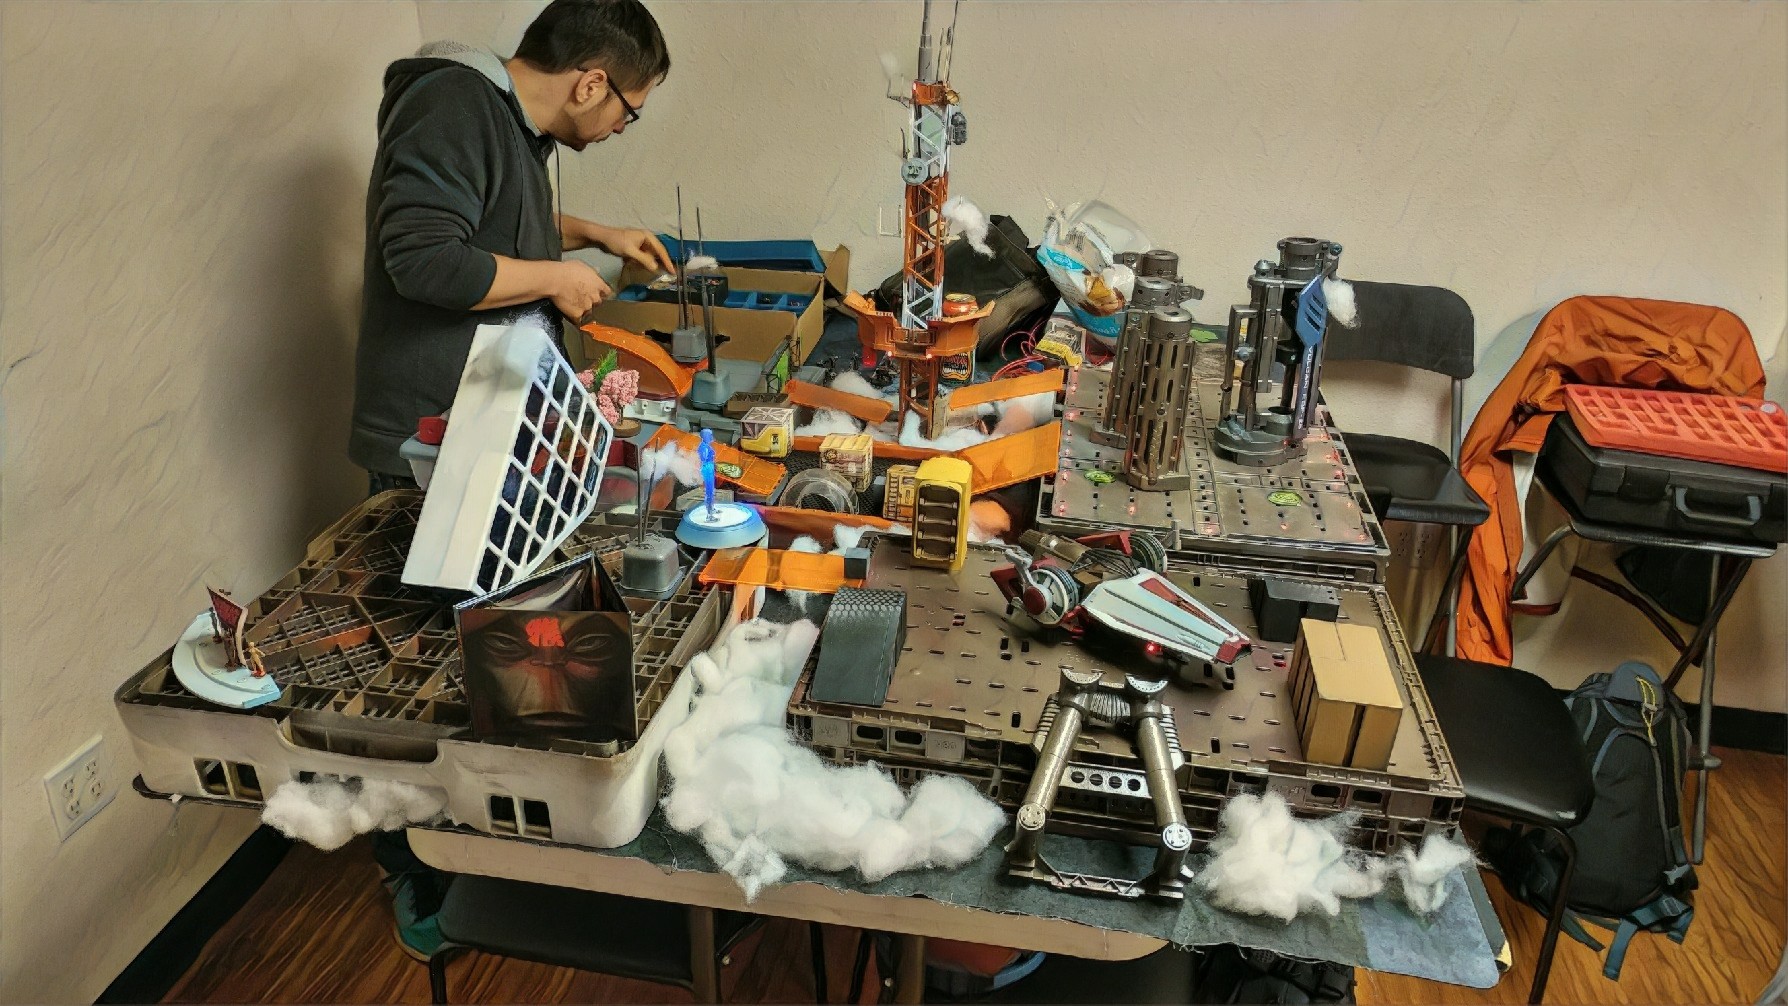
One of our local table architects, Than (zagdag), has been hard at work on a rooftop table. In addition to playing a mean game of Infinity himself with his Tohaa, he’s been pushing himself hard to create some truly imaginative tables for our community and the upcoming Rose City Raid 2019!
[metaslider id=”6069″]
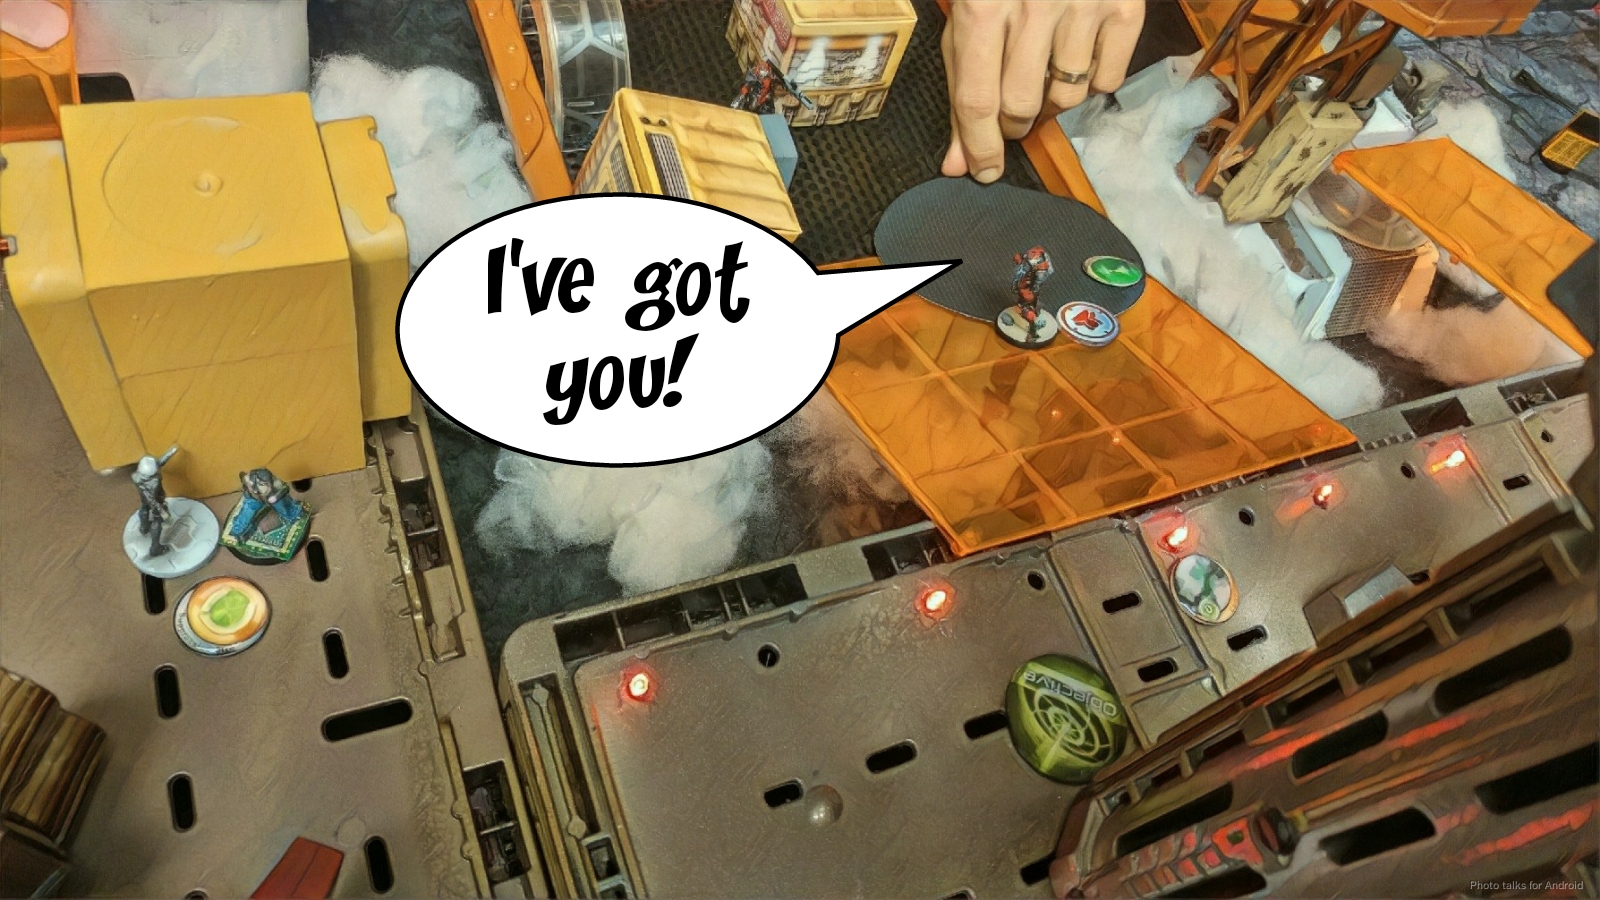
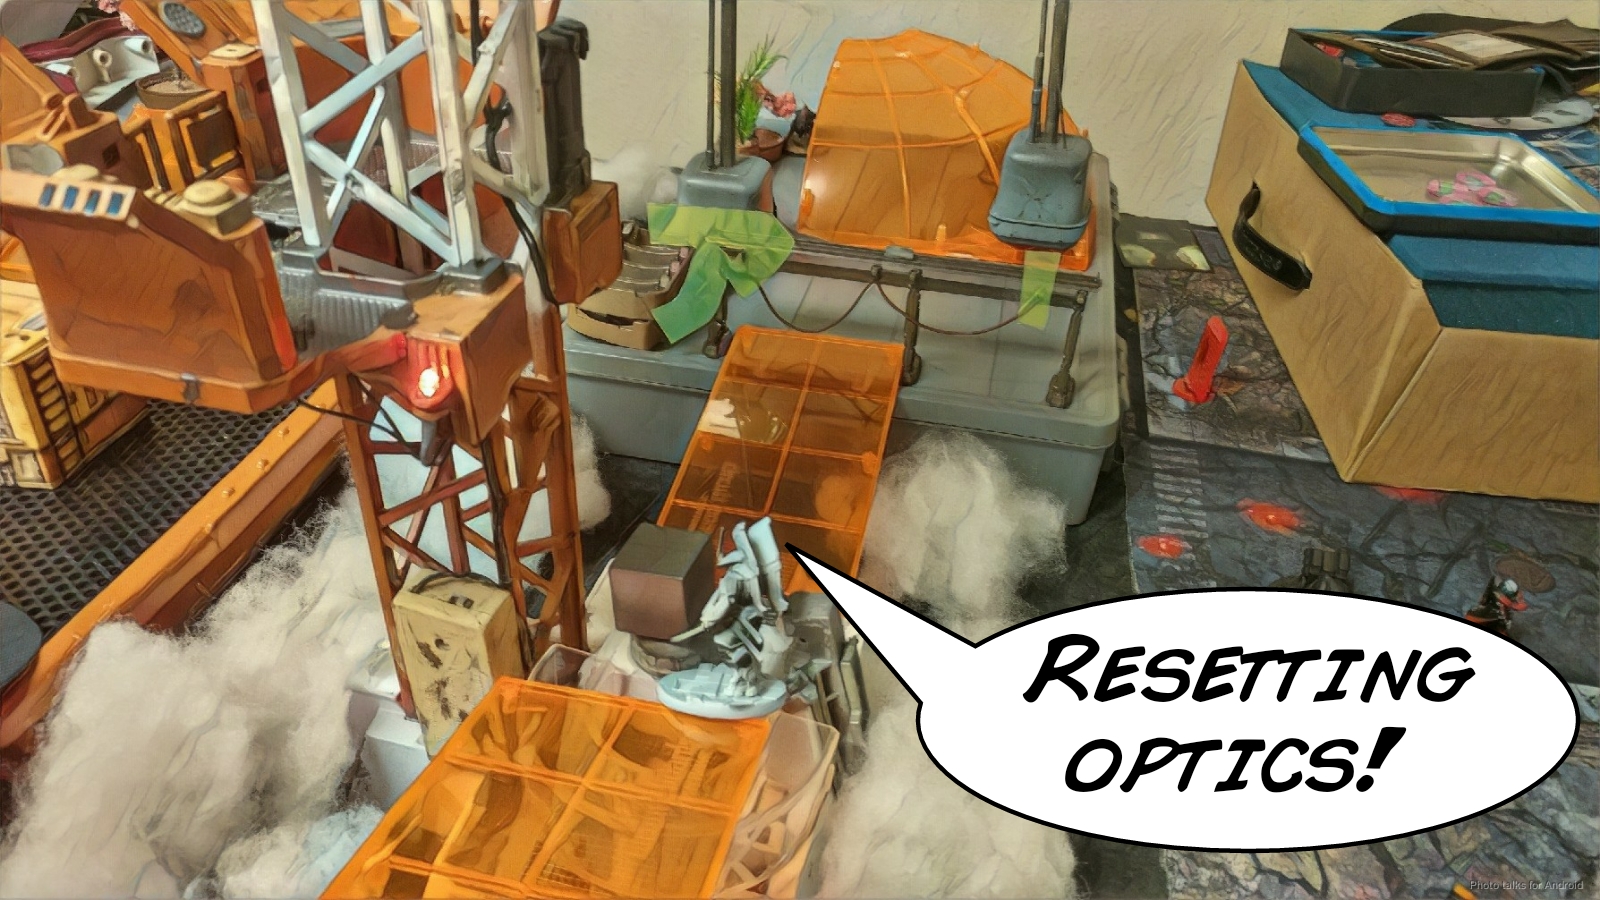
Than’s rooftop table comes complete with aircraft warning lighting, a beautifully rendered radio mast (with bird’s nest and bird poop), a rooftop garden, and a Natetehaggressar to play against! Than generously rushed to the store and set up his table for Nate and I to play on, with the caveat that we’d give him some good feedback on what needs work. Than added some synthetic pillow fluff as clouds, and stuck it on various tower bits on the table to give the illusion that the cloud cover was low enough/the buildings were high enough that we’d just be skirting the cloud layer.
I love the effect that it gave, and I think a light touch of the Tokyo filter in Prisma gives it a nice artsy feel. I think as our local tables continue to improve and more people get paint on their models I’ll keep pushing the Prisma filter “opacity” lower and lower to showcase all the hard work of our local meta!
As far as rules for the table were concerned, Than suggested we rule the “bottomless pit” between buildings as impassible except for units with Super Jump, Zero-G, or AD:2+, figuring that the “jetpacks” of the latter two skills could at least boost you across the gap. Seemed like a pretty cool touch. Other than that, trees and whatnot behaved normally, and we ruled that some funny shaped things like the spaceship/dropship thing were LoF blocking all the way down (i.e. no shooting under wings, landing gear, etc) just to make things sane.
Overview
- Mission: Frostbyte
- Forces: Japanese Secessionist Army versus Tunguska Jurisdictional Command (300)
- Deploy First: JSA
- First Turn: JSA
[img]https://assets.infinitythegame.net/infinityarmy/img/_logosweb/logo_903.png[/img][b] List B[/b]
[img]https://assets.infinitythegame.net/infinityarmy/img/_logosweb/903/logo_15.png[/img] [b]KUROSHI RIDER Lieutenant[/b] Combi Rifle + Light Flamethrower / Breaker Pistol, AP + Shock CCW. (0 | [b]33[/b])
[img]https://assets.infinitythegame.net/infinityarmy/img/_logosweb/903/logo_16.png[/img] [b]SHINOBU[/b] Combi Rifle, Nanopulser, Smoke Grenades / Pistol, Monofilament CCW. (0.5 | [b]47[/b])
[img]https://assets.infinitythegame.net/infinityarmy/img/_logosweb/903/logo_3.png[/img] [b]RYŪKEN (Forward Deployment L2, ODD)[/b] Submachine Gun, Antipersonnel Mines, D-Charges / 2 Breaker Pistols, Knife. (0.5 | [b]24[/b])
[img]https://assets.infinitythegame.net/infinityarmy/img/_logosweb/903/logo_3.png[/img] [b]RYŪKEN (Forward Deployment L2, ODD)[/b] Submachine Gun, Antipersonnel Mines, D-Charges / 2 Breaker Pistols, Knife. (0.5 | [b]24[/b])
[img]https://assets.infinitythegame.net/infinityarmy/img/_logosweb/903/logo_3.png[/img] [b]RYŪKEN (Forward Deployment L2, ODD)[/b] Submachine Gun, Antipersonnel Mines, D-Charges / 2 Breaker Pistols, Knife. (0.5 | [b]24[/b])
[img]https://assets.infinitythegame.net/infinityarmy/img/_logosweb/903/logo_29.png[/img] [b]YOJIMBO[/b] Contender, Nanopulser, Smoke Grenades, CrazyKoalas (2) / Pistol, DA CCW. (0 | [b]21[/b])
[img]https://assets.infinitythegame.net/infinityarmy/img/_logosweb/903/logo_28.png[/img] [b]SAITO TOGAN (Specialist Operative)[/b] Combi Rifle, Smoke Grenades / Pistol, EXP CCW, Knife. (0 | [b]40[/b])
[img]https://assets.infinitythegame.net/infinityarmy/img/_logosweb/903/logo_11.png[/img] [b]NINJA Hacker (Killer Hacking Device)[/b] Tactical Bow / Pistol, DA CCW, Knife. (0 | [b]29[/b])
[img]https://assets.infinitythegame.net/infinityarmy/img/_logosweb/903/logo_9.png[/img] [b]DAIYŌKAI[/b] Red Fury, Panzerfaust / Pistol, DA CC Weapon, AP CC Weapon. (1 | [b]49[/b])
[img]https://assets.infinitythegame.net/infinityarmy/img/_logosweb/903/logo_1.png[/img] [b]KEISOTSU[/b] Combi Rifle / Pistol, Knife. (0 | [b]9[/b])
[img]https://assets.infinitythegame.net/infinityarmy/img/_logosweb/orden_regular.png[/img]9 [img]https://assets.infinitythegame.net/infinityarmy/img/_logosweb/orden_irregular.png[/img]1 [img]https://assets.infinitythegame.net/infinityarmy/img/_logosweb/orden_impetuosa.png[/img]2 [b]| 3 SWC | 300 Points |[/b] Open in Infinity Army
[img]https://assets.infinitythegame.net/infinityarmy/img/_logosweb/logo_504.png[/img][b] Jurisdictional Command of Tunguska[/b]
[b]GROUP 1 | [/b][img]https://assets.infinitythegame.net/infinityarmy/img/_logosweb/orden_regular.png[/img]10
[img]https://assets.infinitythegame.net/infinityarmy/img/_logosweb/504/logo_4.png[/img] [b]HOLLOW MEN[/b] Spitfire, Chain-colt / Breaker Pistol, Knife. (2 | [b]36[/b])
[img]https://assets.infinitythegame.net/infinityarmy/img/_logosweb/504/logo_4.png[/img] [b]HOLLOW MEN[/b] Missile Launcher, Chain-colt / Breaker Pistol, Knife. (2 | [b]35[/b])
[img]https://assets.infinitythegame.net/infinityarmy/img/_logosweb/504/logo_4.png[/img] [b]HOLLOW MEN[/b] MULTI Rifle + Pitcher, Chain-colt / Breaker Pistol, Knife. (0 | [b]35[/b])
[img]https://assets.infinitythegame.net/infinityarmy/img/_logosweb/504/logo_4.png[/img] [b]HOLLOW MEN Hacker (Assault Hacking Device)[/b] Combi Rifle, Chain-colt + 1 TinBot A (Deflector L1) / Breaker Pistol, Knife. (0.5 | [b]37[/b])
[img]https://assets.infinitythegame.net/infinityarmy/img/_logosweb/504/logo_18.png[/img] [b]STEMPLER ZOND FTO (Super-Jump)[/b] Combi Rifle, Sniffer / Electric Pulse. (0 | [b]18[/b])[img]https://assets.infinitythegame.net/infinityarmy/img/_logosweb/504/logo_22.png[/img] [b]TRANSDUCTOR ZOND[/b] Flash Pulse, Sniffer / Electric Pulse. (0 | [b]8[/b])
[img]https://assets.infinitythegame.net/infinityarmy/img/_logosweb/504/logo_22.png[/img] [b]TRANSDUCTOR ZOND[/b] Flash Pulse, Sniffer / Electric Pulse. (0 | [b]8[/b])
[img]https://assets.infinitythegame.net/infinityarmy/img/_logosweb/504/logo_24.png[/img] [b]SALYUT (Minesweeper, Repeater)[/b] Electric Pulse. (0 | [b]8[/b])
[img]https://assets.infinitythegame.net/infinityarmy/img/_logosweb/504/logo_11.png[/img] [b]MARY PROBLEMS Hacker (Forward Deployment L1)[/b] Submachine Gun + Zapper, Pitcher / Pistol, Knife. (0.5 | [b]30[/b])
[img]https://assets.infinitythegame.net/infinityarmy/img/_logosweb/504/logo_10.png[/img] [b]PUPPET MASTERS (Minelayer)[/b] Submachine Gun, Antipersonnel Mines / PistolKnife. (0.5 | [b]14[/b])[b]GROUP 2 | [/b][img]https://assets.infinitythegame.net/infinityarmy/img/_logosweb/orden_regular.png[/img]3 [img]https://assets.infinitythegame.net/infinityarmy/img/_logosweb/orden_irregular.png[/img]1
[img]https://assets.infinitythegame.net/infinityarmy/img/_logosweb/504/logo_9.png[/img] [b]INTERVENTOR Hacker Lieutenant (Hacking Device Plus)[/b] Combi Rifle / Pistol, Knife. (0.5 | [b]25[/b])
[img]https://assets.infinitythegame.net/infinityarmy/img/_logosweb/504/logo_7.png[/img] [b]HECKLER[/b] Combi Rifle, Jammer, 1 FastPanda / Pistol, Knife. (0 | [b]23[/b])
[img]https://assets.infinitythegame.net/infinityarmy/img/_logosweb/504/logo_7.png[/img] [b]HECKLER[/b] Boarding Shotgun, E/Marat / Pistol, Knife. (0 | [b]19[/b])
[img]https://assets.infinitythegame.net/infinityarmy/img/_logosweb/504/logo_27.png[/img] [b]WARCOR (Aerocam)[/b] Flash Pulse / Stun Pistol, Knife. (0 | [b]3[/b])
[b] 6 SWC | 299 Points |[/b] Open in Infinity Army
Deployment
This was a quite difficult table to deploy on. Nate’s been discussing his various Hollow Men core lists in the various chat groups we both frequent, so I knew what was coming. With a 6″ Super-Jump, I knew that I wasn’t going to be able to hide anything forever, and would have to adaptively move things around with dodges in ARO and coordinated orders in my active turn to adjust for the positioning of the Hollow Men.
I’m all about reducing cognitive load in deployment, so the first thing I did was string three Ryuken-9 across the table, right up at the edge of the exclusion zone with their mines. Kuroshi Rider had only one real place to go that would hide her whole base, so I stuck her on the left in total cover, with Yojimbo on the right exposed a little. There wasn’t a good place to put a link watching Yojimbo’s likely required movement path, so I thought this was relatively safe.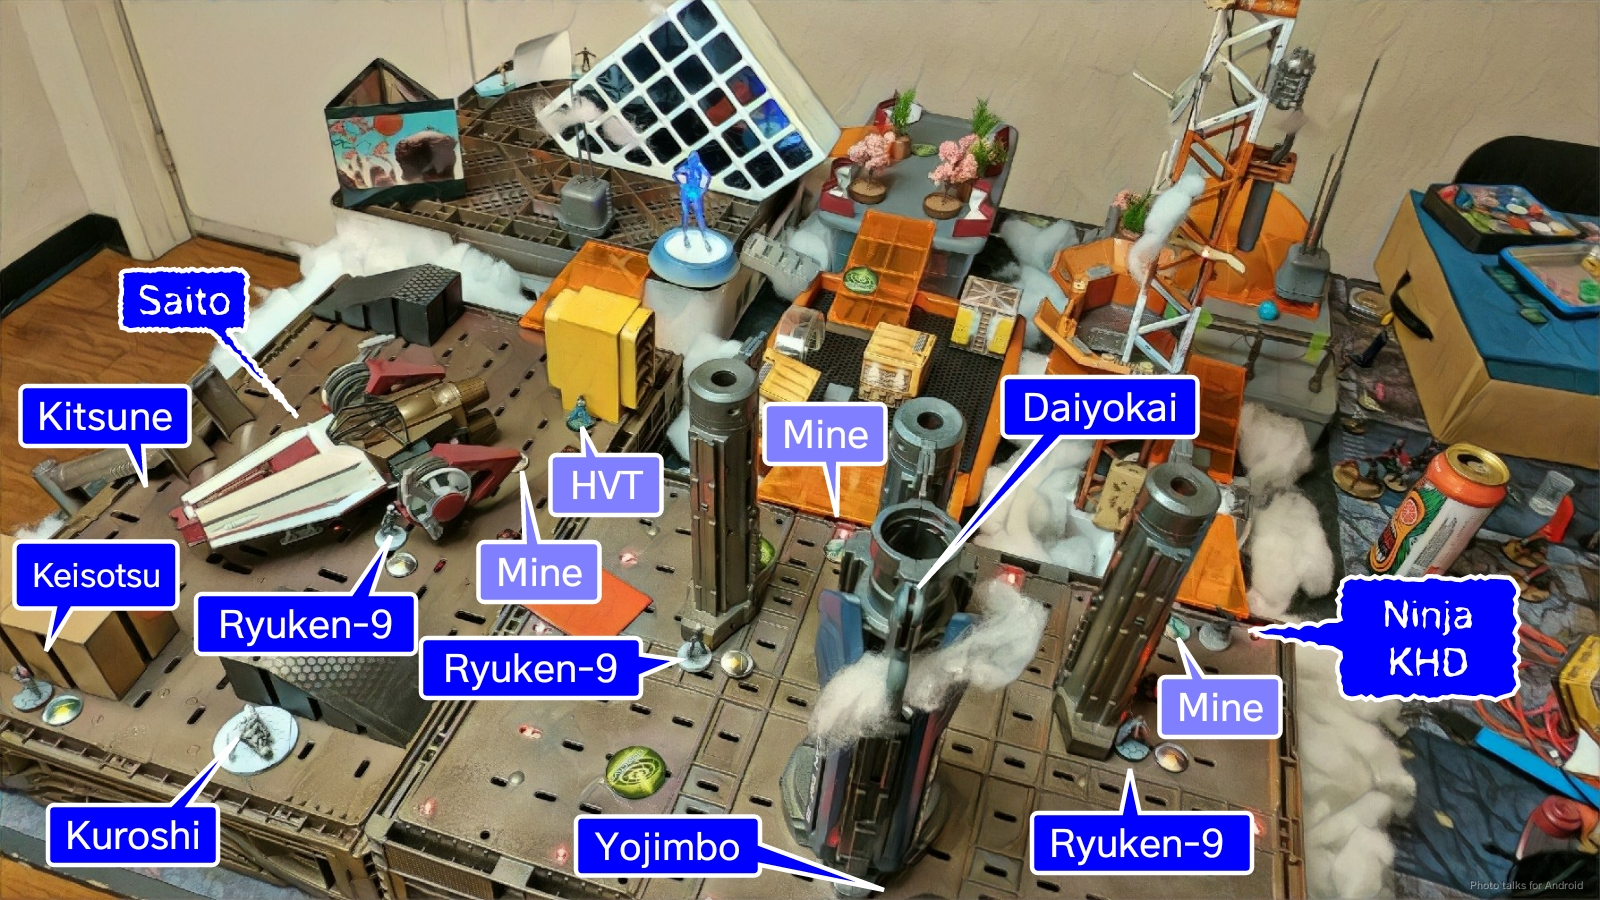 My Daiyokai went in the center of my deployment, then I stuck my Ninja on the right and Saito on the left in hidden deployment to go push buttons and cause problems later. I bluffed a Keisotsu Lt on the left, prone behind a terrain feature. He’s literally there to cheerlead, nothing more. I held Kitsune in reserve and passed things over to Nate.
Nate somehow managed to get a 14 order list on the table with a full Hollow Men core. Gross. The Hollow Men and their Stempler FTO buddy went on the right, with the MULTI Rifle and ML left out to ARO, backed up by a Warcor. Nate protected his heaters with a Puppeteer and his mine, and then put his usual pair of Transductors on both sides of the table. To get some more orders on the table, a Salyut hung out in the back left, in total cover behind the weird orange shell… thingy…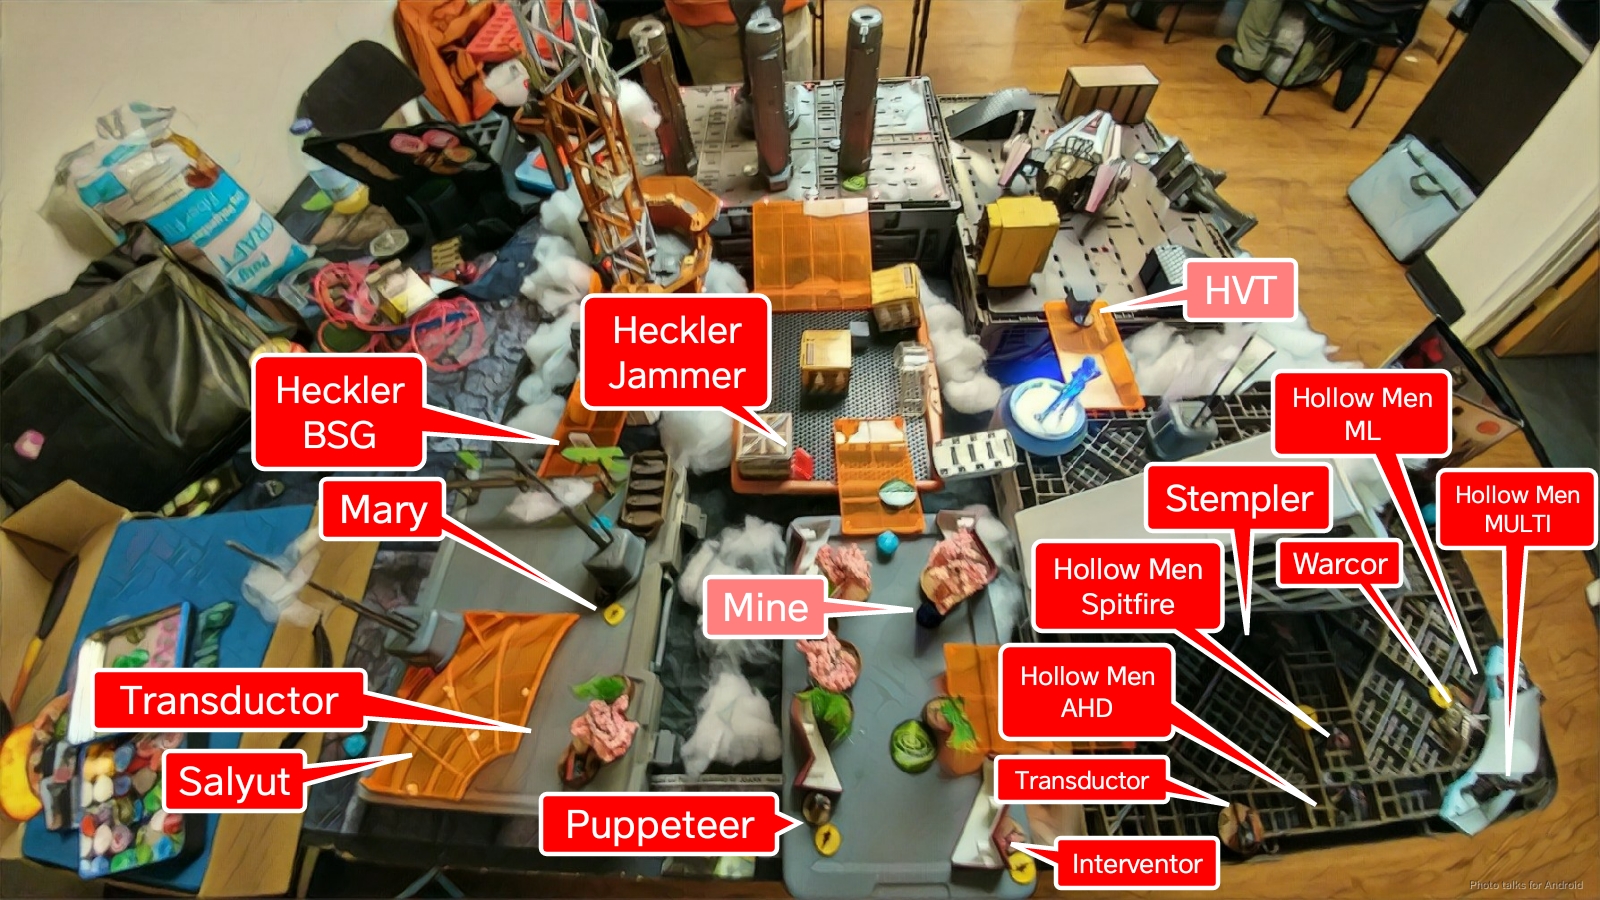 Nate also managed to get a pair of Hecklers, an Interventor, and Mary into his list, so they made up the left and middle sections of his deployment. The Hecklers guarded the approach to both hackers, with Mary all the way on the left. I attempted to land Kitsune near Nate’s link, intending to hide her there until they advanced to a place where she could be behind them, but rolled a 20. Interestingly, there was no legal place to put her after her failed infiltration roll, so Nate was gracious enough to let me put her on the roof near my left table edge.
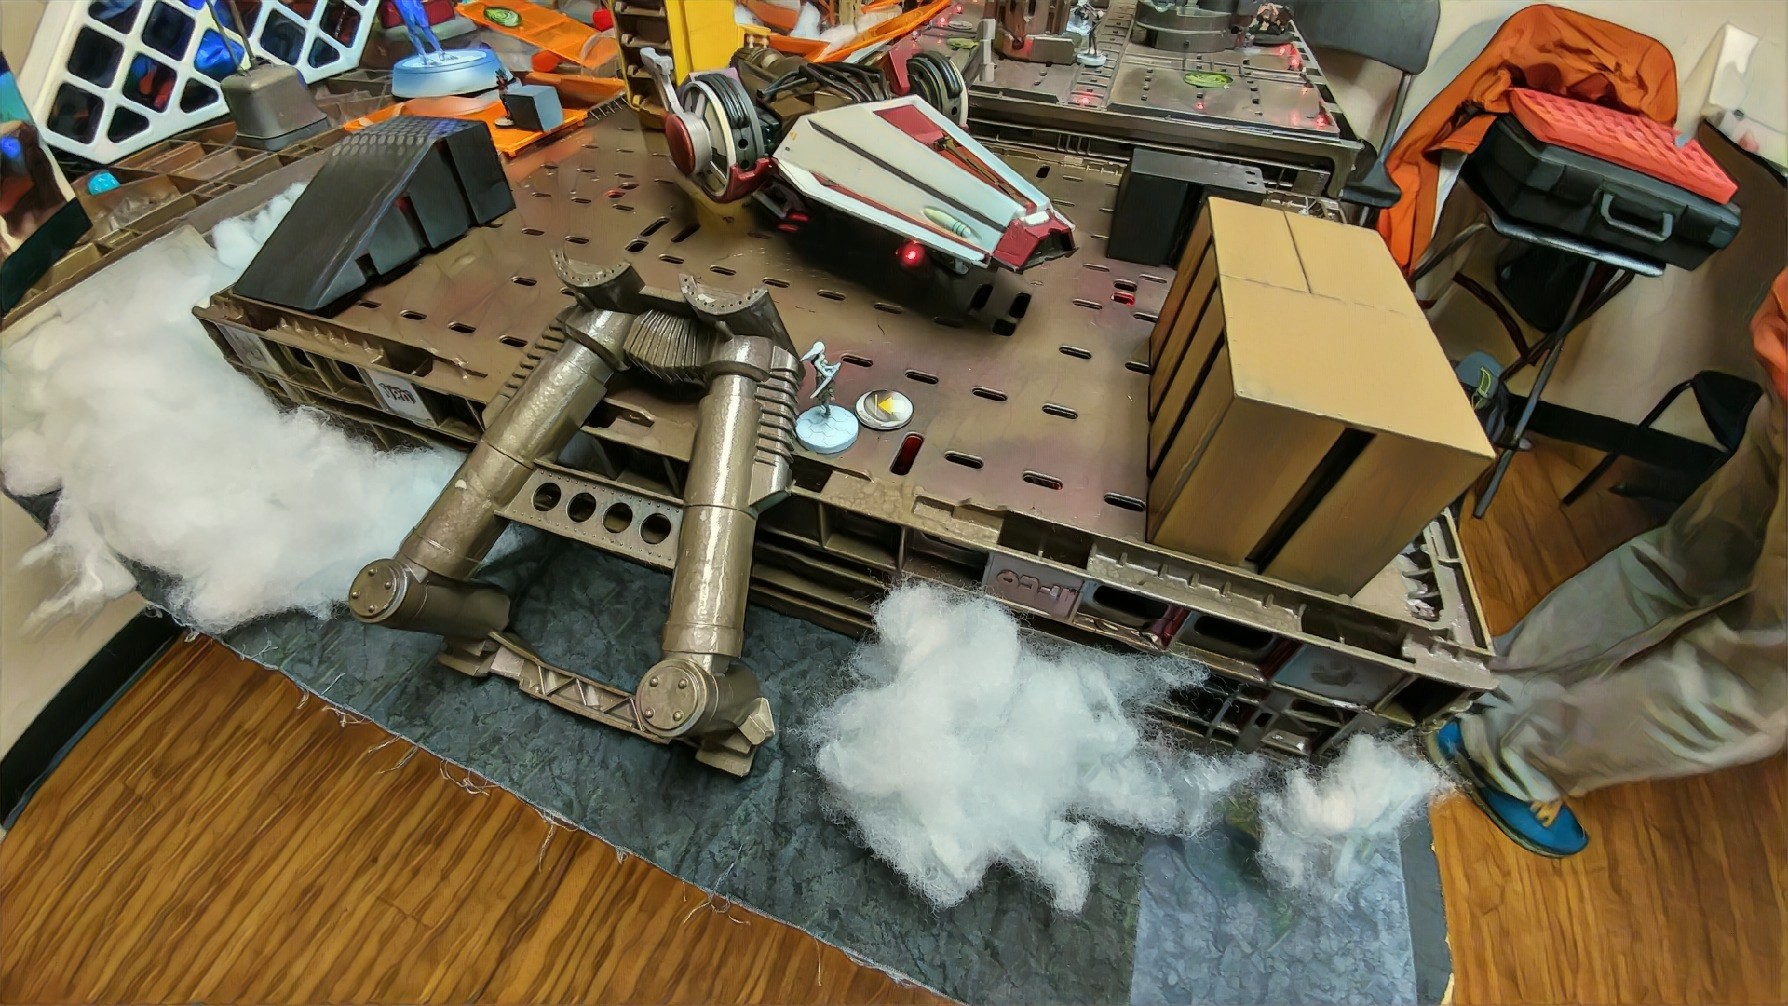 I forget what Nate held in reserve. Nate, “against [his] better judgement,” nominates Mary as his DataTracker, and I nominated my Daiyokai.
Turn 1
Top of 1 – JSA
Yojimbo just zooms forward, smoking out a flash pulse from one of the Tranductors.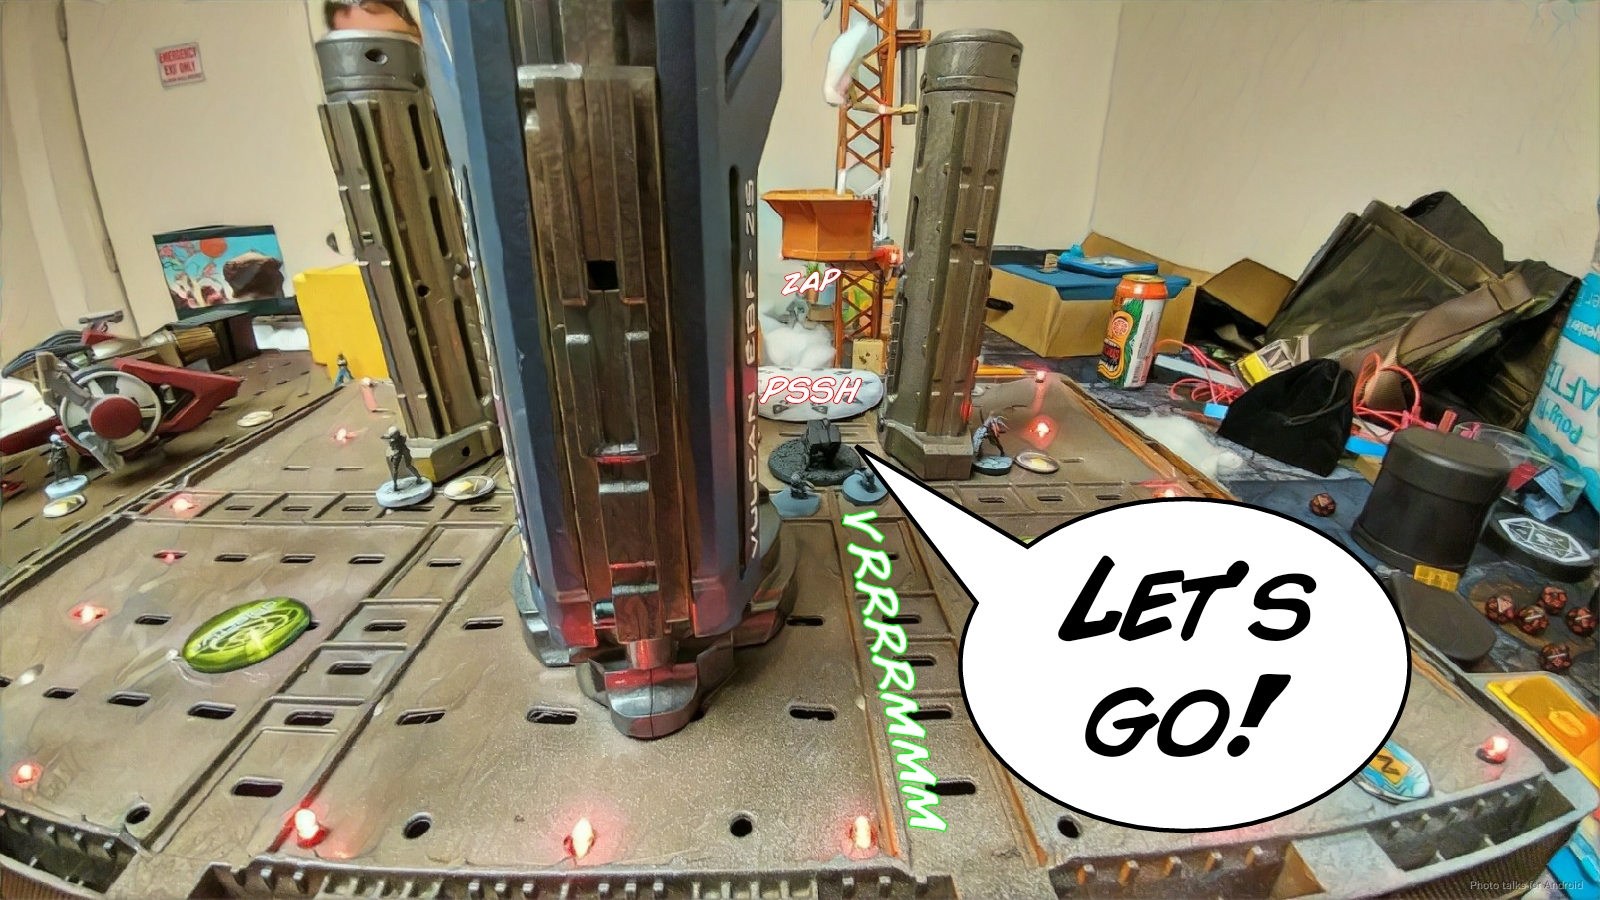 I eyeball Kuroshi Rider’s movement well enough, and she manages to use her first move and not get shot by the missile launcher.
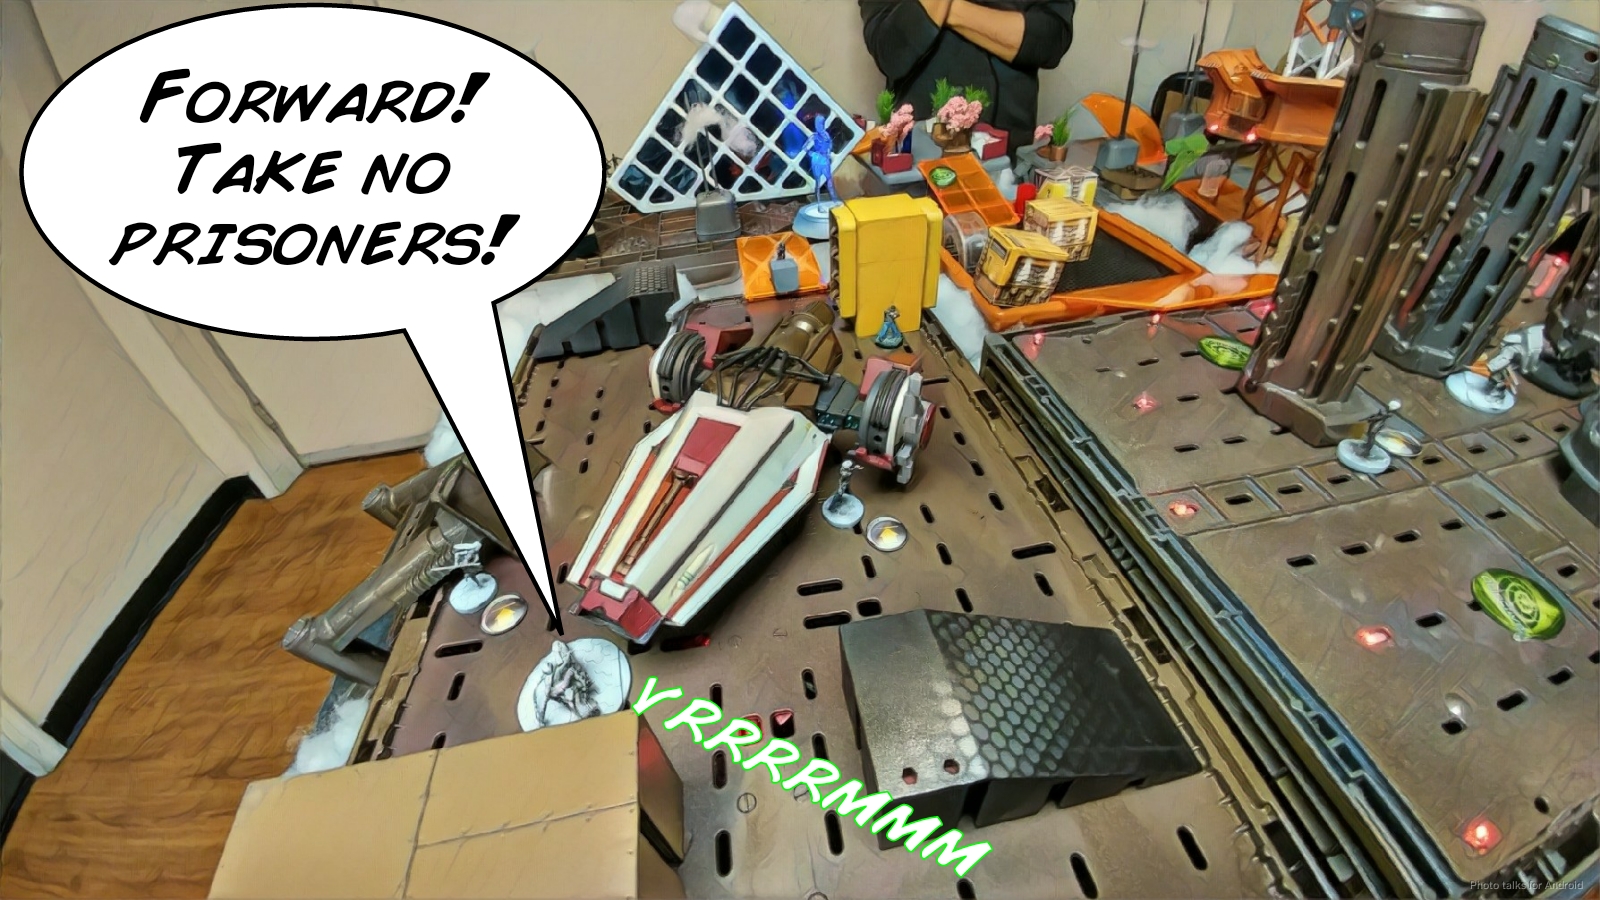 Yojimbo attempts to land some smoke for my Ninja on the right, but flubs his roll, tanking yet another flash pulse from the Transductor. I reveal a TO camo token and start marching it towards Mary Problems.
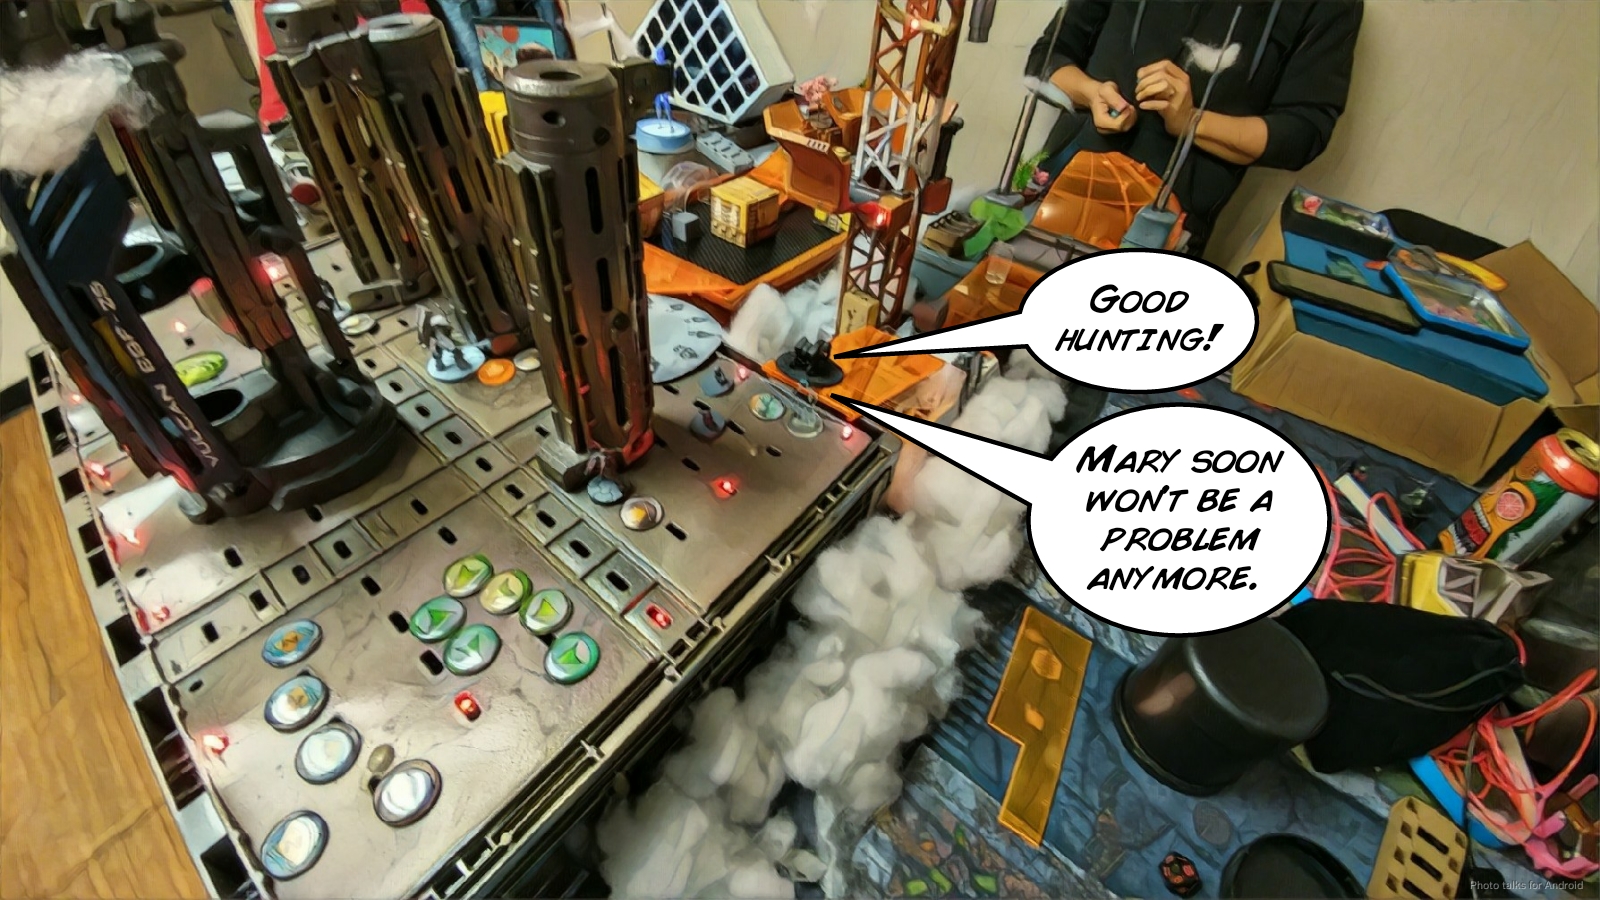 The Transductor flubs a Discover roll, and it’s not until I’m in 8″ of Mary that Nate finally decides to reveal the Heckler BSG the Ninja had walked by to try and discover my Ninja.
 Redrum beats out Mary’s lightning, taking out Nate’s DataTracker, and the Transductor’s flash pulse misses.
 My Ninja spins around and crit tacbows Nate’s Heckler in the face, DA-ing him off the table. The Transductor finally lands a flash pulse and my Ninja is stunned though. In the game, Nate used the Heckler’s BSG to get a semi-decent F2F roll against my Ninja: one 12 versus one 11. After the game, he lamented that he should’ve E/Marat’ed my Ninja to turn off my KHD. I’m not sure I agree if that’s better, but it’s certainly a good option.
 I throw some smoke with Kitsune, primarily to let her tuck into cover and to help my other units move around as part of a coordinated order. I move Daiyokai into a place where the Hollow Men will have to get out pretty far to even see him, and then hide Kuroshi Rider.
 My Ninja move-moves into the Salyut’s repeater, triggering an SSL2 ARO from the Hollow Men AHD, but it whiffs on Oblivion. Thankfully, Mary is already dead and the Interventor is blissfully unaware of my stealthy Ninja as she stumbles around, blind.
 My last order is to recamo Kitsune, just in case.
Bottom of 1 – Tunguska
Nate knows he can’t move the link without killing my Ninja first, so he “throws caution to the wind” and spends his Lieutenant order Sucker Punching my Ninja. It takes him I think another two orders to finally get through my ARO of Redrum and drop the Ninja, so that was a pretty decent trade: 2 models (one of which was the datatracker, and effectively 5 orders (2 orders down + 3 from the Interventor) for the cost of the Ninja and most of my first turn.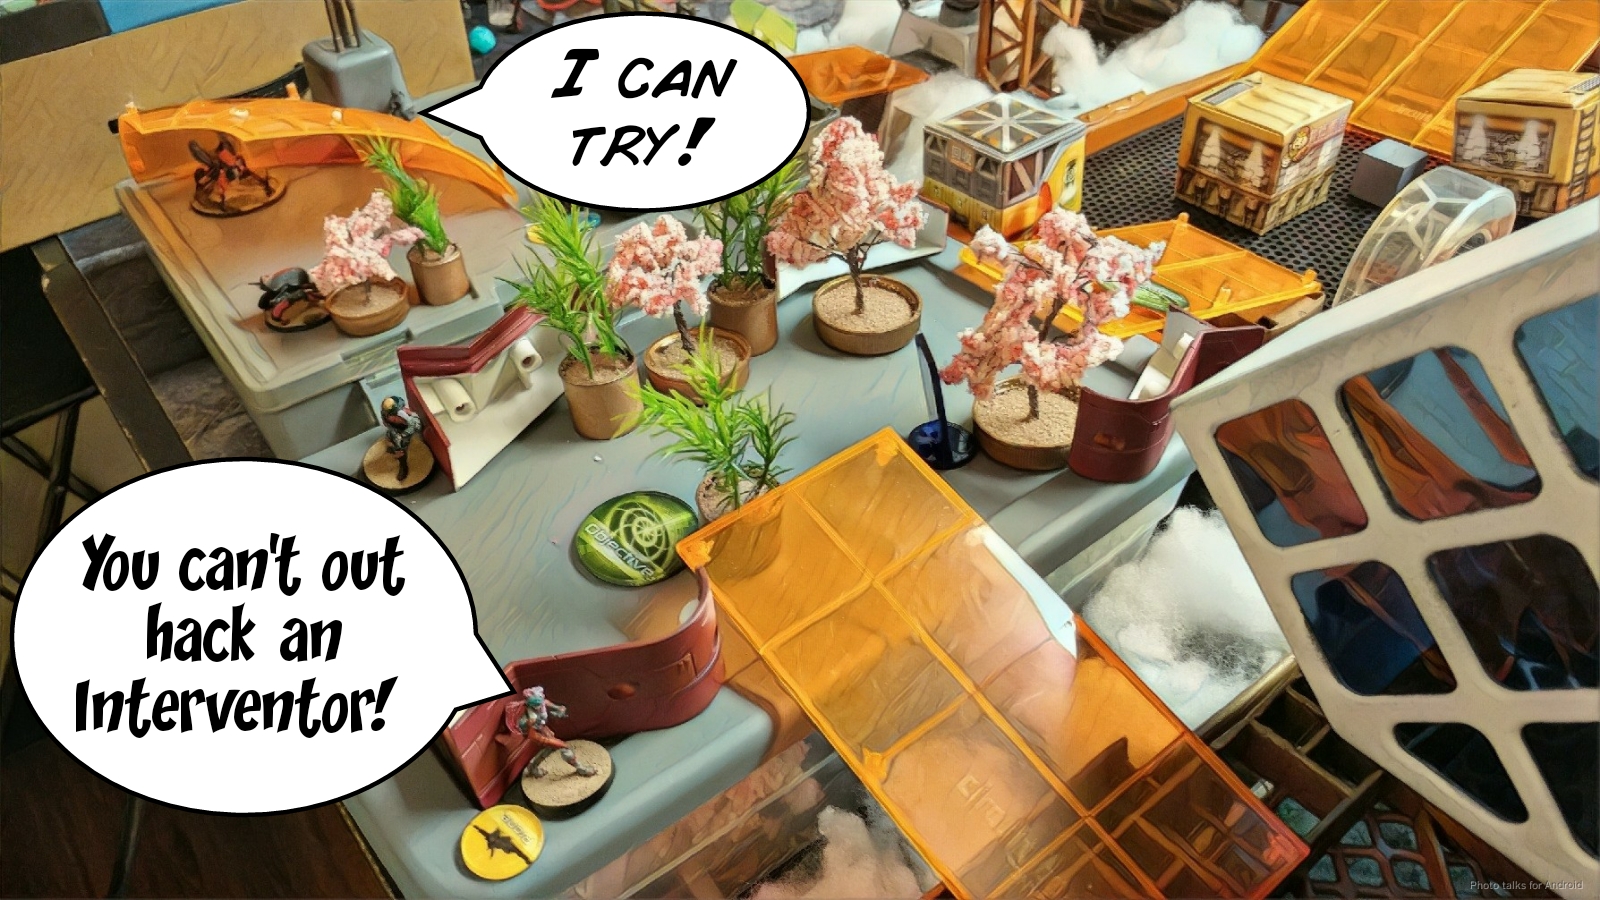 With the hacking threat gone, Nate starts moving the Hollow Men. First he missiles Yojimbo off the table (who doesn’t have Mimetism, apparently?). Two failed ARM saves negates NWI, and I remove the ALEPH bot proxy that Nate lent me (Yojimbo’s sword fell off so he’s in the repair queue at home).
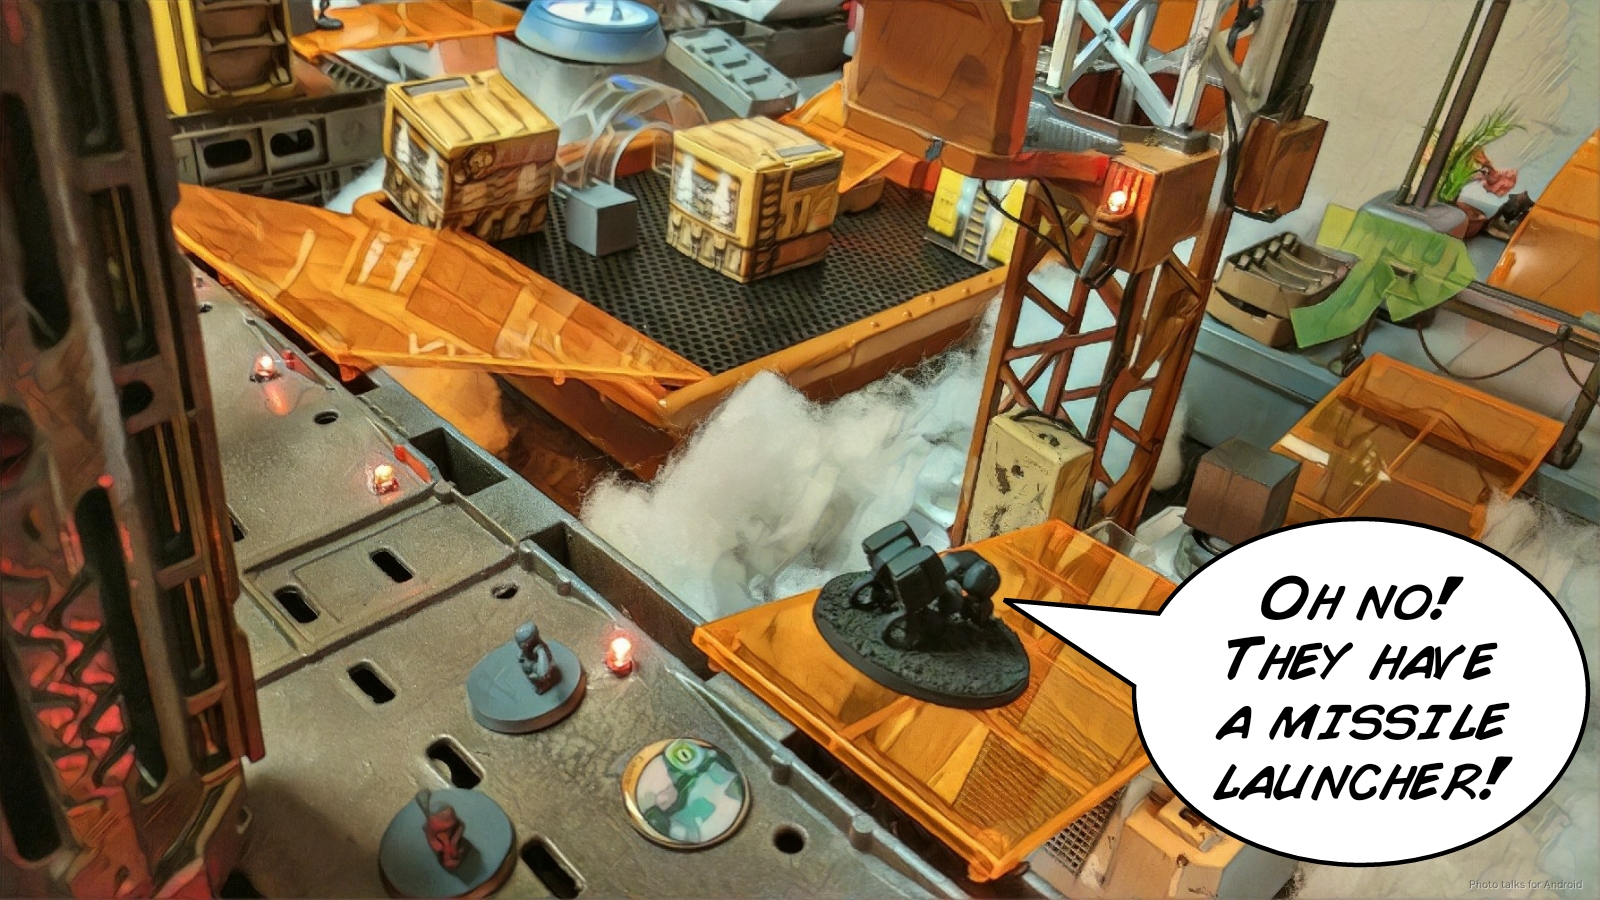 Another order later, and even without Super Jump, the relative openness of the table lets the ML see one of my Ryuken, who thankfully dodges out of LoF.
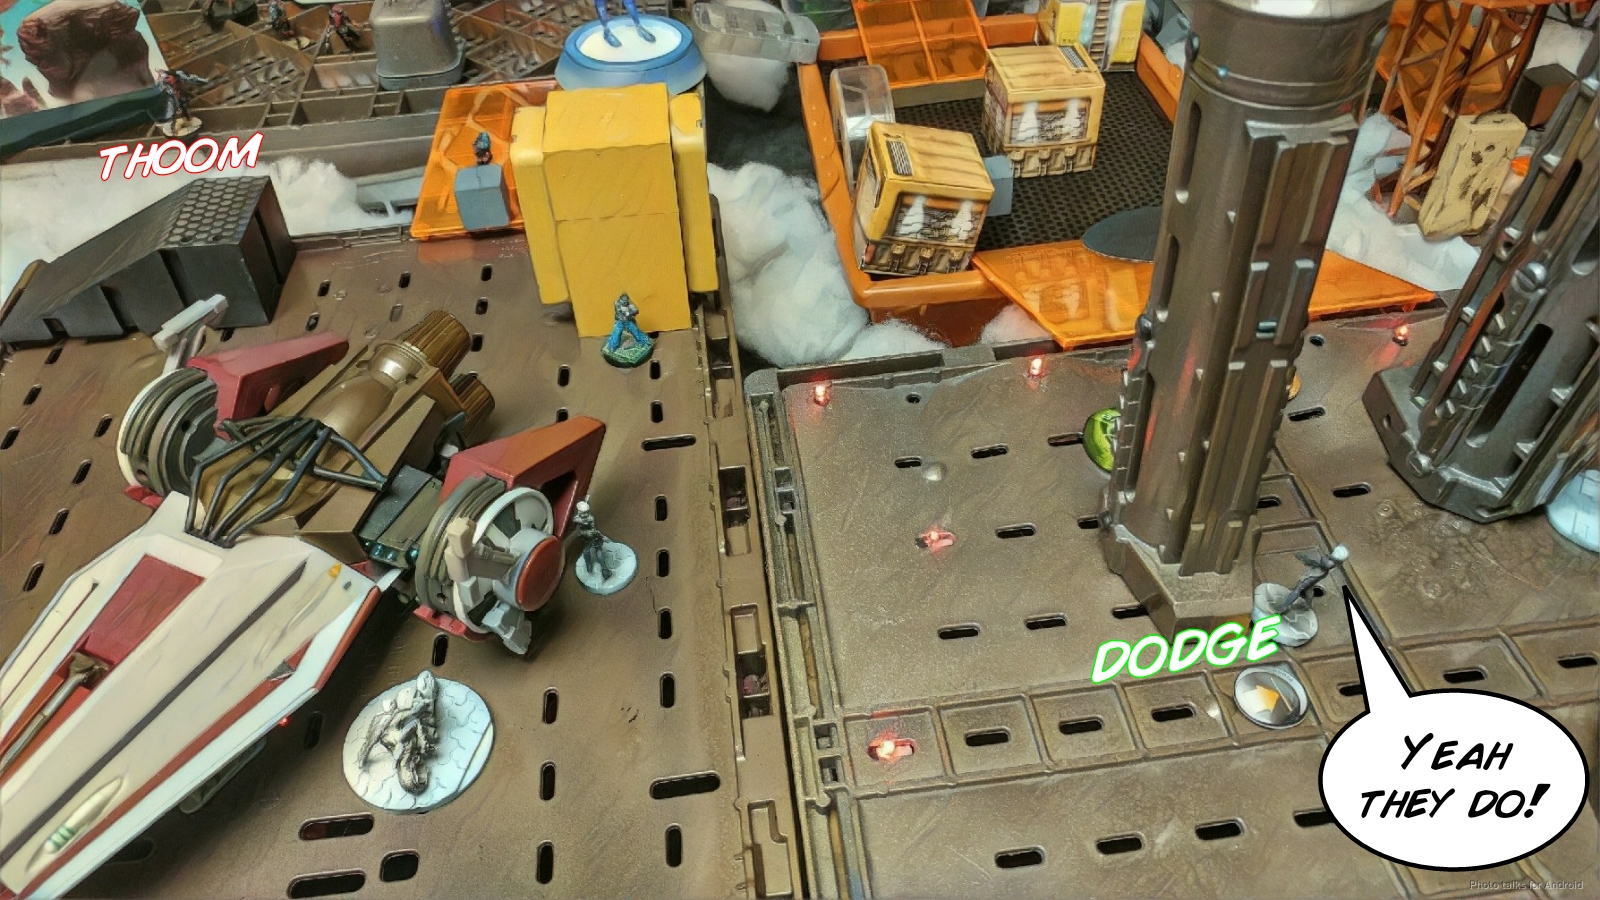 Nate tries to set up a IMM-1 attempt on my Daiyokai by tossing out a Fast Panda from his Heckler Jammer, but even with the 8″ move I’m too far. We flipped a neoprene smoke template over to provide a tacky surface for the repeater marker to sit on. The table’s still in beta, so all of the ramps are too steep to safely place anything on. Than’s still looking for some stuff to replace the ramps, these are temporary placeholders.
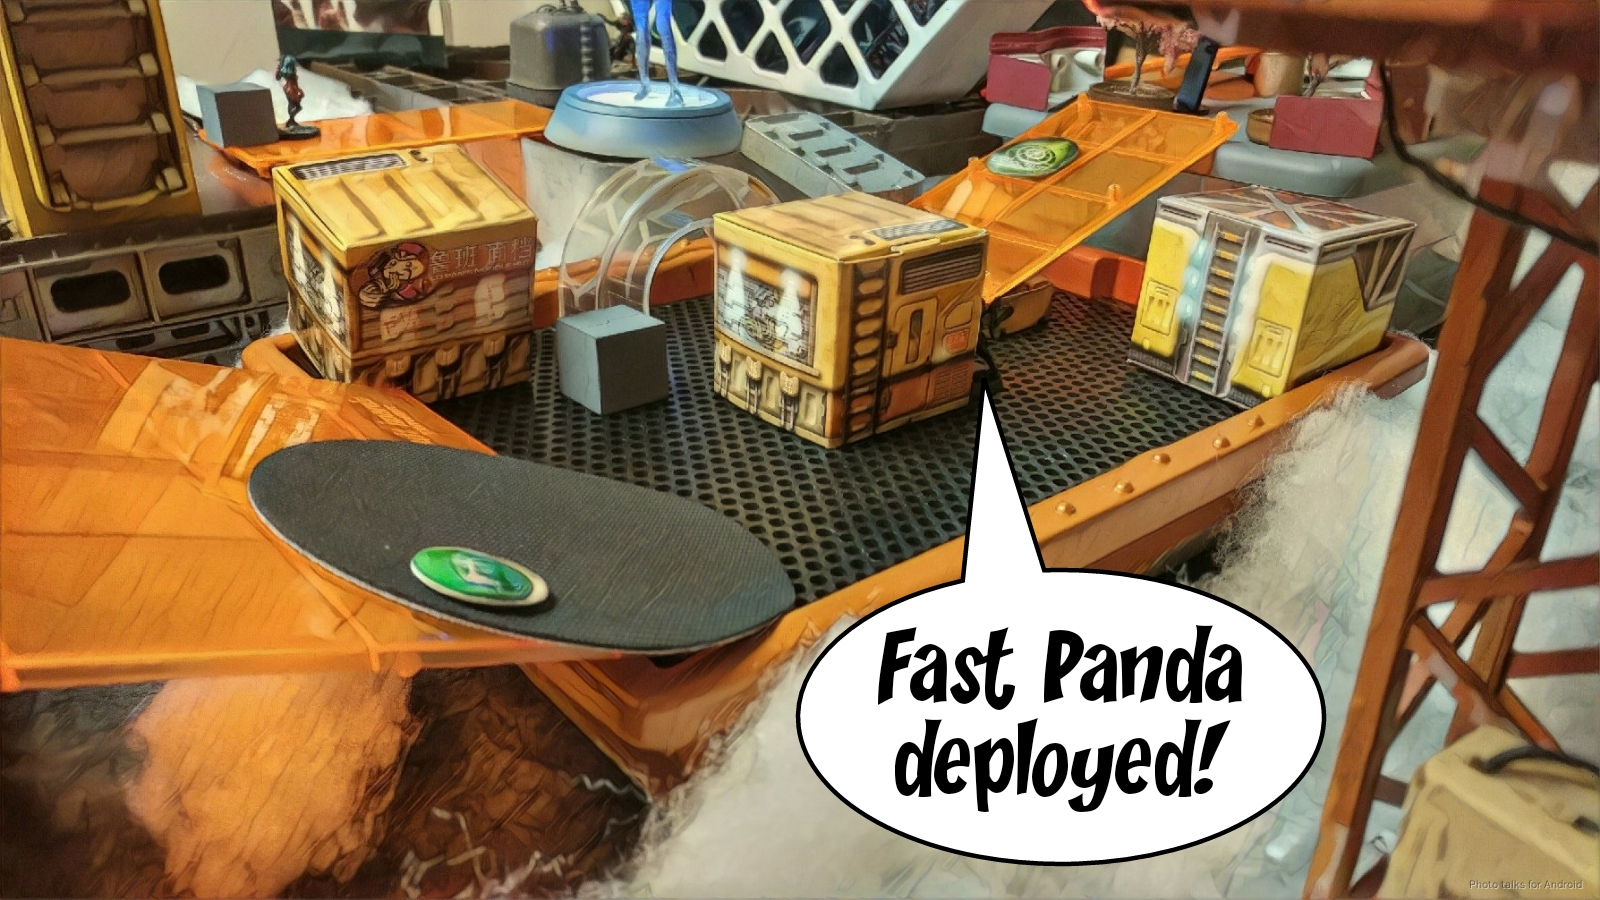 Much shuffling later, the Daiyokai is in the Hollow Men’s sights and eats a missile in the face after firing both of his Panzerfausts. I thankfully manage to activate NWI, passing enough ARM saves, and fail guts into total cover from the Hollow Men’s current position.
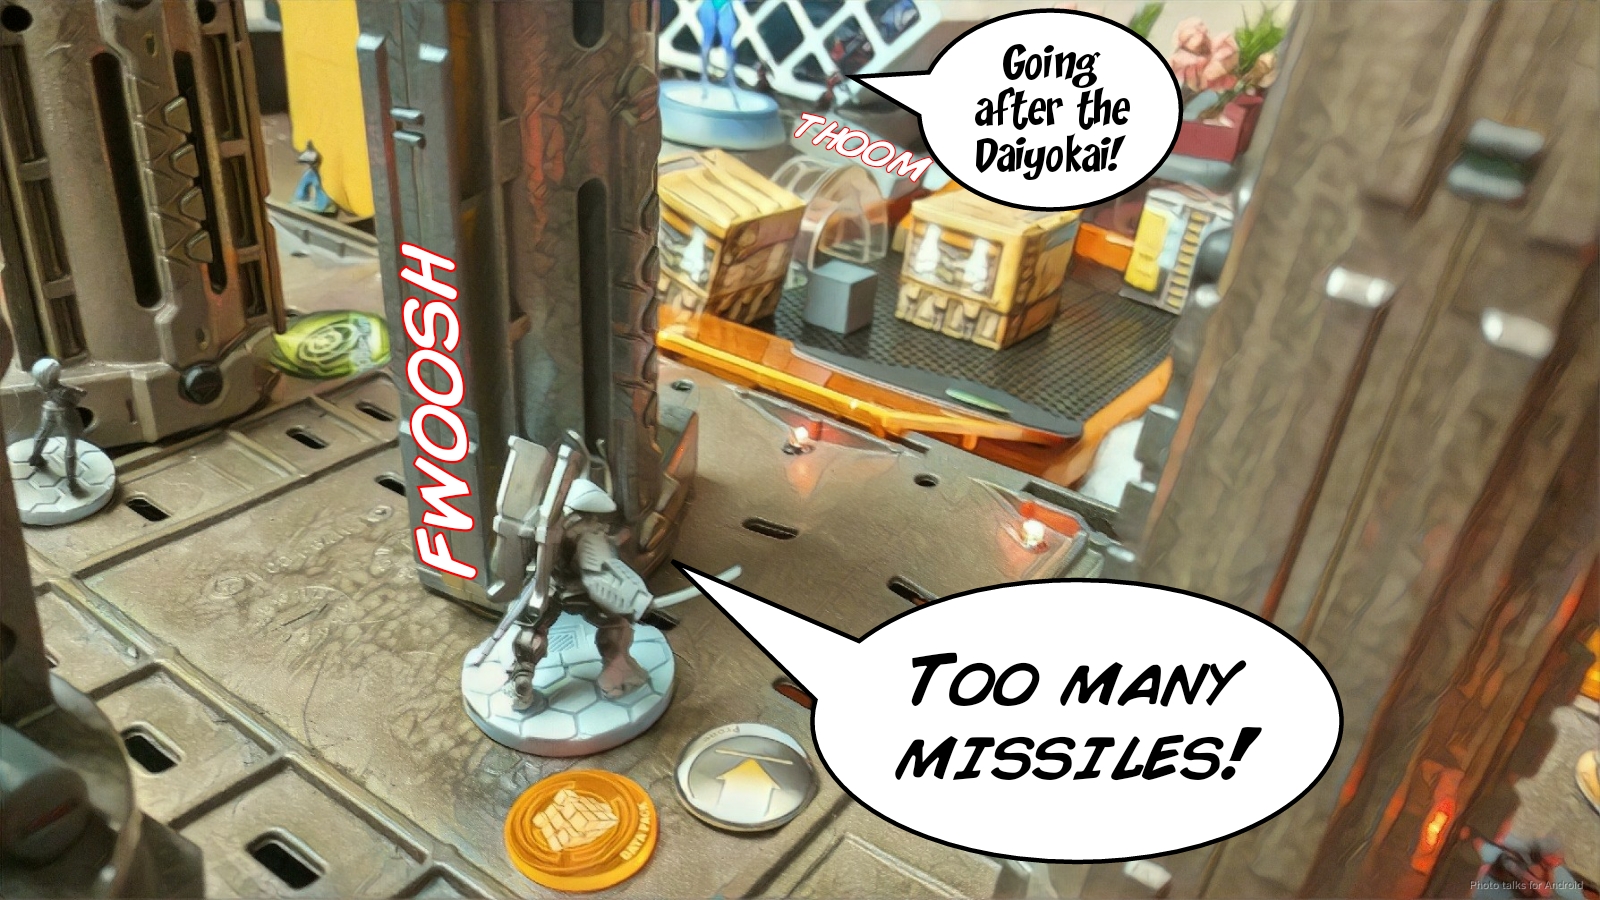 Nate then brings the Spitfire into play, knowing he’ll need weight of dice to punch through the Ryuken-9’s ODD. After super jumping into view, the Hollow Man dumps 5 dice onto the Ryuken…
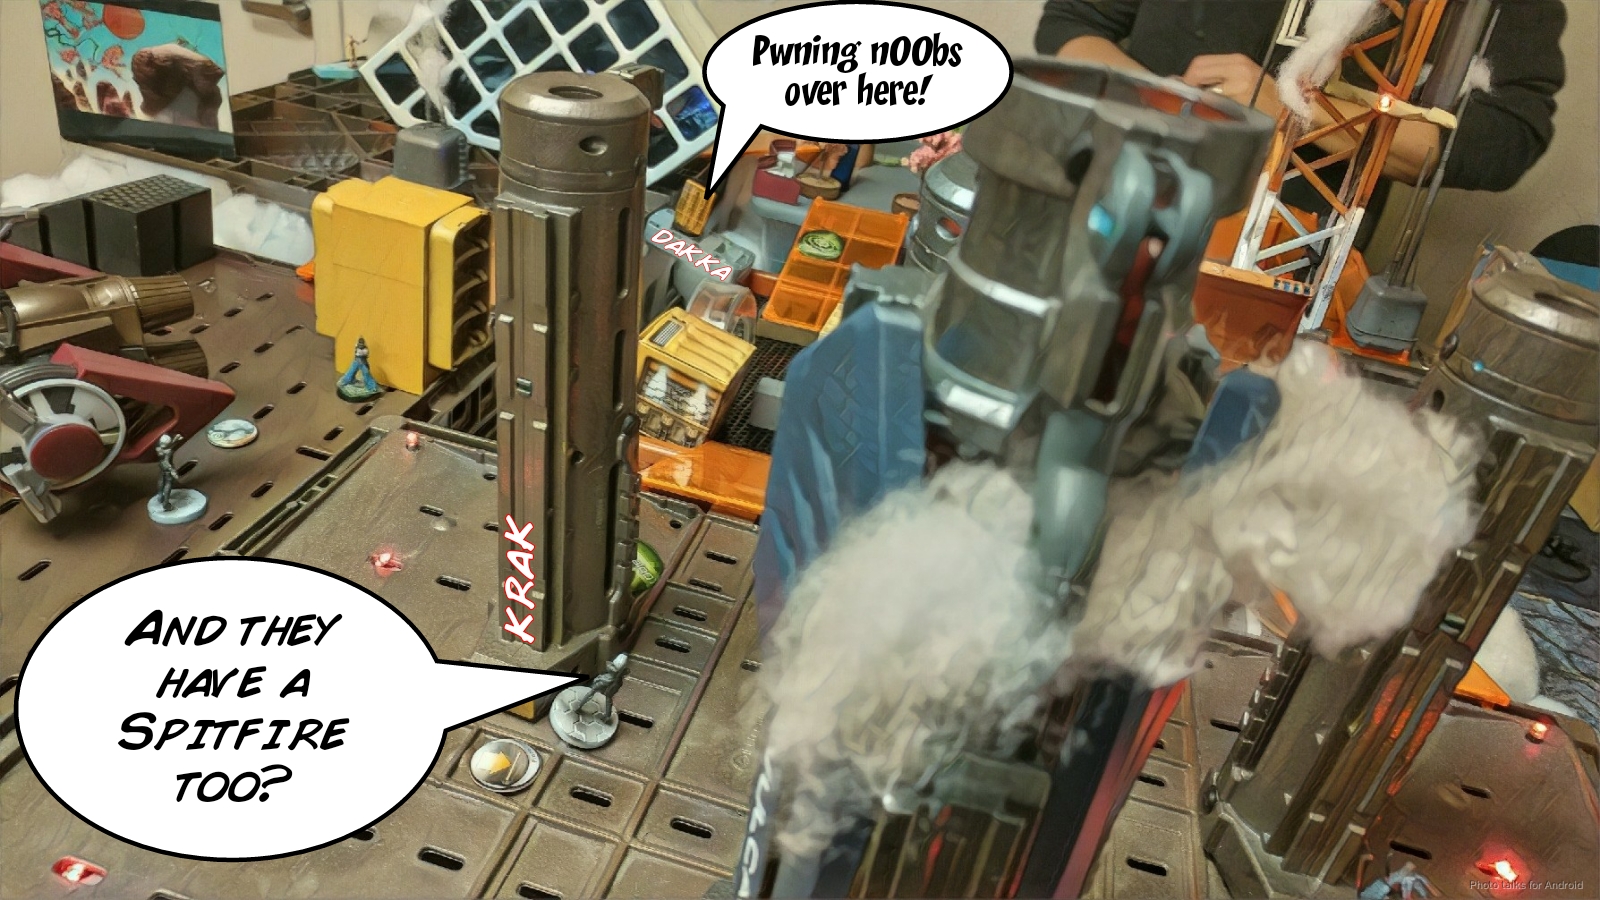 and another order later, drops the Ryuken.
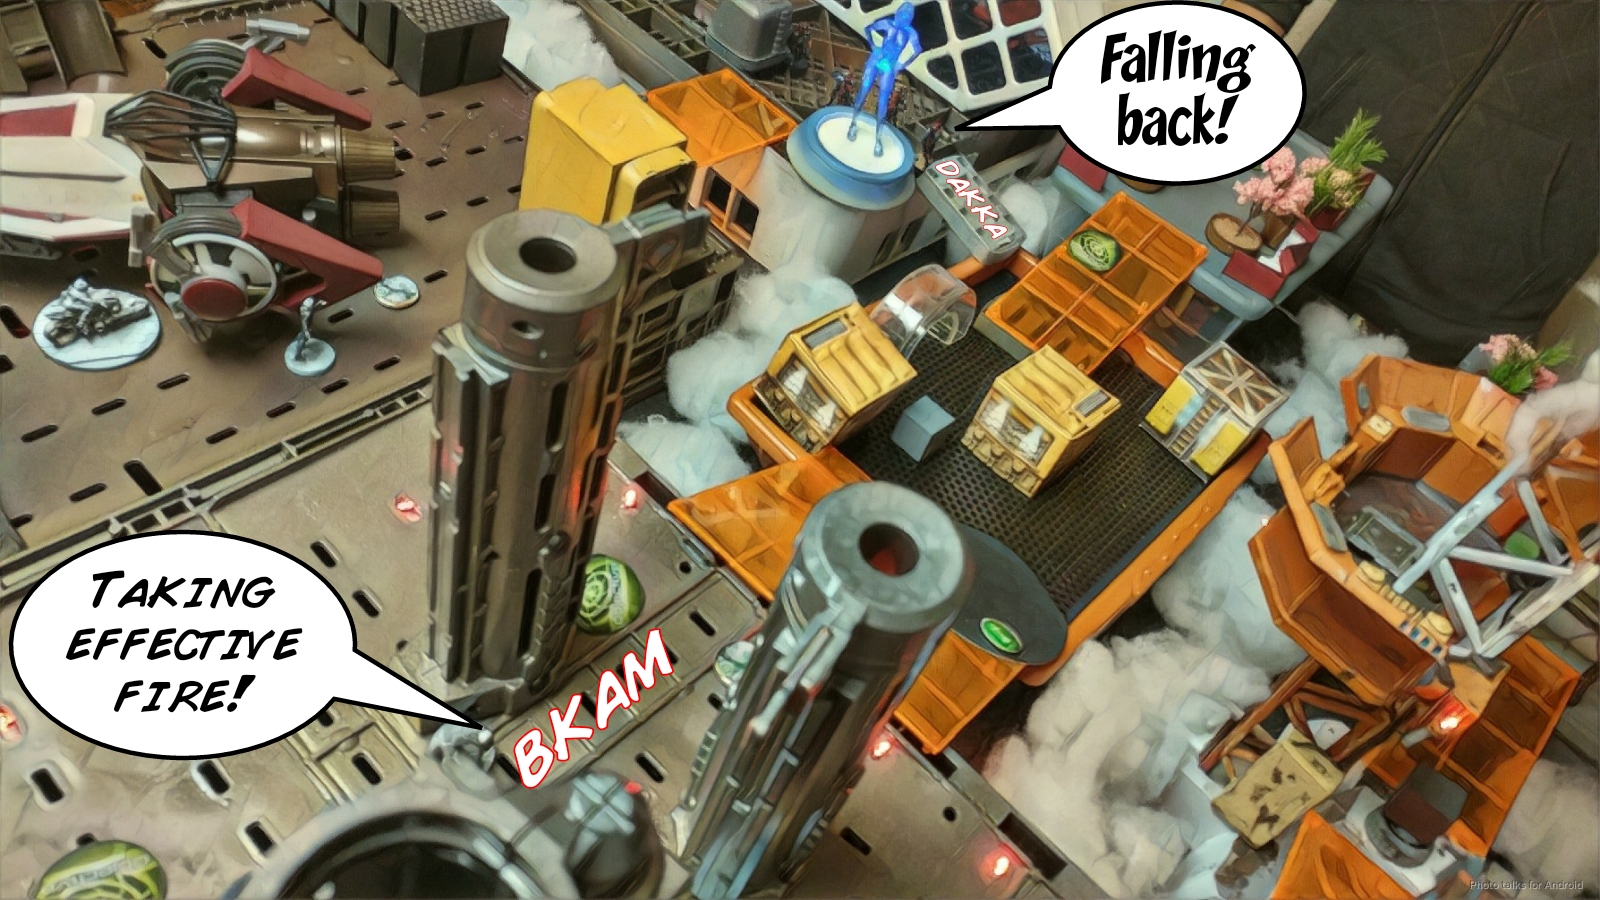 Thankfully, Nate is now out of orders and passes the turn, with me a bit the worse for wear but not shattered.
Turn 2
Top of 2 – JSA
Yojimbo is dead, and I decline to use Kuroshi’s impetuous order–no sense in getting her pasted by a full 5-man link. I blow all but one of my remaining orders throwing the nearest Ryuken-9 at the Hollow Men. I pie-slice the MULTI Rifle Hollow Man and knock it out with AP rounds, and then pie slice the AHD, putting wound on it. I manage to score two crits in the process of all this, which seems to be the only way I can do damage to these guys aside from the one wound I snuck through.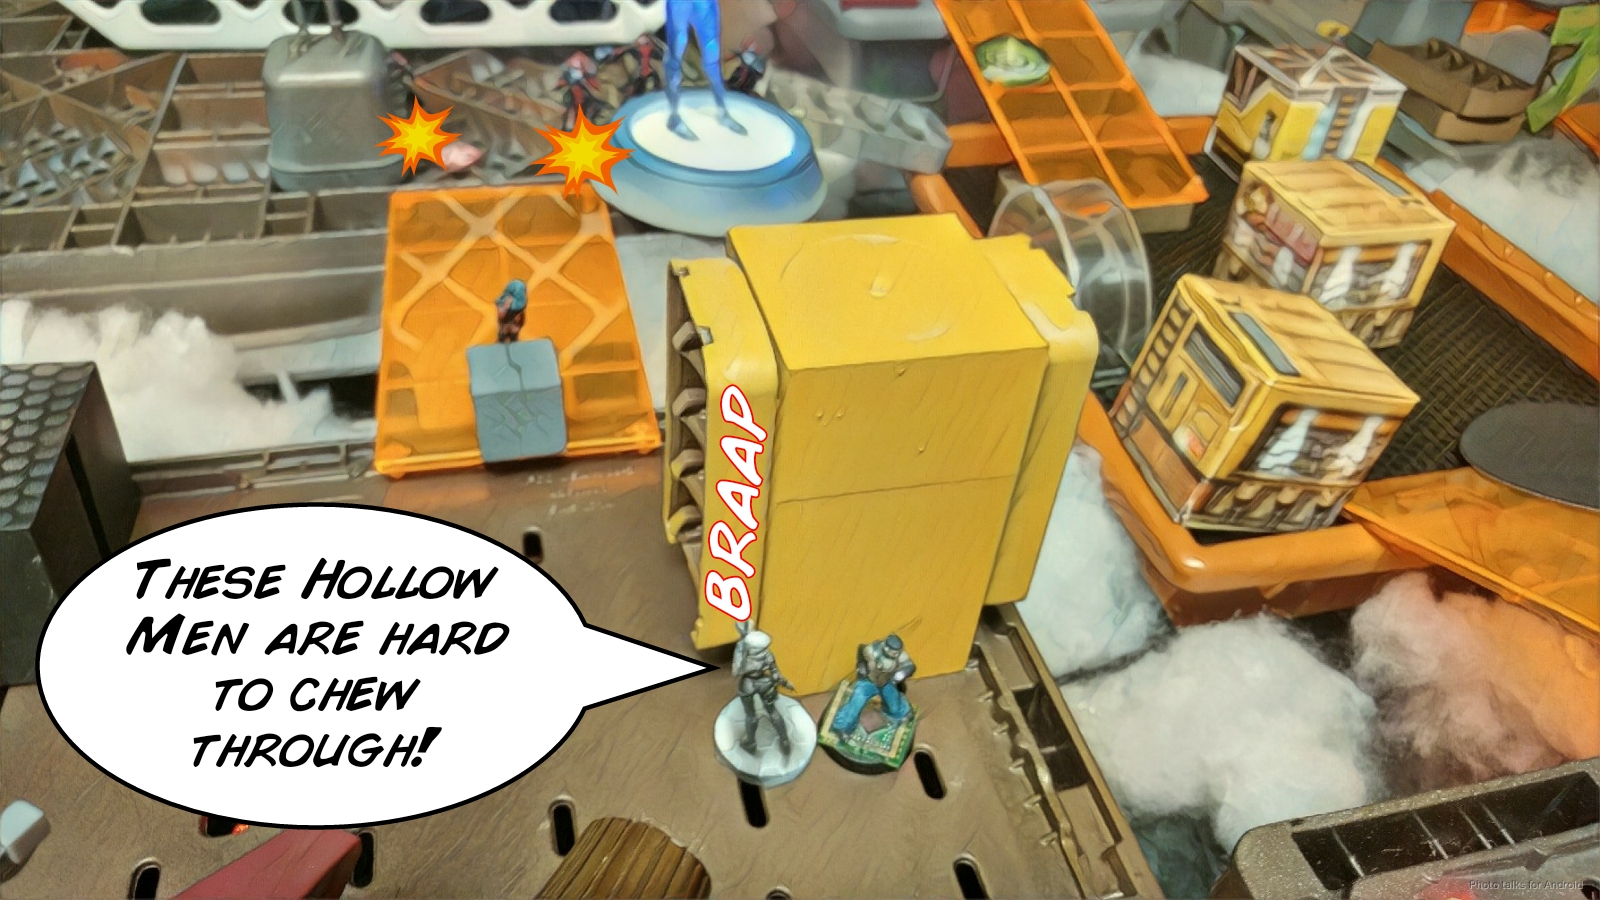 At this point, I’ve got one order left, and I don’t want to telegraph my lieutenant to Nate, who has fallen for my Keisotsu ploy (as he said after the game). I have the option of shooting the AHD Hollow Man with my last order, or throwing the Ryuken into suppression. The AHD has one wound left, and I’m in a position that I can safely go into suppression out of LoF and pin the Stempler Zond in place. I opt for the “safer” option and go into suppression, and pass the turn.
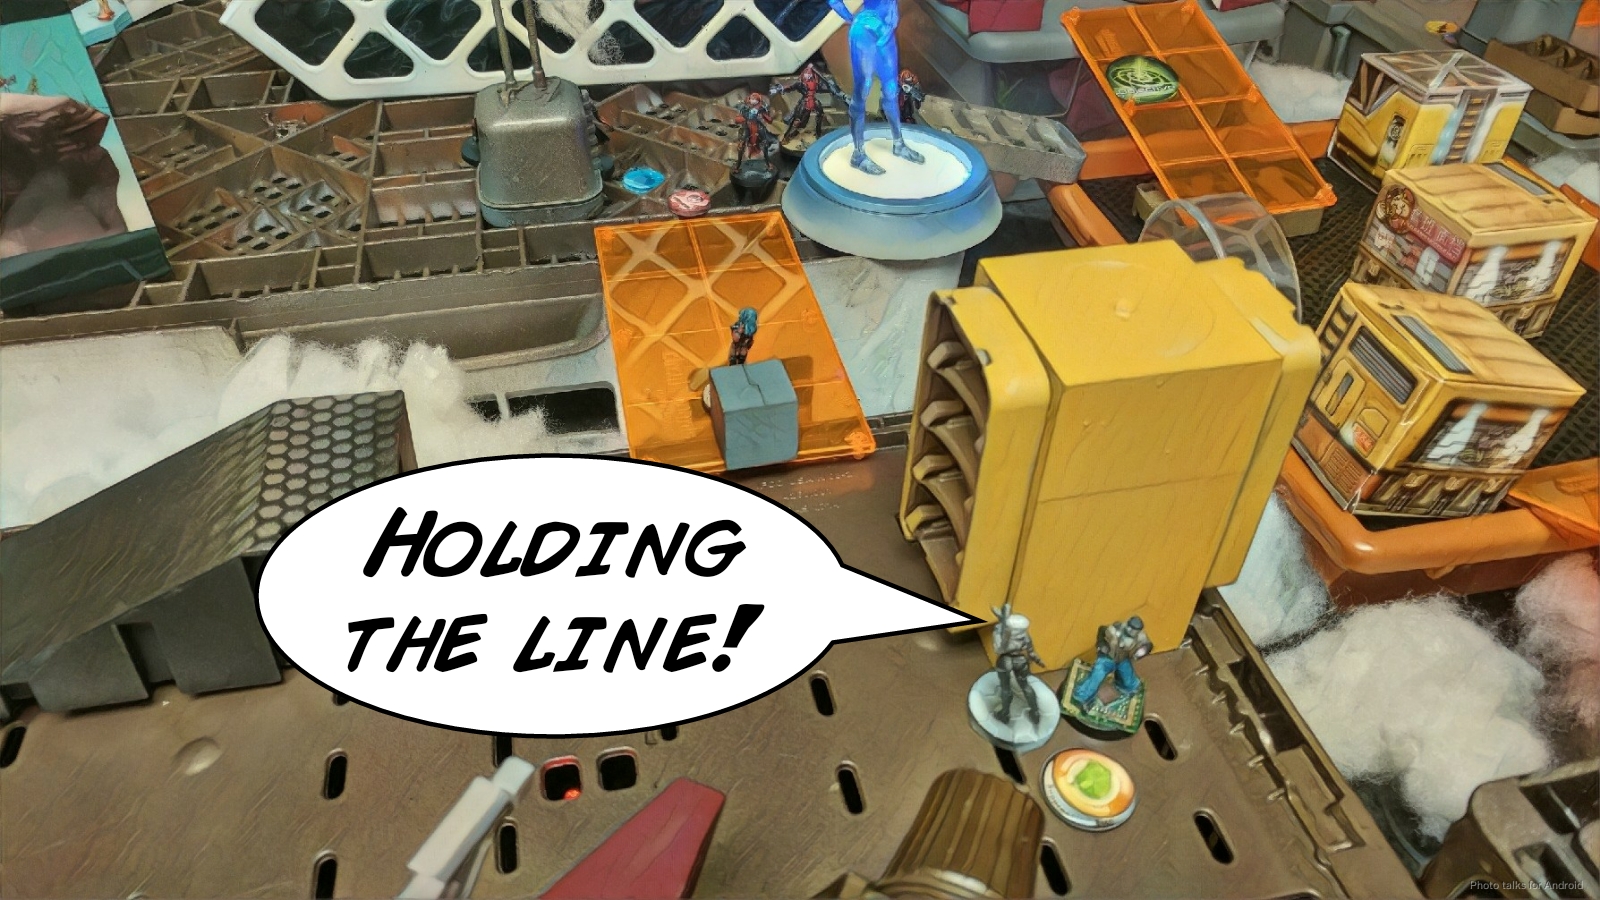
Bottom of 2 – Tunguska
Nate goes for a masterful kill of the Ryuken by first discovering the mine behind her and then dropping a pair of missiles onto the mine. Thankfully for me, the blast template is just a hair out of range from catching my Ryuken, and to make matters worse, Nate whiffs both shots on the mine.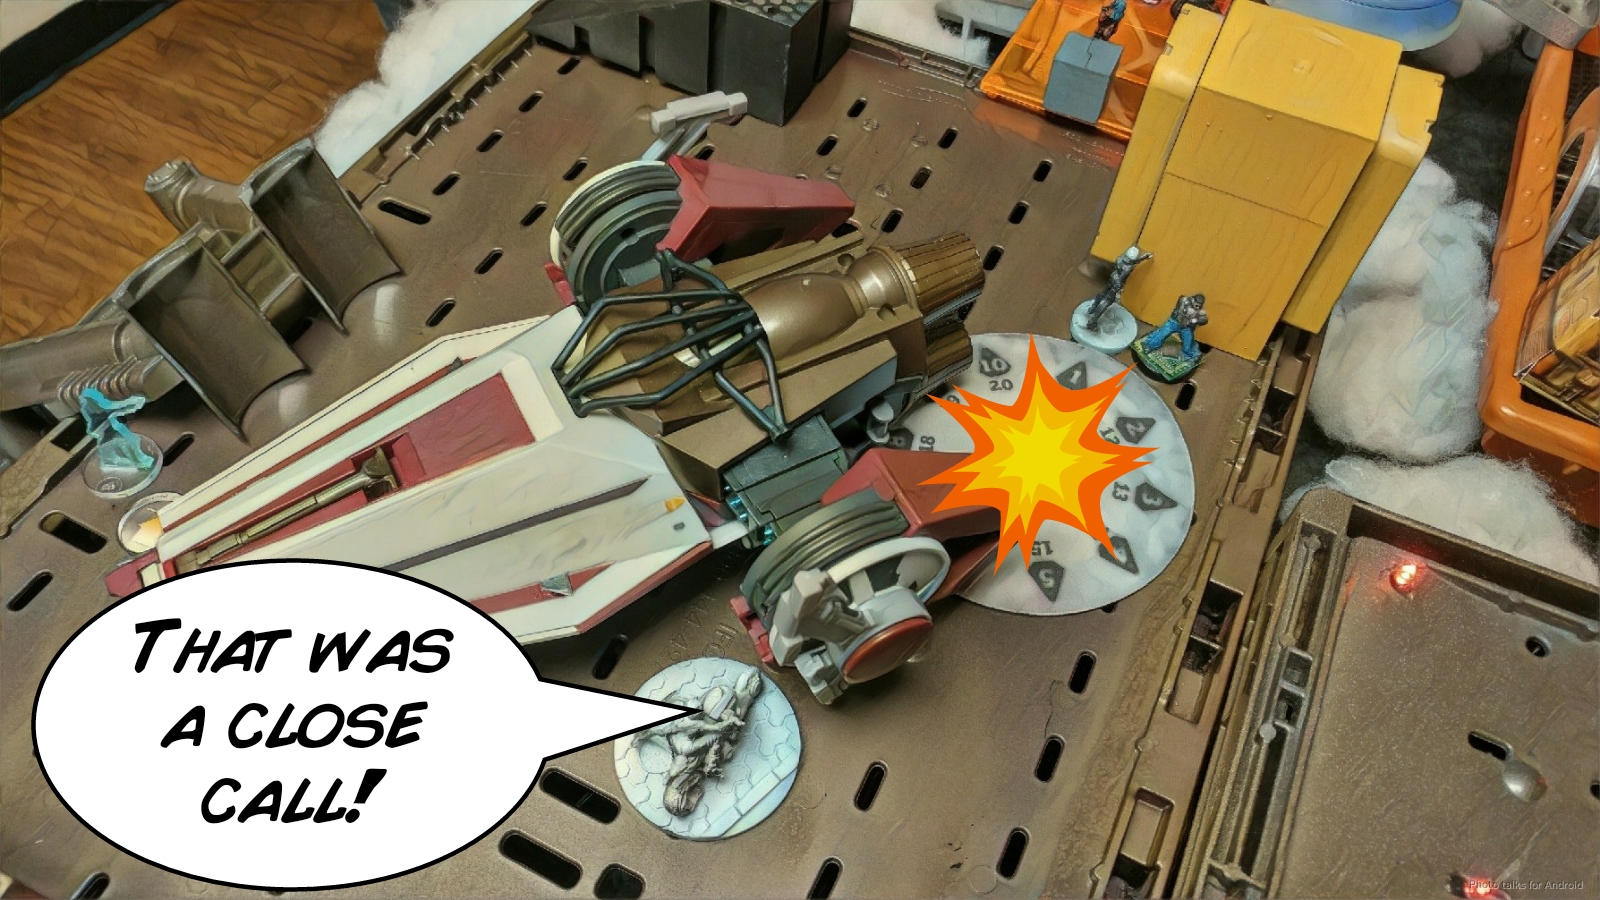 He sends in the Hollow Man AHD, clears the mine with the Hollow Man’s combi…
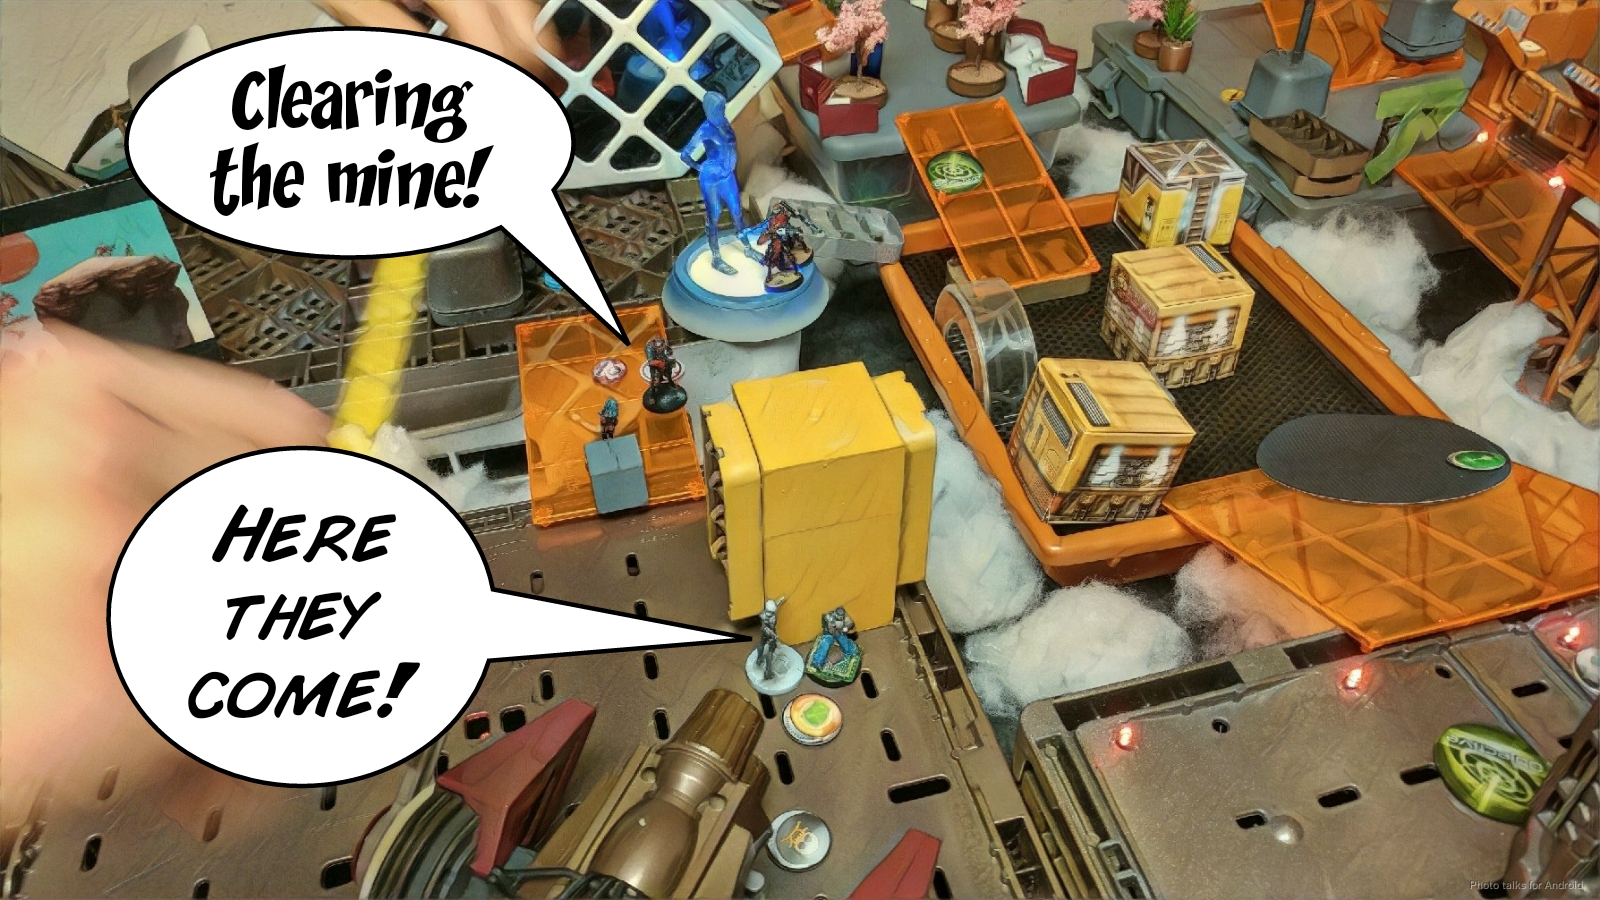 then pushes the button after two tries.
 At the very least, this breaks the Stempler out of the link, which is a good thing. The Hollow Men link jumps over to the central platform, and then the Spitfire goes hunting after my Ryuken.
 This sets off the mine, which catches the FastPanda in the template. I beat the Spitfire with the Ryuken’s suppression, but he passes all his ARM saves against the SMG. Not so lucky against the mine though, which puts a wound on the Hollow Man. The FastPanda makes its save too.
 As the Spitfire retreats, the Ryuken puts the last wound on it, dropping it unconscious.
 Nate mentioned that he probably should’ve gone after the Ryuken with a chain colt from the left, probably with the AHD after it had pushed the button. Going after a Ryuken in suppression with dice inside 24″ is a tough proposition. Nate piles in the Heckler Jammer and his cybermasked Interventor to further secure the center.
Turn 3
Top of 3 – JSA
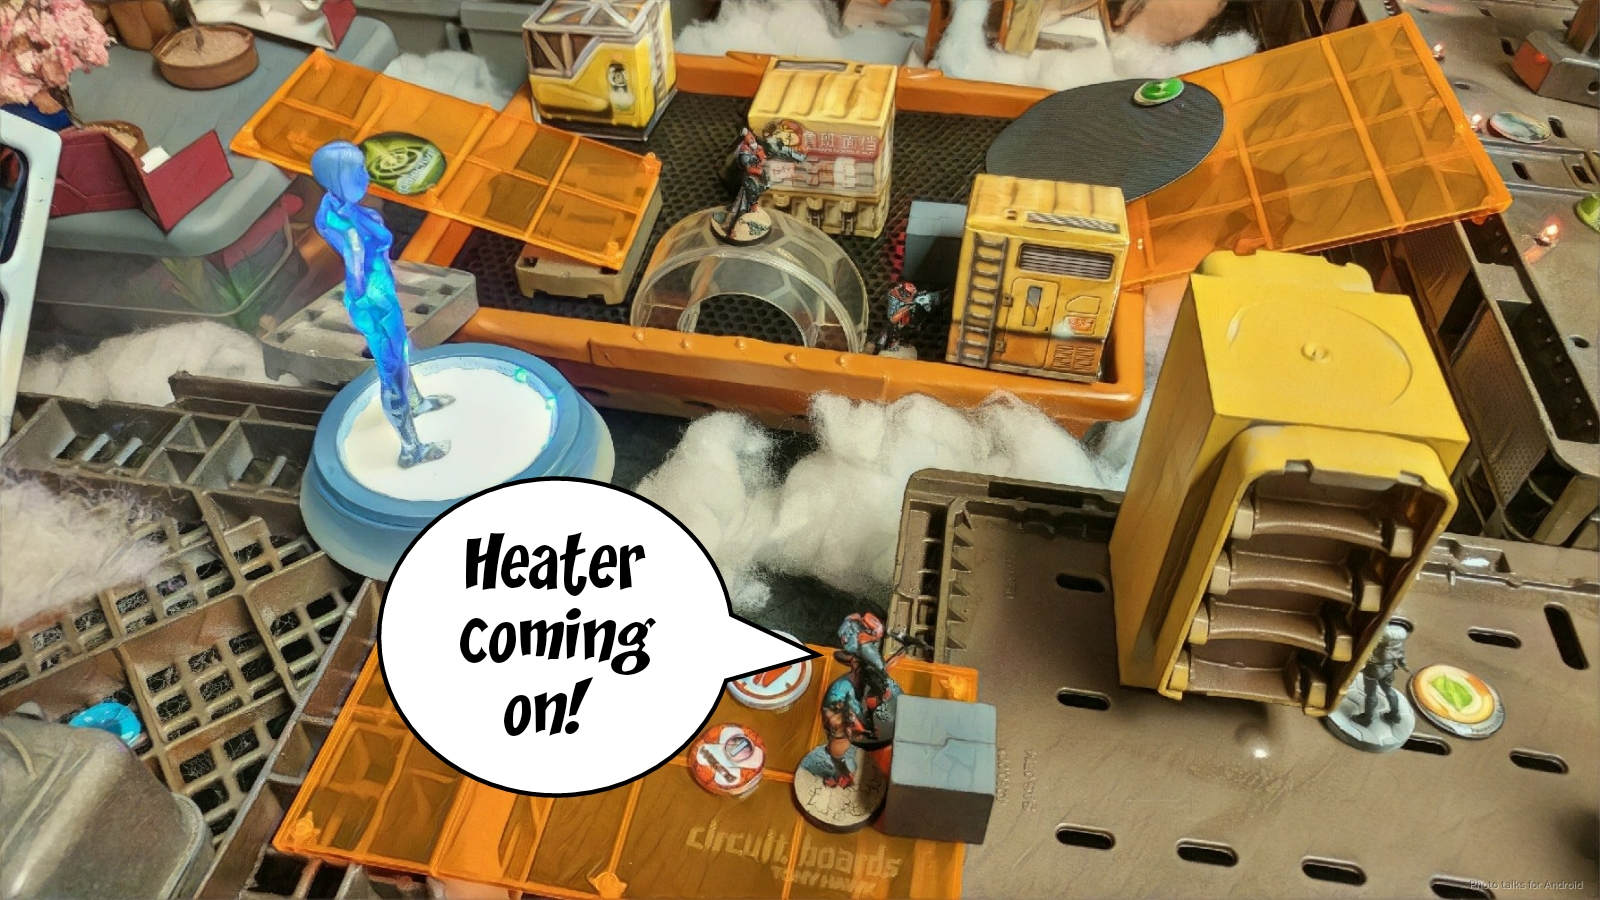
Kuroshi Rider goes to work. I zoom her towards the central platform and threaten a flamethrower template. Nate’s Hollow Man AHD chain colts and the Heckler jams. I dump three shots into the Heckler, who passes his ARM, and the chain colt puts Kuroshi Rider dogged. I stop messing around and just drop a flamethrower on them both, losing Kuroshi Rider to another chain colt but knocking both of them unconscious.
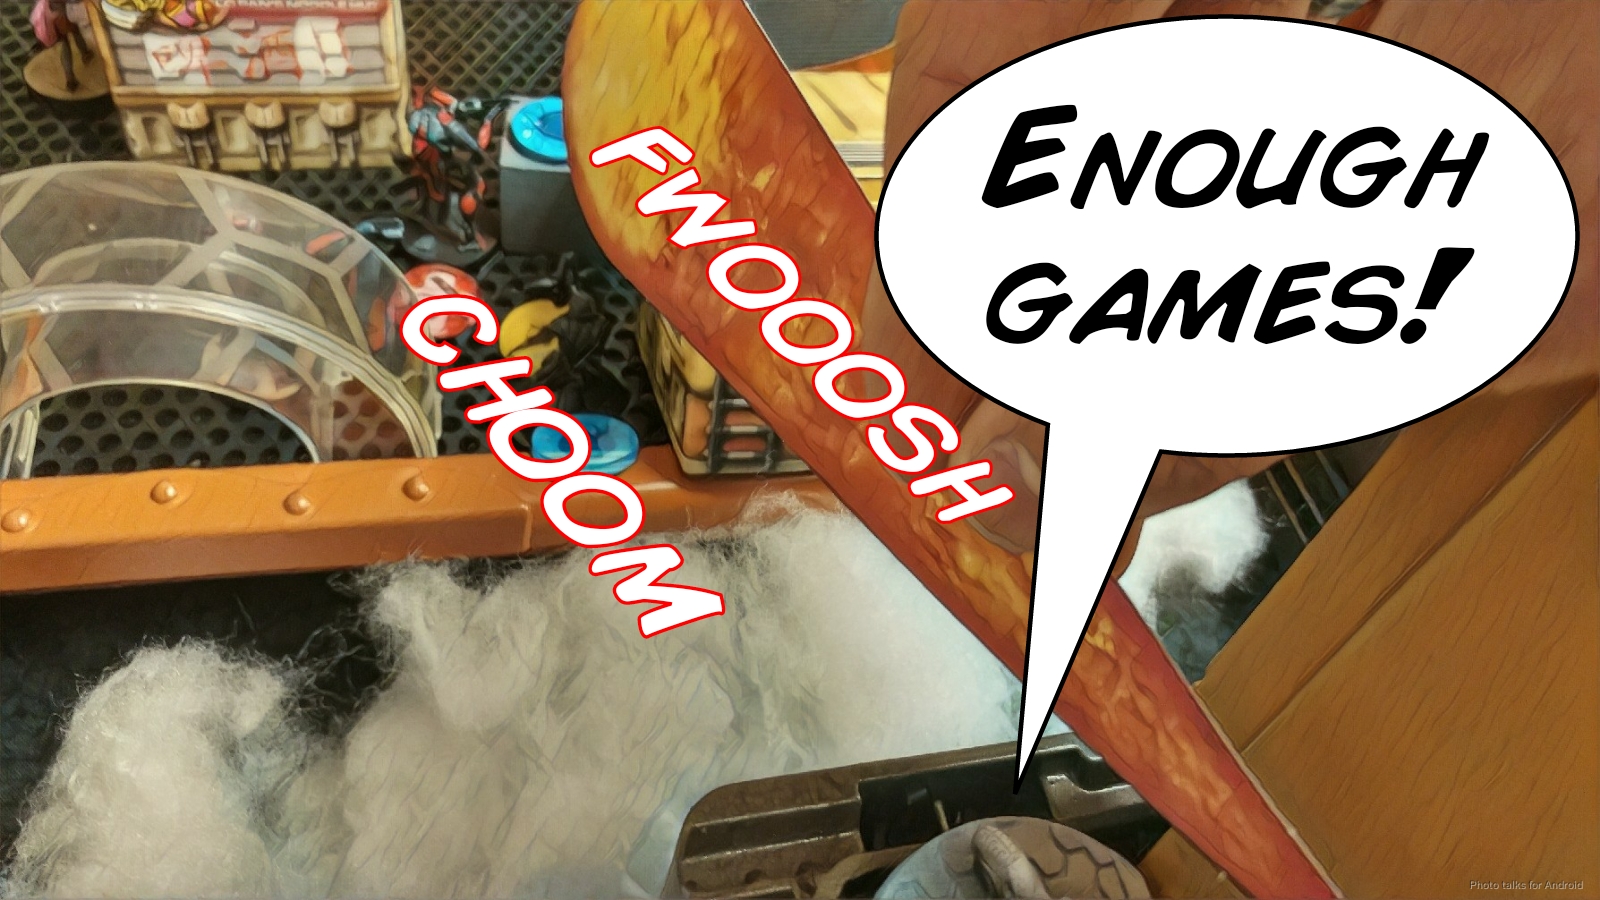 The Daiyokai knocks out the Hollow Man ML with four dice, but super frustratingly gets flash pulsed by the same Transductor that stunned my Ninja earlier. That’s what I get for granting a normal roll. I stumble the Daiyokai into the exclusion zone, hoping to hide him behind the radio tower.
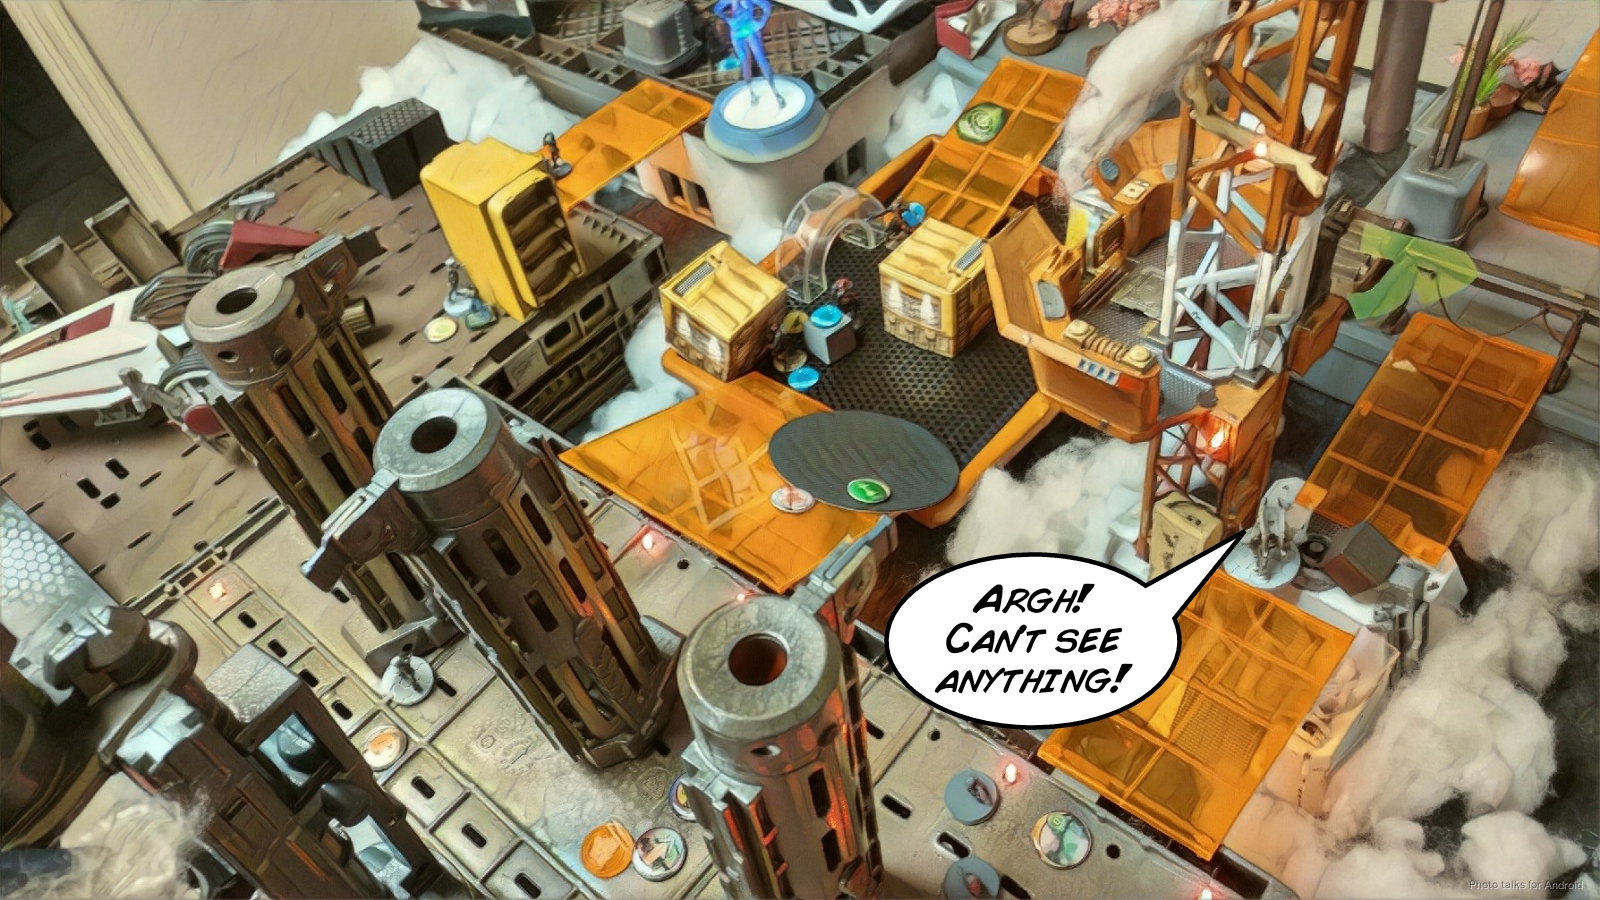 I reveal Saito to try to take out the Stempler, but lose him to a crit.
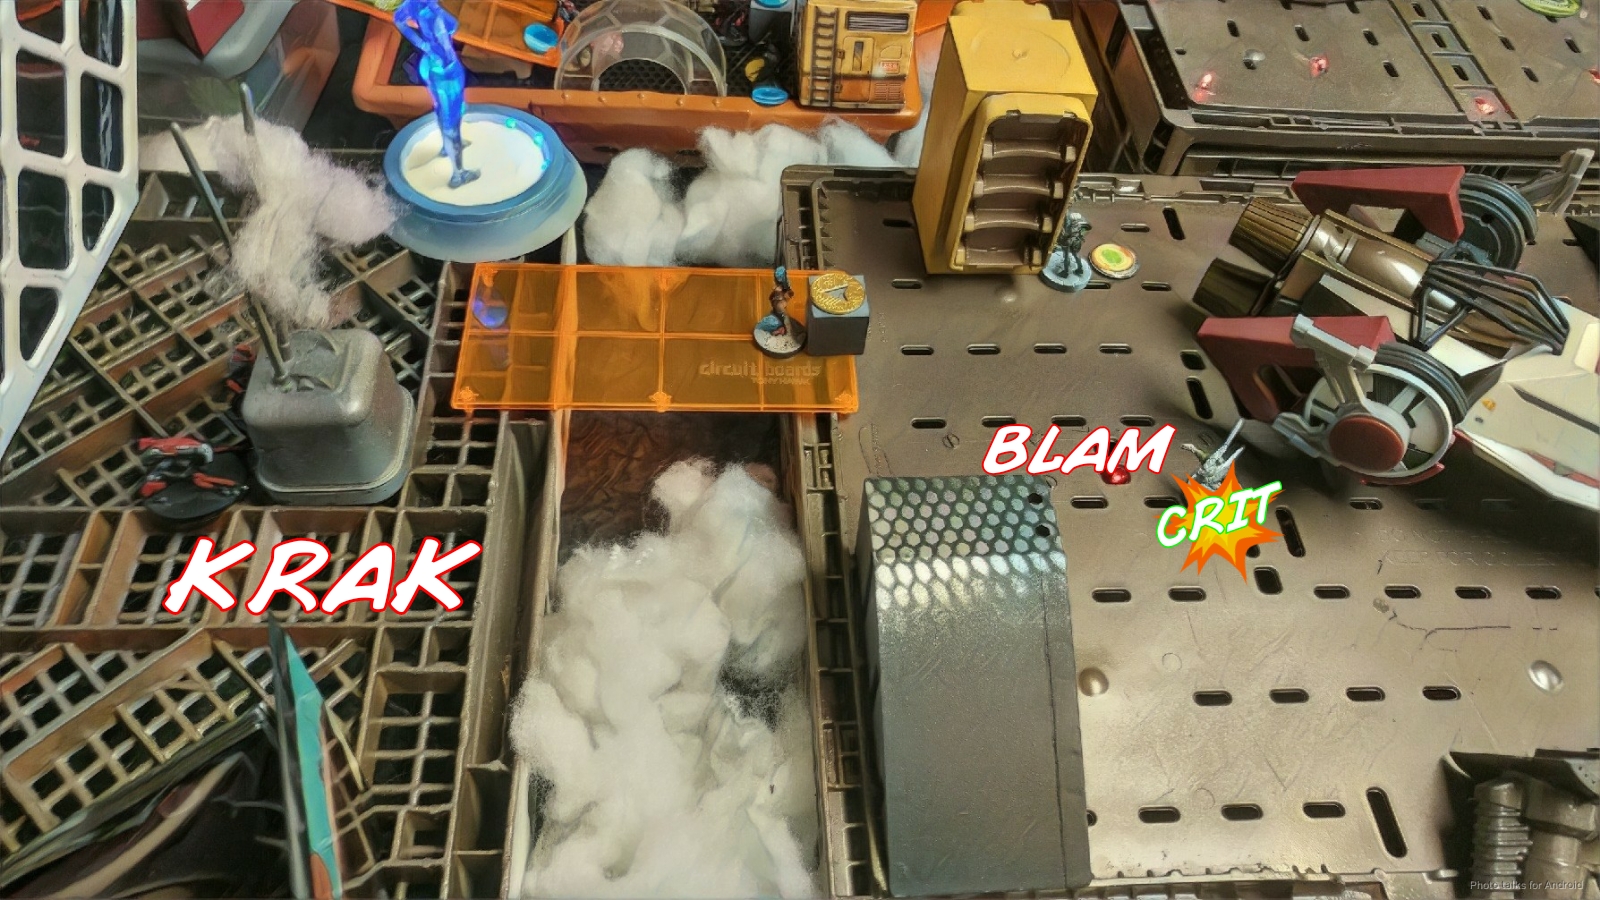 I settle for pushing my Ryuken forward and throwing her into suppression after attempting a discover on the Interventor and failing.
 Nate bites, and reveals the Interventor to shoot at my Ryuken, but whiffs.
Bottom of 3 – Tunguska
Nate starts things off by flash pulsing my Daiyokai, again, with the Transductor. UGH. He then spends the rest of his turn Triangulated Firing at it with his Stempler after moving it into position.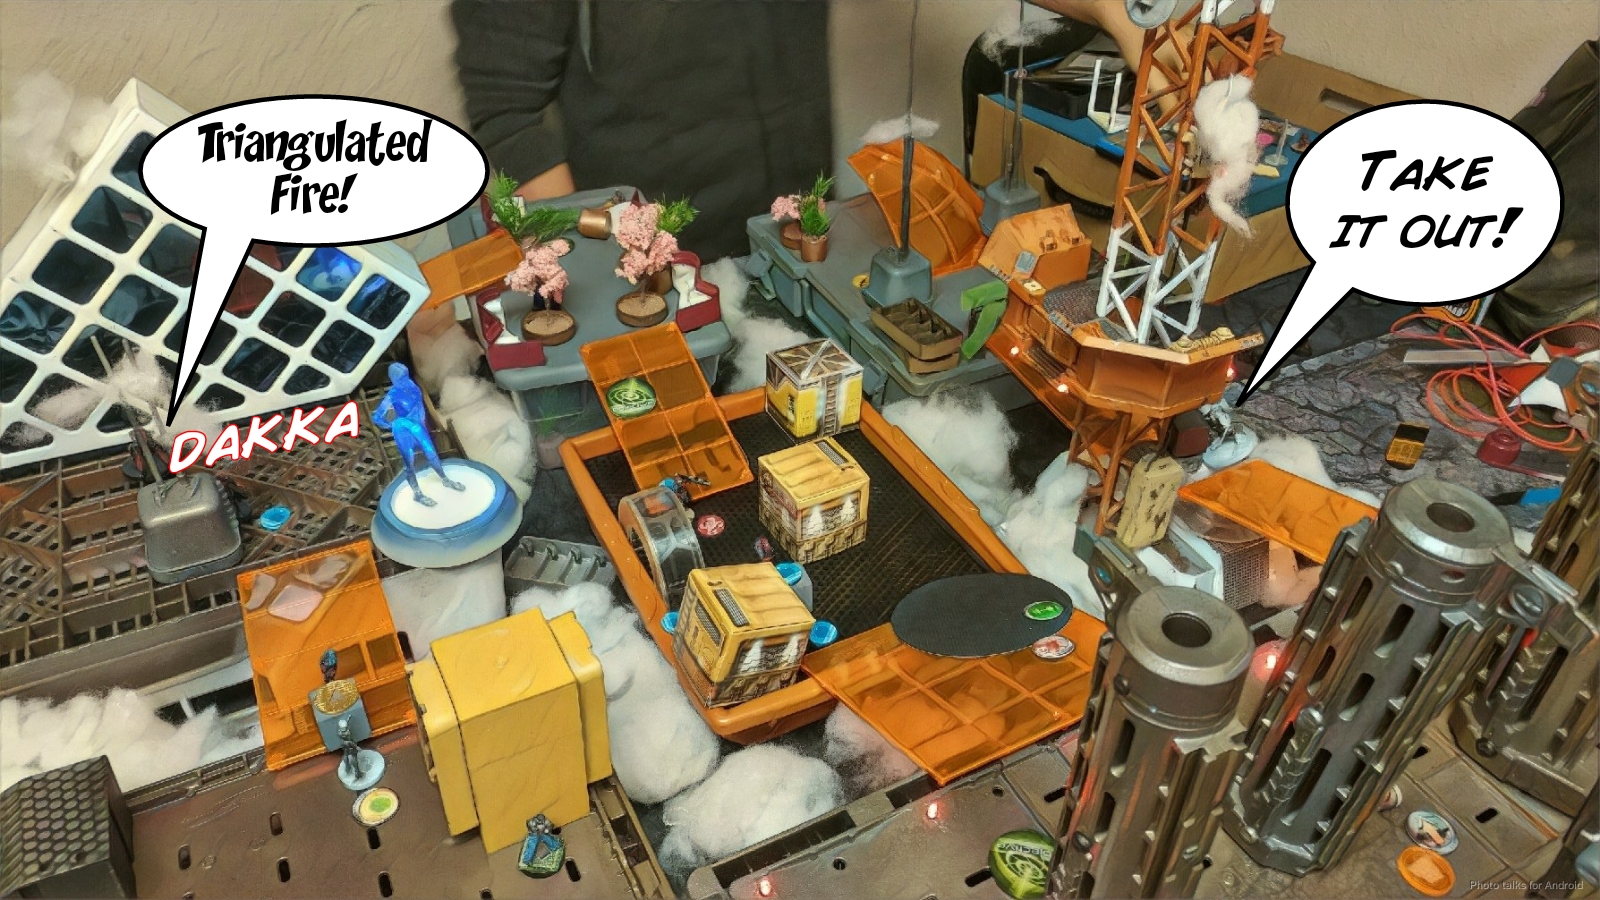 I keep dodging, but at a -3. I can’t get him into a safer position by dodging so I’m just forced to dodge in place.
 Eventually, Nate crits, and that’s game. I don’t have any heaters on, so everything dies, and Nate has some stuff in the backfield. Neither of us get our classifieds, making it a
6-2 Jurisdictional Command of Tunguska Victory!
Notes
Notes for Me
- Three Ryuken is a bit much. I think two is good enough. Taking Yuriko for similar points isn’t as killy but it does give me another specialist.
- Ryuken are pretty freaking baller though. They sort of replace an HMG as a “punch out of your DZ” tool, but with very different math. They rely on their ODD and X-Visor to force some pretty unfamiliar odds on your opponent.
- I definitely should’ve just walked Saito in TO state out of LoF of the Stempler and turned off Nate’s heater, which would’ve made things very annoying for him. Everything would’ve died, which would’ve probably gotten me a tie.
- I definitely should’ve climbed the Daiyokai up onto the platform attached to the radio tower. That would’ve basically made him invulnerable, and then I could’ve turned off Nate’s heater. I probably had the orders to do it all.
- Nate also thought I should’ve shot the AHD off the table.
- I’m pretty pleased with the way I played the list, which can start up to 3 orders down thanks to all the hidden deployment. I think I’ll stick with limited insertion lists for awhile.
- Definitely made some prioritization mistakes, which were amplified by my lower order count, but that’s the way it works.
Notes for Nate
- Nate is really good about giving me feedback about the game, so I’ve worked it into the battle report above.
- Definitely don’t think you should’ve discovered against my Ninja with the Heckler. Maybe you were worried about getting sliced and diced by the Ninja…but there wasn’t really a way for me to take out Mary that way without spending probably 2 more orders, which would’ve worked out in your benefit, I think.
- Good call going after my Ninja with the Interventor. Can’t leave it up and about next to your “non lethal orders,” as you said.
Notes for Than
- As I said in person, it’s a great, thematic table, but it’s not done. Definitely still in Beta.
- I love the cloud wisps. Very visually thrilling, and very different.
- I think losing the ramps is a good idea. Real buildings don’t generally have roof bridges across them, and if you put the buildings close enough you can just long skill jump across, which is very cool and very different as well.
- To mitigate the issues with forcing a Jump skill, maybe make each player’s left side objective (assuming 3 across the center) accessible without jumping, but their right and center objectives inaccessible without a jump.
- Making all buildings with LEDs on them a Landing Area (+3 PH to AD) would be pretty cool.
- I don’t think you need dangerous terrain, requiring jump would probably be enough.
- As with most of your scratchbuilt tables, the first draft has some playability problems. We spoke in person about this, but for posterity, the ramps are too steep and in some cases unstable for models to safely stand on them.
- You have a good plan for the most unevenly surfaced building, which is to put some flat, stylized pieces on them to create a “parking lot” for flying cars (spacecar!!!) or somesuch. I dig it, and can’t wait to see it. Nate has some trouble moving on it, and lost some tokens in the various cracks and crevices.
- I think the building with the Nerf gun parts really needs some signage to block LoF a bit. Not a ton, it’s nice that it’s open, but just a little so I can get 1-2 more models deployed in safety.
- As always, great work! When do we get to try it out again?

Upside down V-wing without the front part? Nicely done….
Cheers for the game