Prowler with Nine Lives
It’s been awhile since I’ve seen Andrew across the table, and we were both excited to try the new Unmasking scenario. Everyone else was practicing Show of Force, but we decided to be Infinity hipsters and play our own game. So we flanneled up, Portland style, and started chucking dice.
Overview
- Mission: Unmasking
- Forces: Nomads versus Morat Aggression Force (300)
- Deploy First: Nomads
- First Turn: Nomads
[img]https://assets.infinitythegame.net/infinityarmy/img/_logosweb/logo_501.png[/img][b] Iguana E/M[/b]
[img]https://assets.infinitythegame.net/infinityarmy/img/_logosweb/501/logo_28.png[/img] [b]IGUANA[/b] HMG, Heavy Flamethrower / . (2 | [b]71[/b])
[img]https://assets.infinitythegame.net/infinityarmy/img/_logosweb/sep.gif[/img] [img]https://assets.infinitythegame.net/infinityarmy/img/_logosweb/501/logo_28.png[/img] [b]IGUANA OPERATOR[/b] HMG / Pistol, Knife. ([b][/b])
[img]https://assets.infinitythegame.net/infinityarmy/img/_logosweb/501/logo_16.png[/img] [b]INTERVENTOR Hacker Lieutenant (Hacking Device Plus)[/b] Combi Rifle, 1 FastPanda / Pistol, Knife. (0.5 | [b]27[/b])
[img]https://assets.infinitythegame.net/infinityarmy/img/_logosweb/501/logo_16.png[/img] [b]INTERVENTOR Hacker (Killer Device Plus UPGRADE: Lightning)[/b] Boarding Shotgun, 1 FastPanda / Pistol, Knife. (0 | [b]20[/b])
[img]https://assets.infinitythegame.net/infinityarmy/img/_logosweb/501/logo_10.png[/img] [b]ZERO (Deployable Repeater)[/b] Combi Rifle, E/Mauler / Pistol, Knife. (0 | [b]19[/b])
[img]https://assets.infinitythegame.net/infinityarmy/img/_logosweb/501/logo_10.png[/img] [b]ZERO Hacker (Assault Hacking Device)[/b] Combi Rifle, Antipersonnel Mines / Pistol, Knife. (0.5 | [b]24[/b])
[img]https://assets.infinitythegame.net/infinityarmy/img/_logosweb/501/logo_37.png[/img] [b]BRAN DO CASTRO[/b] Boarding Shotgun / Pistol, DA CCW. (0 | [b]33[/b])
[img]https://assets.infinitythegame.net/infinityarmy/img/_logosweb/501/logo_26.png[/img] [b]PROWLER (Specialist Operative)[/b] Combi Rifle + Light Flamethrower, Adhesive Launcher / Pistol, CCW. (0.5 | [b]33[/b])
[img]https://assets.infinitythegame.net/infinityarmy/img/_logosweb/501/logo_5.png[/img] [b]REVEREND MOIRA[/b] MULTI Rifle + E/M Light Grenade Launcher / Pistol, Shock CCW. (1 | [b]34[/b])
[img]https://assets.infinitythegame.net/infinityarmy/img/_logosweb/501/logo_15.png[/img] [b]CLOCKMAKER[/b] Combi Rifle, D-Charges / Pistol, Knife. (0 | [b]18[/b])
[img]https://assets.infinitythegame.net/infinityarmy/img/_logosweb/501/logo_34.png[/img] [b]ZONDBOT[/b] Electric Pulse. (0 | [b]3[/b])
[img]https://assets.infinitythegame.net/infinityarmy/img/_logosweb/501/logo_57.png[/img] [b]JÄGER[/b] Submachine Gun + E/Mitter / Pistol, Monofilament CC Weapon. (0.5 | [b]18[/b])
[img]https://assets.infinitythegame.net/infinityarmy/img/_logosweb/orden_regular.png[/img]9 [img]https://assets.infinitythegame.net/infinityarmy/img/_logosweb/orden_irregular.png[/img]1 [b]| 5 SWC | 300 Points |[/b] Open in Infinity Army
[img]https://assets.infinitythegame.net/infinityarmy/img/_logosweb/logo_602.png[/img][b] Morat Aggression Force[/b]
[b]GROUP 1 | [/b][img]https://assets.infinitythegame.net/infinityarmy/img/_logosweb/orden_regular.png[/img]9 [img]https://assets.infinitythegame.net/infinityarmy/img/_logosweb/orden_impetuosa.png[/img]5
[img]https://assets.infinitythegame.net/infinityarmy/img/_logosweb/602/logo_11.png[/img] [b]DĀTURAZI[/b] Chain Rifle, Grenades, Smoke Grenades / Pistol, AP CCW. (0 | [b]14[/b])
[img]https://assets.infinitythegame.net/infinityarmy/img/_logosweb/602/logo_11.png[/img] [b]DĀTURAZI[/b] Chain Rifle, Grenades, Smoke Grenades / Pistol, AP CCW. (0 | [b]14[/b])
[img]https://assets.infinitythegame.net/infinityarmy/img/_logosweb/602/logo_11.png[/img] [b]DĀTURAZI[/b] Chain Rifle, Grenades, Smoke Grenades / Pistol, AP CCW. (0 | [b]14[/b])
[img]https://assets.infinitythegame.net/infinityarmy/img/_logosweb/602/logo_11.png[/img] [b]DĀTURAZI[/b] Chain Rifle, Grenades, Smoke Grenades / Pistol, AP CCW. (0 | [b]14[/b])
[img]https://assets.infinitythegame.net/infinityarmy/img/_logosweb/602/logo_11.png[/img] [b]DĀTURAZI[/b] Chain Rifle, Grenades, Smoke Grenades / Pistol, AP CCW. (0 | [b]14[/b])
[img]https://assets.infinitythegame.net/infinityarmy/img/_logosweb/602/logo_19.png[/img] [b]R-DRONE[/b] Flash Pulse, Sniffer / Electric Pulse. (0 | [b]8[/b])
[img]https://assets.infinitythegame.net/infinityarmy/img/_logosweb/602/logo_16.png[/img] [b]M-DRONE[/b] Combi Rifle, Sniffer / Electric Pulse. (0 | [b]17[/b])
[img]https://assets.infinitythegame.net/infinityarmy/img/_logosweb/602/logo_21.png[/img] [b]IKADRON (Baggage, Repeater)[/b] 2 Light Flamethrowers, Flash Pulse / Pistol, Electric Pulse. (0 | [b]9[/b])
[img]https://assets.infinitythegame.net/infinityarmy/img/_logosweb/602/logo_21.png[/img] [b]IKADRON (Baggage, Repeater)[/b] 2 Light Flamethrowers, Flash Pulse / Pistol, Electric Pulse. (0 | [b]9[/b])[b]GROUP 2 | [/b][img]https://assets.infinitythegame.net/infinityarmy/img/_logosweb/sep.gif[/img] [img]https://assets.infinitythegame.net/infinityarmy/img/_logosweb/orden_regular.png[/img]8
[img]https://assets.infinitythegame.net/infinityarmy/img/_logosweb/602/logo_1.png[/img] [b]MORAT Lieutenant[/b] Combi Rifle / Pistol, Knife. (1 | [b]14[/b])
[img]https://assets.infinitythegame.net/infinityarmy/img/_logosweb/602/logo_3.png[/img] [b]RODOK[/b] Combi Rifle, 2 Light Shotguns / Pistol, Knife. (0 | [b]26[/b])
[img]https://assets.infinitythegame.net/infinityarmy/img/_logosweb/602/logo_3.png[/img] [b]RODOK[/b] Missile Launcher, Light Shotgun / Pistol, Knife. (1.5 | [b]28[/b])
[img]https://assets.infinitythegame.net/infinityarmy/img/_logosweb/602/logo_3.png[/img] [b]RODOK[/b] Missile Launcher, Light Shotgun / Pistol, Knife. (1.5 | [b]28[/b])
[img]https://assets.infinitythegame.net/infinityarmy/img/_logosweb/602/logo_26.png[/img] [b]Bit Hacker (UPGRADE: Expel)[/b] Submachine Gun + Pitcher, Deployable Repeater + KISS! / Pistol, Knife. (0.5 | [b]19[/b])
[img]https://assets.infinitythegame.net/infinityarmy/img/_logosweb/sep.gif[/img] [img]https://assets.infinitythegame.net/infinityarmy/img/_logosweb/602/logo_26.png[/img] [b]KISS![/b] Adhesive Launcher / Electric Pulse. (- | [b]4[/b])
[img]https://assets.infinitythegame.net/infinityarmy/img/_logosweb/602/logo_24.png[/img] [b]E-DRONE[/b] Combi Rifle / Electric Pulse. (0.5 | [b]28[/b])
[img]https://assets.infinitythegame.net/infinityarmy/img/_logosweb/602/logo_10.png[/img] [b]ZERAT (Forward Observer)[/b] Boarding Shotgun, Grenades, Antipersonnel Mines / Pistol, Knife. (0 | [b]22[/b])[img]https://assets.infinitythegame.net/infinityarmy/img/_logosweb/602/logo_10.png[/img] [b]ZERAT (Forward Observer)[/b] Boarding Shotgun, Grenades, Antipersonnel Mines / Pistol, Knife. (0 | [b]22[/b])
[b] 5 SWC | 300 Points |[/b] Open in Infinity Army
Deployment
I won the rolloff and decided to go first, which meant I was deploying first. I knew I wanted to hold Bran in reserve, so I just tried to find reasonable places to put everyone. Andrew gave me the worse deployment zone, so I had a bit of a struggle putting things in place. The buildings at this LGS really discourage rooftop play, I find, because they’re so tall and the lips count for climb movement. It often takes a few orders to get down some of the buildings so if you start on a building you’re basically never coming down.
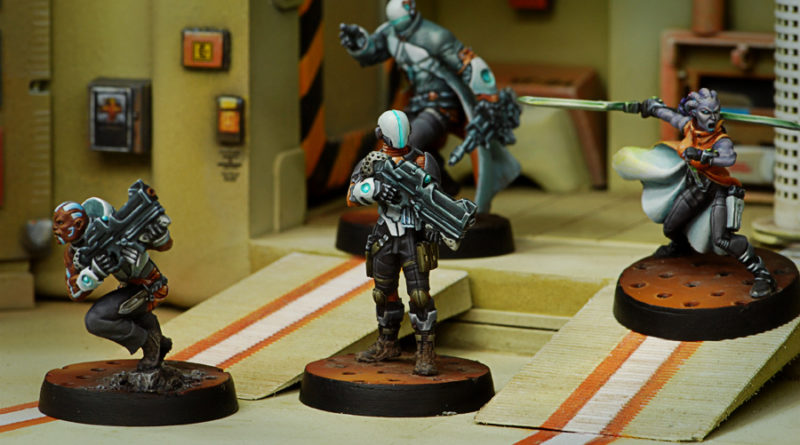
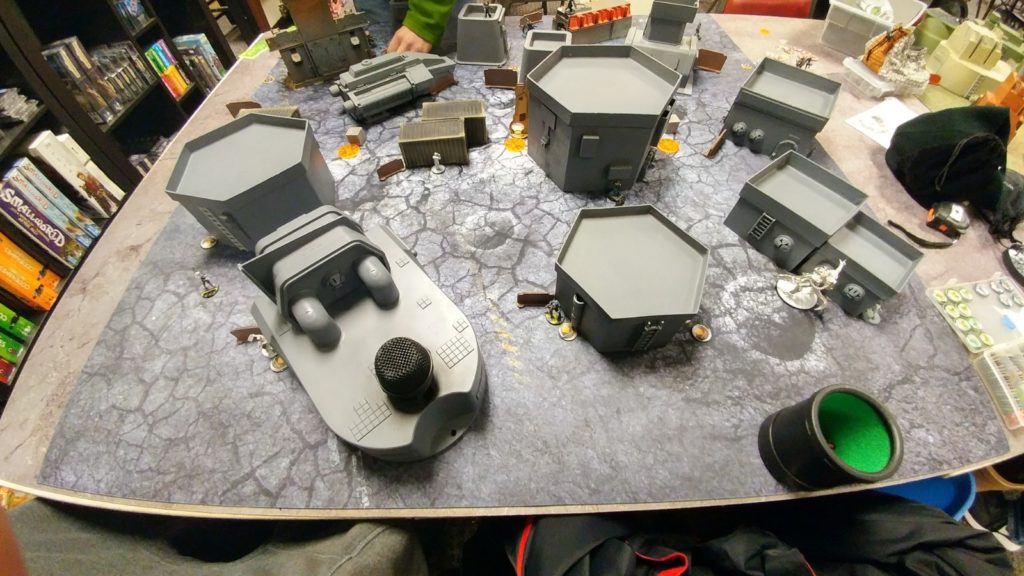 As a result, I just put everyone on the ground level. My Iguana went on the right to keep him out of the kill box in the center, with the Clockmaker’s bot nearby. The Clockmaker went on the left, just to get coverage. The exclusion zone limited my Zeros’ deployment. I didn’t really think about it too much, so I just put the Zero DepRep on the right, the AHD on the left, and the Prowler in the middle. I placed my Interventor HD+ in the middle, trying to be aware of any AD troops coming in, and I made a decision to be aggressive with my Interventor KHD, placing her on the left in the open, so I would be forced to move her up. I almost forgot about my Moira E/M LGL, so she just got plunked down in the middle.
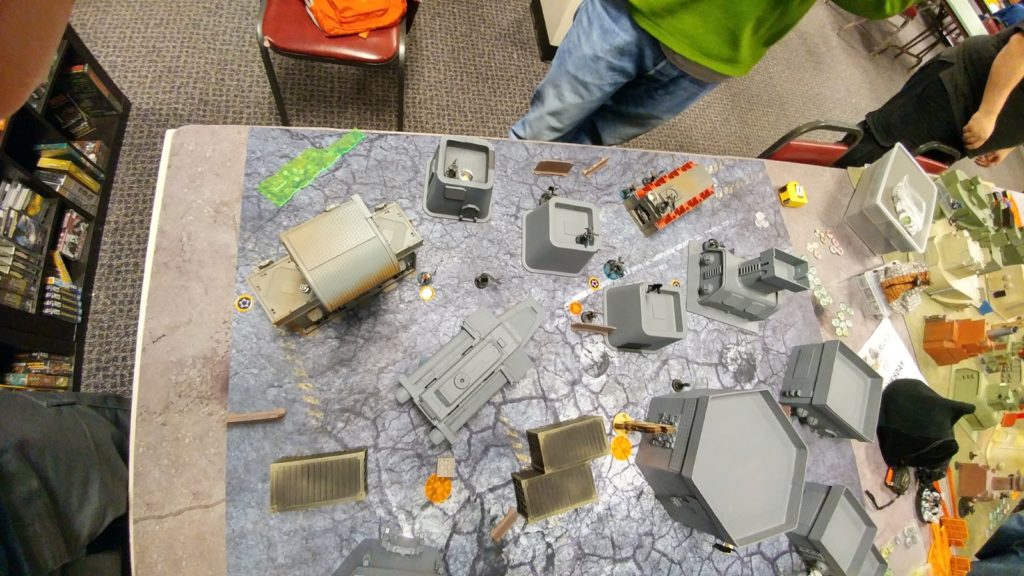 Andrew deployed a 3 man Rodok core with two missile launcher Rodoks on his left, and a 5-man Daturazi kill team on the right. His middle was a clump of the rest of his forces, with his Zerats hugging the edge of the exclusion zone. Andrew locked my AD out with a pair of Ikadrons. His super obvious Vanguard Lt hid on a building, so I started to see a little red…. Bran came down within a single super jump of a Rodok, and Andrew plunked down Bit and Kiss out of reserve. Our HVTs are just spread out evenly, more or less. His real one is on my right, and I put my real one in the middle.
Turn 1
Top of Turn 1 – Nomads
I need to break the Rodok “Haris” so I can move my Iguana. Bran super jumps across a gap, then prone crawls down next to the Rodok. He gets discovered, but then whacks the Rodok into submission with a crit. My Zeros, Prowler, and KHD Interventor advance up the field to develop my board, but the Zero DepRep gets discovered by the remaining Rodok ML. Oh well. Bran super jumps over to the Vanguard Lt’s building, then promptly rolls a 1. The Vanguard punches him in the face, and he’s down for the count. UGH. BRAAAN! You had ONE JOB.
The Iguana tries to take out the remaining Rodok ML, but instead gets blown up. I eject the Operator near the rightmost objective. The KHD and Zero AHD take out one of the Daturazi as part of a coordinated order. I move the Zero DepRep into cover, straight towards my rightmost HVT to feint that it’s the real one.
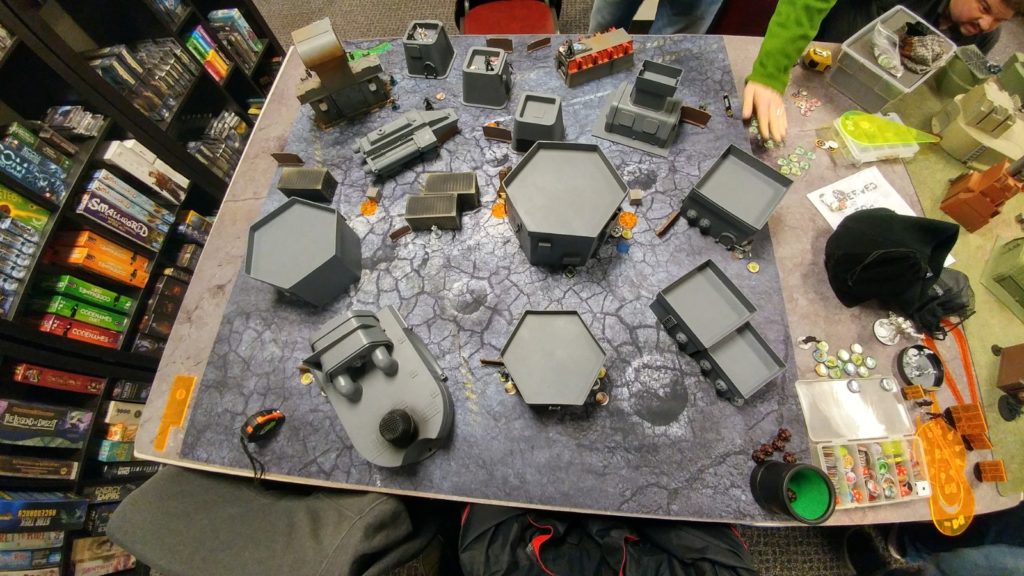 I’m out of orders at this point, with my left flank just strung out, Bran dead, and a busted Iguana on the right. I settle for throwing a bunch of stuff into suppression, and pass the turn.
Bottom of Turn 1 – MAF
Andrew forms his Daturazi link team before his turn starts (we thought this was legal), so he doesn’t have to use their impetuous orders. He activates the link and loses one of the Daturazi to the Interventor KHD’s shotgun, and starts advancing them up the field. The lead Daturazi starts throwing some Grenades at my Zero AHD, but I dodge successfully. After trying a few more times, Andrew just decides to go around the corner and chain rifle my Zero down.
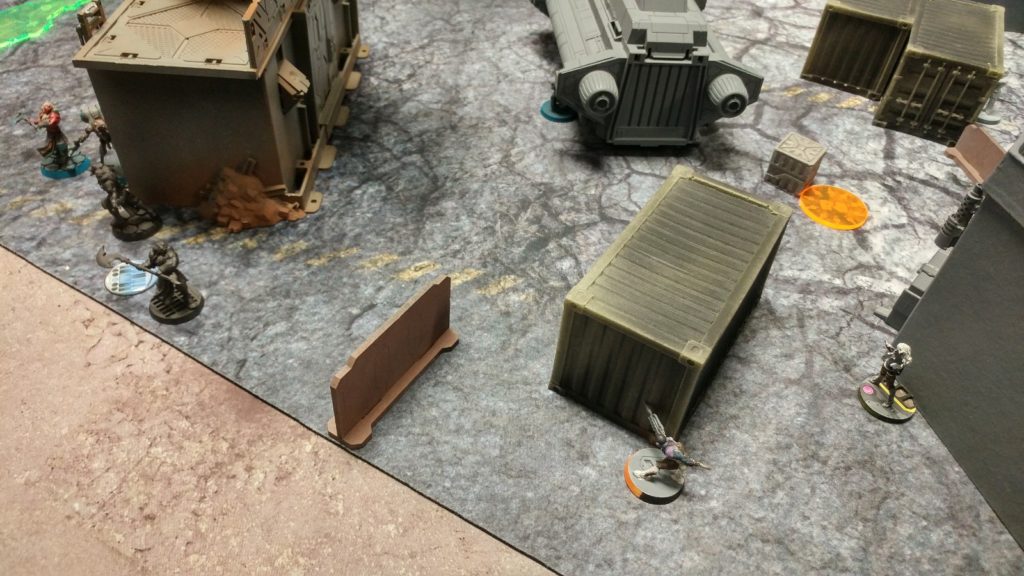 I drop a mine in response, but on his next order he just dodges successfully, and goes around the corner, chain rifling the Interventor down. Andrew is concerned about my Prowler in the center, so he activates his M-Drone to deal with it. He moves it up to Satlock the Prowler. I judge that he’s out of 8″ and decline to ARO, and sure enough he’s out of range. He moves up to Sensor the Prowler, and I take the bait and shoot him. Probably should’ve made him waste an order to sensor then shoot with a new order. In any case, I waffled a bunch deciding whether or not to flamethrower the M-Drone but elect to take the one on 15’s versus 3 on 11’s. I get lucky and drop the M-Drone.
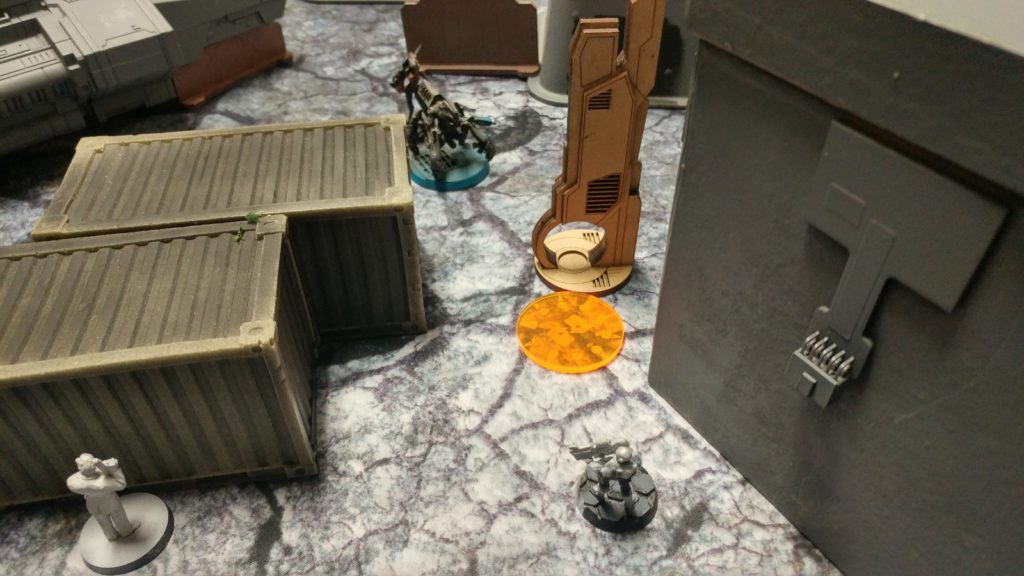 Andrew dedicates his Zerat to grenading the Prowler, spending something like 6 orders on it, but I just dodge him into cover. Thankfully, we’ve both had pretty crummy first turns (although his was better).
Turn 2
There’s a commotion at Isaac and Jordan’s table, so we take a break to investigate.
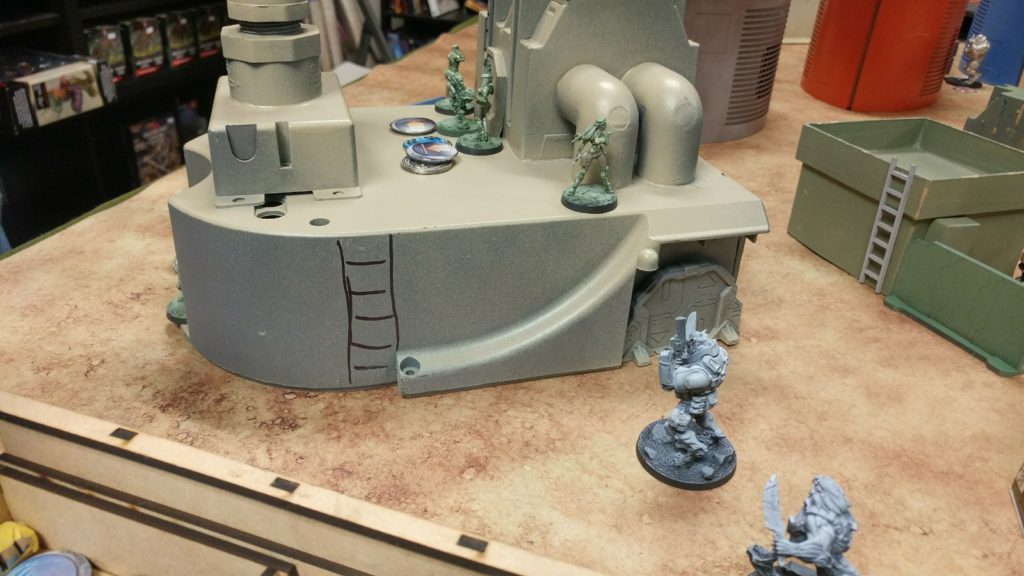 That Fusilier link team is about to get a chain rifle to the face… Devil Dogs OP! =)
Top of Turn 2 – Nomads
I need to get rid of his Datatracker Zerat, and the Clockmaker has a perfect angle. I land a hit, but she tanks the hit and drops prone. I push the central button with the Prowler, and I guess the the rightmost HVT (from my perspective), which also turns out to be the correct HVT.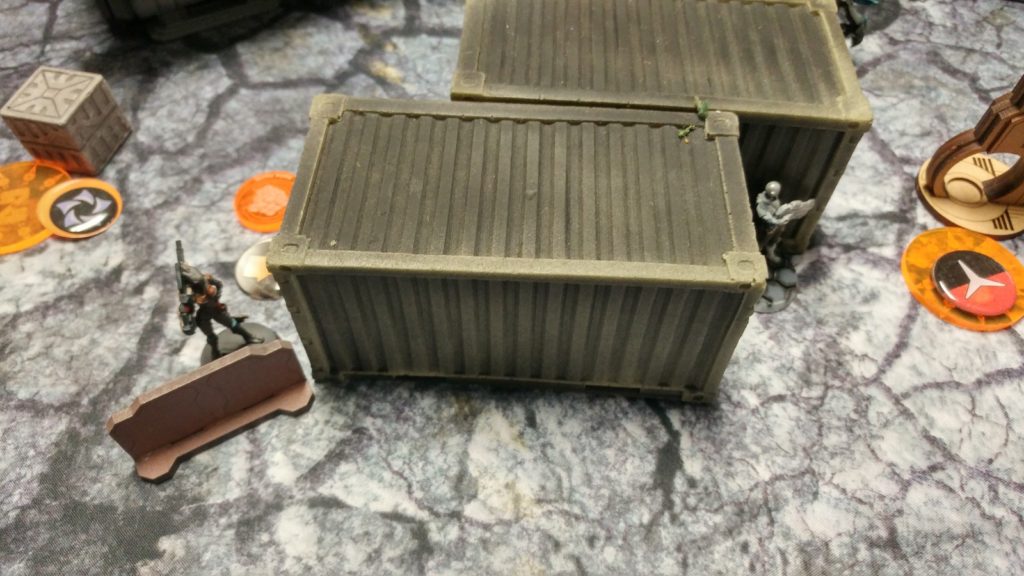 It takes me a few orders to push the button though, so it’s down to the wire. I take out the remaining Rodok ML with my Iguana Operator, taking a wound in the process. That guy has ruined everything.
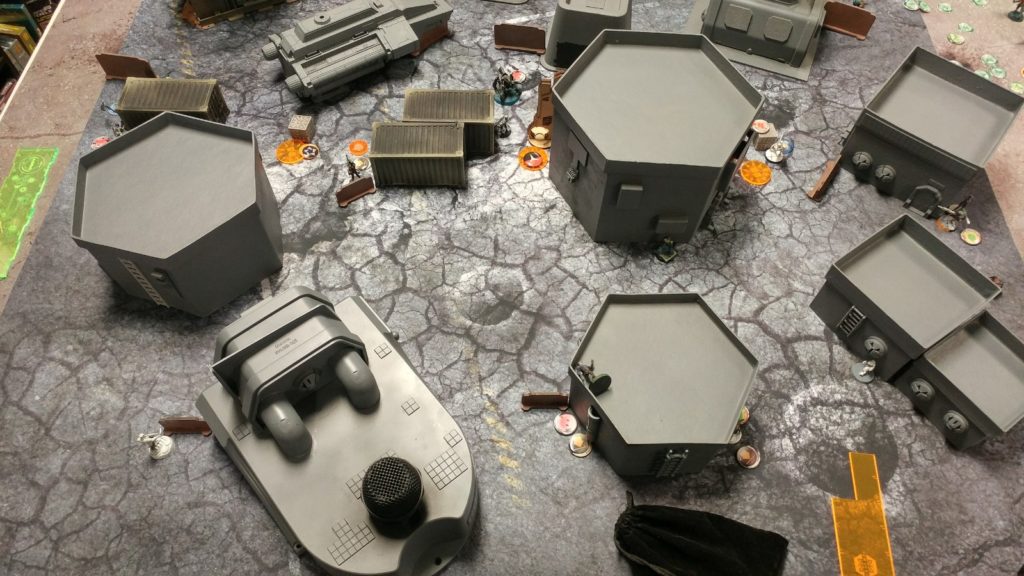 I need to make my way towards the Designated Target on my right, so I push my Iguana Operator up and take out Bit on the way. I don’t have the orders to throw him into suppression so I just pass the turn, thoroughly discouraged at the situation. I haven’t really developed my board any, and I’m hoping that my Iguana Operator survives to turn 3.
Bottom of Turn 2 – MAF
The Daturazi kill the Clockmaker. The Zero DepRep has a shot, but can’t actually hit due to the horrible rangemods and mimetism. That mimetism!
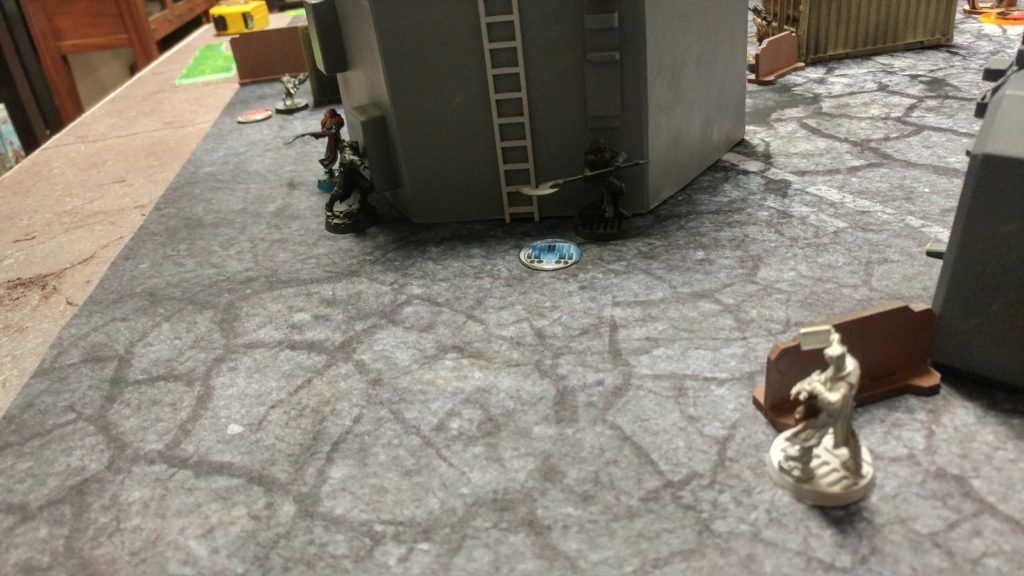 The brokenness that is the E-Drone buffs itself and tries to kill the Prowler. I duck into total cover after tanking an ARM roll. My Prowler is just eating a ton of orders a turn, getting me tons of value. Can’t complain. The Zerat sinks some more orders into the Prowler, throwing grenades ineffectually. With his last order, the E-Drone crits the Iguana Operator, dashing any hopes I might have of taking out his HVT.
Turn 3
Top of Turn 3 – Nomads
I finally bring in my Cube Jager, dash him towards the Iguana Operator, and MISS the Medikit shot. COME ON! I push the rightmost button though, and have just enough orders to get him into LoF of Andrew’s Designated Target. Aaaaand promptly get crit by the stun pistol. As Jack Bauer would say: “DAAAAAAMIT!”
Bottom of Turn 3 – MAF
Andrew’s committed now. The Prowler finally goes down to the Daturazi link. I elect to CC instead of flamethrowering them, hoping to reduce the number of ARM rolls I have to make, but it only takes them one order to drop him. Well, he sunk 2-3 orders from the E-Drone and well over 8 from the Zerat, so I am quite happy with his performance.
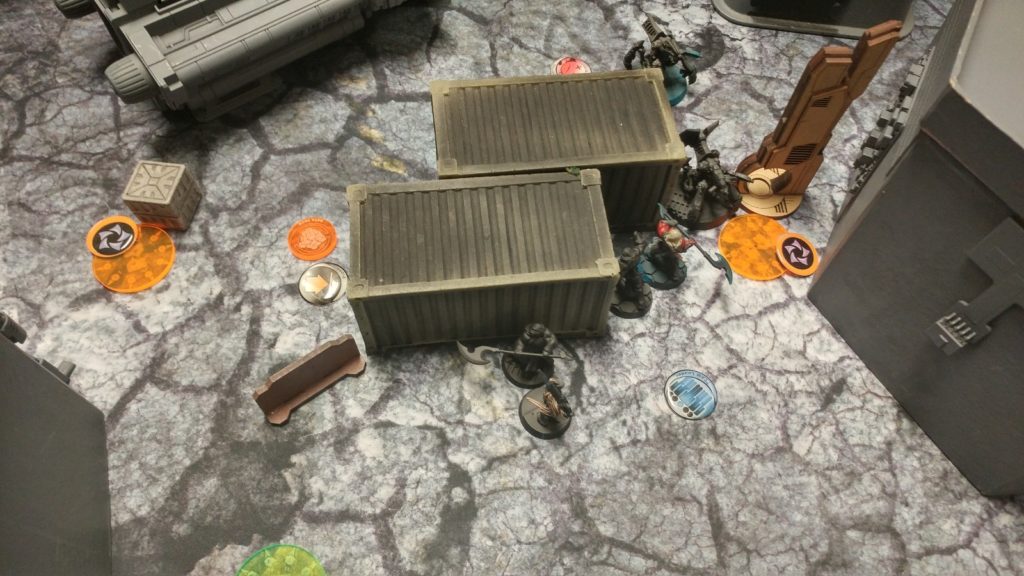 The E-Drone flips the central objective to Andrew’s control, he guesses the correct HVT, and his Zerat Datatracker takes out my Designated Target. That’s a clean sweep of all the objectives. Well played, Andrew! He’s always been a tough opponent but has made some serious improvements to his play as of late.
10-0 MAF Victory!
Notes
- Should’ve used the cube jager much earlier, maybe to pick up the Zero and the KHD. Daturazi were in the way though, and Andrew did a good job of covering the corners with his Ikadrons.
- I definitely didn’t need to take out Bit with my Iguana Operator. I should’ve protected him better.
- I think I got a little discouraged by the Morat rule and didn’t use my Moira E/M LGL at all.
- BRAAN!!
- I was over-aggressive with Bran. After taking out one of the Rodoks, I either should’ve gone after Bit & Kiss, the ‘bots, or something else. The Morat rule makes Lieutenant hunting less effective, but it’s hard to ignore an obvious Lieutenant.
- Even just leaving him on the roof and recamoing him would’ve been incredibly effective.
- My deployment positioning was pretty terrible, I think. Not sure what I would’ve improved, I was just unhappy with the lack of cover and just felt a little out of sorts.
- Should’ve used Lt more aggressively
- Prowler did a great job of being an order sink. Not terribly sure what Andrew was doing trying to kill him, but I was happy to have him spend a ton of orders dealing with him.
- I really wasted the Zero AHD and the Interventor KHD. I needed to be more careful with them, probably spend some orders throwing them into marker state. I definitely overextended with them.
- Definitely needed to focus more on the mission, and I think killing the enemy DataTracker is the first thing to do.

