Emerald City Incursion Mk2 – Day 2
Day two dawned, and Adam and I moseyed over to the Midori Cafe in Redmond with our hosts to gas up for the day with breakfast sandwiches and coffee. After getting throughly turned around on the way to Mox Boarding House (Seattle is almost as confusing as Boston), we arrived with about 10 minutes to spare before round 4 of ECI Mk2. Adam and I had a long mutual debrief on the events of Day 1 on the way back to my friends’ apartment, and the conclusion that I had arrived at was that I needed to play to the objectives and prioritize objectives more. So, at the start of Day 2, it was all objectives, objectives, objectives for me.
Here’s Day One, in case you were looking for that:
Emerald City Incursion Mk2, Day 1
Game 4 – That’s Aida She Wrote
 My first opponent of the day was Jake, who seemed to be a newer player and was sporting a beautifully painted TAK army. We were also playing on Andy’s awesome table, which I was pretty excited about after seeing pictures in the various Facebook groups leading up to ECI.
Overview
- Mission: Supremacy
- Forces: Nomads versus Tartary Army Corps (300)
- Opponent: Jake (Ser Warwick)
- Deploy First: Nomads
- First Turn: Nomads
[img]https://assets.infinitythegame.net/infinityarmy/img/_logosweb/logo_501.png[/img][b] List A[/b]
[img]https://assets.infinitythegame.net/infinityarmy/img/_logosweb/501/logo_16.png[/img] [b]INTERVENTOR Hacker Lieutenant (Hacking Device Plus)[/b] Combi Rifle, 1 FastPanda / Pistol, Knife. (0.5 | [b]27[/b])
[img]https://assets.infinitythegame.net/infinityarmy/img/_logosweb/501/logo_30.png[/img] [b]MORAN (Forward Observer)[/b] Combi Rifle, CrazyKoalas (2) / Pistol, Knife. (0.5 | [b]22[/b])
[img]https://assets.infinitythegame.net/infinityarmy/img/_logosweb/501/logo_30.png[/img] [b]MORAN (Forward Observer)[/b] Combi Rifle, CrazyKoalas (2) / Pistol, Knife. (0.5 | [b]22[/b])
[img]https://assets.infinitythegame.net/infinityarmy/img/_logosweb/501/logo_62.png[/img] [b]MARY PROBLEMS Hacker (Forward Deployment L1)[/b] Submachine Gun + Zapper, Pitcher / Pistol, Knife. (0.5 | [b]30[/b])
[img]https://assets.infinitythegame.net/infinityarmy/img/_logosweb/501/logo_22.png[/img] [b]ZOE & PI-WELL[/b] . (0 | [b]47[/b])
[img]https://assets.infinitythegame.net/infinityarmy/img/_logosweb/sep.gif[/img] [img]https://assets.infinitythegame.net/infinityarmy/img/_logosweb/501/logo_22.png[/img] [b]ZOE (Hacking Device. UPGRADE: Stop!)[/b] Combi Rifle, D-Charges / Pistol, Knife. (0 | [b]28[/b])
[img]https://assets.infinitythegame.net/infinityarmy/img/_logosweb/sep.gif[/img] [img]https://assets.infinitythegame.net/infinityarmy/img/_logosweb/501/logo_22_2.png[/img] [b]PI-WELL[/b] Combi Rifle / Electric Pulse. (0 | [b]19[/b])
[img]https://assets.infinitythegame.net/infinityarmy/img/_logosweb/501/logo_58.png[/img] [b]ZONDNAUT Hacker (Assault Hacking Device)[/b] Combi Rifle / Pistol, Knife. (0.5 | [b]31[/b])
[img]https://assets.infinitythegame.net/infinityarmy/img/_logosweb/sep.gif[/img] [img]https://assets.infinitythegame.net/infinityarmy/img/_logosweb/501/logo_58.png[/img] [b]ZONDMATE[/b] Chain Rifle, Smoke Light Grenade Launcher / Electric Pulse. ([b]5[/b])
[img]https://assets.infinitythegame.net/infinityarmy/img/_logosweb/501/logo_66.png[/img] [b]AÏDA SWANSON[/b] 2 Submachine Gun, Viral Mines / Viral Pistol, Shock CC Weapon, Knife. (0 | [b]24[/b])
[img]https://assets.infinitythegame.net/infinityarmy/img/_logosweb/501/logo_56.png[/img] [b]KRIZA BORAC[/b] HMG / Heavy Pistol, CC Weapon. (2 | [b]54[/b])
[img]https://assets.infinitythegame.net/infinityarmy/img/_logosweb/501/logo_4.png[/img] [b]INTRUDER[/b] HMG, Grenades / Pistol, CCW. (1.5 | [b]42[/b])
[img]https://assets.infinitythegame.net/infinityarmy/img/_logosweb/orden_regular.png[/img]10 [img]https://assets.infinitythegame.net/infinityarmy/img/_logosweb/orden_impetuosa.png[/img]1 [b]| 6 SWC | 299 Points |[/b] Open in Infinity Army
[img]https://assets.infinitythegame.net/infinityarmy/img/_logosweb/logo_305.png[/img][b] Tartary Army Corps[/b]
[img]https://assets.infinitythegame.net/infinityarmy/img/_logosweb/305/logo_6.png[/img] [b]VETERAN KAZAK Lieutenant[/b] AP HMG / Heavy Pistol, Knife. (1 | [b]47[/b])
[img]https://assets.infinitythegame.net/infinityarmy/img/_logosweb/305/logo_5.png[/img] [b]FRONTOVIK Engineer[/b] T2 Rifle, Light Rocket Launcher, D-Charges / Assault Pistol, Knife. (0.5 | [b]33[/b])
[img]https://assets.infinitythegame.net/infinityarmy/img/_logosweb/305/logo_5.png[/img] [b]FRONTOVIK[/b] Heavy Rocket Launcher / Assault Pistol, Knife. (1.5 | [b]23[/b])
[img]https://assets.infinitythegame.net/infinityarmy/img/_logosweb/305/logo_5.png[/img] [b]FRONTOVIK Paramedic (MediKit)[/b] T2 Rifle / Assault Pistol, Knife. (0 | [b]25[/b])
[img]https://assets.infinitythegame.net/infinityarmy/img/_logosweb/305/logo_5.png[/img] [b]FRONTOVIK Paramedic (MediKit)[/b] T2 Rifle / Assault Pistol, Knife. (0 | [b]25[/b])
[img]https://assets.infinitythegame.net/infinityarmy/img/_logosweb/305/logo_14.png[/img] [b]112[/b] Light Shotgun / Pistol, CCW. (0 | [b]12[/b])[img]https://assets.infinitythegame.net/infinityarmy/img/_logosweb/305/logo_9.png[/img] [b]SCOUT (Forward Observer)[/b] Ojotnik, D-Charges, Antipersonnel Mines / Pistol, Knife. (0 | [b]30[/b])
[img]https://assets.infinitythegame.net/infinityarmy/img/_logosweb/305/logo_4.png[/img] [b]TANKHUNTER[/b] Portable Autocannon, D-Charges / Pistol, Knife. (1.5 | [b]34[/b])
[img]https://assets.infinitythegame.net/infinityarmy/img/_logosweb/305/logo_2.png[/img] [b]SPETSNAZ (CH: Ambush Camouflage)[/b] HMG / Pistol, CCW, Knife. (1.5 | [b]38[/b])
[img]https://assets.infinitythegame.net/infinityarmy/img/_logosweb/305/logo_2.png[/img] [b]SPETSNAZ (CH: Mimetism, AD: Parachutist)[/b] Boarding Shotgun, Grenades / Pistol, AP CCW, Knife. (0 | [b]33[/b])
[img]https://assets.infinitythegame.net/infinityarmy/img/_logosweb/orden_regular.png[/img]10 [b]| 6 SWC | 300 Points |[/b] Open in Infinity Army
Deployment
I won the rolloff, and assumed that I would be seeing some sort of fireteam on the table, up to and including the dreaded full Vet Kazak fireteam. I didn’t know what style of TAK Jake was playing, so I chose to go first so I could deploy Aida as a turn 1 murderbeast with all her viral options. I wanted to be as efficient as possible, so I just put the Morans right next to the consoles on my side, and deployed their Koalas with a mind to covering both AD as well as the advance of Jake’s forces. Pi Well and Zoe went in the middle, which seems to be a common thing for me now, and then I put my Intruder and Zondnautica on the right with the Kriza on the left. The photo below is from a few orders into turn one, after I had already moved Pi Well and the Zondnautica. I’ve indicated their start positions with another arrow.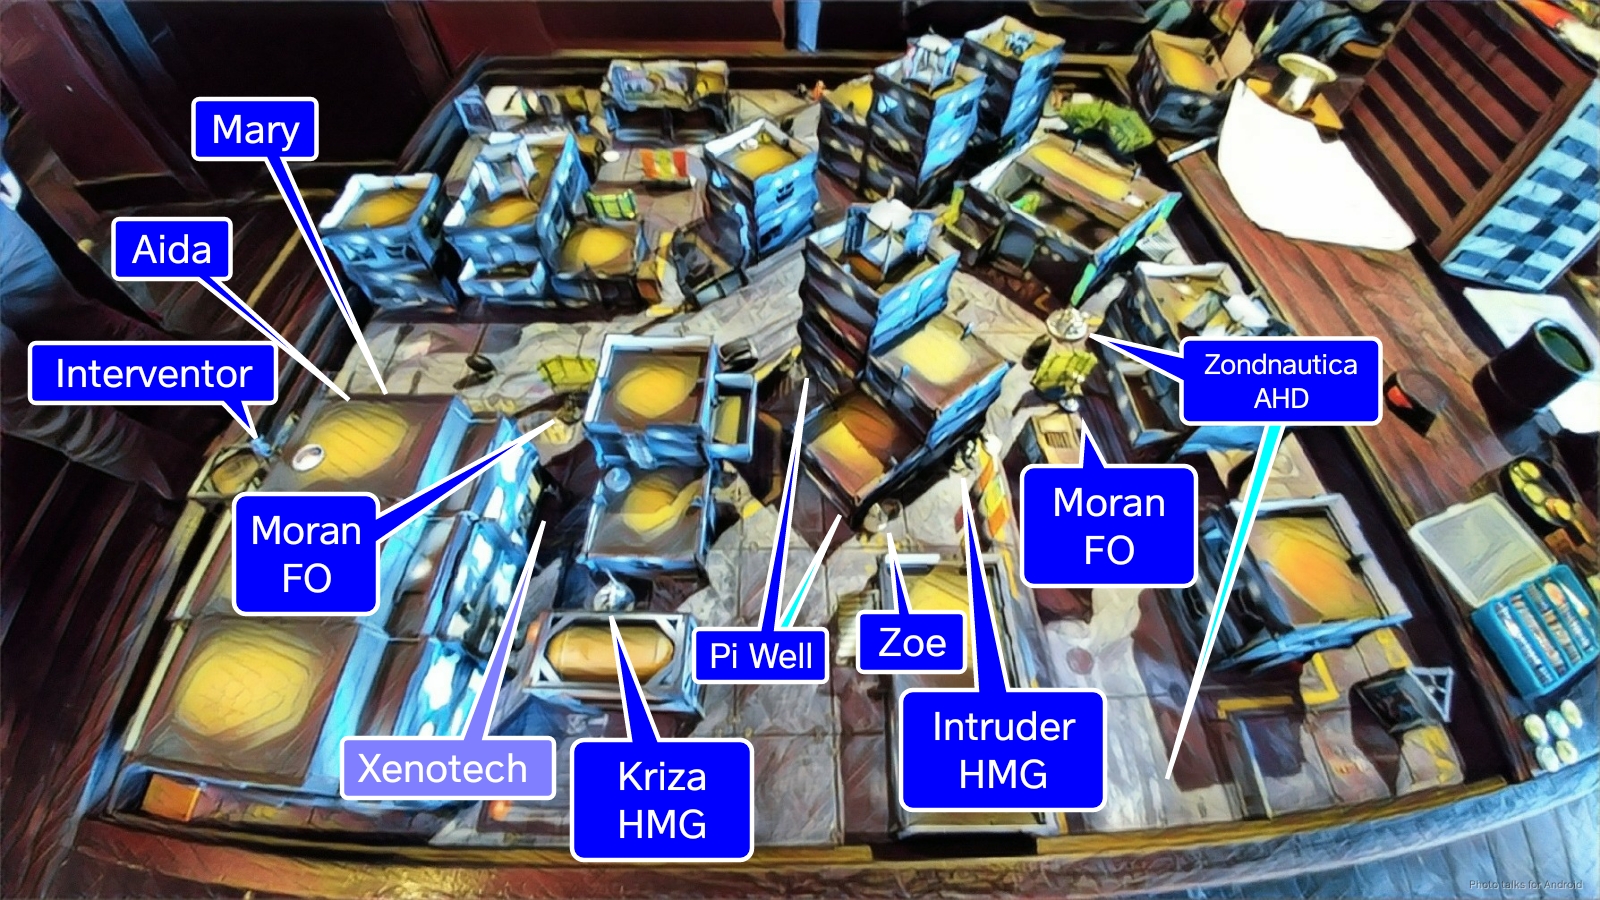 Given that this was Supremacy, and my Interventor Lt would have literally nothing to do other than buffing Pi Well or throwing down White Noise, I put him on the highest roof in my deployment zone, prone and ready to crawl forward to add his points to a quadrant. I also synced him to my Xenotech to get the maximum benefit out of his Lieutenant order. Mary went on the far left, with me anticipating that I would want to get her up through the small gap on that side of the board to secure the far left console. I held Aida in reserve, ready to go link team hunting.
Jake obliged me by putting his link team in a line on the right side of the board, behind a bus, with the two rocket launcher toting Frontoviks left out to ARO and not much else. The Spetznaz and Tankhunter were prone on roofs to protect them from my alpha strike, with the Scout and Vet Kazak making up the entirety of Jake’s left flank.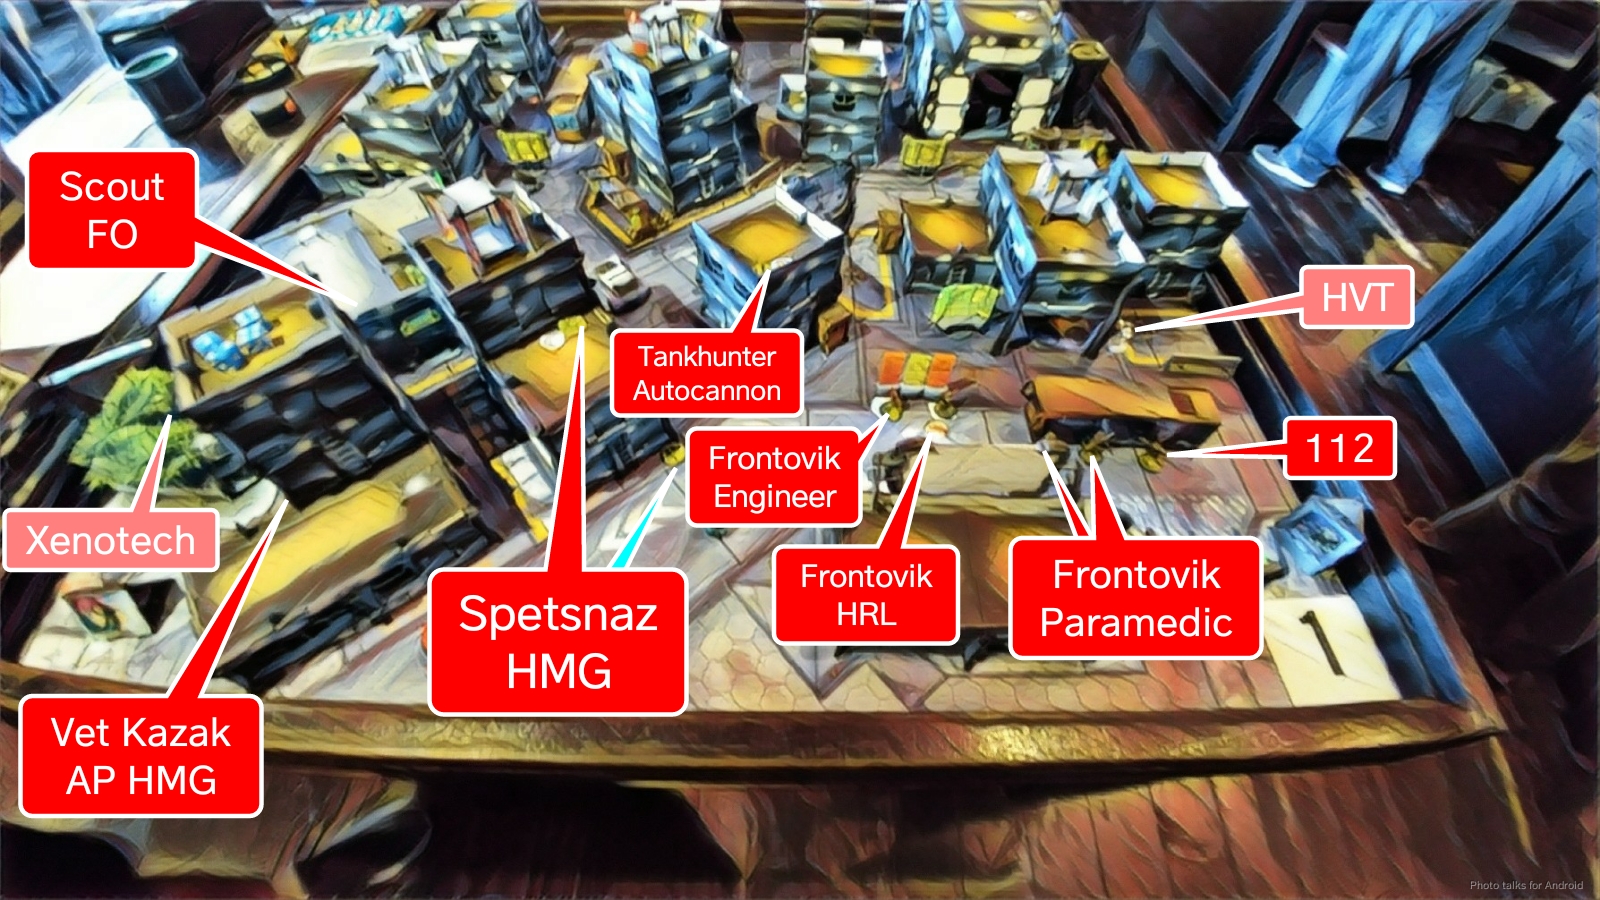
I forget exactly what Jake held in reserve. I think it might’ve been the Scout? In any case, I put Aida on the same side as Mary, figuring the two SMG-toting ladies could go clear out some Frontoviks together. I had also drawn the hack the HVT classified, whatever it’s called, so Mary being there was just perfect.
Turn 1
Top of 1 – Nomads
Jake had left almost nothing out to ARO, which is a decent idea in limited insertion, so my Zondnautica rocketed up the board. I coordinated an order to move Aida, Mary, the Zondnautica, and Pi Well forward, and then sent Mary in to remove the Frontovik HRL that was watching the alley. I made sure to keep Aida well behind Mary as she moved, snagging my hack the HVT classified as I went. I finally arrived at a position where I had LoF to the HRL Frontovik and made quick work of him with some AP SMG ammo.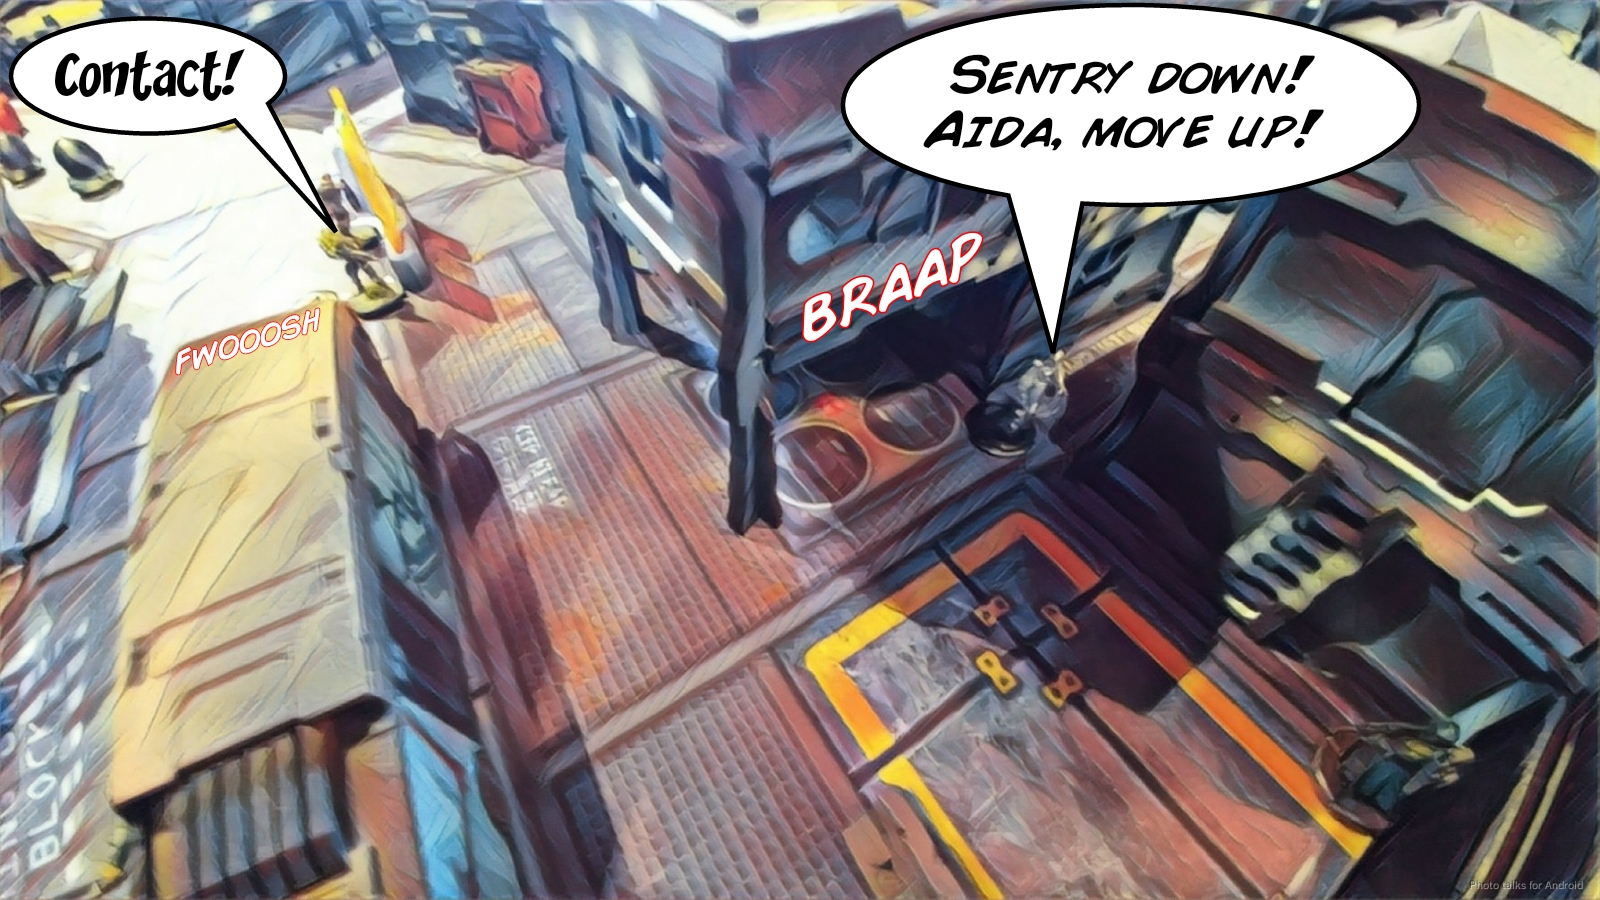 With no one else watching that approach, Aida dashed across the gap to the bus and treated the Frontoviks to a viral mine surprise.
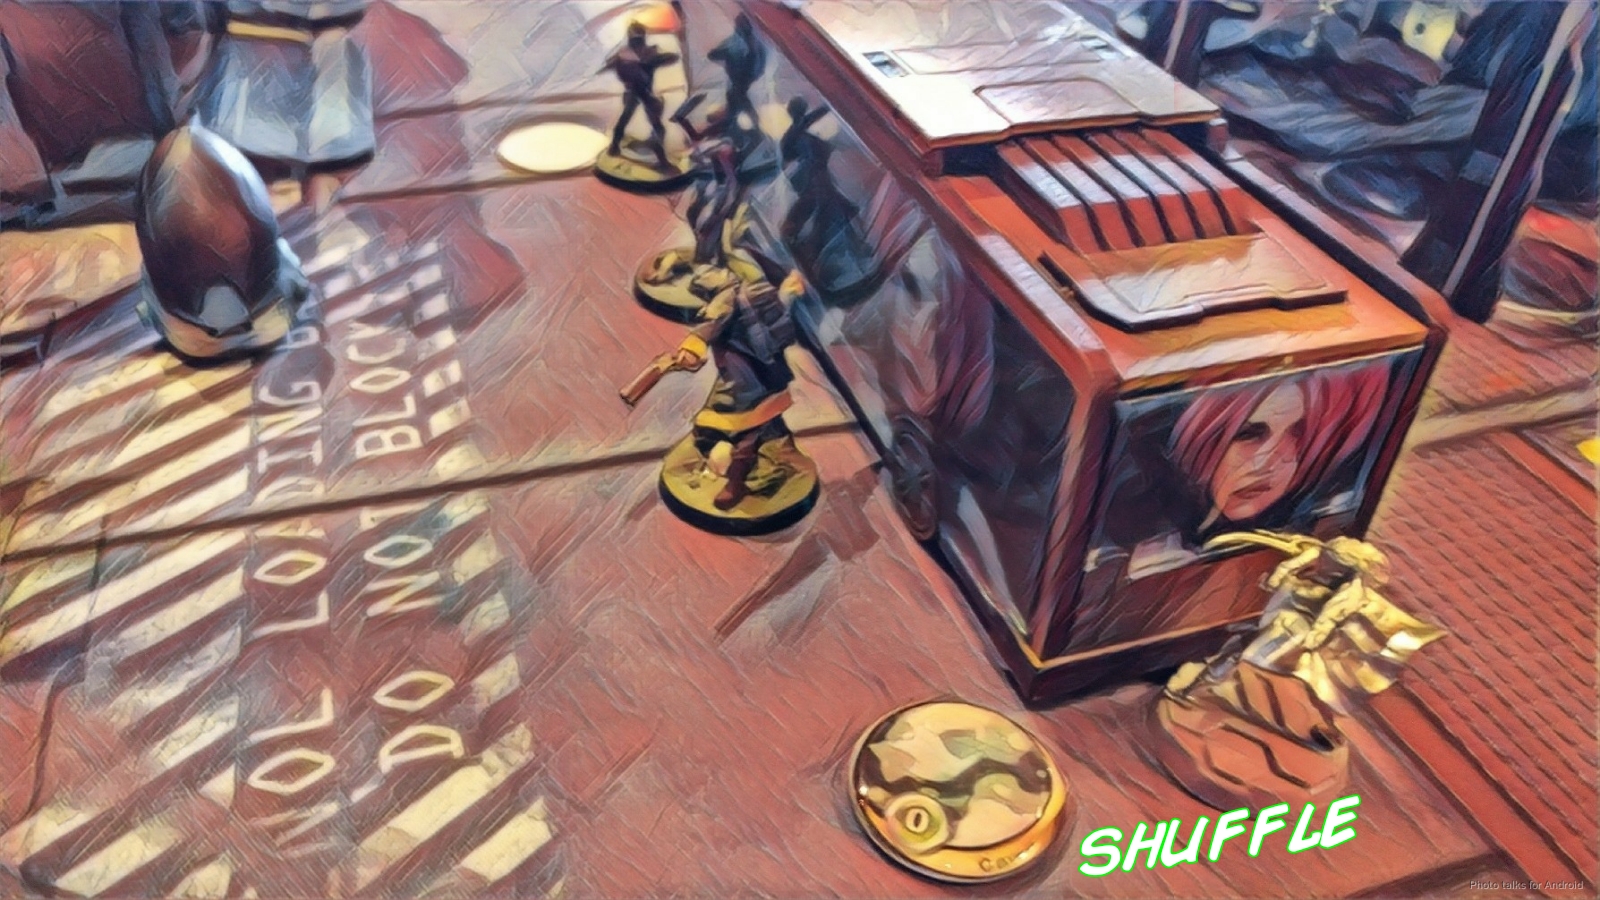 Jake chose to dodge his two Frontovik Paramedics and the 112. When the smoke cleared, the only survivors were the middle Paramedic and Aida. At this point, I made a conscious decision to stop murdering things and instead focused on objectives. Mary grabbed the objective near the Frontoviks and hid behind it, and then I dismounted my Zondnaut and snuck her into the room to grab my far right objective, leaving my Zondmate on the corner to slow down the Vet Kazak lurking there.
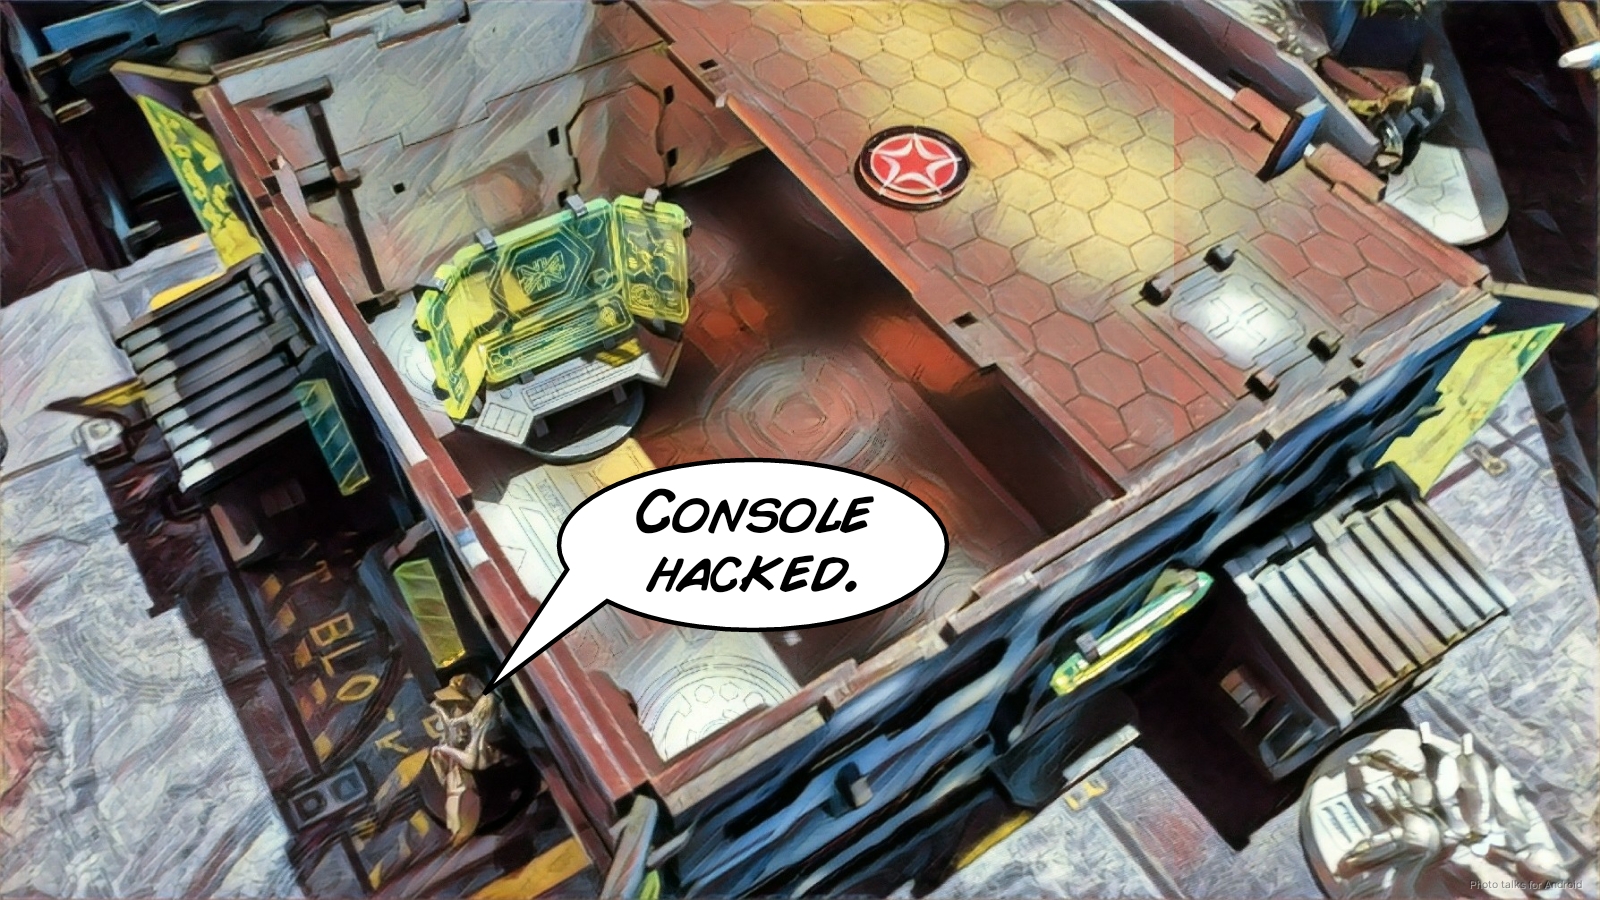 At this point, I was out of regular orders, so I just used my Lt order to push the Xenotech forward, figuring I would try to place the Multiscanner on turn 2.
Bottom of 1 – TAK
Jake also wanted to play to the objective and didn’t get distracted by Aida.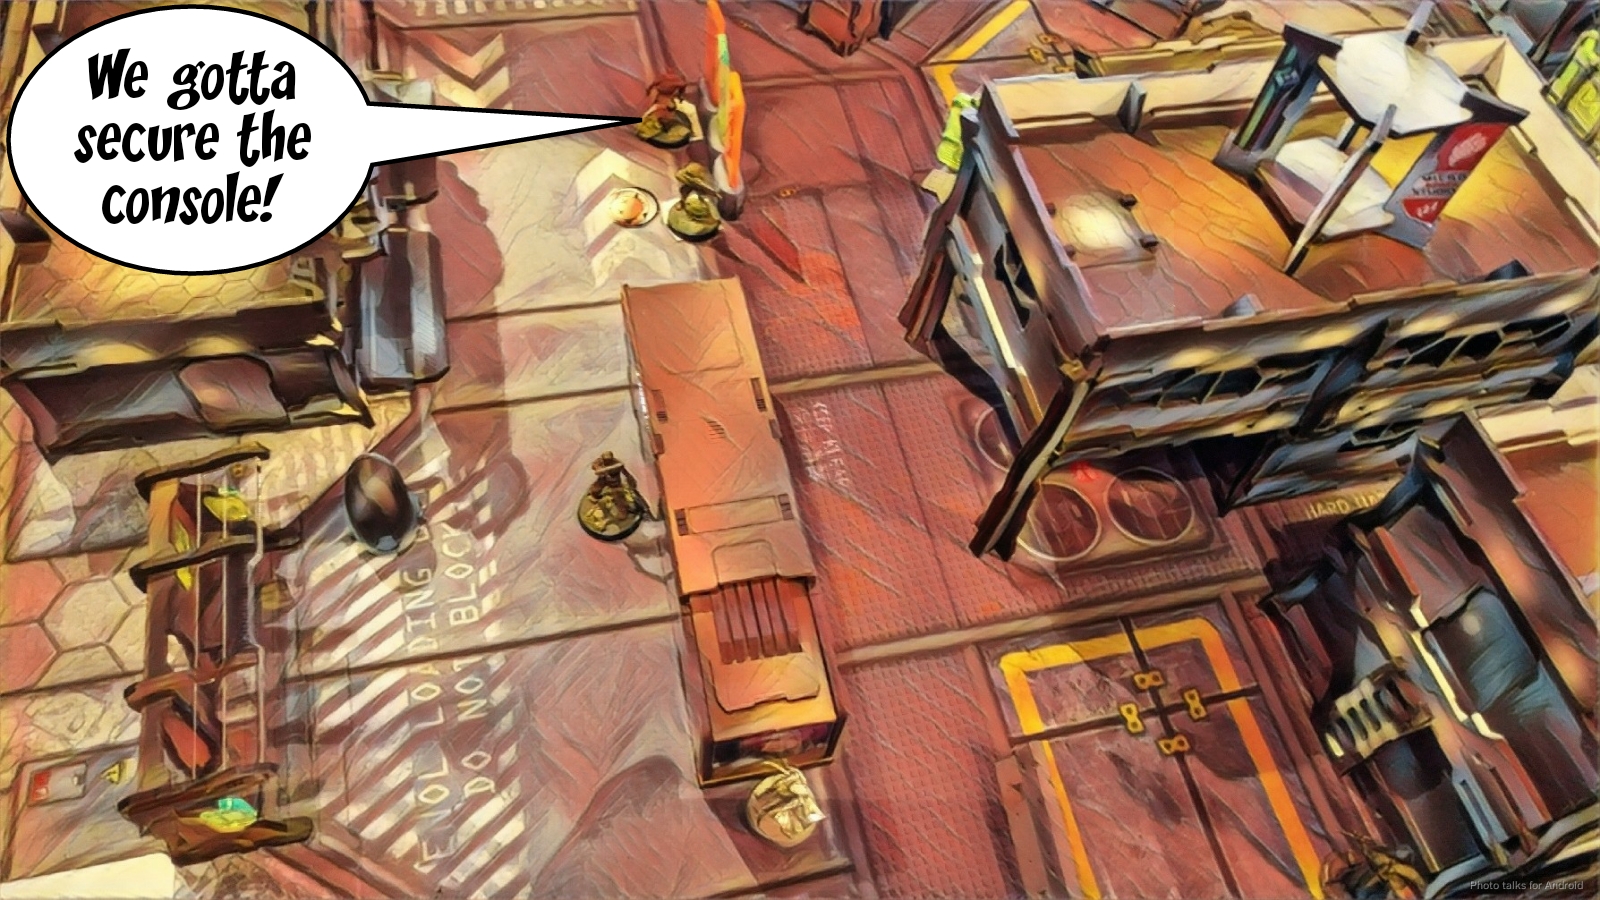 He reformed his Frontovik link and moved the engineer forward to push the button that Mary was hiding behind, emptying his assault pistol on the way. Thankfully, without the link bonuses, Mary’s ODD let her dodge out of the way safely.
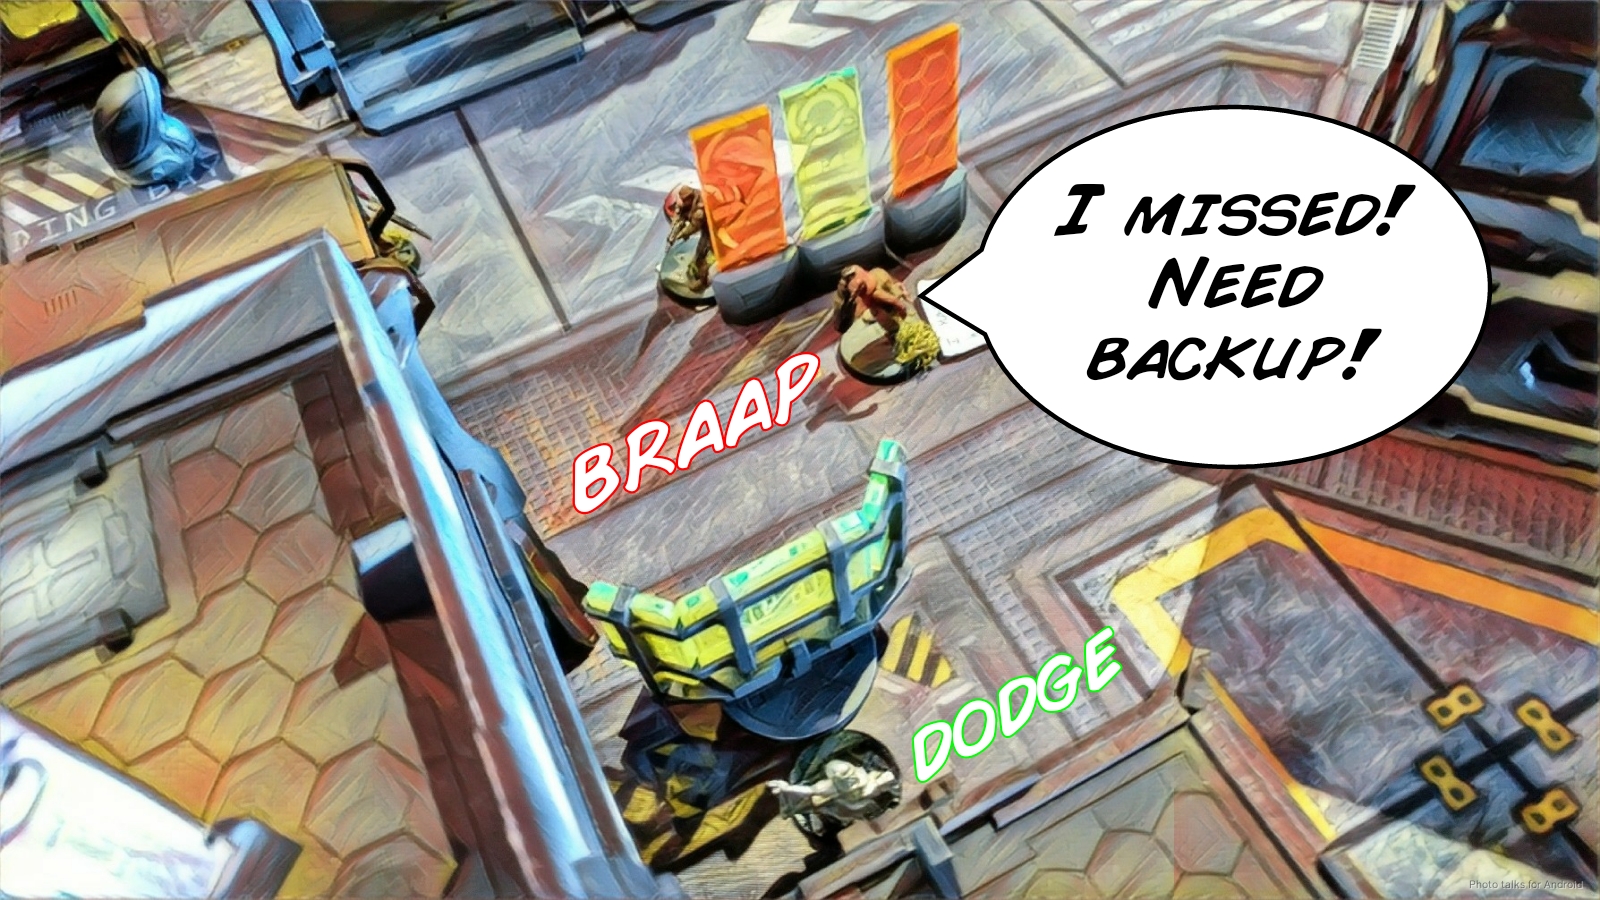 Jake had some bad dice luck and burned a few orders failing to push the button.
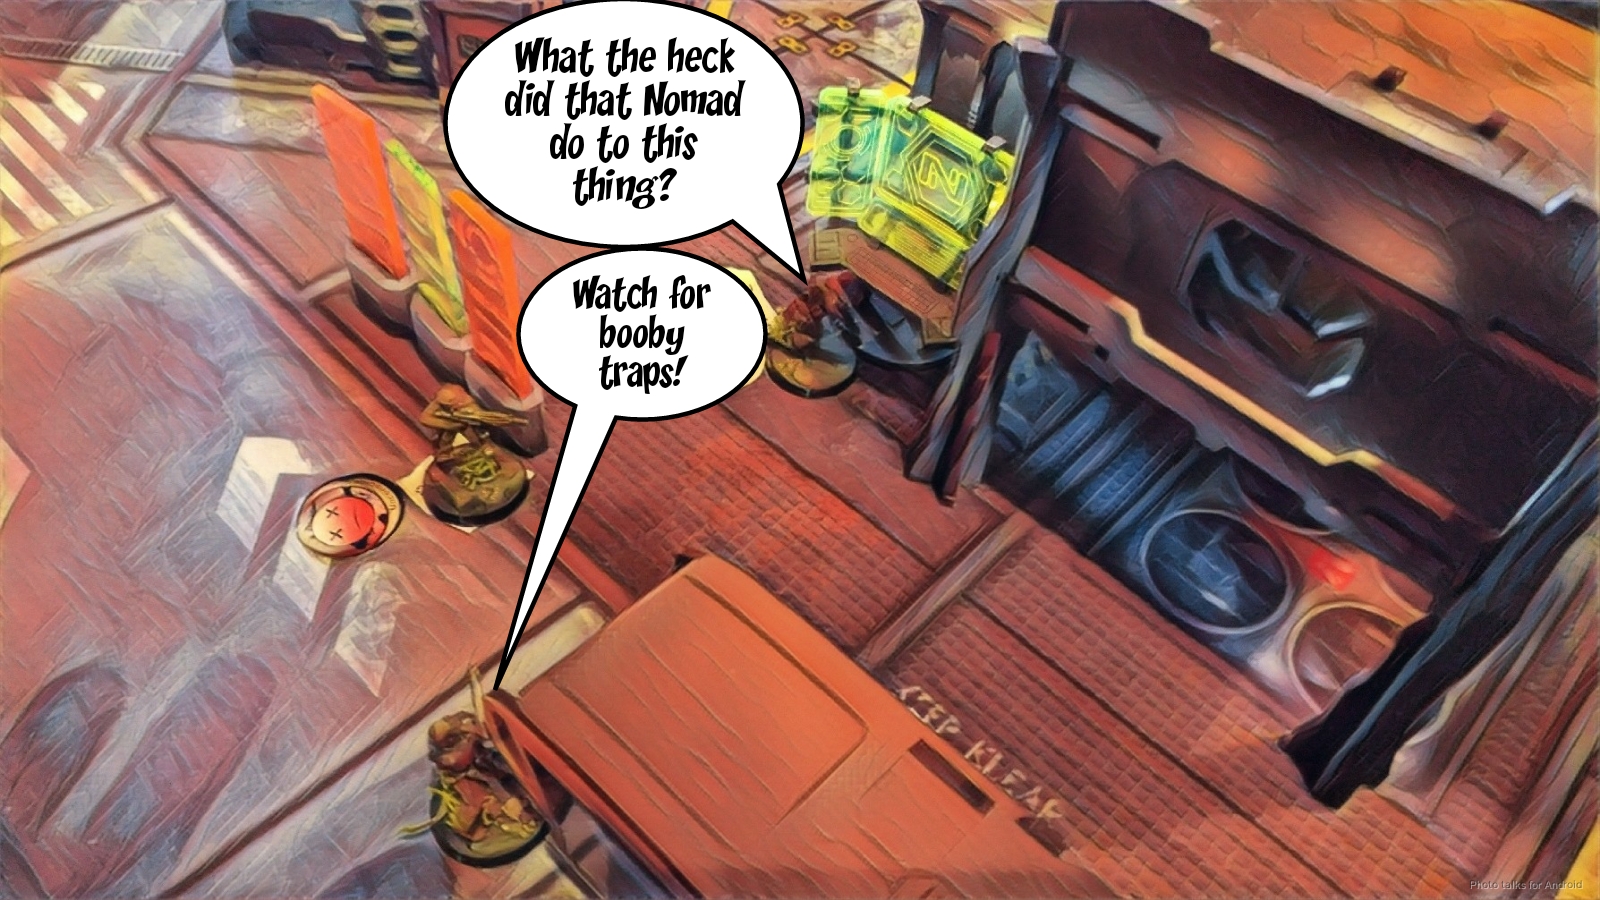 Figuring he had to do something about the stuff in his backfield, Jake activated his Spetznaz HMG and split burst against Pi Well and Mary. Pi Well managed to flash pulse the Spetznaz, but Jake passed BTS. Mary was not so lucky with her dodge this time and was shocked off the table.
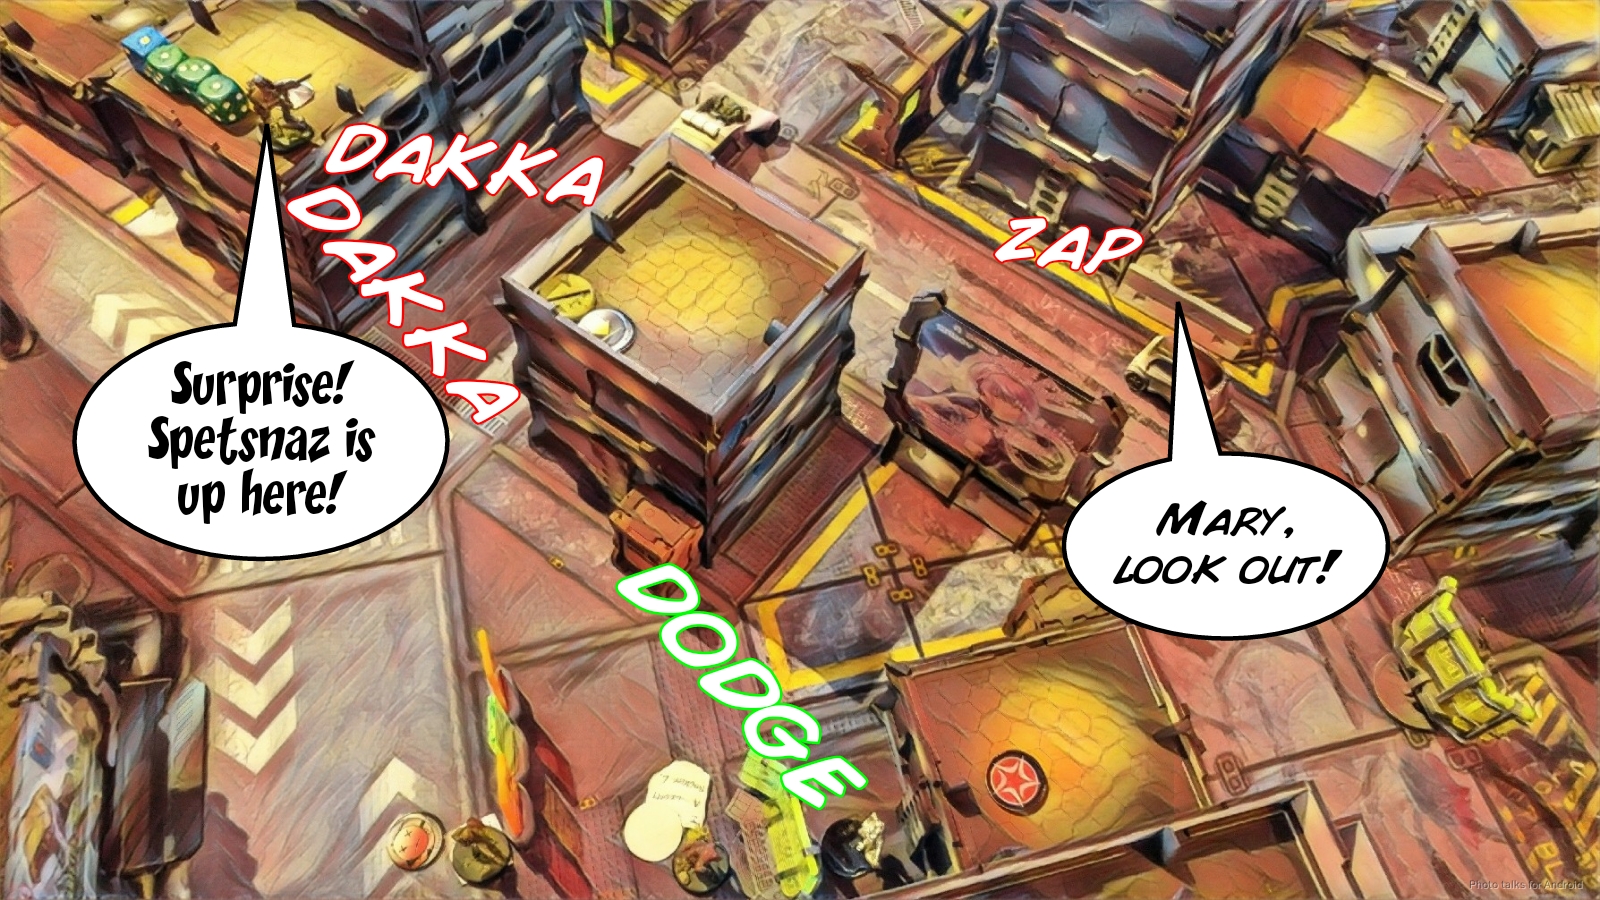 Jake was now free to dump all four dice at Pi Well, whose ODD and ARM saved him, letting me fail guts around the corner to safety.
 Jake finished things off by putting his Frontovik Paramedic squarely in Aida’s way, daring me to come around the corner.
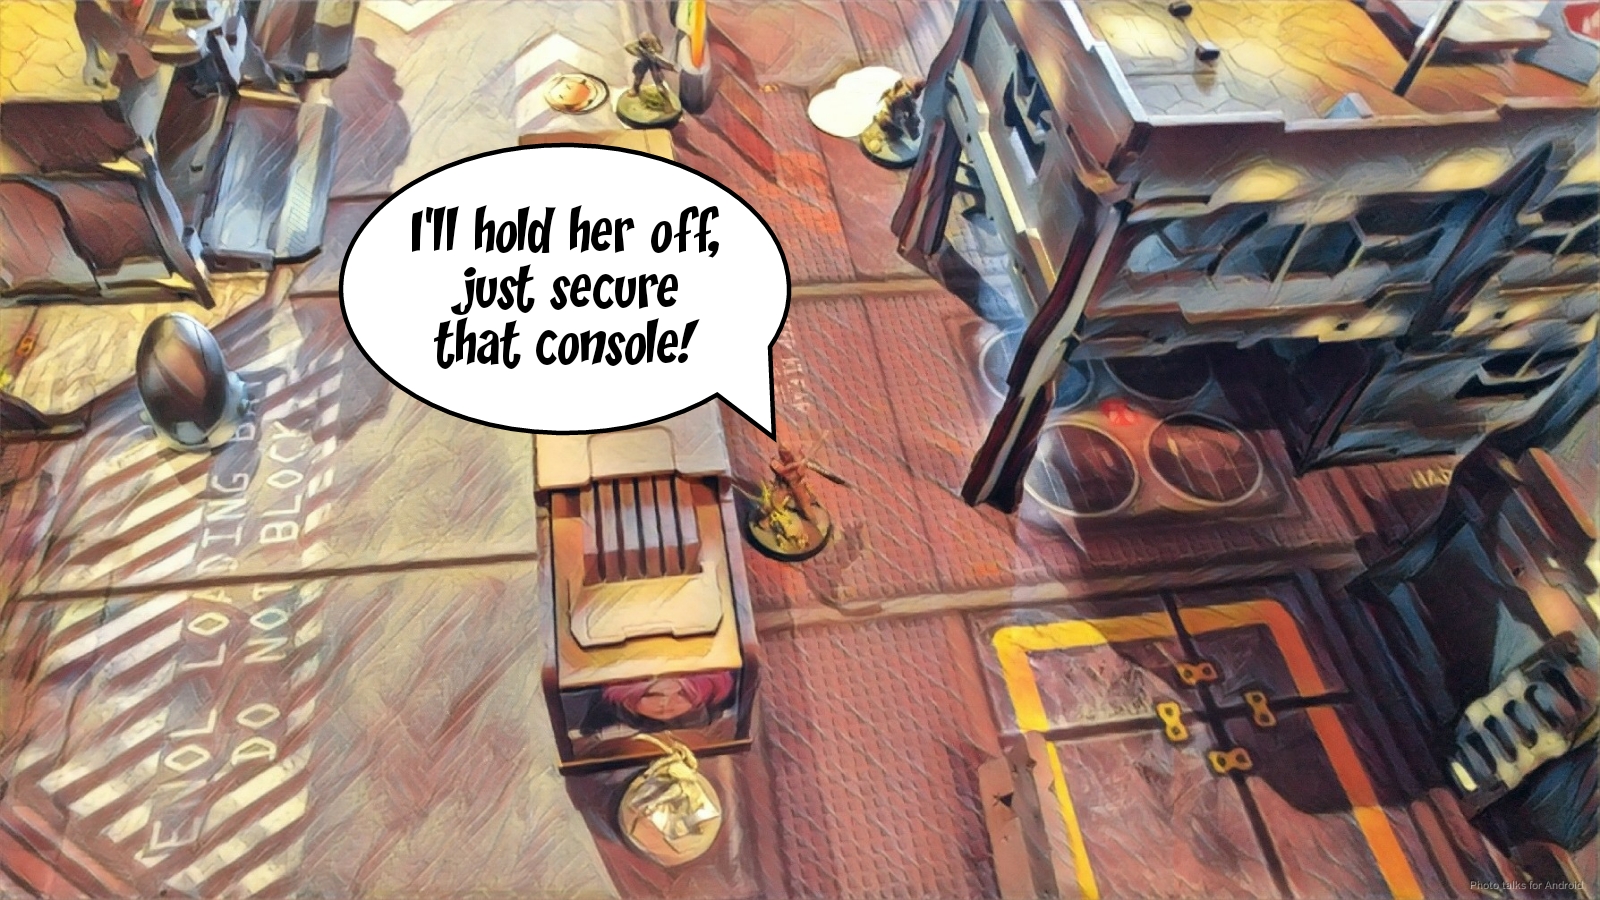
Turn 2
My Zondnautica out points Jake’s Scout by 1 point, giving me three quadrants, one of which has my Xenotech. With the consoles and my classified, this puts me at 6-0 so far at the top of 2.
Top of 2 – Nomads
I didn’t want to expose the Zondnaut to the Scout with an impetuous order, as the quickest way to the Vet Kazak was past the Scout, so I canceled it. The Spetznaz needed to go, so my Kriza took care of that for me with ease.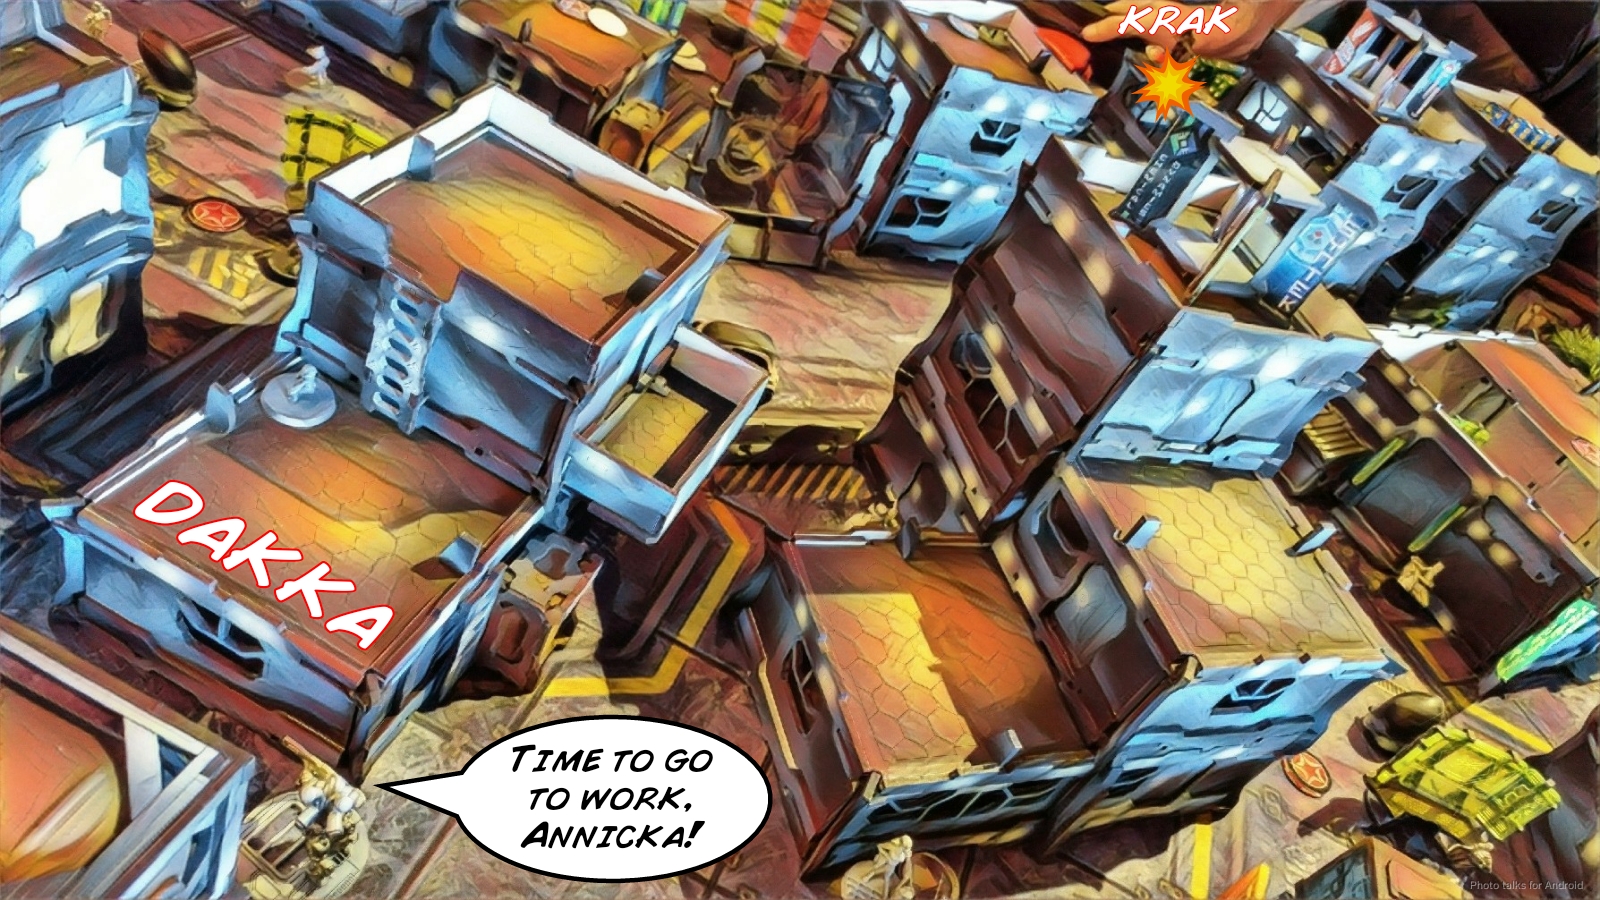 This left Aida free to do her viral mine trick again. The mine took care of the Frontovik Paramedic, and her dual SMGs took care of the Frontovik Engineer.
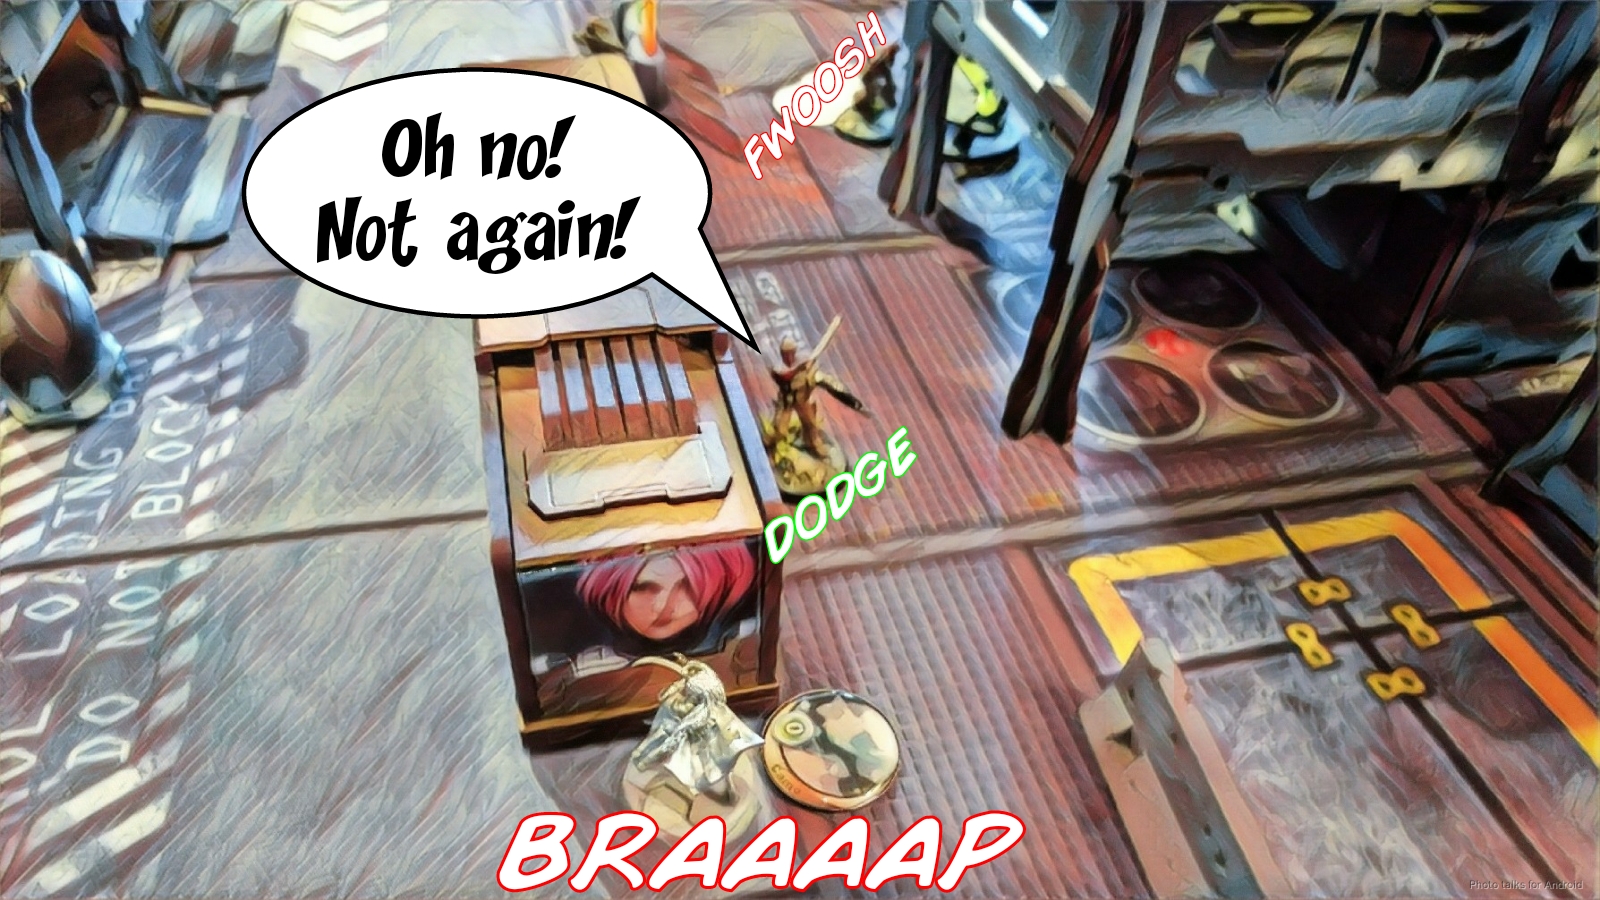 I took care of the remaining objectives, spending three orders to push both buttons with my Morans, one of which was coordinated to reposition my Intruder. I had banked one extra order to try to drop the Multiscanner, but I managed to do it with just my Interventor’s lieutenant order. I then put Aida firmly into my far left quadrant. I suppose I could’ve put some stuff into suppression, but I instead opted to pressure the Vet Kazak by rolling the Zondmate around the corner, losing it but putting the Kazak into NWI.
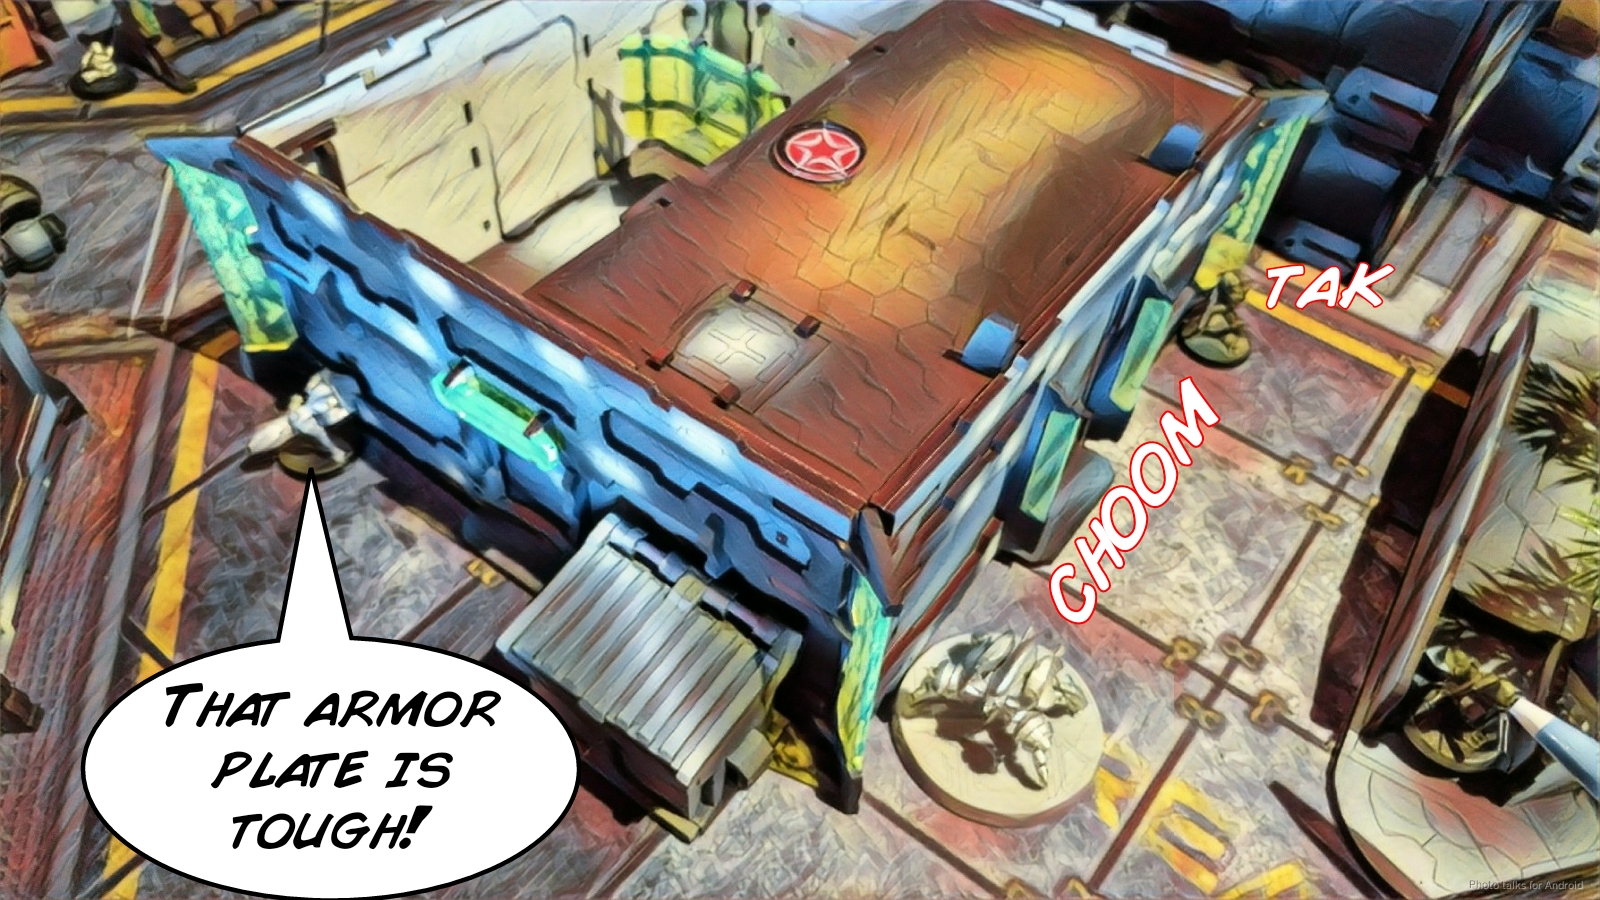
Bottom of 2 – TAK
At this point, Jake is down to three orders–the Vet Kazak, the Scout, and the Tankhunter. He brings in Spetznaz boarding shotgun. There’s no good place for it, as my Intruder can see the entire board edge, so Jake opts to keep it outside of the nearby Koala’s trigger range–I had moved it away from the board edge to threaten the Vet Kazak’s advance. I break camo state and take a shot on a 13 with my Intruder’s HMG, but Jake passes ARM. 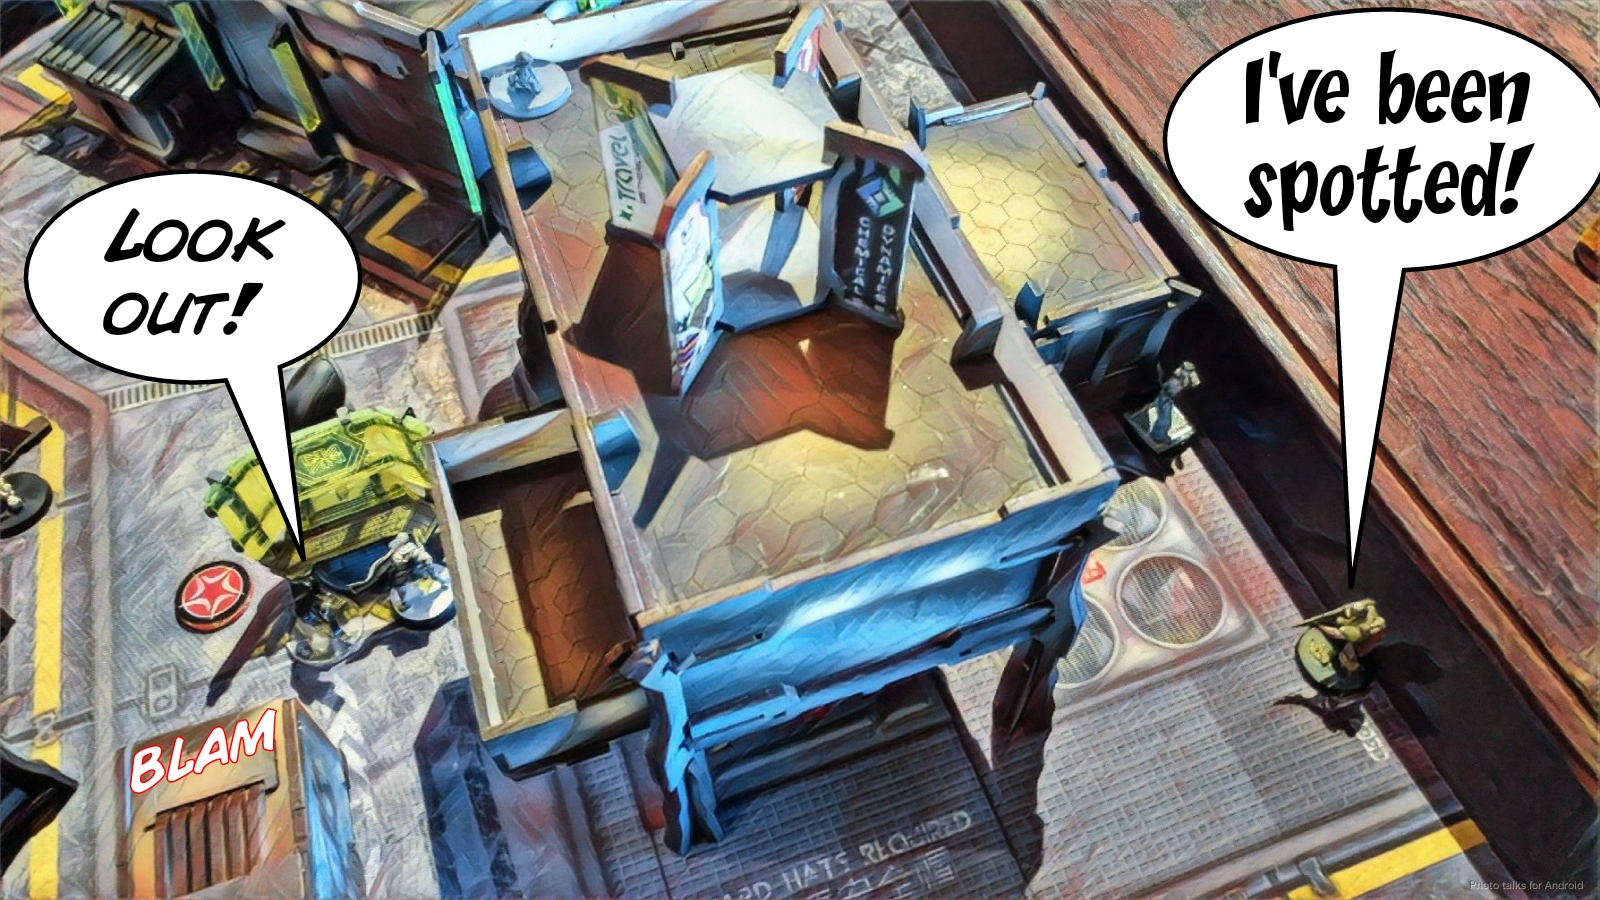 Now that the Spetznaz is on the table, Jake dumps an order into it, shooting the Moran in the back and covering my Intruder with the blast template. My Moran tanks the shot and my Intruder beats the Spetznaz’s roll. Unfortunately, the Spetznaz rolls high again and tanks the HMG shot. I fail guts to cover with the Moran, making it impossible to cover both with a template.
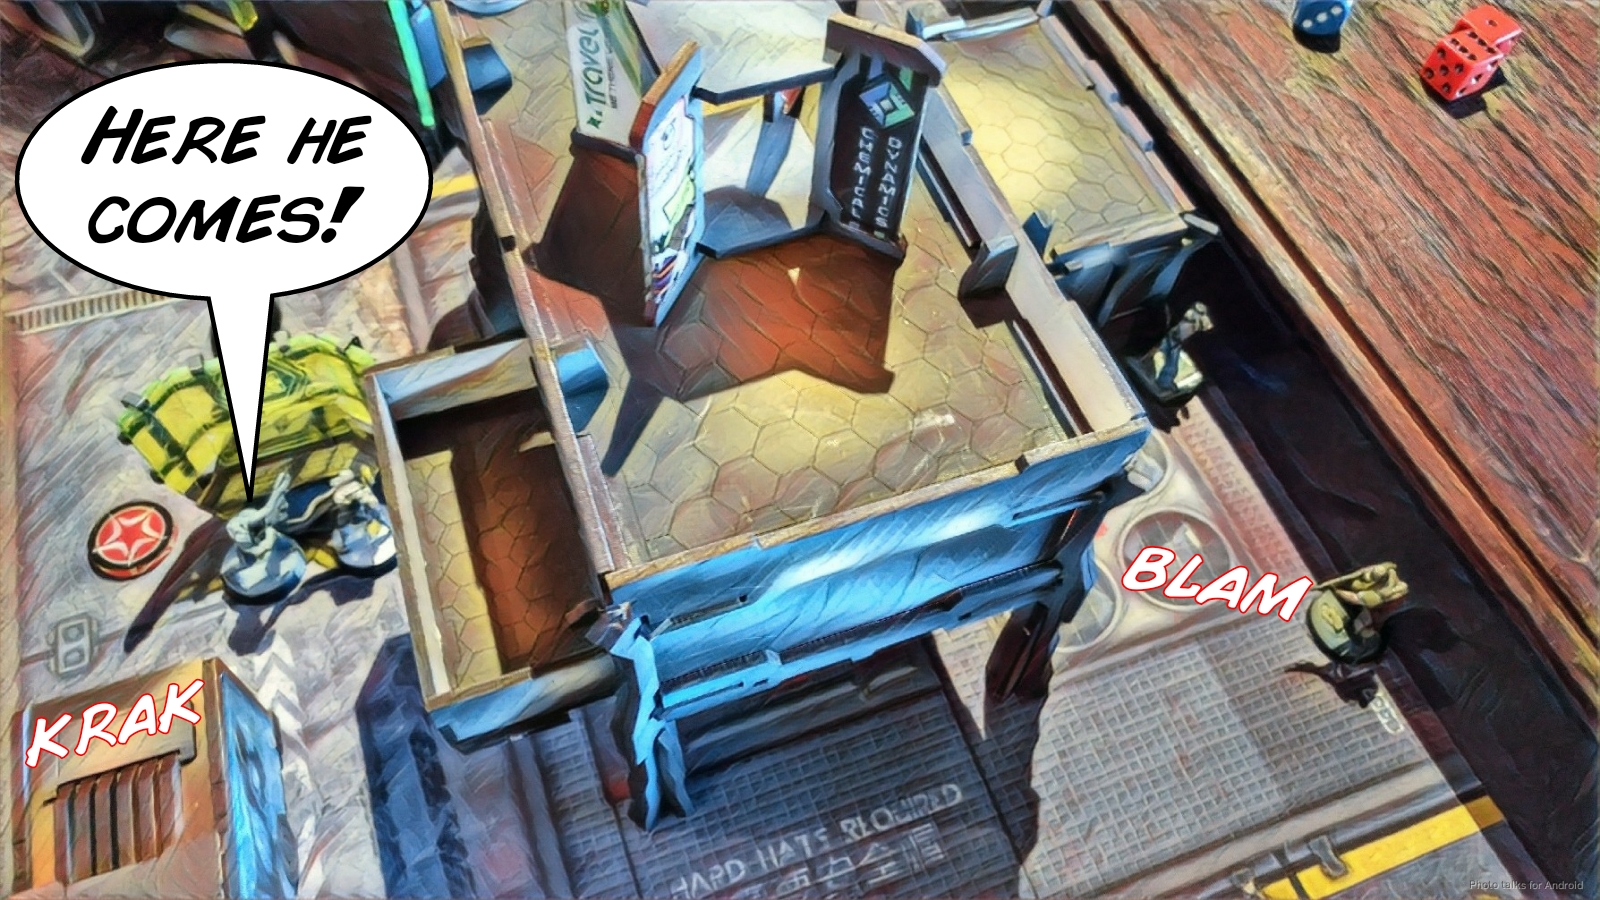 Unfortunately, Jake keeps pushing the Spetznaz forward and splits burst, gunning down both the Intruder and the Moran with AP slugs. A quick Lieutenant order and a coordinated order later, Jake drops a Multiscanner into the far right quadrant and moves the Tankhunter into Aida’s quadrant.
Turn 3
The Vet Kazak and Scout out-point my Zondnaut, the Tankhunter out-points Aida, and the Spetznaz has cleared out my near right quadrant. With both Multiscanners out, Jake puts 3 points on the board, making it a 8-3 game.
Top of 3 – Nomads
The Vet Kazak is close now, and I don’t have much to lose, so I send in the Zondnaut. She comes through for me and guns him down.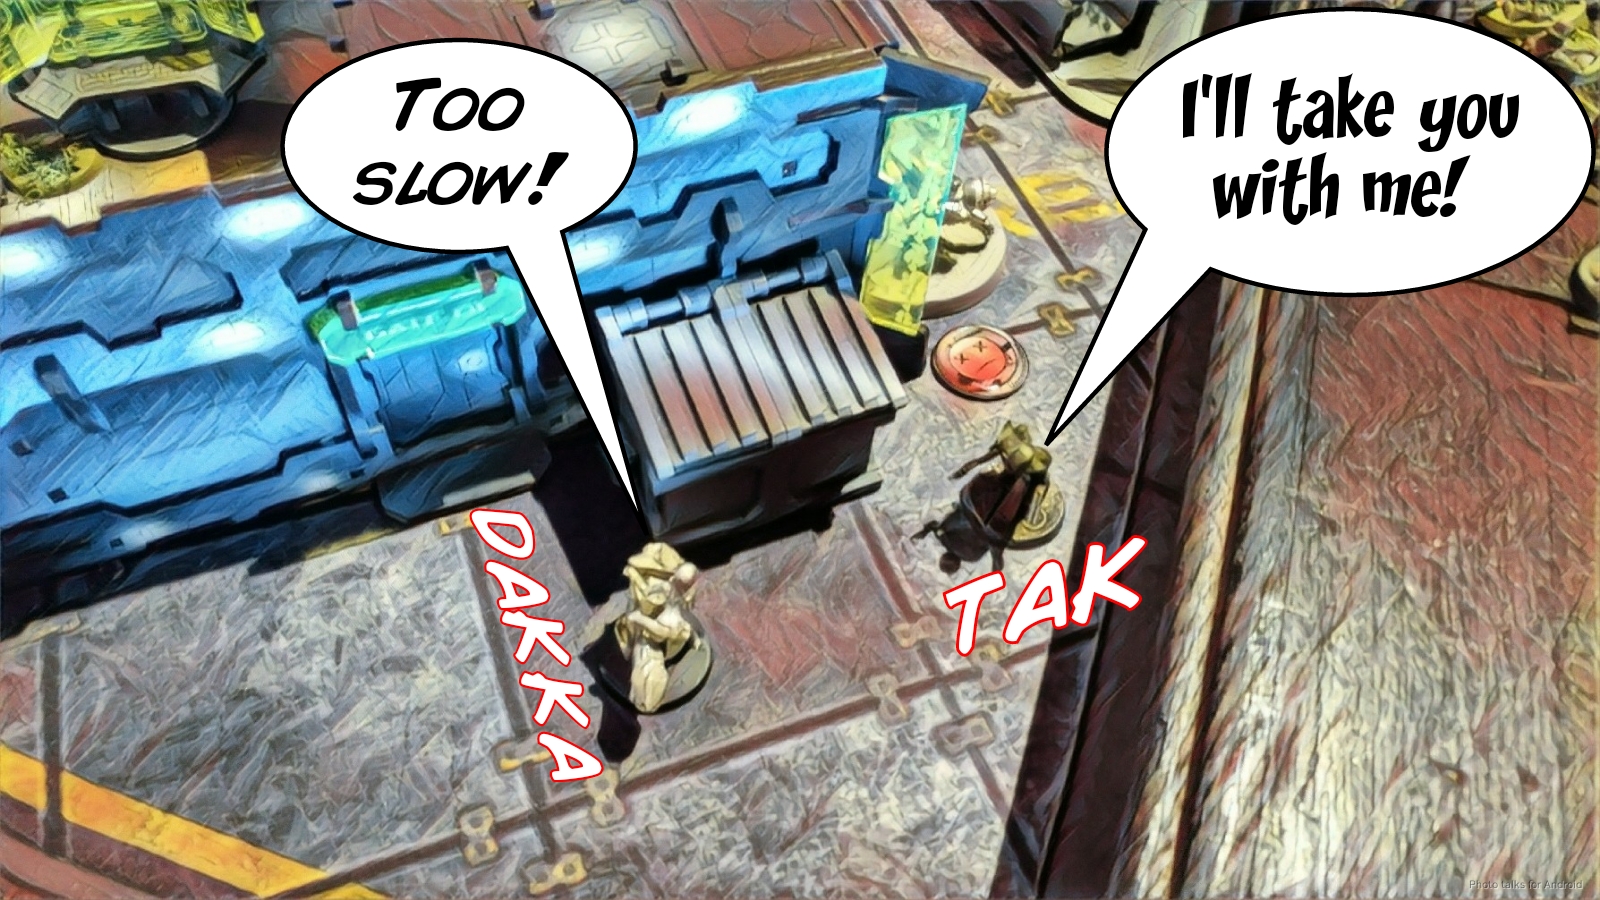 My Kriza adds another Spetznaz to his kill count after climbing up to a roof,
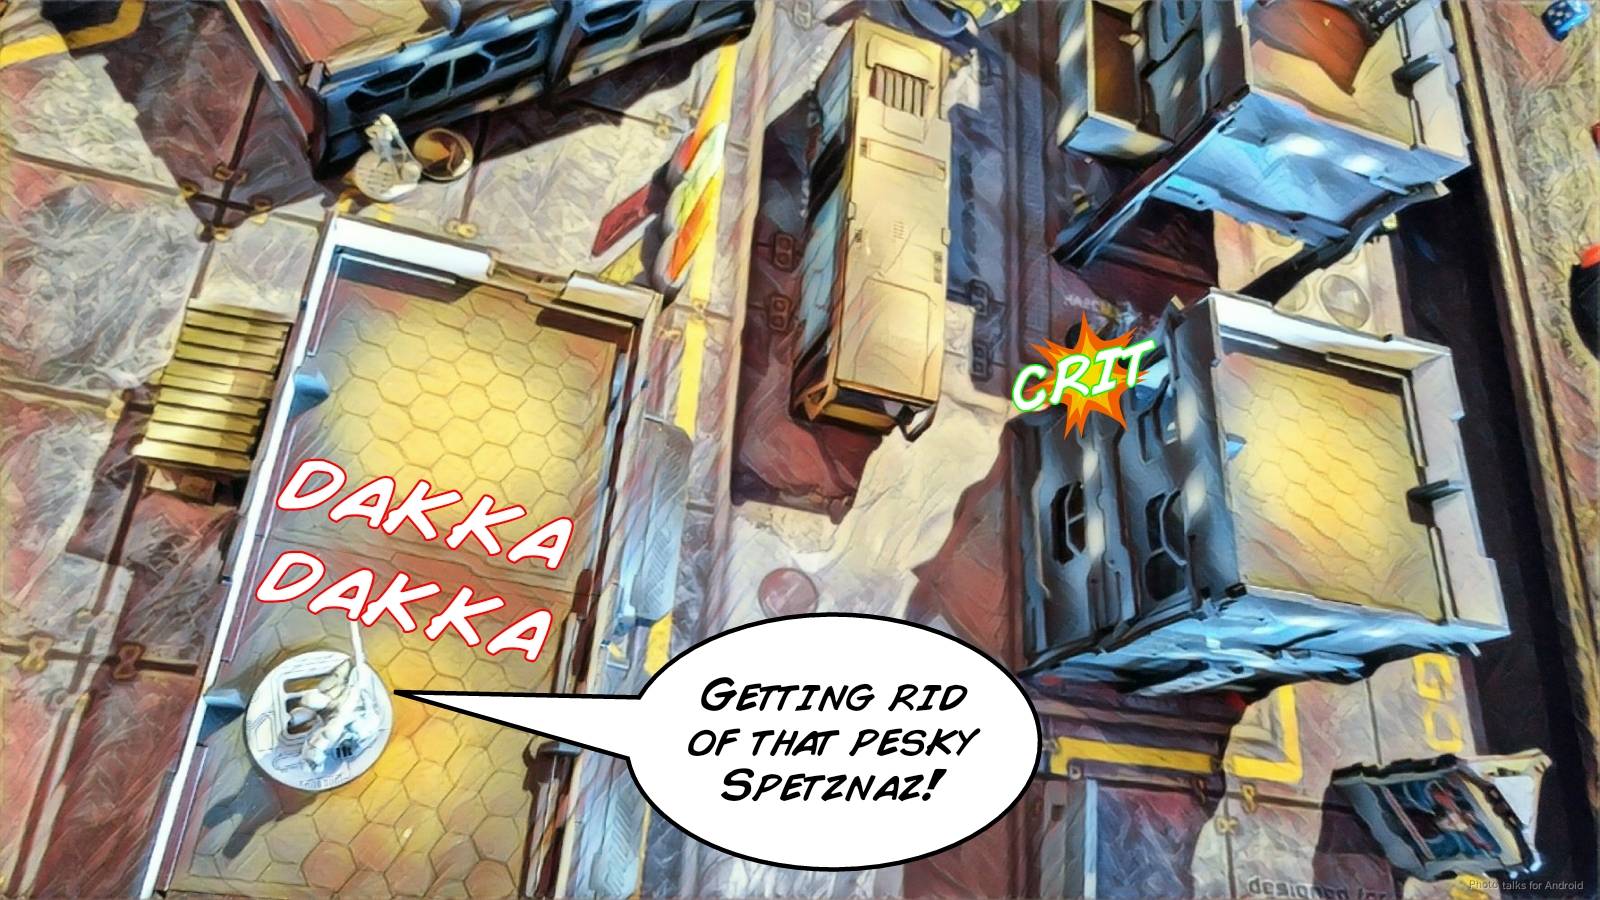 …and I spent the rest of my orders setting up to deal with the Tankhunter. I put a Moran near the Tankhunter, reveal it with Pi Well, throw Zoe into my near right quadrant, and beef up my points in the far left with the aforementioned Moran and Pi Well.
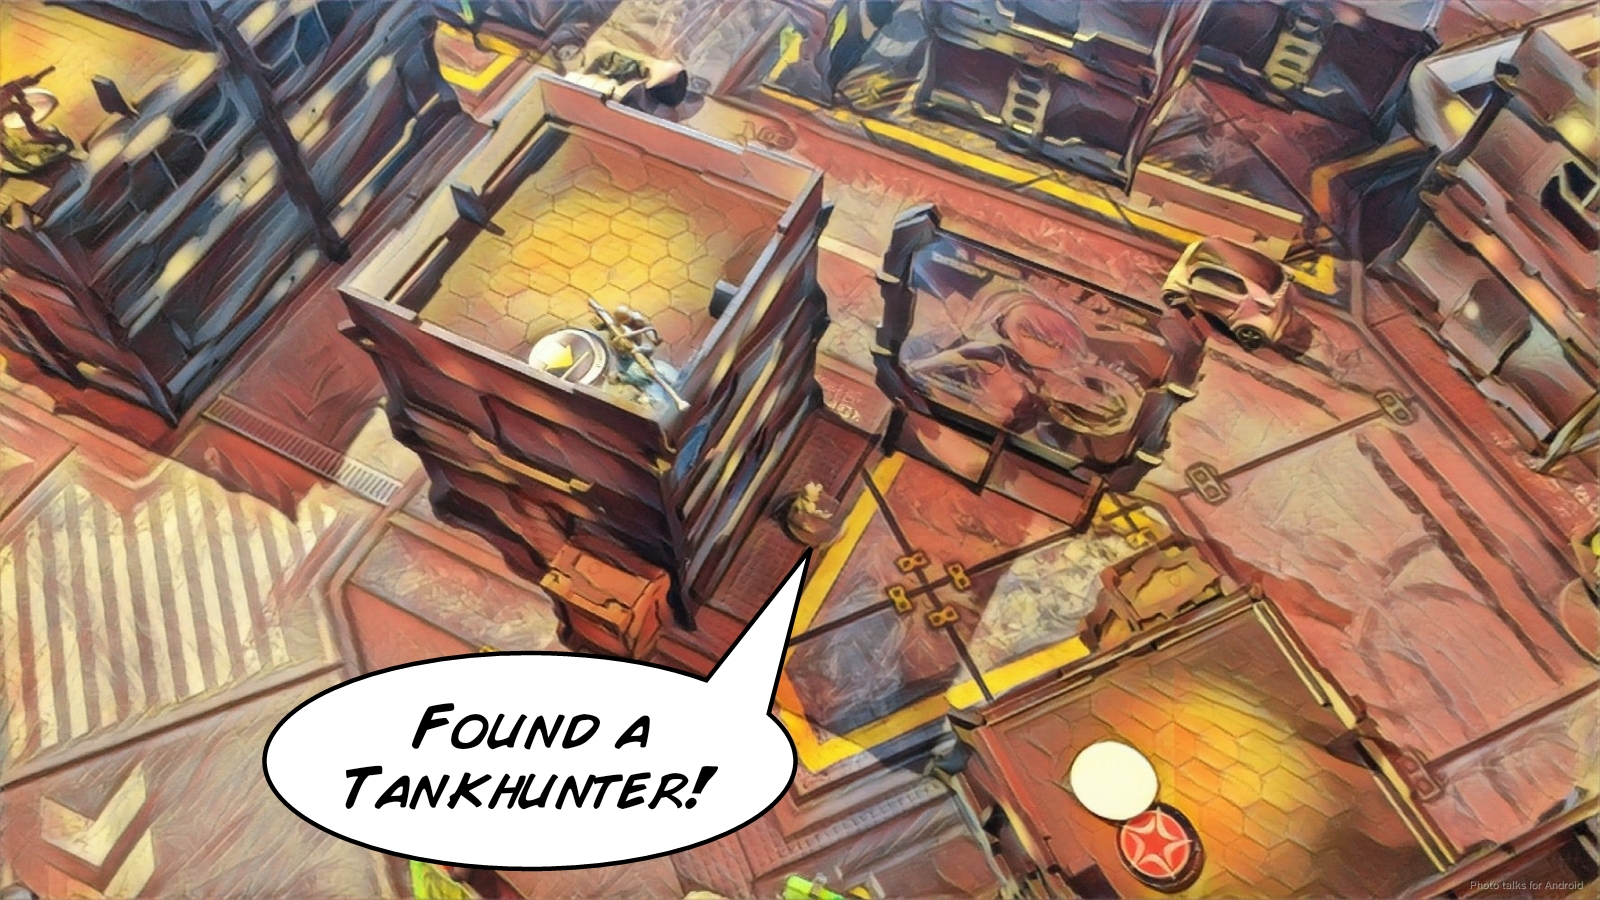
Bottom of 3 – TAK
Jake’s in loss of lieutenant and retreat, but he gamely cancels retreat on the Tankhunter and takes a shot at my Kriza, doing a single wound and surviving the Crazy Koala that comes to give him a hug. My three quadrants to Jake’s one results in a
10-3 Nomad Victory!
I absolutely loved playing on Andy’s table. It would be great to explore all the internal areas some more, we basically ignored most of the doors in this game.
Notes
Notes for Me
- Maybe I should’ve gone after the other two Frontoviks with Aida. I don’t think I’d have had a problem taking them out, but I think racking up the buttons pushed was a decent plan.
- I definitely need to start counting orders, so I know when to prep for AD troops again. Most of my usual opponents don’t play them so I’ve become complacent.
- Living the dream with Aida.
- I’m not sure I did a good thing trading the Zondmate for a potential wound on the Vet Kazak, but oh well. It worked out.
- Kriza, Spetznaz hunter!
Notes for Jake
We talked a lot after the game about stuff, but here are the highlights:
- Watch your link deployment
- Coordinated order to take out my Intruder with the Tankhunter and the Spetznaz BSG would’ve been good, but you did just fine.
- Great work with the Spetznaz
- Not sure not digging out Aida was the best call. If she was dead you would have had run of that quadrant for awhile.
Game 5 – It’s Hacking Time!
 Game five was against Tom, who was playing Ikari. I was pretty out of it at this point, and focusing pretty heavily on the game and not on pictures, so I apologize for the drop in quality and quantity of the pictures.
Overview
- Mission: Firefight
- Forces: Nomads versus Ikari Company (300)
- Opponent: Tom (Tomothy)
- Deploy First: Nomads
- First Turn: Nomads
[img]https://assets.infinitythegame.net/infinityarmy/img/_logosweb/logo_501.png[/img][b] List A[/b]
[img]https://assets.infinitythegame.net/infinityarmy/img/_logosweb/501/logo_16.png[/img] [b]INTERVENTOR Hacker Lieutenant (Hacking Device Plus)[/b] Combi Rifle, 1 FastPanda / Pistol, Knife. (0.5 | [b]27[/b])
[img]https://assets.infinitythegame.net/infinityarmy/img/_logosweb/501/logo_30.png[/img] [b]MORAN (Forward Observer)[/b] Combi Rifle, CrazyKoalas (2) / Pistol, Knife. (0.5 | [b]22[/b])
[img]https://assets.infinitythegame.net/infinityarmy/img/_logosweb/501/logo_30.png[/img] [b]MORAN (Forward Observer)[/b] Combi Rifle, CrazyKoalas (2) / Pistol, Knife. (0.5 | [b]22[/b])
[img]https://assets.infinitythegame.net/infinityarmy/img/_logosweb/501/logo_62.png[/img] [b]MARY PROBLEMS Hacker (Forward Deployment L1)[/b] Submachine Gun + Zapper, Pitcher / Pistol, Knife. (0.5 | [b]30[/b])
[img]https://assets.infinitythegame.net/infinityarmy/img/_logosweb/501/logo_22.png[/img] [b]ZOE & PI-WELL[/b] . (0 | [b]47[/b])
[img]https://assets.infinitythegame.net/infinityarmy/img/_logosweb/sep.gif[/img] [img]https://assets.infinitythegame.net/infinityarmy/img/_logosweb/501/logo_22.png[/img] [b]ZOE (Hacking Device. UPGRADE: Stop!)[/b] Combi Rifle, D-Charges / Pistol, Knife. (0 | [b]28[/b])
[img]https://assets.infinitythegame.net/infinityarmy/img/_logosweb/sep.gif[/img] [img]https://assets.infinitythegame.net/infinityarmy/img/_logosweb/501/logo_22_2.png[/img] [b]PI-WELL[/b] Combi Rifle / Electric Pulse. (0 | [b]19[/b])
[img]https://assets.infinitythegame.net/infinityarmy/img/_logosweb/501/logo_58.png[/img] [b]ZONDNAUT Hacker (Assault Hacking Device)[/b] Combi Rifle / Pistol, Knife. (0.5 | [b]31[/b])
[img]https://assets.infinitythegame.net/infinityarmy/img/_logosweb/sep.gif[/img] [img]https://assets.infinitythegame.net/infinityarmy/img/_logosweb/501/logo_58.png[/img] [b]ZONDMATE[/b] Chain Rifle, Smoke Light Grenade Launcher / Electric Pulse. ([b]5[/b])
[img]https://assets.infinitythegame.net/infinityarmy/img/_logosweb/501/logo_66.png[/img] [b]AÏDA SWANSON[/b] 2 Submachine Gun, Viral Mines / Viral Pistol, Shock CC Weapon, Knife. (0 | [b]24[/b])
[img]https://assets.infinitythegame.net/infinityarmy/img/_logosweb/501/logo_56.png[/img] [b]KRIZA BORAC[/b] HMG / Heavy Pistol, CC Weapon. (2 | [b]54[/b])
[img]https://assets.infinitythegame.net/infinityarmy/img/_logosweb/501/logo_4.png[/img] [b]INTRUDER[/b] HMG, Grenades / Pistol, CCW. (1.5 | [b]42[/b])
[img]https://assets.infinitythegame.net/infinityarmy/img/_logosweb/orden_regular.png[/img]10 [img]https://assets.infinitythegame.net/infinityarmy/img/_logosweb/orden_impetuosa.png[/img]1 [b]| 6 SWC | 299 Points |[/b] Open in Infinity Army
[img]https://assets.infinitythegame.net/infinityarmy/img/_logosweb/logo_904.png[/img][b] Ikari Company[/b]
[img]https://assets.infinitythegame.net/infinityarmy/img/_logosweb/904/logo_2.png[/img] [b]BRAWLER Lieutenant[/b] Rifle + Light Shotgun / Pistol, Knife. (0 | [b]16[/b])
[img]https://assets.infinitythegame.net/infinityarmy/img/_logosweb/904/logo_2.png[/img] [b]BRAWLER Doctor (MediKit)[/b] Rifle + Light Shotgun / Pistol, Knife. (0 | [b]20[/b])
[img]https://assets.infinitythegame.net/infinityarmy/img/_logosweb/904/logo_27.png[/img] [b]YÁOZĂO[/b] Electric Pulse. (0 | [b]3[/b])[img]https://assets.infinitythegame.net/infinityarmy/img/_logosweb/904/logo_6.png[/img] [b]WÚ MÍNG[/b] HMG / Pistol, Knife. (2 | [b]39[/b])
[img]https://assets.infinitythegame.net/infinityarmy/img/_logosweb/904/logo_6.png[/img] [b]WÚ MÍNG (Forward Observer)[/b] Boarding Shotgun / Pistol, Knife. (0 | [b]31[/b])
[img]https://assets.infinitythegame.net/infinityarmy/img/_logosweb/904/logo_6.png[/img] [b]WÚ MÍNG[/b] Panzerfaust, Light Shotgun / Pistol, Knife. (0.5 | [b]29[/b])
[img]https://assets.infinitythegame.net/infinityarmy/img/_logosweb/904/logo_6.png[/img] [b]WÚ MÍNG (Fireteam: Haris)[/b] Chain Rifle, Submachine Gun / Pistol, Knife. (0 | [b]25[/b])
[img]https://assets.infinitythegame.net/infinityarmy/img/_logosweb/904/logo_25.png[/img] [b]CLIPPER DRONBOT[/b] Missile Launcher / Electric Pulse. (1.5 | [b]17[/b])[img]https://assets.infinitythegame.net/infinityarmy/img/_logosweb/904/logo_10.png[/img] [b]NINJA Hacker (Assault Hacking Device)[/b] Combi Rifle / Pistol, Shock CCW, Knife. (0.5 | [b]40[/b])
[img]https://assets.infinitythegame.net/infinityarmy/img/_logosweb/904/logo_19.png[/img] [b]SCARFACE & CORDELIA TURNER[/b] . (1.5 | [b]68[/b])
[img]https://assets.infinitythegame.net/infinityarmy/img/_logosweb/904/logo_27.png[/img] [b]YÁOZĂO[/b] Electric Pulse. (0 | [b]3[/b])
[img]https://assets.infinitythegame.net/infinityarmy/img/_logosweb/orden_regular.png[/img]10 [b]| 6 SWC | 291 Points |[/b] Open in Infinity Army
Deployment
I absolutely wanted to go first, so when I won the roll off I leapt at the chance. This picture is from near the end of my Turn 1, but I managed to reconstruct most things for you. I held Mary in reserve, intending to dash her up the board and get a tasty Zapper template off once a big juicy target came down onto the table. I put my Kriza on the left and my Intruder on the right, with Morans near each of the flanking panoplies. Zoe and Pi Well were in the center as usual, with my Interventor prone on a roof. My Zondnuatica and Aida went on the right, as I figured I could use some more backup on that side.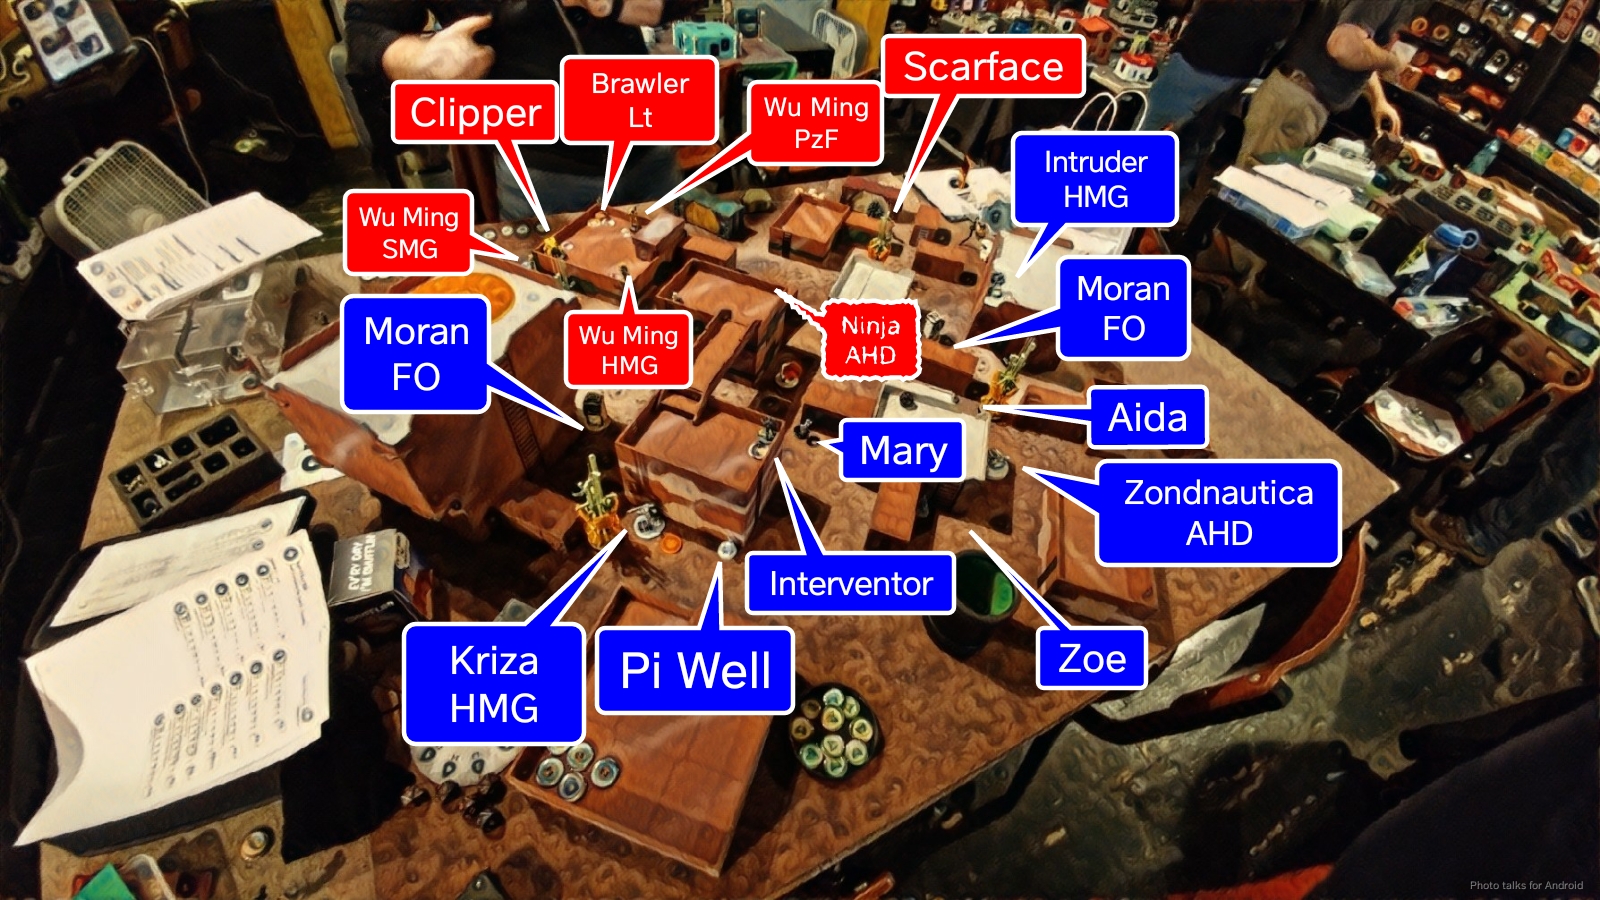 Tom left most of his Wu Ming link out to ARO, exposing the Panzerfaust, HMG, and the Clipper (who was out of cover). His two Brawlers were prone on rooftops, with the remaining two Wu Ming watching his backfield for AD troops. His Ninja went down a top a building a mere bridge away from my Interventor, and Scarface and Cordelia formed his left flank.
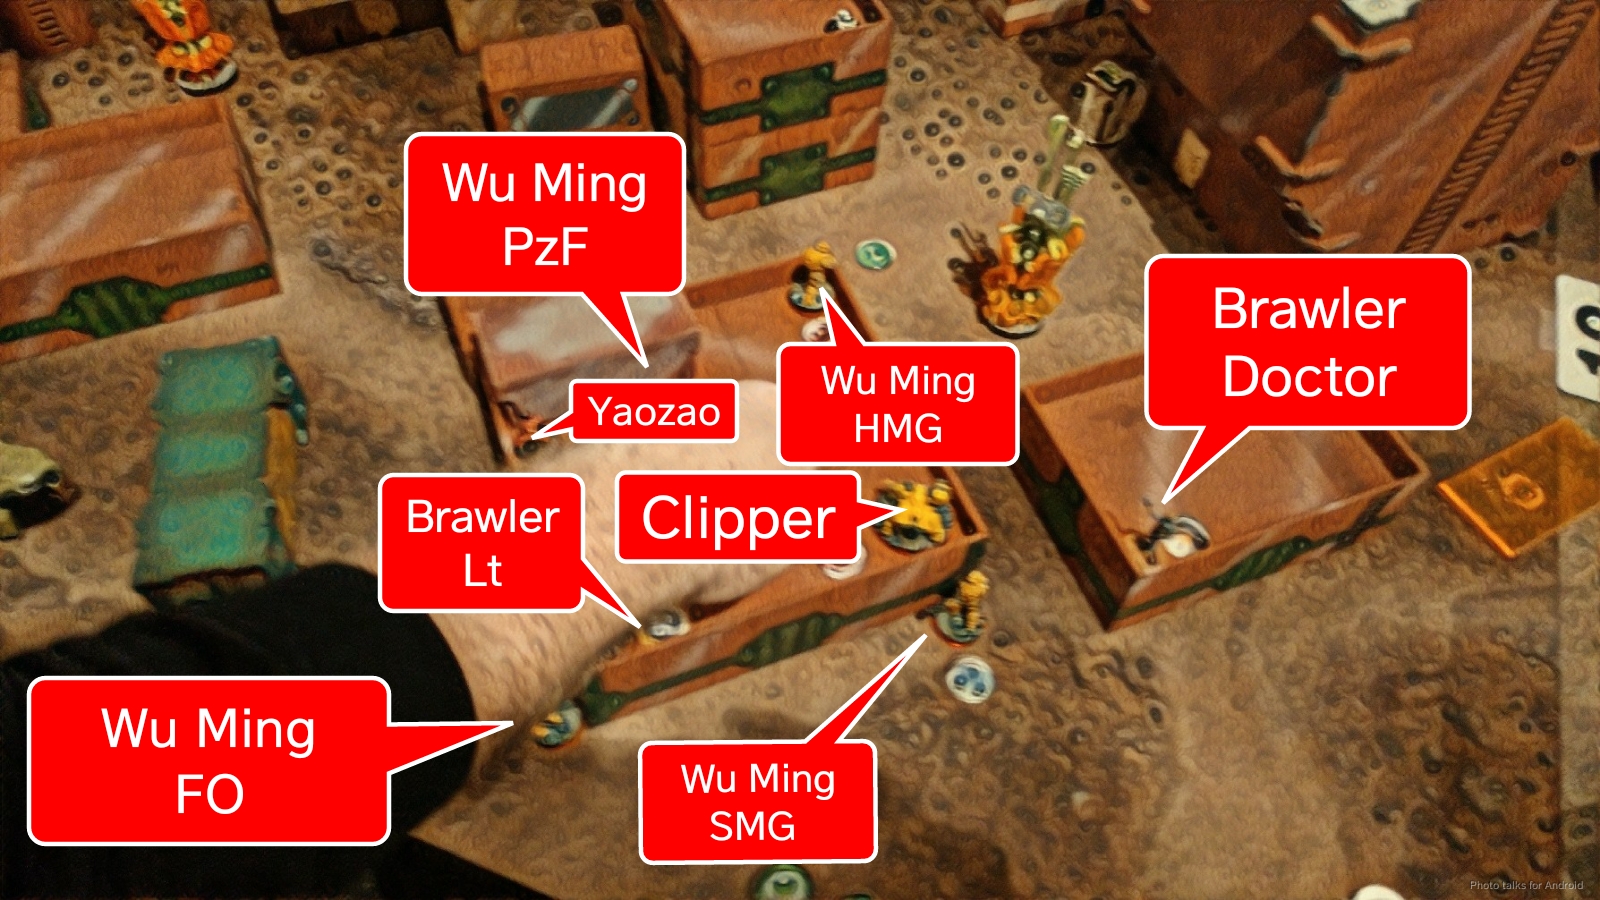 I put Mary in a position to fire a pitcher at the Wu Ming link, but didn’t see a clear path to landing a money Zapper shot. I think Scarface was Tom’s reserve.
Turn 1
Top of 1 – Nomads
Tom had left Scarface, a Wu Ming Panzerfaust, a Wu Ming HMG out and in cover, and the Clipper ‘bot out and out of cover. That’s a lot to contend with safely, so I had to do some careful maneuvering. I canceled the Zondnautica’s impetuous order, unwilling to lose it to Scarface immediately, then carefully scooted it into position and fired smoke for my Intruder. I had a small sliver of a window to get Mary in position as well, so I fired a pitcher through that window and landed it near the Wu Ming link. I then broke one of my cardinal rules and attempted an Oblivion on the Wu Ming Panzerfaust, who was the link leader, hoping to shatter the link in one order. Sadly, I failed my WIP roll and was forced to do things the old fashioned way–firepower.
I chose the interaction with the highest odds of success and fired through the smoke against the Clipper ‘bot. It was the only thing out of cover and had the lowest BS. I only needed one wound to go through, and my Intruder came through for me. I didn’t want to risk the squishy Intruder against the Wu Ming Panzerfaust just yet, given the Kriza’s ability to just peek around the corner and see the Wu Ming HMG. Five dice on 13’s versus two on 10’s are pretty decent odds, and the Kriza did not disappoint. One order later the Wu Ming HMG was unconscious. Now that SSL2 was gone, I was free to fire at the Wu Ming Panzerfaust with the Intruder in relative safety. Sadly, the Wu Ming dodged prone successfully, meaning it was only Scarface that was left out.
I threw one order of Intruder at Scarface before retreating my Intruder to total cover, putting a wound on the TAG. I didn’t really feel like I had the resources to go dig it out safely, so I focused on taking out the Brawler Doctor on the roof instead. I dashed my Moran over there, leaving a Koala behind. I attempted a quick grab on something out of the Panoply but failed my WIP roll with a 20. My last order sees the Moran climbing onto the roof, standing, and putting three combi rifle rounds into the Brawler, who passed his saves. At least I had a Koala at the base of the ladder to dissuade Tom from activating the Brawler. Unwilling to telegraph my lieutenant by spending the order, I passed the turn.
Bottom of 1 – Ikari
Tom is three orders down with two repeaters near his Wu Ming link. The first thing he does is snag a classified by healing Scarface with Cordelia. He then goes to take out Mary’s pitcher, activating the Wu Ming link with the SMG as the leader. Sadly, the Panzerfaust is still in range, and visible to my Moran. My hackers isolate and immobilize the Wu Ming Panzerfaust against the link’s reset, and my Moran dodges closer such that the Wu Ming SMG is now in range of his repeater.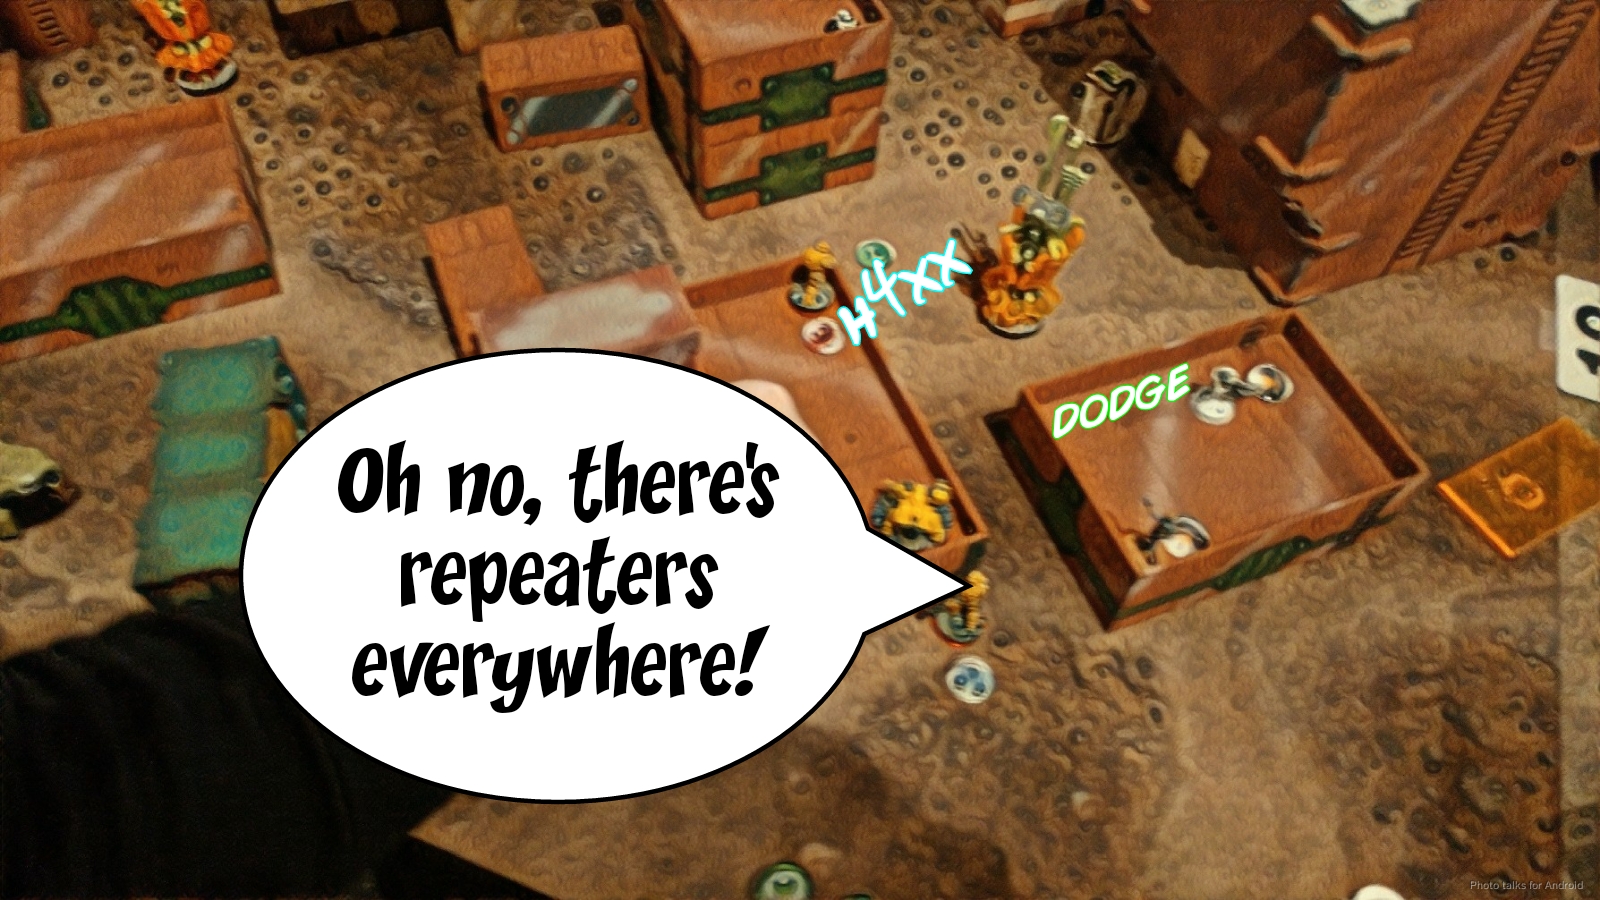 Tom does the sensible thing and kills the Moran with his Brawler’s light shotgun, but loses the Brawler doctor to the Moran’s Koala.
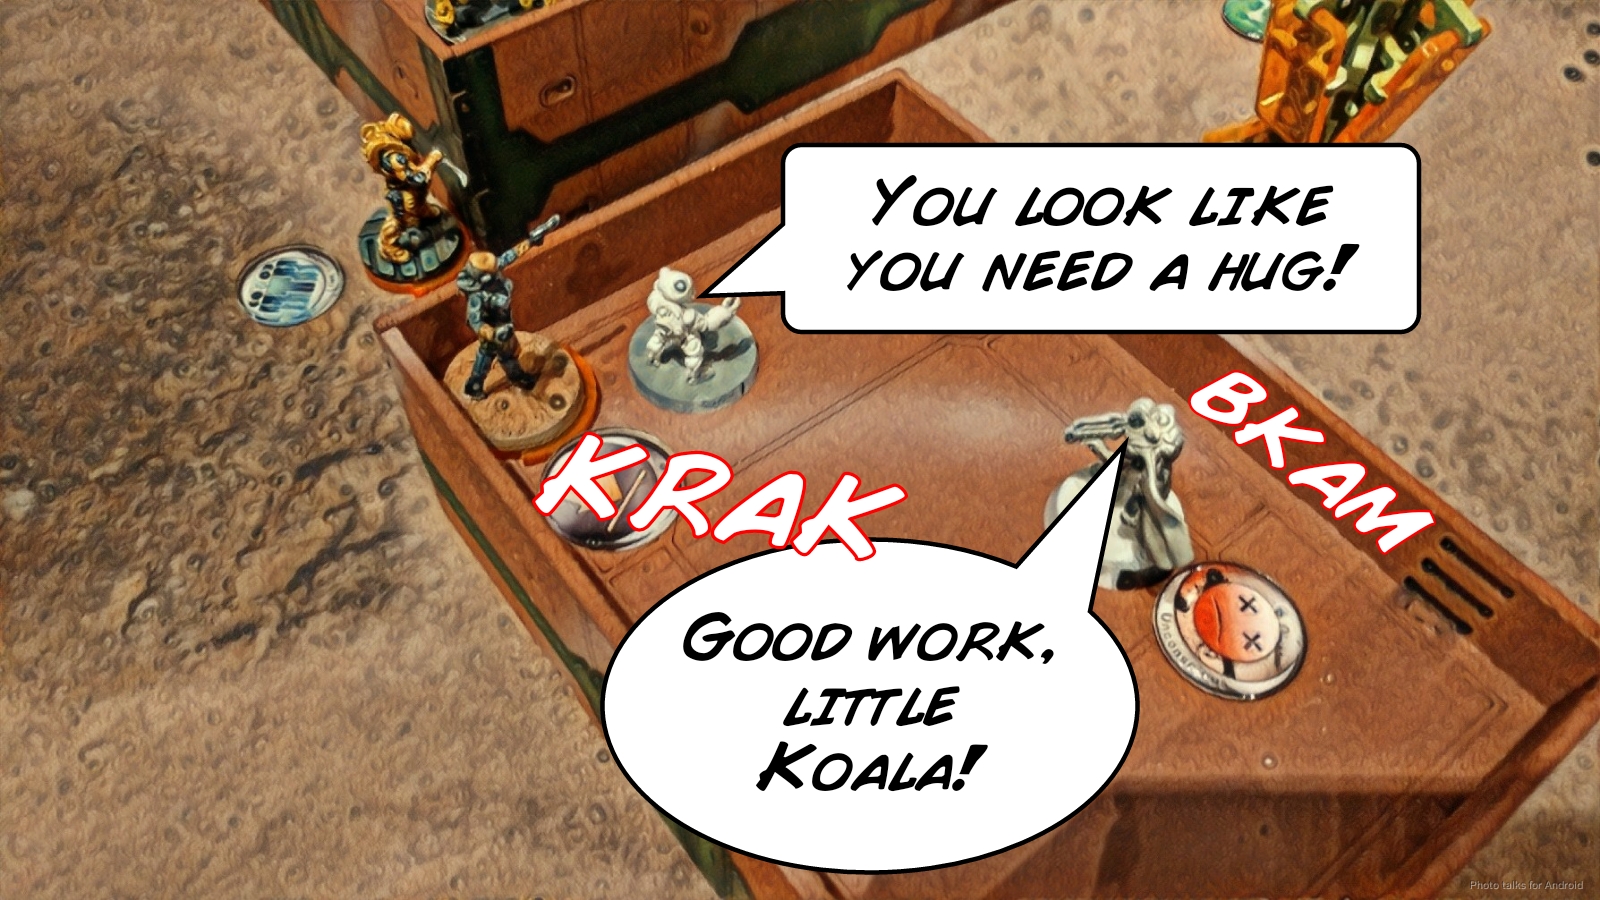 With the Moran gone, the chain rifle Wu Ming is free to shoot down the pitcher. I can see this with Mary, and debate whether or not I should fire another pitcher but elect to dodge instead just in case Tom decides to fire the SMG at Mary. This was probably a mistake, as the SMG was probably in -6 range bands, which means the Wu Ming would’ve been on -12.
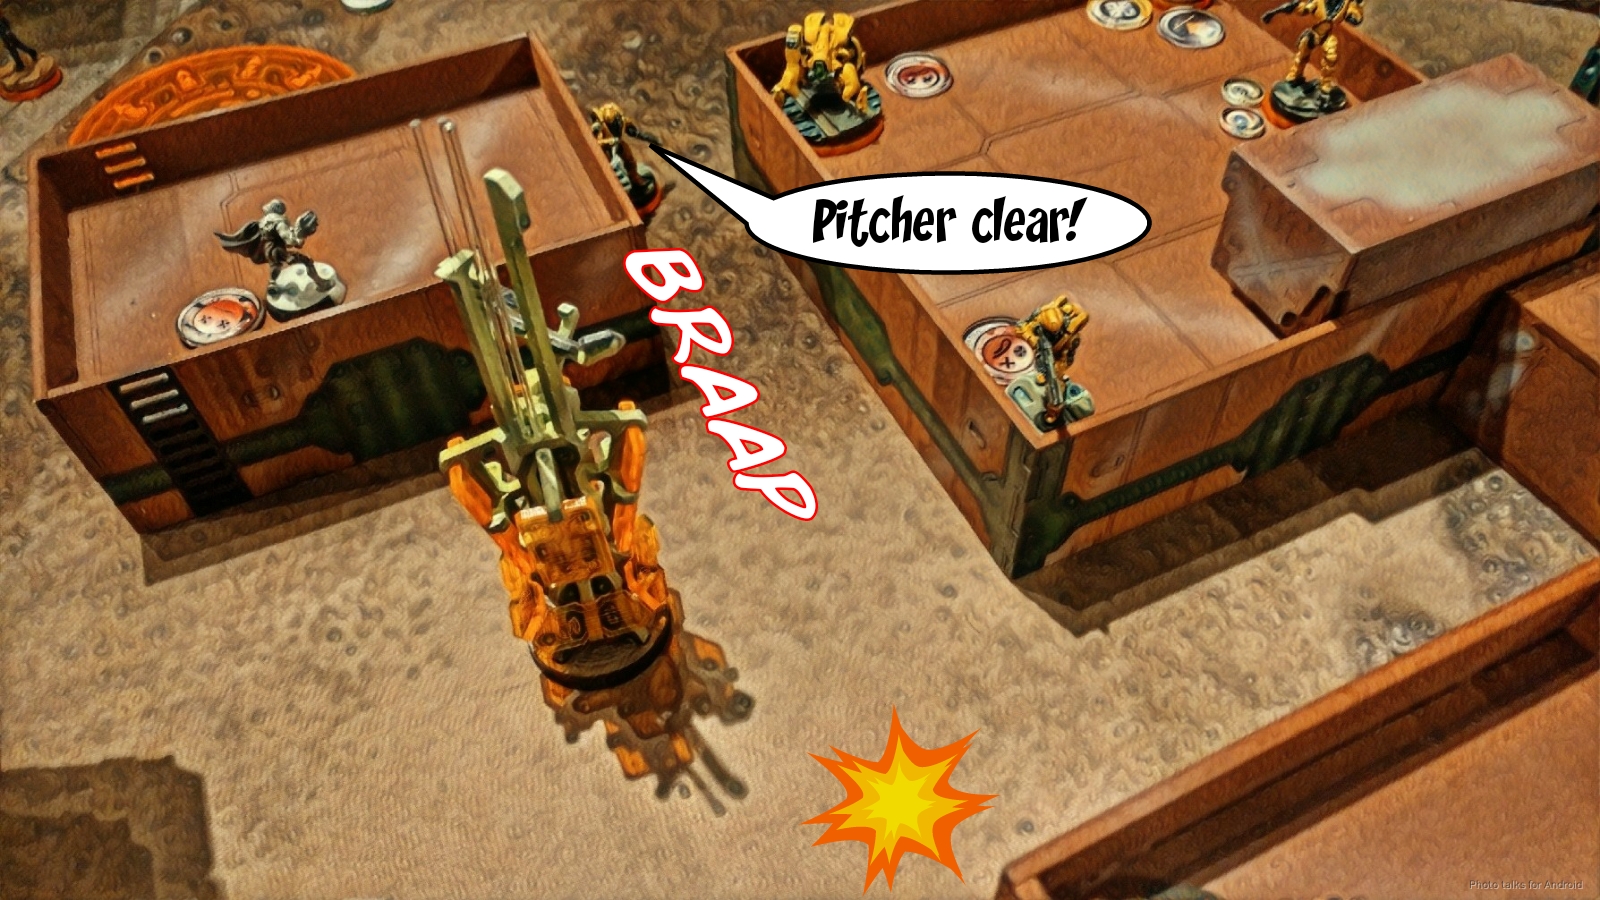 In any case, Tom goes for the Lieutenant kill by revealing a Ninja AHD and running it up the board towards my Interventor. I thankfully discover it with my Intruder. Tom had thought that hacking and shooting are not face to face, but they are, which explains the next interaction.
 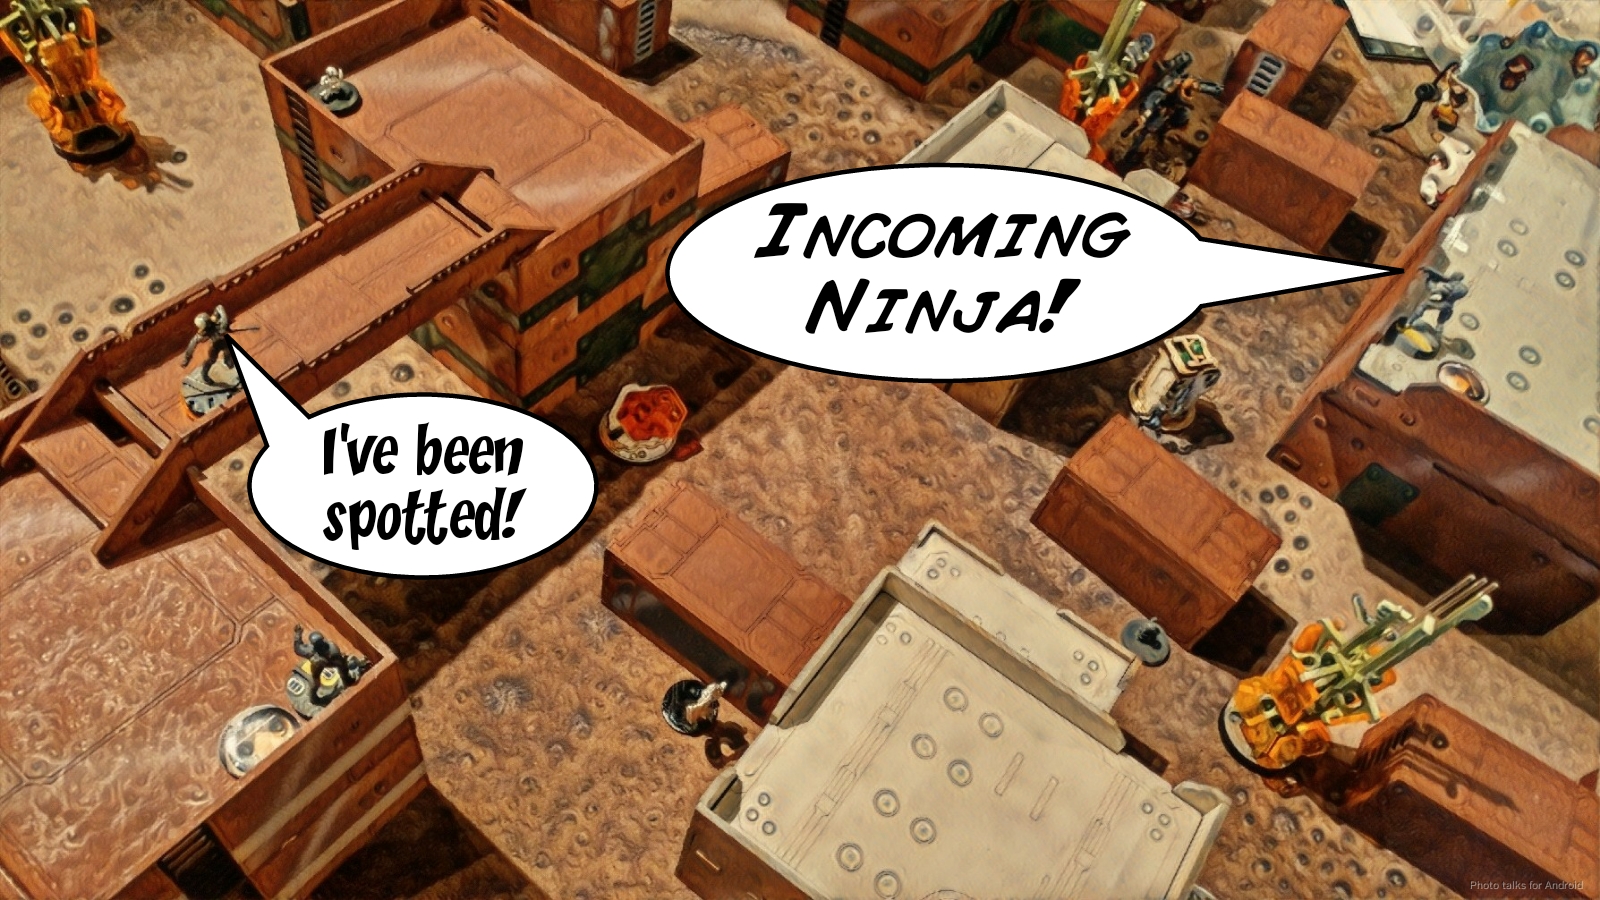 The Ninja gets into my Interventor’s face and empties its combi rifle into him. I declare Sucker Punch, negating the combi’s range bonus. With my WIP roll of a 14, Tom needs to crit, and he doesn’t. The Ninja is in range of Pi Well’s repeater, but the Double Trouble from Sucker Punch is enough to take the Ninja out without rolling any additional hacking attacks.
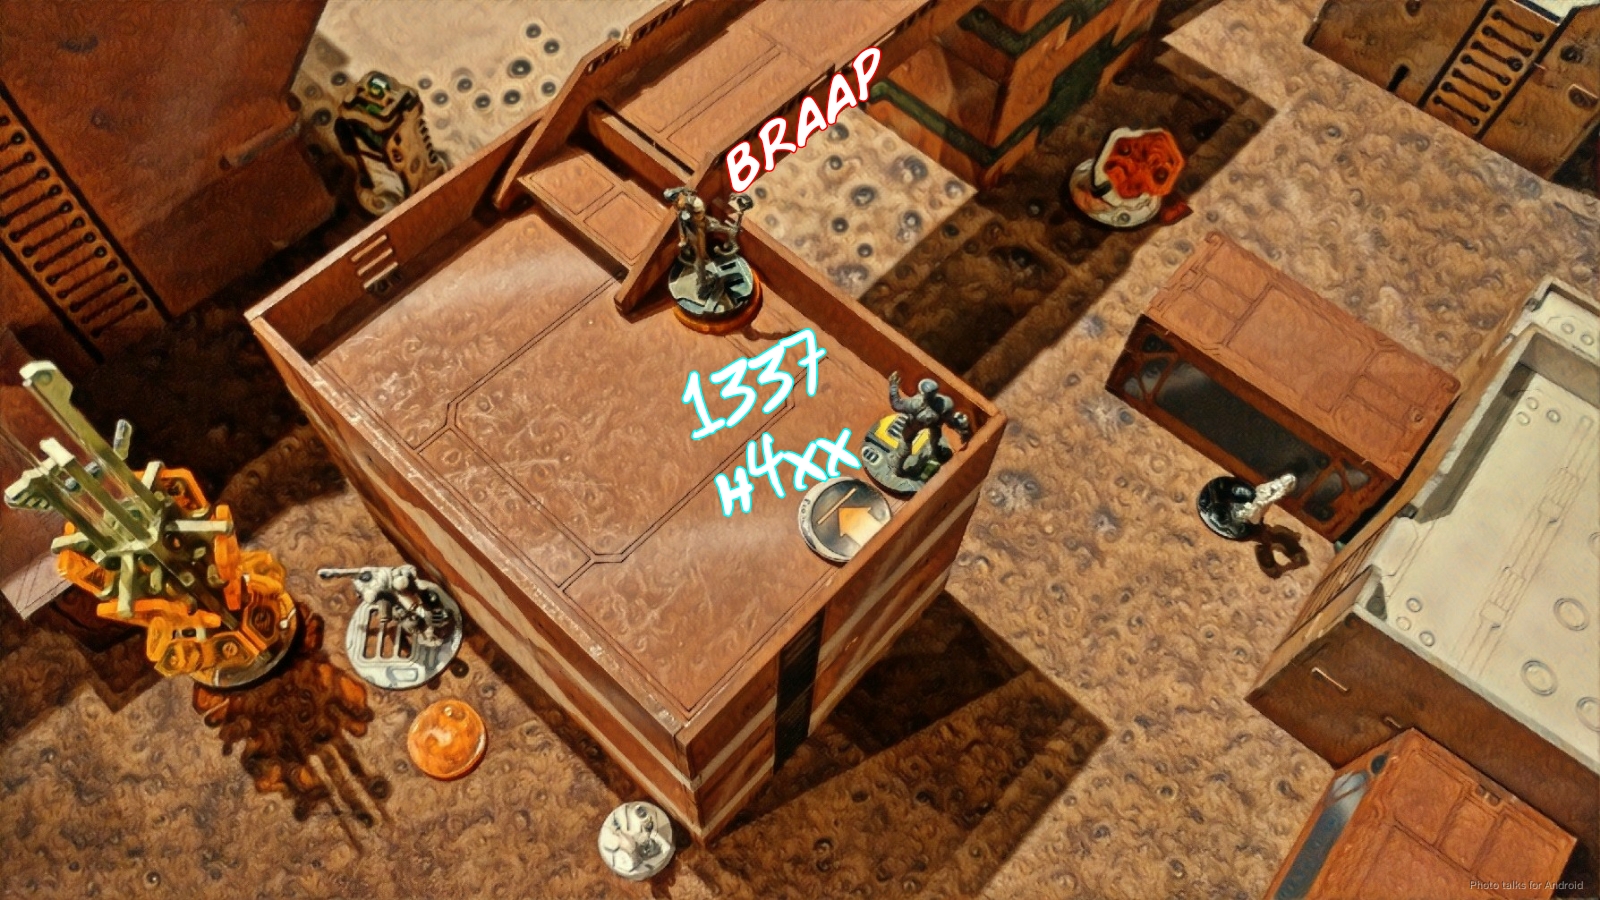 Scarface trips over a Koala, taking a wound, and retreats into cover before going into suppression.
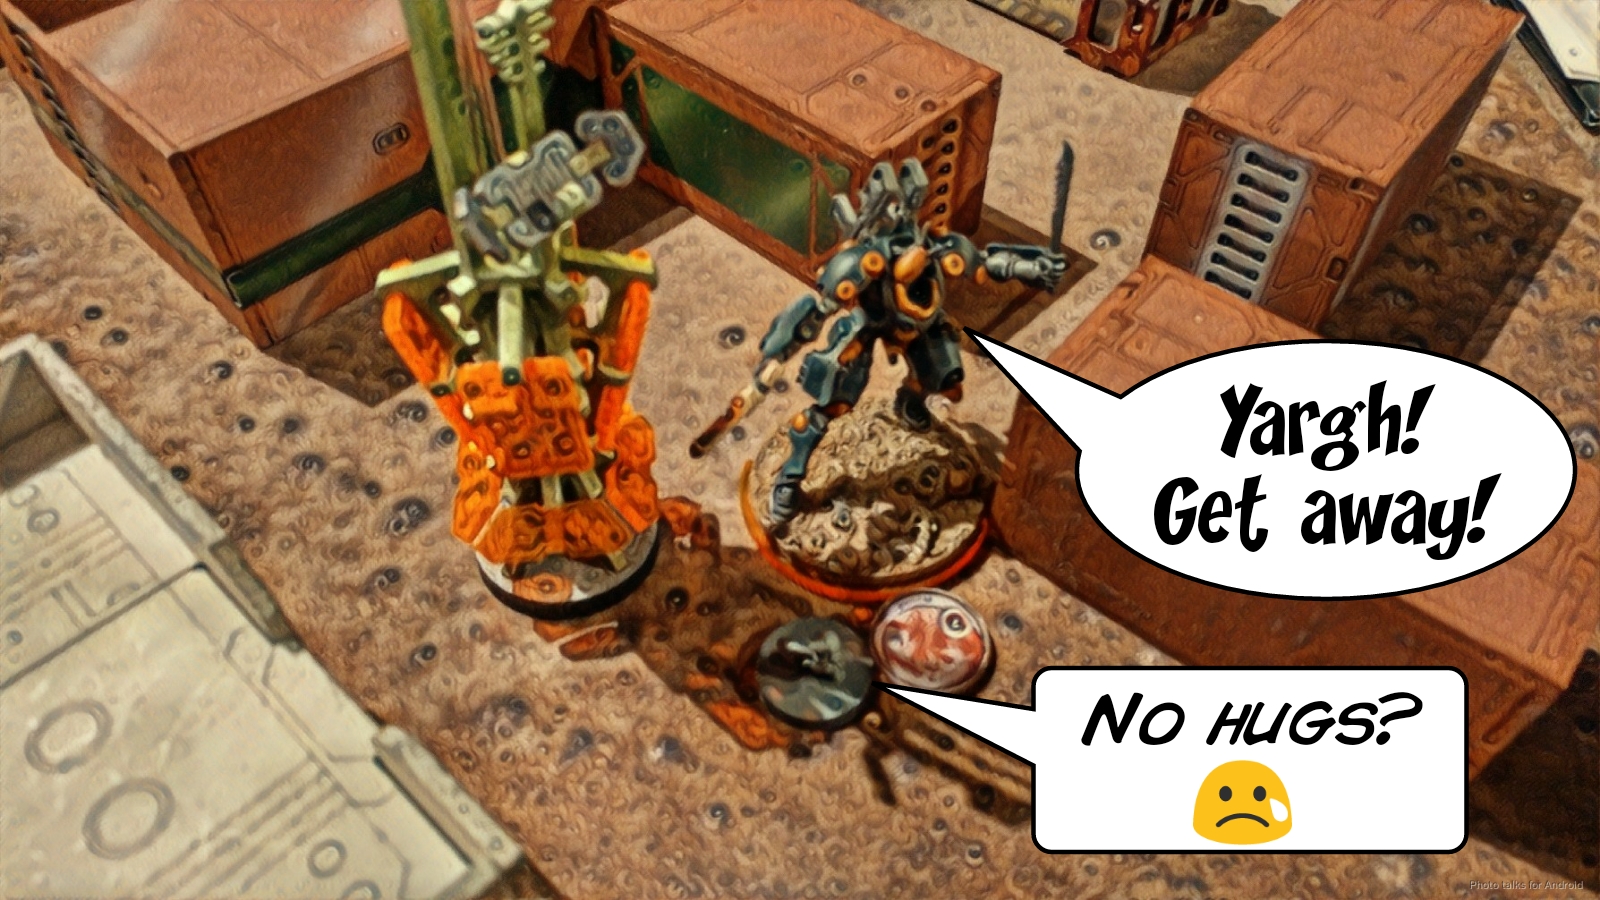 That’s it for Tom’s turn, and it’s back to me.
Turn 2
Top of 2 – Nomads
I need to deal with Scarface, who is getting dangerously close to my stuff. I cancel the Zondnautica’s order again, and get some safe smoke on the table with a regular order.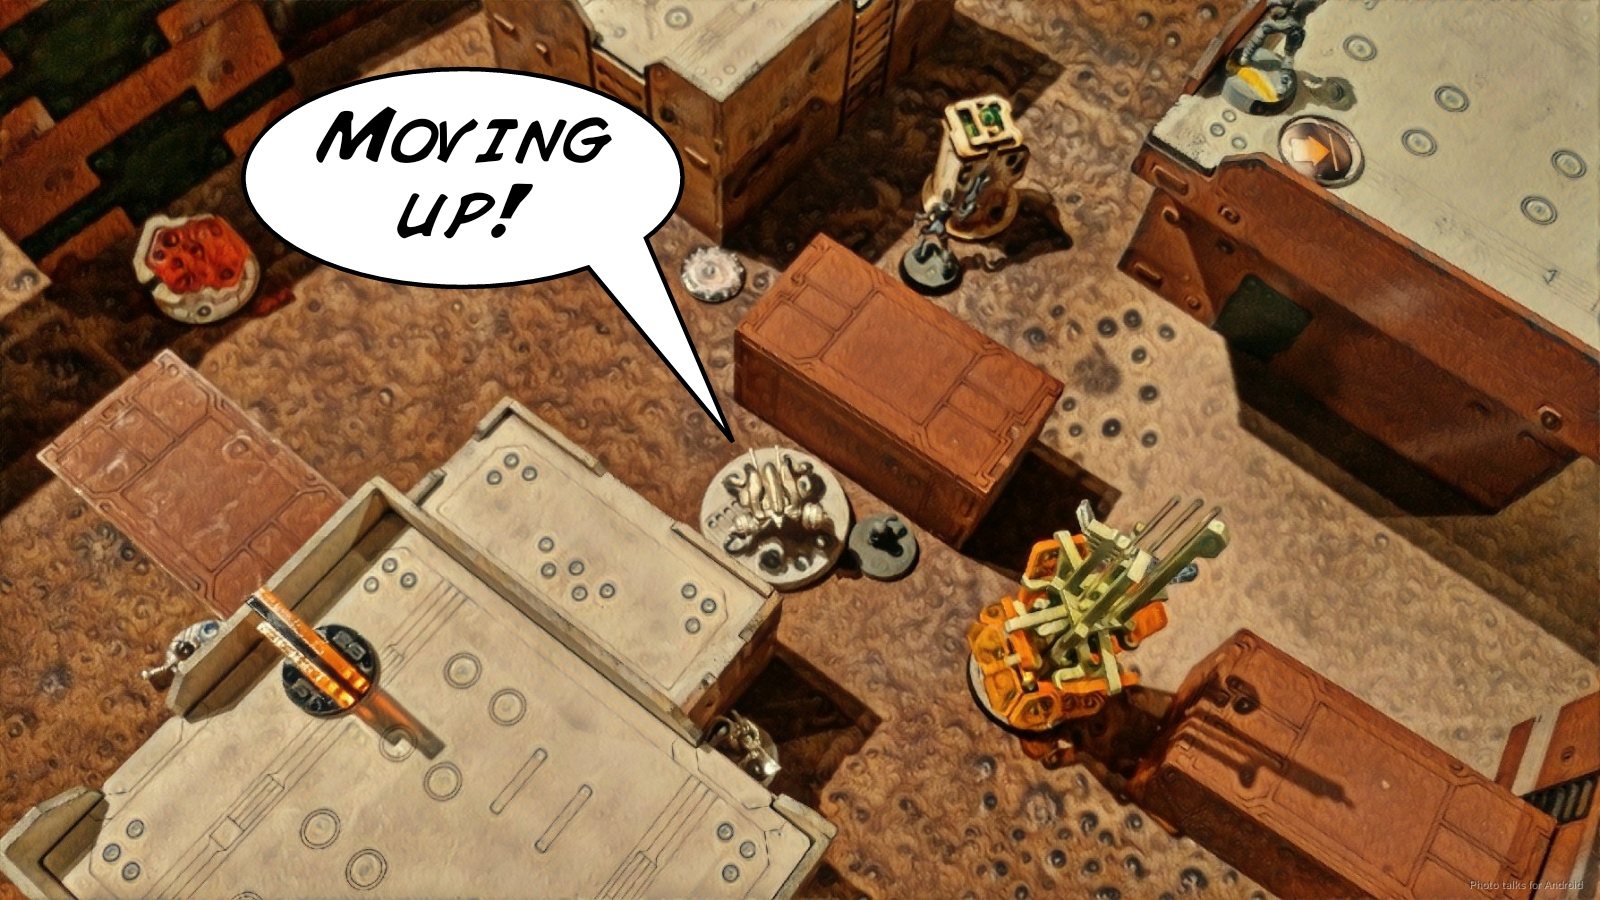 I try to get Net Undermine with my Zondnautica, using coordinated orders to move Aida and Mary around as I continue to fail WIP checks with my Zondnautica. I give up eventually and send in the Zondmate to try and chain rifle Cordelia, who shrugs off the hit and knocks out my Zondmate. As part of the same order, my Zondnaut manages to get behind Scarface in suppression and gets him to fail guts into better cover and in view of the Zondnaut. At this point, I do another coordinated order with the Intruder as spearhead and including Aida, the Moran, and the Zondnaut. Scarface shoots at the Zondnaut, but between the four of them they manage to knock him unconscious.
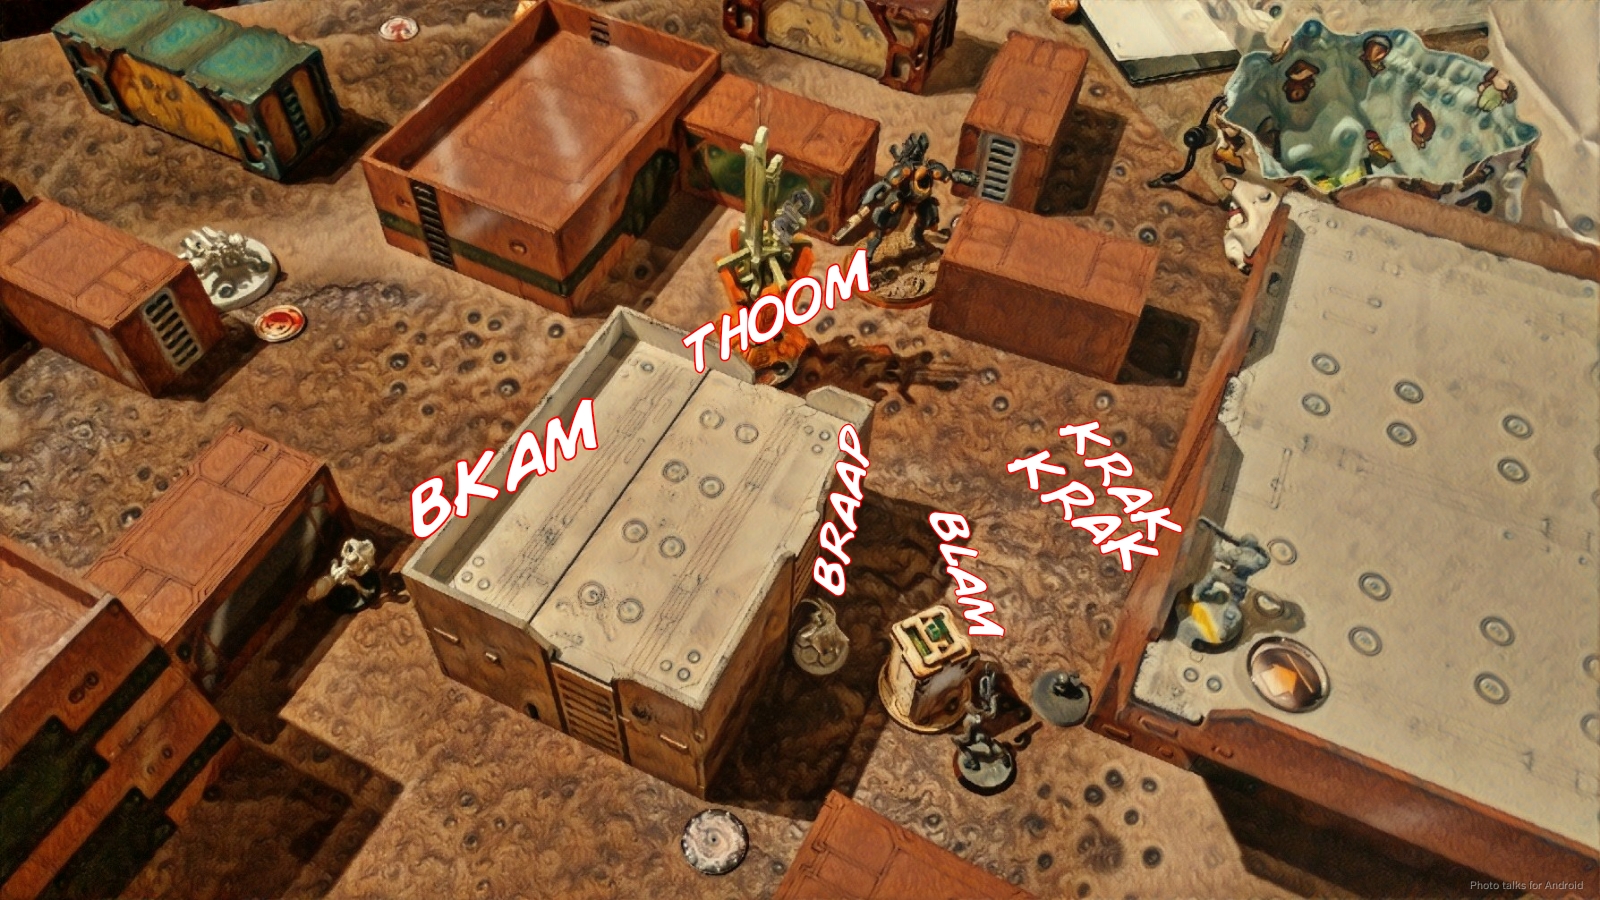 Aida’s right there and a short move away from getting the downed TAG out of cover with her dual SMGs, so I do just that.
 Before I can roll the dice, Tom declares that he’s seen enough and wants to go get a beer, conceding the game. He generously offered me a 10-1 win, and I accepted, not wanting to deny anyone timely access to beer!
10-1 Nomad Victory!
Thanks to Tom for the game, and I hope to see you across the table again for a rematch soon! A huge thanks to Andy and his crew for running a great tournament. I was astonished after my day one performance to come in at 16th, and equally astonished that no one snagged the limited edition ITS O-Yoroi off the prize table!
 Once I get off my lazy butt and assemble it, you’ll be sure to see it on the table in some JSA battle reports! Thanks again to all my opponents for great games and to Adam for keeping me company on the ride to/from Seattle.
Notes
Notes for Me
- First turn went well. Probably should’ve not gone after Scarface or the Panoply and given my Moran two more orders to cause some mischief.
- I think I should’ve made Aida the spearhead for the attack on Scarface. She’s the same burst as the Intruder, and has AP. Not really a big deal.
- I’m really liking the AHD Zondnautica. Lots of people on the internet seem to pooh-pooh it, given its vulnerability to KHDs. Just kill the KHDs and you’re fine! Easier said than done, of course.
Notes for Tom
- Heavy Infantry and a TAG versus four Nomad hackers with decent repeater coverage is a pretty bad matchup…
- I’m not the hugest fan of leaving stuff out to ARO in LI, even HI. In LI, there are enough scary things with HMGs that they might die on turn one. Intruders and Kriza are among the scariest, if not the scariest things with HMGs too.
- Smart move snagging the classified with Cordelia!
- Also, aside from moving the Wu Ming link first, you handled the recovery well. Probably best to use Cordelia to take out the repeater, or break the link to do it, or whatever. Sacrificing the Brawler to my Moran was the right move too, to free up the Wu Ming. Not much you could’ve done otherwise.