Low Pressure
Adam and I got paired off at game night, and he wanted to practice Hunting Party on the catwalk table I’ve been playing a lot on lately. One of the main issues with the table is that the ground level is very open, so we ended up putting a lot of walls and other blocking terrain on the table to help break things up. The catwalk table has very little in the way of stairs, so it’s hard to change levels, and the catwalk walls are high enough that going prone more or less guarantees safety unless you find an angle from another catwalk. I took a variant of the list I took against Erik, this time with more Druze. I’m not a fan of core links in general, so I took a pair of Duos to try something different.
Overview
- Mission: Hunting Party
- Forces: Ikari Company versus Morat Aggression Force (300)
- Deploy First: MAF
- First Turn: MAF
[img]https://assets.infinitythegame.net/infinityarmy/img/_logosweb/logo_904.png[/img][b] List B2[/b]
[img]https://assets.infinitythegame.net/infinityarmy/img/_logosweb/904/logo_2.png[/img] [b]BRAWLER Lieutenant[/b] Rifle + Light Shotgun / Pistol, Knife. (0 | [b]16[/b])
[img]https://assets.infinitythegame.net/infinityarmy/img/_logosweb/904/logo_6.png[/img] [b]WÚ MÍNG (Fireteam: Haris)[/b] Chain Rifle, Submachine Gun / Pistol, Knife. (0 | [b]25[/b])
[img]https://assets.infinitythegame.net/infinityarmy/img/_logosweb/904/logo_6.png[/img] [b]WÚ MÍNG[/b] Heavy Rocket Launcher, Light Shotgun / Pistol, Knife. (2 | [b]33[/b])[img]https://assets.infinitythegame.net/infinityarmy/img/_logosweb/904/logo_8.png[/img] [b]FASID[/b] HMG + (Smoke and Normal) Light Grenade Launcher, Antipersonnel Mines / Heavy Pistol, Knife. (2 | [b]53[/b])
[img]https://assets.infinitythegame.net/infinityarmy/img/_logosweb/904/logo_9.png[/img] [b]DAIYŌKAI[/b] Red Fury, Panzerfaust / Pistol, DA CC Weapon, AP CC Weapon. (1 | [b]49[/b])[img]https://assets.infinitythegame.net/infinityarmy/img/_logosweb/904/logo_4.png[/img] [b]DRUZE (X Visor)[/b] Combi Rifle + Light Grenade Launcher (E/M and Nimbus) / Viral Pistol, Knife. (0.5 | [b]27[/b])
[img]https://assets.infinitythegame.net/infinityarmy/img/_logosweb/904/logo_4.png[/img] [b]DRUZE Hacker (Killer Hacking Device)[/b] Combi Rifle + Pitcher, D-Charges / Viral Pistol, Knife. (0 | [b]25[/b])[img]https://assets.infinitythegame.net/infinityarmy/img/_logosweb/904/logo_4.png[/img] [b]DRUZE Hacker (Assault Hacking Device)[/b] Combi Rifle + Pitcher, D-Charges / Viral Pistol, Knife. (0.5 | [b]28[/b])
[img]https://assets.infinitythegame.net/infinityarmy/img/_logosweb/904/logo_4.png[/img] [b]DRUZE (X Visor)[/b] Shock Marksman Rifle, Chain-colt / Viral Pistol, Knife. (0 | [b]27[/b])[img]https://assets.infinitythegame.net/infinityarmy/img/_logosweb/904/logo_14.png[/img] [b]TOKUSETSU KOHEI Engineer[/b] Combi Rifle, D-Charges / Pistol, Knife. (0 | [b]14[/b])
[img]https://assets.infinitythegame.net/infinityarmy/img/_logosweb/904/logo_27.png[/img] [b]YÁOZĂO[/b] Electric Pulse. (0 | [b]3[/b])
[img]https://assets.infinitythegame.net/infinityarmy/img/logos/orden_regular.png[/img]10 [b]| 6 SWC | 300 Points[/b] Open in Infinity Army
[img]https://assets.infinitythegame.net/infinityarmy/img/_logosweb/logo_602.png[/img][b] Morat Aggression Force[/b]
[b]GROUP 1 | [/b][img]https://assets.infinitythegame.net/infinityarmy/img/logos/orden_regular.png[/img]7 [img]https://assets.infinitythegame.net/infinityarmy/img/logos/orden_irregular.png[/img]3 [img]https://assets.infinitythegame.net/infinityarmy/img/logos/orden_impetuosa.png[/img]4
[img]https://assets.infinitythegame.net/infinityarmy/img/_logosweb/602/logo_4.png[/img] [b]YAOGAT Lieutenant[/b] Combi Rifle + Panzerfaust / Pistol, CCW. (0 | [b]29[/b])
[img]https://assets.infinitythegame.net/infinityarmy/img/_logosweb/602/logo_4.png[/img] [b]YAOGAT (Fireteam: Haris)[/b] Combi Rifle + Panzerfaust / Pistol, CCW. (0.5 | [b]30[/b])
[img]https://assets.infinitythegame.net/infinityarmy/img/_logosweb/602/logo_4.png[/img] [b]YAOGAT[/b] Spitfire / Pistol, CCW. (1.5 | [b]32[/b])[img]https://assets.infinitythegame.net/infinityarmy/img/_logosweb/602/logo_6.png[/img] [b]RAKTORAK[/b] Red Fury / Pistol, Knife. (1 | [b]26[/b])
[img]https://assets.infinitythegame.net/infinityarmy/img/_logosweb/602/logo_12.png[/img] [b]OZNAT[/b] Combi Rifle + Light Smoke Grenade Launcher / Pistol, Shock CCW. (0 | [b]18[/b])
[img]https://assets.infinitythegame.net/infinityarmy/img/_logosweb/602/logo_14.png[/img] [b]PRETA[/b] Chain Rifle / AP CCW. (0 | [b]7[/b])
[img]https://assets.infinitythegame.net/infinityarmy/img/_logosweb/602/logo_14.png[/img] [b]PRETA[/b] Chain Rifle / AP CCW. (0 | [b]7[/b])
[img]https://assets.infinitythegame.net/infinityarmy/img/_logosweb/602/logo_14.png[/img] [b]PRETA[/b] Chain Rifle / AP CCW. (0 | [b]7[/b])[img]https://assets.infinitythegame.net/infinityarmy/img/_logosweb/602/logo_8.png[/img] [b]SOGARAT (Full Auto L2)[/b] Feuerbach / Assault Pistol, AP CCW. (1.5 | [b]67[/b])
[img]https://assets.infinitythegame.net/infinityarmy/img/_logosweb/602/logo_10.png[/img] [b]ZERAT (Forward Observer)[/b] Boarding Shotgun, Grenades, Antipersonnel Mines / Pistol, Knife. (0 | [b]22[/b])[b]GROUP 2 | [/b][img]https://assets.infinitythegame.net/infinityarmy/img/logos/orden_regular.png[/img]3 [img]https://assets.infinitythegame.net/infinityarmy/img/logos/orden_impetuosa.png[/img]2
[img]https://assets.infinitythegame.net/infinityarmy/img/_logosweb/602/logo_15.png[/img] [b]MED-TECH OBSIDON MEDCHANOID[/b] Combi Rifle, D-Charges / Pistol, Knife. (0 | [b]23[/b])
[img]https://assets.infinitythegame.net/infinityarmy/img/_logosweb/602/logo_20.png[/img] [b]SLAVE DRONE[/b] Electric Pulse. (0 | [b]3[/b])
[img]https://assets.infinitythegame.net/infinityarmy/img/_logosweb/602/logo_11.png[/img] [b]DĀTURAZI[/b] Chain Rifle, Grenades, Smoke Grenades / Pistol, AP CCW. (0 | [b]14[/b])
[img]https://assets.infinitythegame.net/infinityarmy/img/_logosweb/602/logo_11.png[/img] [b]DĀTURAZI[/b] Chain Rifle, Grenades, Smoke Grenades / Pistol, AP CCW. (0 | [b]14[/b])
[b] 4.5 SWC | 299 Points |[/b] Open in Infinity Army
Deployment
I take deployment, as I need to play second more often, and Adam sets up first. He puts a Yaogat Haris on top of a platform in the middle, prone. His new favorite toy, the Raktorak + Oznat + Pretas link, hangs out on the left with the Raktorak advanced up. The way he’s deployed the core, the Oznat has to be the leader for at least the first order, because the Raktorak and the Pretas are almost 16″ away from one another.
Doctor Worm and his slave drone hang out in the middle and the left, with a pair of Daturazi on either side of the table. Adam’s other favorite toy, the Zerat FO chills by the left objective.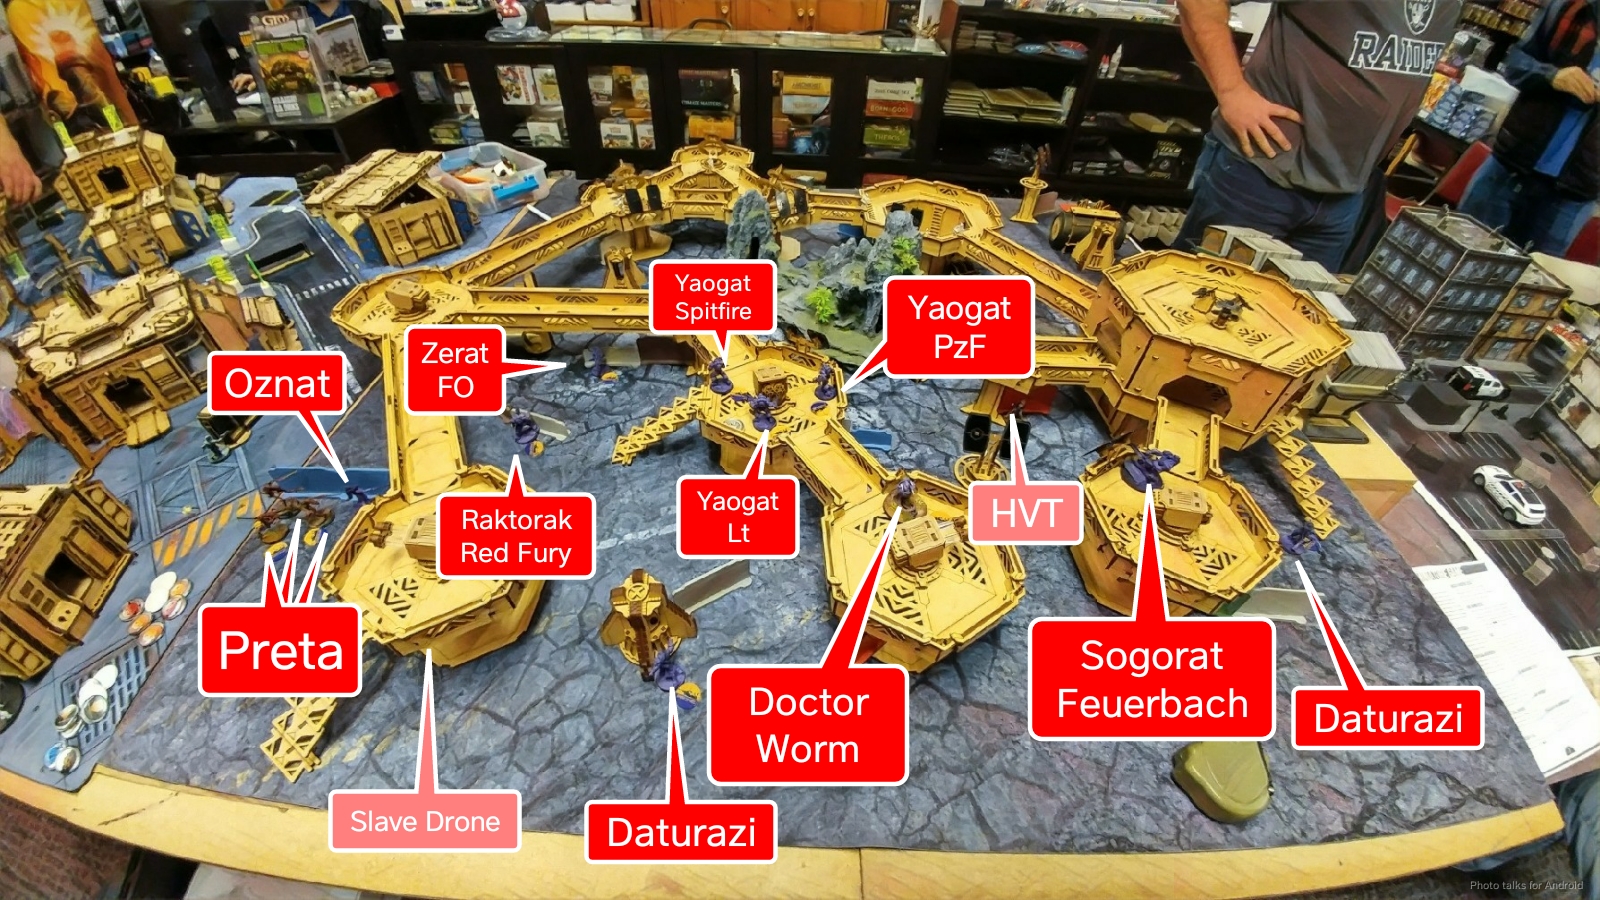 Deployment passes to me. I’m almost obligated to counter-deploy the core with the Wu Ming HRL, so I do that, hoping to template the Pretas before they can get up the board. I put a pair of Druze on either side, and then tuck my Brawler in total cover on the roof with the Wu Ming SMG screening him.
 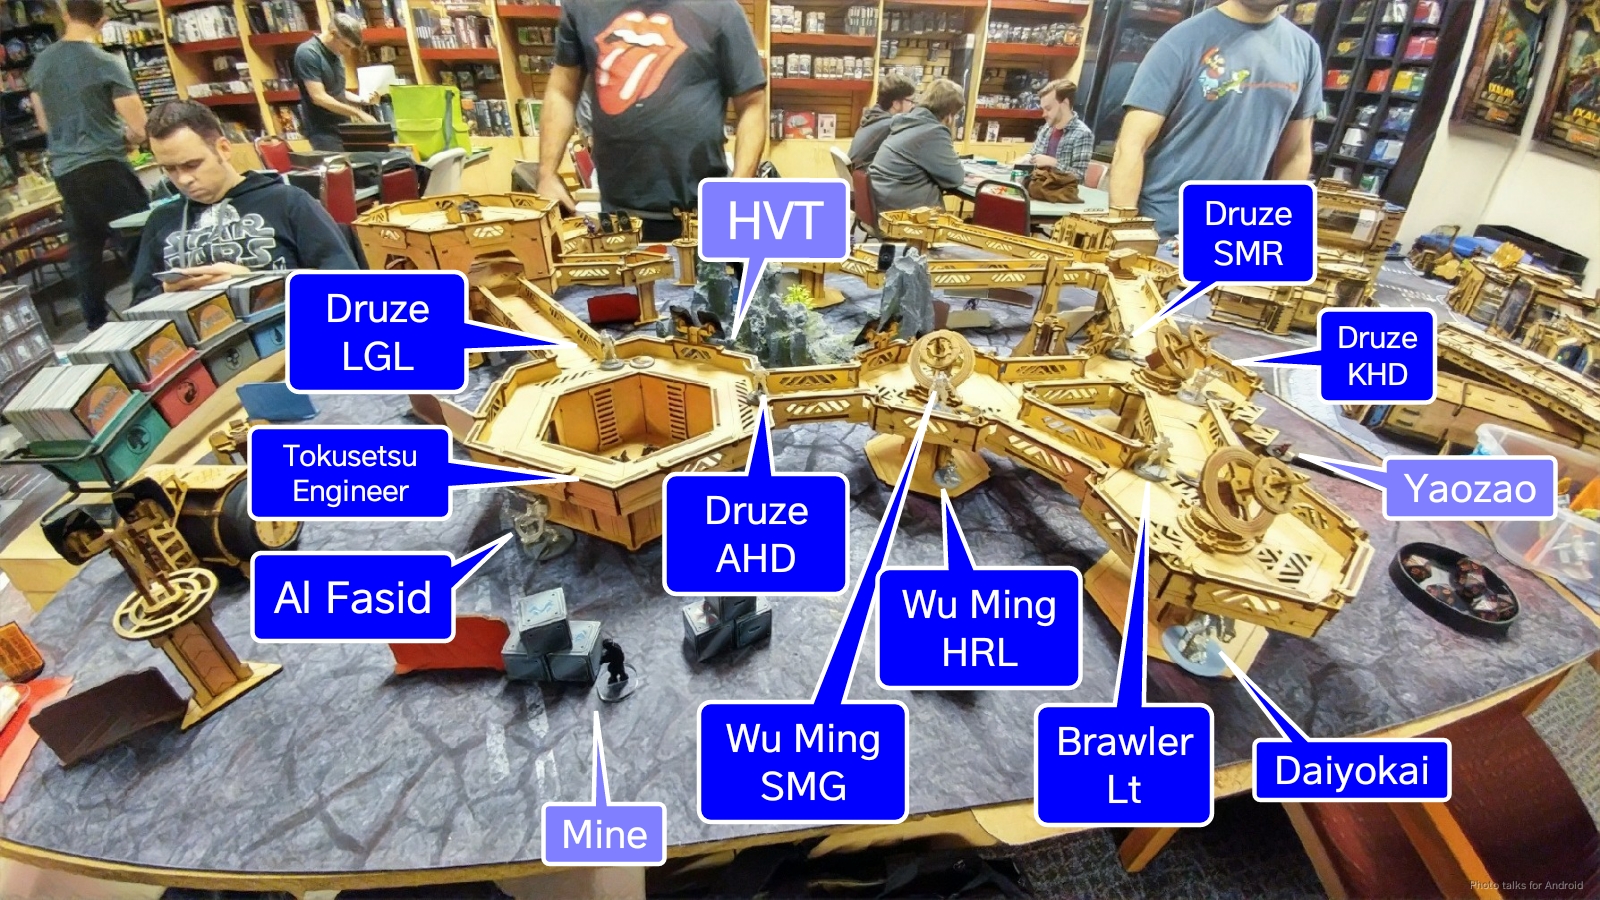 My Tokusetsu is hanging out in a building on my left with his bot on the right, ready to help the Al Fasid who is on the left. I deployed his mine in the back of my deployment zone, mostly to discourage any lurking Rasyats. Adam put his Sogorat on the table, prepping to go after my Al Fasid, and I put my Daiyokai down to delay it and the Preta link. There’s a keyhole to see the Sogorat’s approach vector from where the Daiyokai ended up.
Turn 1
Top of 1 – MAF
Adam blocks the HRL’s shot to the link with his left Daturazi’s smoke, while the right shuffles towards my Al Fasid around the building the Sogorat is on.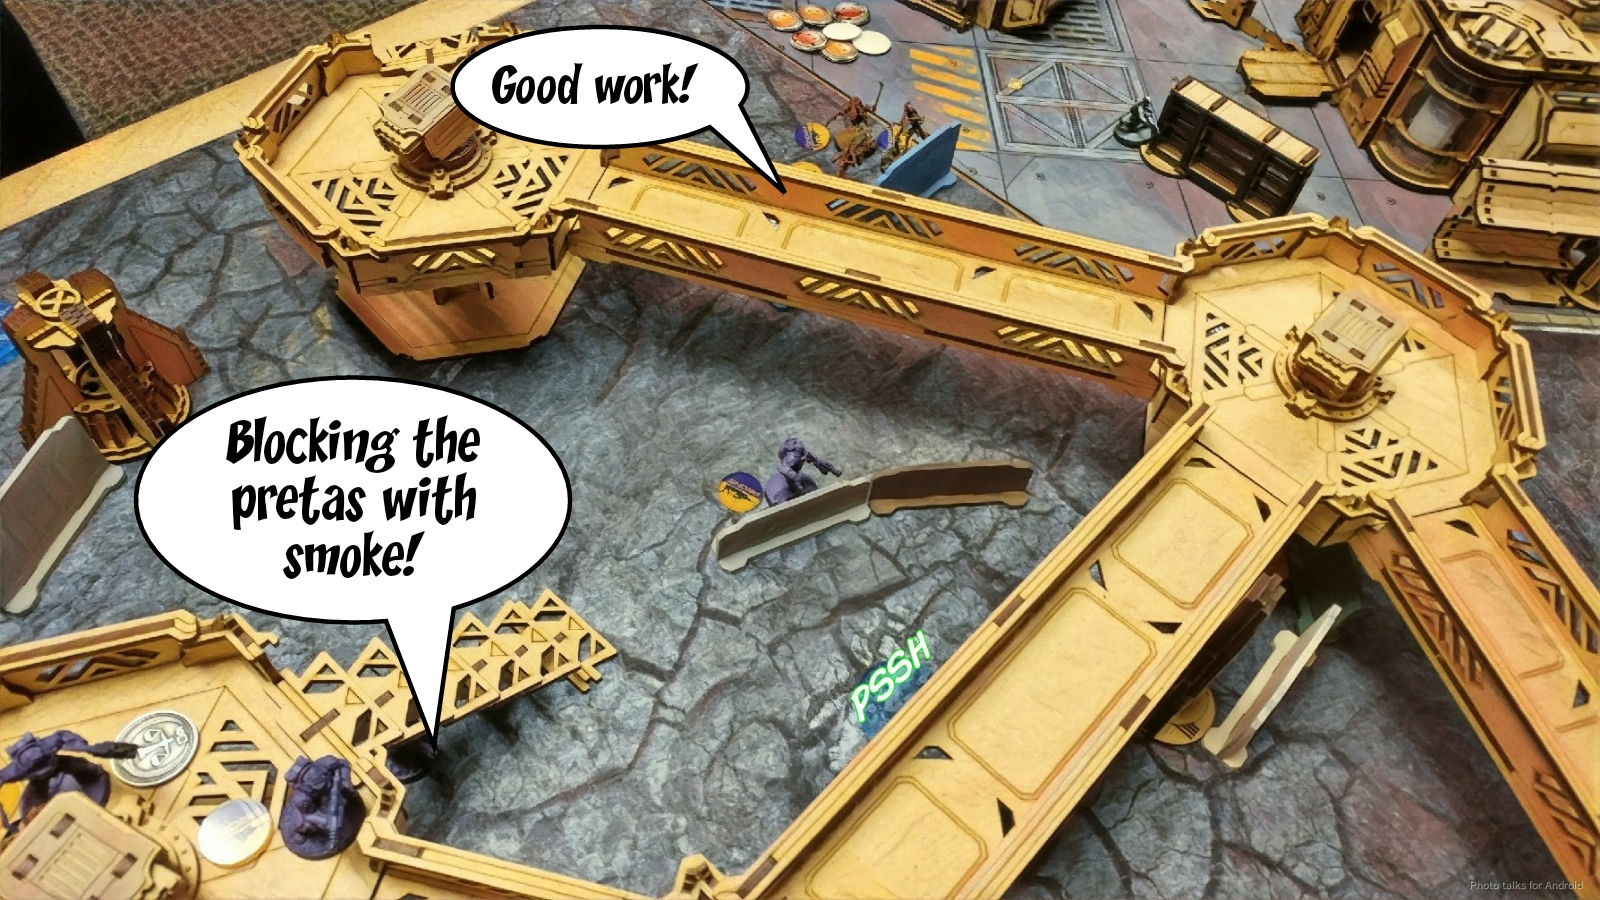 Adam grabs the antenna on my right with his Zerat, and then starts attacking with the link.
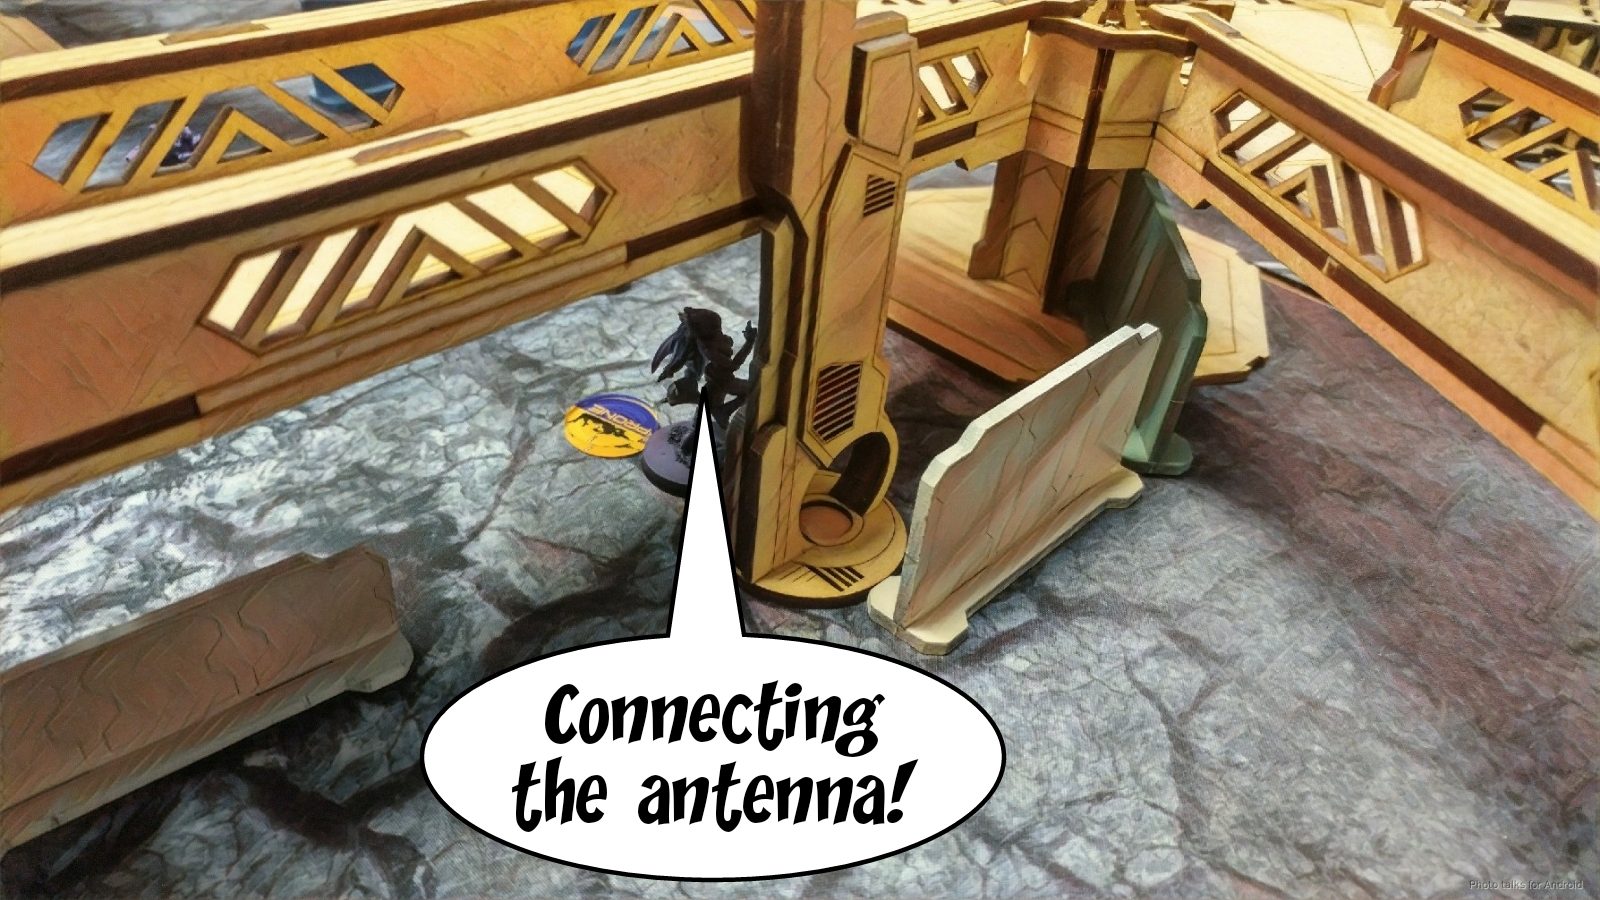 While correcting for the link’s deployment spread behind the smoke, Adam shoots some more smoke with the Oznat, letting the Raktorak make it all the way up to see my Wu Ming HRL. There’s a Preta under a shotgun template if I shoot back with that inside 16″, so I do that. The Wu Ming takes three wounds and is off the table, but I do manage to put the Preta dogged.
Adam moves up further to see my Daiyokai and asks for AROs against his Raktorak. Even though I’m in bad range, I decide to ADHL. He’s got 5 dice, so I’m extremely unlikely to land a Red Fury or a Panzerfaust shot anyway, and gluing the Raktorak is points on the board for me. Adam of course rolls 5 hits, but a Daiyokai is ARM 8 in cover, so they all just bounce off. 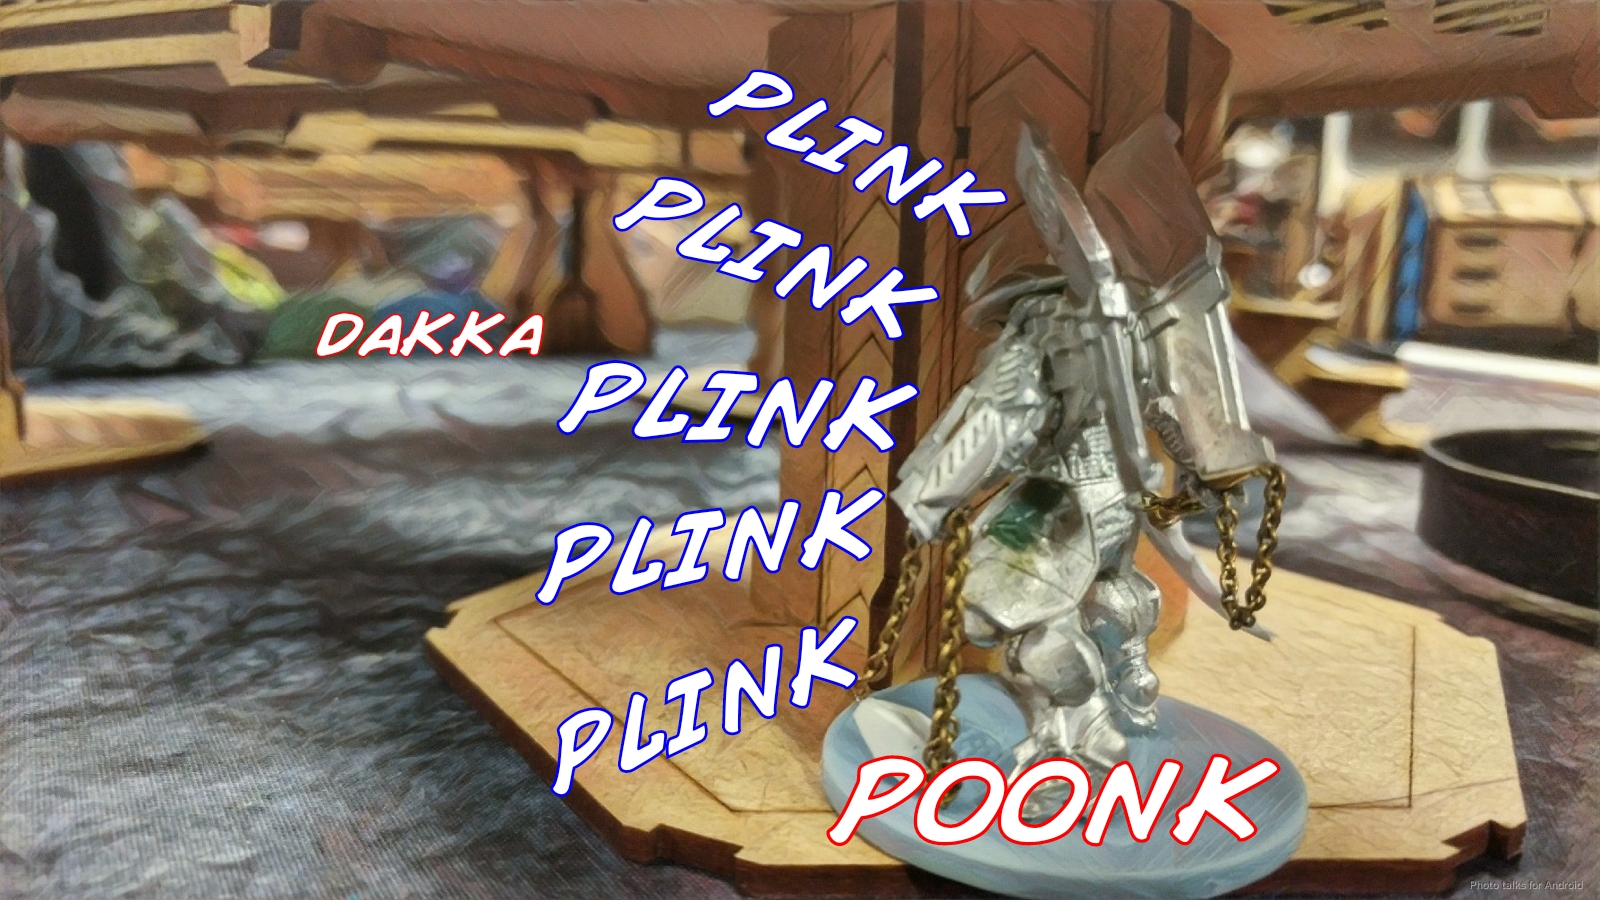 After some shuffling of the link to throw it prone, Adam passes the turn to me.
Bottom of 1 – Ikari
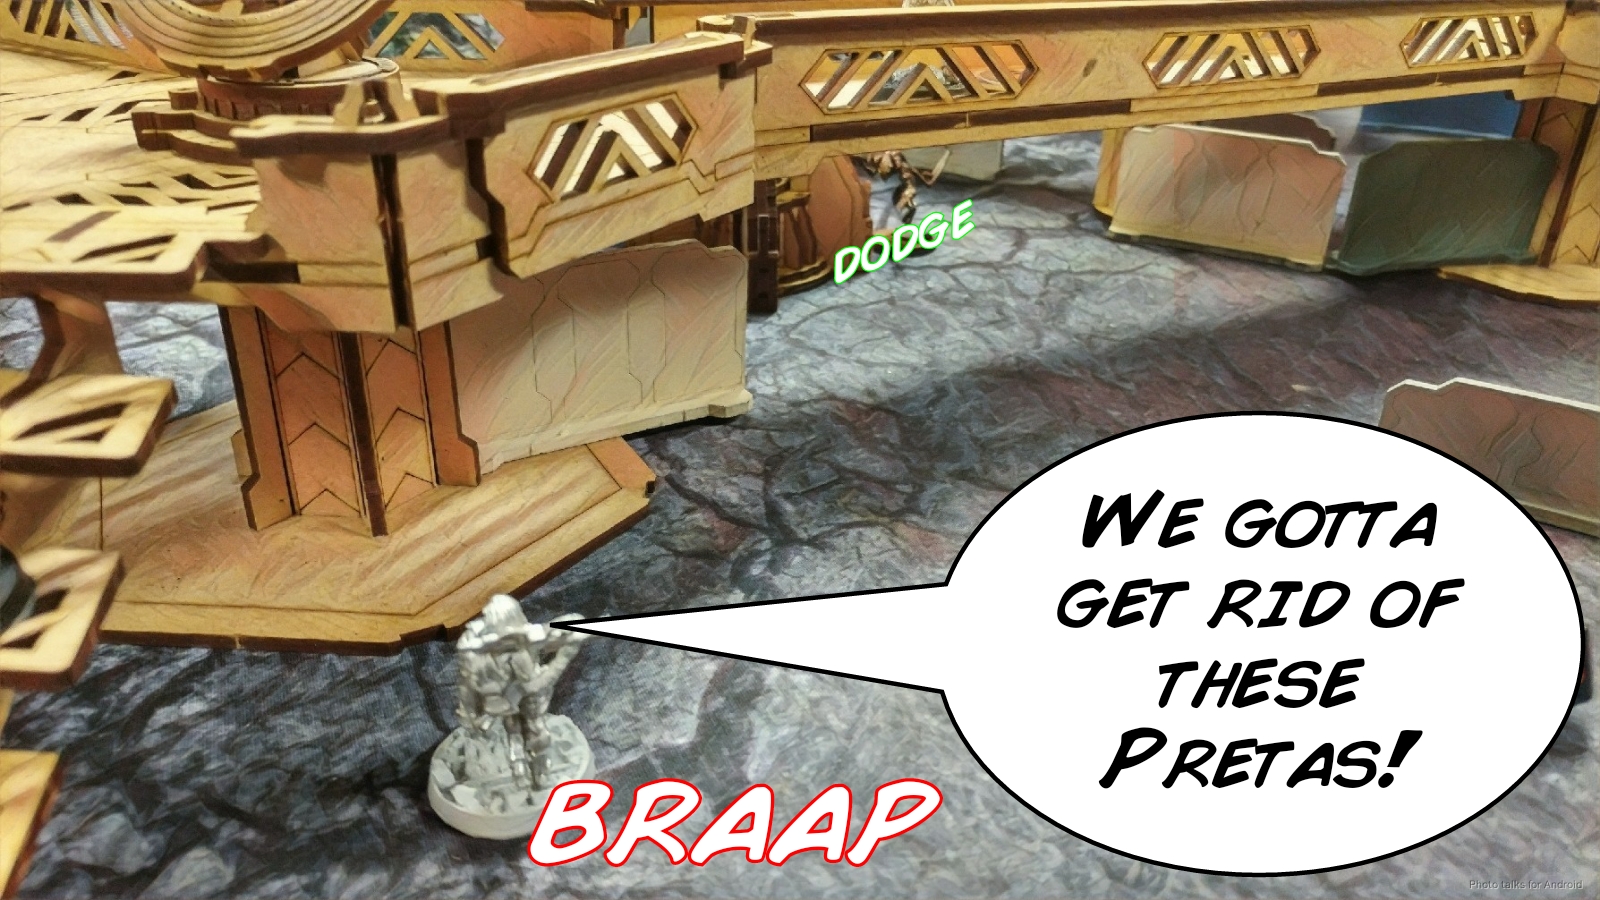
Well, I’ve gotta make some headway and put some points on the board. The Sogorat is really locking down the board in a very unpleasant way, and I have no efficient way of dealing with it. I choose to use my KHD/Shock Marksman Druze duo to make a play and go for a Lieutenant glue on Adam’s Yaogat. I walk the KHD off the roof and gun down a Preta while crawling the Shock Marksman along the catwalk until I finally can get out of the Sogorat’s LoF.
 I need to get the Haris down to tow man before I can go after the Yaogat Lieuteant, who I’ll be able to see after I contend with the Yaogat Haris. Of course, Adam beats my roll with a Panzerfaust and my Druze goes unconscious. Decent odds too, mid 50 percent to low 20 percent, basically double the odds. With that path closed, I try something else. I need to deal with the Raktorak, and I’ve still got a Druze over there, and I can push the button as well. First I have to get rid of the Zerat though, who will just flip the antenna back to MAF control once I’ve flipped it with the Druze KHD. The AHD can just stand up and take a shot on the Zerat, so I try that, but Adam dodges into total cover.
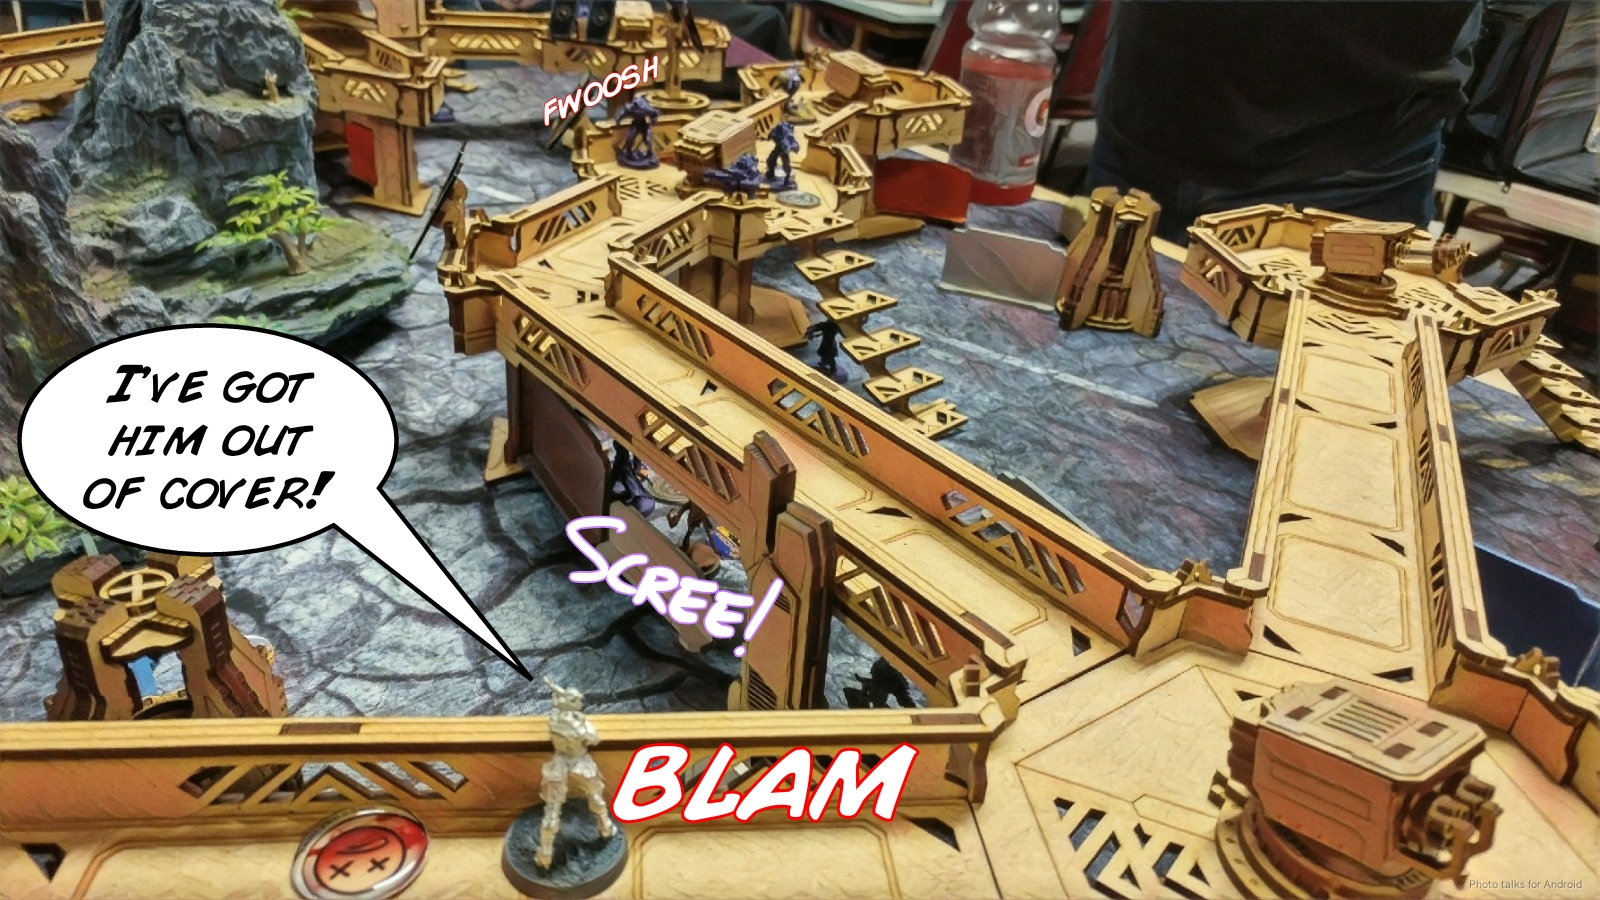 Now I need to get the KHD further involved, so I scoot around behind the Raktorak, who is now in a 3-man link and is forced to change face, letting me glue it easily with the Druze. I flip the antenna that the Zerat activated over to Ikari control, and while I’m gluing and button pushing I’m moving the Daiyokai and Al Fasid forward. The Daiyokai to cover the right antenna, and the Al Fasid to head towards the Sogorat.
I’ve got one order left after pushing the button, so the I walk the KHD around the antenna to be behind the Zerat. Many of the Druze profiles have a chain colt, but the hackers aren’t one of them. I know that now, as I write this, but neither Adam nor I caught that mistake during the game. In any case, I was threatening to chain colt a Preta, the Oznat, and the Zerat, so Adam dodged with all three of them, especially given that it was my last order. Not a bad response, and certainly not game breaking, but shooting the Druze was probably a better plan. In any case, with the antenna flipped, I know all I need to do is kill the Zerat, so I try to do that with the Druze’s viral pistols and get beat out by the Zerat’s dodge. Oh well. 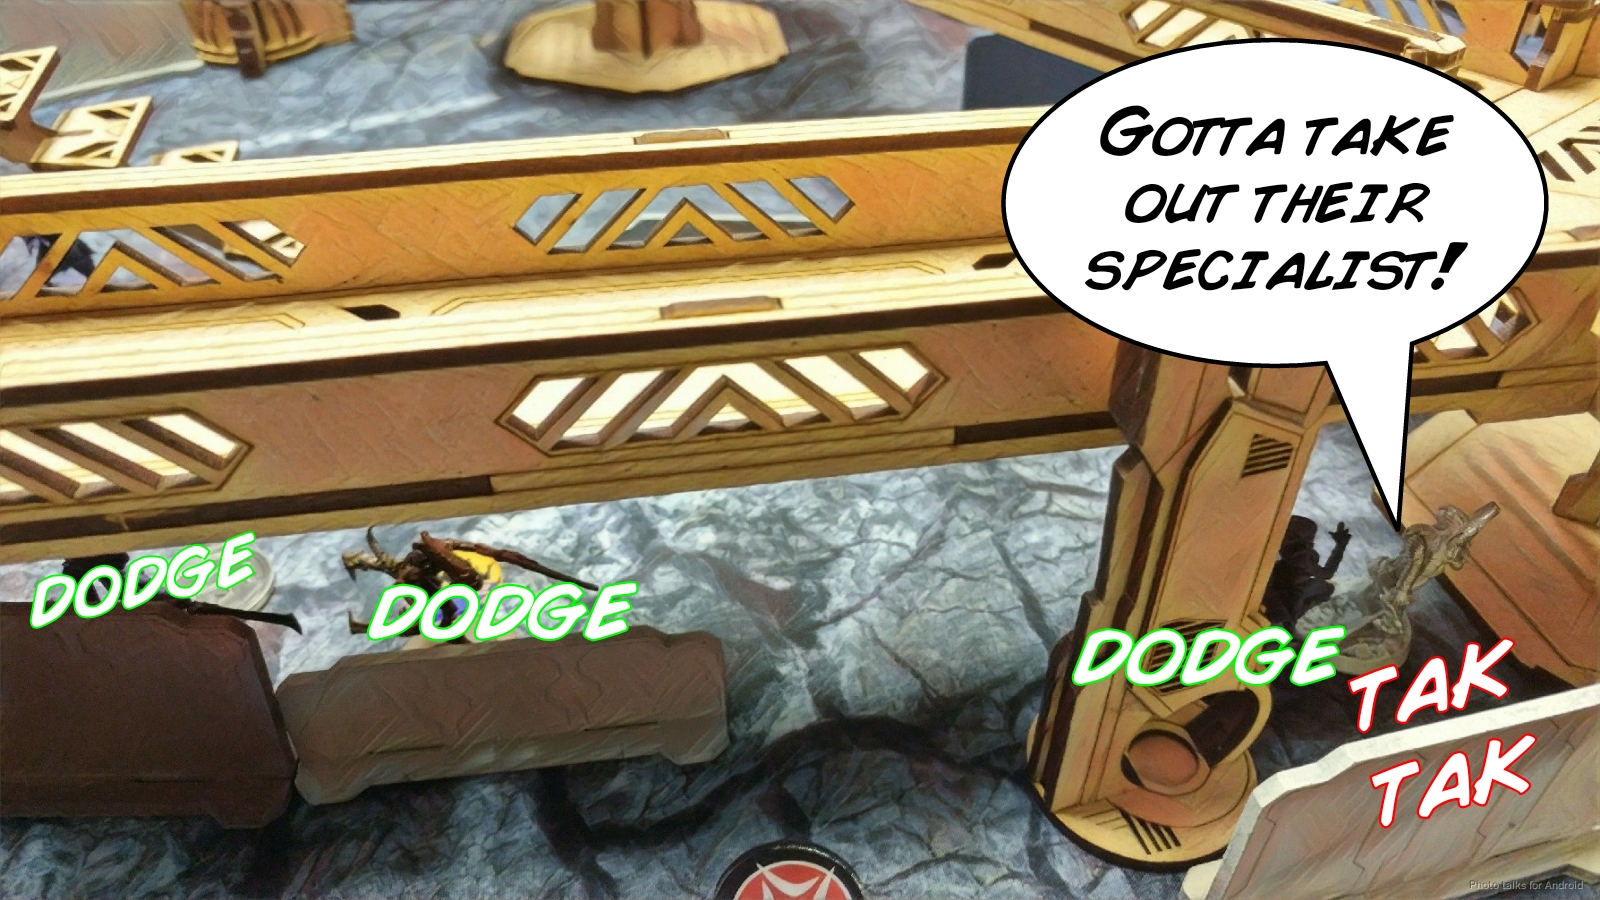
Turn 2
Top of 2 – MAF
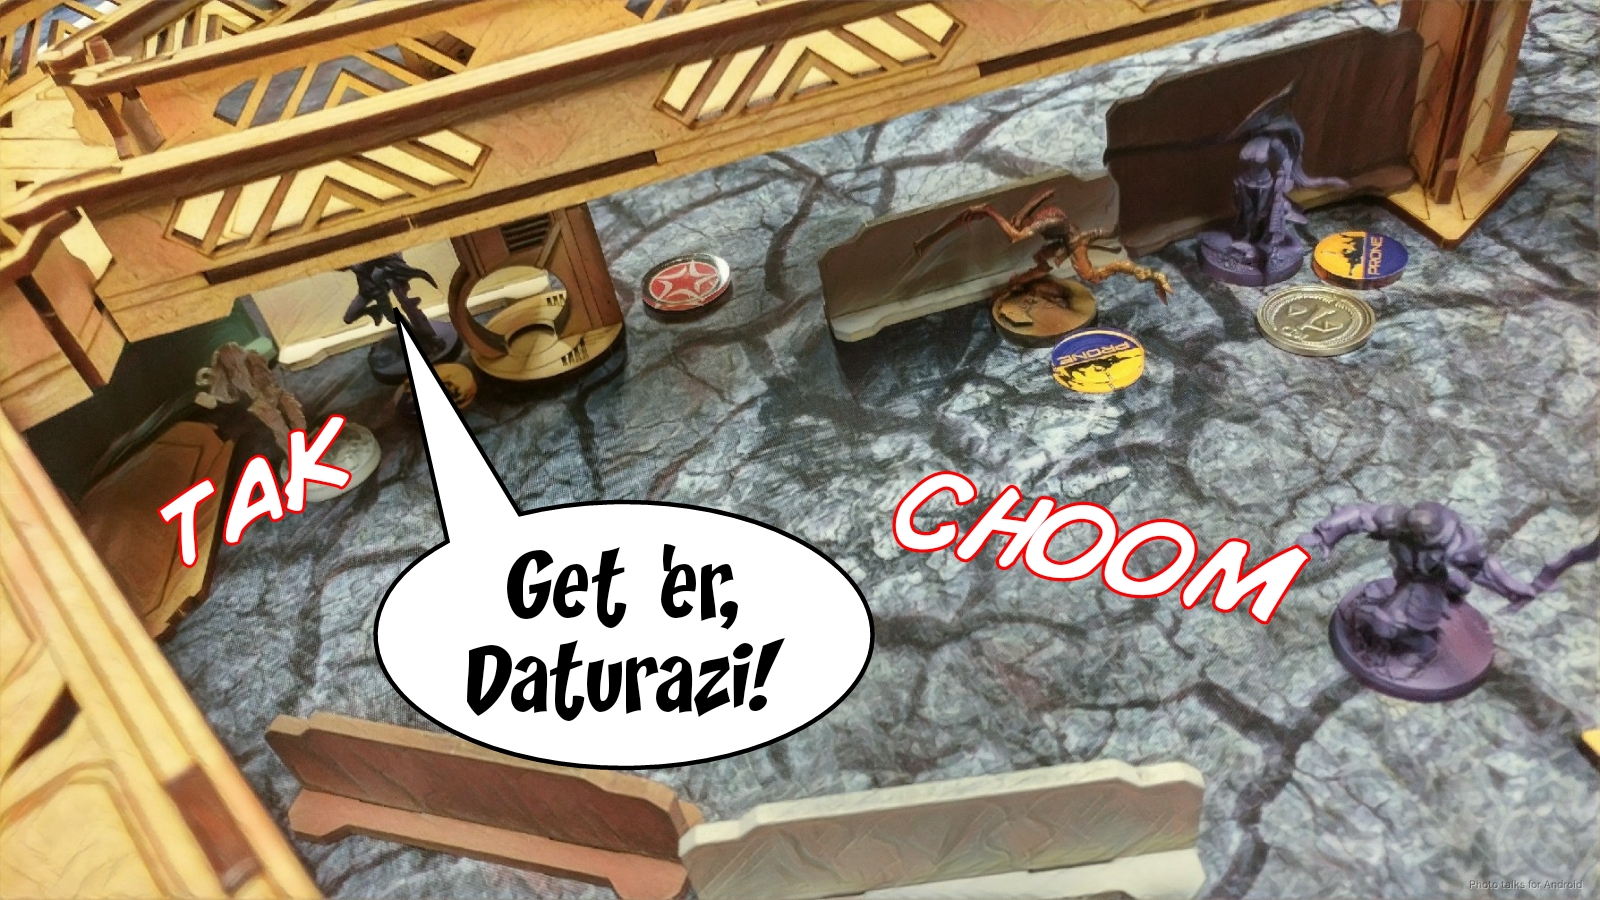
The nearest Daturazi makes its way towards my Druze, and I viral pistol it, hoping to pass my 50-50 odds on the chain rifle. I fail, but the Daturazi gets taken off the table. Sadly I’m just unconscious, which means I can be adhesive-launchered later.
 The other Daturazi manages to get into close combat with my Fasid after using some smoke to get closer, but I crit with my heavy pistol on his way in. Don’t bring a knife to a gun fight, I guess?
 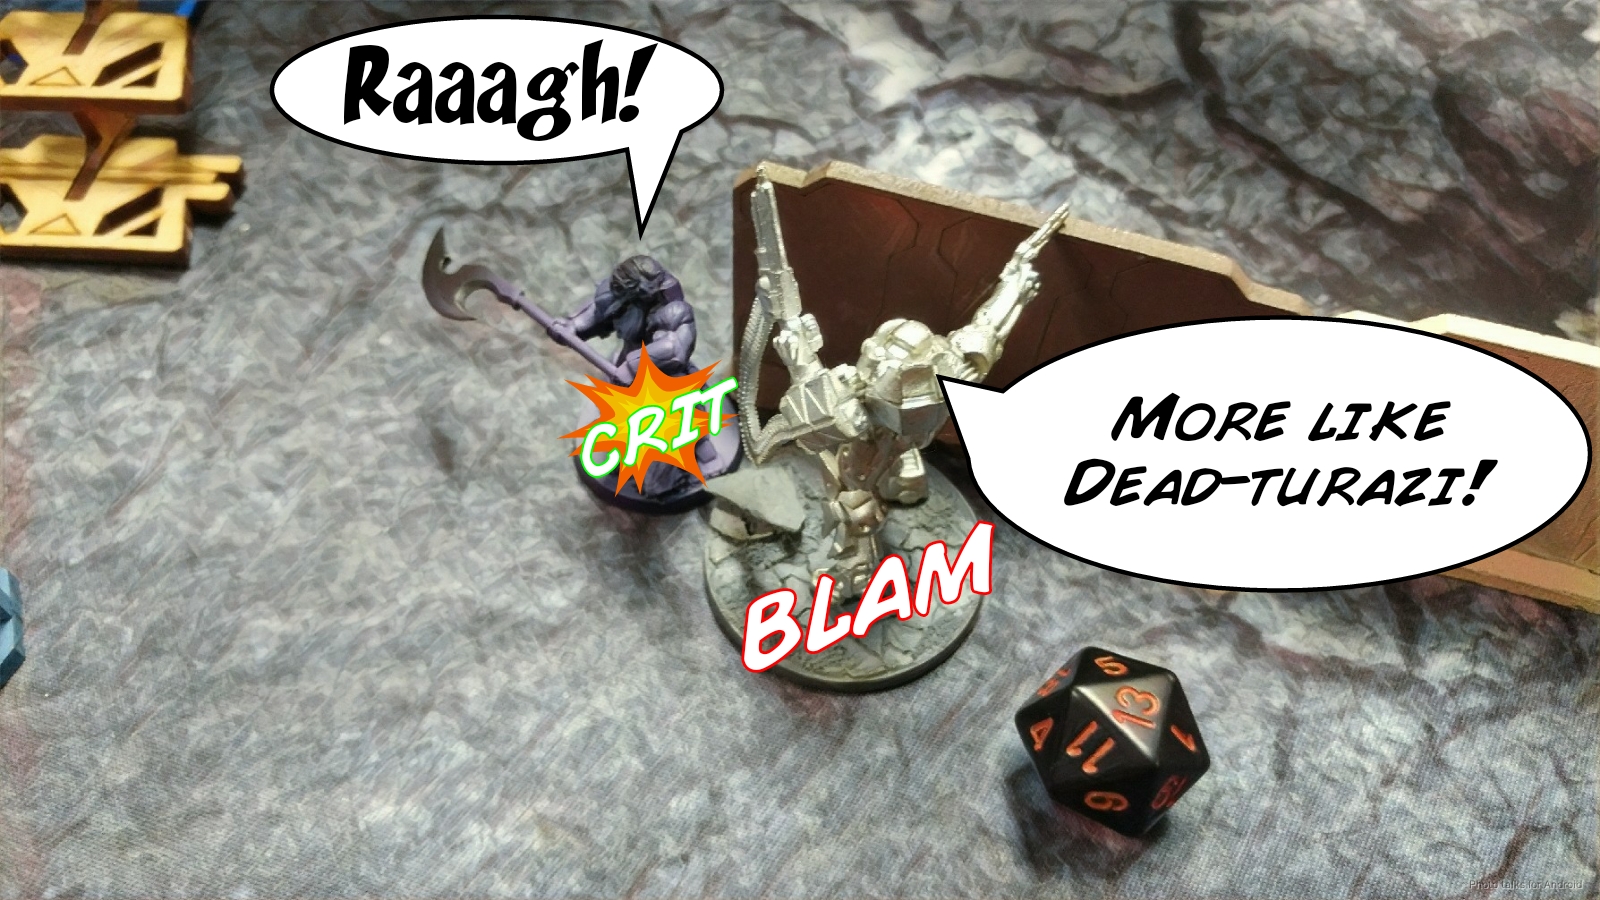 The Oznat lands some smoke on my Daiyokai to block his view of my HVT…
 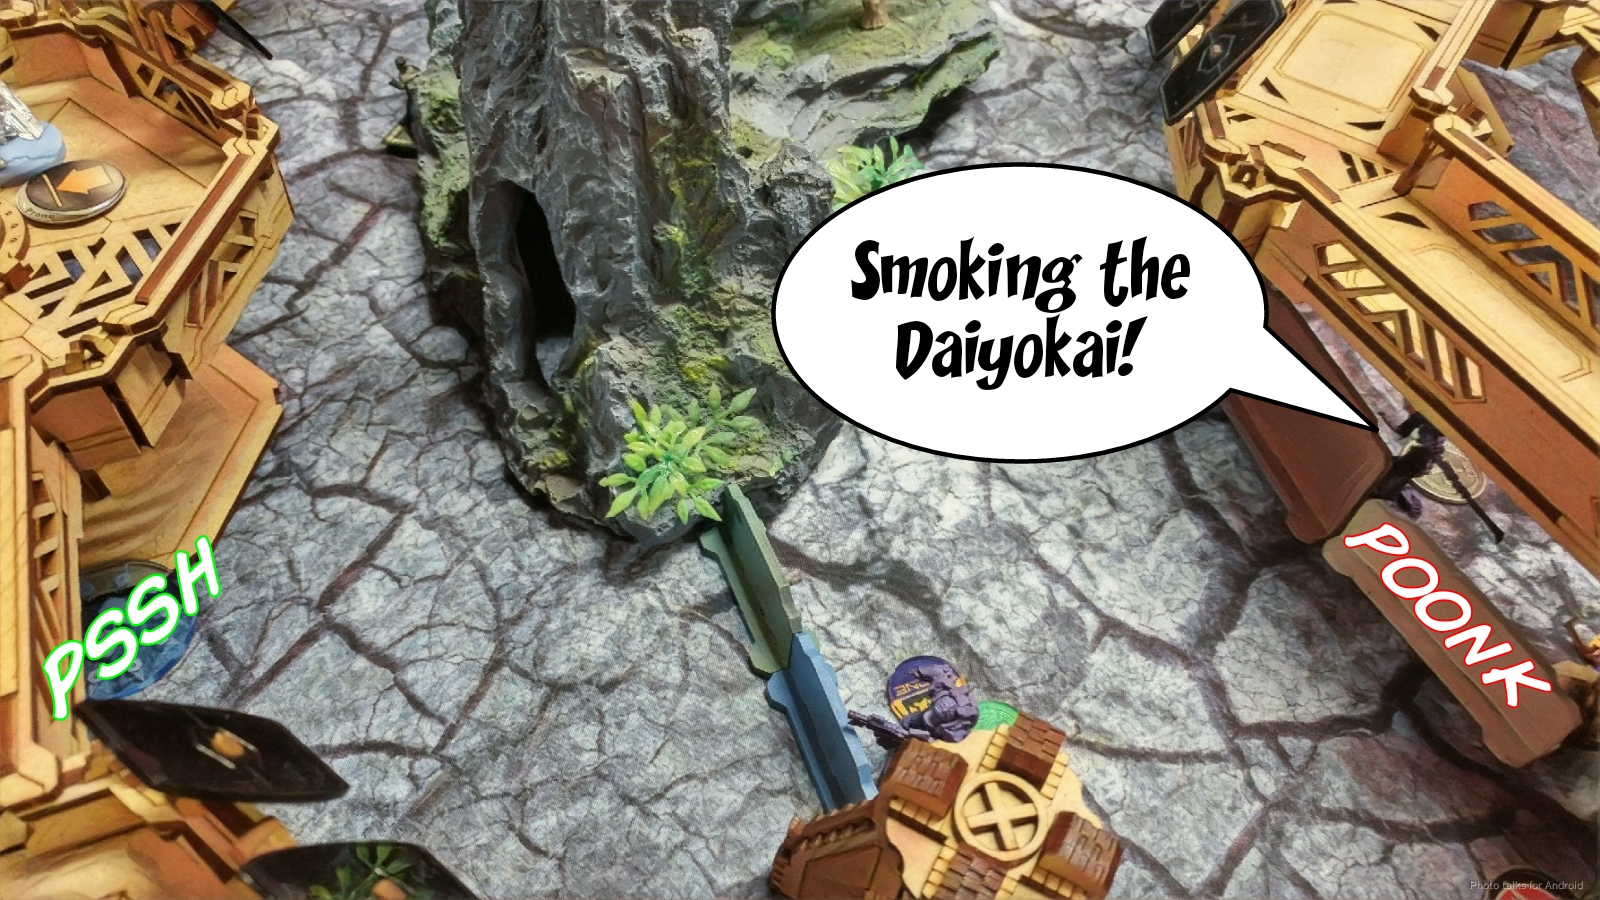 while the Sogorat takes out my Druze AHD, hitting three times. GROSS.
 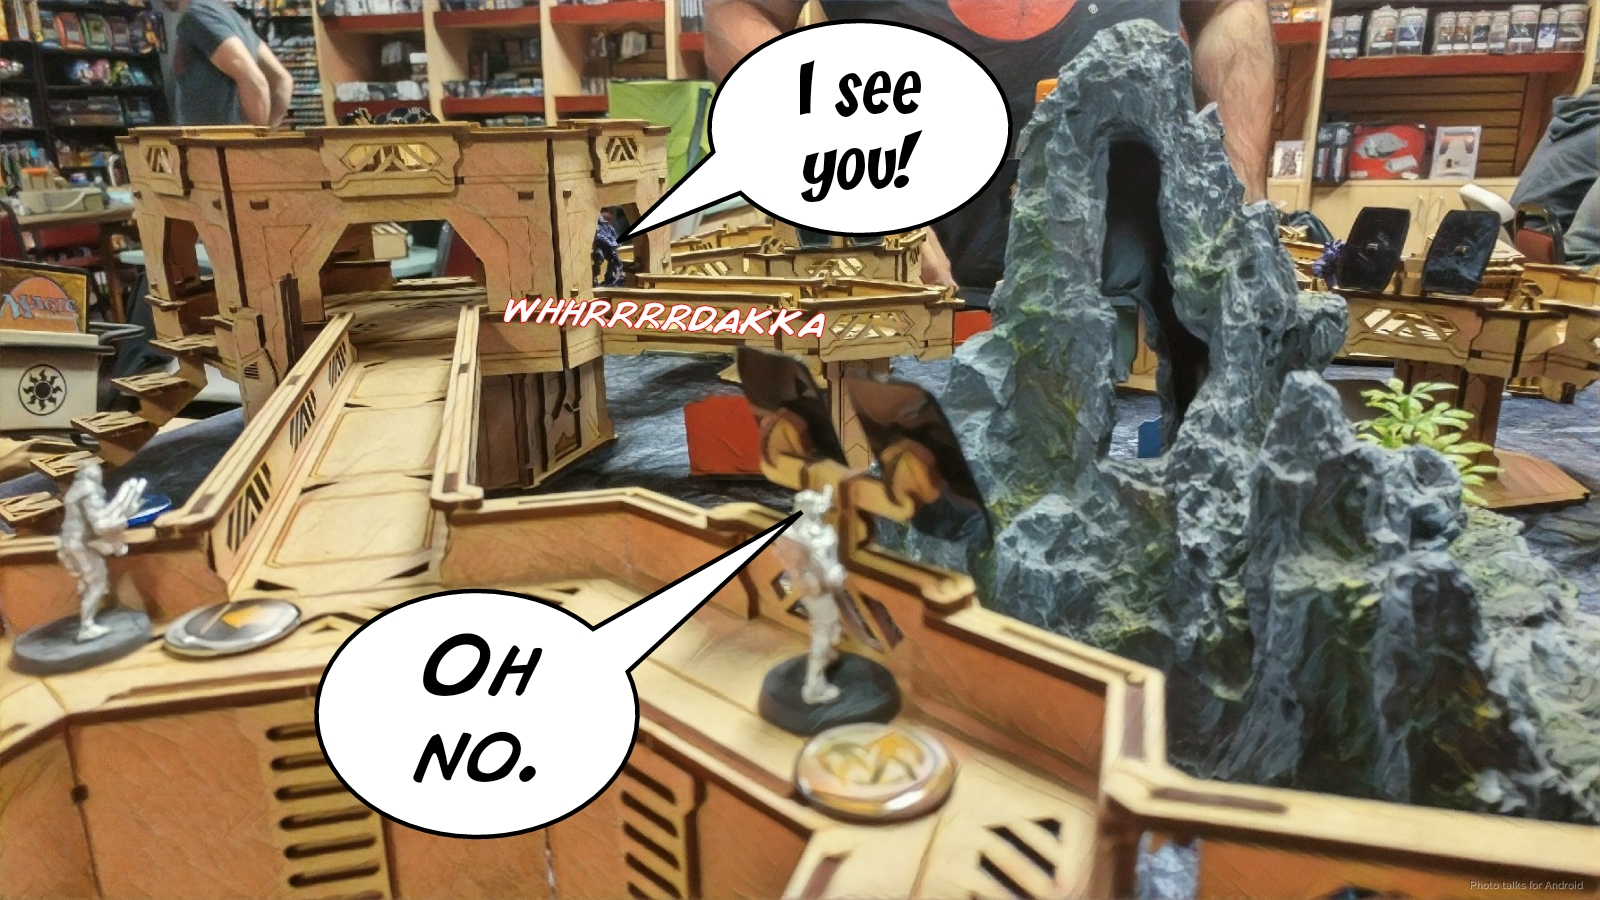 Without an AHD covering my HVT and my Daiyokai blinded, I’m powerless to stop the tickle attack of Dr. Worm’s slave drone against my HVT. This nets Adam both of his classifieds: HVT: Retroengineering nad HVT: Inoculation.
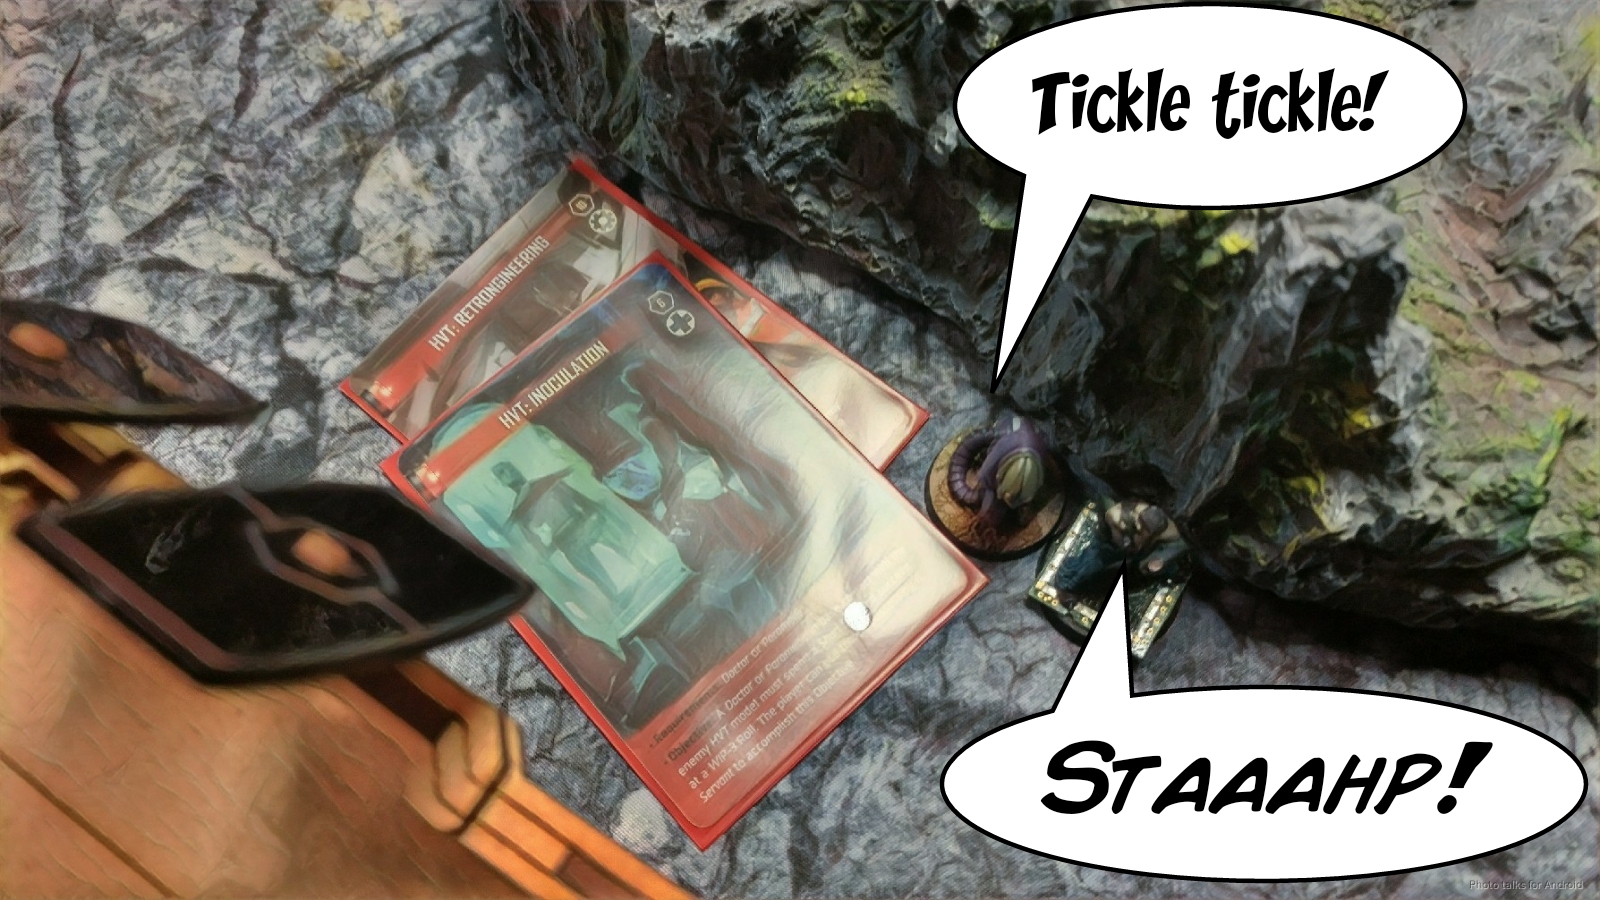 Adam’s last order is spent advancing his Yaogat Haris towards my Daiyokai–they’re still crawling around on the catwalk system.
Bottom of 2 – Ikari
It takes me three orders to set it up, but I finally manage to glue the Sogorat by spending my last command token to coordinate my E/M LGL Druze and my Al Fasid. I’ve got two orders left, one of which I spend rescuing the Druze by running him into the building, and the other I spend trying to take away Adam’s remaining smoke cover by shooting at the Oznat with my Daiyokai. Adam wins the roll off, smoking out my Daiyokai, and then I’m forced to pass turn.
Turn 3
Top of 3 – MAF
The Oznat splits burst on her smoke grenades, landing one between the Yaogats and my Druze/Al Fasid and attempting to smoke out the Daiyokai again. This time, I connect with a Panzerfaust and the Oznat is knocked out. The Yaogats spend a few orders scooting along the catwalk, taking out the Druze through the smoke and trying to get an angle on my Lieuteant but not finding one. They settle for blasting my Daiyokai with spitfire rounds.
  It takes them awhile, given the Daiyokai’s effective three wounds, but Morat power wins out.
 Adam shoots my Al Fasid with a Panzerfaust through the smoke using his Lieutenant order, and I whiff on my dodge roll and fail all my ARM rolls.
  This puts me into retreat, and it’s a
3-0 Morat Aggression Force Victory!
Notes
Notes for Me
- I felt kinda under-gunned this game, and really without board control. Adam went to so far as to say that he didn’t really feel any pressure from my (lack of) board presence.
- In all the games I’ve taken him so far, the Daiyokai has been disappointing. It think what it comes down to is that I’m using the things that I know and am comfortable with (e.g. the Al Fasid), which means that if I really want to get better with the Daiyokai I’ll need to take it and NOT the Al Fasid.
- Druze continue to be awesome. Singleton Druze are great, Druze Duos are great, I just need to use them more carefully. There is definitely something to be said for burst two ADHLs though. I may have to find a way to at least work a Druze Haris into things, if not a full core.
- I really asked a lot of my list–there really wasn’t any room for error in my Druze Shock Marksman and KHD gambit, and once I started losing orders it was hard to recover.
- There’s just such a massive amount of stuff to keep track in an Infinity game, which is why you need to build good habits. I need to continue to build good habits like putting things prone when I can, like the Fasid, which would’ve been safe from the Yaogats, kept me out of retreat, and maybe let me get the game to a 2-1 loss or maybe even dash my helper bot into base to base with the Yaogat to immobilize it.
- I think there were a few turning points in the game:
- Losing the face to face with the shock marksman and the Yaogat
- Not taking out the Zerat with the Druze
- Getting the Al Fasid panzerfausted off the table in a single die roll.
- It’s hard to really describe what went wrong in this game. I think Adam got part of the way there by telling me that he didn’t feel any pressure from me, but I think it’s more than that. My board presence just felt… anemic, I had no defense in depth, and no backup after a failed attack.
Notes for Adam
- DR WORMMMM!!!!!!!
- I thought the Kriza was a pain in the ass. Holy crap, the Sogorat is terrifying. I think I may need to take a Karakuri just to deal with it safely.
- I dig the Yaogat team. It has a lot of tools, and with the ADHLs it adds even more. Deployed in the middle you’ve got good ranges to everything. Good work.
- That Zerat! So powerful! The internet is wrong! :3 Seriously though, it does the thing! It pushes buttons in the midfield and is a pain in the ass to deal with. Infiltrating mimetism boarding shotgun really makes me not want to go hunt it down. I’m just lucky we both forgot that I didn’t have a chain colt!
- That core is… interesting. It has an amazing alpha strike, and guards itself pretty well, it just wants to do so much it’s hard to pilot. I think you made some mistakes in movement and placement, but fortunately you had 6-6 to fix it.
- That was a longer game than usual, because we were rewinding and rerunning some scenarios for testing purposes, but I think it resulted in good learnings.