
Druze Debt Collection Redux
Game night rolled around, and Adam asked me if I wanted to get in a game at his place so he could help watch the kids. I’m always a fan of playing on his tables, so I readily agreed. We’re both trying to figure out what to take to the next big tournaments, so we’re rifling through our factions trying to find something that fits the tournament scenarios. We’re trying out JSA and Druze today, both for a change of pace and to re-familiarize ourselves with the armies. I guess Adam’s Druze are still hunting after my JSA to get them to pay their bill from the uprising, just like last time. Credit goes to Andy Brandt for encouraging me to play JSA again. I’ve been hearing from some that JSA need a little love on the internet, so I’ll try to go a little deeper into my thought process this time, from a JSA angle.
Overview
- Mission: Unmasking
- Forces: Japanese Secessionist Army versus Druze Bayram Security (300)
- Deploy First: Druze
- First Turn: Druze
List C
GROUP 1 |
9
1
1
KUROSHI RIDER Lieutenant Combi Rifle + Light Flamethrower / Breaker Pistol, AP + Shock CCW. (0 | 33)
KEMPEI (Multispectral Visor L2) Shock Marksman Rifle / Pistol, CCW, Electric Pulse. (1 | 25)
YURIKO ODA Combi Rifle + E/Mitter, D-Charges, Antipersonnel Mines / Pistol, CCW. (0 | 23)
KEISOTSU (Forward Observer) Combi Rifle / Pistol, Knife. (0 | 10)
RYŪKEN (Forward Deployment L2, ODD) Submachine Gun, Antipersonnel Mines, D-Charges / 2 Breaker Pistols, Knife. (0.5 | 24)
TOKUSETSU EISEI Doctor (MediKit) Combi Rifle / Pistol, Knife. (0 | 14)
WARCOR (Aerocam) Flash Pulse / Stun Pistol, Knife. (0 | 3)
GROUP 2 |
MIYAMOTO MUSHASHI (Regular, Fireteam: Haris) Chain Rifle, Flash Pulse / Pistol, AP CCW, EXP CCW. (0.5 | 28)
TANKŌ Missile Launcher / Pistol, Monofilament CC Weapon, Shock CC Weapon. (1.5 | 32)
YOJIMBO Contender, Nanopulser, Smoke Grenades, CrazyKoalas (2) / Pistol, DA CCW. (0 | 21)
5.5 SWC | 300 Points | Open in Infinity Army
Okay. Let’s talk about my list a bit. Well, the Mushashi/Tanko Haris is there for a pretty simple reason: to put two BS 13, Burst 2 Missile Launchers on the table. I suppose eventually I’ll learn to use Mushashi as a useful tool, but today was not that day. For now he’s a tax to build the Haris and a 28 point order. The Warcor is also there for a simple reason: to fill the last three points with an irregular order. The stars of the list are Kuroshi Rider and Yojimbo. They both are on motorcycles and therefore can get places quick. They also both have Dogged and NWI, to make sure that they actually get where they need to go. Yojimbo is also an all-important source of smoke, and Kuroshi Rider is my fastest specialist.
I threw in a Doctor to pick the Tanko back up, and two Ryuken-9 SMGs, because they’re such a staple of JSA for me that they’re in almost every list. They’re absolute monsters in the midfield–if you leave your link there, they will eat it. It’s inefficient and can feel sluggish, but they’re like a vice–they’ll just continue applying pressure until you crumble. As almost an afterthought, is the link. Kempetai BSG for chain of command after Kuroshi goes down, Yuriko Oda E/Mitter because she’s amazing, Kempetai Shock Marksman because it’s my favorite, and then two Keisotsu FO’s because points and orders. I’m really not a huge fan of 5-man links in general. This one is pretty boring. It’s really just there to be an order battery with some teeth for the Ryuken-9 and Kuroshi Rider. And that’s that. I kinda want to fiddle with the list some. I’m always happy about the Warcor, but not happy about its order.
Druze Bayram Security
GROUP 1 |
DRUZE Lieutenant (X Visor) Combi Rifle, Chain-colt / Viral Pistol, Knife. (0 | 23)
BRAWLER Hacker (Assault Hacking Device) Submachine Gun / Pistol, Knife. (0.5 | 17)
VALERYA GROMOZ Hacker (Hacking Device UPGRADE: Expel) Combi Rifle + Pitcher / Pistol, Knife. (0.5 | 21)
CLIPPER DRONBOT Missile Launcher / Electric Pulse. (1.5 | 17)
PEACEMAKER Heavy Shotgun + AUXBOT_3 / Electric Pulse. (0 | 21)

SAITO TOGAN (Specialist Operative) Combi Rifle, Smoke Grenades / Pistol, EXP CCW, Knife. (0 | 40)
GROUP 2 |
HUNZAKUT (Forward Observer, Deployable Repeater) Rifle + Light Shotgun, Antipersonnel Mines / Pistol, Knife. (0 | 18)
FUGAZI DRONBOT Flash Pulse, Sniffer / Electric Pulse. (0 | 8)
6 SWC | 300 Points | Open in Infinity Army
Deployment
Adam won the rolloff and elected to go first. Work on his city table has been on hold for awhile while he works on the airplane crash table, but he brought it out for our Druze-JSA rematch. Adam’s list was centered around a flexible Druze list, with all the greatest hits: HMG, E/M LGL, Brawler MSV2 MSR, and an assortment of supporting characters. He loves his Brawler AHD. I like it too in Ikari, but I think I’ve got less of a love affair with it than he does. In any case, he nestled his link atop a building in the center of his deployment zone with a straight shot across a bridge into my half of the table. This was going to be a rough game where I’d have to be very careful about my deployment. 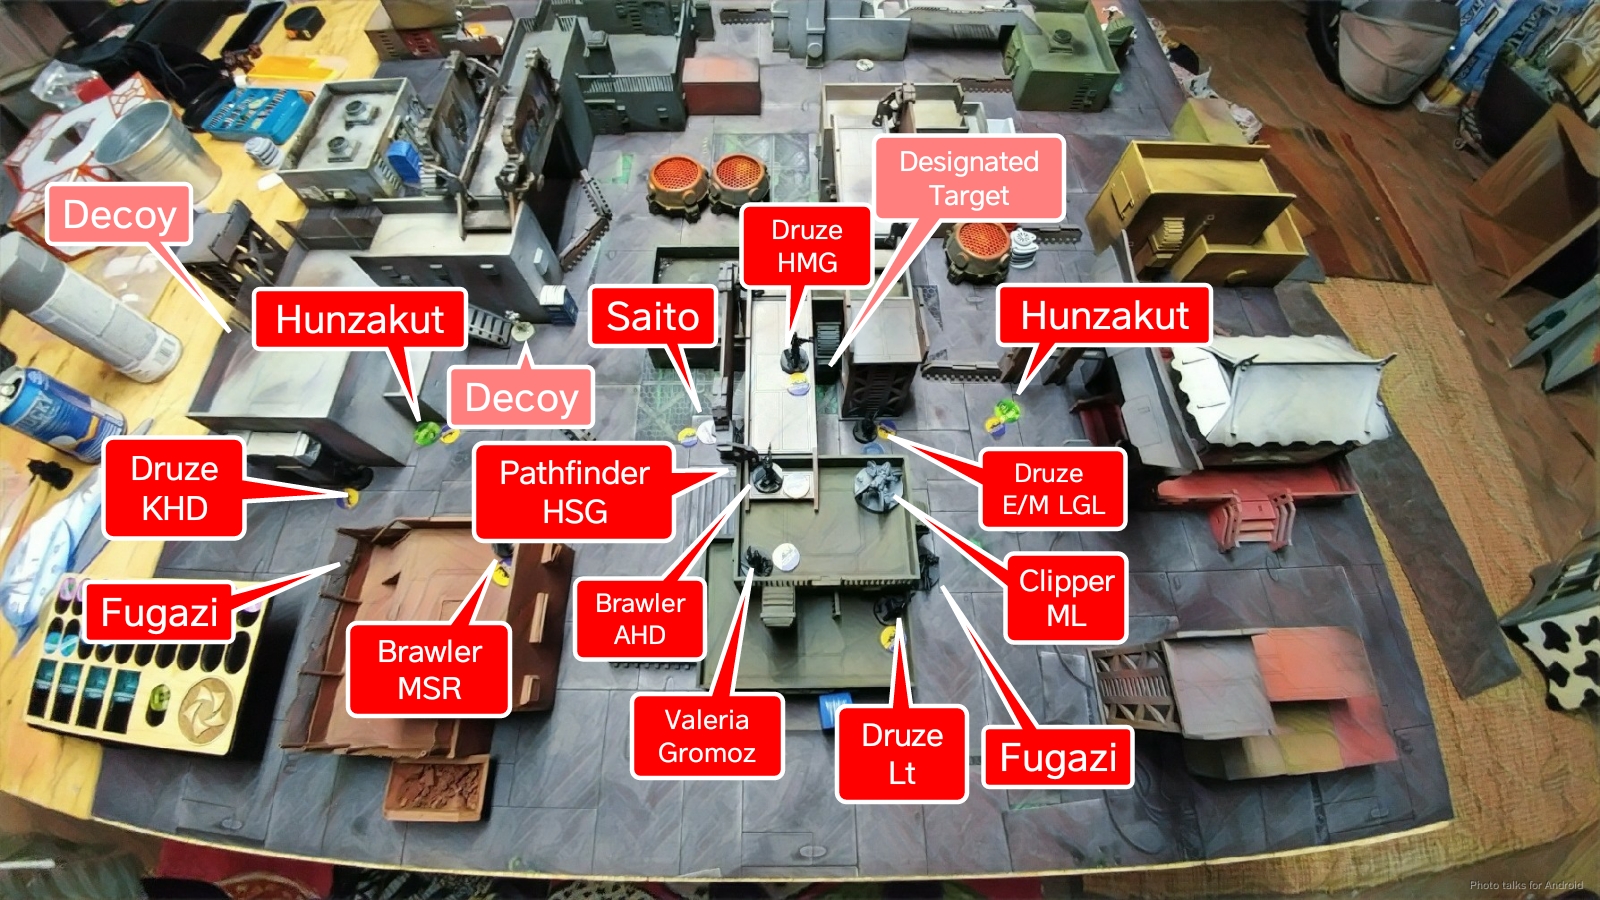 The E/M LGL was on the ground to protect it, but near a ladder that would easily get it up to the roof. Importantly, the Brawler MSR was on an adjacent building, and just barely in link coherency range. This is something that I didn’t really notice. The rest of his deployment was fairly standard. A Hunzakut and a Fugazi on either side of his deployment zone, with the Druze KHD on the left to be a backup specialist on that side. Adam’s three HVTs were deployed mostly towards the left, with the actual Designated Target under the protective umbrella of his link and a Pathfinder and its Auxbot.
My turn to deploy. Without thinking too much about the Brawler MSR, I put my two Tankos down directly in opposition to the link, with both able to see all the members of the link that were visible. Importantly, this meant that both could also see the Brawler MSR. I put Kuroshi Rider all by herself on the right, basically, figuring that the buildings there gave me the most likelihood of advancing her safely up the board towards the rightmost objective. I knew I’d have to plan my attack run for her very carefully–once she’s out in the open she’s dead for sure, so I needed to time it right. I screened her with a Ryuken-9 to prevent the Pathfinder’s stupid Auxbot from going after her, put Yojimbo in the middle to get smoke down in the middle should I need it, and then screened my left flank with another Ryuken-9.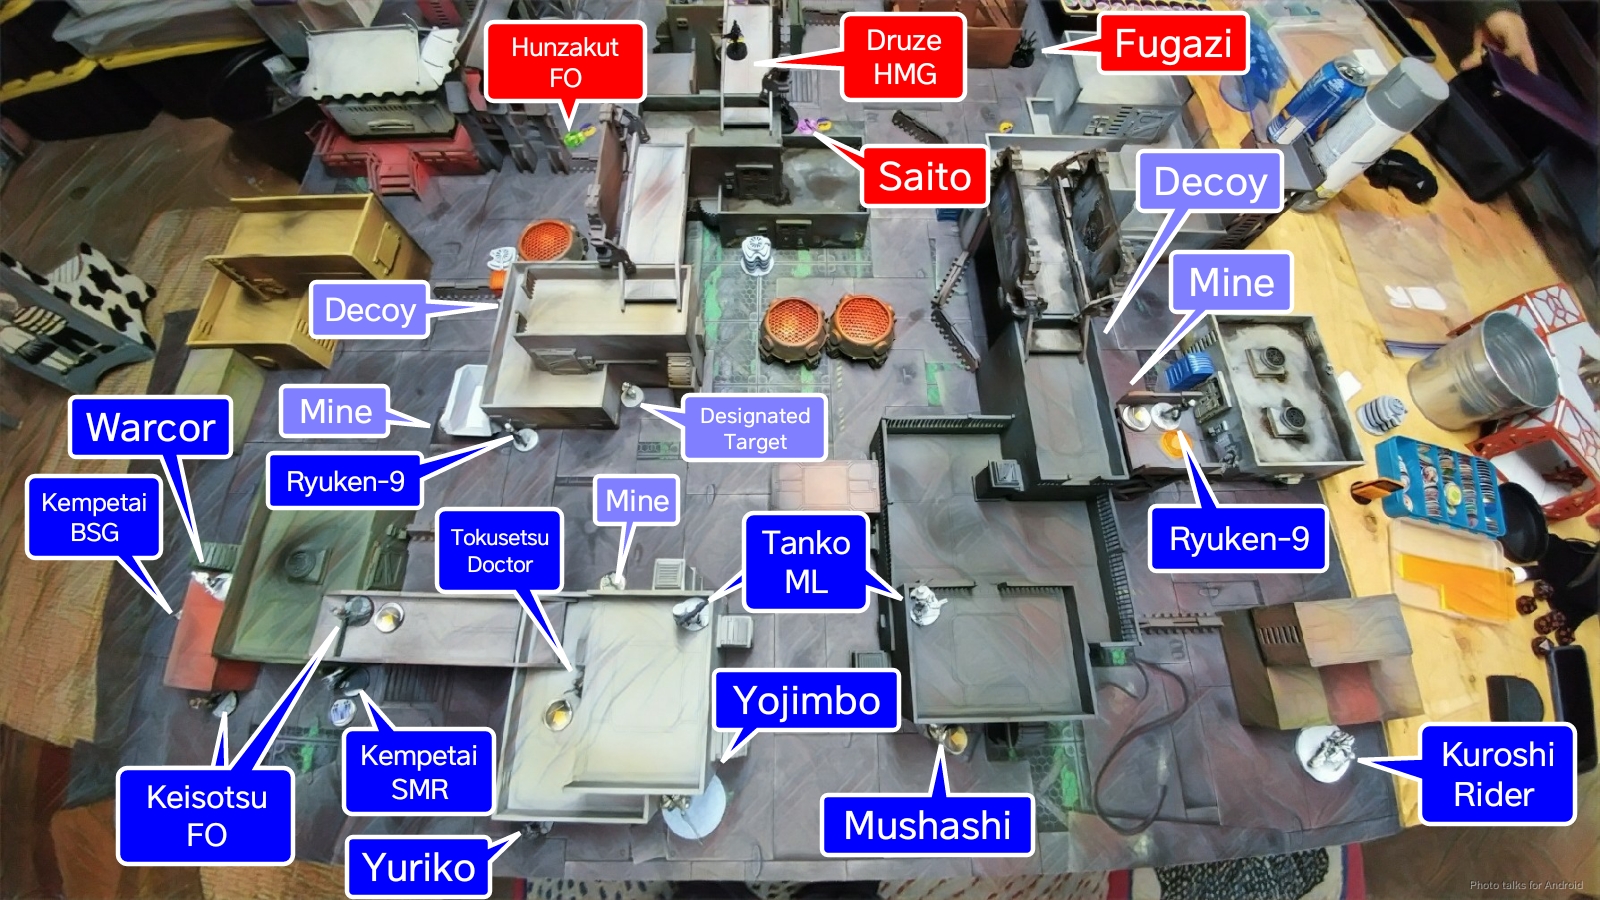 I put the Tokusetsu Doctor a short climb away from the left Tanko, and then stuck the Warcor watching the flank of Adam’s link to let Jill Newslady be a jerk and flash pulse everything. I put my three HVTs out under the watchful eye of the Ryuken’s mines, with the middle one under the cover of both Tankos. Then it was time to deploy my link, almost as an afterthought. I struggled for a bit with them, really unsure about where to put them, eventually deciding that I needed specialists on the left, since that was the farthest away from Kuroshi Rider. I knew that Adam had a Druze LGL on the table, so I spread them out as best I could and put Yuriko’s mine covering my Designated Target. I didn’t bother holding anything in reserve, so Adam got to place Saito near the Brawler MSR without a response from me.
One interesting thing about Unmasking as a seenario is the Exclusion Zone. Ordinarily, with three minelayers on the table, it would be pretty straightforward to screen the approach to each HVT with a mine. In other words, I’d be able to make you deal with a mine before you can draw LoF to my HVTs. Unfortunately, the Exclusion Zone forces the HVTs to be deployed farther out than any of my Minelayers can go, so it’s much easier to deploy mines to react to an attack on an HVT, to reduce the likelihood of a second attack if the dice go badly for my opponent the first time they shoot at the HVT. Both of us opted to have our HVTs pretty spread out–perhaps not in a direct line, but in terms of the movement required to into LoF, negotiating all the buildings.
It’s when we start nominating DataTrackers and forming links that I realize that I have a problem. I choose the Ryuken-9 on the right and Adam chooses his Druze E/M LGL as our DataTrackers. I was a little confused about the E/M LGL as the DataTracker at the time, since it’s E/M and Nimbus, but on further consideration that’s probably the best bet after all. My link’s easy, there’s only one legal one, but Adam forms a 3-man core with the Brawler MSR as the leader. Sigh. Whoops. It’s worth noting that the orange topped circular things are generator exhaust ports and generate infinitely tall Nimbus zones in their footprint.
Turn 1
Top of 1 – Druze
I take a look at Adam’s combat groups and take two orders from the second pool. The first pool activating isn’t really going to suck all that much more for me with two additional orders, but I’m more than happy entirely denying regular orders to Adam’s two Hunzakuts. Adam’s initially pleased, and then realizes that he can’t really use his Hunzakut at all this turn! After some kvetching, he gets on with it. My Tanko are making things difficult for Adam’s Druze on the roof, so he throws smoke with Saito in front of his Brawler MSV2 MSR. The second order of the game sees the Brawler KO one of my Tanko while the other fidgets uselessly on an adjacent rooftop. Adam tries to take out my other Tanko with the Brawler, but the Nimbus zone helps me out a little by reducing the Brawler’s burst.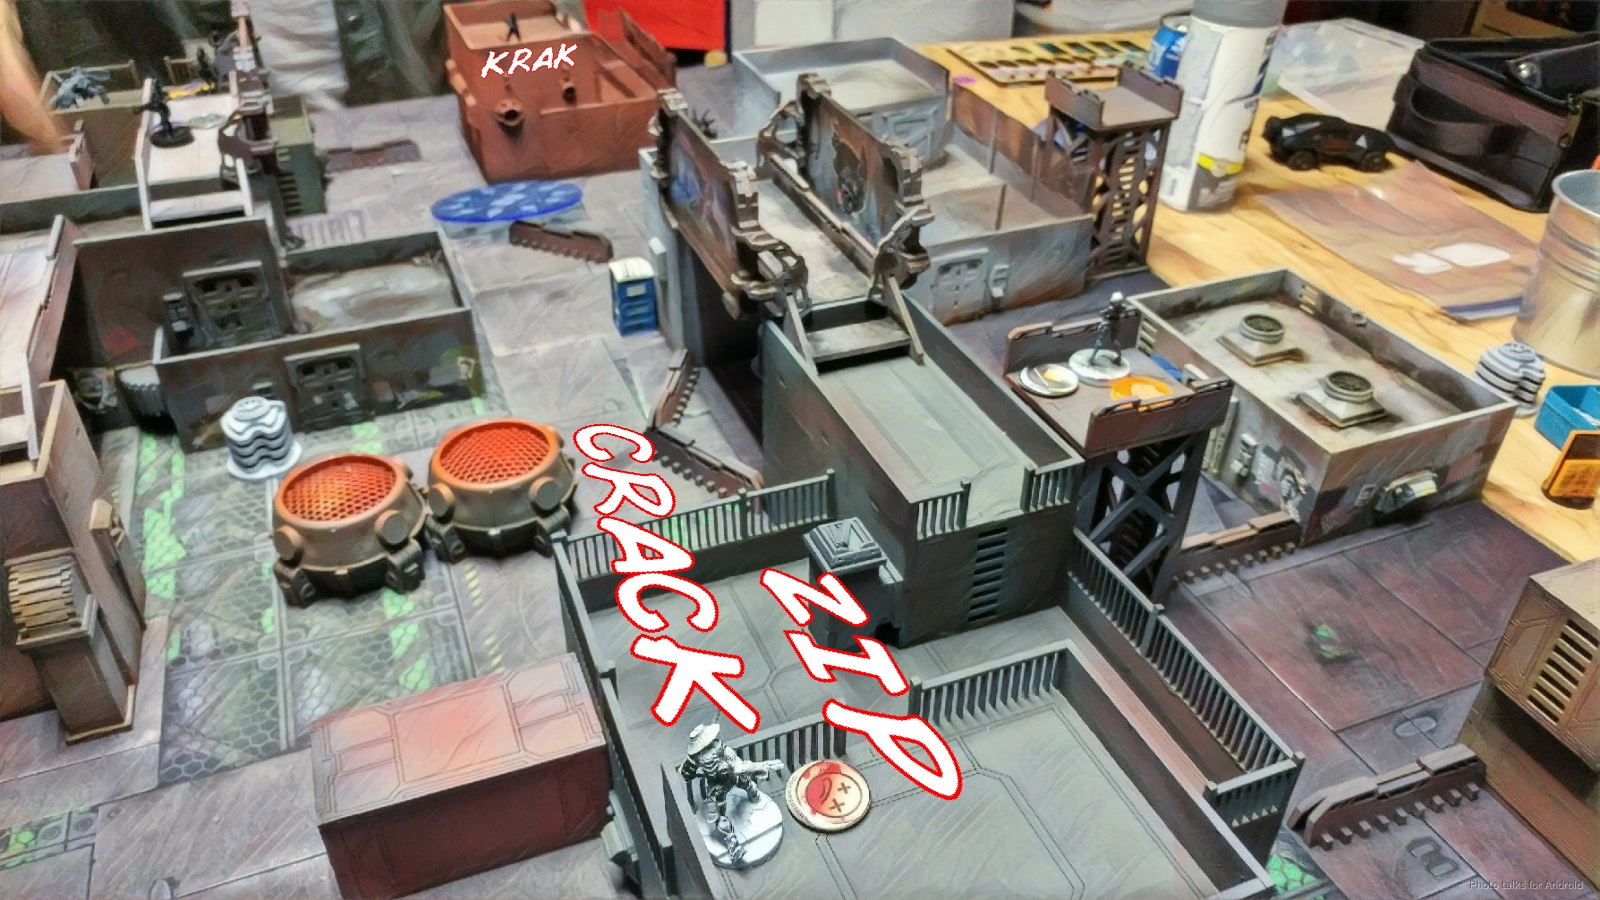 I think Adam gave it one more go, and then decided to just form the main link and gun down the Tanko with the Druze HMG the old fashioned way. Thanks to the table geometry and the Druze’s forward deployment L1, I’m within 24″ and lose the face to face, which knocks out the Tanko.
 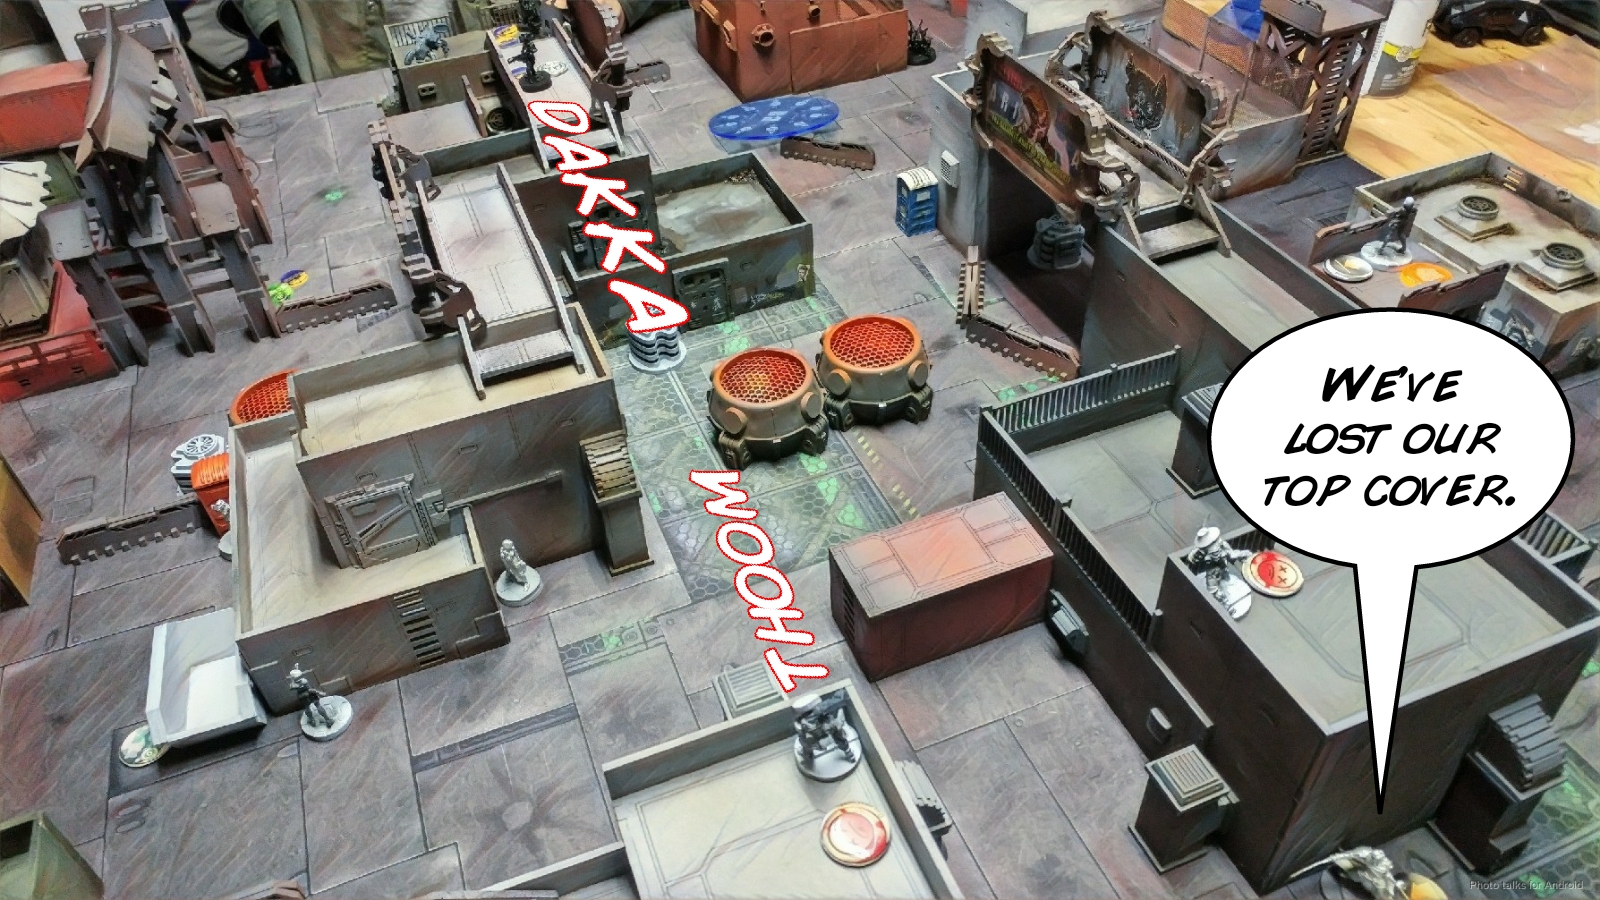 My scary ARO pieces are now gone, so Adam does the dirty Druze/StarCo trick and drops a E/M LGL on my link, catching my Kempetai BSG and one of my Keisotsu FO’s. I pass the FO’s BTS save but the Kempetai is isolated.
 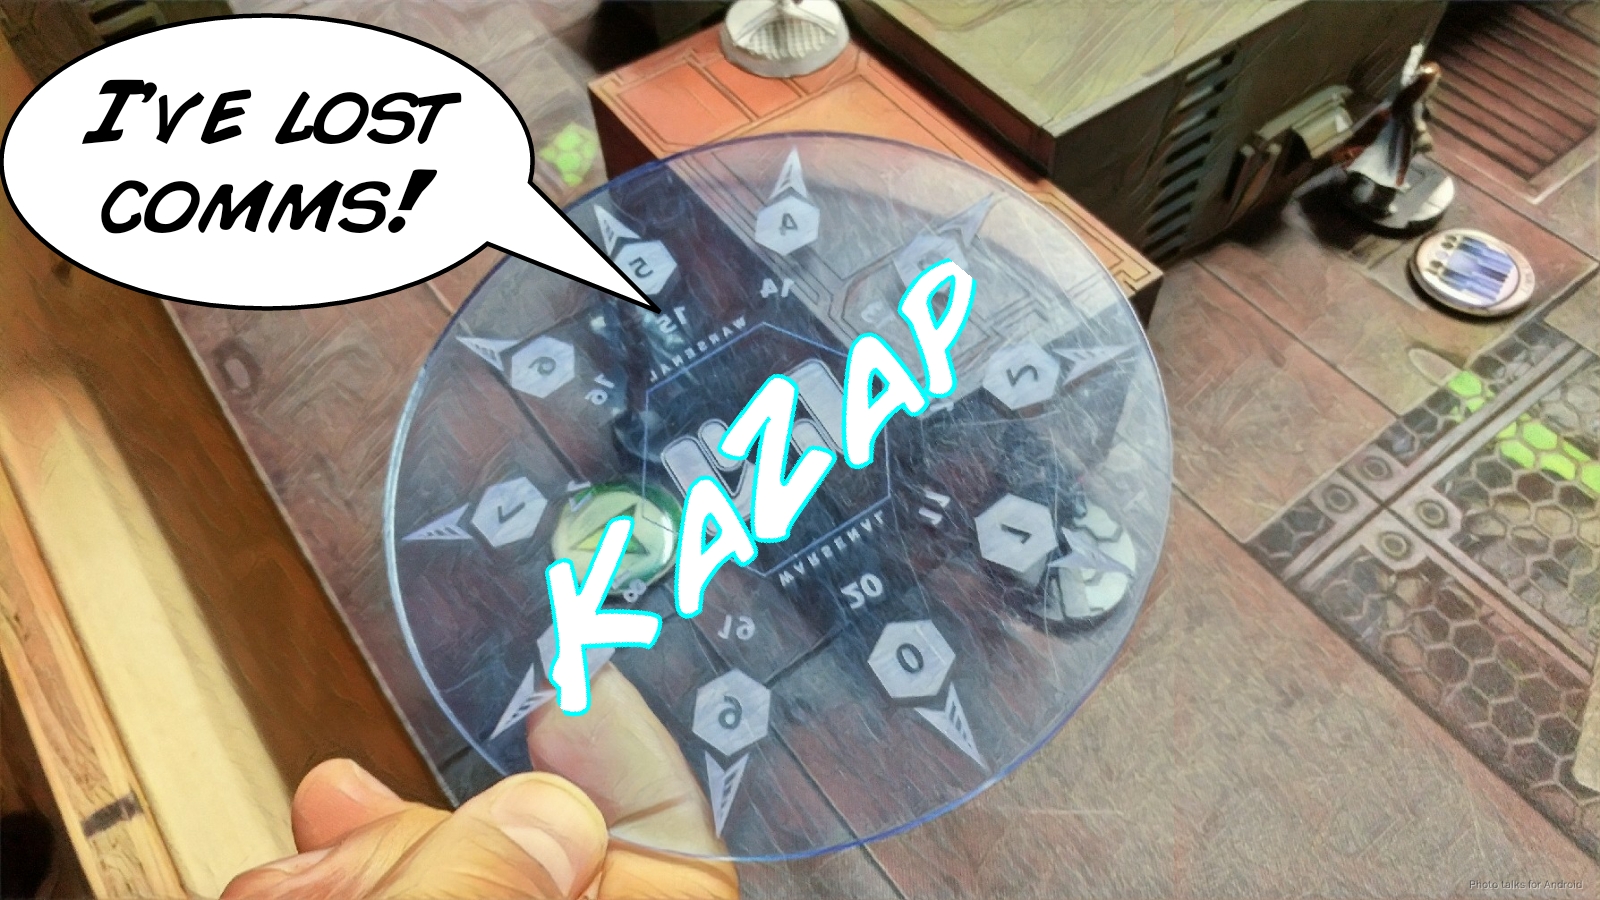 Adam then starts shuffling his Hunzakut around with their irregular orders. The one on my right is out of LoF of anything, so this goes well, but the one on the left is discovered by my plucky Warcor, Jill Newslady.
  Adam’s down to his last two orders, which he spends settling his link into an advanced position. I mention that I’ve got a Warcor ARO on his HMG and he attempts to take out Jill Newslady. Plucky as ever, she flash pulses the Druze.
  With the HMG flailing about blind, Adam decides to just get the link into some semblance of an orderly defensive formation, with the clipper out on ARO duty. Of course, these guys are pretty close to one another, so I make a mental note to try and get my Tanko up if I can to exploit this.
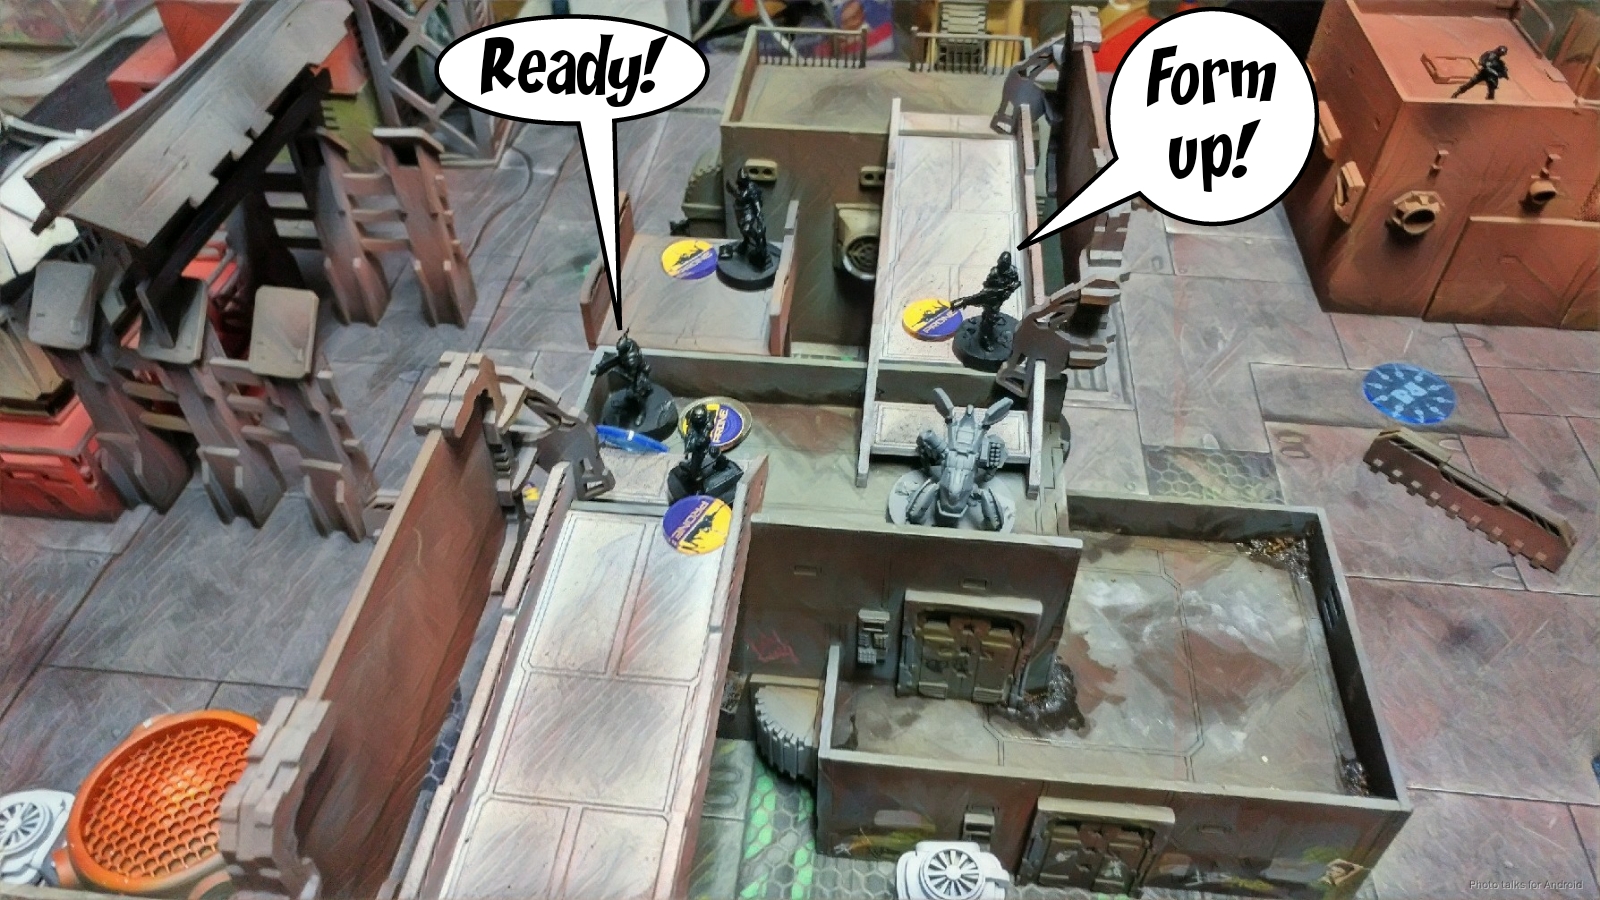
Bottom of 1 – JSA
I’m not stupid enough to shove Yojimbo out into the open against a linked missile and a Brawler MSR, so I cancel his impetuous with Mushashi’s regular order. Kuroshi Rider, on the other hand, has a clear path forward so I take the free movement. With my impetuous orders done, I start trying to take out Adam’s link using my Ryuken-9 on the right. Due to my elevated position, I have a clear shot at Adam’s E/M LGL Druze through a Nimbus zone within 24″. It isn’t a great chance of success for either of us–38.22% for me to KO the Druze and 22.01% for the Druze to dodge. I manage to hit the Druze with a single AP round, but Adam passes ARM and the Druze fails guts to safety. 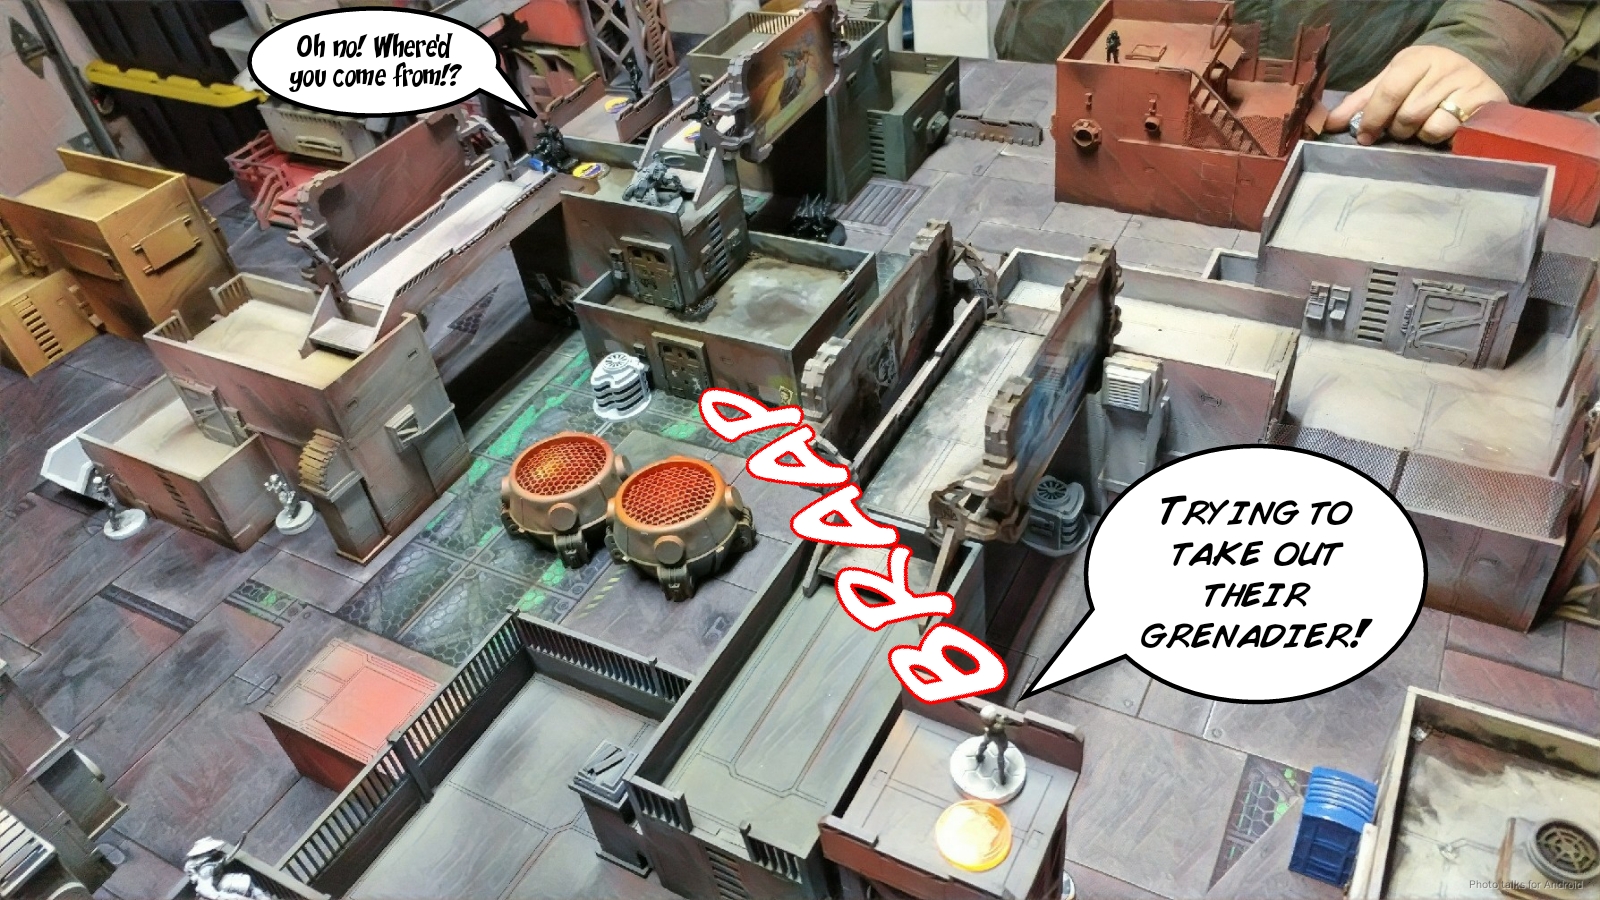 This lets me have a go at the Clipper, but that doesn’t go well either. I sink two orders into it, with no results on either side. I decide to develop my board position and cover my link’s movement with some spec-fired smoke from Yojimbo’s smoke LGL.
  The buildings block LoF to the Brawler MSR, and I’m delighted to find that I’m just barely 24″ away from the Brawler with my Kempetai shock marksman rifle. We roll off on flat BS and Adam declares that he’s got a 10! Deflated, I pick up my dice cup, fully expecting to have to roll ARM, only to discover a single crit! Huzzah!
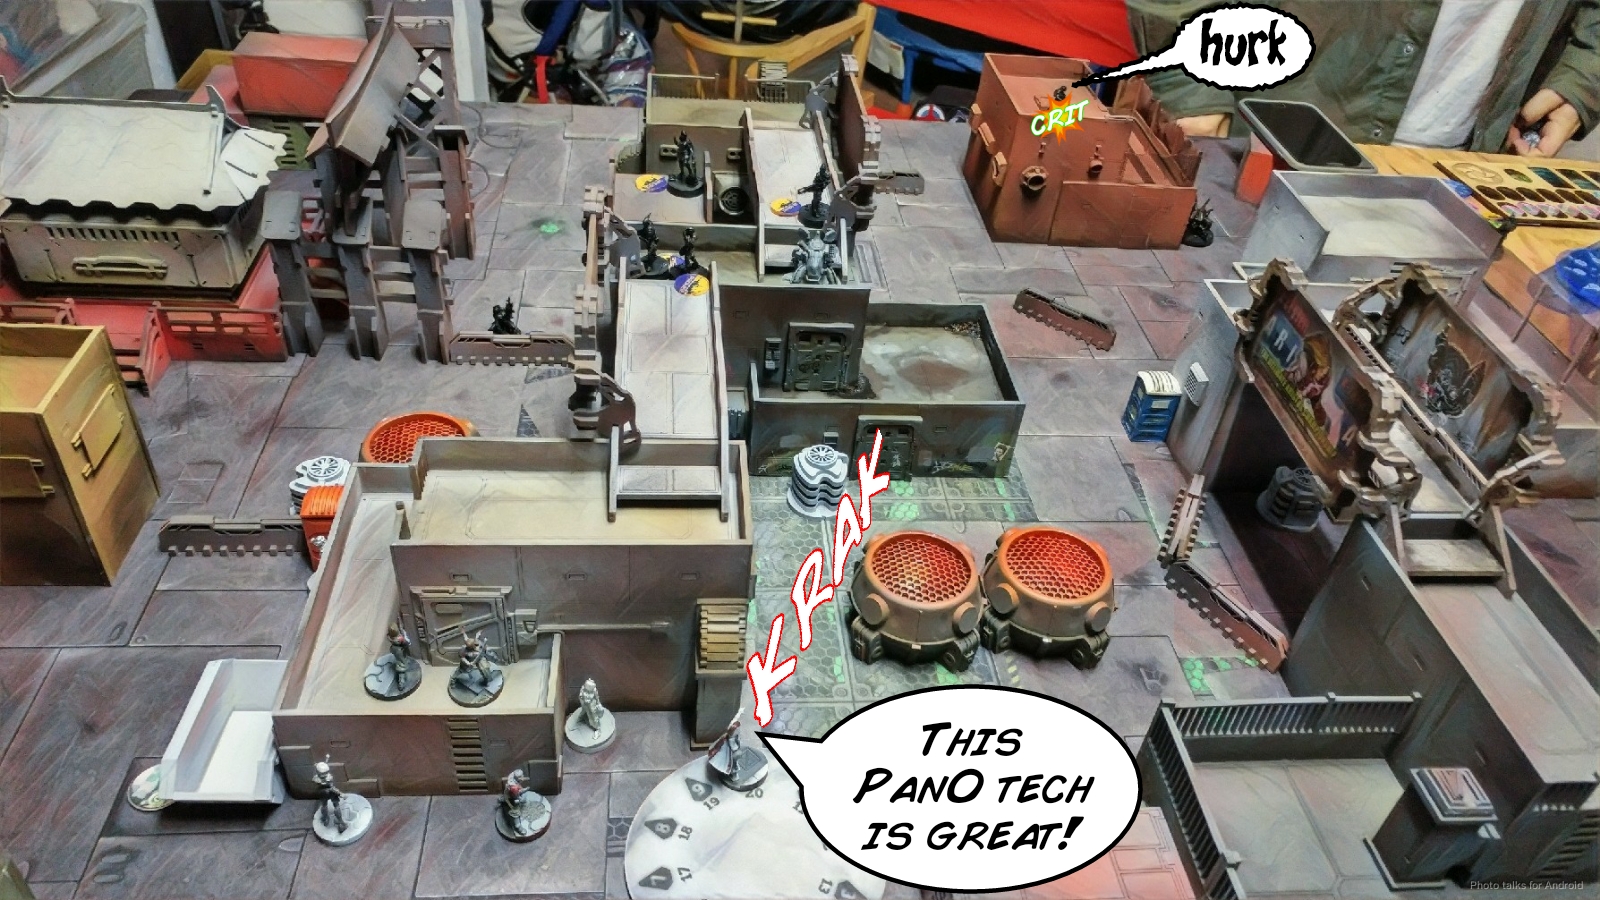 Buoyed by my success, I have a go at the Clipper. Adam cleverly chooses hit mode to avoid covering my as-yet-undiscovered HVT and canceling his shots. Of course, this time I roll four misses and Adam rolls two hits, obliterating my poor Kempetai.
 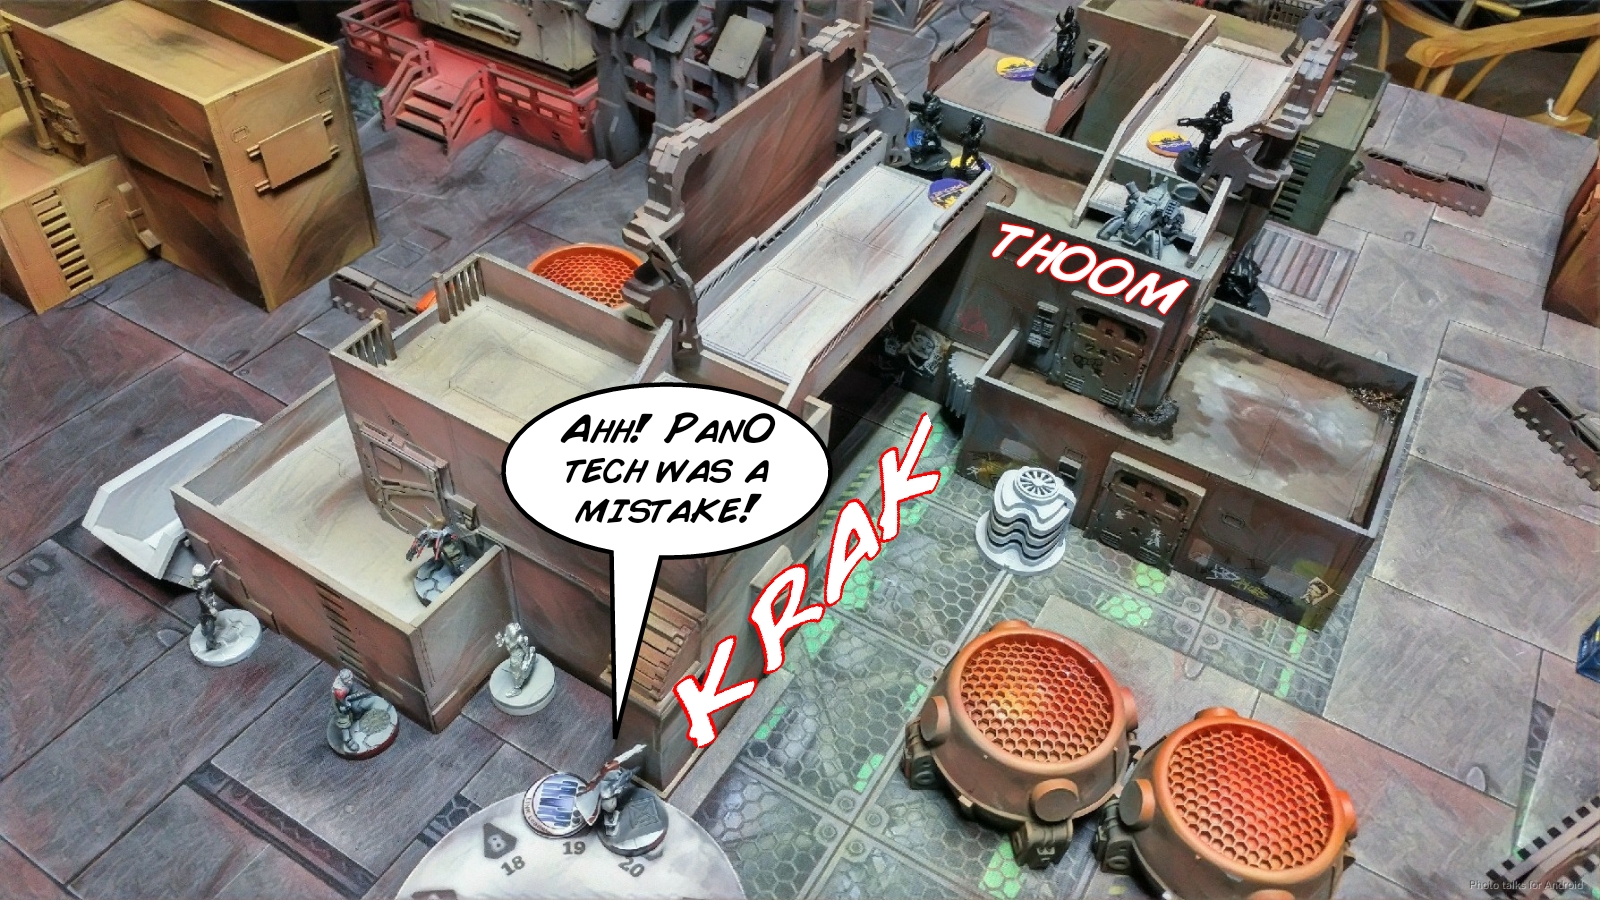 I made a point of advancing all the members of the link though, so they’re in reasonable positions. I even push the isolated Kempetai BSG forwards with his order, trying to get him in range of Yuriko for engineering later. With my last few orders, I pick up the Tanko ML with my Doctor. Sadly, I don’t have enough orders in the second pool to stand him back up, but that’s just as well. I want to preserve my order pool. I then throw both Ryuken and both Keisotsu FOs into suppression.
  It’s only after Adam starts counting his orders that we realize that my right Ryuken-9 was in view of his Clipper when I declared suppression. Thankfully ODD and Nimbus help a lot, and Adam whiffs his single missile shot. Phew! Too early to celebrate though. My position is not all that great. I’ve got a Ryuken-9 in suppression through a Nimbus Zone, which is pretty rubbish for everyone, but at least I’m forcing a -12 to BS if Adam tries to shoot it the old fashioned way. I’m also doing a reasonable job of guarding my Designated Target. I’m really not all that concerned about Adam getting the kill with his DataTracker at this point–he has to get a Hunzakut into position to push the button to reveal the exact right one, somehow contend with the Ryuken in an efficient way, and then get his Druze LGL into position without bunching up his link for my Tanko to punish later.
I’ll admit that I got a bit defeatist at this point, but I resolved to fight to the bitter end. I spent most of my first turn developing my link’s position and trying to degrade Adam’s link, with basically no results. I had at least removed the Brawler MSR, which meant I would at least be able to advance Yojimbo on a subsequent turn under the “protection” of F2F smoke. I was also a little annoyed with myself at having no way to pick the other Tanko up, which would’ve been the perfect way to deal with Adam’s link on Turn 3–two Tankos up and ready to go. In any case, I settled for having a bunch of stuff in suppression with some mine coverage.
Turn 2
Top of 2 – Druze
After thanking me for making a Hunzakut-sized hole in his first order pool by shocking his Brawler MSR off the table, he swaps the left Hunzakut into the primary pool. Adam doesn’t want to contend with my Ryuken-9 the traditional way, and instead uses his Pathfinder’s Auxbot to deal with it. This exact thing happened last time, but I didn’t really have an opportunity to protect the approach to the Ryuken with anything worthwhile. I need to think more about that in the future. In any case, I dodge unsuccessfully, losing ODD, but pass ARM and go prone. The Ryuken’s mine and one of the Keisotsu in suppression stop the Auxbot’s rampage. At least the whole situation cost Adam a few orders of mucking about with positioning trying to avoid an early ARO on the way in.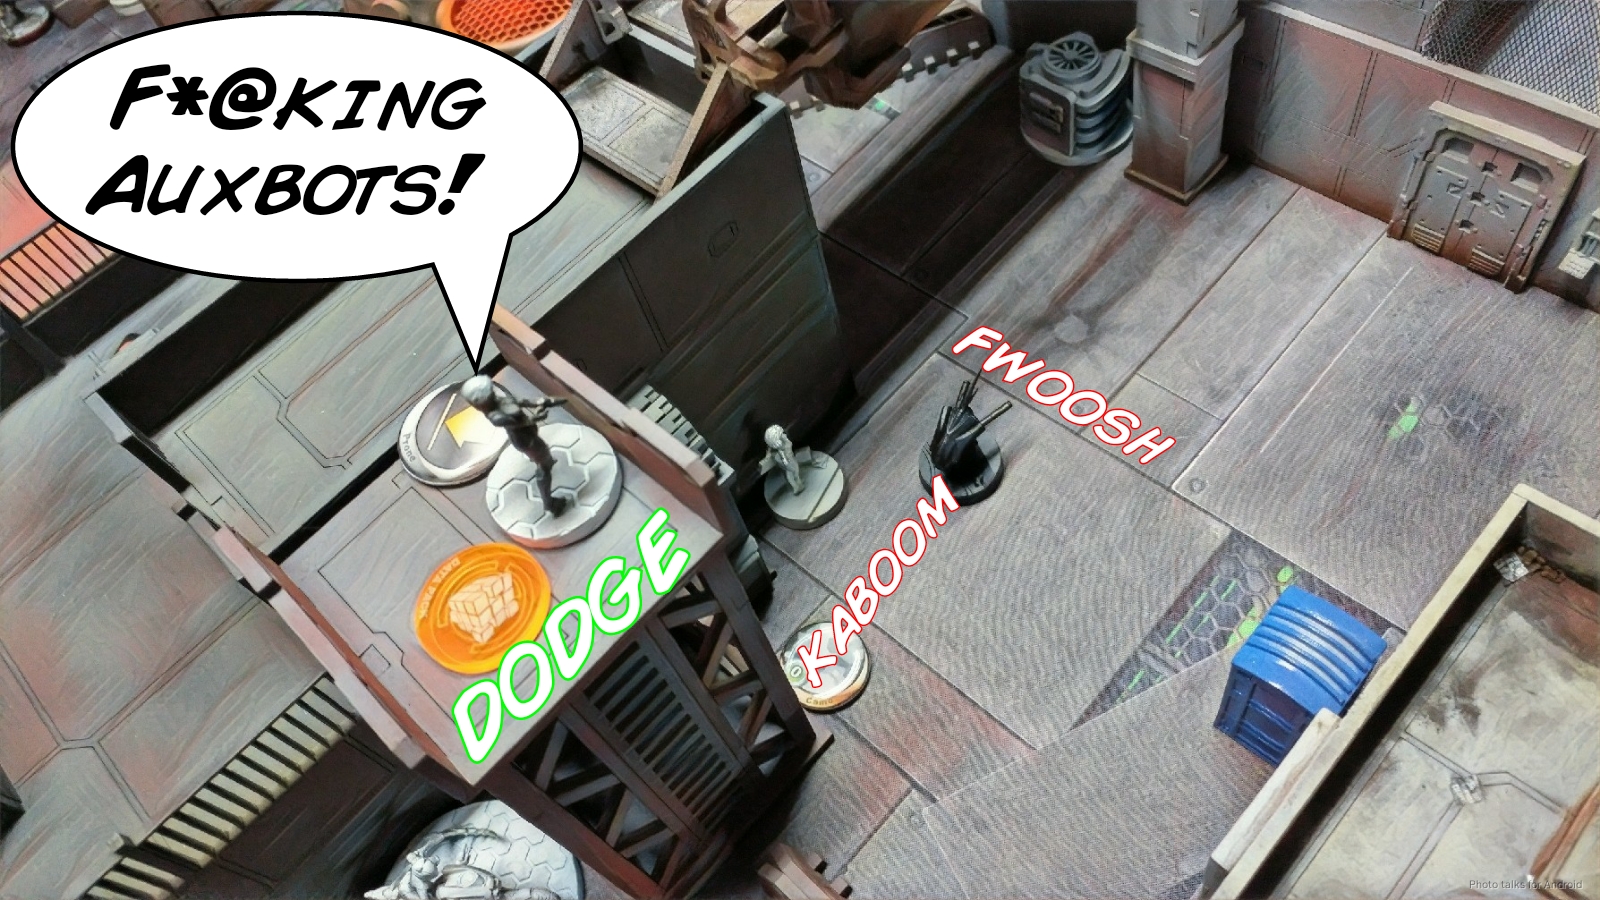 The Hunzakut on the right activates the central console, revealing the Decoy on my left before recamoing. The Huzakut on my left recamos and then makes its way towards the left objective, only to be re-discovered by Jill Newslady the warcor. Haha, she’s really doing a great job!
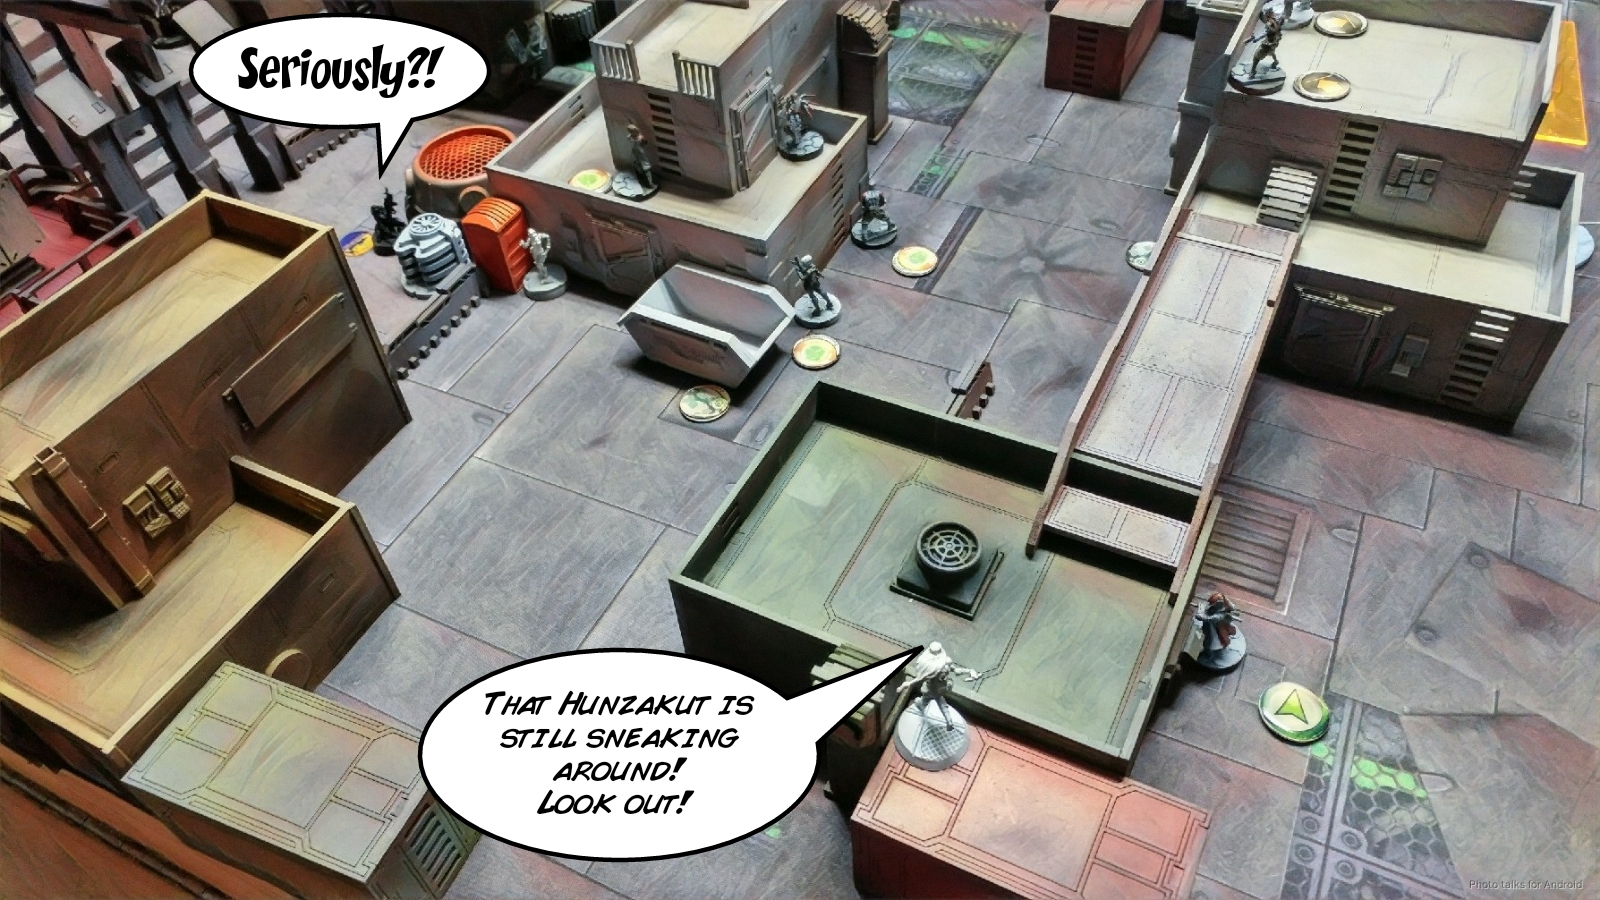 Of course this doesn’t really matter because the Hunzakut is now prone and safe. Adam activates the console and reveals the Decoy on my right near the Auxbot. Now both Decoys are revealed. Adam doesn’t want to sacrifice his Hunzakut just yet to the mine and my Keisotsu in suppression, so he goes after the Decoy on the right near the Auxbot.
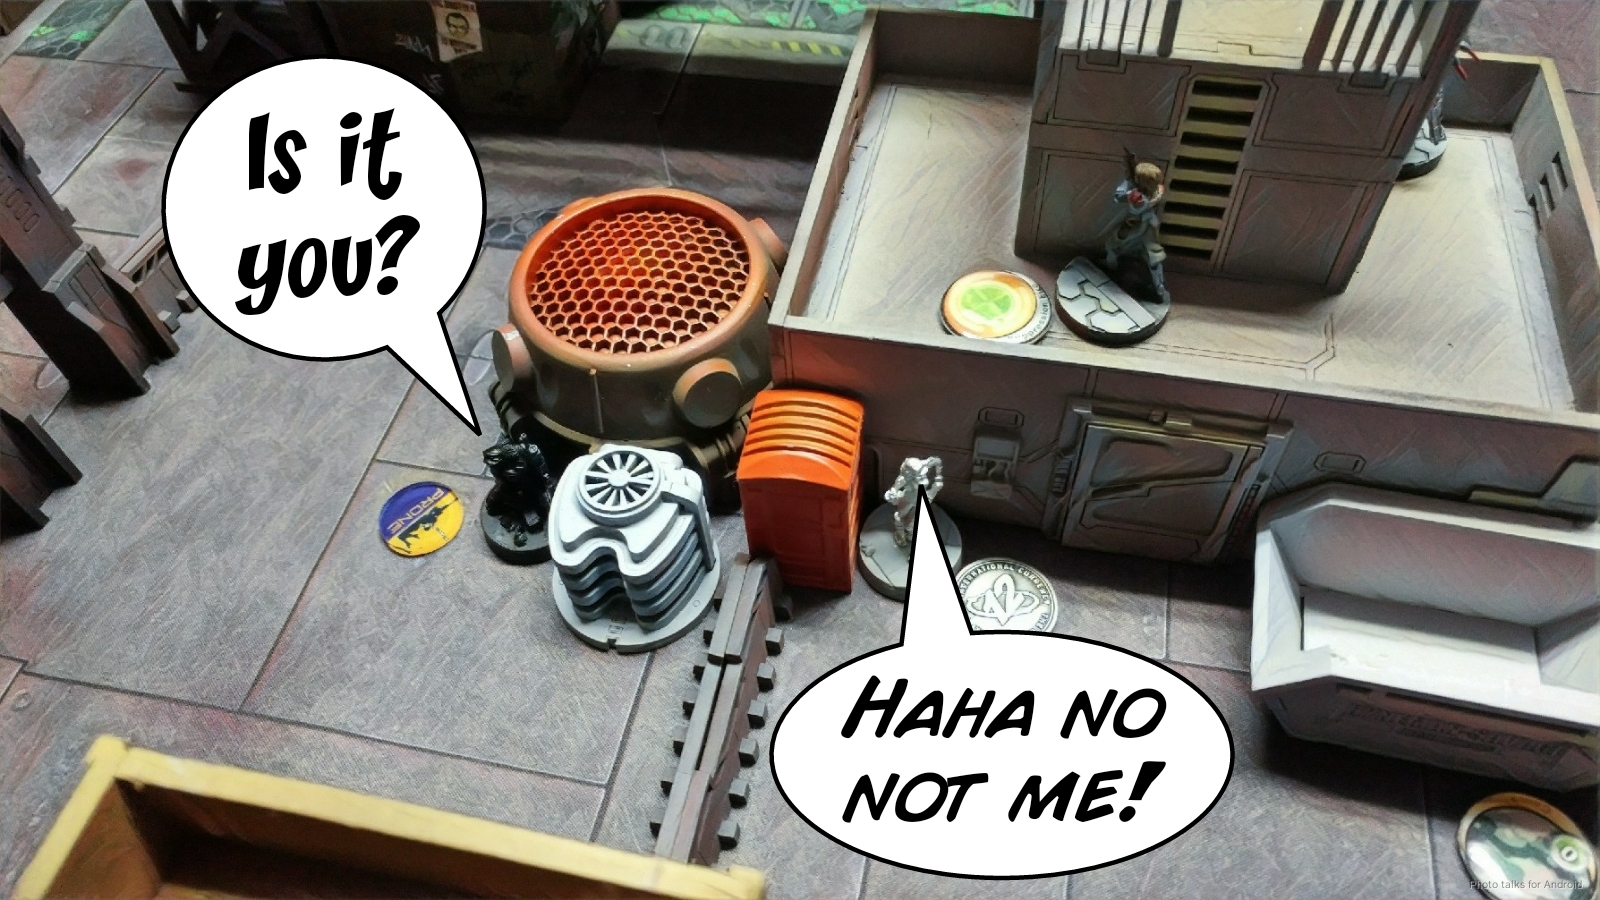 Since the Pathfinder was already there, it just rolls up and pastes my poor Decoy.
 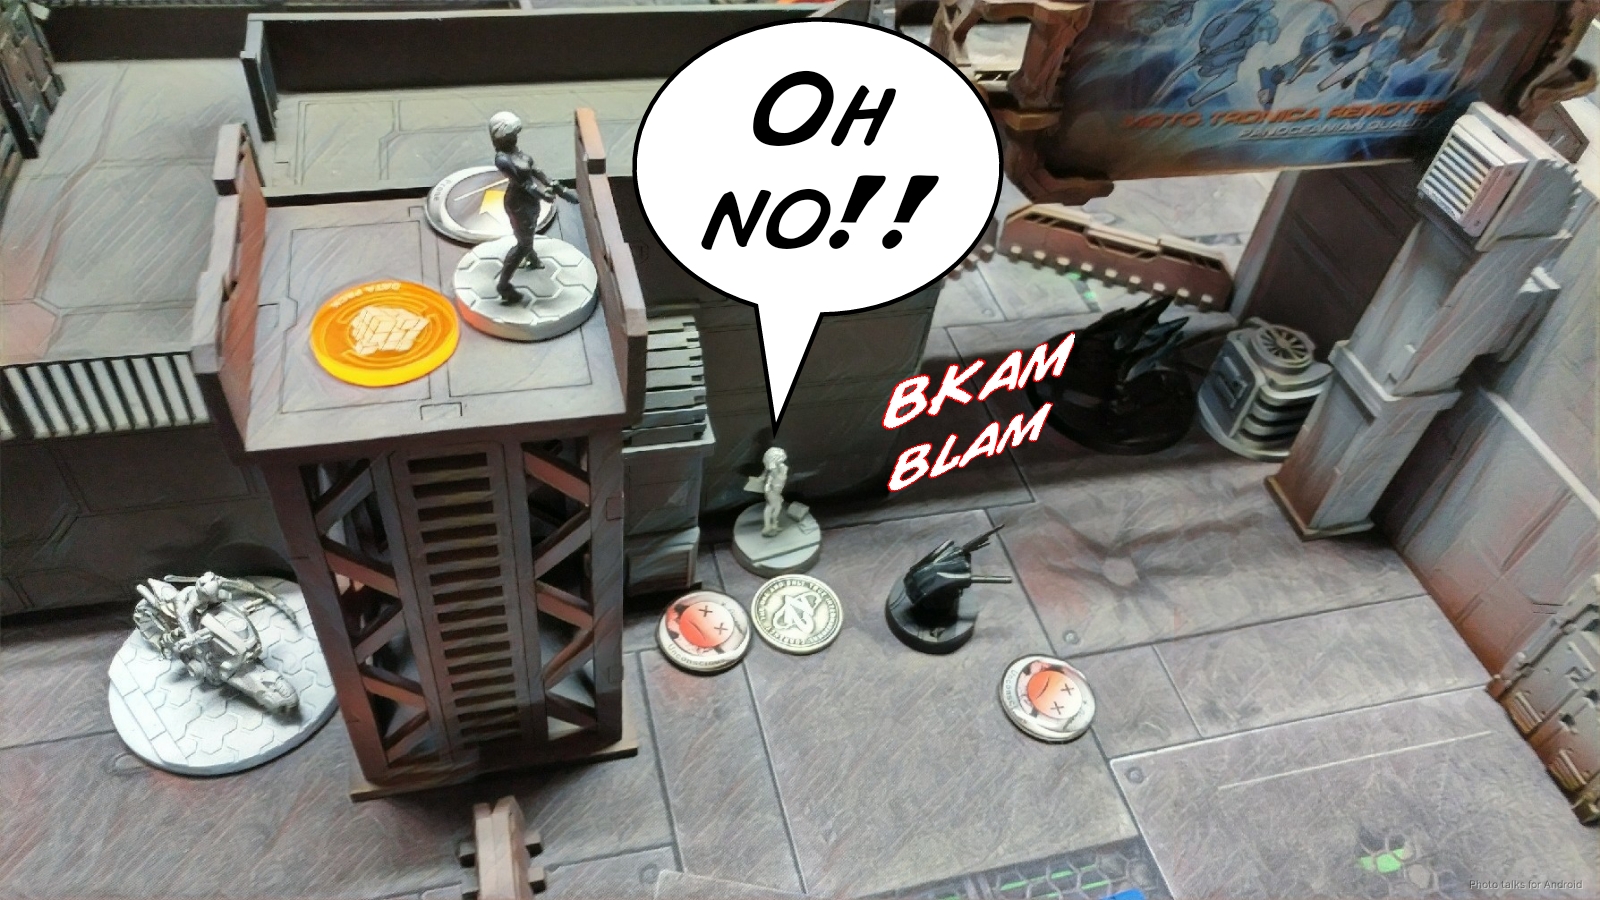 Without much else to do at this point, Adam just throws his last few orders into firing E/M grenades at stuff. He lands one on the Ryuken-9 and Keisotsu FO on the left. The Keisotsu is isolated but my Ryuken-9’s BTS saves her.
 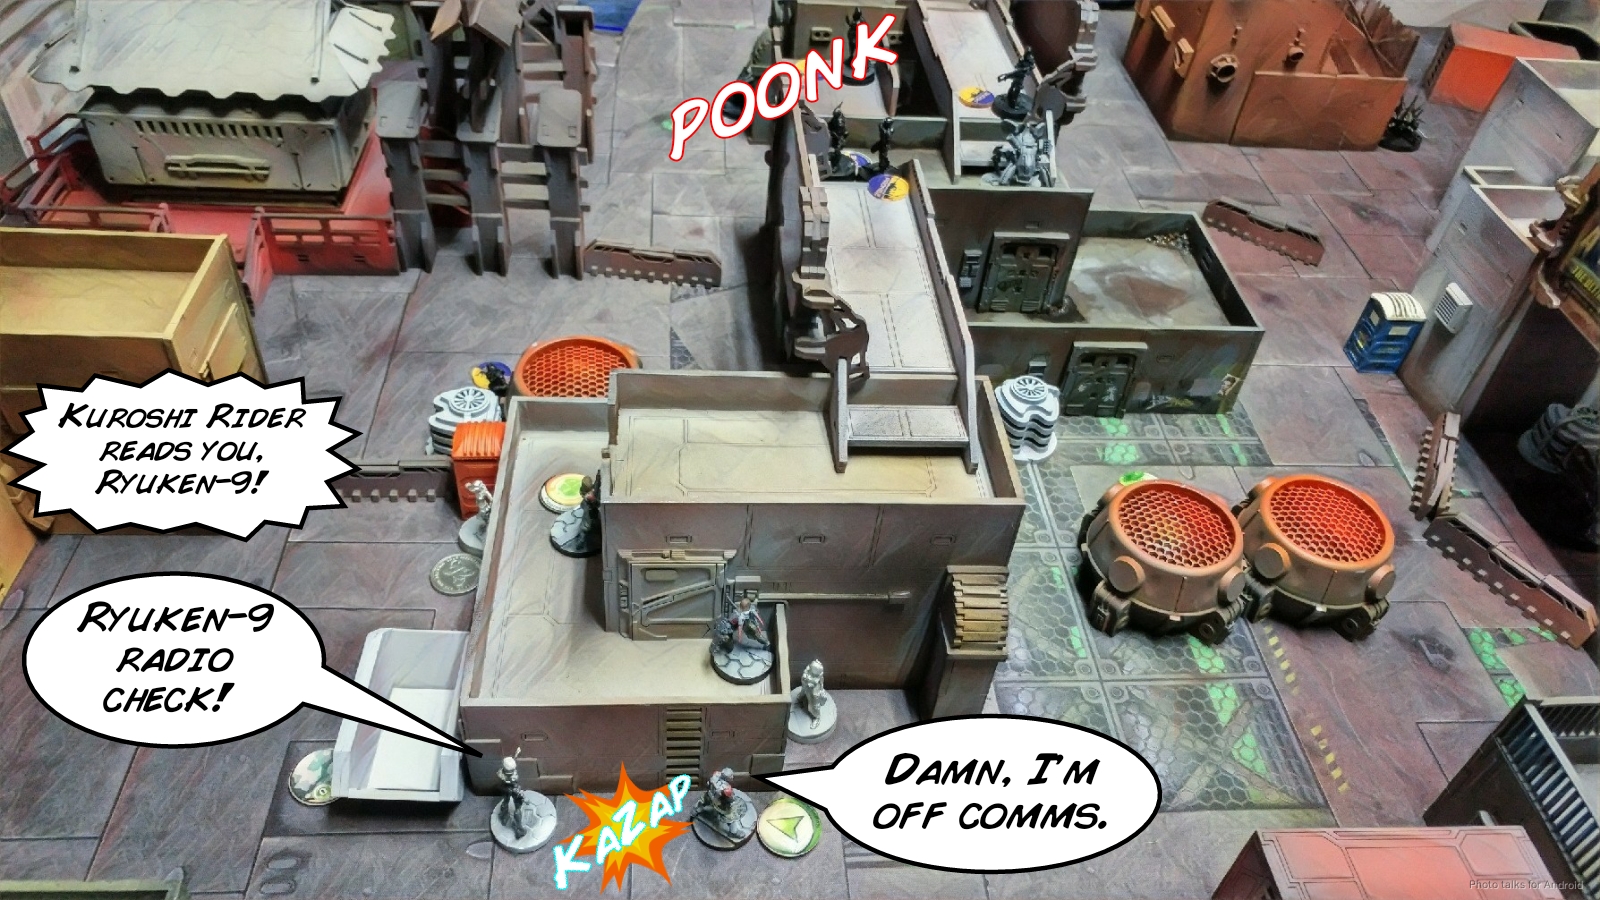 Adam tries to hit my Tanko with the E/M LGL but fails. Rather than risk another failed shot, he shuffles his link around, spreading them out to avoid me being able to catch them all under a missile template from the now-alive Tanko.
Bottom of 2 – JSA
This is decidedly a bad position. I’m losing orders to the E/M LGL, which has become a huge nuisance. I’d almost prefer that I lose the actual trooper, because it feels less frustrating that having an otherwise useless order on the table. In any case, now is not the time for conservative play where I don’t take risks. I simply don’t have the orders. Yojimbo rockets forward, throwing smoke against the Clipper and the Druze HMG. Thankfully, only one HMG round beats my smoke throw, so Yojimbo goes into NWI.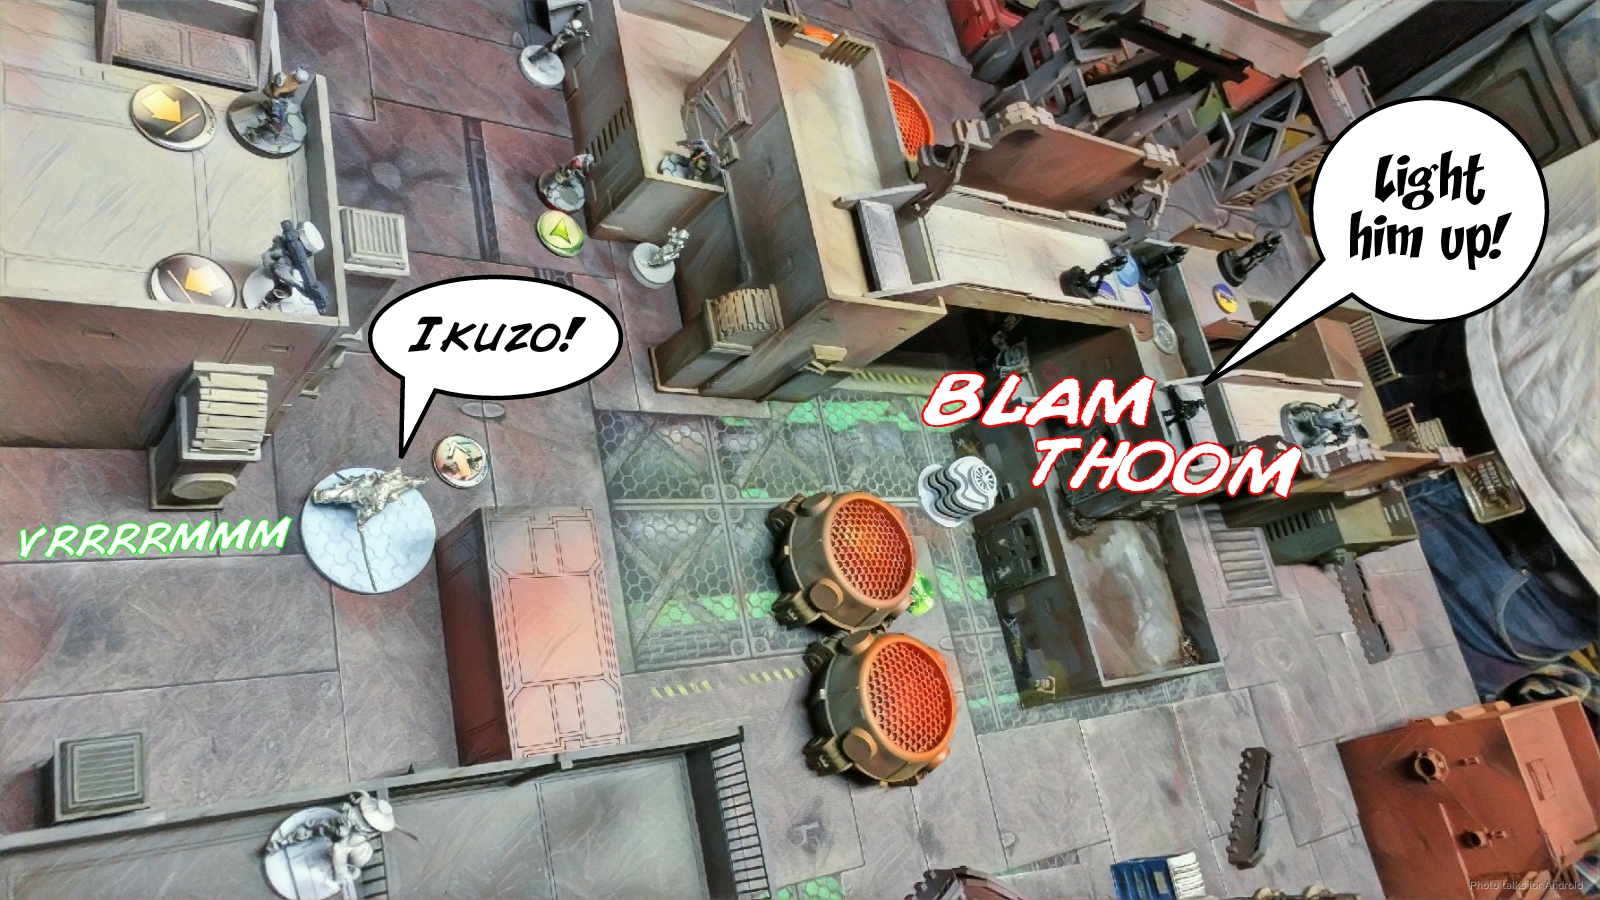 I don’t want to contend with the Peacemaker just yet, so I cancel Kuroshi Rider’s order. I sink a few orders into moving my left Ryuken-9 onto the roof and start punishing Adam’s advanced link with SMG fire. It takes two orders, but the Druze HMG finally goes down. The Clipper is next to go, and thankfully this only takes one order.
 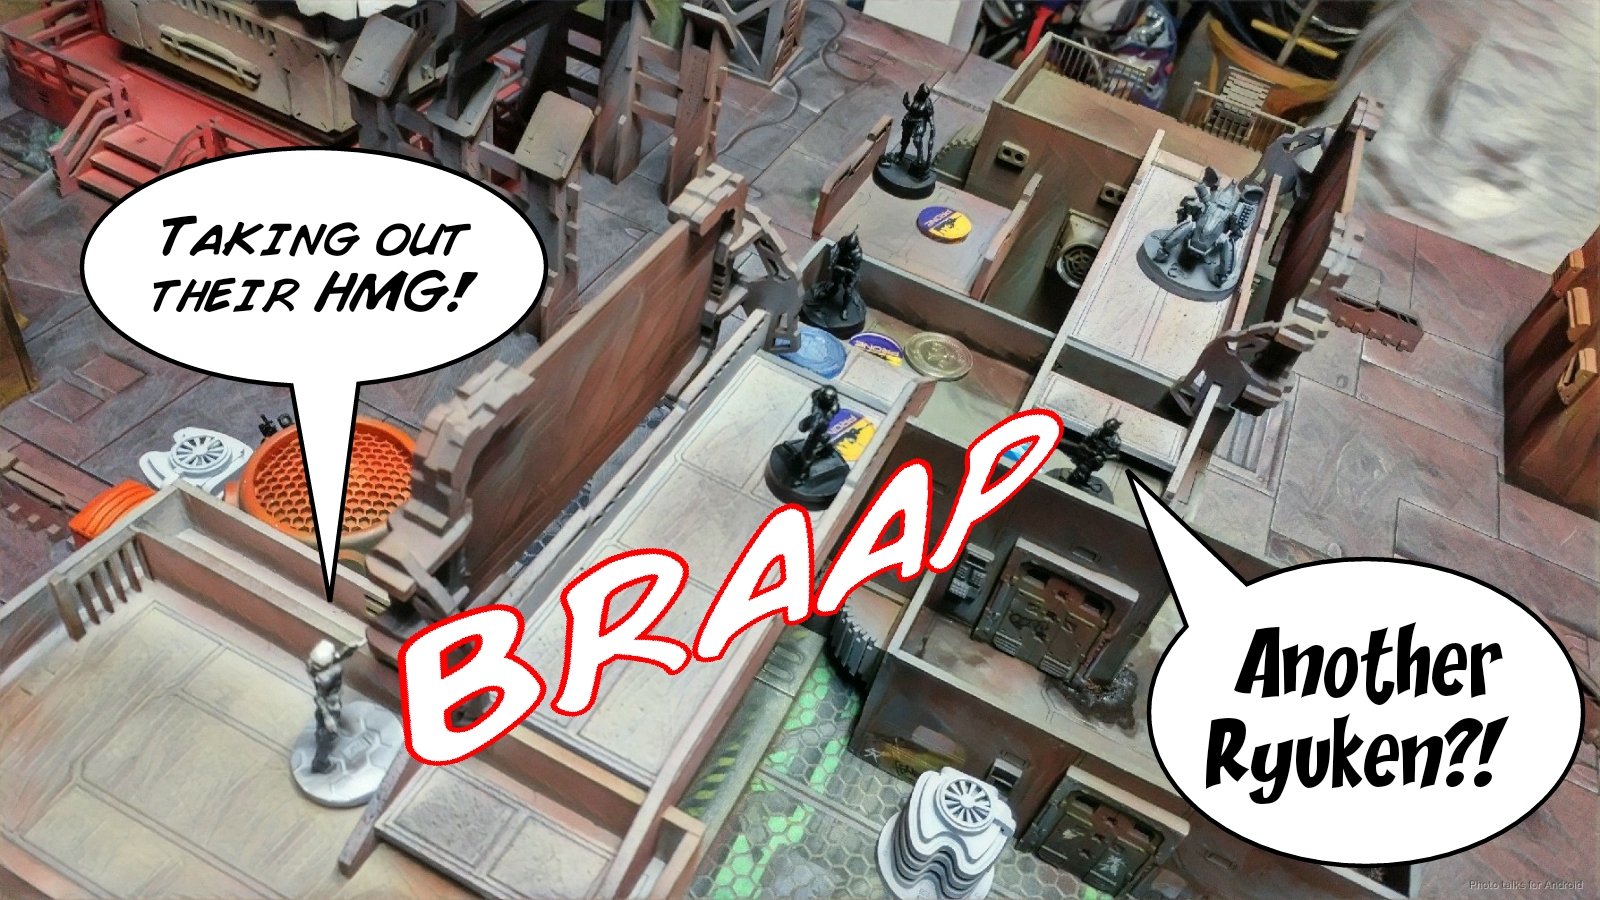 With the scary AROs gone, I stand up the Tanko and start taking shots at Adam’s Brawler AHD, who is prone on the roof. I fail the first shot and Adam dodges the Brawler back. This is mistake, because it lets me cover the Brawler and the Druze E/M LGL with a template! I excitedly roll again, but roll a 17 against Adam’s failed dodges. At this point, Adam notices that his Peacemaker would’ve had an ARO to this. It’s a friendly game and we’re both pretty tired, so I let him have his ARO, which he thankfully fails due to the Nimbus zone. This does remind me of the Peacemaker’s existence though, so I roll Yojimbo up and nanopulsar it unconscious, tanking the shotgun with an ARM roll of 18. So far so good!
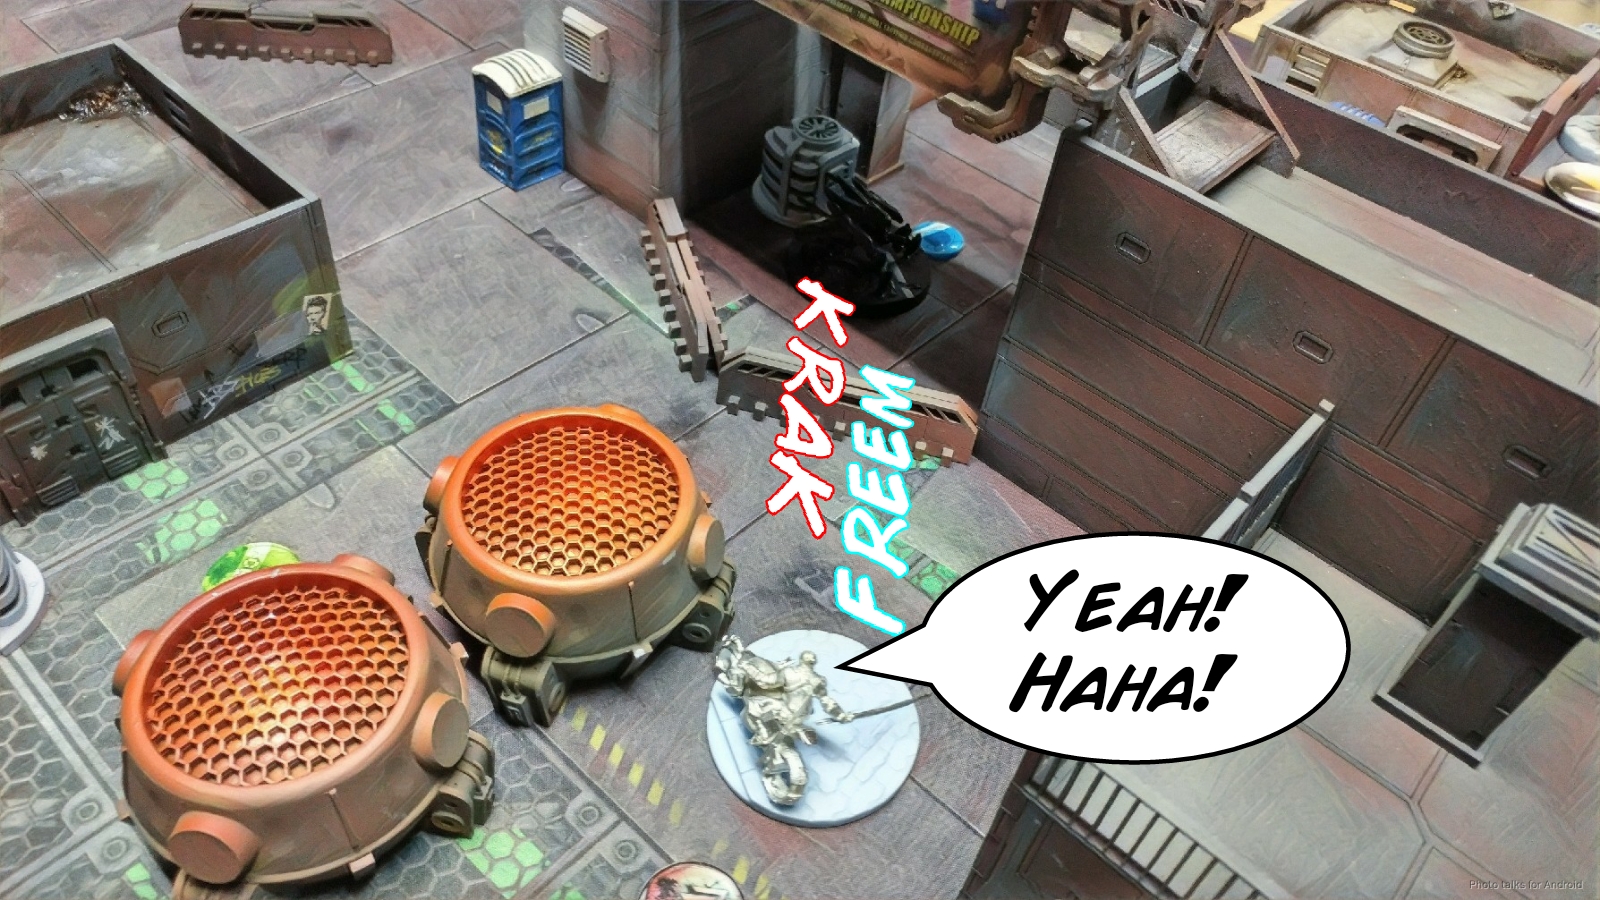 I’ve got one regular order left, which I use to attempt to assassinate the Druze LGL with my Ryuken on the left. Adam responds with the Brawler’s SMG and the Druze’s viral pistol (Valerya is on the ladder and out of LoF, that’s the model lying down behind the Brawler and Druze). A whole lot of nothing happens as I retreat back into total cover. The Druze and the Brawler whiff, and my single shot that makes it through is tanked by the Druze.
 I’ve got Kuroshi’s lieutenant order left, which I use to attempt to discover Adam’s Hunzakut in the middle, but I fail before retreating Kuroshi out of LoF with his stupidly fast speed.
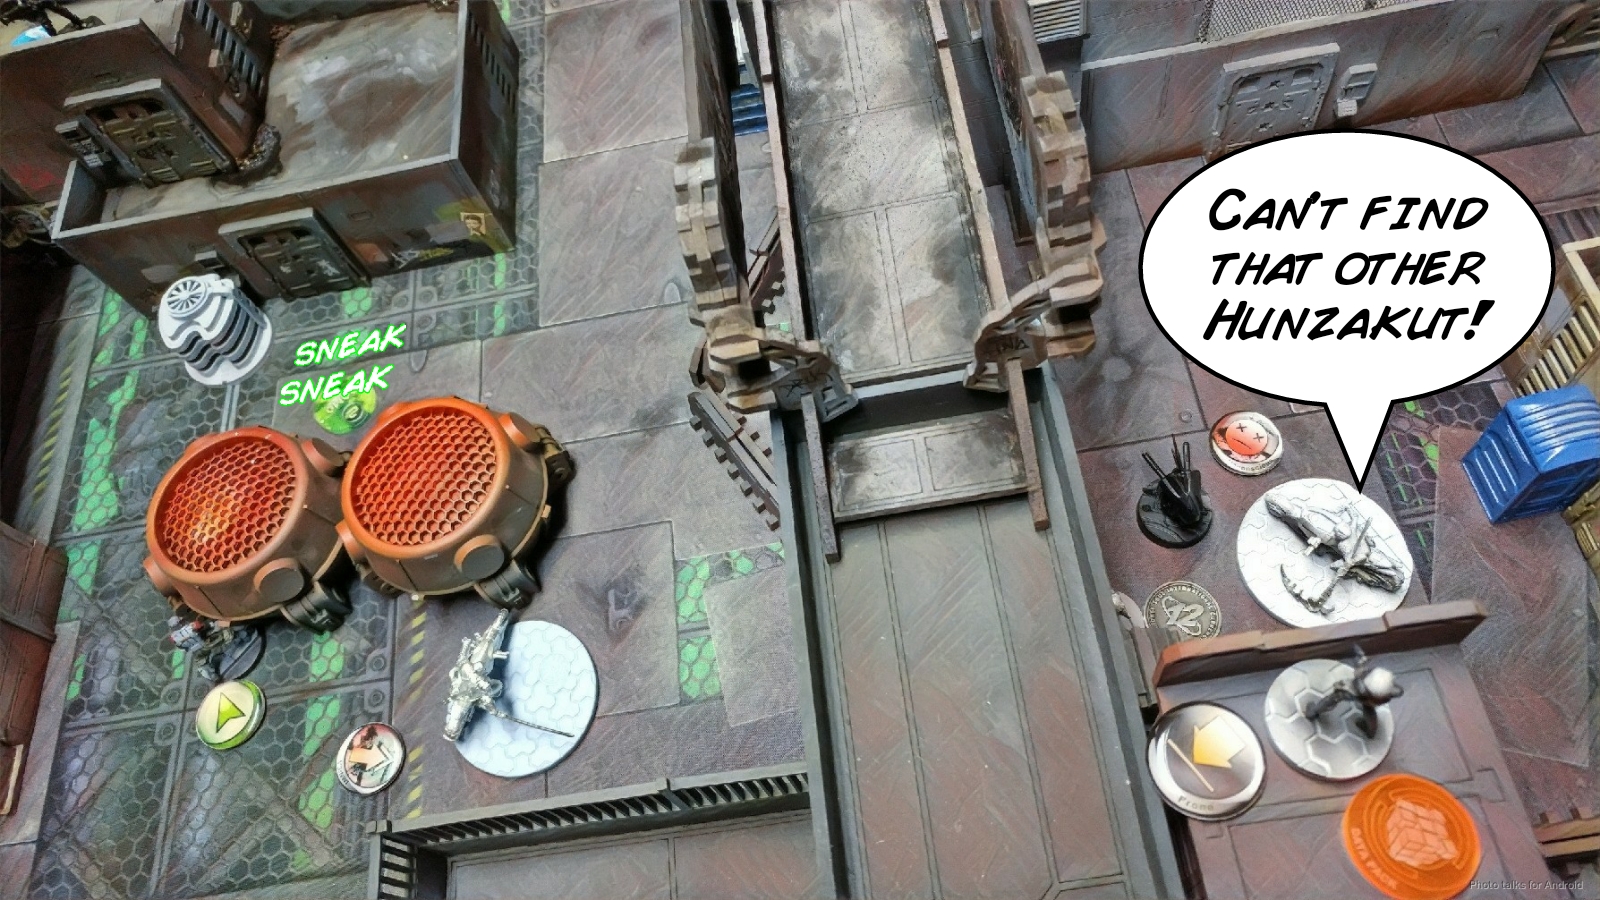
Turn 3
Top of 3 – Druze
Adam knows he needs to get to the rightmost console, so he sends in the Hunzakut in the middle. I fail to discover it, which means it gets to the button and pushes it successfully, revealing my actual Designated Target. Of course, with the Tanko now standing and both bikers watching the objective, the Hunzakut does not survive.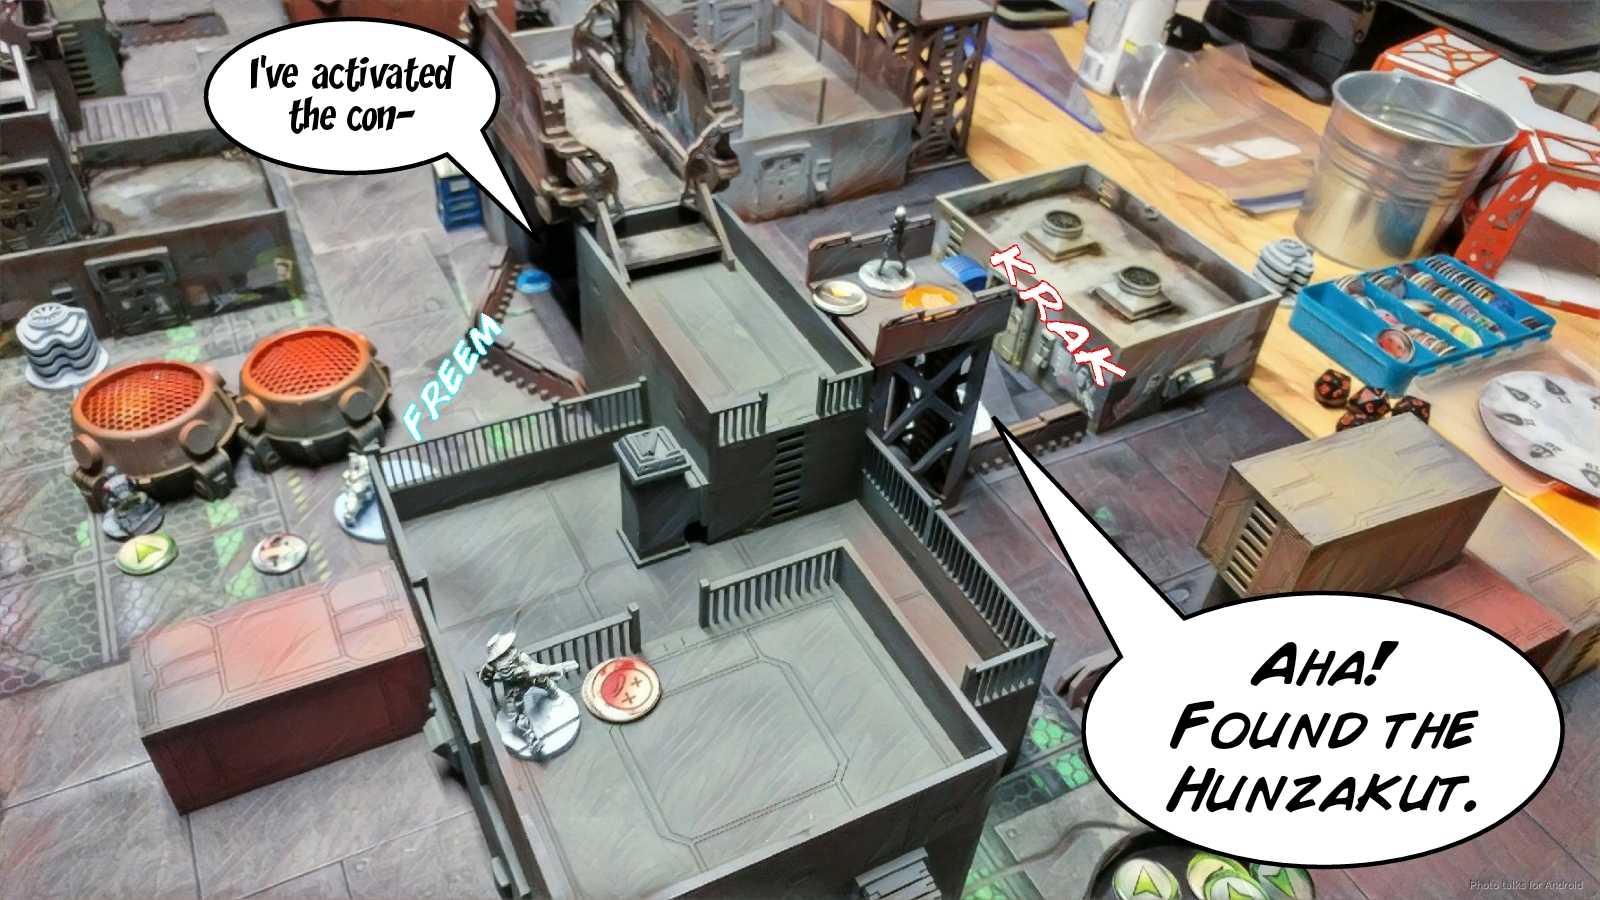 Adam still has Saito on the table, so he recamos him and starts advancing. I manage to discover Saito as he walks by, but he ends movement outside of Yojimbo’s LoF, meaning I don’t get a Nanopulsar shot on him. Saito keeps moving, but I whiff all my shots thanks to TO and Nimbus.
 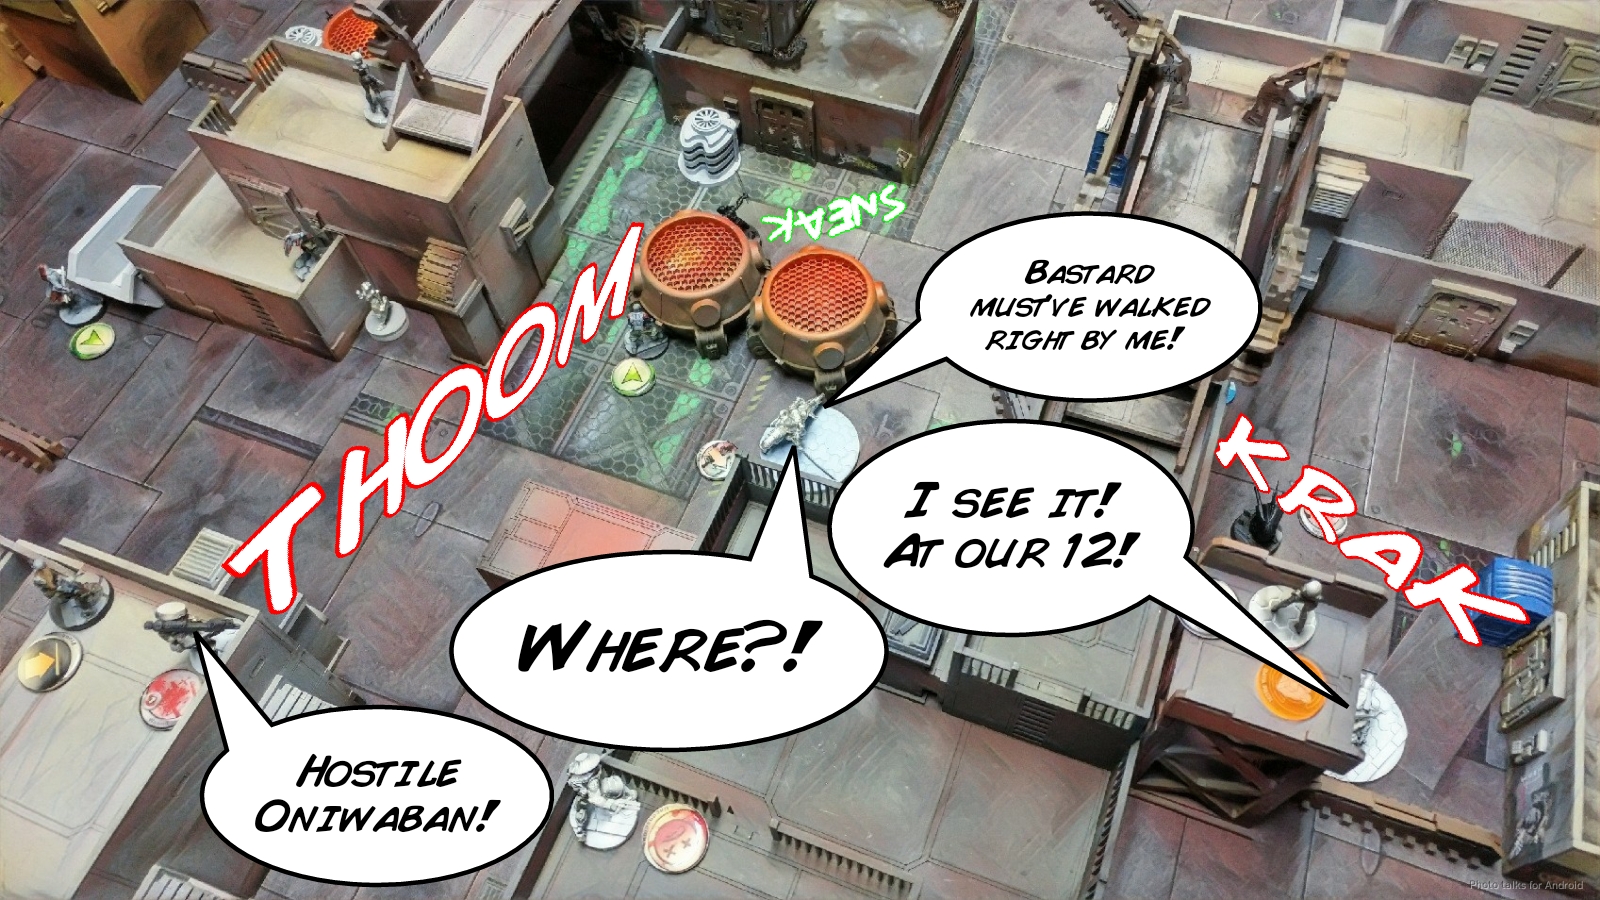 Adam, now in total cover, recamos Saito and then dives him into base to base with my Designated Target, blowing her up with his EXP CCW in a spectacle worthy of inclusion in the children’s story Hamster Huey and the Gooey Kablooie. Of course, my ARO net, which includes Yuriko’s mine, takes out Saito. One wonders if the Druze will ever find Saito’s head.
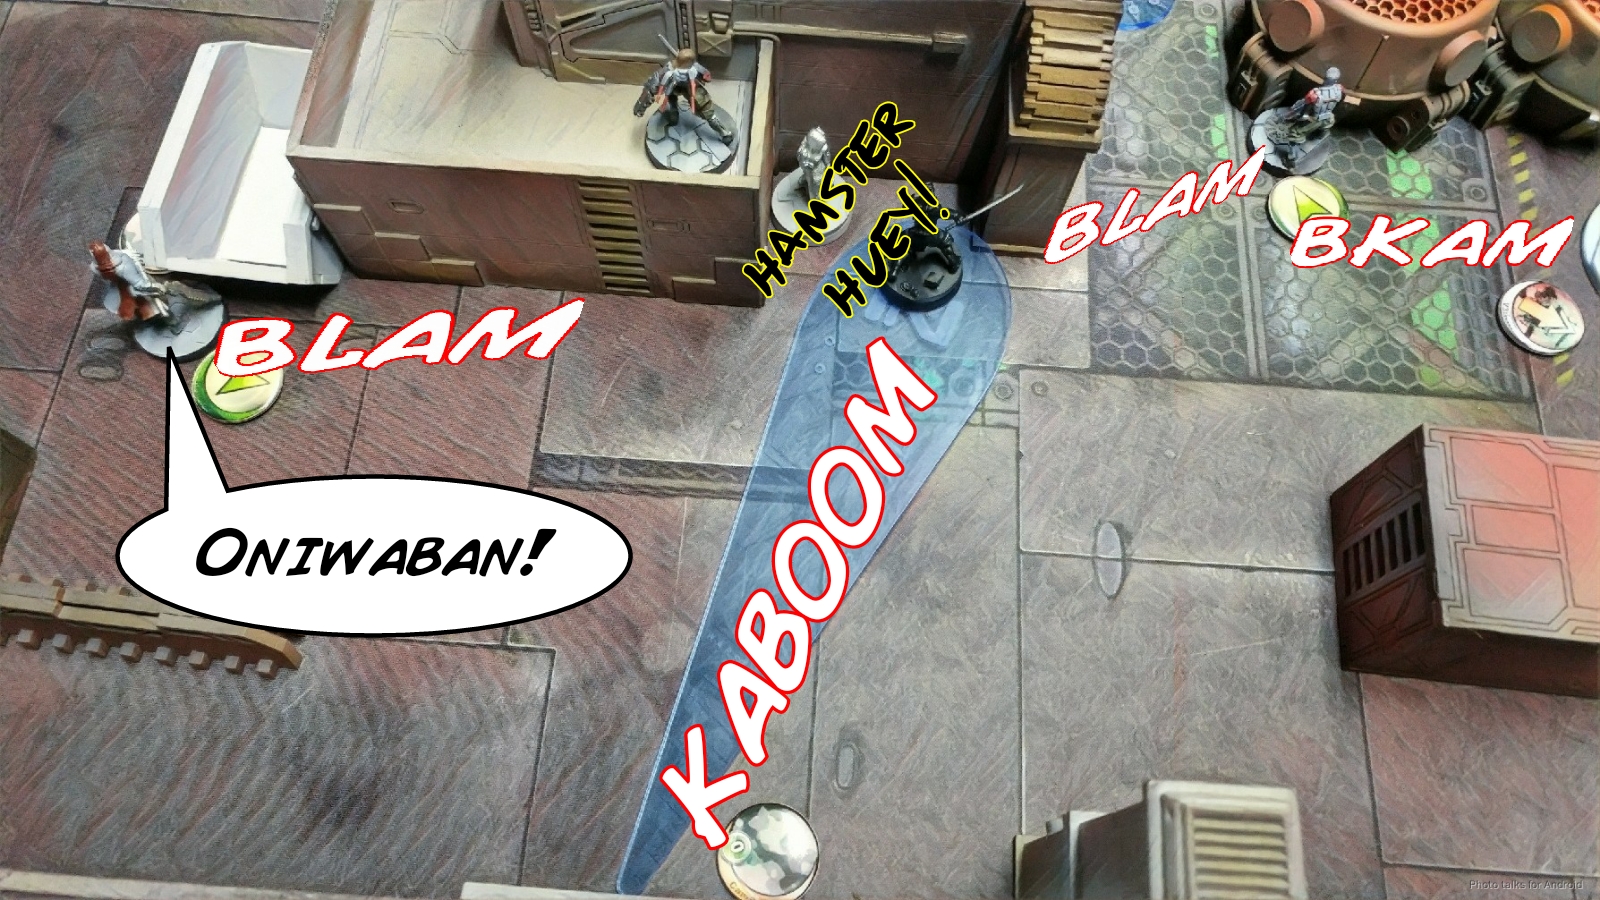 Adam then goes for the last Decoy, on the left, with his Hunzakut. I pass ARM against the LSG, and my mine and Kempetai BSG take care of the Hunzakut.
 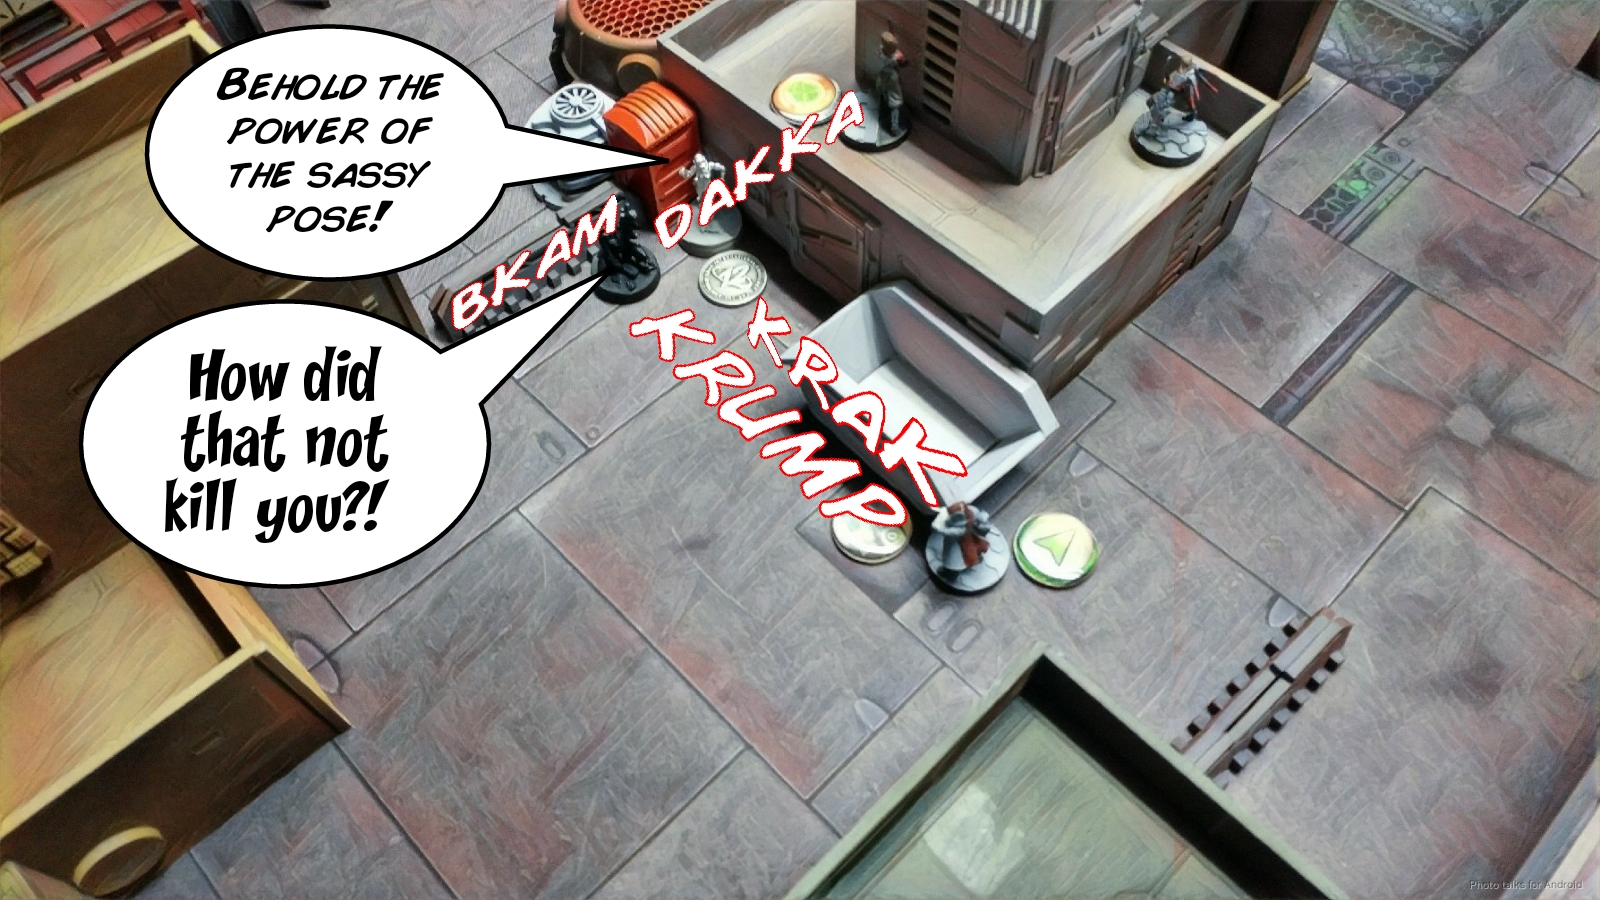 Okay. Well, things are decidedly pretty bad, but I haven’t really lost anything at this point. I’ve got a big point gap to close, of course, and as Adam mulls over what to do with his final order I begin planning my turn. Of course, Adam decides to E/M LGL my Tanko again, and this time connects, turning my Tanko into a useless statue and isolating my Tokusetsu Doctor. Really? COME ON. UUUUGH.
Bottom of 3 – JSA
Well, I’ve spent the last two turns going after Adam’s link to degrade it, hoping to give me just enough of a window for me to get my bikes through. I haven’t really lost much in the way of dead guys, just got a few things isolated, so my order pool is damaged but mostly intact. There isn’t much left for me to do but just get as many objectives ticked off as I can. Thank goodness Kuroshi Rider is a specialist. After blocking the last ARO (a Fugazi) with Yojimbo’s impetuous order and some smoke, it’s time for Asuka–I mean Kuroshi rider to rev her engine!
 I rocket her forward with her impetuous order and start pushing buttons. She’s also my lieutenant, so I’ve got more orders! I push the first button, and guess correctly, revealing Adam’s Designated Target. There’s a window for my Ryuken-9 DataTracker to see it, so I get her there and let the the SMG do the rest.
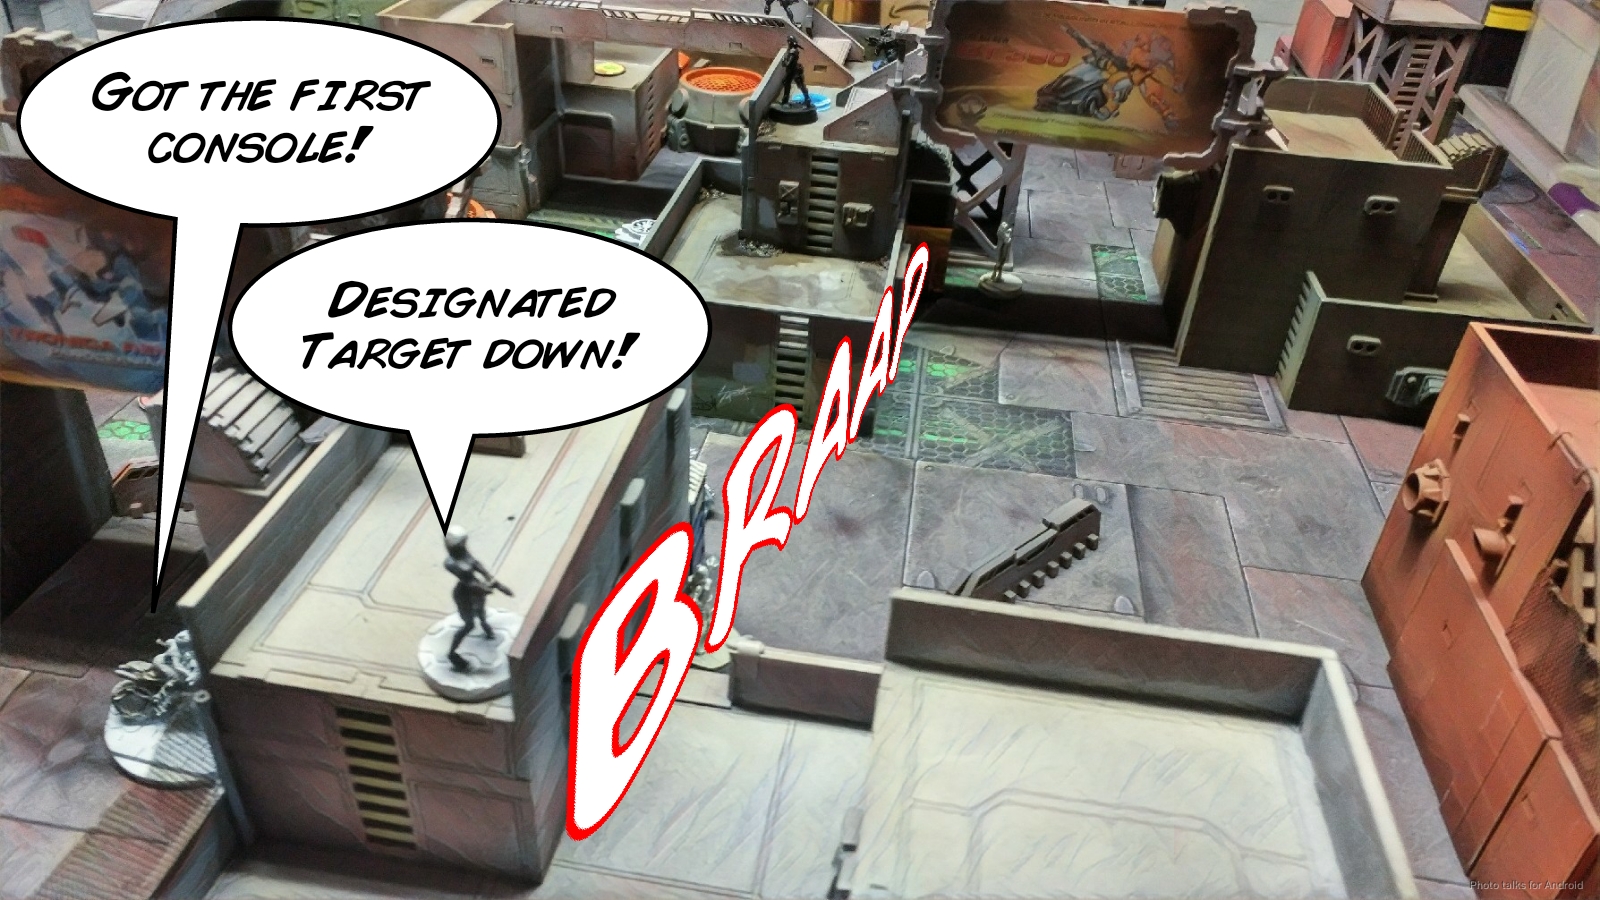 Kuroshi Rider keeps her RPMs up and blows by the second console, revealing a Decoy.
 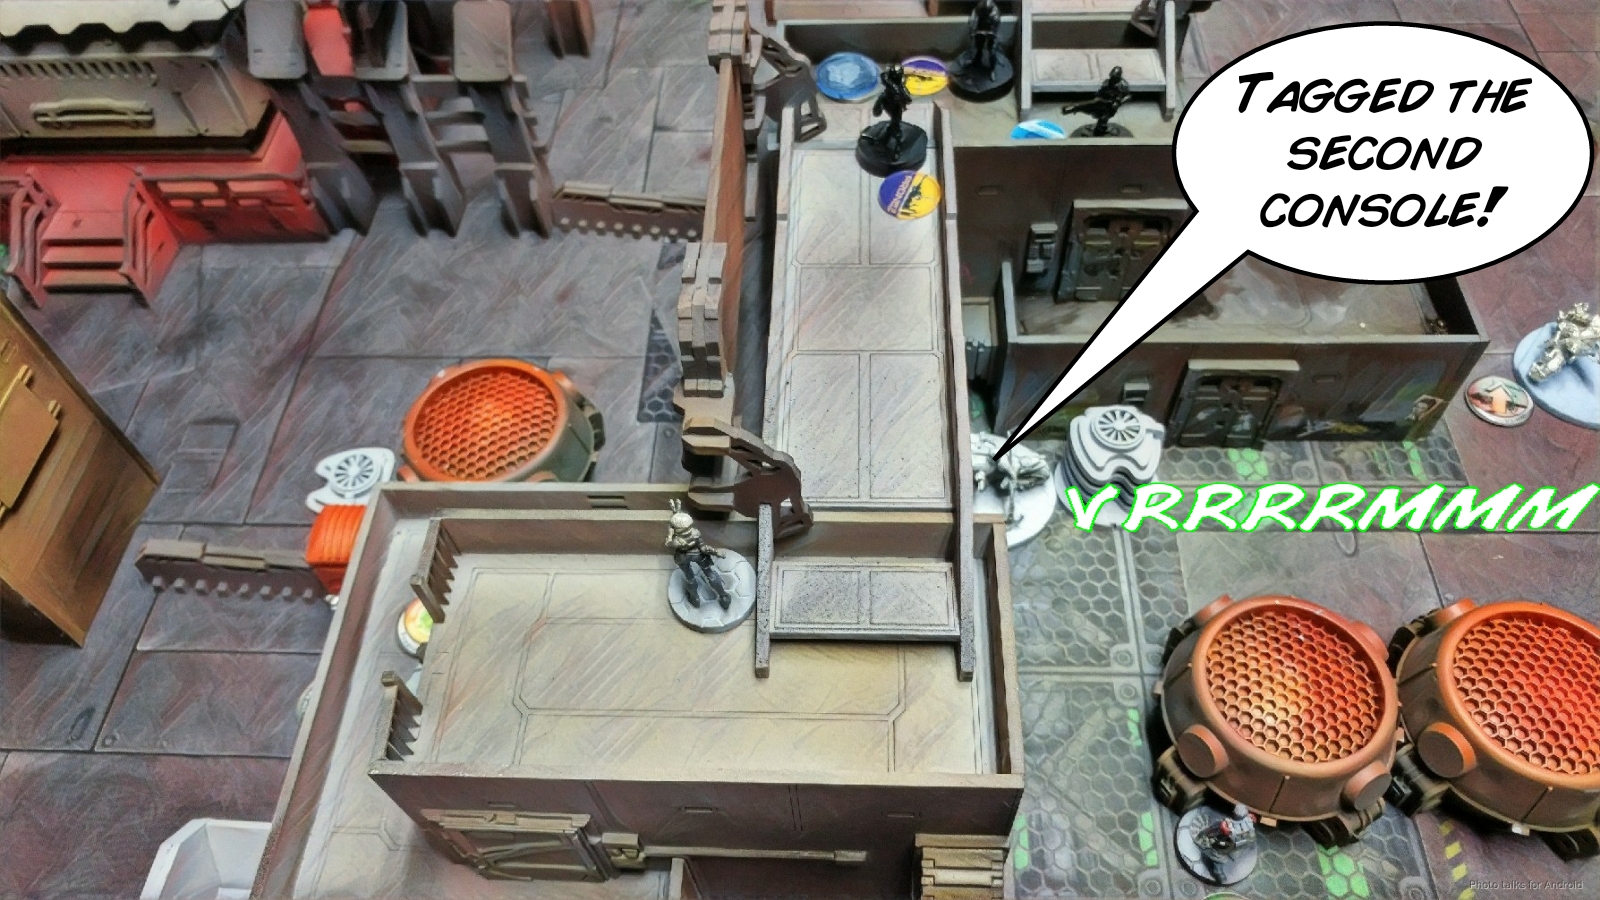 Yojimbo slices and dices the Decoy…
 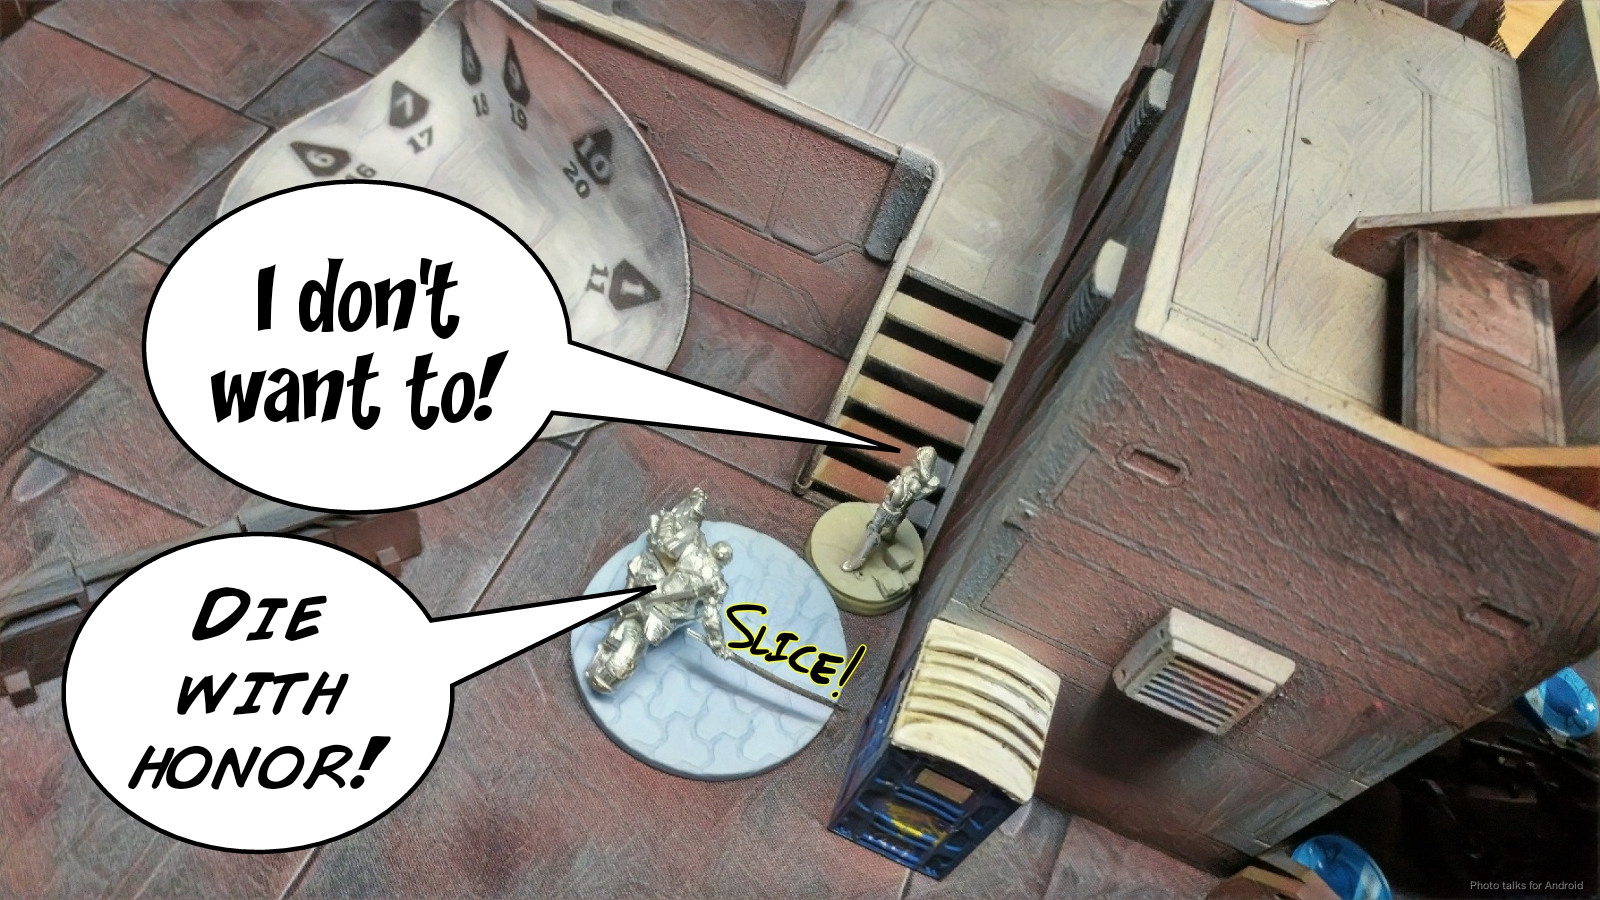 And Kuroshi Rider nets me the last console.
 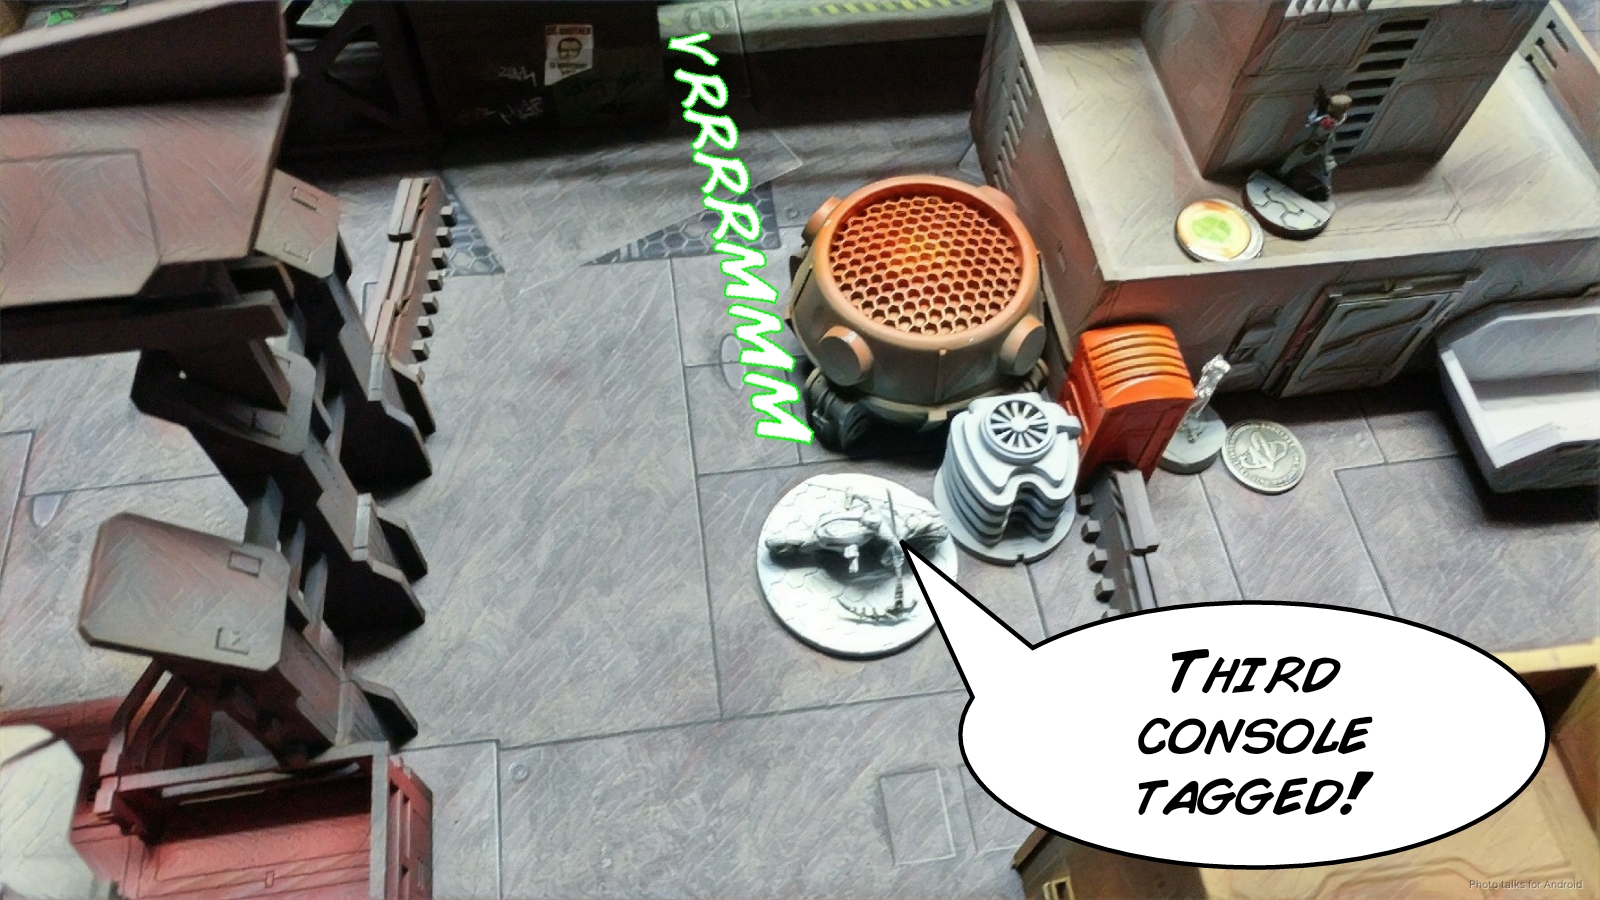 We’ve both hit all three consoles, killed a Decoy, killed the Designated Target (although I did it with my DataTracker), and both of our DataTrackers are still alive. Whew! Talk about a last turn drive to victory!
7-5 Japanese Sectorial Army Victory!
 Thanks for winning it for me, Kuroshi Rider! And thanks to mmaski-sukai on DeviantArt for this magnificent cosplay.
Notes
Notes for Me
- JSA is really Infinity on hard mode. You’re playing the same game as all the other factions, but with a significantly different set of tools. You have none of the low-variance tools available to like 2 wound HMGs to fight out of your deployment zone.
- In that aspect it’s like Ariadna, but without the redundancy that Ariadna can bring.
- Ariadna and other factions can also bring camo infiltrators to make up for deployment and play mistakes as well. Oniwaban and Ninja are not the same thing.
- I found that you really need some serious patience and multi-turn positioning play in JSA. I definitely would’ve lost this game had I not carefully developed the positioning of my pieces.
- First, had I not bubble wrapped the left Ryuken with the remnants of the link, Adam probably could’ve handled it easily. That would’ve kept me from dismantling the Druze link with that Ryuken on Turn 2.
- Second, I needed to really carefully shepherd Kuroshi Rider. I sometimes hear about people not liking bikes because “they run out and die and that’s stupid.” I’ve said that myself many times, especially when starting JSA.
- I think the way to think about Kuroshi Rider is that she’s a WIP 14 dogged specialist with Mimetism, a free order of movement (not even counting her Lt order!), and a whopping 8-6 MOV. The fact that she has a gun and a flamethrower is just extra. The Aragoto are similar, especially the two hackers. I’m not sure how to use the Spitfire yet. Perhaps my experience with the Zondnautica Spitfire will be helpful there.
- I suspect in future games I’ll have to bubble wrap Kuroshi rider more carefully…
- Yojimbo is a different beast. He’s got a lot of tools, but you also have to guard him carefully. It’s always worth spending a regular order early game on keeping him reined in if you think he’ll die to an ARO.
- I’m finding it quite difficult to listbuild JSA, much the same way that I found Corregidor difficult until I found THE list. I think that this list is starting to reveal what makes JSA tick for me. We’ll see how it goes…
Note for Adam
- Ugh. Such a flexible link. I don’t think you made any serious mistakes–it was a really close game that came down to a few die rolls and a last turn end run by Kuroshi Rider.
- Ryuken-9 are monsters in the midfield, as you quickly discovered.
- I dunno. There’s something to be said for swapping a Hunzakut FO -> LGL and then Brawler AHD -> Bashi E/Mauler, but… that’s for another day.
- I like your list alot, just not the combat groups… Docking your second group as we found out SUUUCKS.
- I’m really still mulling over this game. There’s a lot to unpack in it. This was one of our better games. Lots to think about!
- As always, thanks for the game and for hosting.


Adam’s Core link seems to have six models, which would be amazing but seems a stretch…
Thoroughly enjoyed this. I appreciate the effort you two put in.