

Running on Fumes
7 games in less than 7 days… I’m lucky but also drained. I’m starting to prep for Adepticon 2019. My experiences with JSA at the Best of the Pacific Northwest have really encouraged me to keep them on the table for a little bit longer. That and I have less to paint if I take JSA to Adepticon! I made it to the local game store for game night, and Isaac was there, ready to give me a stern talking to with his VIRD. He even set up the table while I was delayed by a late work meeting. What a gentleman!
Overview
- Mission: Power Pack
- Forces: Japanese Secessionist Army versus Varuna Immediate Reaction Division (300)
- Deploy First: VIRD
- First Turn: VIRD
Maximum Otaku
SHINOBU Lieutenant Combi Rifle, Nanopulser, Smoke Grenades / Pistol, Monofilament CCW. (1 | 47)
RYŪKEN (Forward Deployment L2, ODD) Submachine Gun, Antipersonnel Mines, D-Charges / 2 Breaker Pistols, Knife. (0.5 | 24)
SHIKAMI Contender, Nimbus Grenades / Assault Pistol, DA CCW, AP CCW, Knife. (0 | 45)
HÙSÒNG Yaókòng HMG / Electric Pulse. (1.5 | 25)
KEMPEI (Chain of Command) Boarding Shotgun / Pistol, CCW, Electric Pulse. (0 | 21)
ARAGOTO (Killer Hacking Device) Combi Rifle + Light Shotgun / Pistol, Knife. (0 | 25)
YOJIMBO Contender, Nanopulser, Smoke Grenades, CrazyKoalas (2) / Pistol, DA CCW. (0 | 21)
9
1
2 | 5 SWC | 300 Points | Open in Infinity Army
Finally, a “vanilla” JSA list! Adam and I were trying to figure out how to play “vanilla” JSA with Shikami. The theory is that if you take this list for missions that have a 16″ deployment zone, the Shikami can do horrible things to your opponent on Turn 1. The rest is pretty standard JSA out of me, with the addition of the annoyingly expensive TR bot. In practice though, I think it doesn’t quite go that way…
Varuna Immediate Reaction Division
GROUP 1 |
FUSILIER Lieutenant Combi Rifle / Pistol, Knife. (0 | 10)
KAMAU (Multispectral Visor L2) MULTI Sniper Rifle / Pistol, Knife. (1.5 | 32)
CLIPPER DRONBOT (Varuna Div.) (Aquatic Terrain) Missile Launcher / Electric Pulse. (1.5 | 18)
GROUP 2 |
SQUALO (Armored Cav.) (Varuna Div.)(Fireteam: Duo, Aquatic Terrain) MULTI HMG, Heavy Grenade Launcher / AP Heavy Pistol. (2.5 | 96)

MACHINIST Combi Rifle, D-Charges / Pistol, Knife. (0 | 15)
PALBOT Electric Pulse. (0 | 3)
HELOT MILITIAMAN Shock Marksman Rifle / Pistol, Knife. (0 | 13)
FUGAZI DRONBOT Flash Pulse, Sniffer / Electric Pulse. (0 | 8)
CROC MAN (Forward Observer, Deployable Repeater) Combi Rifle, Antipersonnel Mines / Pistol, Knife. (0 | 32)
6 SWC | 299 Points | Open in Infinity Army
Bah. Isaac loves his Squalo, which is now lovingly and very well painted. This list feels very NCA to me, which shouldn’t surprise me given Isaac’s usual proclivities. It has a big stompy robot, a pair of Fugazi, a TO thingy, and a beefy Fusilier link. The key difference here is that there’s a Clipper and a Mimetism MSV2 MSR in there, but functionally that’s not really all that different than a Fusilier ML and a Fusilier HMG with full link bonuses. Any of that will kill stuff just fine. The MSV2 is indeed relevant versus JSA though, so I’ve gotta watch out for that.
Deployment
Isaac castled up his link on the right, with the Clipper out to ARO everything on a very tall building. He made a little TAG nest on the left with a pair of Fugazi, a Fusilier Hacker and the Xenotech, and a Helot SMR to protect the Squalo.
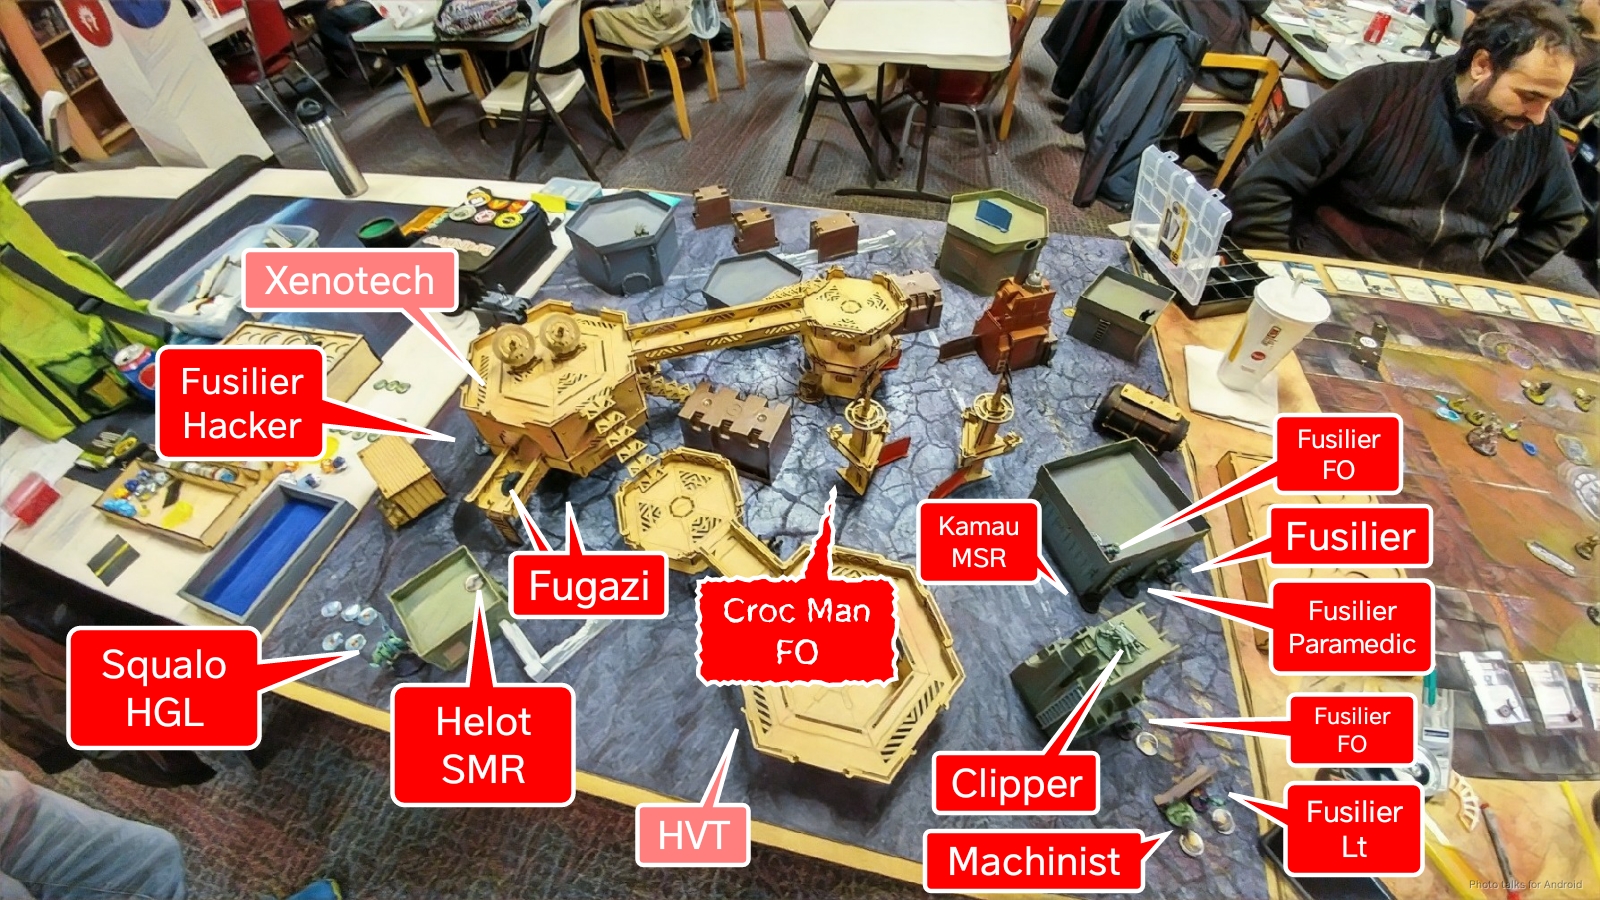
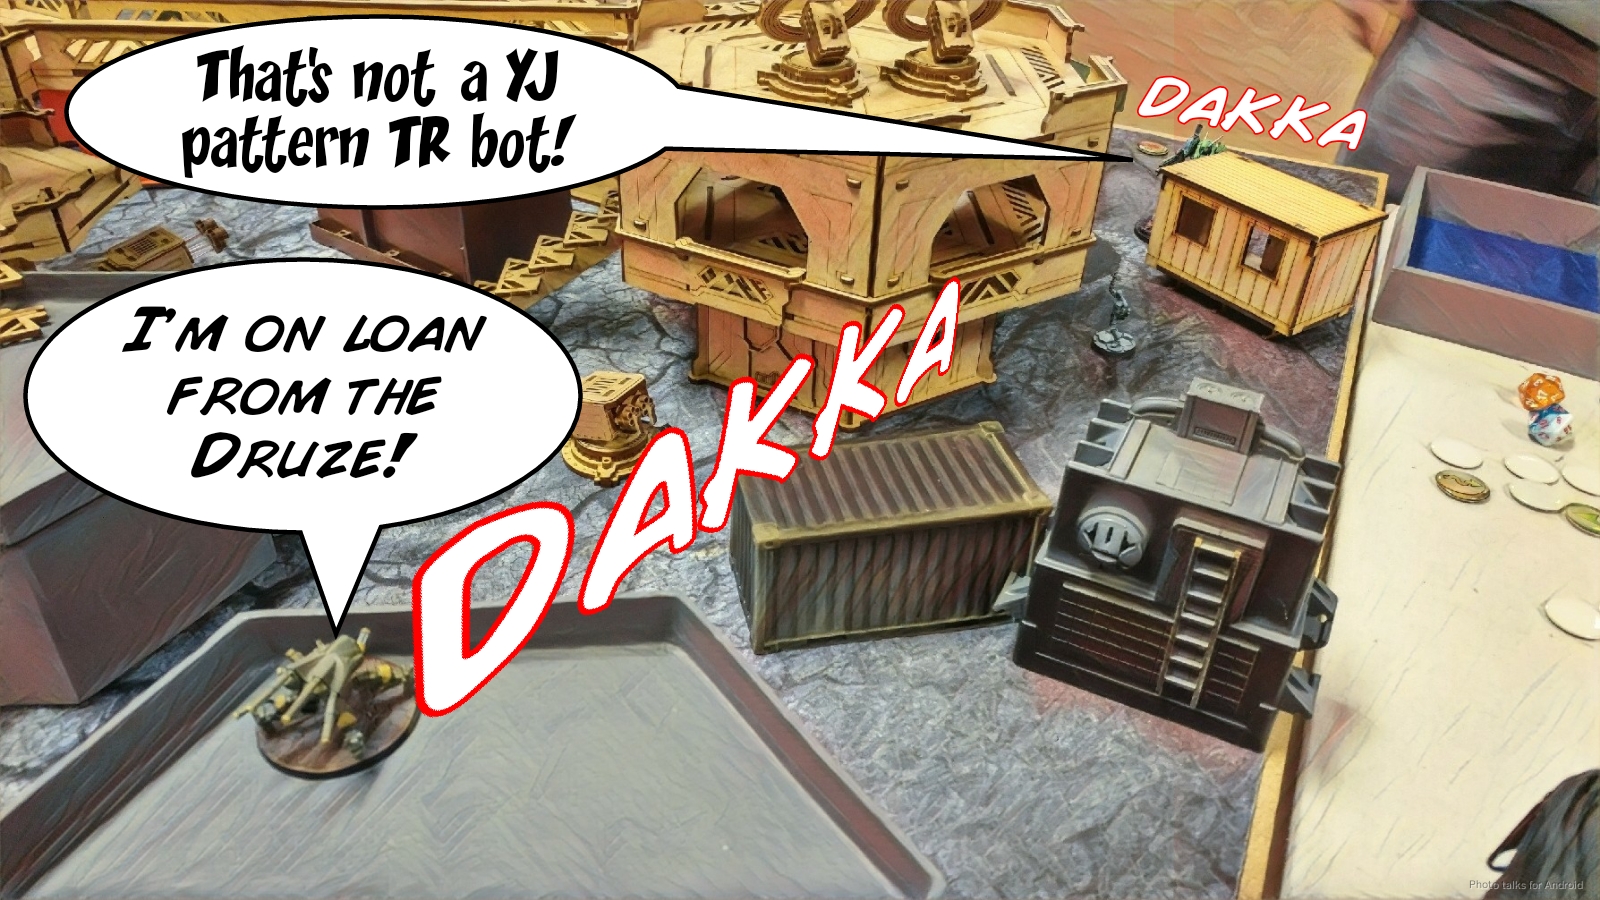
Since I was late, I was in a hurry and I didn’t really go over a bunch of Isaac’s deployment with him. To my eye, I could cover the Clipper with both my TR bot and the Ryuken HRL, and there was a Fusilier poking out from a corner of a building that I could cover with a Ryuken-9 SMG. As it turns out, we agreed on the Clipper’s exposure, but not the Fusilier’s exposure.
This was a bit of a bummer, because I could get three AROs on to two members of the link that would be hard to remove and pretty high impact and ODD shock SMG, an HRL, and a TR bot. Since I thought I could get those AROs and really stall out the link, I thought it would be a good idea to put the second Ryuken covering the Fusilier Hacker synced to the Xenotech. I didn’t really read that area as his TAG nest, so I didn’t expect the Squalo to be there. That’s just a straight up mistake on my end.
So anyway, I got a little greedy and left a bunch of stuff out to tie up Isaac’s stuff, mainly because I thought that there were some serious deployment vulnerabilities that I could exploit. If I learn nothing else from this it’s that I need to take a beat when I walk into the store and go through the usual checklists and thoughts instead of diving right in.
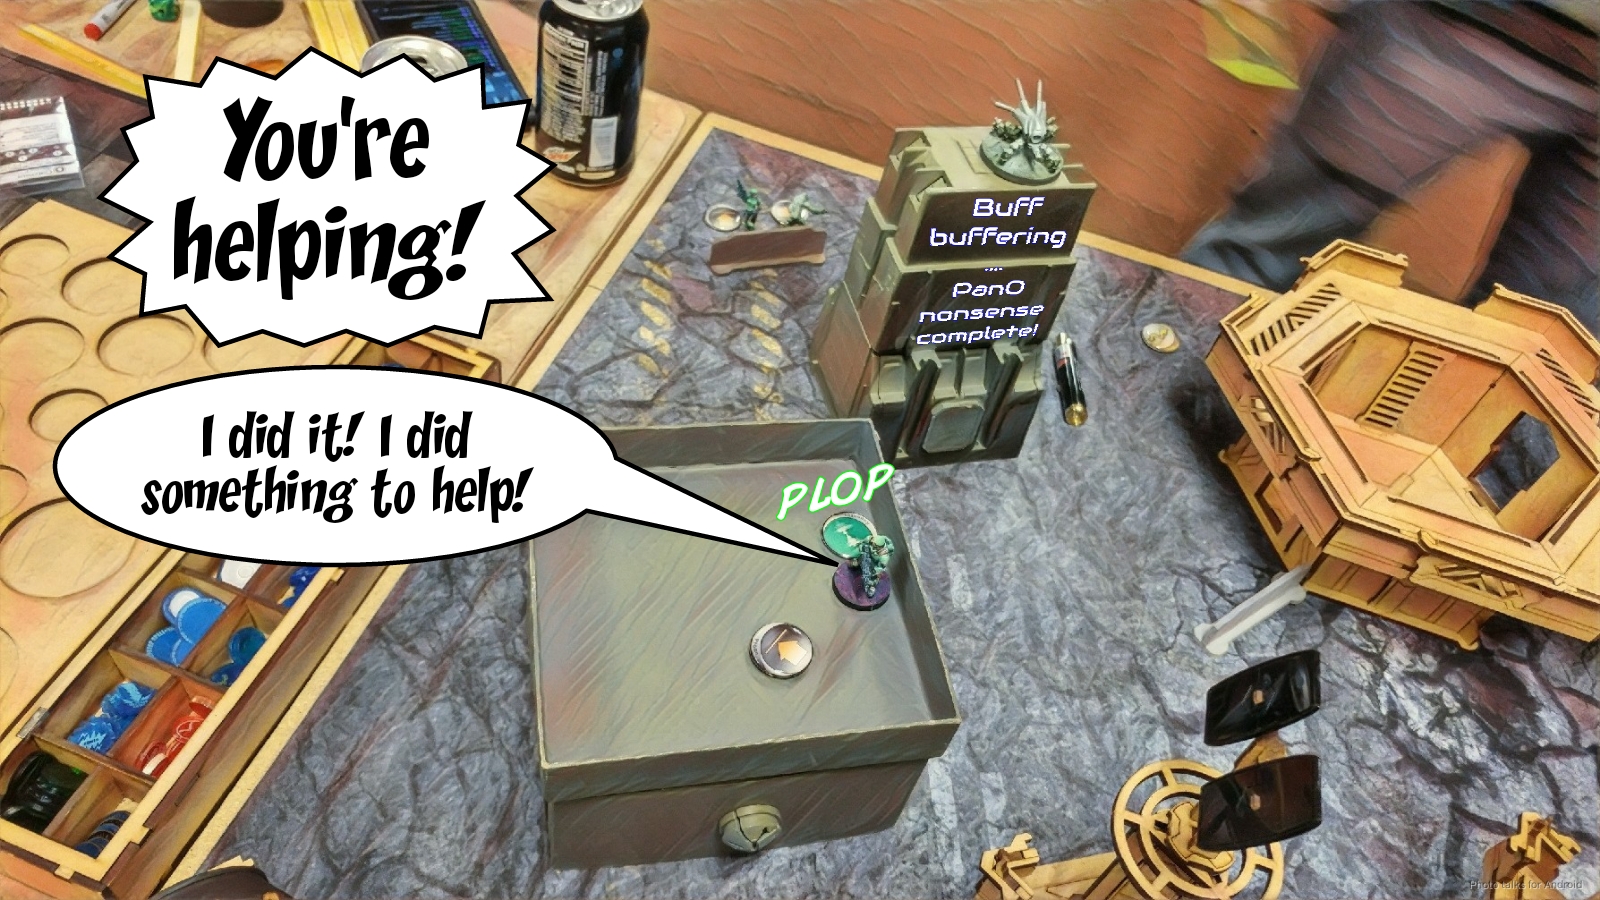
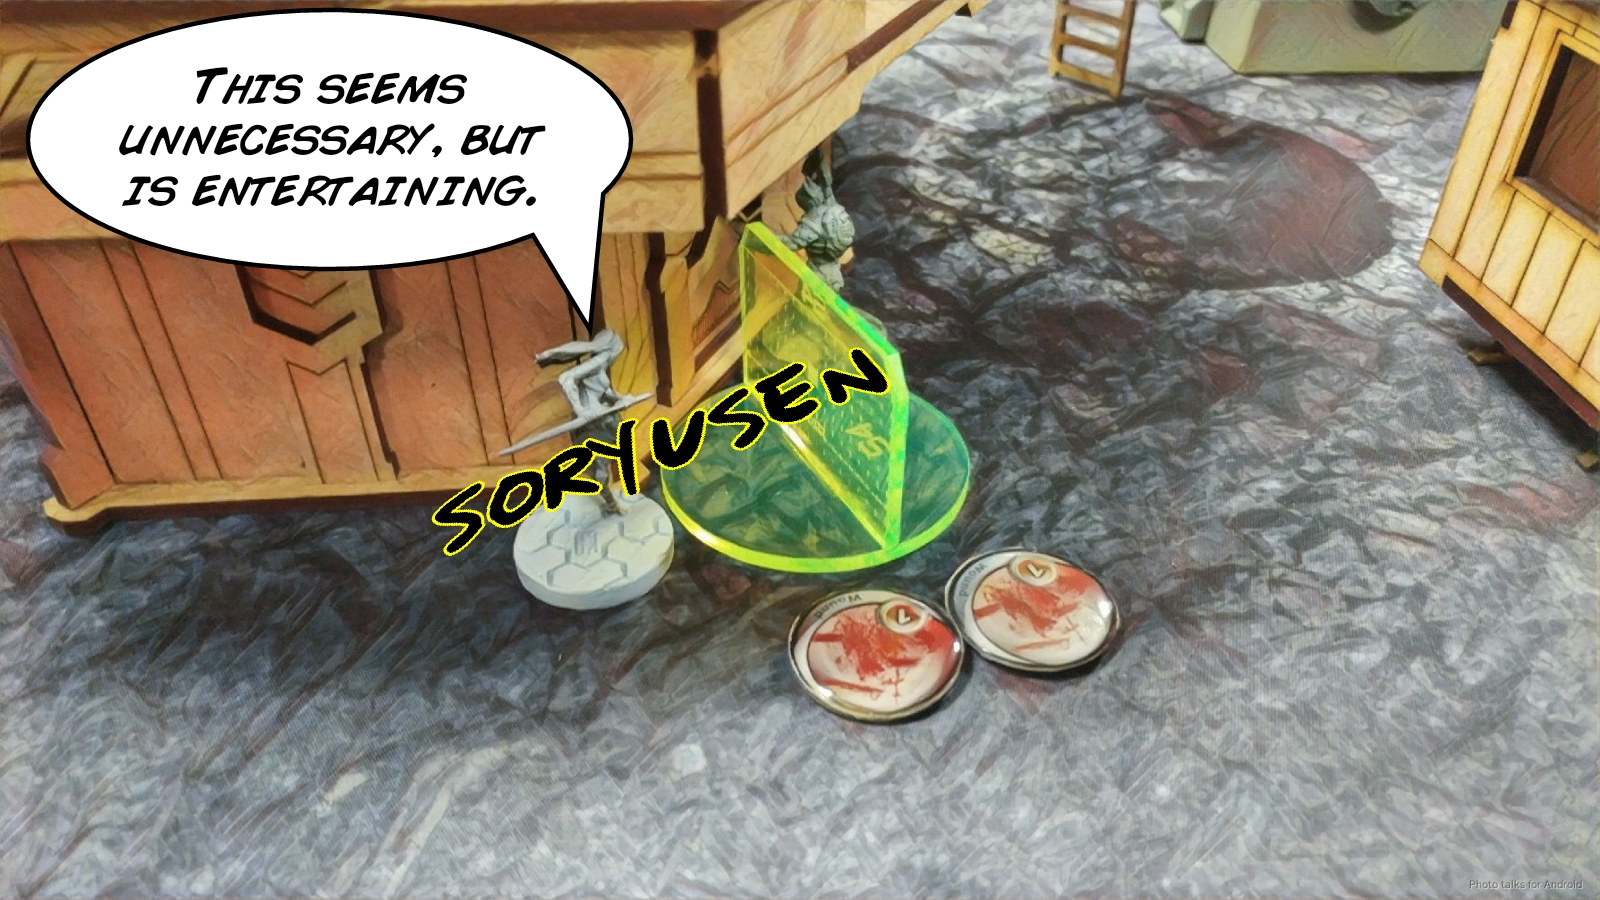
I hid a Shikami on either side, and forgot to deploy my Xenotech, but Isaac reminded me later and it got stuck on the Shikami on the right because there was no other option.
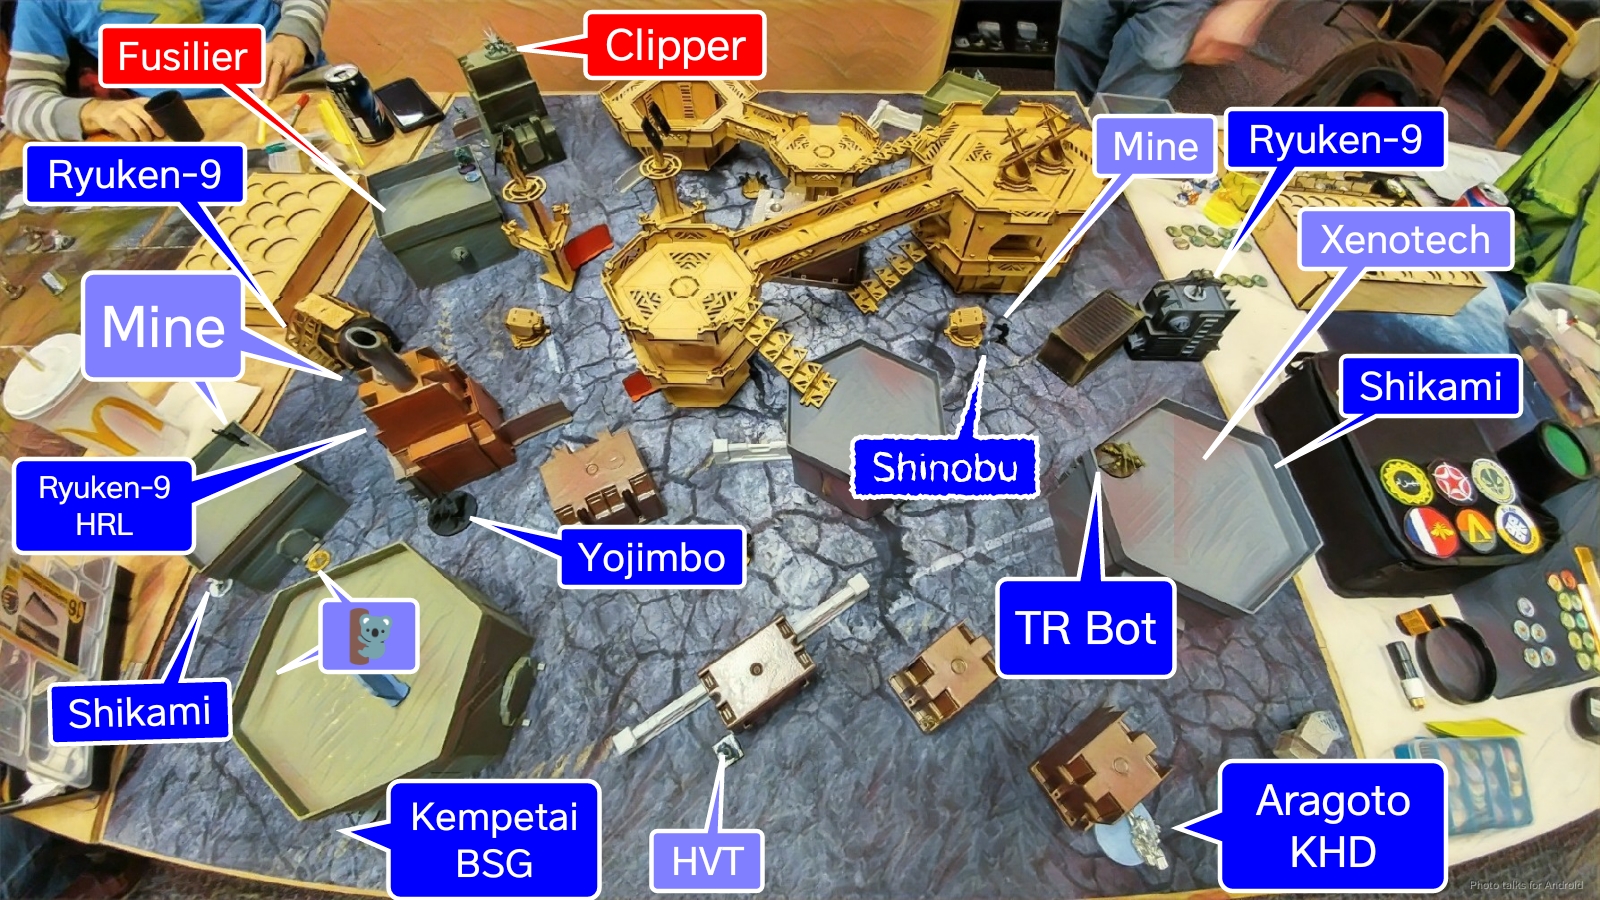
Yeah. I basically flubbed this game in deployment. Should’ve null-deployed, left the TR bot covering a shortish lane, and hoped to survive the Squalo’s grenades for a turn. The Kempetai and Aragoto hid in the back, mainly to cover against Echo Bravos walking on. Isaac drops his TAG in the TAG nest he built on my right, so Shinobu comes down on the centerline nearby.
I figure the TAG is going to be walking forward, so this seems like a good idea.
Turn 1
Top of 1 – VIRD
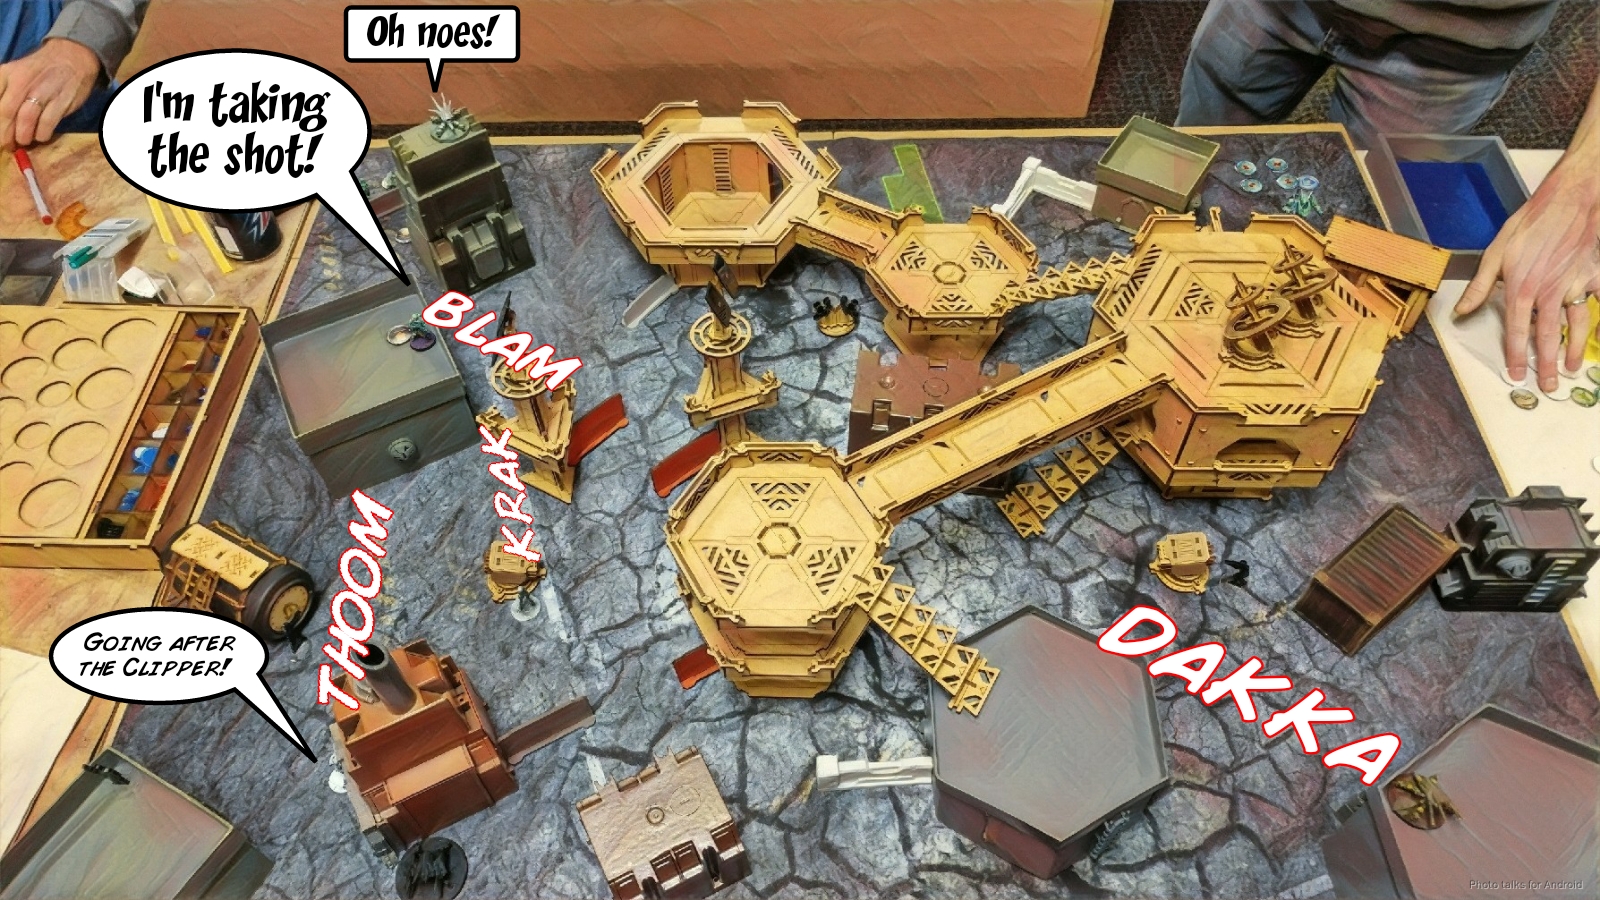
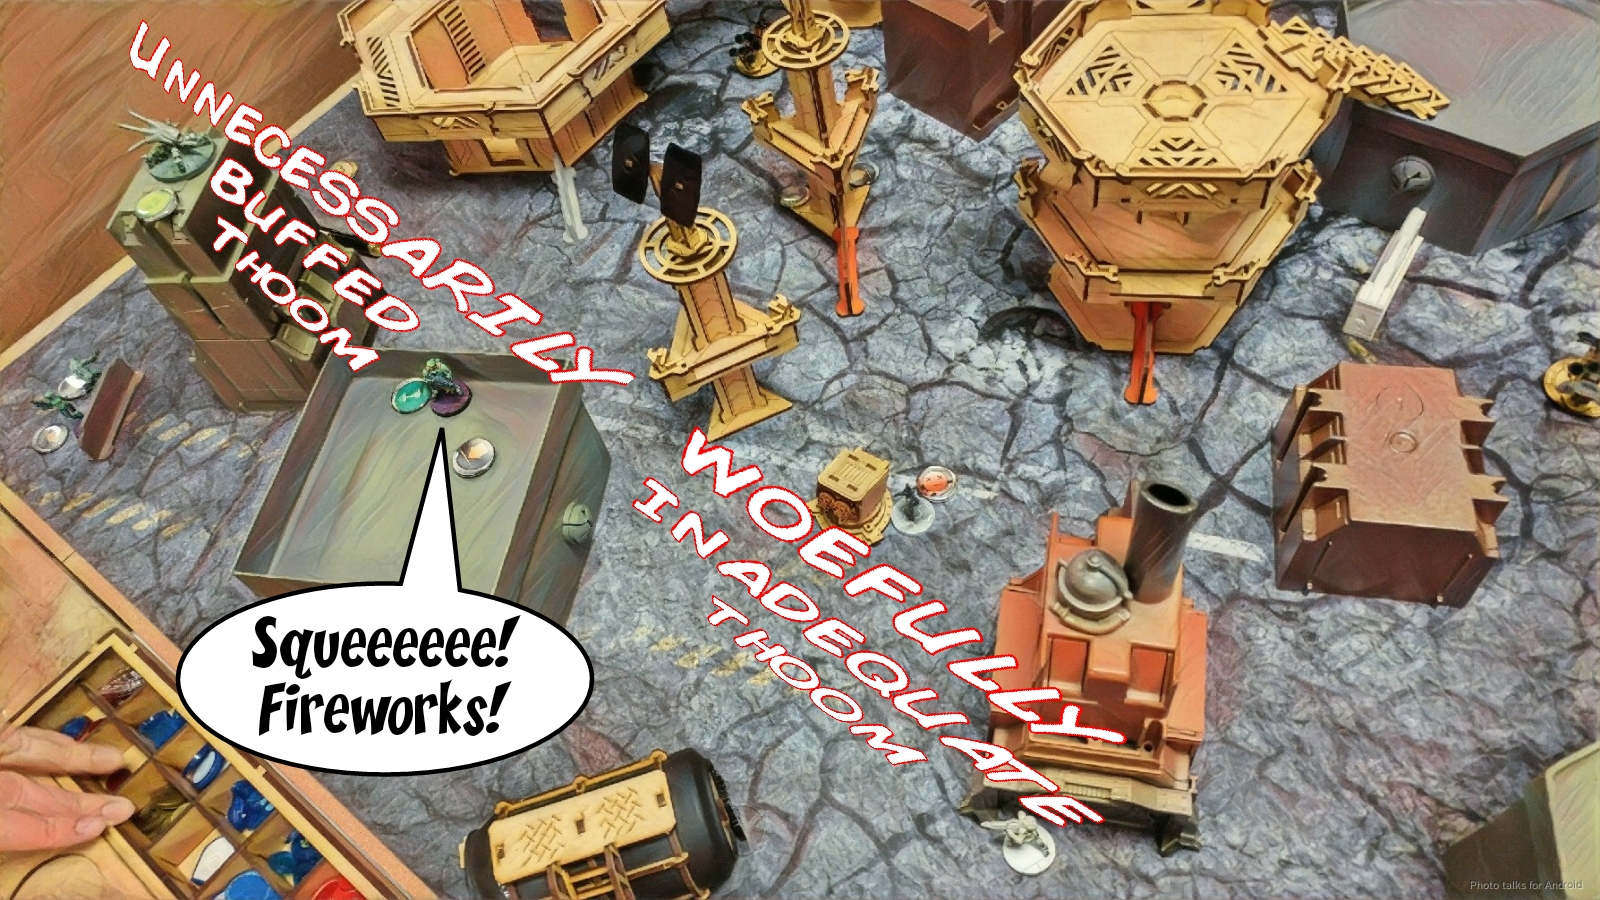
I dock Isaac’s second pool two orders, as I was expecting an Echo Bravo or something. Even if there’s nothing, I’ve prevented him from dropping the Multiscanner on turn 1, which is whopping 3 point swing in this mission. We start things off with the Squalo trying to shoot the Ryuken, who immediately crits it with an SMG. I’ll take it. The next order, of course, kills the Ryuken. Sigh. Well, I was greedy and deserved that.
The Squalo then tries to spec fire my TR bot and fails, then tries to take it out directly, and fails again.
Isaac stops messing around and sends in the Kamau MSR to take out the TR bot. At this point, Isaac says that he didn’t mean for the Fusilier to be exposed to my Ryuken, which I had based my deployment around. We agree to say that the Fusilier can’t be seen, and then I move the Ryuken to a spot that can see the Clipper, without really thinking about it too hard, with Isaac’s blessing.
This turns out to be a huge mistake, as was the next thing I did. I shoot at the Clipper, which is part of the link, with the Ryuken SMG and the HRL, and then foolishly shoot back at the Kamau with the TR bot on 2’s. I just did it for the lulz, because I figured it’d be funny if I crit as happened to me in the tournament over the weekend, but frankly, that’s just stupid.
Anyway, the TR bot dies horribly, the Ryuken SMG misses on a 20 or something, but the HRL hits! Hooray! Of course, the Clipper passes ARM.
Isaac reforms the link with better members, i.e. not the Clipper, and the sends in the Kamau after my Ryuken, KOing it against my dodge.
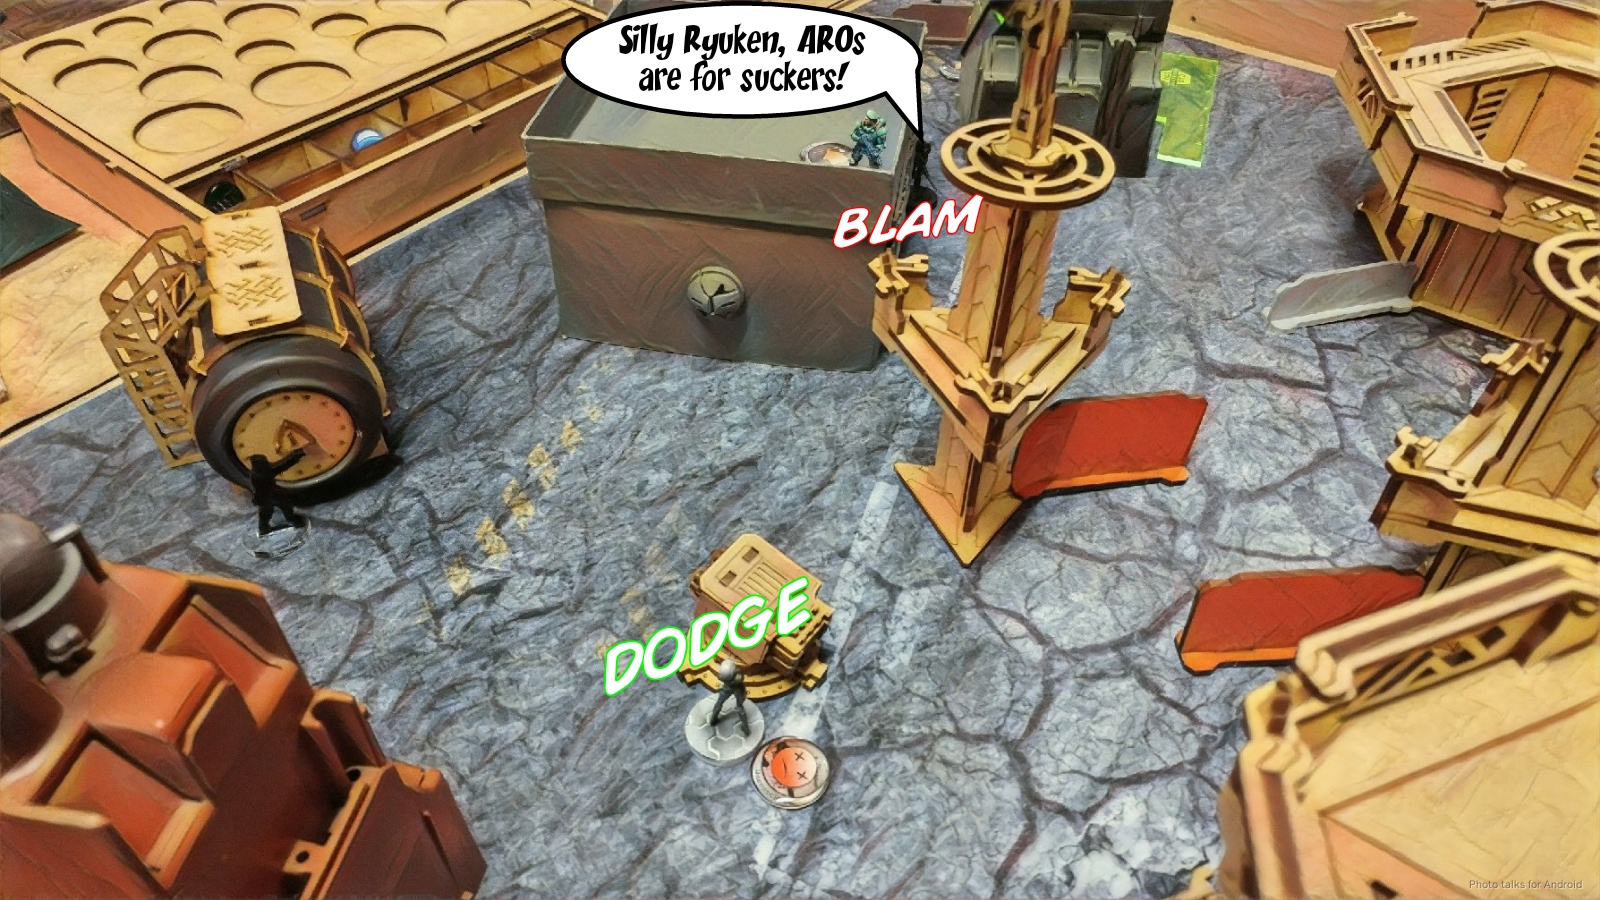
The Fusilier that caused all of the trouble now pokes out to take a look at my Ryuken HRL after much shuffling about to get everyone else out of template range, and they have an ineffectual slap fight with the Fusilier passing a number of HRL saves.
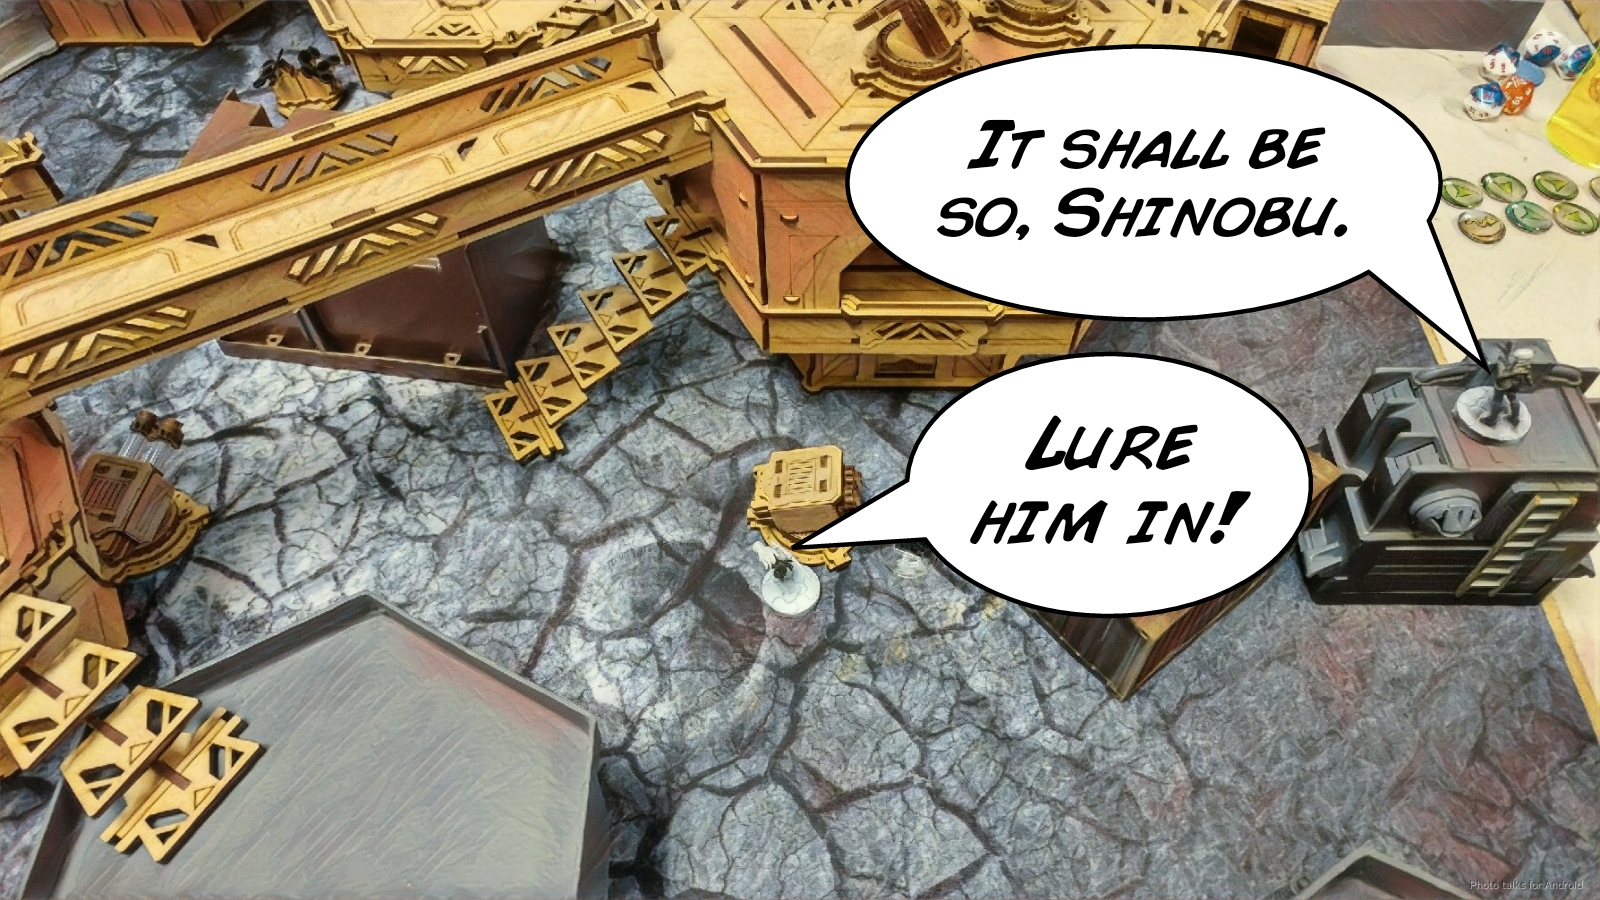
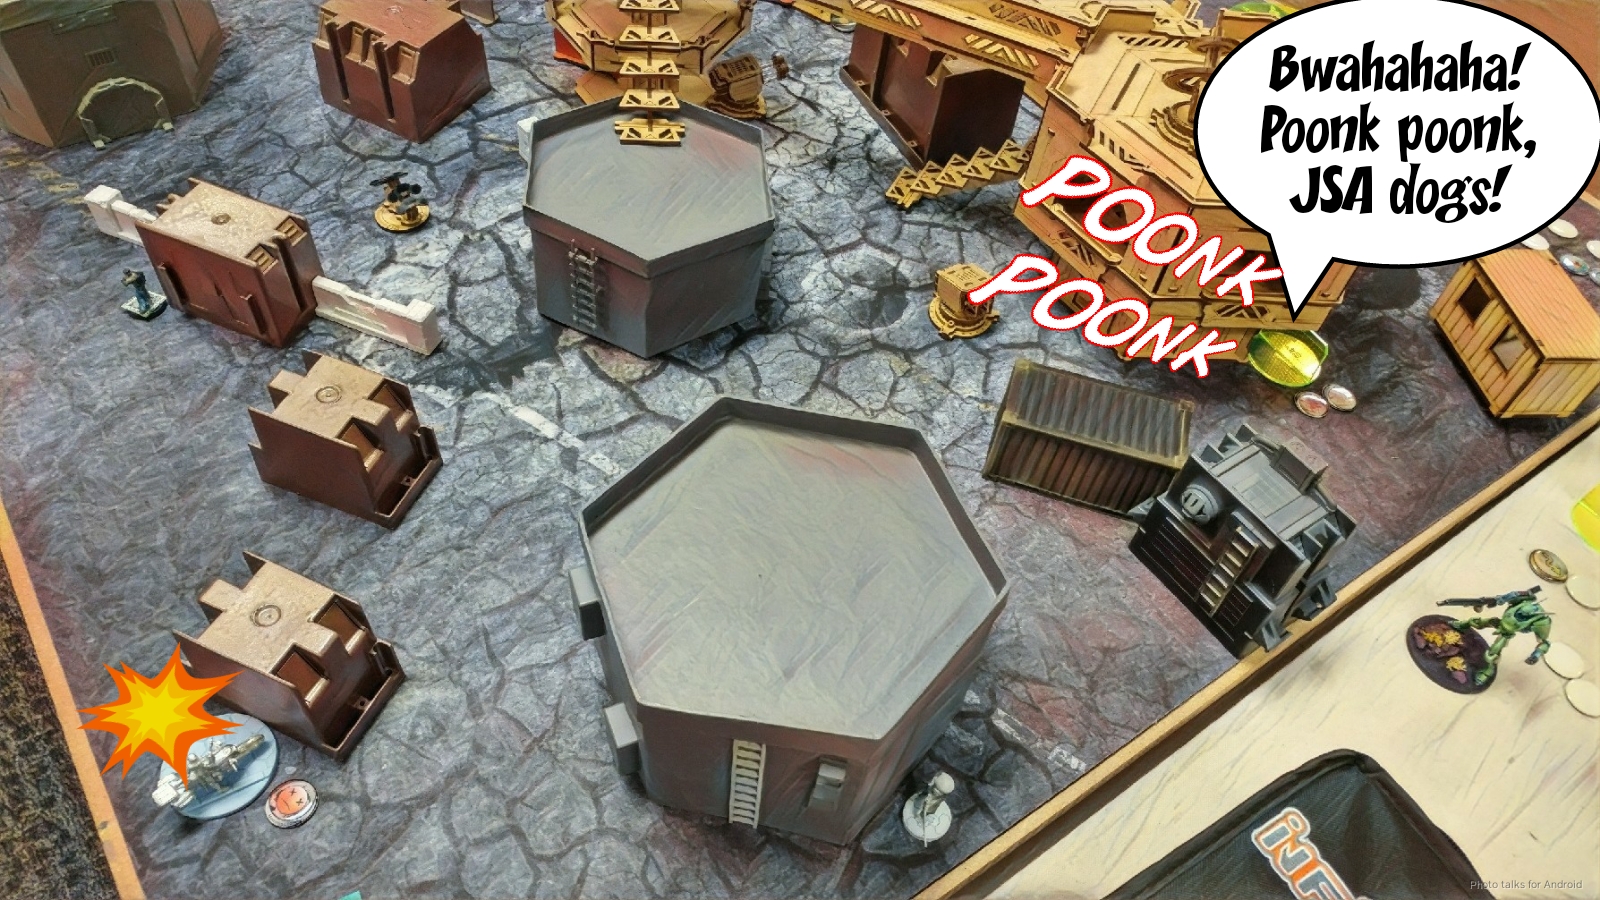
Isaac then decides to move the TAG up (excellent) triggering a mine, which plinks another wound off of the TAG.
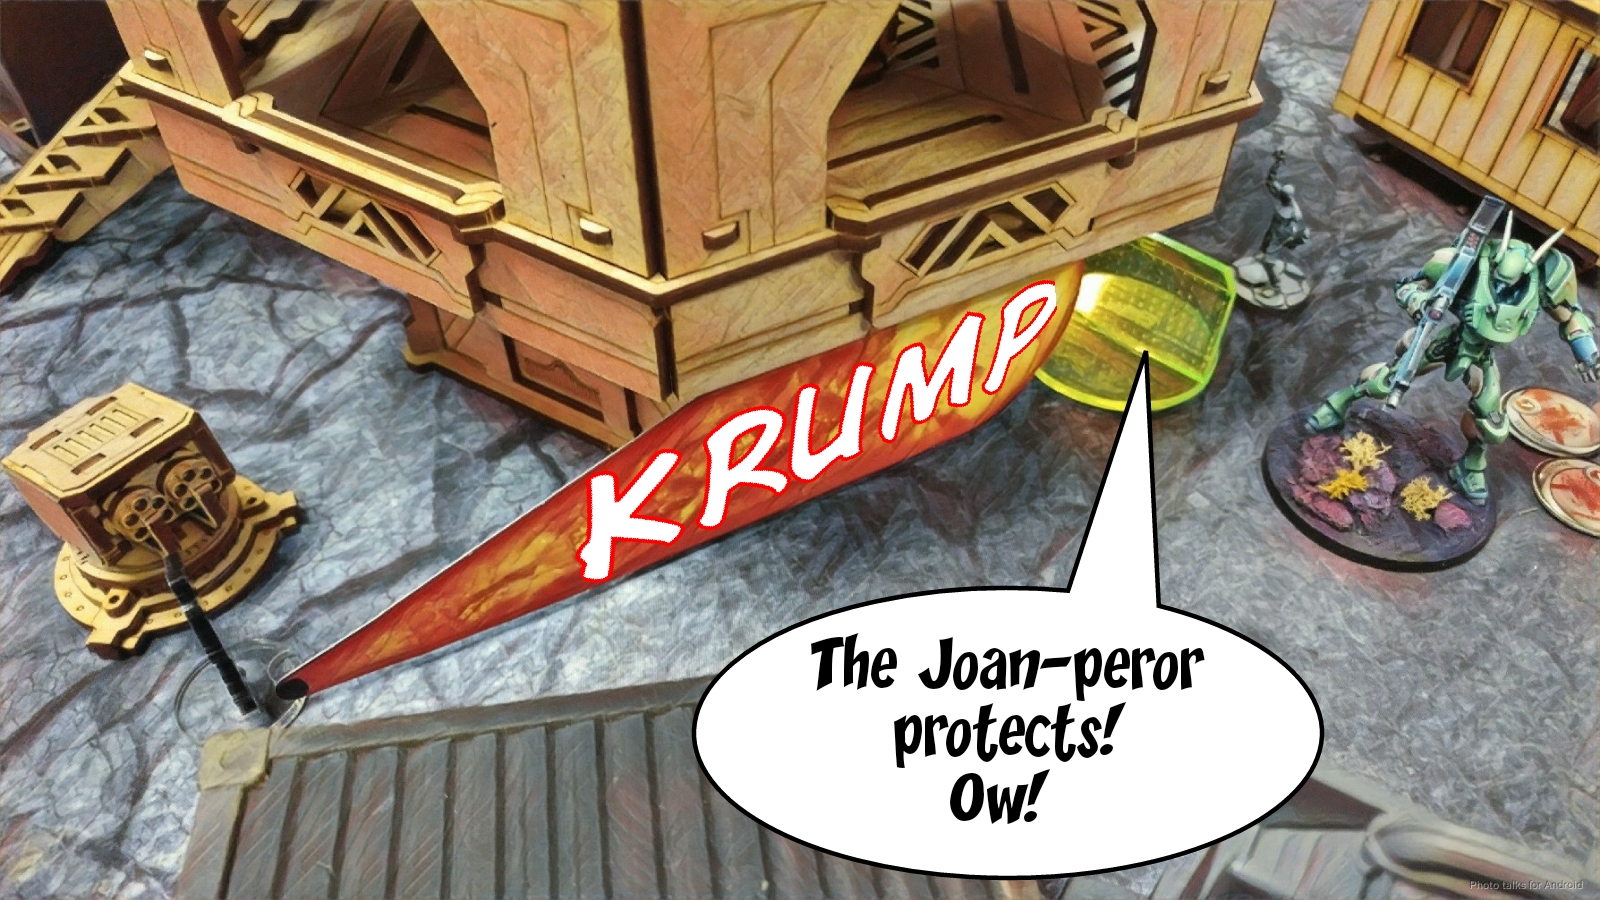
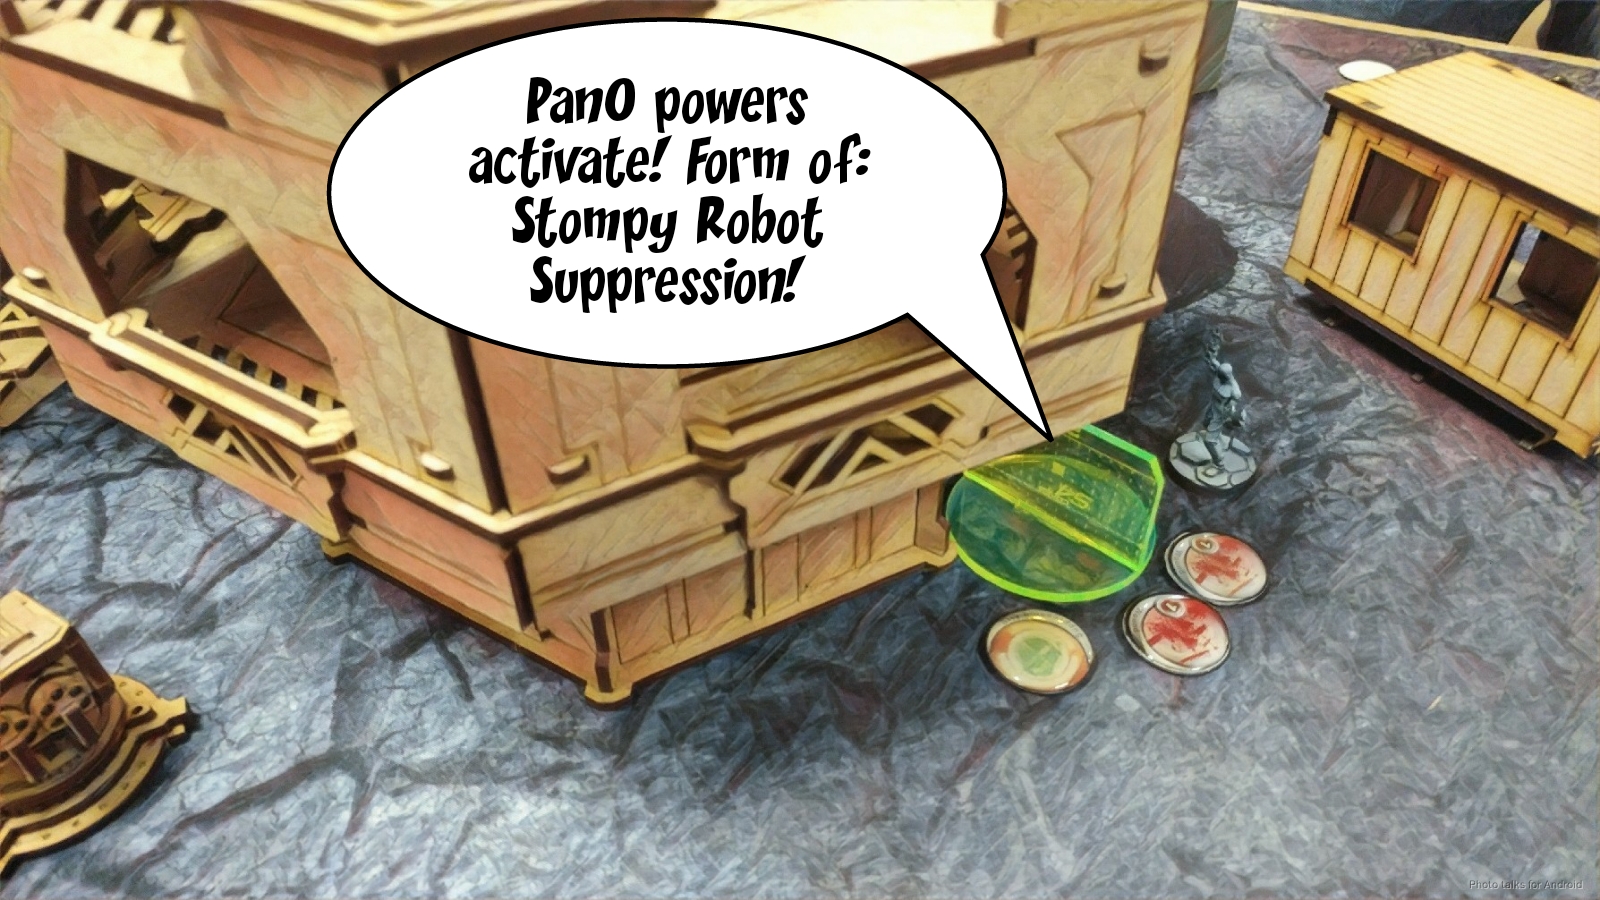
With the TAG in position (the model was too tall, as was the silhouette template, which has some annoying text at the top that’s out of the actual silhouette dimensions), Isaac throws it into suppression.
Finally, he reveals a Croc Man FO, who just drops prone and lays a mine before going back into camo.
Bottom of 1 – JSA
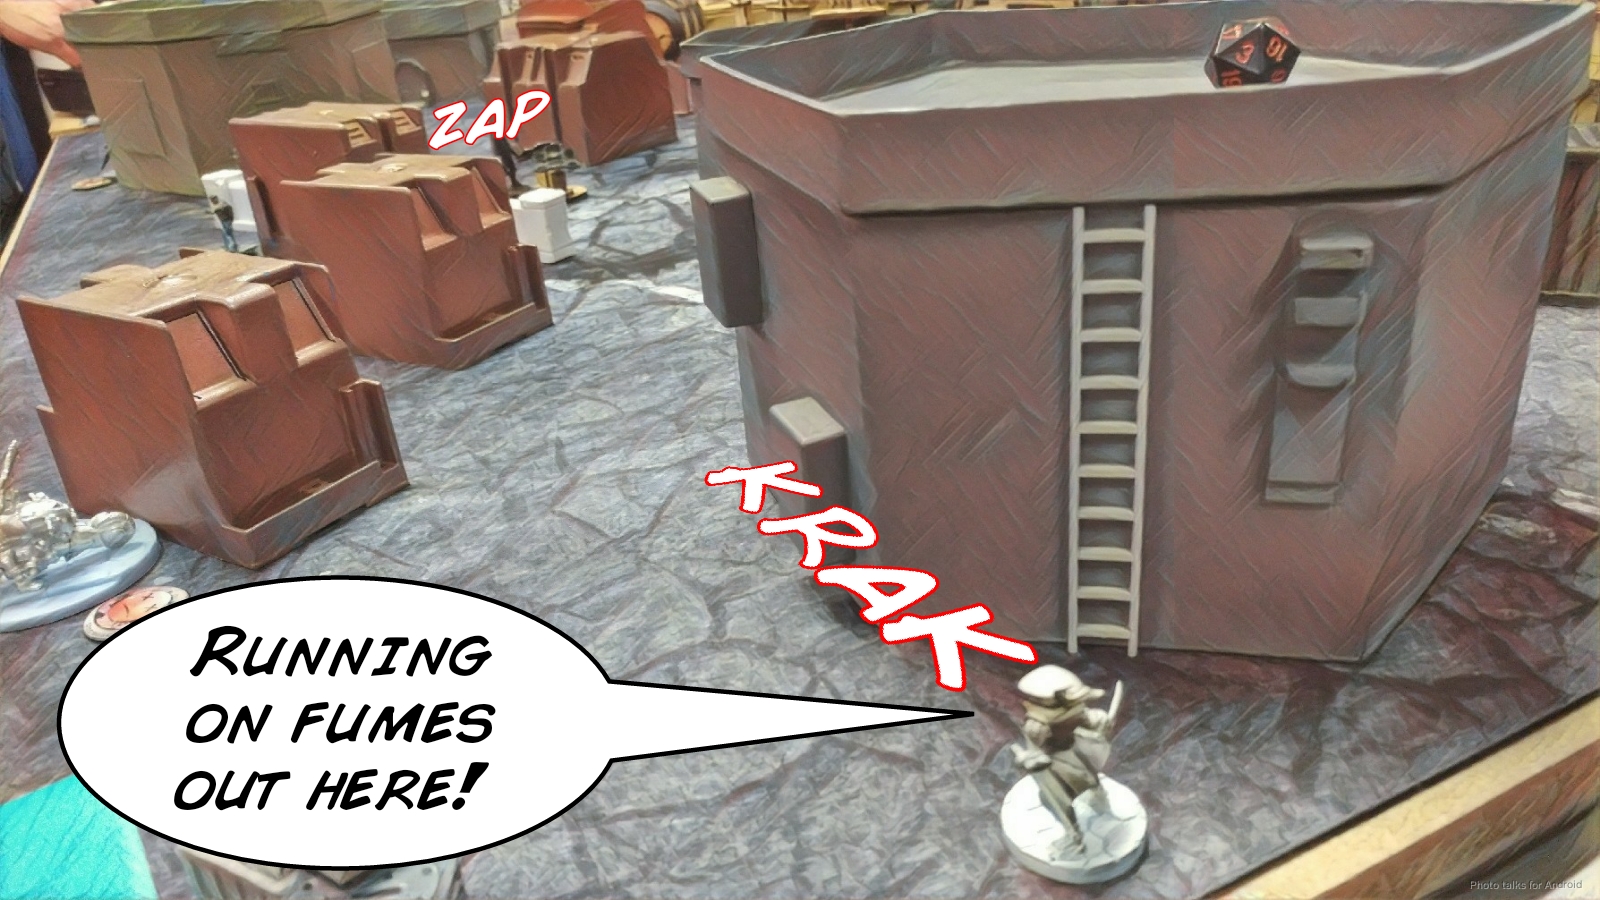
I’ve lost three orders, so I’m down to 6 orders at this point with Shinobu in hidden deployment. I cancel the Aragoto’s order, no need to get her killed by a Squalo in suppression. No, definitely make Isaac spend orders for that. I cancel Yojimbo’s order too, which means I’ve only got 5 orders to get stuff done with. I’m really running on fumes here, and that Clipper really needs to go, as it’s completely locking down the table.
I attempt to split burst with the Ryuken HRL twice, splitting between the Fusilier and the Clipper that are looking at it. The first time, both pass their saves, and the second time, the Clipper passes and the Fusilier dies. Seriously!? This thing has eaten 3 rockets to the face now.
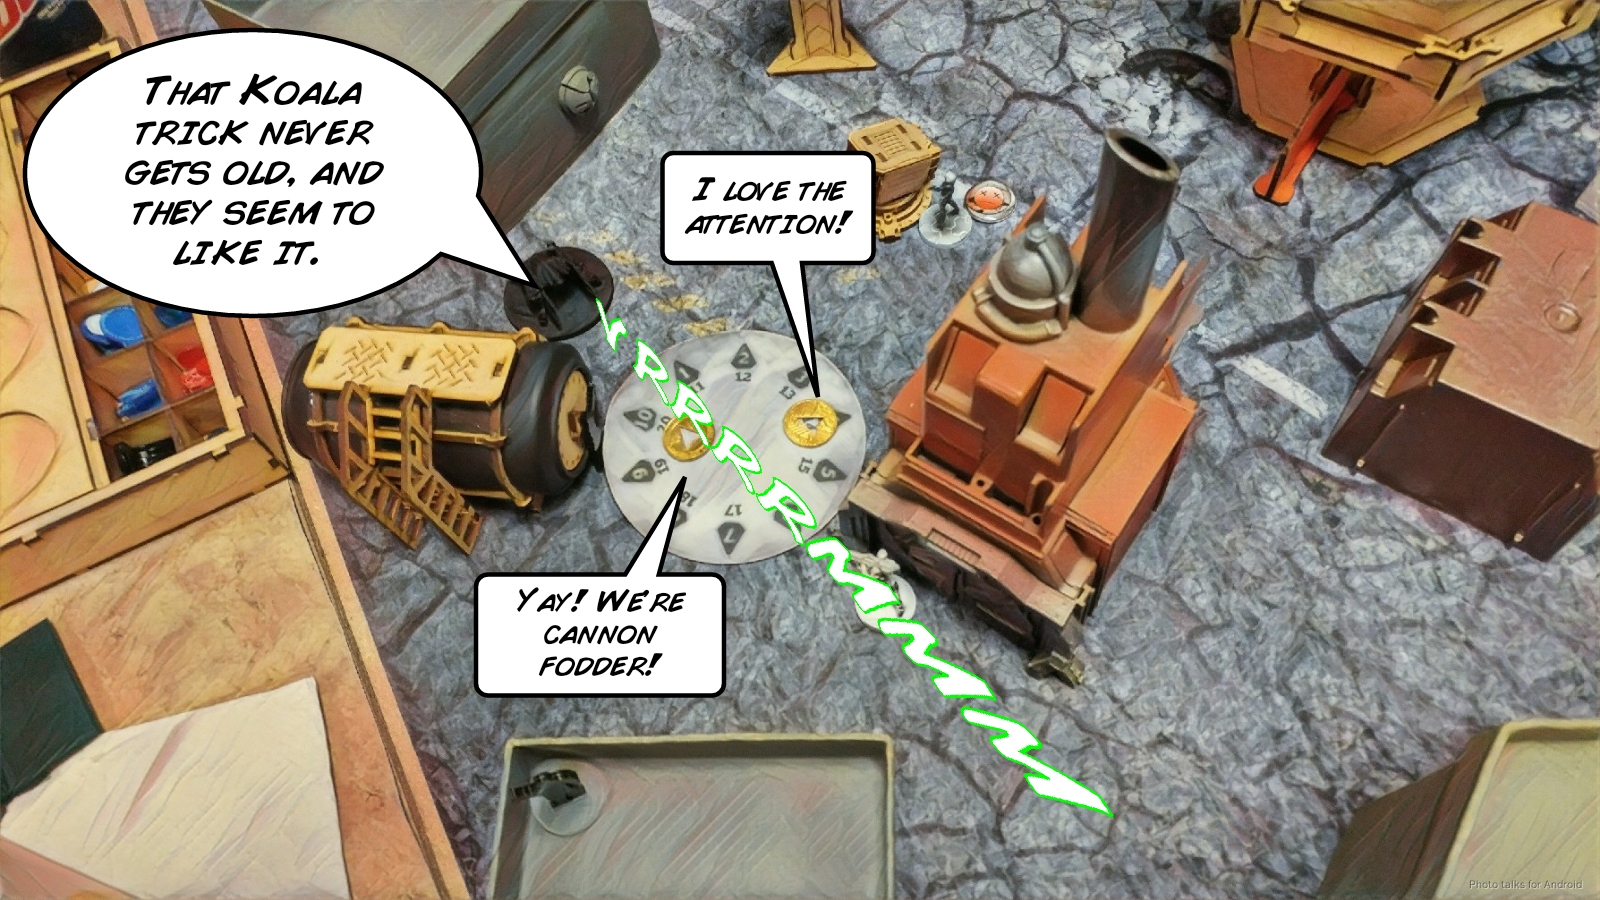
Sigh. I need to do more damage, so I send in Yojimbo. I pop some smoke with Yojimbo, not really using the Koala trick to move into LoF, but more just distracting Isaac’s Clipper with a shiny to shoot at. I have to be really careful here to avoid the template, and I do. Thankfully Isaac whiffs and I get a normal smoke roll out of LoF of the Clipper.
I have just enough orders to get Yojimbo (proxied by a Peacemaker because his sword fell off at the tournament and he’s on my workbench) into LoF of the Fusilier link. Isaac shoots at it with the Clipper, thankfully unlinked, and two Fusiliers while the Kamau dodges
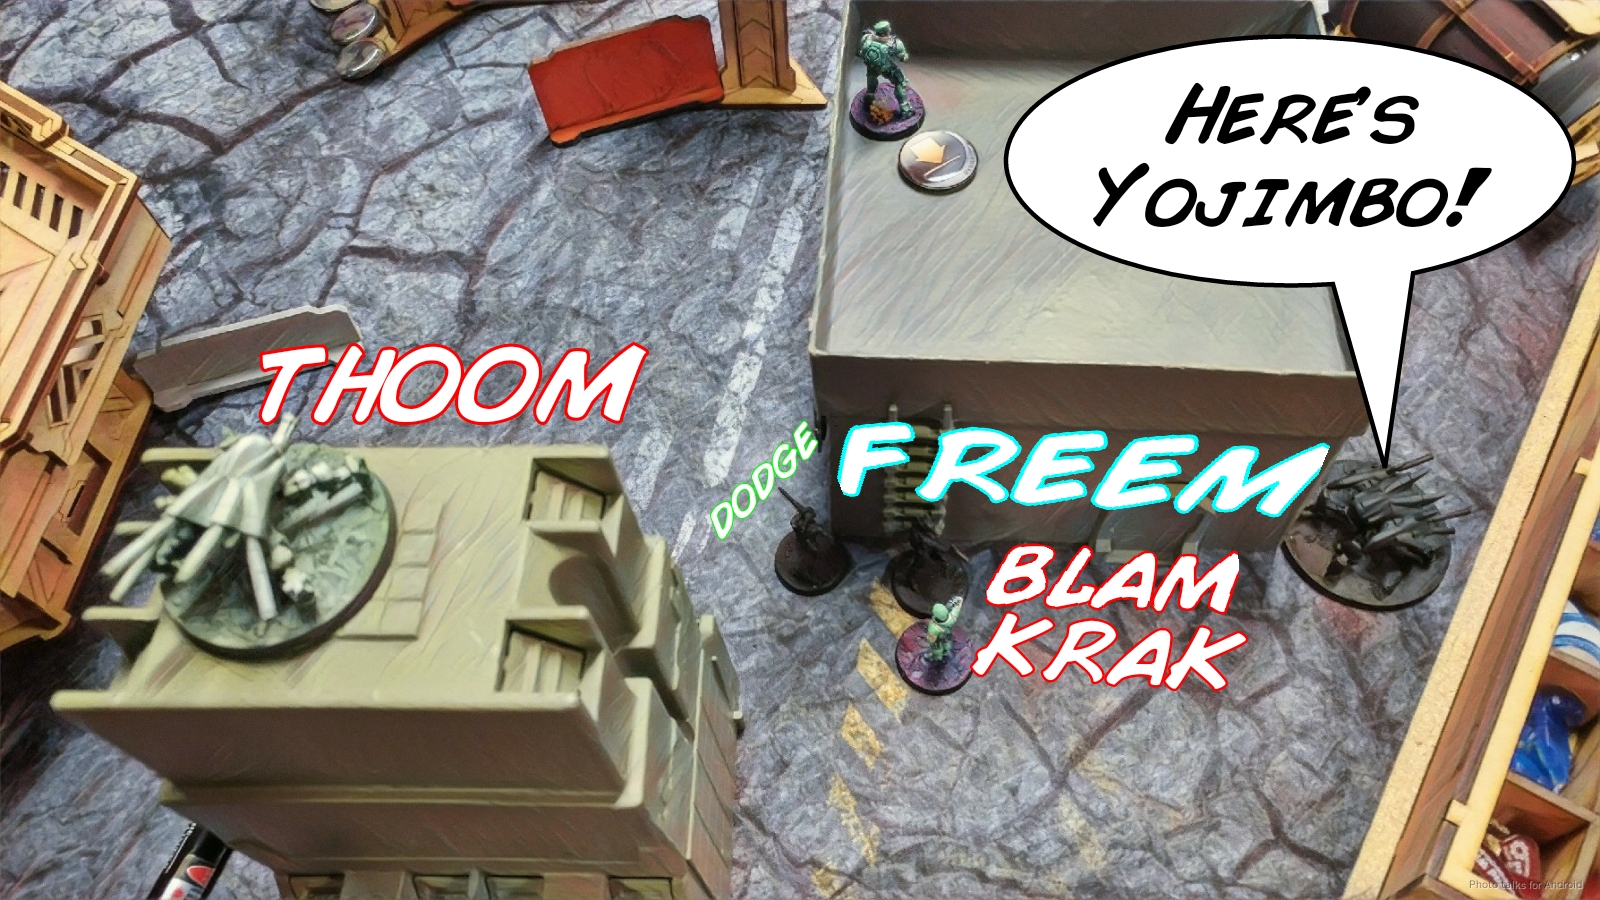
The way things are going, it should be no surprise that Yojimbo dies horribly and the Kamau survives by dodging. Thankfully, both Fusiliers, including the Paramedic, are down for the count.
A part of me wonders if I should have just left him lurking there around the corner, with two Koalas in the links’ face. That might’ve been better. Ah well.
Turn 2
Top of 2 – VIRD
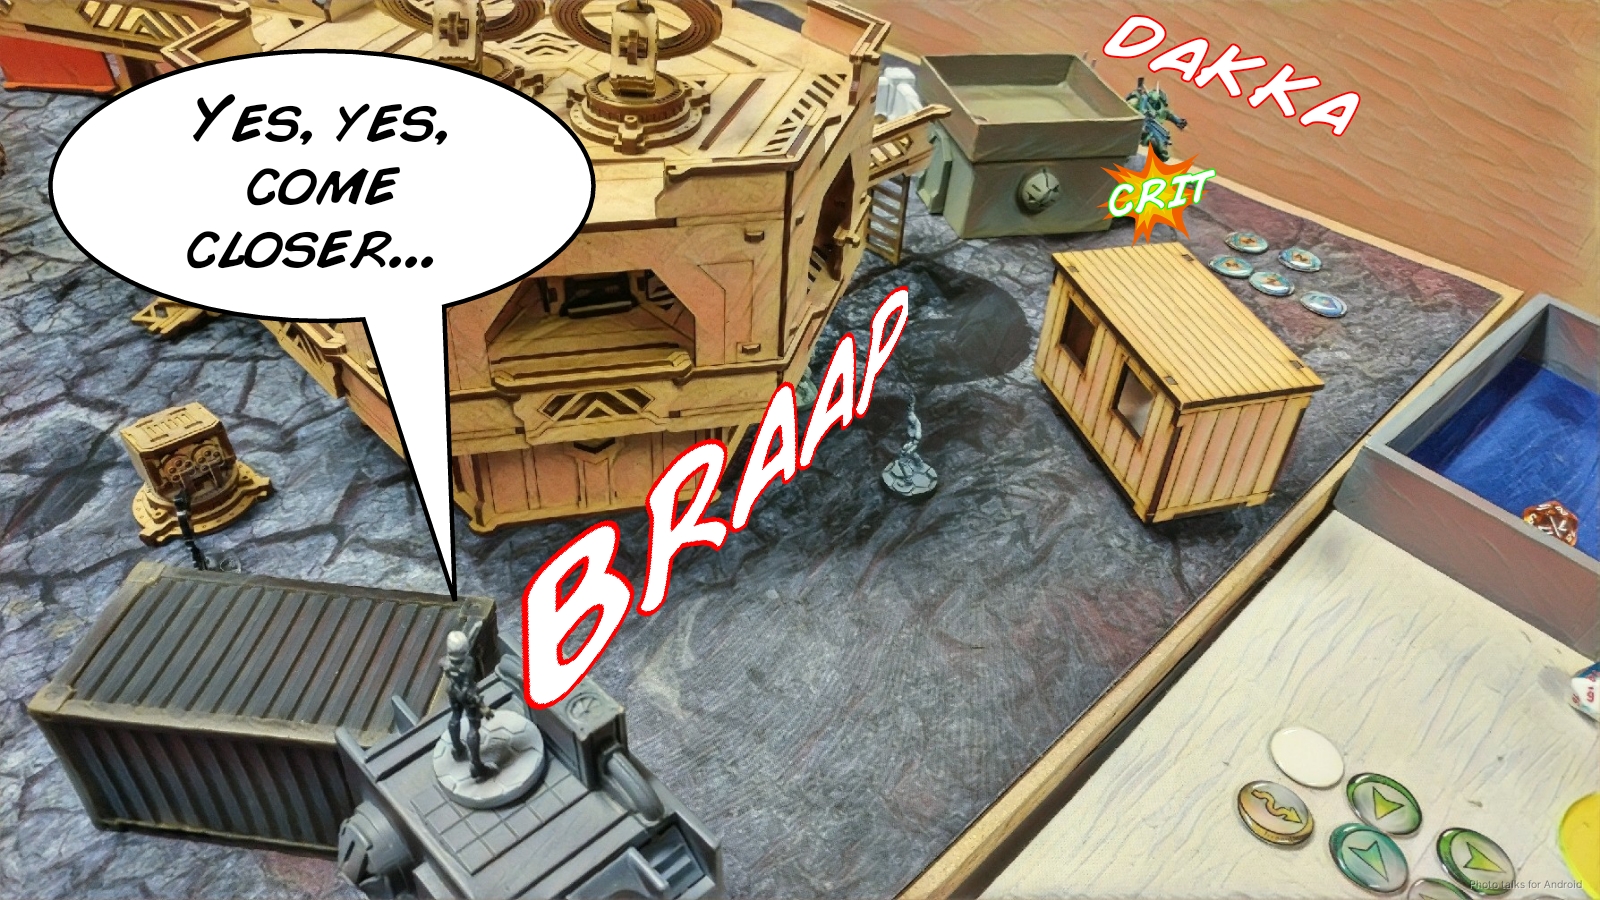
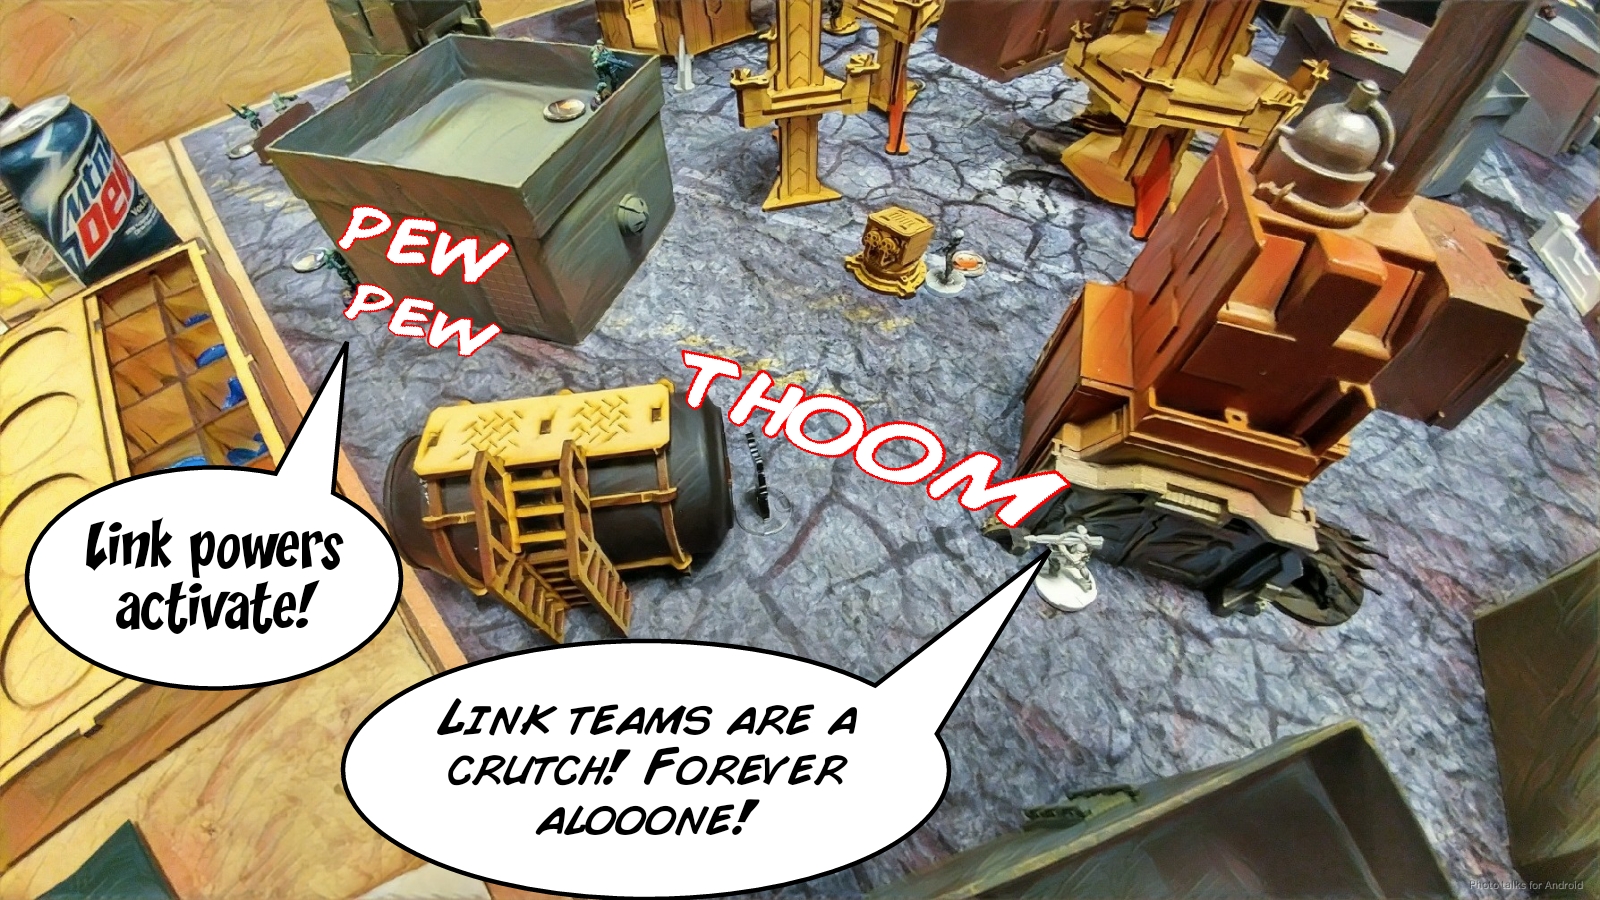
Isaac decides to go after my Ryuken HRL and drops a repeater near his Clipper then buffs it with his Fusilier hacker, who is enjoying an ice cream sandwich or something behind the TAG in suppression.
It’s the battle of the single die, and I lose it. To add insult to injury, I think Isaac lost the first face to face and passed ARM, just to taunt my Ryuken HRL or something. In any case, I can’t pass 3 ARm rolls off a missile, so the Ryuken dies on the next order. Isaac didn’t really need to buff the ‘bot, honestly, but he did because he could.
Next, he kills the Aragoto with a single spec-fired grenade from the Squalo, which sucks, and then it’s my turn after the Croc Man flips the left antenna to PanO colors. BOOO PanO SUCKS!
Bottom of 2 – JSA
I’ve got 4 orders left: two Shikami, a Kempetai BSG, and Shinobu. The more I think about this, the more I think I could’ve salvaged the game to a tie here. I could’ve taken out the TAG and then ignored the Clipper that was still up and just run the Shikami on the right side of the table up to get the Multiscanner and flip an antenna. Had I done that, Isaac would’ve probably had to deal with that instead of running his Croc Man around.
Anyway. Instead, I choose a stupid tool to do a stupid thing. I throw a Nimbus Grenade and take a face to face just in 24″ with a Shikami versus a Clipper. The bot’s on 2’s, and I’m on 6’s. I’ve got one chance to do this, and of course the bot kills the Shikami. Sigh.
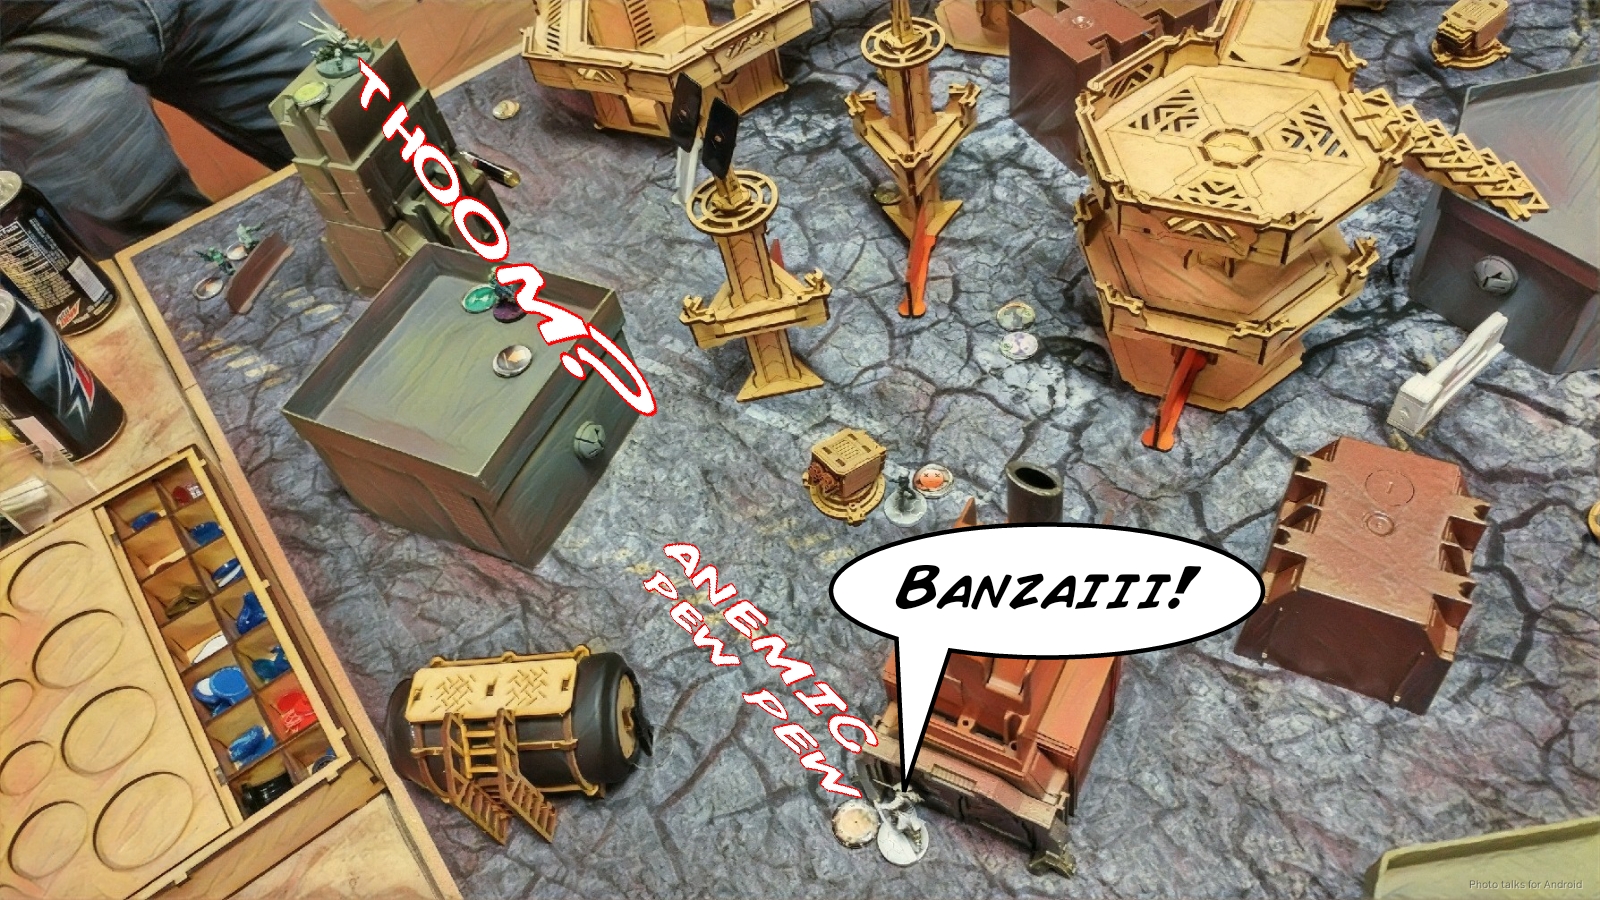
I’ve got two orders left, and that’s what it takes for Shinobu to kill the Squalo. One to get close, one to lightsaber it.
I don’t have any more orders to deal with the Fusilier Hacker, so Shinobu settles for making fun of his sculpt. Sculpt shaming? You don’t know their lives!
Turn 3
Top of 3 – VIRD
Isaac flips the Croc Man into group one, runs it across the table, kills my Kempetai, and then gets into base to base with my console. Currently, the score stands at 6 to -1, because my HVT is near the console and Isaac is securing, but loses the point for not placing the Multiscanner. Really should rethink HVT placement in Power Pack… Anyway.
Bottom of 3 – JSA
I’m in LoL with two orders, and I’ve got one chance to turn this into a 4-2 game, and that’s to get an amazing contender shot off at the Croc Man with my remaining Shikami while rubber banding the Xenotech forward out of the DZ to place the Multiscanner on the second order.
We measure it out and it turns out I can do it. Of course, Isaac decides to flash pulse me in response, but our TO/ODD keeps our guys safe. Thankfully, I make the Multiscanner roll and bring it to a
6-2 Varuna Immediate Reaction Division Victory!
Post Game Analysis
Ugh. Well, doesn’t matter how good the deployment vulnerability is, there’s no reason to deploy so stupidly to exploit it. Isaac could’ve easily just not formed a link with those two units it, then used any number of other tools to extract himself from the predicament.
I should’ve just carefully null deployed and used Koalas and Mines to make things difficult. I’d still have to weather the storm of grenades coming in, there’s absolutely nothing I can do about that aside from putting a TO thing down watching the TAG with an appropriately big gun or something. Which is basically just the Ninja MSR. Which is… kinda sad.
In any case, on my side, I lost the game in deployment, no ifs ands or buts, even ignoring the Fusilier visibility debacle. I think I let my greed get to me, and didn’t take a step back to level set before diving into the game. By the time I was in the right headspace to play smartly, I was down to half an order pool.
I really do think that JSA is playing Infinity on Hard Mode. You really lose out on easy access to commonly used tools like HMGs and such, and instead rely on a careful game of positioning, mod stacking, and abusing range bands to get things done. There simply isn’t any room for mistakes. I think that’s part of the reason I’ve been really enjoying playing 10 order JSA. It rapidly and dramatically exposes play mistakes for you, in a way that other armies might not.
A good example would be that game I had of JSA versus CHA the other day, where I literally wiped out an entire 8-order order pool on my first turn and CHA simply did. not. care. My opponent had a big deployment zone weakness that I exploited, but CHA is a very resilient army (as is HB) so the impact of the lesson carries less emotional weight. Having something like that happen in JSA is absolutely catastrophic. Losing even 3 orders, like I did, is pretty awful. Isaac mentioned that maybe the TR bot isn’t the right plan then. I’m not sure. Still thinking it over. Lots to think about.
Anyway, thanks again to Isaac for giving me a good game and a sound drubbing to remind me how much more I have to grow as a player.

I know it’s been a while since you wrote this post, but hoping that you’ll get this message.
I’m relatively new to infinity. I play JSA. I’ve tried a few different list types but I just love CC-orientated list. And even more than that, I’m addicted to trying to make the duo shikami work.
Could you offer any tips?