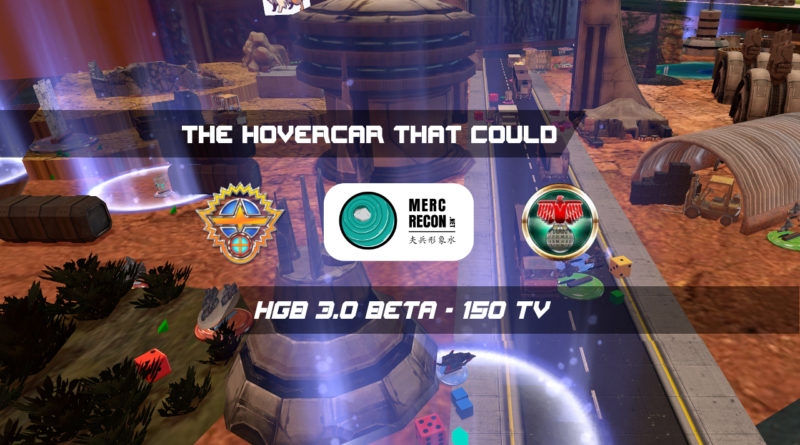
The HoverCar that Could
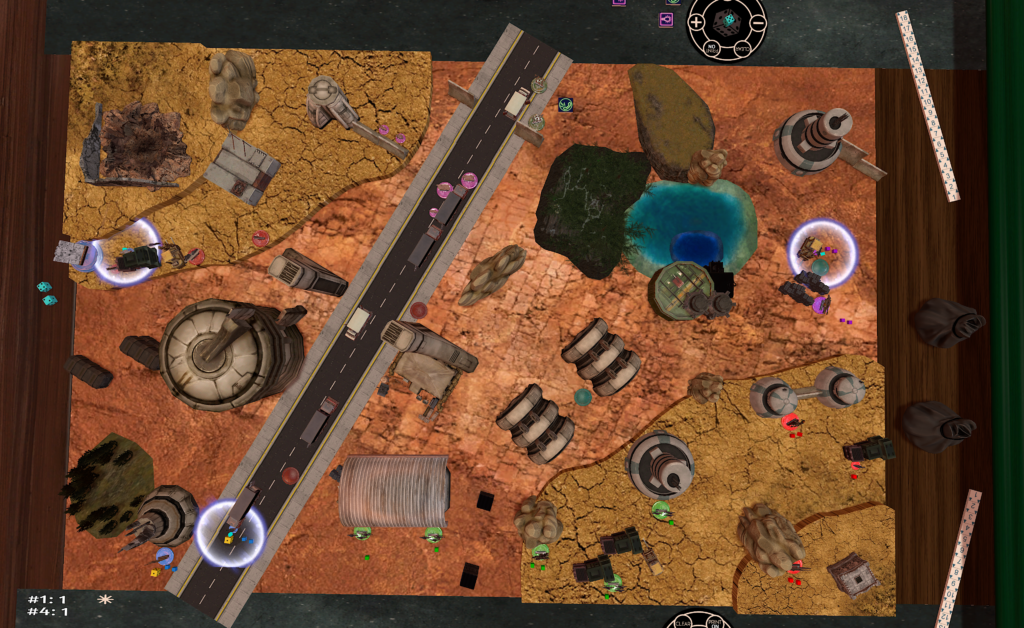
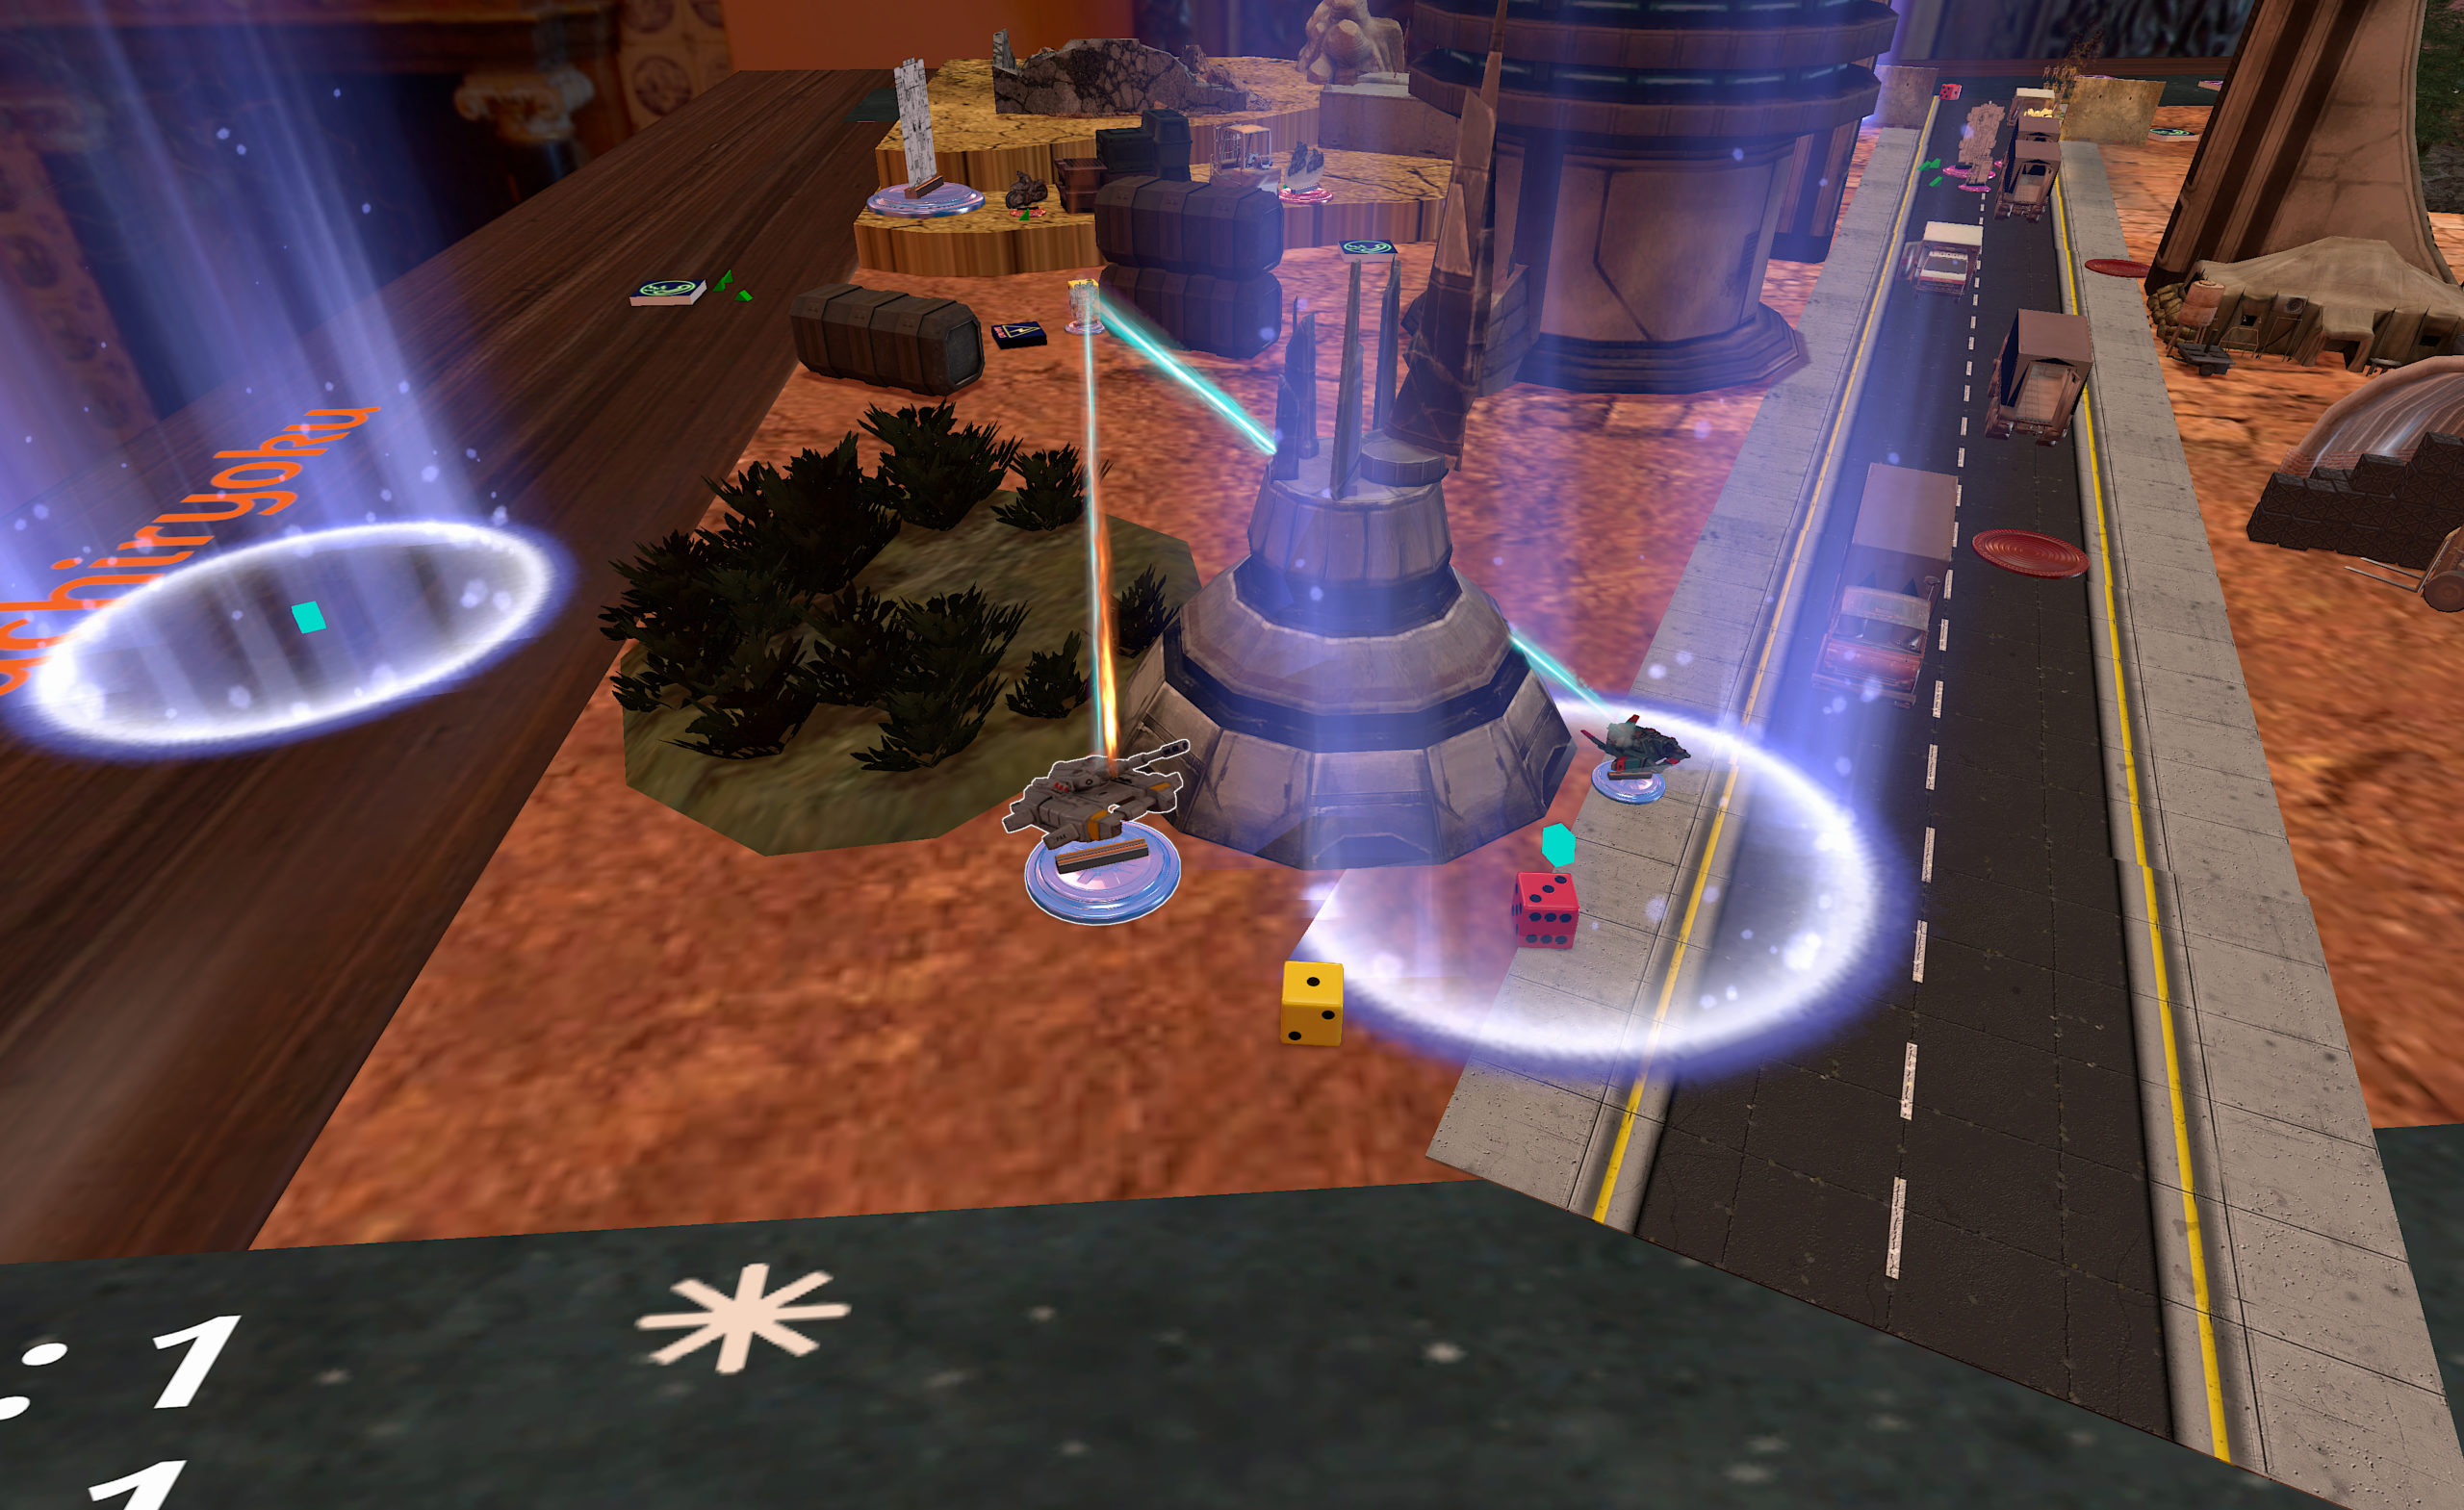
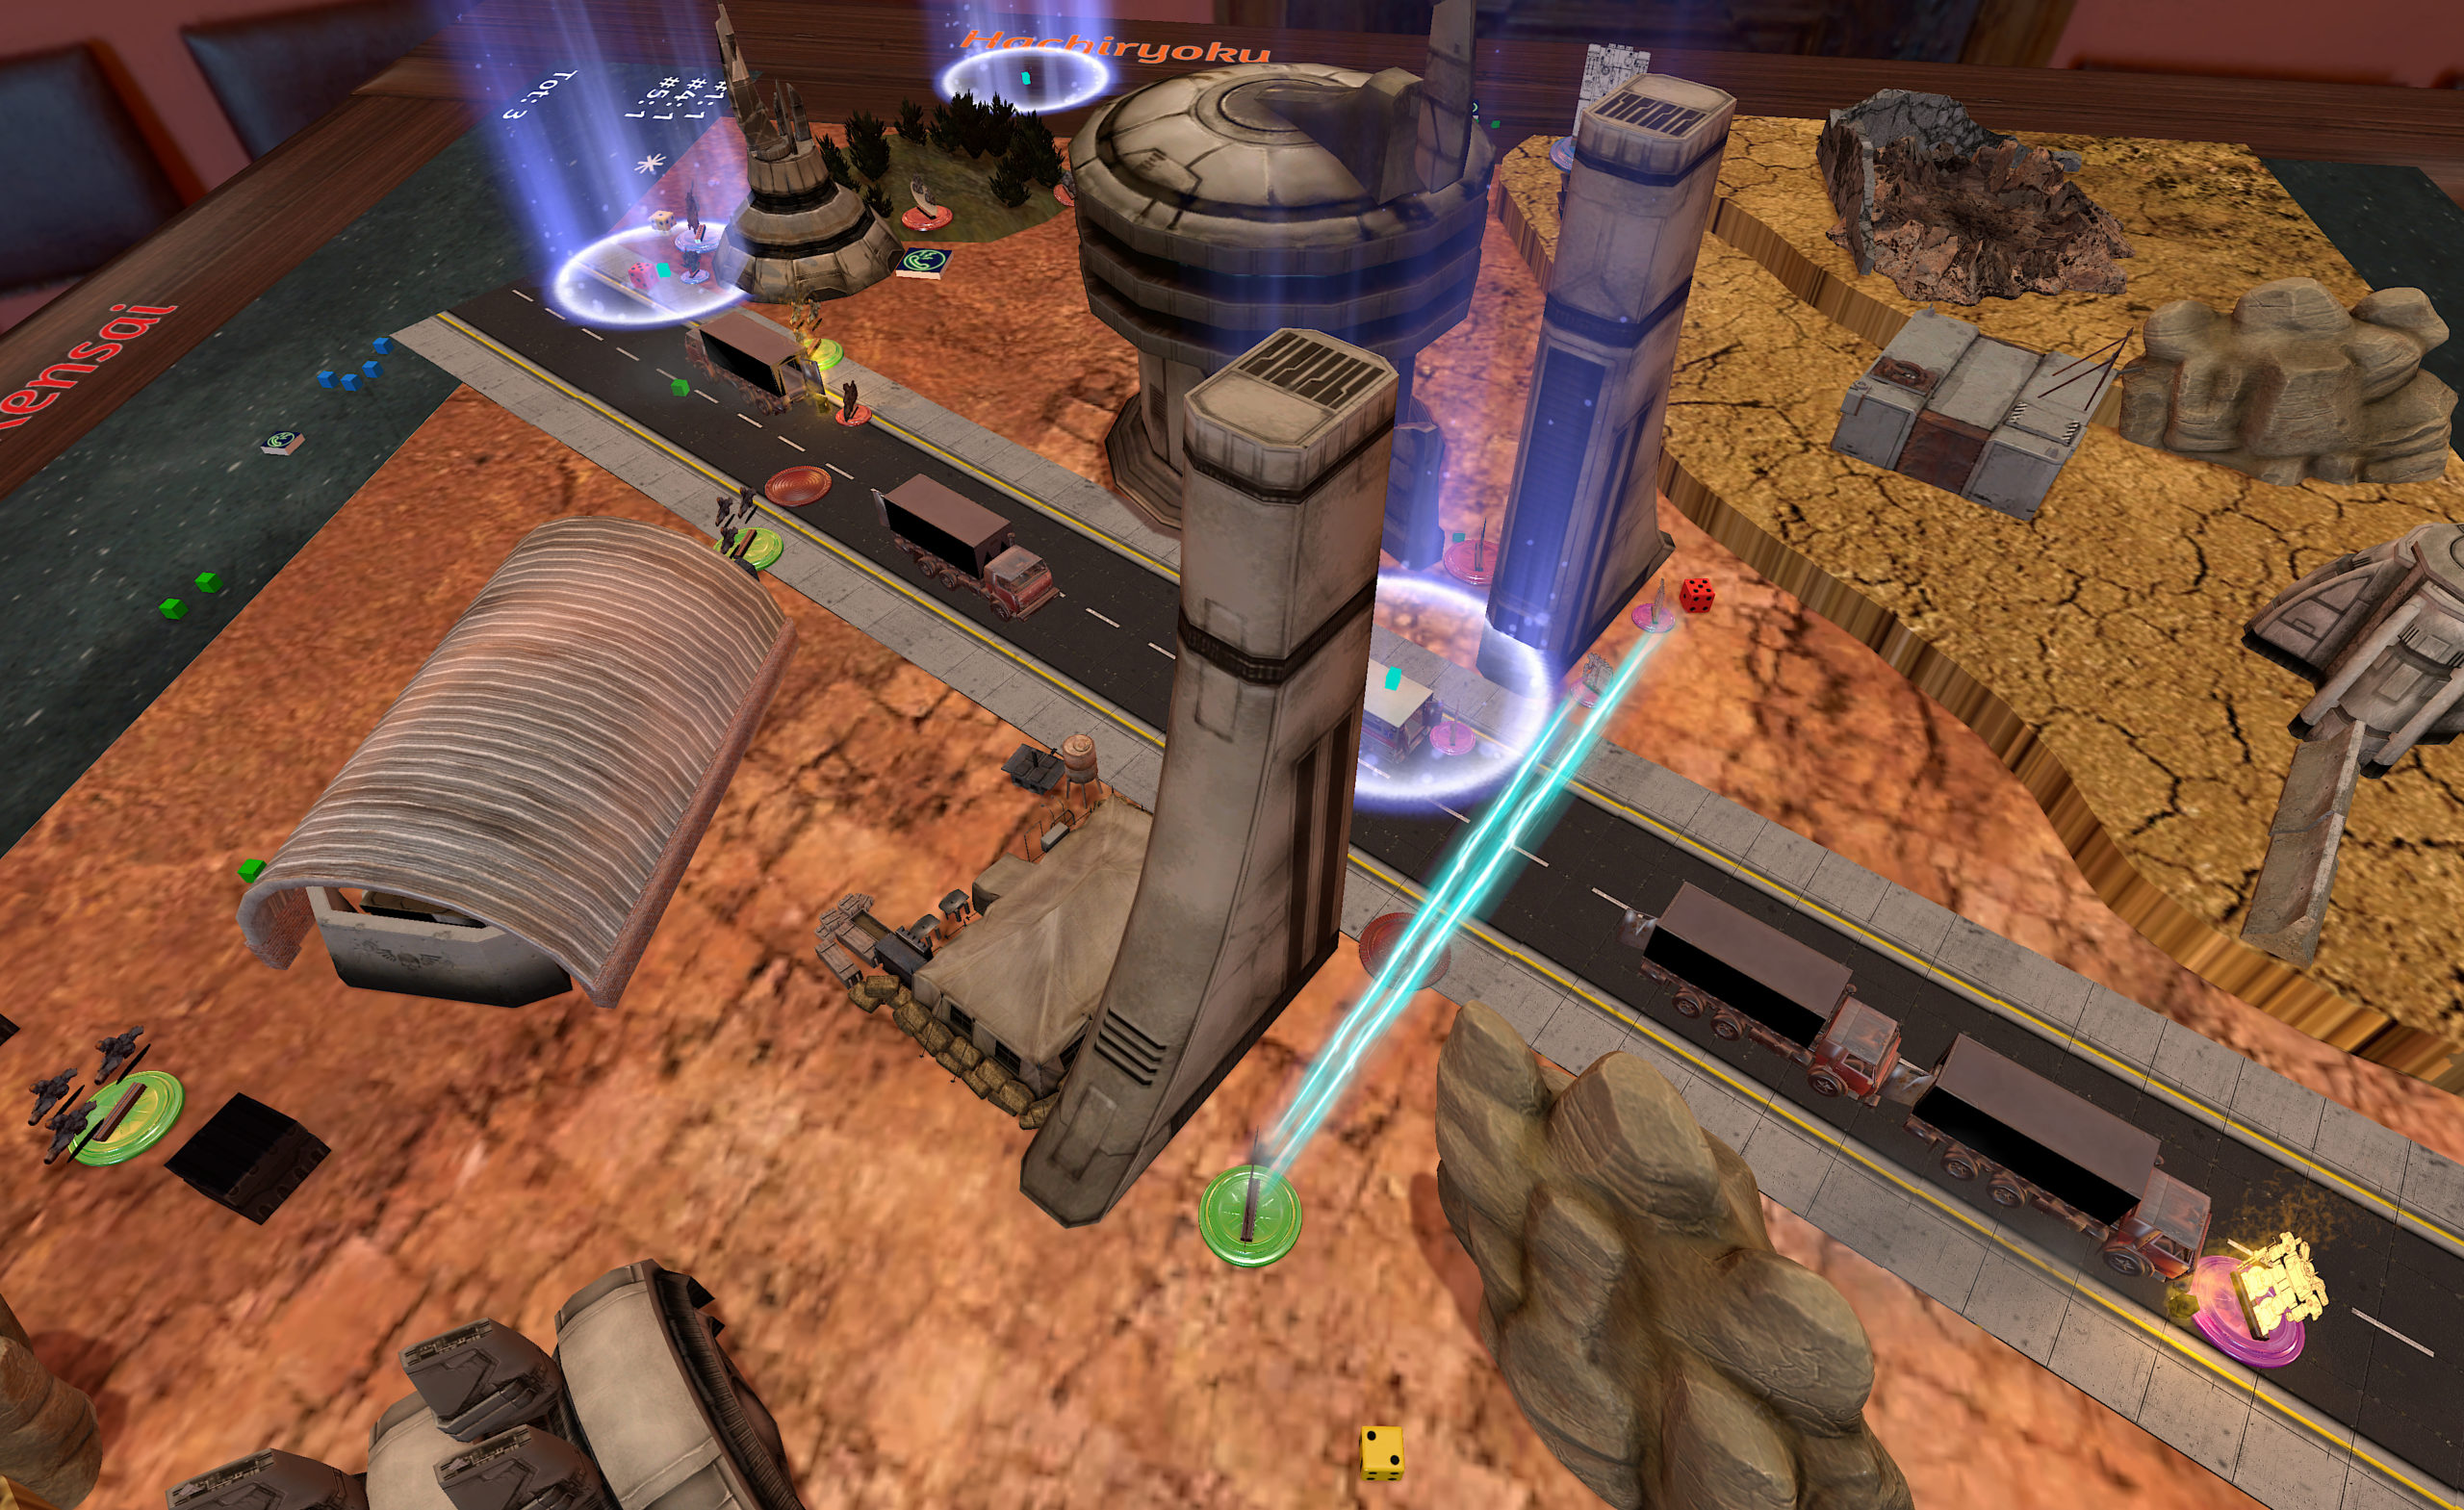
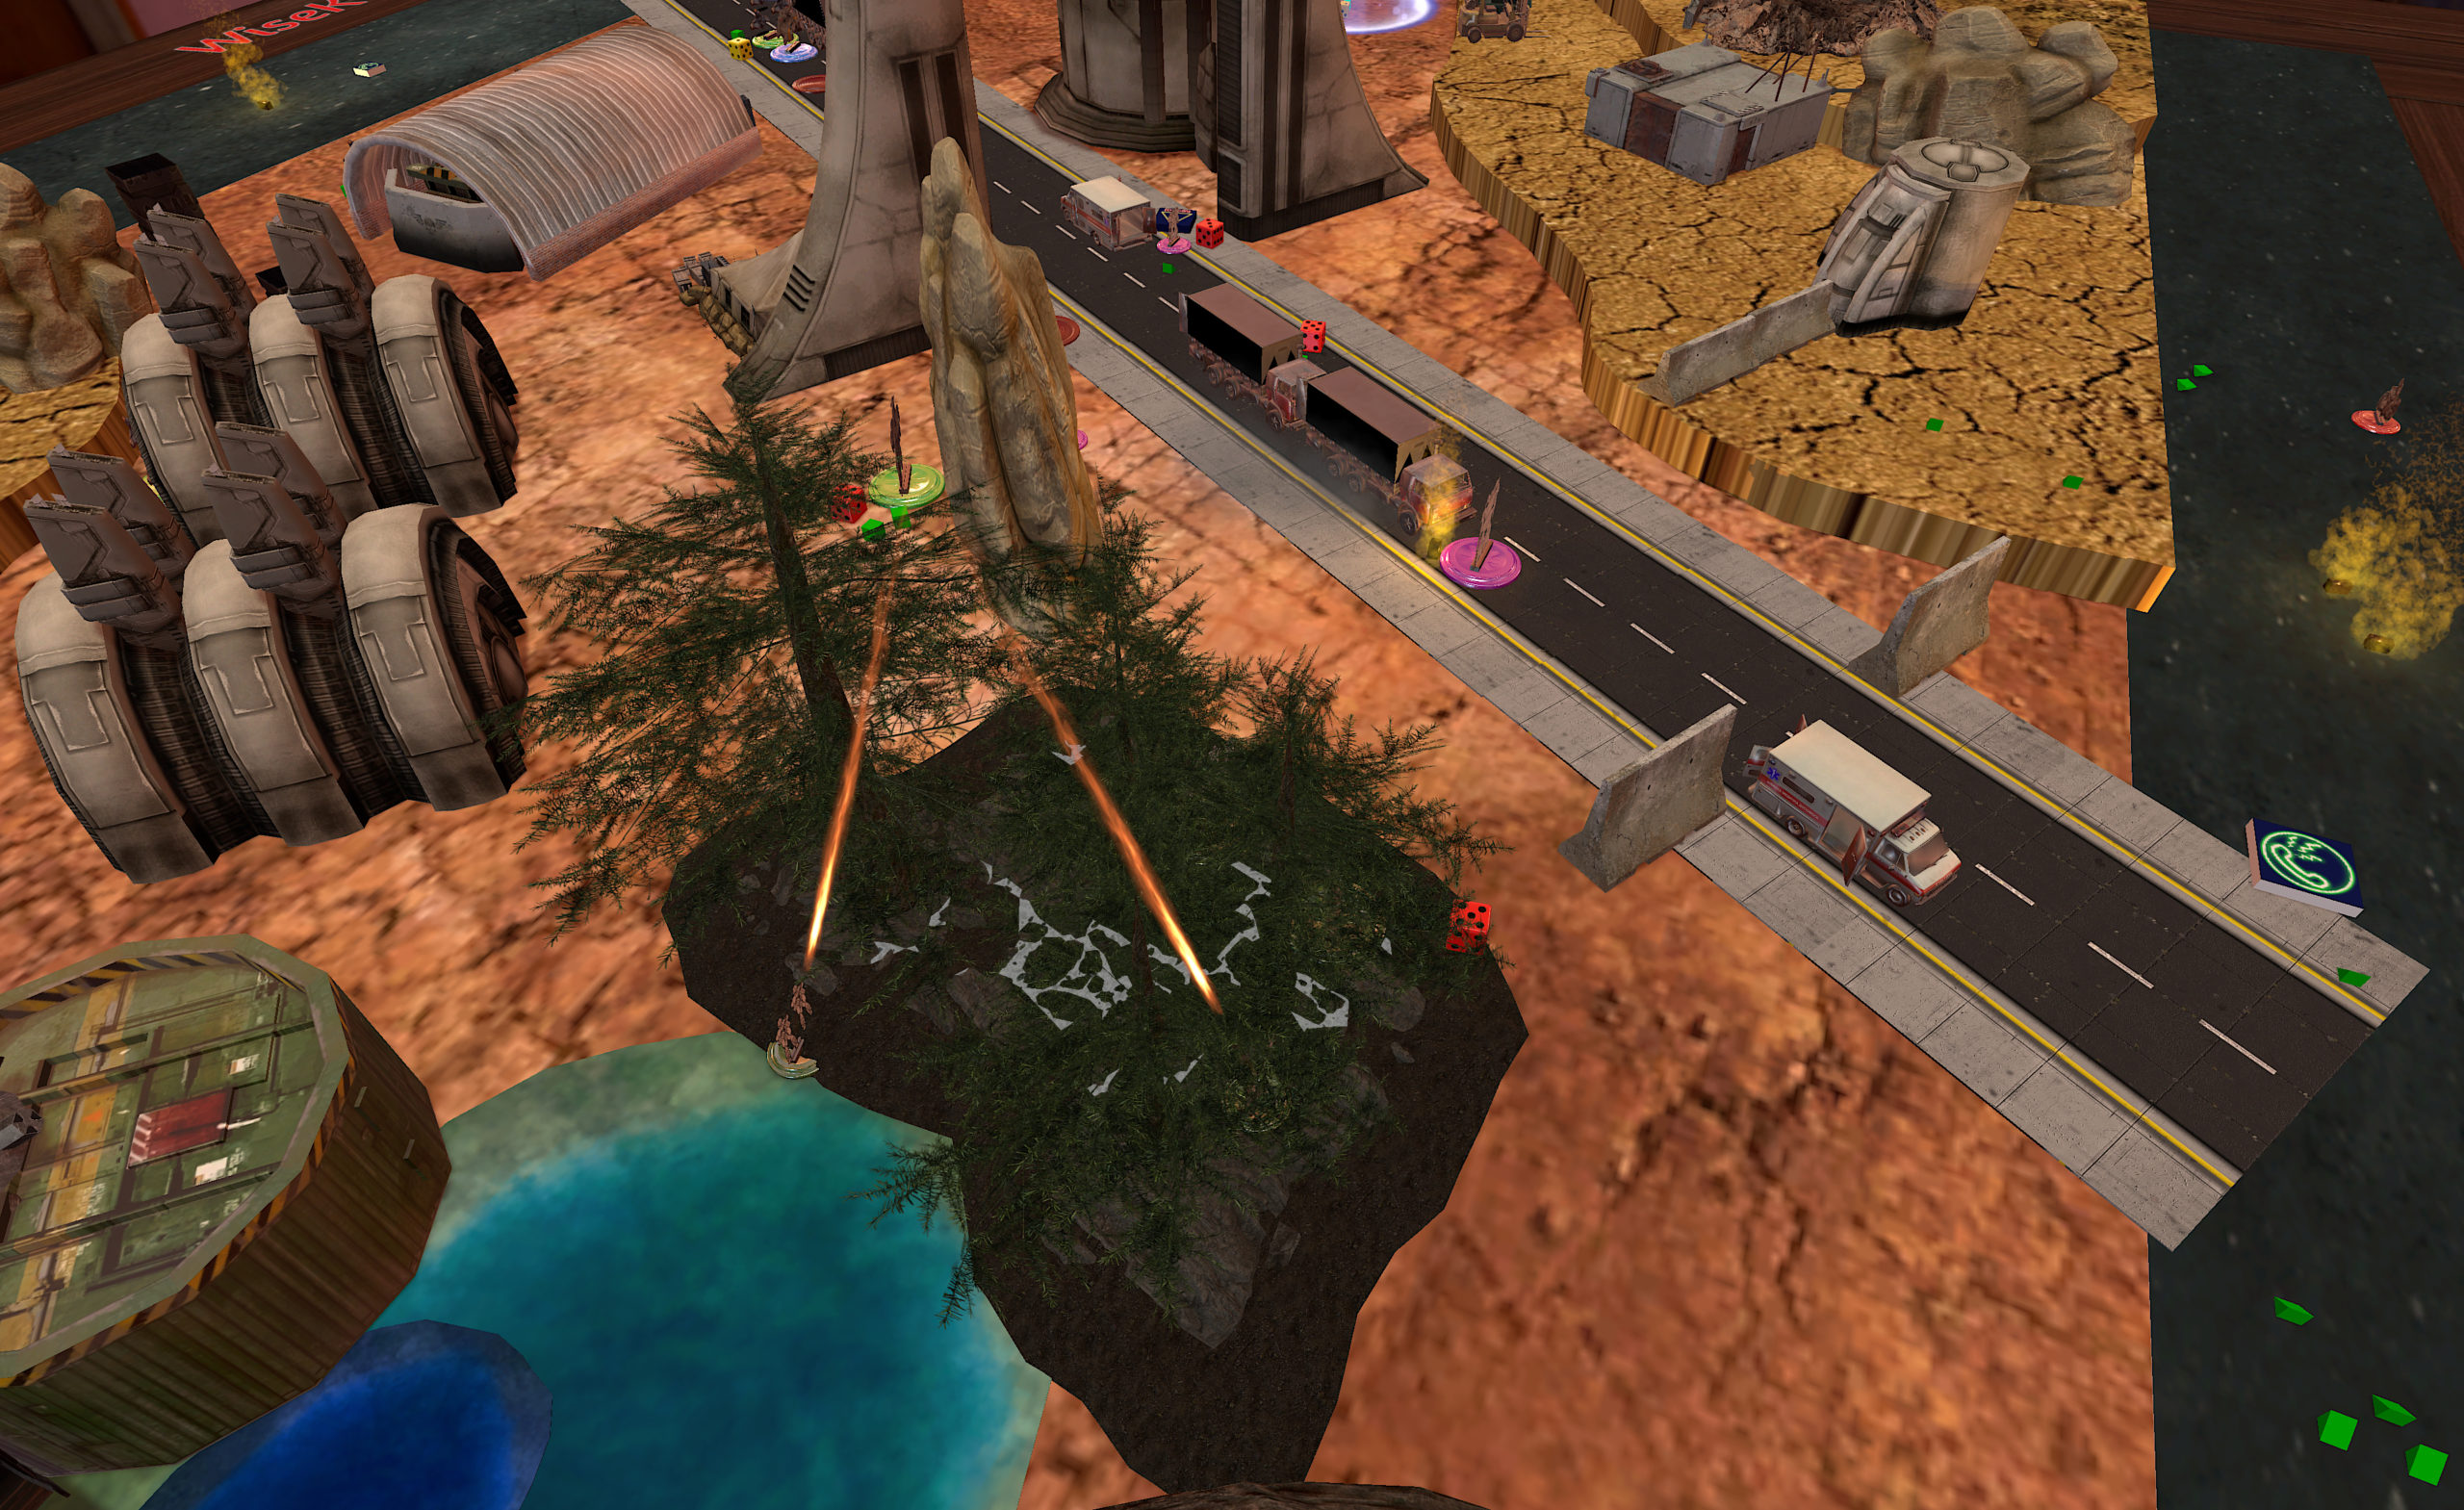
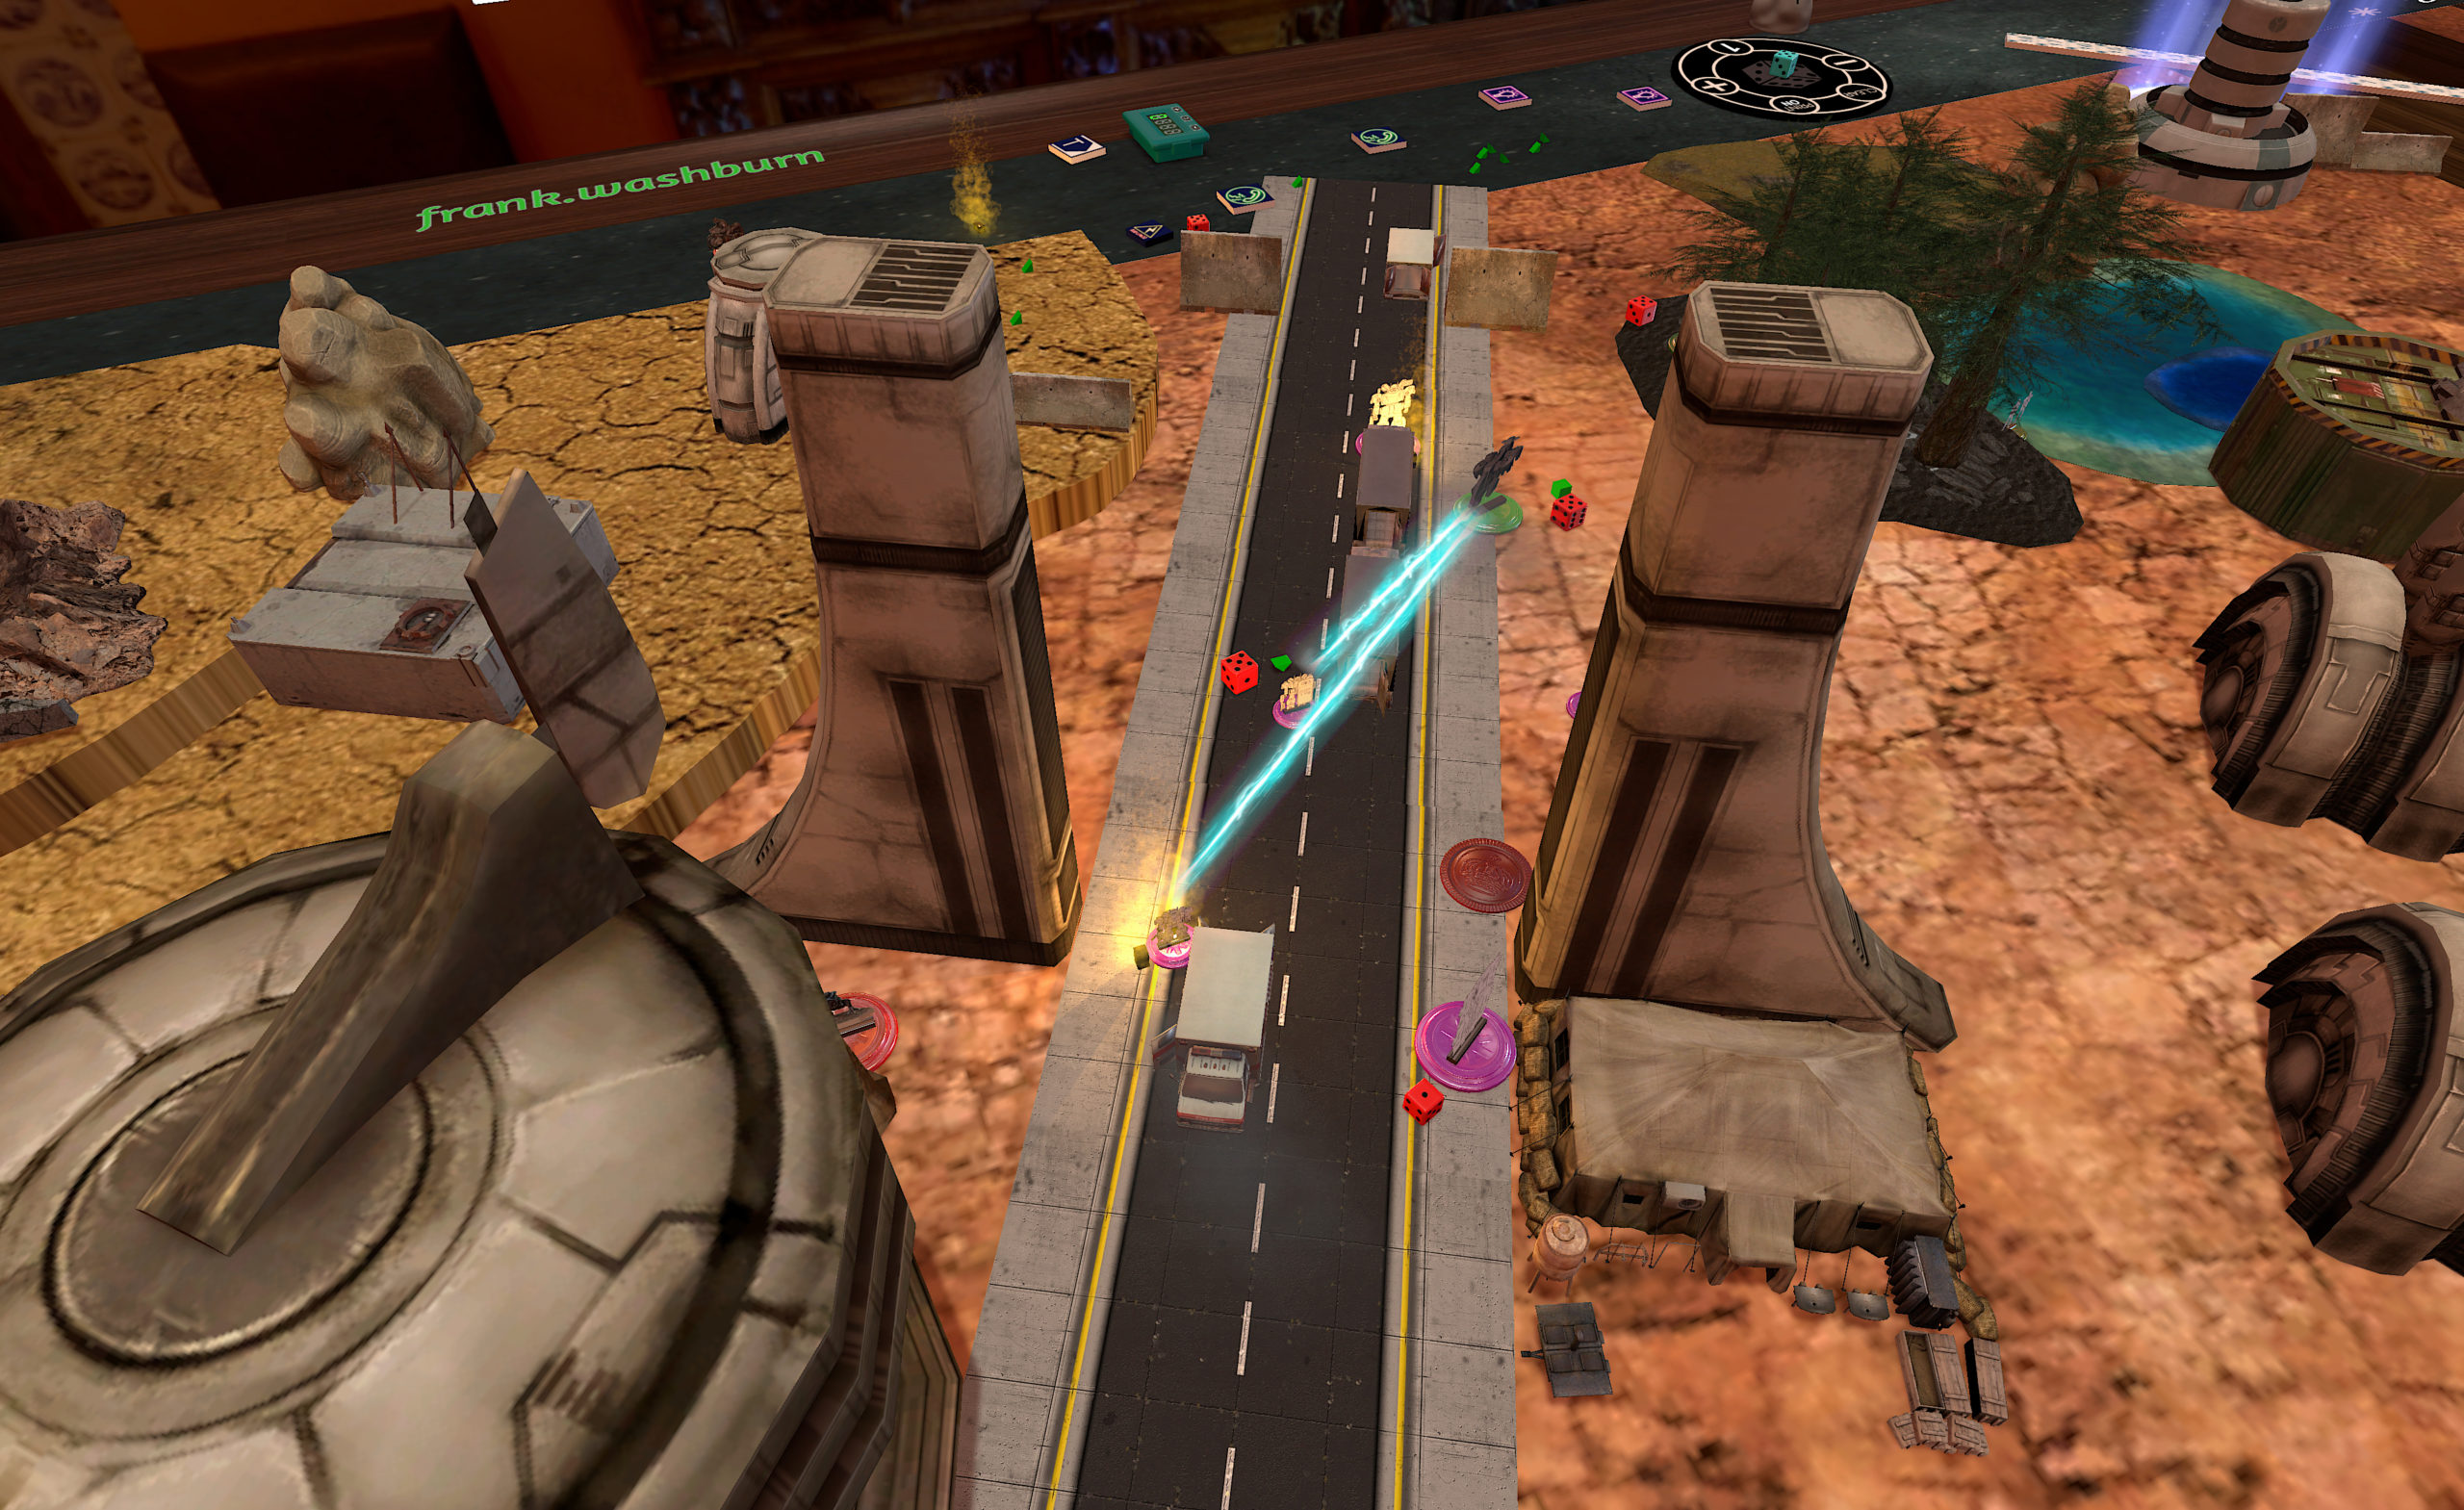
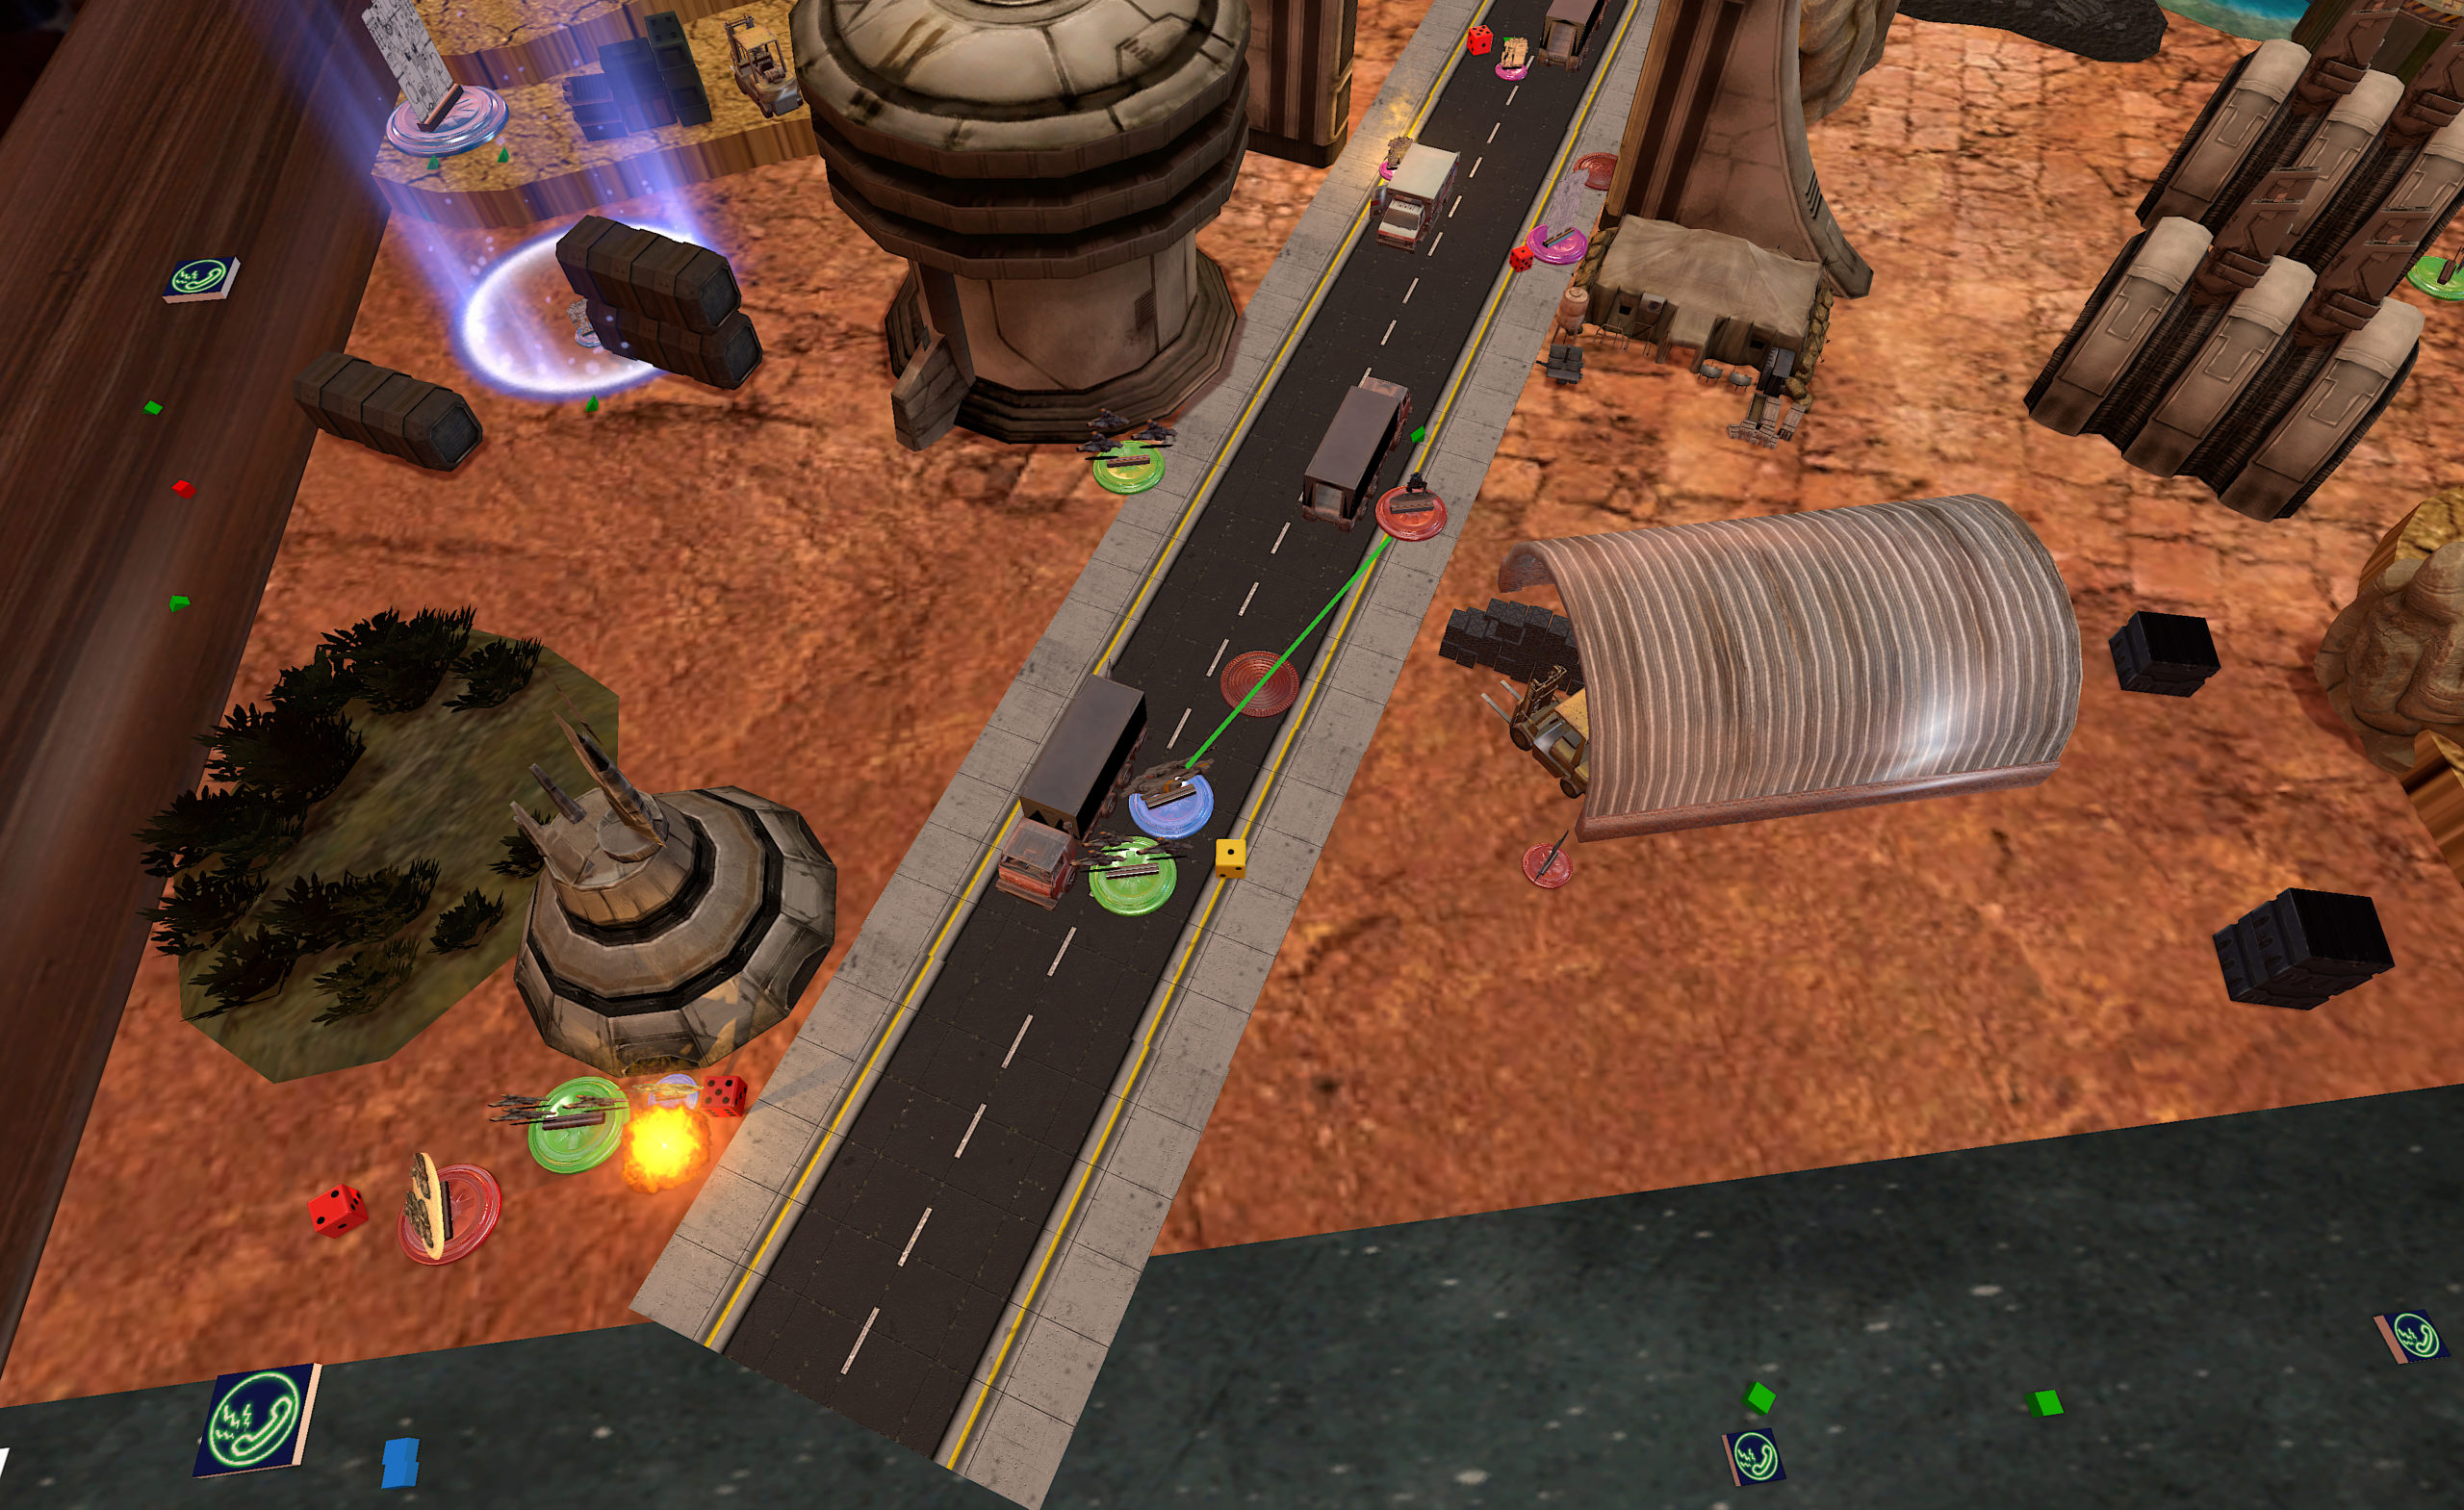
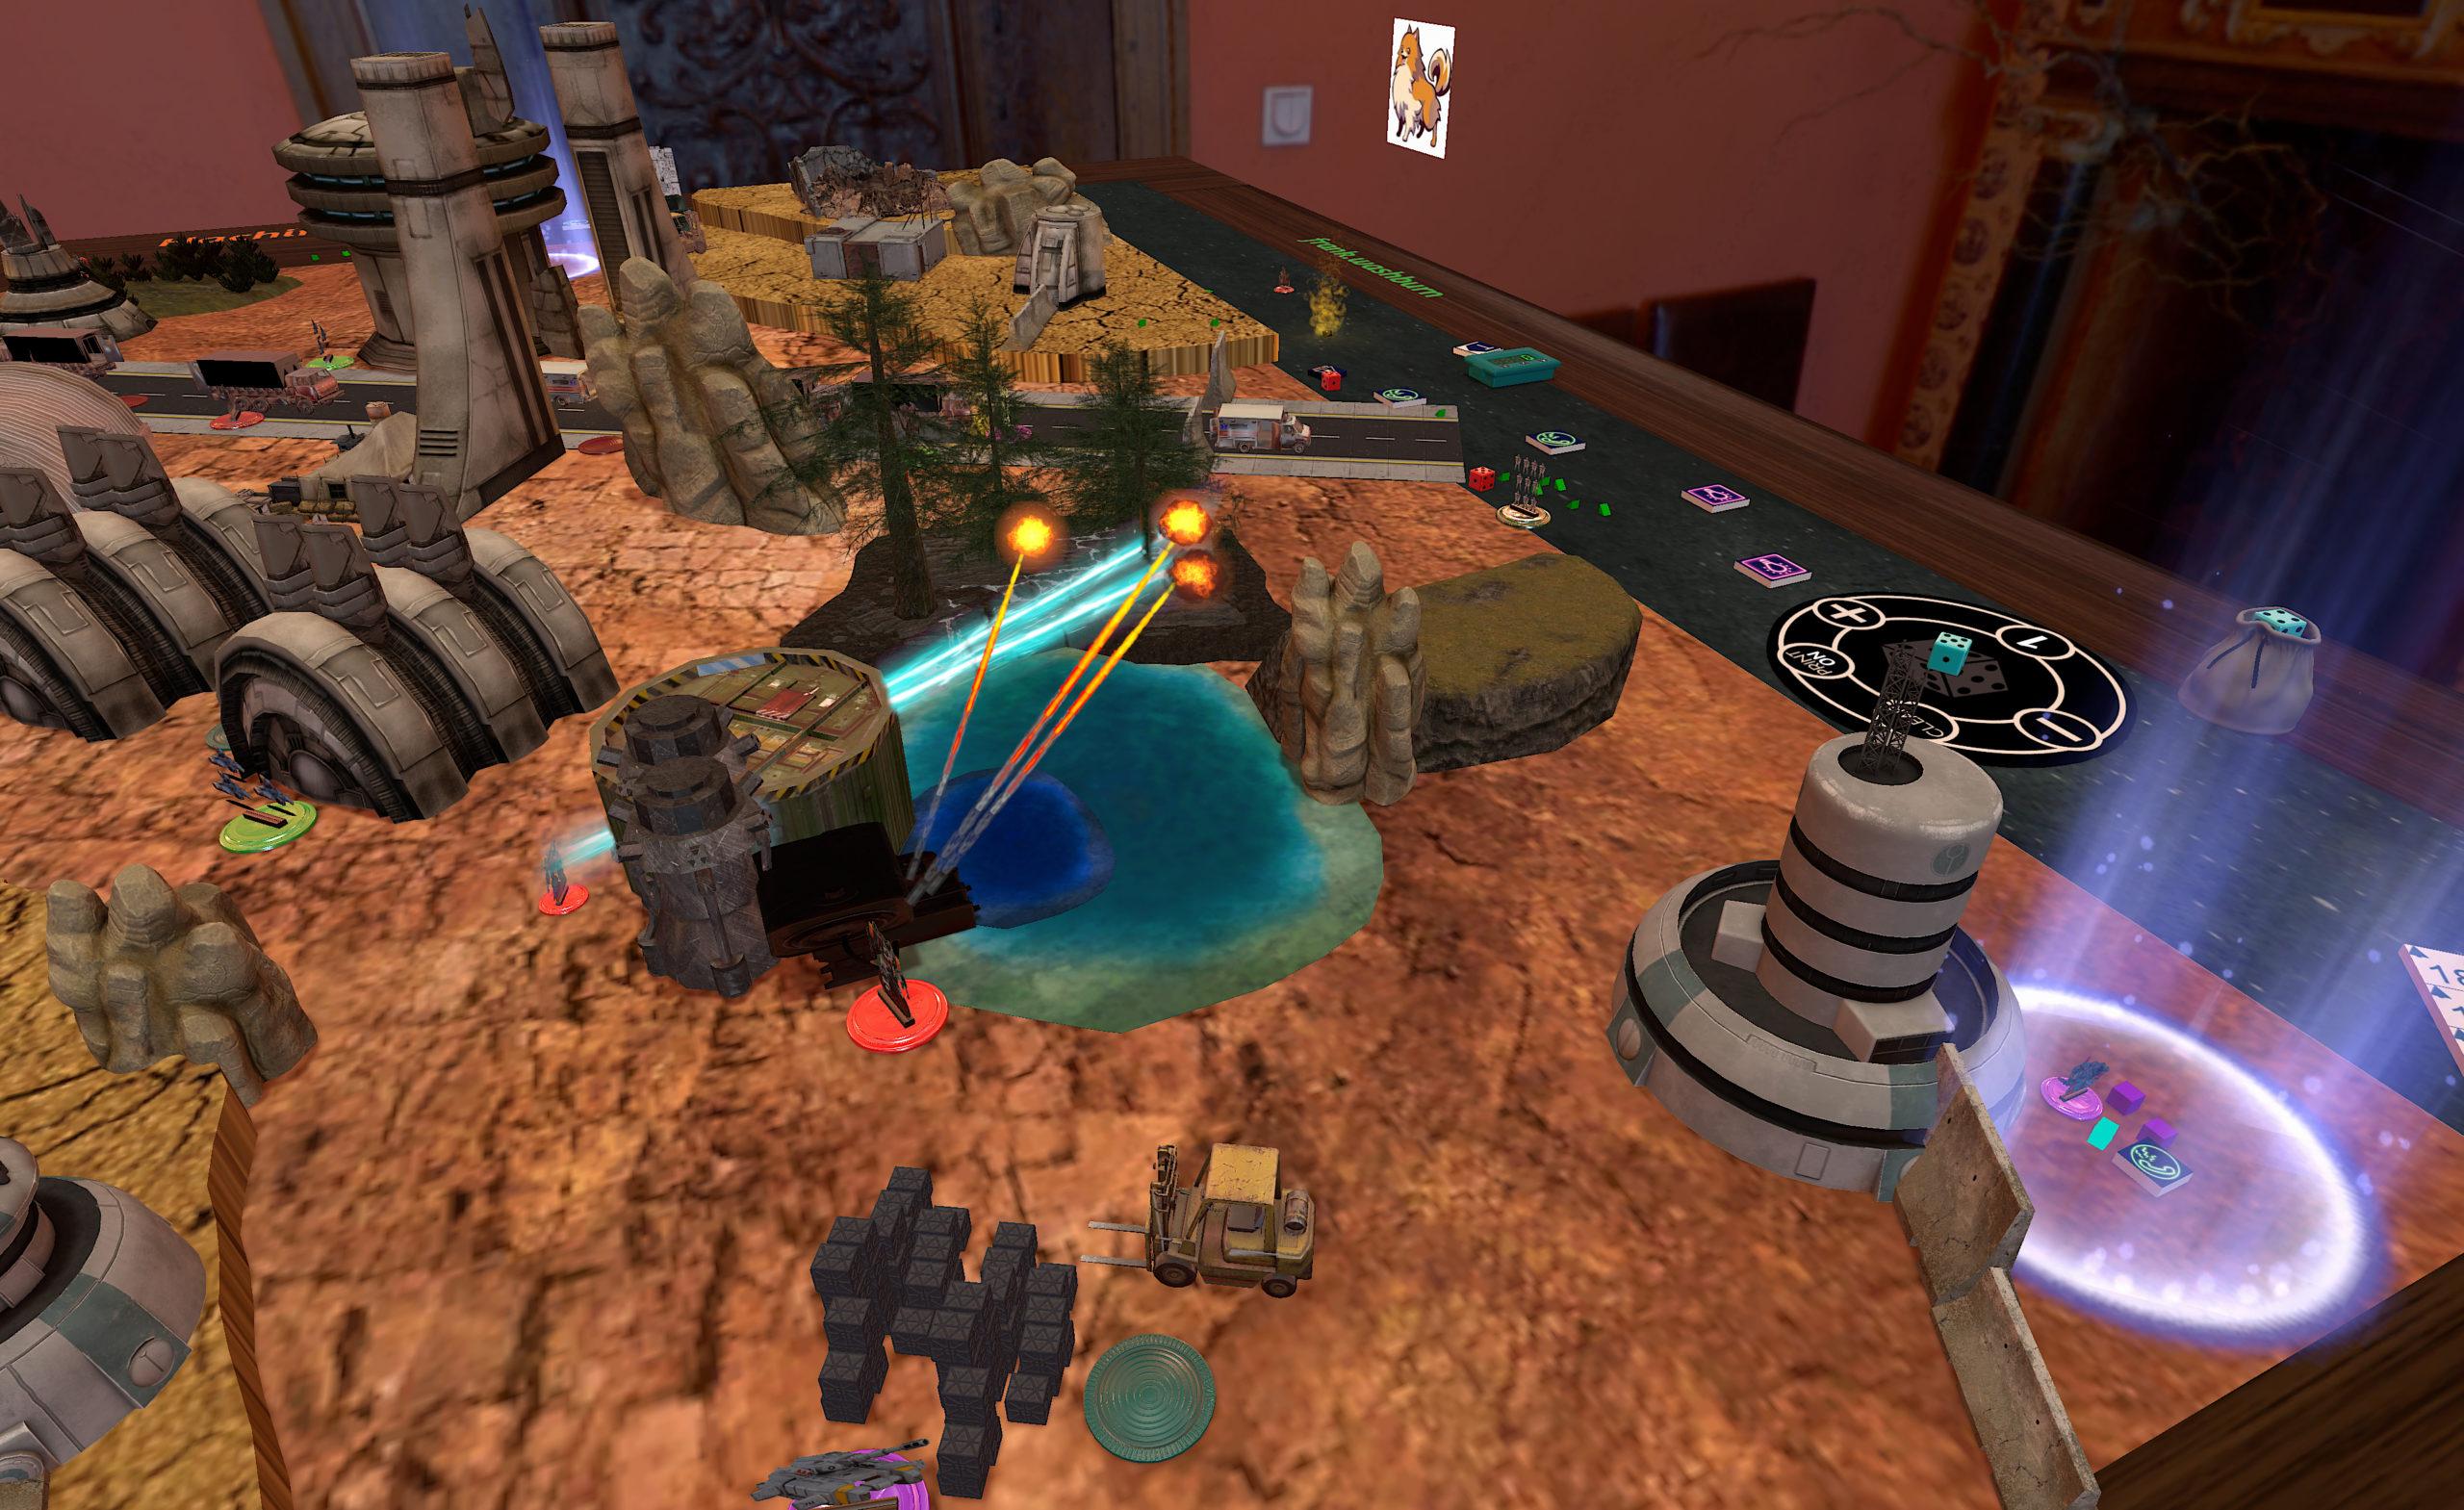
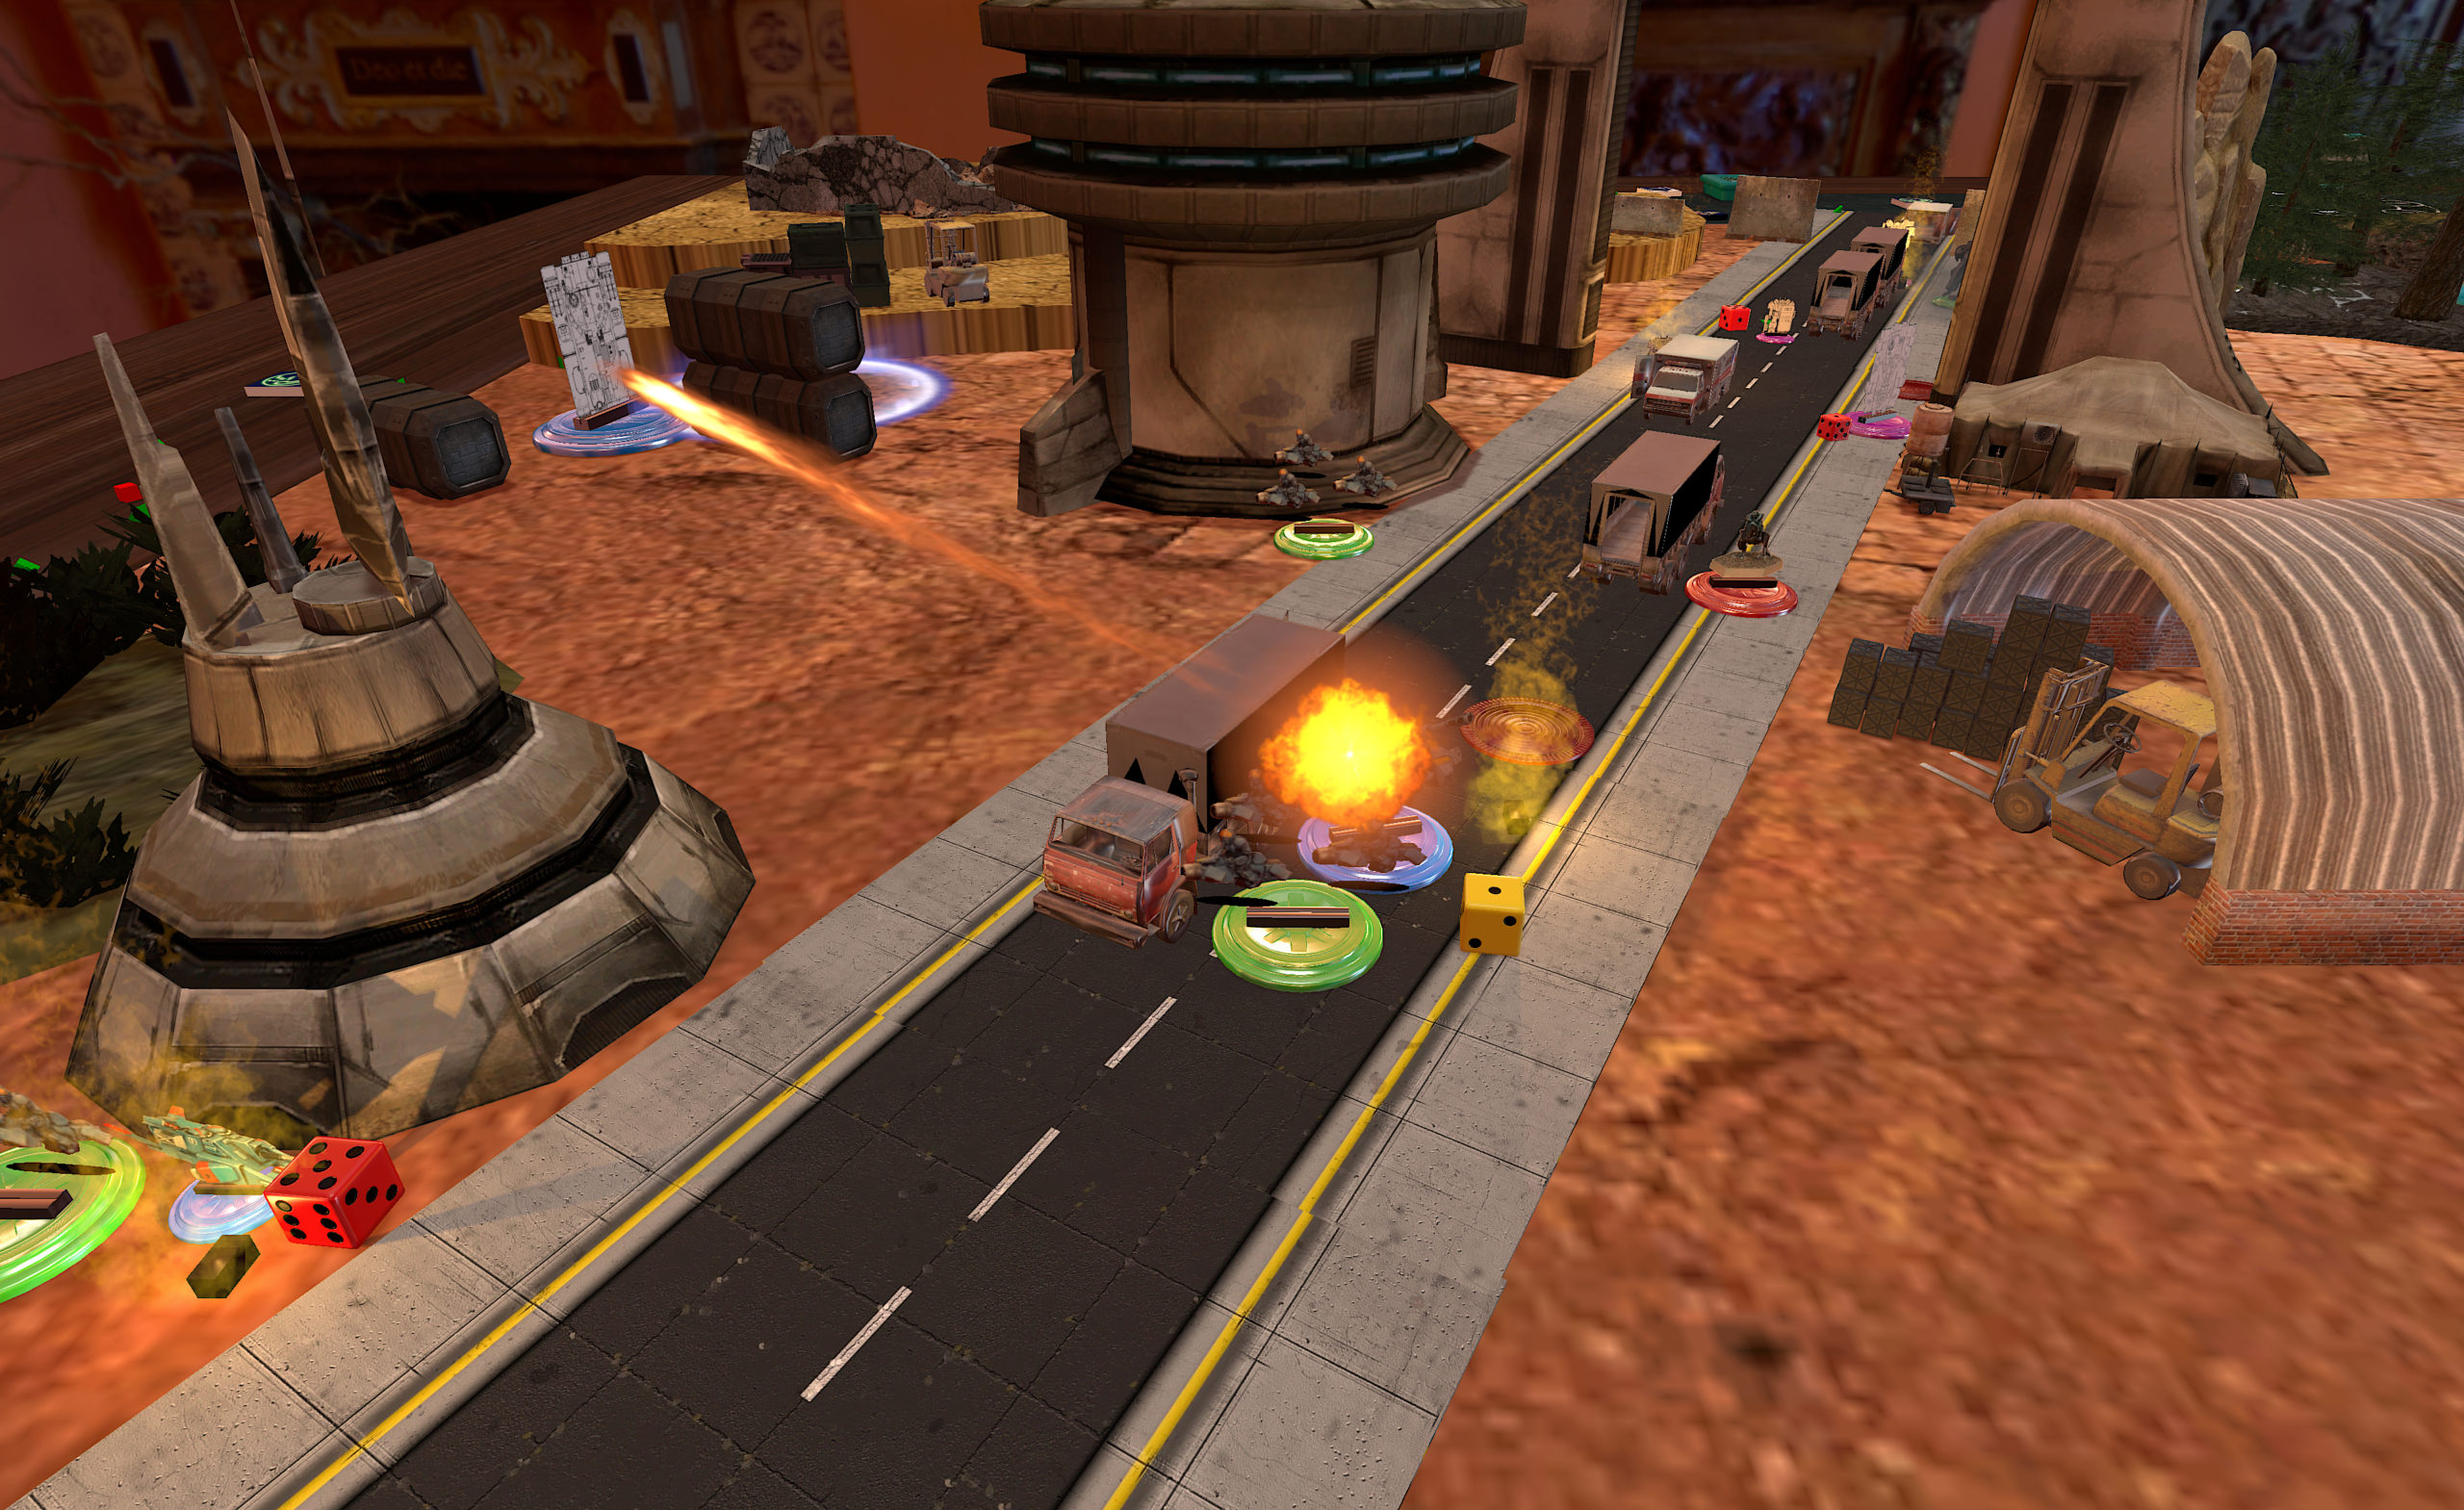
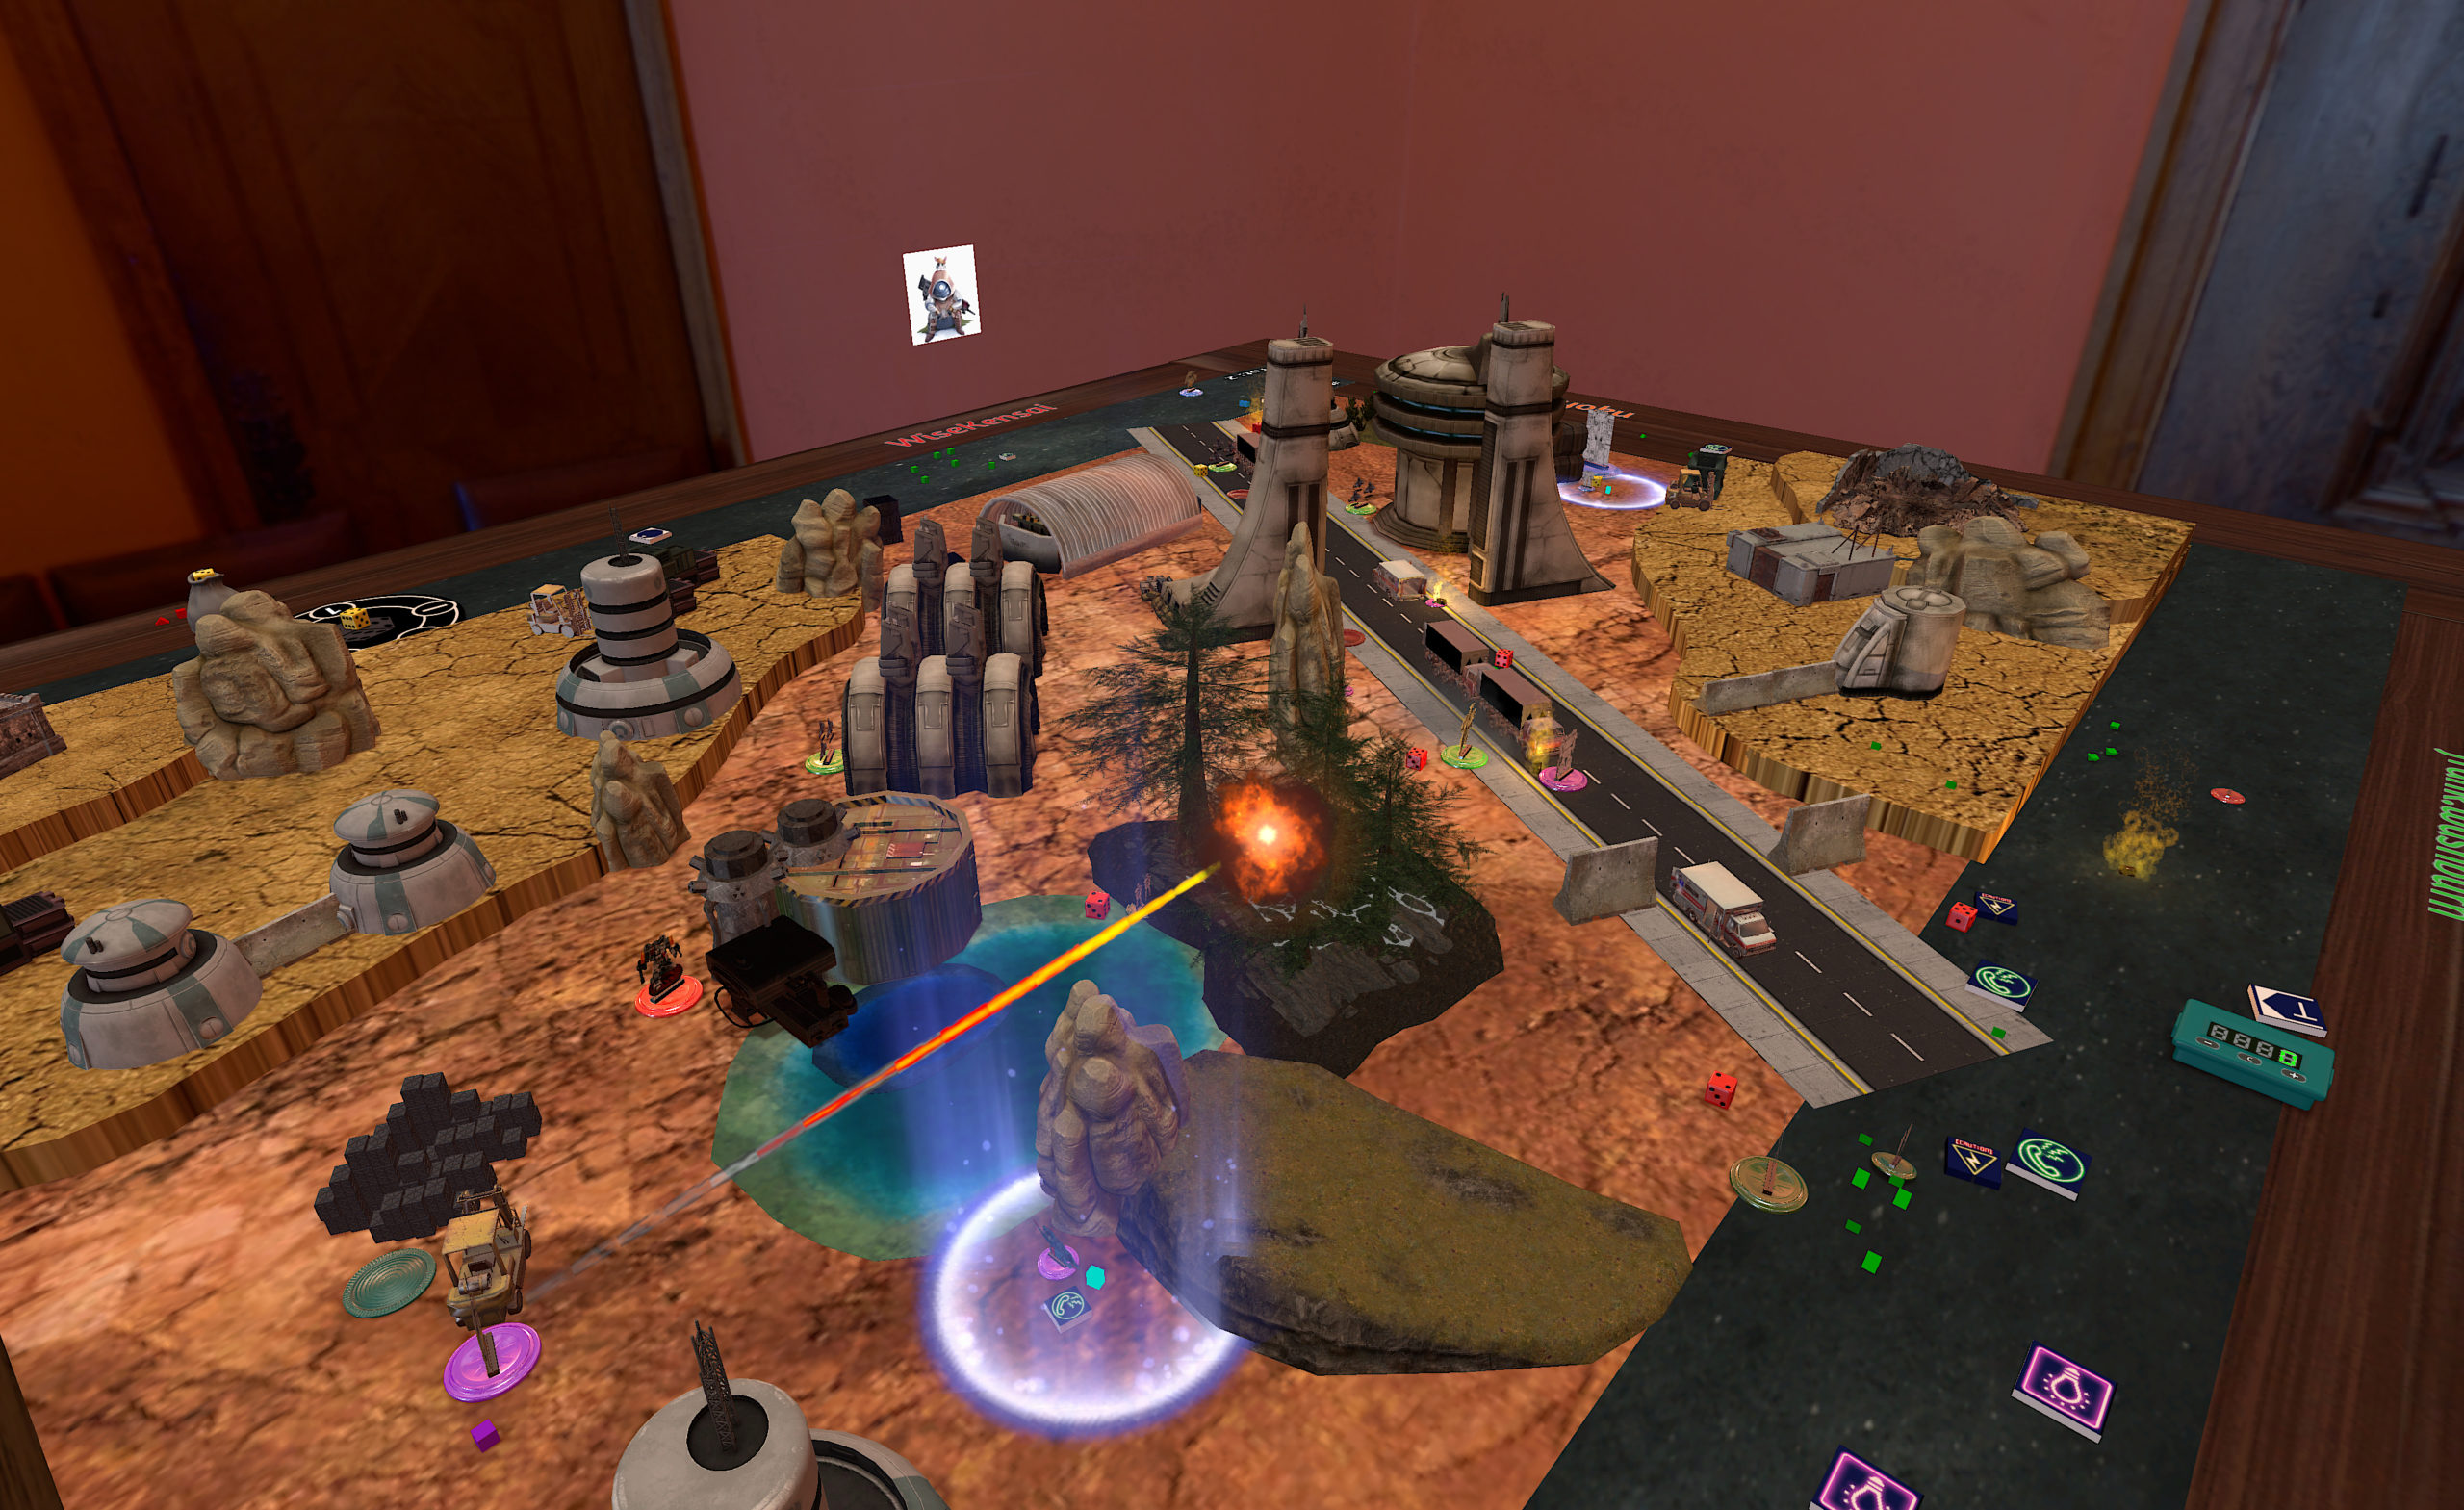
Frank asked me for another TTS game of Heavy Gear. I was only too happy to oblige. Here’s a shot of the table we were playing on:
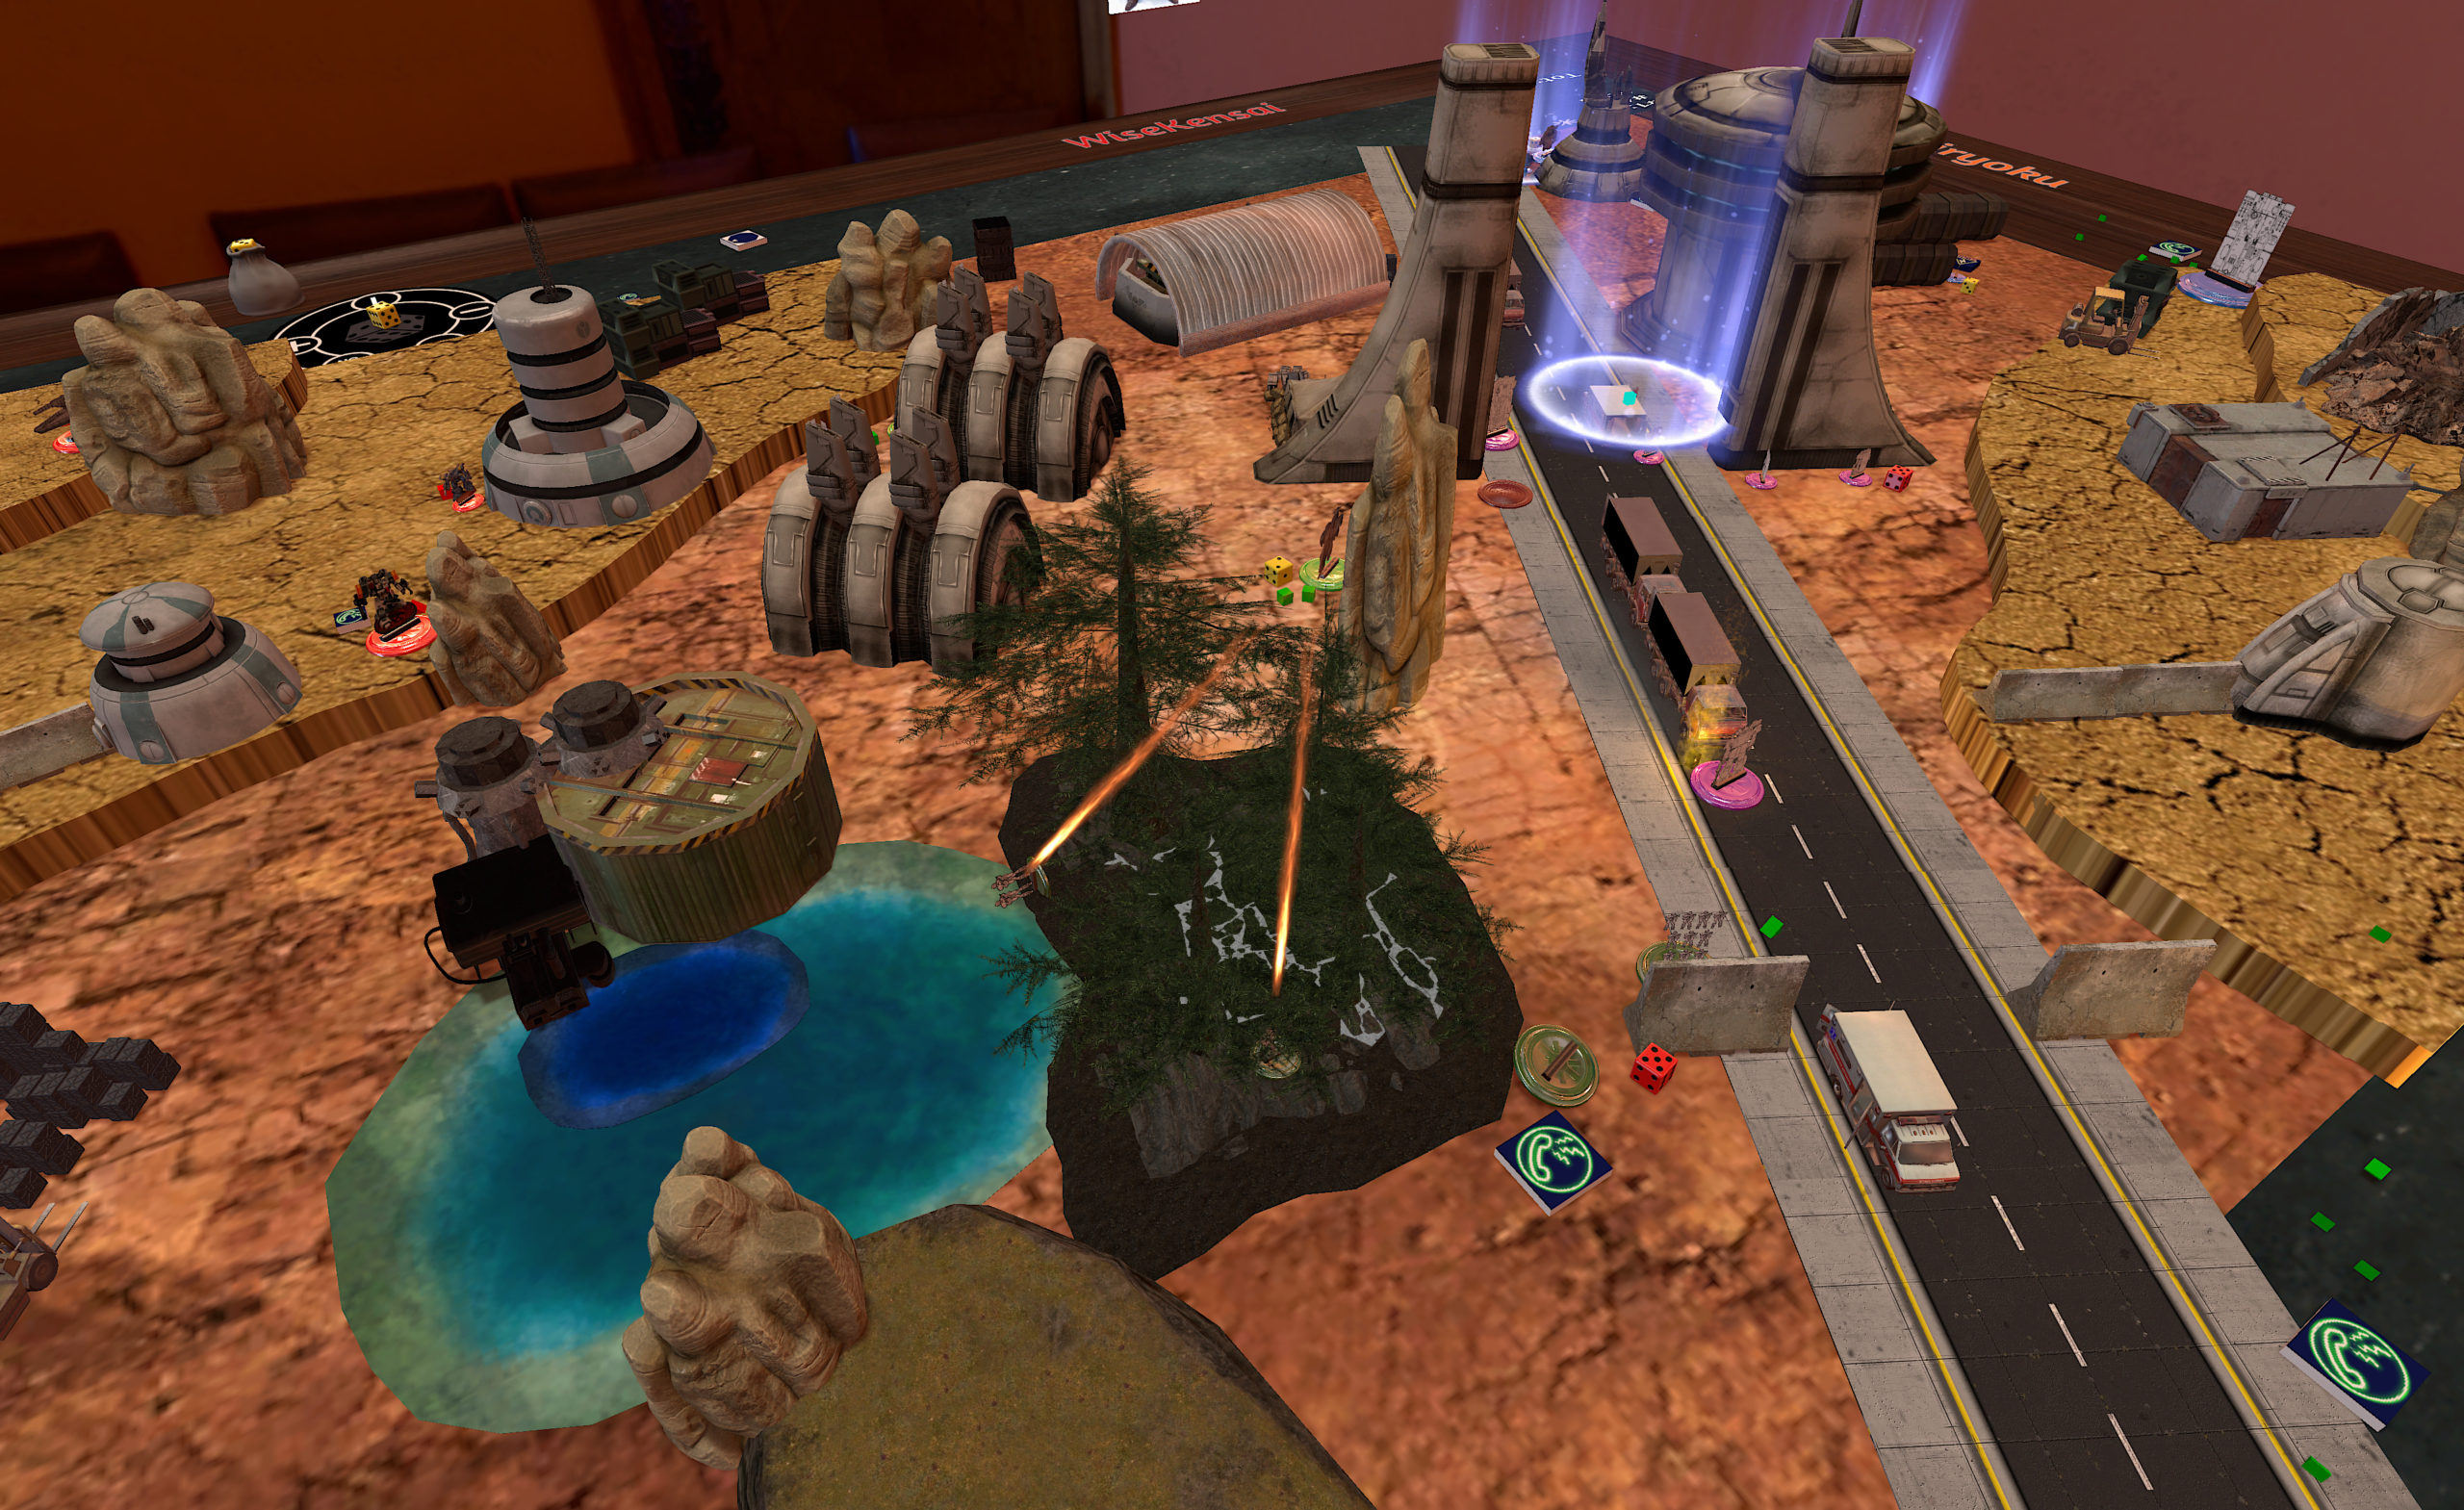
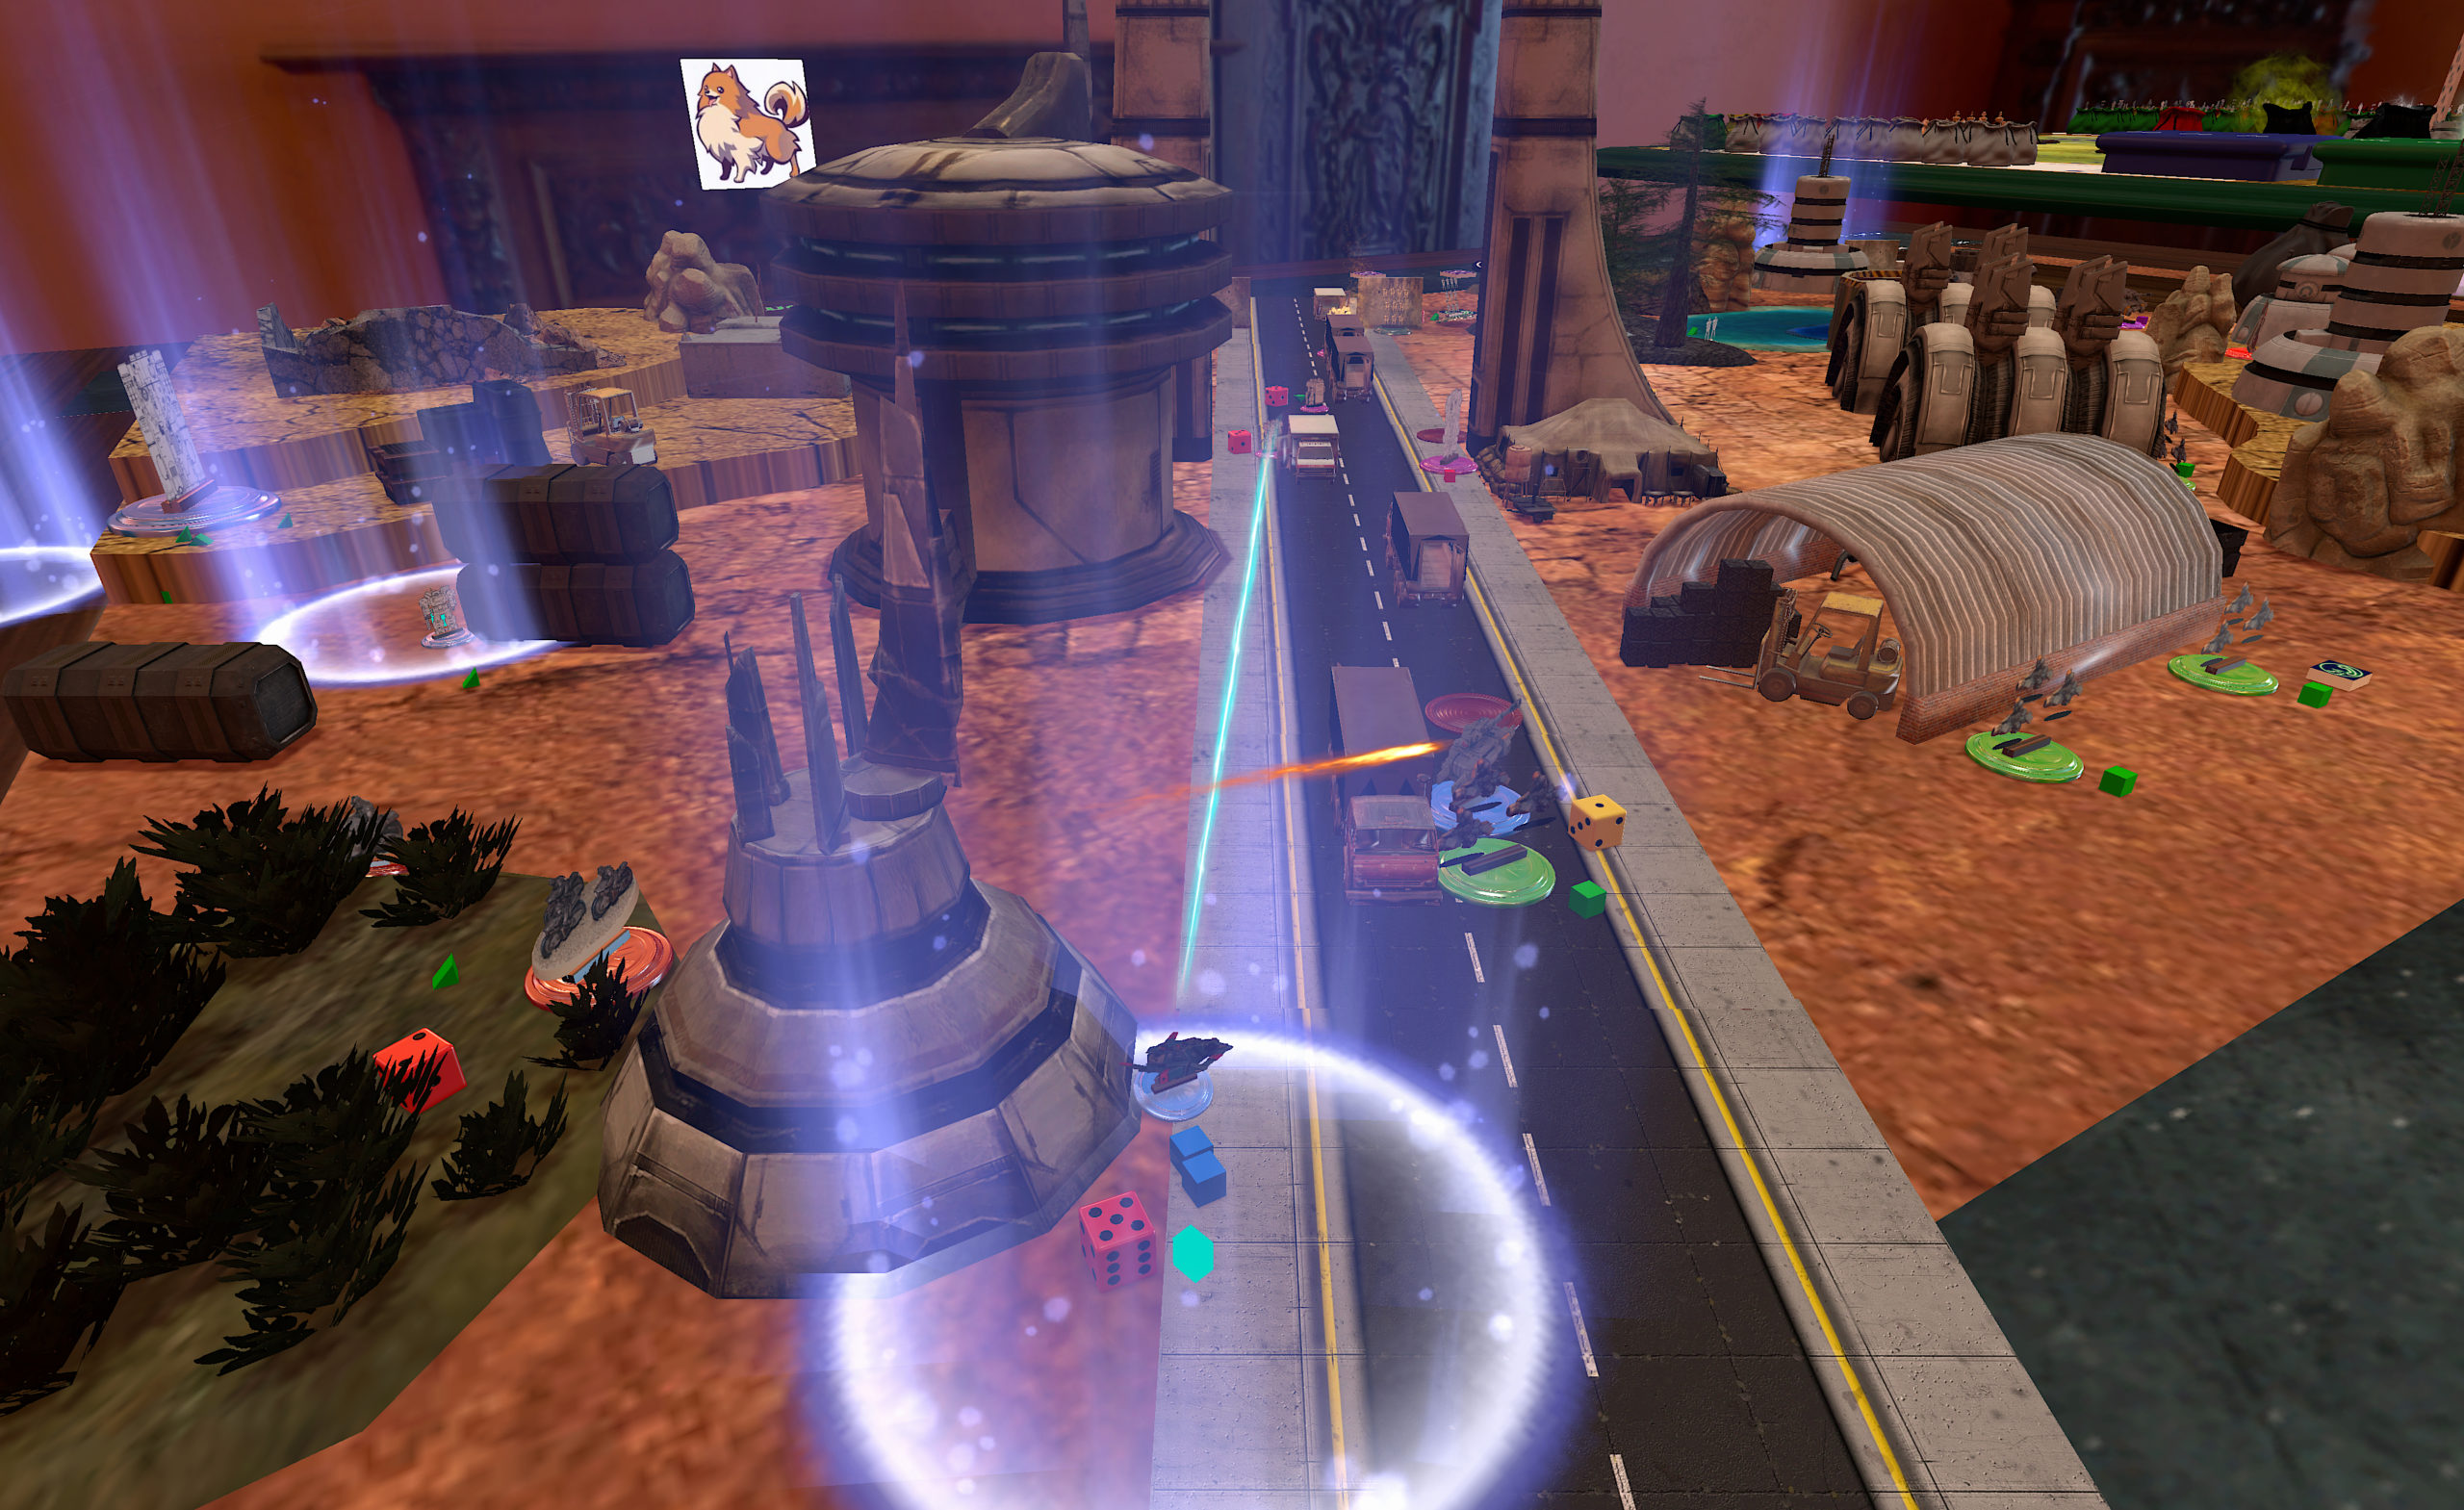
I’m trying a new format for Heavy Gear Battle reports where I take a picture after every combat group activation. Thanks to OpenGameArt.org for providing some of the cool effects I found to dress up the pictures, and to Wulfbanes for talking shop with me and providing feedback about photo editing.
Overview
Frank and I decided to play a 150 TV game, with the understanding that we might not finish given the late hour at which we started.
CEF List
I decided to force myself to take some CEF Frames, to give them a proper try. The rest of my list is pretty standard fare for the last few games I’ve played–a core of LHT’s and HC-3A to provide fire support for a swarm of Jan GREL Hoverbikes. I decided I would throw an MHT-95 into the mix as well to have some ability to crack armor.
| Model |
TV |
A |
Weapons | Traits | |
|---|---|---|---|---|---|
| CG1 SK |
MHT-95 | 25 | 2 | MRG (T), MRP (T, Link), MLC (FT, AA), HMG (FT, Auto) | Airdrop, Jump Jets:3, Sensors:24 |
| BF2-19 Anti-Tank | 15 | 1 | MPA (Arm), MRP, MATM (LA:2), MCW (Arm) | Arms, ANN, React+ | |
| F6-16 Assault | 10 | 1 | LRL (Arm), LCW (Arm) | Arms, Shield | |
| CG2 GP |
Jan GREL Hoverbike Squad | 6 | 1 | HIW, MIGL | Agile, Jump Jets:2, SatUp |
| Jan GREL Hoverbike Squad | 6 | 1 | HIW, MIGL | Agile, Jump Jets:2, SatUp | |
| Jan GREL Hoverbike Squad | 6 | 1 | HIW, MIGL | Agile, Jump Jets:2, SatUp | |
| Jan GREL Hoverbike Squad | 6 | 1 | HIW, MIGL | Agile, Jump Jets:2, SatUp | |
| Peregrine Gunship | 14 | 2 | MRL (FT+F, AA), LRP (AA, Link, Aux) | Agile, VTOL | |
| CG3 RC |
LHT-67 | 15 | 2 | MPA (T), LABM (T) | Agile, Airdrop, Jump Jets:3 (Aux), Sensors:24, TD |
| Command HC-3 | 14 | 2 |
LLC, LATM (LA:1) | Agile, Airdrop, Comms, ECM+, Sensors:36 (Aux), TD, Jump Jets:2 (Aux), ECCM, SatUp (Aux) | |
| CG4 RC |
LHT-67 Assault | 15 | 2 | MRL (T), MFC (FT, Link) | Agile, Airdrop, Jump Jets:3 (Aux), Sensors:24, TD |
| Command HC-3 | 14 | 2 |
LLC, LATM (LA:1) | Agile, Airdrop, Comms, ECM+, Sensors:36 (Aux), TD, Jump Jets:2 (Aux), ECCM, SatUp (Aux) | |
| AS | Airstrike | 4 | Bomb | ||
| Total | 150 | 18 |
My plan was to develop the Hoverbikes to get objectives while doing hit and run attacks with my other forces.
South List
Frank decided to take some monster tanks along with some infantry support. I was going to be in big trouble if I had to take on the Visigoth in a head-to-head fight!
| Model | TV | A | Weapons | Traits | |
|---|---|---|---|---|---|
| CG1 RC |
Jackrabbit Recon Squad | 5 | 1 | LIW | Agile, TD, Comms |
| Jackrabbit Recon Single | 4 | 1 | LIW | Agile, TD, Comms | |
| Jackrabbit Recon Single | 4 | 1 | LIW | Agile, TD, Comms | |
| Lizard Riders Single | 4 | 1 | MIW, LIGL | Agile | |
| CG2 SK |
Razor Fang Flame Cobra | 15 | 1 | HFL (Arm), MAPR (Fire:2), HAR (Fire:2), LGM, MMG, LVB (Arm) | Arms, React+, Resist:F, SatUp |
| Para Iguana | 11 | 1 | LAC (Arm), LGL (Arm), LSG (Arm) | Arms, Agile, Airdrop, Comms, ECM, ECCM, TD (Aux) | |
| Iguana MP | 8 | 1 | MFC (Arm), LPZ, LAPGL, MCW (Arm) | Arms, Agile, Airdrop, Brawler:1, Shield | |
| Iguana MP | 8 | 1 | MFC (Arm), LPZ, LAPGL, MCW (Arm) | Arms, Agile, Airdrop, Brawler:1, Shield | |
| Hetairoi Spark | 26 | 2 | MPA (T), MRP (T), LLC (FT) | Airdrop, Jump Jets:2 (Aux) | |
| CG3 GP |
Infantry Squad | 4 | 1 | MIW, LIS (AI), LIGL | |
| Infantry Squad | 4 | 1 | MIW, LIS (AI), LIGL | ||
| Sniper Squad | 4 | 1 | LIW, MIS (AI, Precise, Silent, Brace, Range: 6-24/48) | ||
| Sniper Squad | 4 | 1 | LIW, MIS (AI, Precise, Silent, Brace, Range: 6-24/48) | ||
| CG4 FS |
Visigoth Khan | 38 | 3 | HTG (T, Precise), HAC (T), LLC (FT, AA), 2xMRP (FT, Aux), HAPGL | Offroad:3, Smoke, Field Armor, ECM, ECCM (Aux), Comms (Aux) |
| Black Box Iguana | 11 | 1 | LAC (Arm), LPZ, LVB (Arm) | Arms, Agile, SP:1, Comms, ECM+, ECCM, Sensors:36 (Aux), TD (Aux) | |
| 23 models | 150 | 18 |
Deployment
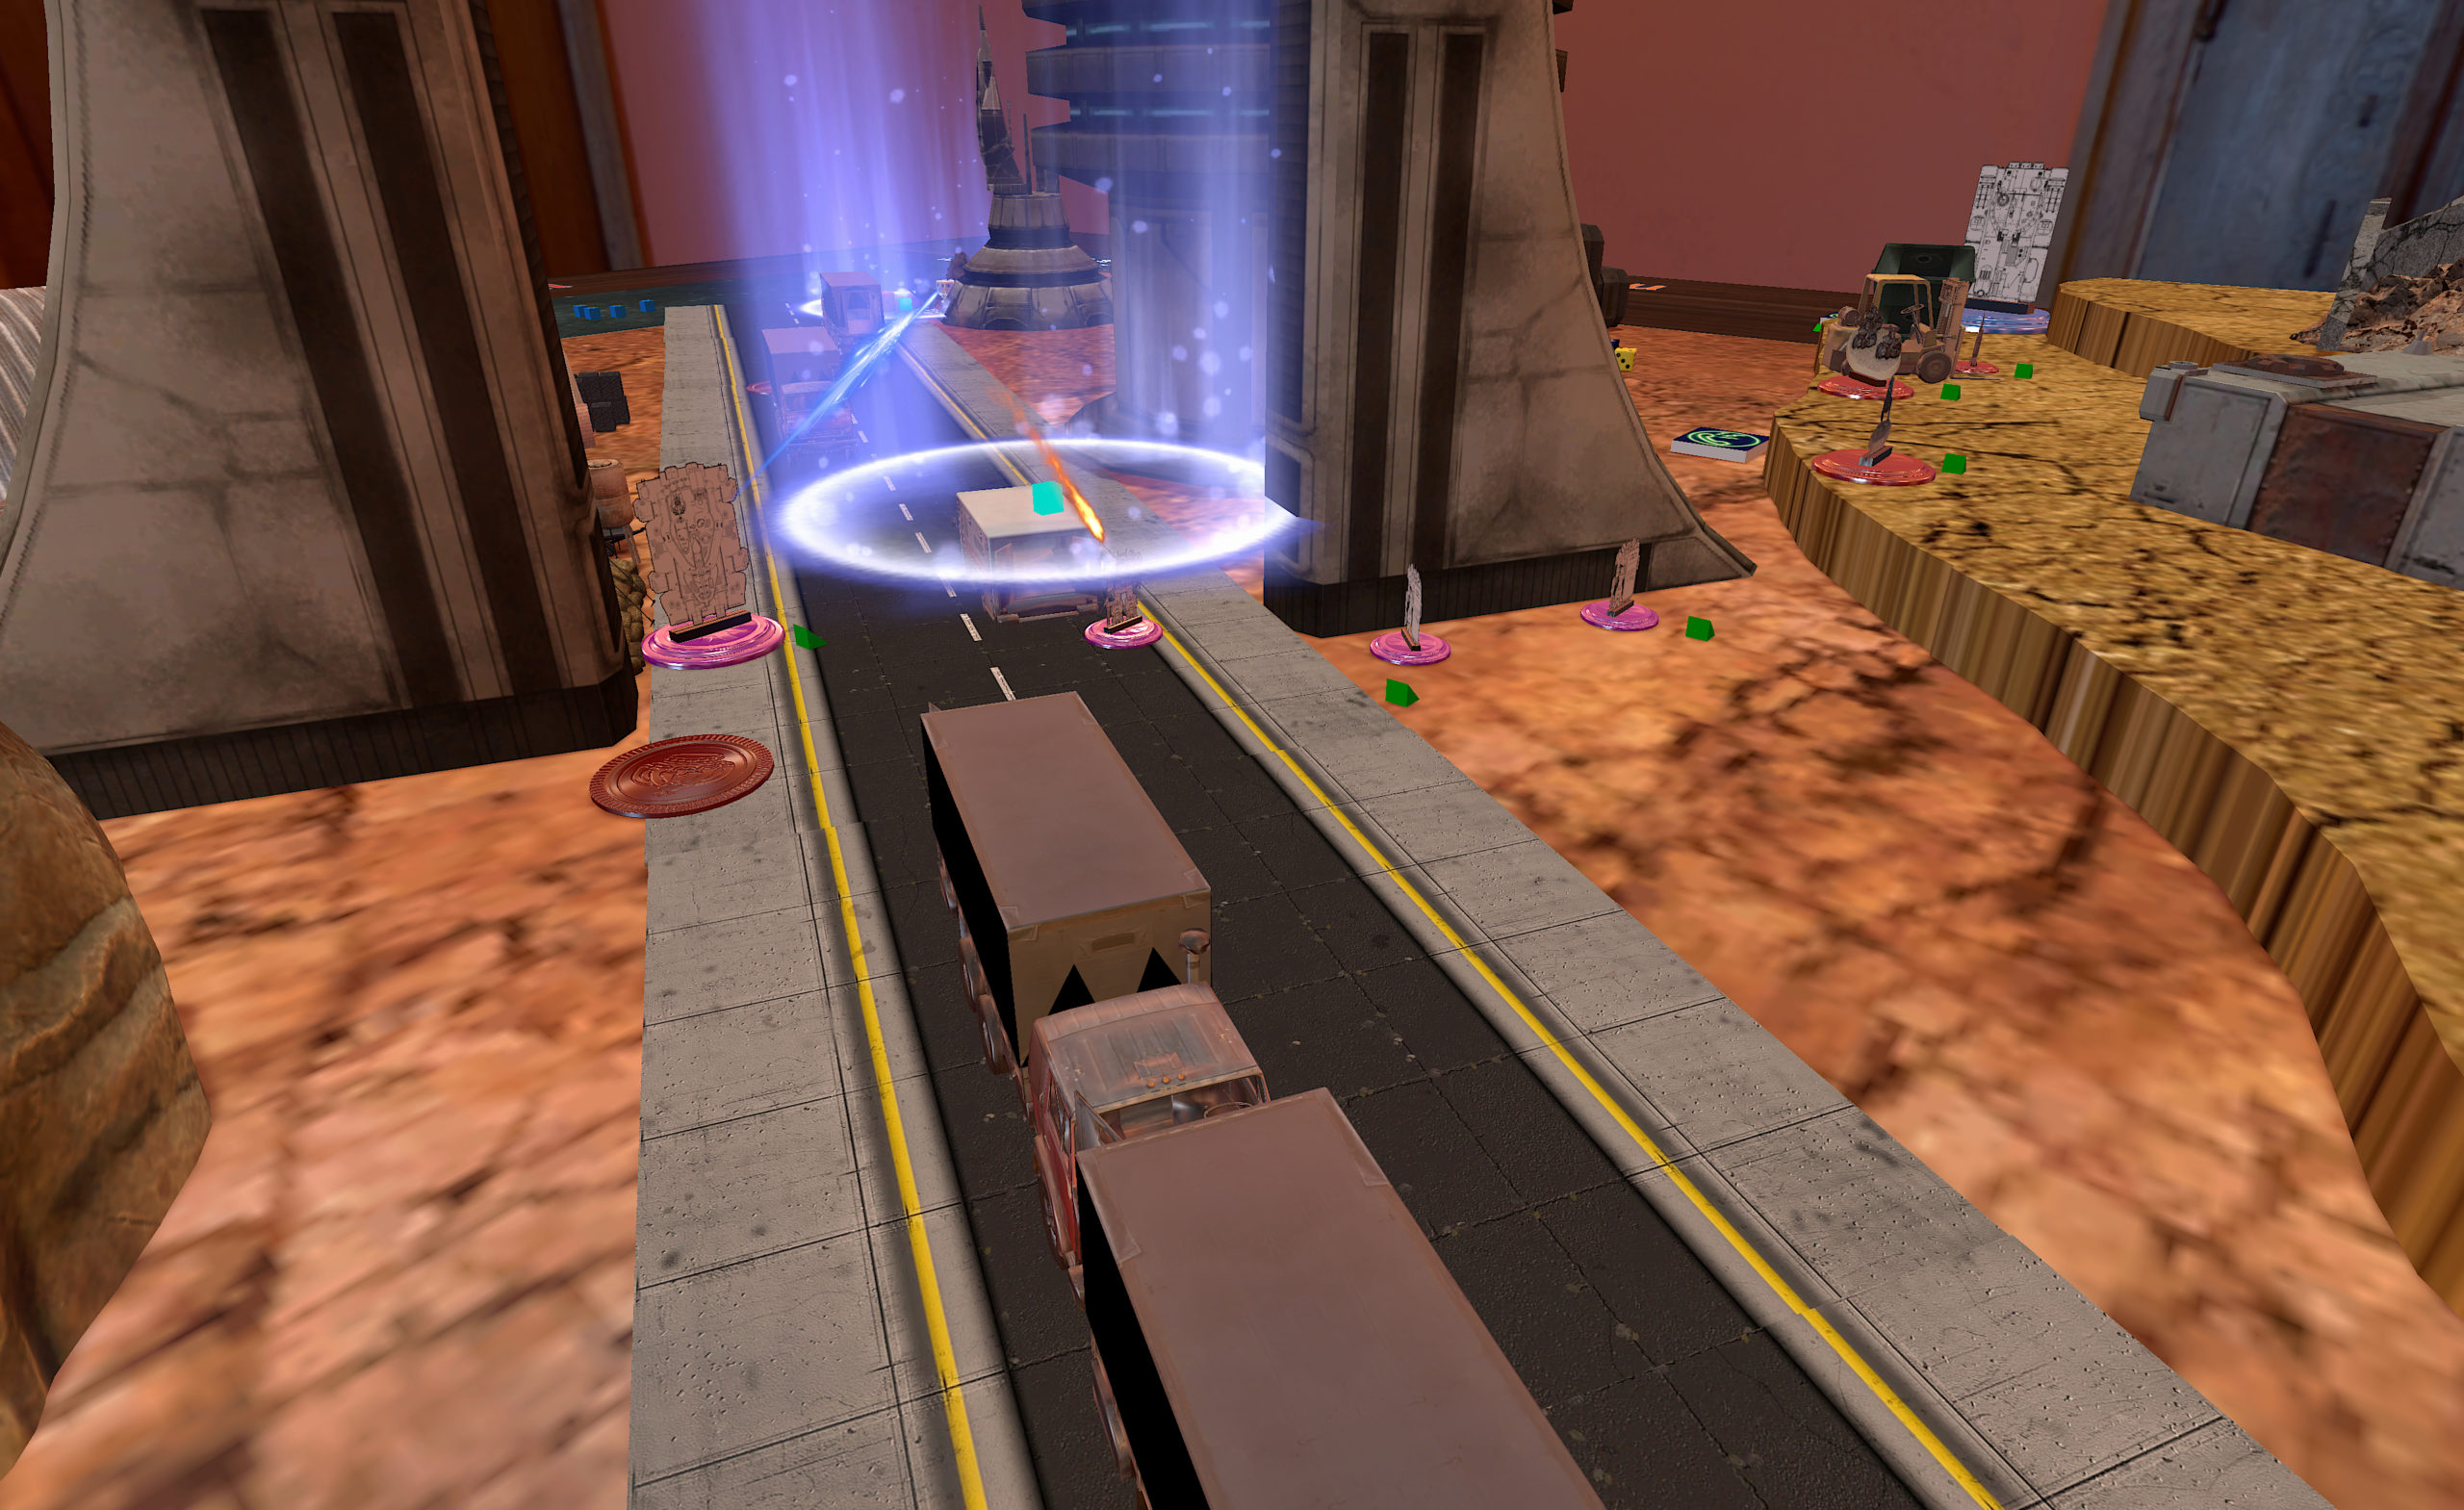
We rolled corner deployment. Frank deployed his Cobra/Hetairoi squad in the center of his deployment zone, surrounded by Iguanas. They were flanked by slow infantry/sniper squads on my right and mechanized infantry on my left. His fire support squad was tucked into the far left of the table to provide a base of fire.
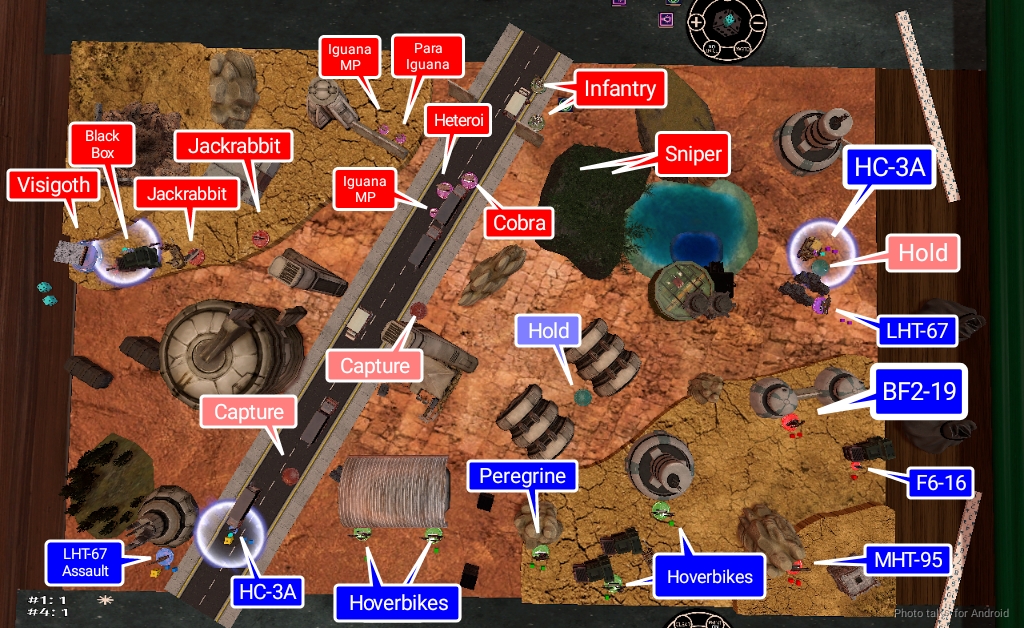
I deployed my Hoverbikes in the middle of my deployment zone along with my Peregrine. The MHT-95 and its Frame escort hung out on elevated ground to get the best fire support position, even though they were an SK squad. I then airdropped both recon squads on my flanks, with both the LHT-67 Assault and its HC-3A companion failing their Airdrop rolls to take a point of damage. Boo!
- CEF Objectives
- Assassinate
- Break the Line
- Hold
- South Objectives
- Break the Line
- Capture
- Wipe them Out
Frank is on a mission to prove Adam wrong about Wipe Them Out being a suboptimal objective choice. You get one point for reducing a combat group to half its actions and an additional point if that group has FS elements. Basically the concern is that your opponent can deny you one of the two possible points from Wipe Them Out by not taking any units in a FS capacity.
The reasoning behind this somewhat strange exception is that dedicated Fire Support units like the Visigoth Khan that Frank took are so powerful on the table that there needs to be some kind of nerf applied to their scoring potential. They can too easily score the one point for killing half a combat group and then do an excellent job murdering your opponent’s forces and thereby prevent them from scoring points. While the exception does work as a way to balance FS units, I’m of the opinion that there must be a more elegant way to balance the units…
This isn’t to say that Frank is being contrarian for the sake of it here, we’re really just trying to explore the game balance puzzle and collect data. Frank’s other two objectives were Capture and Break the Line. He figured he could secure the Capture objectives with his tanks and infantry, and rocket some of the Jackrabbits into my deployment zone for Break the Line.
I had a similar idea with my Hoverbikes, so I also took Break the Line. I decided that Assassinate would be easy to get on Frank’s Cobra, which I saw as vulnerable, and on his Infantry Squad CGL, as I had an airburst missile armed LHT-67 nearby. I wanted to try something different from Detailed Scan, so I took Hold for my final objective.
Round 1
I won the initative roll and decided to pounce on Frank’s Cobra with my SK combat group. I did this for several reasons:
- I had deployed specifically to take advantage of an unguarded flank on the Cobra with my SK group.
- The Cobra was armed to the teeth with all sorts of anti-infantry stuff, therefore making it a priority target.
- It was also a CGL, capable of issuing the “Let Them Have It” order to the Iguana MPs, which have really been a mobile threat to my Infantry.
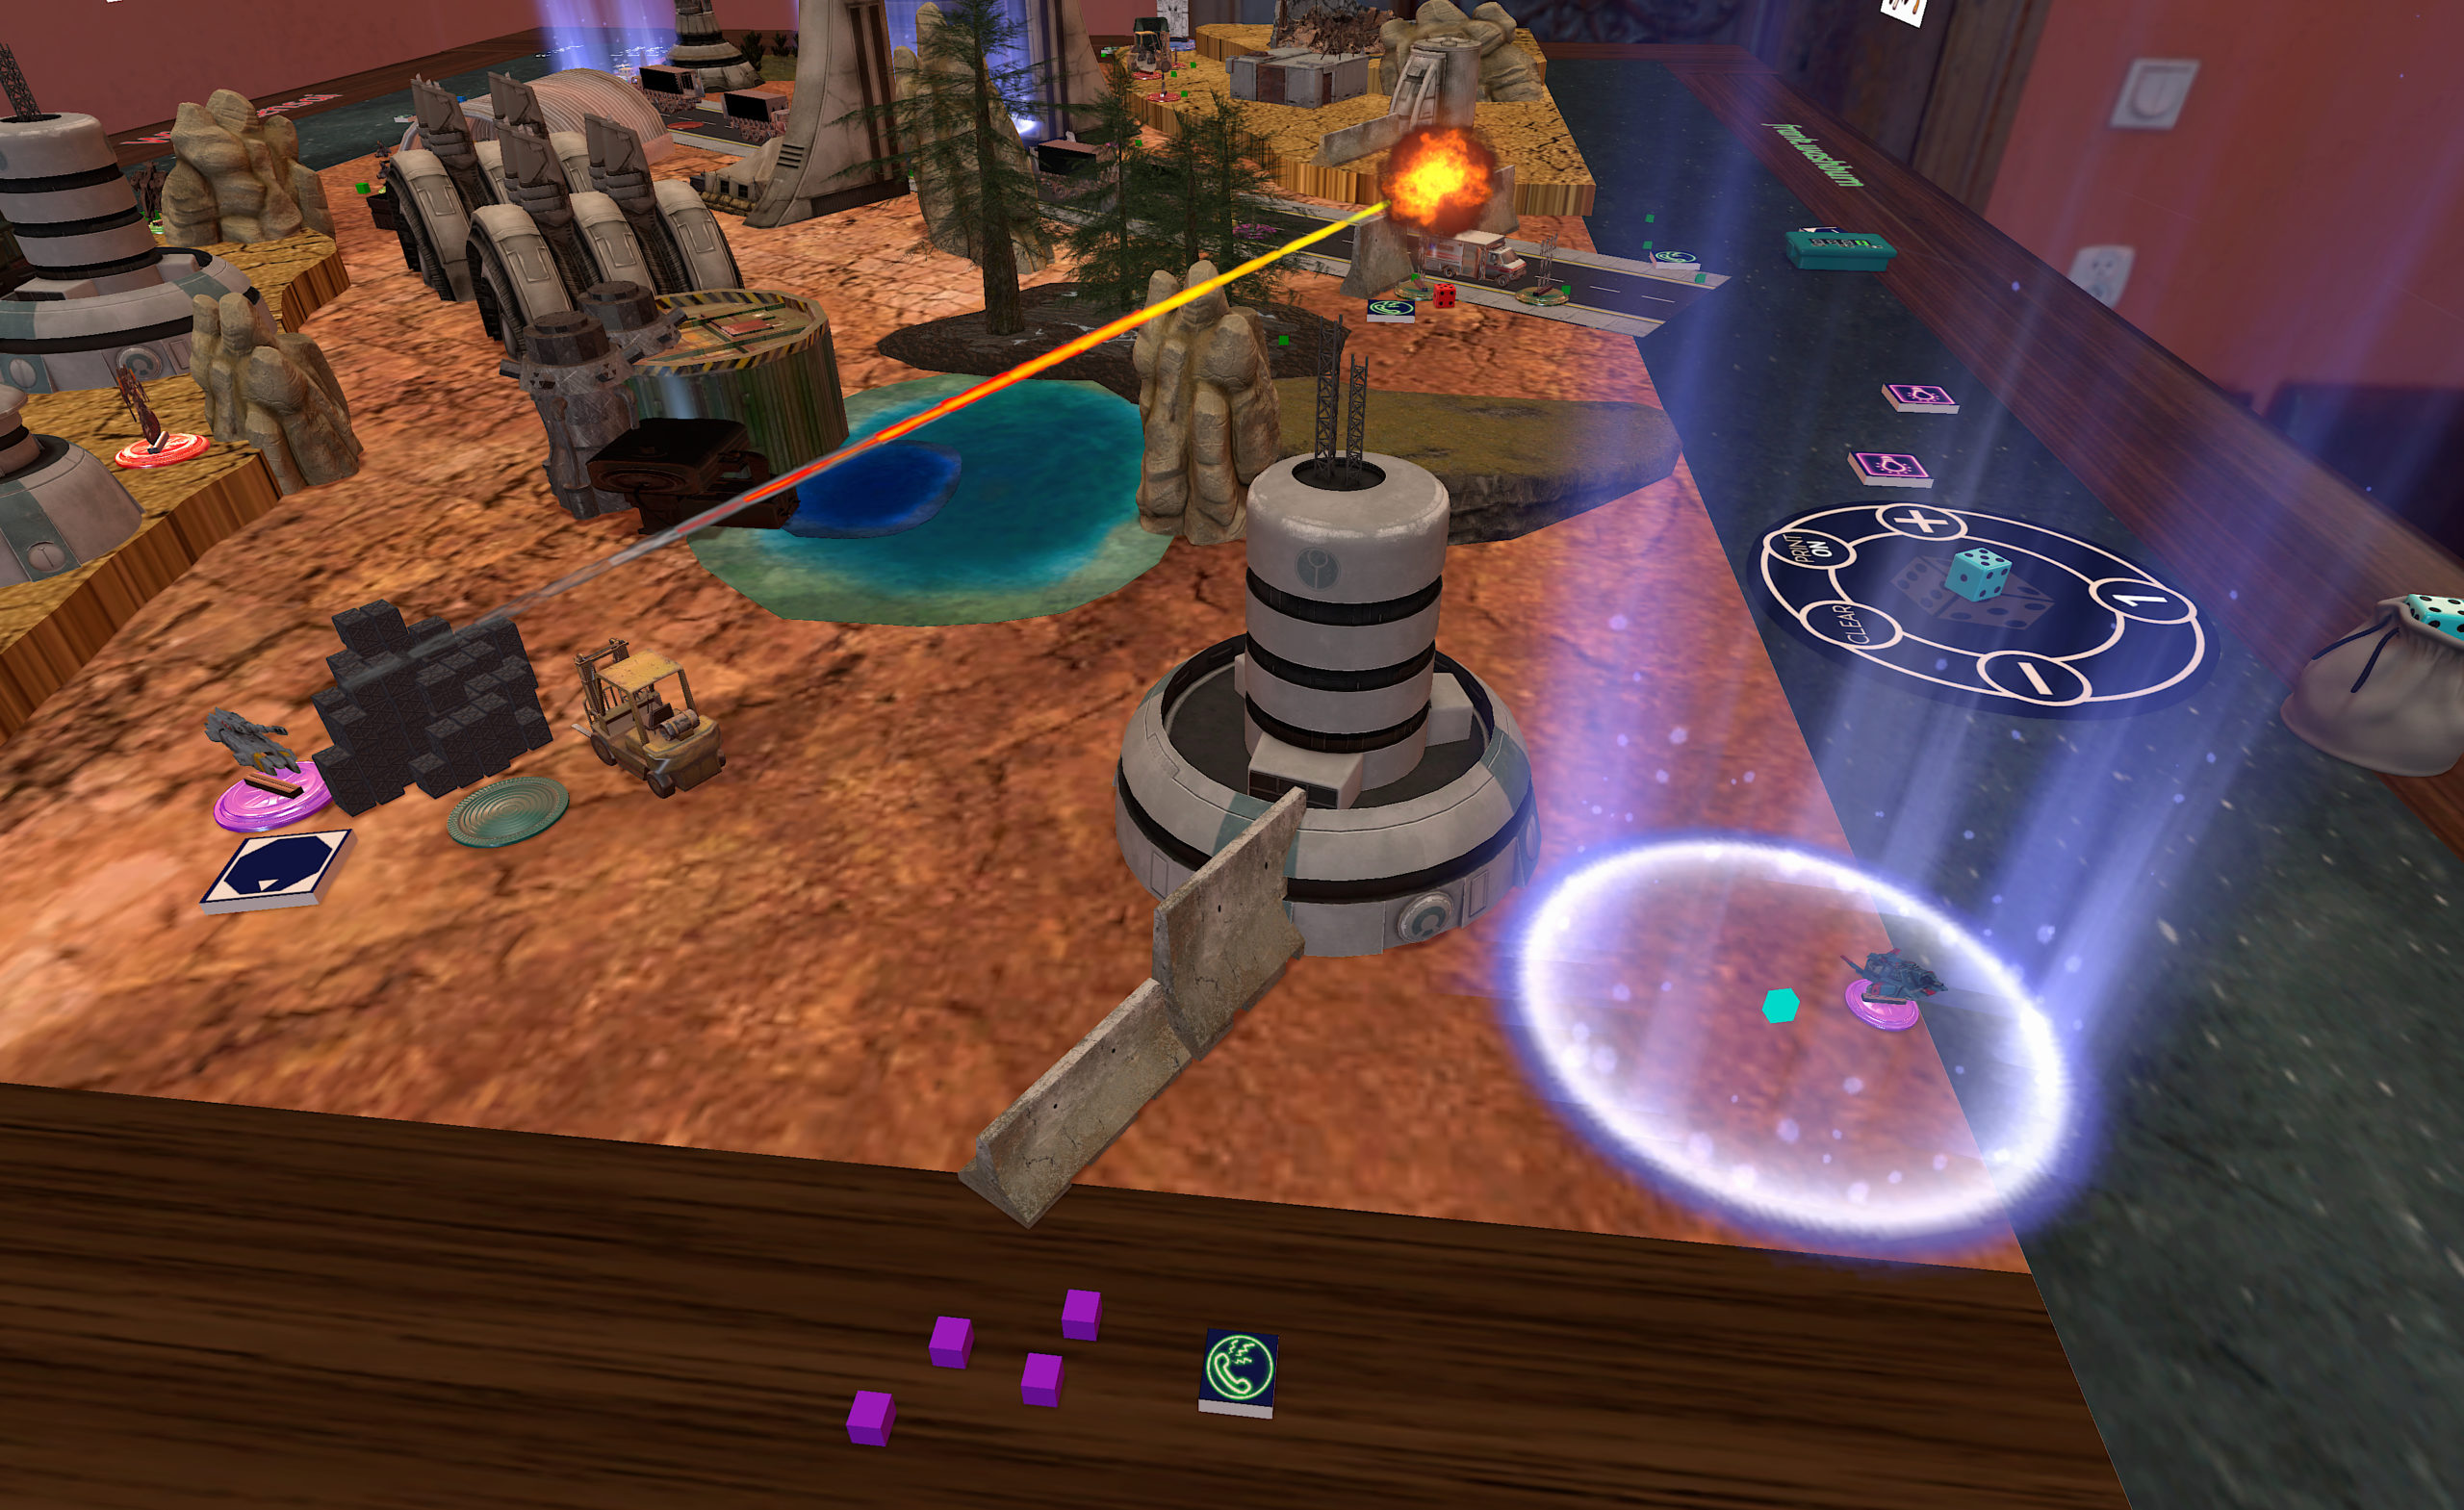
I started by sliding my MHT-95 out and crippling the Cobra with combined Laser Cannon and Railgun fire, even after it had engaged the ECM services of the nearby Para Iguana. Admittedly I rolled quite well on 1d6 twice, rolling 6s both times while Frank failed to roll above 4. The C6-16 Assault finished off the Cobra under the auspices of my own Let Them Have It order. Emboldened by my success, I threw the BF2-19 into the fray, targeting the Para Iguana with a focused MPA shot, but alas my dice luck ran out and the Para Iguana was able to dodge the particle accelerator fire.
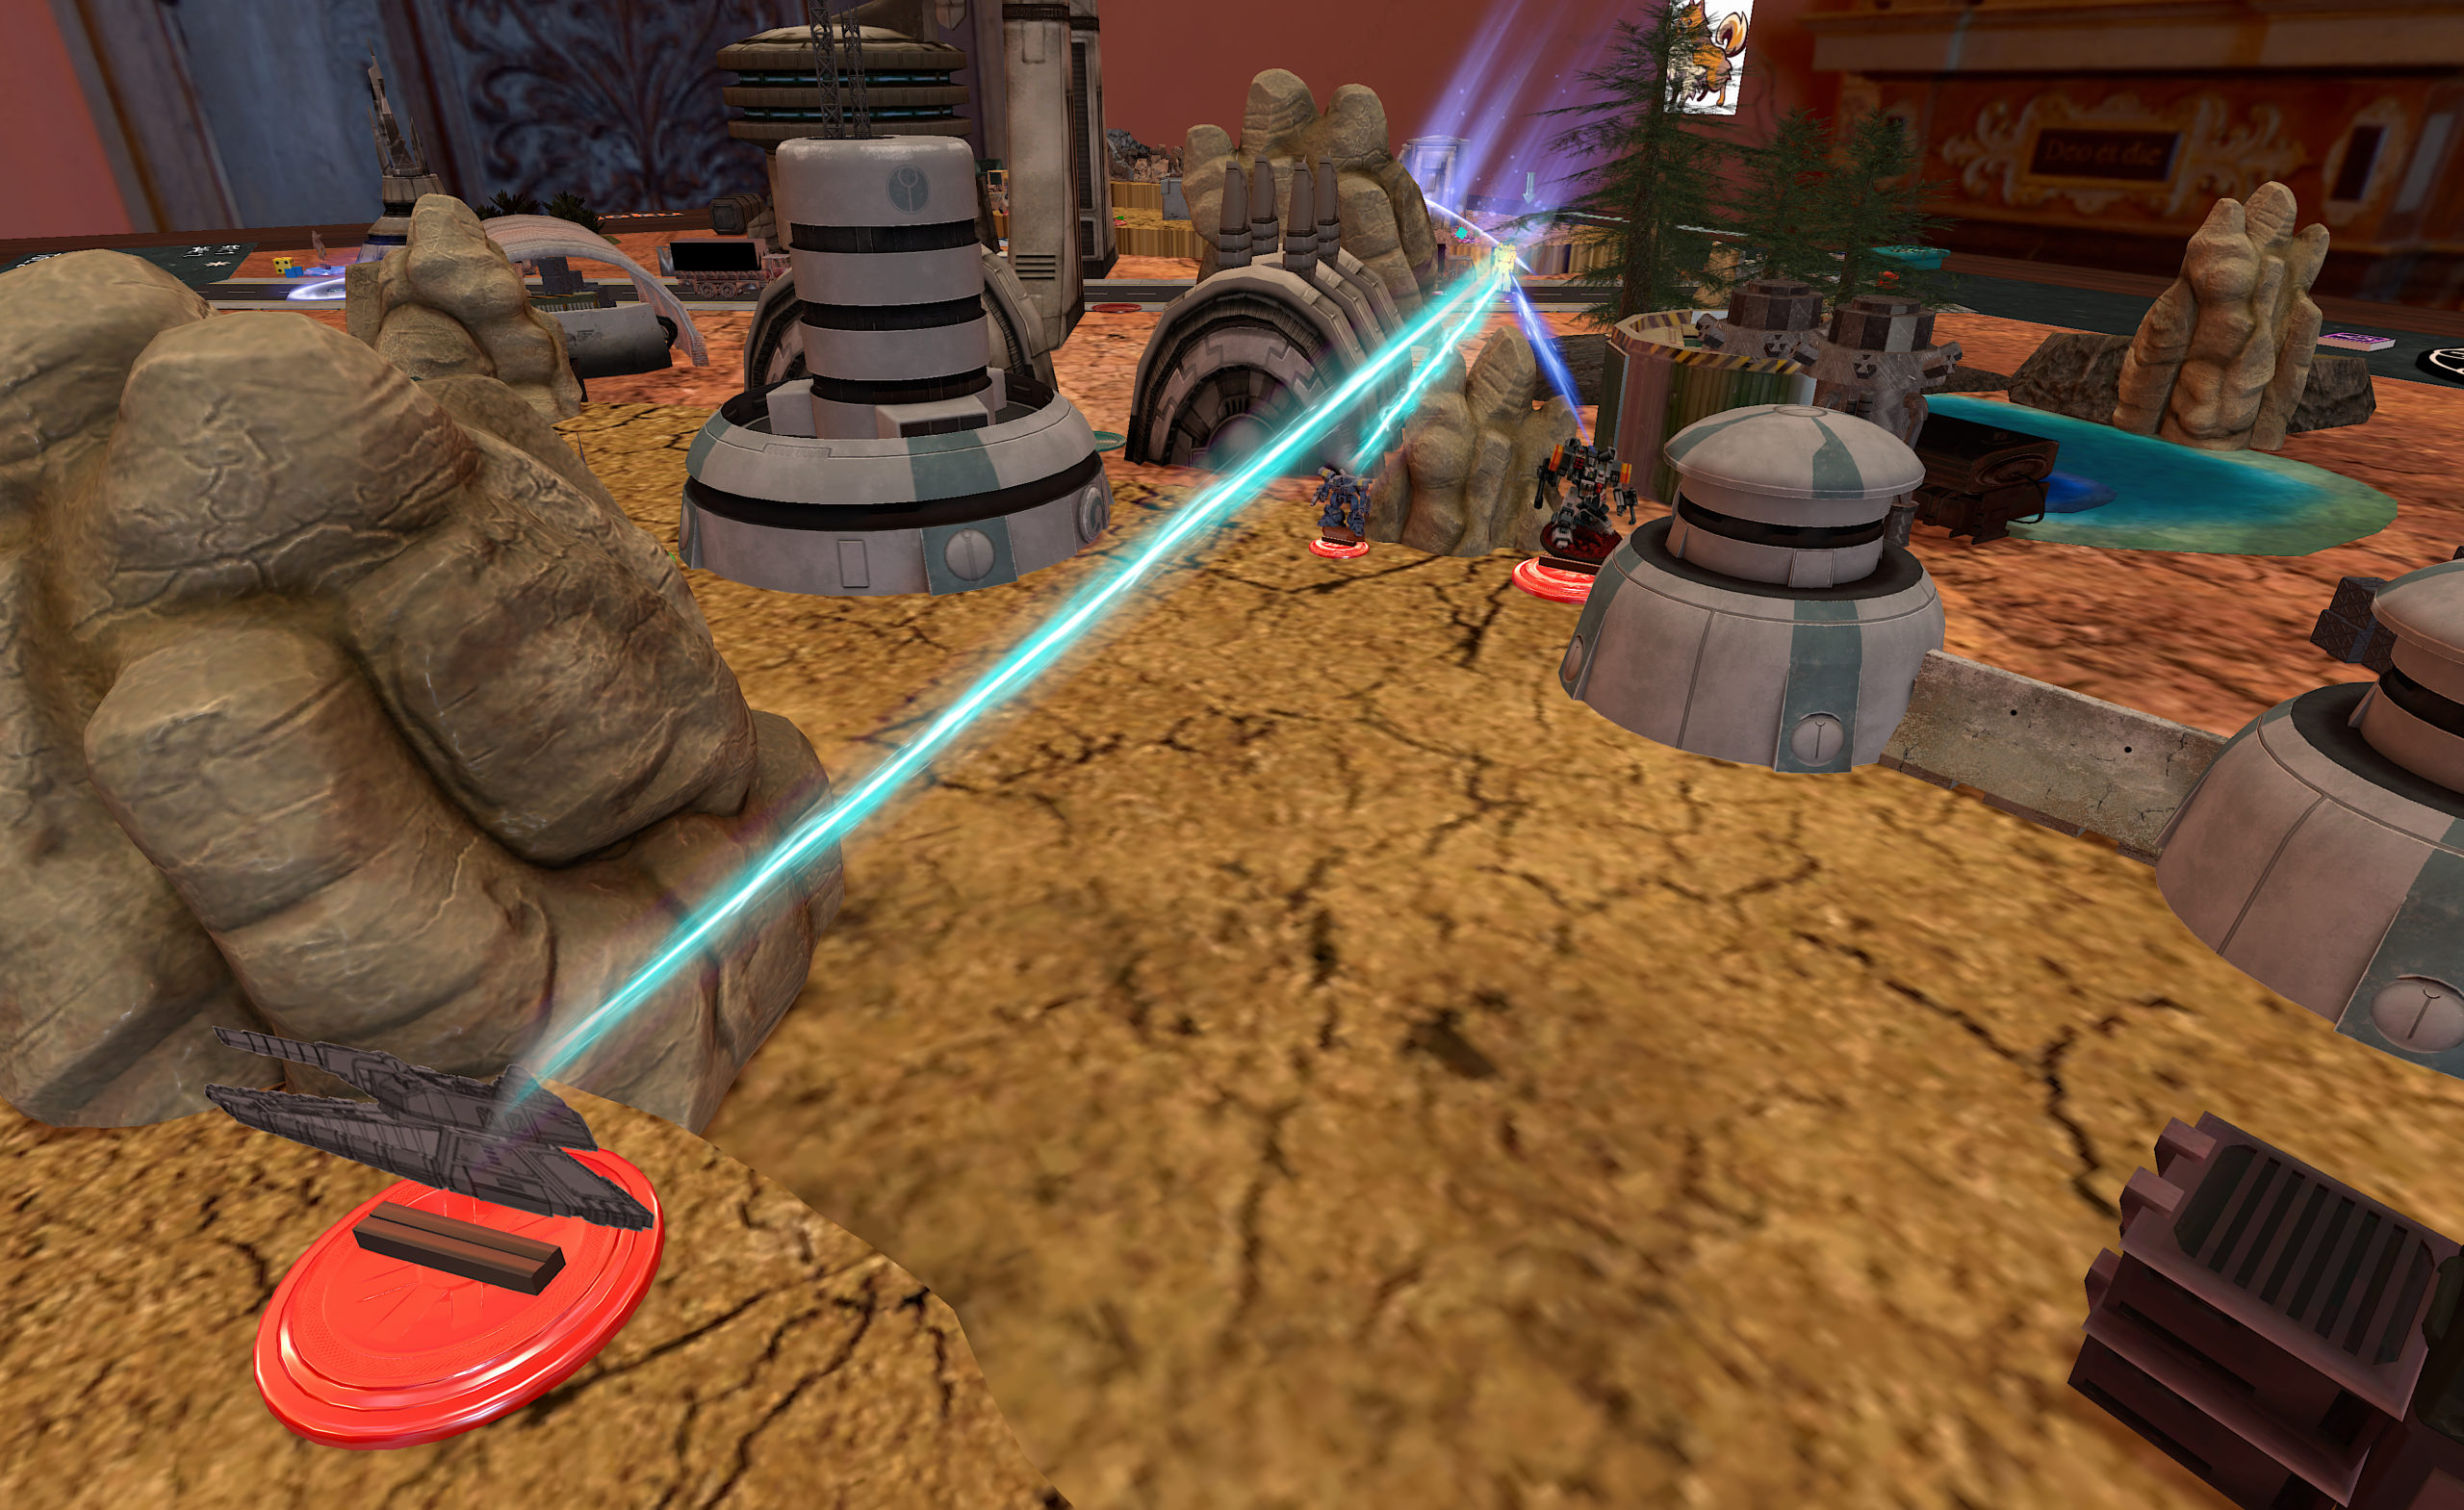
I’m pretty confident in my ability to go for both Assassinate points this Round, and I’m quite content to wait to get Break the Line. I want to keep my Hoverbikes circling on my side of the table while I prepare to push with my tanks. I figure I have a few turns to try for Break the Line, and I need to push my SK squad forward to take the Hold objectives if my RC tanks and GP Hoverbikes move up.
Frank, having nominated my airdrop-damaged RC squad as the target of his Wipe Them Out objective, started by pouring ECM attacks and fire from the Visigoth into my poor HC-3A. I had left him an angle on my Hovercar that he had exploited in deployment, and I was really concerned! Thankfully, I roll extremely well for four actions straight and managed to keep the Hovercar alive, if crippled.
I returned the favor, first Haywiring the Black Box Iguana with the plucky HC-3A and then pouring laser and frag cannon fire into it. Alas, I only managed to a few points of damage.
Smelling Hovercar blood in the water, Frank advanced his team forward, firing the Hetaroi’s MPA and one of the Iguana’s guns at my poor Hovercar, but it shugged off the hits. What a champion!
With the Cobra dead on the first combat group activation, I figured it was time to get my second Assassinate point. I attempted to Haywire the squad to reduce their defense dice but failed with the HC-3A, so I settled for dropping an Airburst missile on them, doing 5 points of damage and almost getting my second point on the first turn!
My Hoverbikes haven’t gone yet, so Frank tried to steal a march on them and pushed his Jackrabbits forward, firing at the lead Hoverbike squad. Thankfully, I had excellent rolls and didn’t take any damage.
It was now my turn to return fire. I managed to take out one base of Frank’s speedy mechanized infantry, but was unable to do any more damage with my Hoverbikes. My Peregrine, on the other hand, rotary lasered one of the very dangerous Iguana MPs into a crippled state and tucked itself behind some rocks near Frank’s other infantry.
Shockingly, Frank was able to put some more damage on my Peregrine with his sniper squads in the woods! Precise is such a strong trait!
With all of our groups activated, it was time for Round 2.
Round 2
Frank doesn’t have any points yet, and I’ve got one so far. My objectives for this turn are to do as much damage to the Iguana squad as possible, finish off the wounded Infantry CGL for my second Assassinate point, and try to collapse Frank’s left flank–by killing his stupid snipers. Once that’s done, I can push in and get Break the Line at my leisure by pushing in the speedy LHT-67/HC-3A combo or any of my Hoverbikes.
After winning initative, Frank starts things off by shooting at my HC-3A again, but I roll like a champion and the little Hovercar that could broadcasts some choice obscenities at the enraged crew of Frank’s Hetaroi. The Iguana MPs so some more damage to my Peregrine, who was hoping to have activated first and is now regretting being so aggressive.
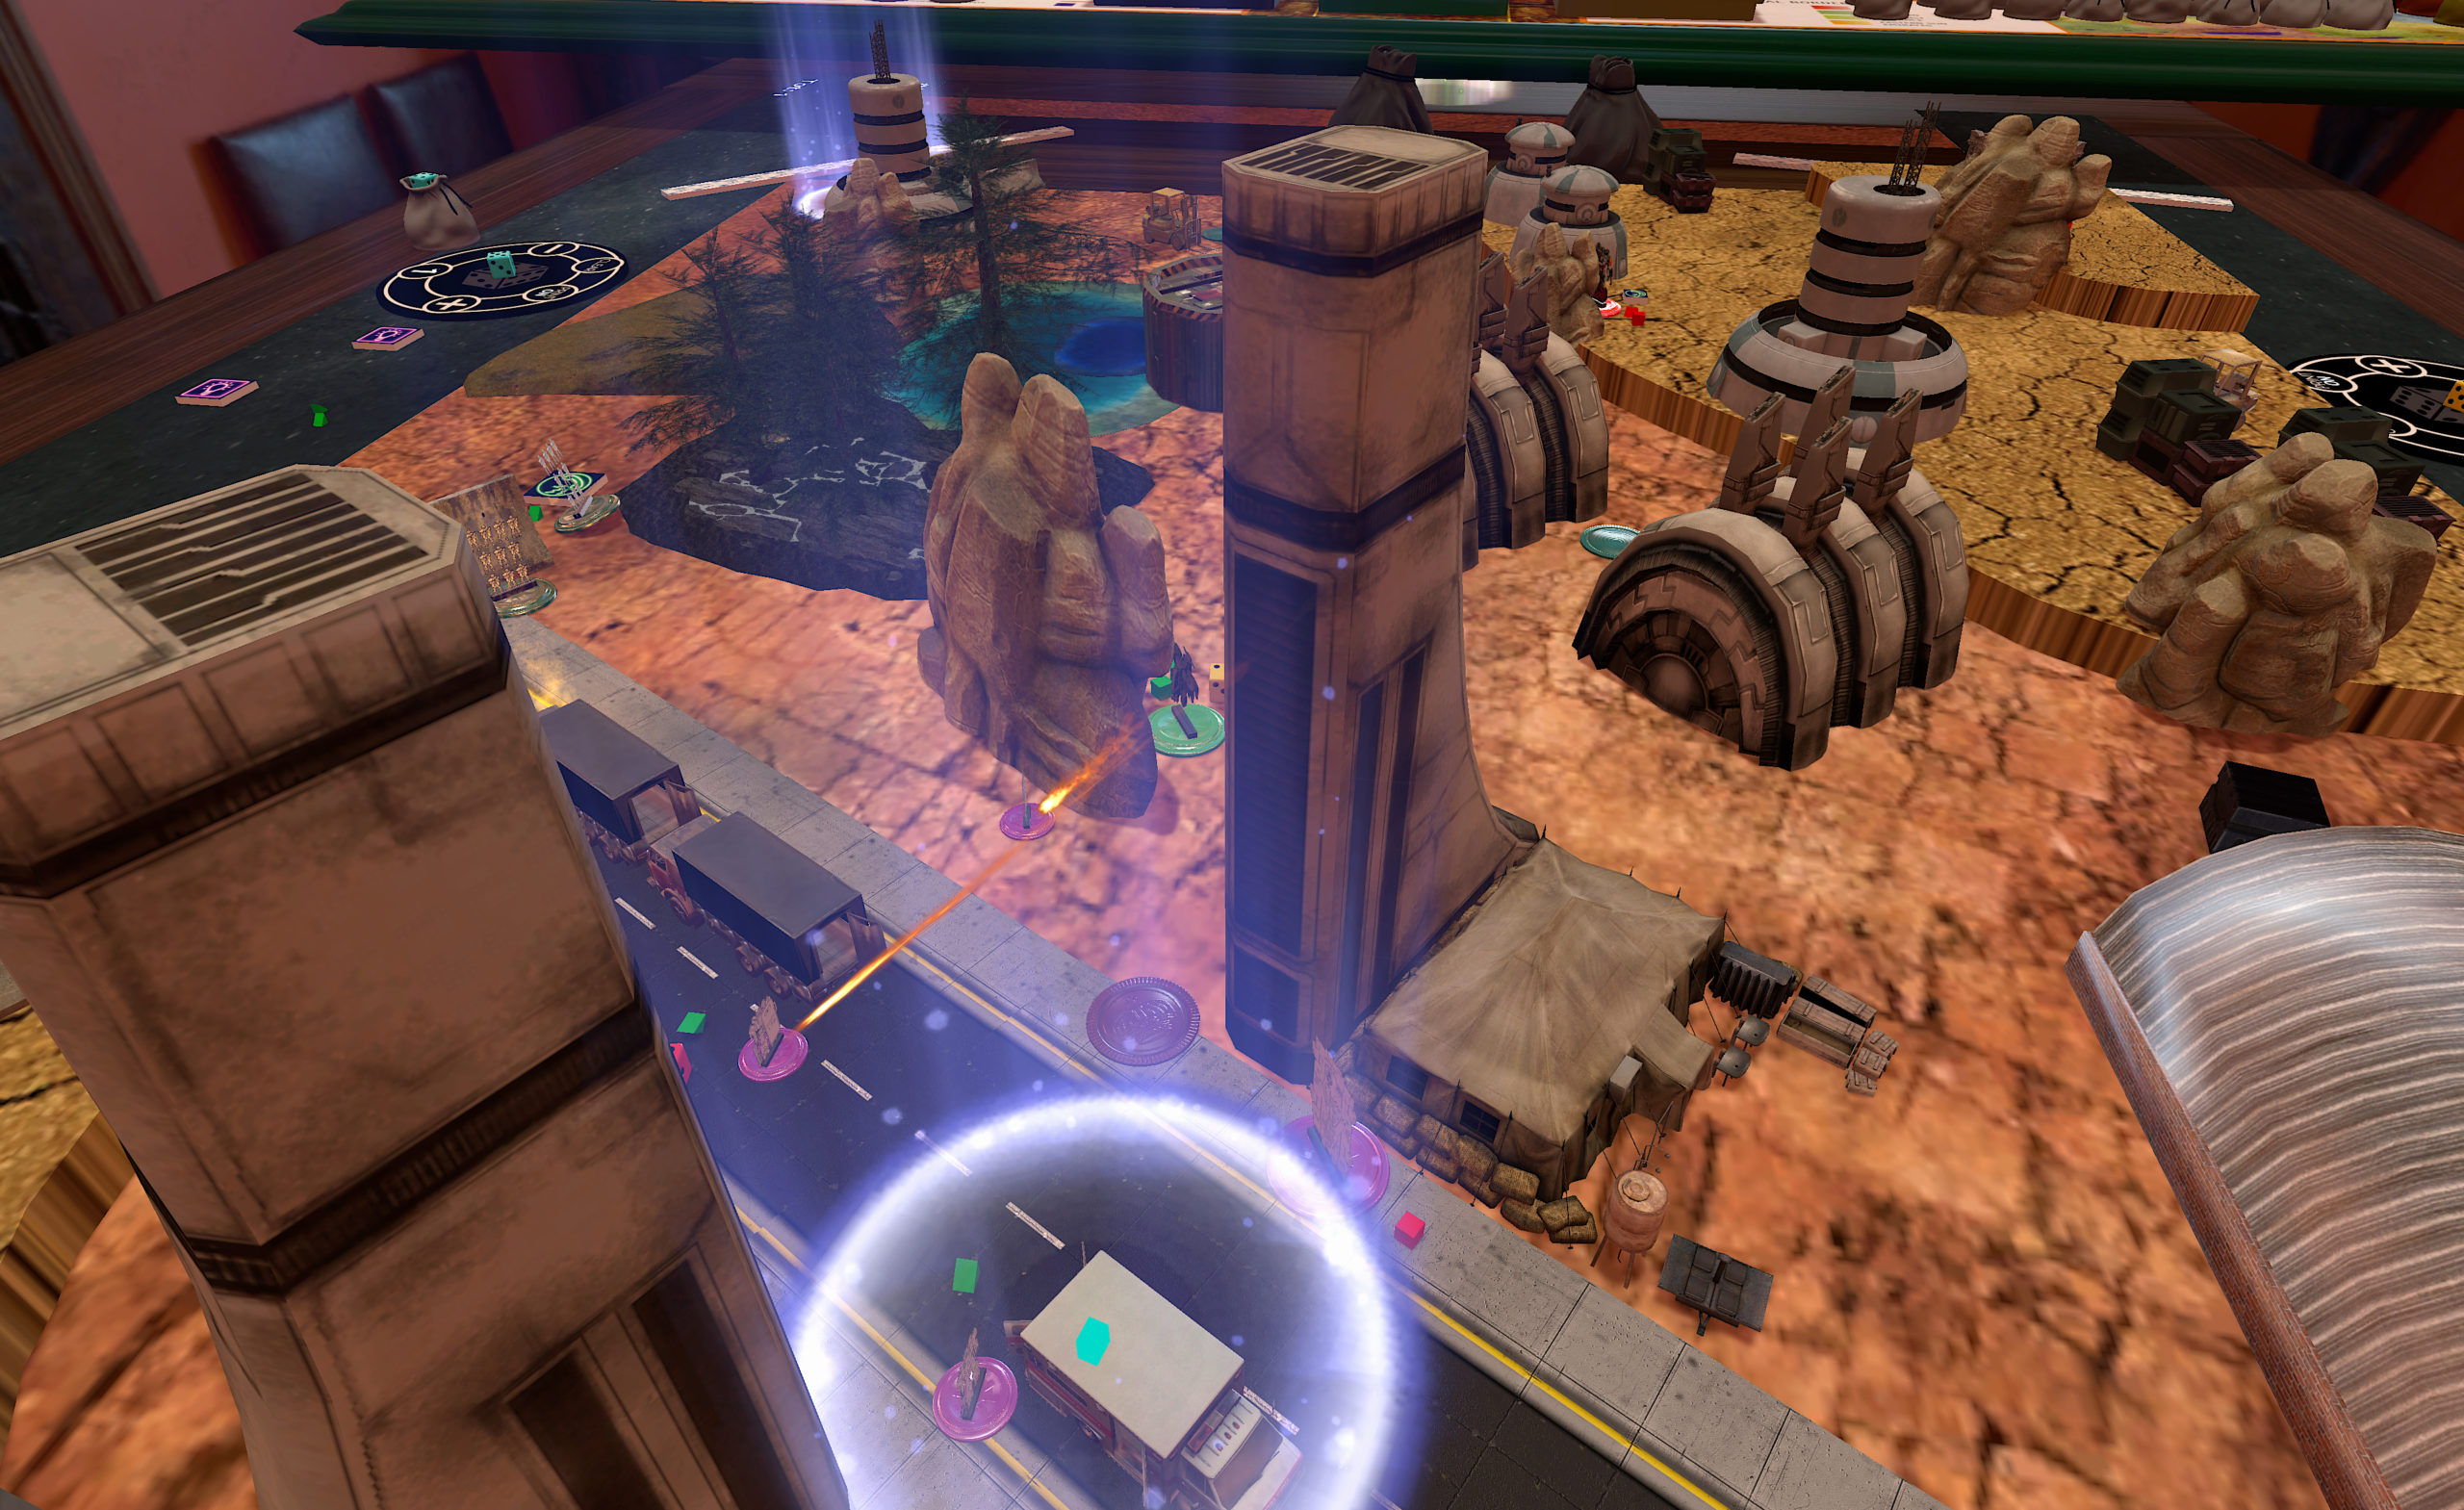
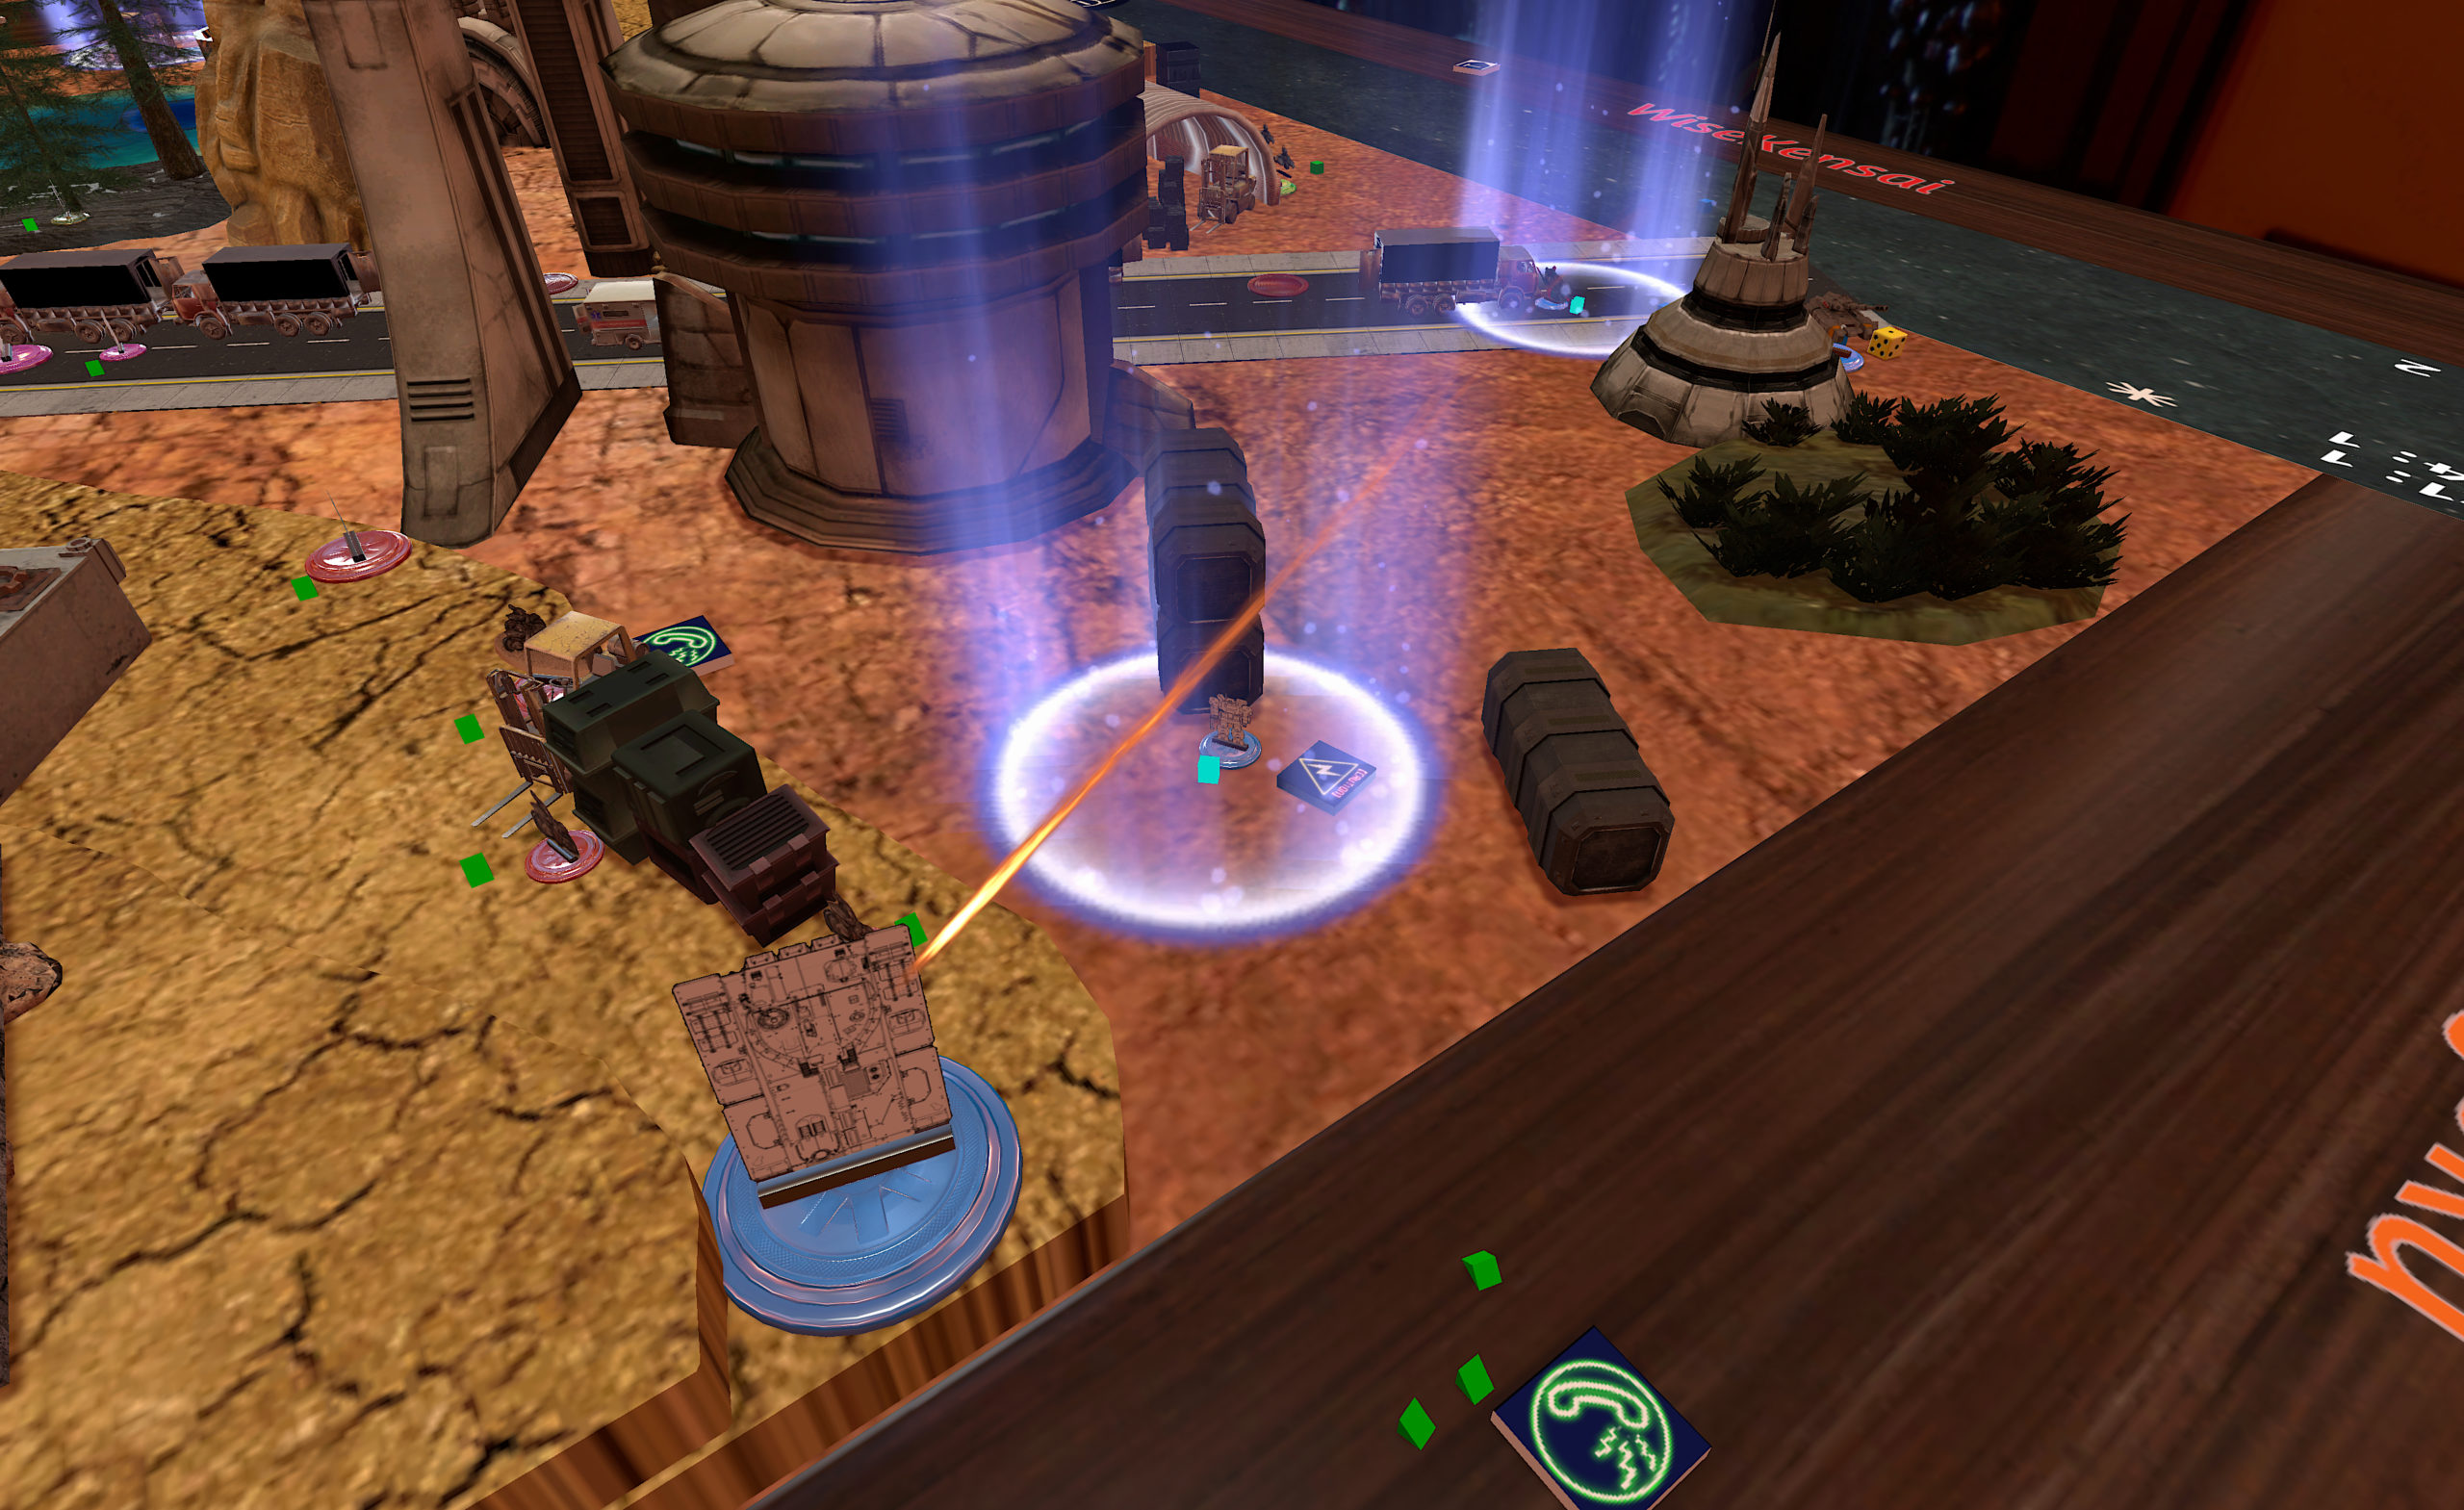
The LHT-67 shifts forward to try and screen my Hoverbikes from the oncoming Iguanas. I fire the Frag Cannon and Rotary Lasers through a struck, but fail to do any damage to Frank’s nearby infantry. Using the 24″ sensors from the tank, my little Hovercar Haywires the Para Iguana and cripples it with some laser cannon fire before retreating back into total cover behind the nearby building.
The snipers fire again on my Peregrine, doing even more damage and crippling the bird. Frank’s almost-dead infantry squad takes refuge in the woods.
With the Peregrine a little worse for wear, I attempt to go out in a blaze of rotary laser glory, taking out the Para Iguana but utterly whiffing on the one-health-remaining Iguana MP. Even the linked rocket pods don’t do much. Sigh. My dice luck is turning a little now, as I throw four bases of Hoverbikes at Frank’s Jackrabbit squads and fail to do any damage.
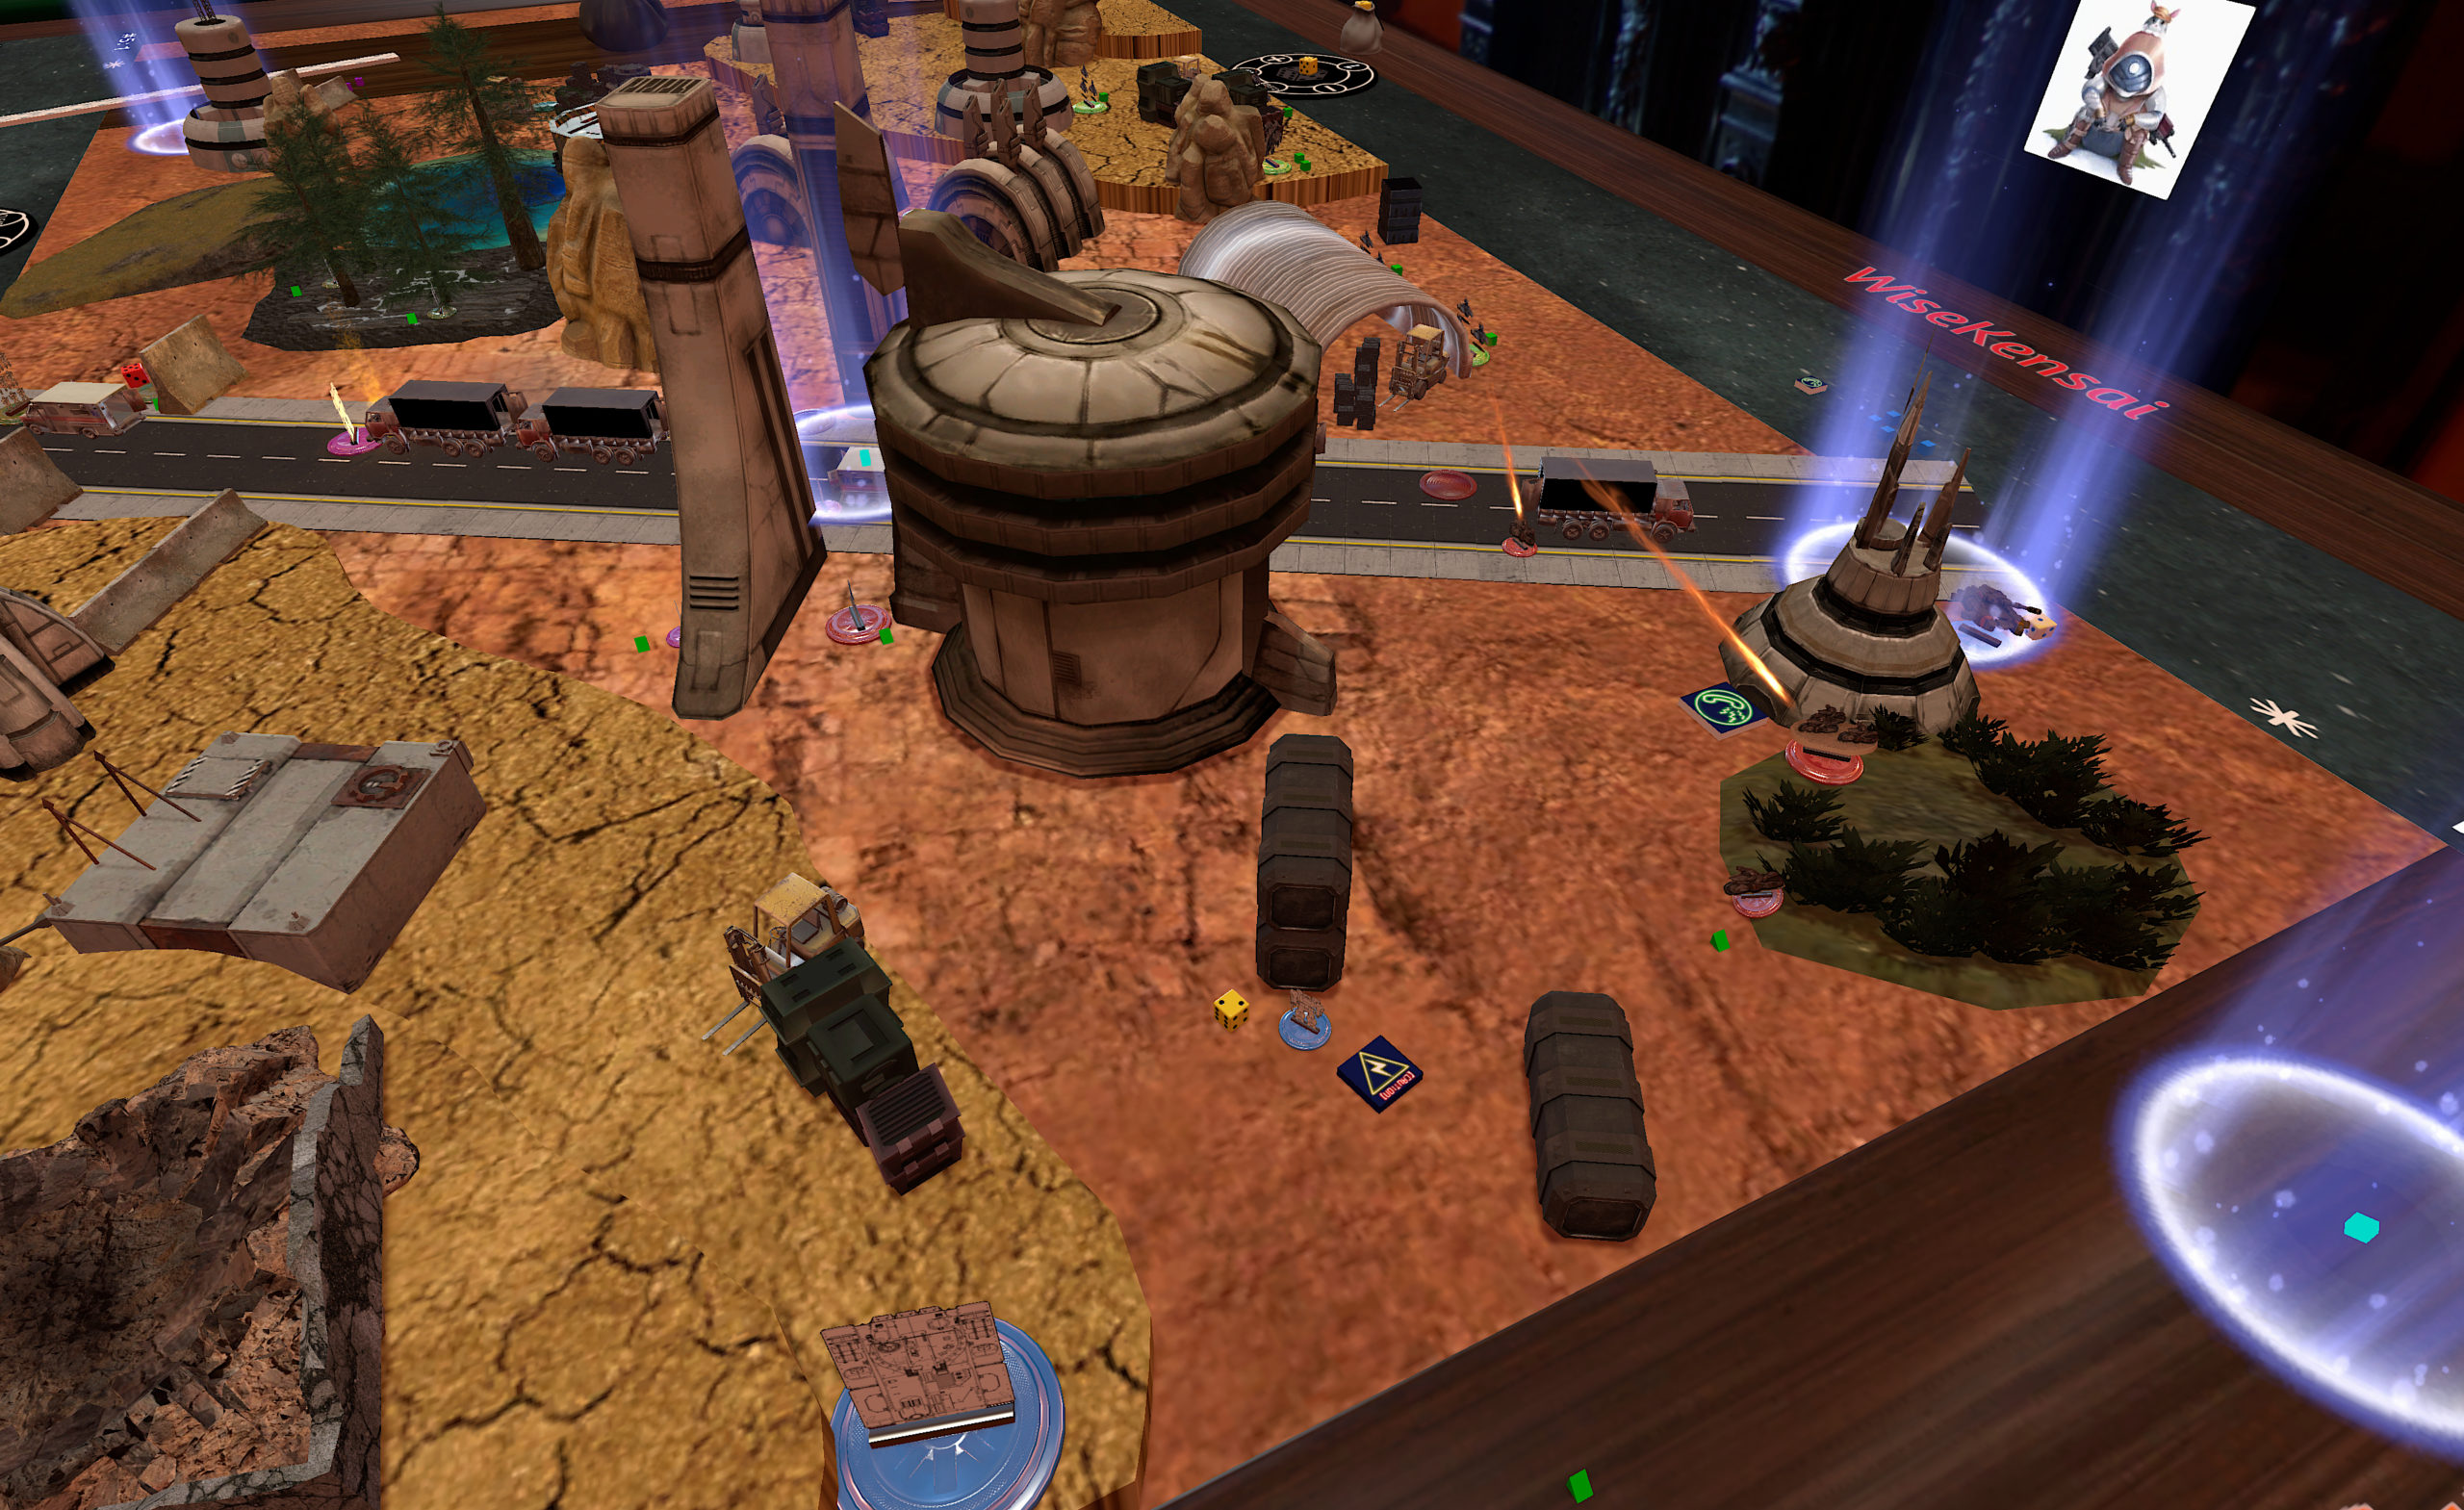
Frank activates the Jackrabbits and forward observe my HC-3A, obliterating it with some indirect fire form the Hetaroi. This gives Frank his one possible Wipe Them Out point, and he’s got a shot at Break the Line. To do this, one Jackrabbit pushes its way into my deployment zone by the corrugated steel hoop building.
I remove the offending Jackrabbit with some Railgun and Laser Cannon fire from my MHT-95, and then obliterate both squads of Infantry with rotary laser and rocket pack fire from the frames, leaving only the two now-damaged sniper squads left to contend with in the woods.
Frank activates his Visigoth, and overkills my poor LHT-67 hiding behind a truck, doing a whopping 8 damage to it in a single heavy tank gun shot! WOW!
I try to keep cool and continue with my plan of taking out his remaining Infantry, landing an Airburst missile right on top of them and taking out the snipers.
So, at this point I’ve got two points for Assassinate and Frank’s got one for Wipe Them Out. It’s unlikely he’ll be able to get anything into my deployment zone, have it survive, and also secure both Capture objectives–he’s gotta choose one or the other especially because his most survivable things are pretty slow (the Visigoth).
In contrast, I shouldn’t have any trouble sneaking into his deployment zone with full-health Hoverbikes and an LHT/HC-3A combo, easily netting Break the Line, and my Hold Objectives aren’t in any serious danger especially because I’ve killed most of Frank’s infantry. We decide to call the game here, as it’s 3 AM for Frank, the game state looks skewed enough for us to call it, and we’re both pretty tired.
So, as the scoring stands right now, it’s a
2-1 CEF Victory!
Post Game Analysis
Easy stuff first. I’m happy with this new battle report format. It strikes a good balance between busy work, intelligibility, and pacing. I’ll keep looking for cool effects to add to the pictures, although I don’t think I’ll start doing this art style for my Infinity reports… we’ll see. If you have strong feelings, let me know. It wasn’t significantly faster/slower than my Infinity photo editing workflow, so there isn’t a clear winner right now. I’ll need to get some more time in with this flow to really be able to make a time-based valuation on which workflow is better.
As far as the game is concerned, I’m really liking the LHT/HC airdrop combo to get flanking positions where the tanks and Hovercars can excel. I suppose I could use Pathfinder deployment if I didn’t want to risk the airdrop, but that’d be table-dependent. I think I paced my attacks well, with the possible exception of the Peregrine. I don’t think I had a significantly better option at the time, and I’m almost willing to throw the Peregrine under the bus (over the bus? It flies. I dunno) to cripple the Iguanas. They’re so dangerous! I didn’t forget my Airstrike this time, I was planning on using it on the Hetaroi once I had developed the HC-3A on my right to a position where I could FO the Hetaroi from behind. We just ran out of time for me to use it. Getting 6d6 on a AR 10 tank with a DAM 8 weapon, hopefully after I’ve softened it up with some Haywire or MPA action sounded pretty good.
I really did not expect Frank’s snipers to perform so well. This forces me to re-evaluate Morgana GREL sniper teams for use in an anti-light-gear role. Should be interesting. I was a little frustrated by the lack of damage on Frank’s infantry near my LHT-67 assault/HC-3A on my left, but I can’t complain about dice this game especially after my glorious first activation and killing of the Cobra. There were a few things I could’ve probably done better–I have a feeling that I missed some good activation order optimality, but I don’t think there was anything glaring that I did wrong. I’m impressed with the performance of the Frames, especially now that I’ve learned to abuse the Let Them Have It order (which I kept forgetting the name of, so I christened it “Cool Kid Mode” during our game, much to Frank’s bemused consternation).
Frank and I discussed a few things that he could’ve done better as well. Both of us deployed some units poorly. In my case, the HC-3A and in his case the Cobra. The dice decided to punish him much harder than they punished me, but there’s definitely room for improvement. I had briefly thought about going after his mechanized infantry CGL instead of the Cobra for Assassinate. I decided not to, because I wanted that all important command token out of that squad. Why not kill one cobra with two lasers? That’s the idiom, right?
Anyway, the big suggestion from Rooster, who was (literally) eating popcorn while spectating our game was that Frank should have been far more aggressive with the AR12 Visigoth. I didn’t have much in the way of things that could hurt it, what with that stupid Field Armor too! I’d have had to dedicate tons more resources into shooting it, which I had no interest in doing as that would have been directly counter to my plan of just doing objectives.
Had the Visigoth instead been where the infantry and snipers were, I would’ve had a much tougher time. I think herein lies the real elegance of the Heavy Gear objectives system as it unfolds during game setup:
- Lists are open information, and discussed before deployment.
- Players alternate deploying combat groups.
- Players alternate choosing objectives.
This allows you to respond to enemy force composition as well as enemy positioning to choose the most advantageous objectives to accomplish. Very very cool. I’m a big fan. One thing I’ve noticed so far, though, is that games tend to be pretty slow and purposeful in positioning changes. This is in some ways a direct result of the absolute thrashing you can get for overextension due to the activation system. By pushing yourself forward, you expose yourself to more stuff that doesn’t need to work hard to attack you now. Since everything basically only gets to do something at one time, you could walk into a hornet’s nest of unactivated models if you over extend. Infinity is similar, but there are more ways to mitigate an overextension with things like marker states and soforth. I think there’s room to ratchet up the pressure on positioning constraints during a game, but that’s a topic for another time, especially since it requires further testing and thought.
Frank’s Thoughts
I’ve started literally writing down both my objectives and the opponent’s objectives – just reading through the mission once, developing a mental framework for how the mission is supposed to go, and just keeping that in mind like I do with Infinity games just DOES NOT WORK in Heavy Gear because of the asymmetrical nature of the objectives!
Because of this, I pretty much served one of your points to you on a platter by marching my infantry squads forward. My brain was like “These guys should be hard to remove in cover and they’ll contest your ‘Hold’ objective” – neglecting that you had selected Assassinate on one of them, and man, regular Infantry are not as fast nor as durable as FLAILS. FLAILS are jerks.
My Visigoth is such a chonker in terms of firepower and points that I wanted to reaaallly leverage the long range of his weapons and push him up a side. That was dumb. There was so much terrain on the table, and he’s so slow, that he really was only able to fire upon targets of opportunity. Big tanks are not quite like TAGs in Infinity – Infinity TAGs are hilariously vulnerable to all sorts of things if you leave them unguarded. The Visigoth Khan, short of a melee specialist hitting it from the rear, is almost impenetrable unless you’re paper-cutting it to death with repeated Armor Piercing attacks. I should’ve deployed it in the center and just outright challenged the main fire lanes.
I had a listbuilding error – I wanted to use Airdrop on my squad, but the presence of my Flame Cobra (which DOESN’T) have airdrop – meant that I couldn’t use it, because literally ALL members of your combat group need to have a deployment skill for you to use it. Silly me, knowing the rules is for… uh, kids.
Choosing objectives is really, really important. You should probably have a loose game plan for what objectives you’re going to choose right at the outset, and consider your own list as to what objectives your opponent might choose against you. I had two beefy groups and 2 light groups – had I considered “these lights groups will be vulnerable to Assassinate if I don’t play cagey with them”, I would’ve deployed and played with them very differently… instead of serving you up points on a platter.
It’s not hard to take a Fire Support Squad and then just forgo Wipe them Out entirely if you have enough Combat groups. Again, the big chonkers can have a real effect on the battlefield – you just have to play intelligently, and have a good flow with all the systems in play.
Jon, your hover bike guys, they have, uh, something on their shoulder. Come over here. I can brush it off you… with my frag cannon… just come closer. Come on, come on, over here.