
Chipped Scimitar
Well, it was time to get some Heavy Gear Blitz in with Adam! We broke out the big 6’x4′ table for a 150TV game of my CEF versus his North, complete with the beautiful new shiny rules PDF! AIRHORN AIRHORN AIRHORN!
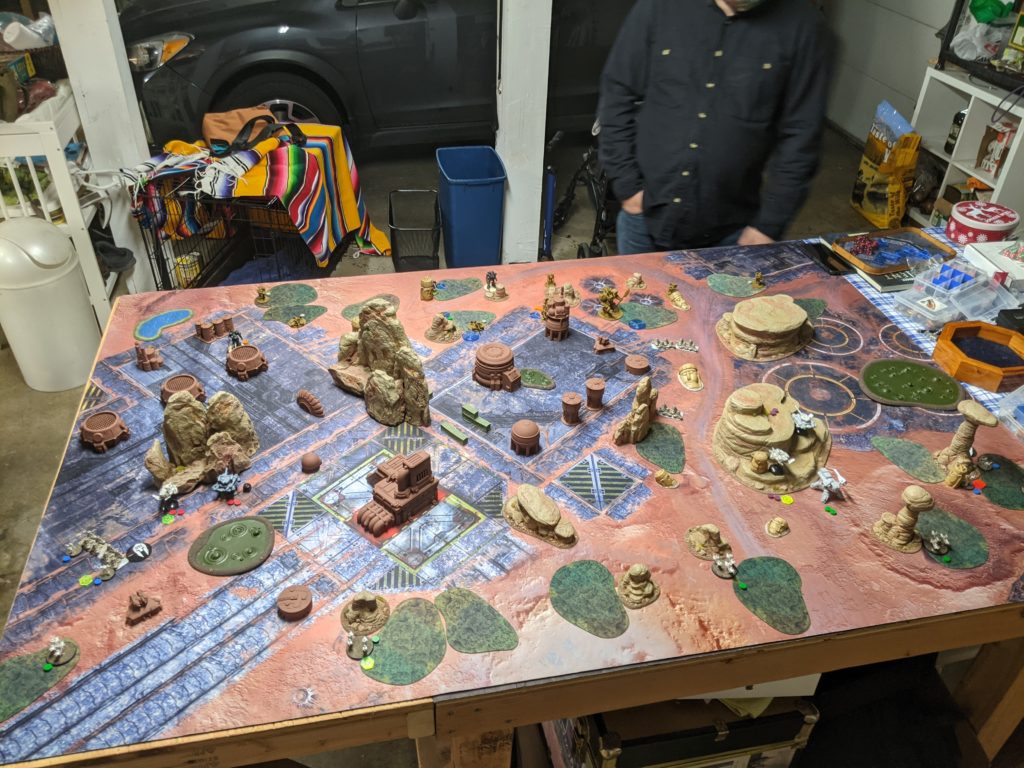
CEF Deployment 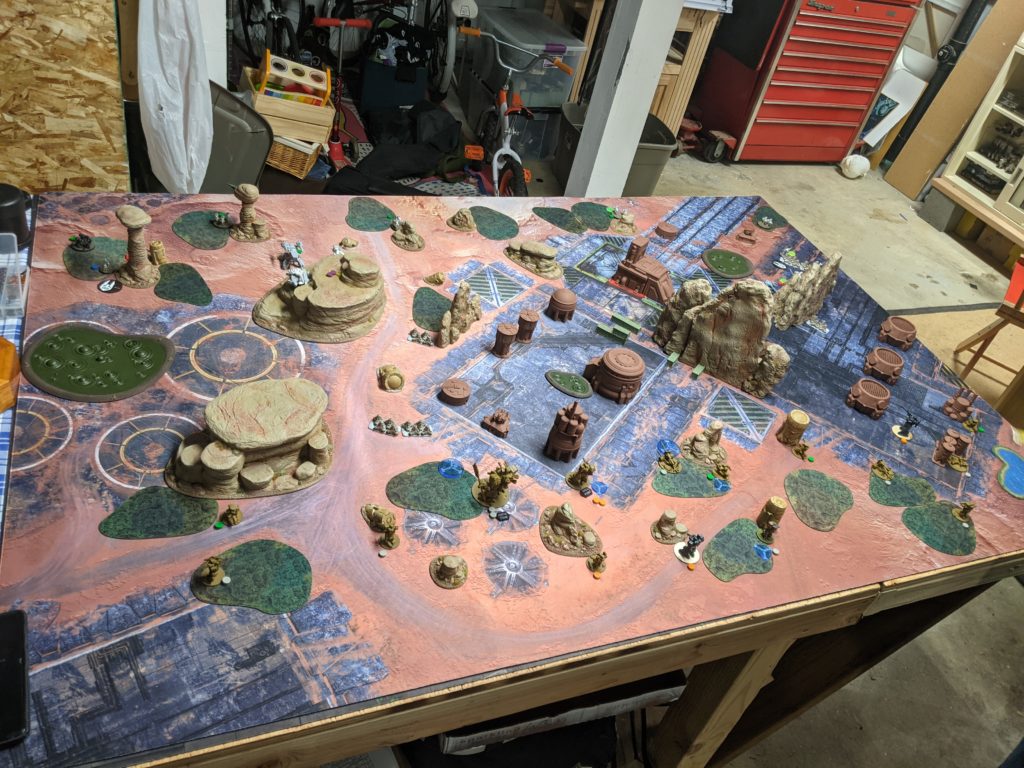
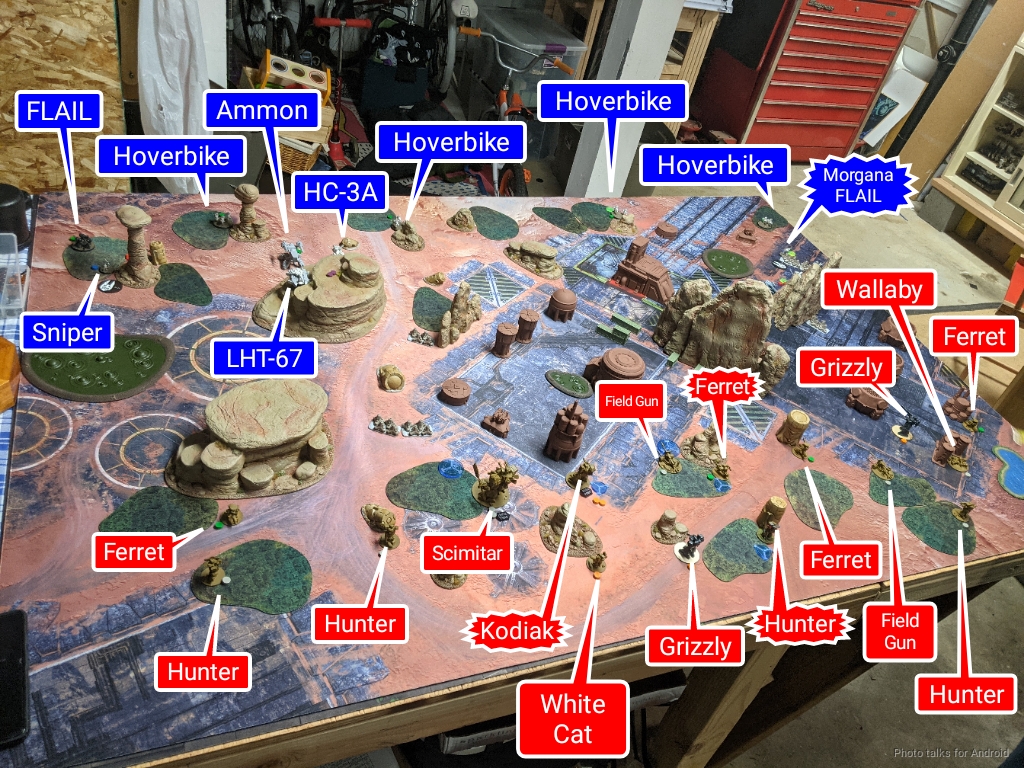
North Deployment 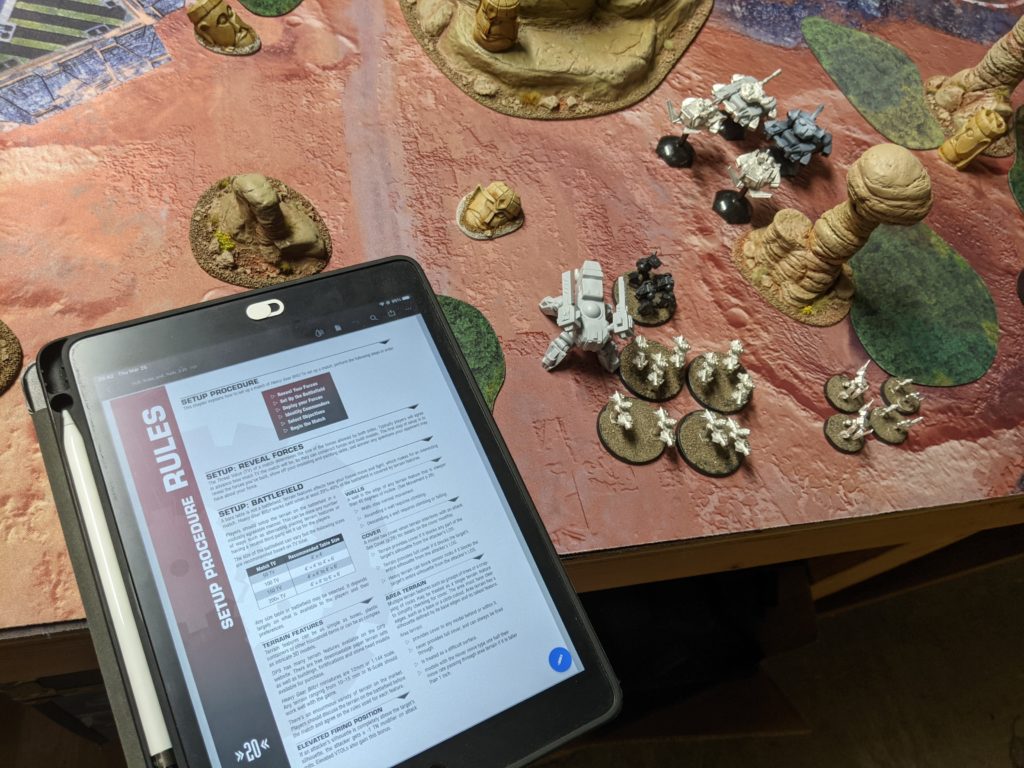
Awesome New Rules!

The team has outdone themselves with the absolutely beautiful layout! Adam and I have had the opportunity to have an early look at the PDF, and it is very good. I can’t comment too much more, but the team has given me permission to share this shot of the rules at an actual table, getting ready to play a game! Get HYPED and send them some love on the forums, the team has really been burning the midnight oil on this!
Overview
CEF List
I’m kinda in love with the LHT + HC-3A combo, especially now that the Hovercar has 2 actions. That makes it an absolute monster. You can [ECM] Hack something to Haywire it, potentially doing one damage, and the Hovercar is speedy enough to get something out of cover and then return to cover itself.

If we are shooting our LLC at a hypothetical PI 4+ target with the Let Them Have It! (LTHI) order up, we’re on 3d6 versus their 1d6, which means our average MOS is going to be a whopping 2.08 + 2R from Precise and Adv! If the target is a Hunter, that’s 4 damage, potentially 5 from Haywire, and the Hunter is crippled. Cover drops the damage to 3-4, which is still fantastic!
Part of the reason why the HC-3A + LHT combo is so great is because the tanks have Sensor:24, which lets me [ECM] Hack my target using the tank’s sensors, thereby keeping the vulnerable HC-3A out of Line of Sight from Retaliation fire until I’ve successfully Haywired the target. It’s so funny how much my evaluation of the various LHT-67 types has changed over the last few games.
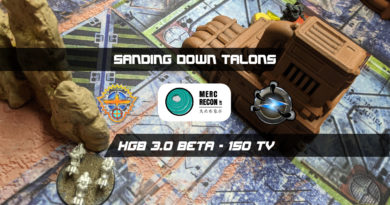
I used to think the AA variant with the MLC and LATM was the best one, but with my opponents taking light recon gears and infantry, the LABM of the stock LHT-67 has become very important. The MPA on the stock model is also very good as it serves as another source of Haywire. Also, just look at these things:

They look so good! Anyway. The LHT-67 Assault is also monstrous with its movement and MRL. If you stack up LTHI and Focus, you can get 4d6 on two targets with Split on that rotary laser! Anyway, that’s why there’s two RC groups with the LHT+HC combo in there. Lots of options for dealing with low-to-middling AR models, and the Air Burst Missiles do awful things to Infantry when Guided in.
| Model |
TV | A | Weapons | Traits | |
|---|---|---|---|---|---|
| CG1 GP |
Jan GREL Hoverbike Squad | 6 | 1 | HIW, MIGL | Agile, Jump Jets:2, SatUp, CGL |
| Jan GREL Hoverbike Squad | 6 | 1 | HIW, MIGL | Agile, Jump Jets:2, SatUp | |
| Jan GREL Hoverbike Squad | 6 | 1 | HIW, MIGL | Agile, Jump Jets:2, SatUp | |
| Jan GREL Hoverbike Squad | 6 | 1 | HIW, MIGL | Agile, Jump Jets:2, SatUp | |
| FLAIL Anti-Tank Squad | 7 | 1 | HMG, HAVM (AP:2) | Jetpack:4 | |
| + Smoke | 1 | Smoke | |||
| Ammon Quasar | 35 | 2 | 2xMRG (FT+F), HMG (FT+F), MSG | React+, Brawler:1, Climber, Stable, TD | |
| CG2 RC |
Command HC-3 | 14 | 2 | LLC, LATM (LA:1) | Agile, Airdrop, Comms, ECM+, Sensors:36 (Aux), TD, Jump Jets:2 (Aux), ECCM, SatUp (Aux), Vuln: H, CGL |
| LHT-67 | 15 | 2 | MPA (T), LABM (T) | Agile, Airdrop, Jump Jets:3 (Aux), Sensors:24, TD | |
| CG3 RC |
Command HC-3 | 14 | 2 | LLC, LATM (LA:1) | Agile, Airdrop, Comms, ECM+, Sensors:36 (Aux), TD, Jump Jets:2 (Aux), ECCM, SatUp (Aux), Vuln: H, CGL |
| LHT-67 Assault | 15 | 2 | MRL (T), MFC (FT, Link) | Agile, Airdrop, Jump Jets:3 (Aux), Sensors:24, TD | |
| CG4 SF |
Morgana FLAIL Single | 6 | 1 | HMG, LVB (AI) | Agile, Brawler:1, Stealth, Jetpack:4, CGL |
| Morgana FLAIL Single | 6 | 1 | HMG, LVB (AI) | Agile, Brawler:1, Stealth, Jetpack:4, 2IC | |
| Morgana GREL Sniper Team | 4 | 1 | MIW, MIS (AI, Precise, Silent) | Agile, Brawler:1, Stealth | |
| Morgana GREL Sniper Team | 4 | 1 | MIW, MIS (AI, Precise, Silent) | Agile, Brawler:1, Stealth | |
| AS | Airstrike | 4 | 1 | Bomb | |
| Total | 150 | 18 |
My usual 4x Jan Grel Hoverbike squads made it in as well. They’ve become such a staple of my CEF lists now. They’re very fast so they function as great objective grabbers for things like Detailed Scan and Break the Line, and in a pinch I can use them to deny my opponent Capture or Hold. Depending on what my opponent chooses for their commanders, in the context of Assassinate, I may or may not be able to attack them with the Hoverbikes as well, making the bikes very versatile.
One of the downsides to the LHT+HC heavy list is that I have very little reactionary firepower on the table, so I threw in an Ammon Quasar. There’s a fair bit of elevation on our usual table, so I wanted to be able to get the -1 to Gunnery from the Ammon being higher than everything else, pew pewing its railguns at stuff. It’s a monster both in reaction and in the active turn, but man is it expensive at 35 TV!
My last CG was mostly to try out a new rule. If you take two commanders in a single CG, you can now split deployment so long as each split off group is in formation with at least one commander. This makes a lot of sense for SF squads, and after my last game against Frank where he used snipers to go after my Peregrine I wanted to try snipers for myself.
After all of this was done, I had a few extra points, so I threw in a FLAIL Anti-Tank squad and an Airstrike. Maybe I’ll use it this game! Who knows, you’ll have to keep reading to find out!
North List
Adam decided try a ECM heavy list and cheated a little by taking 4 Wild Ferrets instead of the maximum of two you would normally be allowed. This isn’t a big deal and is just another indicator of our relative newness to this game still. We’ll get there eventually! To provide some firepower, he took a SK squad consisting of a Kodiak and two Crossbow Grizzlies. His plan, as I was soon to find out, was to target designate something with the White Cat and then obliterate it with ATM fire.
| Model | TV | A | Weapons | Traits | |
|---|---|---|---|---|---|
| CG1 GP |
Hunter | 6 | 1 | LAC (Arm), LRP, LAPGL, LPZ, LVB (Arm) | Arms, CGL |
| Hunter UC | 6 | 1 | MFC (Arm), LRP, LAPGL, LPZ, LVB (Arm) | Arms | |
| Wildfire Hunter | 7 | 1 | MAC (Arm), LAPR (Fire:1), LHG, LVB (Arm) | Arms | |
| Wildfire Hunter | 7 | 1 | MAC (Arm), LAPR (Fire:1), LHG, LVB (Arm) | Arms | |
| Field Gun | 4 | 1 | LFG | Towed | |
| Field Gun | 4 | 1 | LFG | Towed | |
| Wallaby ATV Squad | 5 | 1 | LIW, LIGL | Agile | |
| Command Feral Scimitar Rotary Laser | 26 | 2 | GL (Arm, DM:10, AE:4), MAC (T, AA), MAPGL, MSG (Arm, Link), HVB (Arm, Reach:2), MRL (FT, Link) | Arms, Brawler:1, Climber, SatUp, ECCM | |
| + Veteran | 2 | Vet, SPs:1 | |||
| CG2 RC |
Wild Ferret | 6 | 1 | PG (Arm), LVB (Arm) | Arms, Brawler:-1, ECM, ECCM, Comms, SatUp (Aux), Sensors:36 (Aux), Vuln:H, CGL |
| Wild Ferret | 6 | 1 | PG (Arm), LVB (Arm) | Arms, Brawler:-1, ECM, ECCM, Comms, SatUp (Aux), Sensors:36 (Aux), Vuln:H | |
| Wild Ferret | 6 | 1 | PG (Arm), LVB (Arm) | Arms, Brawler:-1, ECM, ECCM, Comms, SatUp (Aux), Sensors:36 (Aux), Vuln:H | |
| Wild Ferret | 6 | 1 | PG (Arm), LVB (Arm) | Arms, Brawler:-1, ECM, ECCM, Comms, SatUp (Aux), Sensors:36 (Aux), Vuln:H | |
| CG3 SK |
Chaingun Kodiak | 20 | 2 | HRC (Arm), MRP, LATM (Precise), HMG, MAPGL, MVB (Arm) | Arms, Vet, CGL |
| + Vet: Trick Shot | 1 | ||||
| Crossbow Grizzly | 13 | 1 | HAC (Arm), PG (Arm), MATM, HMG, LVB (Arm) | Arms, React+ | |
| Crossbow Grizzly | 13 | 1 | HAC (Arm), PG (Arm), MATM, HMG, LVB (Arm) | Arms, React+ | |
| White Cat | 11 | 1 | LAC (Arm), RP (DM:6), LVB (Arm) | Arms, Agile, ECM+, ECCM, TD (Aux), Comms, SatUp (Aux), Sensors:36 (Aux) | |
| + Smoke | 1 | Smoke | |||
| Total | 150 | 18 |
We’ve been debating the merits of the current Wipe Them Out! objective implementation internally, and Adam and I have come to the following conclusion:
- As it stands, the objective works, but does strange things to list composition for competitive play.
- This means neither of us will really ever take a Fire Support Combat Group, and instead take a max-strength GP group (6 actions) with a FS model in the secondary slot.
- Furthermore, if you ever take a FS CG, you should make sure you always have the ability to not take Wipe Them Out! in a competitive setting, e.g. you should have 4 CG’s in a 150 TV game (i.e. always one more CG than you need so you don’t have to nominate the FS group to take an objective).
Others are definitely having success with the Wipe Them Out! objective during playtesting, so your experience might be different. For you Infinity players out there, this is like taking a faction without a TAG to a mission where TAGs provide extra objective points. You can’t score the max 10 points, but if you play carefully and kill the enemy TAG while accomplishing the objectives you can, you can still easily win the game. You just won’t ever be able to get the max 10 points, and in a hyper-competitive tournament or in a Showdown format (one mission tournament) where the Objective Points matter as tiebreakers for overall standing, you’re at a disadvantage.
The good news here is that you can do what Adam did, which is to take a bunch of cheap utility pieces in a GP squad, and round out the CG with whatever chonky monster you want. Adam chose the beautiful Scimitar model with rotary LAZORS and mega grenade launcher for his list. Man that thing is intimidating! Size really does matter!
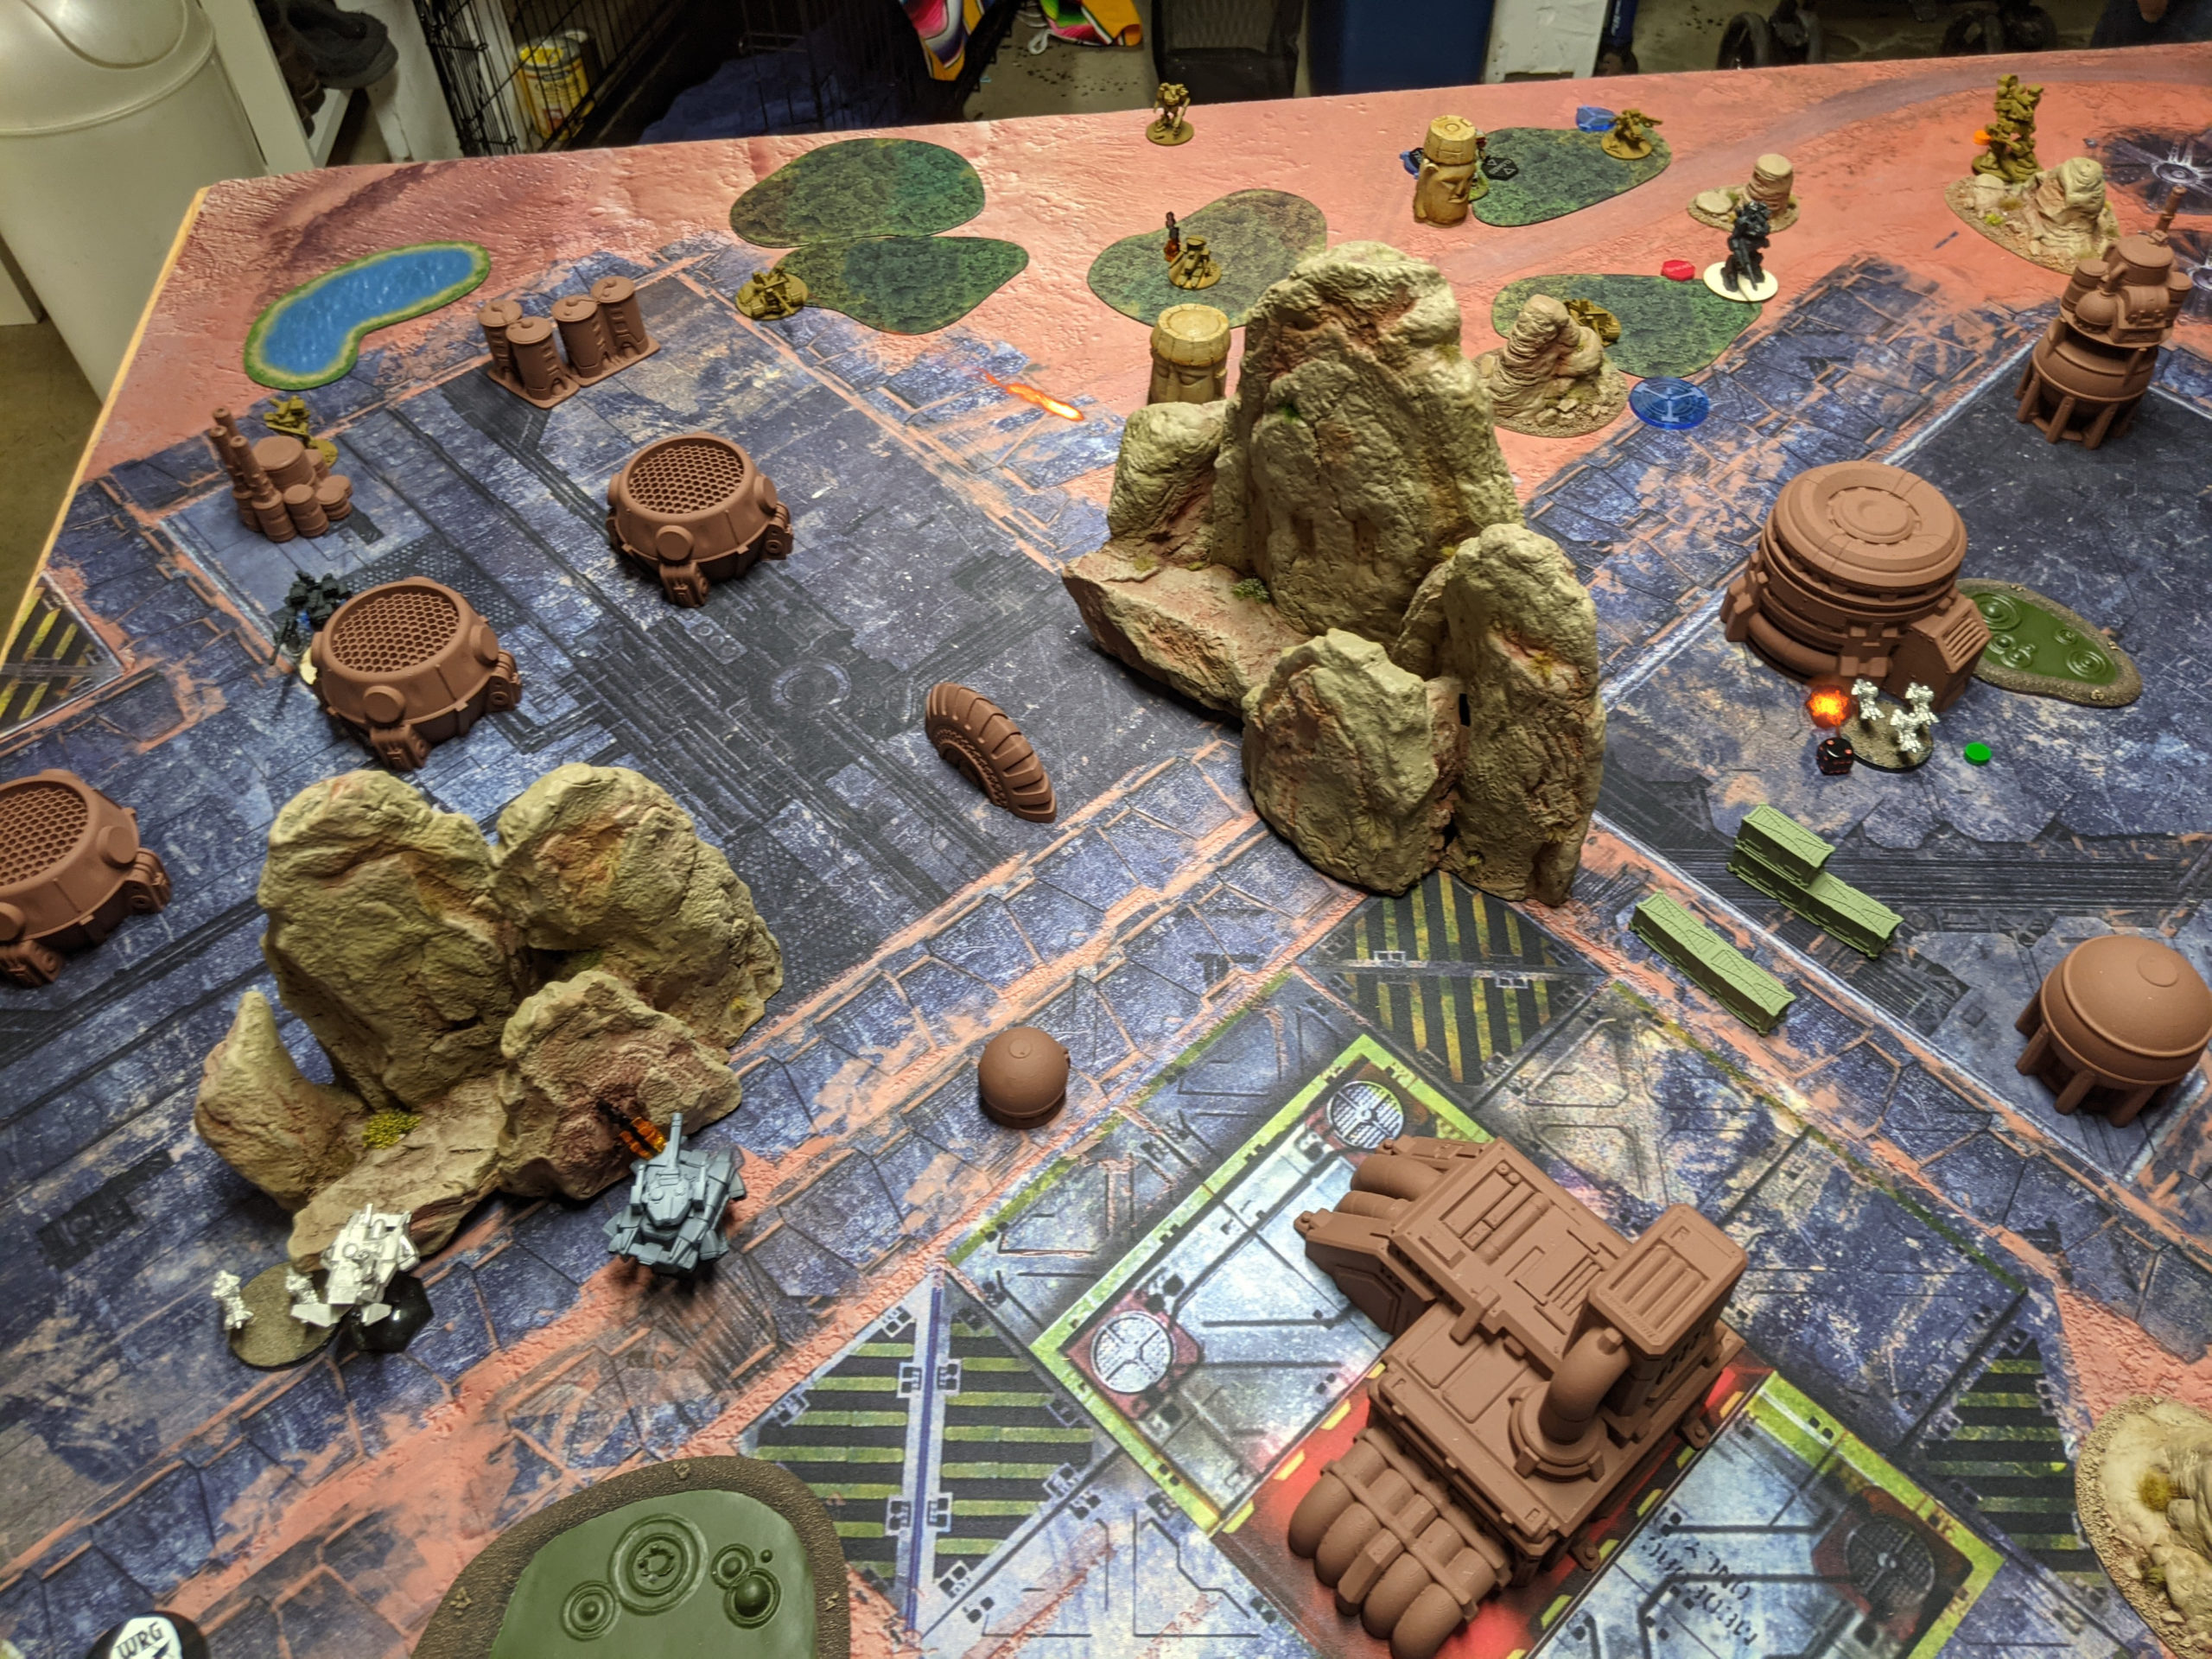
Deployment
I won the rolloff for deployment and made Adam deploy the first combat group. He put down his Ferrets in a line across the board, and then I placed my SF squad in cover on each table edge. I split them into two groups, one FLAIL and Sniper squad to a side, and figured I’d use them for Hold objectives or to harass anything that was out of position or lightly armored.
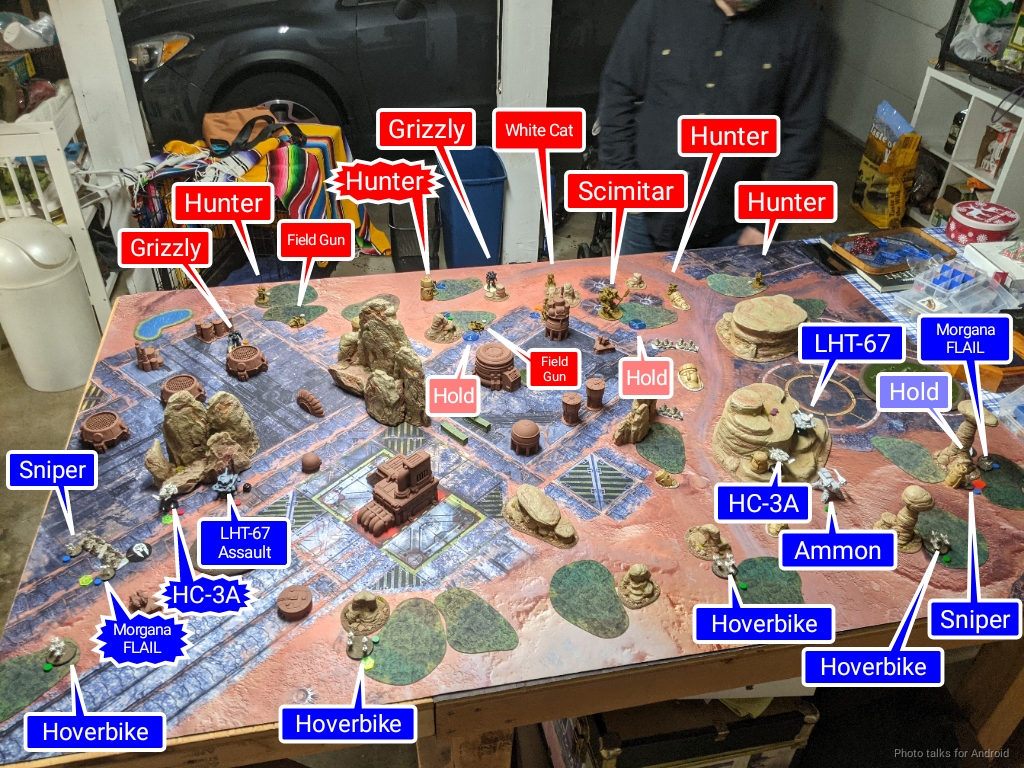
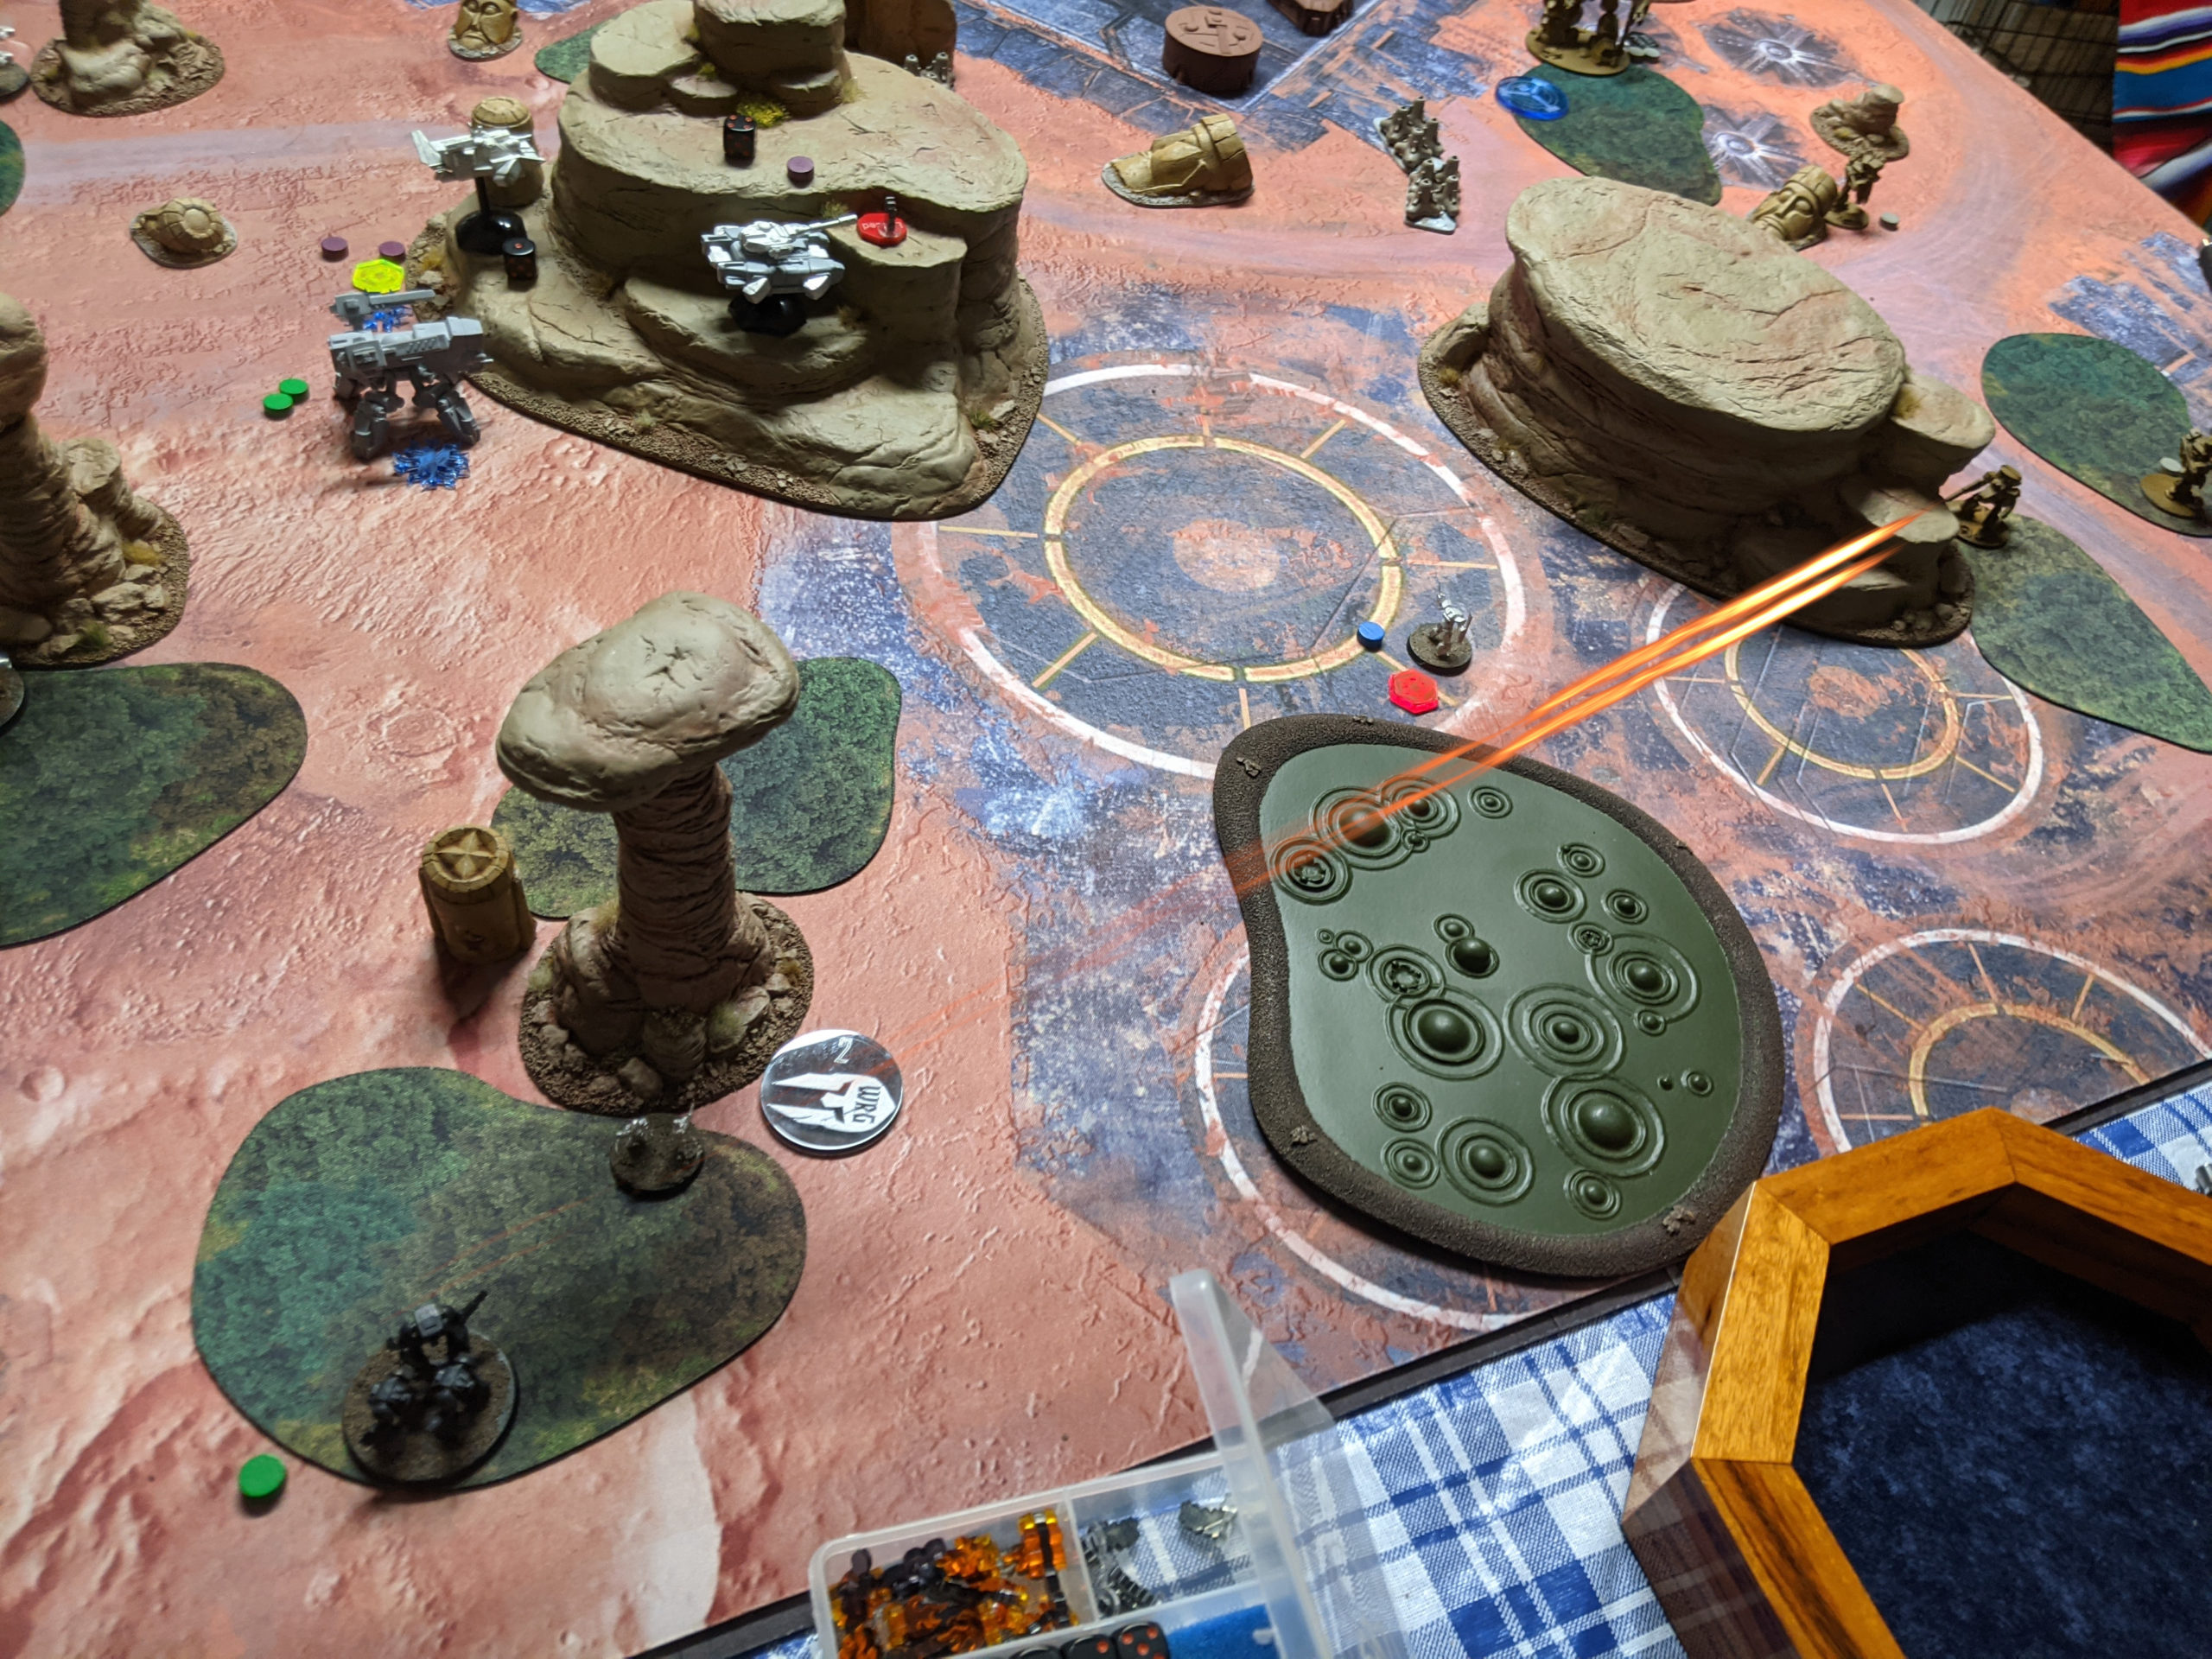
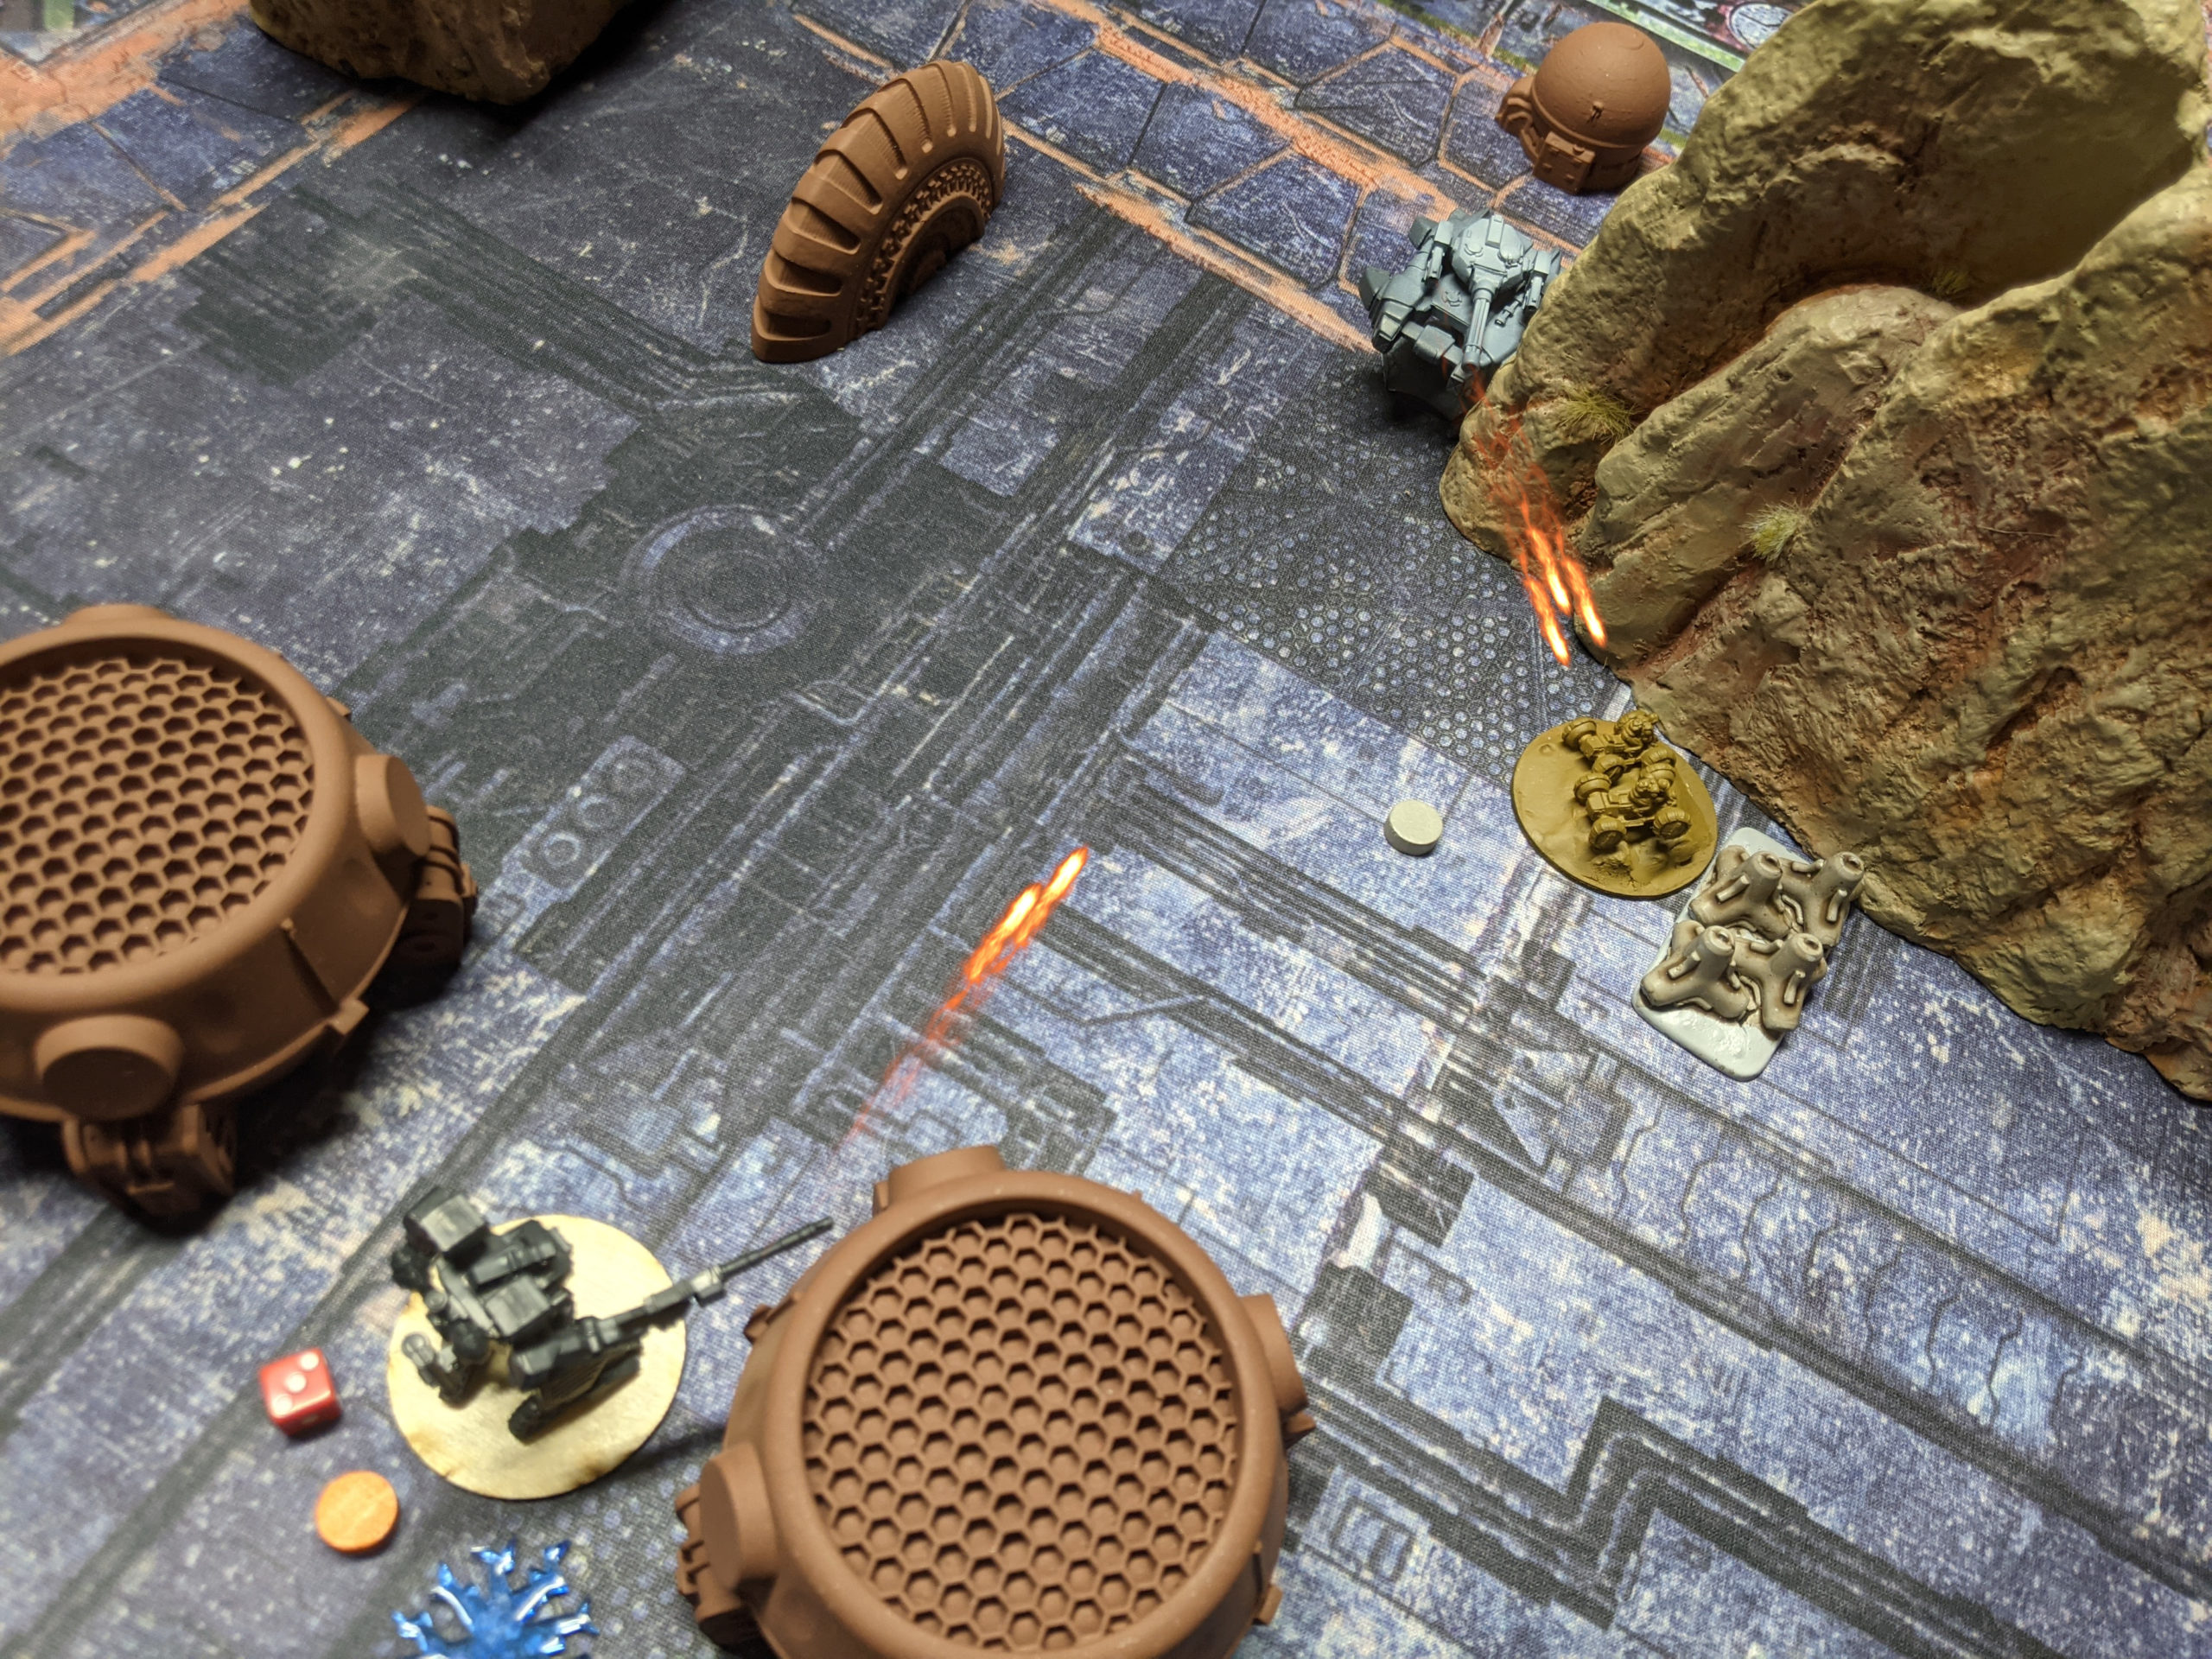
Adam then plunked down his SK squad, splitting them up again to cover more board area. The White Cat hung out near his Kodiak to provide ECM cover, with both of them in the middle of Adam’s deployment zone. There was a very nice little hill on my right, so I airdropped my LHT-67 and HC-3A there (yet another reason why those two are best friends!). The HC-3A failed its airdrop roll and stubbed its toe, taking a damage (do vehicles have toes? Sure. Sure they do).
Adam then put down his last squad, the GP squad. The two Wildfire hunters went down on the board edges ready to fire Anti-Personnel rockets at my SF group, and then Adam anchored the center with more Hunters with Ser Chonkalot, aka the Scimitar. Adam took some Field Guns as well to keep my head down, which I’ll talk about more later in the post game analysis section.
I had more CGs than Adam did, so my Hoverbikes just went across the back table edge spaced evenly. The FLAILS went on my right, as I felt I was lacking a little in firepower on my far right, and then I put the Ammon behind the big hill that I dropped my LHT-67 on. I was a little gun shy after seeing all those ATMs in Adam’s SK squad!
Finally, I dropped my other LHT/HC behind the tall rock formation on my left and passed both of their airdrop rolls.
Objective Selection
With deployment over, it was time to select objectives. I forget what order we did them in, but it doesn’t super matter.
- CEF Objectives
- SF: Assassinate (Wild Ferret, Hunter)
- RC: Detailed Scan (Hunter, Kodiak)
- GP: Hold
- North Objectives
- RC: Assassinate (HC-3A, Morgana FLAIL)
- SK: Break the Line
- GP: Hold
Adam’s objectives are the easiest to discuss, so we’ll talk about them first as he had very little in the way of choice. With my Hovercars on the table, he thought his chances of getting Detailed Scan was pretty low, so he went with Assassinate instead. He decided to go after the HC-3A and the Morgana FLAIL on my left, as he had a Wildfire Hunter and Grizzly over there and figured that would be enough. Break the Line is a safer choice than Capture for SK, in this matchup as I generally have to stack activations to kill things with CEF and Adam has some speedy things like the Wallaby and the Ferrets.
Finally, Hold seemed pretty safe, and he stuck his Hold Objectives near some Field Guns and the Scimitar, figuring I wouldn’t dedicate resources to killing the Field Gun (he was right) and it would be really hard to kill the Scimitar (also right, sort of). I chose Detailed Scan, because that works nicely with my Jan Hoverbikes with Sat Up. I decided to go after the Hunter and the Kodiak for that objective, figuring that the two of them were more robust than the Wild Ferret RC leader that Adam had. You can no longer get Detailed Scan off of a destroyed model, so funnily enough I need something that won’t just straight up die to a lucky shot so I can scan it!
For Assassinate, the Hunter and the Ferret would be far easier to kill than the Kodiak, so that went well. I couldn’t take a second instance of Assassinate or Detailed Scan because Adam only has 3 CGs. I mean, I could, but then I’d be denying myself a point, and we just talked about how that’s a bad competitive decision. I chose Hold instead and put my objectives near my SF units, figuring they’d be the hardest to dislodge.
Round 1
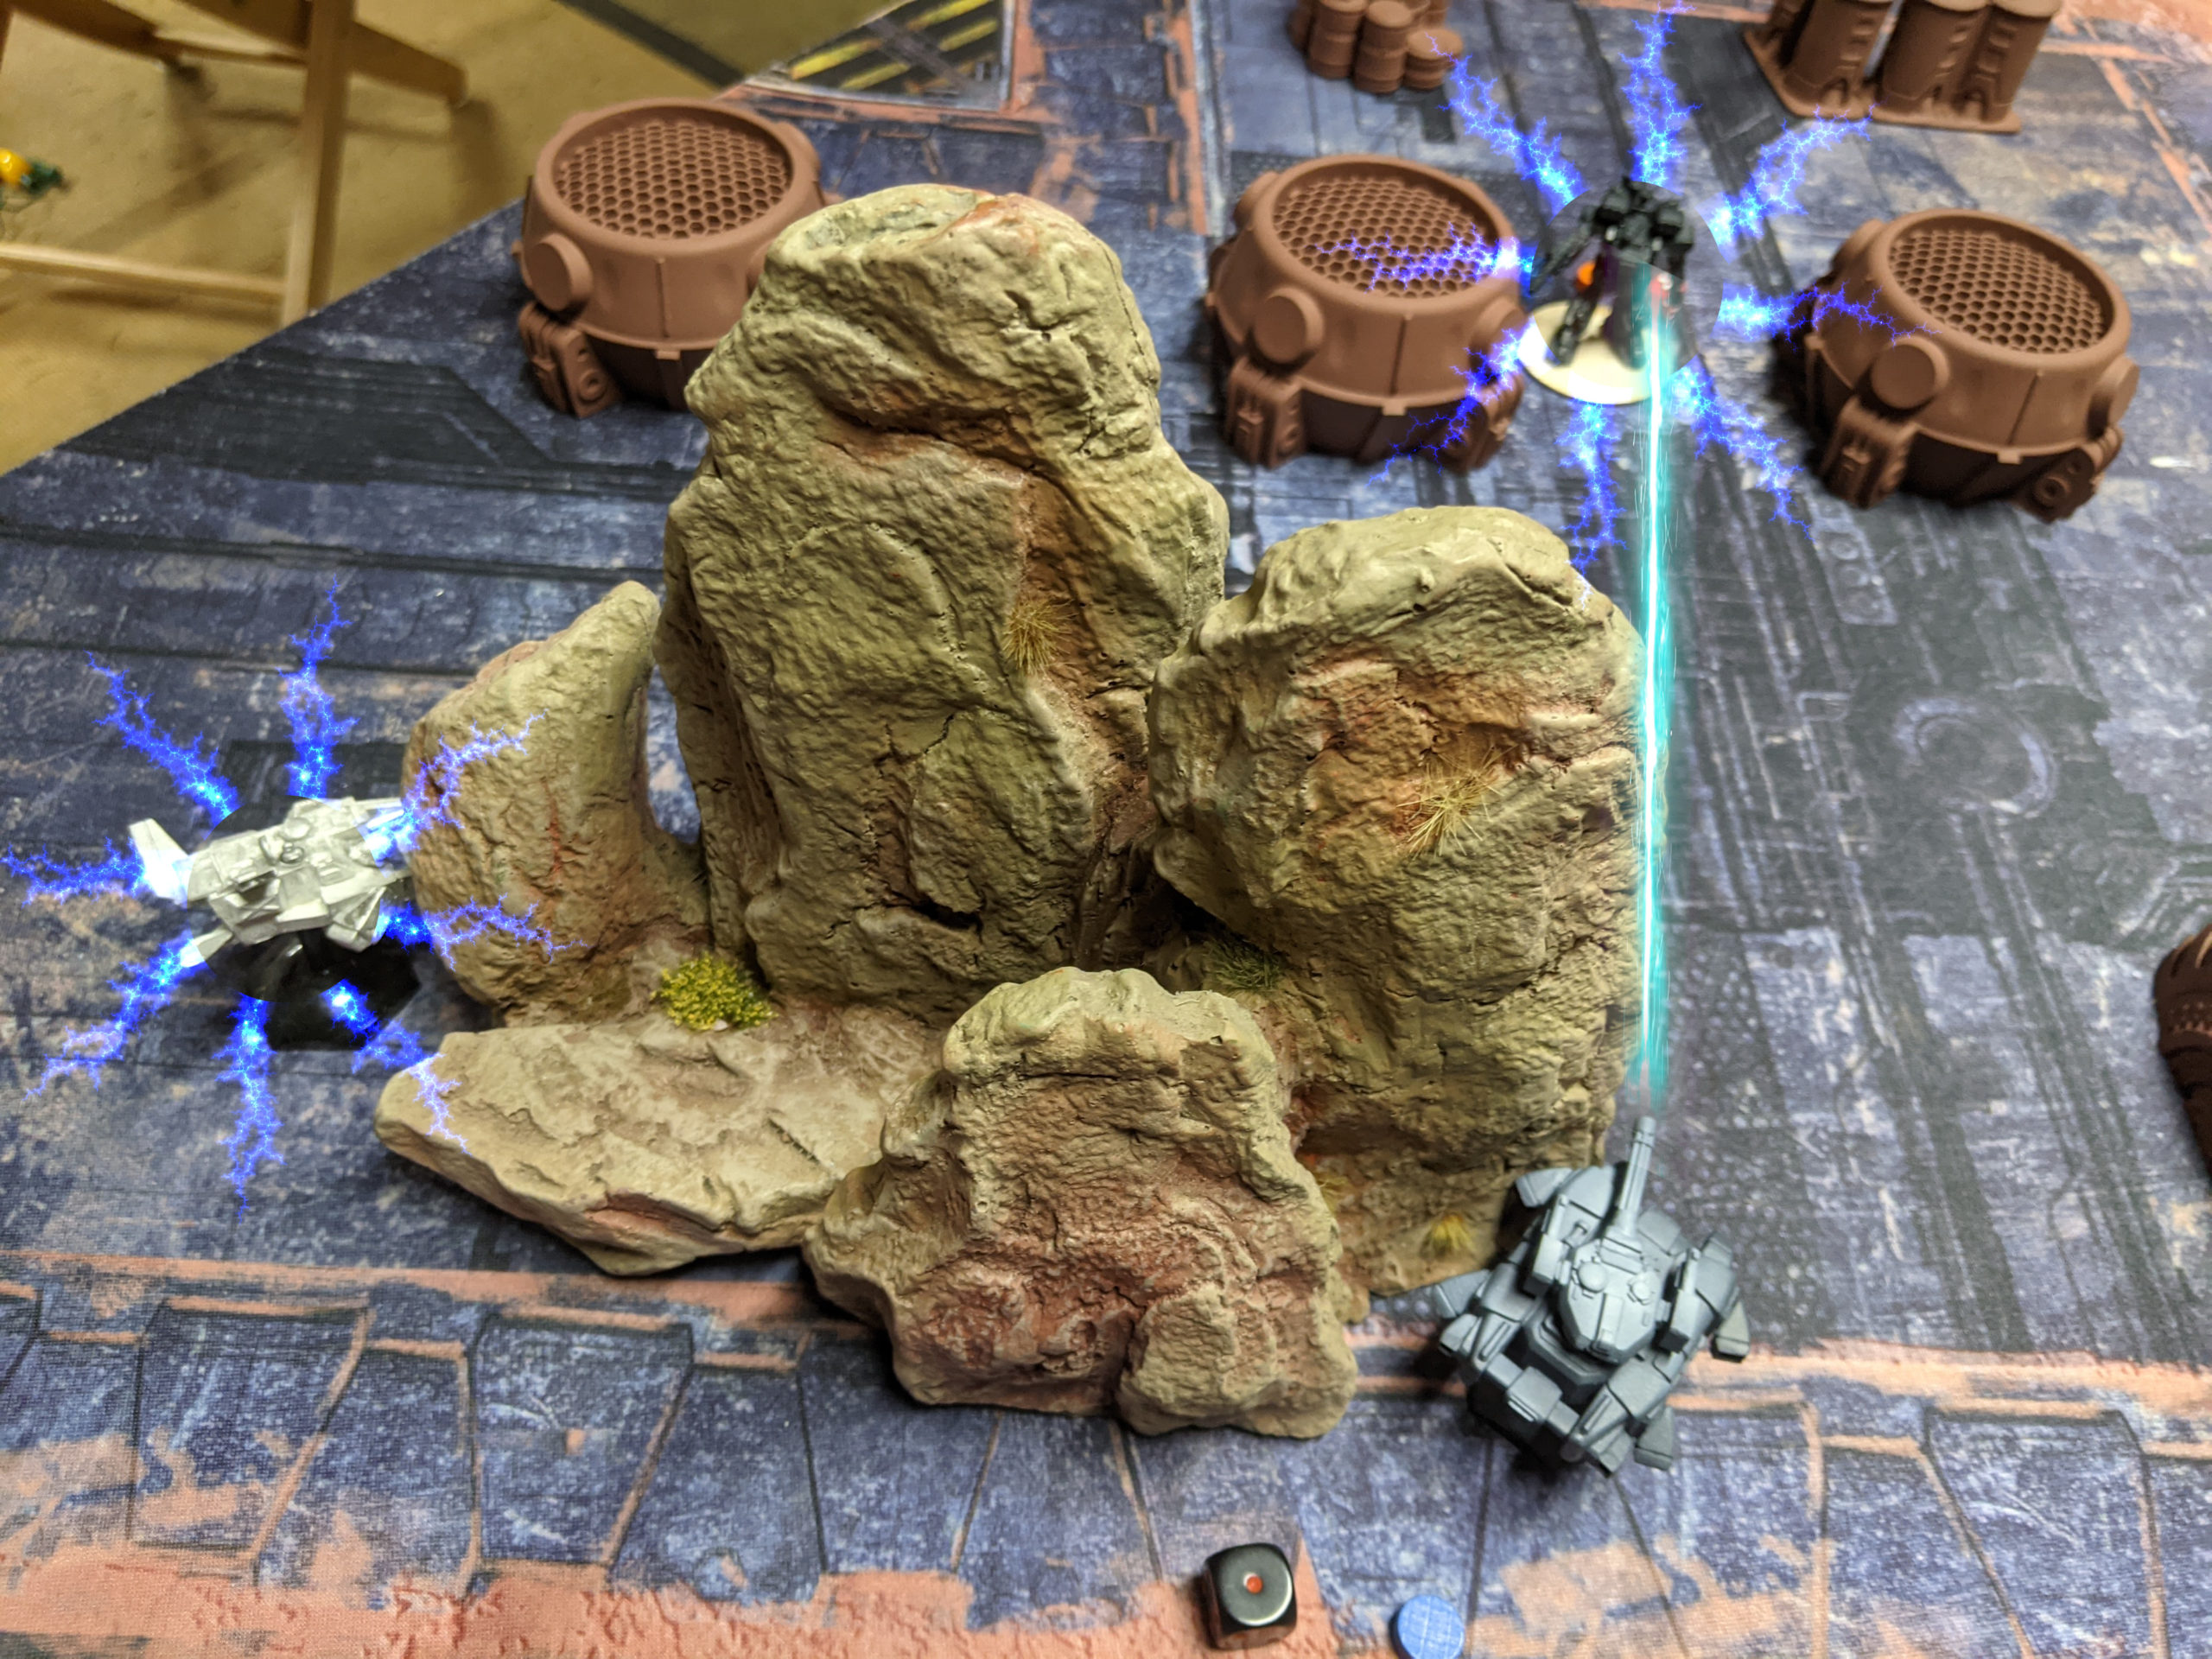
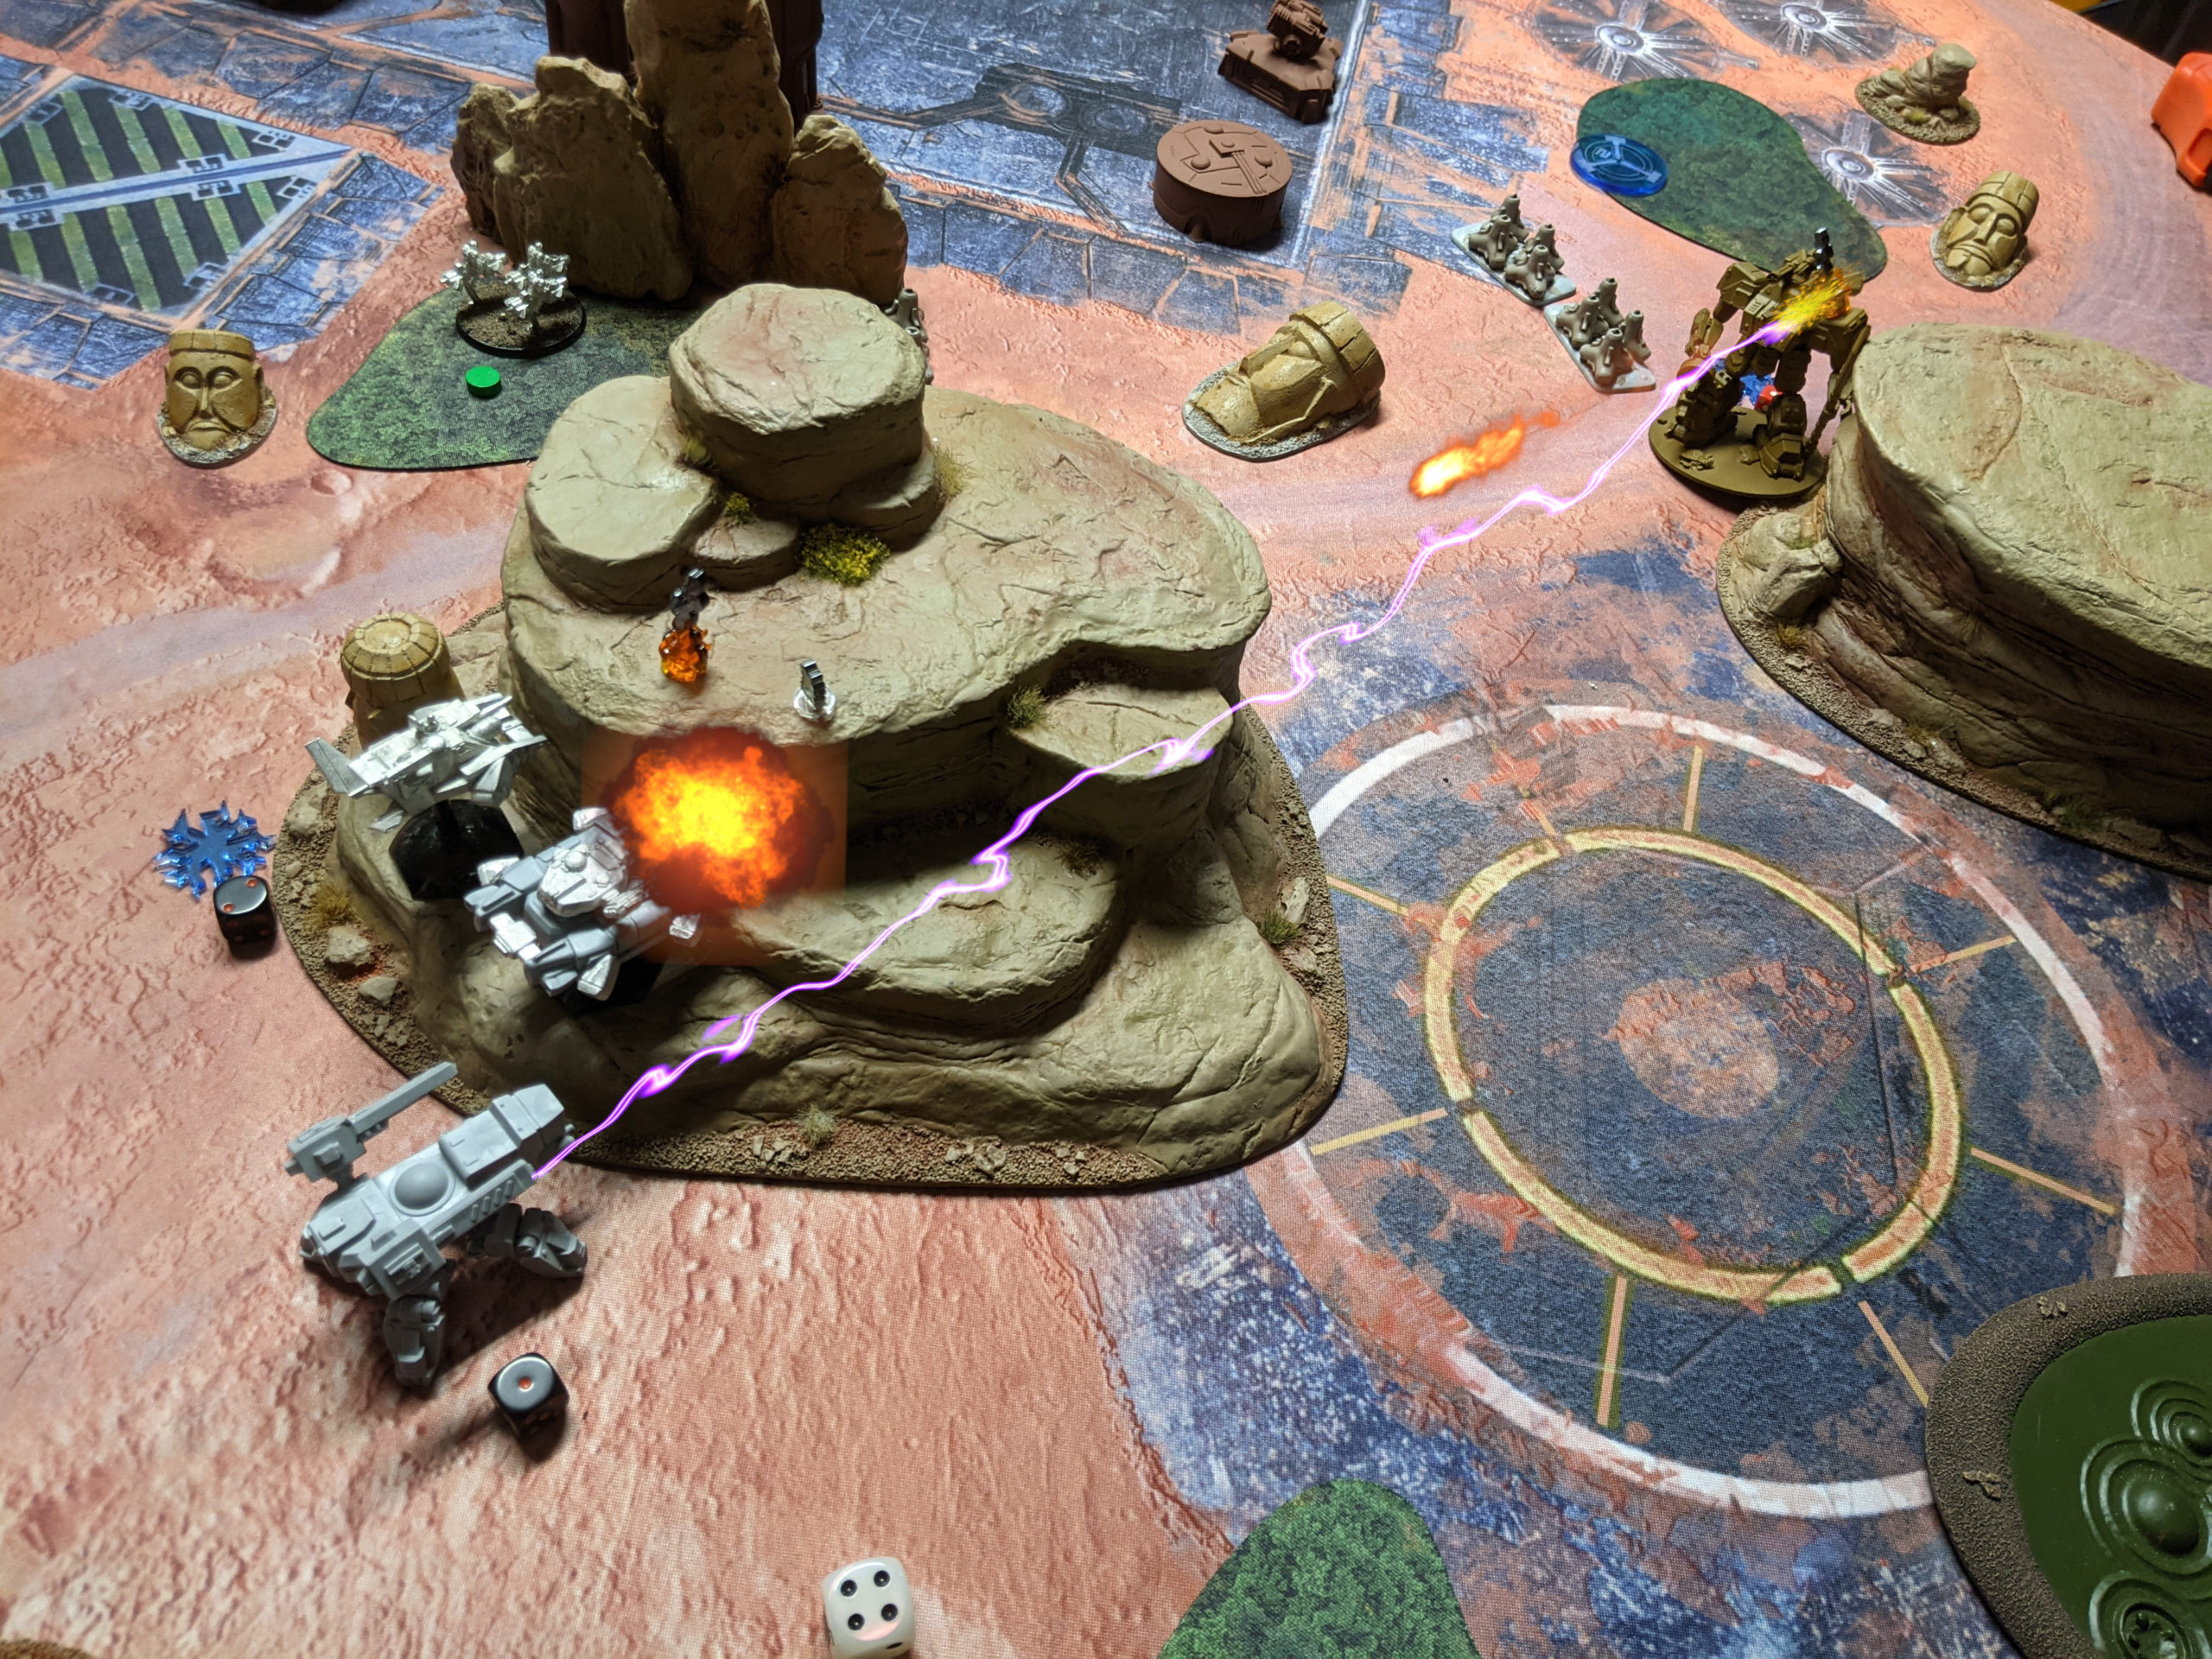
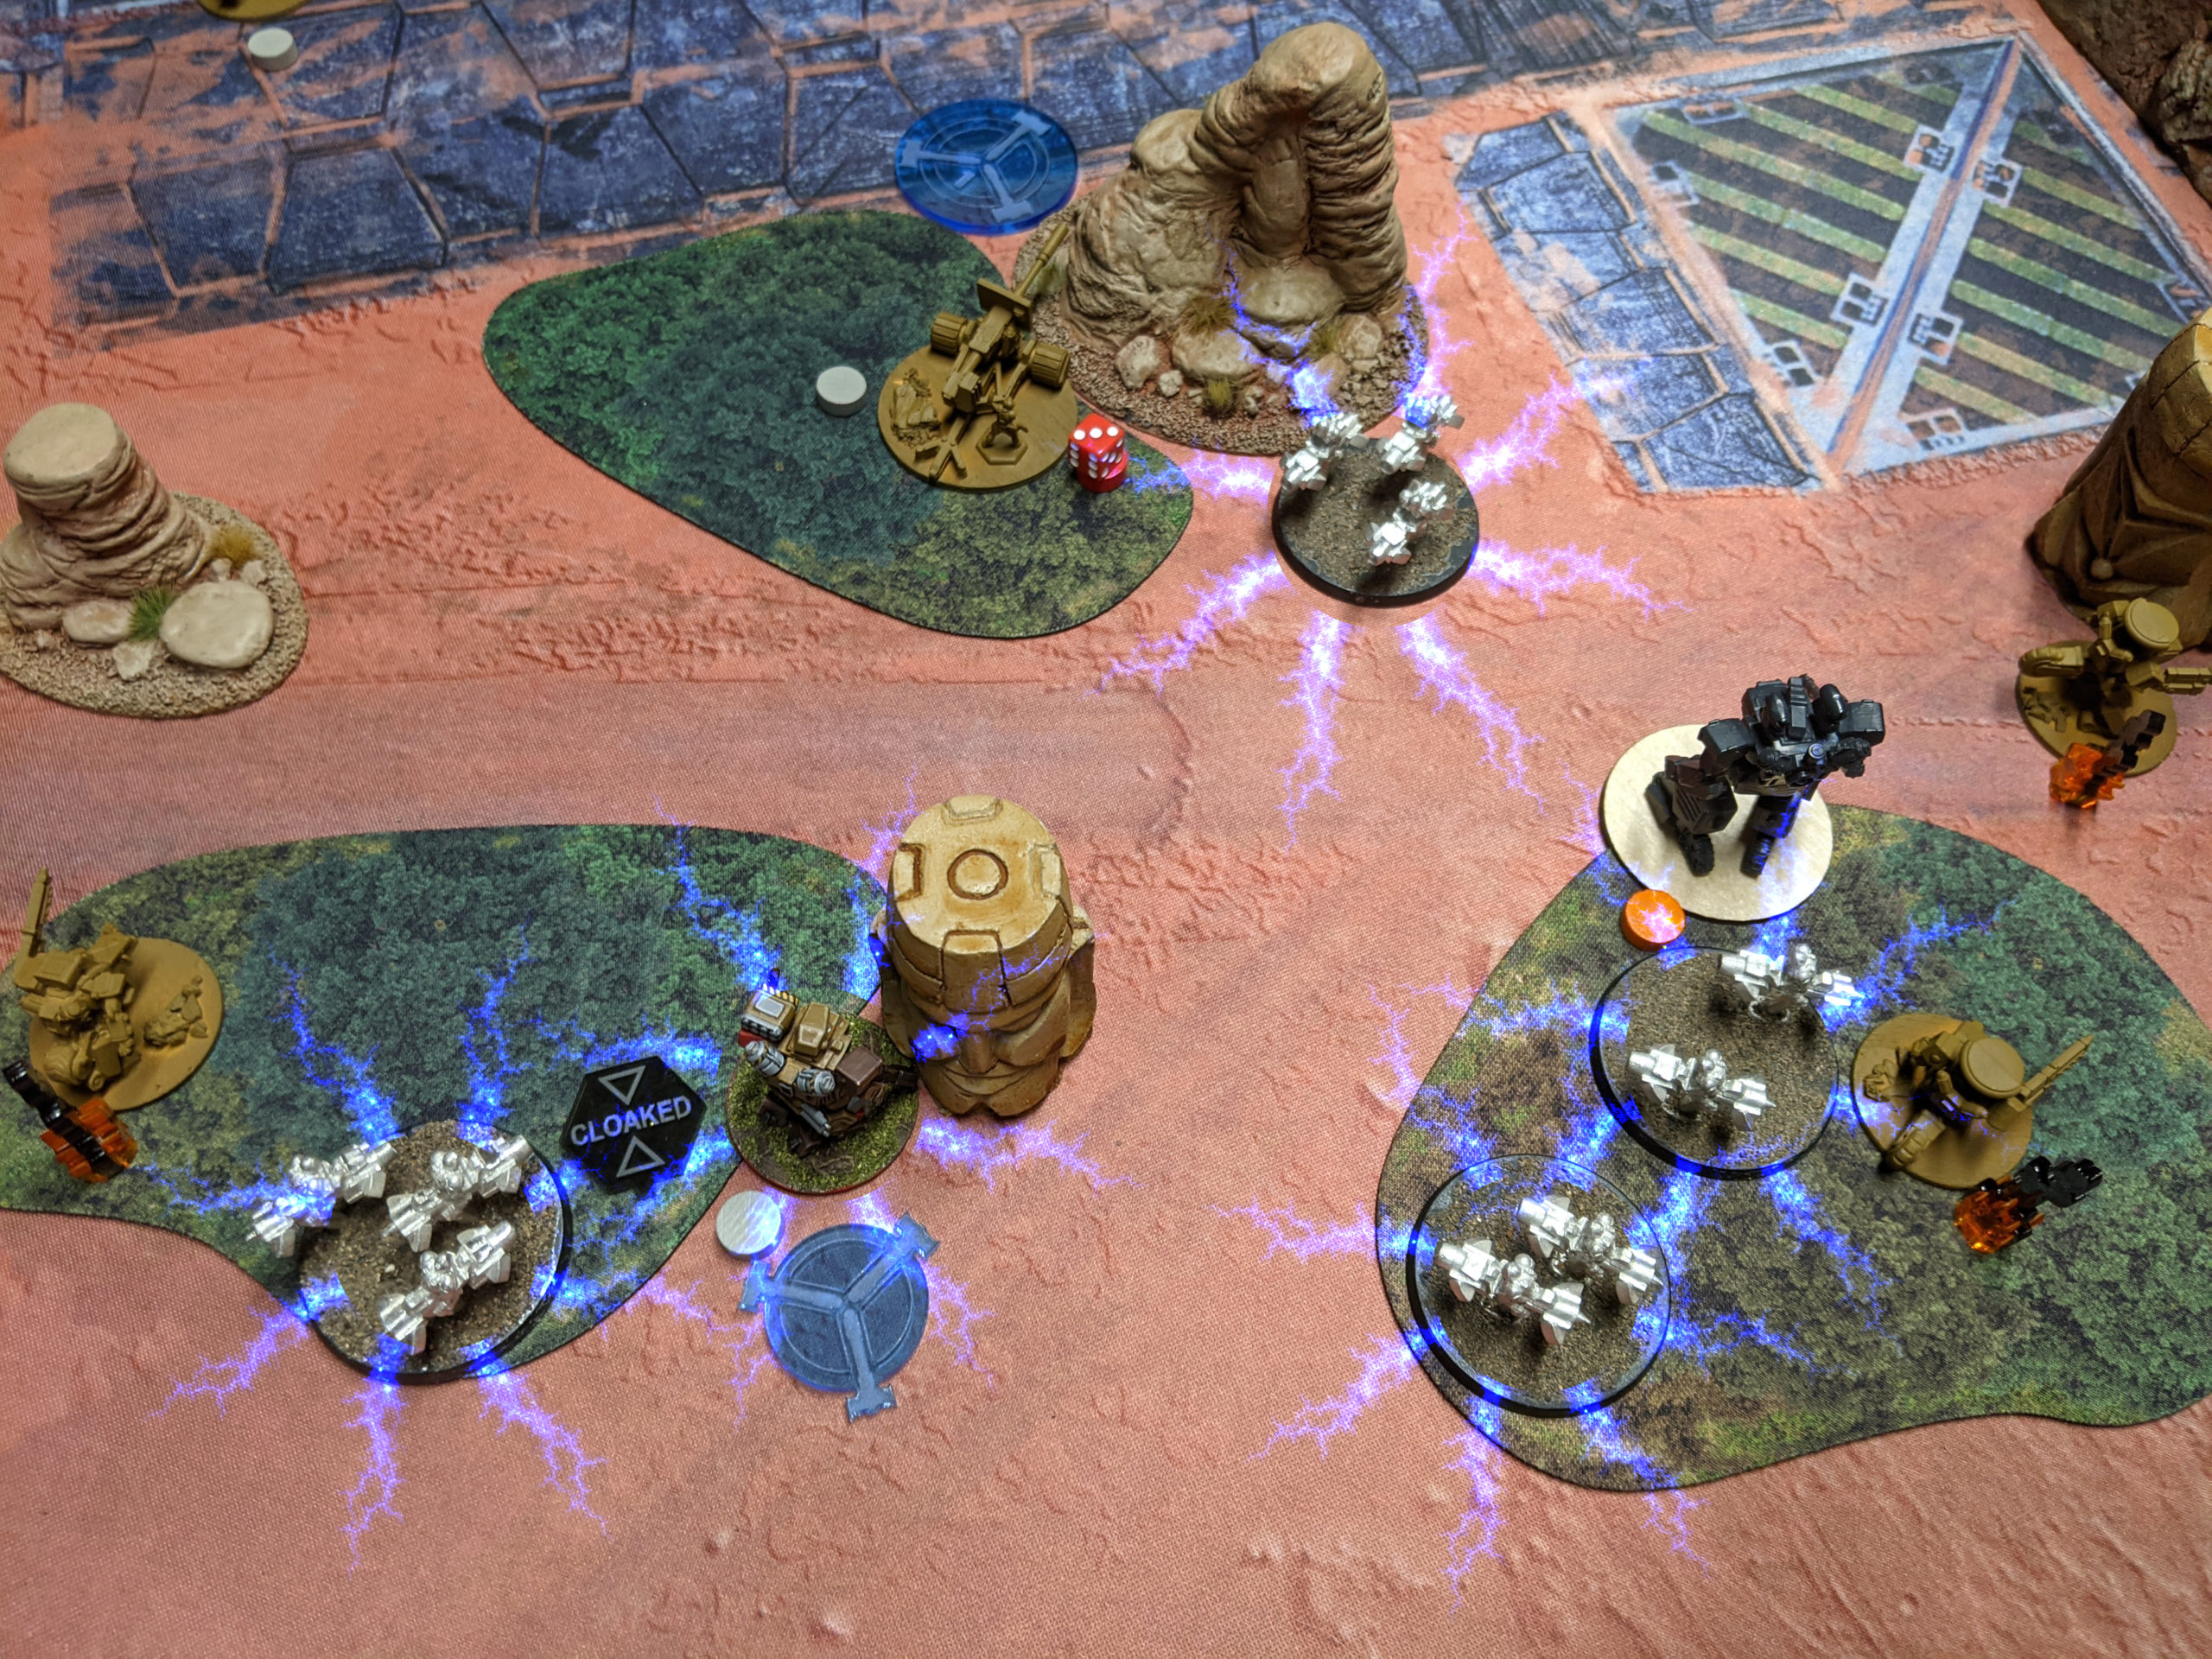
Adam won the Round 1 initiative and stated things off by trying to [ECM] Hack my stuff. Two of his Ferrets went after my LHT-67 Assault on the left (not shown in the picture below) and my Hovercar fended them off with a good [ECCM] Firewall rolls. My other Hovercar wasn’t so lucky and got Haywired by another of Adam’s Ferrets, which meant I couldn’t protect the nearby Ammon from a similar attack from the last Ferret. The commander Ferret retreated to protect the Hunter commander and then Adam passed activation to me.

I activated the LHT-67 Assault/HC-3A group. I definitely can’t let Adam have his Ferrets–I don’t want to be taking four [ECM] Hack actions a turn! Even if I successfully defend them with the Hovercars, I’ll be out of actions! In fact, the HC-3A was out of actions thanks to protecting the LHT-67 Assault, so I had the tank Forward Observe one of the Ferrets for my other LHT/HC group. I braced the LHT-67 and an Air-Burst missile came screaming in, crippling both Ferrets! My LHT-67 Assault spent its remaining action, scooting a little bit forward to get within 18″ of the Ferrets and destroyed them both with its Rotary Laser buffed by a LTHI order from the nearby Hovercar. Talk about a great first activation!
Adam got me back, designating my braced LHT-67 with his White Cat and crippling it with some ATM fire from his SK squad. Thankfully the tank survived, despite being without ECM cover from the Haywired Hovercar nearby.
I activated my SF CG next, mostly because I wanted to wait to see what Adam’s GP group did before I activated my bikes. I took some sniper shots at one of Adam’s gears without any effect and ran the Morgana FLAIL forward to try and get into close combat range next turn. The FLAIL and sniper squad on my left chose to Hide in cover, giving them defensive rerolls.
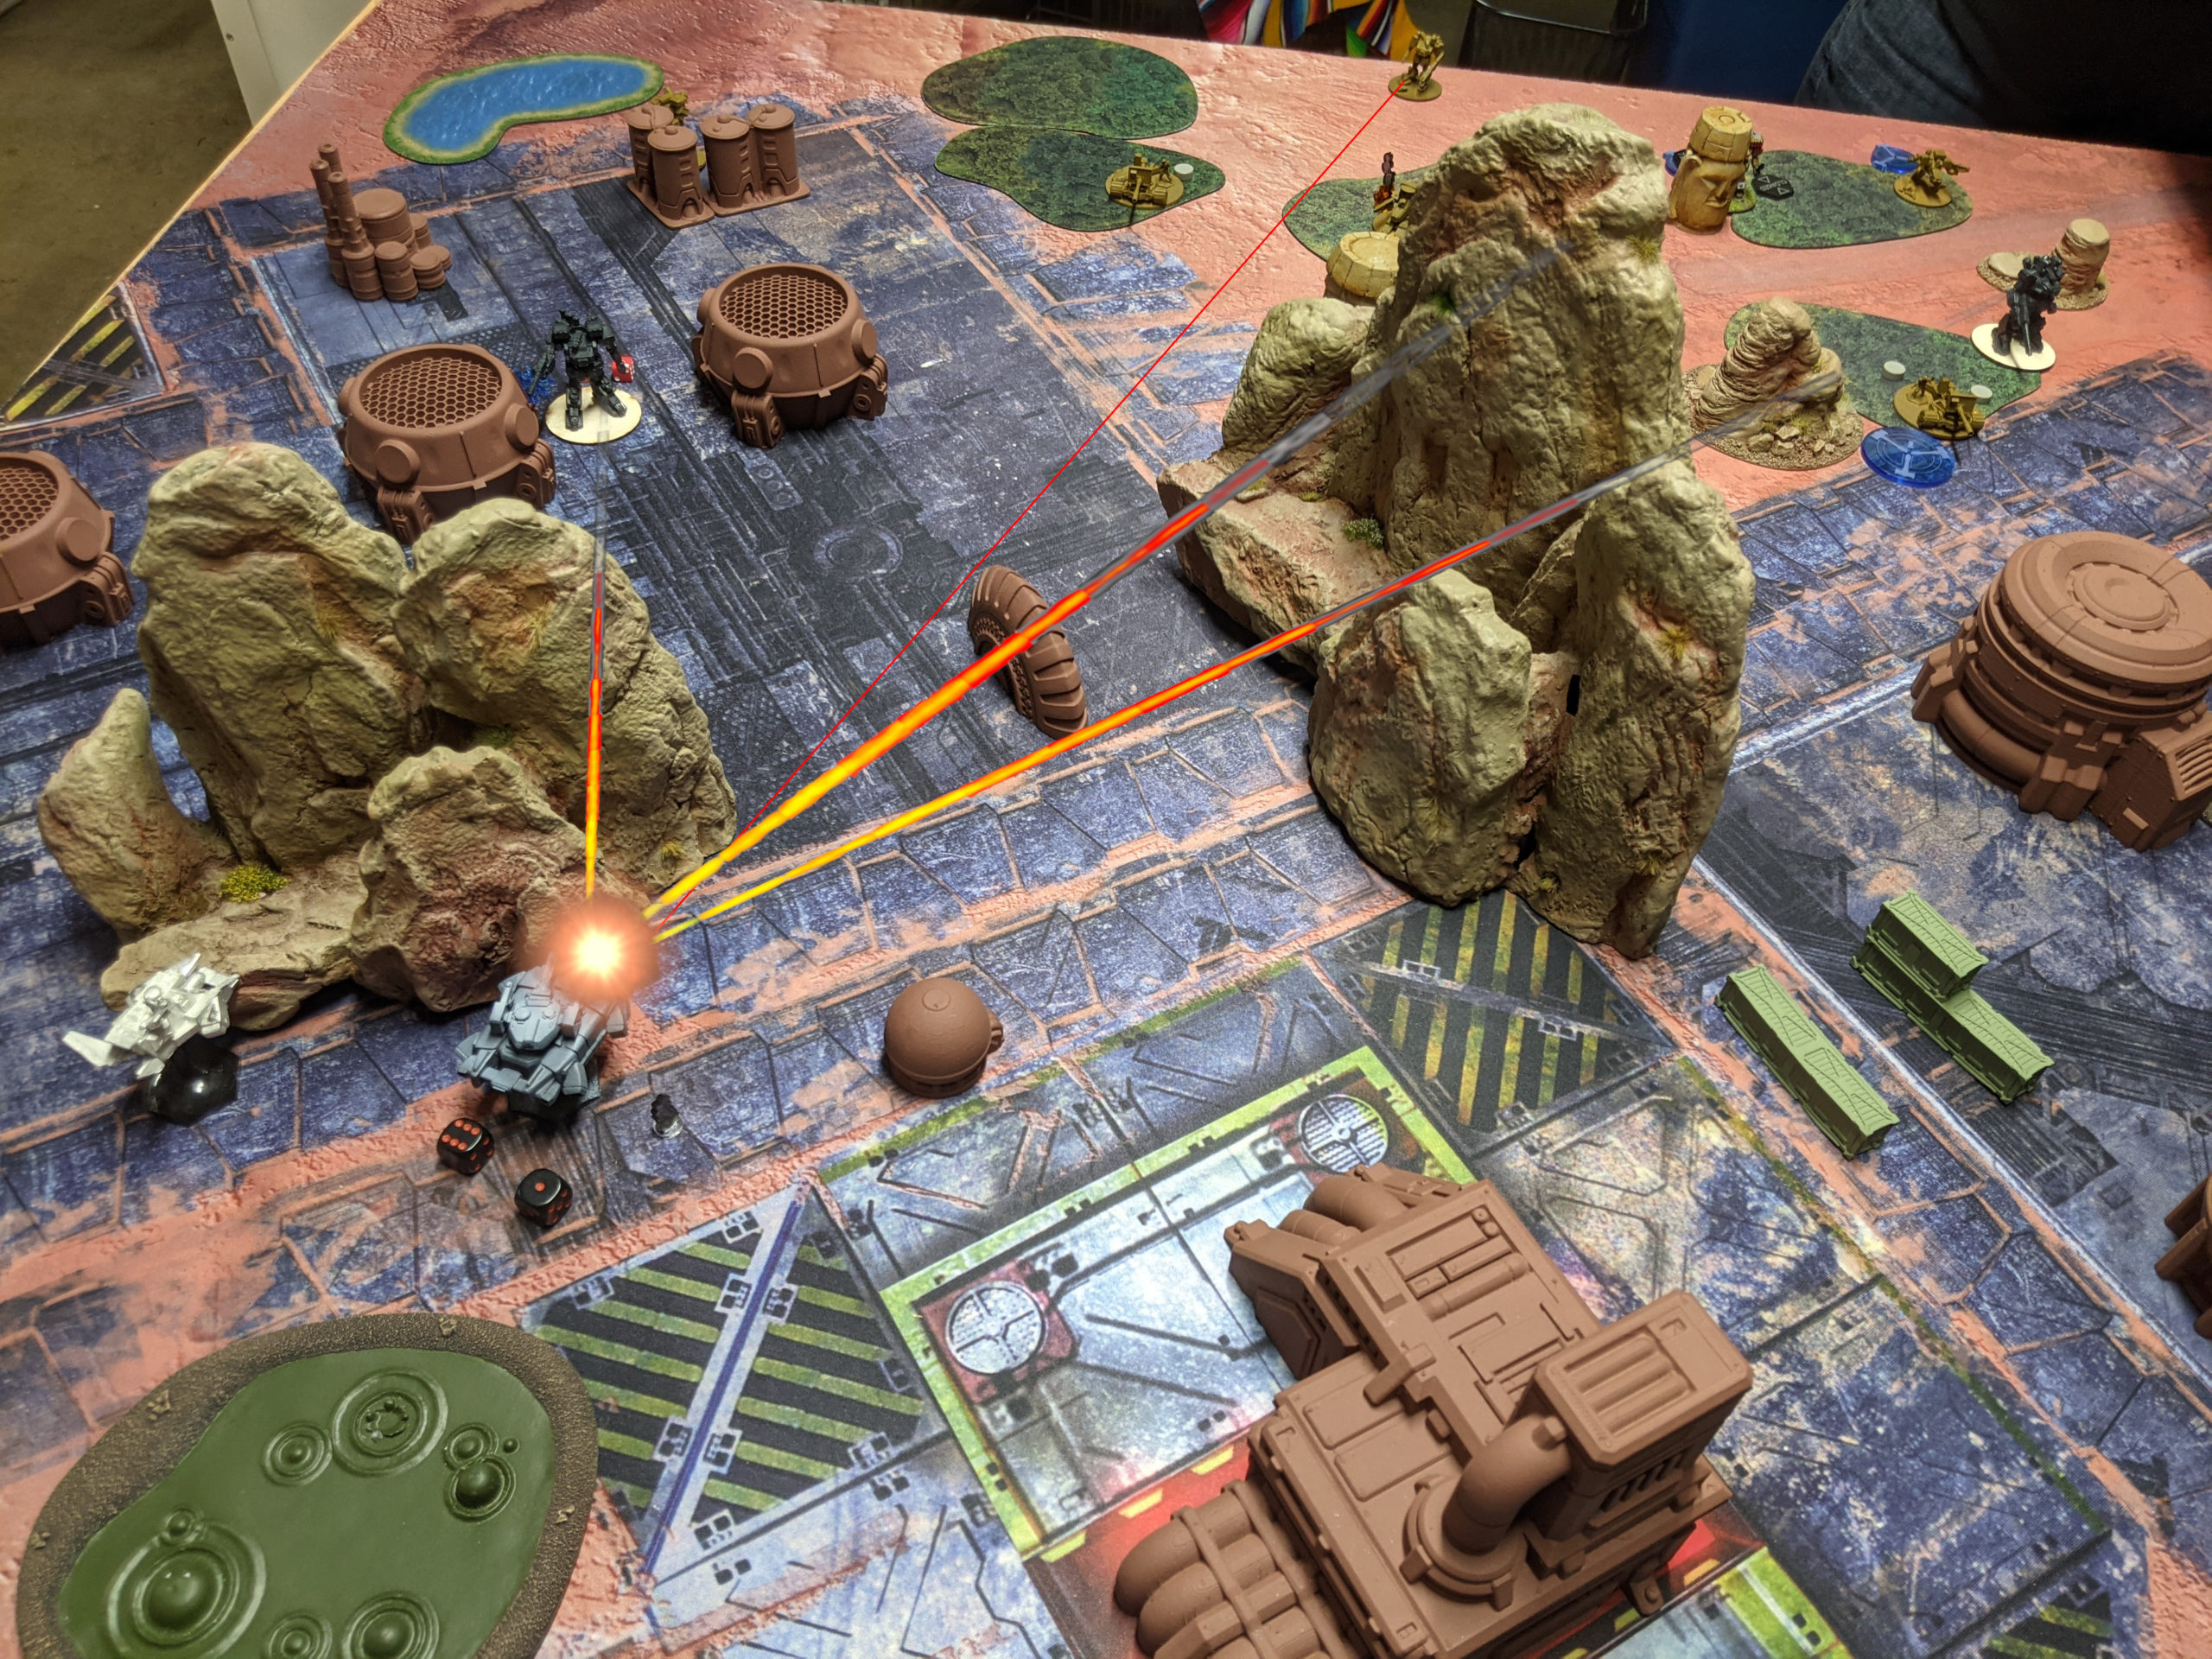
Adam then activated his remaining squad. The Hunters and Field Guns shifted around, with the Wildfire hunter firing ineffectively at my hidden FLAILs and snipers, who were under a protective ECM bubble for a whopping 5d6 defense dice versus Adam’s 1d6 shot. The Scimitar went after my tank though and gave me a fright with some rotary laser fire. Thankfully my dice luck held and the tank stayed alive!
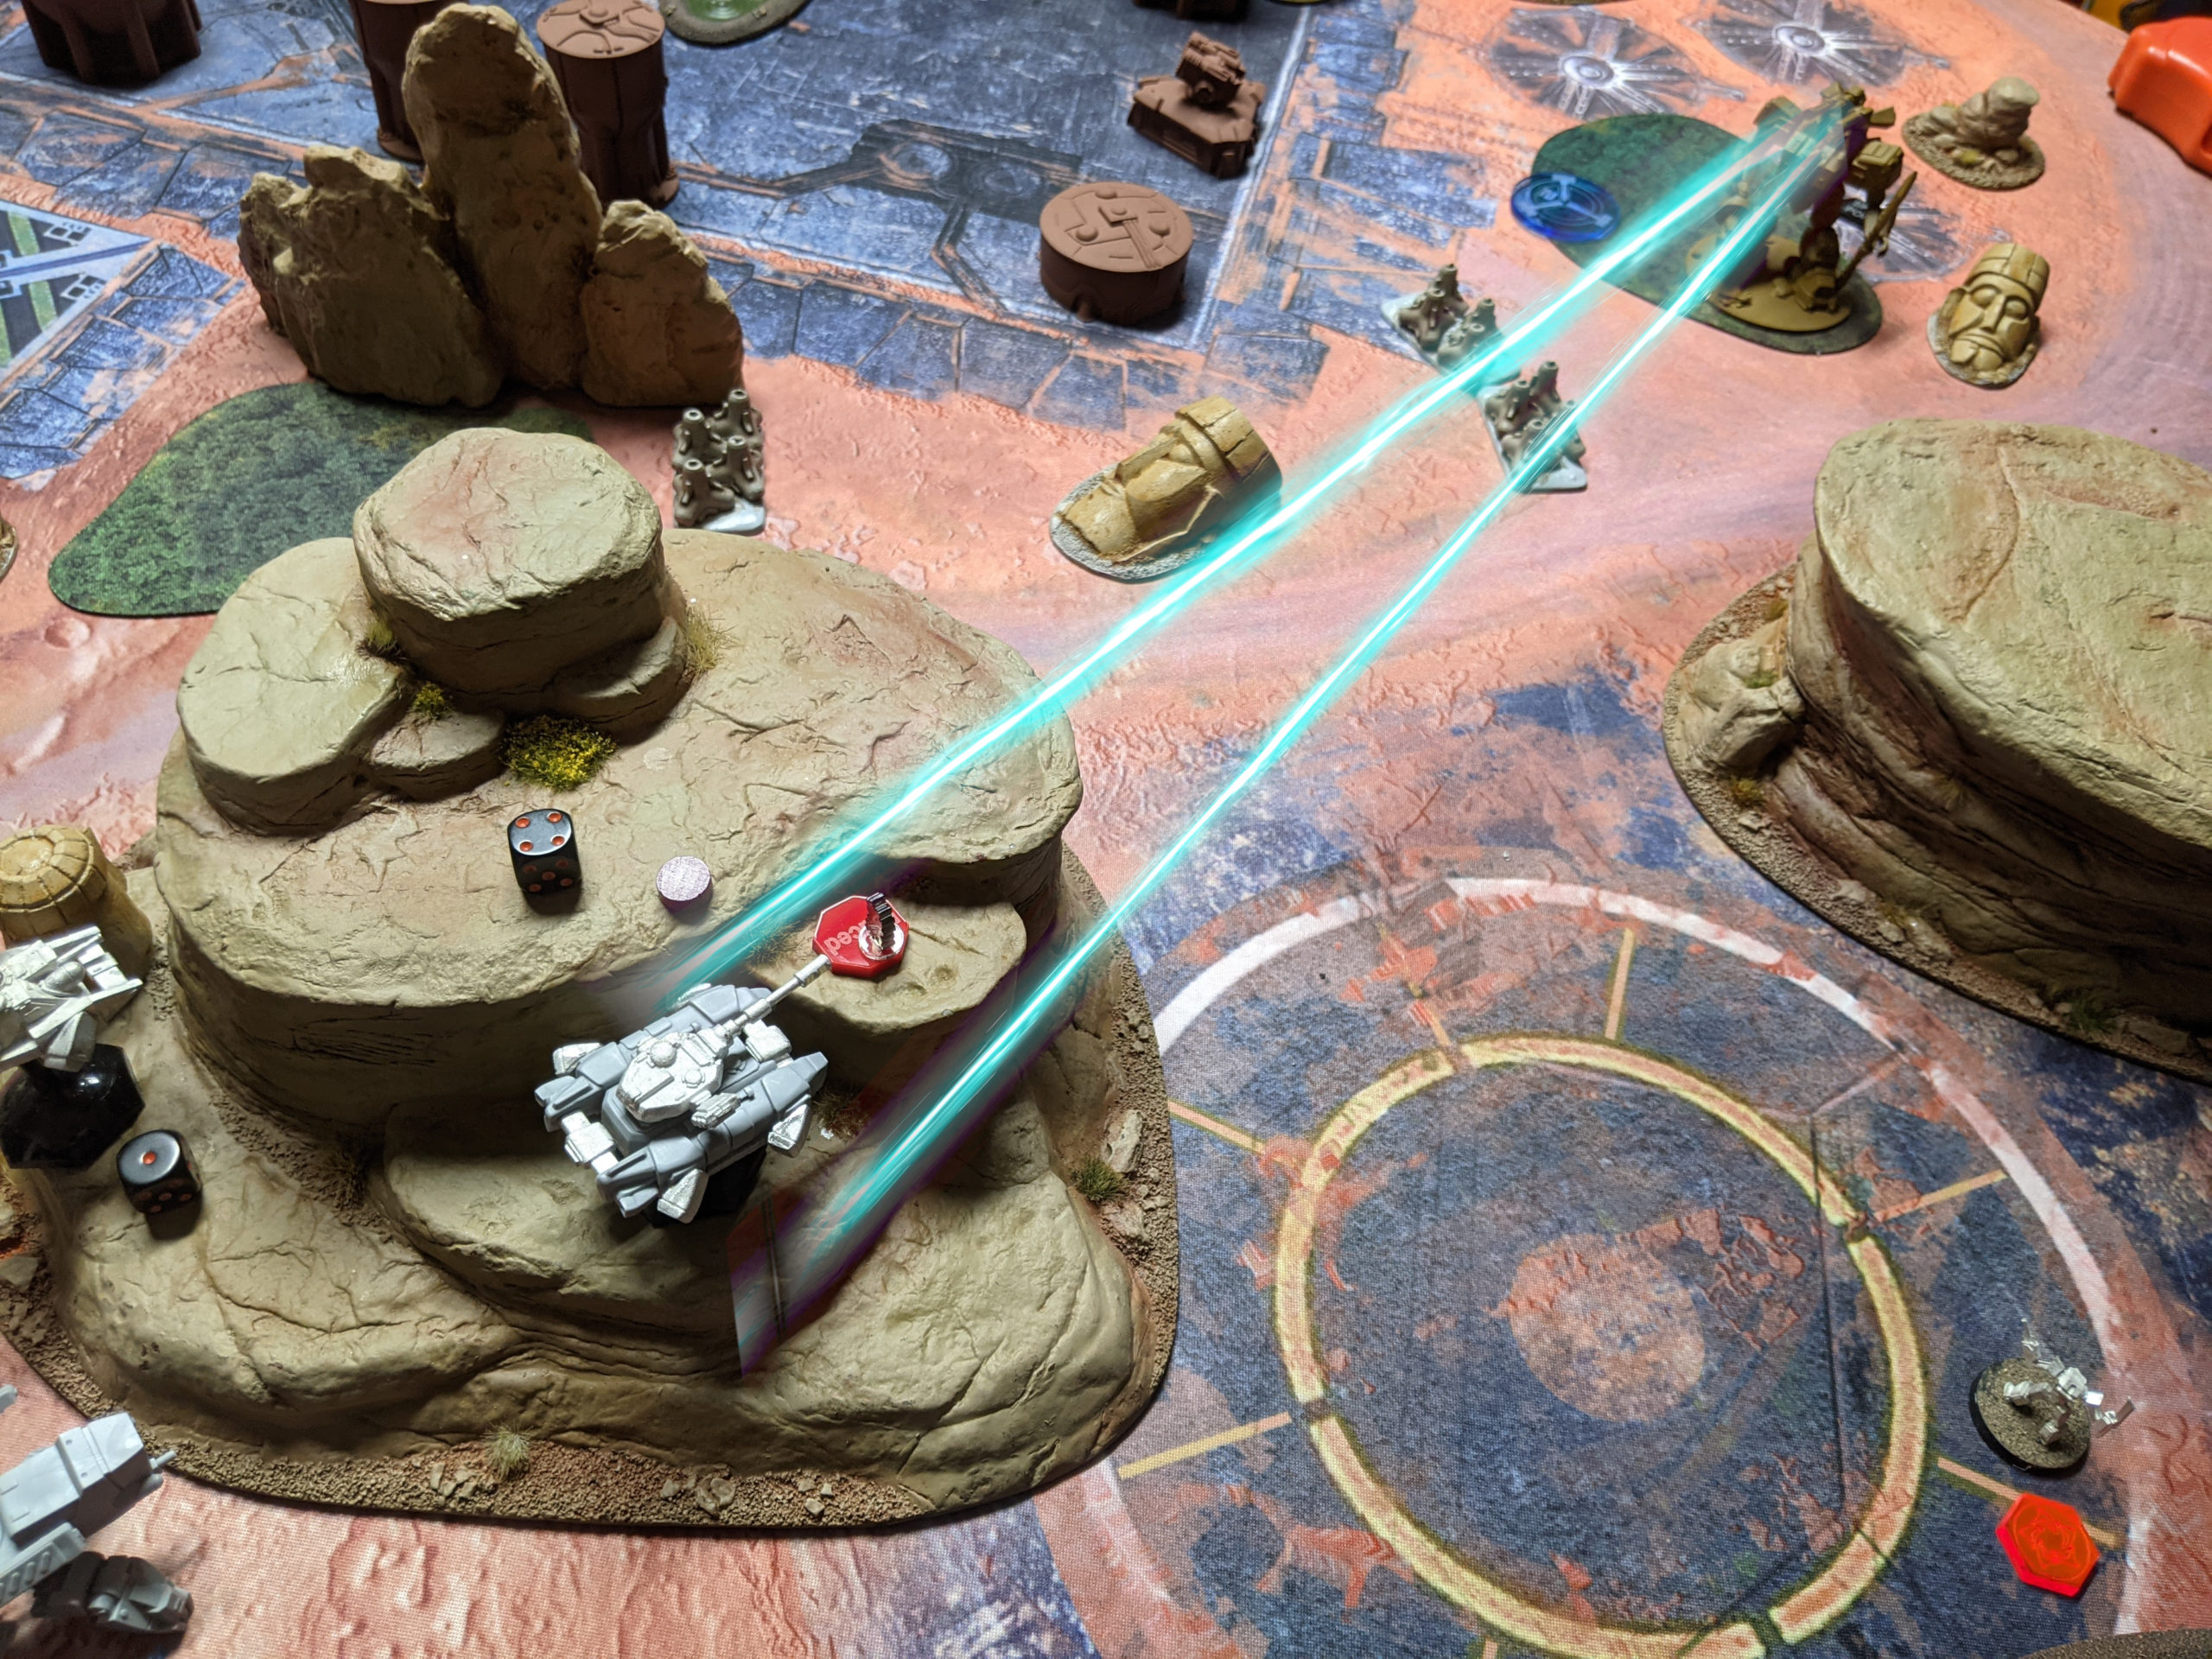
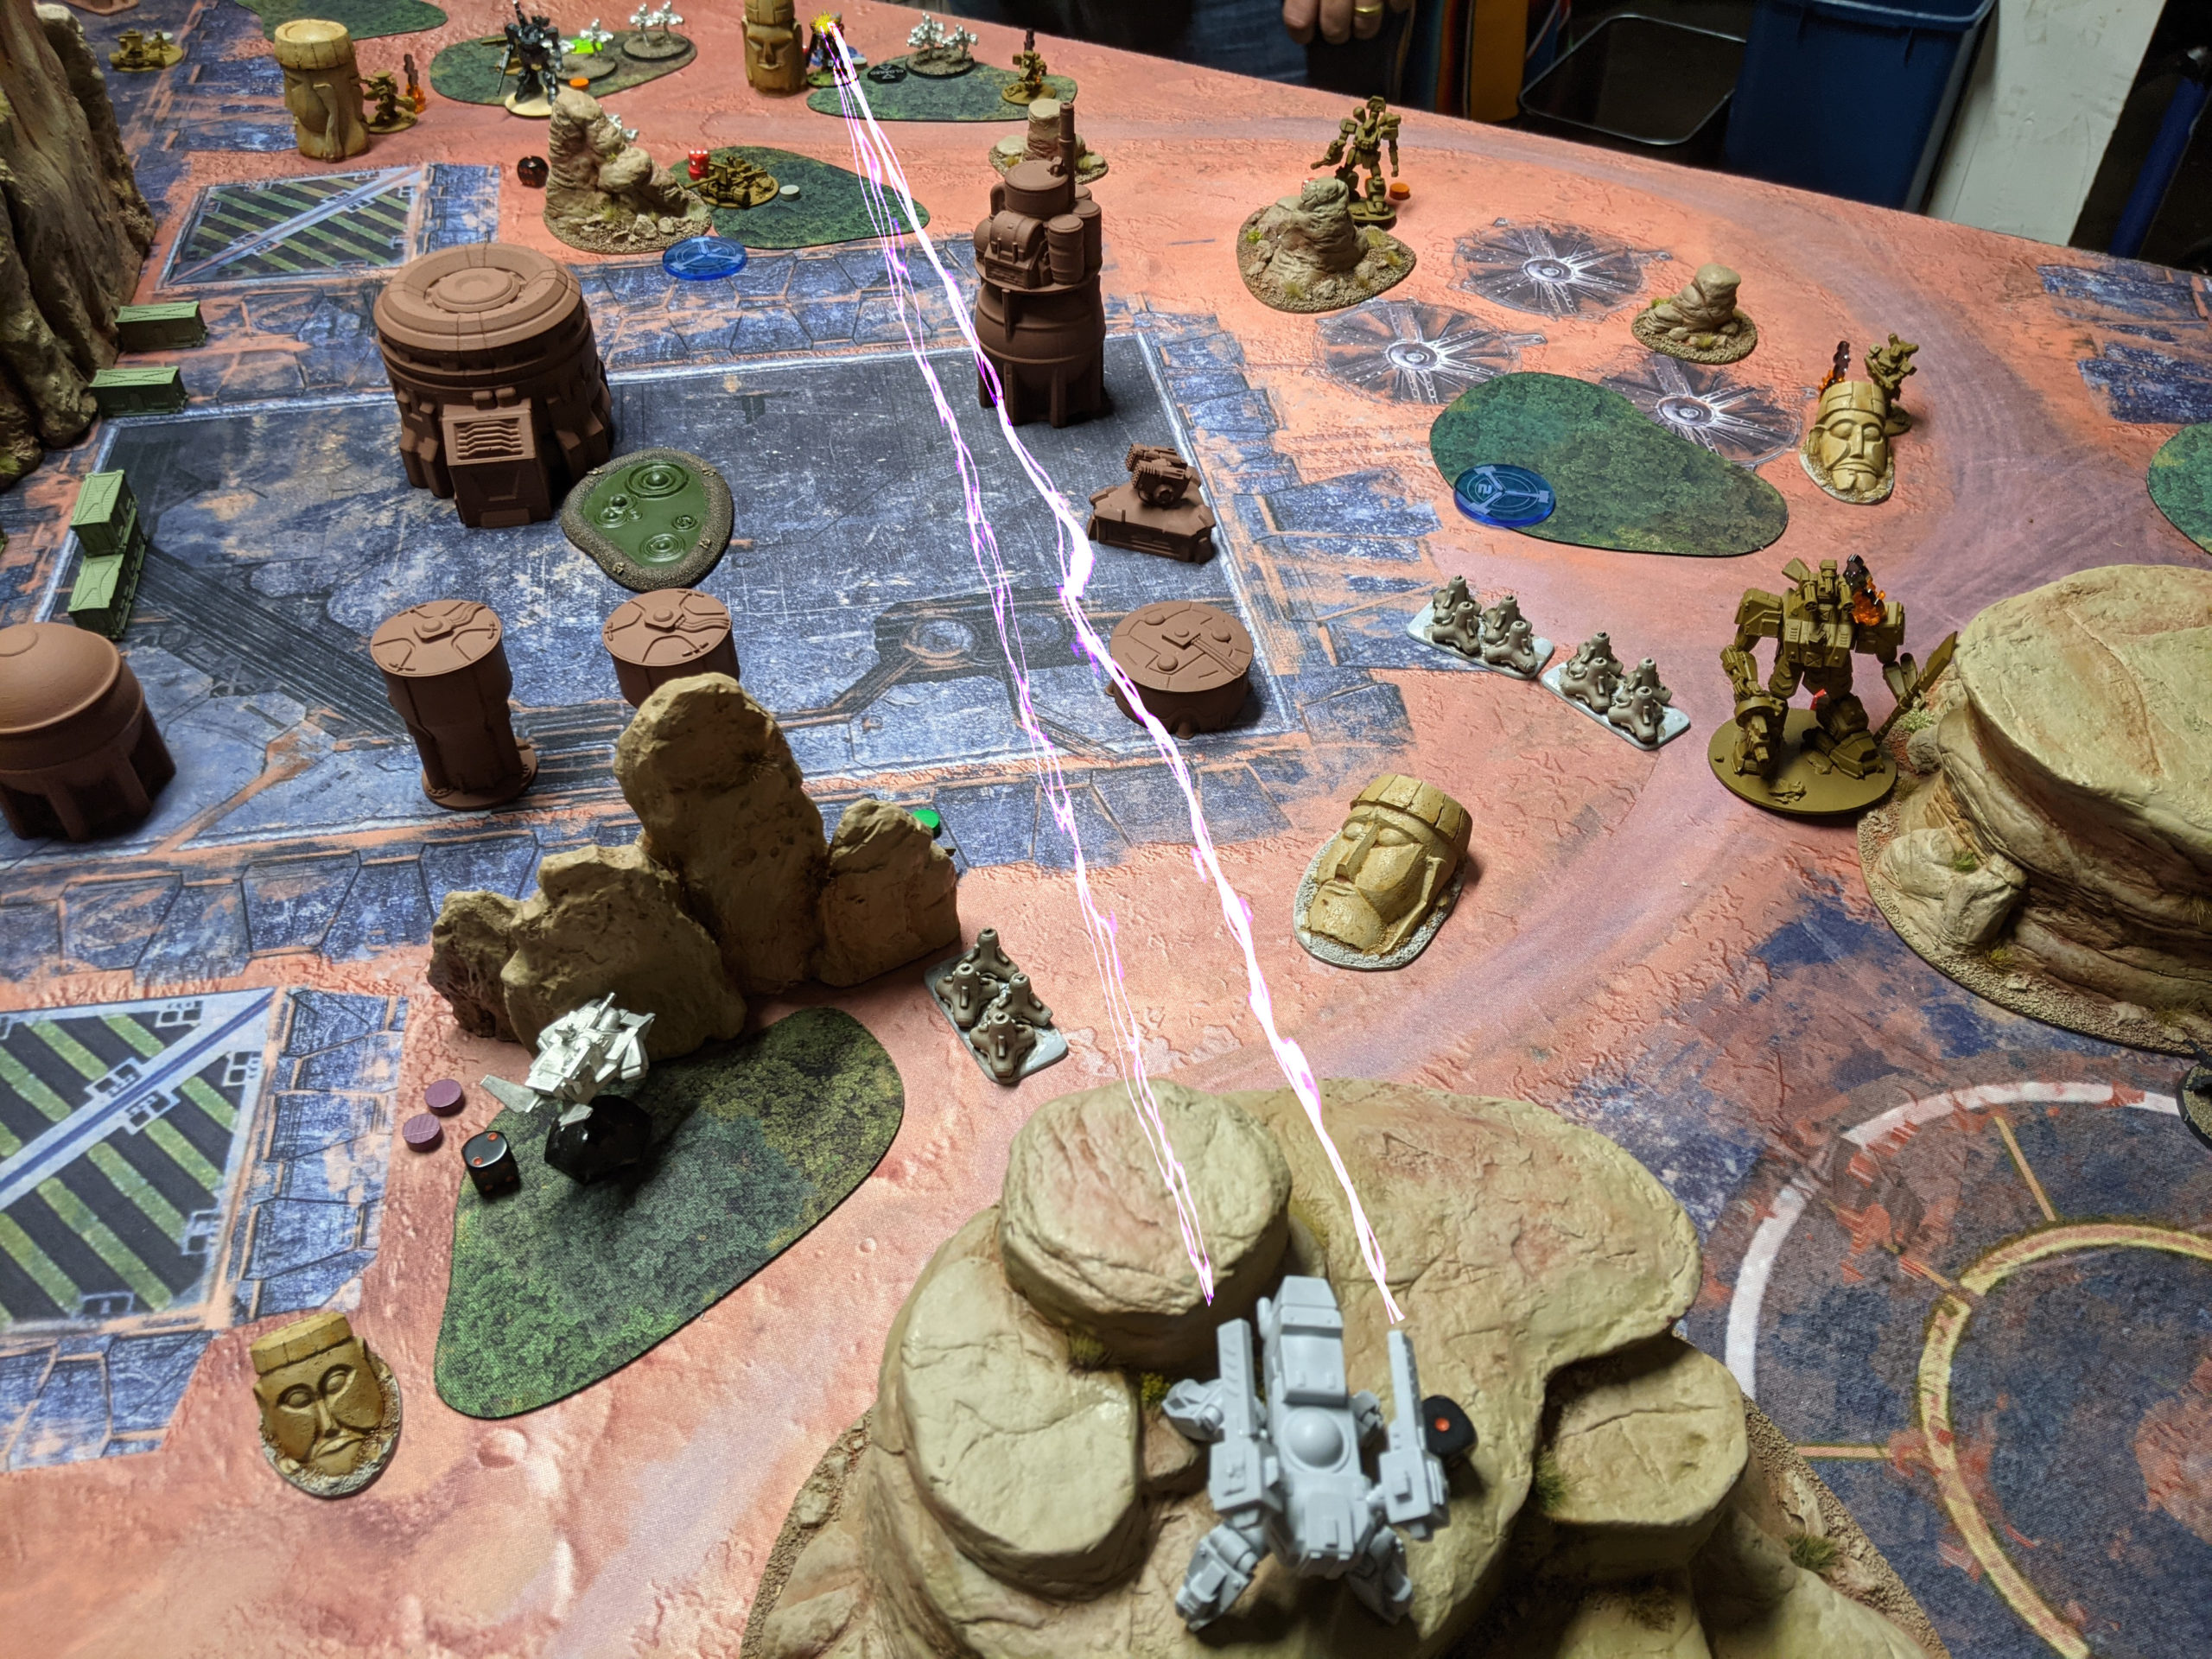
It was my other RC CG’s turn to go. I didn’t have much to do with them, and the only think the LHT could see was the Scimitar. Might as well shoot it. I started things off by [ECM] Hacking the Scimitar, Haywiring it and doing one damage. So far, so good. I took a potshot with my LLC at a Hunter in cover, but whiffed. My LHT-67 was braced and so I was able to get a hit on the now Haywired Scimitar, doing a few more points of damage thanks to the MPA and the Haywire damage.
Adam’s out of activations now as I have more Combat Groups, so it was my turn again. I activated the Hoverbikes and pushed them forward to throw some grenades onto Adam’s Wallaby, with no effect.
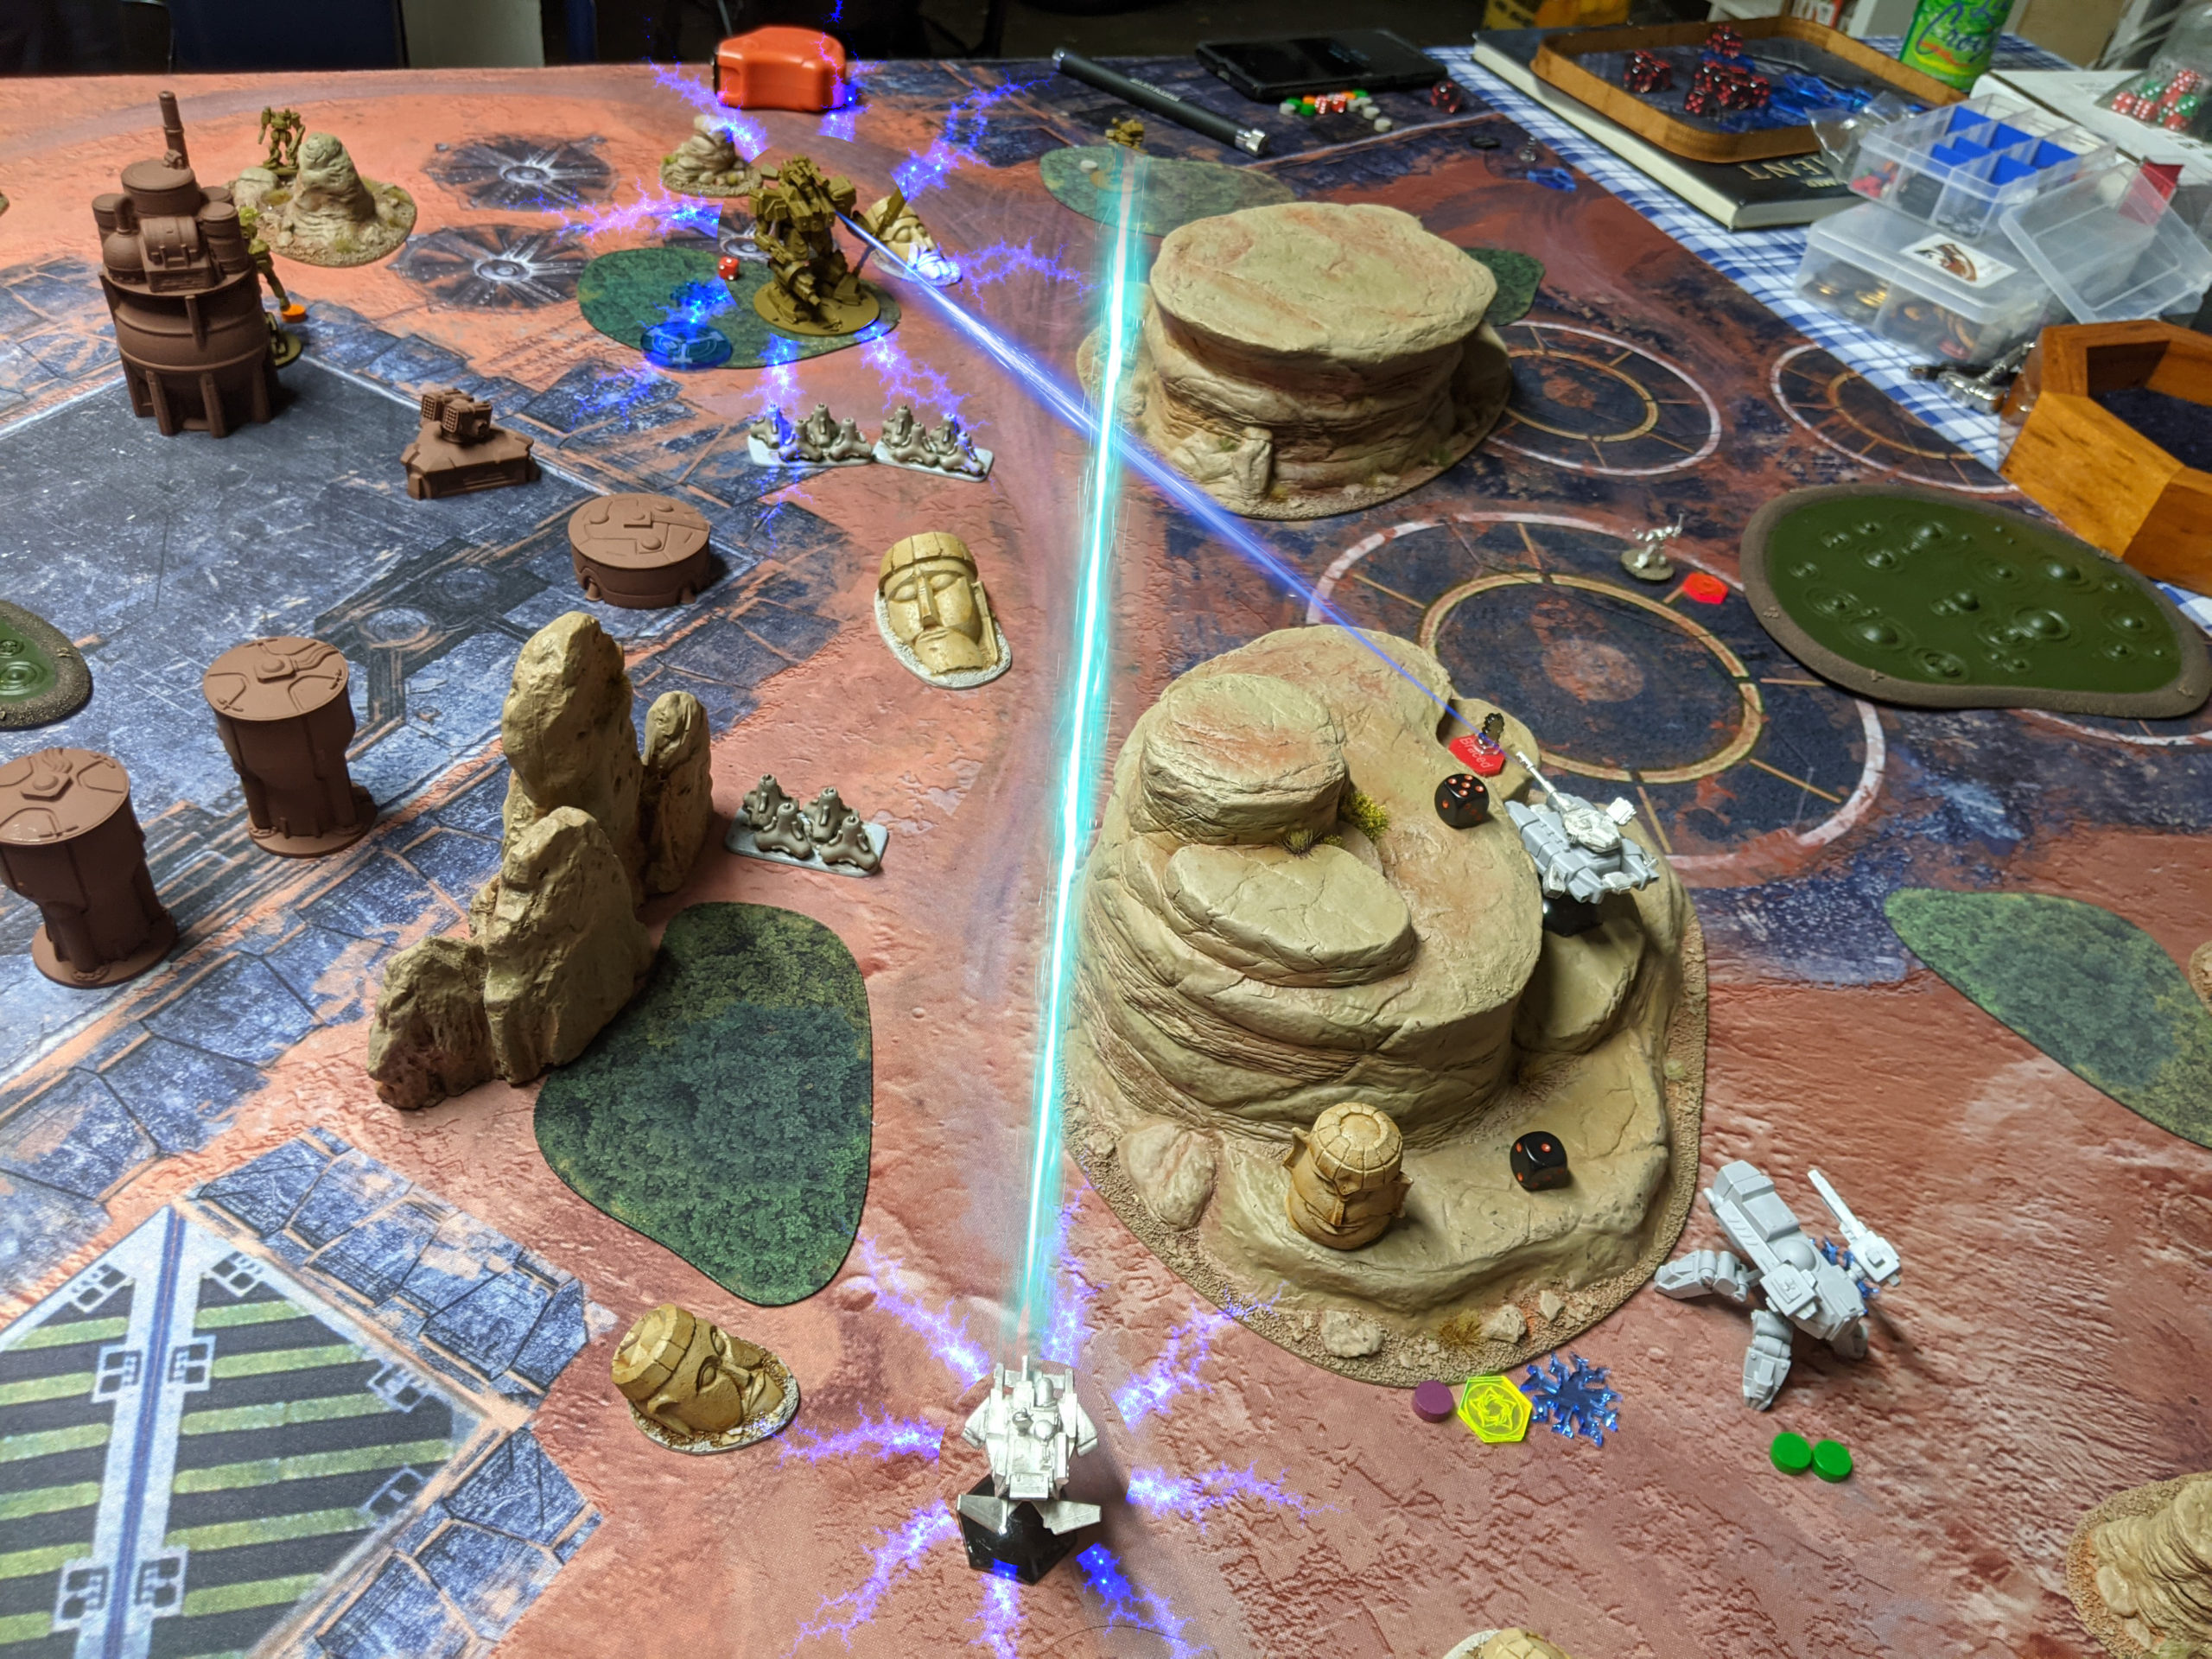
My Ammon, however, was more successful and slammed a Railgun round into something important in the internals of the Scimitar, doing 3 points of damage! At this point, I’ve crippled the thing!
Round 2
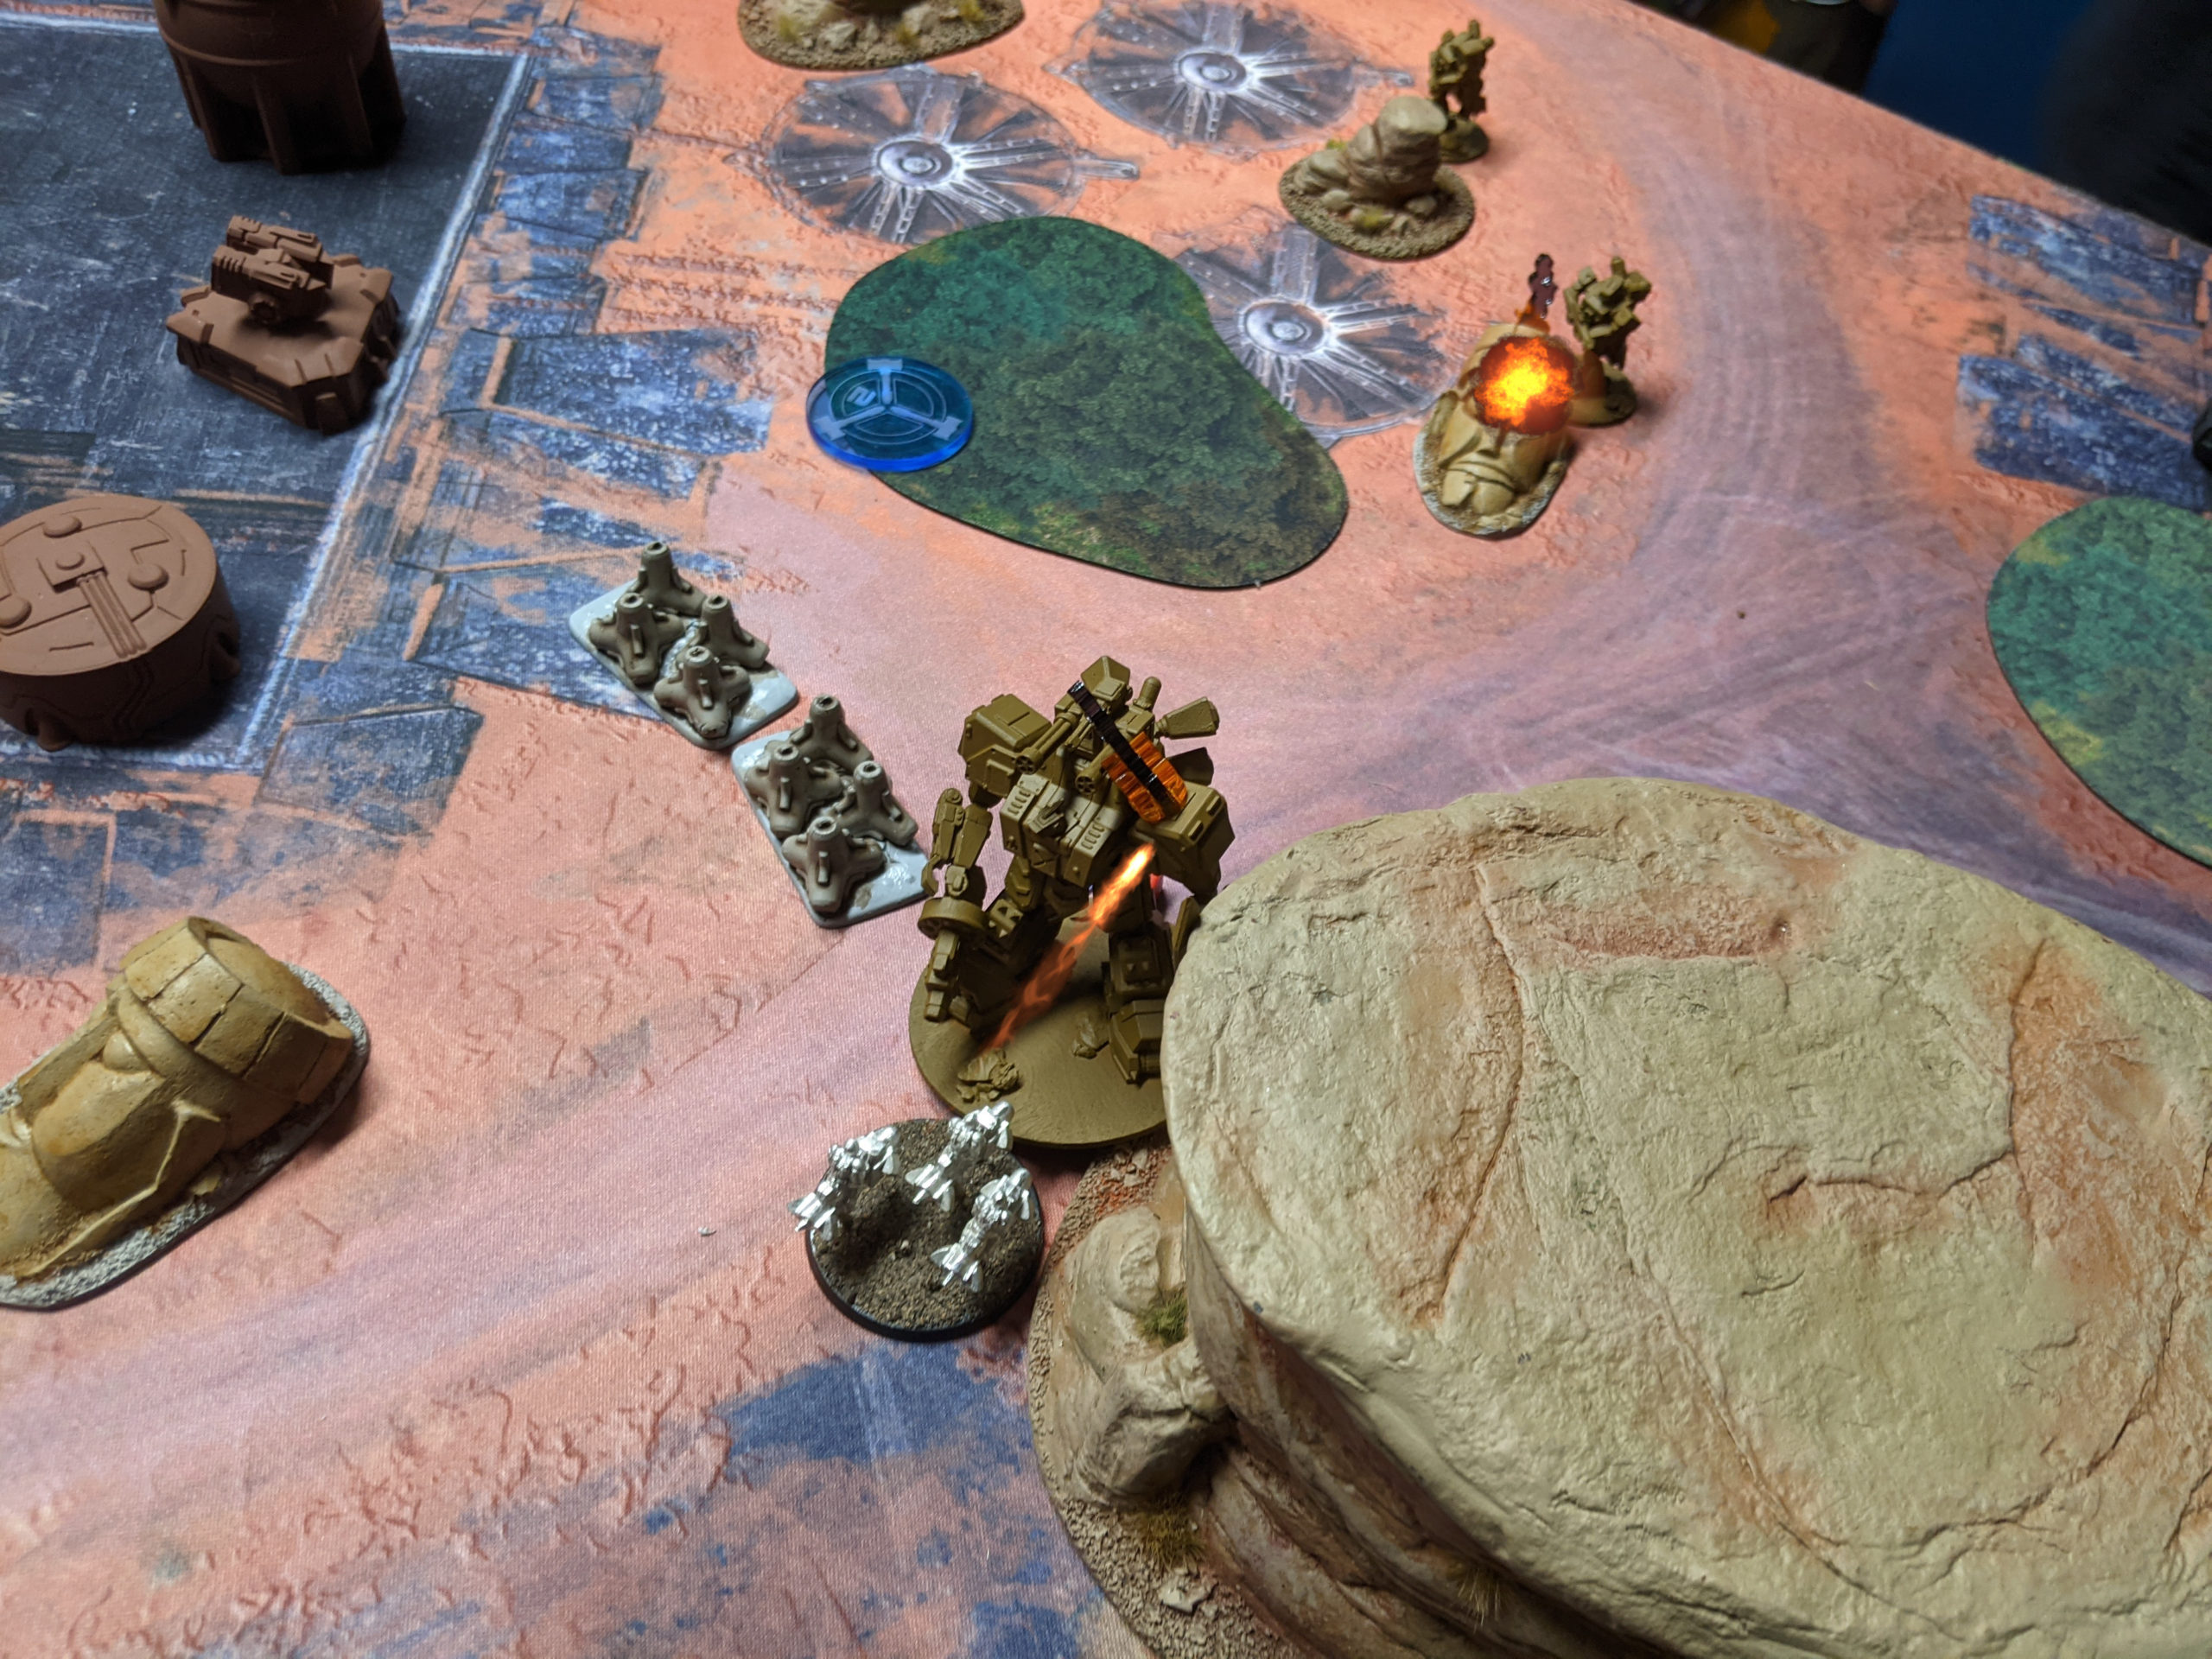
I win the rolloff for round two and activate my LHT-67 Assault group. The Grizzly is getting a little close and I want to exert some counter-pressure. I start by Haywiring the Grizzly and then rotary laser it, putting some damage on it.
I notice that with some additional movement I can get the Wallaby out of cover with my tank, so I Frag Cannon the infantry off the table. Adam fires the Grizzly’s gun in response but nothing happens.
The next activation isn’t so lucky for that poor tank though. The White Cat gets a FO off and the tank is obliterated with ATM fire. It took me two attempts to Haywire the Grizzly on my activation, so I couldn’t [ECM] Jam the White Cat through the Tank’s sensors in response. Of course, I probably would have been out of range anyway, but it’s something to keep in mind for future games–leaving an action up on a Hovercar to defend my tanks from things like this is a good idea. There are also some shenanigans to be explored with Sensor: 36 and Sensor Booms too… hmm.
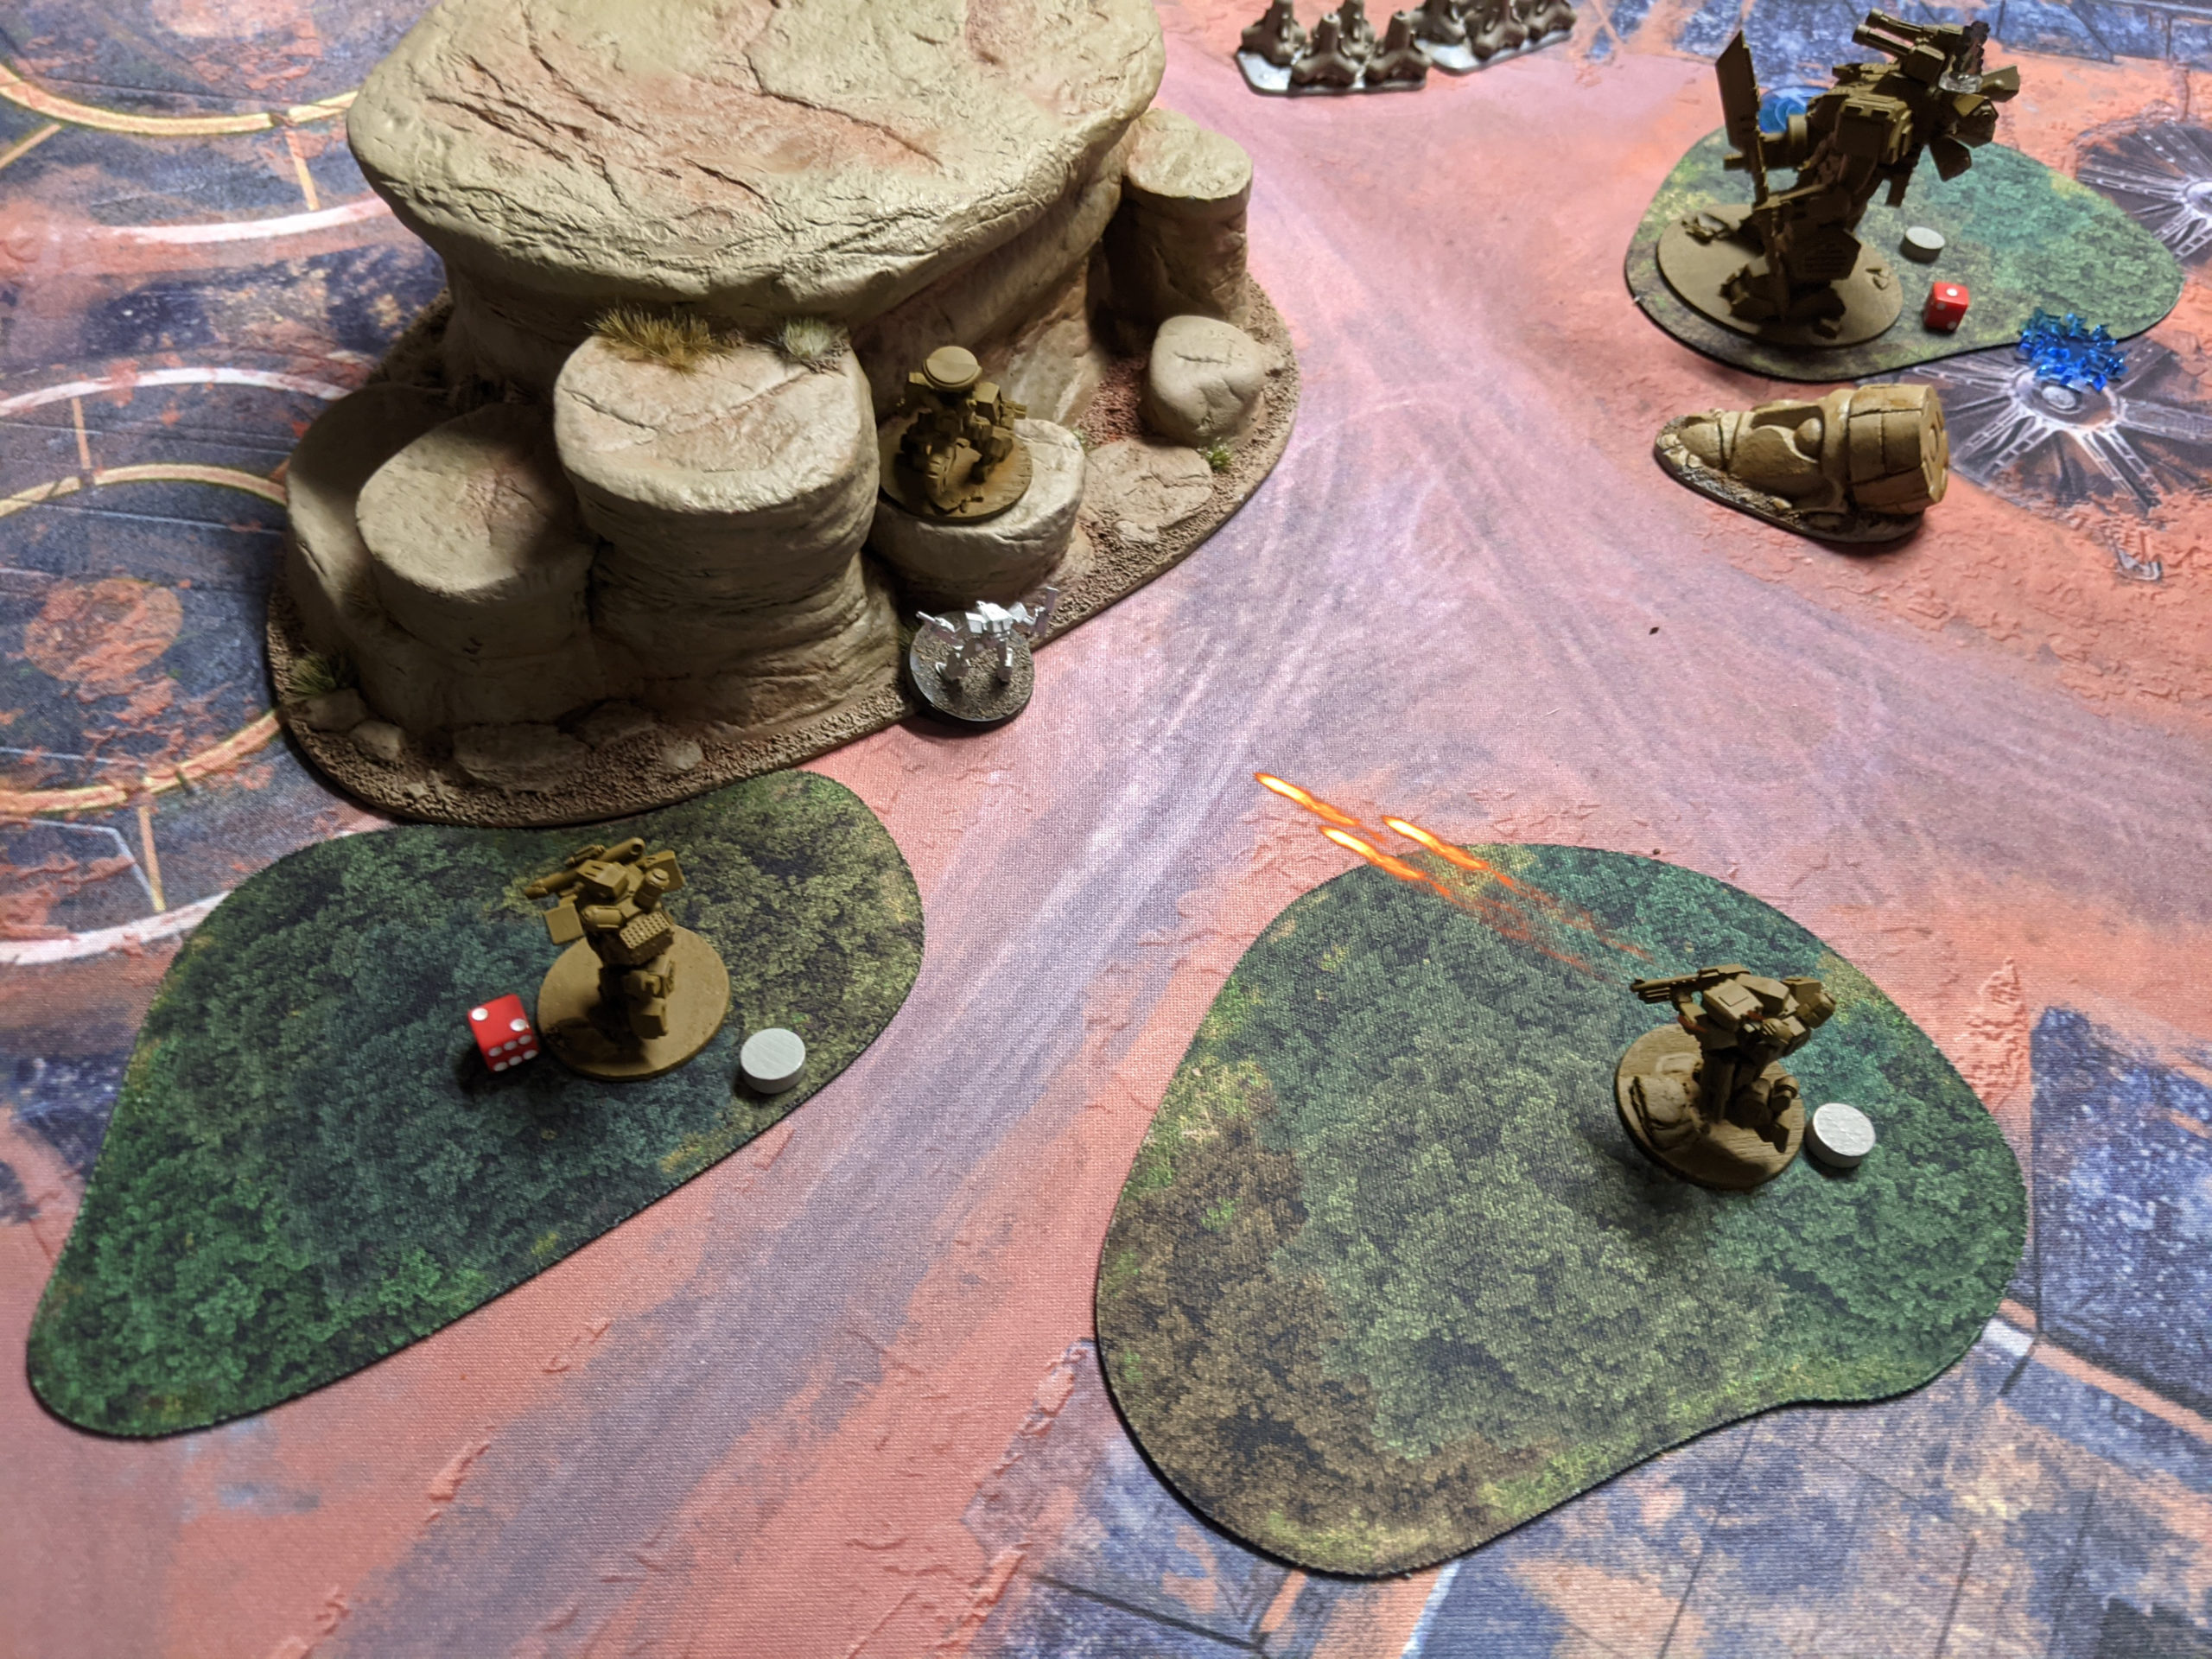
I activate my SF squad and try to take out the White Cat. Sadly, we are at 36.5″ away from my snipers, which is very upsetting and I whiff. My Morgana FLAIL also whiffs its close combat attack, even under the effects of a Charge! order, and I lose the FLAIL to a Frag cannon retaliation attack from a nearby Hunter UC. Thankfully, this isn’t Adam’s assassination target, so I don’t give up any points here for my “for the lulz” attack.
Adam activates his RC squad, shifting his remaining Ferrets around and Haywiring my Ammon. I protect it with the Hovercar, but the Hovercar gets Haywired. Not great. I activate my remaining RC squad and fire the LHT’s MPA at the Scimitar, taking it down to one point left while also shifting my LHT-67 away.
Adam activates his GP squad next and plinks two points of damage off one of my bike squads with a Field Gun.
Aside from some small shifts and some more ineffective fire from the Wildfire Hunter against my Morgana on the left, the real action is with the Scimitar! It drops a grenade on my LHT-67, killing it and putting a damage on my Ammon! However, to gain LoS to the LHT to kill it, Adam had to get the Scimitar in LoS of the Ammon, which was more than happy to finish off the Scimitar with some reactionary railgun fire. PEW PEW!
I activate my GP squad and shift the bikes forward, taking out an already damaged Hunter with a lucky grenade hit.
Round 3
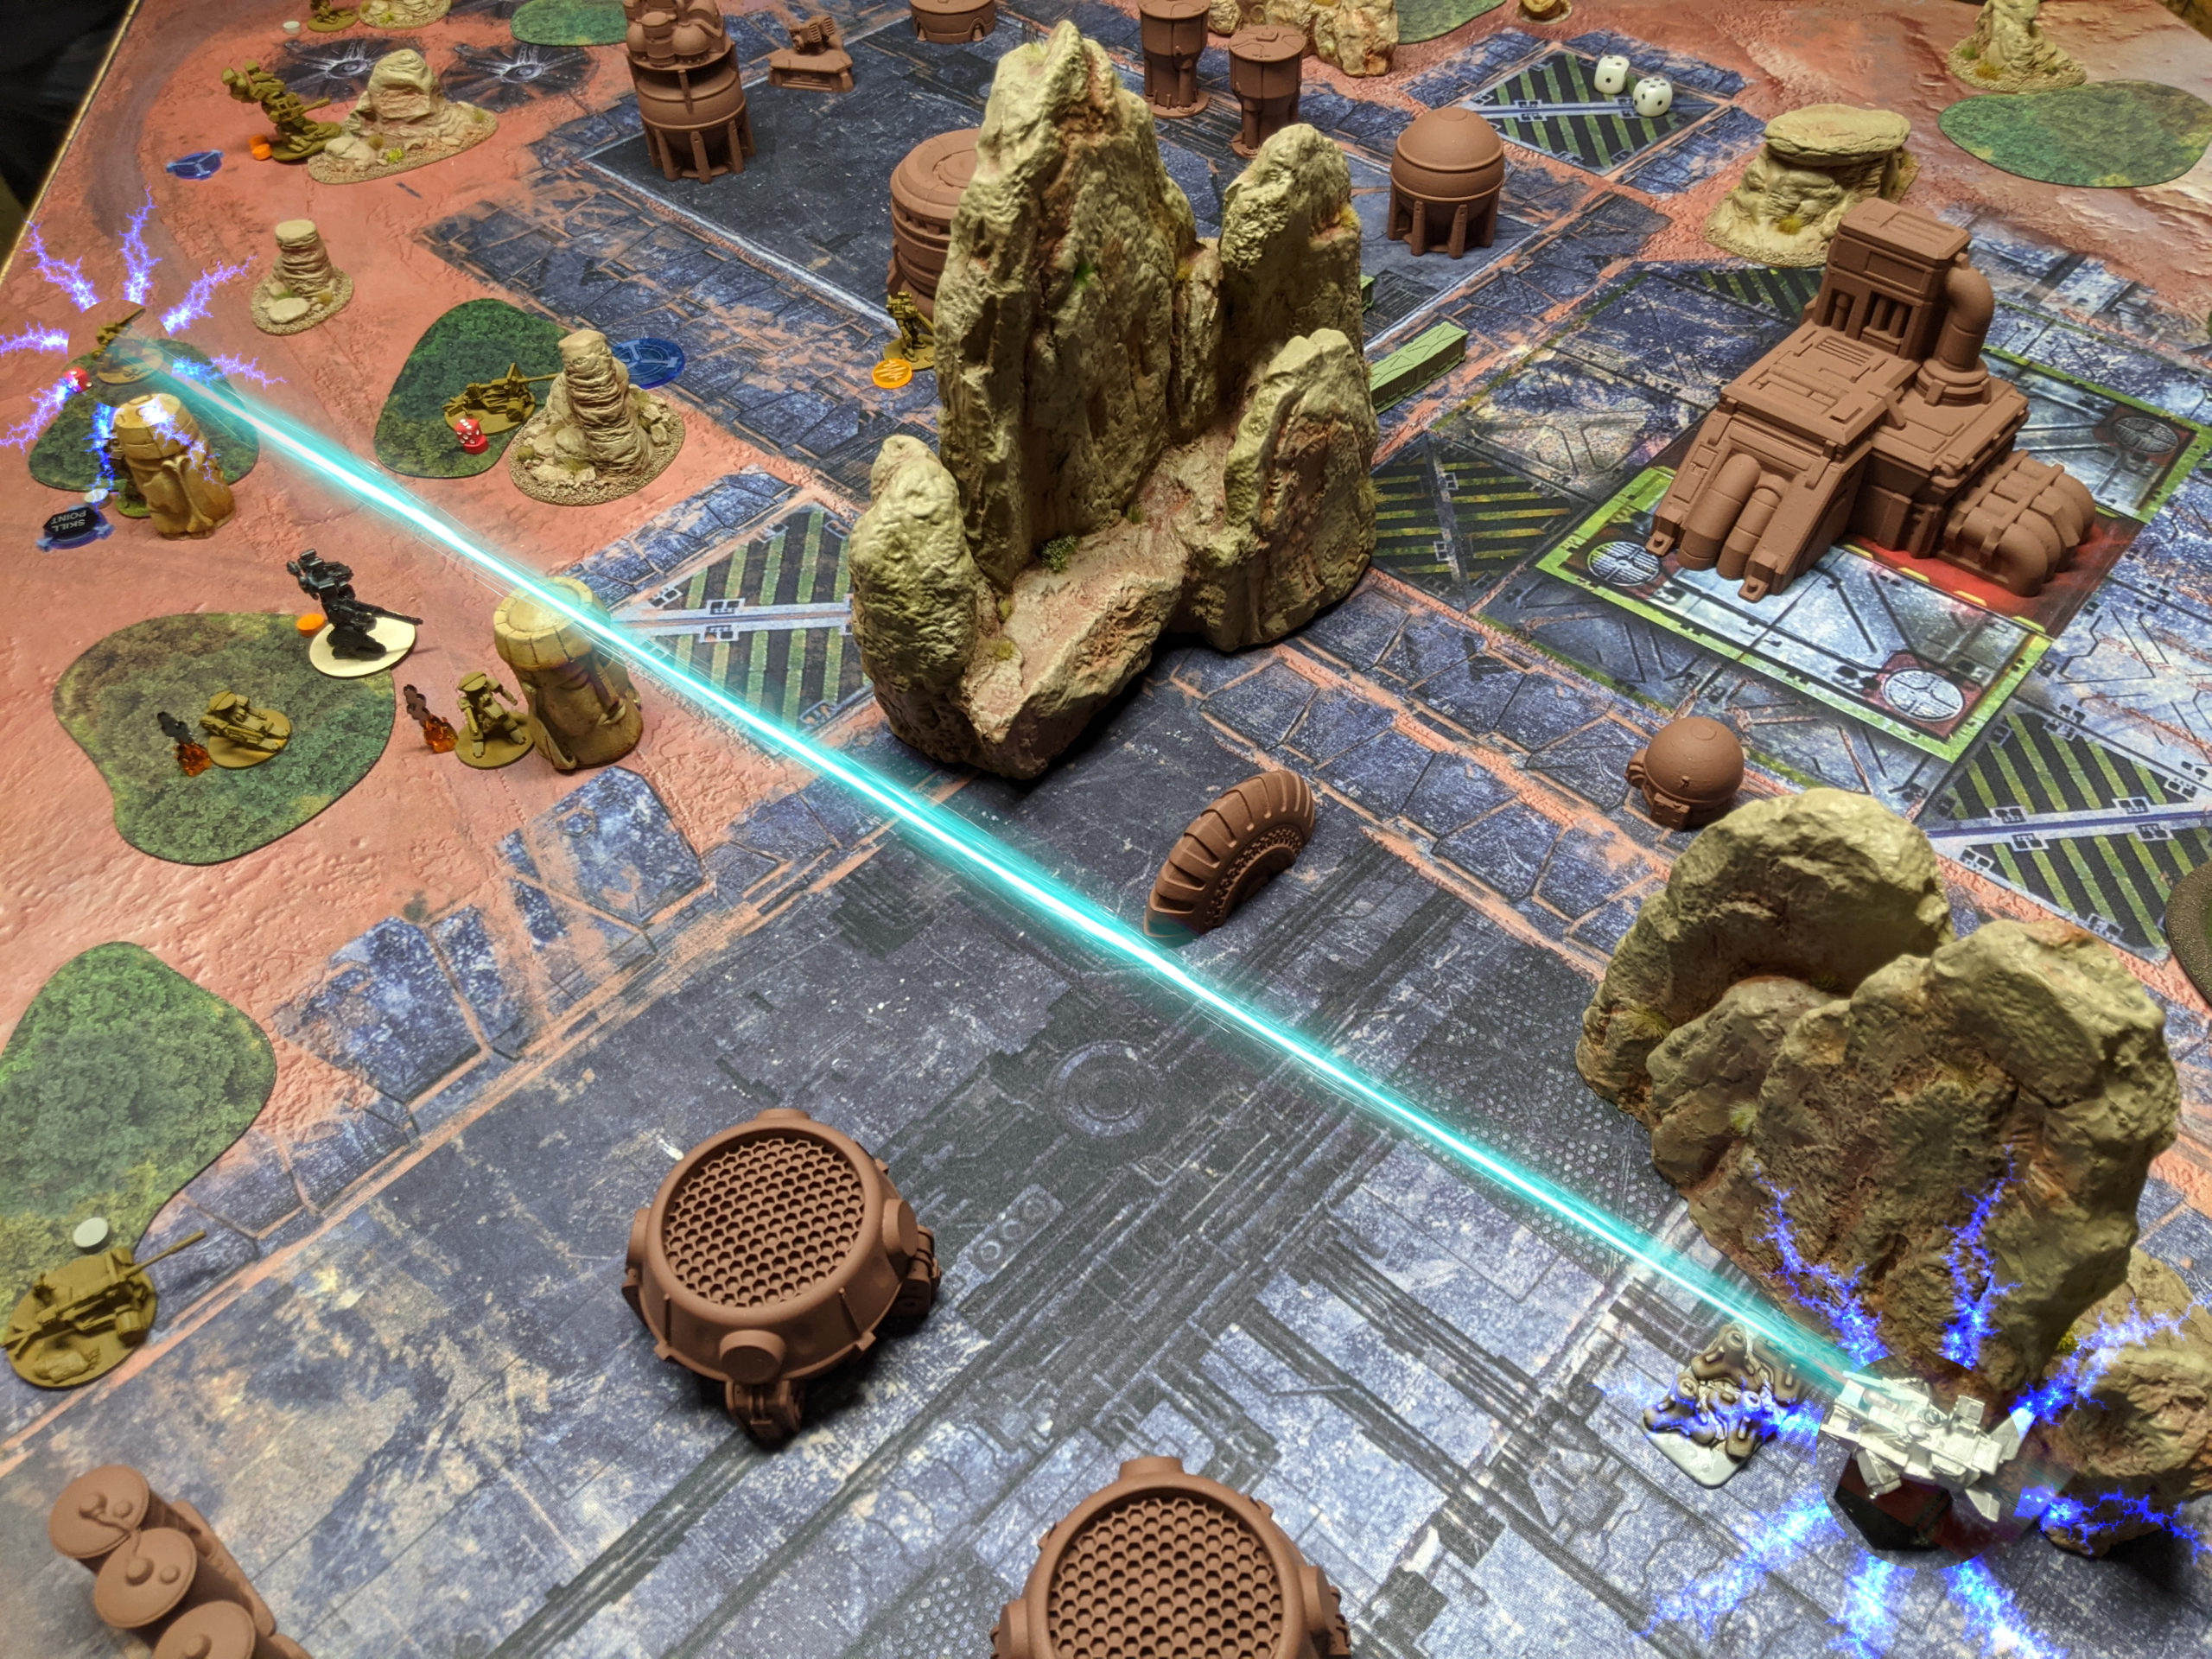
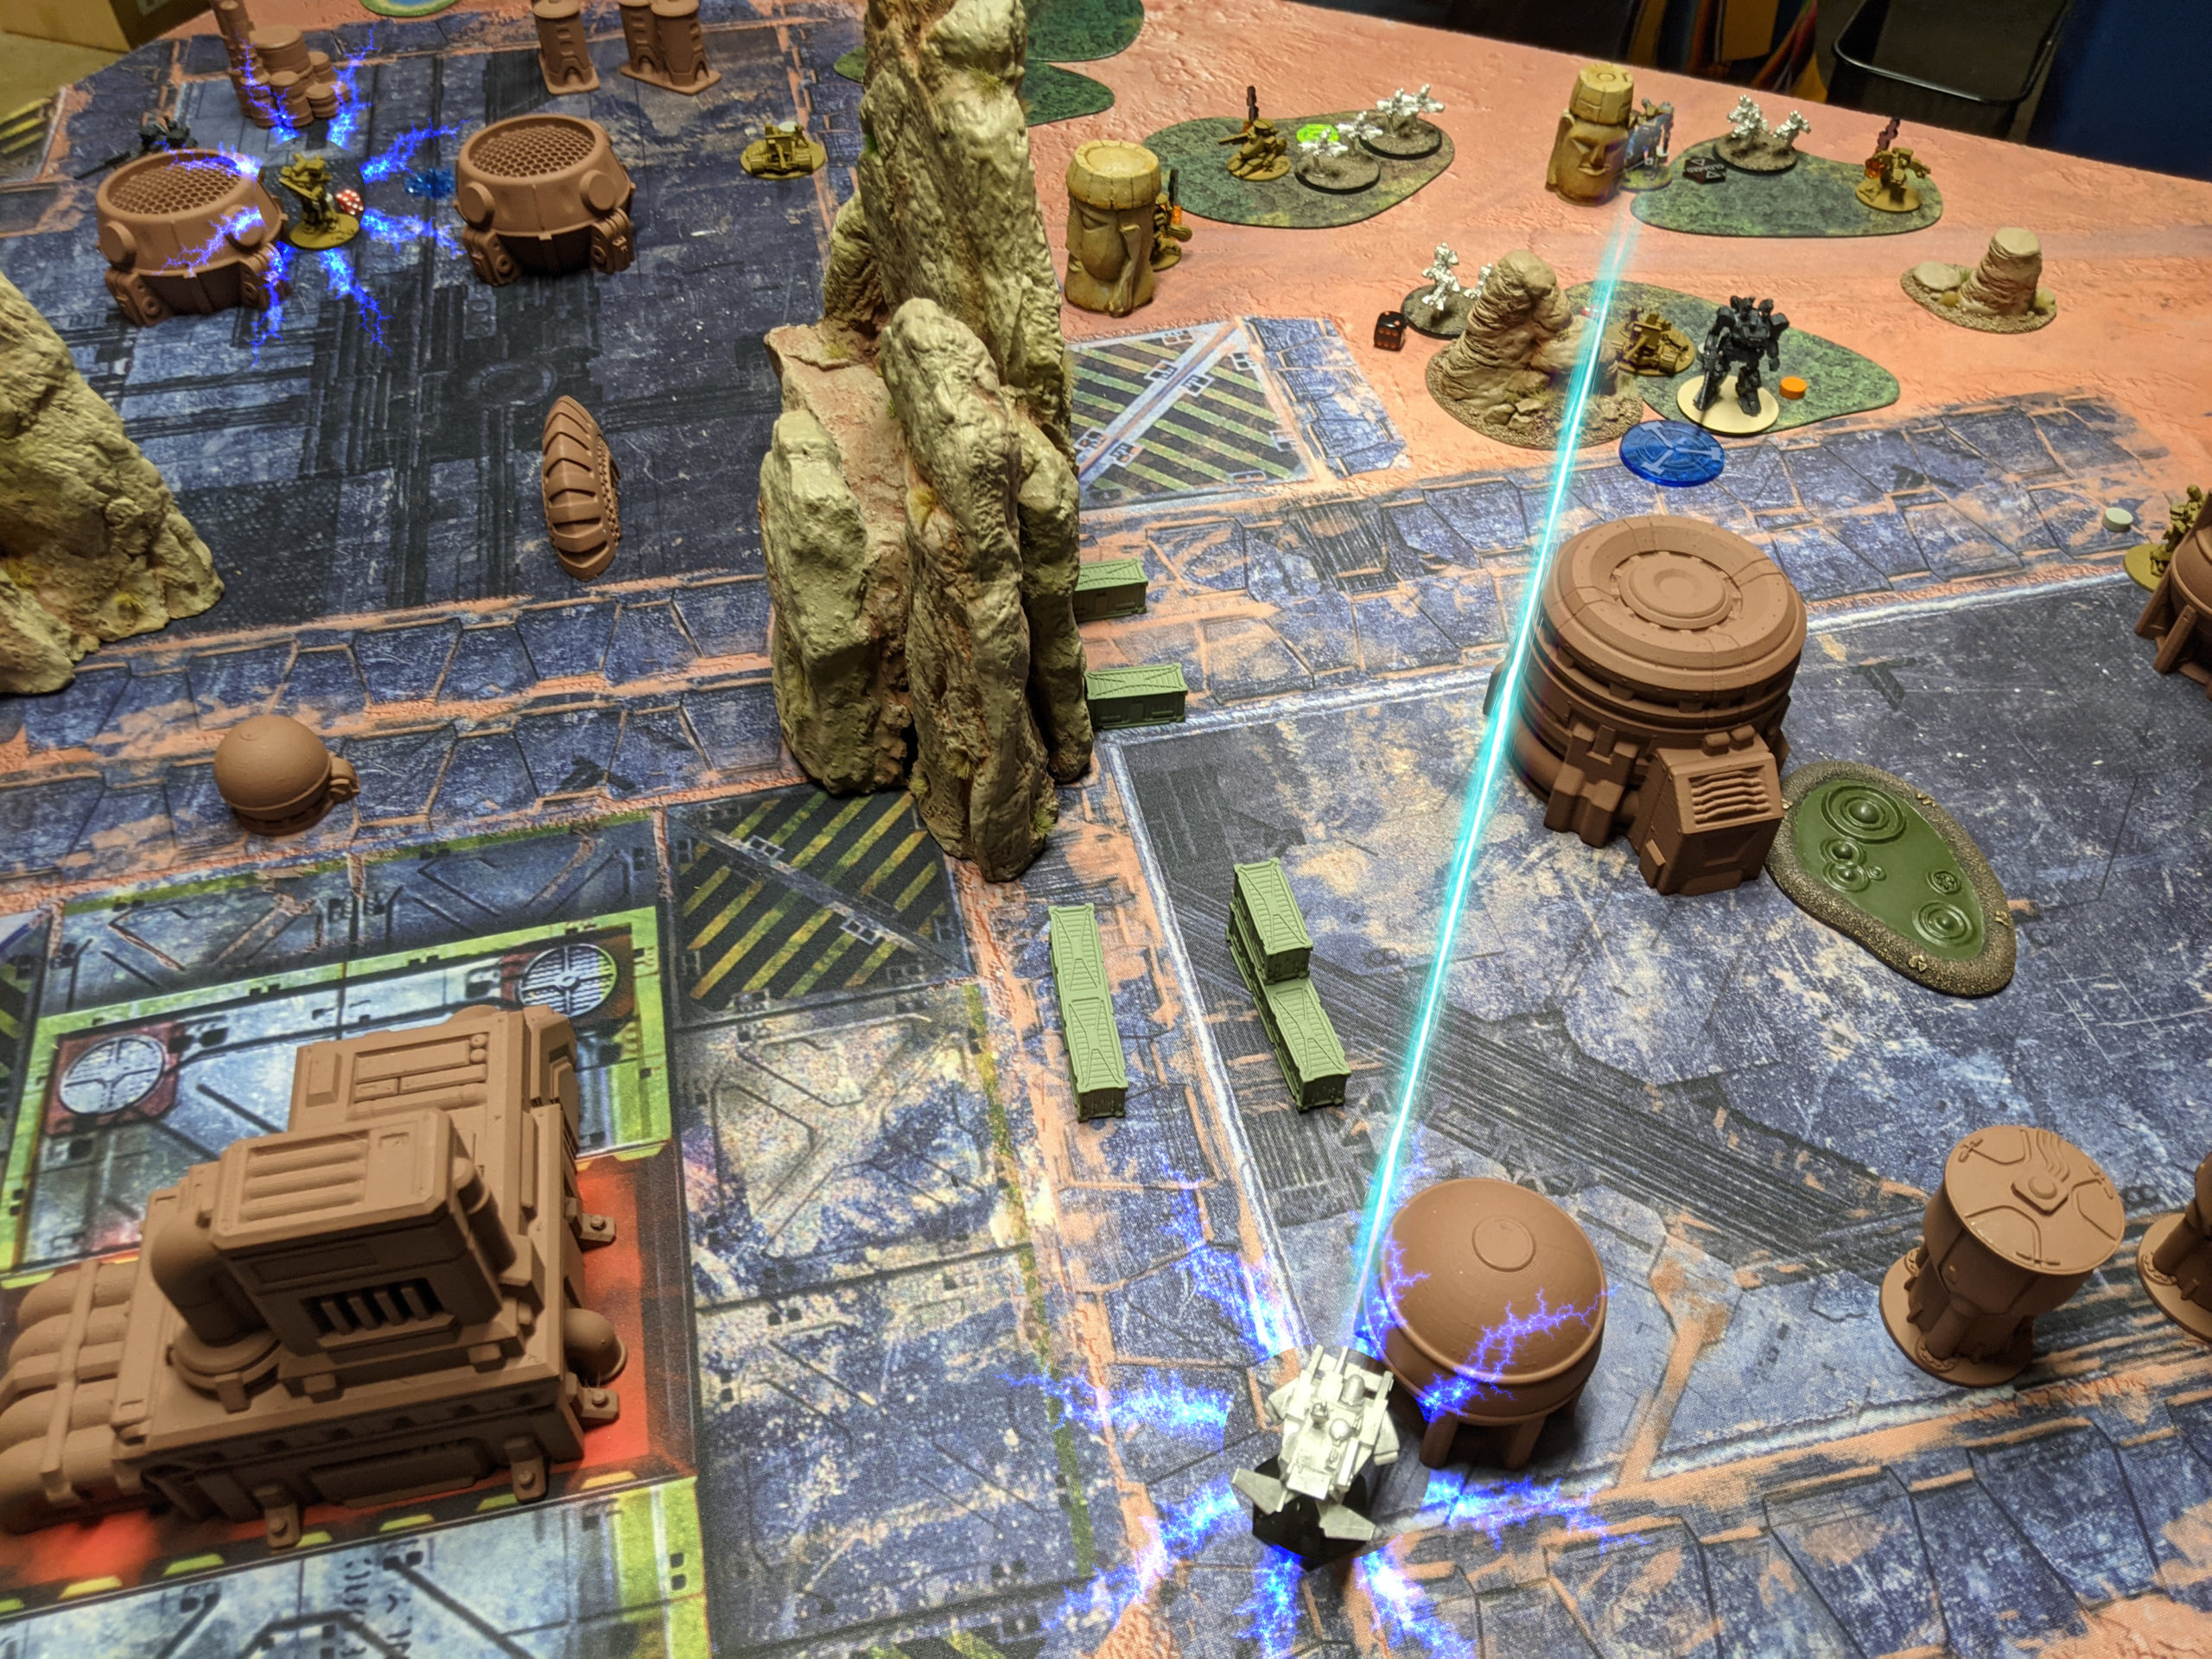
Round three is pretty uneventful, a lot of positioning and shuffling happens. The highlights are that I get one Scan off successfully on Adam’s Kodiak, even putting some damage on the Kodiak with the Ammon’s railguns. The real big event though is my Hovercar on the left Haywires Adam’s Ferret Leader and then pegs it in the engine with a LLC shot, coring it and dropping it in one shot! Awesome!
Round 4
Round 4 starts with me having to get all FOUR Hoverbike squads into range of Adam’s Hunter to attempt a Detailed Scan. I finally get it on the fourth activation and breathe a sigh of relief.
Now I need to kill the Hunter. A pair of railgun shots doesn’t do it! Uh oh!
Adam gets one assassinate done by running his White Cat behind my Hovercar and dropping a bunch of Anti-Tank missiles on it. He also sets himself up for Break the Line if I can’t kill the White Cat! I’ve got to get rid of that Hunter and do something about the Wildfire Hunter that has gotten too close to the FLAIL that Adam needs to Assassinate! Hovercar to the rescue! I [ECM] Hack the Wildfire Hunter and finish off the Hunter commander that I need to assassinate with the LLC. Good gravy, Hovercars are awesome!
Adam piles his remaining Ferret into my deployment zone, and then I try to kill the White Cat with my snipers/FLAILs and fail.
I drop my airstrike on the White Cat but fail to do anything. BOOOO. And with that, we’re both Holding our objectives, Adam’s Broken the Line 2x, and Assassinated my Hovercar. I’ve got all 6 of my points though, so it’s a
6-5 CEF Victory!
Post Game Analysis
Well then. That was a close game. I liked having the Ammon, it gave me some much needed AP firepower to deal with the Scimitar. Do I think it was a better choice than say, an MHT-95? Maybe? Having an extra FLAIL squad and the MHT instead might’ve been nice… The Ammon is fine. I don’t think it’s an auto-include like the Hoverbikes are though.
I already waxed poetic about how awesome the LHT + HC combo is. It does limit me to RC though, which is a bummer. I might want to think about finding a way to work in an SK squad. One other bit of feedback I’ve gotten from people like Kayuna is that my lists are a little light on AP weapons, which I think is certainly true. It would be worth exploring some Frame options with LATMs to plug that deficiency, and I could even do it by dropping the Ammon for a 5th CG.
Regarding my promised discussion of Field Guns, I think they’re fine. They’re not maneuverable enough for me to be super concerned they’re going to get something out of full cover if I don’t want to let that happen. That just means I have to protect my tanks and vehicles, and I’m content to let the Field Guns shoot at infantry because they can’t kill them in one shot. What they really do is force me to keep my head down. I don’t really even think about that though, as putting things back into total/full cover is so second nature to me as an experienced Infinity player. Perhaps it will occupy more headspace for players not used to this sort of interaction, but I didn’t find them particularly oppressive. Absolutely worth the 4 TV though, if you are on the fence about taking them, just take ’em.
I’m learning that having more activations is really important, and CEF can get lots of of cheap units that punch well above their TV. Hoverbikes, FLAILs, etc, are all very strong and can easily threaten, not just harass, light gears. I’m curious to try out the FLAIL squads with HIL. Damage 5, 6-18″ optimal range, max of 36″ with Advanced and Burst: 1 sounds pretty interesting. FLAILs are as expensive as Hunters and are harder to kill with normal weapons, so I may start putting more of them on the table.
I’m still struggling to find a relevant use for Frames. The fact that none of them have two actions means I have to take 4 of them to fill out a combat group for approximately 40+ points, compared to a full combat group of a HC-3A and a LHT-67, which clocks in at 29 points and can do SO much. Granted, I am much more vulnerable to being shot in the butt as they’re vehicles, and I don’t have the ability to retaliate with any of my weapons systems. Active turn firepower in this game is the same as reactive, unlike in Infinity, so the impetous to wait till the active turn is less pronounced. However, I still get to dictate the positioning of the engagement to get you out of cover, so active turn is still slightly more important.
At this point in my experience with Heavy Gear: Blitz! I think that getting objective points is starting to feel in my control. I know how to pace my positional development turn to turn, how to prioritize targets, and when to make the push. However, right now games feel very non-interactive at the strategic scale. I’m certainly interacting with my opponent and their forces at the tactical scale, but I don’t devote much time or energy to denying them objectives. I think as I get more comfortable with my ability to execute on my objectives earlier in the game, I’ll be able to start thinking about objective denial.
That’s it! Thanks for reading!
Great Bat Rep!