A Bridge Too Far
As you probably know, we’ve been working on the Heavy Gear Blitz Tournament System. Thanks to all our playtesters who have been giving us feedback! If you’re interested in learning more, you can have a look at our Late Night Wargames episode on it:
or you can go have a look at the rules themselves. The latest and greatest can be found in the dev branch here:
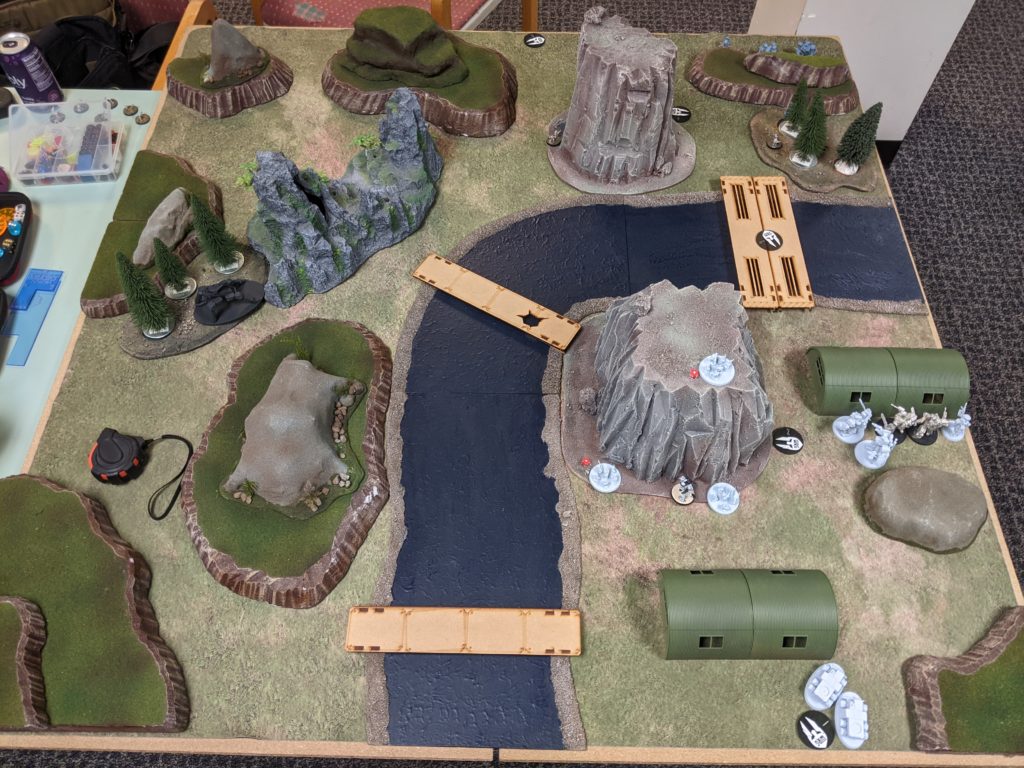
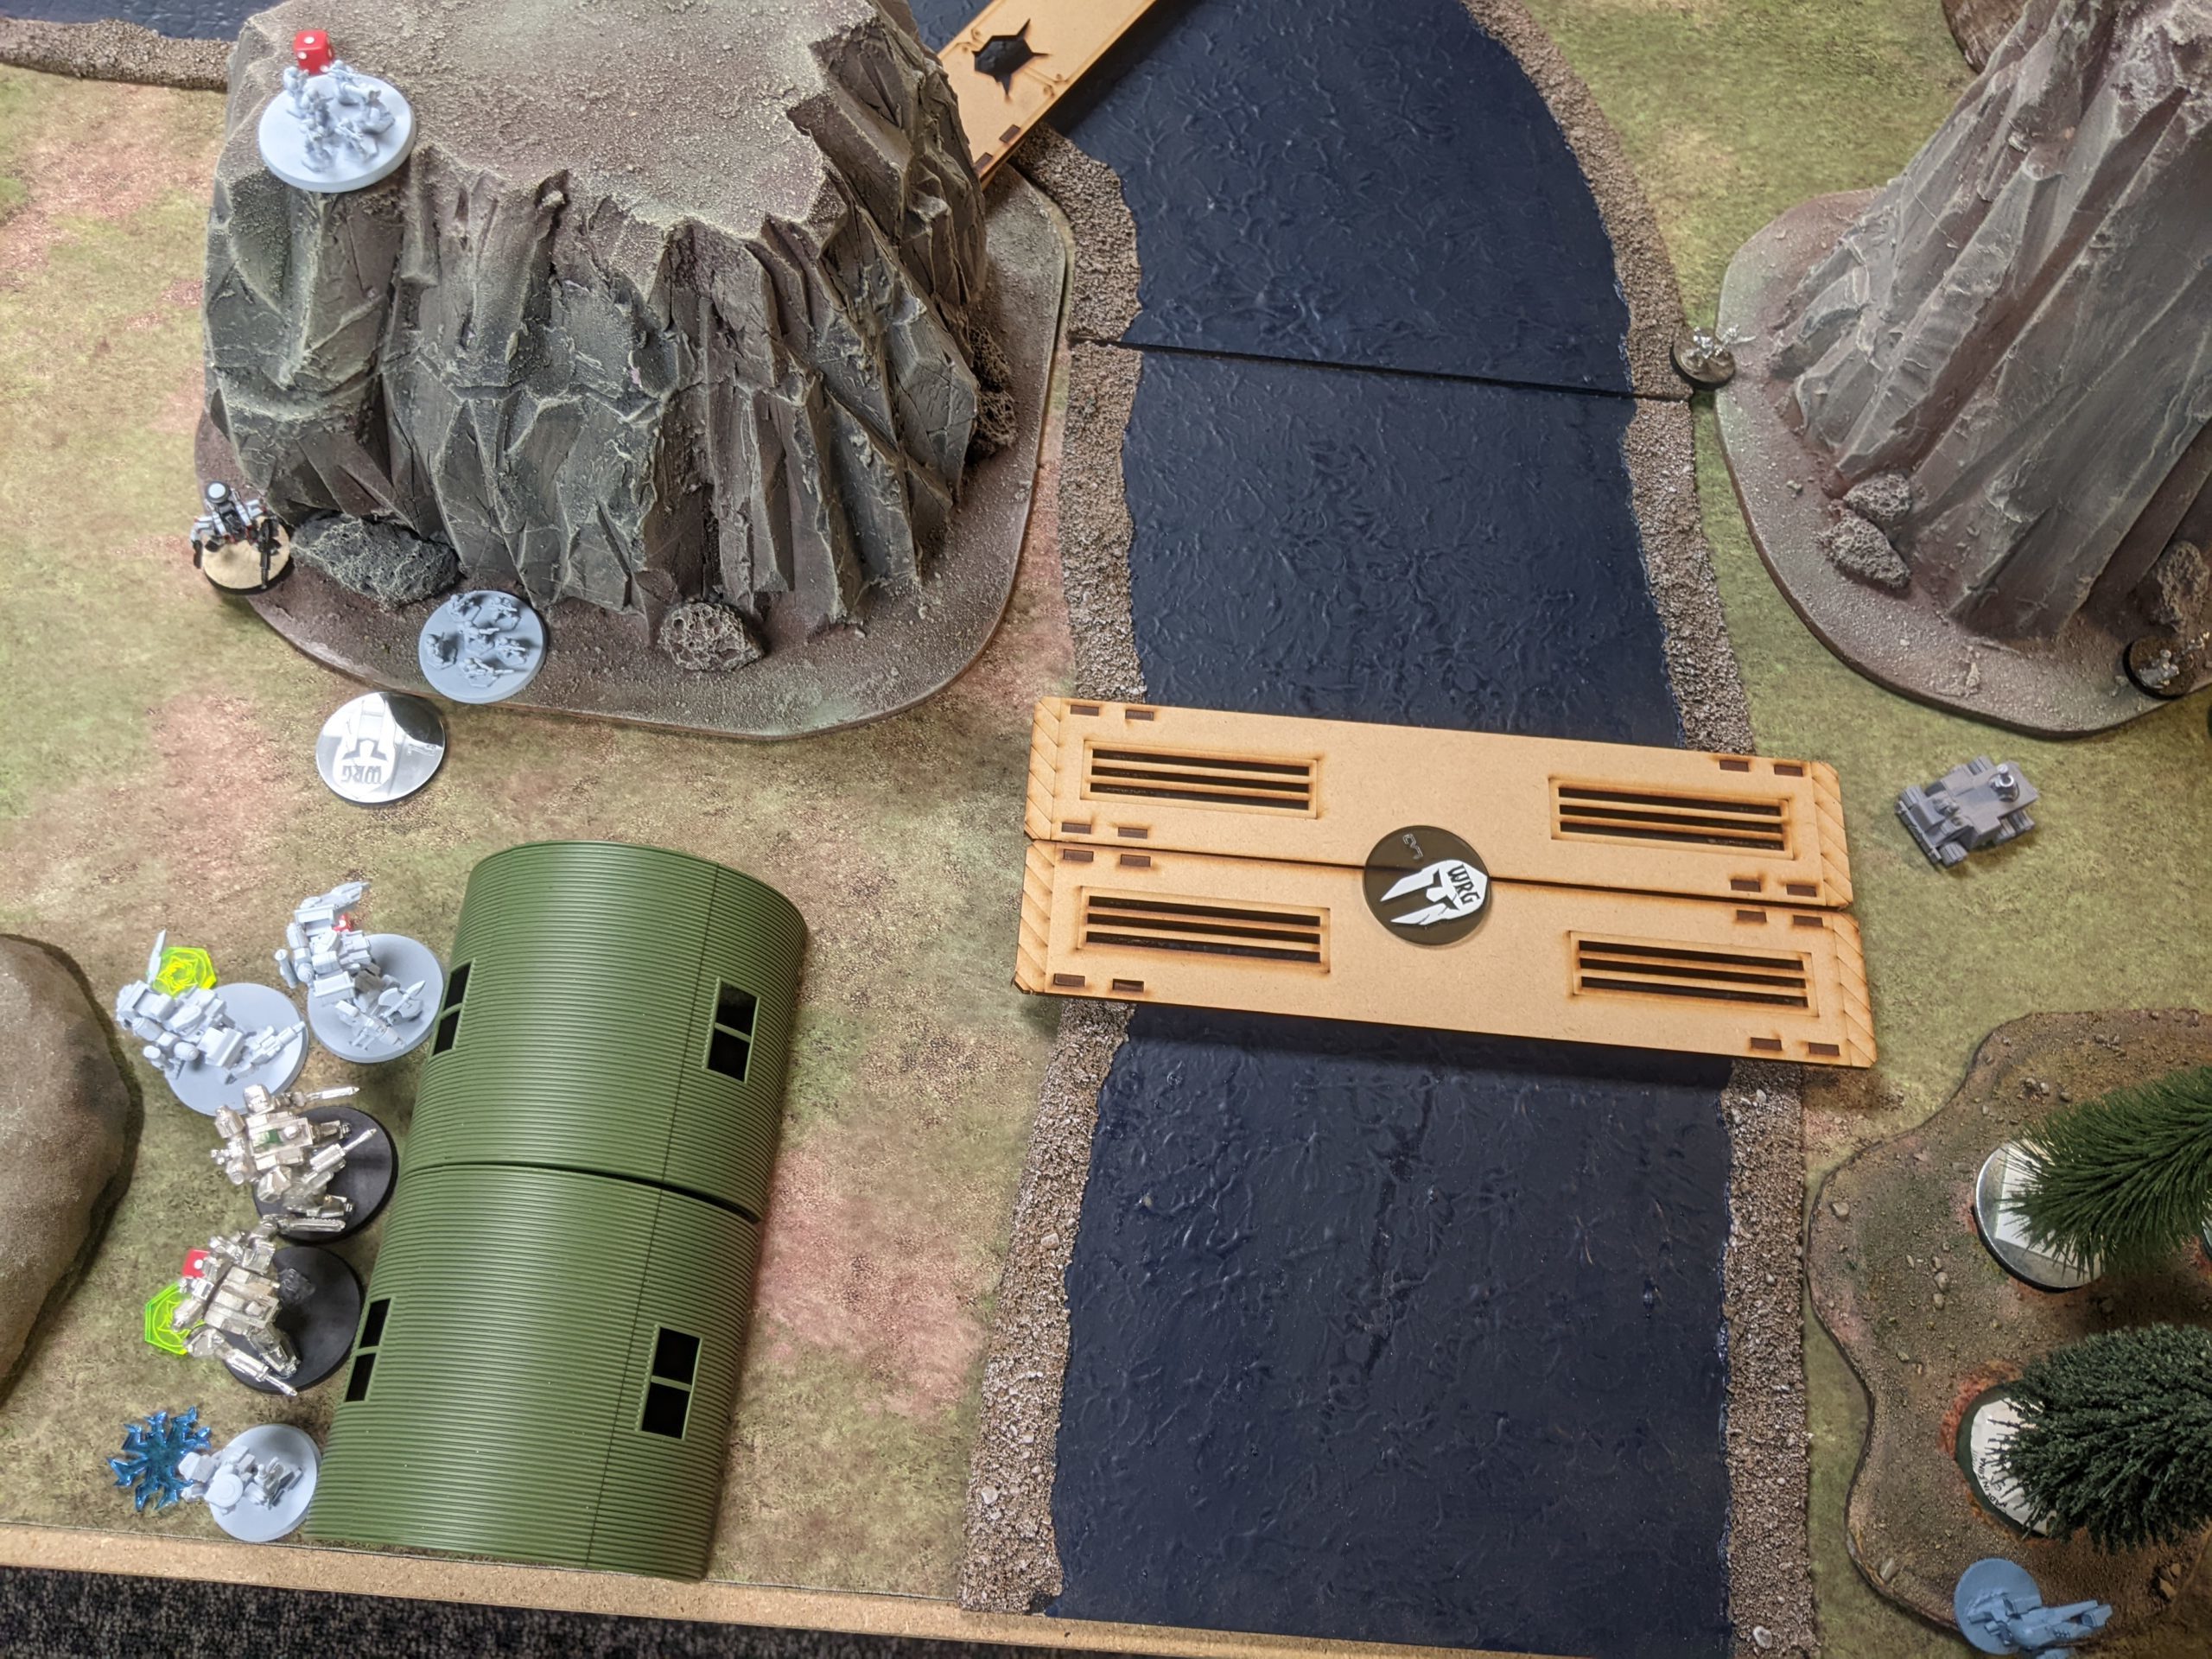
We ended up playing the game at our local game store, and had to scrounge some 40k terrain to set up a table, having left our tables at home. It’s horribly open by our usual standards, but we made do.
We’re playing the Advanced Operations scenario Supply Line Strike, which is intended to model a GP force escorting a camel truck logistics train and an SO force trying to disrupt the supply line. Advanced Operations is basically our take on asymmetric mission design. Very few of the missions have been actually playtested, and I just made them up, so we’re doing our due diligence now along with the Denver and Houston metas.
We’re going to be changing the mission a little as a result of this game, so here’s a snapshot of the mission for posterity:
The GP force escorts a formation of 2 Camel Trucks carrying supplies across the table.
- Deployment Zone: Standard 12″ deployment
- Table Setup: After deployment zones have been chosen, do the following:
- The GP player places a 40mm Start token on their table edge
- The GP player places a 40mm Control Marker, termed “End Marker” for this mission, on the enemy table edge
- The GP player places 3 40mm Control Markers, termed “Waypoint” for this mission, on the table, marking a path between the Start and End tokens.
- These Waypoint tokens must be within 18″ of the next token in the path.
- At least one must be within 18″ of the Start and another within 18″ of the End token.
- Waypoint tokens aree cons
- SO Objective: Deny Supplies
- 1 Point – Disrupt a Waypoint.
- 3 Points – Prevent the Camel Trucks from reaching the End Marker.
- GP Objective: Escort Supplies
- 1 Point – Move the Camel Trucks to a Waypoint (max 4, Start Waypoint does not count)
- 2 Points – The Camel Trucks arrive at the End Waypoint at the end of the game.
- Special Rules:
- Camel Trucks
- Immediately after Waypoints are placed, the GP player places two Camel Trucks within 4″ of the Start Waypoint
- Camel Trucks do not take damage, only move at the end of the turn, and cannot be locked in melee.
- Both Camel Trucks have Smoke and 1 action, and may deploy Smoke if given the order to do so by any GP commander within 6″. Camel Trucks count as being in formation with a GP commander for the purposes of issuing and resolving the order.
- Waypoints
- If the next Waypoint is not Disrupted and is controlled by the GP player, the GP player may move the Camel Trucks to any legal spot within 4″ of the next Waypoint. If there are no legal spots, as close as possible.
- If the next Waypoint is Disrupted, the GP player must have two more models than the SO player at that Waypoint to control it. If this condition is met, they may move the Camel Trucks as above.
- Disrupting Waypoints
- The SO player may Disrupt a Waypoint via an Interact action or a You Have One Job order.
- Camel Trucks
So basically there’s a series of waypoints that you have to fight over. Every turn if the GP player controls the next waypoint, the supply line advances. The SO player can disrupt waypoints, forcing a 2-unit margin to control the marker and making it harder for the GP player.
If you watch Late Night Wargames, you probably know that Adam and I traded my Peace River for his Utopia. This way he’s all in on Terra Novan forces and I’m all in on invader forces. I decided to put my new Utopia on the table for the first time. I was pretty attracted to OUF because of the Frank N-KIDU rule, which allows you to give any N-KIDU a veteran or duelist upgrade. OUF also allows you to take CEF frames as well as Black Talons, which let me build a pretty strange list.
I figured a few things would arise out of the mission, the first being that Adam would be forced to bunch up. The second was that I’d also need to both spend actions to disrupt the waypoints as well as physically contest them with more models. The cheapest way to do get actions and bodies onto objectives is to flood them with cheap infantry, but the problem remained that I would need to get the slow infantry there!
| Name | TV | A | Weapons | Traits | |
|---|---|---|---|---|---|
| CG 1 SO |
Grenadier Commando Armiger VTOL | 20 | 2 | »MGL(Link), »LVB, MRP(Corrosion), MHG, LAPGL | Hands, Agile, Airdrop, Jetpack:6, Stealth, Comms, VTOL, CGL, Vet, Duelist, LBE |
| ECM Commando N-KIDU N-LIL | 10 | 1 | HAVM, LRP(Corrosion) | Conscript, Agile, Airdrop, Stealth, Jetpack:6, VTOL, FNK, ECM+ | |
| Commando N-KIDU N-LIL | 8 | 1 | HAVM, LRP(Corrosion) | Conscript, Agile, Airdrop, Stealth, Jetpack:6, VTOL | |
| Dark Mastiff Xi | 7 | 1 | LFM(T) | Transport:1 Squad, Airdrop, Vet, Stealth (Aux) | |
| Phi Team | 4 | 1 | »LIW(Silent), »LICW | Agile, Airdrop, TD, Jetpack:4, Stealth, Vet | |
| CG2 GP |
Recon Team | 3 | 1 | »LIW, »LICW | TD |
| Recon Team | 3 | 1 | »LIW, »LICW | TD | |
| Infantry Team | 3 | 1 | »MIW, »LIGL, »LICW, LIR | – | |
| Infantry Team | 3 | 1 | »MIW, »LIGL, »LICW, LIR | – | |
| Assault Team | 3 | 1 | »LIW, »LICW, HIS(Burst:1) | – | |
| Assault Team | 3 | 1 | »LIW, »LICW, HIS(Burst:1) | – | |
| ECM Commando N-KIDU | 8 | 1 | HAVM, LRP | Conscript, Agile, Airdrop, Stealth, Jetpack:6, FNK, ECM+ | |
| Dark Mastiff Xi | 7 | 1 | LFM(T) | Transport:1 Squad, Airdrop, Vet, Stealth (Aux) | |
| Phi Team | 4 | 1 | »LIW(Silent), »LICW | Agile, Airdrop, TD, Jetpack:4, Stealth, Vet, CGL | |
| CG 3 SK |
Missile Support Armiger Sniper | 15 | 1 | »LVB, »MLC, MATM, MRP, LAPGL | Hands, React+, Offroad, Comms, CGL |
| F6-16 Anti-Tank | 9 | 1 | »LPA, »LCW, LATM(LA:2) | Hands, Conscript | |
| Missile Support N-KIDU | 7 | 1 | LATM | Conscript, Offroad | |
| Missile Support N-KIDU | 8 | 1 | LATM | Conscript, Offroad, FNK, Precise:1Wpn | |
| Total | 125 | 19 |
My solution was to take Black Talon Mastiffs to gain access to airdrop. The rest of the list is pretty self explantory–a grenadier Commando Armiger to punish bunched up models, with Greenway Caustics to add more damage. I figured upgrading one of the ECM Commando N-KIDU to also have ECM+ would be useful (and quite affordable), so I did that. Group three has alll my ATMs in it. I ended up forgetting that one of the N-KIDU had Precise, but I am really liking the F6-16 Anti-Tank in that group.
Funnily enough, both Adam and I passed our lists past Eric (Lith) from Denver, and this is what they arrived at for Adam. He’s got a Coyote independent operator duelist to get that all important 3rd combat group, a cheap GP group with Paratrooper Infantry and a Greyhound, and then the real meat of the list–two Crusaders and two Spartans supported by a Skirmisher.
| Name | TV | A | Weapons | Traits | |
|---|---|---|---|---|---|
| Napalm | 5 | – | BB(AI,Fire:2,Guided) | – | |
| CG 1 GP |
Recon Team Paratrooper,Squad | 5 | 1 | »LIW, »LICW | TD, Airdrop |
| Recon Team Paratrooper,Squad | 5 | 1 | »LIW, »LICW | TD, Airdrop | |
| Sniper Team Paratrooper,Squad | 5 | 1 | »LIW, »LICW, MIR(Silent) | Airdrop | |
| Greyhound Chieftain | 13 | 1 | »MRF, »LP, »LVB | Hands, Agile, Airdrop, Comms, SatUp, ECM+ ((Aux)), Sensors:36 ((Aux)), SP:+1, ECCM, FL, CGL | |
| CG 2 SO |
Crusader IV Crusader V,Crisis Responder | 15 | 1 | »MVB(Reach:1), »MPA, LAPGL, MRP, MFM | Hands, React+, Brawl:1, Shield |
| Crusader IV Crusader V,Crisis Responder | 15 | 1 | »MVB(Reach:1), »MPA, LAPGL, MRP, MFM | Hands, React+, Brawl:1, Shield | |
| Incendiary Spartan | 9 | 1 | »MFL, »LCW(Brawl:1), LFC, LGM, MMG | Hands, Airdrop | |
| Incendiary Spartan | 9 | 1 | »MFL, »LCW(Brawl:1), LFC, LGM, MMG | Hands, Airdrop | |
| Skirmisher Tag | 10 | 1 | »LRF, »LVB, LRP | Hands, Agile, Airdrop, Comms, ECM+ ((Aux)), Sensors:36 ((Aux)), TD, ECCM ((Aux)), CGL | |
| CG 3 SK |
Pilum Coyote Alpha Dog | 34 | 3 | »MATM(T), »MRC(T,AA), MAPGL, LCW | Airdrop, Stable, Sensors:24, SP:+1, ECCM, Comms, SatUp, Vet, Duelist, IO, ECM+, Agile, Precise:1Wpn |
| Total | 125 | 12 |
Not the fastest group in the world, but high armor and lots of guns to get it there. Plus the flamethrowers on the Spartans would make short work of all my infantry.
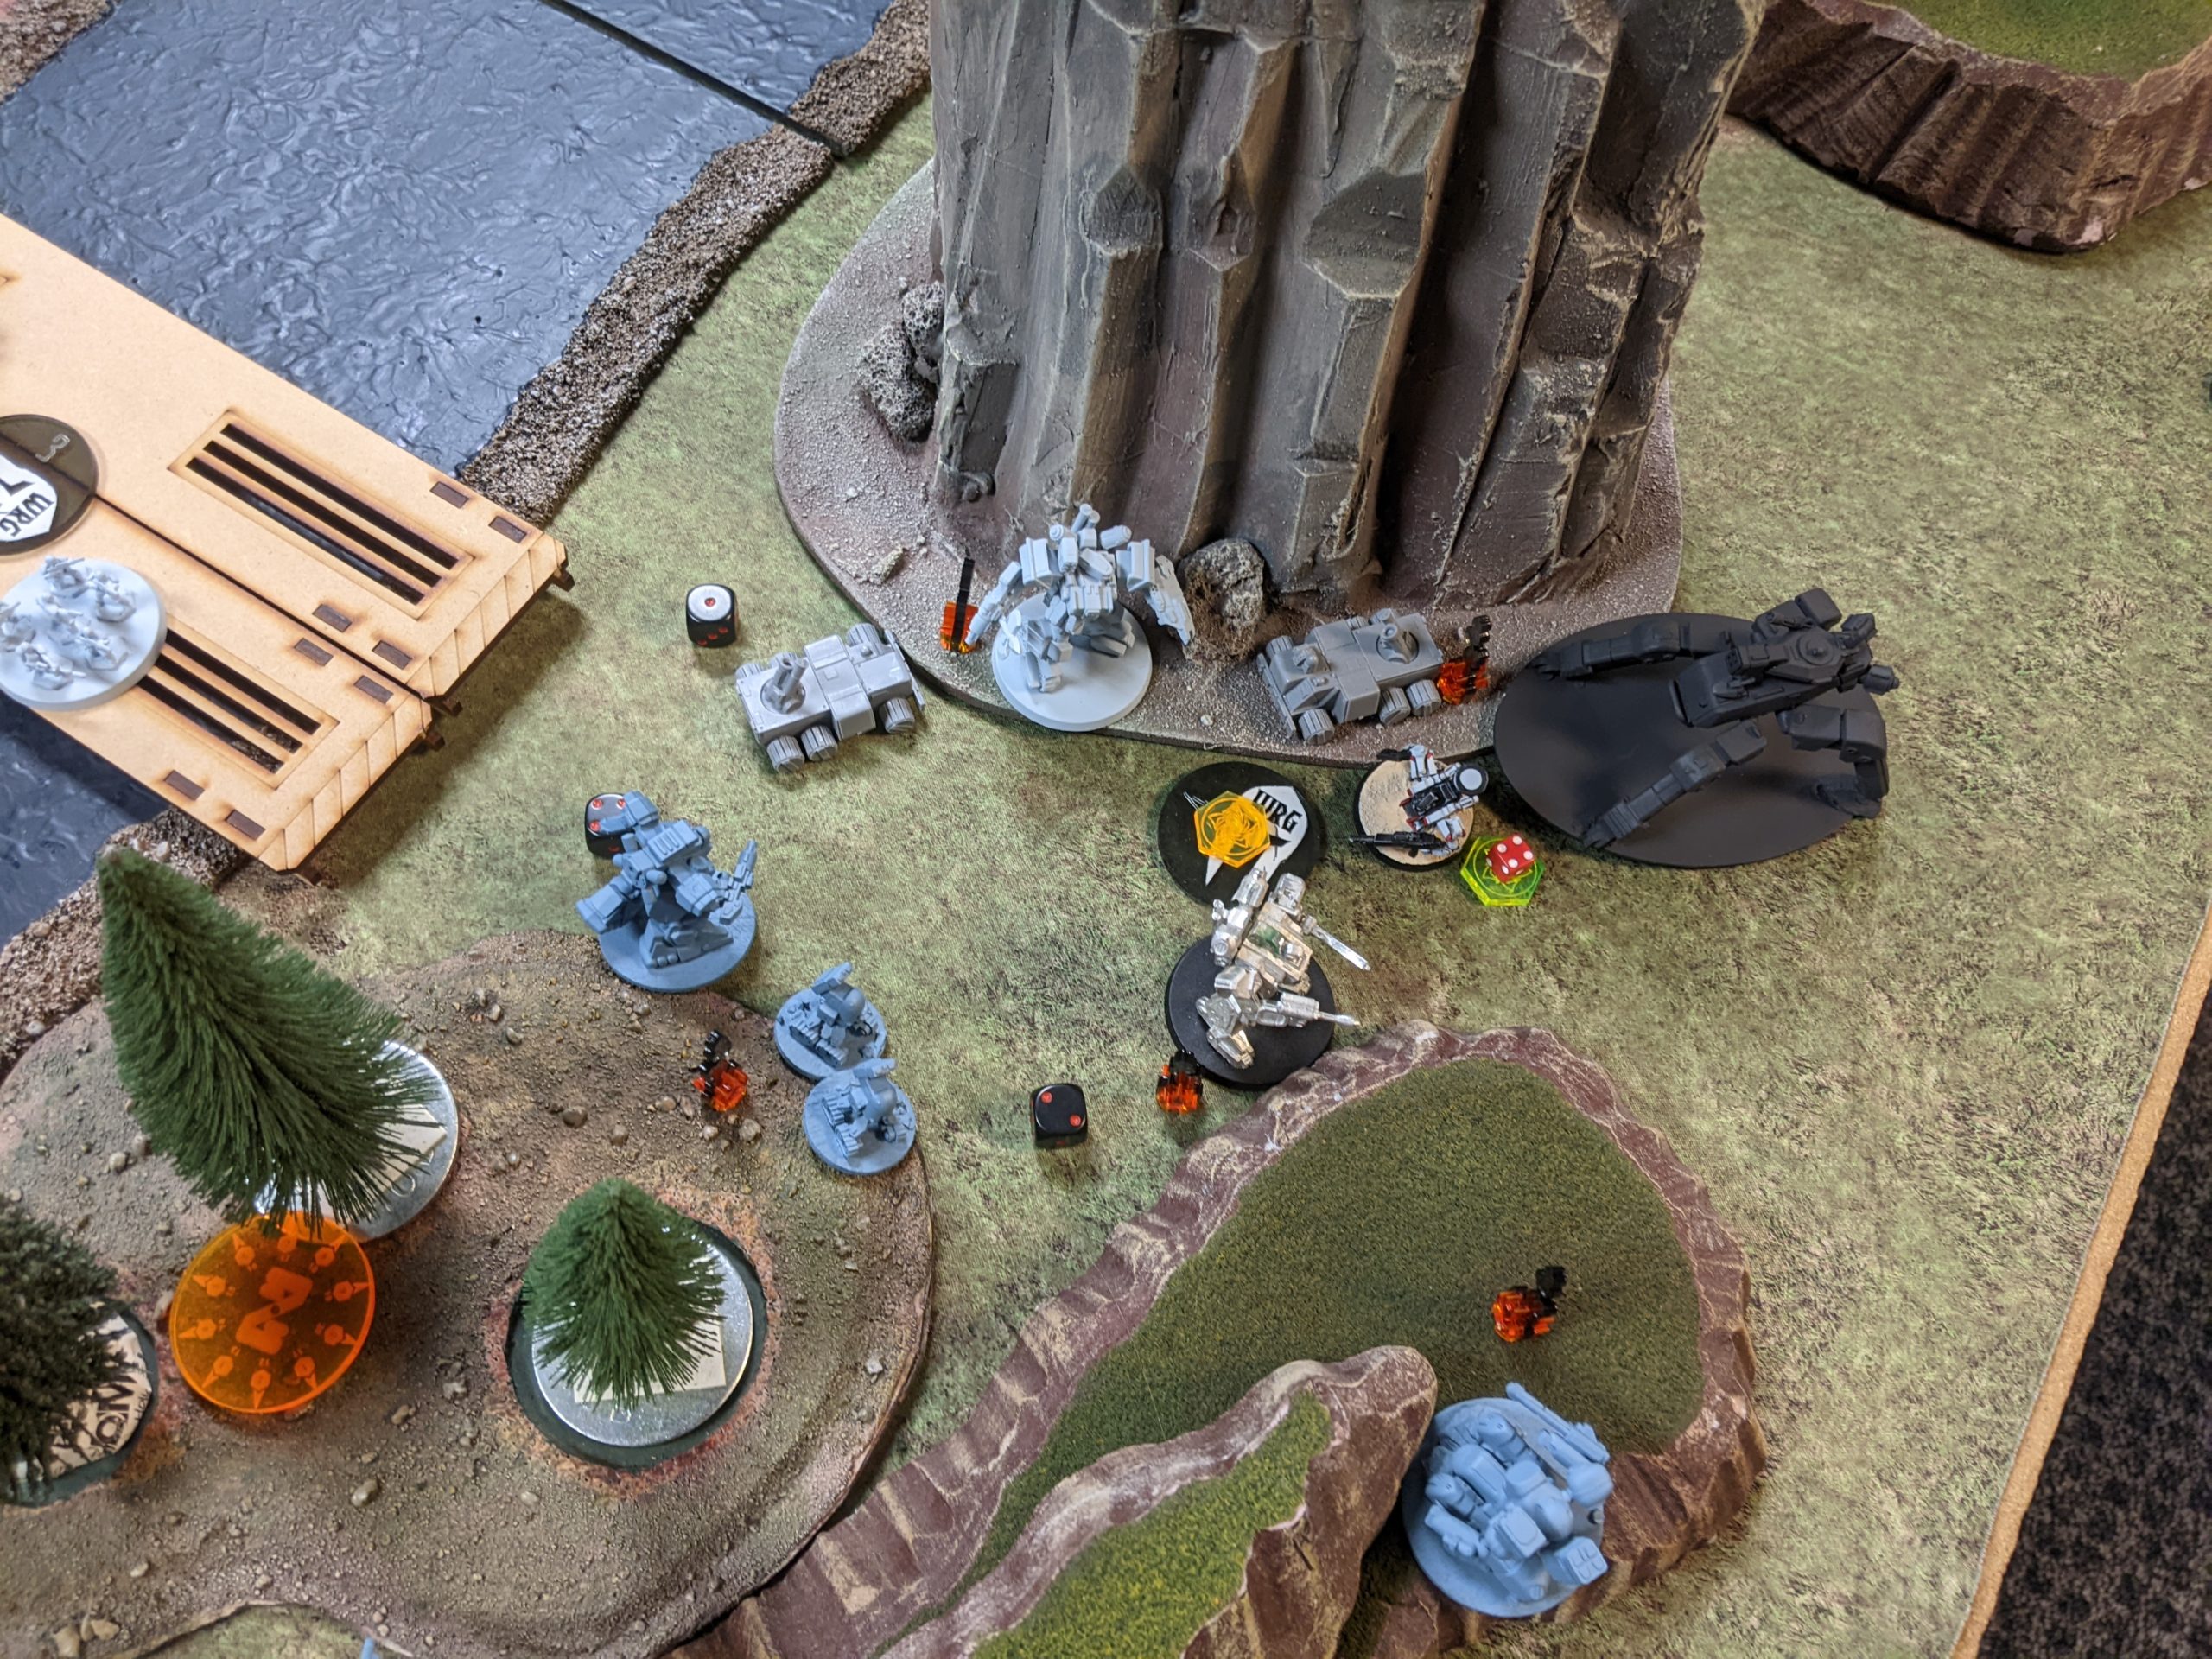
Deployment
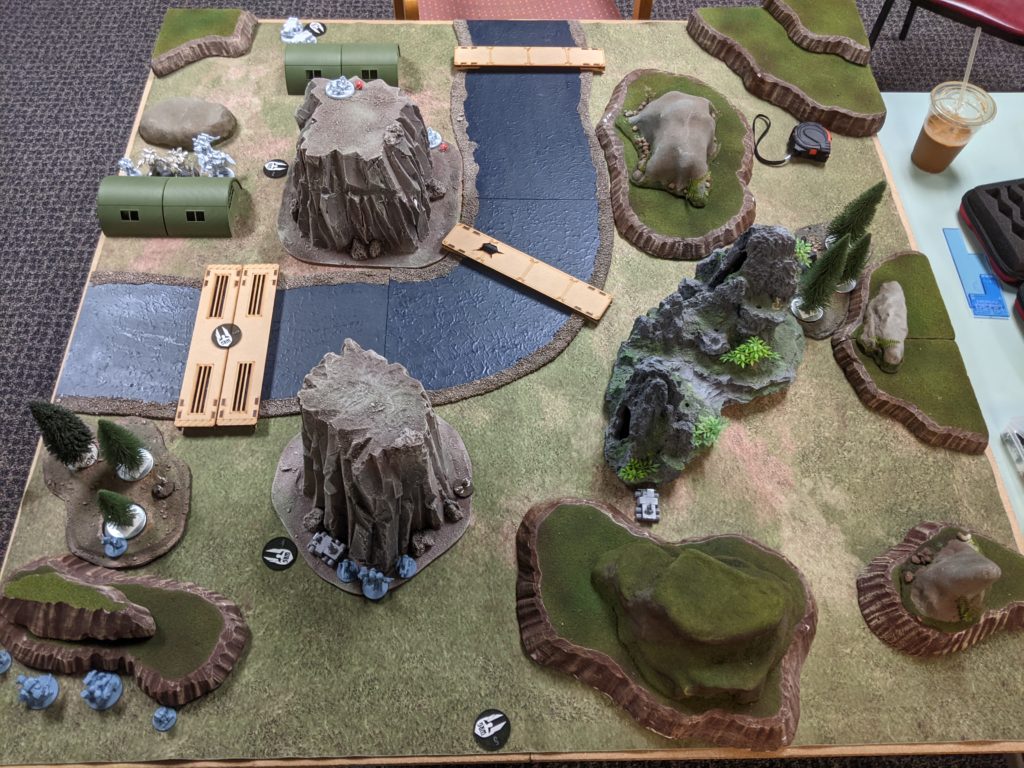
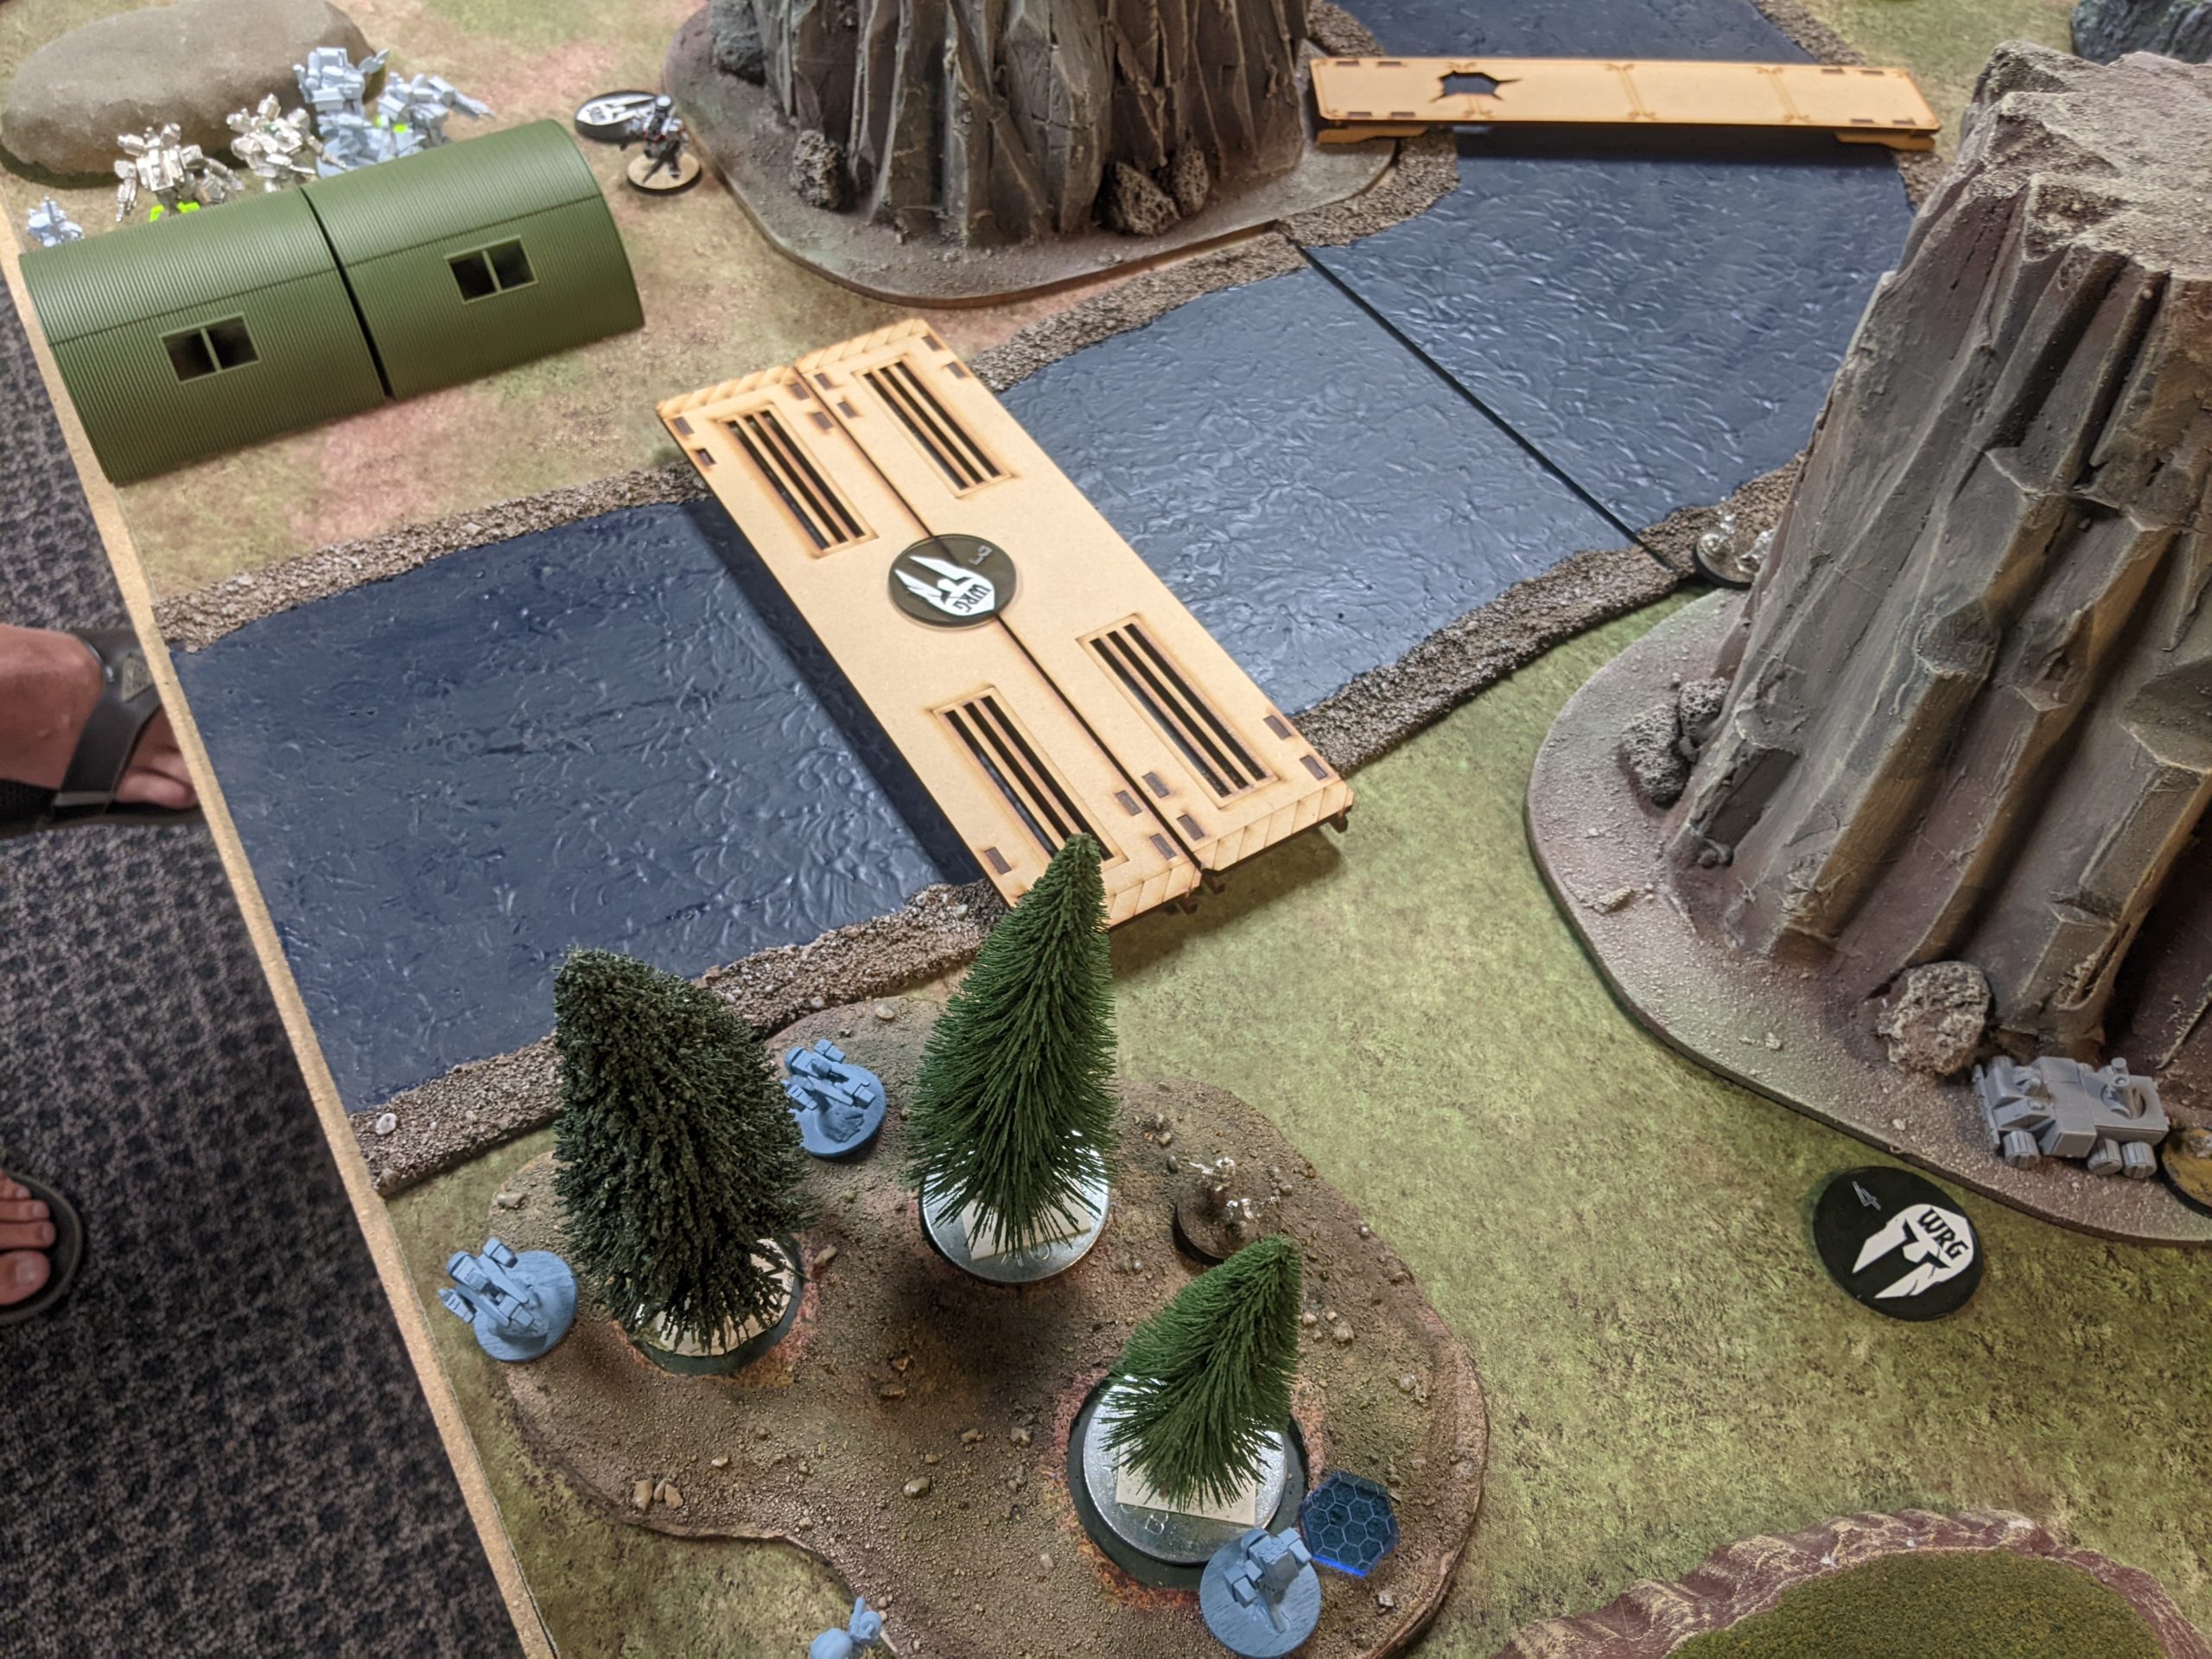
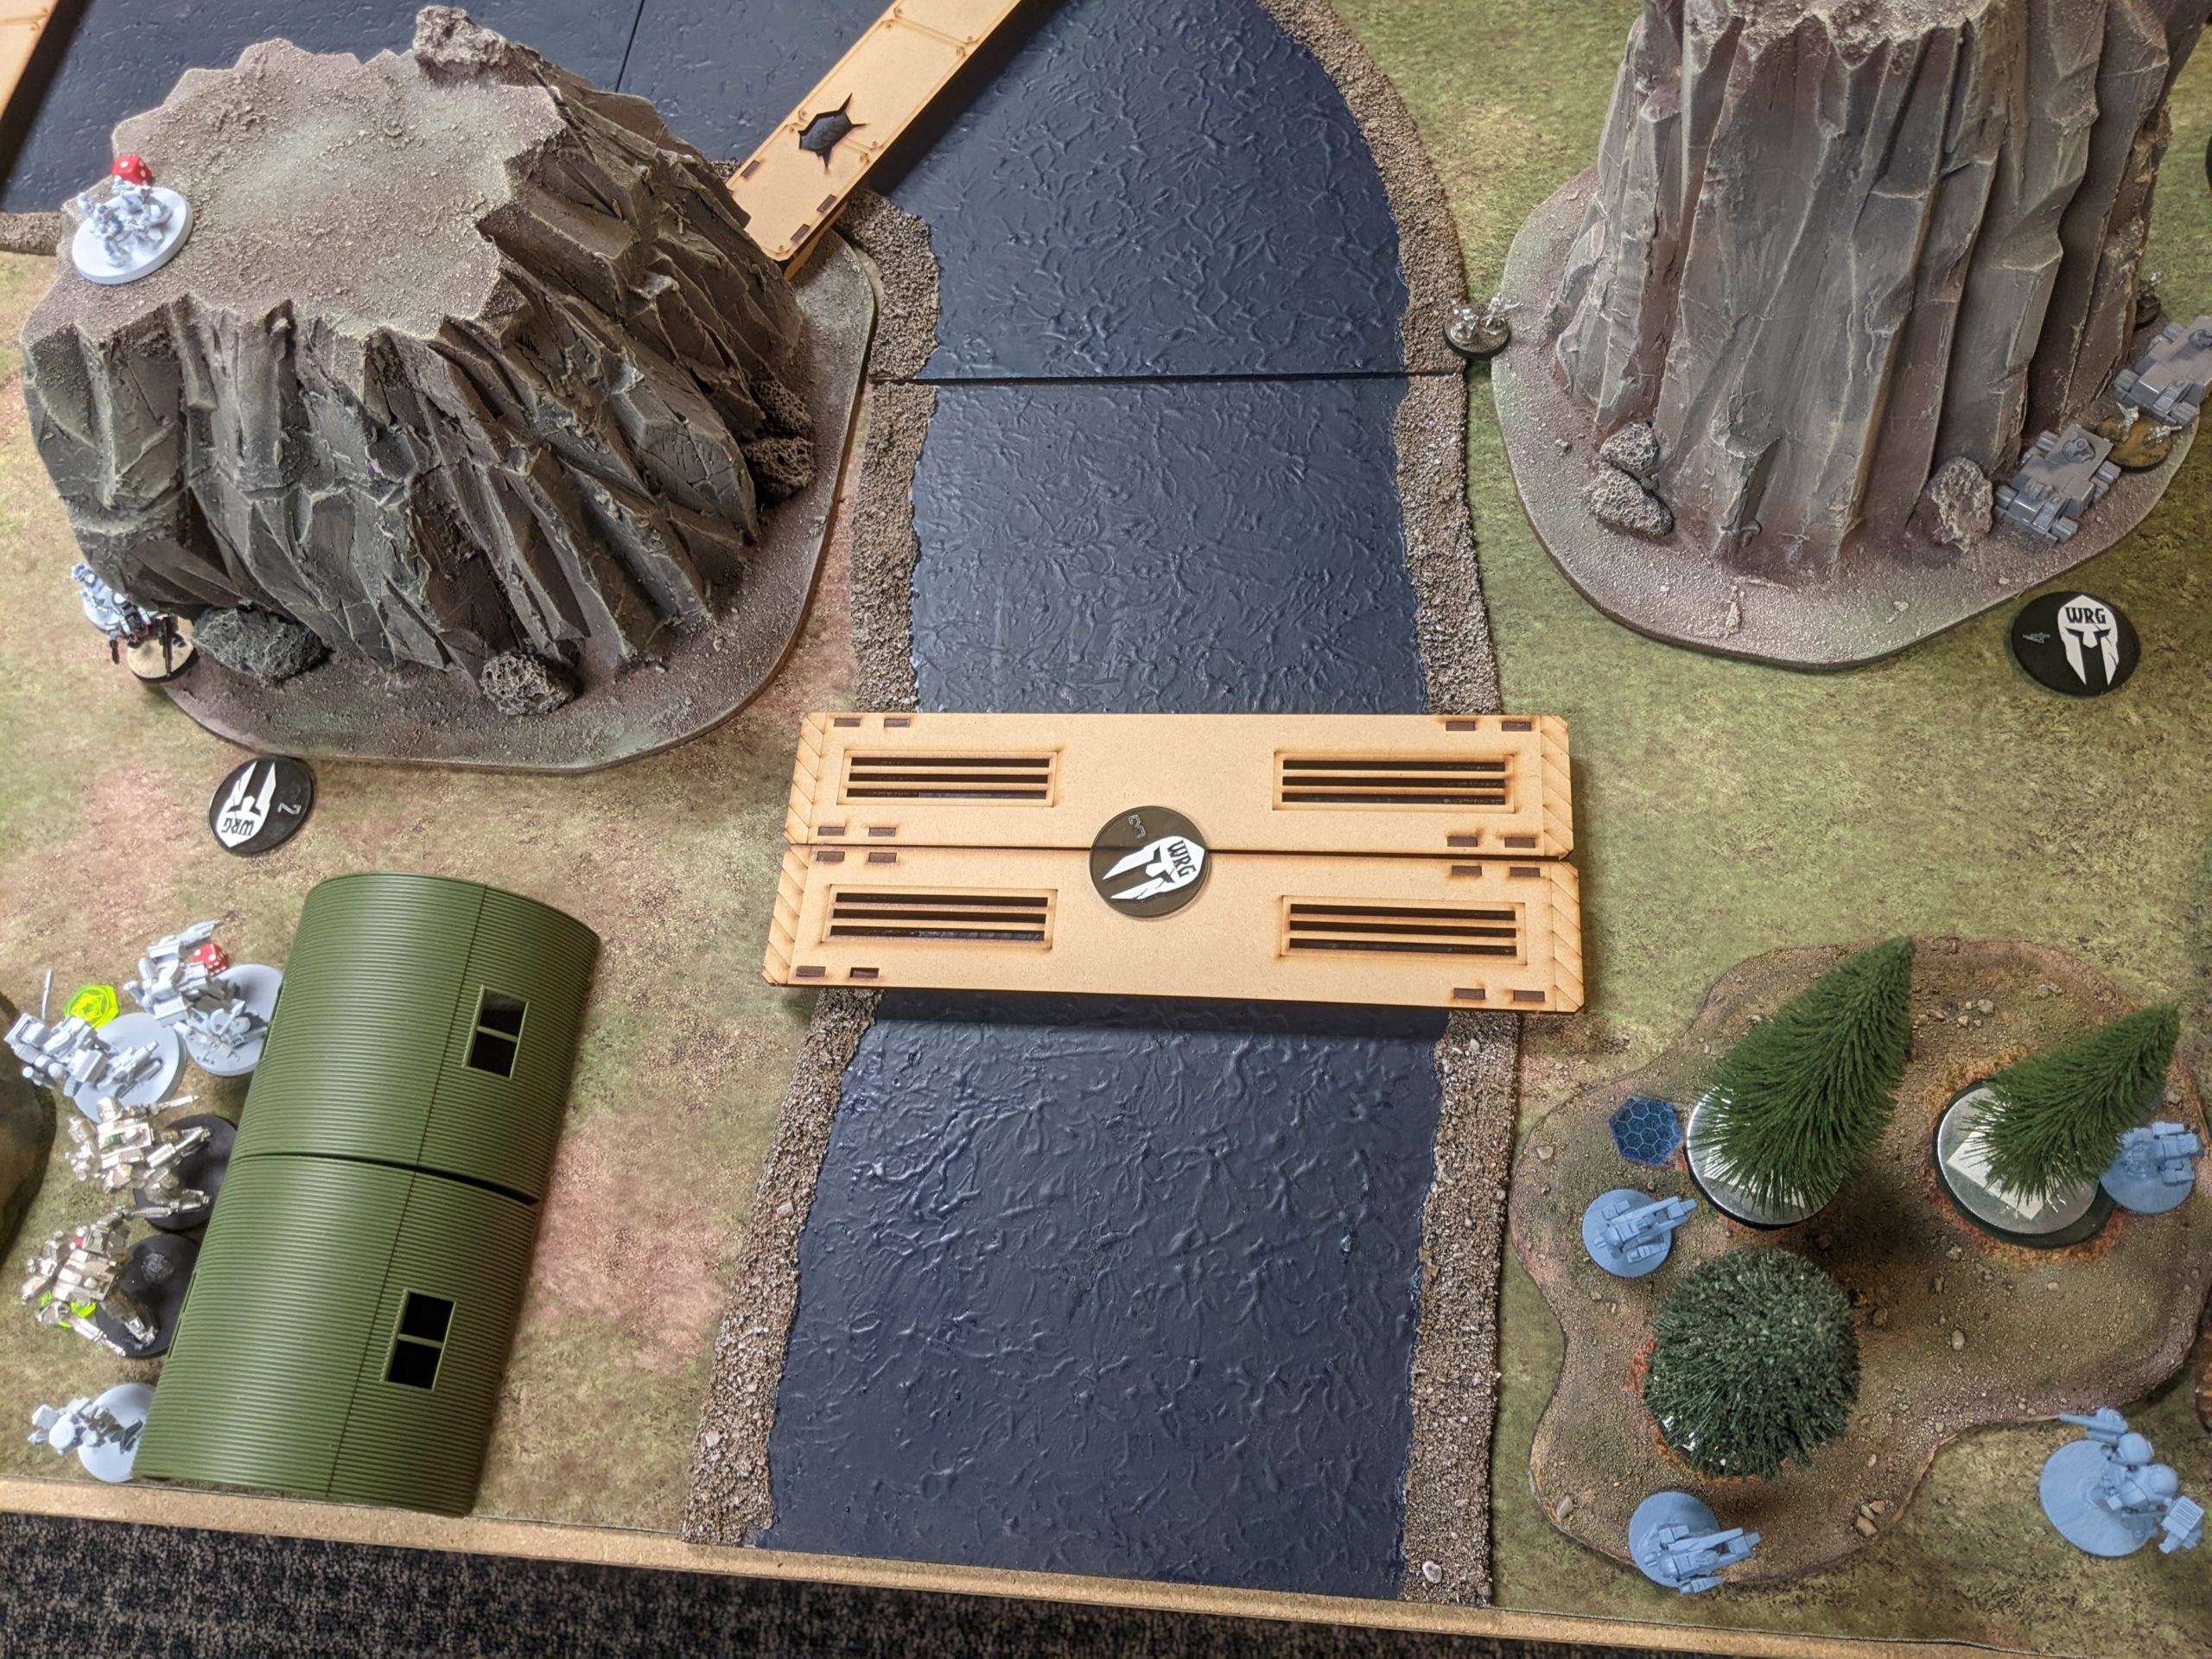
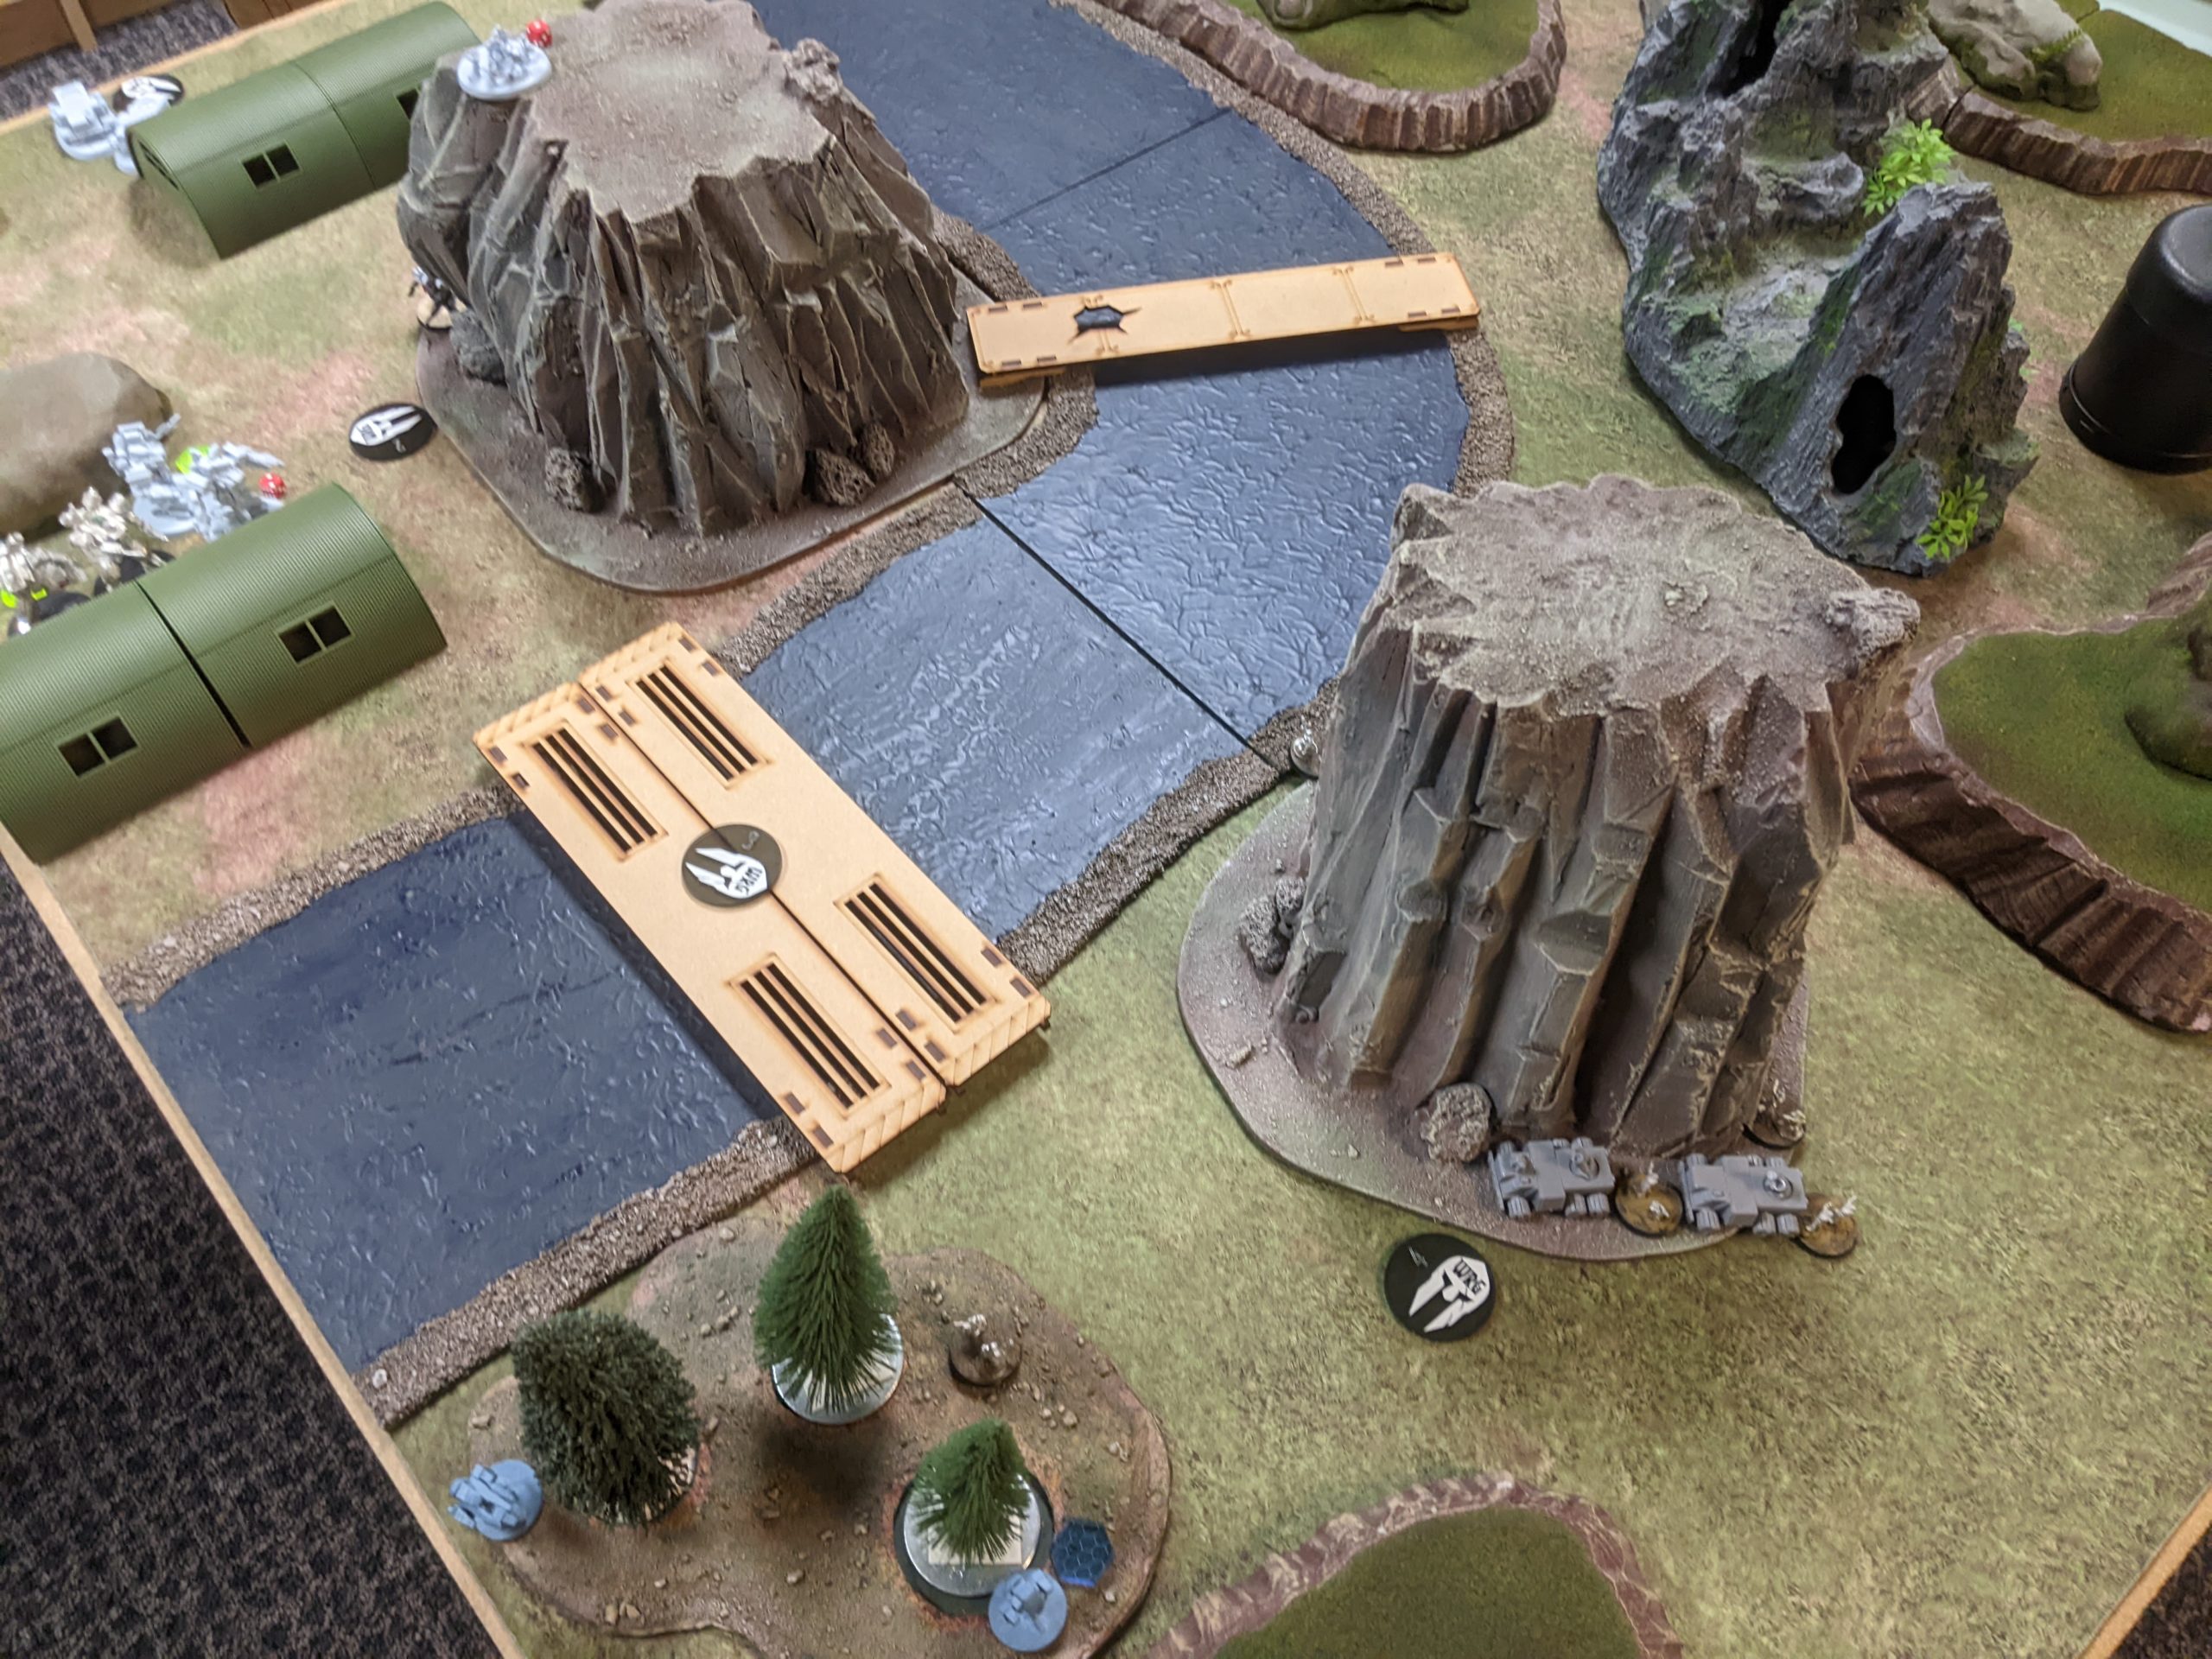
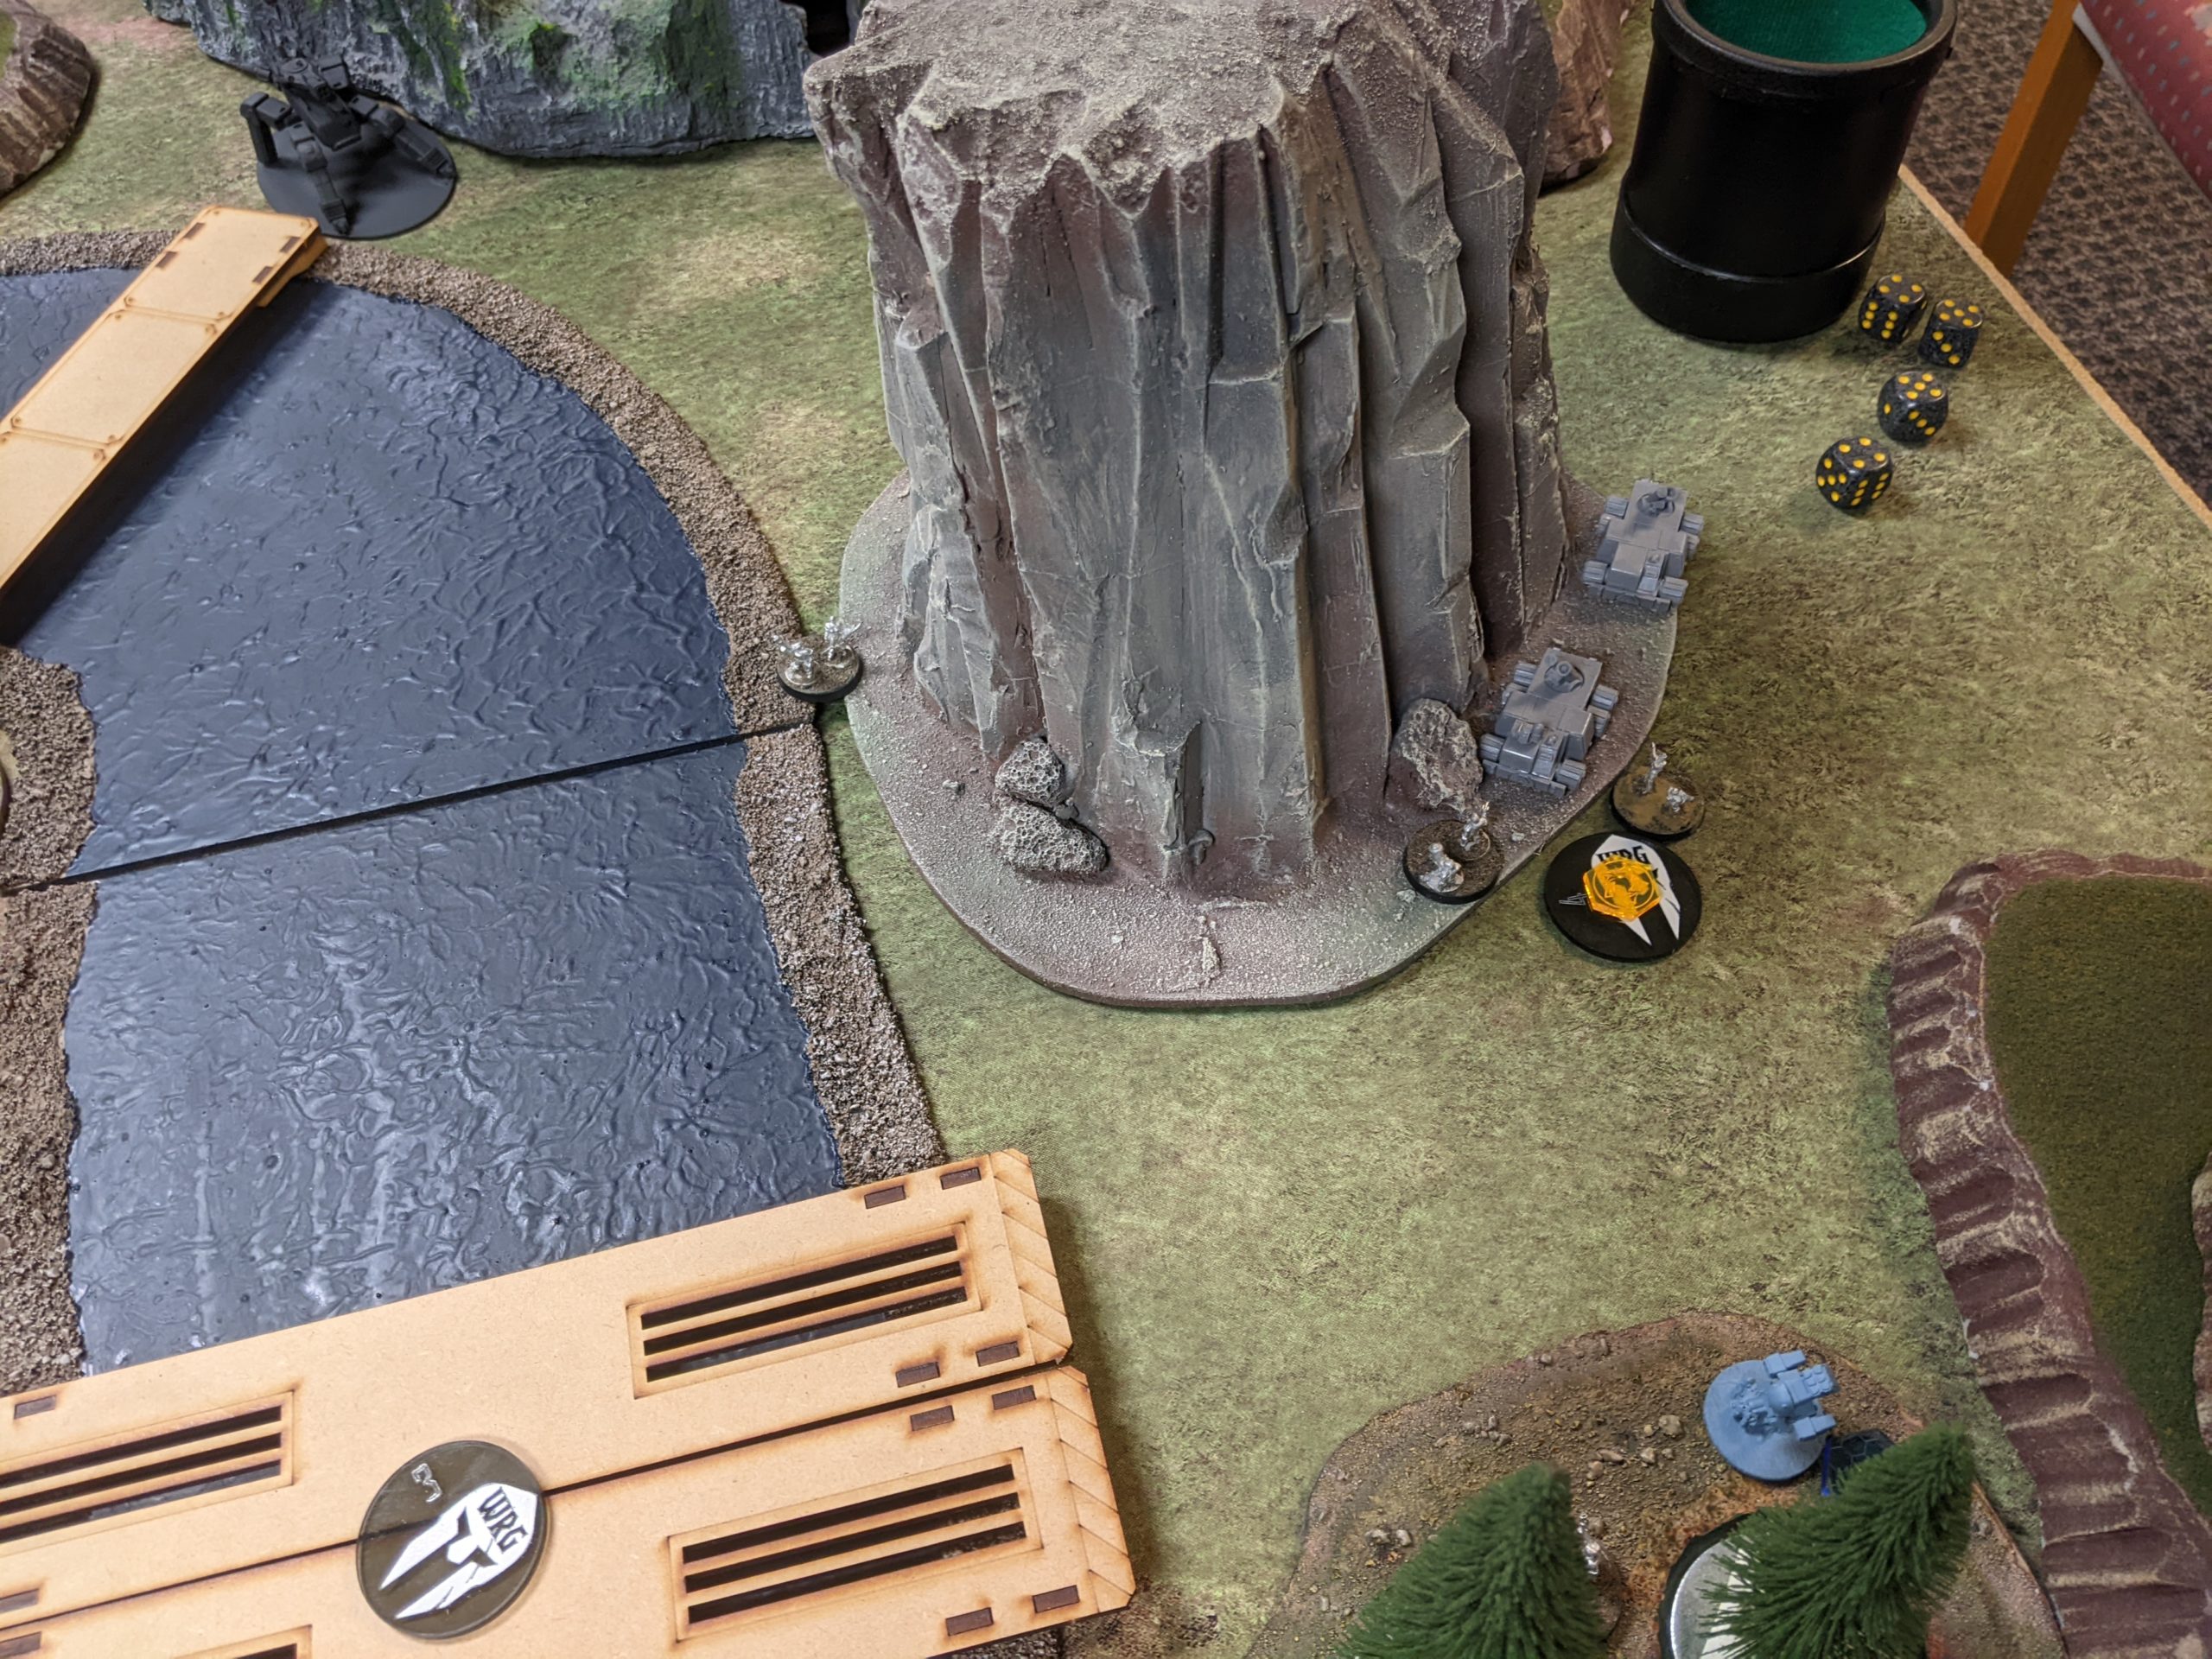
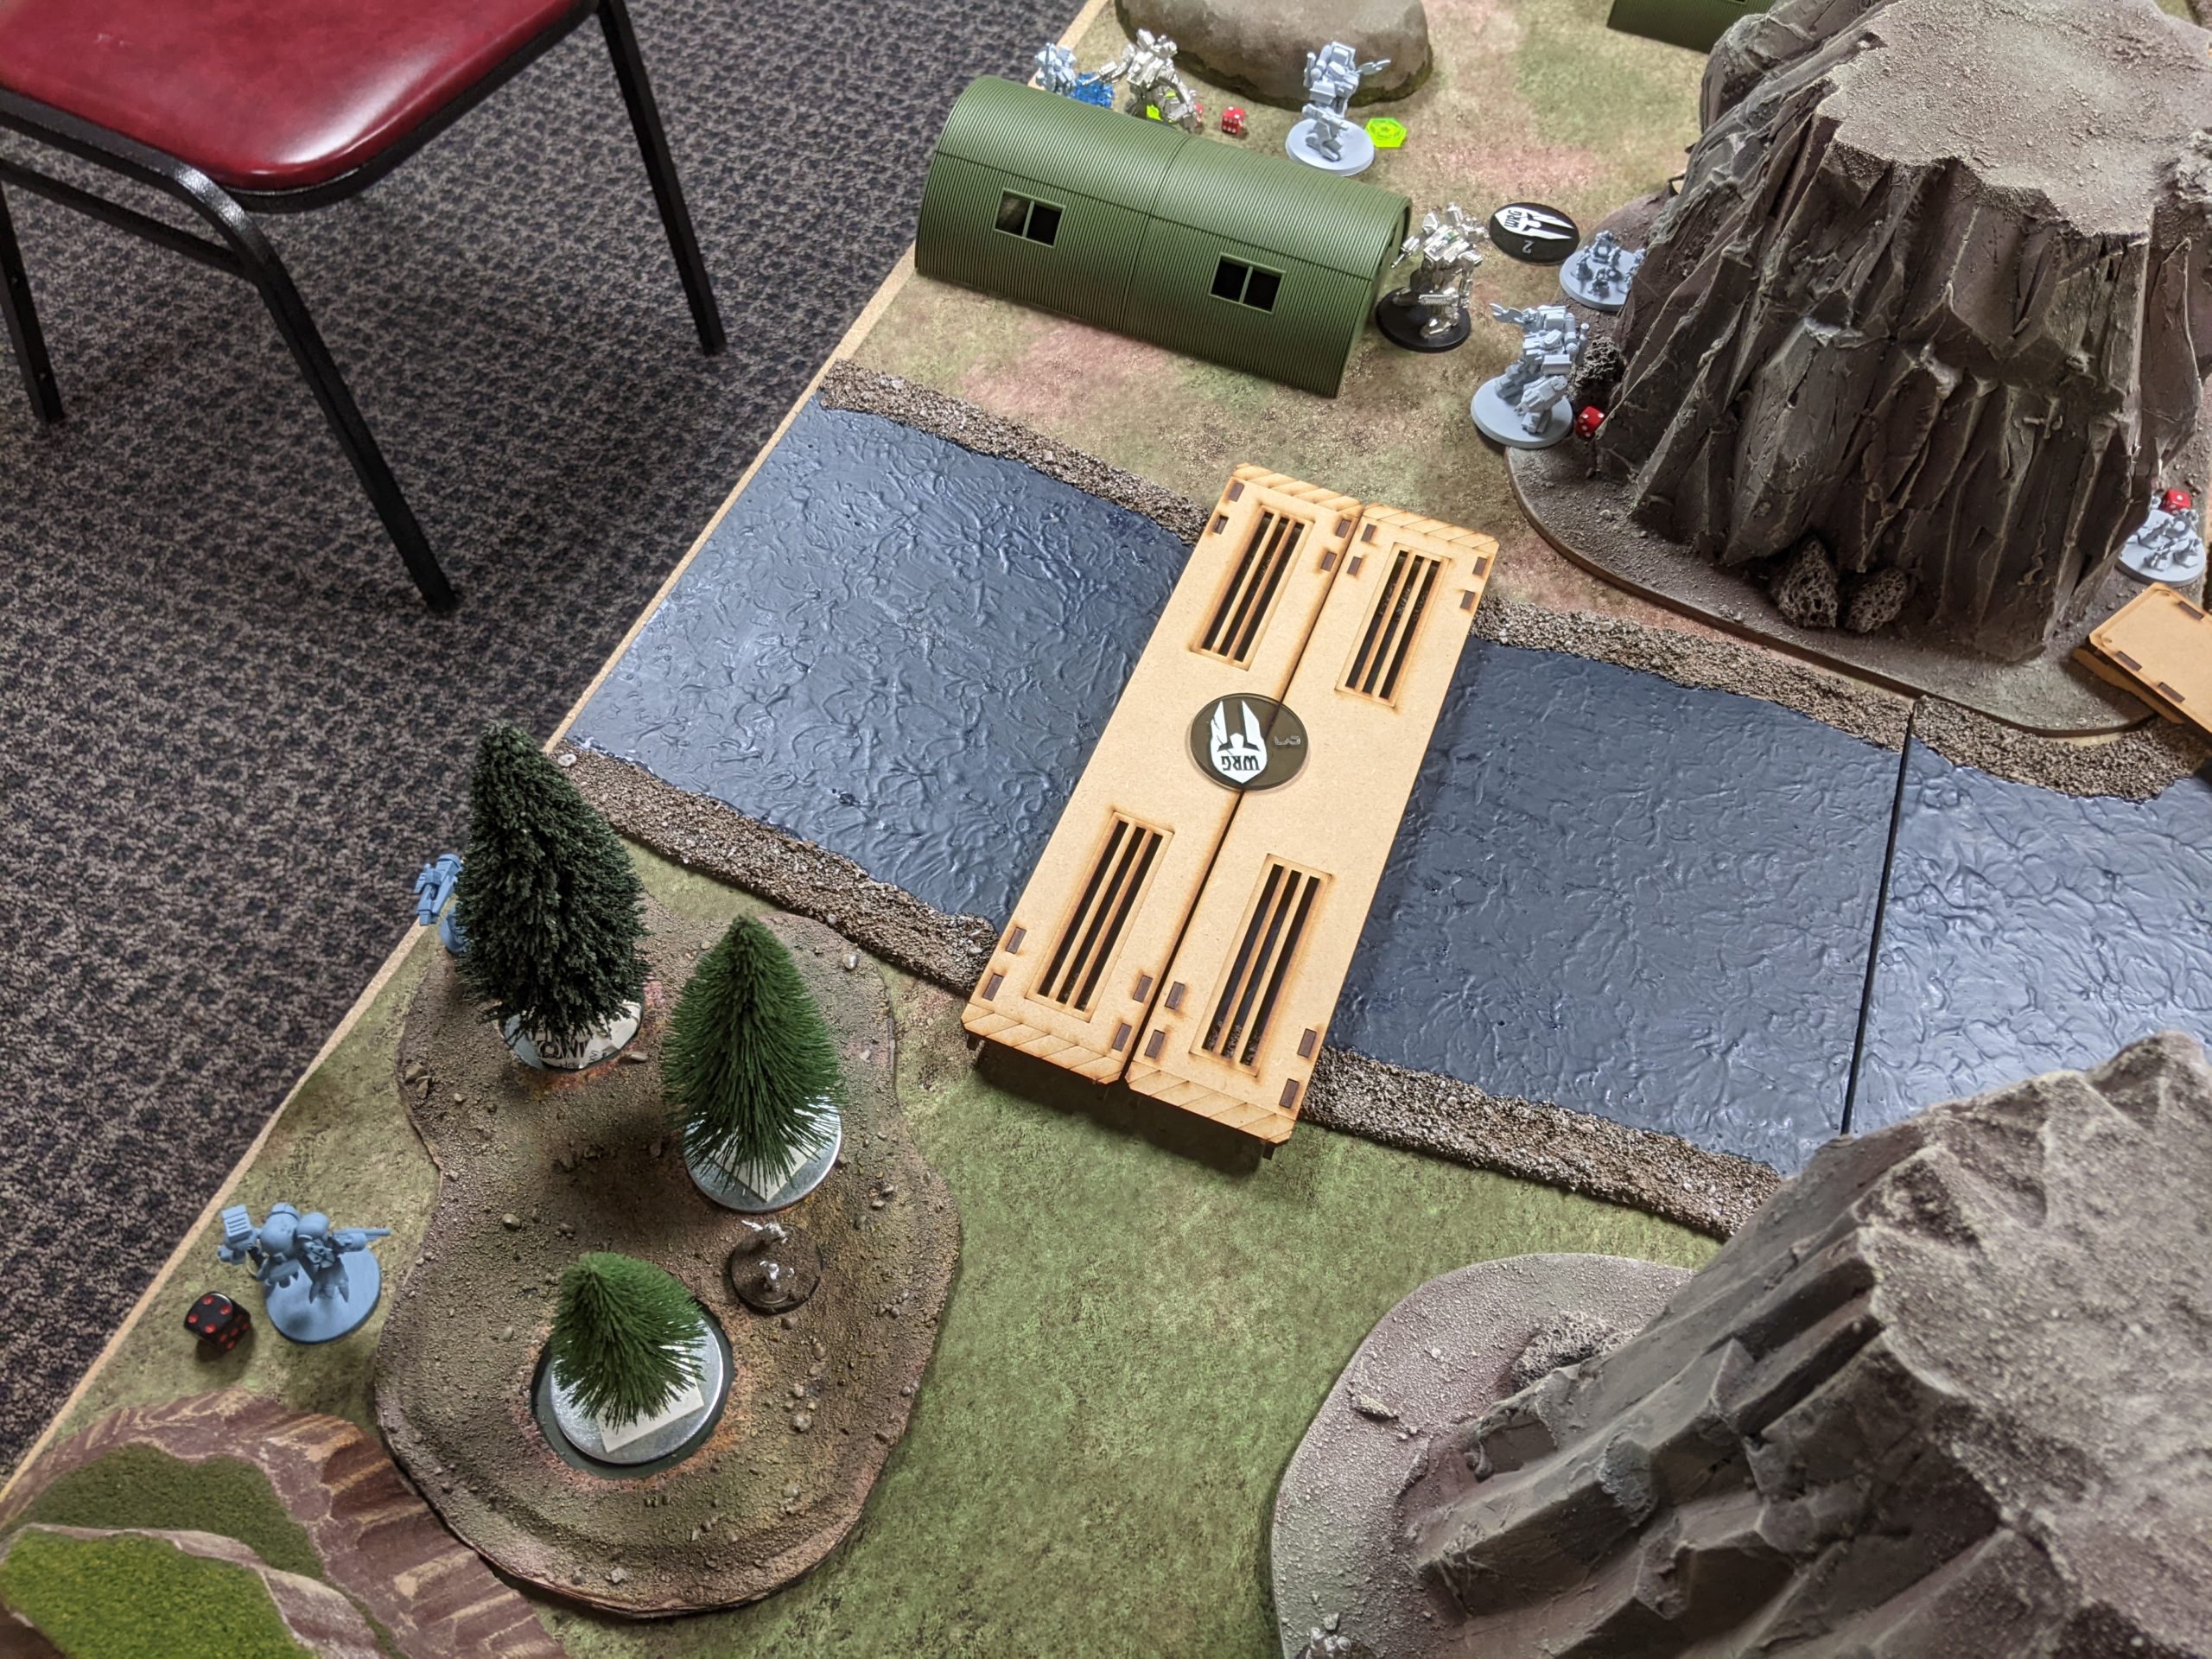
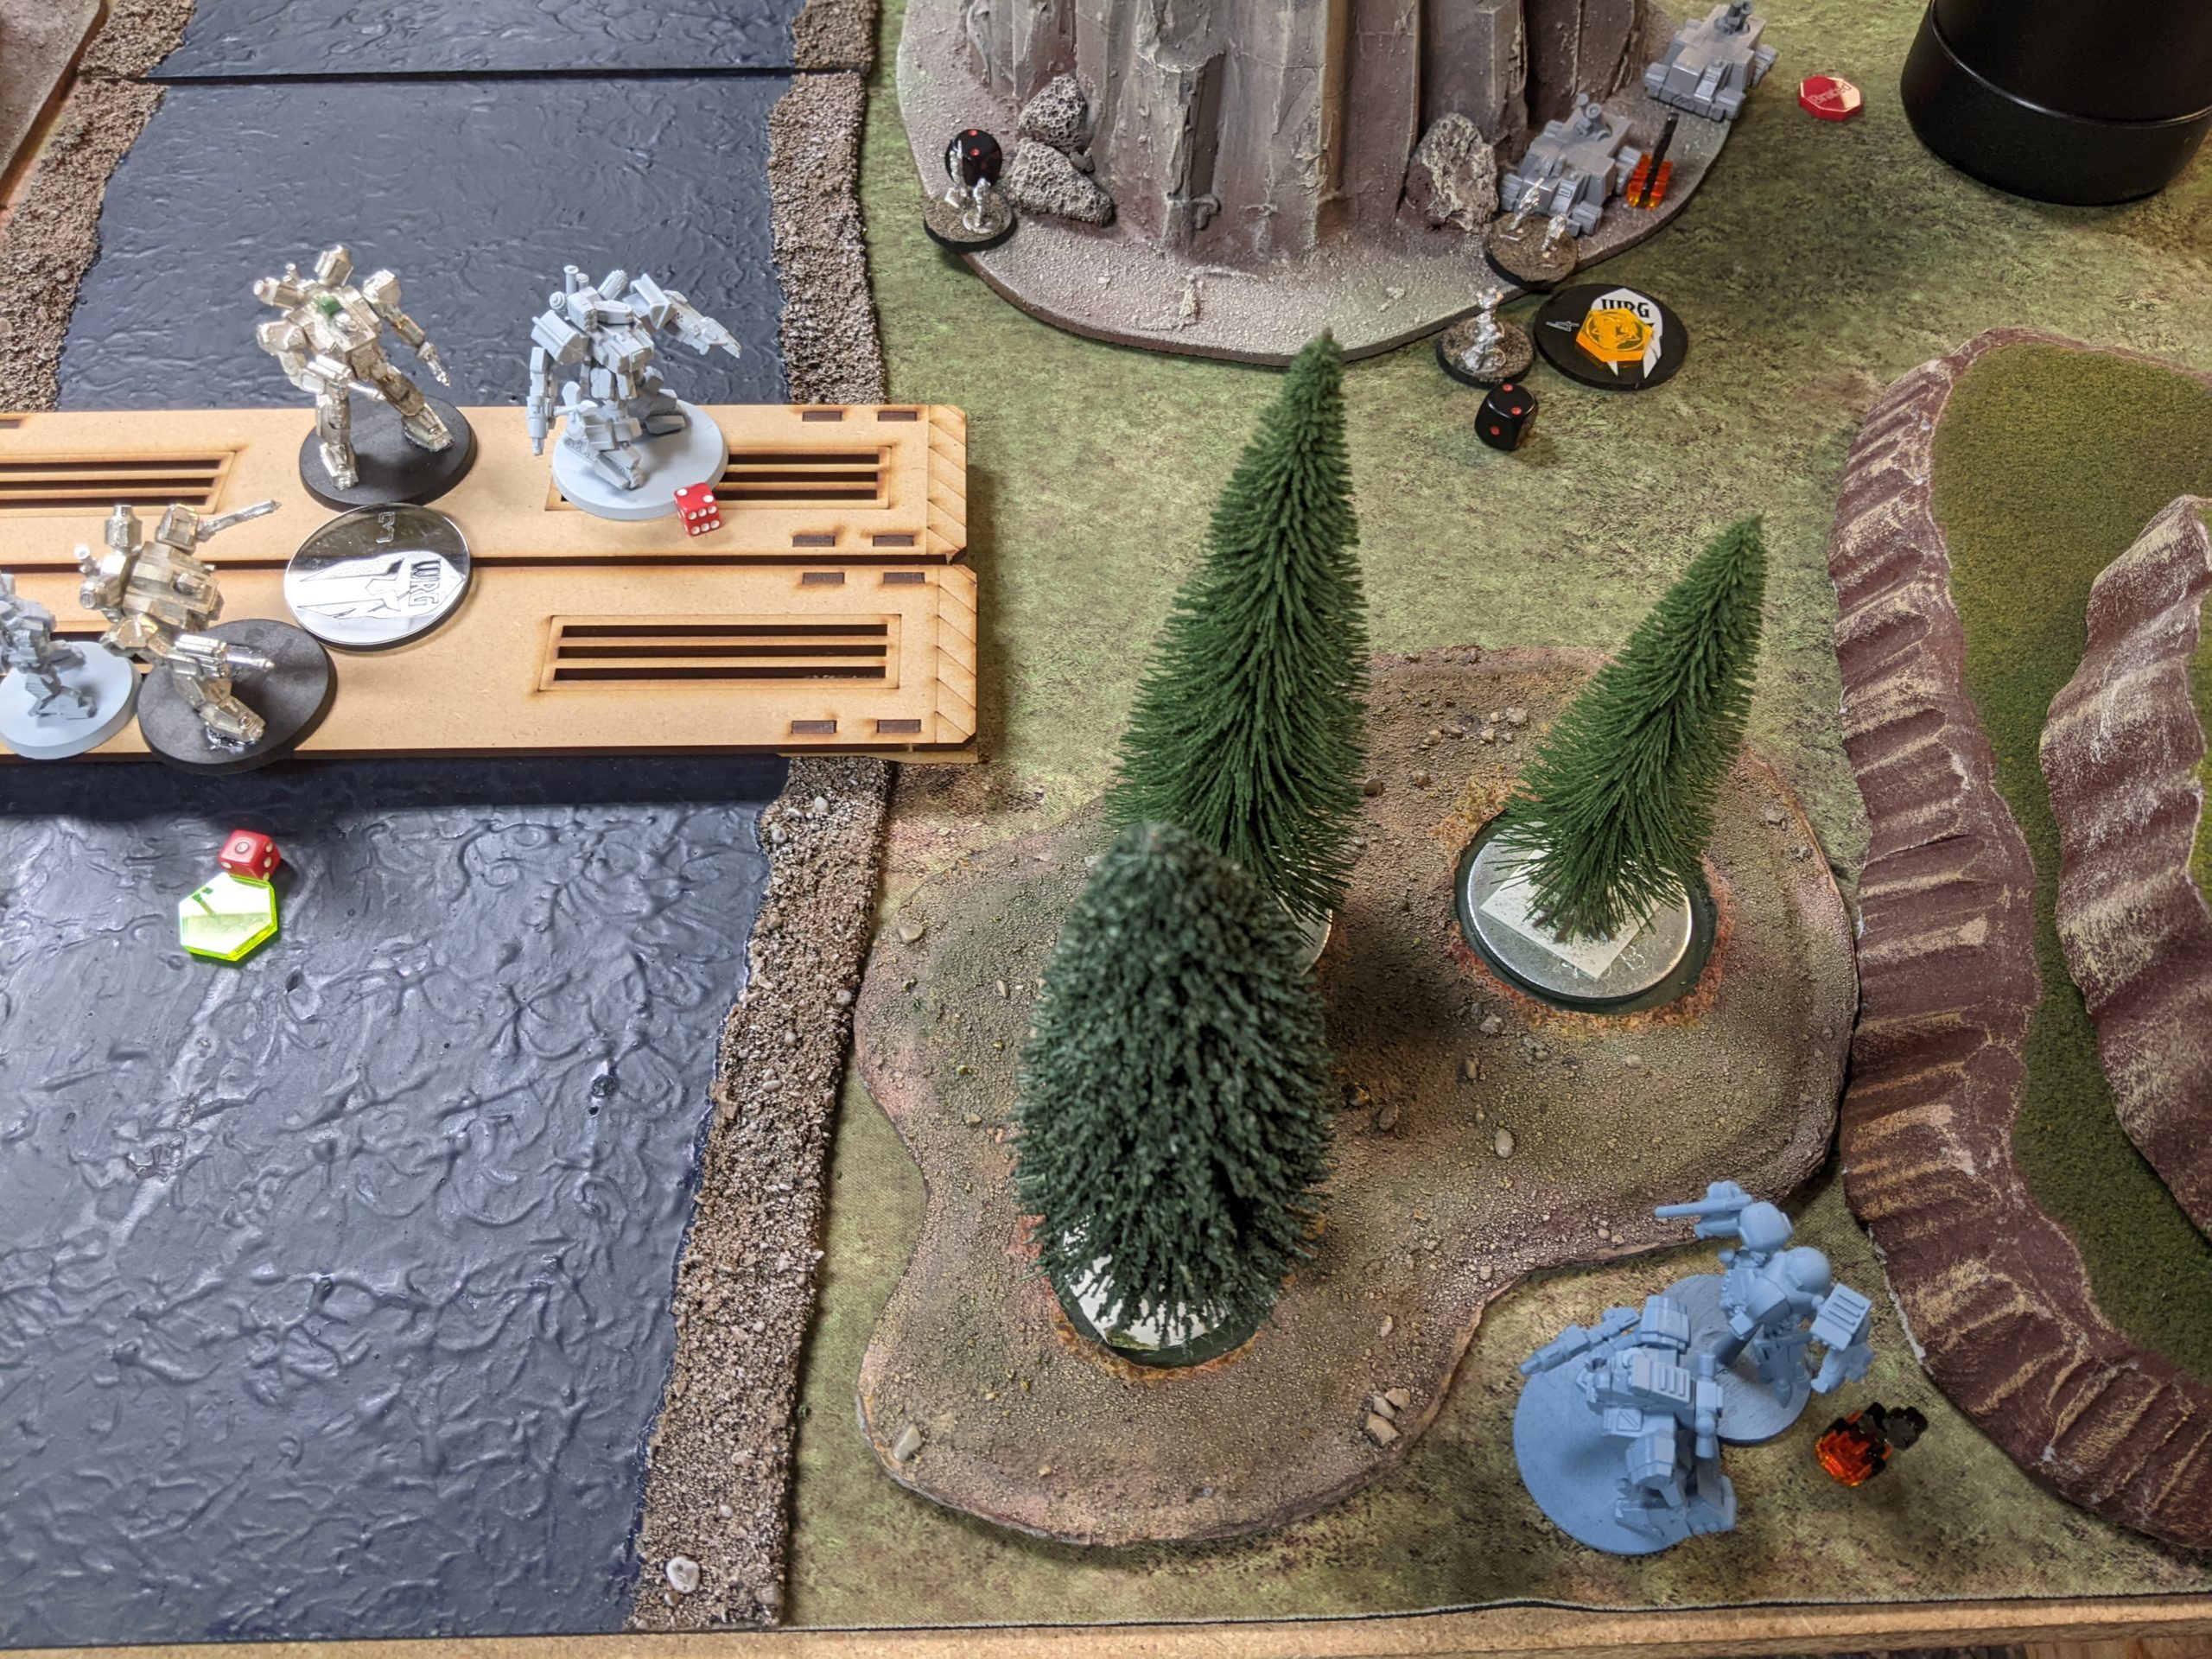
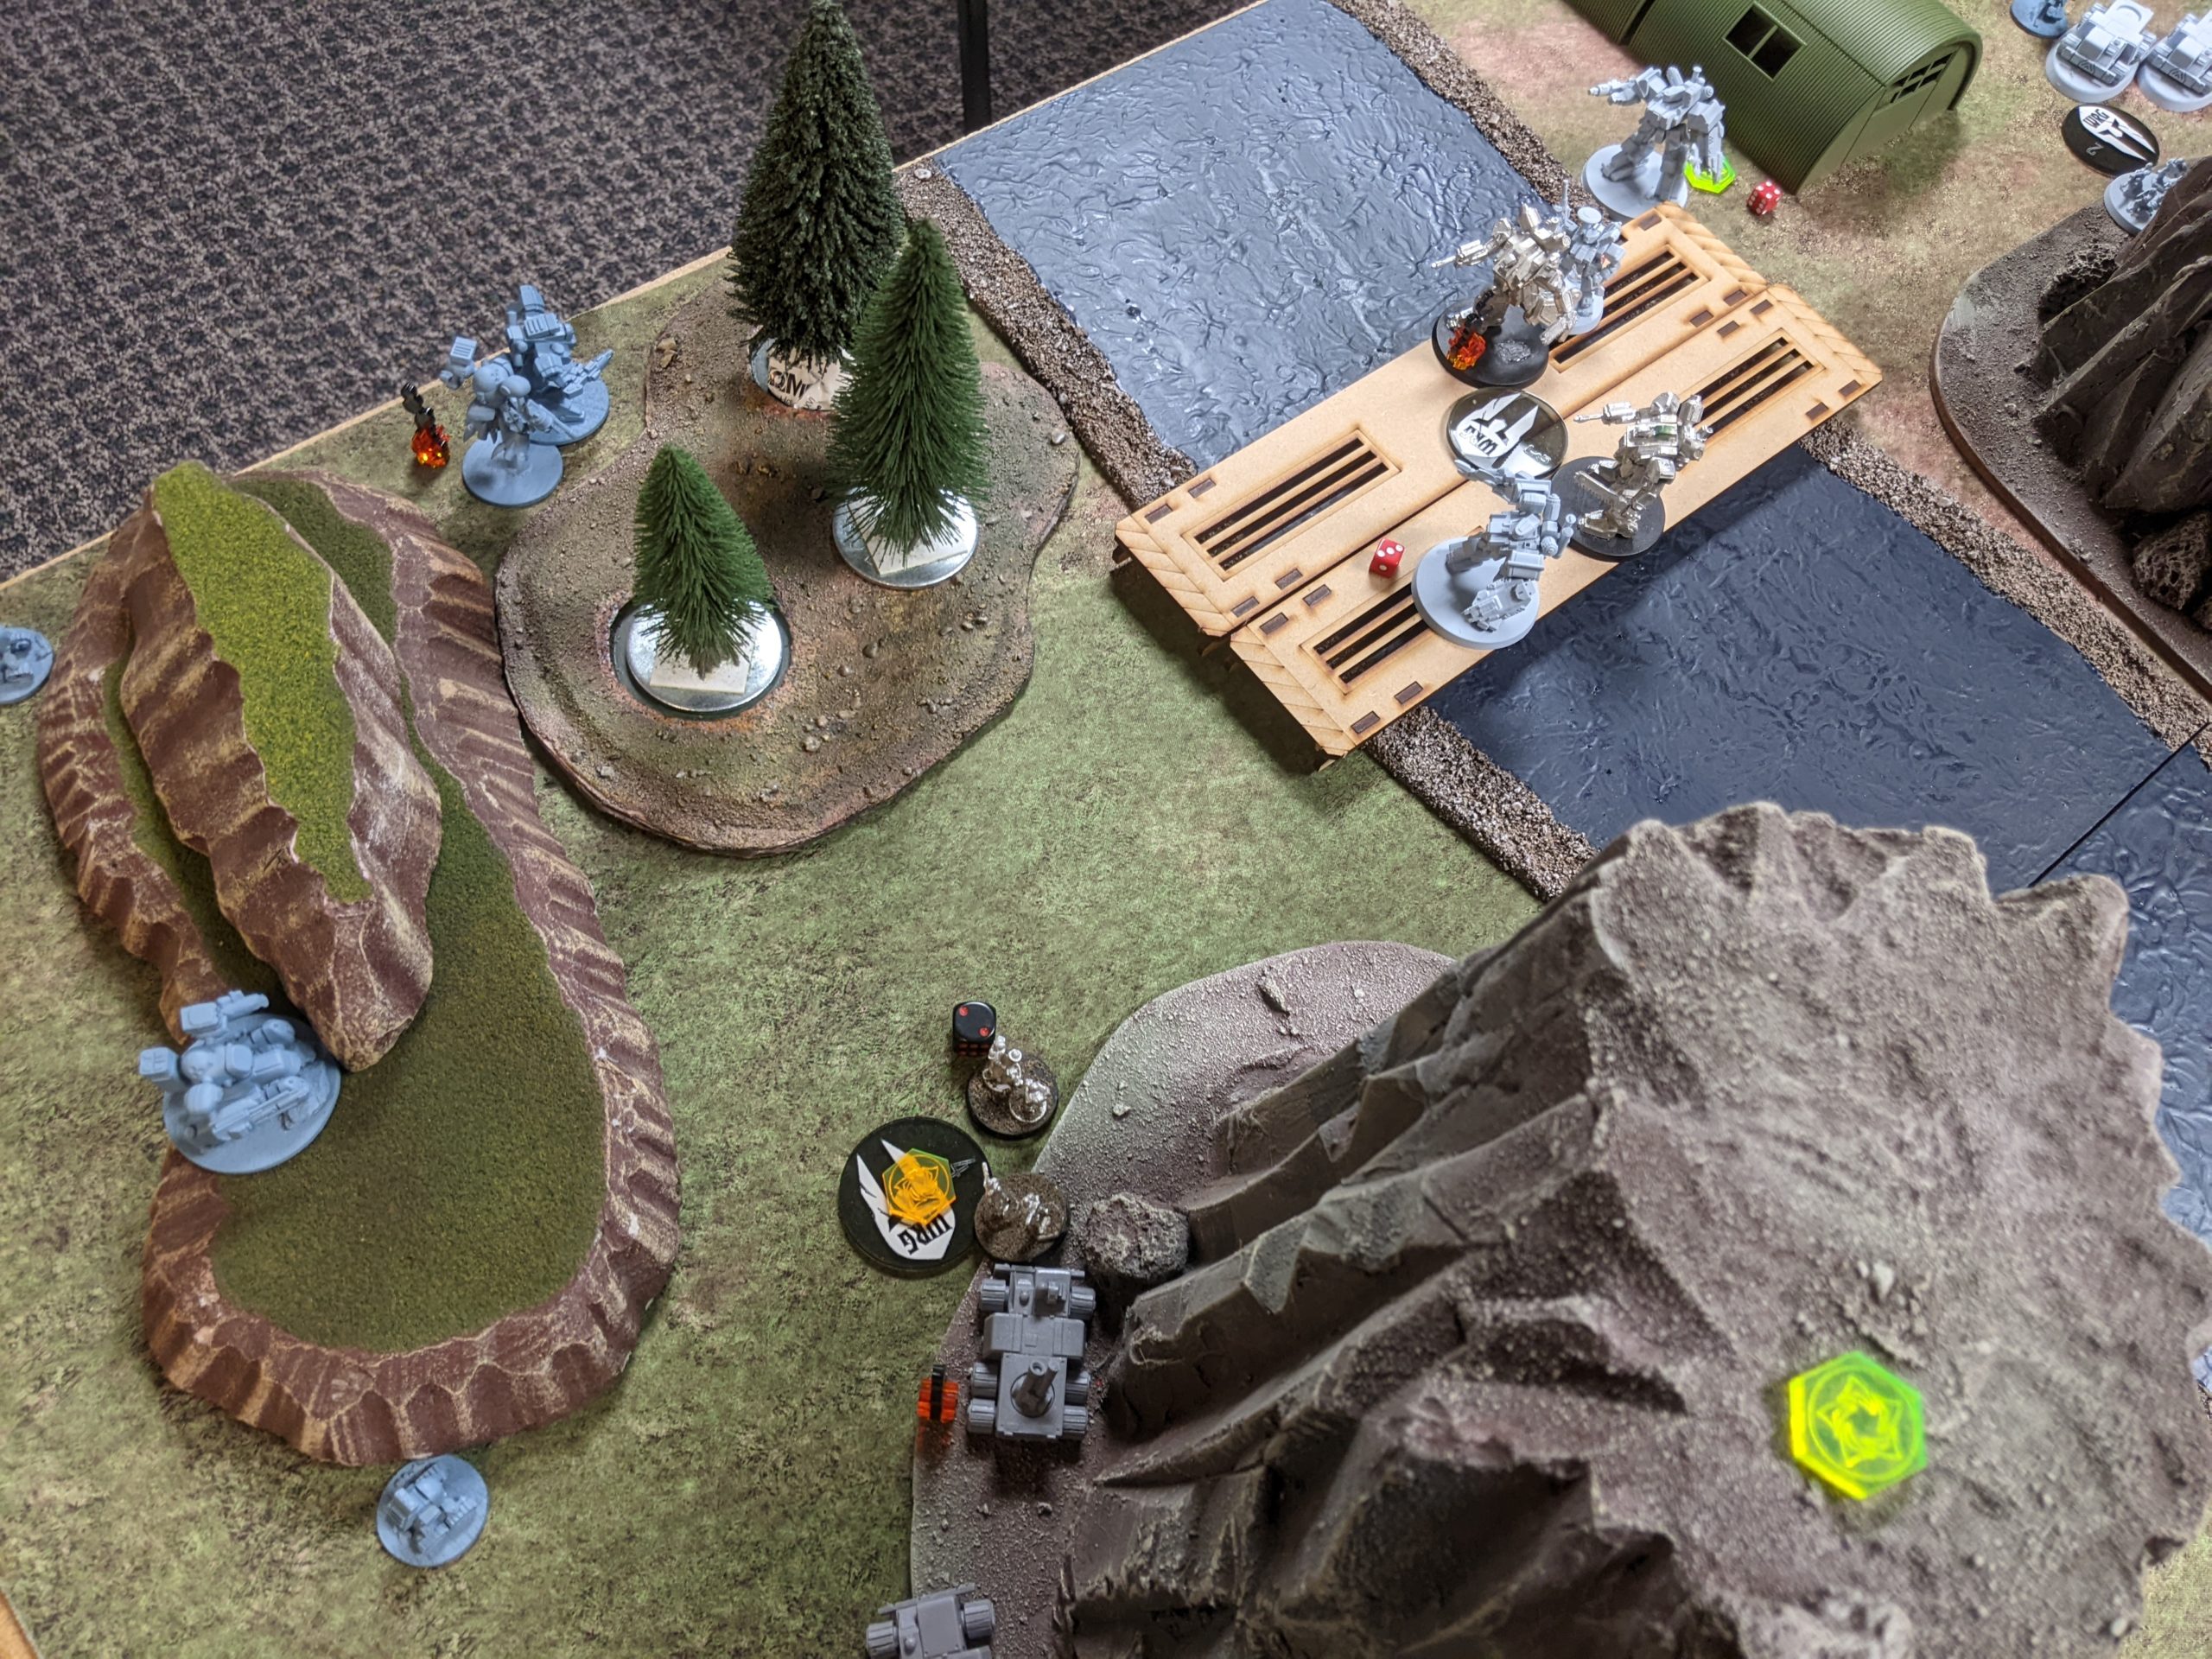
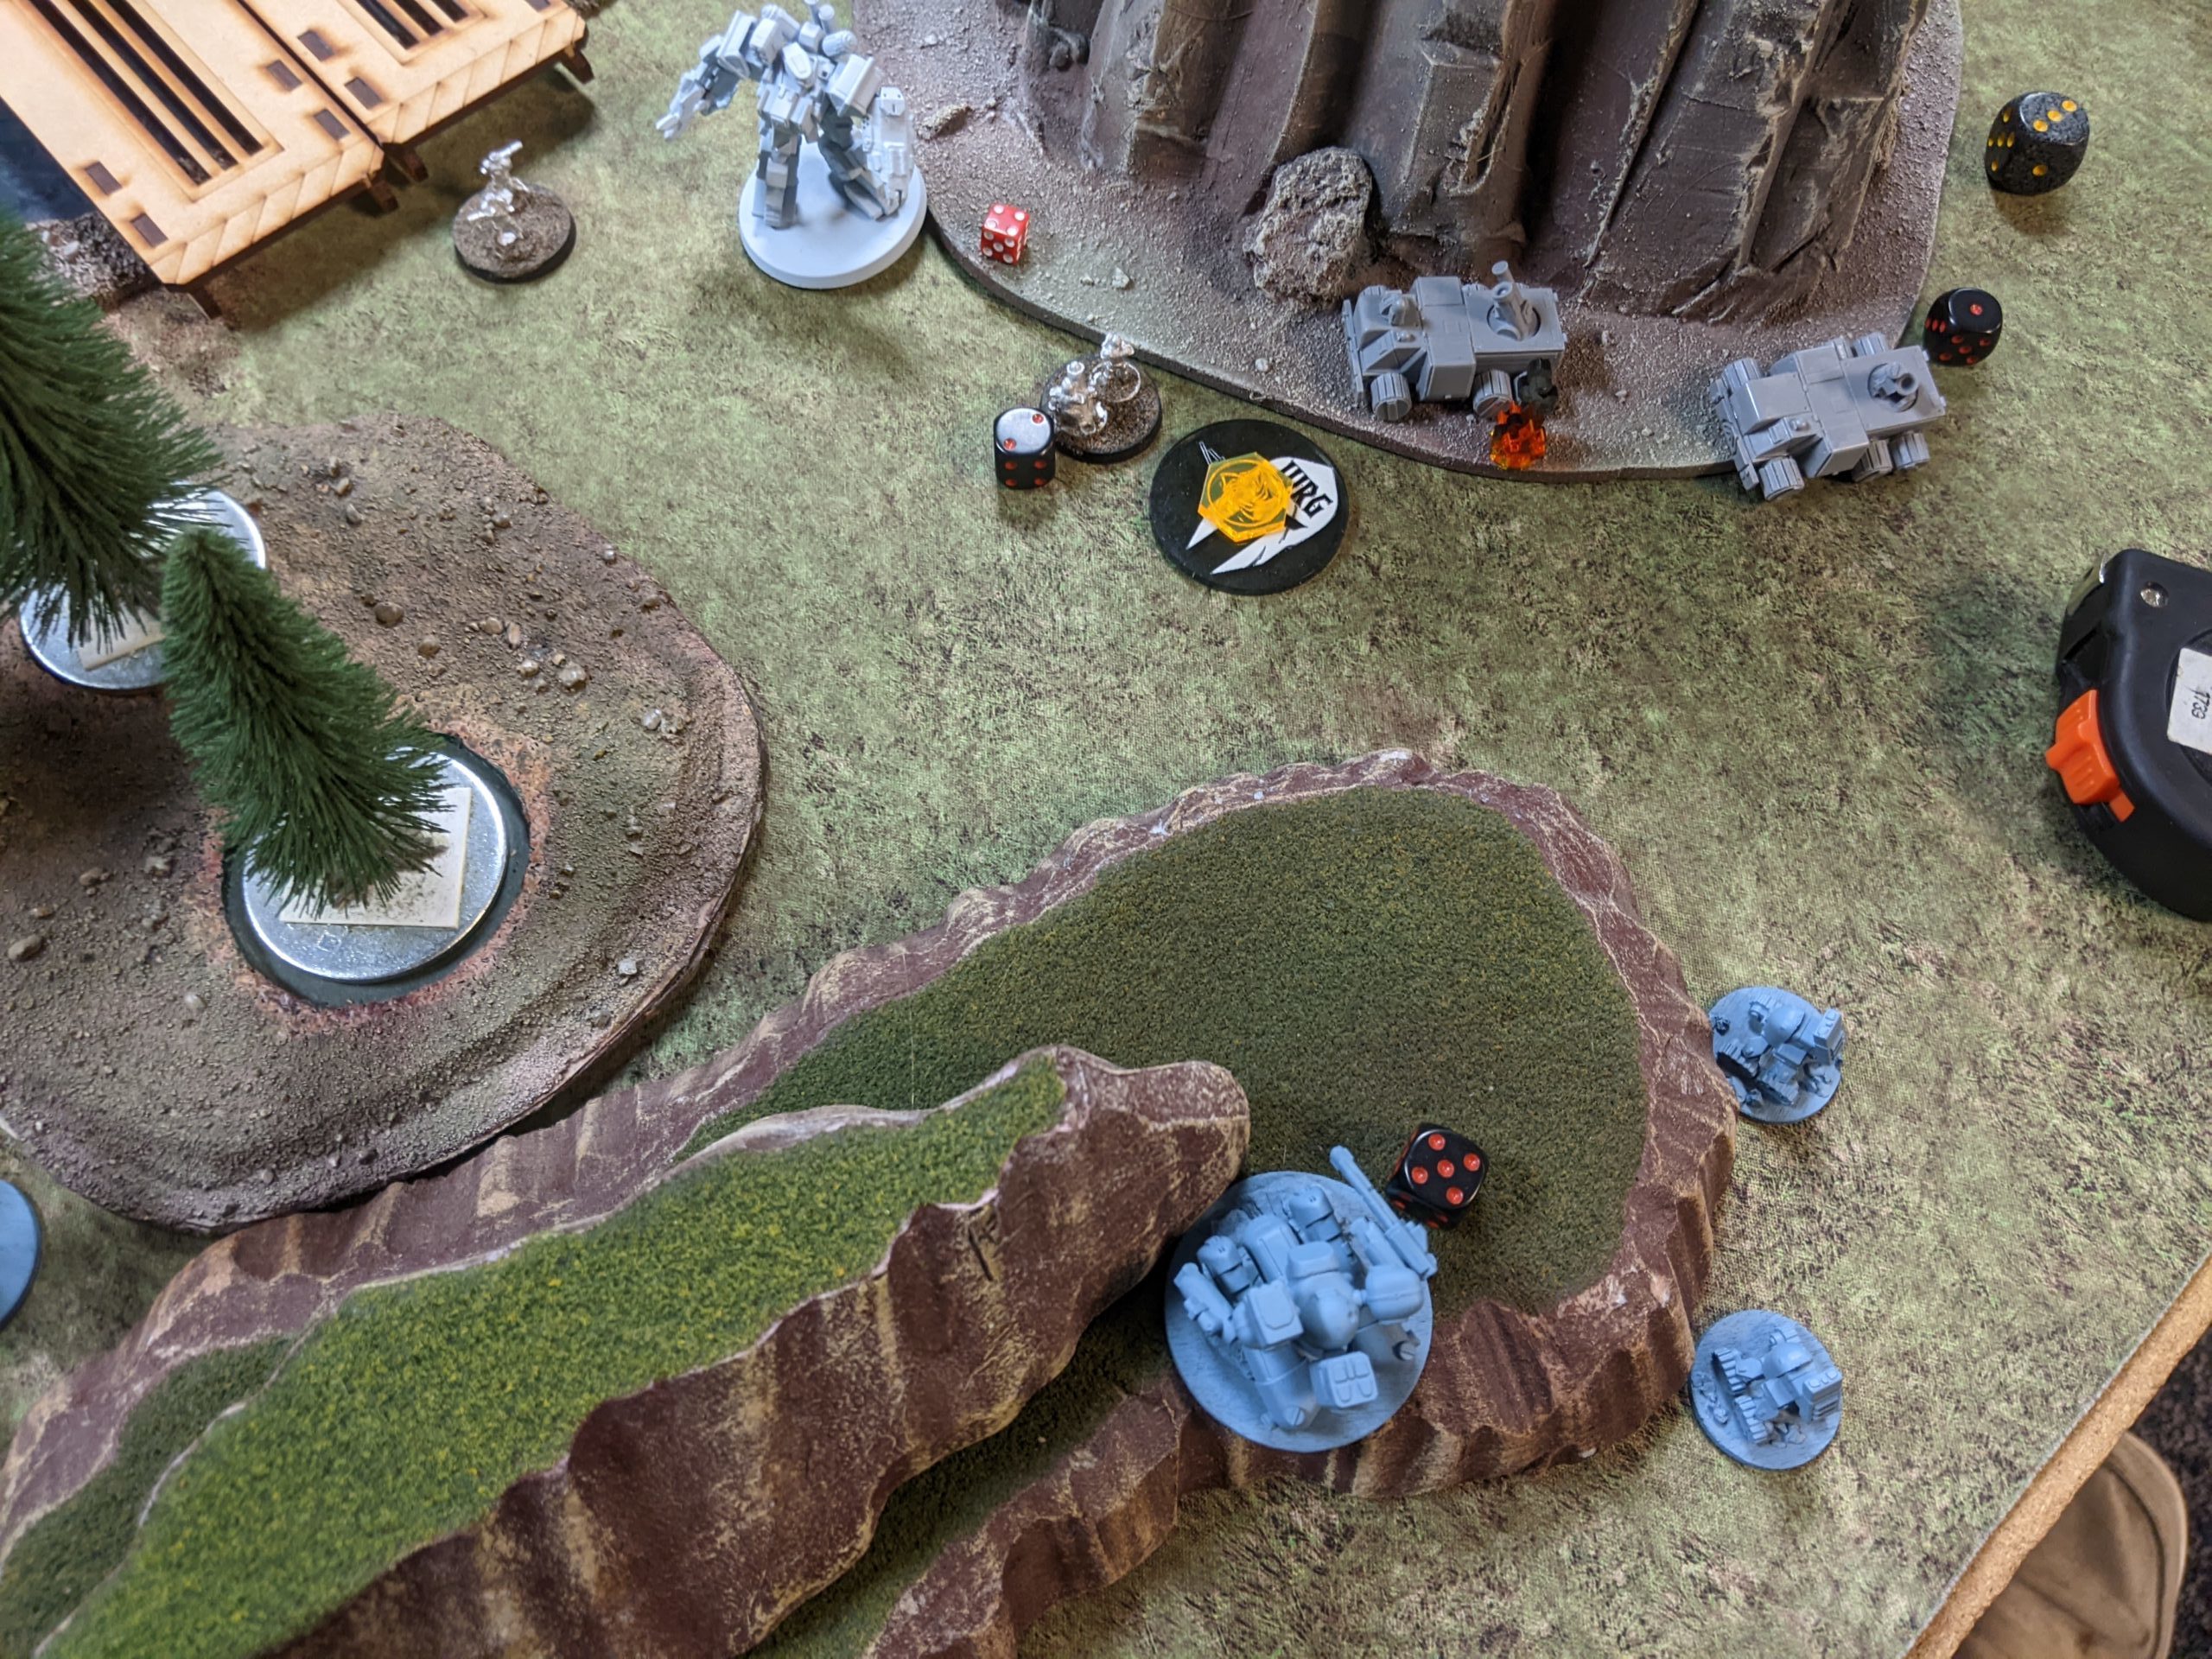
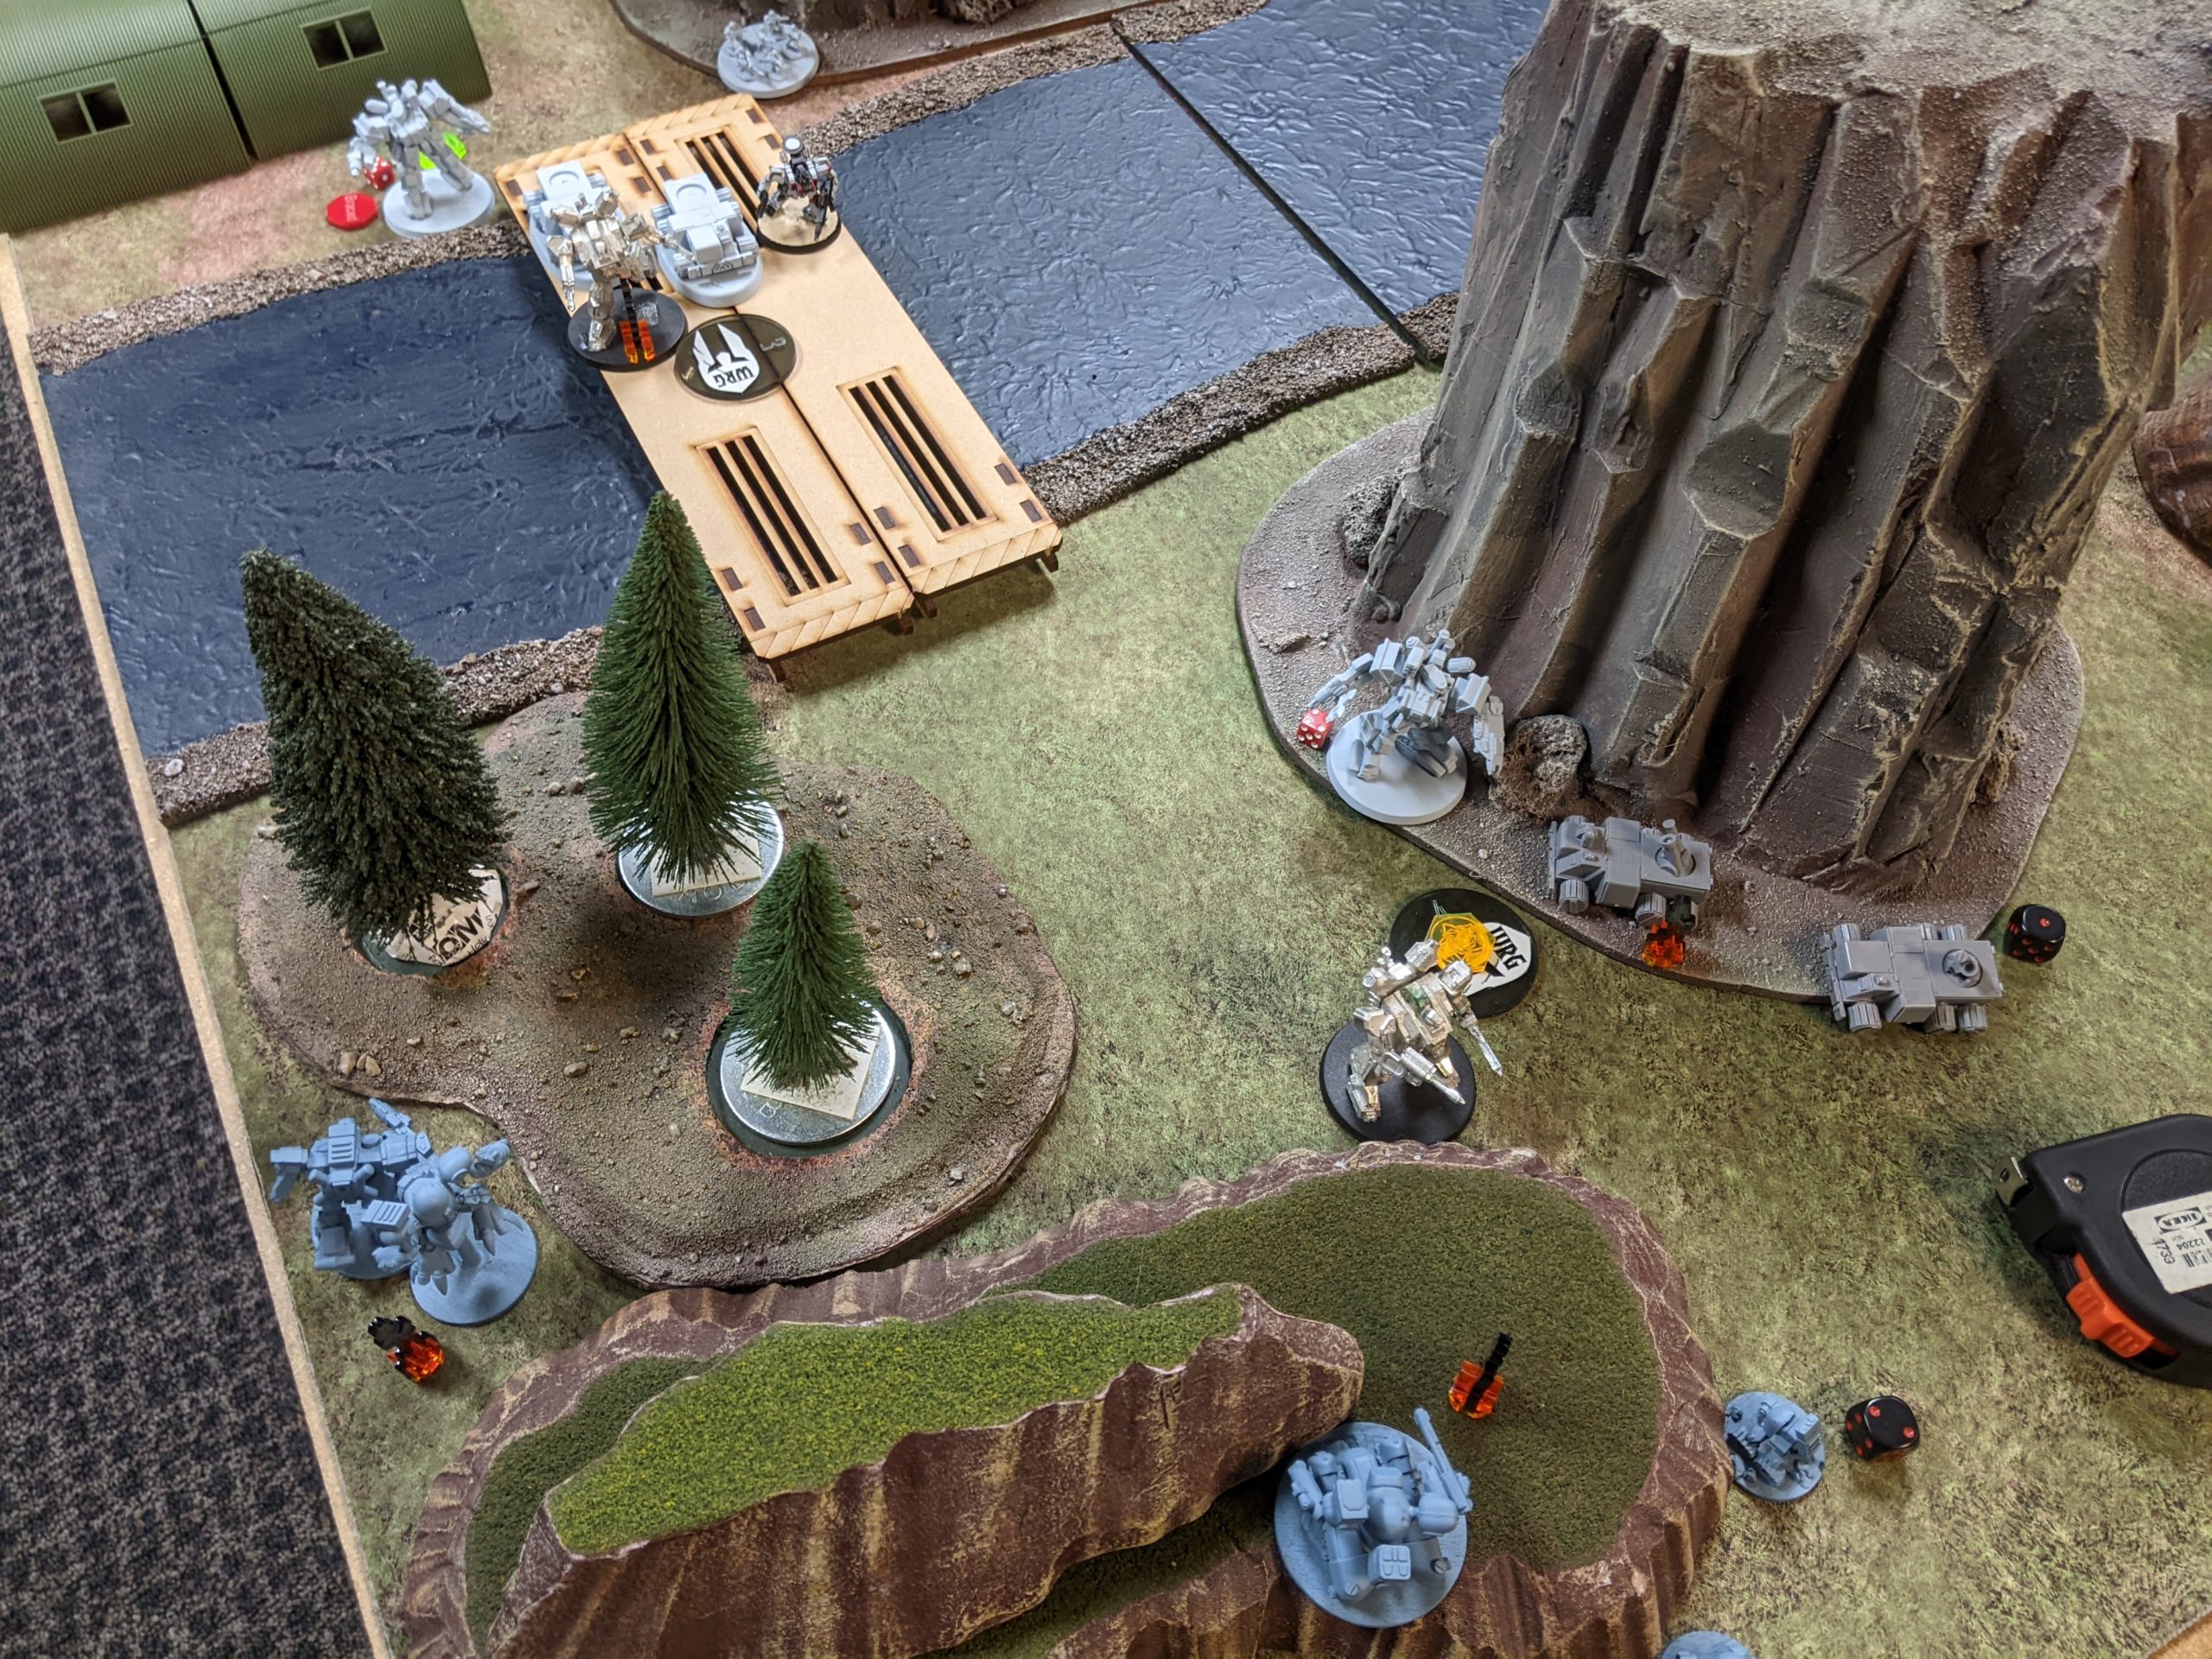
Adam put down his logistics supply train waypoints on the left side of the table from my perspective, which meant we were both going to be clustered up there. I took deployment and gave him the side with big choke point at the big bridge. He deployed his Greyhound and Infantry in positions that would help support his advance, with the snipers on the big mesa and the rest of the units hidden nearby behind the bulk of the mesa.
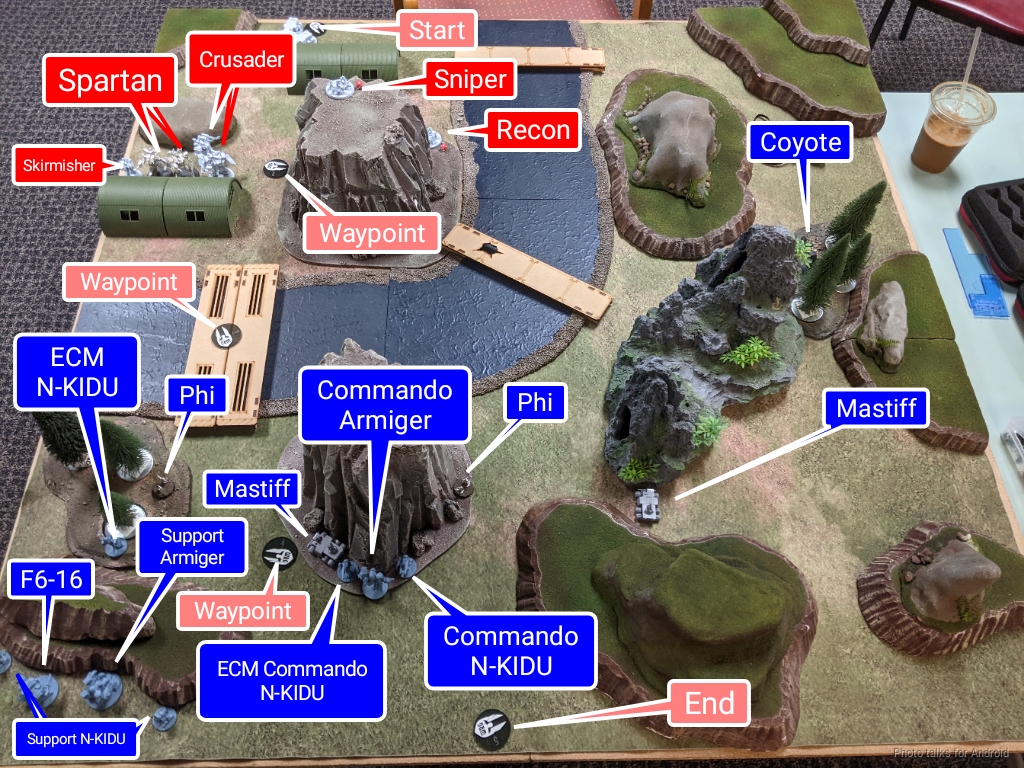
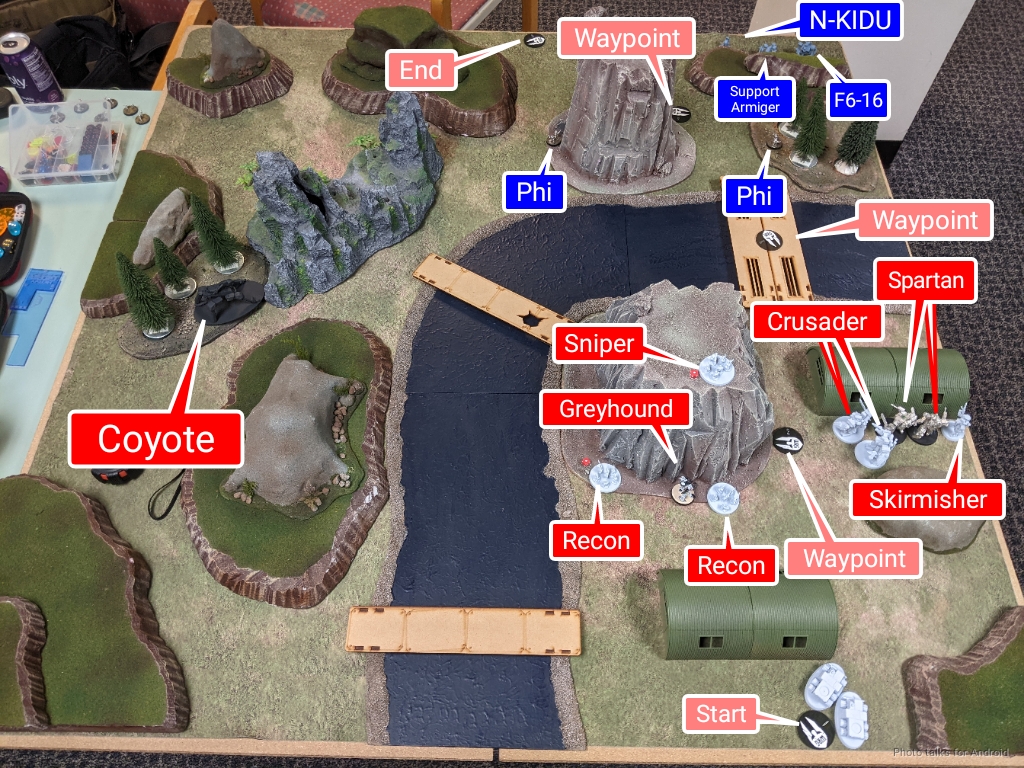
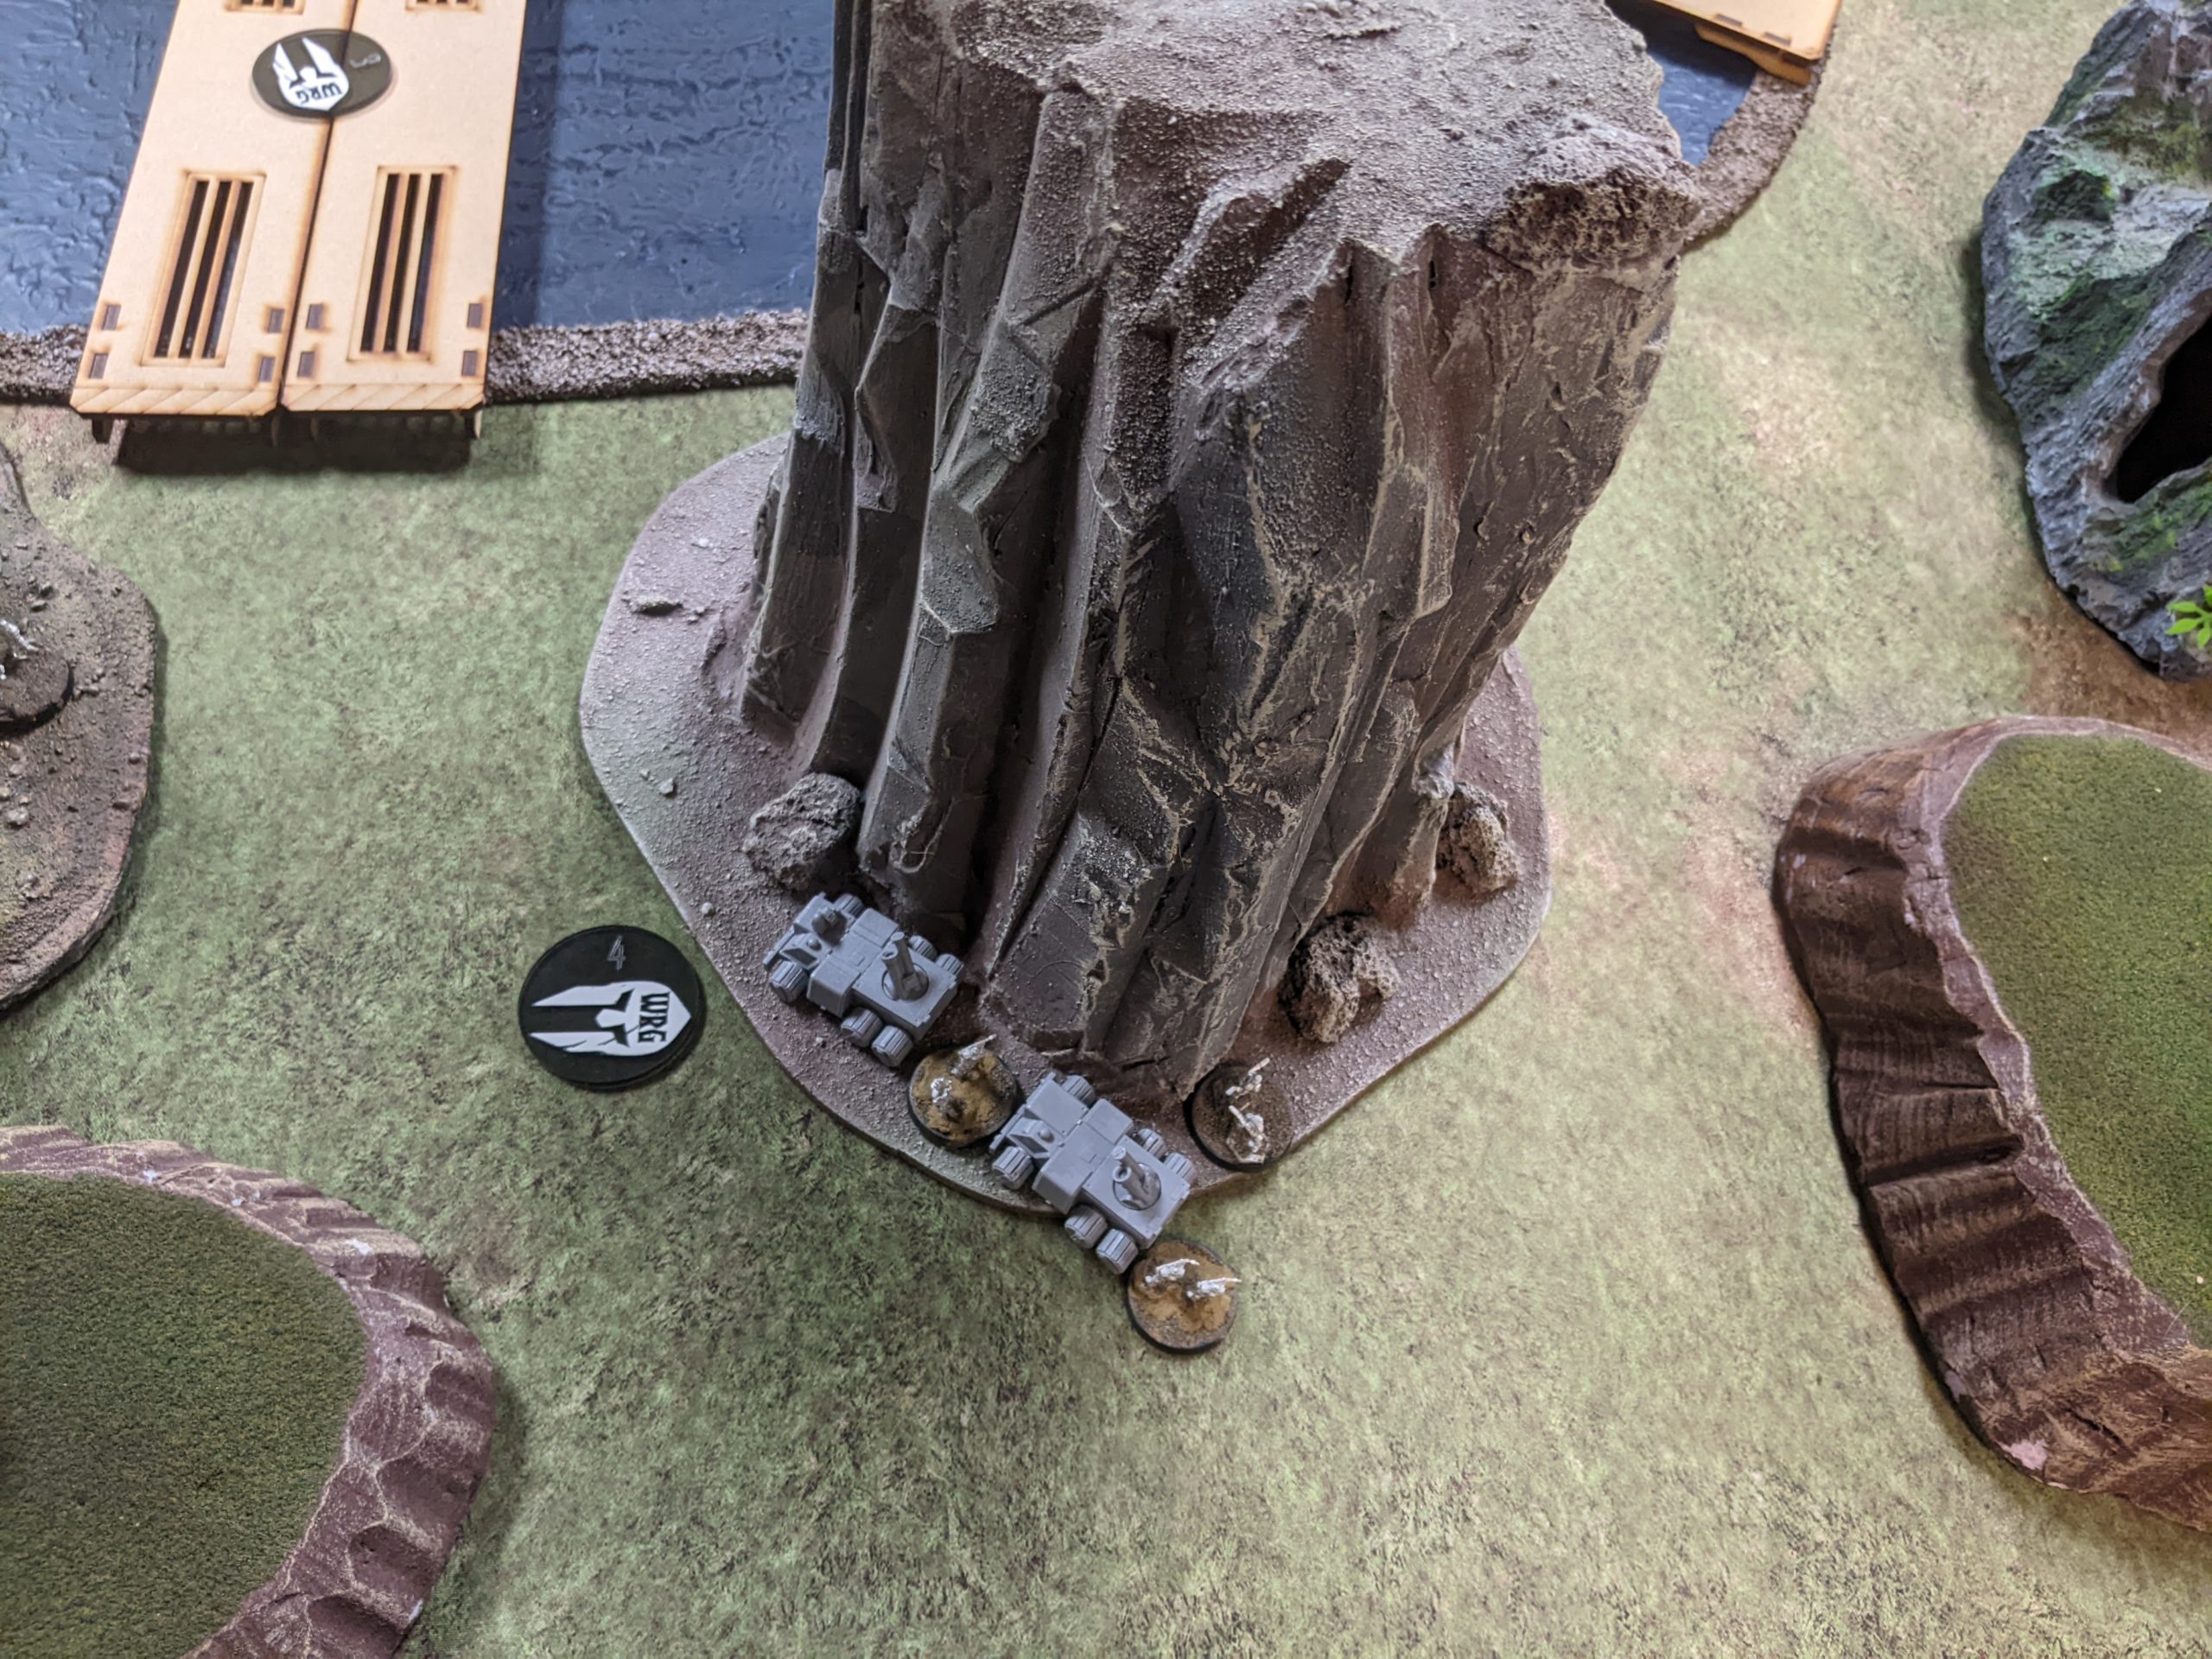
I deployed my SK group with the ATMs behind a low hill to protect them from incoming fire and allow me to indirect fire with impunity. Adam’s next drop was his big Crusader/Spartan group supported by a Skirmisher. There was only really one spot for them behind some Quonset huts. I deployed my second group next, basically putting a Mastiff and Phi team down along with the ECM N-KIDU. Adam dropped his Coyote on the other side of the table to provide some crossfire.
I played the last card in my hand, which was to put the Grenadier Commando Armiger and its retinue behind my mesa.
Objectives
Adam chose Clear the Way, targeting everything except for my SK ATM squad, and I did the same, targeting everything except for the Coyote. Adam’s next objective was Assassinate, on the Phi team and Grenadier Commando Armiger. I didn’t get much sleep the night before and forgot to declare a second objective when distracted by a conversation in the store with another gaming buddy, but Adam let me retroactively declare Hold later.
Fight!
I’m going to give myself some grace here and stop doing photo editing of my Heavy Gear battle reports. It takes a ton of time, I don’t particularly enjoy doing it, and it delays writing the report which is actually pretty impactful from a memory of the game standpoint. Heavy Gear in my mind is more a big-picture game especially since combat groups activate together.
As far as capturing interactions, it’s not particularly relevant that a LFM did 1 damage to that model, so I don’t need to notate that aspect of things, I think. The learnings from that interaction is more “why the LFM usage” and “was that an optimal choice?” instead of “LFM performance,” especially because this game is so spiky in its dice mechanics. In any case, that’s just bit of long winded kvetching about photo editing and how I’m not going to do it very much for Heavy Gear games moving forward. If there’s something to illustrate that requires, I might consider it.
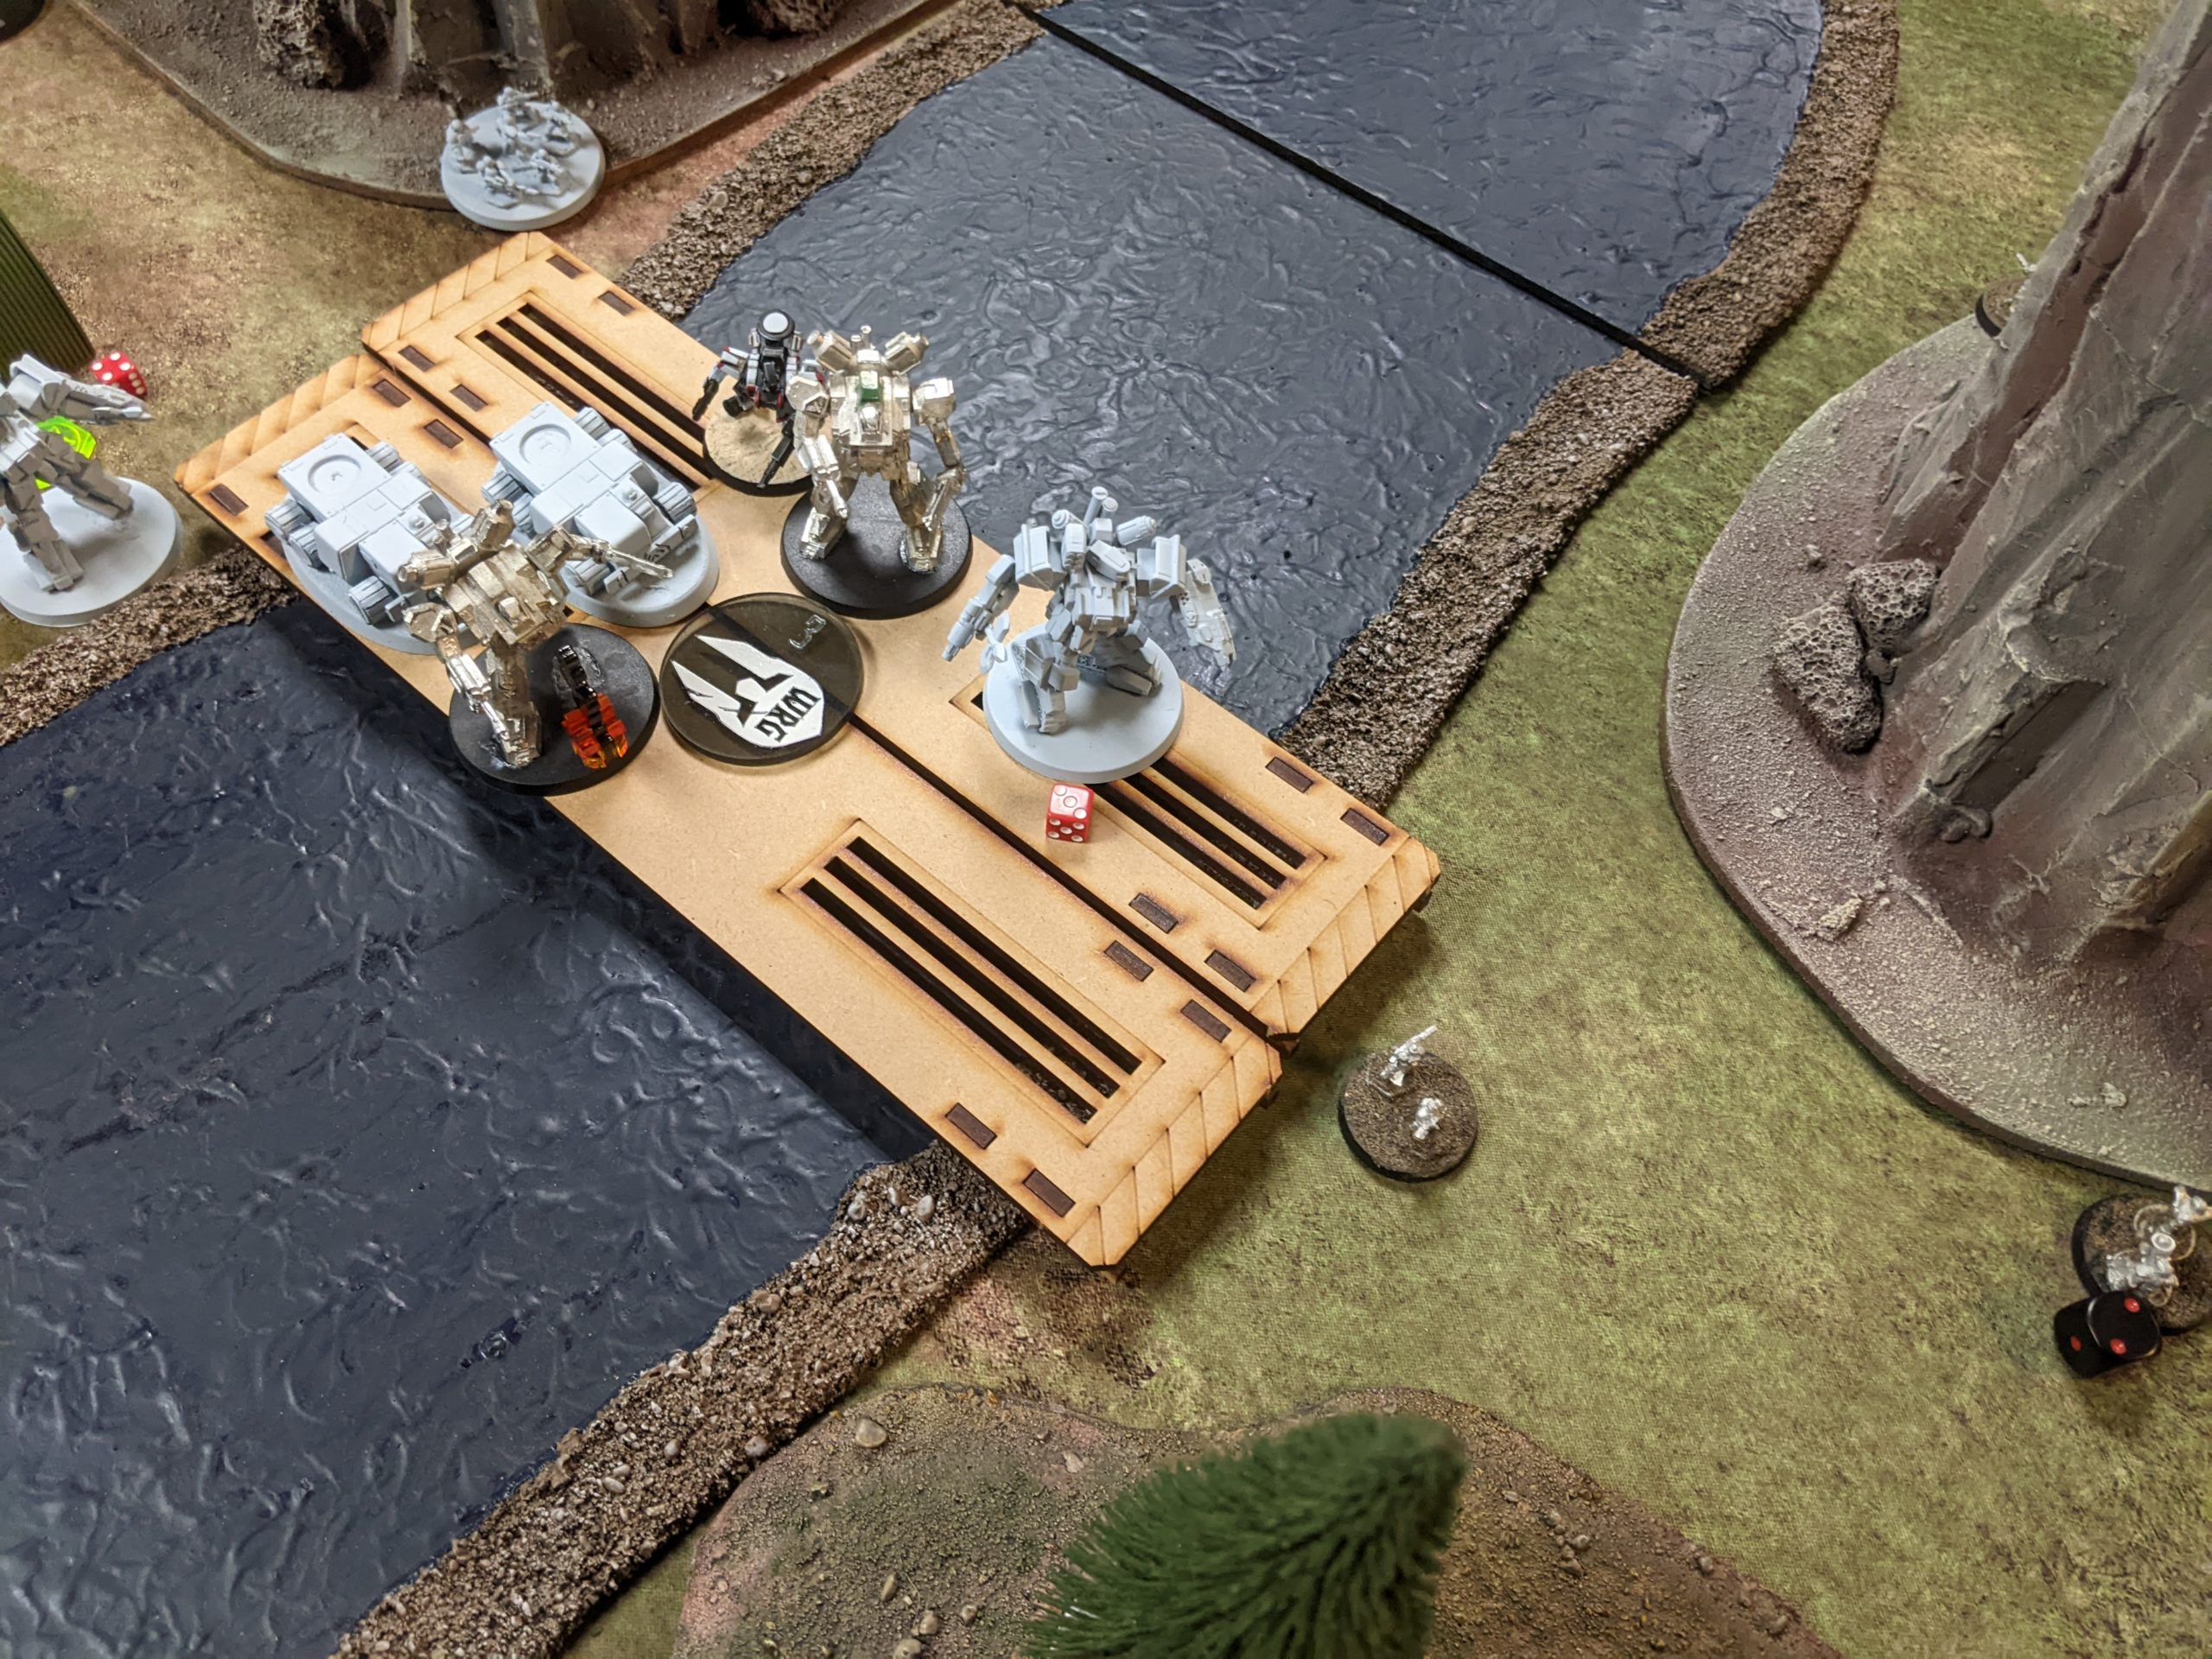
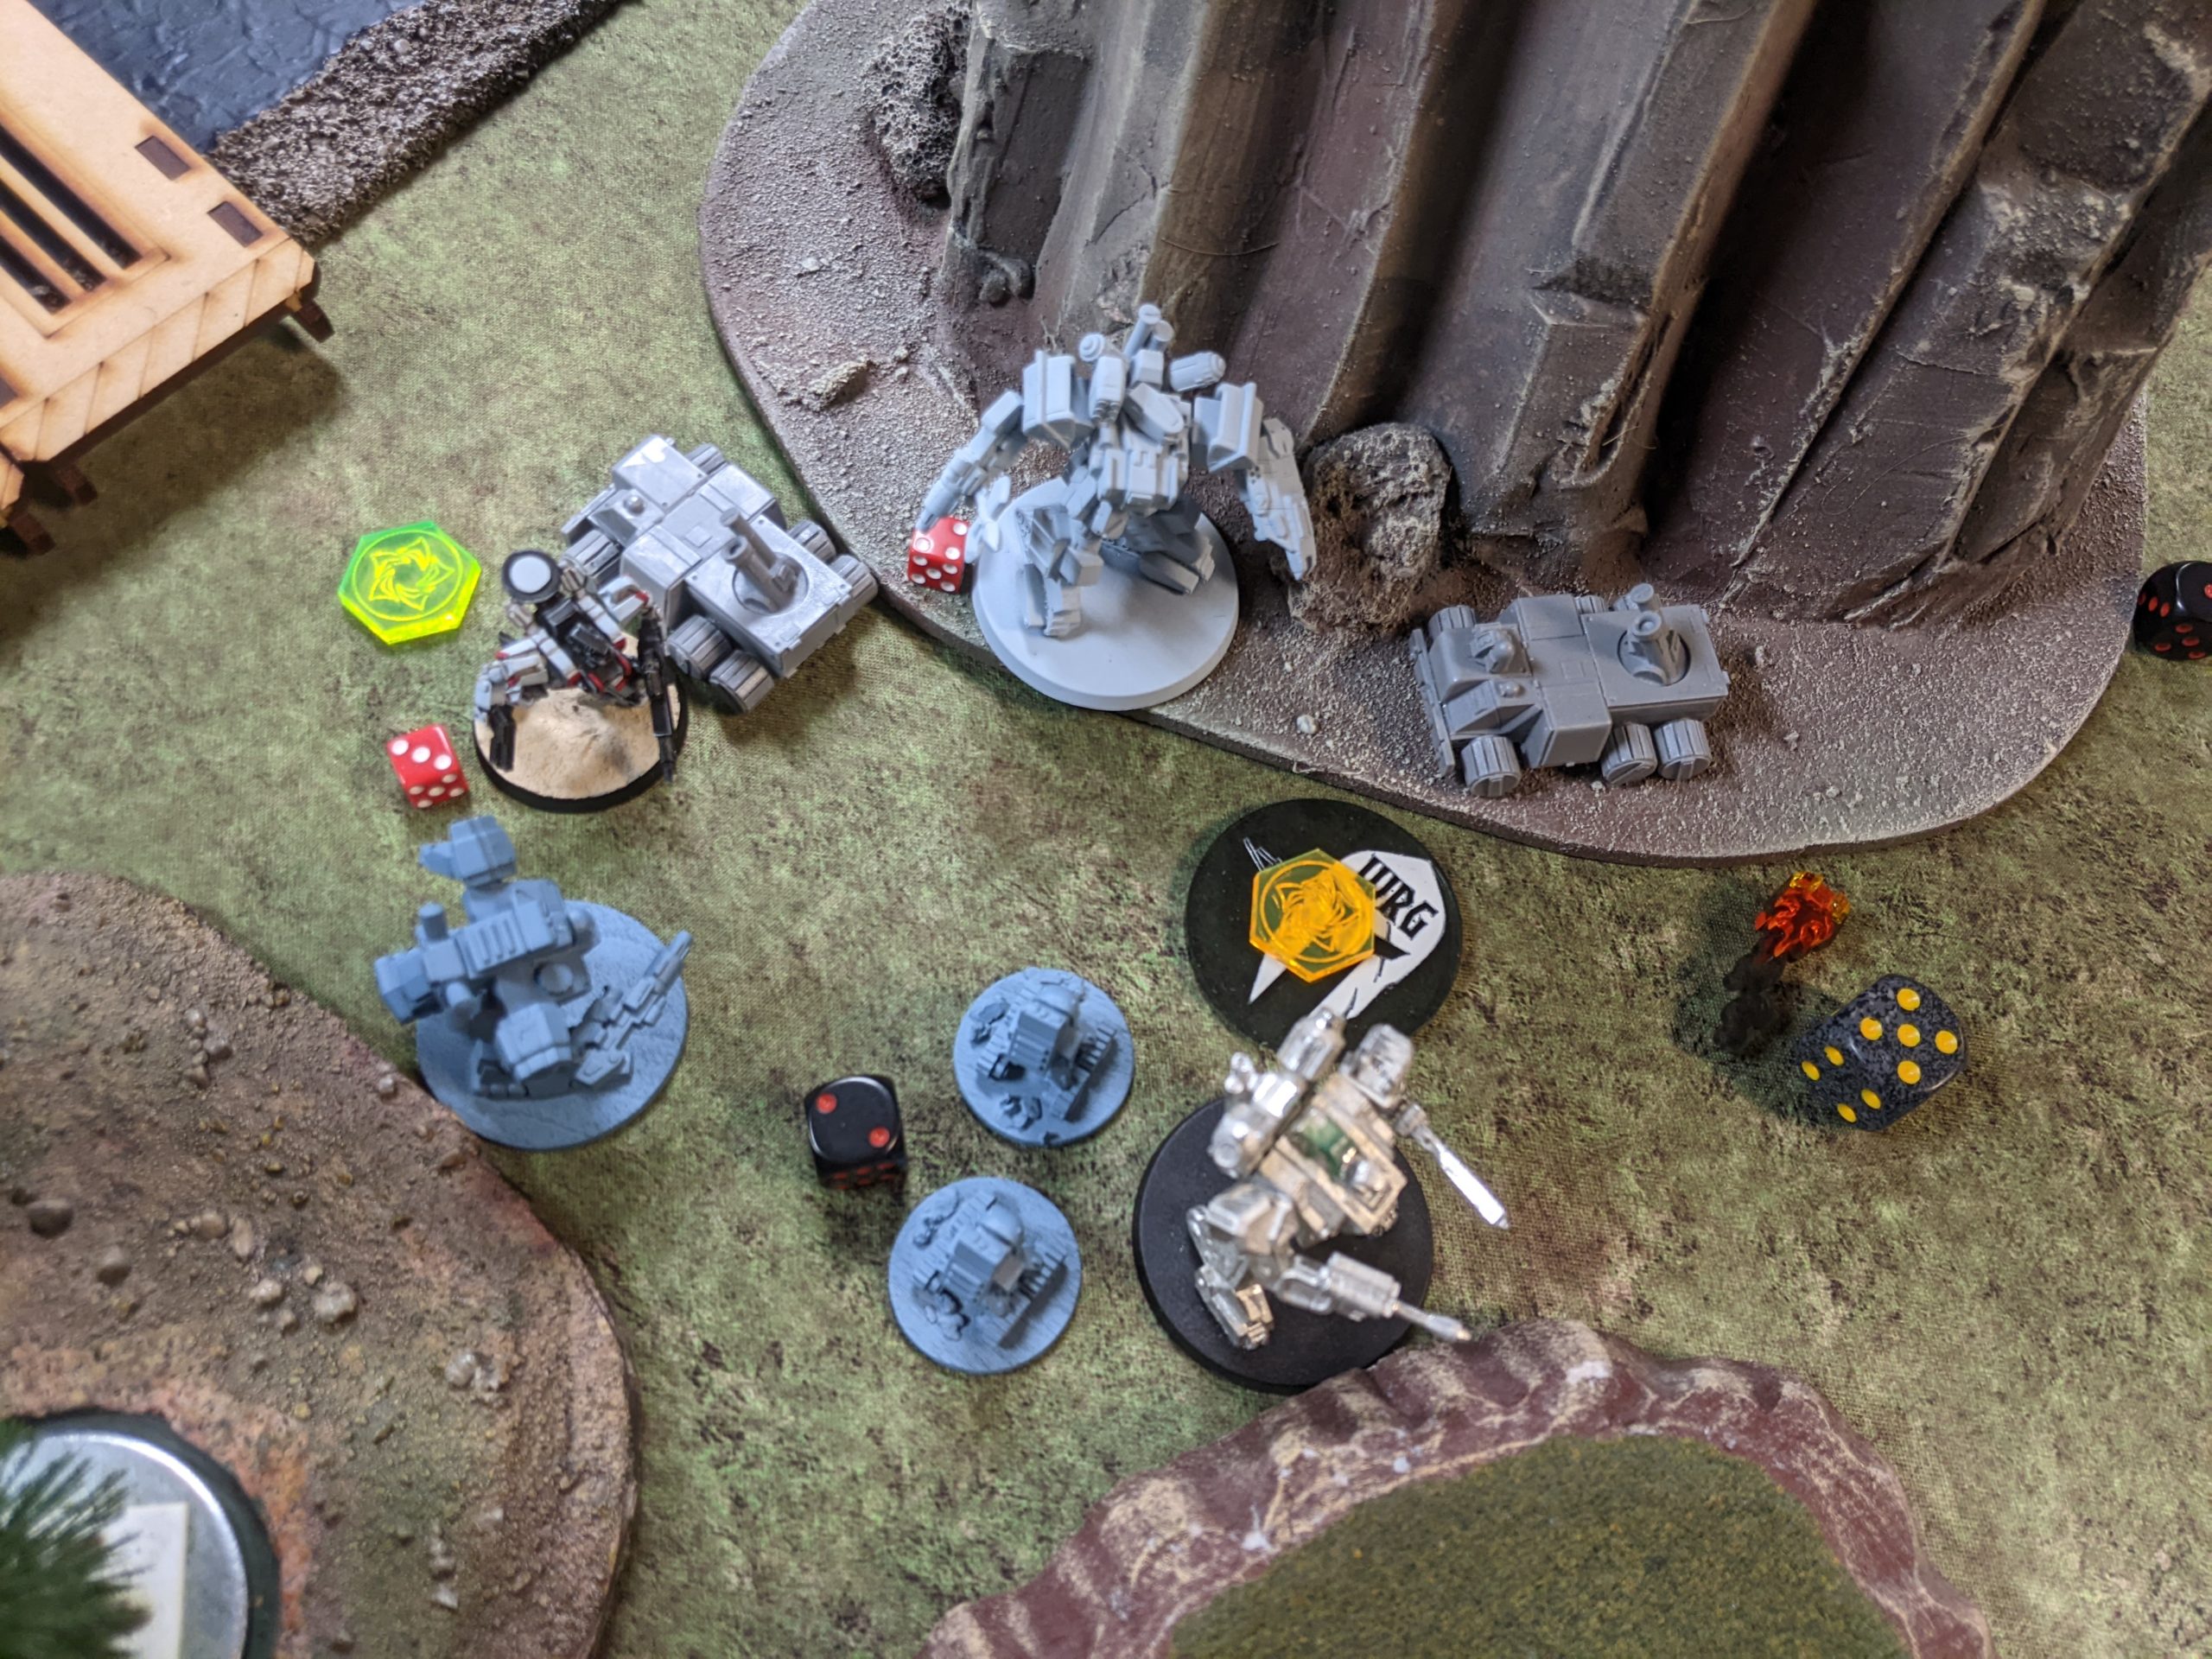
I won initiative and decided to attempt attacks on the clustered Spartans/Crusaders with the Grenadier’s squad. I managed to get some Greenway Caustics corrosion to proc, and did some chip damage, but nothing of note happened here as I was unable to get the all important rear arc die and get the group out of cover. That and the ECM+ from the Skirmisher made things difficult. What’s interesting is that I really didn’t want to declare ECM Hack on the Skirmisher, because getting jammed would cancel my ECM+, which was no good on the N-KIDU. Also there’s a lot of order of operations nonsense that happens when working with N-KIDU, which was kinda confusing and awkward in my sleep deprived state.
For example, you really want to get the N-KIDU ECM up there to protect your elevated Commando Armiger, but then you’re forced to just leave it out in the open to retain the ECM bubble. It ended up being really frustrating and created a bit of a stumbling block for my first combat group activation with Utopia. Definitely a challenging army to play correctly. In any case, I knew I was on bad odds, so I think a better use of my actions would have been to disrupt the waypoint on the bridge and the one nearby, just to set up for the following turn. I think I have to concede the first waypoint to the GP player unless they deploy really poorly.
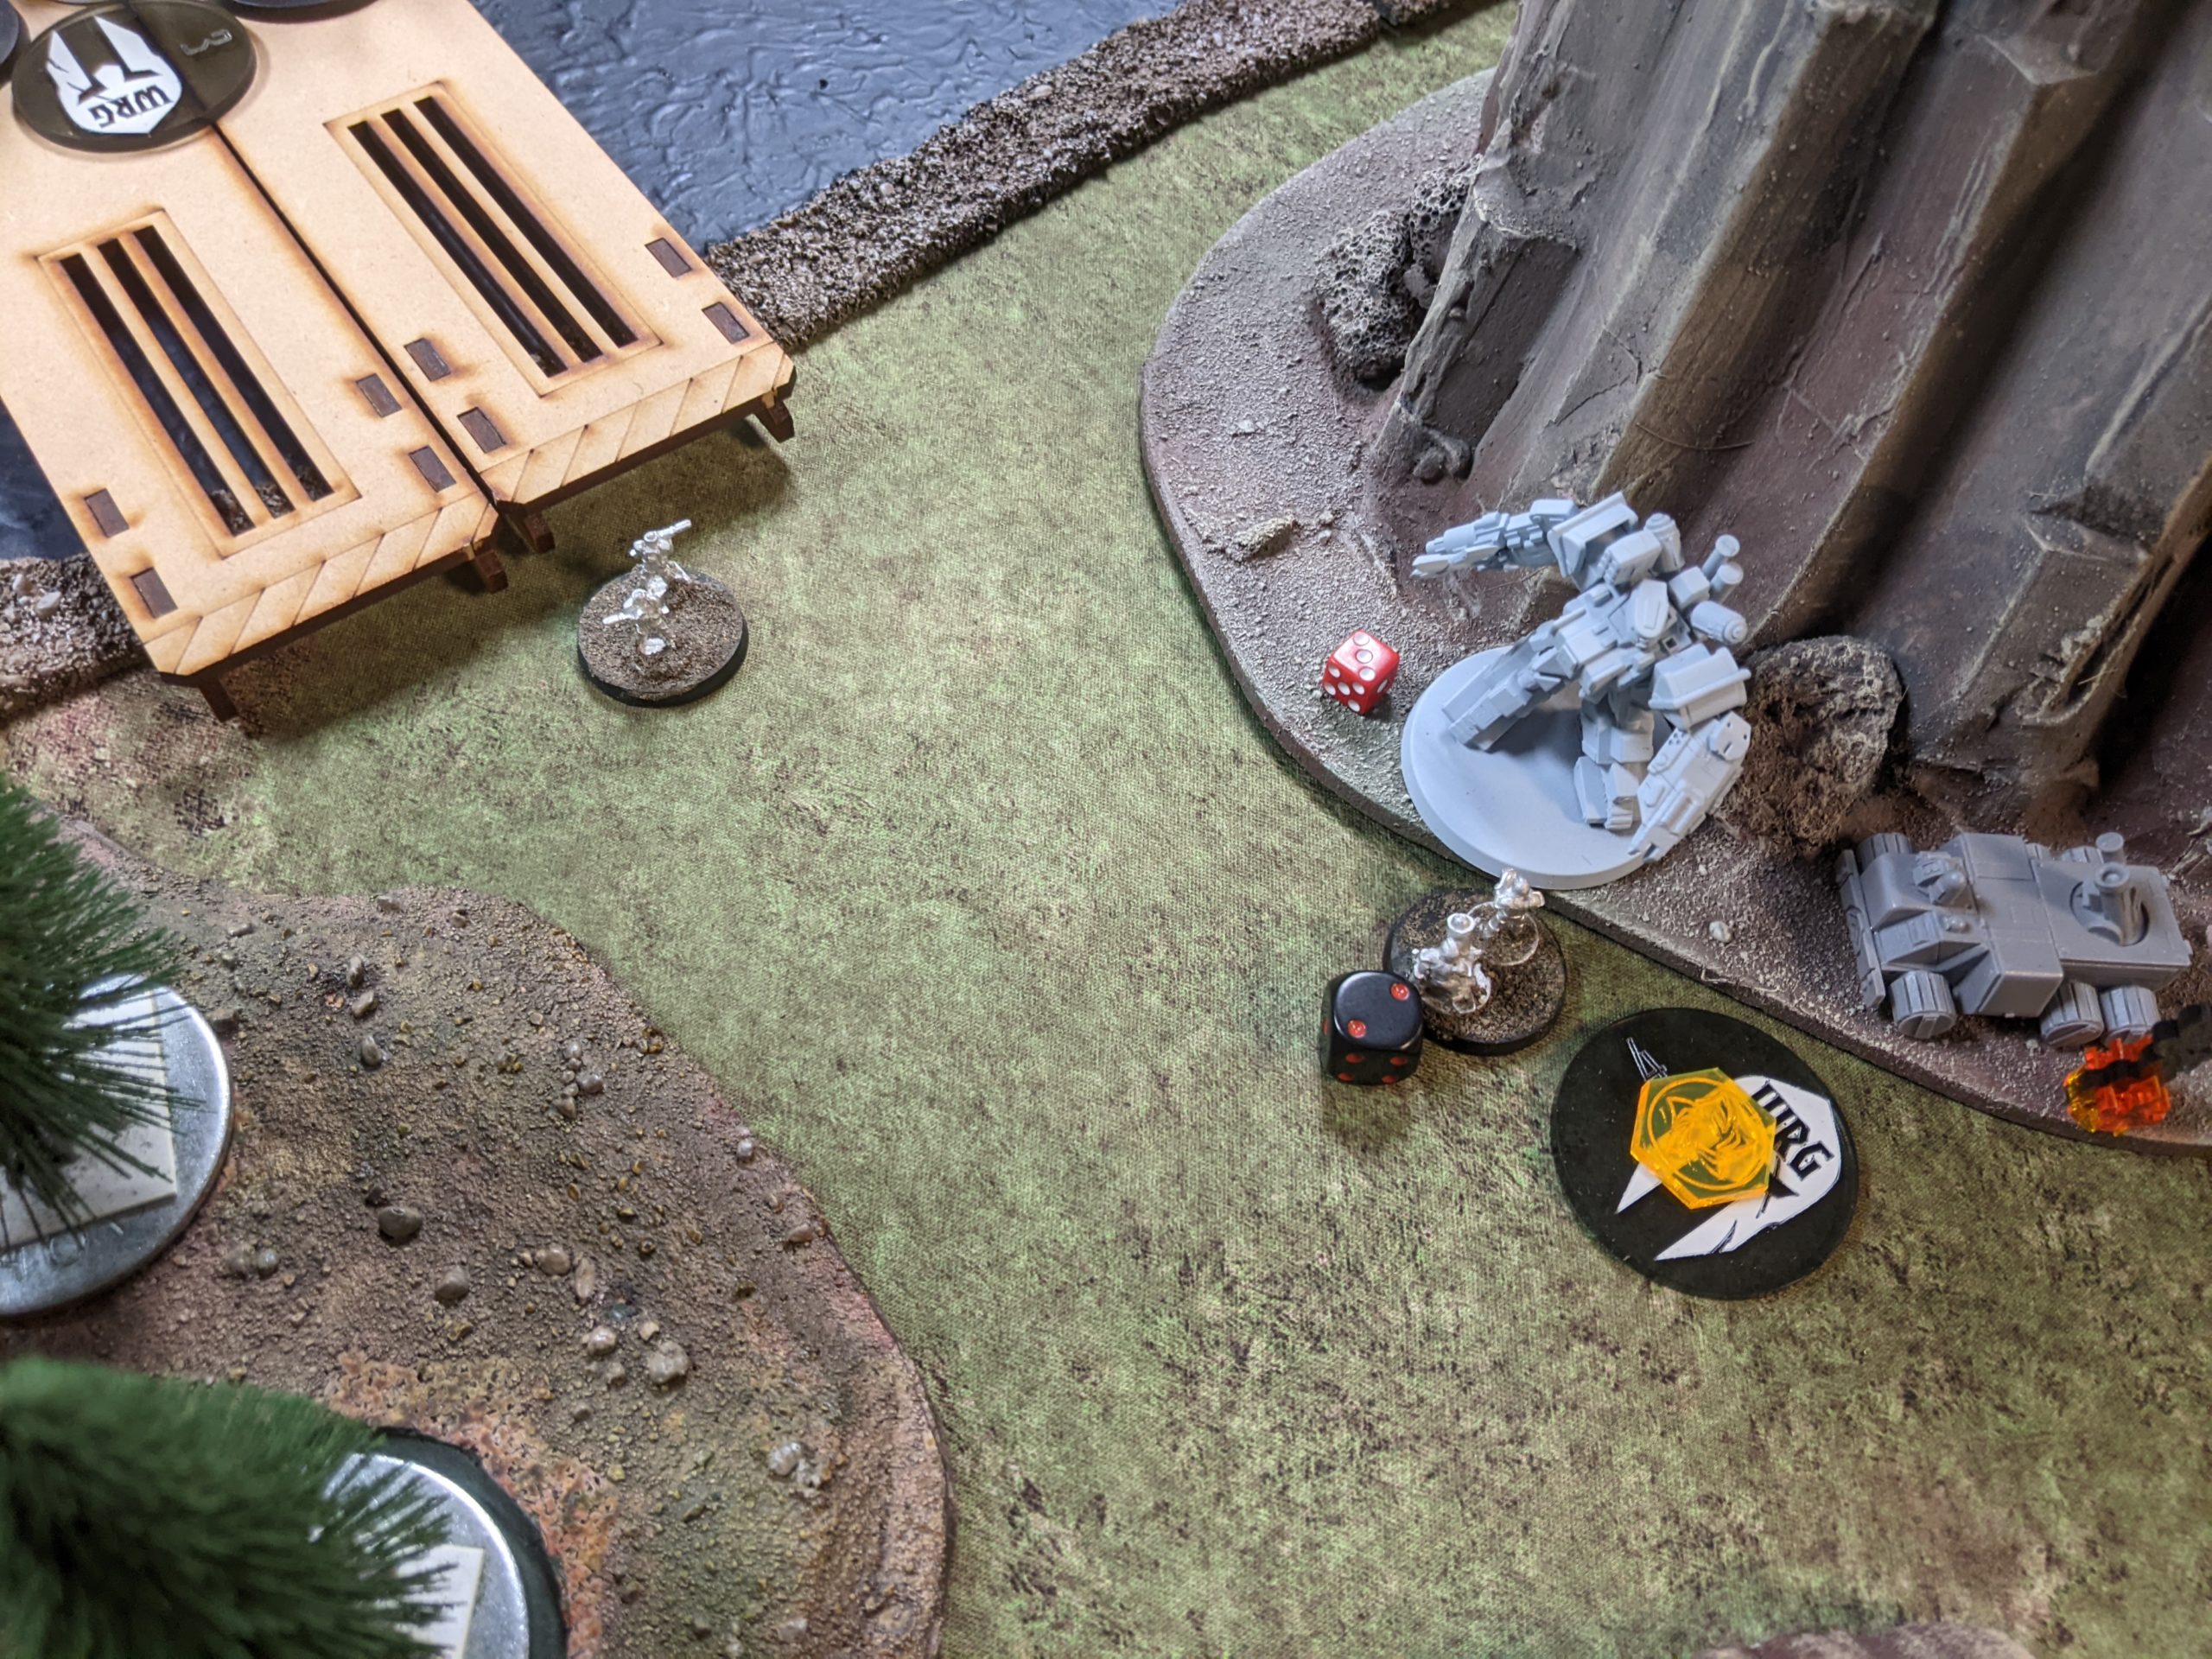
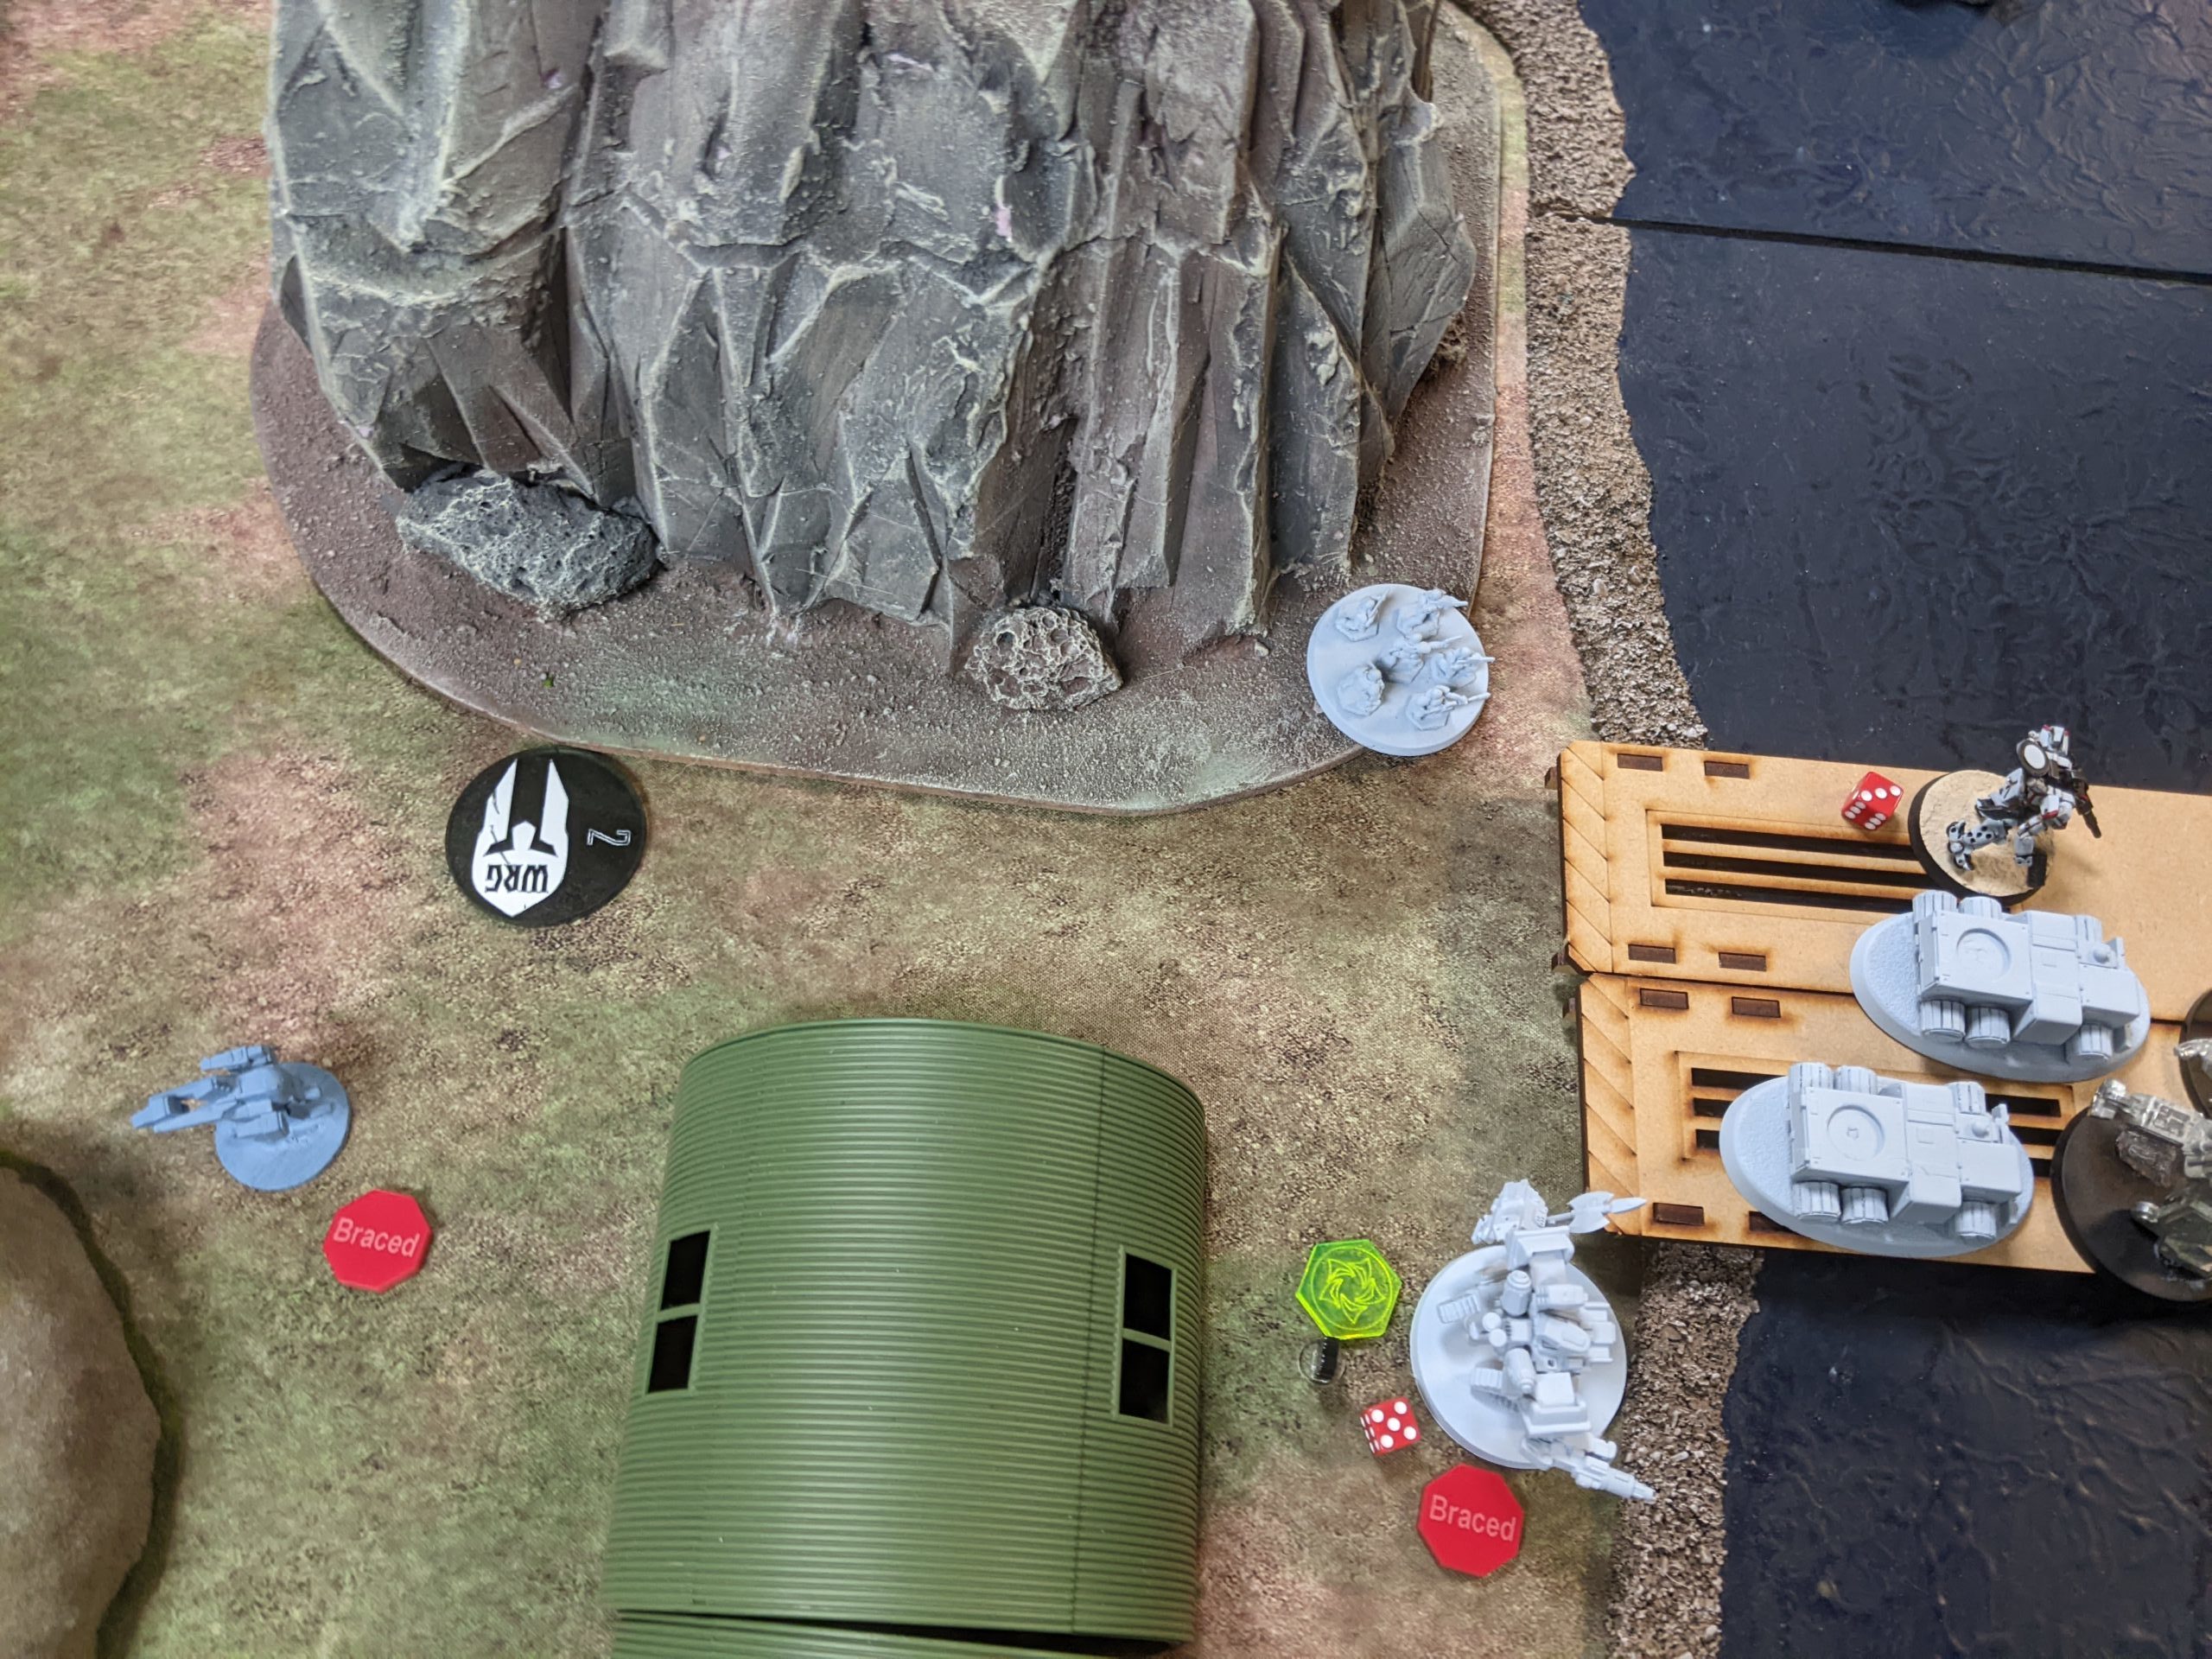
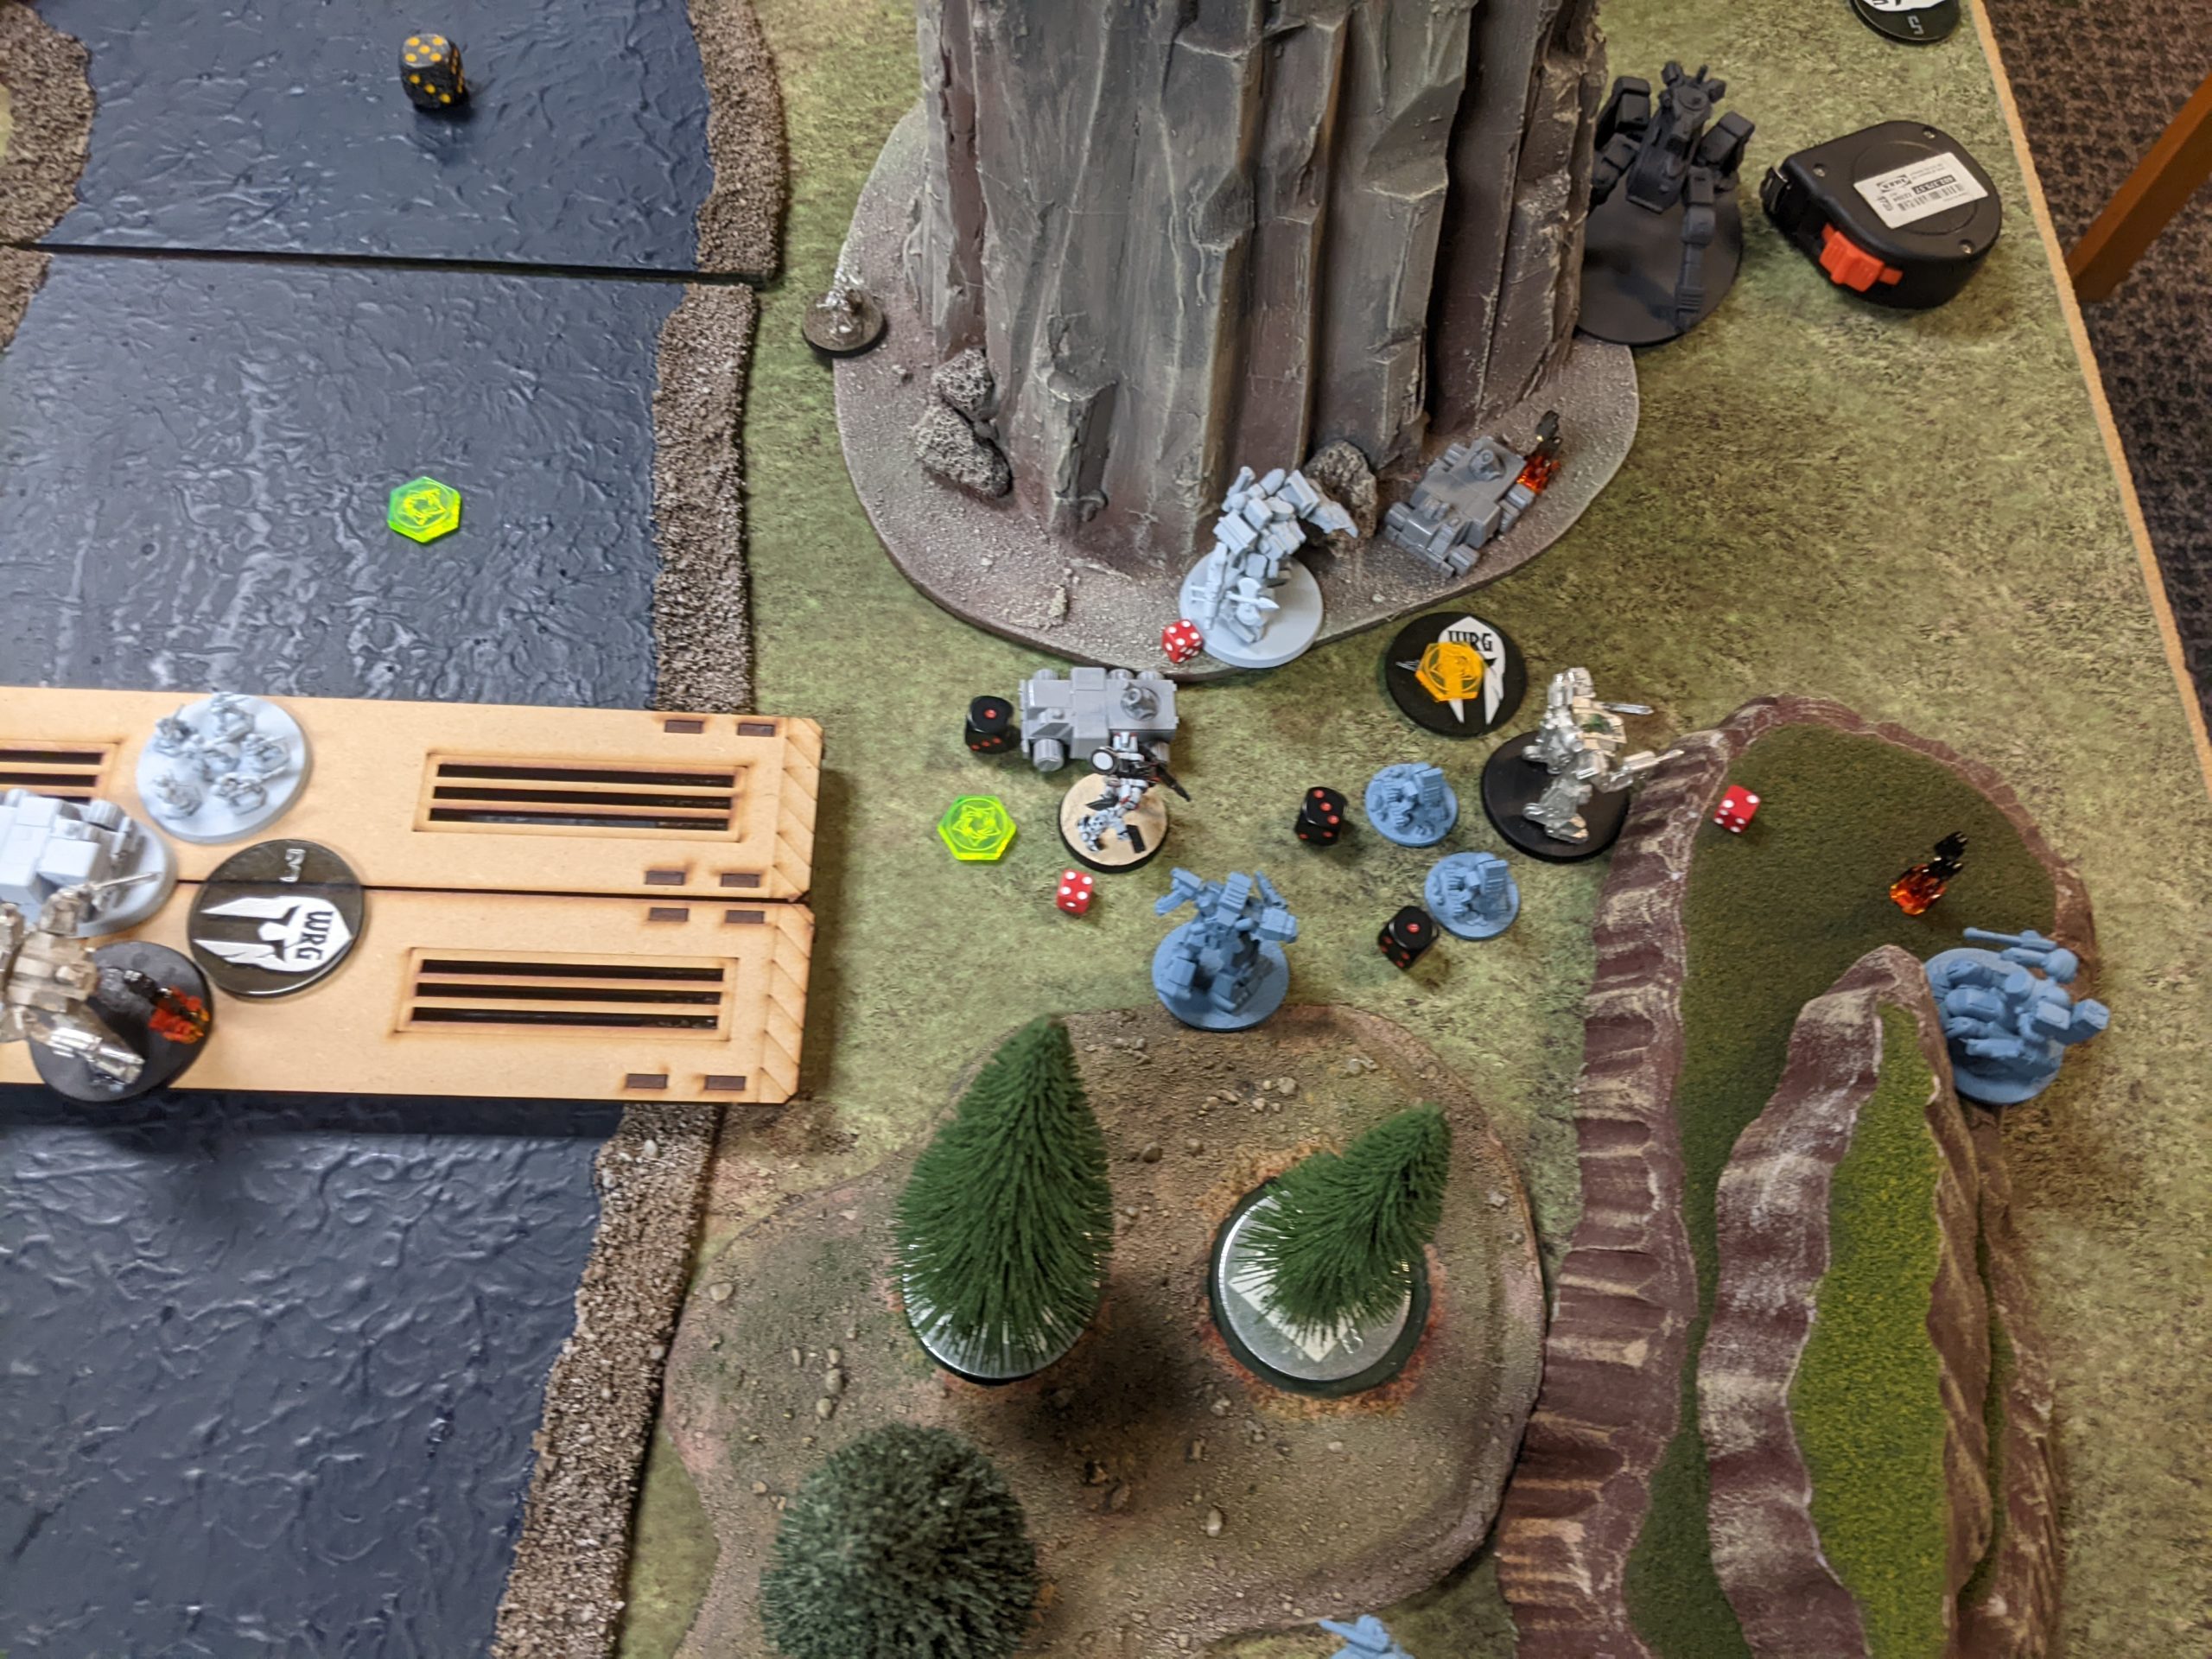
I got all the infantry out of the Mastiff in the first group, mostly to set up for the second activation and get the waypoint disrupted. The Phi team does set up a LFM shot on the Mastiff, which does a little more damage but nothing serious.
Adam’s counterstrike is pretty brutal. He starts by forward observing with his Greyhound…
and then dropping a ton of fire onto my N-KIDUs from the Crusaders, killing my N-KIDU.
The snipers harass my Phi team, but fail to kill them.
My second group activates and fires a LFM into the cluster of the units, doing almost nothing thanks to the ECM+ on the Greyhound and Skirmisher.
I do get some points by disrupting the nearby waypoint, however.
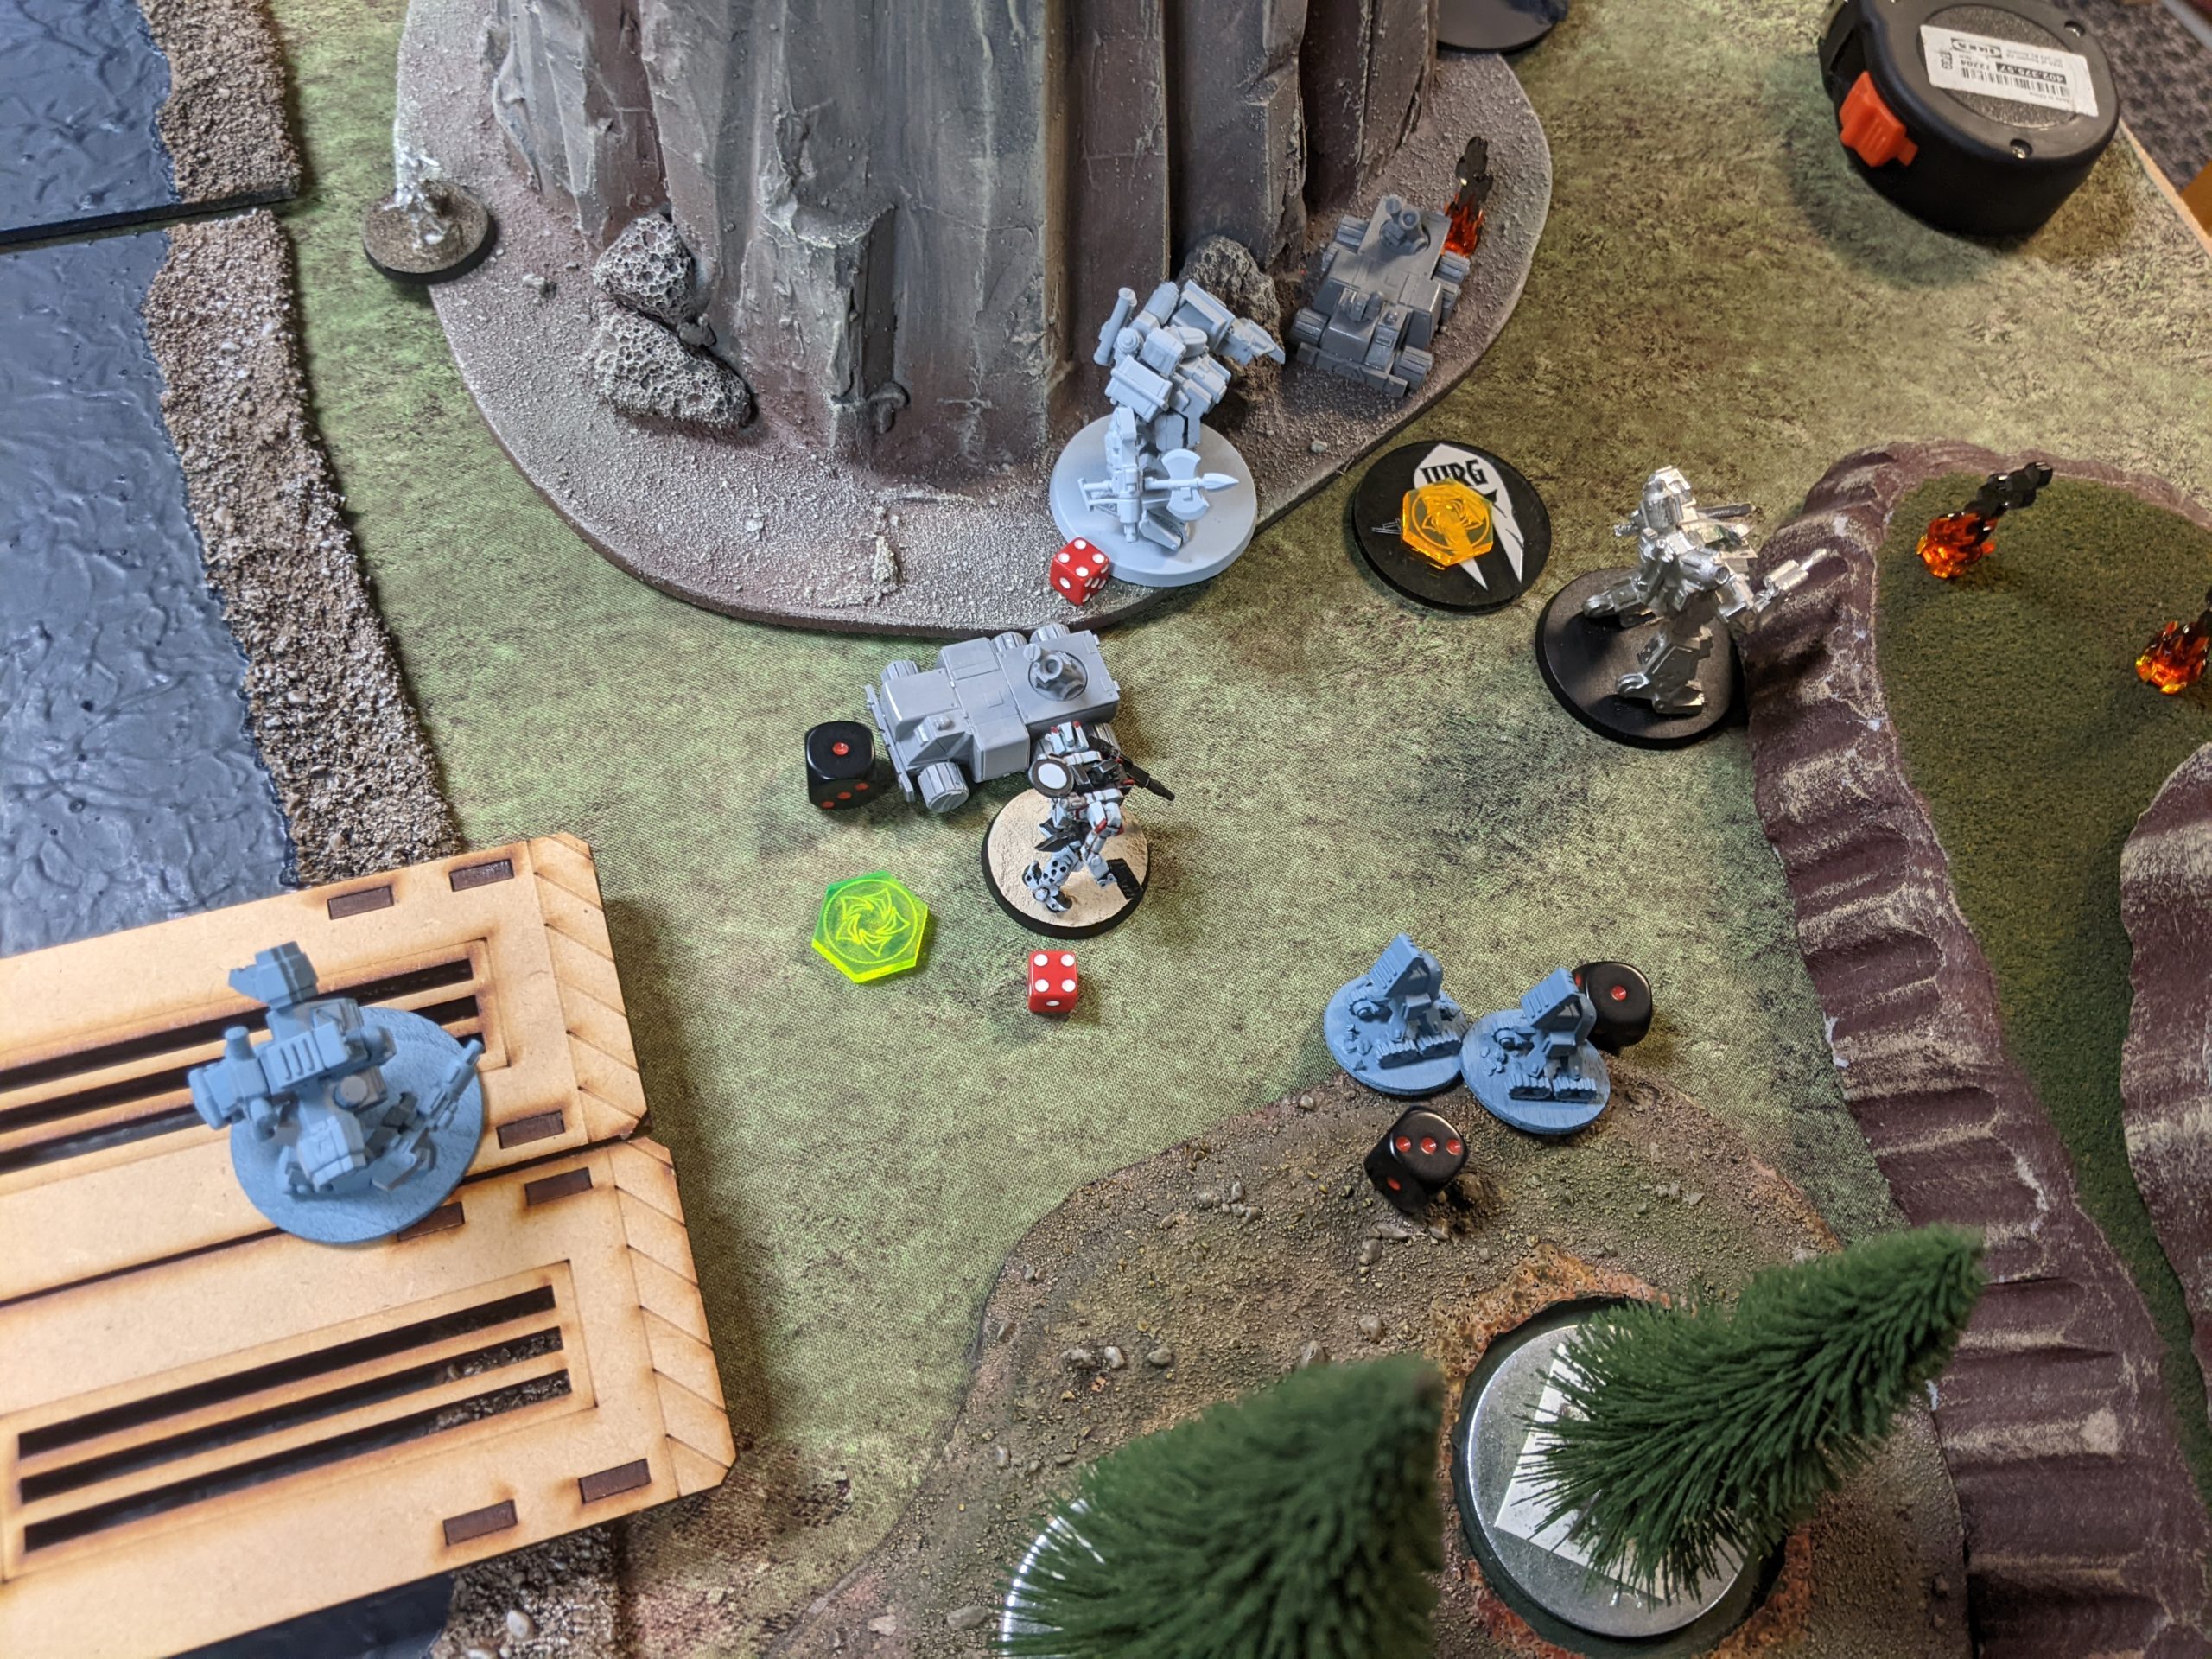
A Crusader pushes forward and fires its particle accelerator into my elevated Armiger, crippling it.
Adam’s definitely parked on the first waypoint, so the camel trucks advance. I win initiative again, and decide to try and stack more corrosion by flying my last N-KIDU with Greenway Caustics behind most of Adam’s forces. I do manage to do some more damage and cripple a Crusader.
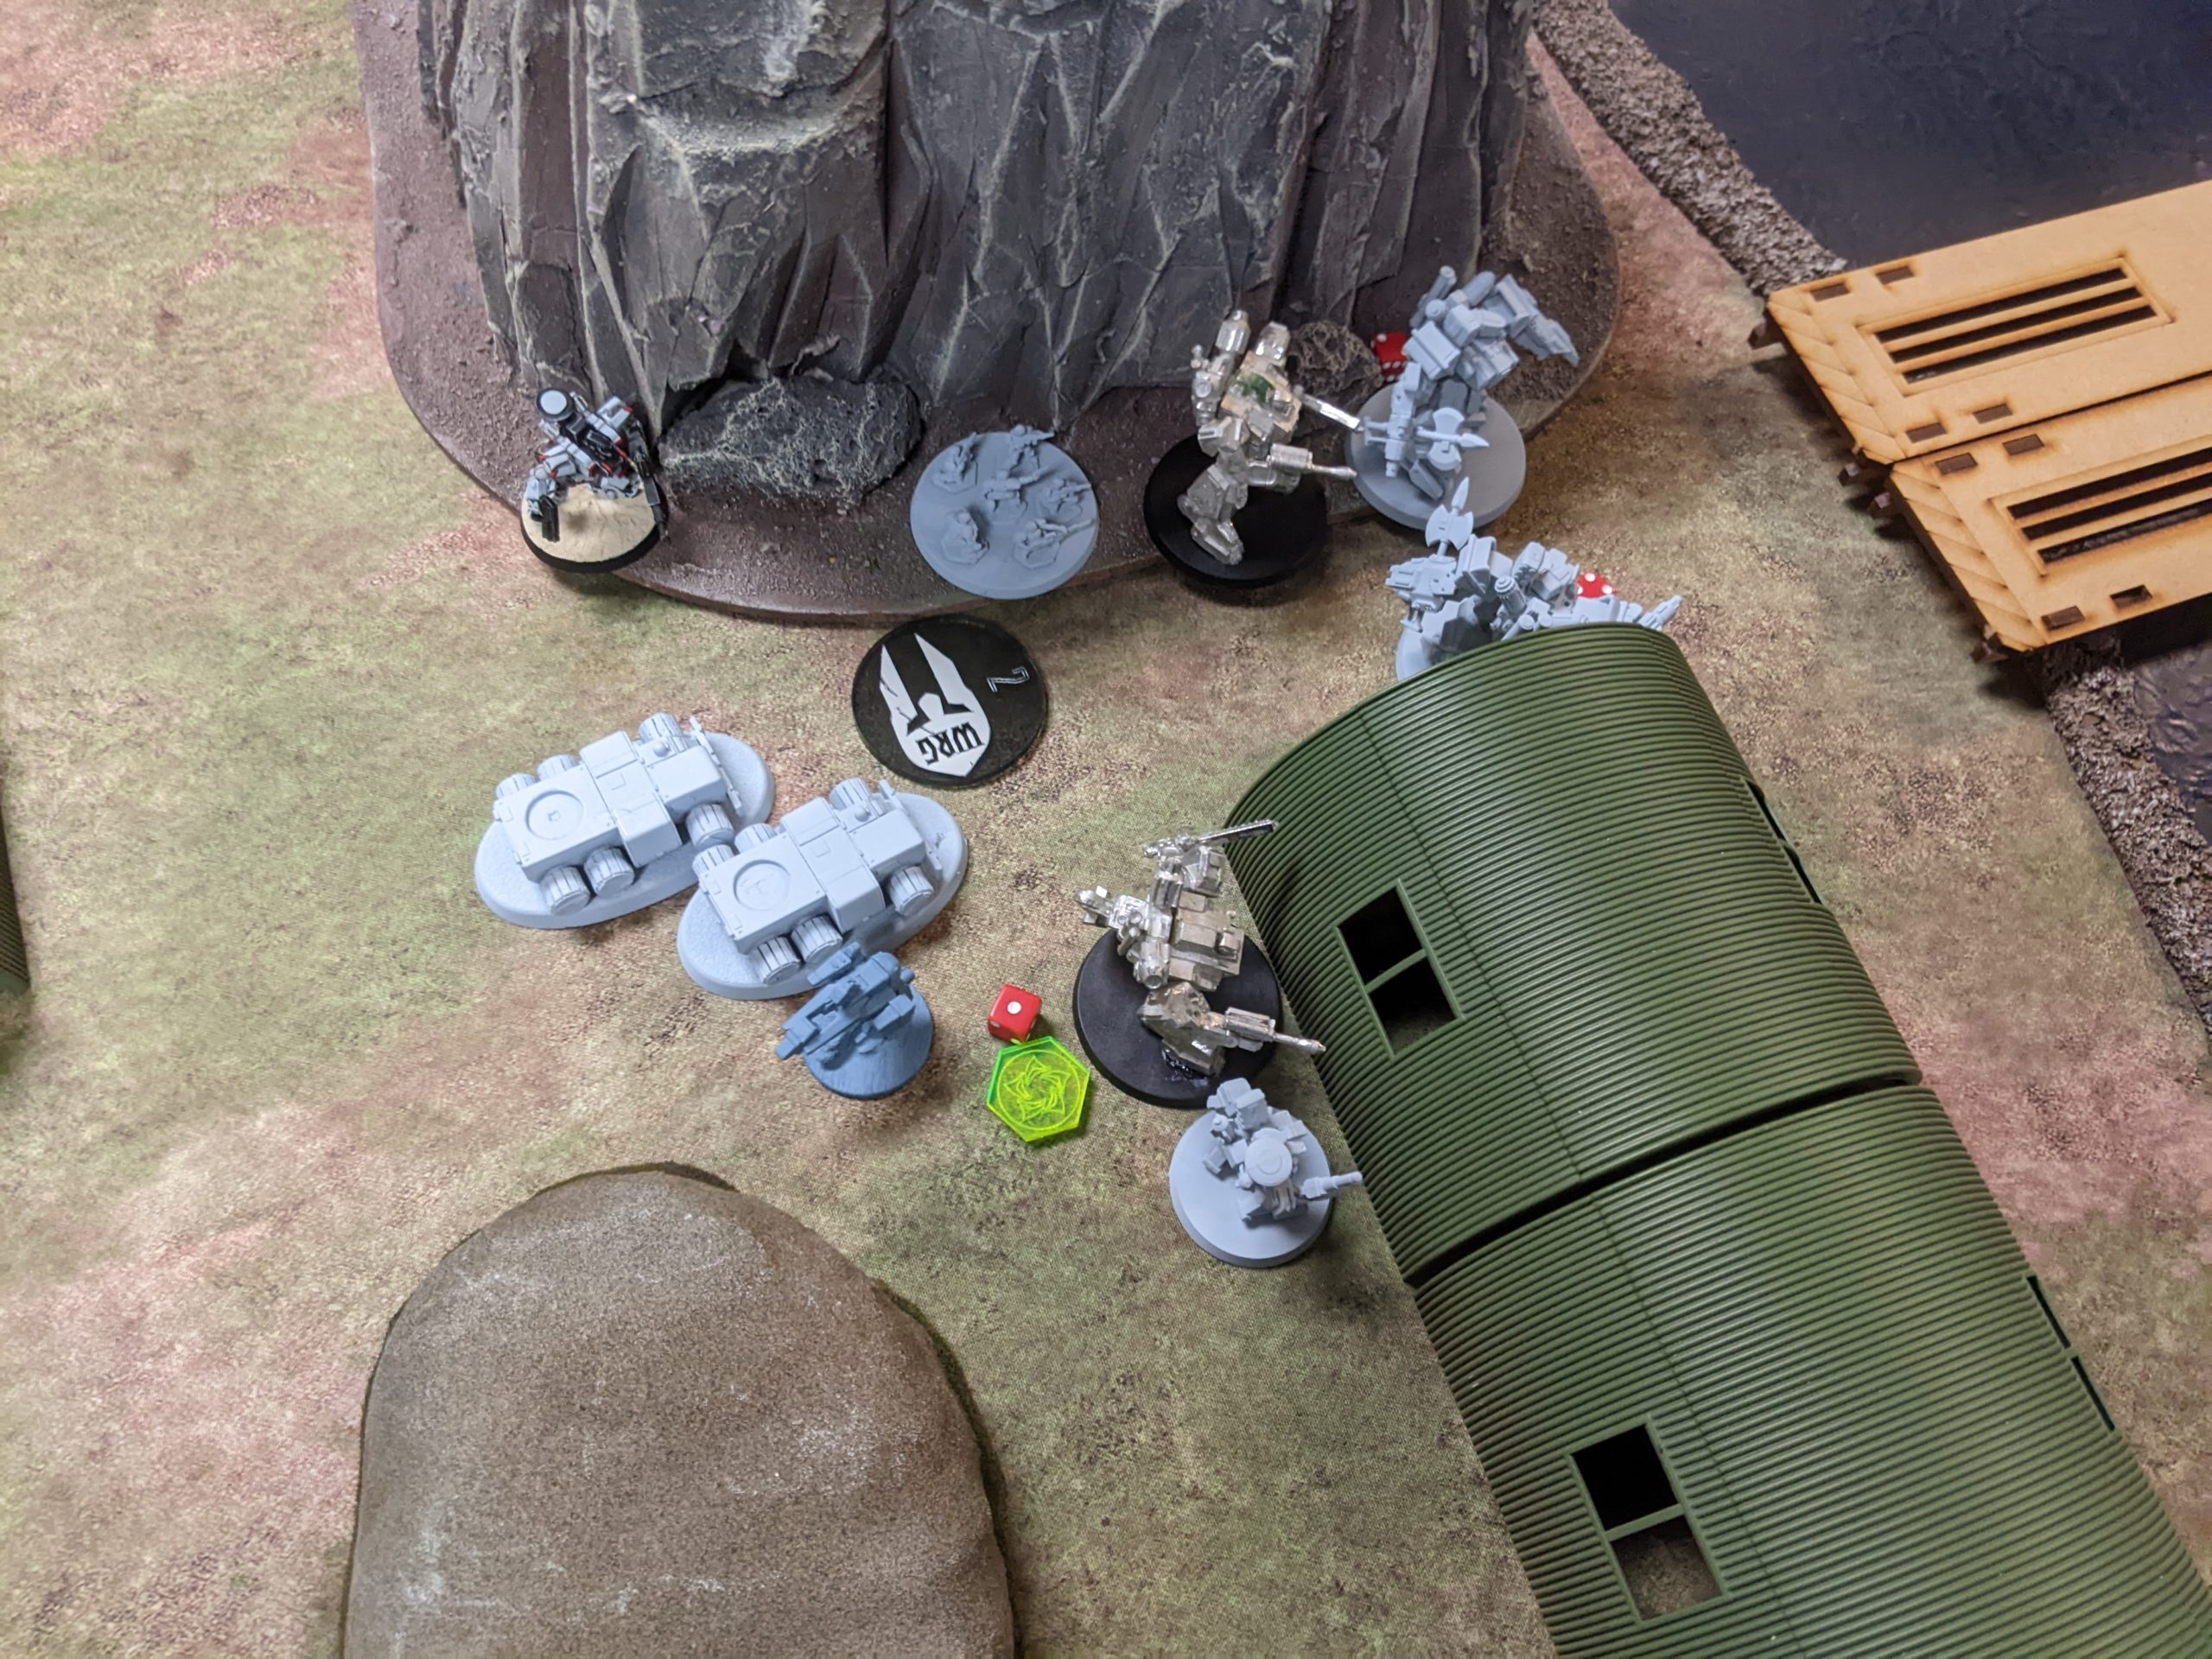
The Crusaders and Spartans advance, pouring fire into the forward Mastiff, killing it and forcing the units inside to disembark. They then drop mortars onto that area and decimate the exposed infantry.
I return fire with ATMs and particle accelerators from my SK group, taking out a Spartan and deleting the Skirmisher.
I get cheeky and try to land a LIGL shot from one of my infantry squads but nothing happens.
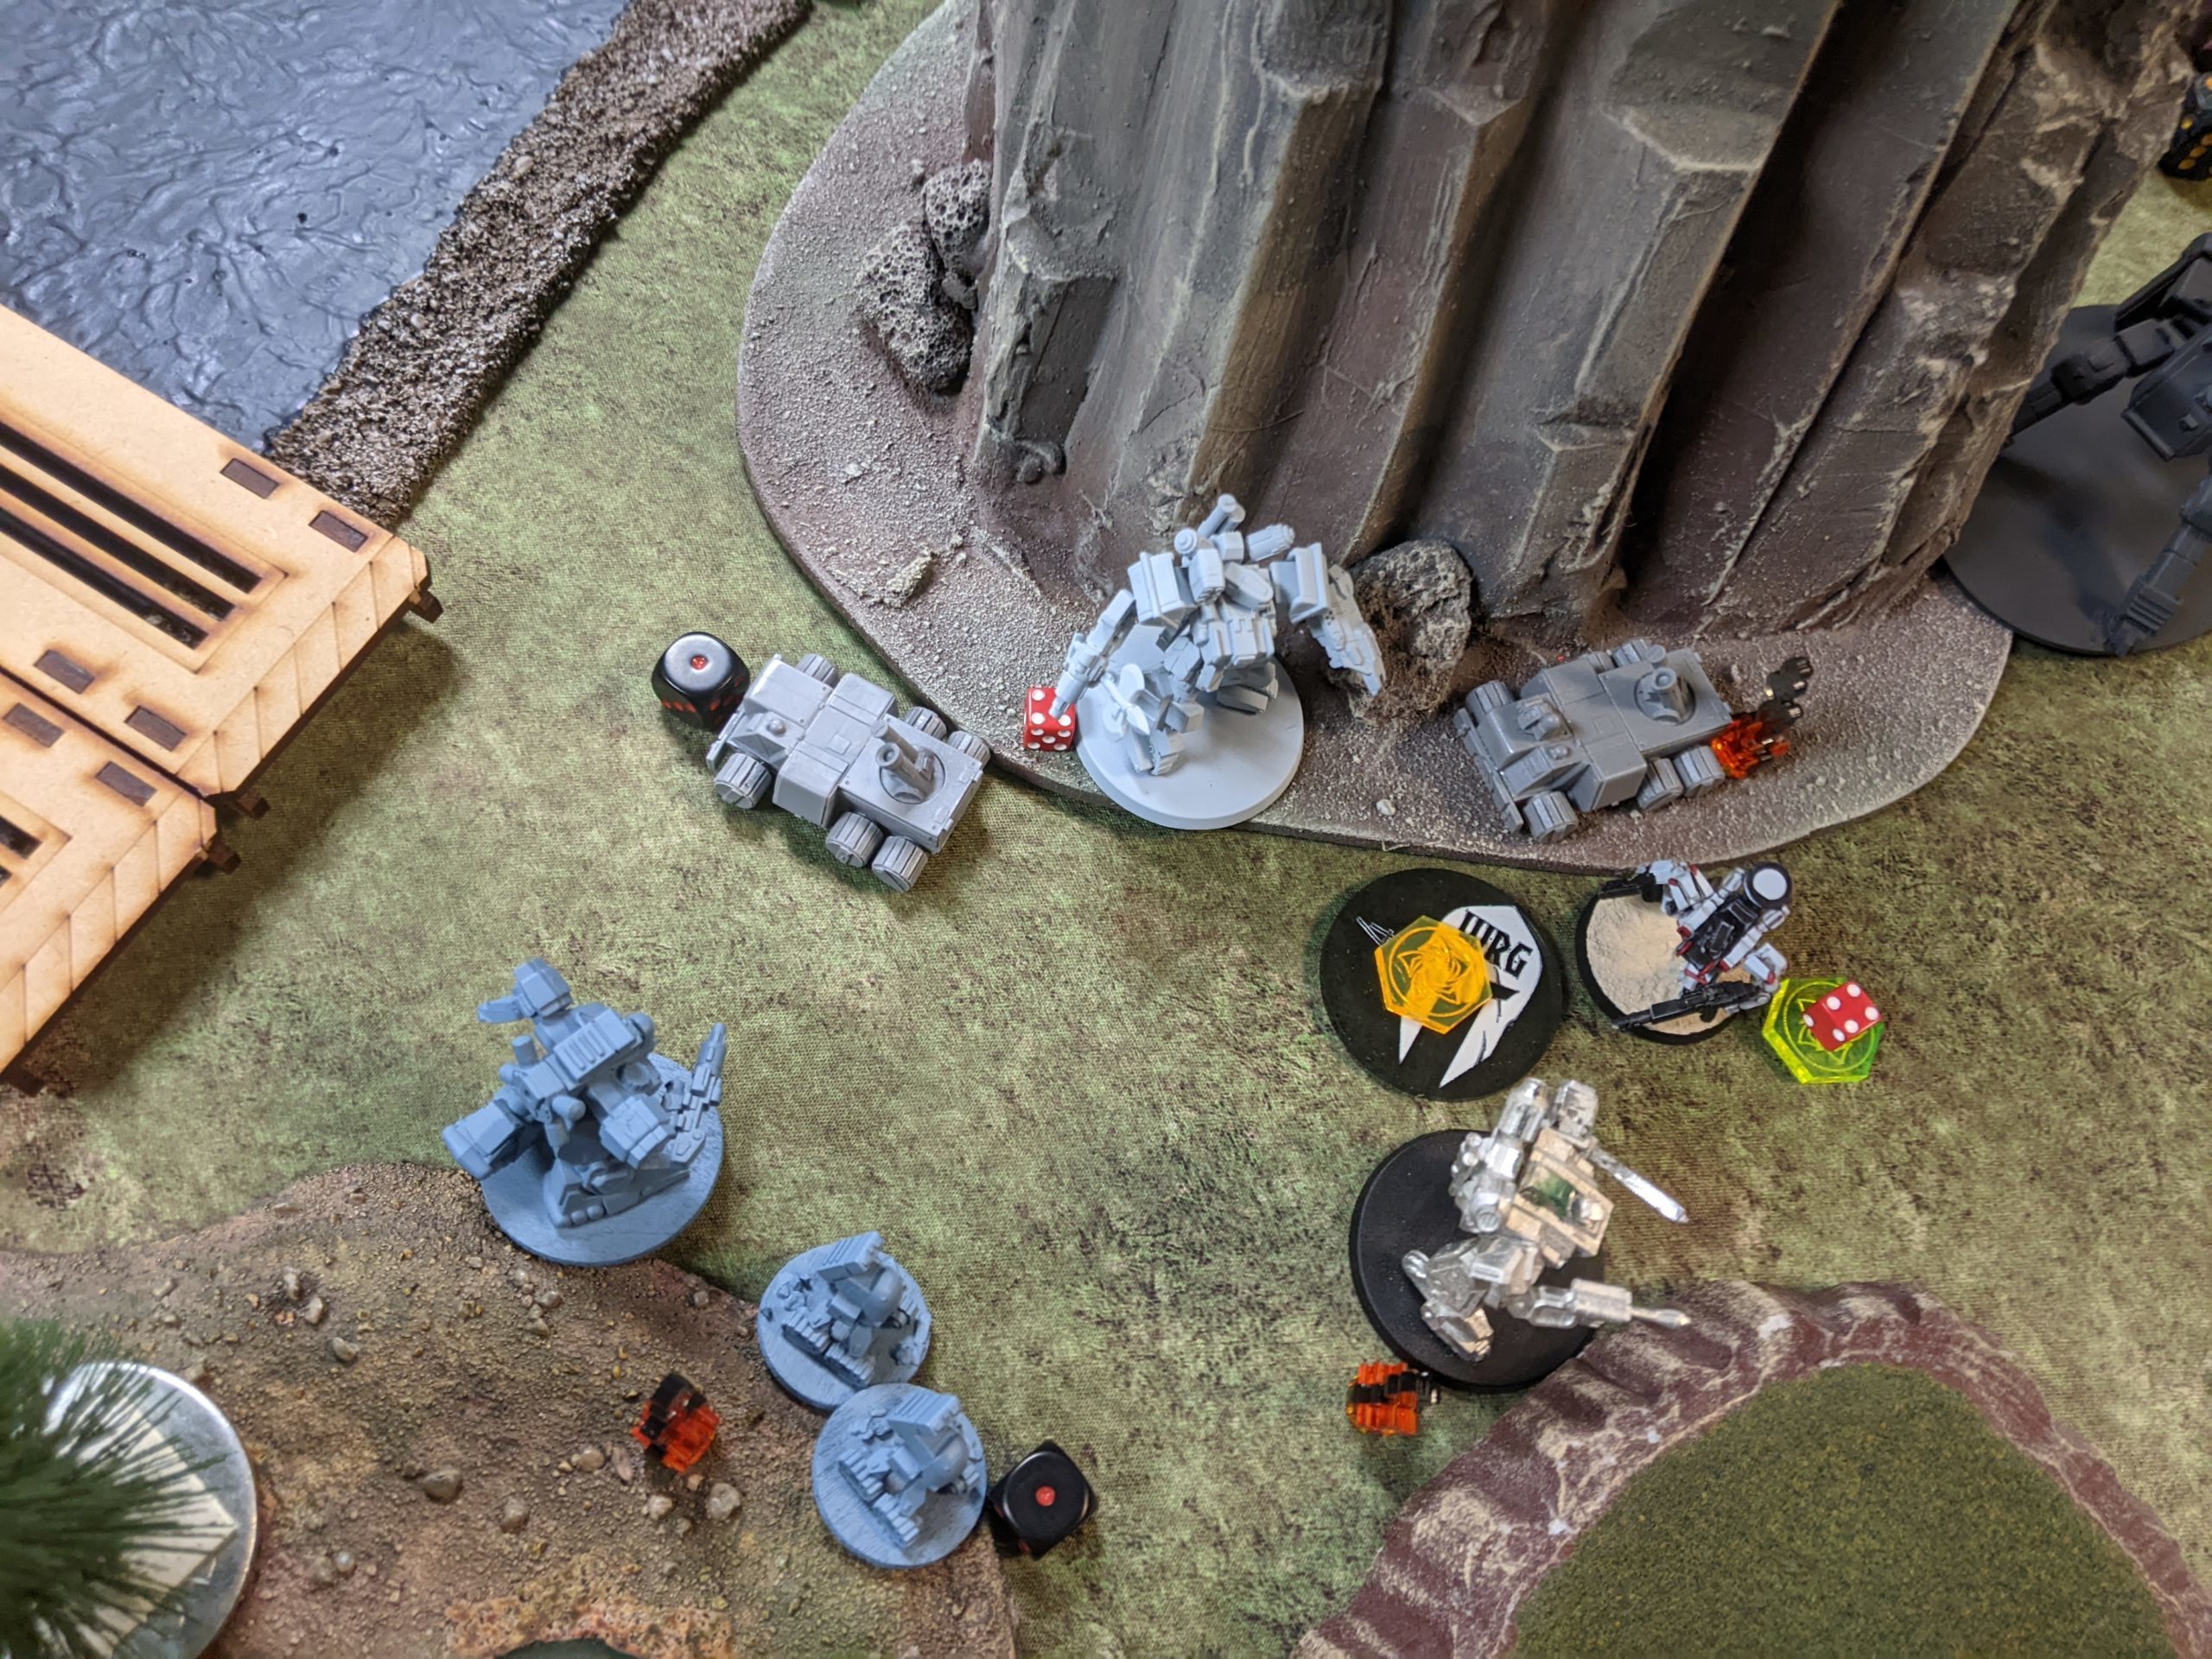
Adam dives a Crusader onto the objective…
and I promptly cripple it, but not before it severely damages my Support Armiger. I’m not taking advantage of the N-KIDU meatshields very well!
Adam’s Spartan finishes off the Armiger and continues to hold the objective.
I brace-fire some HAVM into the back of the Greyhound, crippling it.
I try to put some more damage onto the stuff on the bridge by dropping a LFM on everything with sadly no results.
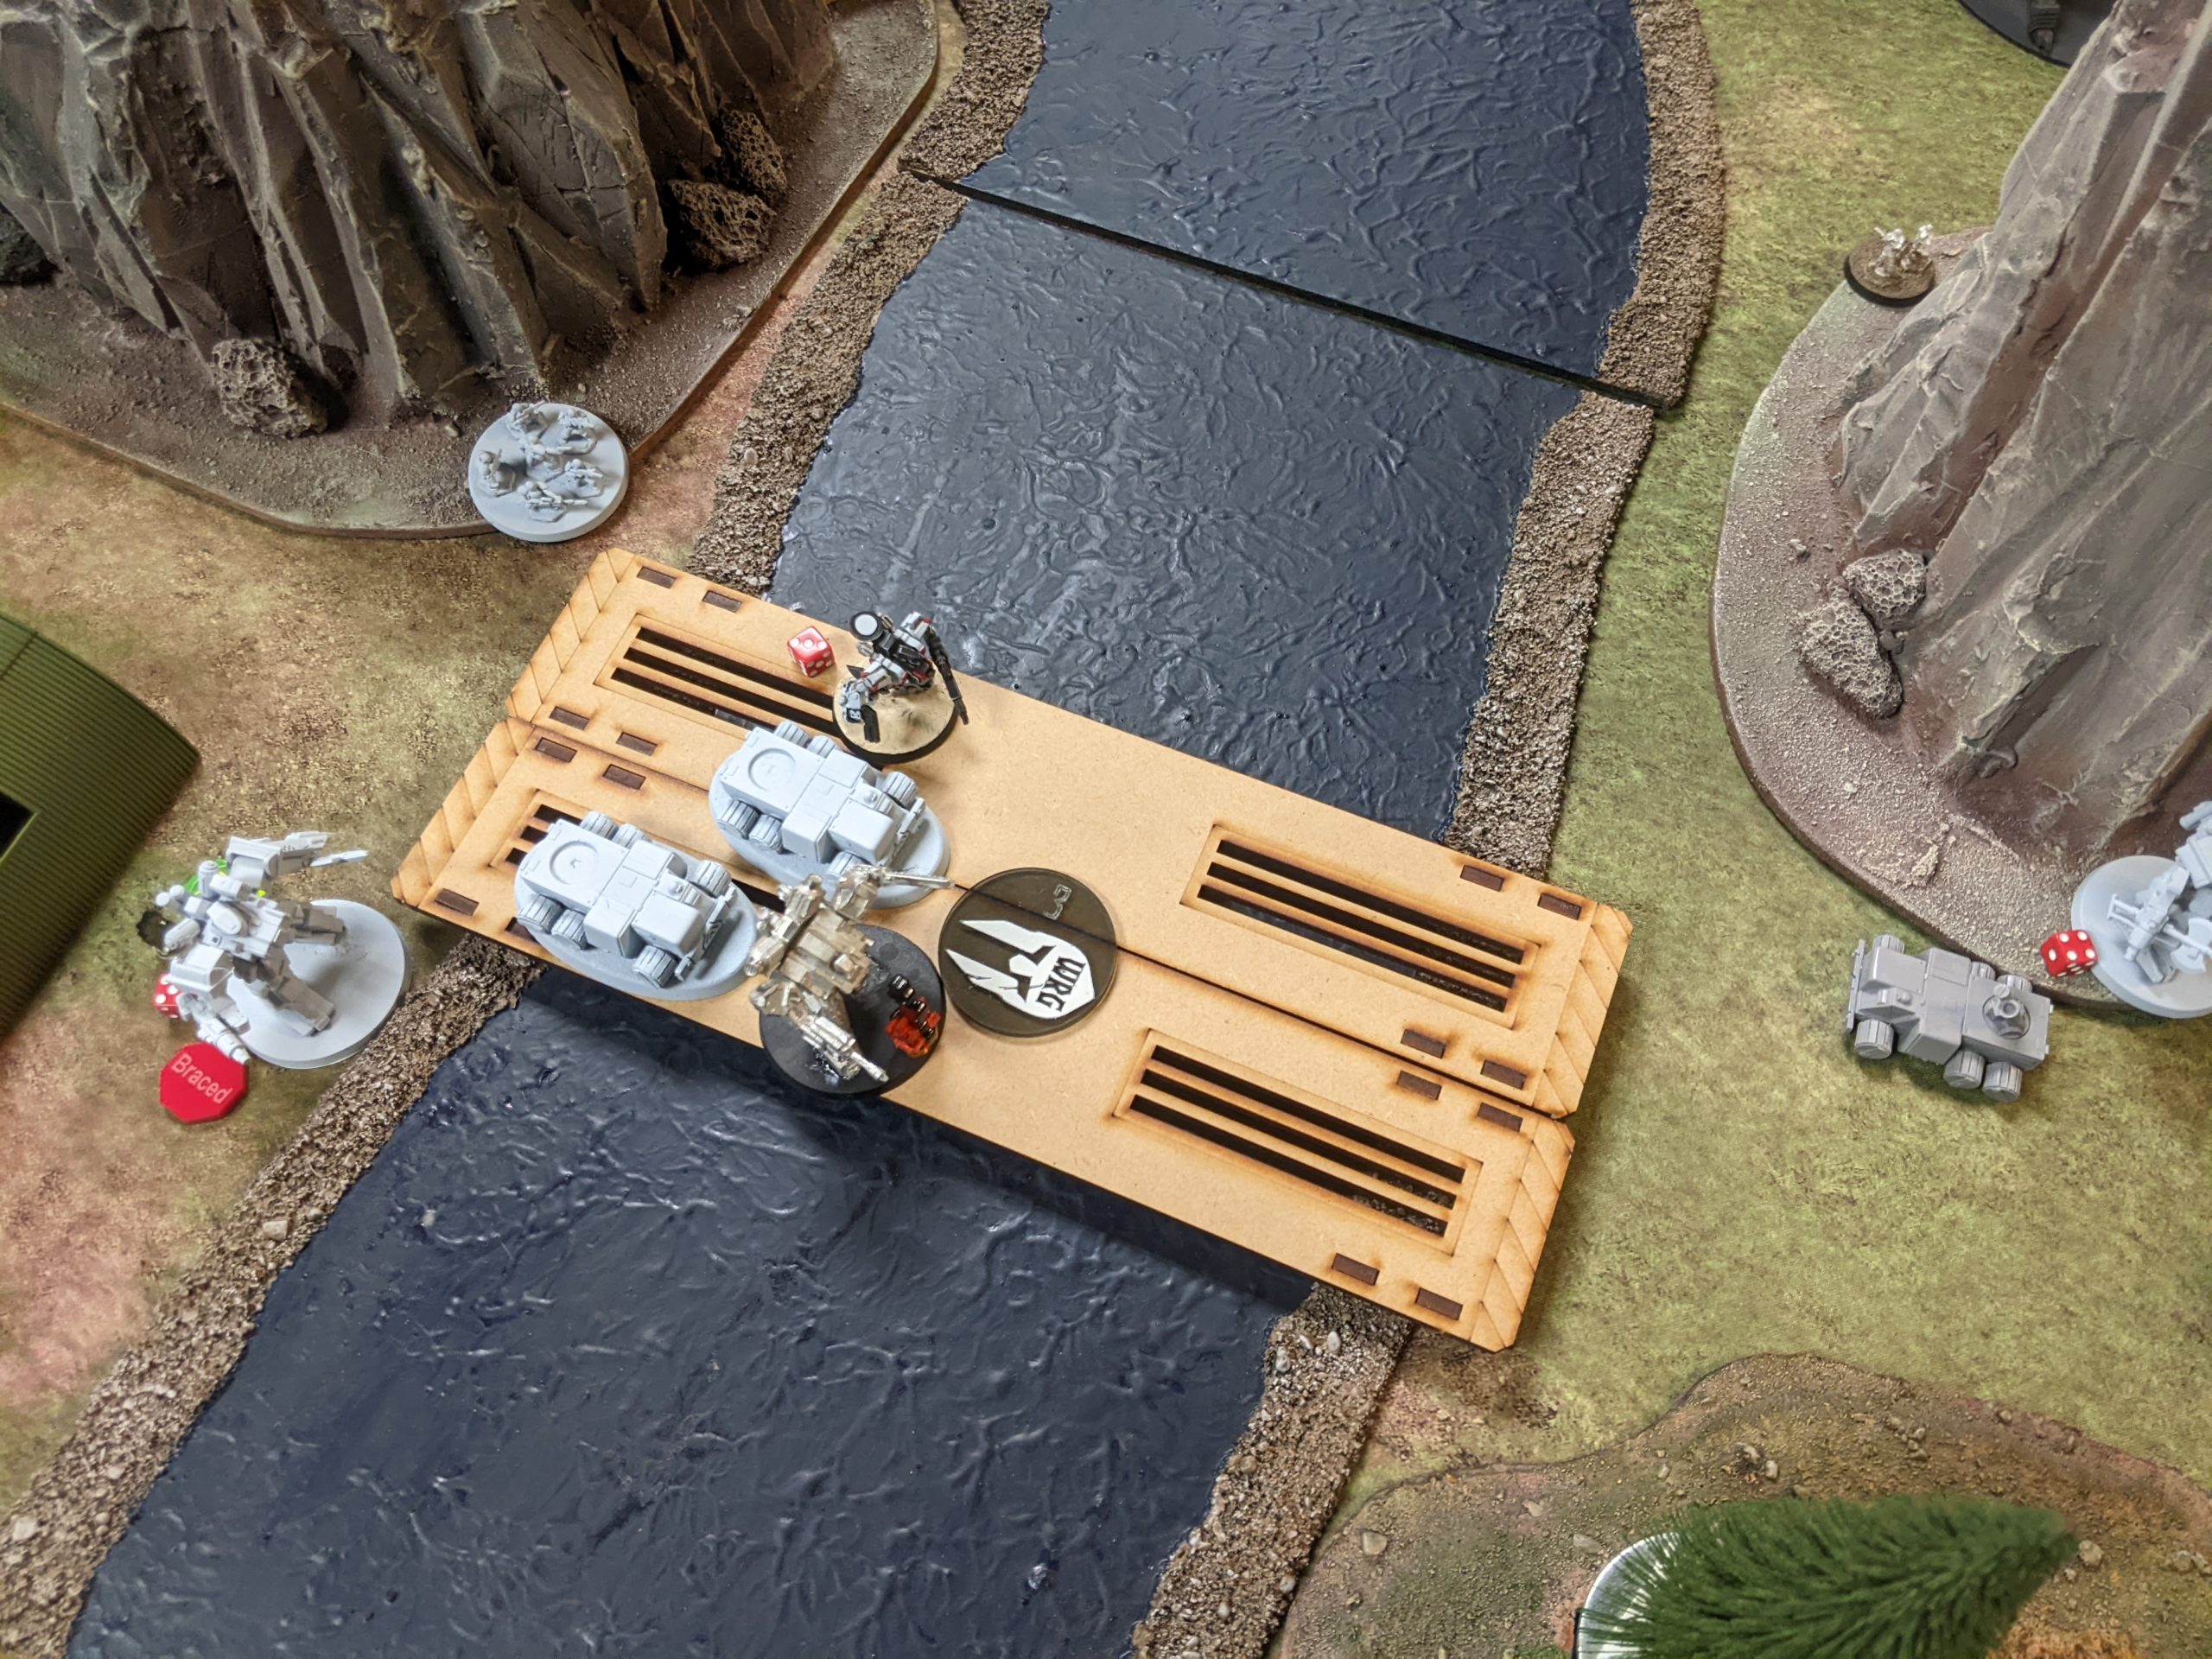
Everything clusters up on the objective and trades fire. The tough little support N-KIDU are taking shots into the rear of things at point blank range and failing to do any real damage, but they’re surviving!
Adam makes a push with his infantry to try and get enough bodies on it to overcome the disrupted state, but can’t get them there, so the Coyote starts eating my backline.
My Support N-KIDU claim cover in the forest and continue to try and take out Adam’s units with point-blank ATM shots, but due to that and Conscript they’re not doing so hot. The F6-16 fares better and destroys the remaining Spartan.
It’s really just a fight on this objective, with the Coyote pouring fire into my units. I’m rolling well and keeping them alive though.
It’s at this point that we remember I don’t have two secondary objectives, so Adam graciously lets me put down Hold tokens in reasonable spots.
An absolute bloodbath of a game. Adam’s got all four of his secondary objective points and has advanced across two waypoints, netting him 6 points. I’ve prevented him from getting to the end, so that’s 3 points for me, 1 point for Hold, 1 point for Clear the Way, and 1 point for disrupting one waypoint, getting me to 6 as well.
6-6 Tie!
Post Game Analysis
Well, I think it’s clear that Adam probably won this one, by virtue of having all his secondary objectives and pushing one waypoint past the central one. I think the scoring in this incarnation favors the defending player pretty heavily–a 3 point bonus for keeping Adam off the end waypoint is too much. I’m glad we tested the mission. Figuring out the points in reverse from board state is pretty good–if the SO player can stall the GP player in the middle, it should be a tie that’s broken by secondary objectives.
We’re still working out the details now, but I think the next iteration of the mission will be significantly better. The bones of the mission are good, and it’s both fun and cinematic. It also forces heavy levels of interaction–we were both taking very very short range shots within 4″ of one another. It’s funny that neither of us really went all in on melee, because that would’ve been even more of a bloodbath.
It’s been too long since my last game of Heavy Gear for me to really comment authoritatively on what went wrong–I’m re-engaging with the game and this was more of a test of the mission design anyway. I will say that I think I should have used the activations in the first group to disrupt the waypoints, or I should’ve airdropped and tried to get a rear arc shot immediately. I was too scared of not winning initiative though, so there’s that. I probably need to rely on the N-KIDU body-blocking for the Armigers though. Perhaps I’ll stick with Utopia for awhile and really start to figure them out. They’re a fun army and most importantly I don’t have to build anything for them. Thanks Adam!
My list was perhaps a bit too optimistic on the performance of the infantry, especially given Adam’s experience fighting my infantry now. I think a more N-KIDU focused list might have been better, although I did really really like the addition of the Mastiffs. Having mobile mortars with Stealth is pretty great. I can obviously get a similar toolkit from the mortar N-KIDU, but I just like splashing Black Talons into lists for fun.
I do think that the infantry are just too slow to really help with waypoints other than the ones they deploy next to. There’s too much opportunity to kill them, and this mission really really encourages clumping. In fact, we basically played on a 2×4 map, with the entire right side (from my perspective) essentially unused. I think as the SO player you should capitalize on this and take the Flags GP objective and use SO deployment to just get your Flags in position. If nothing else this will force your opponent to divert resources, which I think is a good thing.
One thing we haven’t really discussed is making lists to satisfy all 5 possible Advanced Operations missions. The missions are too immature at the moment, but that will change shortly, I hope. That’s that for this battle report! If you’d like to help test missions, have a look here:
You can send feedback to me at my Lumbering Sprocket wisekensai@ email address if you’d like, or hit us up at the Late Night Wargames/TDA Live discord.
Thanks for reading!