
Spoiled Yogurt
Game two saw me face off against Kosmoflot piloted by Cayden in Supremacy. See below for game 1:
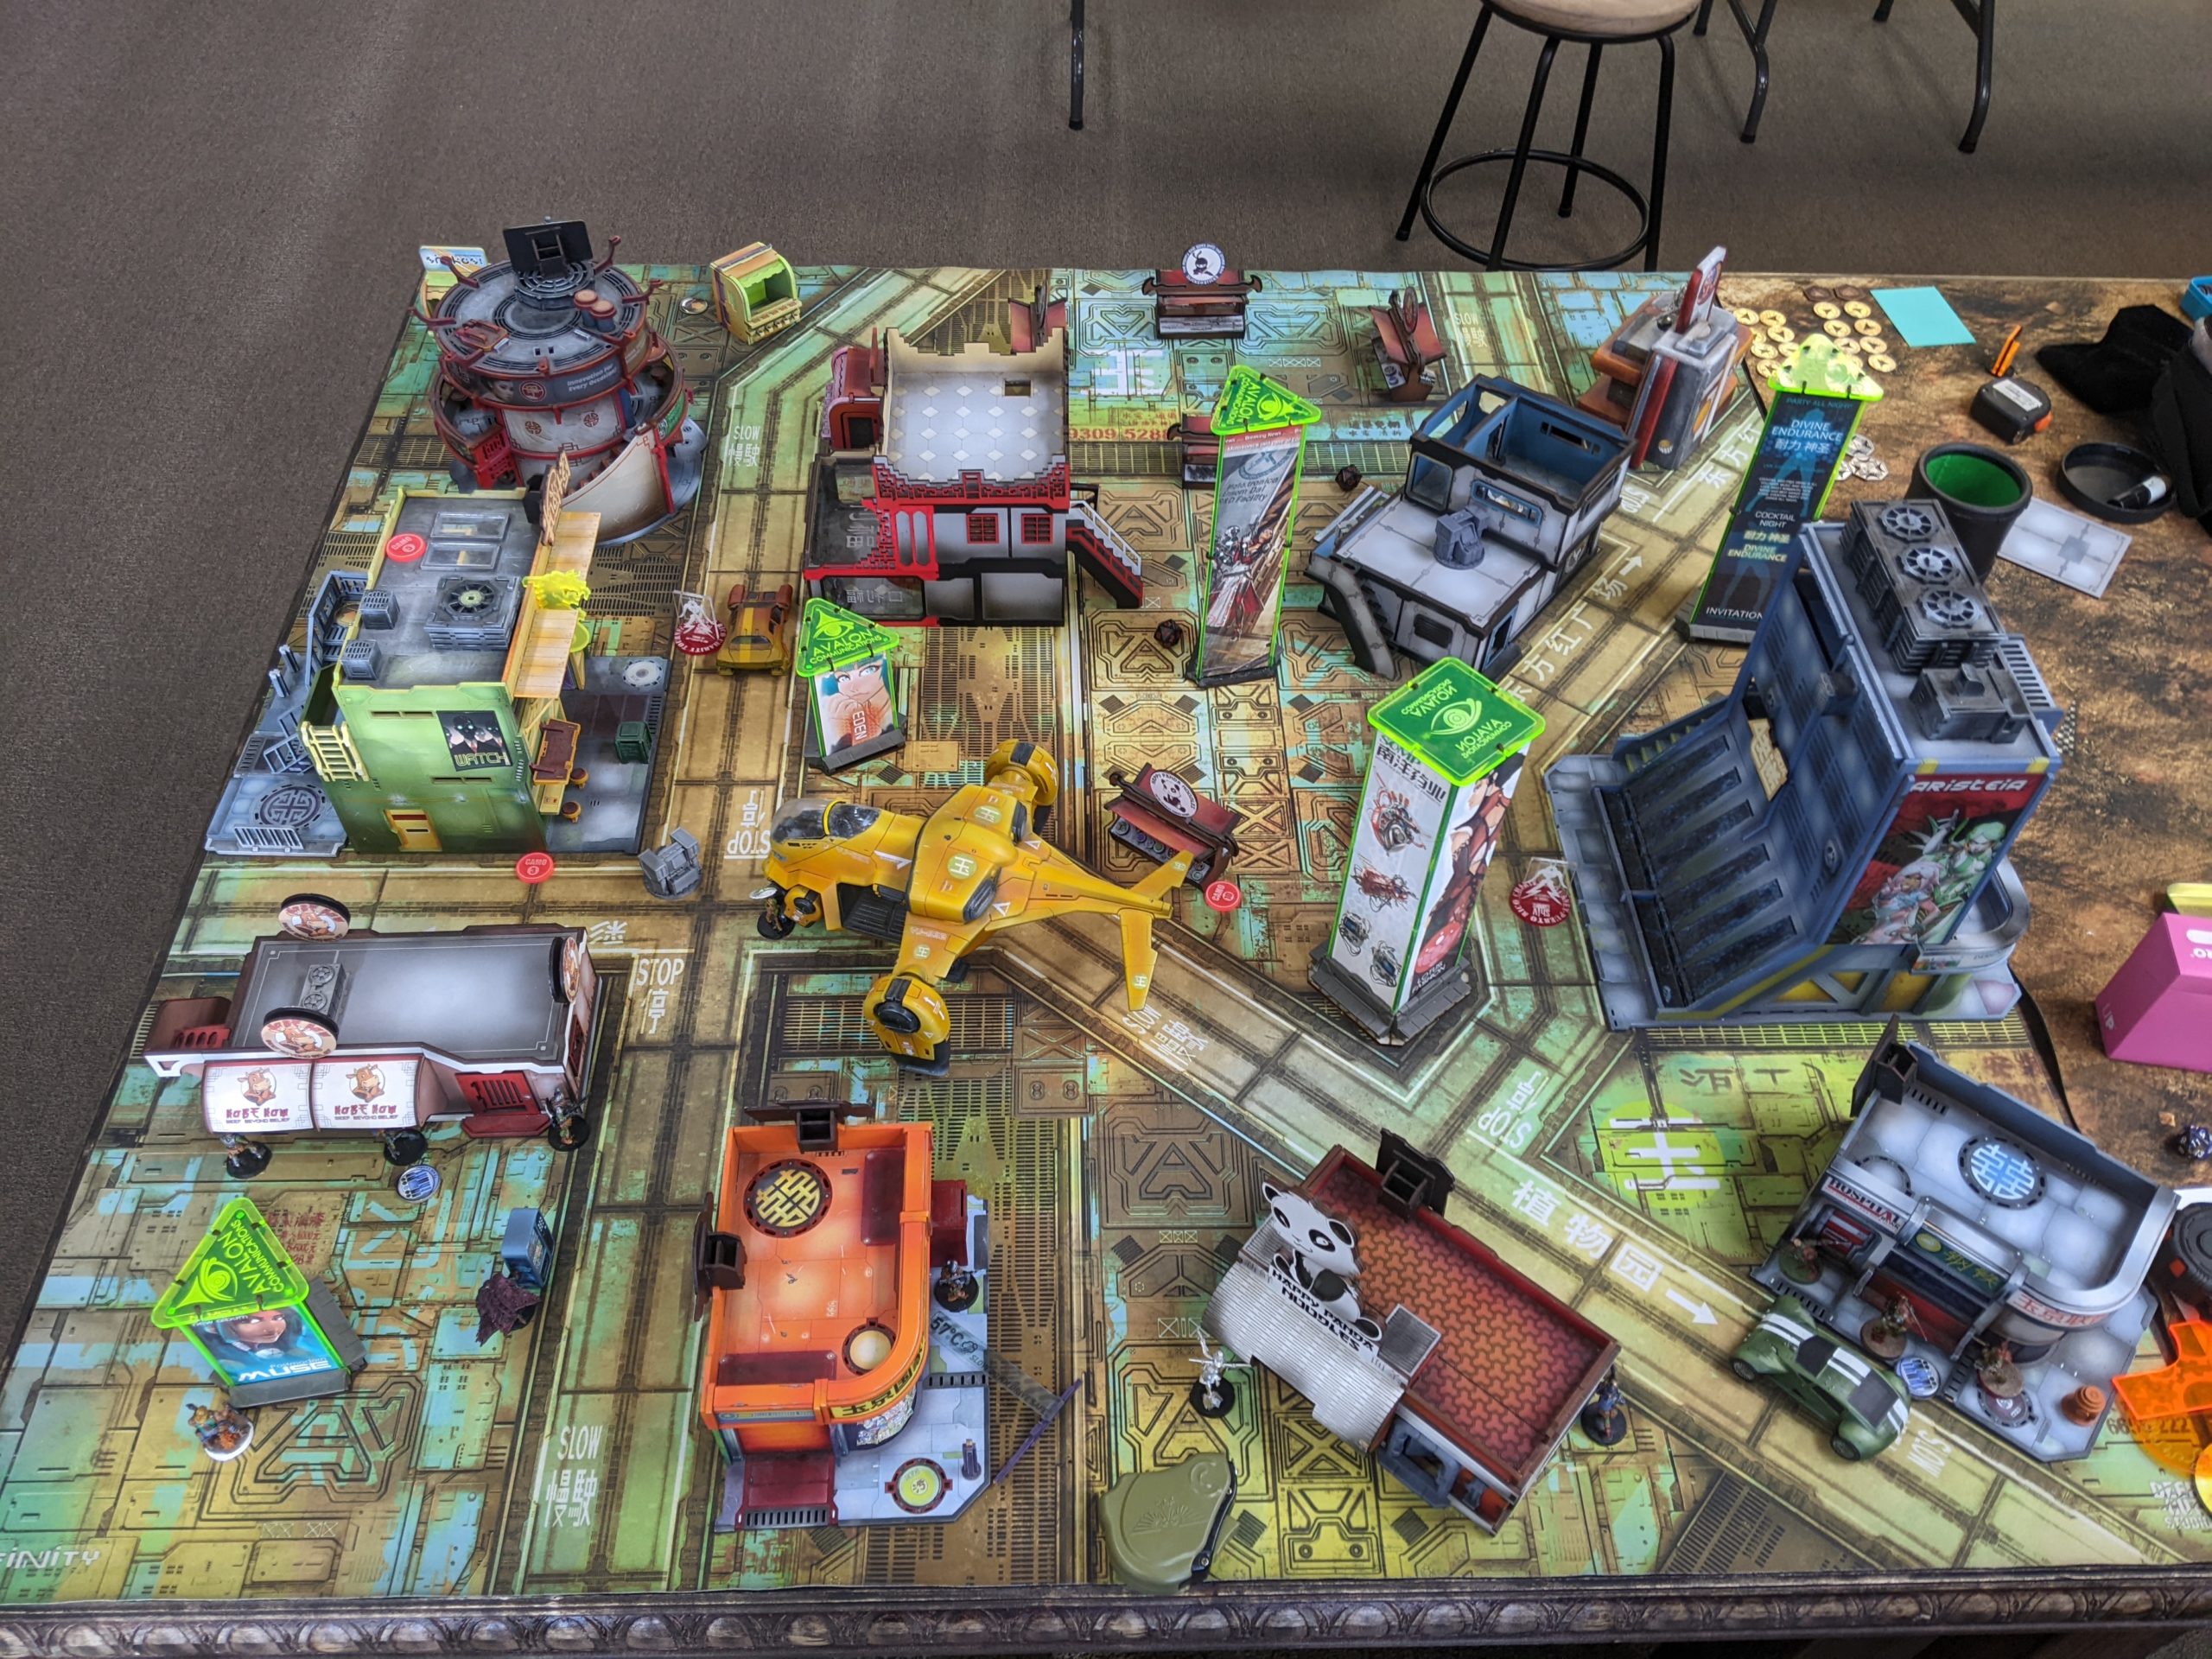
I had practiced Supremacy a lot for the Mindtaker tournament a few weeks before, so I felt reasonably confident in my game plan at least. I must say I really don’t like this Yu Jing mat in like 90% of cases, but it looks fire on this table! I think it’s the color palette of the buildings complementing the mat well that makes it look so good. Really glad to be playing on the table, it looks fantastic and there’s so much detail in the interiors!
Overview
- Mission: ITS14 Supremacy
- Forces: Morat Aggression Force versus Kosmoflot (300)
- Deploy First: Kosmoflot
- First Turn: Kosmoflot
This is the same list that I’ve been practicing with, so I’ll refer to you to a previous report for my discussion of the list:
Acquisition and Supremacy
GROUP 1
8
KORNAK (Lieutenant [+1 Order], Strategos L1) Mk12, Light Flamethrower / Heavy Pistol, DA CC Weapon. (0 | 45)
ANYAT K1 Combi Rifle, Chain-colt, Smoke Grenades, E/M Grenades / CC Weapon, Heavy Pistol. (0 | 24)
YAOGAT MULTI Sniper Rifle(+1B) / Heavy Pistol, CC Weapon. (1.5 | 35)
GROUP 2
DARTOK (Hacker) Combi Rifle, Pitcher, Cybermines / Heavy Pistol, CC Weapon. (0.5 | 25)
RINDAK (Paramedic, Forward Deployment [+8″]) Boarding Shotgun, Blitzen(+1B) / Heavy Pistol, PARA CC Weapon. (0 | 35)
TYROK T2 Rifle, Shock Mines / Heavy Pistol(+1B), Trench-Hammer(+1 Dam). (0 | 25)
SKURGOT DA CC Weapon. (0 | 4)
IKADRON (Baggage, Repeater) Light Flamethrower(+1B), Flash Pulse / Pistol, PARA CC Weapon(-3). (0 | 9)
4
5
Q-DRONE Plasma Rifle / PARA CC Weapon(-3). (1 | 24)
OZNAT FTO Combi Rifle, Smoke Grenade Launcher / Shock CC Weapon, Heavy Pistol. (0 | 16)
GAKI AP CC Weapon. (0 | 4)
3 SWC | 300 Points | Open in Infinity Army
The short version is Yaogat kills stuff and Rindaks park in the midfield and do things.
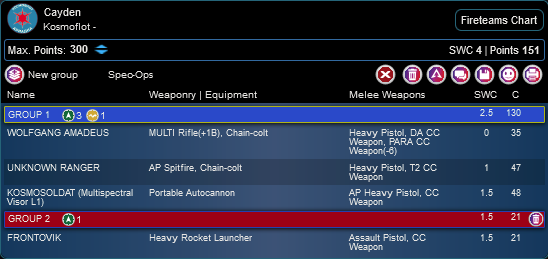
Cayden’s list is quite interesting. He’s got a real powerhouse link with his namesake (spelled differently), Wolfgang, and the Unknown Ranger powered by a pair of Rokots. For the midfield, he has a pair of SAS and Uxia, and then he’s got almost a Makaul-triad level model blender in the Varangian haris in the second group.
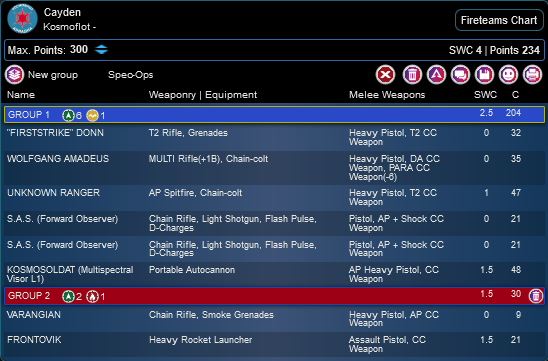
Cayden
GROUP 1
ROKOT (Lieutenant) Submachine Gun, Grenades, D-Charges / Pistol, CC Weapon. (0 | 9)
“FIRSTSTRIKE” DONN T2 Rifle, Grenades / Heavy Pistol, T2 CC Weapon. (0 | 32)
WOLFGANG AMADEUS MULTI Rifle(+1B), Chain-colt / Heavy Pistol, DA CC Weapon, PARA CC Weapon(-6). (0 | 35)
UNKNOWN RANGER AP Spitfire, Chain-colt / Heavy Pistol, T2 CC Weapon. (1 | 47)
GROUP 2
S.A.S. (Forward Observer) Chain Rifle, Light Shotgun, Flash Pulse, D-Charges / Pistol, AP + Shock CC Weapon. (0 | 21)
UXÍA McNEILL (Specialist Operative) Boarding Shotgun, D-Charges, Smoke Grenades / Assault Pistol(+1B), AP CC Weapon. (0 | 27)
KOSMOSOLDAT (Multispectral Visor L1) Portable Autocannon ( ) / AP Heavy Pistol, CC Weapon. (1.5 | 48)
VARANGIAN Submachine Gun, Chain Rifle, Smoke Grenades / Heavy Pistol, AP CC Weapon. (0 | 12)
FRONTOVIK Heavy Rocket Launcher / Assault Pistol, CC Weapon. (1.5 | 21)
4 SWC | 300 Points | Open in Infinity Army
He’s got some fun solo gun choices as well with the Frontovik HRL and the Kosmosoldat (who gave me fits). The list is basically a claymore mine: “front towards enemy!”
Deployment
I won the rolloff and selected deployment, meaning Cayden was going first. I had no idea what to expect from his list when choosing table side, but I had to honor Margot and Duroc. I was terrified of them coming on and just wrecking house, so I chose the side with the best place to put a Q-Drone to cover the back table edge in a balanced way. I figured if anything would stop Duroc, it would be burst three plasma. One could hope. Of course, this meant I had the far inferior side in terms of overall deployment safety, but I figured I’d muddle through after Cayden deployed.
He gave me a denied flank, basically. The right side of his deployment was just the Varangian Haris and the Kosmosoldat. The Frontovik and the free CSU (proxied by a Bashi) were centrally located and backstopping a SAS, and then the powerhouse link was on the left with another SAS.
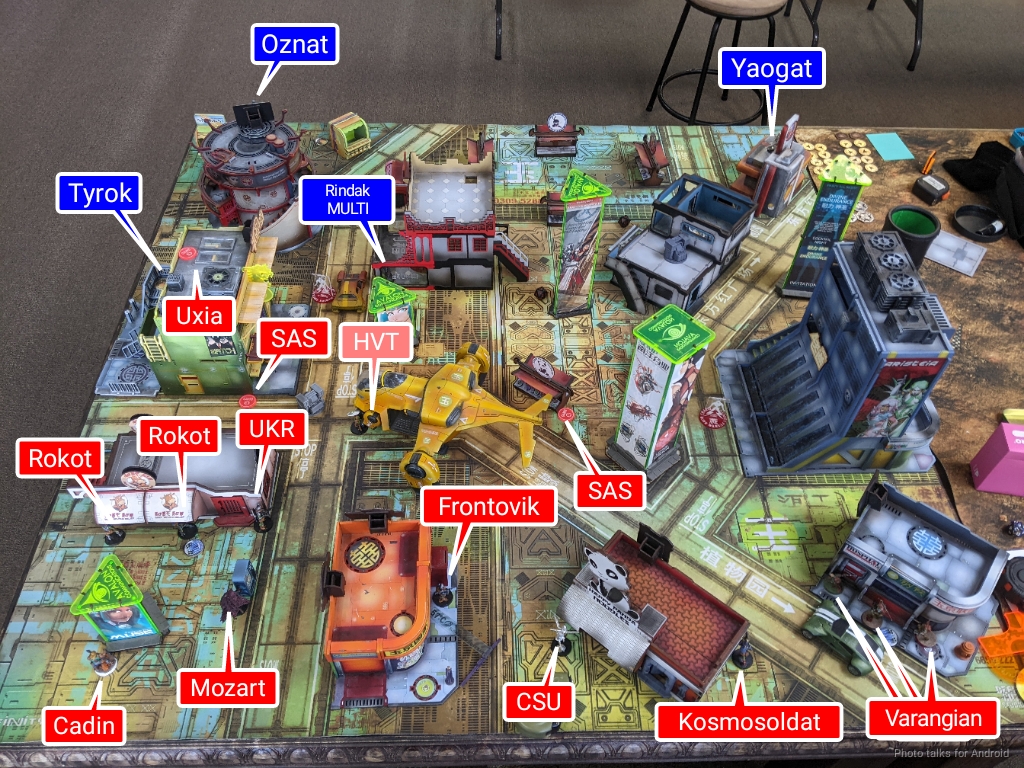
Seeing all this, I was pretty confident that Margot and Duroc weren’t coming for me, so I relaxed a little and set about resolving my deployment problem. There simply was no reasonable place for the Gaki core other than in the multi-story noodle shop. I put the Oznat all the way up top behind a sign, and then put the Ikadrons on either side of my deployment zone to guard my flanks against Paracommando.
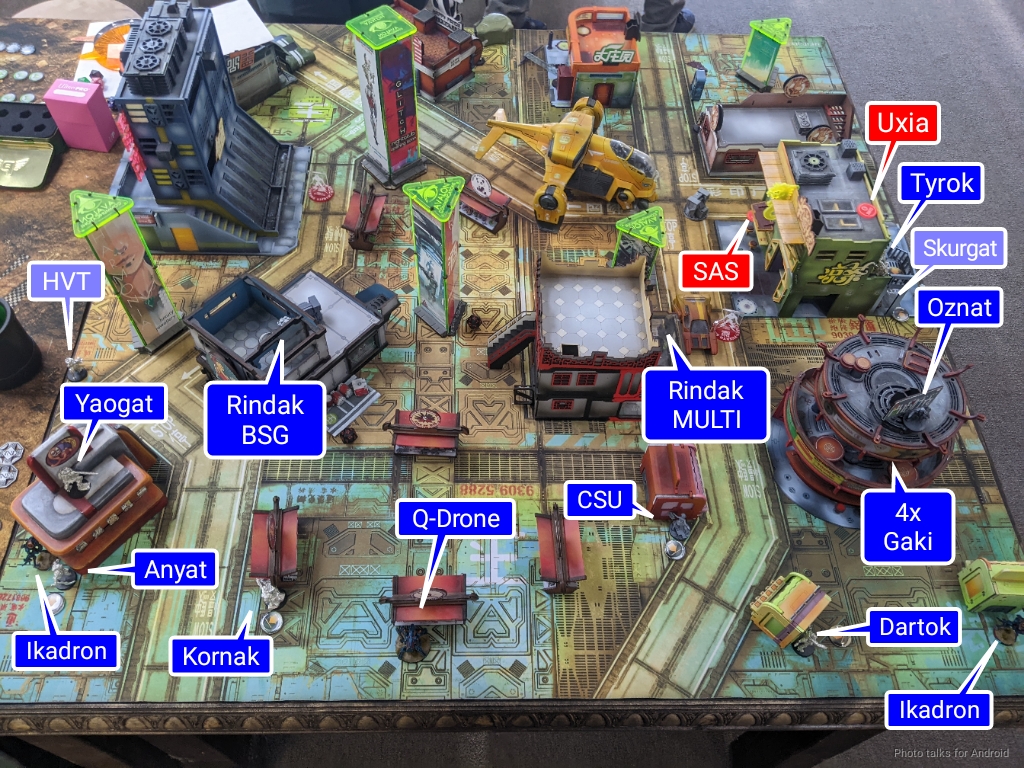
I put Kornak and Anyat on the left. I figured I could contest the Varangians on the left with the Yaogat if I put him on the building, and then the Unknown Ranger would have to shoot at me in bad range diagonally across the table. This felt pretty okay, so I took the risk and decided to put the Yaogat there once I was placing reserve models. There simply was no good place to put the Dartok to be a spare tire that I felt comfortable with, so I put him on the right as a secondary specialist, remembering the lesson of a previous game:
I also had the Breaker Rifle/Nanopulsar CSU on the right as another gun and specialist.
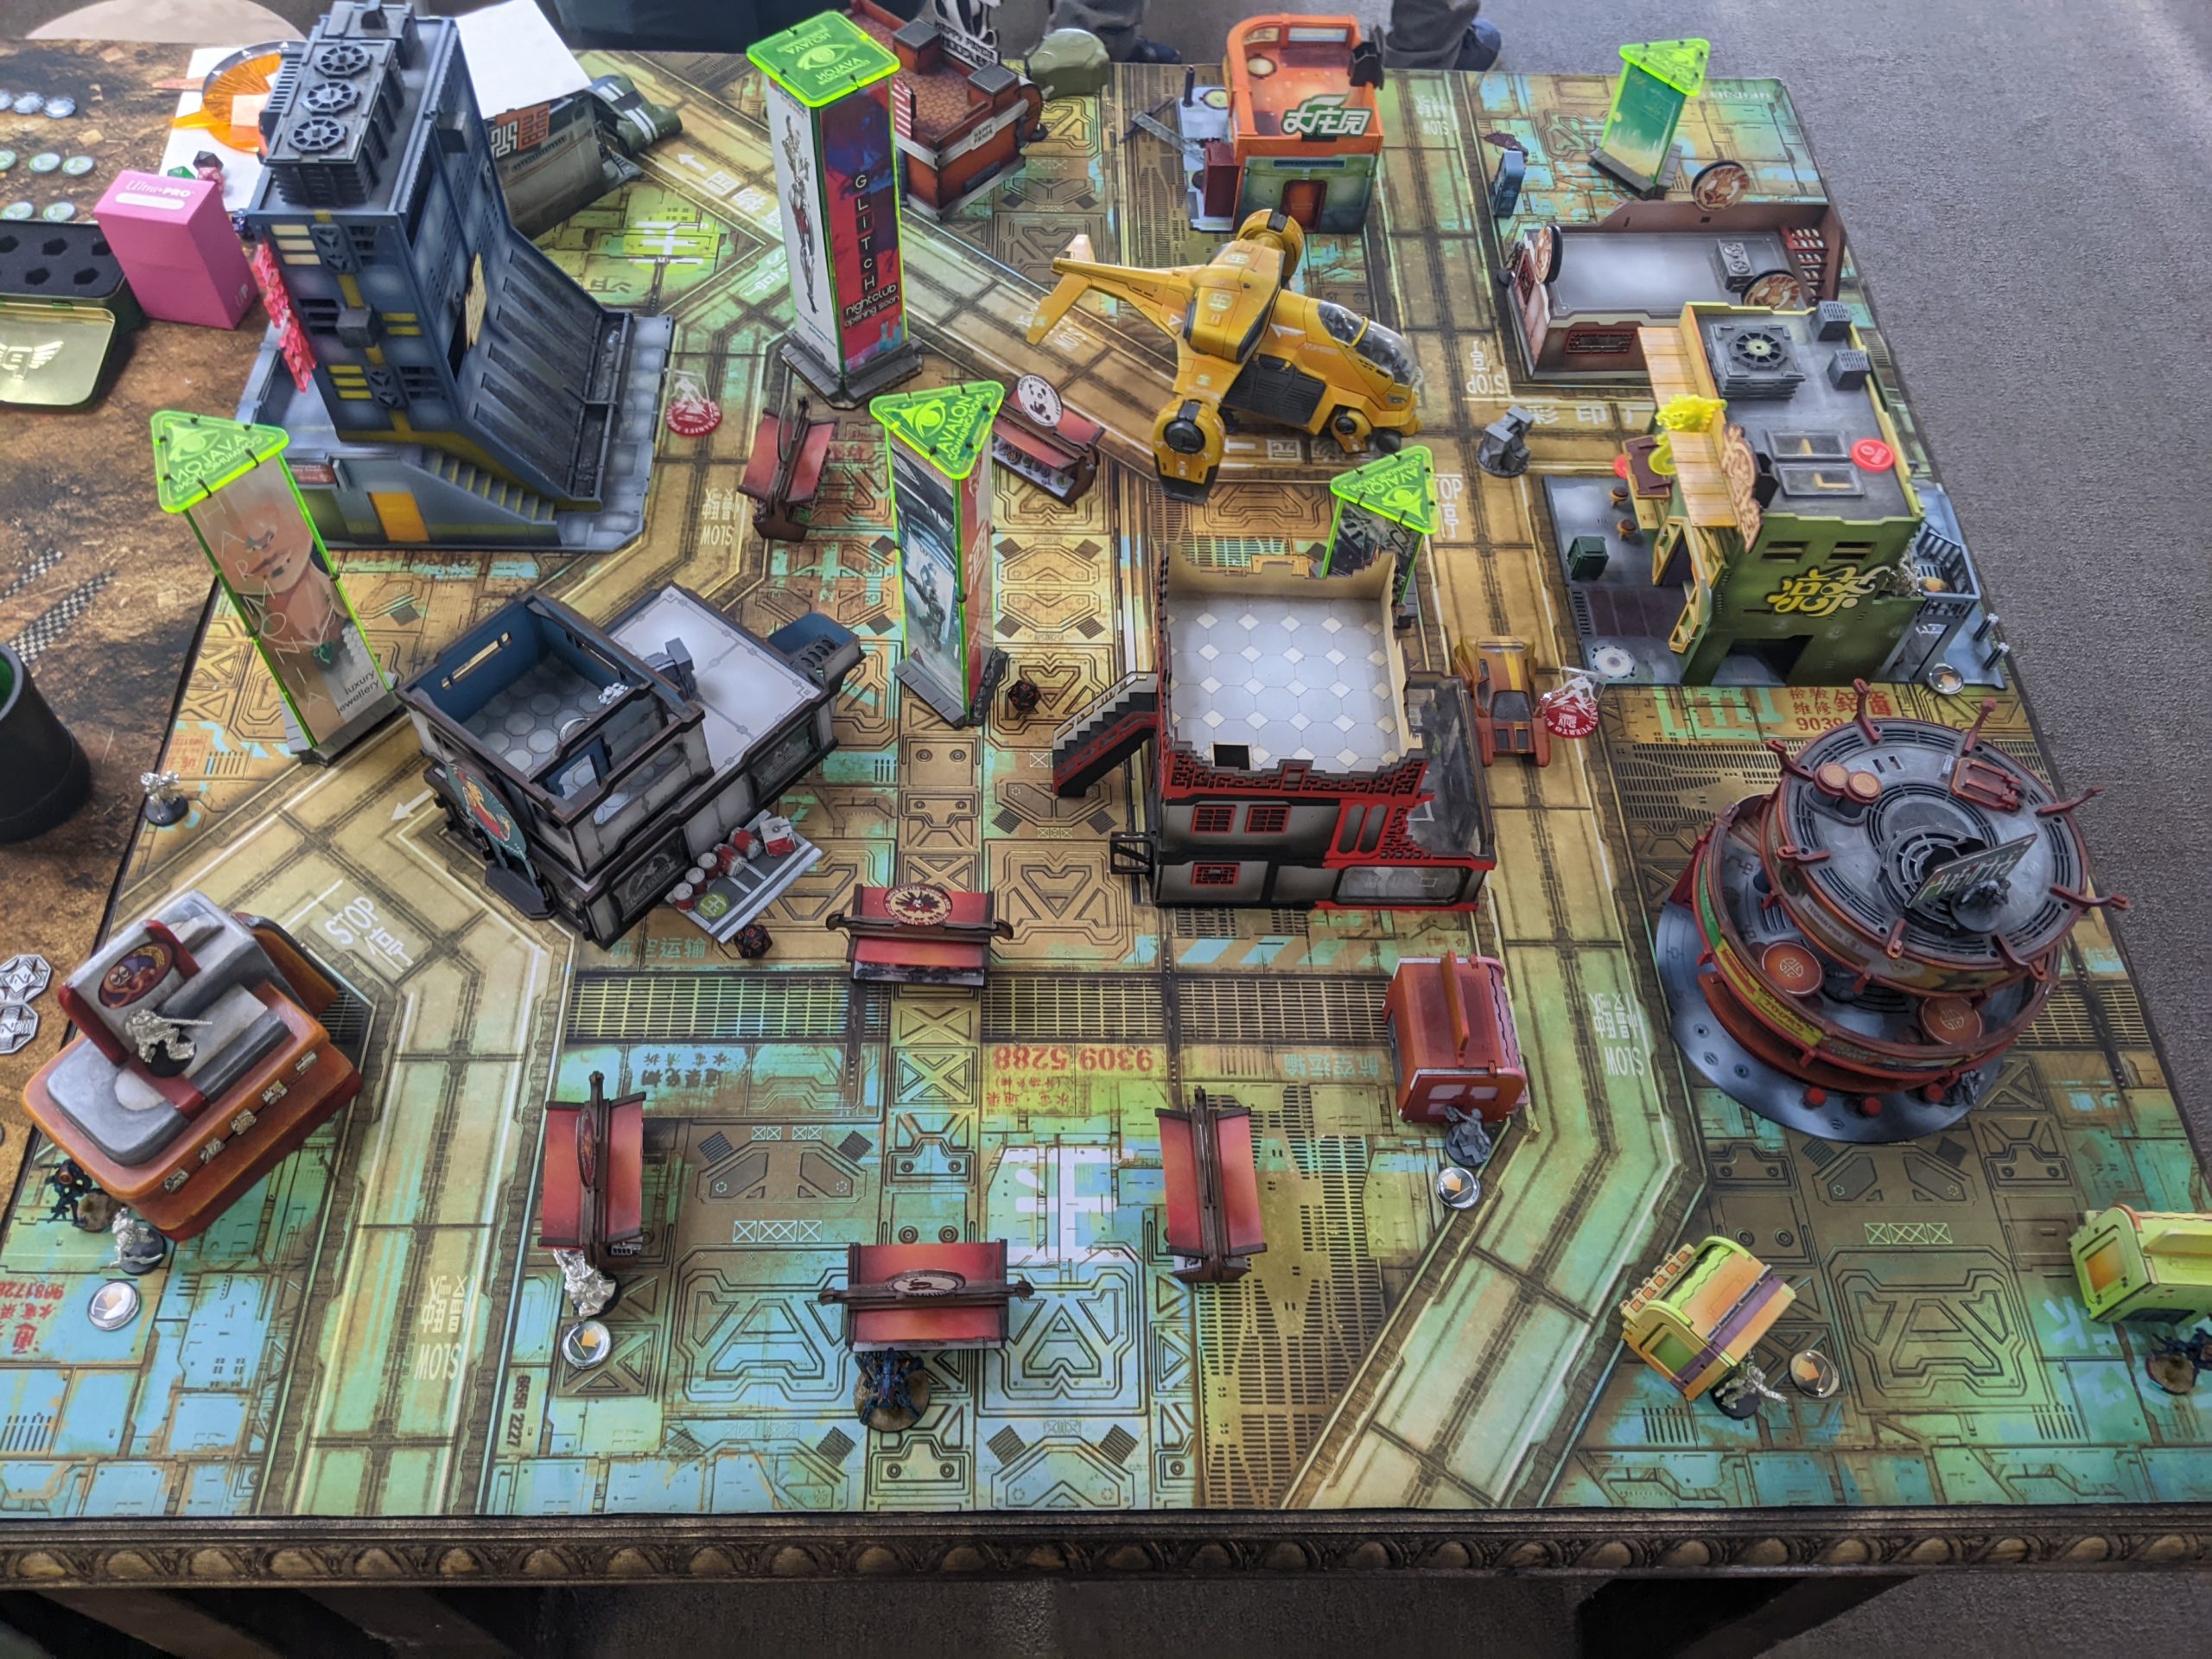
The Rindak BSG went in a little house thing on the left, and the Tyrok went on the right in an elevated position that would be able to shoot at the Unknown Ranger’s link if it advanced. I figured the T2 rifle would be handy against the 2-wound models on that side. Cayden put Uxia on the roof next to the Tyrok. I placed the Yaogat covering the Varangians and the UKR’s approach, and then stuck the Rindak MULTI in a building just outside my deployment zone.
Turn 1
Top of 1 – Kosmoflot
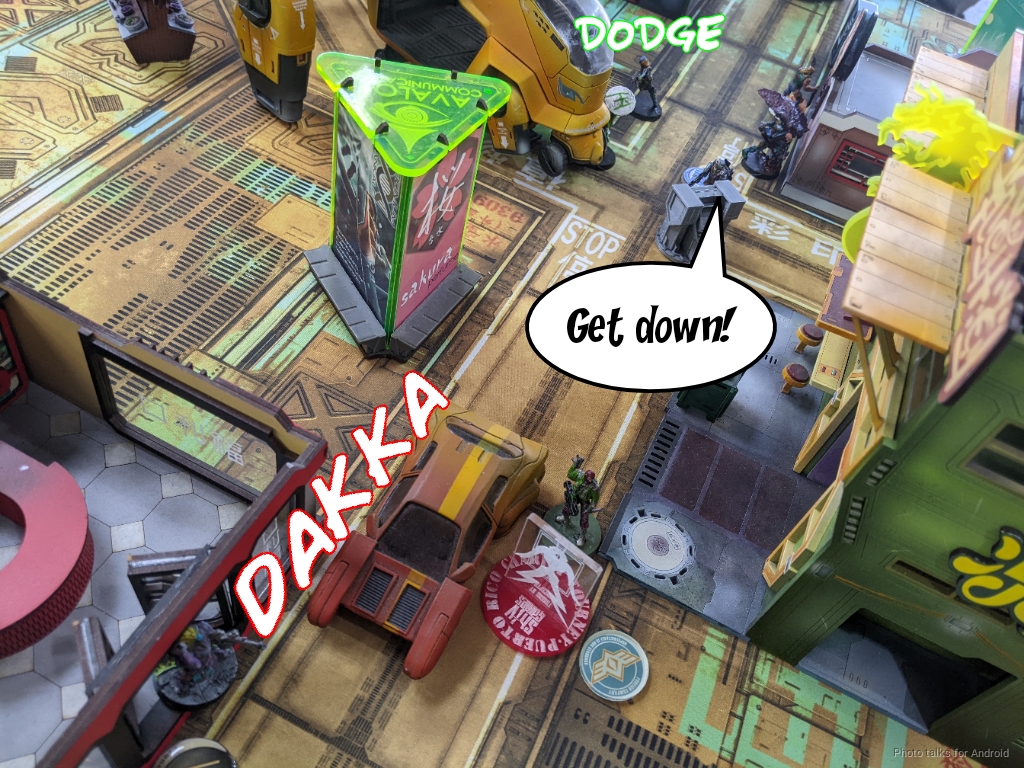
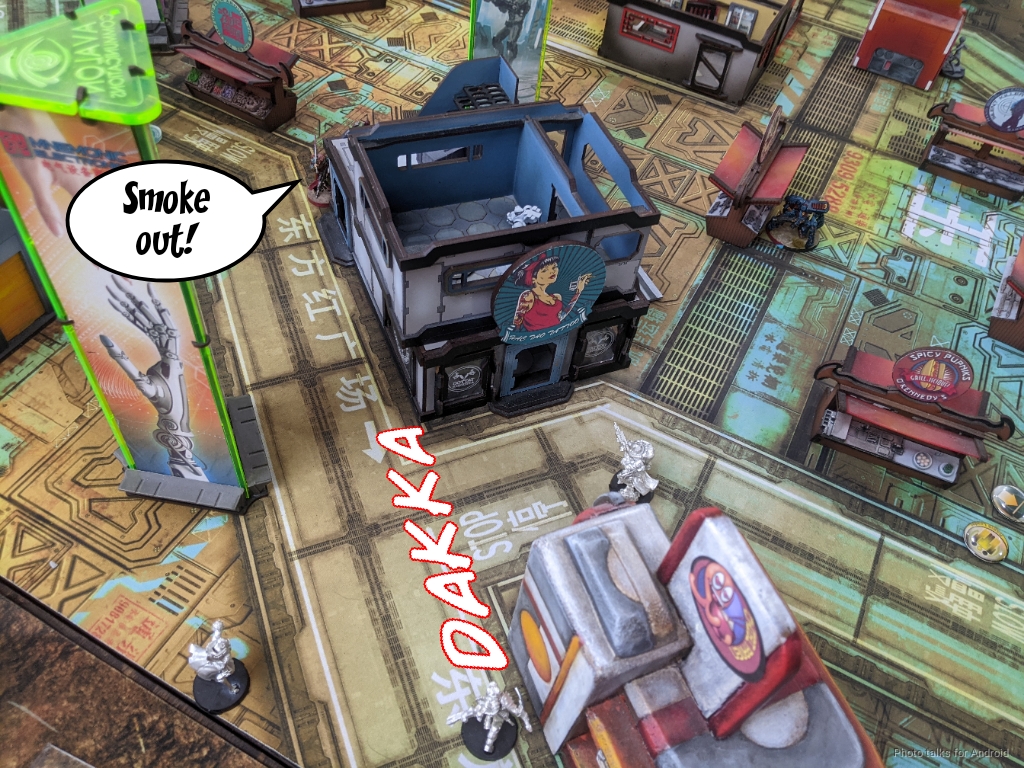
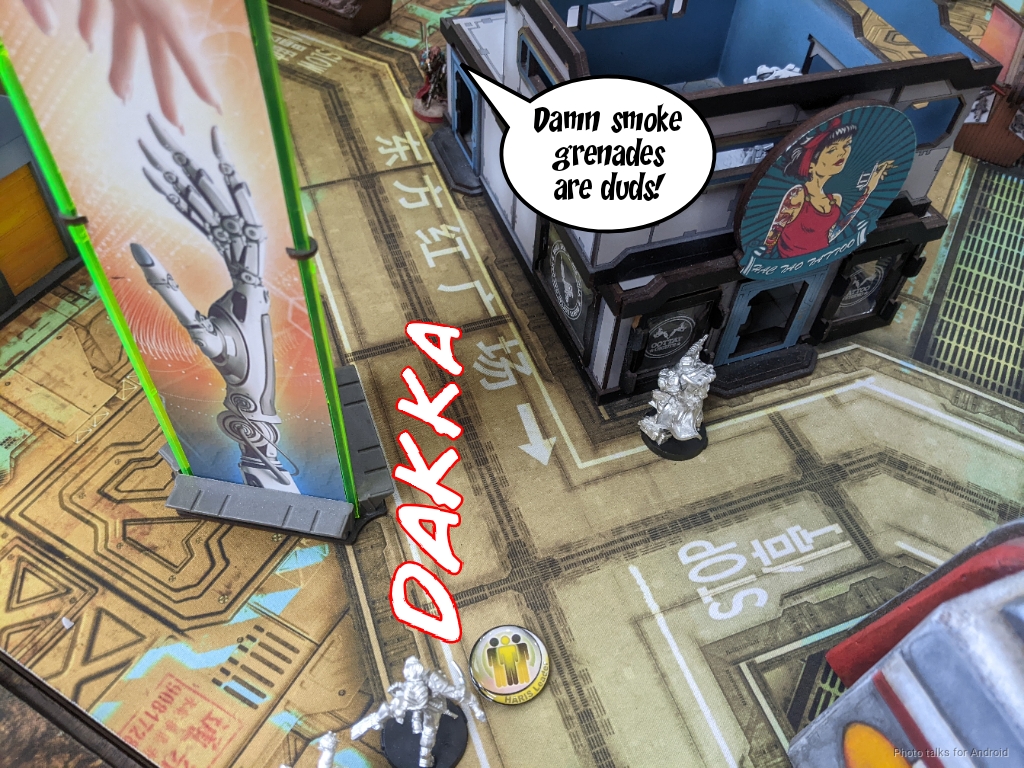
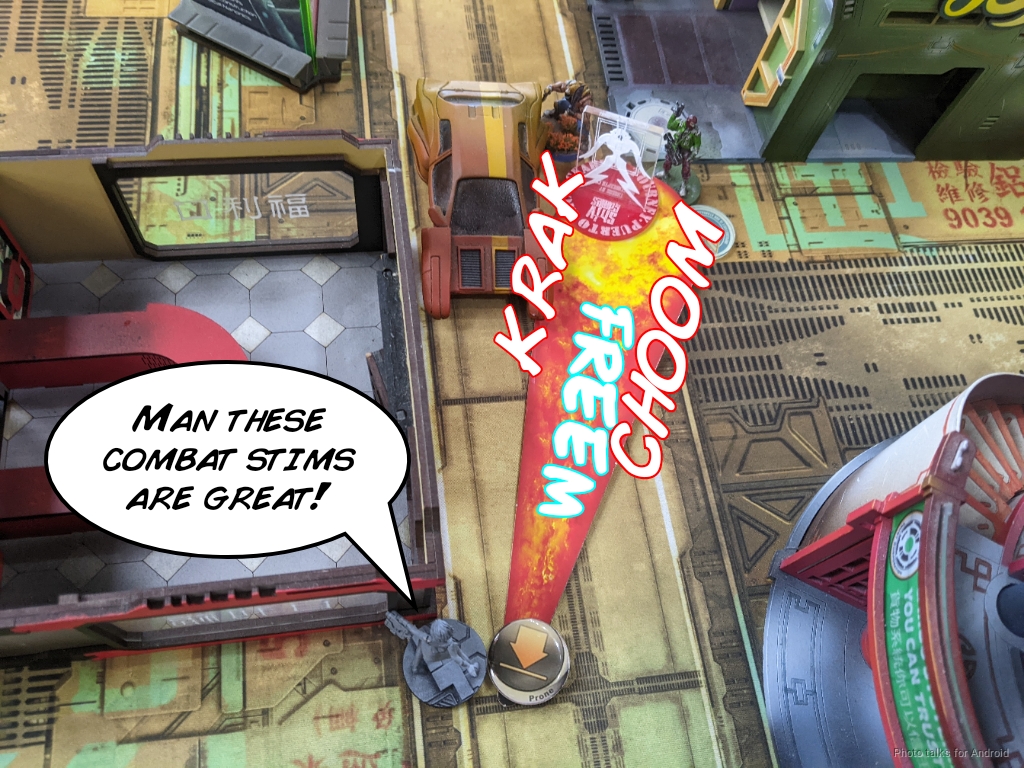
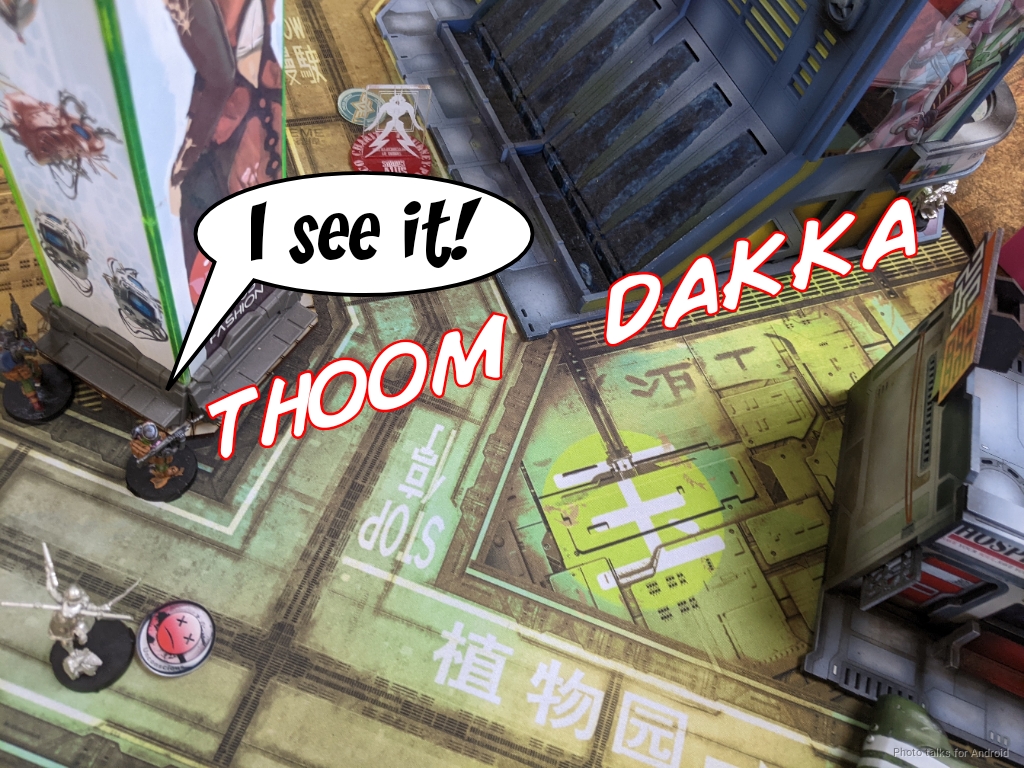
With only four orders in the second pool, I figured I’d hamstring the Varangians and dock them two orders. Cayden had a plan in mind though, and that was to get smoke on the console in front of them, so he spend both orders walking them forward and getting smoke on the objective. This resulted in the death of two Varangians, courtesy of the Yaogat, but smoke got laid down. Mission accomplished!
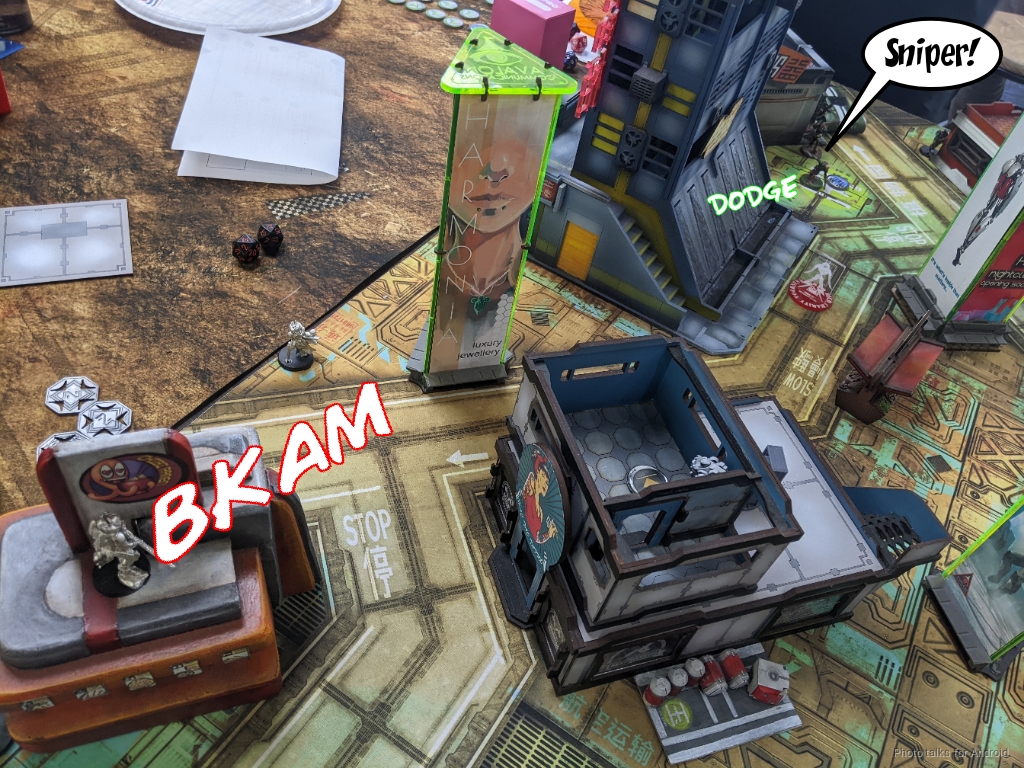
He brought in his SAS from the middle of the table, snuck behind the objective using it to block LoF from the Yaogat, and pushed the button successfully.
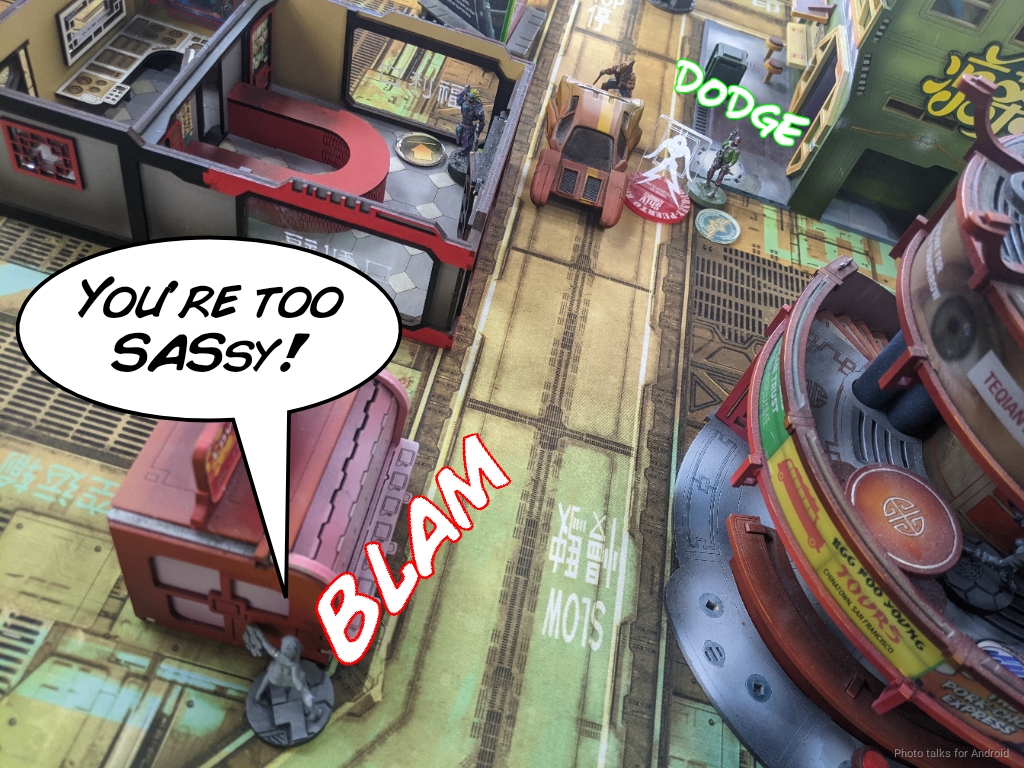
Then the Unknown Ranger pushed forward, dragging the rest of the link with him, and challenged the Yaogat. This is decidedly in my favor:
| 53.62 | 38.31 | 8.07 |
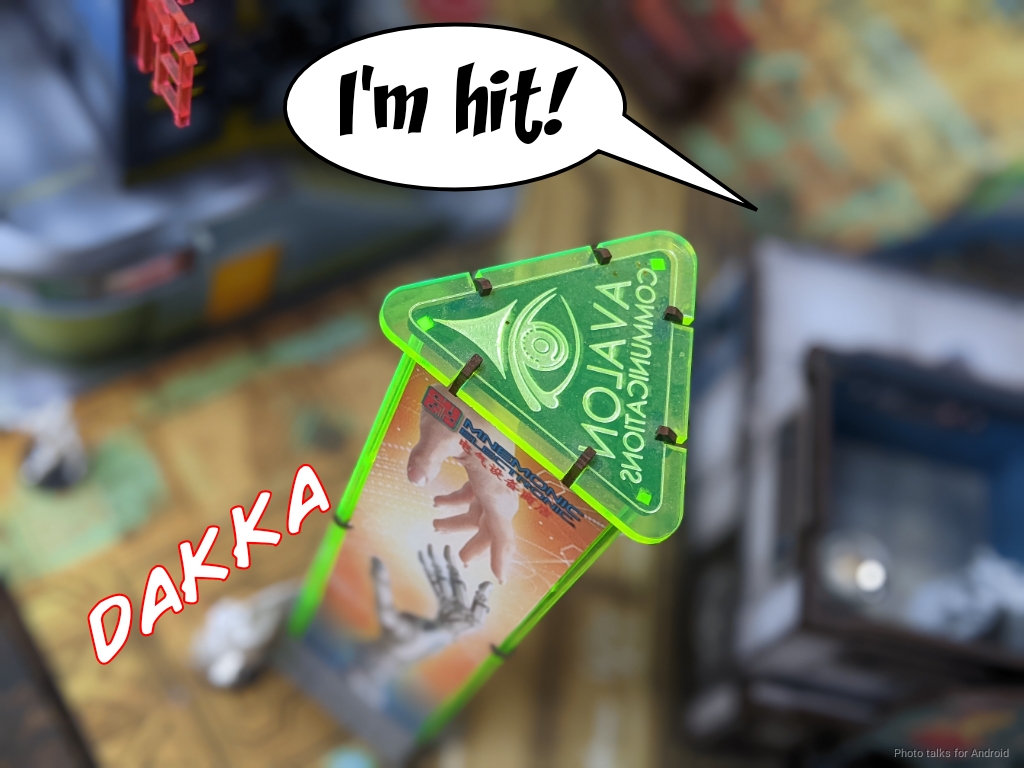
I basically have a 92% chance of the UKR having to spend another order to deal with this and a 23.19% chance to just take the UKR off the table. Cayden spends a few orders blasting away ineffectually, but crits are crits, and the Yaogat eventually goes down.
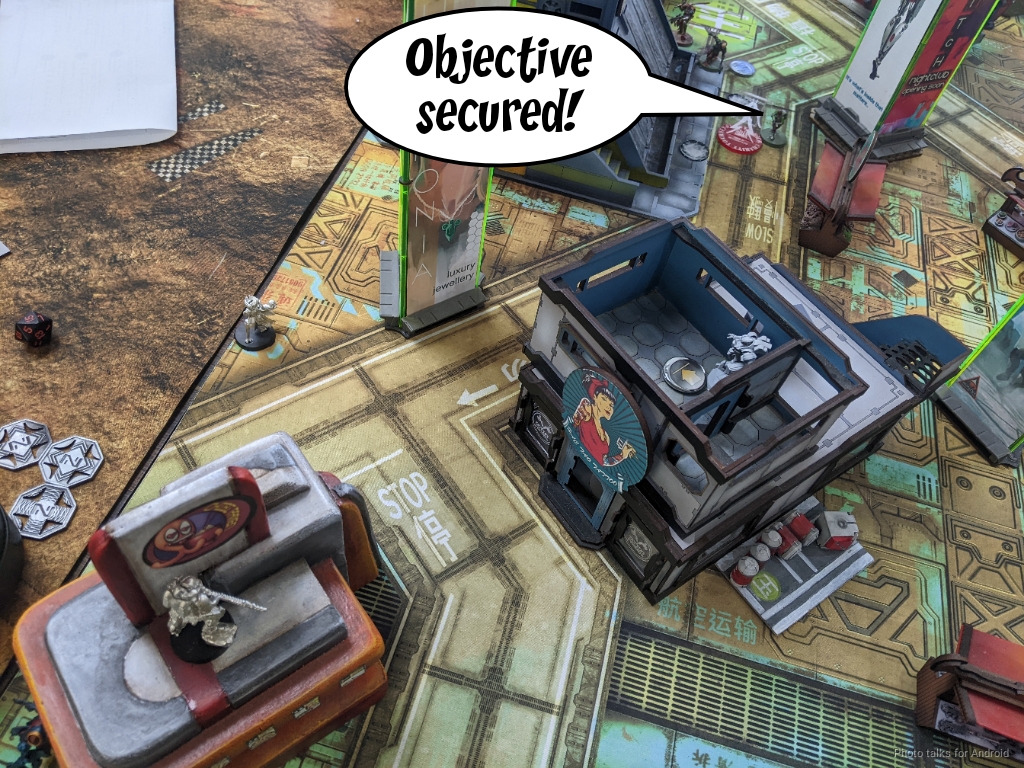
He’s got enough orders to get a SAS onto the far objective, flipping it. This also puts 50ish points in the quadrant that I’ll now have to deal with.
Thankfully, the Yaogat bought me time and Uxia hasn’t done anything, and I’ve got a Rindak right there.
Bottom of 1 – MAF
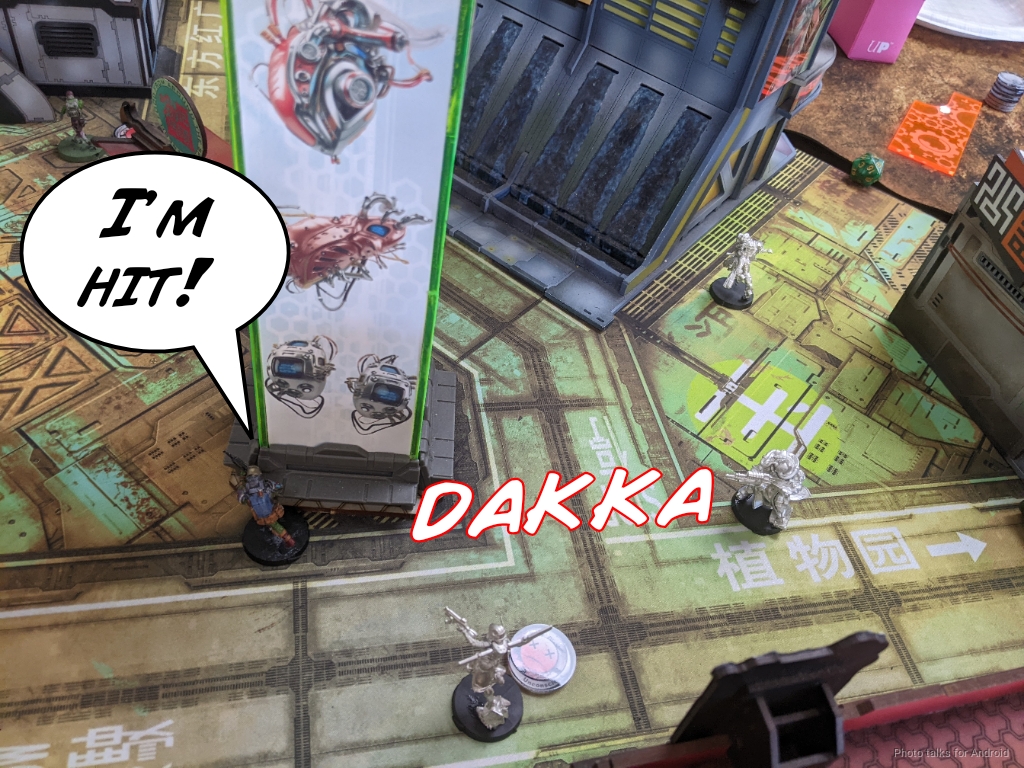
I figure I’ll pick the Yaogat up, reform the link, kill the UKR, and then punish the link for being overextended. This probably gets me enough momentum that I can get points into quadrants and then I’m sitting pretty. Of course, the Rindak kills the Yaogat even with burst two Medikit. Siiiigh. At least I get the console he’s next to as a console-ation prize. Sorry not sorry.
With my only long range gun off the table, as Tim (Chainsaw) would say:

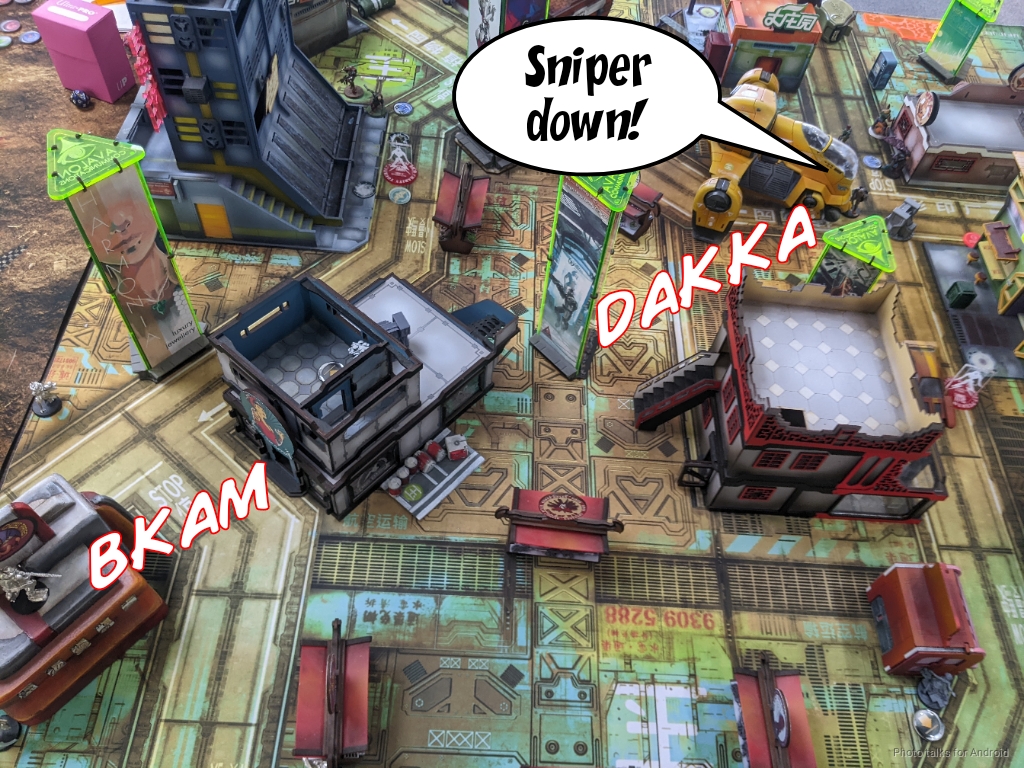
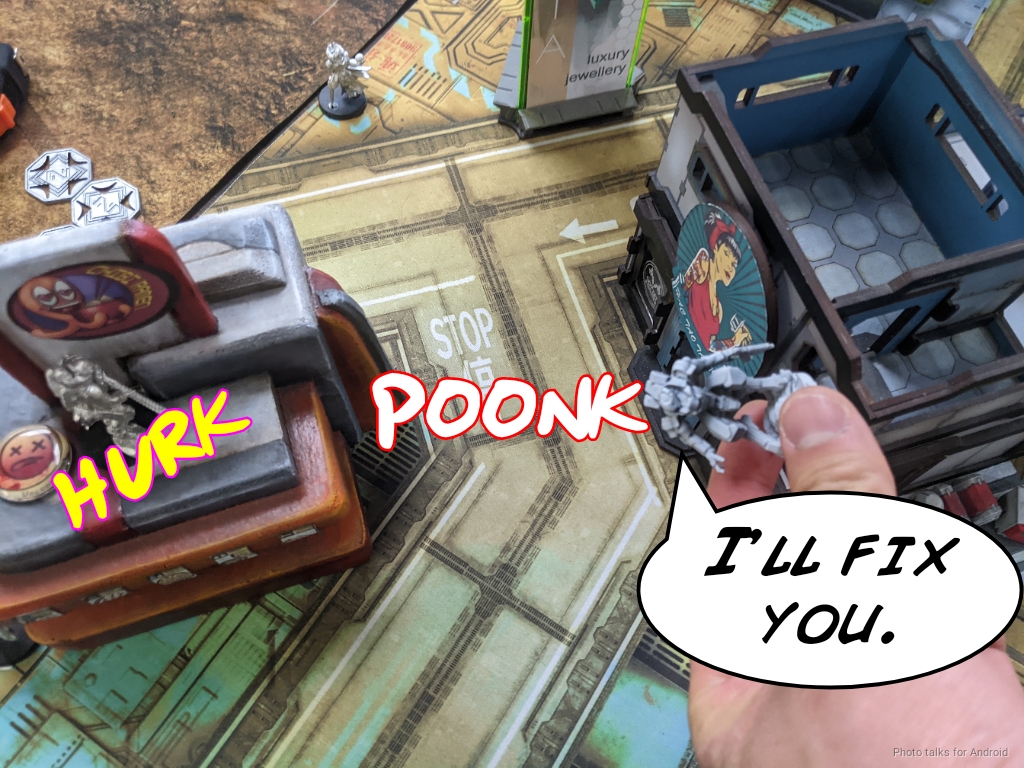
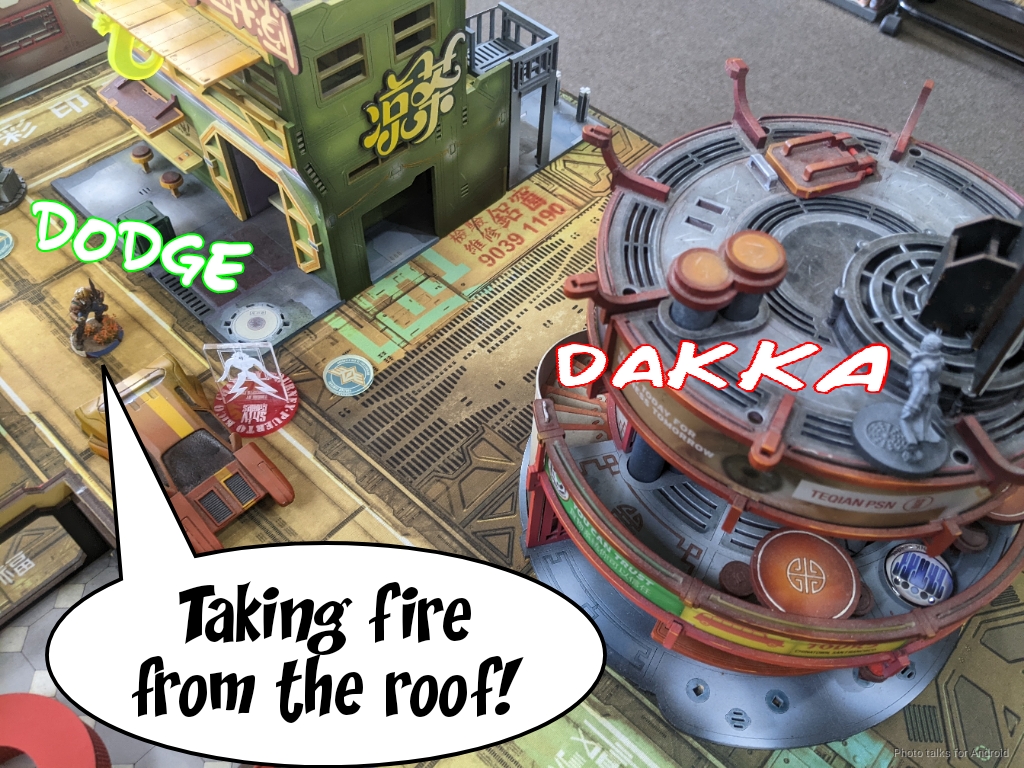
Well, I have other ways of punishing the link. The Tyrok gets into view of the Rokots and starts shooting, dropping one Rokot while the Skurgat climbs up to threaten Uxia. I didn’t really intend on the Skurgat doing anything other than annoying Uxia on the following turn and maybe discovering if I have the order, but Cayden takes the bait and shotguns the Skurgat. I’ll take it! Uxia is revealed and I’ve taken out one of the possible lieutenants.
I try to take on Wolfgang with the Tyrok, but I lose the face to face and the Tyrok goes down. I push the Rindak into view, prone, and see only the UKR. It takes a few orders, but I do put a wound on him and force him out of LoF.
This lets me ace the other Rokot, taking out another Lieutenant option.
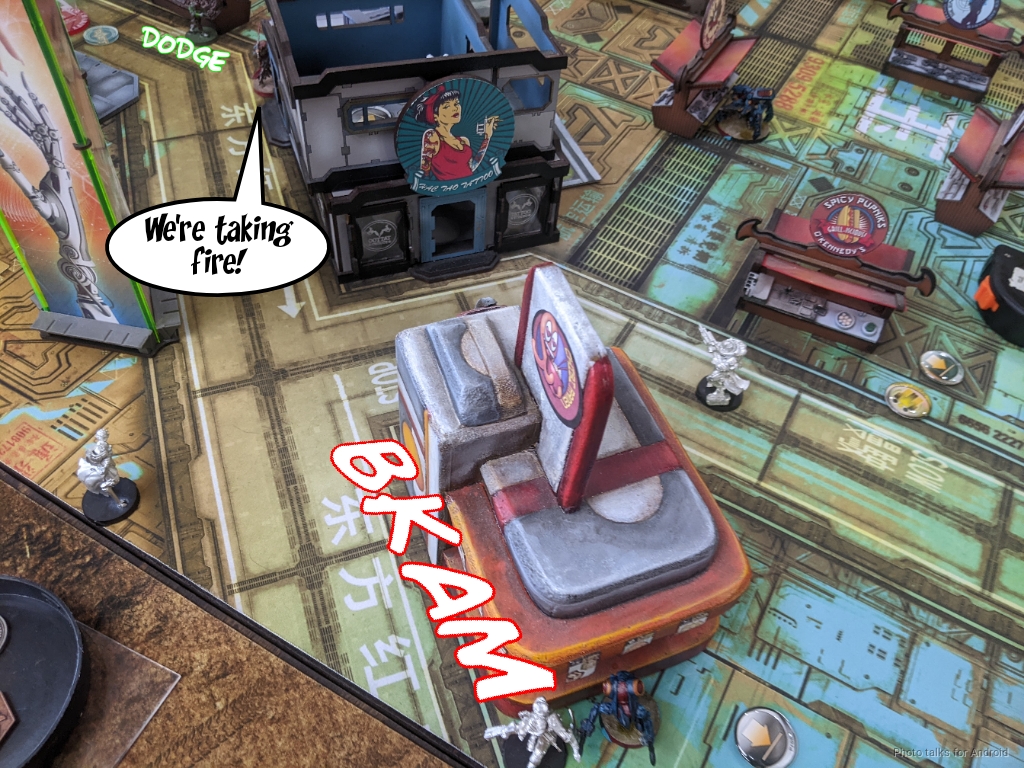
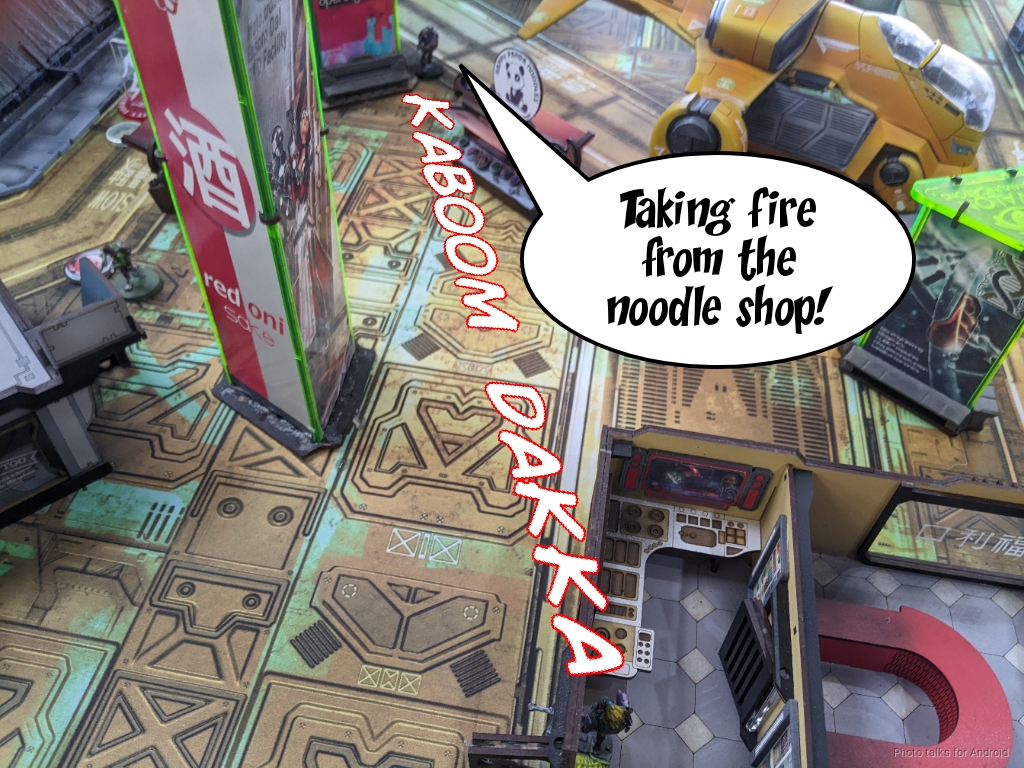
The Rindak retreats into the fabulously detailed noodle shop as part of a coordinated order to move the Q-Drone up, and then I spend the CSU’s irregular order trying to take out the SAS that dodged out to cover the door to the noodle shop as the Rindak retreated.
I’ve got a handful of orders left in the second pool, so I use the Oznat to drop Uxia as I’m high enough to see all of Uxia’s base to deny cover.
Turn 2
I’m unable to push anything into the far quadrants, but the Rindak easily outpoints the SAS so we tie on quadrants.
Top of 2 – Kosmoflot
The second Rokot with the blue cap was Cayden’s lieutenant, so he’s in loss now. While he hasn’t lost all that much in terms of points, I’ve degraded the main link and basically destroyed the second group’s effectiveness.
To his credit, Cayden spends the turn doing the mission, pushing Cadin into the quadrant where Uxia was and flipping the console next to the Unknown Ranger. The rest of his list moves forward and manages to get into my near left quadrant as well.
Bottom of 2 – MAF
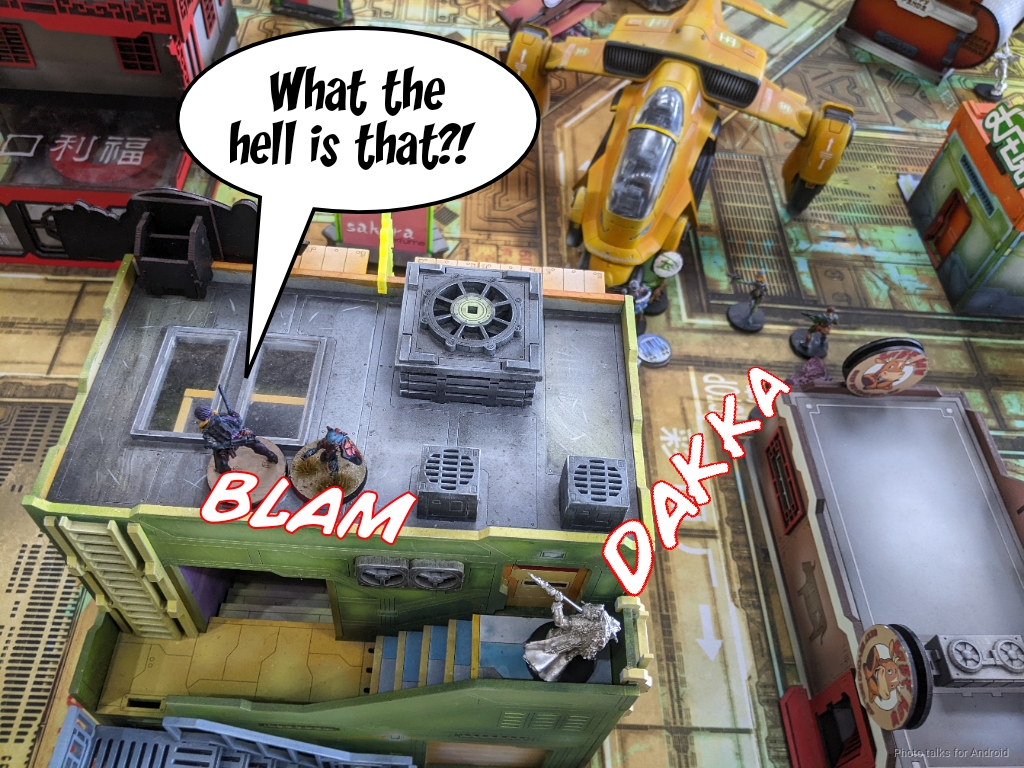
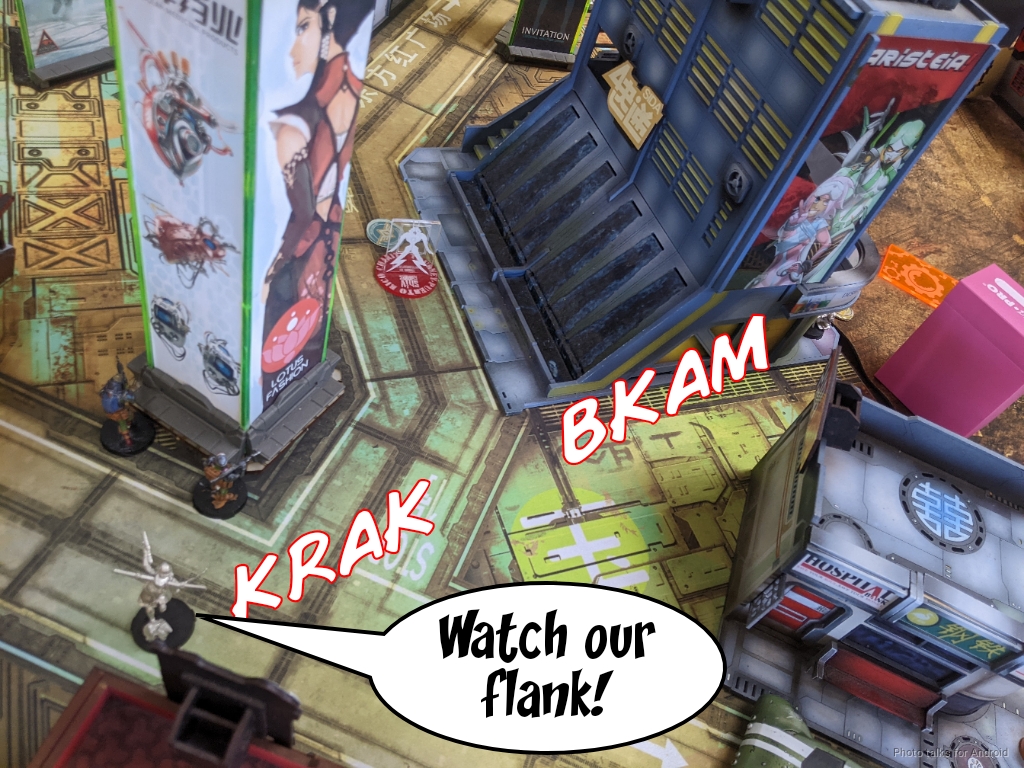
I need to get some serious work done now and clear out my left near quadrant which has a SAS and a Varangian in it. Anyat and Kornak start pushing. Anyat drops the SAS easily.
The Varangian is scary, but I keep the pressure up with the K1 while advancing.
It keeps trying to throw smoke and eventually fails guts around the corner once it goes dogged.
My phone focused on the wrong thing for this photo, but Kornak drops the Varangian here. With nothing else in the way, Anyat and Kornak easily take the far left quadrant.
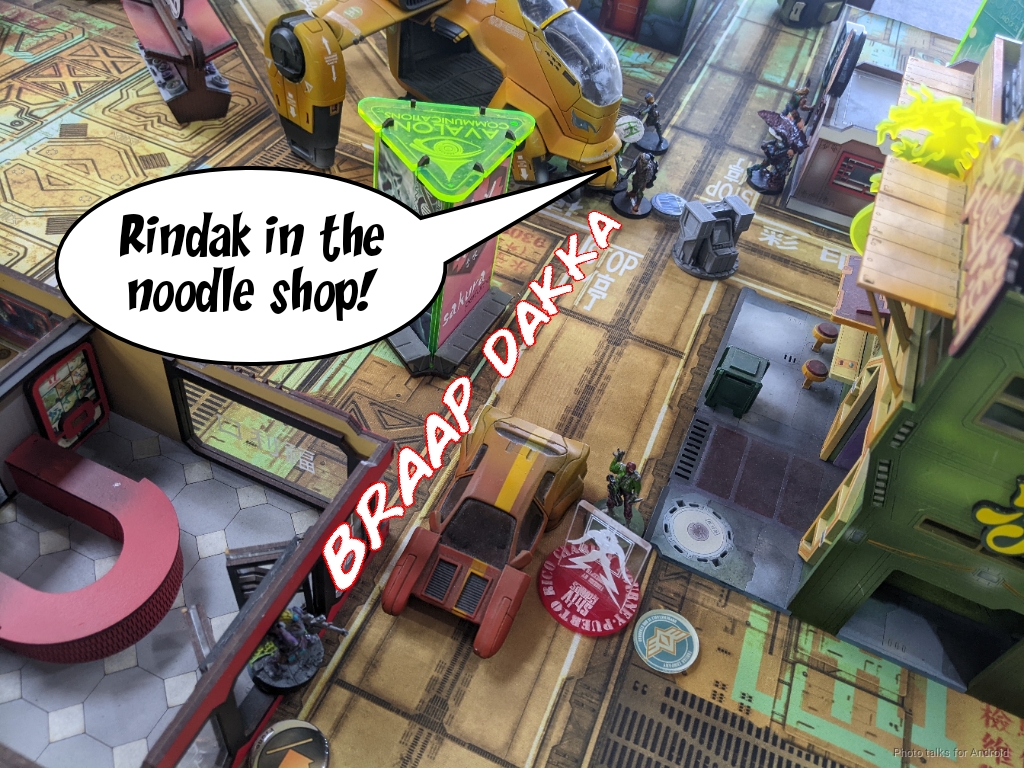
I decide to risk a shot on the Kosmosoldat with the Rindak and discover that we’re at 17″. UH OH. Thankfully I don’t die and the Rindak sulks in the noodle shop, carbo-loading to make himself feel better.
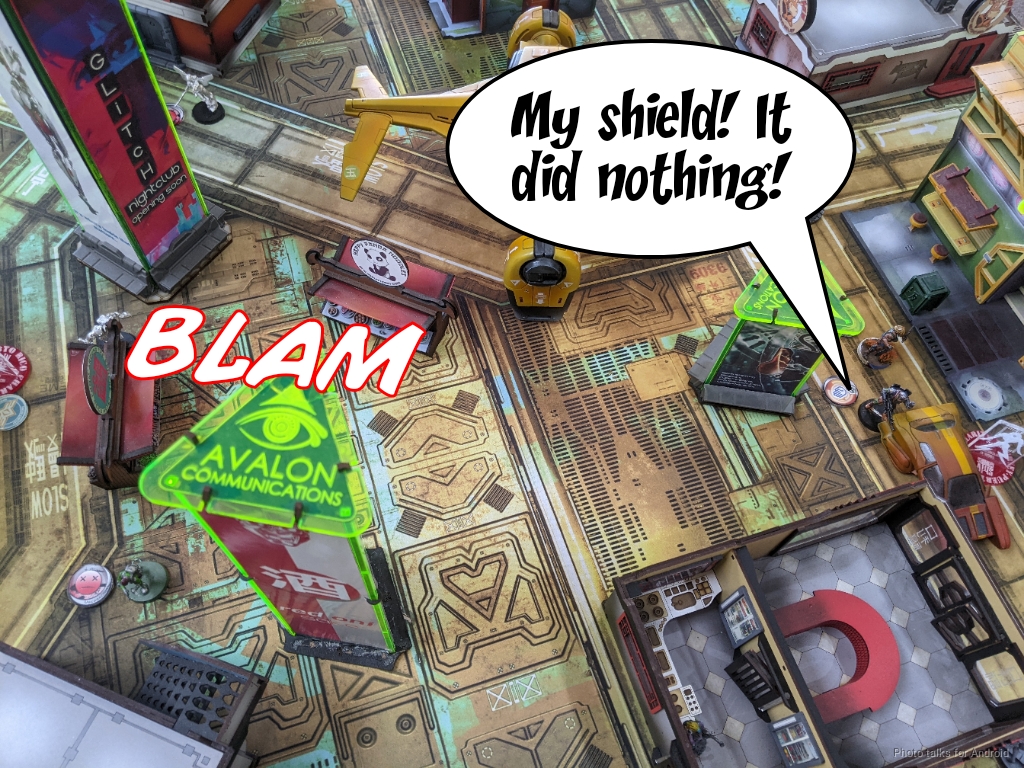
I need to deal with Cadin and the SAS in my near right quadrant now that the left one is clear. The CSU goes in and threatens breaker rifle fire. Cadin shoots and the SAS chain rifles, so I double nanopulsar, melting the SAS and doing a wound to Cadin. Thanks to rolling Bioimmunity, I passs both the T2 save against Cadin’s rifle and the chain rifle save! Hooray!
I attempt to down Cadin with the CSU, but I have to stand up to do this so I get punked by the UKR. The Dartok has a go and fails…

but my trusty Oznat on the roof succeeds!
Turn 3
I’ve got three quadrants now, so I get the points for that.
Top of 3 – Kosmoflot
Cayden’s taken a beating this last turn, but he soldiers on and pushes the UKR forward along with the Frontovik and the CSU.
Bottom of 3 – MAF
The Frontovik and the Kosmosoldat tie Anyat and Kornak, so they have to go, as does the UKR, out of principle. I also desperately need to get some consoles flipped. Kornak drops the CSU, then continues slicing the pie.
Next up is the Frontovik, who also goes down.
The Kosmosoldat can’t stop Kornak either, and now Anyat is free to grab the console they were guarding.
I try to get cute with Kornak and take out Wolfgang, but I fail both DA saves from a lucky MULTI hit and go down. I do manage to shoot the UKR in the back with Anyat’s K1 and finish him off though.
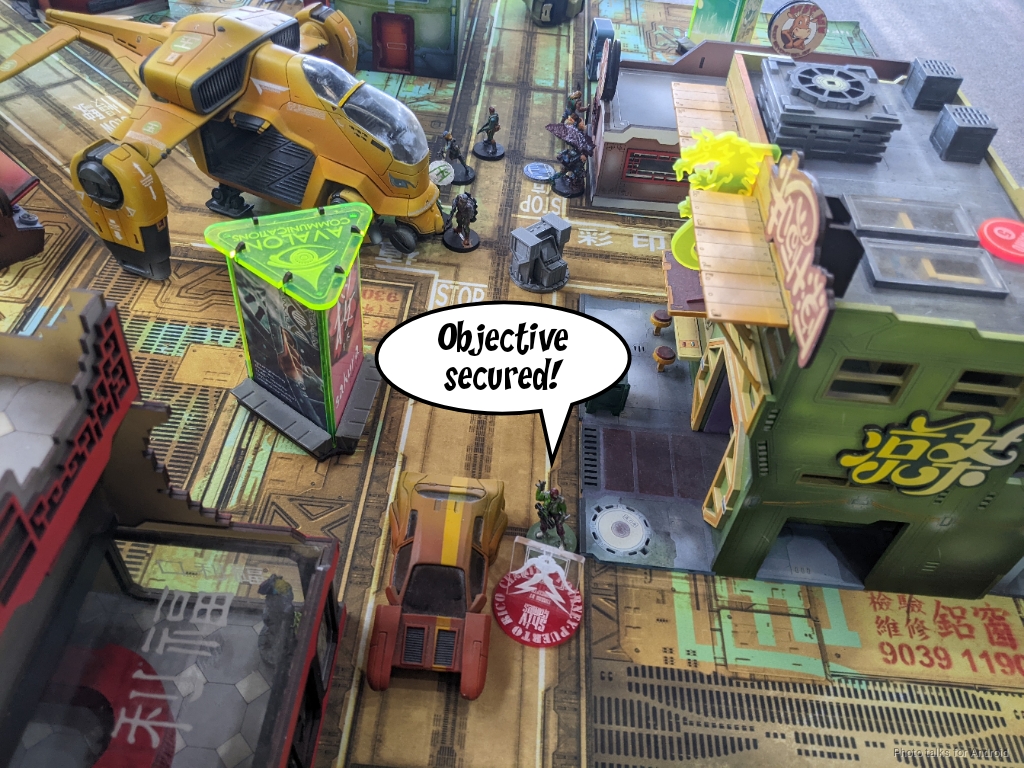
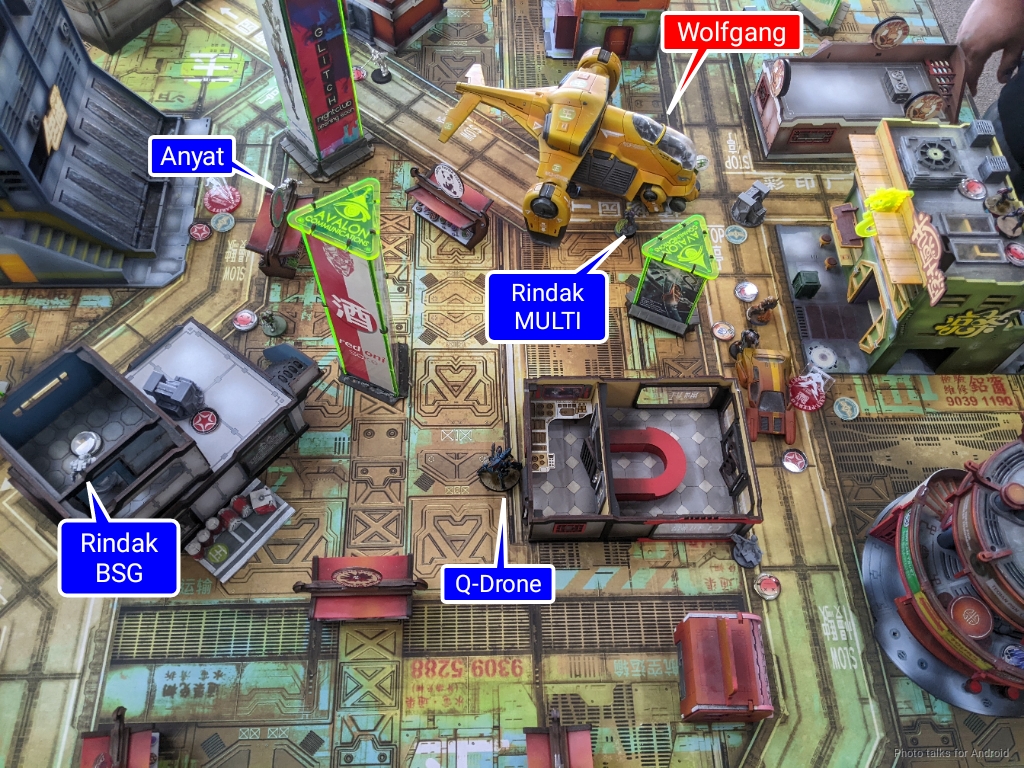
This lets me walk the Rindak MULTI out of the noodle shop. Fully carbo-loaded, he flips the console near to him and then secures Cayden’s HVT.
This turns into a
9-4, 195-35 Morat Aggression Force Victory!
Post Game Analysis
That was a much tougher game than the final score illustrates. Losing the Yaogat so early really made it difficult for me to challenge things at range, so I had to make use of a lot of rifle rangeband weapons and push up very aggressively with Kornak. Cayden poured on steady pressure throughout the game, putting expensive, hard to kill models into quadrants that I couldn’t ignore. You have to do this as the first player in Supremacy, and he did an excellent job of staying focused on the mission and flipping the maximum number of consoles.
I think he had a strong plan for moving things into quadrants and flipping consoles, but the problem was with attacking my order pool. Most of the things I lost were in my active turn, the only thing I lost in reactive was the Yaogat. Of course, that was less about attacking my orders and more about moving his link up. He had the tools and the orders to do some serious damage. That SAS near the Rindak MULTI could’ve turned the noodle shop into a bloodbath.
I don’t think there was any reason to push so hard into the midfield with the big link on Turn 1. Make the attempt on the Yaogat, if you fail, just settle in for a fight and reposition the link. Spending so many orders trying to down the Yaogat and moving the other link members up left them in a very awkward and vulnerable position. There was a lot of attack surface to pick at with the Tyrok and the Rindak that was mostly uncontested.
I asked Cayden what his plan was for Uxia after the game, he said he had planned to go after the Gaki or the rest of my order pool with her, which I think is great. That said, putting her on the roof like that where she has to go through the Tyrok is quite problematic. She can probably do it, but that’s most of the orders just to try and get the Tyrok down, and then there rest of the list isn’t developed. Putting her on the ground and then dashing in to take out the CSU and Dartok seems much stronger. Then the SAS can murder the Rindak, and that flank is gone.
I think the Varangian push was a mistake–there’s no benefit to throwing smoke there in front of a Yaogat. I offered an opportunity to reset that order pool, but Cayden was adamant that this was his plan and he was sticking to it. I think a better use of those two orders would have been to respond to my reserves with the Frontovik HRL by moving it 16″ to somewhere annoying. I think there’s enough intervening terrain that the Yaogat can’t contest this, and the SAS can rely on its camo state to just walk behind the console, which it did anyway. Had I known he was going to push so hard with the Varangians I probably should’ve docked two orders from the primary pool! I was concerned about him advancing up the corridor along the table edge, which the Yaogat was not contesting, which is why I did it.
I will say that it’s generally good to have a plan and stick to it–this is a good Infinity habit to get into and will lead to success down the road. Of course, being able to adapt to a changing situation is also important. Cayden mentioned he was pretty nervous at the start of our game, so we tried to talk through his decisions a little more. I think in a case like that it’s important to slow the game down and reset nerves. I don’t think I did a particularly amazing job supporting him through that during our game, so that’s something that I’ll have to work on as well.

Speaking of nerves, this side of the table is definitely better. I think I got a little too psyched out by the possibility of Margot and Duroc that i didn’t consider just putting the Q-Drone at the back corner of the happy panda noodles shop. That would still cover the entire back table edge from the center of the table, and this offers me plenty of places to hide and be protected. it is a weaker deployment for the Rindak though, which factored into my decision making as well. Hard to say.
I’m on the fence about leaving the Yaogat out to ARO. It worked out, mostly, and the odds were in my favor versus the Unknown Ranger, but losing it without the redundancy I want in long range guns puts a lot of pressure on the Rindaks. One other thing that I really didn’t consider and should have, was firing the Blitzen at the Kosmosoldat. That would’ve handled that problem nicely for me. I had hoped also to be able to dig myself out of a problem with the Q-drone, but the table was actually surprisingly open in the middle and the Kosmosoldat was locking me down pretty effectively.
It’s always a delicate balance finding the right point on the continuum between straight objective play and straight murder in a game of Infinity. I think I won this game just because Cayden was a little too skewed to objective play and then couldn’t recover once I dismantled his link. Finding that balance is a difficult thing to master, and honestly, not thinking about objectives loses games a lot. So kudos to Cayden for keeping the end goal in mind–points on the scoreboard. I look forward to a rematch!


Pingback: Rindak Shuffle – MERC Recon