
Rindak Shuffle
My round three opponent in the Shiv Games September 2022 tournament was none other than Tony (Zhukov2), who had driven all the way from Seattle, WA to Salem, OR, which is something like a 4-5 hour drive. We played on this table, chosen for us by James (RomanLegion) because James hates fun (just kidding, it’s a cool table concept!).
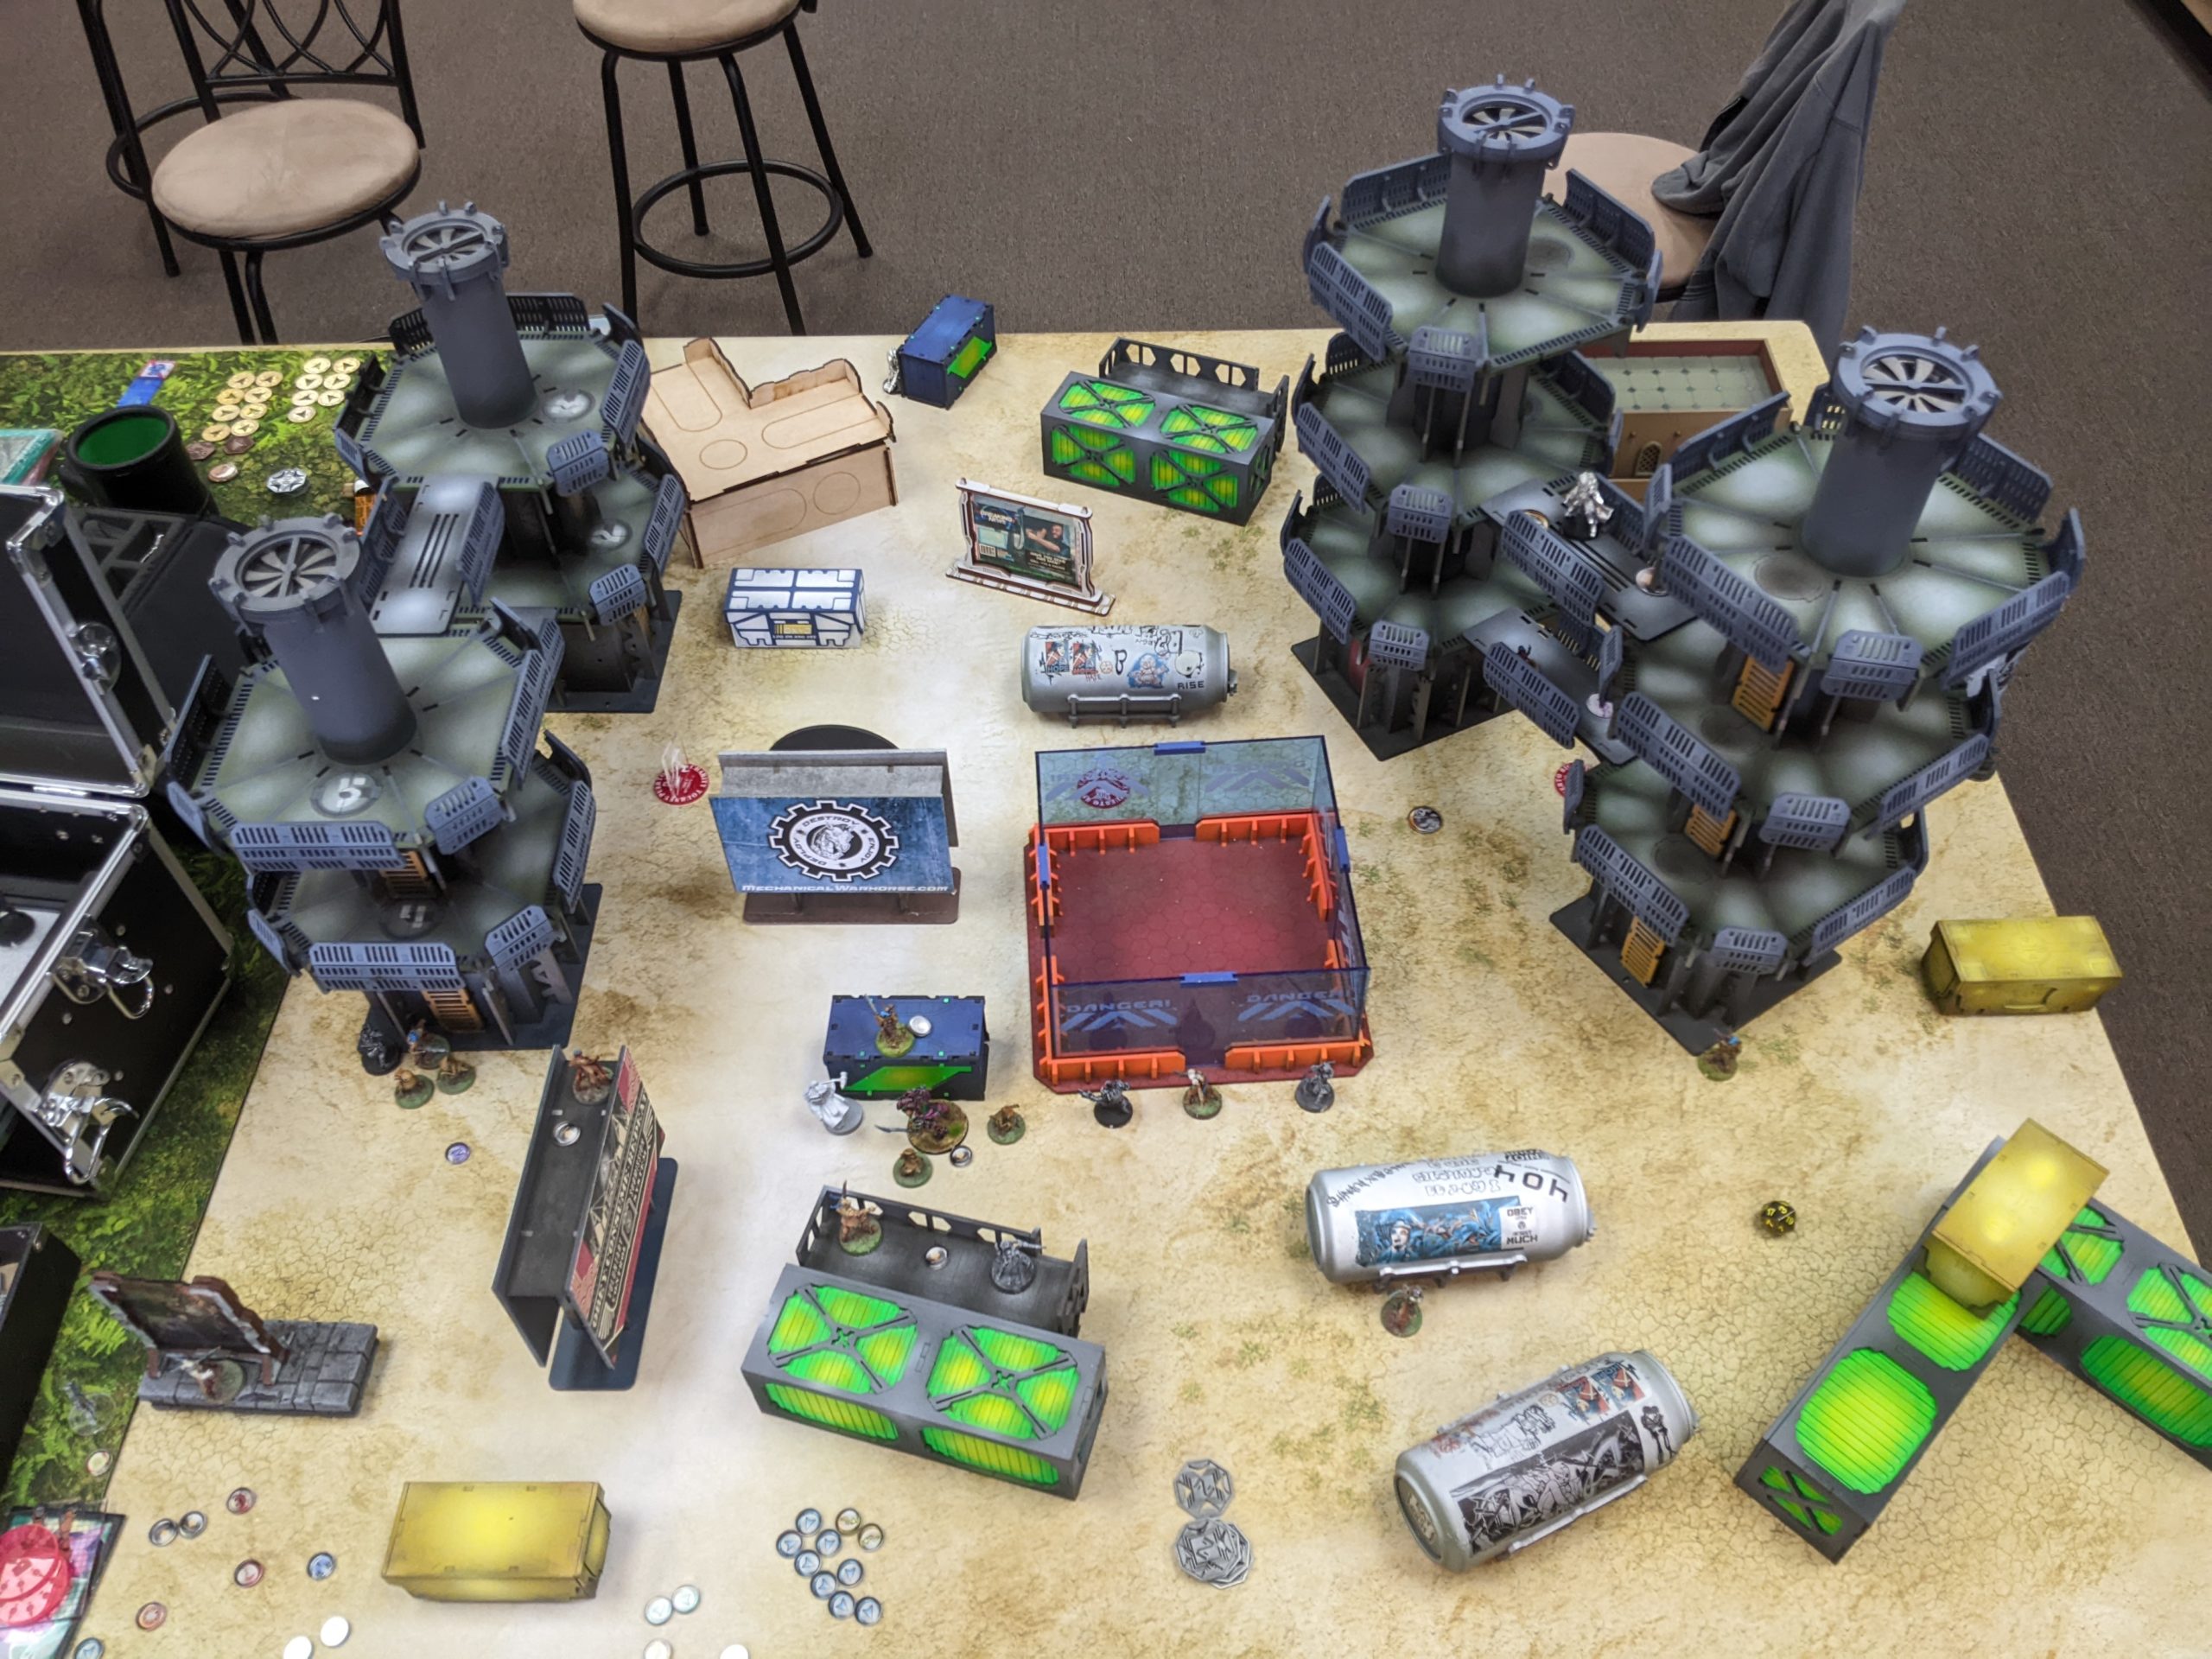

Overview
- Mission: ITS14 Acquisition
- Forces: Morat Aggression Force versus Tohaa (300)
- Deploy First: Tohaa
- First Turn: Toha.
I’m playing the same list that I was playing for Game 2:
Acquisition and Supremacy
GROUP 1
8
KORNAK (Lieutenant [+1 Order], Strategos L1) Mk12, Light Flamethrower / Heavy Pistol, DA CC Weapon. (0 | 45)
ANYAT K1 Combi Rifle, Chain-colt, Smoke Grenades, E/M Grenades / CC Weapon, Heavy Pistol. (0 | 24)
YAOGAT MULTI Sniper Rifle(+1B) / Heavy Pistol, CC Weapon. (1.5 | 35)
GROUP 2
DARTOK (Hacker) Combi Rifle, Pitcher, Cybermines / Heavy Pistol, CC Weapon. (0.5 | 25)
RINDAK (Paramedic, Forward Deployment [+8″]) Boarding Shotgun, Blitzen(+1B) / Heavy Pistol, PARA CC Weapon. (0 | 35)
TYROK T2 Rifle, Shock Mines / Heavy Pistol(+1B), Trench-Hammer(+1 Dam). (0 | 25)
SKURGOT DA CC Weapon. (0 | 4)
IKADRON (Baggage, Repeater) Light Flamethrower(+1B), Flash Pulse / Pistol, PARA CC Weapon(-3). (0 | 9)
4
5
Q-DRONE Plasma Rifle / PARA CC Weapon(-3). (1 | 24)
OZNAT FTO Combi Rifle, Smoke Grenade Launcher / Shock CC Weapon, Heavy Pistol. (0 | 16)
GAKI AP CC Weapon. (0 | 4)
3 SWC | 300 Points | Open in Infinity Army
It’s all about the Rindak controlling the midfield and the Yaogat being the power projection. Tony’s list is a collection of Tohaa utility pieces, ranging from the Taquel and Kriigel to Gao Rael and Makaul. He really does like his Kaauri Sentinels as well, and for good reason, they’re fantastic.
Tony (Zhukov2)
GROUP 1
TAQEUL (Lieutenant [+1 Command Token]) Viral Combi Rifle, Nanopulser, Pheroware Tactics: Endgame, Pheroware Tactics: Mirrorball / Pistol, CC Weapon. (0 | 39)
KAELTAR Light Shotgun, Flash Pulse, SymbioBomb ( | SymbioMate) / Pistol, PARA CC Weapon(-3). (0 | 15)
KRIIGEL Breaker Combi Rifle, Grenade Launcher, Pheroware Tactics: Eraser, Pheroware Tactics: Mirrorball / Viral Pistol, CC Weapon. (0.5 | 22)
KAAURI Sentinel Submachine Gun, Nanopulser(+1B), E/M Mines / Pistol, PARA CC Weapon(-6). (0 | 12)
GAO-RAEL Spitfire / Pistol, CC Weapon. (1.5 | 35)
TAAGMA Breaker Combi Rifle, Nanopulser / Pistol, CC Weapon. (0 | 16)
MAKAUL Heavy Flamethrower, Contender, Eclipse Grenades / Pistol, Viral CC Weapon. (0 | 13)
GROUP 2
KIEL-SAAN Red Fury, Panzerfaust / Heavy Pistol, DA CC Weapon. (1.5 | 46)
LIBERTO (Minelayer) Light Shotgun, Shock Mines / Pistol, CC Weapon. (1 | 8)
IGAO Combi Rifle, Nanopulser, Pheroware Tactics: Mirrorball / Pistol, DA CC Weapon. (0.5 | 28)
KAMAEL (Paramedic) Combi Rifle ( | MediKit) / Pistol, CC Weapon. (0 | 14)
CHAKSA AUXILIAR FTO (Sensor, Baggage) Heavy Flamethrower(+1 Dam) ( ) / Pistol, CC Weapon. (0 | 10)
DIPLOMATIC (CC Attack [-3], Specialist Operative]) Nanopulser, Flash Pulse, Pheroware Tactics: Eraser / Pistol, CC Weapon. (0 | 5)
6 SWC | 300 Points | Open in Infinity Army
The fun parts of the list are the Kiel Saan and Igao, both of which hit like trucks.
Overview
I won the rolloff and selected deployment. If I was going to have any hope of winning I’d have to go second and just take the objectives from Tony as best I could. Tony deployed strong on his left with the Taquel/Kriigle/Kaeltar triad ready to advance up the tower system and the Diplomat out to ARO on a billboard. His right side was a little sparse at the start of deployment with just the Libertos and a Kauuri.
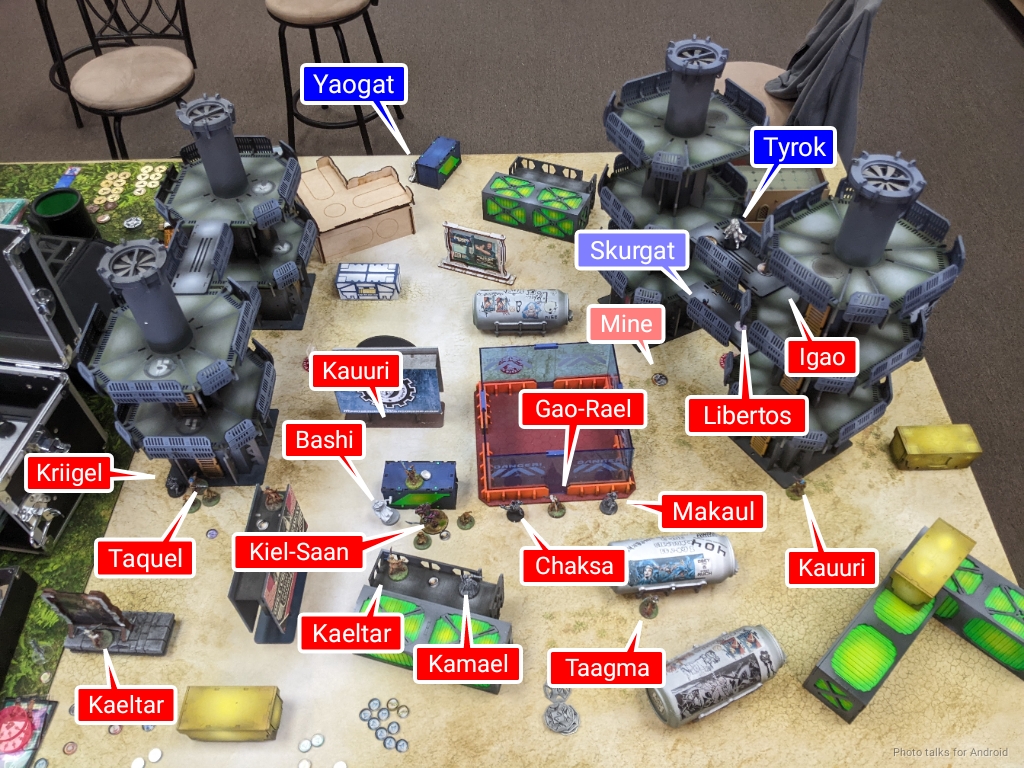
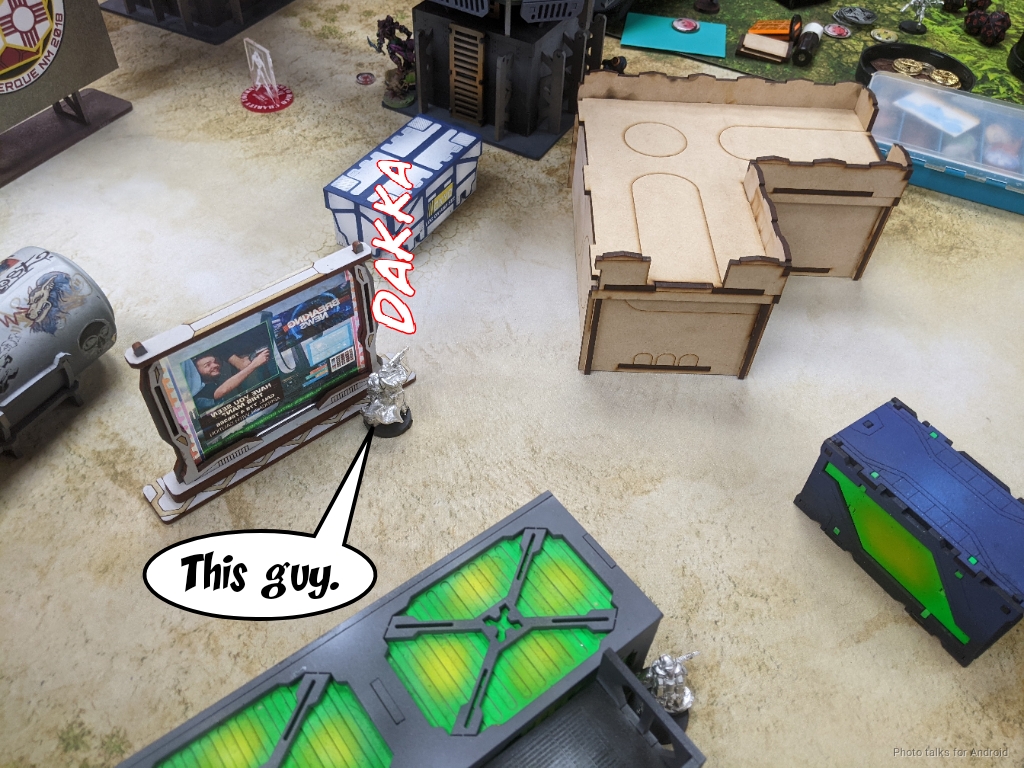
The real meat of the list was in the center of his deployment zone, and that was the Kiel-Saan, the Gao-Rael triad, and the rest of his support pieces. What’s fun is that he disguised the Bashi as the 9 point Beasthunter. He’s always up to his tricks, that Tony!
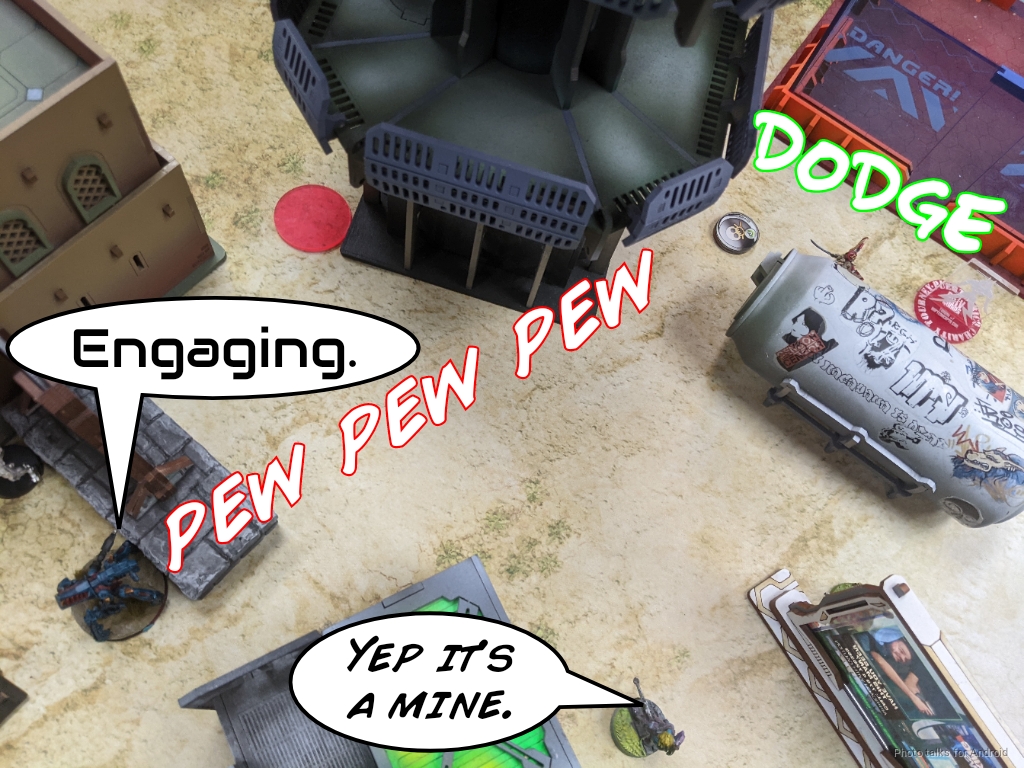
I decided to hold the Yaogat and the Rindak MULTI in reserve. I was worried that something would push really hard or Tony would do something nuts like bring in a Gao-Tarsos. To help with that, I put the Q-Drone on the building watching my entire deployment zone. The tall part of the building and a nearby billboard helped block LoF to the rest of the table, so I felt this was pretty safe.
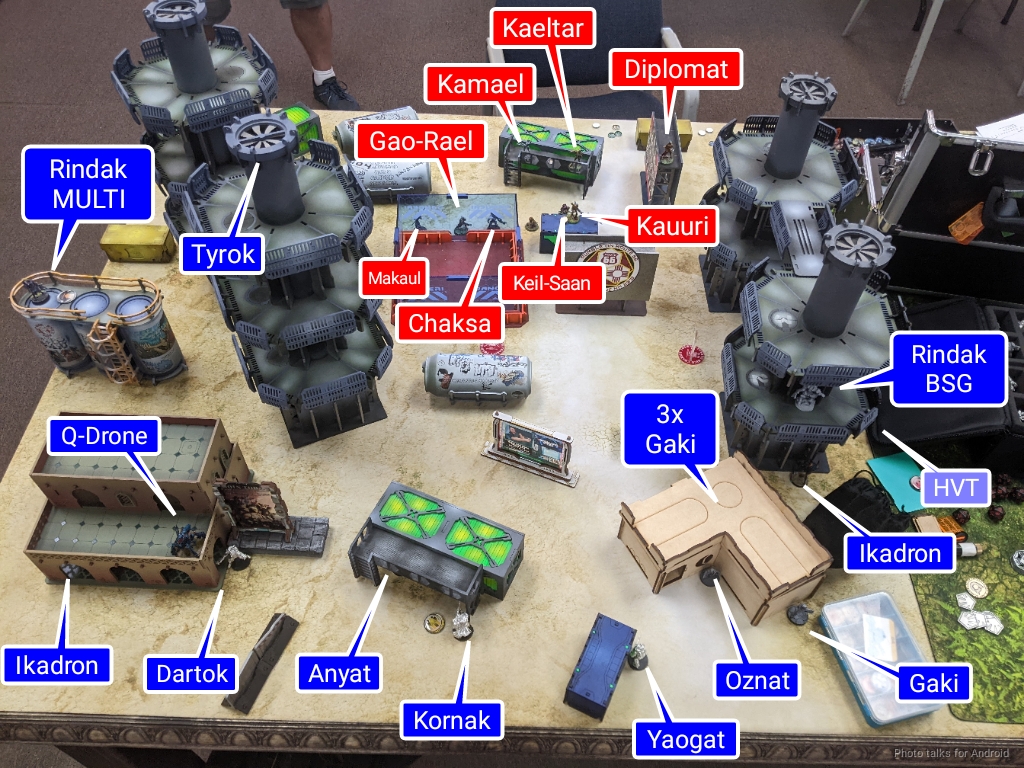
The Gaki core was inside the only building that had a playable interior, basically to just keep them out of trouble. I did put the Oznat outside in case I needed smoke. The Ikadrons were on both sides, and then I placed the Rindak BSG on the second floor of the tower system on the right.
I wasn’t sure where to put the Dartok/Anyat/Kornak/Yaogat link, because there really wasn’t a good place to put the Yaogat. I ended up thinking about putting the Yaogat on the little catwalk next to the lime green shipping container, so I shifted most of the link that way to help. The Tyrok went on the left tower system to be able to plunge fire into Tony’s DZ and use the T2 to get rid of that pesky Symbiont Armor.
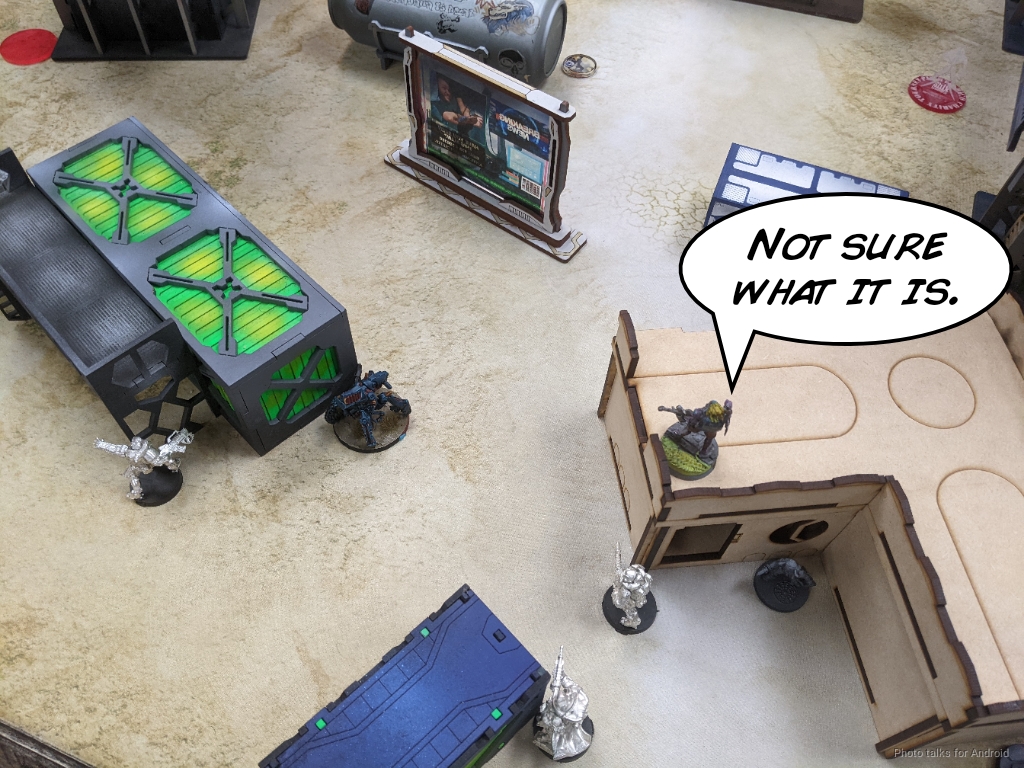
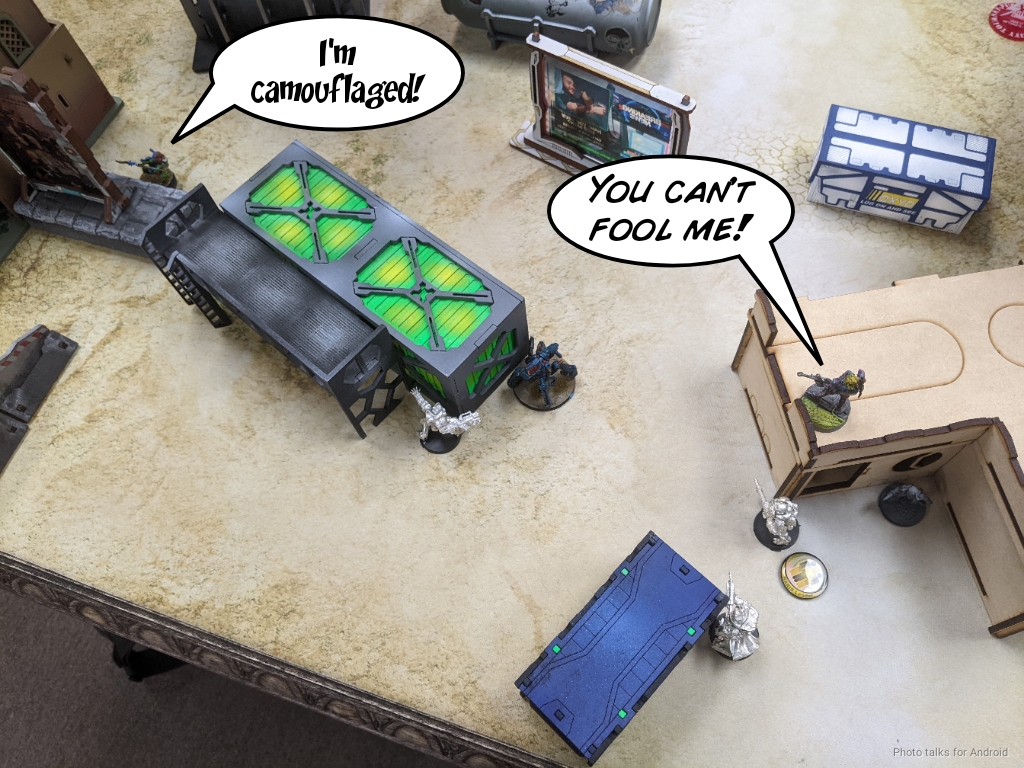
Tony placed his Igao out of reserve near my Tyrok, and I put the Rindak MULTI on top of some storage tanks on the left. The Yaogat had a kind of awkward spot watching the approach path of the Makaul triad andwas defended from the Kiel-Saan and Taquel, so I felt pretty okay there.
Turn 1
Top of 1 – Tohaa
My objective for the turn is just to survive. If I have my order pool mostly intact and have some tools, I’ll be fine. I think Kornak and Anyat will have to do some heavy lifting because there just aren’t many MSR sightlines that Tony gave me, so I need to do some close in work.
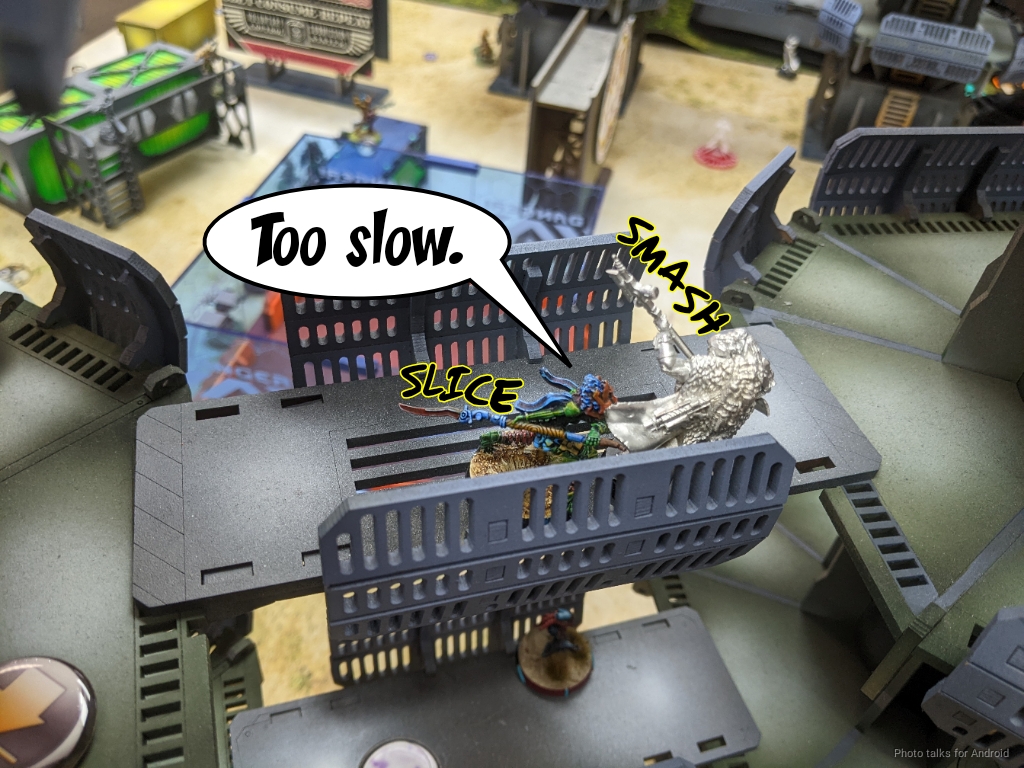
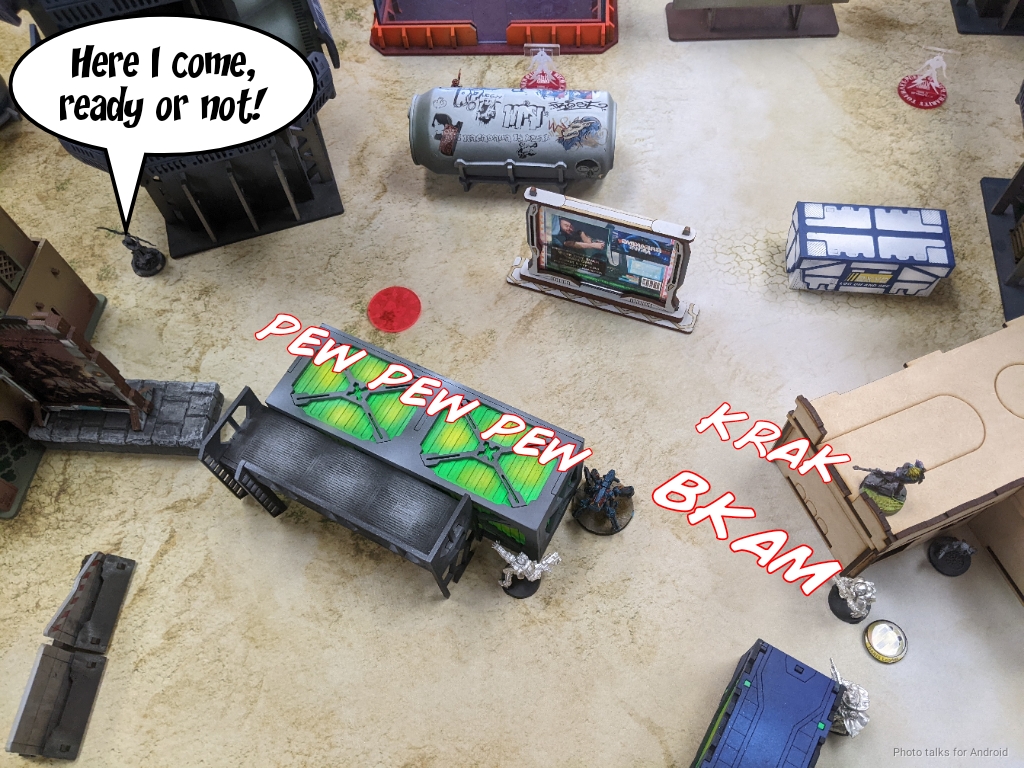
I took one order from Tony’s second pool thanks to his Taagma. I don’t want that Igao to run amok. Of course, Tony declares that it’s time to get revenge for our last game by CCing all my toys, so he rolls the Igao into close combat with my Tyrok hunter.
After we calculate all the odds, we’re both on CC 20, so it comes down to a straight dice off.
Of course, I lose rollies and the Tyrok goes down. Sadface.
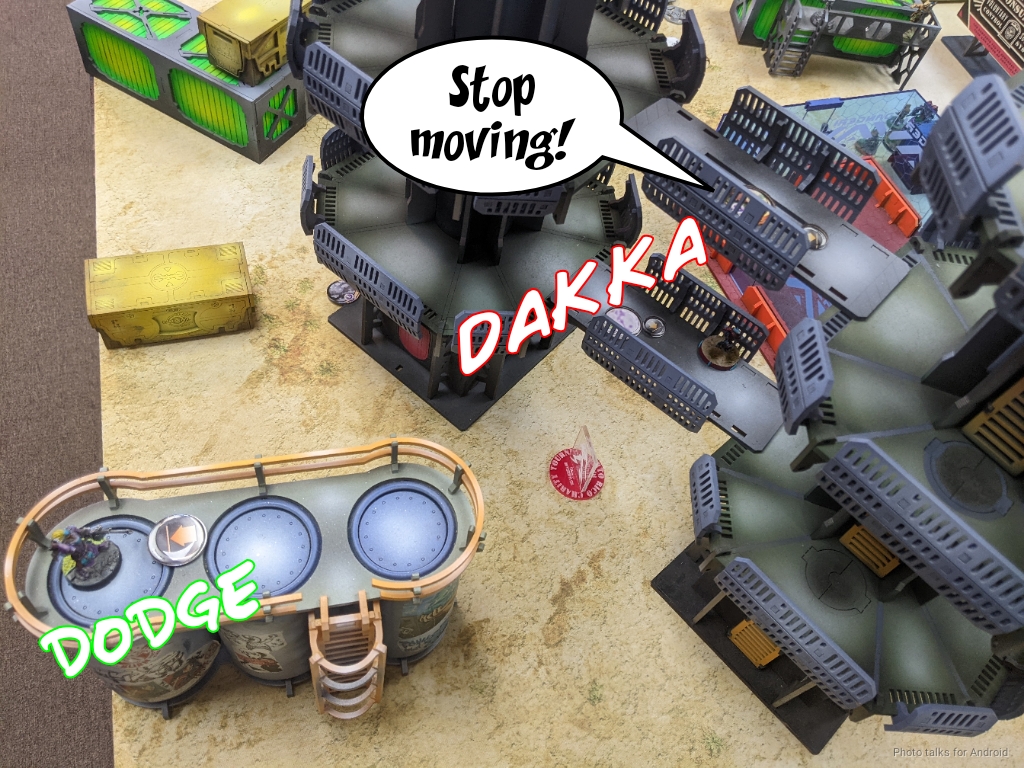
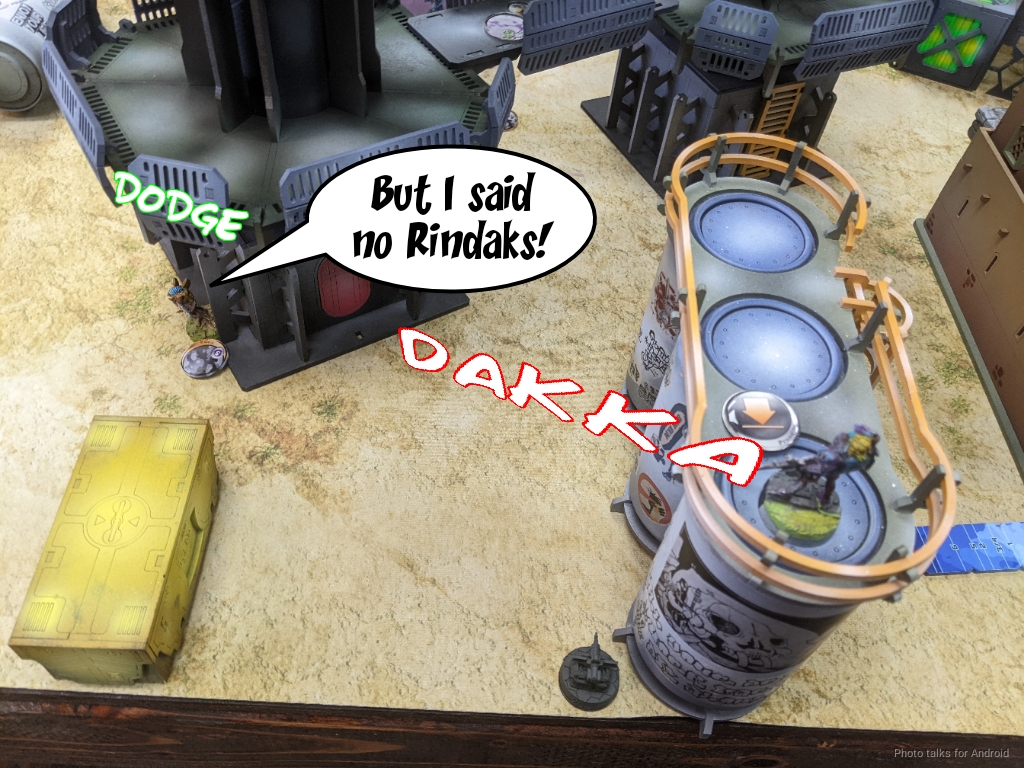
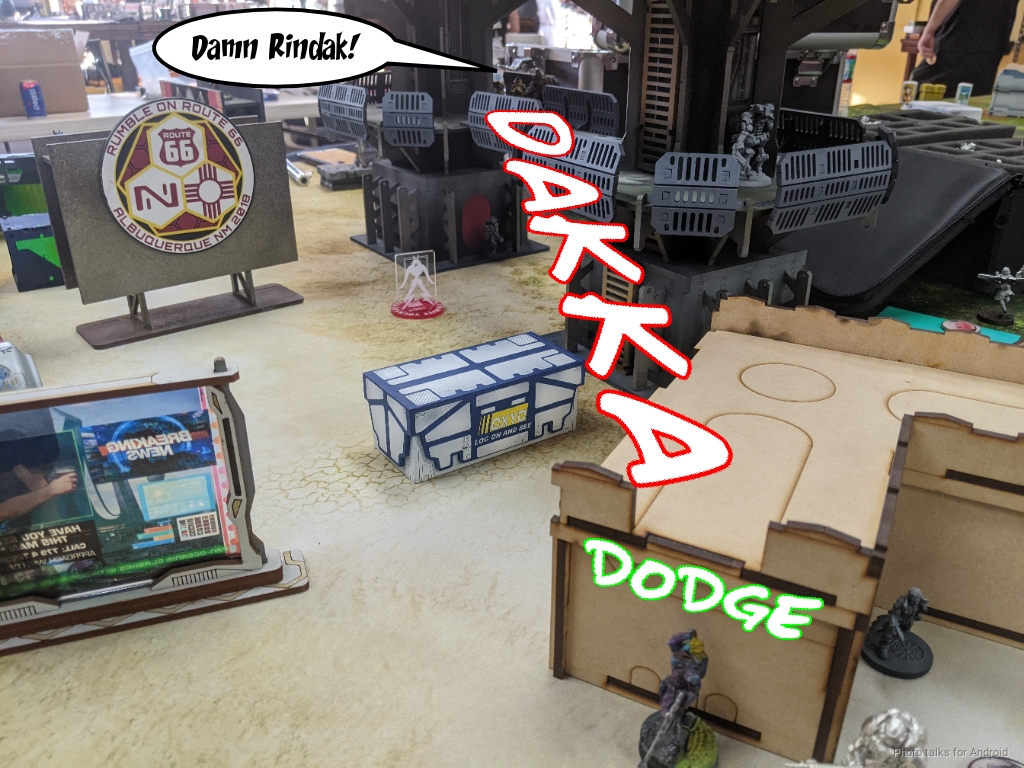
The Igao keeps on going and tries to take out the Rindak, but I keep dodging successfully or passing ARM, and then Tony’s down to his last orders in the group. He takes one last ineffectual shot, going prone and then recamoing.
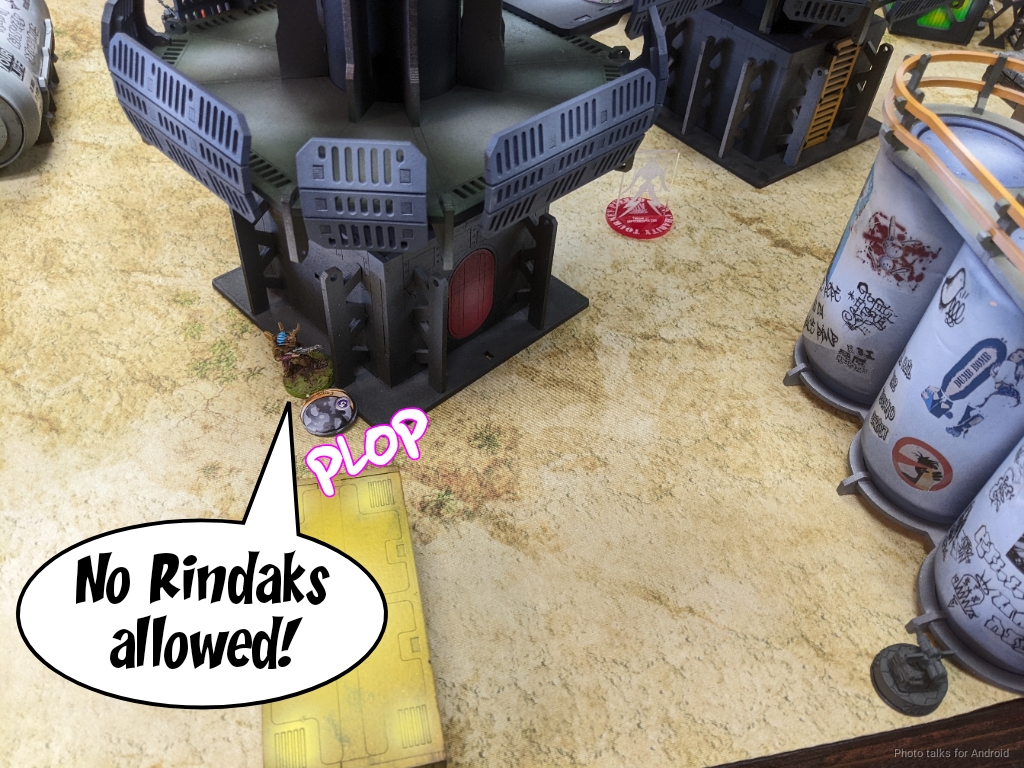
Tony’s worried about the Rindak pushing hard on that flank, so he puts an E/M mine down to discourage me from advancing.
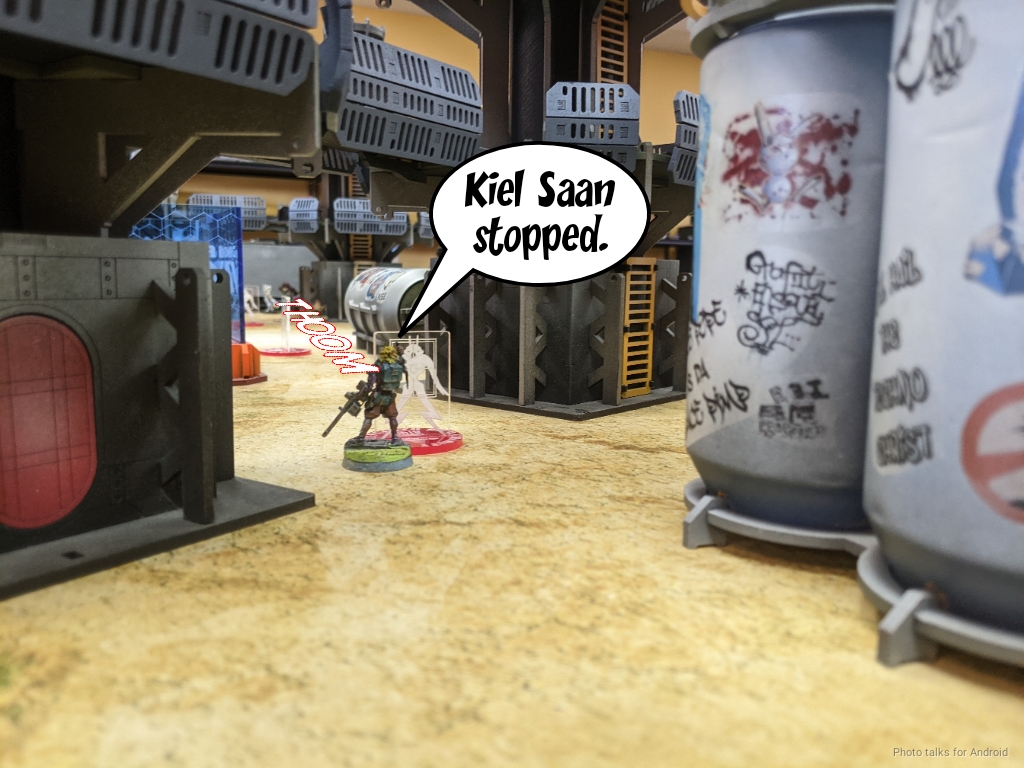
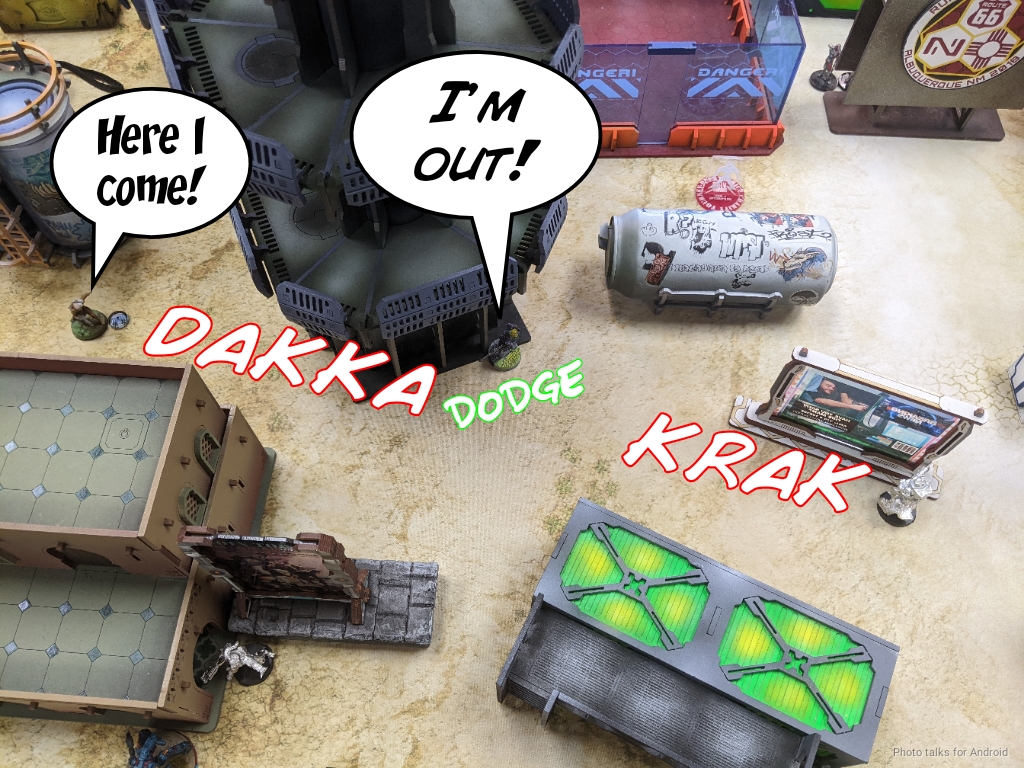
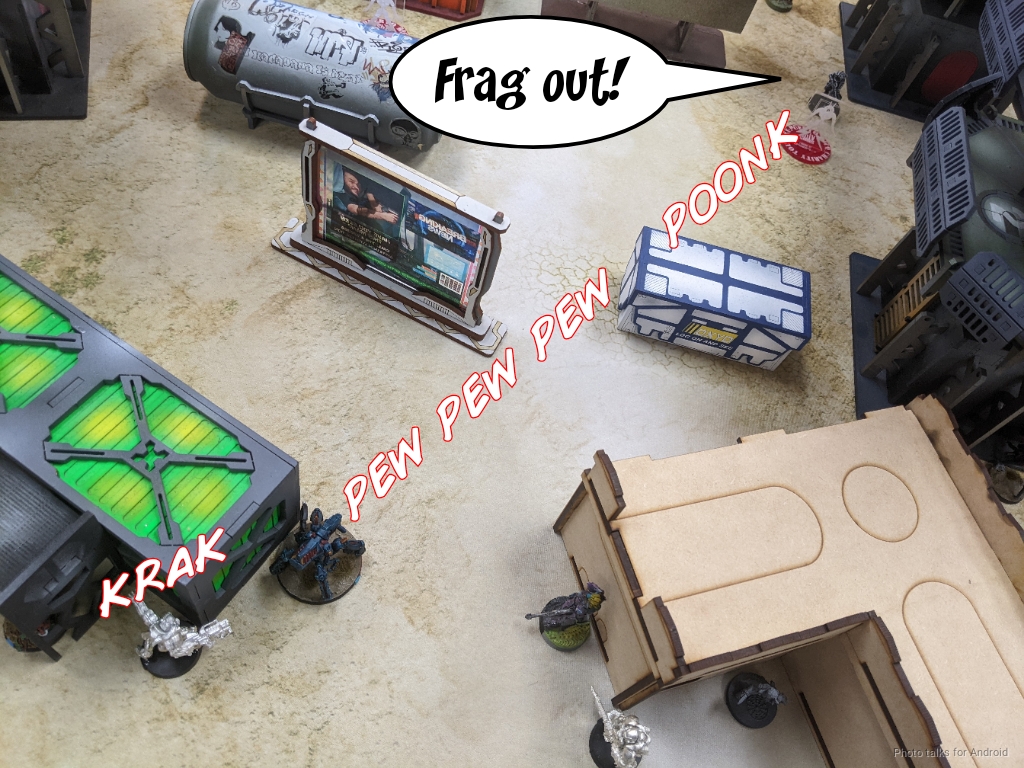
He’s got his entire other pool to use, which he spends advancing the Gao Rael and Makaul into the objective room and then making a big push with the Kiel Saan. The Kiel Saan has a SymbioBomb which Tony wants to use on the Rindak. Of course, Rindak have structure, so this is impossible. I offer an opportunity to roll back a few orders, but Tony gamely sails on.
The Kiel Saan is close enough to the Ikadron that I attempt a hack, but I fail the roll. Tony’s out of ordres so he passes turn. As always, Infinity’s dynamic poses result in weird interactions with terrain so ignore the facing of the Kiel Saan in the next photo.
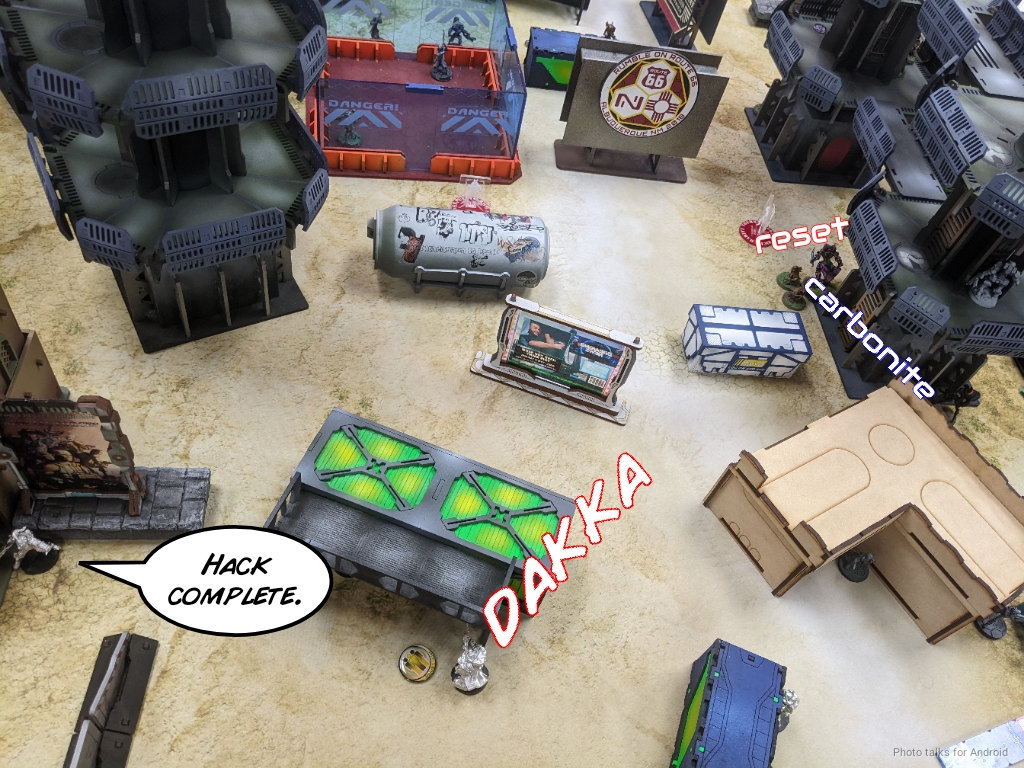
Bottom of 1 – MAF
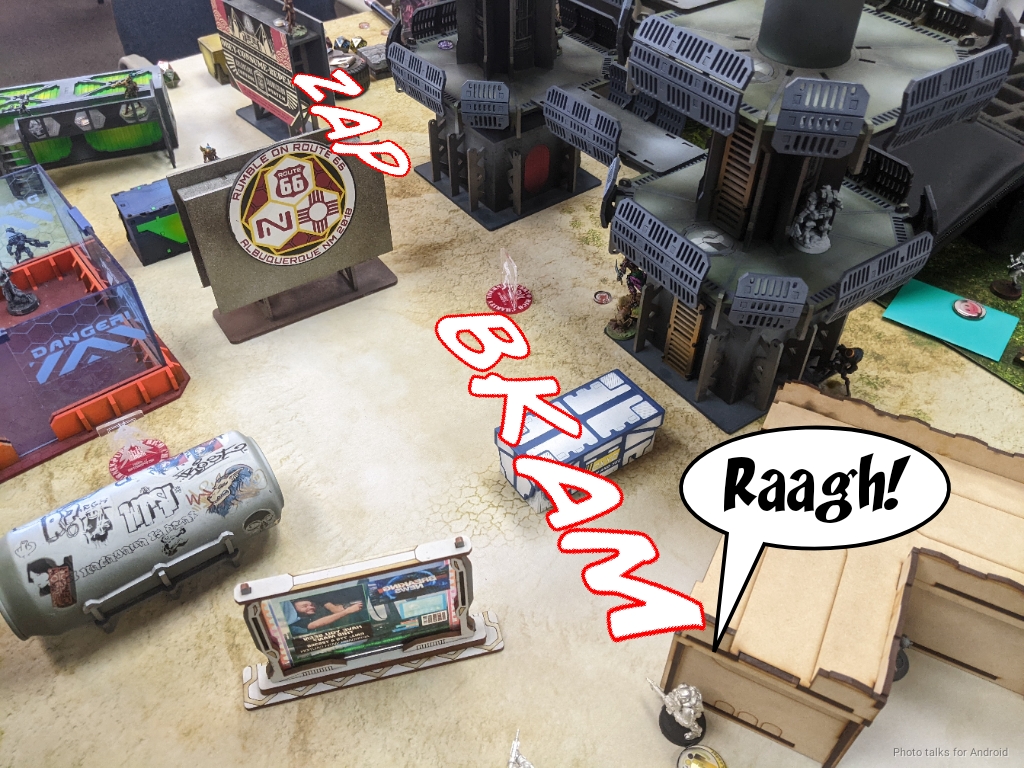
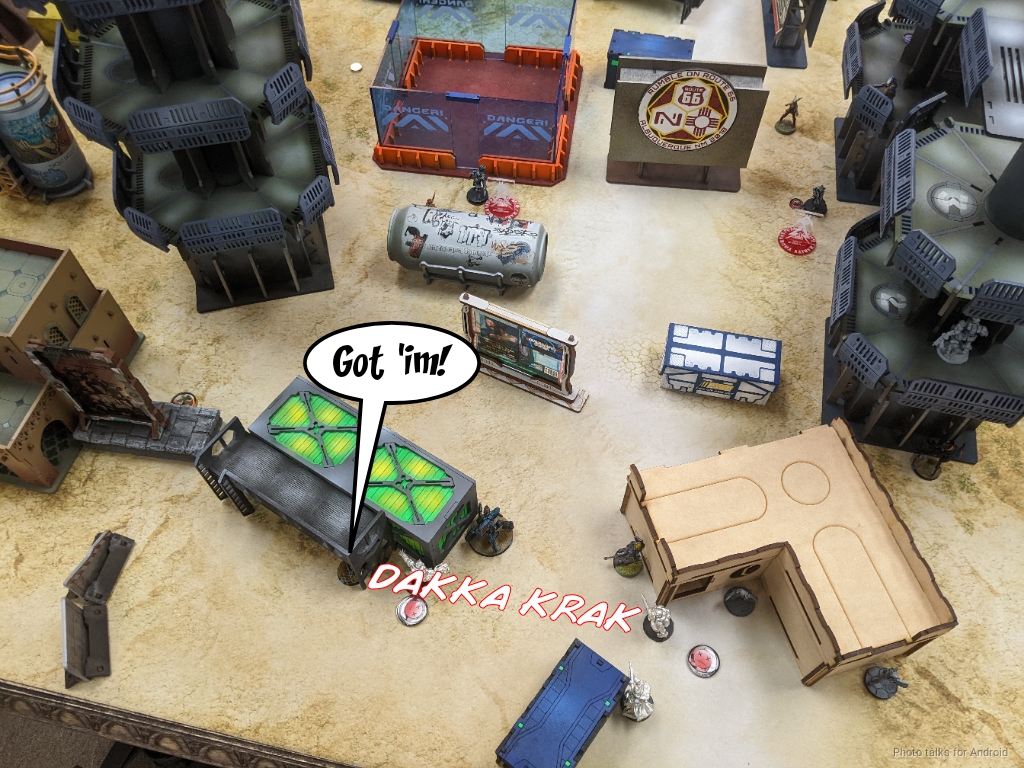
That Kiel Saan is entirely too close for comfort. It will dismantle my forces if it’s allowed to remain, so I successfully Carbonite it and then shoot it with Kornak. Kornak pops the SymbioMate and does a wound.
I decide to try and take down the Diplomat with the Yaogat and shockingly get flash pulsed. Oh well.
I figure I can take down the Kiel Saan with Anyat, but lose the face to face and go down.
Fortunately, I’ve got a Rindak paramedic nearby! I down a Kaauri on the way down the containers…
Blitzen the Kiel San in the back…
and then proceed to kill Anyat by hitting her with both MediKit shots and rolling double 16s. Frigga fragga grumble grumble. Tony doubles over in laughter, which is well deserved!

At this point I waste some orders by shooting at the Kiel Saan and doing another wound, popping the suit. What I don’t realize till later is that the Kiel Saan is WIP 12, so when it’s Isolated and Immobilized, it can’t reset, because it’s at -12 WIP! Sigh.
In any case, I’ve got one order left, which I use to climb the Q-Drone off the building to let me use it aggressively later.
Turn 2
Top of 2 – Tohaa
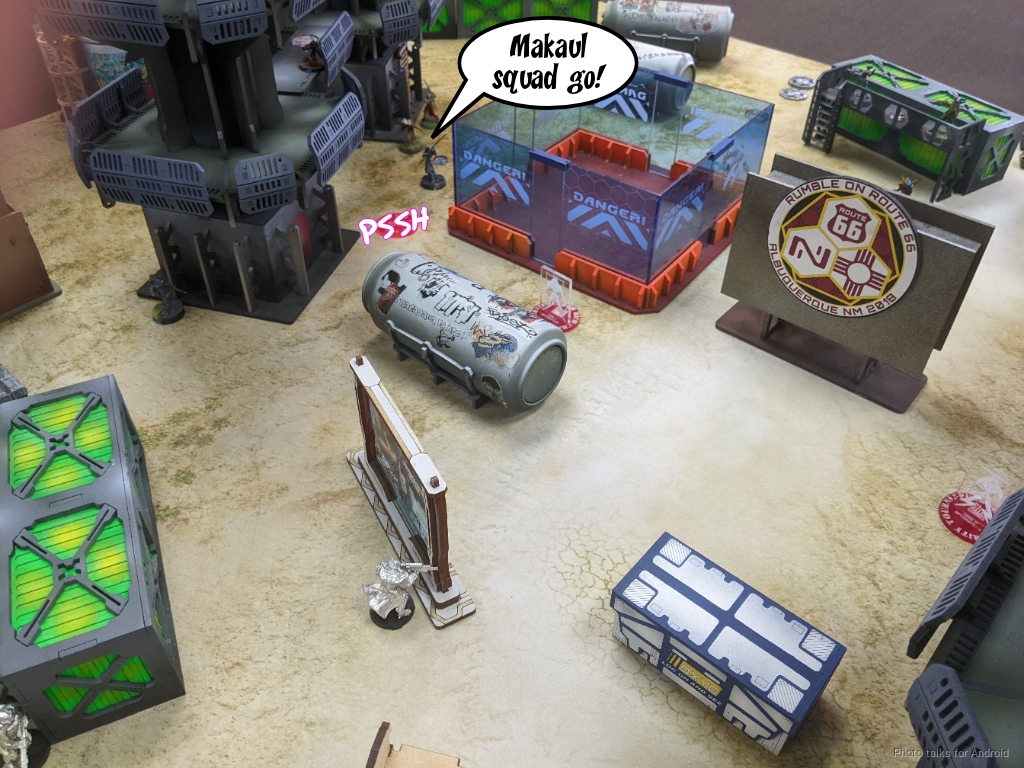
Tony sees that my Rindak is overextended and goes to eat it with the Makaul triad led by the Gao Rael. He blocks off the Yaogat’s line of fire with eclipse smoke to start things off.
Makauls don’t have stealth, so I can start dodging away with the Rindak.
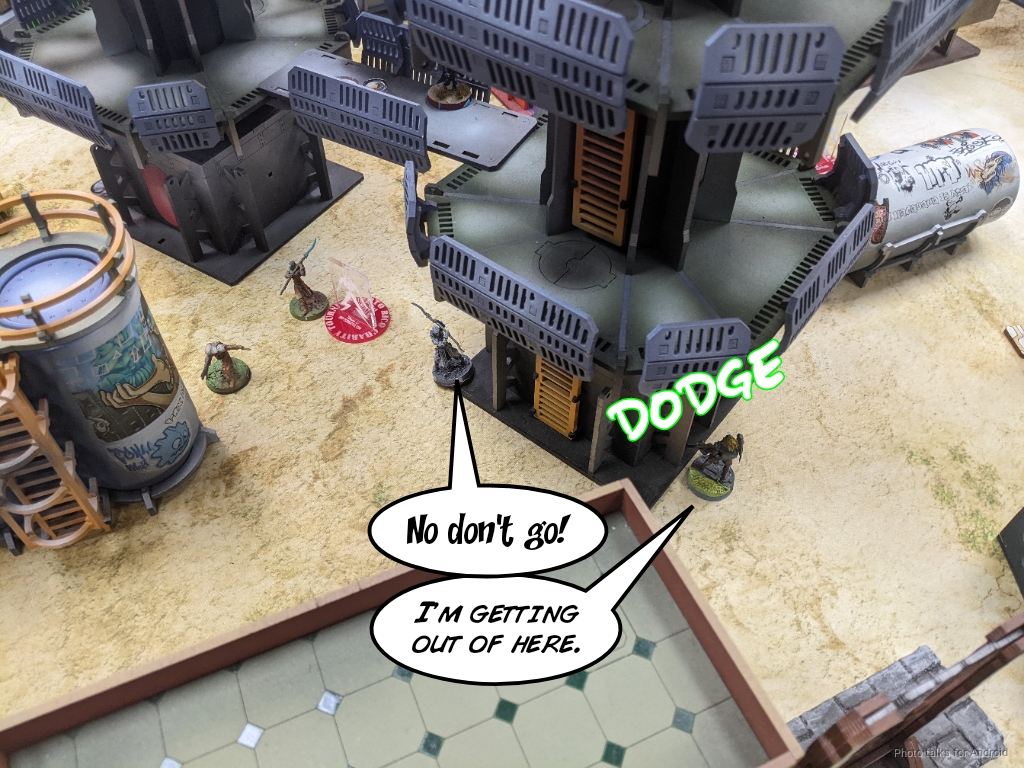
The Gao Rael goes for the lieutenant snipe, but I’m actually shooting on 17s so I manage to weather the storm pretty well while the Rindak keeps dodging.
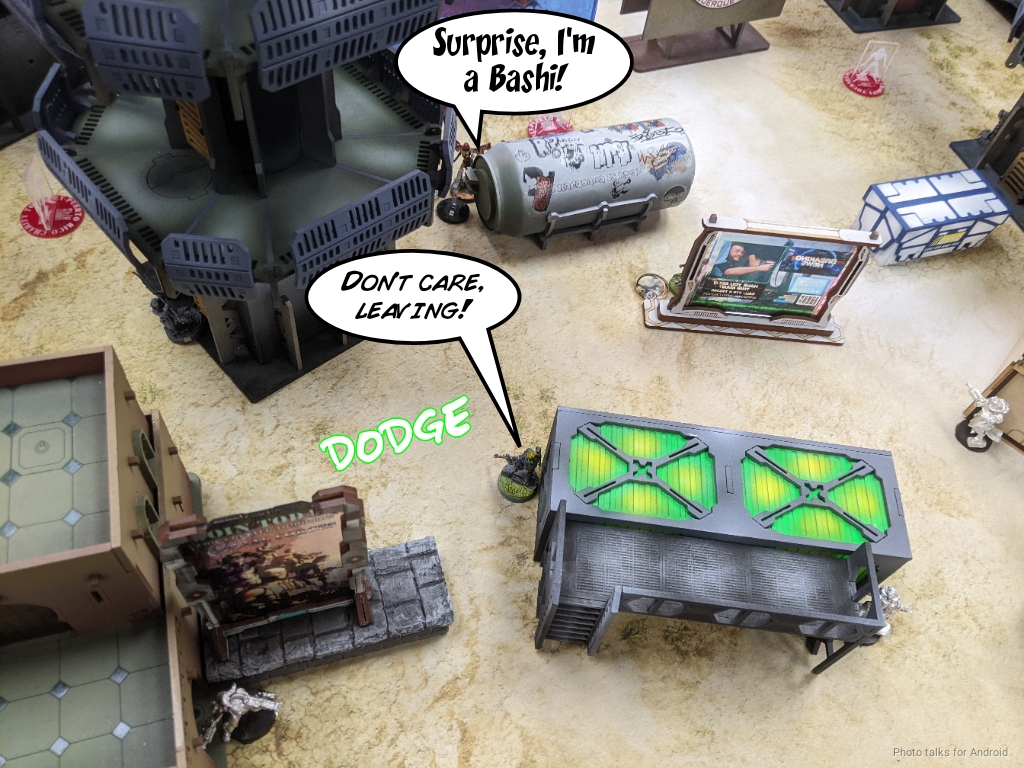
Eventually I dodge the Rindak into view of the Gao Rael along with Kornak, which gives Tony pause and halts that attack. Tony then advances the bashi and threatens a E/M mine from the Bashi. I just keep dodging away. He even brings a Kauuri forward to drop a mine as well.
Bottom of 2 – MAF
My objective for the turn is to break out of the mine net and try to do some damage to Tony’s order pool to take some of the pressure off. I start things off by sending my Ikadron after the Gao Rael and putting a wound on it with a pistol shot against its dodge.
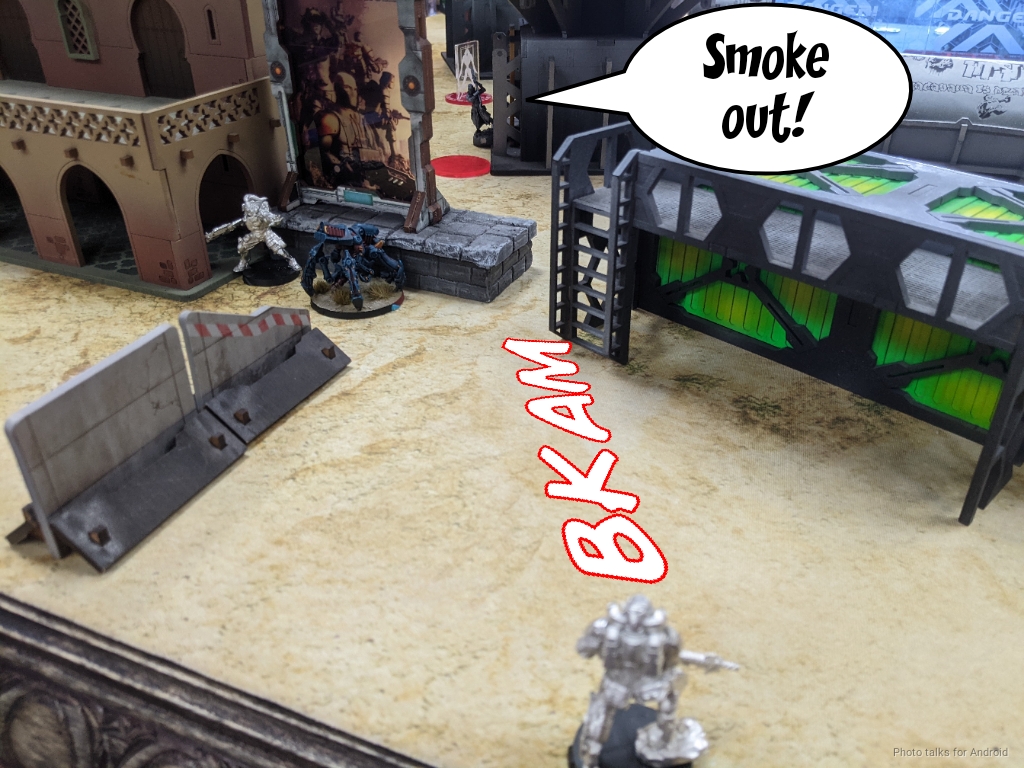
I retreat back to cover and the Gao Rael shoots so I just double flamethrower and take him out. I force smoke out of the Makaul with the Yaogat (although of course I would preferred to have killed it).
This lets me use the Q-Drone to clear mines by plasma-ing down the Kaauri and splashing the mine, and doing the same to the pile of Bashi holoechos. In his defense, Tony was under the impression that if I shot the visible (and fake) holoecho, my template would be canceled, hence the dangerous placement of the Bashi. We called Jeff over to give a ruling, and Jeff ruled in my favor, so I made my 3 on 14s roll. And promptly rolled 18, 18, 19.
I think everyone else in the shop stopped their game and looked over to make sure Tony didn’t actually die from laughter. The Rindak MULTI made its way to the top of a building and cleared out the last mine and that was that. I was free of mines, but definitely was dangerously close to a Makaul. I shifted everything towards the center of my deployment zone and covered the Makaul’s approach with multiple AROs before passing turn.
Turn 3
Top of 3 – Tohaa
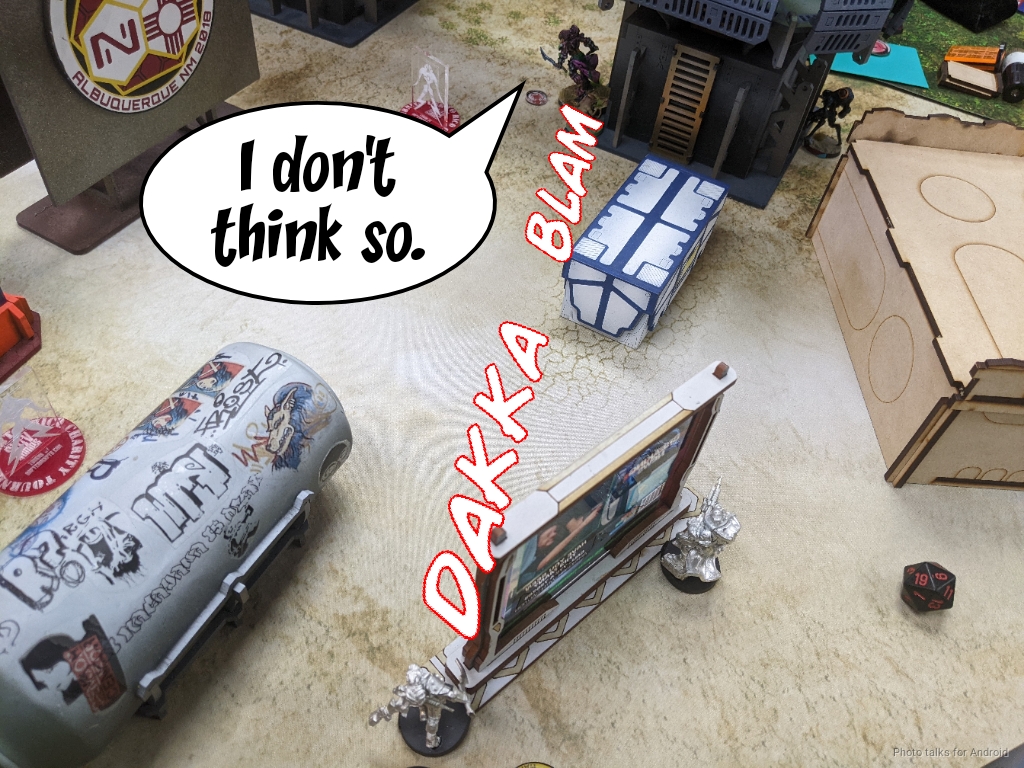
Tony sent in the Makaul and threw smoke against a ton of shooting. The Rindak missed, the Q-Drone missed, and then it was down to the Yaogat. Thankfully, my Yaogat came through and downed the Makaul. Phew!
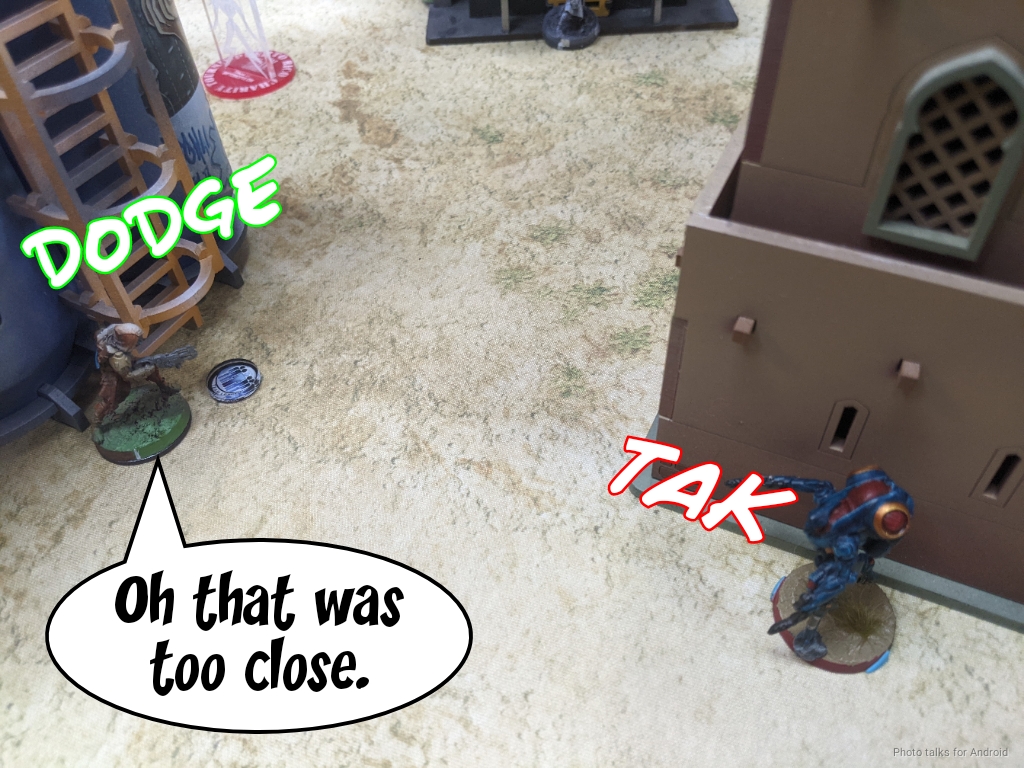
The Igao climbed off its perch and made a run on my deployment zone, getting discovered on the way down the ladder.
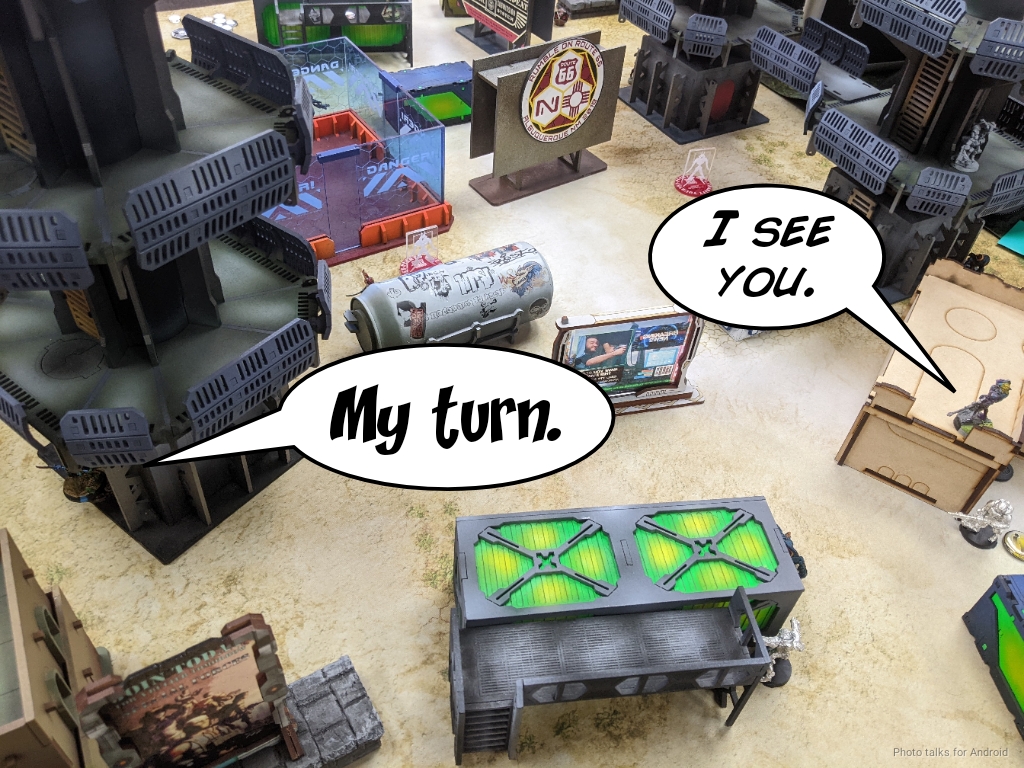
Tony recamoed out of line of fire and came back in, but the Rindak discovered again. Sadly, I wasn’t able to protect the final approach of the Igao, so it managed to get into my deployment zone.
First though, the Taquel tried to take out the Rindak on the roof, but I dodged off the roof and out of line of fire.
Then Tony got lucky with the Kriigel’s grenade launcher, taking out the Dartok but dying to the Q-Drone.
With the Dartok down, the Igao popped out and downed the Yaogat.
Tony’s last orders are spent running his Chaksa onto the central objective.
Bottom of 3 – MAF
Well, all I’ve got to do now is is get smoke on the objectives, flip one with the Rindak, and then put the Oznat on one of the objectives and the Rindak on the central objective to cancel the Chaksa. I don’t have the orders to challenge the Chaksa. The Oznat gets smoke on everything, the Rindak flips the objective, and then the Oznat successfully resets against the Taquel’s Endgame.
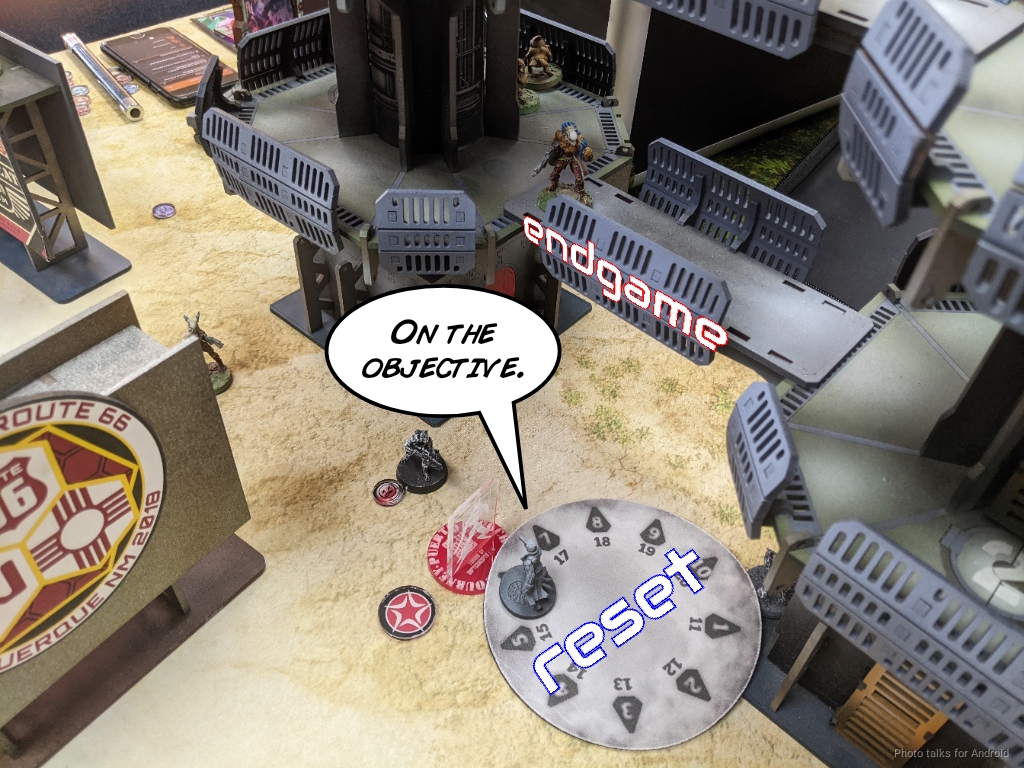
The Rindak parks on the central objective…
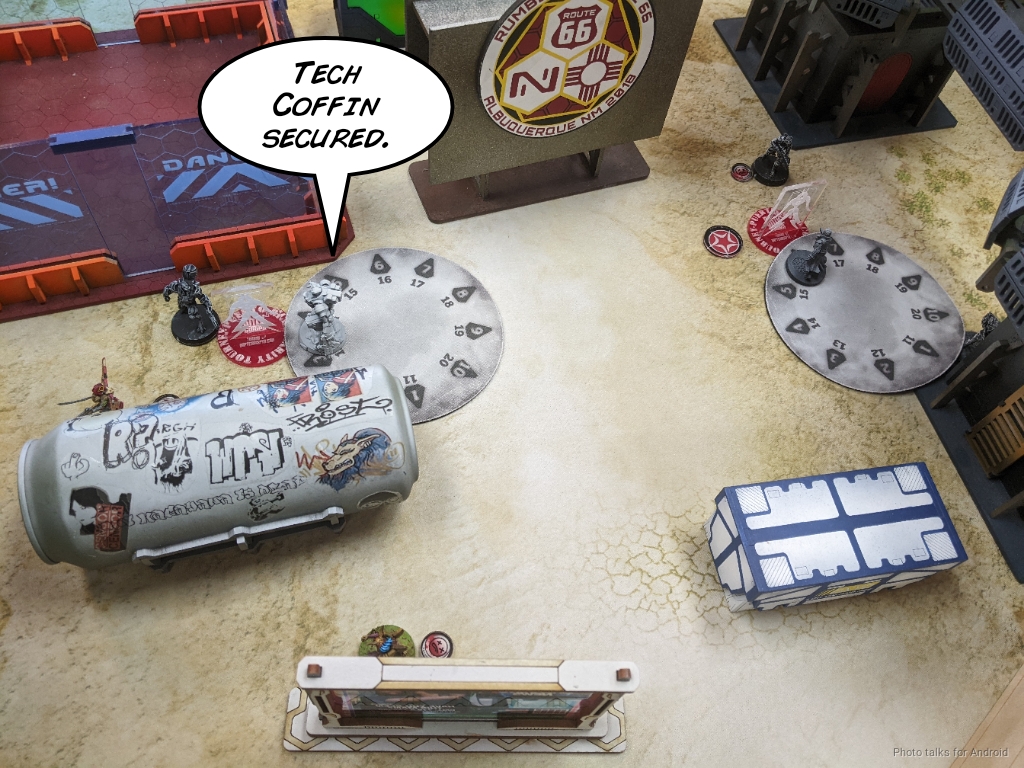
and then I secure Tony’s HVT by walking on my Bashi, canceling his Taquel securing mine. This makes it a
3-0, 158-214 Morat Aggression Force Victory!
Post Game Analysis
I really left a lot of points on the table with this one. Instead of moving just the Oznat I should’ve moved the entire link. This would’ve let me ignore the Endgame from the Taquel by just throwing two Gakis onto the objective. If one dies that’s fine, and explode doesn’t kill friendlies. Then, I could’ve probably gone the long way ’round with the other two Gakis and killed the Chaksa in close combat, letting the Rindak secure the central objective. This would’ve brought things to a 6-0 win. For what it’s worth I did attempt to flip the objective on my left with the Rindak after Blitzening the Kiel Saan, but failed the roll. I probably should’ve stayed there to get the points on the table.
Furthermore, I wasn’t considering the fact that Morats have veteran, and I could’ve just walked Kornak through the mines… and I didn’t realize that the Kiel Saan was WIP 12 and therefore not a threat after I Blitzen’ed it. Anyway. Lots and lots of inefficiencies this game. Using the Q-Drone was absolutely the right call though, that’s just so efficient, it was just the last mine that I didn’t need to discover.
I also had the opportunity to bring on the Bashi on the left on Turn 2 to get the objective done. Long story short, Tony did a lot of work to distract me and keep me boxed into my deployment zone. He was very successful at doing this, but as a result didn’t spend much effort on the objectives himself. I think he got too excited about delivering the Igao into my deployment zone (understandable) and then ran out of orders to get the mission done. I suspect he was too worried about the Rindak and therefore set up all those mines, when really it’s not all that disruptive for me. I can’t be isolated, so I’m only resetting on -3 WIP which is quite reasonable, and I’m dodging the mines on 13’s.
I think we both were pretty inefficient this game, but I had second turn, and oftentimes that’s all that matters in Acquisition. Being able to just deny many orders of setup and positioning with smoke and then moving into base contact with an objective is rather unfun in my opinion. Obviously Tony could have attempted to address this by killing the Oznat with something, but the bar is just so low for canceling points. Base contact is quite easy to achieve even without smoke. I think Tony could’ve made things significantly harder for me just by using the Bashi to flip some objectives instead of challenging my Rindak.
It’s always fun playing Tony, he’s very aggressive and challenges me in ways that many other players do not. I think second turn advantage turned this game from an inefficient draw into a win for me, plain and simple. With my third win and being the only undefeated person at the tournament, that put me in 1st, which was a pleasant surprise. Also, Joel (Paladin_Eks) from Game 1 won best painted, which is a well deserved prize, especially after choosing his lists before the missions were announced so he could prioritize painting.
A big thanks to Jeff for putting on a fun event and just generally being a good human. Thanks to all my opponents, and as always, thanks for reading.
Pingback: Mission 050: New Rule, Who Dis – Bromad Academy