
Crisis Averted?
After the last two games with “vanilla” Bakunin, I decided that I probably did need at least a 3-strong link. I wasn’t particularly happy with the Zero MSR–its performance was a bit of a fluke, and I could probably stand to swap Robin Hook out for something else. I still want to try to make her work, but Kusanagi and the Moira could definitely stand to have +1 Burst.
Frank (fwashburn) reached out a few days later to see if I was available for a practice game of Rescue to prep for an upcoming tournament for him, so I was happy to oblige. Given that we’re on opposite sides of the country, that meant TTS:
Overview
- Mission: ITS14 Rescue
- Forces: Jurisdictional Command of Bakunin versus Shasvastii Expeditionary Force (300)
- Deploy First: Shasvastii
- First Turn: Shasvastii
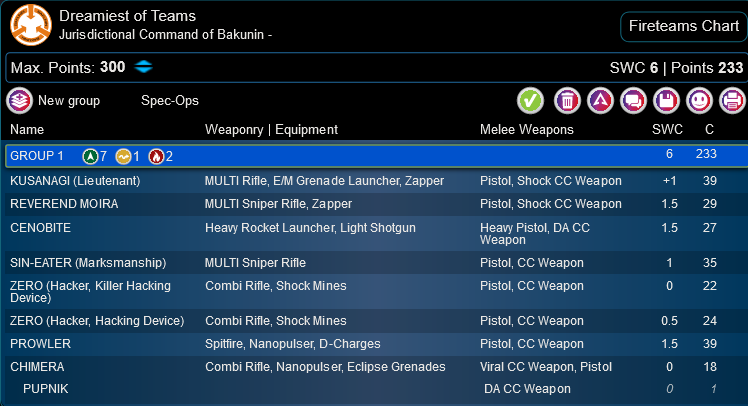
I swapped out the Zero MSR and Robin Hook and swapped in a Cenobite HRL and Chimera. This feels very correct to me.
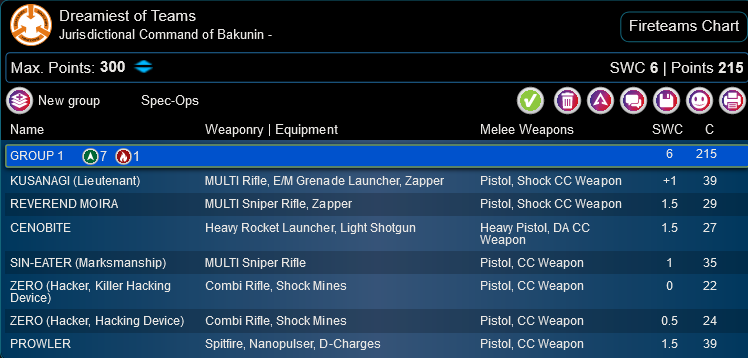
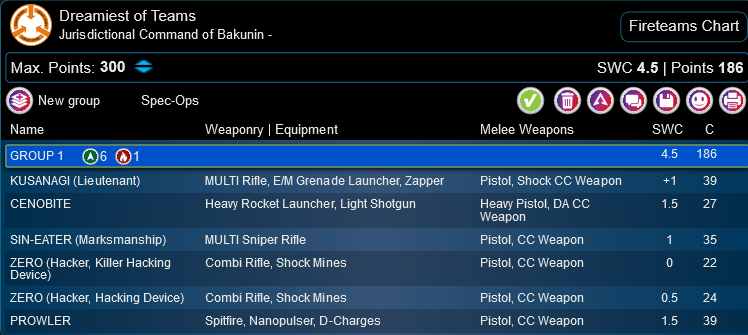
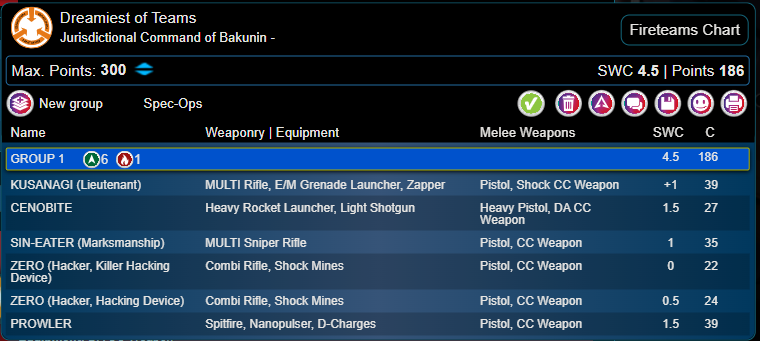
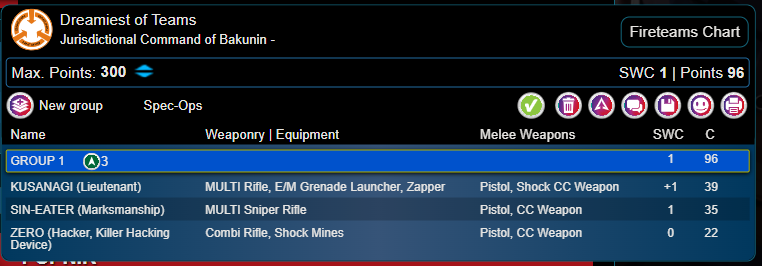
Dreamiest of Teams
KUSANAGI (Lieutenant) MULTI Rifle, E/M Grenade Launcher, Zapper / Pistol, Shock CC Weapon. (+1 | 39)
REVEREND MOIRA MULTI Sniper Rifle, Zapper / Pistol, Shock CC Weapon. (1.5 | 29)
CENOBITE Heavy Rocket Launcher, Light Shotgun / Heavy Pistol, DA CC Weapon. (1.5 | 27)
SIN-EATER (Marksmanship) MULTI Sniper Rifle / Pistol, CC Weapon. (1 | 35)
ZERO (Hacker, Killer Hacking Device) Combi Rifle, Shock Mines ( ) / Pistol, CC Weapon. (0 | 22)
BRAN DO CASTRO Boarding Shotgun / Pistol, Shock CC Weapon. (0 | 32)
PROWLER Spitfire, Nanopulser, D-Charges / Pistol, CC Weapon. (1.5 | 39)
CHIMERA Combi Rifle, Nanopulser, Eclipse Grenades / Viral CC Weapon, Pistol. (0 | 18)

PUPNIK DA CC Weapon. (0 | 1)
9
1
2 | 7 SWC | 300 Points | Open in Army | Copy Code
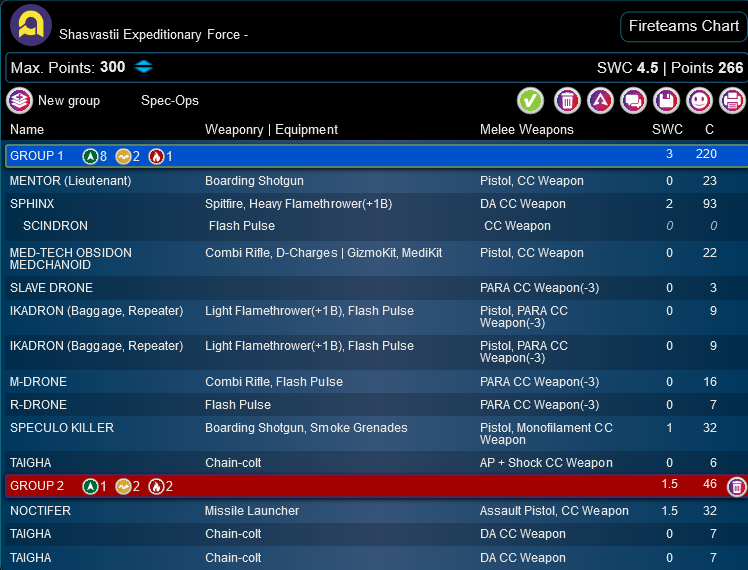
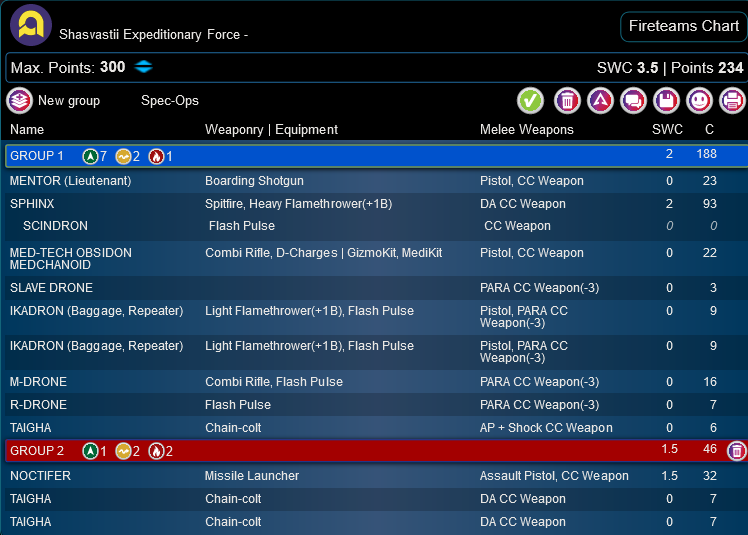
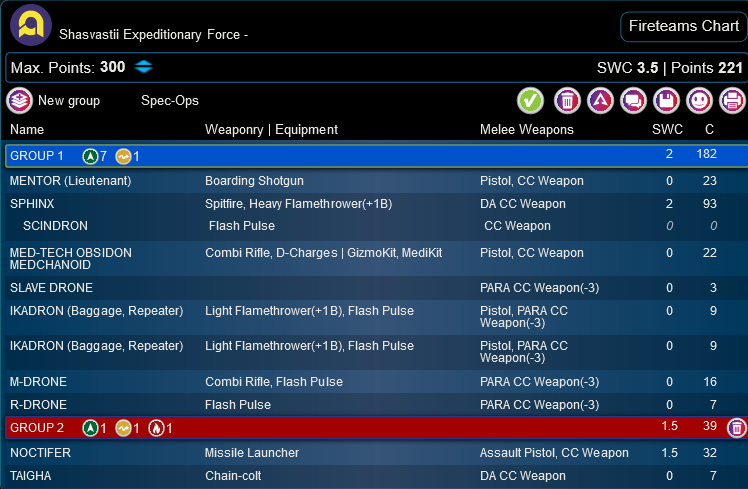
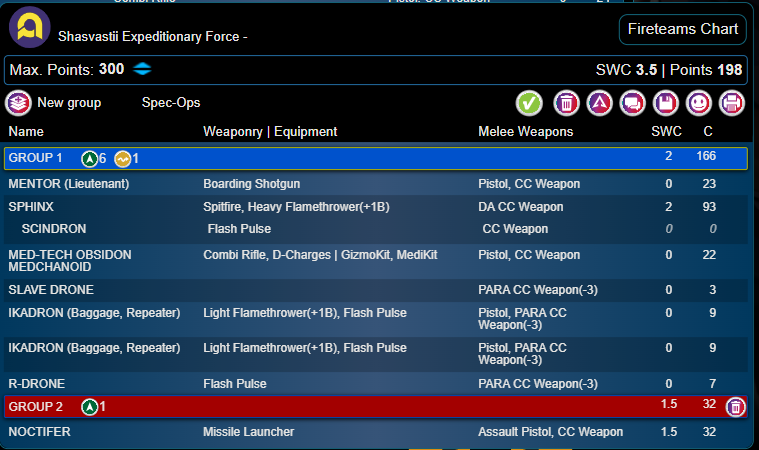
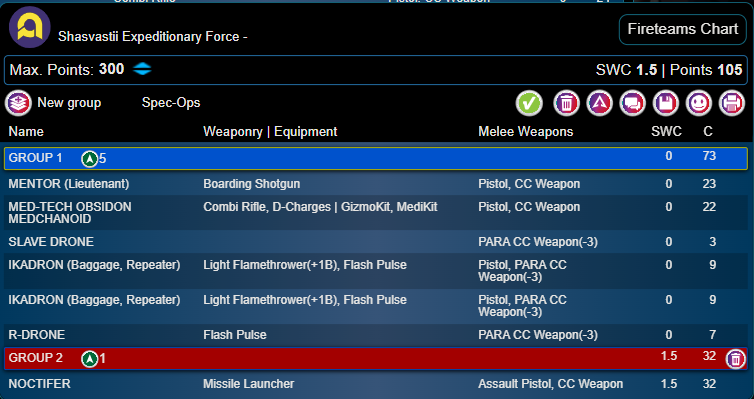
Frank has got a bit of an oddball Shasvastii list, which is characterized by double Speculo, a Sphinx, and a Noctifer.
Frank (fwashburn)
GROUP 1GROUP 2
MENTOR (Lieutenant) Boarding Shotgun / Pistol, CC Weapon. (0 | 23)
SPHINX Spitfire, Heavy Flamethrower(+1B) / DA CC Weapon. (2 | 93)
SCINDRON Flash Pulse / CC Weapon. (0 | 0)
MED-TECH OBSIDON MEDCHANOID Combi Rifle, D-Charges ( | GizmoKit, MediKit) / Pistol, CC Weapon. (0 | 22)
SLAVE DRONE PARA CC Weapon(-3). (0 | 3)
IKADRON (Baggage, Repeater) Light Flamethrower(+1B), Flash Pulse / Pistol, PARA CC Weapon(-3). (0 | 9)
M-DRONE Combi Rifle, Flash Pulse / PARA CC Weapon(-3). (0 | 16)
R-DRONE Flash Pulse / PARA CC Weapon(-3). (0 | 7)
SPECULO KILLER (Minelayer) Combi Rifle, Smoke Grenades, Shock Mines / Pistol, Monofilament CC Weapon. (1.5 | 34)
TAIGHA Chain-colt / AP + Shock CC Weapon. (0 | 6)
NOCTIFER Missile Launcher / Assault Pistol, CC Weapon. (1.5 | 32)
6 SWC | 300 Points | Open in Army | Copy Code
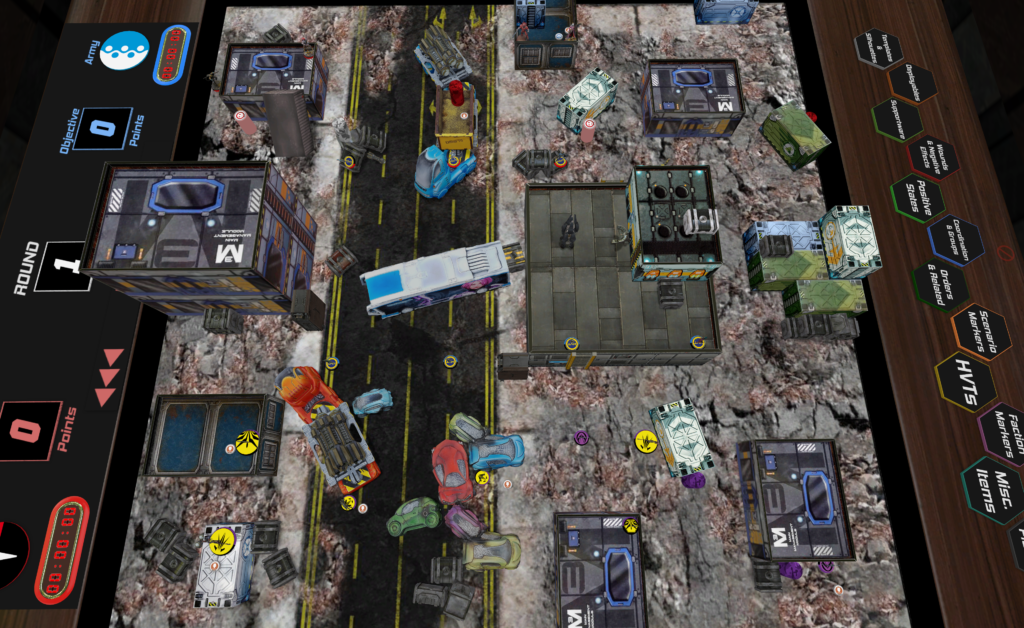
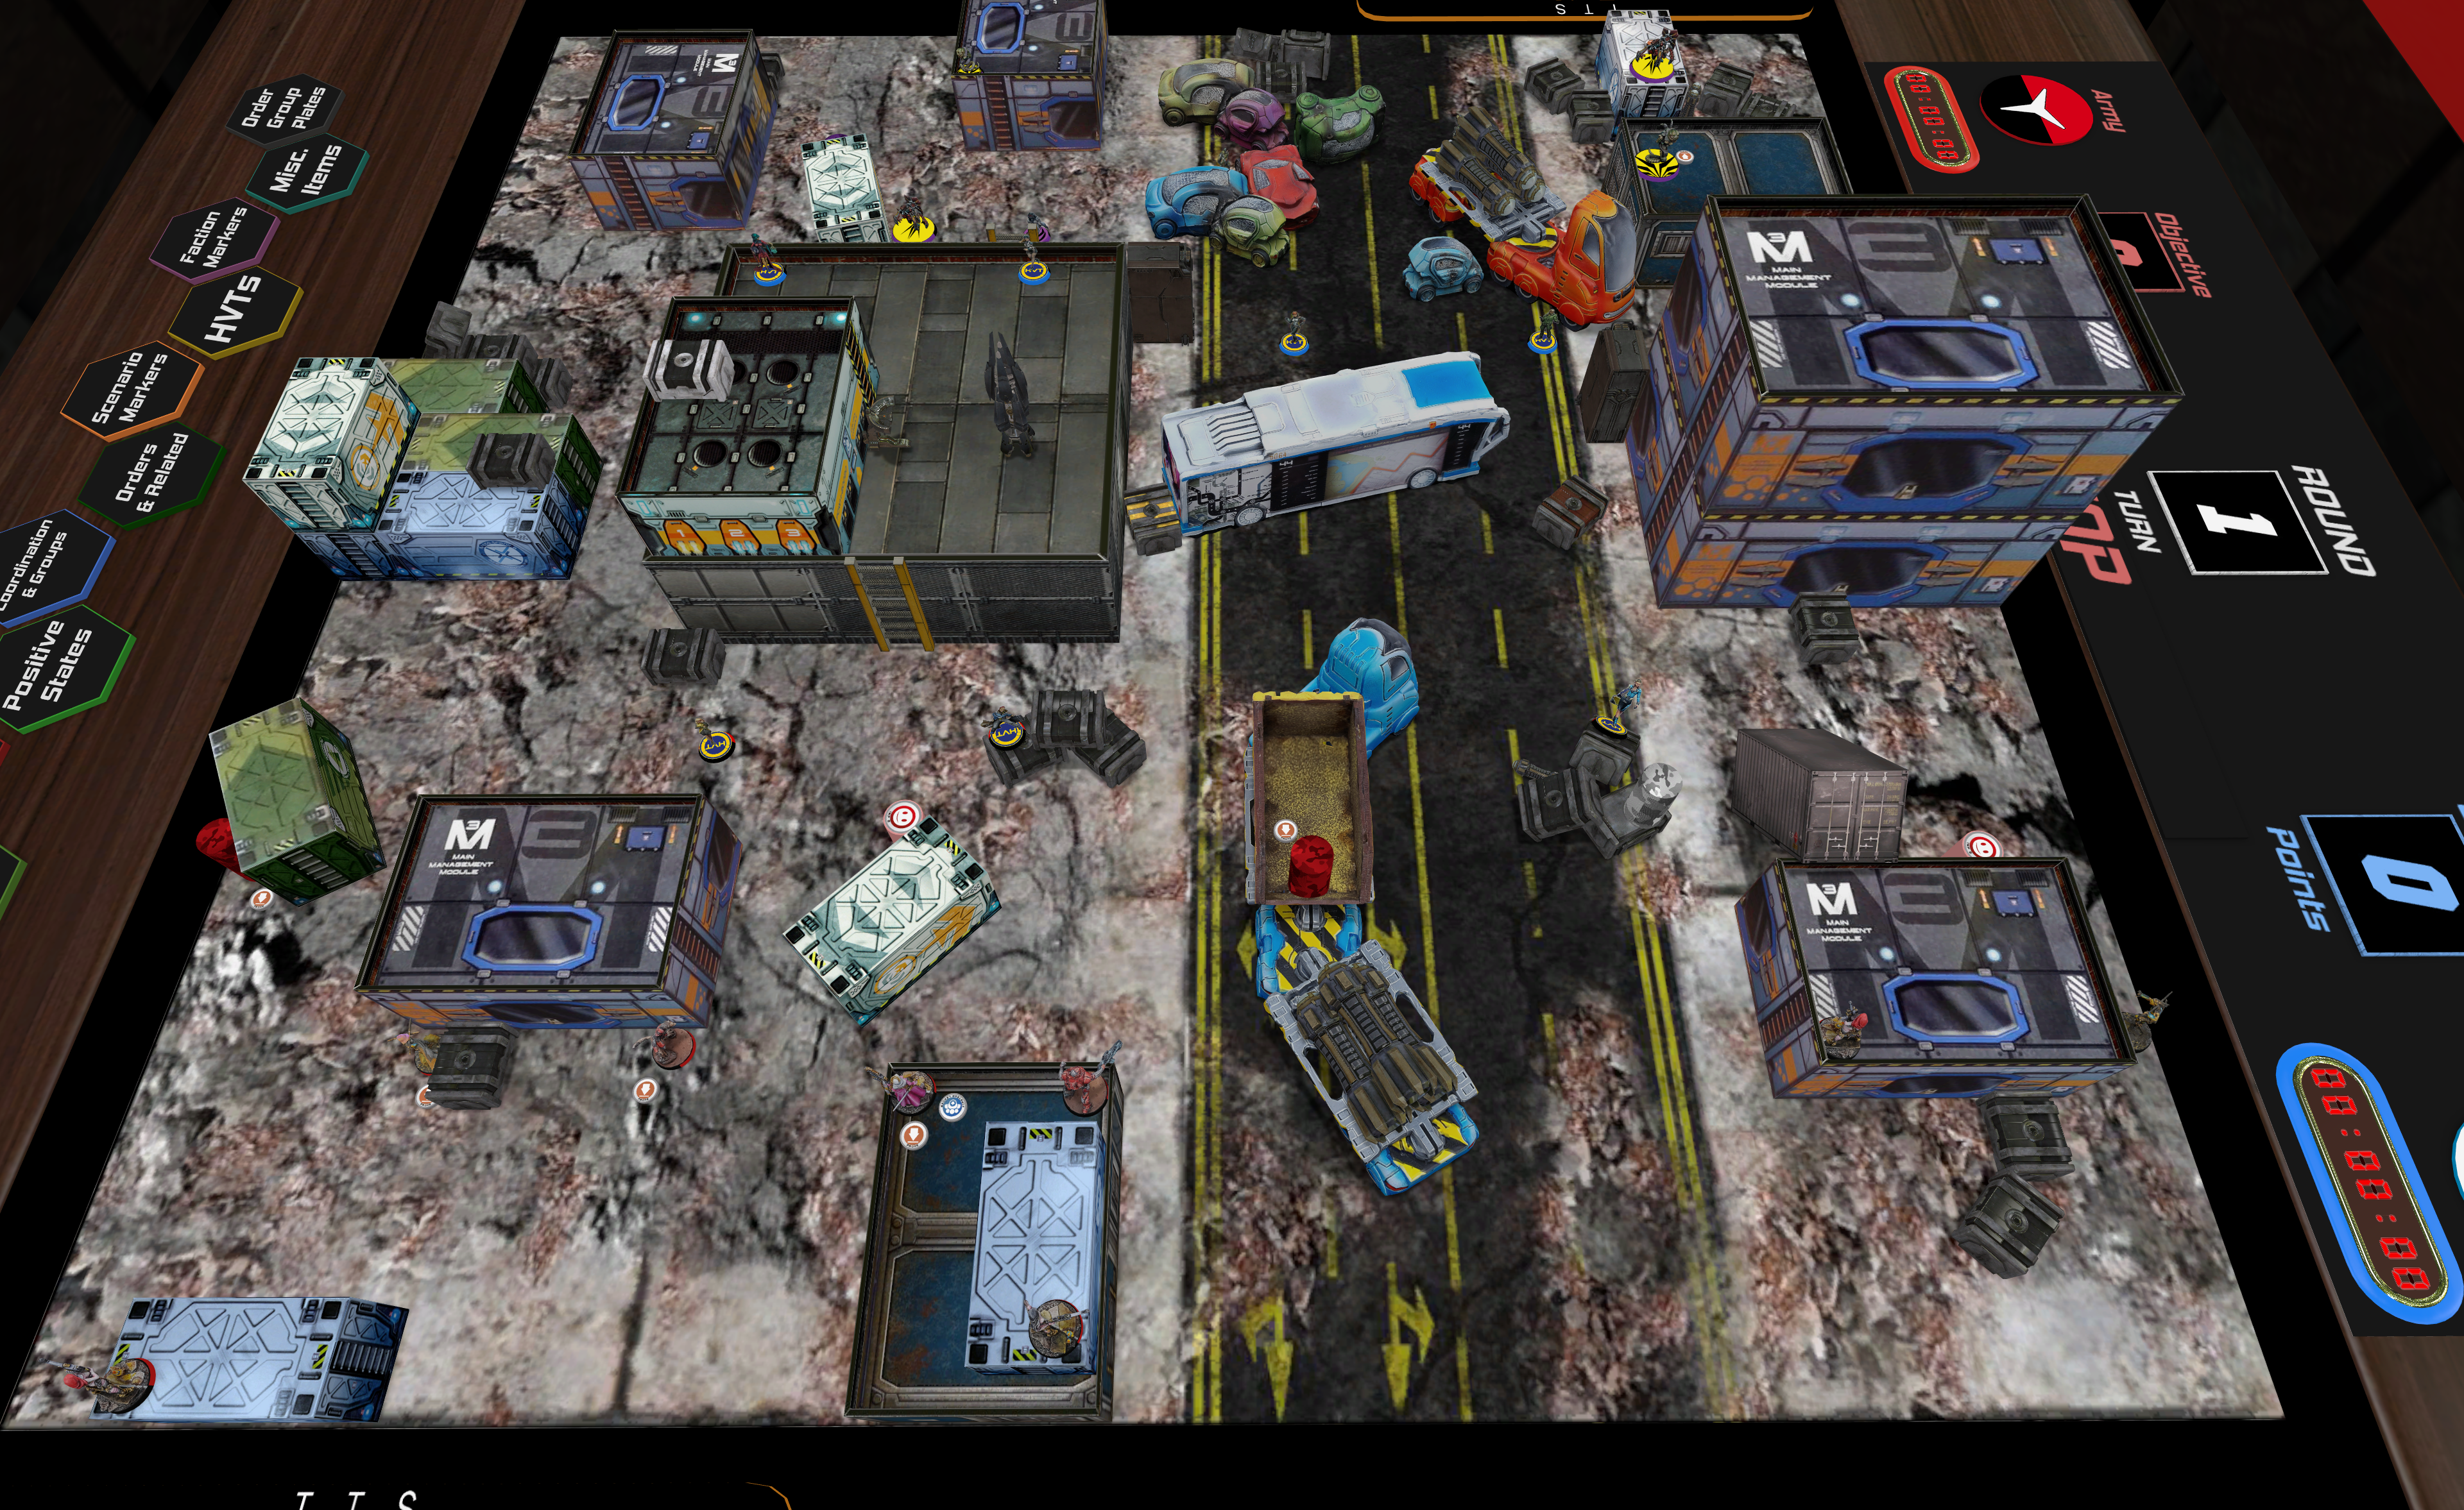
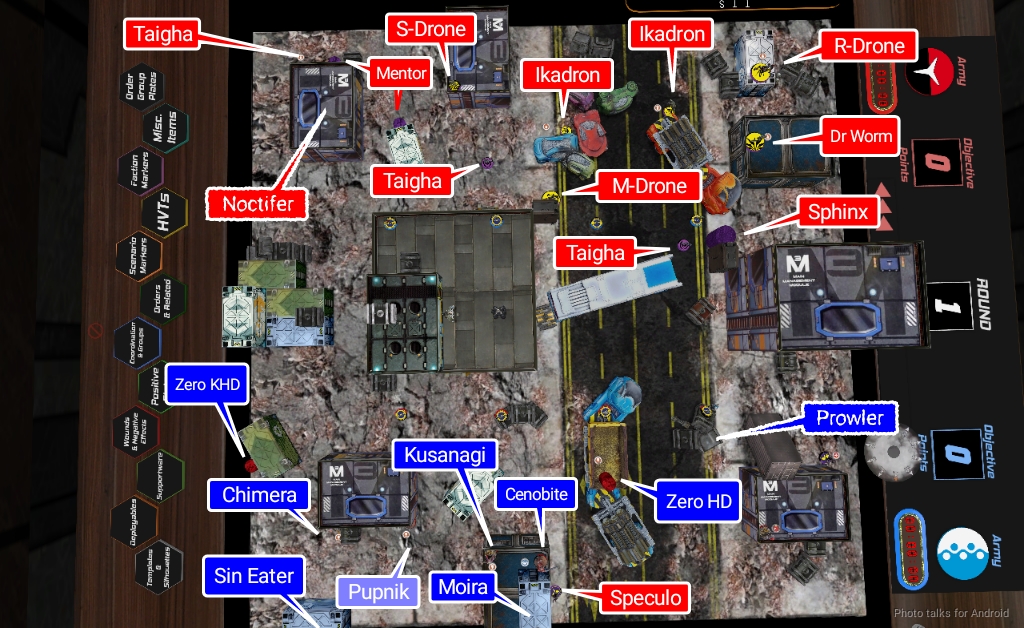
Deployment
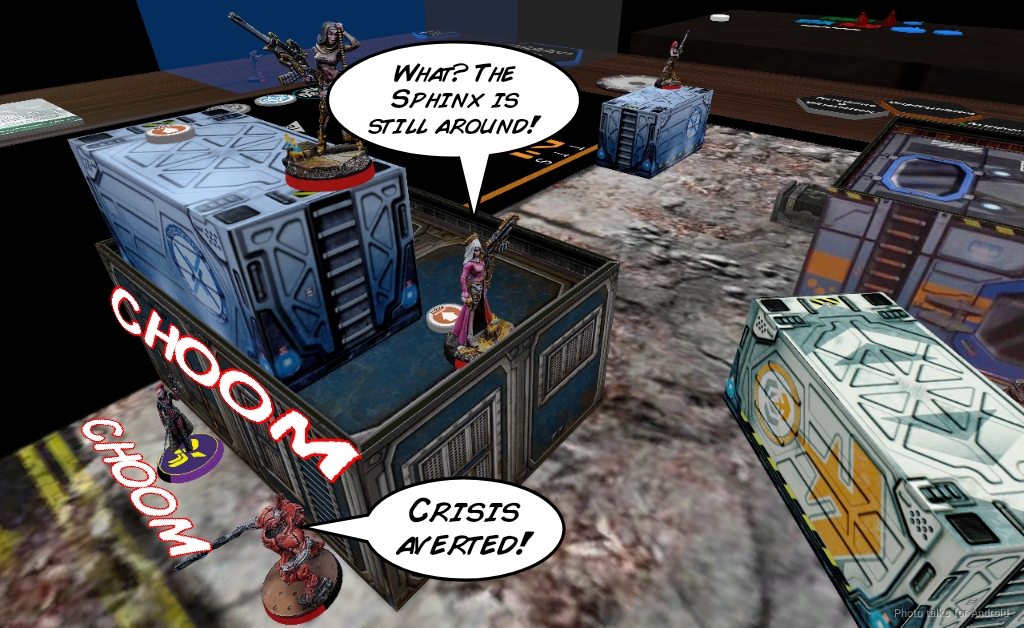
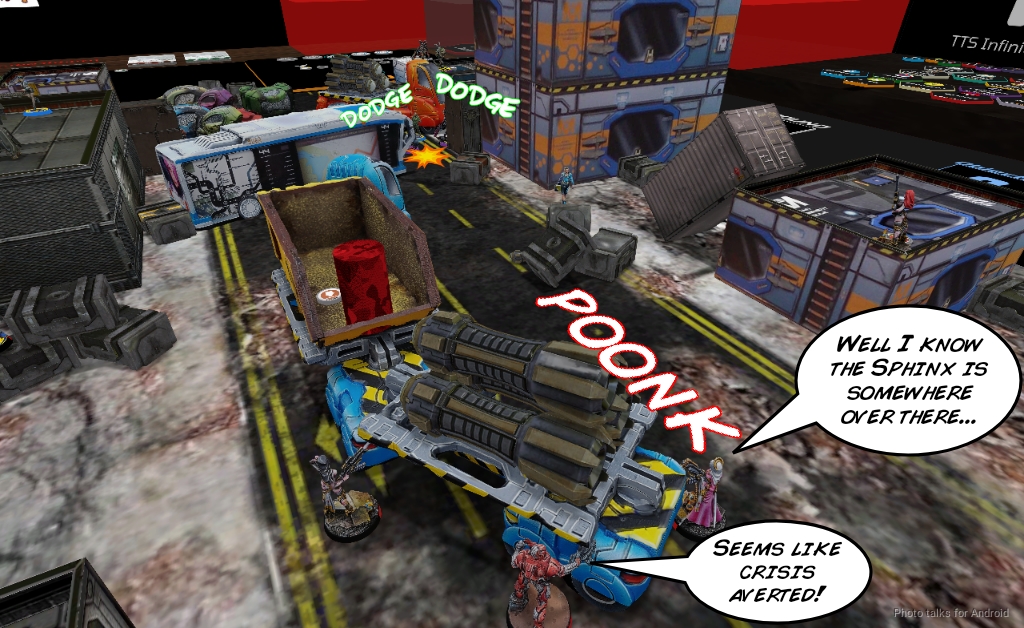
Frank held both Speculos in reserve and just plopped all his order generators all over the place, basically. I knew there was a Sphinx somewhere, but I didn’t know where. The order generators being everywhere and Dr. Worm and the S-Drone being in two different places basically gave me two likely options for where the Sphinx was, but I can’t really effectively counter-deploy it. There wasn’t much to learn from his deployment other than that a ton of points were missing.
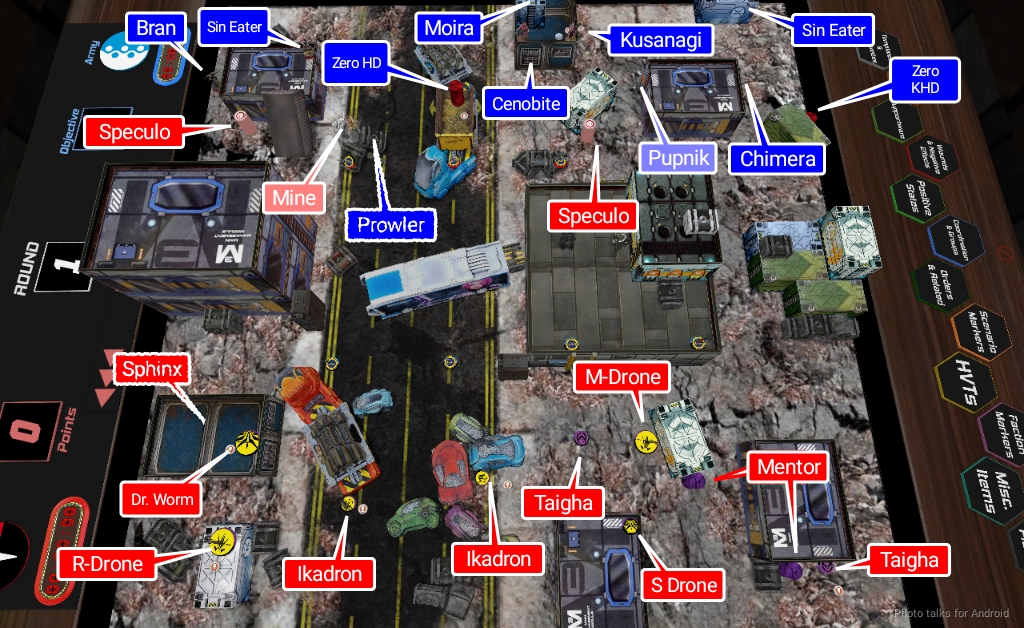
I decided to just split up my assets. The Zero KHD was on the left to push up on the M-Drone’s repeater, potentially. The Zero HD went in the middle to potentially hack the Sphinx if it came by, and then I put the Prowler slightly to the right to… do things? I figured it would be a good attack avenue up the center if I needed.
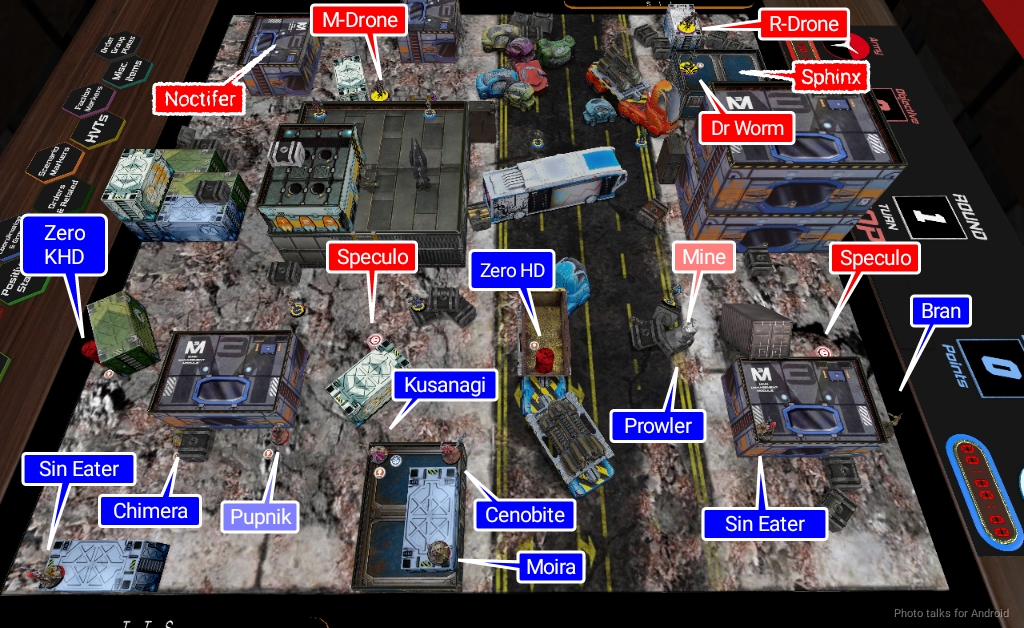
Kusanagi friends hung out on a central building inside my deployment zone covering much of the table with an HRL and MSR, and the Sin Eaters backed them up with diagonal lines of fire. In came the Speculos, with one mine covering the Sin Eater on the right (this was played before the N4 2.0 changes) and the other Speculo on the left ready to harass my Chimera/Pupnik.
I decided to try and over-infiltrate Bran on the same roof as Dr. Worm (and the Sphinx, it turned out, but I had no idea). Sadly, I failed the roll and instead put Bran on the right to fight the Speculo over there.
Turn 1
Top of 1 – Shasvastii
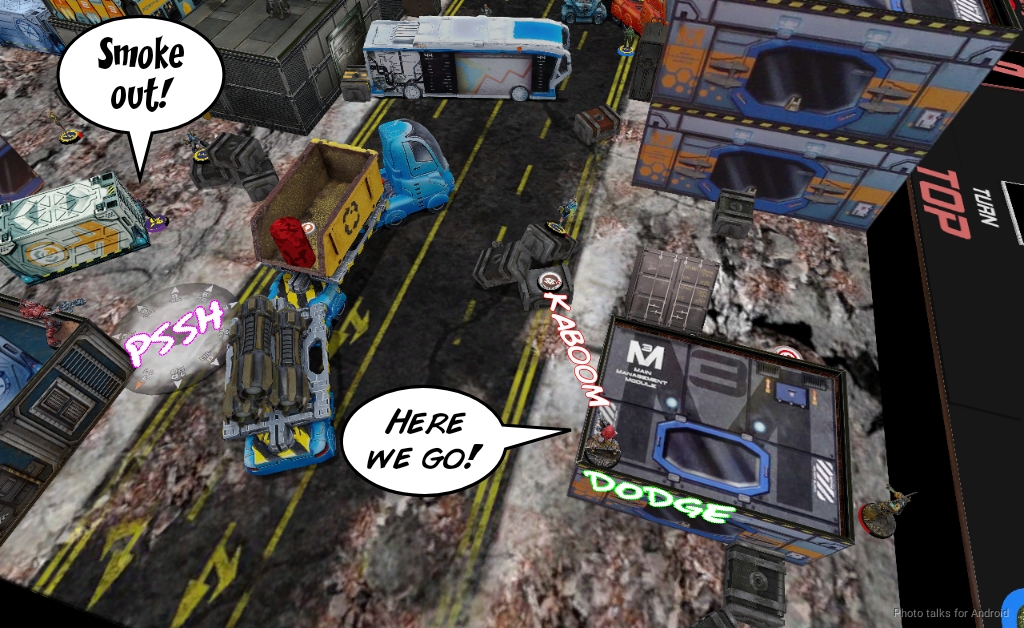
I took two orders from the first group, which turned out to be just one because of the Mentor. The Taigha would have needed to deal with the Sin Eaters so they canceled their orders. Instead, Frank starts by trying to shotgun the nearby Pupnik, which I think is a waste of an order and more importantly a waste of marker state. Sure, the Pupniks are dangerous, but it’s not worth 2-3 orders. Frank disagreed post game, but I think that’s a style thing. Anyway, the same Speculo near the Chimera threw smoke to block the Moira and Cenobite.
I had an opportunity to fight the Speculo’s smoke with the Sin Eater on the right, but I decided to dodge to clear the mine instead. Probably a mistake, since the odds are roughly the same and in shooting I get to potentially drop the Speculo. It was a little awkward because we missed the ARO initially so I just dodged to sort of preserve game state after Frank made his smoke roll.
Of course, I fail the dodge and ARM and lose the Sin Eater. How irritating! Frank tries to shotgun template down the Moira MSR, but this time I make my dodge, going prone. At the same time, the Cenobite dodges into view to threaten light shotgun templates.
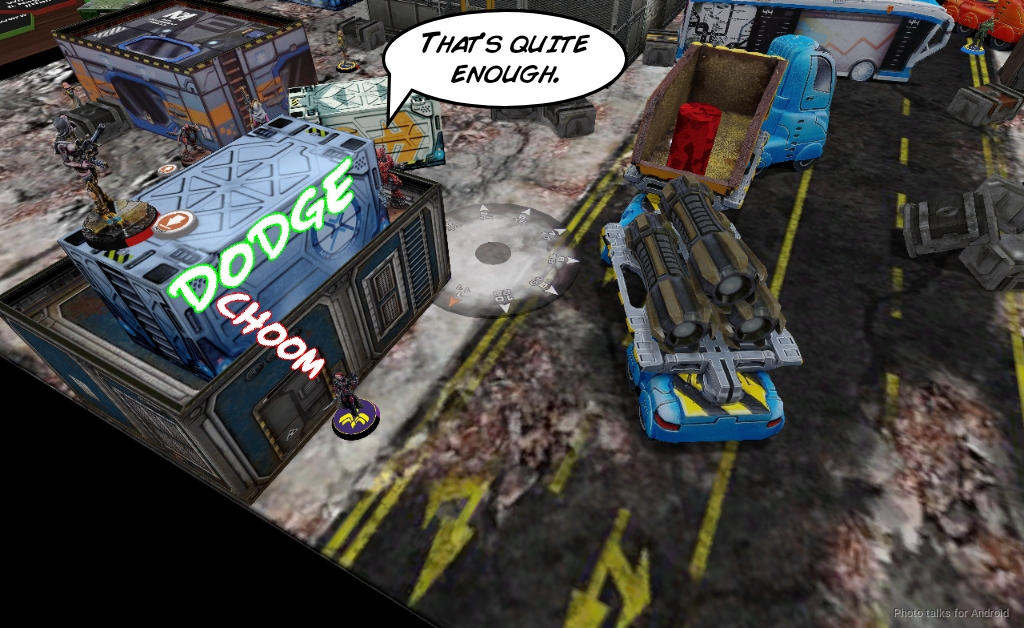
The other Speculo pokes out to see Bran and attempts a discover-shoot on the next order. I template, take 2 wounds, but at least I drop the Speculo.
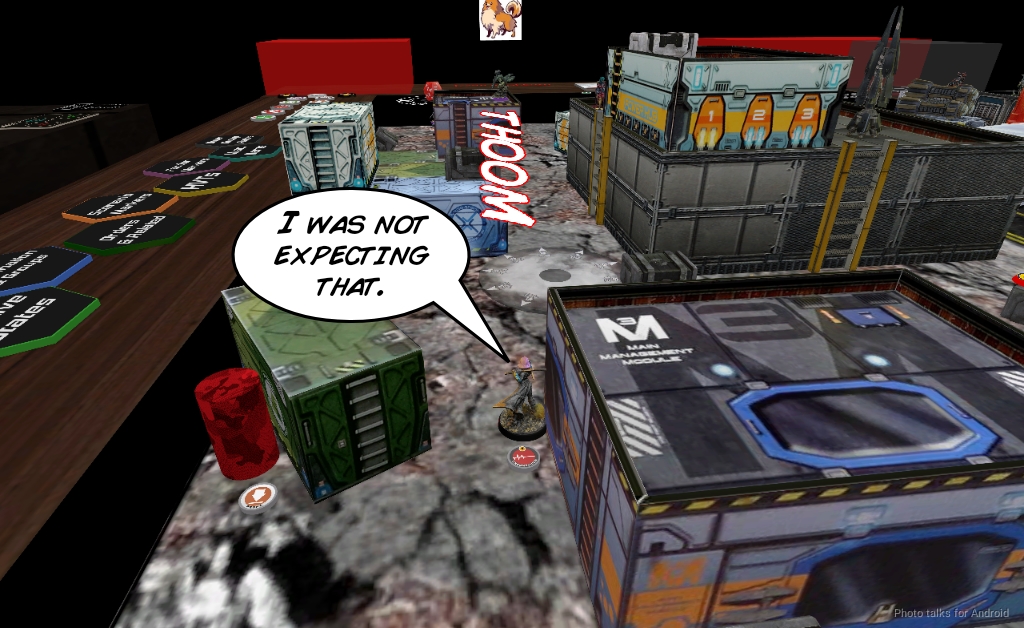
My forces are decidedly degraded, but I’m certainly out of the game! Frank reveals the Sphinx and scoots it up along with a Taigha. He foolishly leaves them in template range of one another. I do my best to contain my excitement!
Bottom of 1 – Bakunin
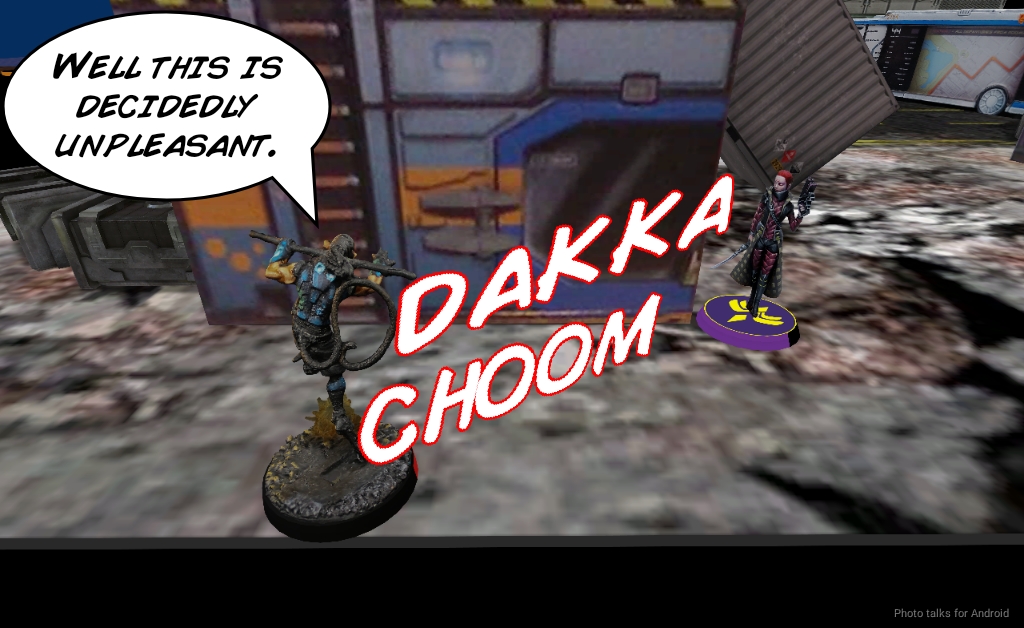
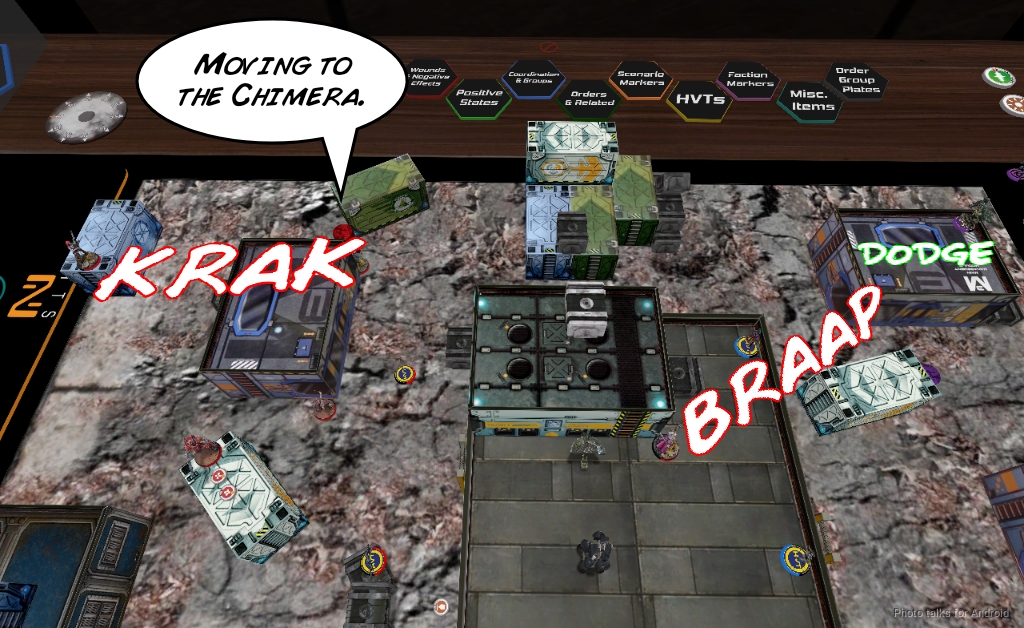
I’m a little worried about the state of affairs, but I decide to push the Chimera up the left flank to see what happens. I also need to get rid of the Speculo and drop some E/M grenades on that Sphinx. The Chimera rolls around the corner and immediately eats a missile from Frank’s now-revealed Noctifer. This is less than ideal, but I figure all I need to do is smoke it out or pass one ARM save:
| 71.9 | 28.1 |
Of course I fail the smoke throw and fail the single ARM save, losing the Chimera. Great. No matter. The Cenobite goes after the Speculo, trading templates. I pass ARM, the Speculo does not. I do enough wounds to take it completely off the talbe, which saves me some time for later.
With the way clear, I swing Kusanagi out to see the Taigha next to the Sphinx and drop a pair of E/M grenades on it, catching the Taigha in the template. Both the Taigha and the Sphinx fail BTS. This isn’t a big deal for the Taigha but is pretty huge for the Sphinx.
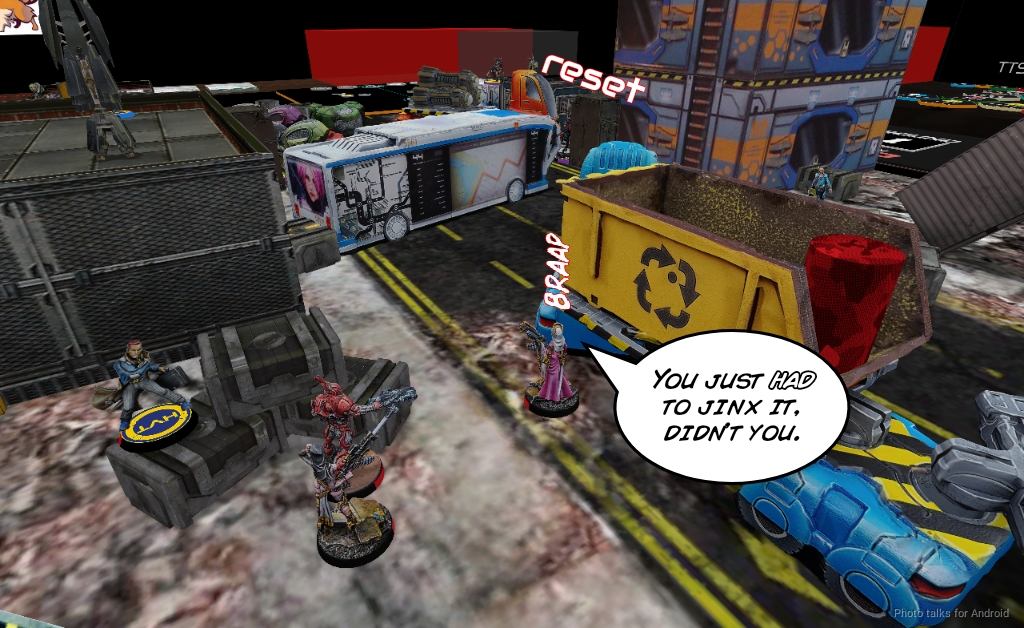
I figure I’ll close to seal the deal with Kusanagi’s MULTI Rifle, but then Frank, against all odds, rolls a 1, resetting out of Isolated and Immobilized! UGH.
I spend the rest of my orders trying to correct the positioning of my link whlie firing E/M grenades with Kusanagi versus the Sphinx’s dodge, to no avail. I make more attempt with a speculative fire and fail. Ruh roh.

Turn 2
Top of 2 – Shasvastii
I’m definitely hemorrhaging resources, and I have to throw some more under the bus by putting the Moira in the way of some Taigha’s approach to Kusanagi. I would have done it with the Cenobite but I wanted that in the way of the Sphinx, as that would give me more of a likelihood of hurting it by negating cover with the HRL template.
Frank sees this too and tries to get past my remaining Sin Eater with a Taigha, but gets iced.
Still, the Sin Eater can’t see all the Taigha and trades it for the Moira with Berserk.
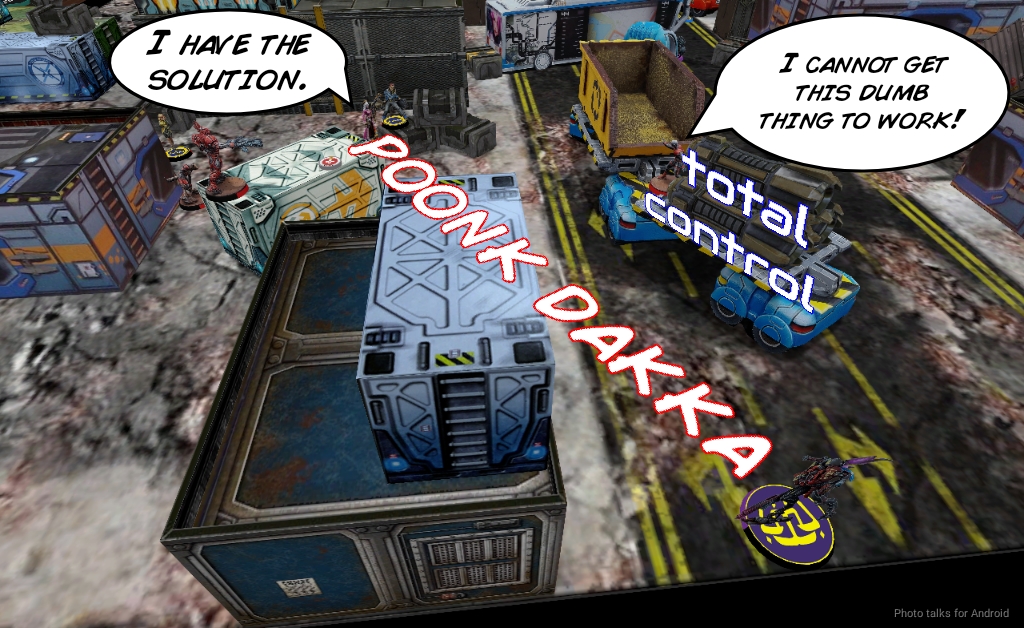
The Sphinx scoots all the way into my deployment zone and starts fighting the Cenobite, passing the Zero HD on the way. This is ostensibly what the Zero was placed there for, so I attempt a Total Control and keep rolling high on WIP on unopposed rolls.

Thankfully, the Cenobite is a champ and eats a significant amount of orders. Kusanagi joins in as well, trying to hit the Sphinx with an E/M grenade.
The Sphinx does end up hitting Kusanagi, but I pass ARM and manage to religious around the corner. The Cenobite breaks LoF finally, so Frank shuffles the M-Drone and his remaining Taigha forward before passing turn.
Bottom of 2 – Bakunin
I need to deal with the Sphinx and create some space for myself to maneuver. I start off by trying to steal the Sphinx with the Zero, but it just can’t do anything right. Thankfully, Kusanagi comes through and clips the Sphinx with an E/M grenade on her way towards the ladder.
I can’t take down the Noctifer with some shock ammo from Kusanagi’s MULTI Rifle though, and then I’ve got her stuck on the roof, more or less.
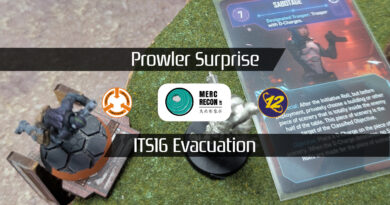
With my last order, I reveal the Prowler and take out the remaining Taigha and the M-Drone by splitting burst. Not bad!
Turn 3
Top of 3 – Shasvastii
Frank throws one order into the Sphinx to reset, and of course it rolls a 1. I mean, COME ON. The Prowler and Kusanagi try to hit it in ARO but fail miserably.
The Sphinx has to get past the Zero so it blasts away and downs the Zero against its Total Control, still taking fire from the Prowler and Kusanagi, to no avail.
The Sphinx eventually sees the Cenobite, Prowler, and Kusanagi, and they all trade fire with the Prowler finally dropping along with the Cenobite.
Frank has to get points on the board so he picks up a nearby HVT and starts running, still taking fire from Kusanagi and now the Sin Eater, who does a wound.
Frank wants to get to his deployment zone with the Sphinx so he pushes really hard, just move-moving against Kusanagi and the Sin Eater.
On the last order that the Sin Eater can see, it does two wounds and drops the Sphinx while Kusanagi just continues to fail E/M grenade shots.
Bottom of 3 – Bakunin
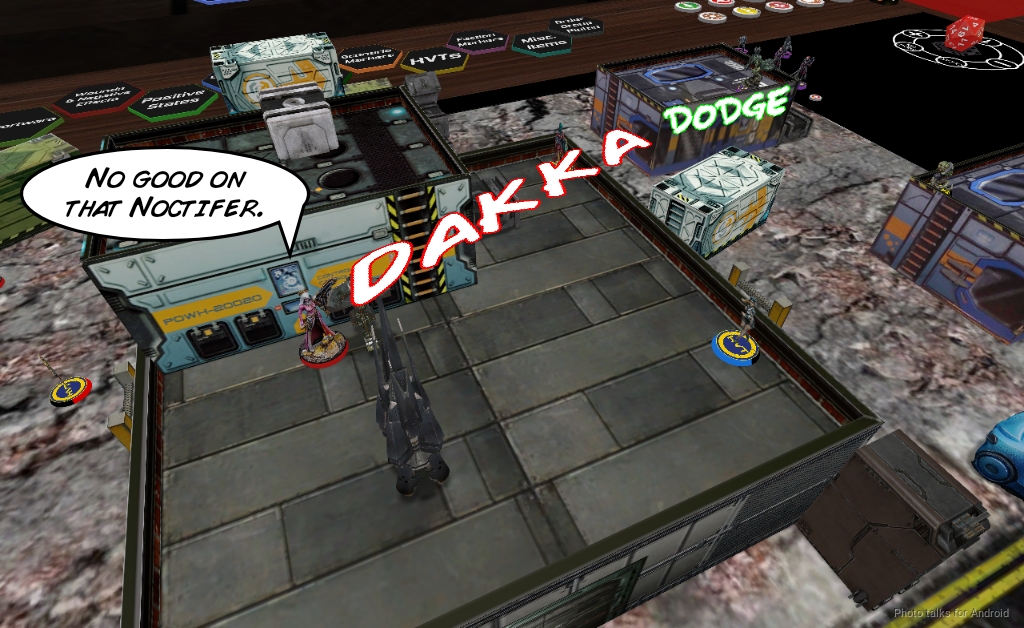
I don’t have much in the way of orders. I can get Rescue off the Chimera if I can get the Zero KHD there. Order 1 is a coordinated with everything I have left with Kusanagi as the spearhead. I show everyone to the Noctifer, who dodges. Kusanagi whiffs, but the Sin Eater comes through and takes down the Noctifer! I chose shock to seal the deal, and I’m glad I did.
Kusanagi grabs an HVT thanks to her Lieutenant order, and then the Zero gets Rescue off of the Chimera.
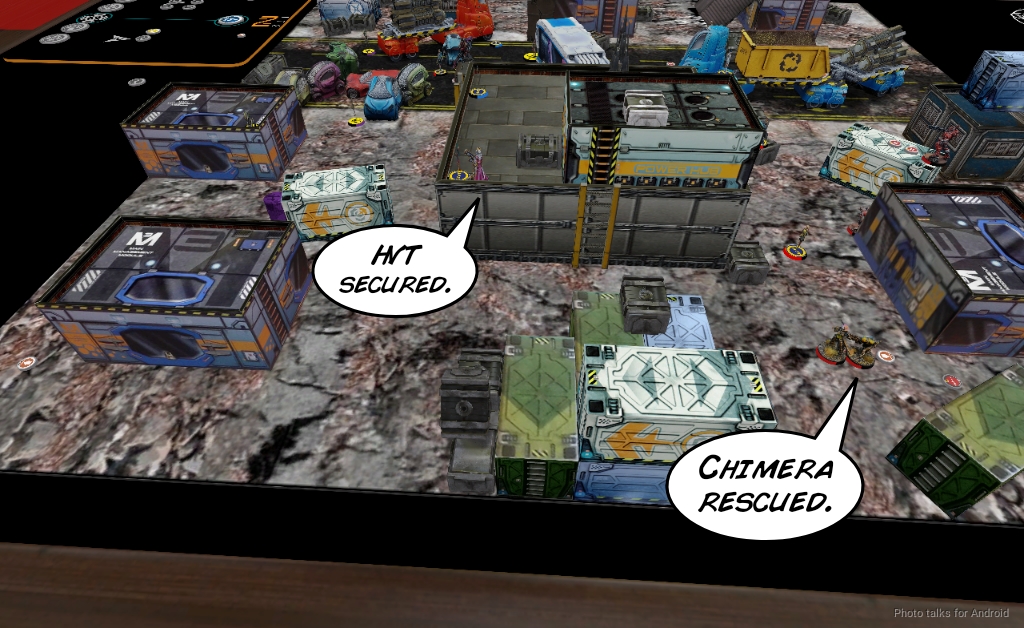
2-0, 96-73 Jurisdictional Command of Bakunin Victory!
Post Game Analysis
I think Frank threw this game away in Turn 1. He had two Speculos and was too focused on attrition of my orders instead of just doing the mission. He could have easily absconded with at least one HVT and made it all the way back to his deployment zone thanks to his two Speculos. He had plenty of access to smoke to get this done.
I’m then forced to deal with the remaining Speculo, which is probably most of my turn, and then I’m still boxed into my deployment zone. Then his Turn 2 is killing stuff with the Sphinx and and Taigha, maybe even grabbing another HVT. I was pretty convinced I was going to lose the game at the onset when he had two Speculo–they’re just so good at this mission. Yes, I had plenty of AROs up, but I had no MSV to defend against smoke.
Much of my stuff is durable/annoying enough to trade with a Speculo, so by selling the Speculo pretty cheaply he let me regain some momentum while bleeding a bunch in his first turn. Leaving the Sphinx next to the Taigha at the end of the turn was also a huge (and easily correctable) mistake.
I think the turn 2 and 3 plays were fine, but at that point I had regained enough momentum and midfield control to make things difficult. Although him resetting out of Immobilized and Isolated so reliably was just so irritating! Not having MSV was troublesome for me. A Riot ML or even just Blitzen would have been really helpful in this matchup, but it turns out having Mimetism -6 as well is pretty reasonable. It just costs a lot of orders which I didn’t have.
I had some terrible luck with both the Chimera and losing the Sin Eater to the mine on the first turn in ARO, but I think I played carefully and methodically. I’m somewhat annoyed with myself for not swapping the Cenobite and Moira positioning–the Taigha would probably have had a more difficult time dealing with the Cenobite, which would have left the link intact and given me more options on later turns.
The Prowler really under performed this game, but I just think it was a bad matchup for this list. There’s just nothing really exposed for the Prowler to hunt–the Sphinx is too hard of a target. I was hoping to have the Zero take on the Sphinx, but when you can’t do it with two unopposed WIP rolls there’s not much to say.
Anyway, I think this game comes down to a common mis-prioritization of damage over mission on the first turn by Frank. He has plenty of tools to keep me at bay, such as the Noctifier and Taigha, so he can afford to be mission focused early on. He was particularly concerned about the Uberfall–yes, they’re scary, but if I develop just them the rest of the list isn’t doing anything.
What a strange game. Our dice conspired such that it was just hilariously inefficient to get anything done for both of us. I just happened to consistently set myself up for the mission and Frank only started doing that on Turn 2. That was all the difference. Nevertheless, it was a good practice game for Frank (and myself). Thanks to Frank for a fun time and to you for reading!
Pingback: Cenobite Crusade – MERC Recon