
Do-Learn with Demons
One of our new locals, Jeremy (Remdawg_Killionaire), was just getting into the game a few months ago, but then the whole pandemic happened. He had two Recon+ games under his belt and was looking forward to starting ALEPH. Since then, we’ve had a hell of a time trying to get a teaching game scheduled with me being busy with work and him being busy with work and being a dad, but we finally cleared our schedules on a Sunday afternoon and sat down for a Tabletop Simulator game of Code One at 15 points.
As Joel (rattlernxt), Adam (TheDiceAbide), and I discussed at length in our most recent episode of The Dice Abide LIVE!, I might not be the best person to be high energy and give the 4F’s experience for a demo game, but I’m happy to be a sparring partner for newer players and talk them through some difficult situations. Check out that episode here if you’re interested:
I subscribe to constructivist educational psychology theory, which can be summed up as “let the student assemble new knowledge/skills/understanding from their existing life experience.” In the context of this game, I’m not Jeremy, so I don’t have access to his life experience. I can share my observations and suggest things, but fundamentally it’s up to Jeremy to make the decisions and more importantly, the mistakes.
In other words, people have to do things to learn things, and that includes stuff like getting your link team shotgunned off the table because they’re all lined up behind a building. I can tell you all day that it’s a bad idea, but until you’ve had that experience it won’t get burned into your brain. So I told myself that if I saw Jeremy doing anything… less than optimally during the game I’d say so and sketch out why, but otherwise be pretty hands off. Of course, takebacks were in effect and I promised him I’d give him lots of feedback after the game. Sadly, our game ran long and I had promised my beautiful wife that I’d help her with some yardwork so I had to cut and run after the game. Hopefully this battle report will suffice as the feedback I intended to provide.
As part of that, I’m going to call out some mistakes that Jeremy made, especially ones that I see newer players make often. I want to be clear that I’m not trying to cast Jeremy as being “bad” or anything. Infinity is a hard game to learn and the skill ceiling is quite high–I haven’t even begun to approach it myself and I’ve been playing this game on and off for almost a decade now! I’m calling out the mistakes primarily to a) give feedback and b) document common mistakes for posterity as a resource for new players. So thanks, Jeremy, for being the test subject for this effort! I hope this battle report is easy to parse!
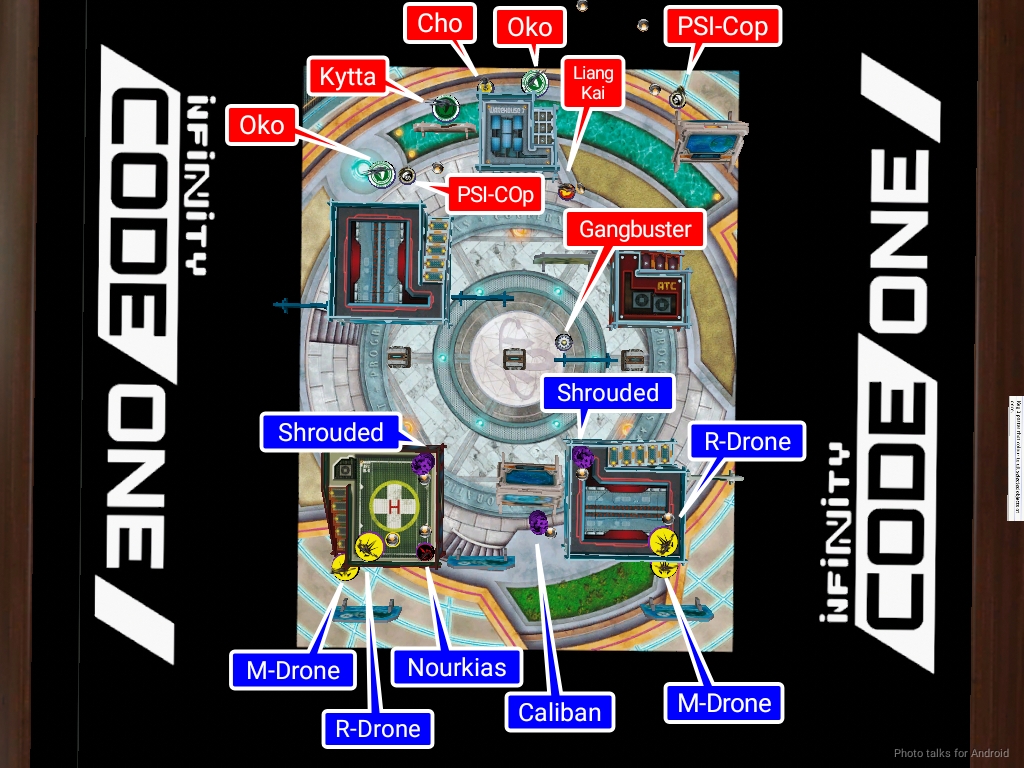
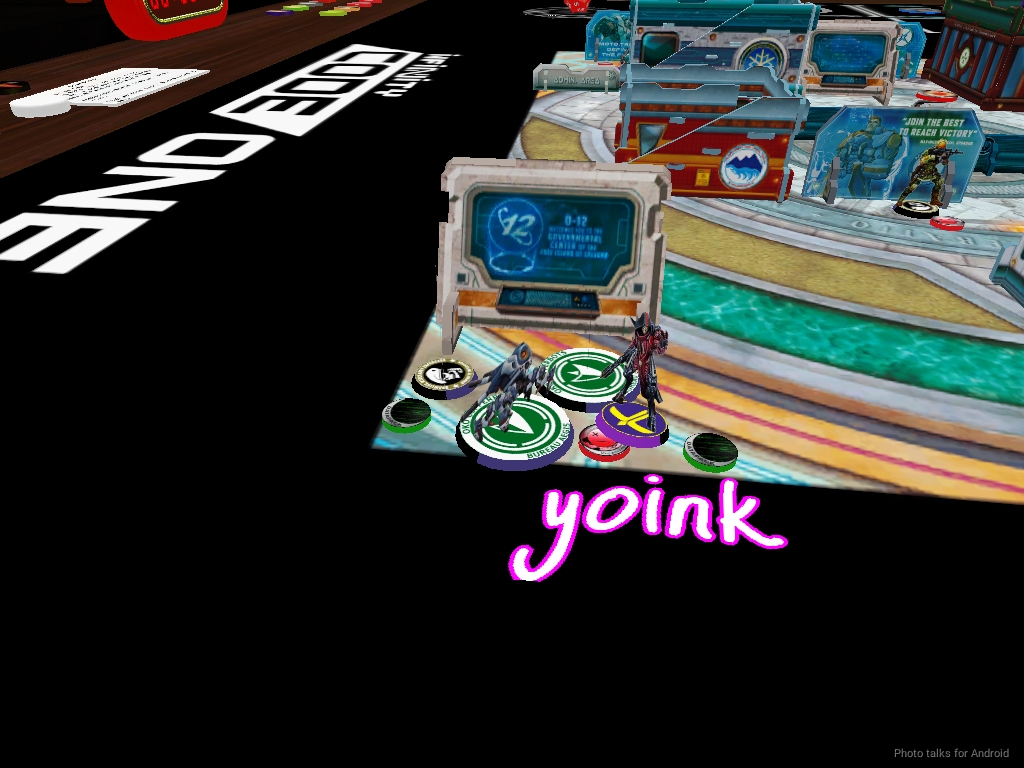
Alright, so here’s the battlefield courtesy of Tabletop Simulator (TTS)–sorry Corvus Belli, I’d have done this in person in non-COVID times. Thanks to all the folks that have been putting in the hard work to get Code One Maps and the buildings rendered in TTS!
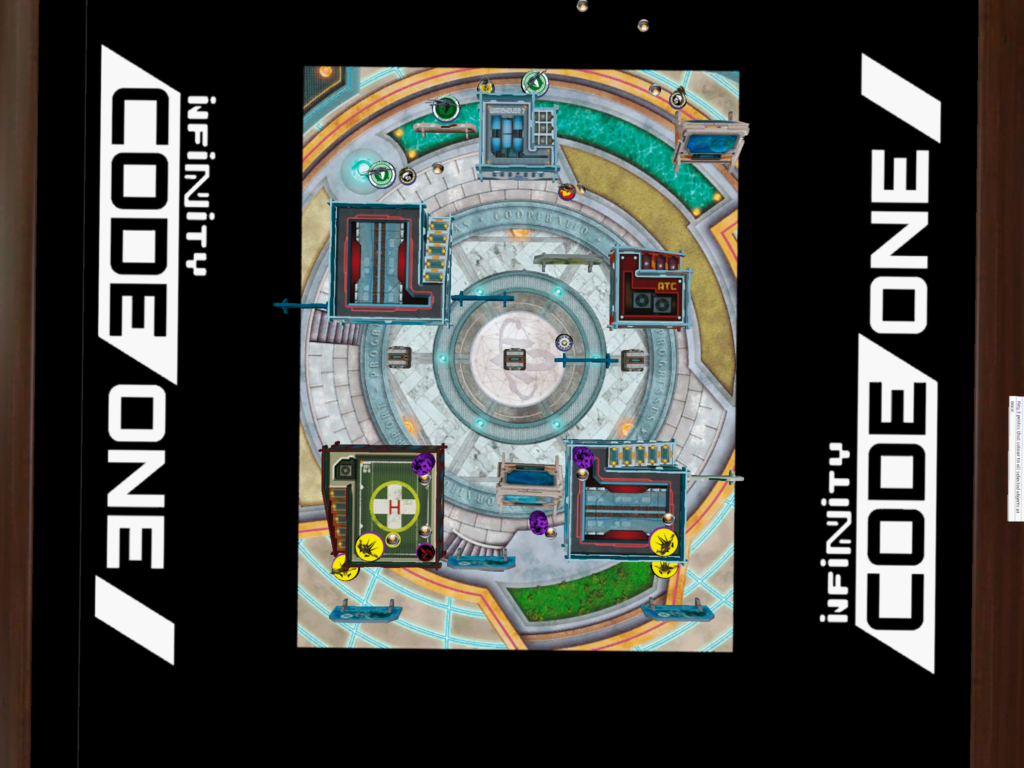
I threw the map together with some interesting tradeoffs in the deployment zones–the bottom one had lots of cover to deploy behind and some buildings to deploy on, and the top one had a building commanding two out of the three consoles in case Jeremy had brought some ARO presence.
Overview
- Mission: Supplies (Code One)
- Forces: Combined Army versus O-12 (15)
- Deploy First: O-12
- First Turn: O-12
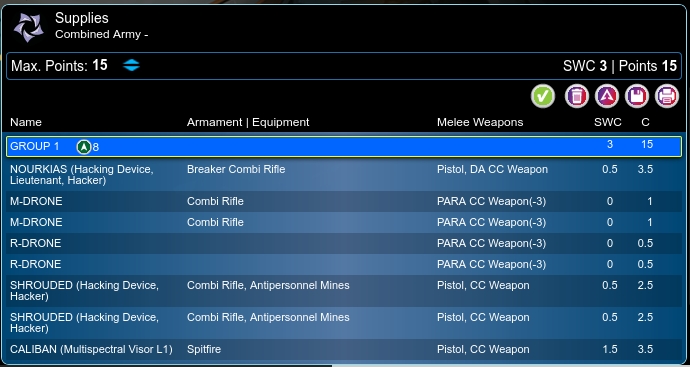
I decided to bring a list with a bunch of hacking presence in the midfield, thanks to two Shrouded Hackers, and a bot package to get some specialists and orders on the cheap! Hard to argue with 4 orders and two 6-4 specialists for only 3 points! I’m pretty convinced that at higher point levels the M-Drone FTO with the Nanoscreen is useful, perhaps even at the 15 point level if I’m willing to give up some of the other aspects of the list.
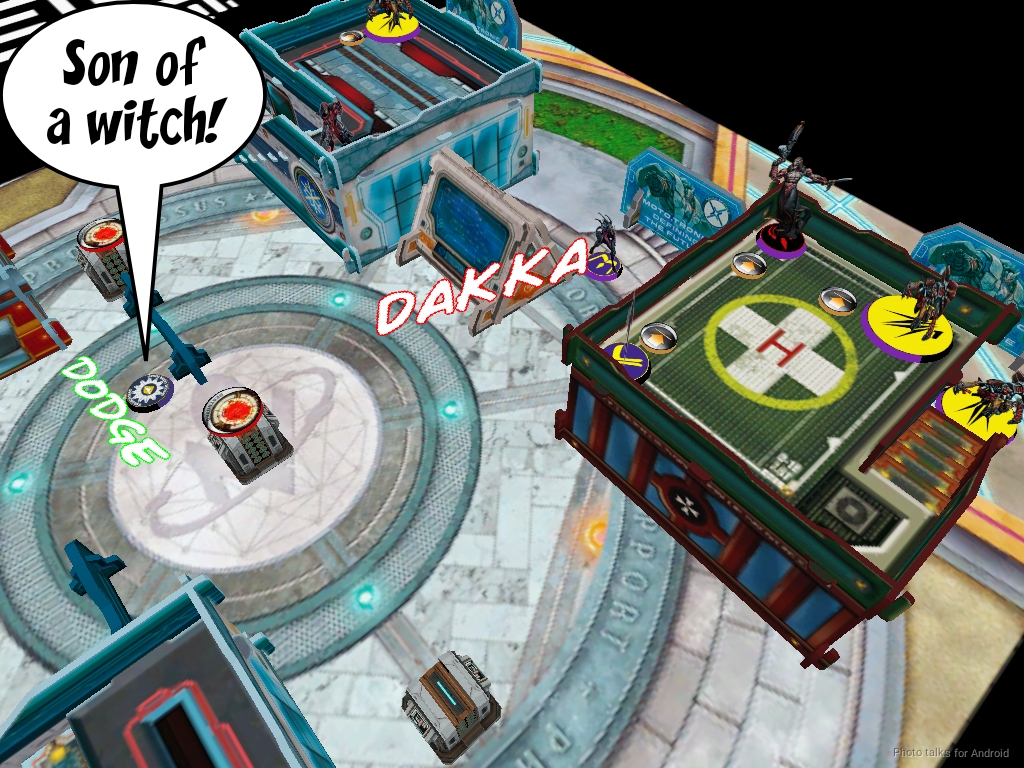
I took Nourkias as my Lieutenant because I think he’s got all the right stuff to be an aggressive toolkit of a lieutenant in small games of Infinity, especially since you can take crazy risks with your LT in Code One and the fallout is pretty mild if things go poorly. To round out the list I took a Caliban MSV1 Spitfire, mostly because I wanted to see what all the fuss was about in the fluff:
“Caliban. Character from [The Tempest], a play by [William Shakespeare]. Son of a witch and a demon, he was a savage, personification of the most dark instincts, and of evil nature. [See More]”
Extract of the Conciliar Universal Dictionary, simplified edition, Manaheim, Concilium Prima.
Jeremy had originally planned on taking a N3-legal OSS list, and I was going to just make some changes to the profiles at game time to make everything okay for Code One. We had talked through some of that earlier, but on game day he decided to go for the following O-12 list because he was interested in O-12 as well as ALEPH:
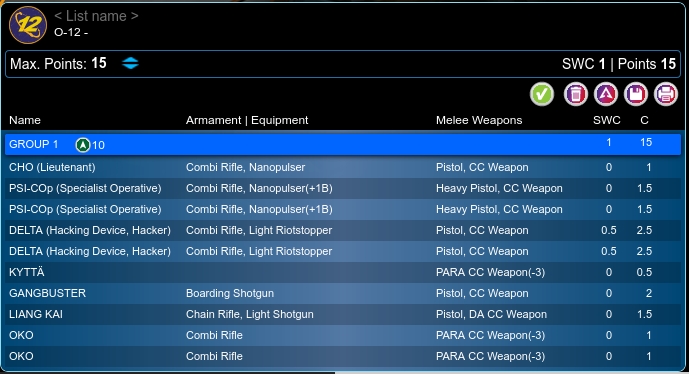
His initial O-12 list wasn’t legal because it had no Lieutenant, but I helped him sort through the details. His key requirements were:
- Two Deltas
- Two PSI-COps
- Two Oko
And everything else was sort of negotiable. I suggested Liang Kai and Cho as a Lieutenant, and he liked the idea of having a Gangbuster so we went with that. I think it’s a perfectly reasonable list for a 15 point game of Supplies–plenty of specialists to go get the boxes, all of whom are competent gunfighters, and the small table size means heavy weapons are not as much of a requirement. The Deltas are very very effective in Code One, and I thought it would be a good learning exercise to try out AD. We’re at order parity on Turn 1 anyway even with both of them off the table so from that perspective things were totally fine.
Deployment
We rolled off and Jeremy won the roll. I explained to him the tradeoffs between choosing first turn or choosing deployment–namely that by choosing to go first you cede the informational and positional advantage to me because I know where all your stuff is and how to counter it, but you get a tempo advantage by potentially putting me on my back foot immediately.
I briefly mentioned that one of the deployment zones was better than the other, but it’s a pretty subtle difference, I think, and we were already running behind schedule so we pushed through that point quickly. I already touched on the main points above, but to recap, my deployment zone at the bottom of the picture is better defensively, but Jeremy has the option to really contest the objectives by putting something on the building in the middle of his deployment zone if he wants. A TR bot would’ve been pretty rough to deal with up there, for example.
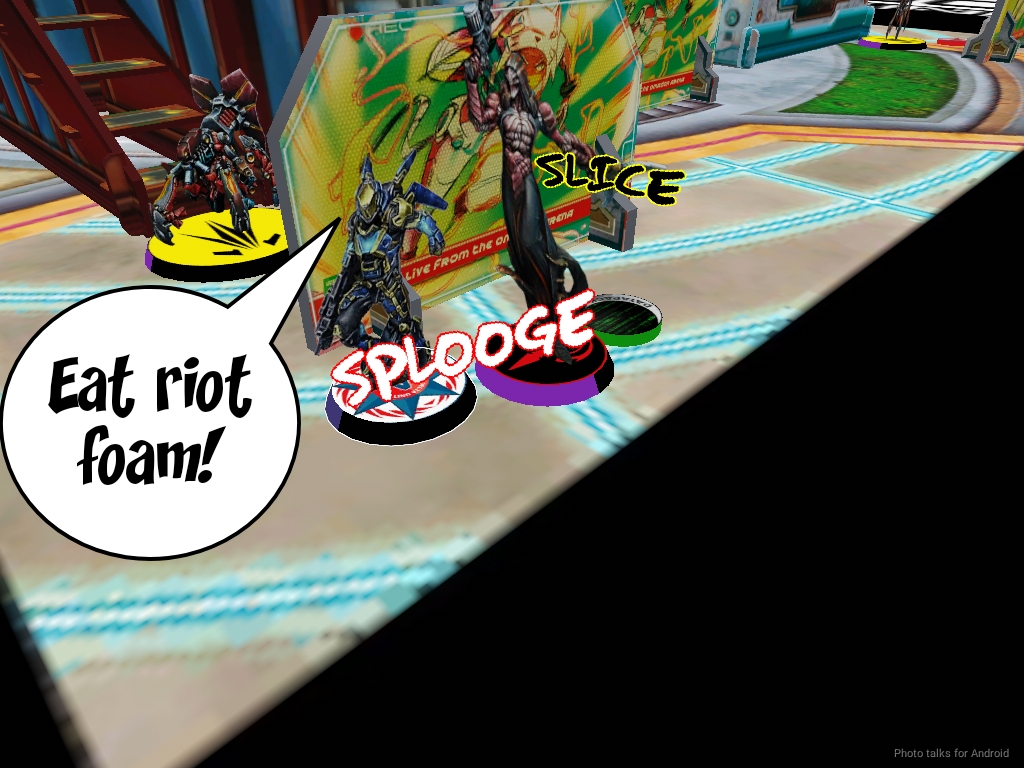
Anyway, Jeremy decides to go first, so I have him deploy first on that side. He’s got a long history of being a Warmahordes player, so his initial deployment was a line of miniatures at the front edge of his deployment zone, which is something that probably makes most Infinity players very uncomfortable.
I don’t think I’d go as far as to say it was a mistake–I’ll repeat what I told him at the time here: Basically it’s a statement that you feel confident of the following:
- I’m going to win any face to face gunfighting rolls that I’ll have to make against anything my opponent leaves out and…
- I’m going to have enough orders after that to develop my position.
- I’m also comfortable that most of my army is vulnerable and exposed.
This made sense to him, and he adjusted (not corrected) his deployment to hide more of his stuff behind cover. He left one Oko and PSI-COp in the open but protected by the shadow of the build building on his right. What was really interesting was that when he got to placing Cho, he said: “Okay, now I have to put Cho on a roof, right?” To which I replied: “Maybe? It depends what you want to do with her.”
There’s very little impact from losing your lieutenant in Code One–you lose an order, basically, which isn’t much worse than losing any other model. I explained that if he wanted to use her actively, it was best to keep her on the ground, but if he just wanted to have her sit around and provide an order, putting her prone on the roof was also fine. He opted to have his cake and eat it too by putting her behind his building near the stairs.
He also did something typical of newer players to Infinity, which was to leave most things standing and covering various parts of the table, in particular the Gangbuster standing in the middle of the table defending the objectives. I was wrestling with some TTS-related difficulties during this time so I forget what he held in reserve.
I deployed very conservatively, just putting my relatively useless R-Drones prone on the roof (now there’s a sentence!). I figured not only would that protect them, but it would let me dodge into close combat as a defensive measure if anything came up the stairs. The M-Drones hung out just beneath them, guarding the table edges against advancement or AD troops. I put the Caliban in the middle of my deployment zone to protect my backfield from landing Deltas, and then put my two Shrouded Hackers prone on rooftops covering the central objectives with their hacking.
Jeremy put down whatever his reserve was, I don’t recall what it was, and then I put Nourkias on the left roof to protect him from any scary things that might come a callin’. I figured it would be fine to do so, because he’s got Super Jump and can therefore get off the roof pretty easily.
Turn 1
Top of 1 – O-12
We start the game just by talking out Jeremy’s plan. Just a refresher, here’s the points breakdown:
- 2 points per box held at the end of the game.
- 2 points for having more boxes than your opponent
- 2 points for having all the boxes
In short, you want to have at least 3 specialists alive at the end of the game, each of which is holding a box. The key phrase is “at the end of the game,” and I mention this to Jeremy. There are basically two schools of thought, I tell him:
- Get the boxes ASAP – Steal the boxes, retreat, and build a fortress.
- Steal the boxes from your opponent – Let your opponent deal with your defense and get the boxes, then break your opponent’s fortress and undo their work.
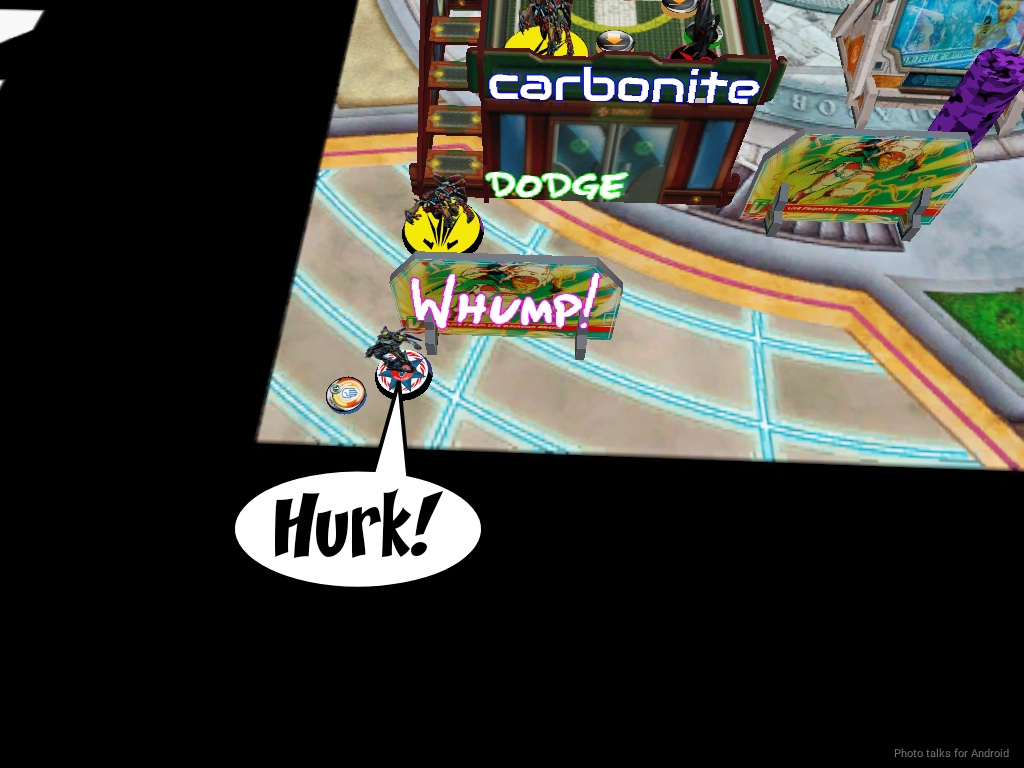
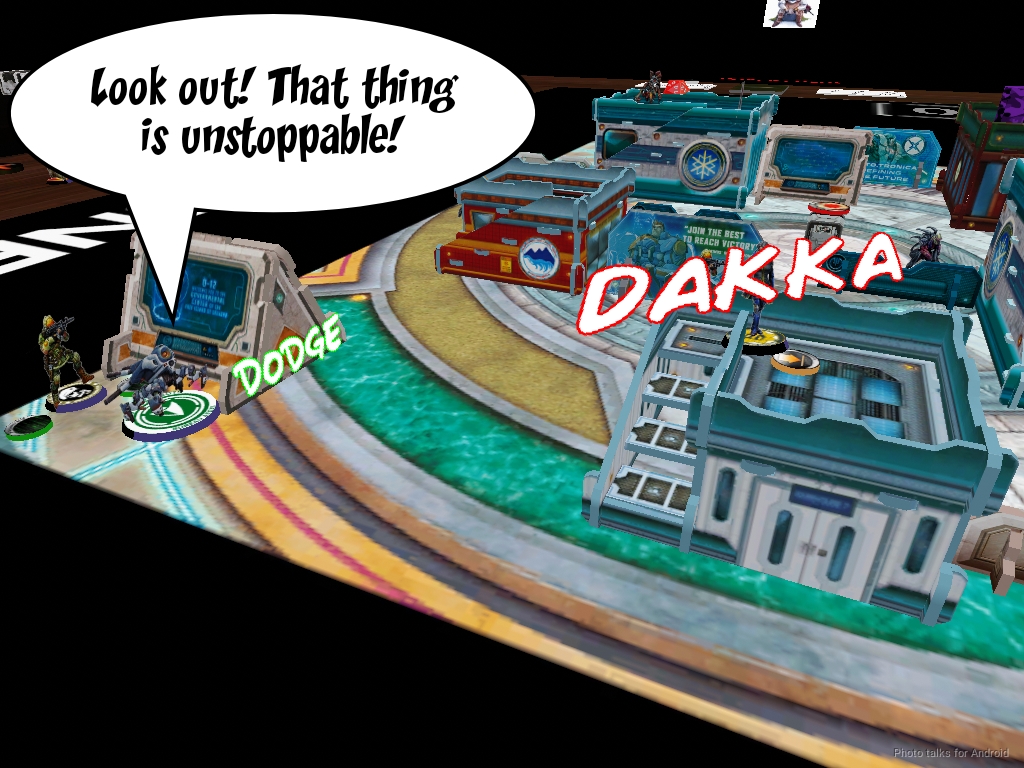
I’m more of a proponent of the second plan, and my list is sort of geared to support that, but then again, so is Jeremy’s with the two Deltas. Jeremy decides to just go get the boxes and try it out. Very reasonable choice! He uses the nearest Oko to push forward and try to get the box on his left. I’ve got an M-Drone watching that firelane and I elect to take the shot in ARO. Jeremy makes a surprising choice and instead of shooting my M-Drone, he declares dodge! If we look at the odds for dodge, we see that I’ve got a 41.48% chance to take out the Oko Copperbot, where he has a 58.52% chance of survival.
| 41.48 | 41.02 | 17.50 |
The odds for the Oko Copperbot shooting are much better, with a 76% chance of survival and even a 41.83% chance of taking out my M-Drone.
| 24.00 | 34.17 | 41.83 |
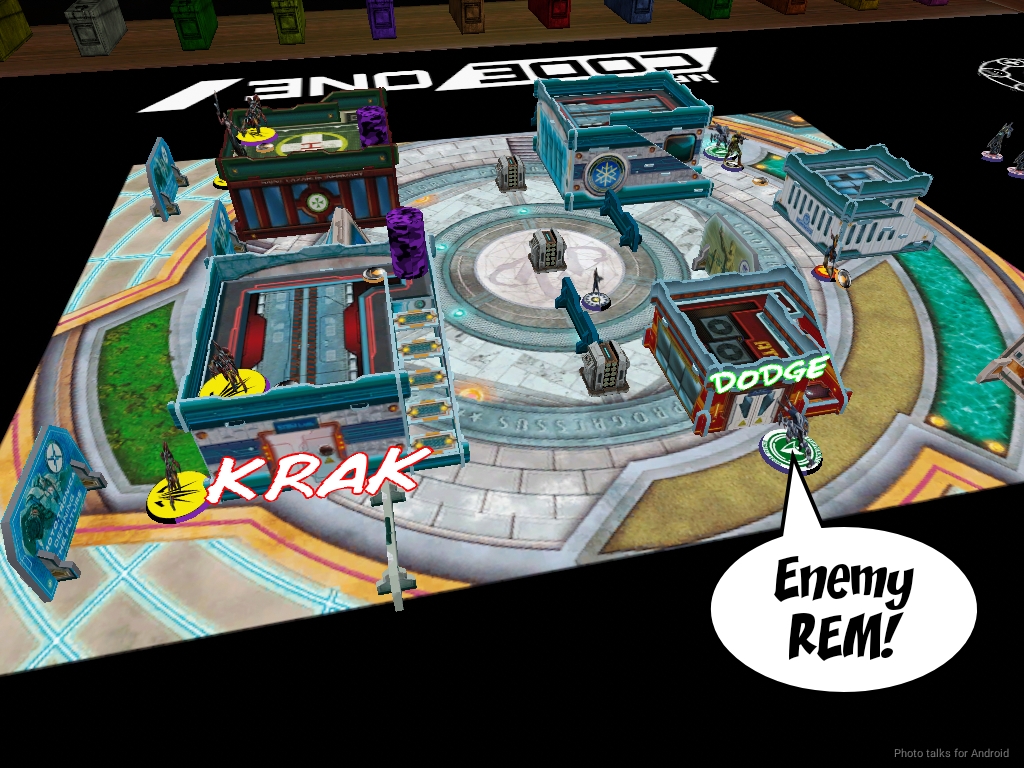
Very risky. I’m only running the numbers now as I write this, but my experience was enough to recommend against taking the Dodge during our game. Jeremy insisted, because he wanted the extra movement, going as far as to say that he values extra movement highly because of his experiences with Warmahordes. That makes a lot of sense to me–when I first started playing Android: Netrunner, I would often spend entire turns just drawing cards because Magic: the Gathering had trained me to value card draw so highly. Anyway. While the extra movement is useful in some cases, having a living specialist is WAY more useful than having a dead one that’s a few inches forward. This is especially true because the Oko is 6-4, i.e. fast enough to just get into base to base with the central objective with two moves, so it’s not necessary in this case.
Anyway, nothing happens because we roll poorly and Jeremy just pushes the Oko bot into base to base with the console on the next order. I reveal my Shrouded Hacker out of Line of Fire and declare Carbonite while my M-Drone shoots. I explain to Jeremy that he has a few options:
- Shoot the M-Drone – Best odds, see math above, but gives me a free Carbonite.
- Reset against Carbonite – Carbonite isn’t lethal, you can reset out of it, and the M-Drone’s gun is lethal.
- Dodge – Gives me a free Carbonite, but worse odds than shooting.
- Get the Box – Hope I fail my rolls or you pass ARM/BTS.
The worst option for me is definitely for Jeremy to shoot the M-Drone. I don’t want to lose the order, and I’d rather take out the Oko than Immobilize it, but really I’m just trying to bleed Jeremy’s orders so I’m not having to deal with a bunch of Deltas raining from the skies. He decides to go with the best odds and shoot, successfully taking out the M-Drone while I fail my Carbonite.
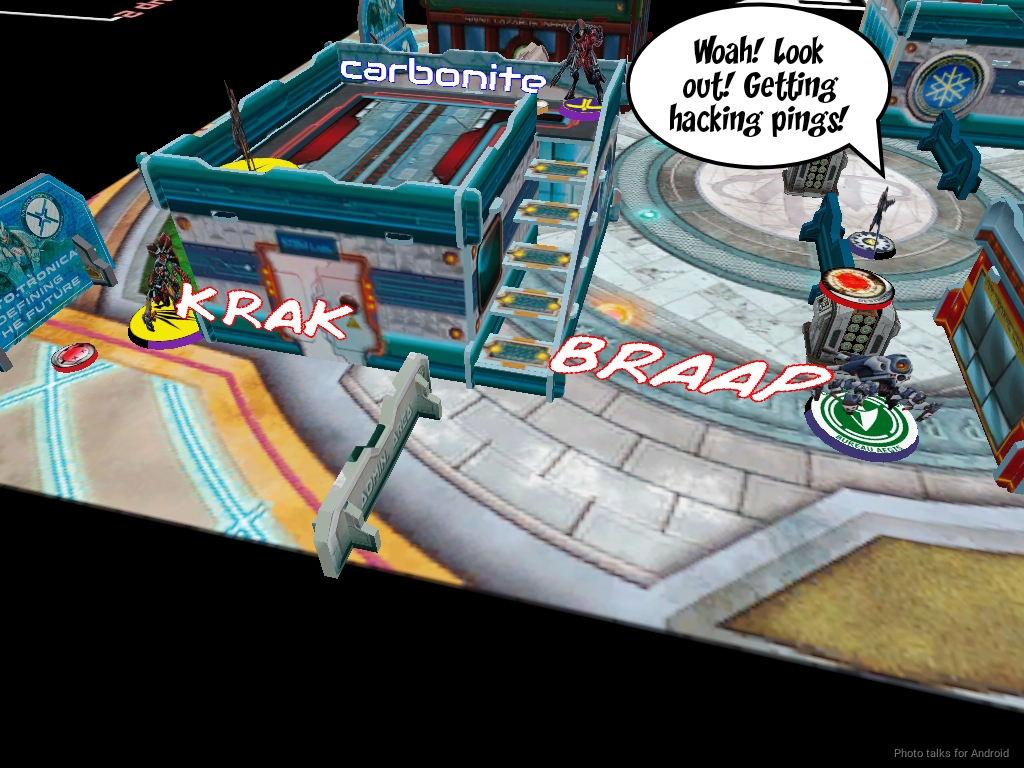
His next order sees the Oko grab the box–he asks if he should reset against a follow up Carbonite. I tell him he should just run away with the box, because even if I succeed at an unopposed Carbonite he’ll end out of hacking range and can just reset out of it. If he stays there, I’ll just keep hacking him as he tries to do anything. He runs away and tucks the Oko behind the nearest building.
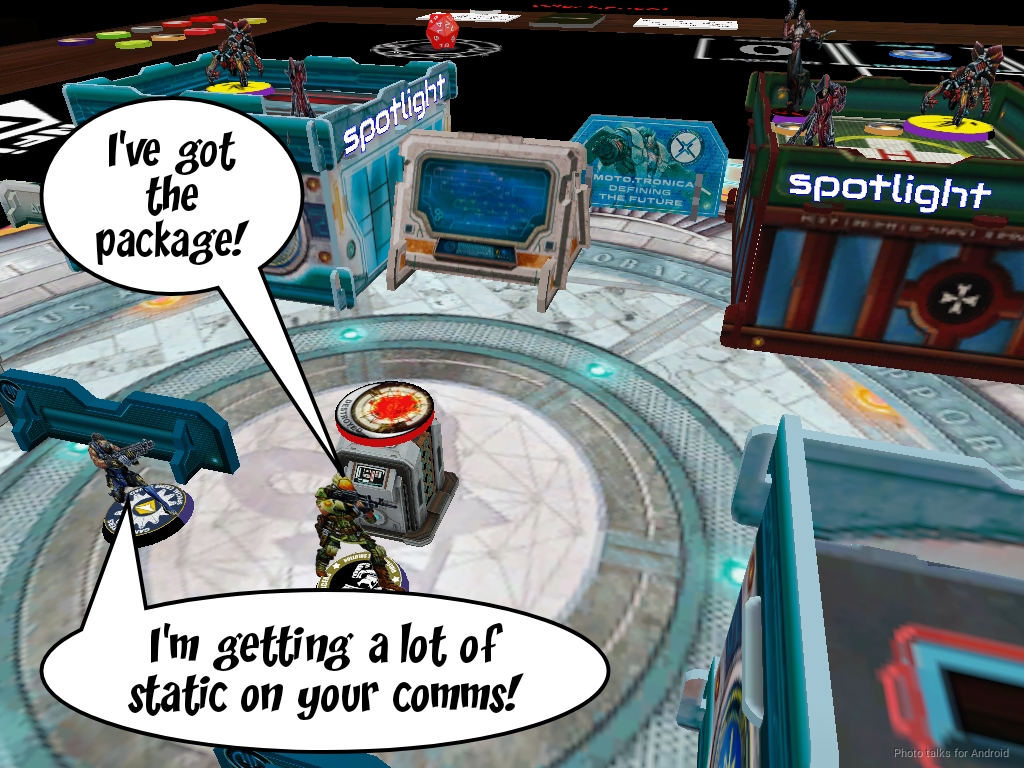
Jeremy decides to get a second box and goes and grabs the middle box with one of his PSI-COps. I don’t know why CB spells it that way with the capital O… I Spotlight it with both Shrouded, mostly just to show Jeremy the range of my second, newly revealed Shrouded and to try and trick him into resetting. He doesn’t fall for it and just grabs the box and runs away, at which point I Spotlight him again for fun.
He ends the turn with two boxes, both carriers hiding behind the same building, and climbs Cho onto the roof with her Lieutenant order.
Bottom of 1 – Combined Army
My goal for the turn is to secure the remaining box and just attack Jeremy’s remaining order pool to help me weather the oncoming Delta storm. I don’t care about retrieving the other boxes yet, I just want to disrupt Jeremy’s tempo and positioning to the point that his Delta don’t do any significant damage. If I can take out of his his box carriers and force him to re-secure a box, so much the better.
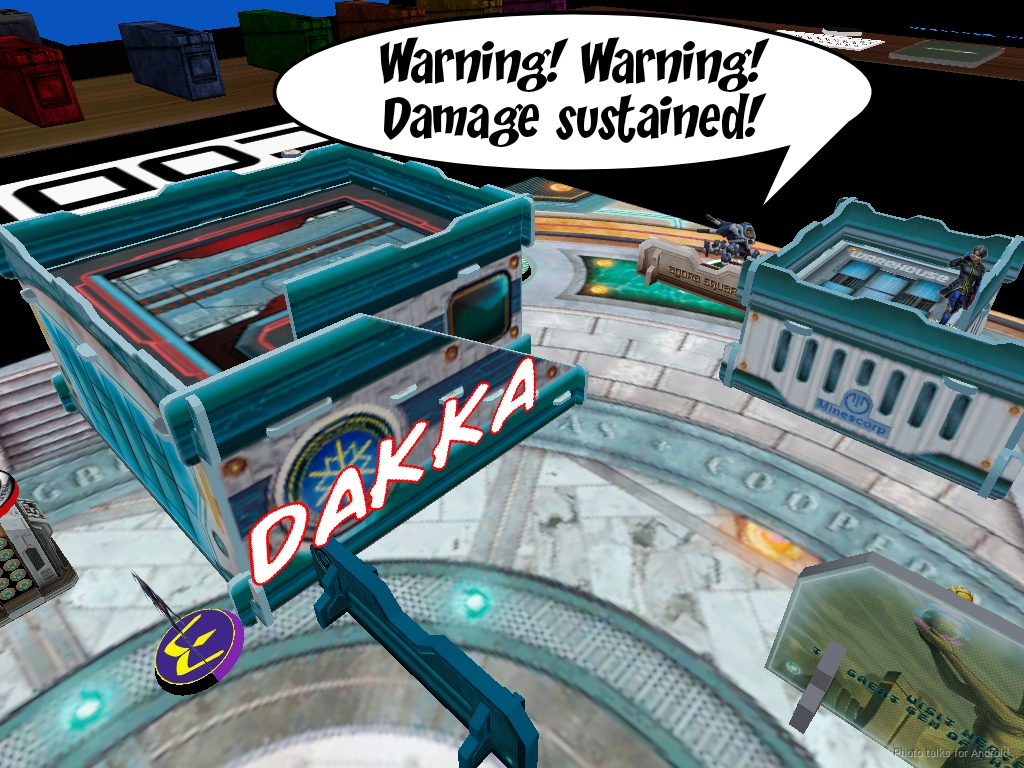
I start off by gunning down his Gangbuster with the Caliban Spitfire. It was standing in the open, letting me engage it in favorable rangebands for me–this was definitely a mistake during Jeremy’s deployment. If the Gangbuster was prone behind the blue wall it’s taking cover behind, I’d have to spend much more resources digging it out, and it would be possible for Jeremy to get a favorable shotgun shot off.
Liang Kai is still in the open as Jeremy didn’t have enough orders to correct Liang Kai’s positioning post-deployment, so I try to be as efficient as possible and send in Nourkias. I’m outside of 16″ but really I’m just looking to move 6″ and maybe get lucky on some shots. I’m really not concerned about losing Nourkias here, and even if I did the Caliban shouldn’t have any trouble mopping up. Jeremy chooses to dodge forward again here, looking for that free movement once more. I think he should’ve dodged away, into cover, to protect his box carriers with chain rifle and preserve that all important order.
Liang Kai’s dodge +3 comes in handy and he scoots forward. I Super-Jump Nourkias off the roof and Liang Kai dodges successfully again, putting him in possible chain rifle range of Nourkias.
I have no interest in dealing with that, so I just gun down Liang Kai with the nearby Caliban, tucking it back in cover behind the billboard.

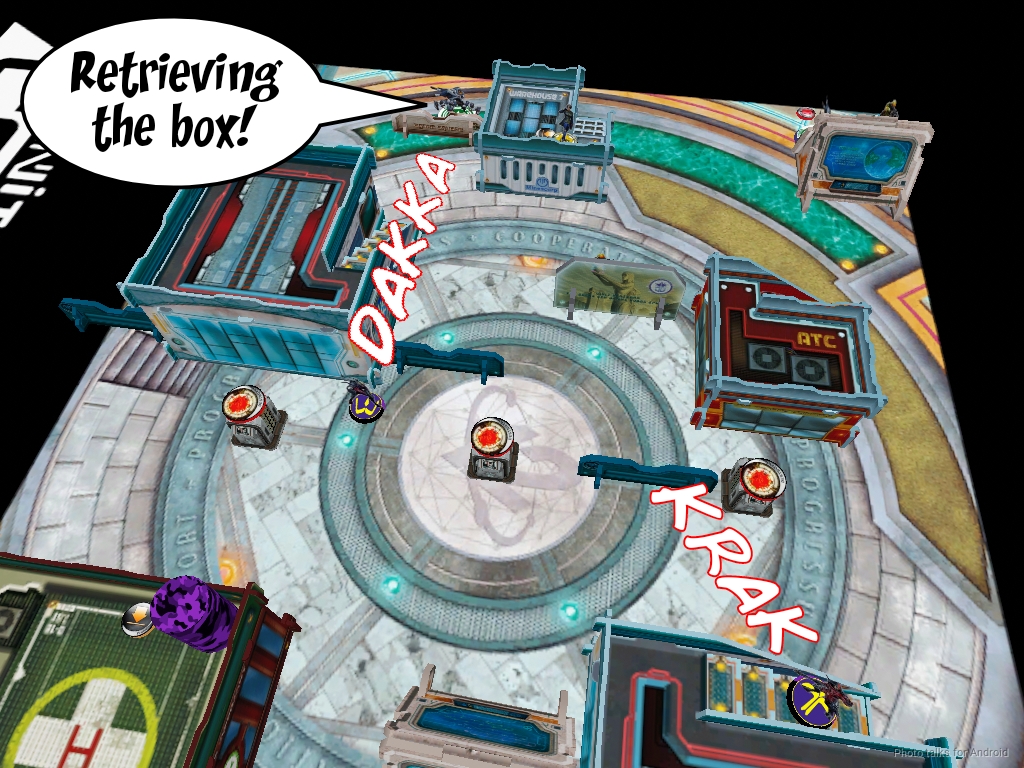
Nourkias takes out the PSI-COp holding the box on the way to grabbing the remaining objective, then I retreat him to the roof he started on and recamo one of the Shrouded and Caliban to make things harder for Jeremy’s Deltas.
Turn 2
Top of 2 – O-12
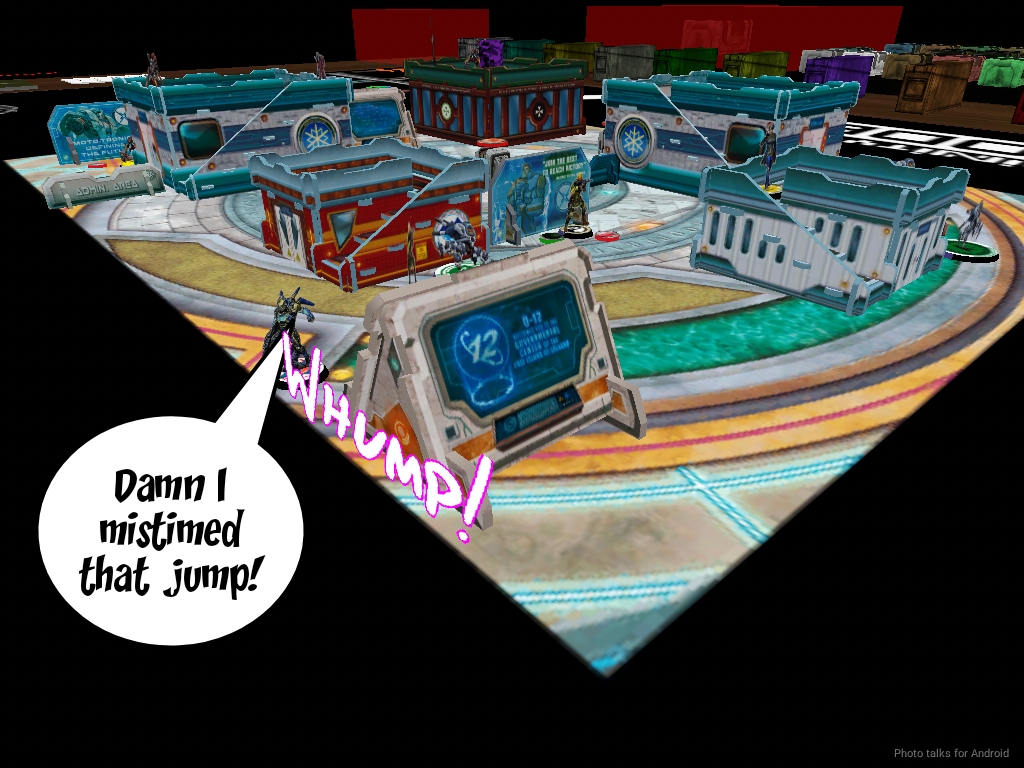
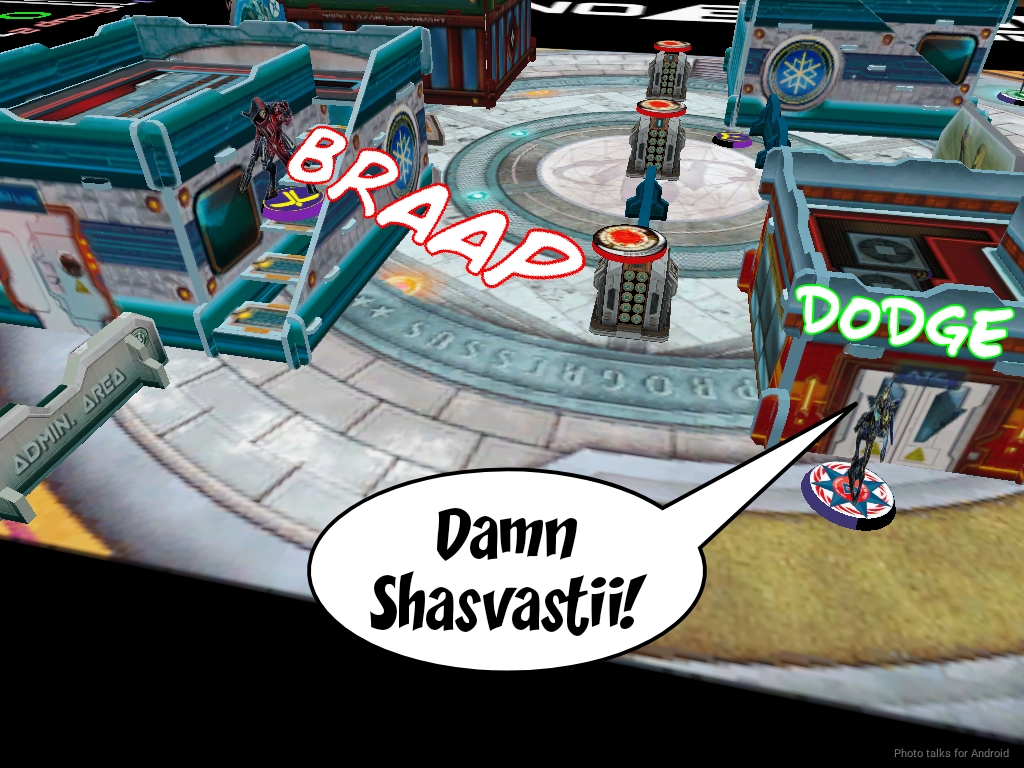
After a quick explanation of how Airborne Deployment works, Jeremy decides to go for broke and try to get the box back from Nourkias. He drops in the Delta right behind my M-Drone–I fail the dodge but succeed at the Carbonite from Nourkias! This was a very dangerous proposition for the Delta–Jeremy had wanted to land him on the roof next to Nourkias, the R-Drone, and the Shrouded, so this was definitely lower risk but still pretty risky.
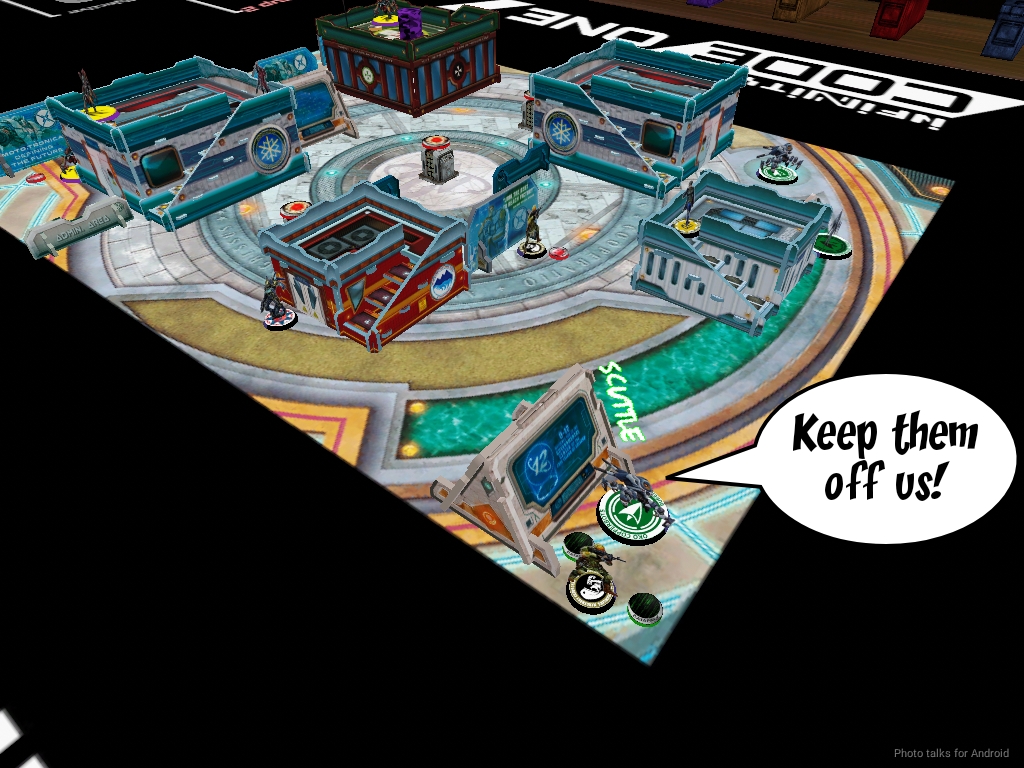
Again though, Carbonite isn’t lethal, and I’ll have to deal with the Delta eventually, so this wasn’t the worst possible outcome, especially since I failed the dodge on the M-Drone. Jeremy wisely decides to try something else instead of constantly getting hacked my Nourkias, so he tries to drop in the other Delta. I forget where he wanted to drop it, but I don’t recall it being in a great spot. I think he tried to double down and put it next to the other Delta? I mentioned that it might be worth it to walk it on somewhere, like on the right side of the table where I only have a single Shrouded, but I think that was less appealing for him.
In any case, the second Delta fails the PH roll and lands in Jeremy’s deployment zone. I think that this was probably the biggest mistake of the game for Jeremy here–walking on the Delta would have allowed him to challenge my Shrouded on the right, climb onto that roof to get some elevation and start taking favorable firefights against some of my units from that vantage point. Still, credit where credit’s due–if the gambit of attacking my box carrier head on had succeeded I would’ve lost a box and probably the game. Sometimes you have to take that risk, but I don’t think the situation warranted it at the top of two here.
Since both Deltas aren’t in a great spot right now, Jeremy decides to send in the remaining PSI-COp to retrieve the box from the unconscious PSI-COp and retreat the PSI-COp and the Oko box carrier to the back corner.
Bottom of 2 – Combined Army
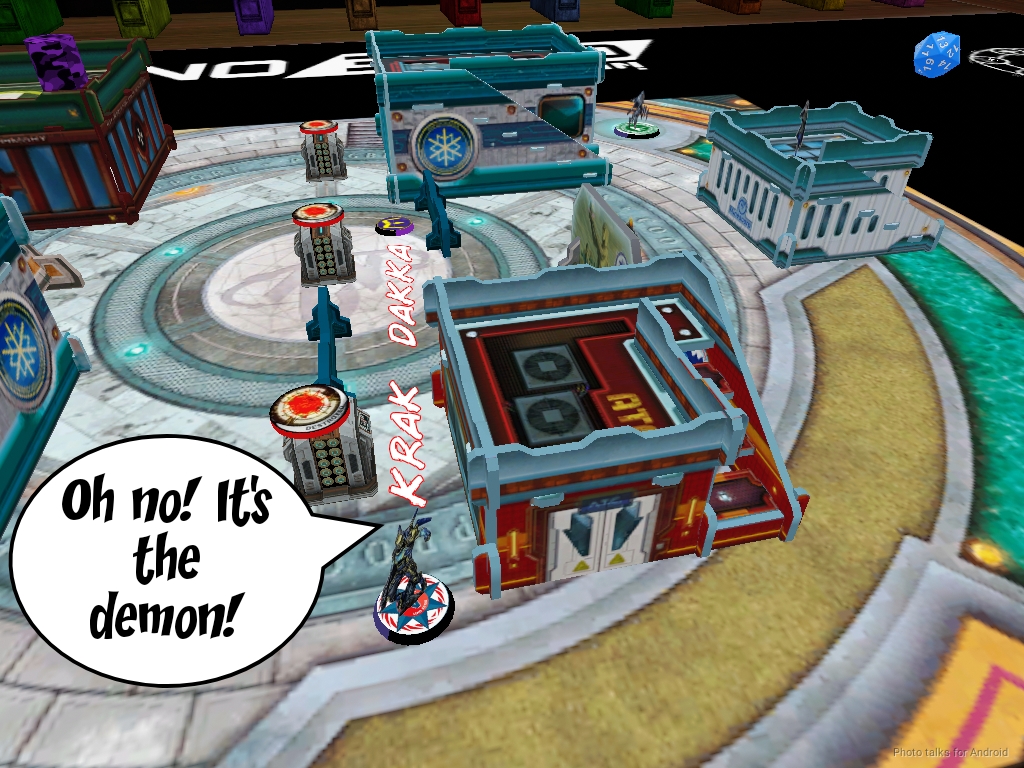
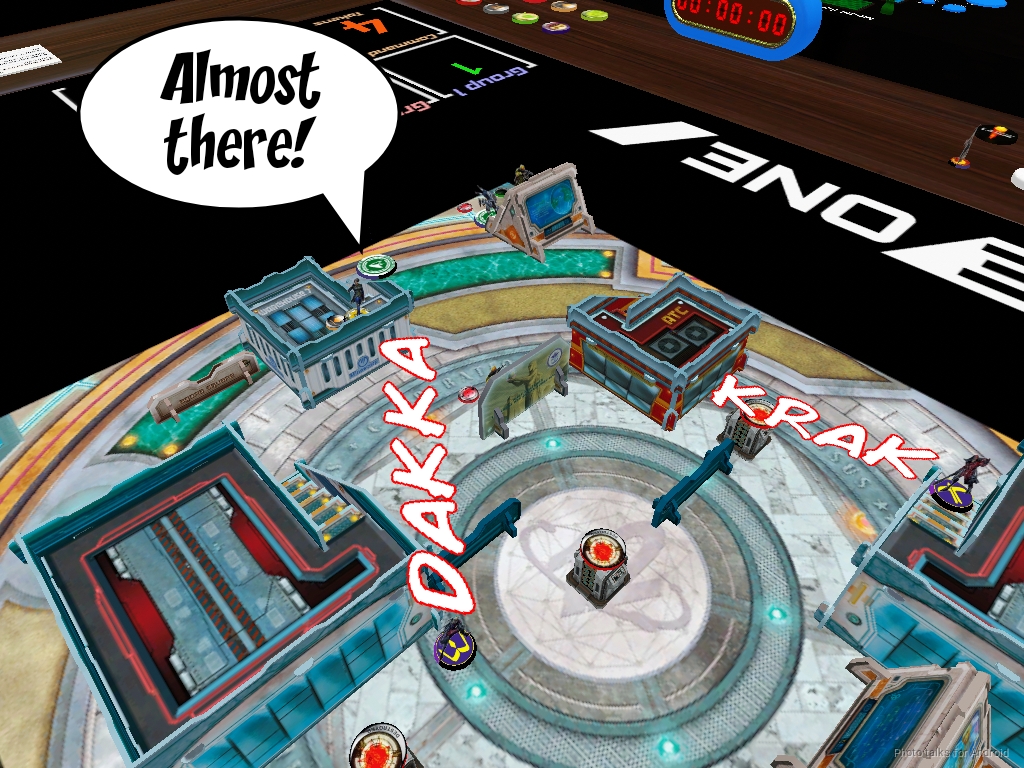
Okay, I have to thread the needle very carefully here. I should probably deal with the Delta in my deployment zone now, mostly because my plan is to pass off the box to the nearby M-Drone and then go hunt down some stuff with Nourkias. Probably not the best plan, but it’s the most fun plan for me, so I jump Nourkias off the roof and land two shots on the Delta while it successfully resets.
The Delta passes both BTS saves, so I roll Nourkias into close combat. The Delta uses its riotstopper, which is probably the right choice here–stopping my Lieutenant from rampaging around seems pretty good. Anyway, I crit it off the table with some fancy swordwork but am glued in place. BOOOOO.
Okay, time to do mission things. I send in the Caliban and take out the Oko copperbot holding the box. Now all I need to do is hammer Jeremy’s order pool while keeping him out of retreat. I count up his remaining points to see how aggressive I can be, and start the murderous rampage.
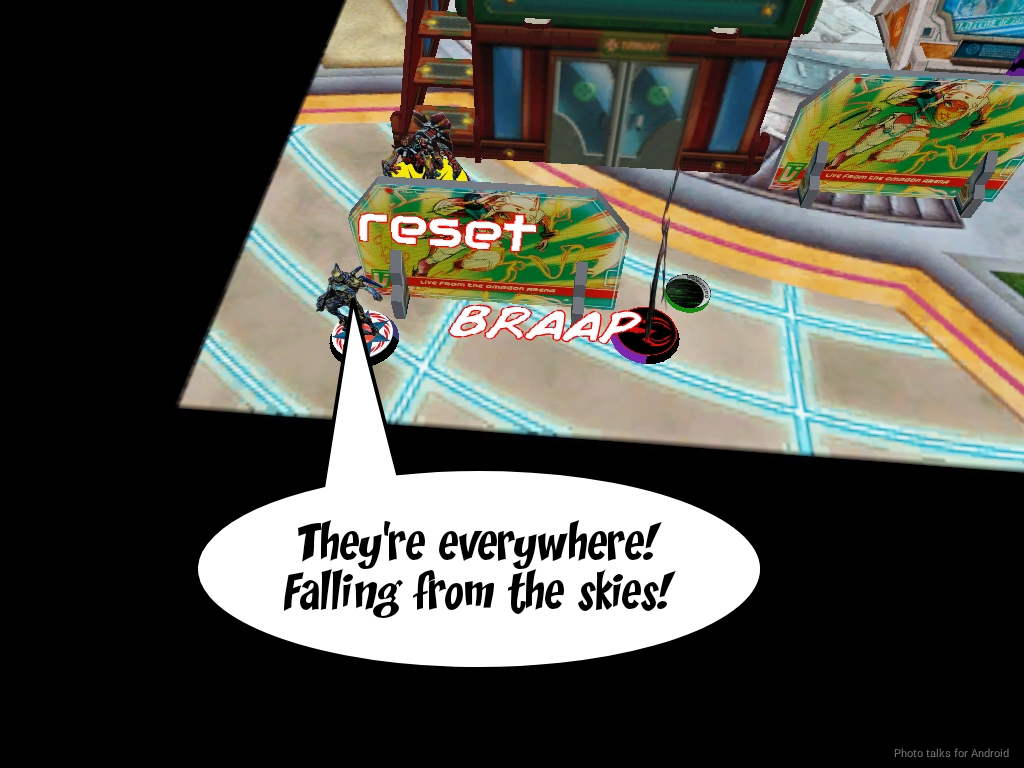
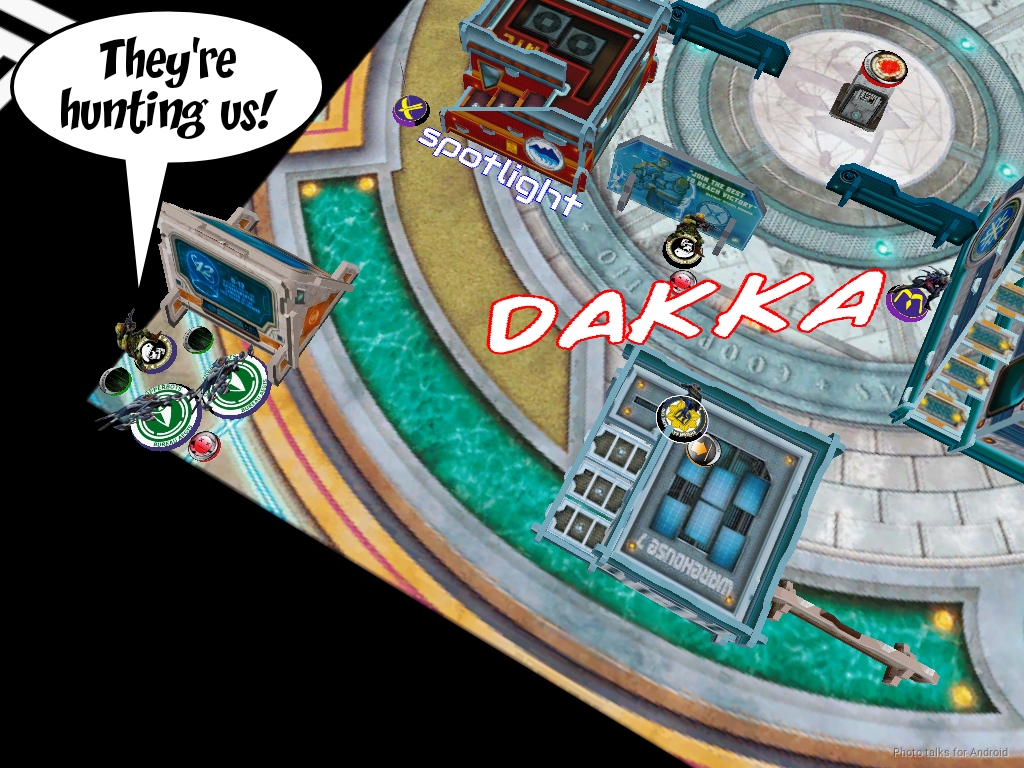
I forgot to mention the Delta that deviated did push up the table a little, so I try to take it out with Shrouded on my right. Jeremy decides to dodge forward and does so successfully. Even though it was probably the best odds thanks to cover and mimetism -3, I think dodging forward was a bad idea.
I suspect it was so Jeremy could deploy the Riotstopper, but it does put the Delta in line of fire of the Caliban, who callously guns down the Delta.
I determine that I can kill the Kytta and nothing else, and that will keep Jeremy just out of retreat, so I do that with the Caliban and retreat to cover.
Turn 3
Top of 3 – O-12
Jeremy’s got one play, which is to go and pick up the box off the downed Oko with his remaining Oko. He starts running across his backfield, dodging to get the extra movement while my Caliban and Shrouded take shots at him.
He manages to get all the way there and pick up the box, but my Caliban guns him own as he does so. Ah well. These things happen.
Bottom of 3 – Combined Army
I get my Shrouded on the right all the way up and spotlight the PSI-COp to deny him the cover bonus, then gun him down with the Caliban.
This was much safer than sending in just the Shrouded, as I have some redundancy. If I had lost the Shrouded killing the PSI-COp that would’ve sucked–much better to take it out at range with the Caliban. I snatch the box, and the game is over.
I’ve got two boxes to Jeremy’s 0, making it a
6-0 Combined Army Victory!
Post Game Analysis
Well, the Caliban killed 7/10 models from Jeremy’s list–only Cho survived, and Nourkias can claim a PSI-COp and a Delta. What a champ. Son of a Demon and Witch indeed!
Anyway, I did a lot of talking about the game during the description of the action, so I’ll be uncharacteristically brief here. To sum things up, I think Jeremy’s primary mistake was in Turn 2 with the Deltas. That’s the major turning point where things started to go downhill. He arguably overextended a little on Turn 1, but it mostly worked out for him. If he had been more careful with the Deltas and used them to take out some of my orders from a distance and box me into my deployment zone, I think he would’ve walked away with a win.
Hope this was helpful! Stay safe out there, and thanks for reading.
Thanks for the game. Up until the last round my brains was stuck on “I have no idea what I’m doing”.jpg
There was so much happening and I lost so much so quick; in other games, even scenario/objective-based, game is over at that point, might as well reset and play again.
But my first game ever, a kappa crit CA Lt, my second game, a dakini won me the game. This game finally started to click, I started to better understand at least base assumption of tactics; how to react during the game in response to changing game-dynamic.
That last turn was delightful, though. I love Warmahordes but it’s fairly static compared to Infinity and I am stoked for N4.
Thanks again, Jon!