

Scrambled Brains
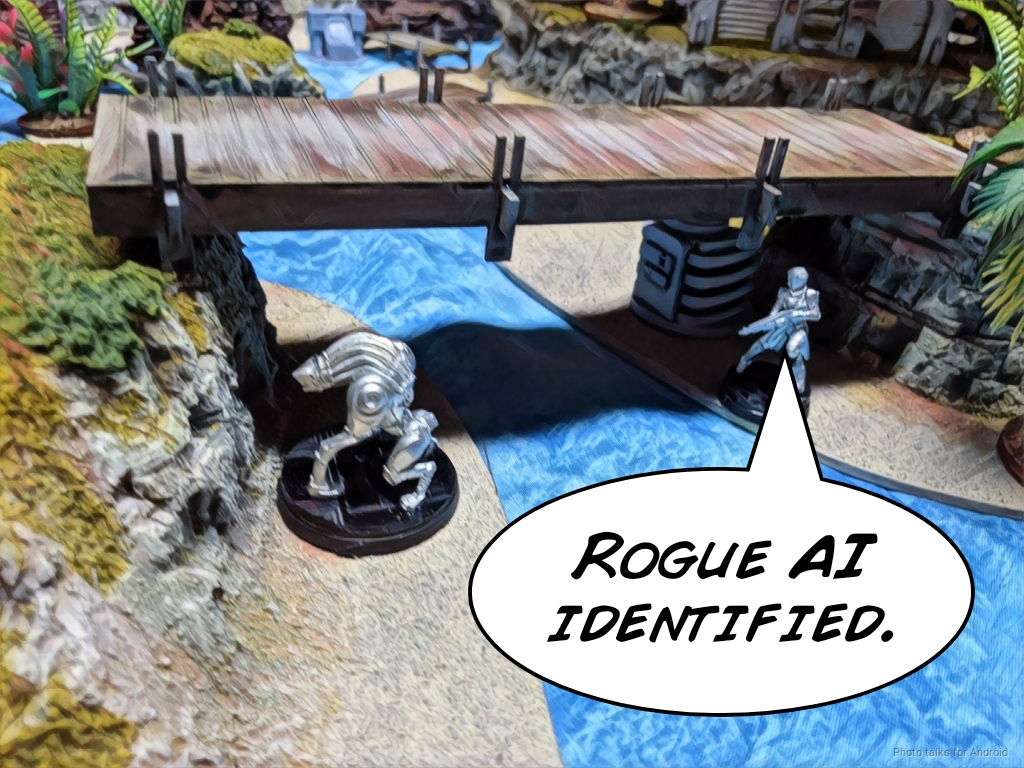
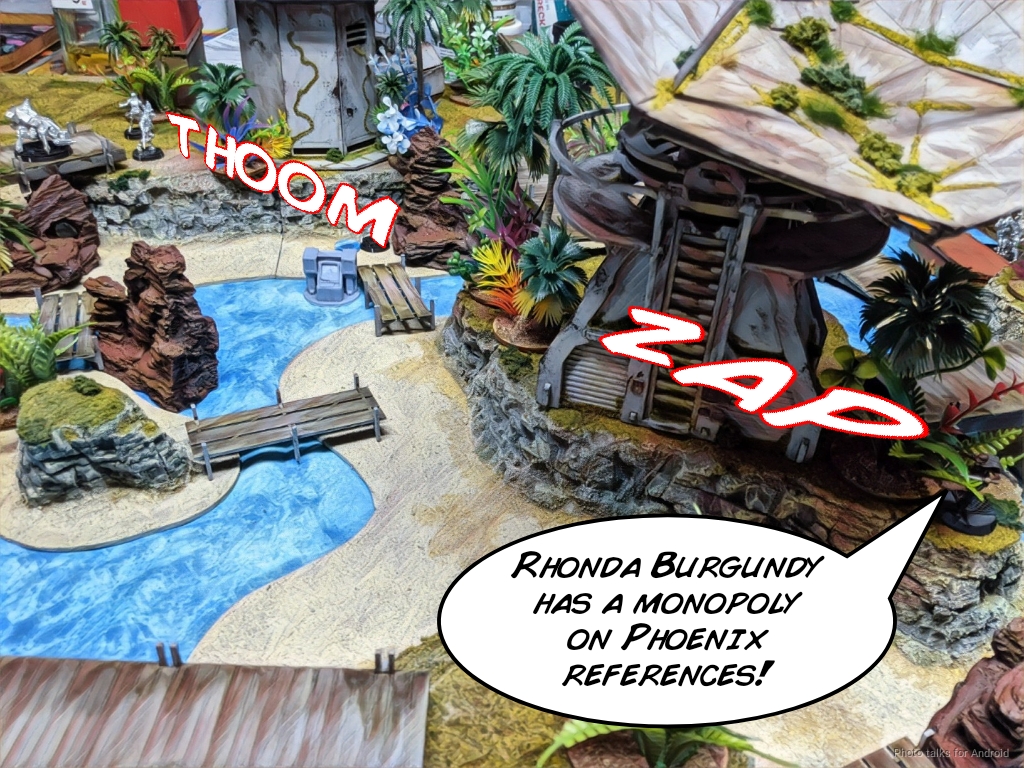
After quite a bit of hard work from Hell Lois and his crack team on the ITS Season 12 document, we finally get to see the marriage of 4th edition Infinity (N4) and the new N4 missions pack! The Warcors actually got a sneak preview a week or so in advance, so Adam and I were already looking at the new Mindwipe mission as a list building exercise. Now that ITS12 is live, we decided to play it in our weekly game. To mark the occasion, Adam broke out his absolutely stunning island table, which is about as challenging as a table can get. Everything that’s blue is considered “aquatic terrain,” and the island “mesas” are taller than S2 so you can’t vault on and off of them easily.
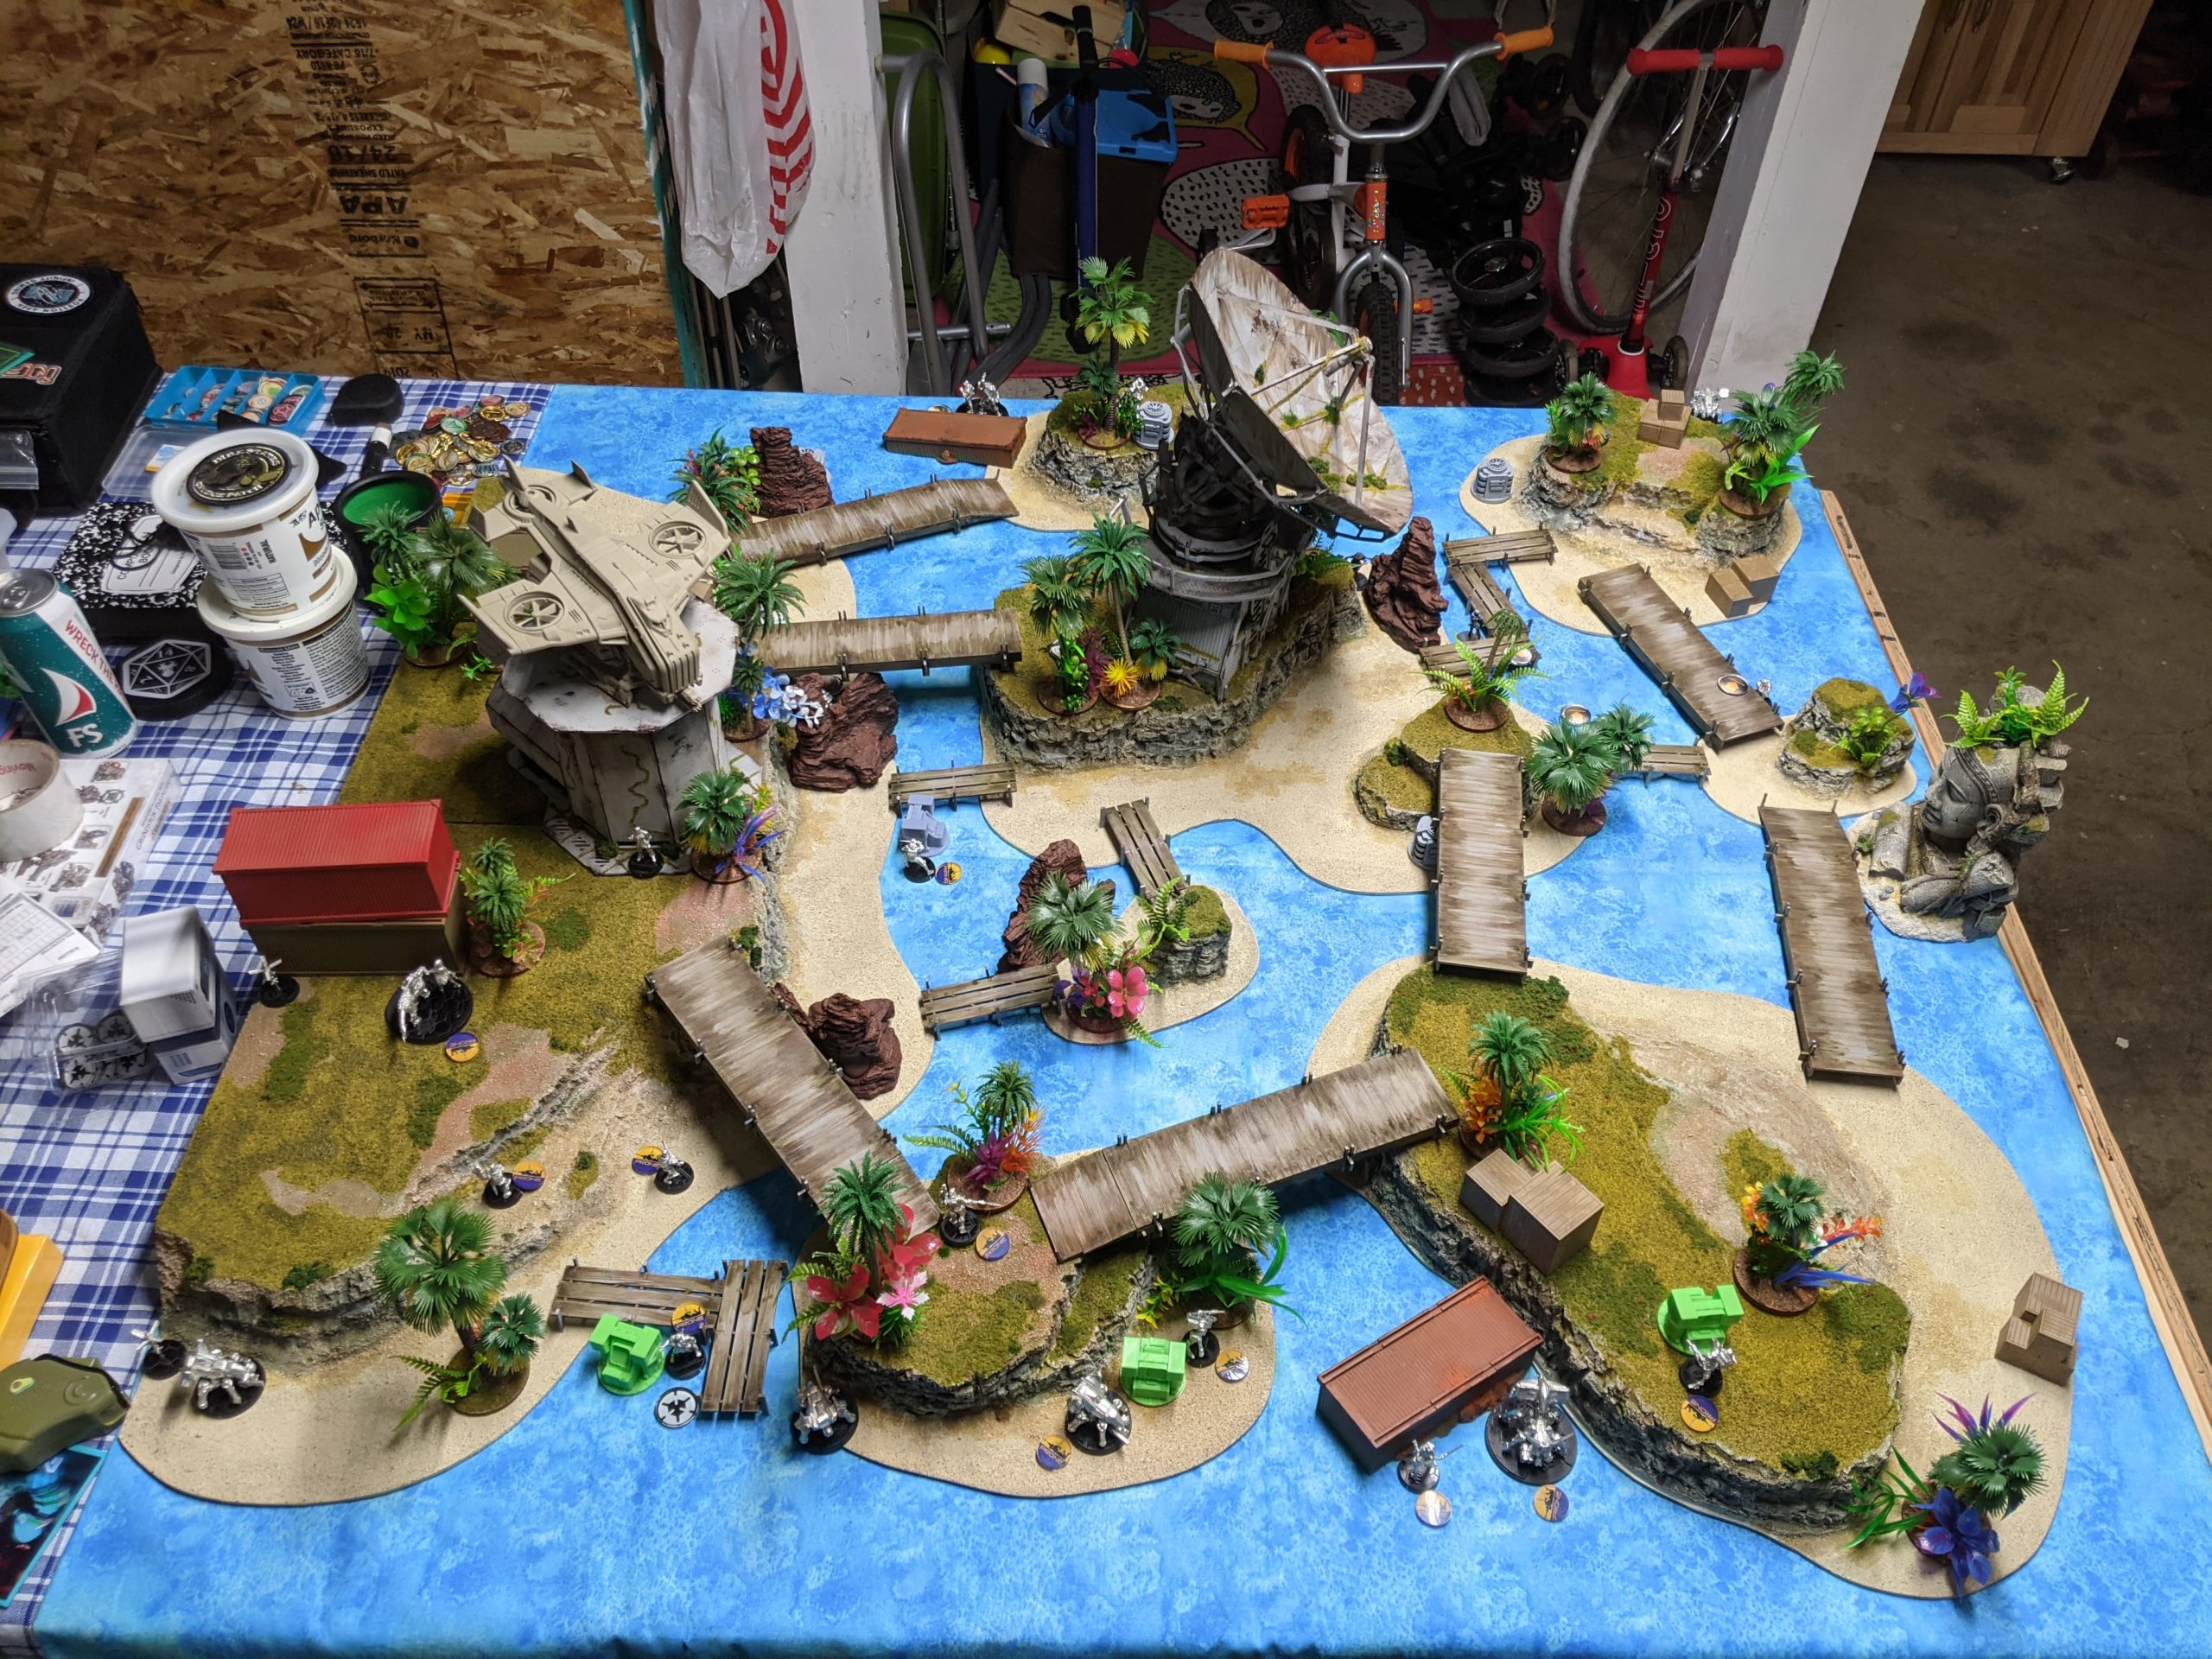
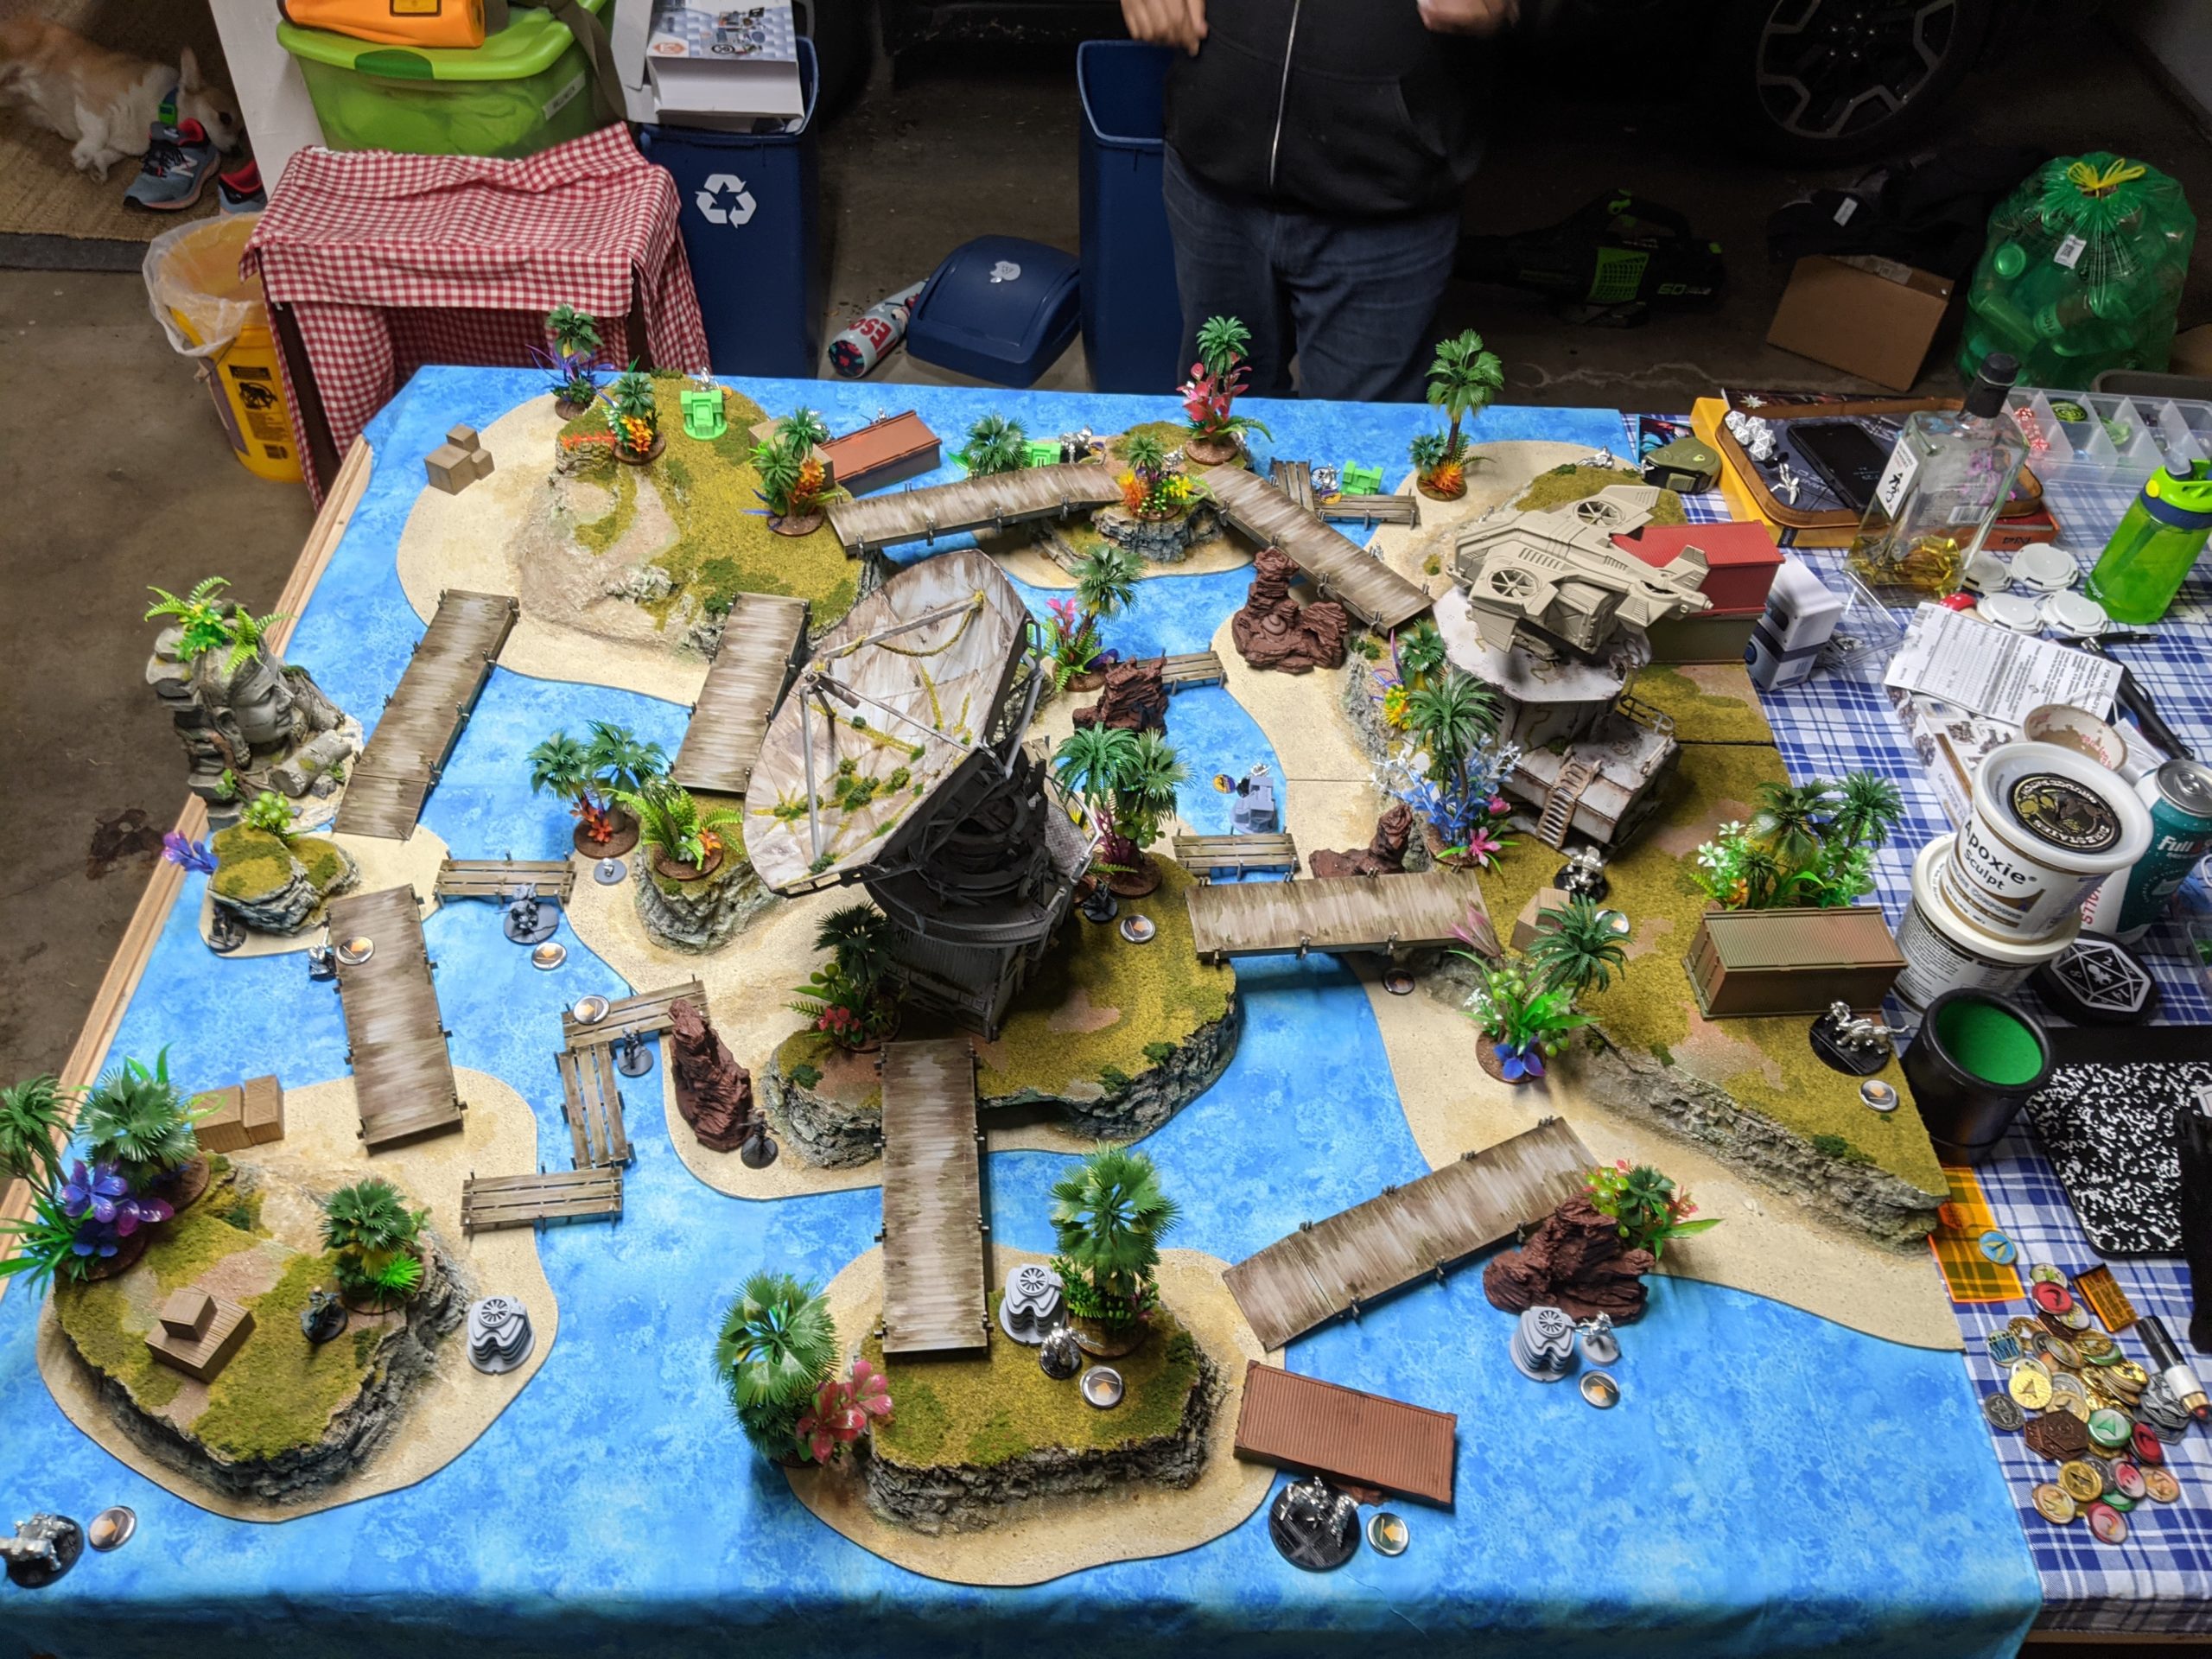
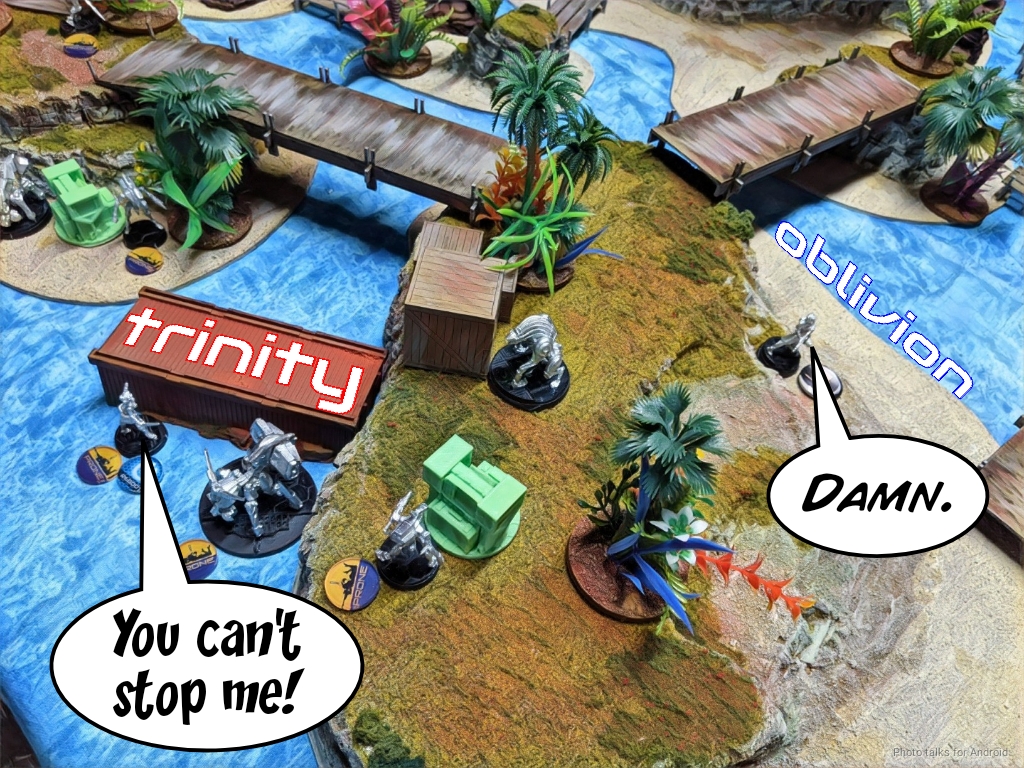
All of the plants on the table are on 40mm bases which provide cover, some LoF blocking, and a saturation/low-vis zone. There’s a fair amount of LoF blocking terrain on the table, but there are definitely large open fields of fire, especially once you get to the tops of the islands. This table demands careful attention to:
- List Building – You should have the right amount of terrain skills and MSV to handle the terrain elements on the table. Mimetism becomes much stronger as well thanks to the huge amounts of low-vis zones.
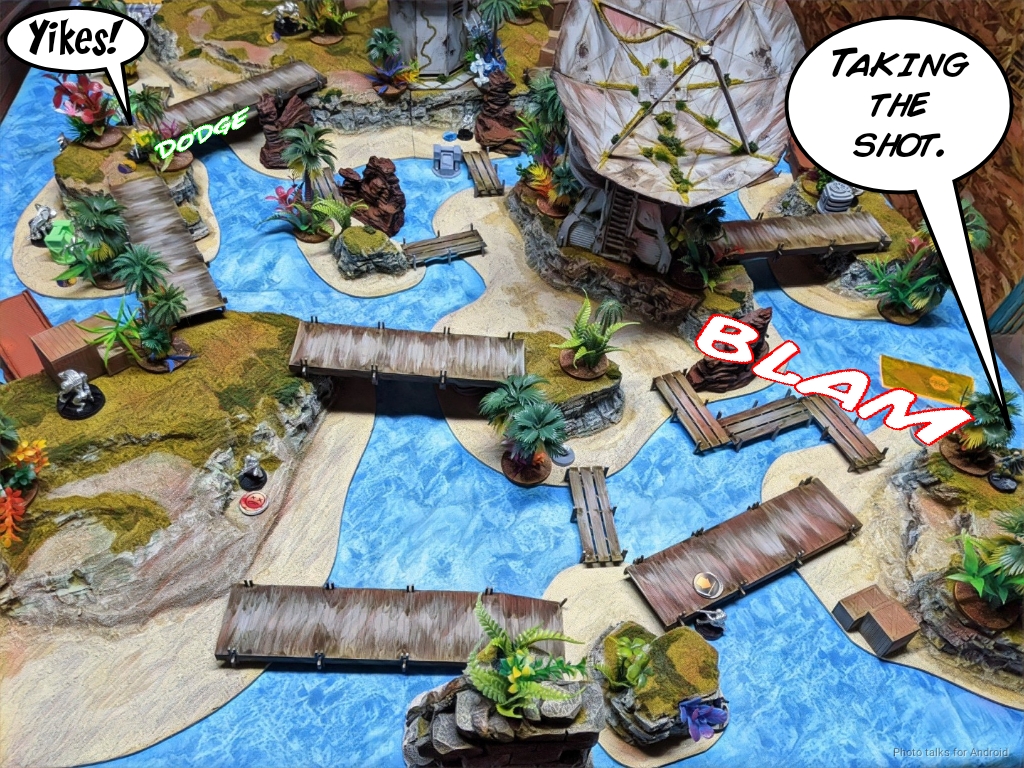
- Deployment – There is nowhere to hide–you really have to be very careful or the easy lateral movement across bridges on the table will expose things you wish you didn’t leave out.
- Maneuvering – You really have to think carefully about how to advance, and dole out enough orders to all your pieces across multiple turns.
Of course, I had no idea that I would be playing on this table, so I had to make up for any list building deficiencies with my deployment and play during the game. Adam was in the same boat, as he built his list before we agreed on the table. This is about as accurate a simulation of showing up to a tournament and then just staring dumbfounded at a table as you can get. Fortunately for us, Adam and I have probably clocked in more hours on this table than anyone else, so we made do.
Overview
- Mission: Mindwipe
- Forces: O-12 versus Steel Phalanx (300)
- Deploy First: Steel Phalanx
- First Turn: Steel Phalanx
It’s perhaps worth a few sentences to explain Mindwipe, as a mission. There are two midfield consoles, each of which can only be activated once, and activation locks you out of activating the other console. This essentially means whoever activates their choice of console gets to a) activate it and b) force their opponent to have to activate the other one. This has some interesting implications, like throwing an infiltrator under the bus to activate a console that I’m defending and forcing me to have to activate the other console that you’re defending. Activating the console (mostly) randomly determines which of three “servers” in your opponent’s deployment zone contain a Rogue AI, which you must destroy by punching or D-Charging.
You may also give a single non-KHD hacker (sorry Mary Problems) a DATAPACK token to get access to a) a “DataTracker”-style free order and b) the ability to declare the “Data Erasure” program. This basically translates to a burst 1 WIP roll for a DAM 17 DA attack against BTS on the servers. They’re pretty tanky but not as bad as the AC2 from Looting and Sabotaging. Like Unmasking, you can destroy the non-Rogue-AI servers for some bonus points if you have more destroyed, etc. Having the servers be randomly determined is interesting, as it forces you to spread out your defense and offense. It also significantly increases the importance of speedy things with D-Charges or AD troops. There are definitely a lot of things going on in this mission. I really enjoyed list building for it, and also really enjoyed playing it.
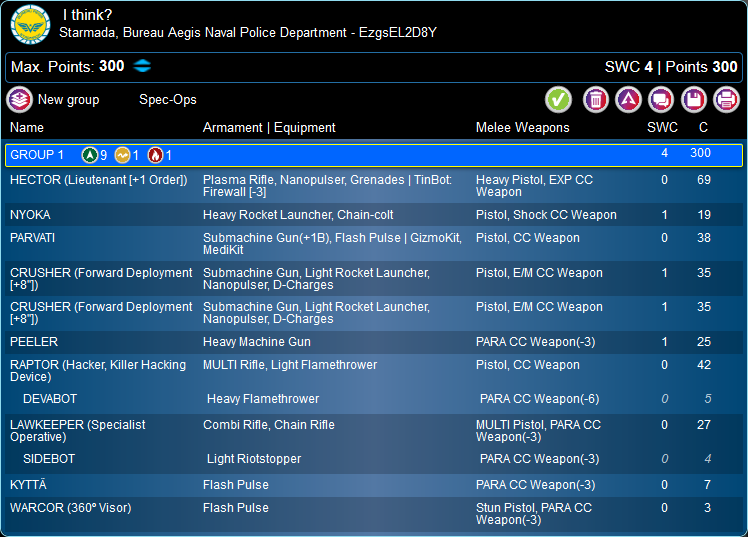
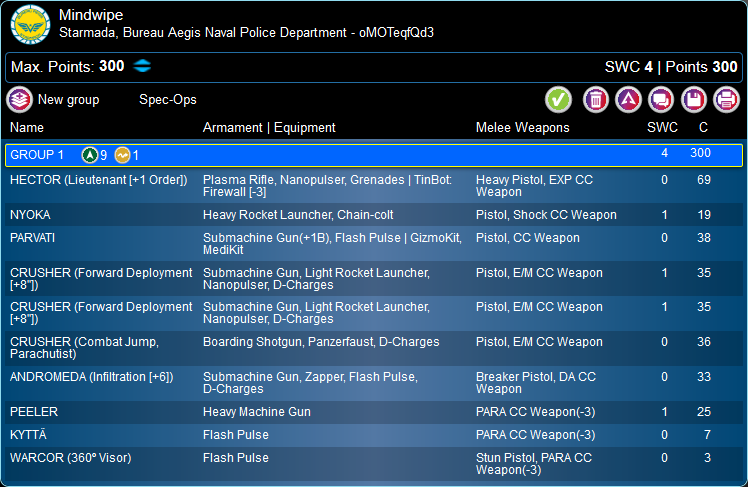
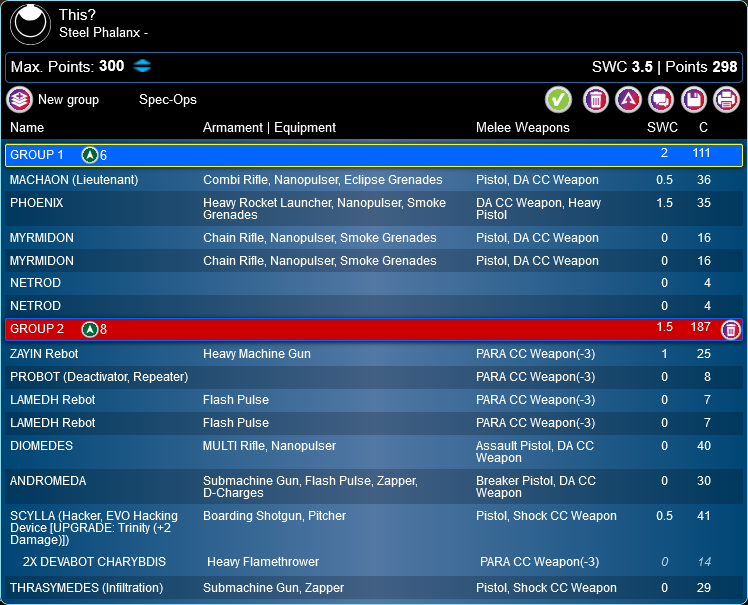
Originally, Adam and suggested that we play Supremacy and that I prepare for our Late Night Wargames episode on O-12 by playing Starmada. I made a list with Hector in it that I thought would be reasonable at that mission, but with the release of the ITS12 mission pack and thus the Mindwipe mission, I had some misgivings. I decided I didn’t really want to play Starmada. They have some problems securing the midfield, as their only real option is the Crushers. Crushers are quite good, but they’re very expensive and I don’t want to piece trade with them as I’ll cede positional dominance. So, I decided to go into vanilla O-12, which was definitely a more comfortable prospect for me. I started by building a few lists centered around using the Sirius Team hackers as an all-in-one hacker net, which I then backed up with a Millicent missile bot.
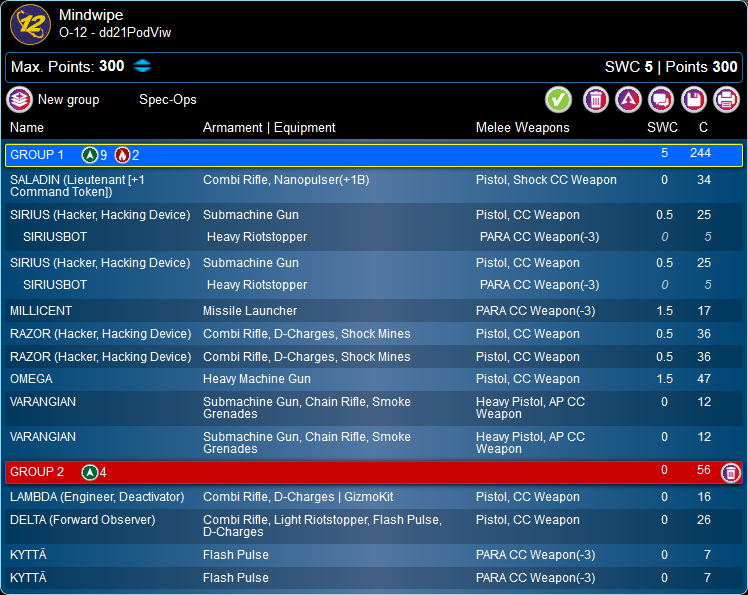
I struggled with the list concept for awhile, trying to get to a place where I’d be happy with the resulting board coverage and the incredible likelihood that whatever I put on the table would get shot off it and eventually arrived at the following:
It’s hard to argue with the Alpha as a decent lieutenant, as it grants Strategos L1, Counterintelligence, and an extra command token (which I am now realizing I forgot about in my game with Adam) for 24 points. It’s big and hard to hide though, so that sort of demanded that I take Cho for Chain of Command and the ability to “hide” some points by masquerading her as something more expensive.
For my midfield control package, I took a pair of Team Sirius hackers to get some serious spotlight threat in the midfield, which I knew would help me against all the Mimetism -6 that Steel Phalanx can bring. The problem is that a lot of Steel Phalanx also has stealth, which makes the hacking pretty useless. To counter that, I took a pair of Gangbusters to force a dodge with their Koalas, thus breaking their stealth and allowing me a spotlight. To complete the package, I threw in a Millicent missile bot to punish Adam leaving anything Targeted state.
I then needed to figure out a way to destroy the Rogue AI, as per the mission requirements. I figured I’d give the DATAPACK token to one of the Sirius. I had no illusions of having the Sirius survive till the end of the game. My actual plan from the start was to place a Razor hacker immediately next to the Sirius, pick up the the token off of her corpse, and then rush in with the Razor on turn 3 to get the job done. The other flank and the middle would have to be handled by Andromeda and the Lynx. I figured that that Sirius would at least target or glue something before she died and thus suck up a few orders. It would also lull Adam into a false sense of security and maybe have him break up his defense of the servers. This also solved the problem of giving something in hidden camo the DATAPACK token.
Adam decided to bring 14 orders of face wrecking. He took a Machaon/Phoenix Enomotarchos link and a pair of netrods to power it, and then stuffed a bunch of defensive pieces into his other group along with some utility. A single TR bot, two flash pulse bots, and a probot gave him orders and AROs. Scylla offers some more board coverage and defense as well as being able to attack the servers on her own. Andromeda, Diomedes, and Thrasymedes were his objective team–Thrasymedes to push the console button and Andromeda and Diomedes to break the server.
Scylla being EVO telegraphs Diomedes, but I knew to expect some sort of Ekdromoi and wasn’t surprised when one showed up eventually. She also, however, allowed Adam to buff his TR bot which was annoying.
Deployment
I forget who won the roll off but I ended up having Adam deploy first–I figured that going second would give me the best chance of enacting my Razor plan. I was very concerned about a strong Alpha strike, but I decided that the Sirius and Gangbusters would be enough to blunt the attack or at least contain it to a single flank. Adam deployed Scylla on the right and most of the rest of his forces on the left and held Thrasymedes in reserve.

The other reason I chose the side that I did was because there were some convenient places for me to hide the Sirius and Gangbusters. I set up so that whatever came to activate the consoles would have to deal with both a hacking area and a Koala, and then attempted to protect the elevated position on my right flank with a Siriusbot. I decided that the Razor would go on the right, next to the Sirius under the bridge, and further protected them with a Gangbuster.
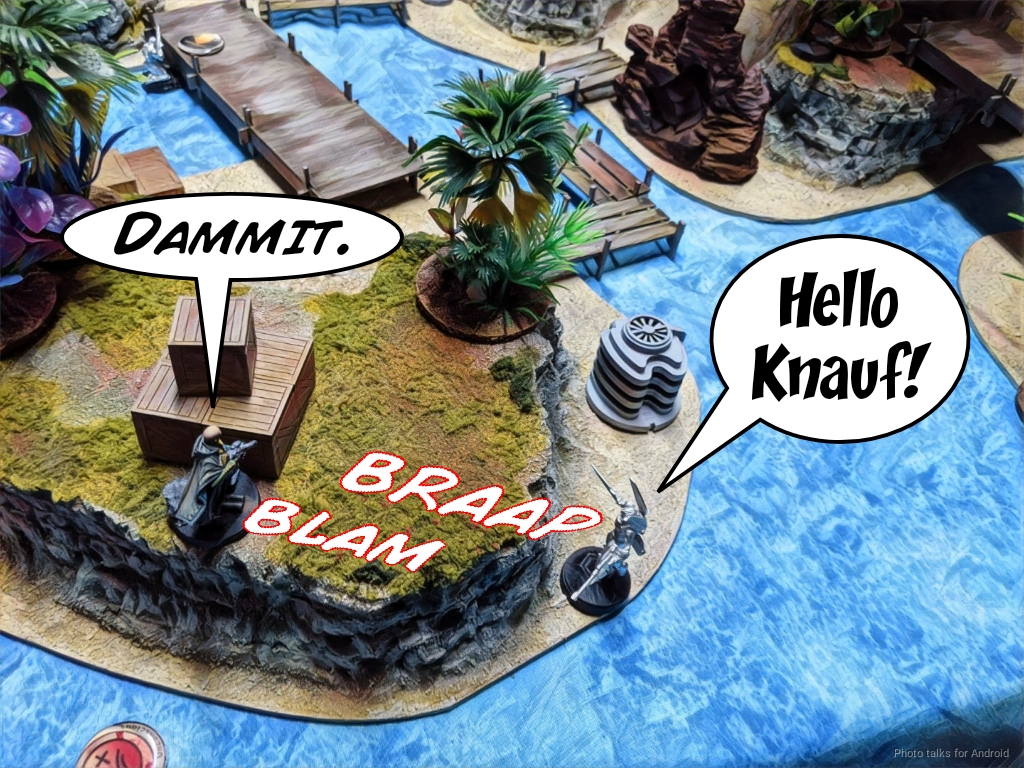
That meant the Lynx went on the left, near the warcor and Knauf, and the Millicent went all the way in the back left corner watching the left and back table edges for Ekdromoi. I protected the middle server with Cho, disguised as an Omega in the hope that it would discourage Adam from leaving things out to ARO, and then protected the right server with a Varangian and the Alpha.
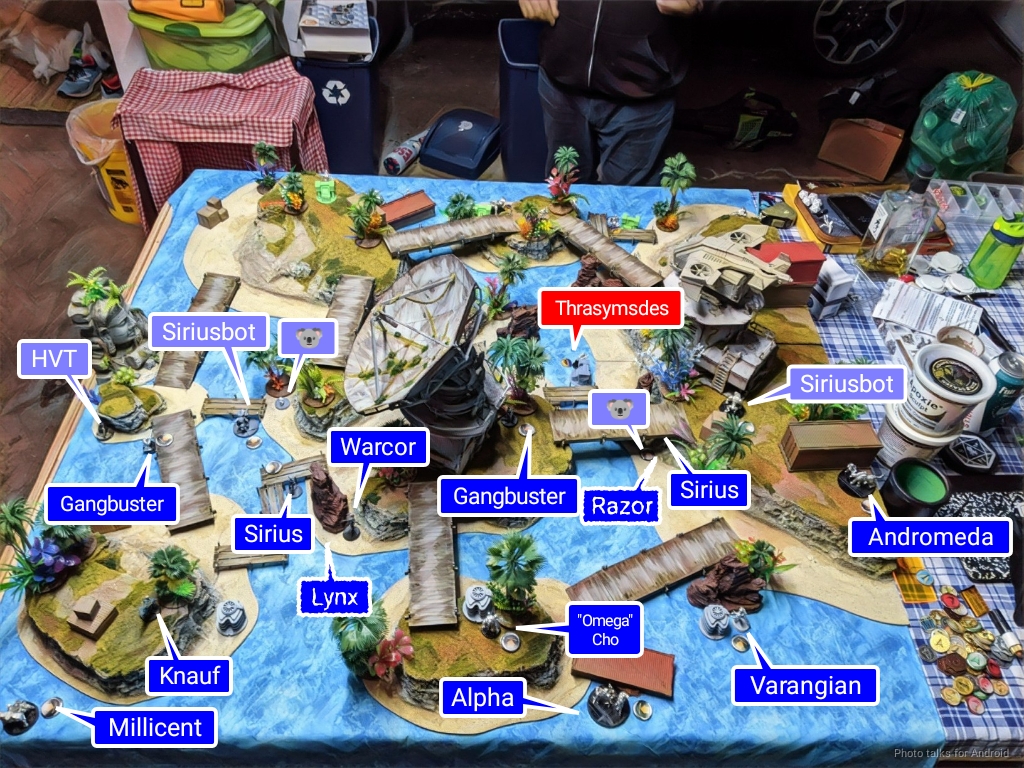
Adam dropped Thrasymedes on my right to secure that console and presumably assassinate my Sirius, and then I put down Andromeda on my right to counter Andromeda. I think the Alpha was my other reserve. This leaves my left pretty sad, but I’m reasonably sure I can pick up the slack with the Lynx. I also know that there’s not much over there on Adam’s side so I’m not too worried.
Turn 1
Top of 1 – Steel
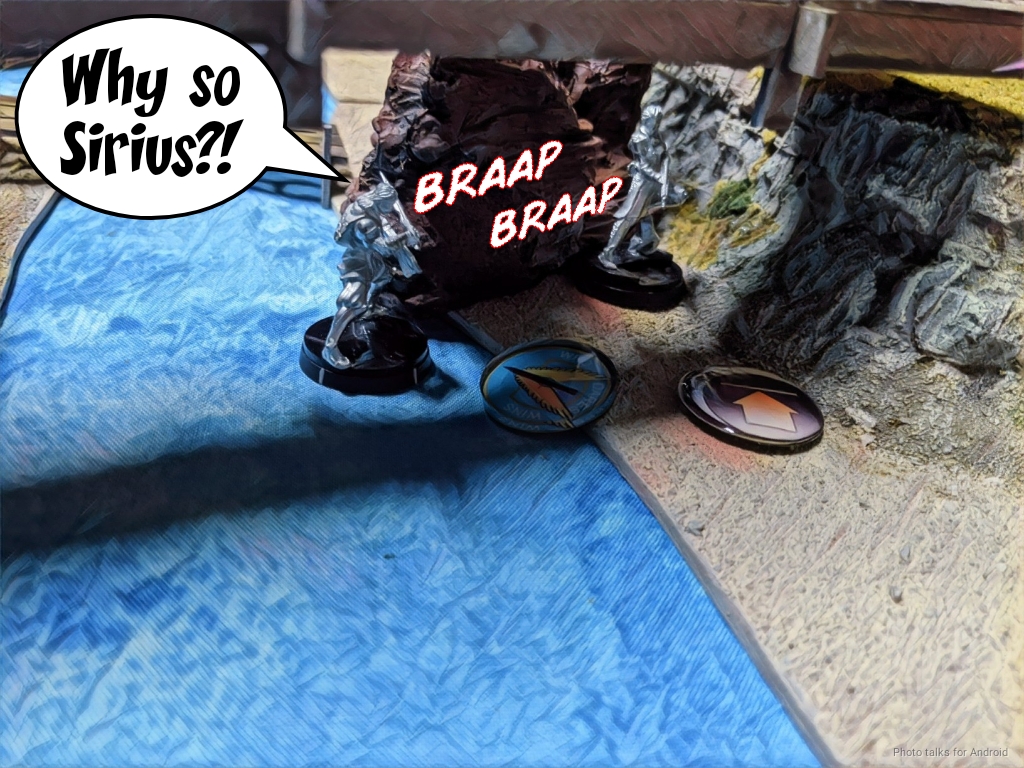
Adam starts off by throwing a Myrmidon under the bus to take out my Siriusbot and Koalas on the right. I dodge and fail instead of attempting a heavy riotstopper shot, figuring the Myrmidon will dodge anyway, and dodging will maybe let me get away. My other Sirius declares Spotlight and succeeds, and Adam’s Myrmidon, as expected, dodges into base to base and also clears the Koala under bridge.
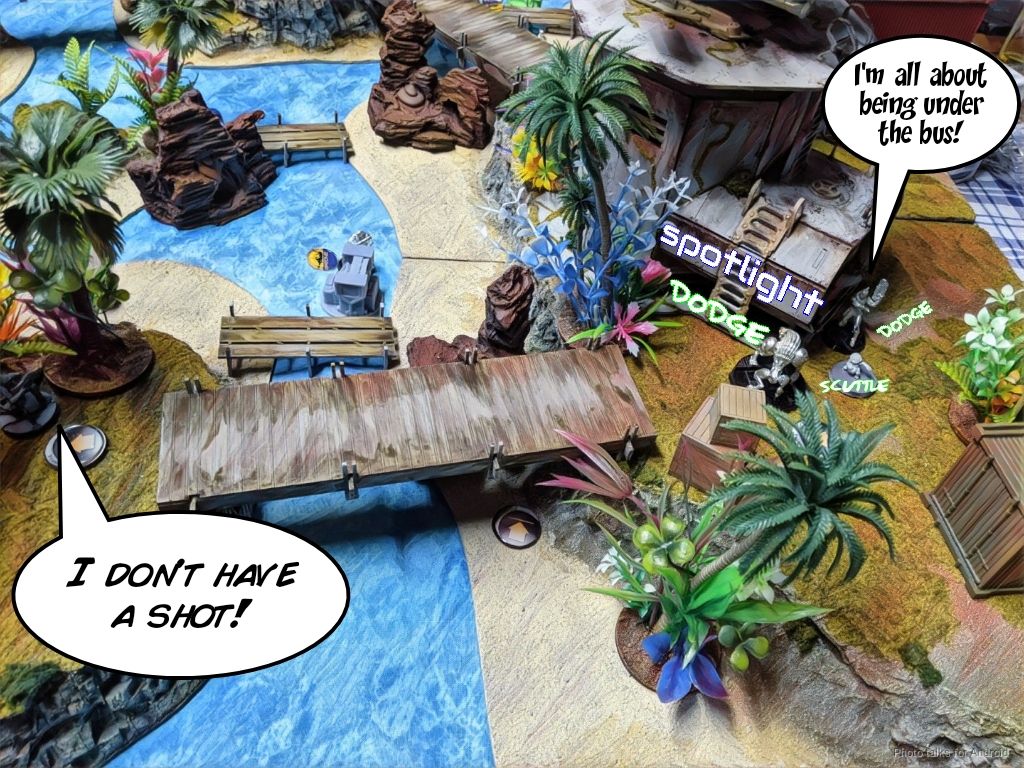
This frees up Thrasymedes to activate his console, identifying my far right server (left, from Adam’s perspective) as the one containing the Rogue AI. I manage to Spotlight him with the Sirius under the bridge.
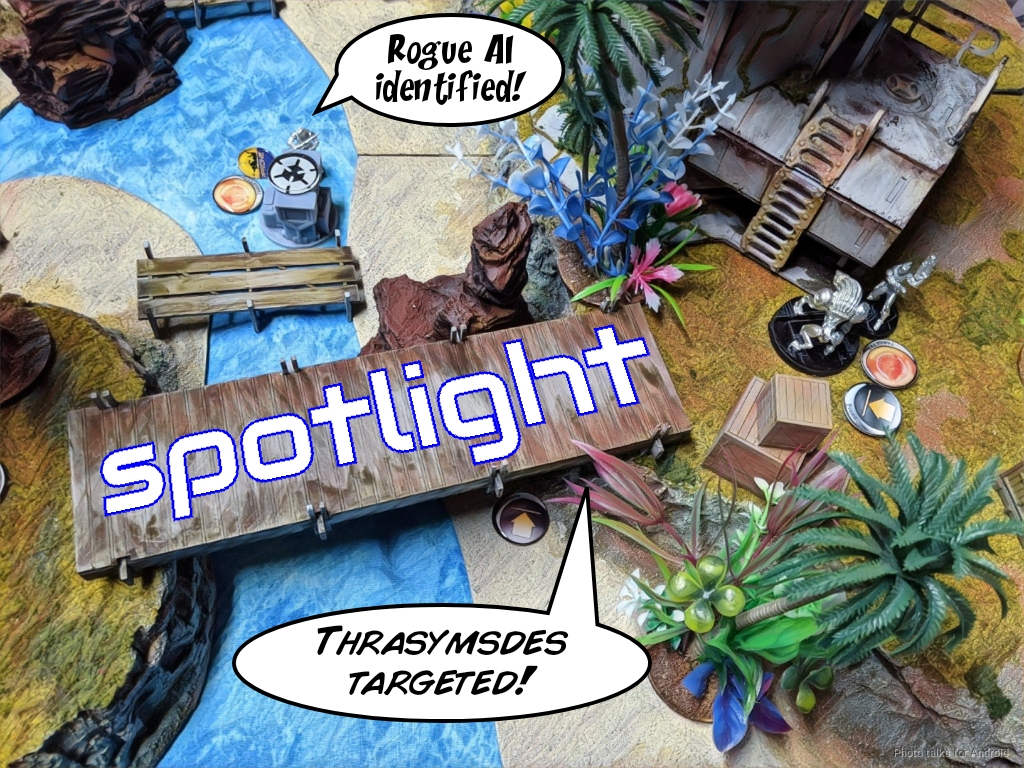
Adam then comes around the corner with Thrasymedes to SMG down the Sirius. Thanks to Targeted, we’re both on 9’s. I roll well but he sneaks a shot through and drops her. I briefly considered spotlighting on a 16, but then I would’ve just gotten Zappered, which isn’t all that helpful. Having her be dead after annoying Adam a little was the point of bringing her and giving her the DATAPACK, so she’s done her job.
Adam bonks my Siriusbot on the head with the Myrmidon and then grabs In Extremis Recovery off of it (although I think you can do this in one less order since it’s in a null state after the Sirius went down?). Knauf has a shot as the Myrmidon retreats to safety but is beaten out by the Myrmidon’s dodge around the corner.
Thrasymedes retreats around the corner to safety and clears the targeted state, then Adam passes turn, feeling pretty good. He’s got a button pushed, a flank disrupted, and two advanced pieces that will give me trouble.
Bottom of 1 – O-12
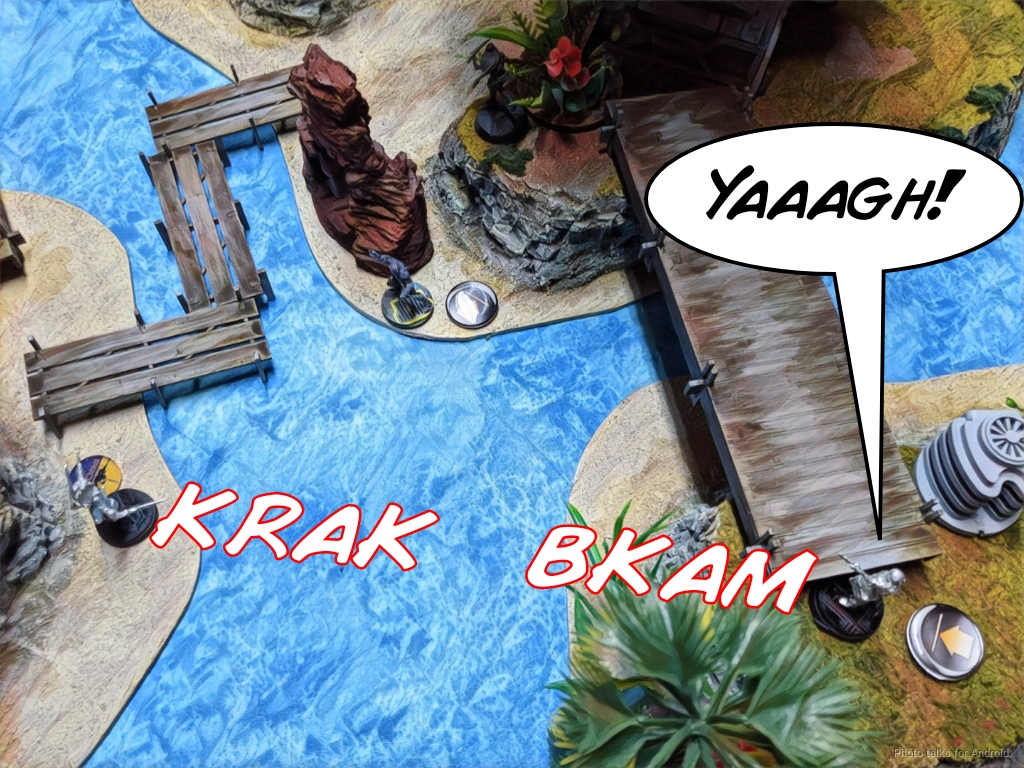
I start by getting rid of those two pieces–first by landing a Koala near Thrasymedes and then shooting him…
and then second, dropping a missile on the Myrmidon.
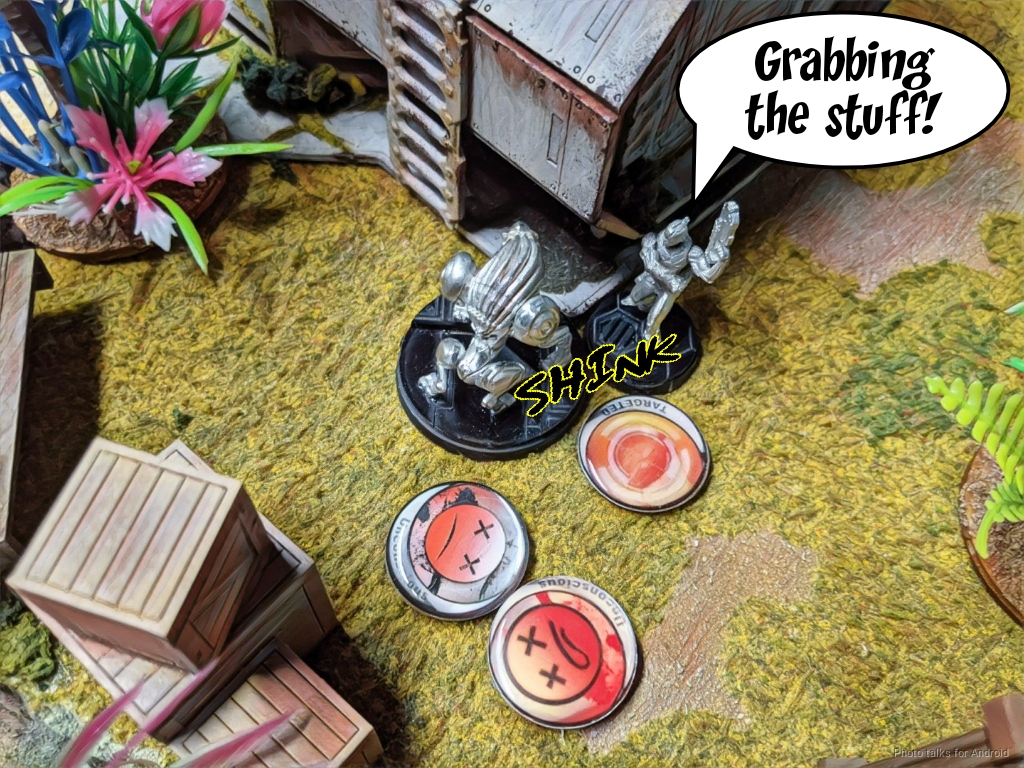
Not bad for three orders out of group 2! My remaining Sirius goes and grabs the remaining console, revealing the server on my right in Adam’s deployment zone as the one I need to go blow up.
I get a little cocky and try to take out Adam’s right flank (my left) by isolating Scylla. I don’t realize that she has ECM: Hacking -3, so I lose the face to face and the Sirius dies.
I do have a shot on Phoenix with Knauf though, and take it. With the range and low-vis, I’ve managed to -12 Phoenix, but he makes his dodge to safety.
I end the turn by shifting my Varangian and Alpha into better positions to protect the server with
Turn 2
Top of 2 – Steel
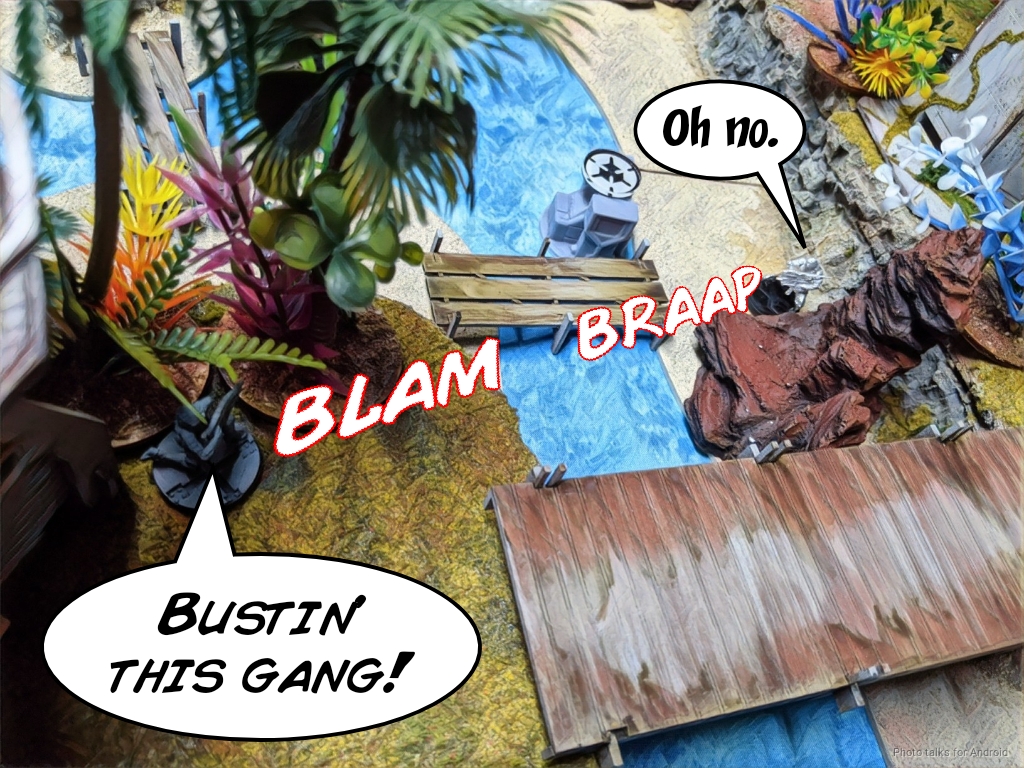
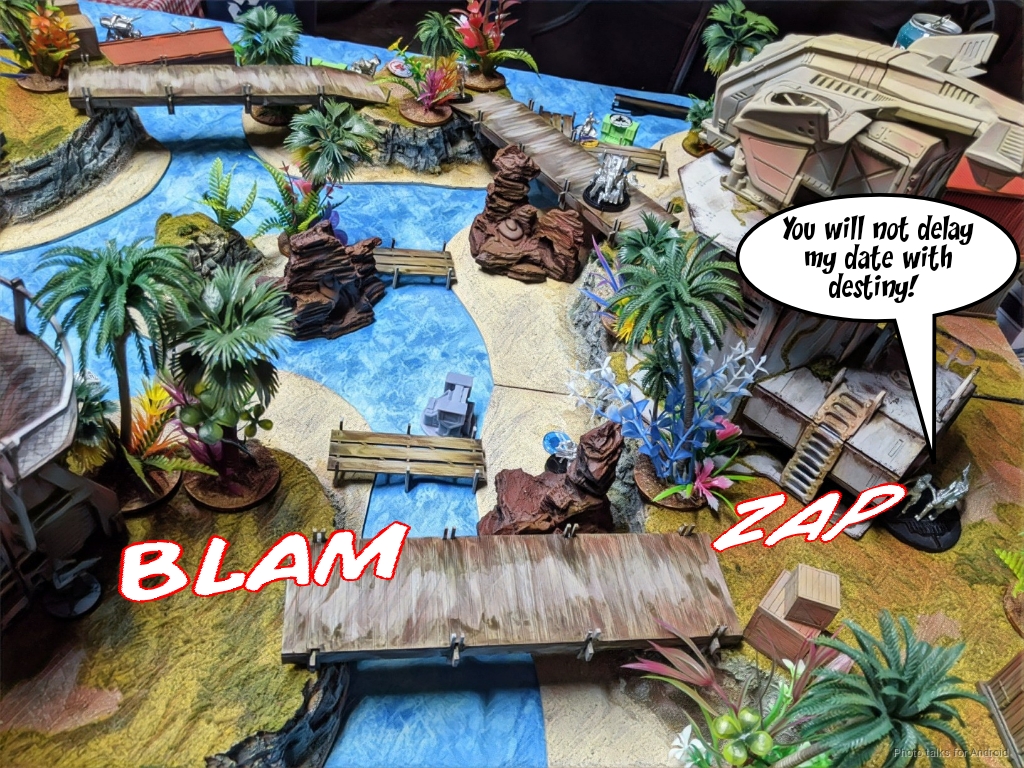
Adam decides that he can’t really get to my Rogue AI server with Diomedes so he decides to go after the one on my left and take out Knauf and the Millicent. Andromeda can see this at least and starts flash pulsing away.
After taking out the Millicent, he takes out Knauf, then starts beating on the server.
I finally get him with Andromeda’s flash pulse before he can do the final wound to the server.

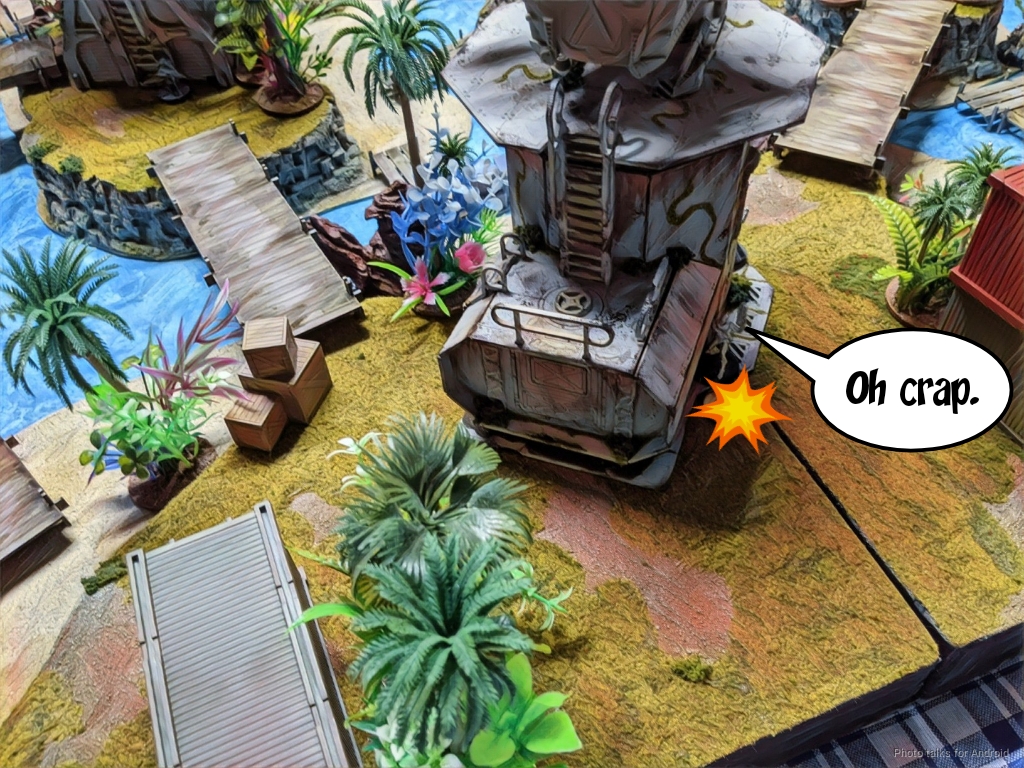
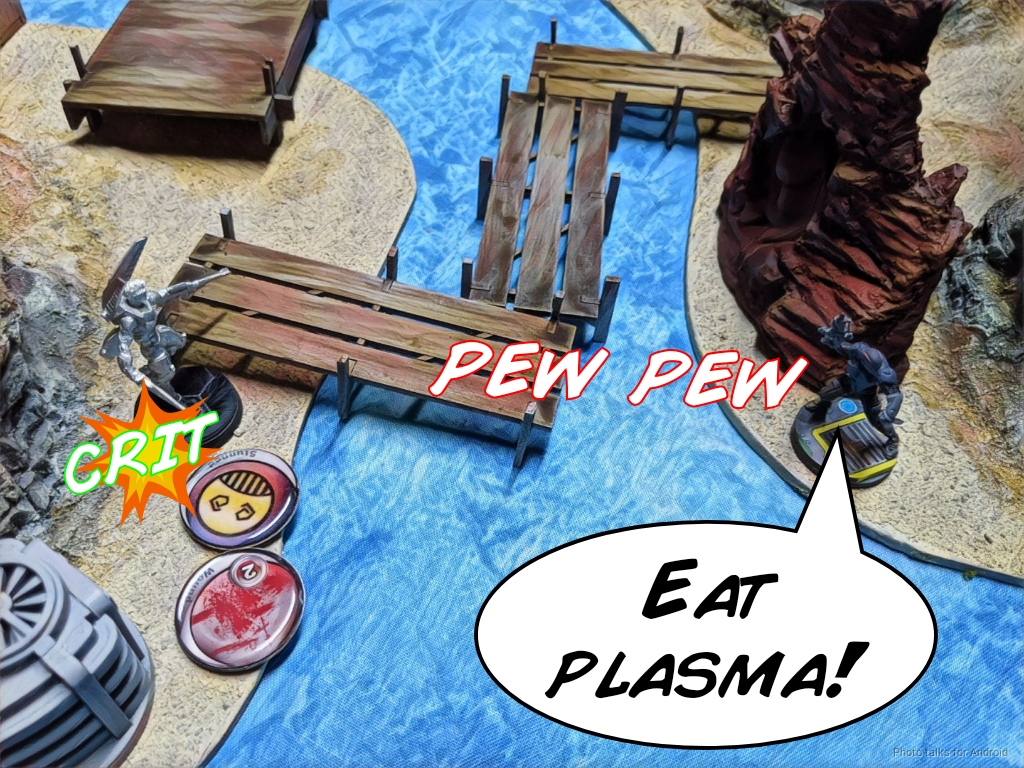
Adam decides to try and hide Diomedes, so I choose now to reveal the Lynx. I should’ve done this when Diomedes landed, but I was pretty flustered and didn’t think of it till it was too late. As Adam tries to move-dodge to safety, I score a Plasma crit! Of course, Diomedes passes all of his saves and is unscathed.
Bottom of 2 – O-12
His back is to the Gangbuster, so I throw another Koala out and try to take out Diomedes–succeeding only in allowing him to change face.

I keep shooting with the Gangbuster, but nothing is working.
Cho reveals herself, and fails to even wound Diomedes.
I sink the rest of my turn into trying to kill Diomedes with Cho and fail to even wound him.
Turn 3
Top of 3 – Steel
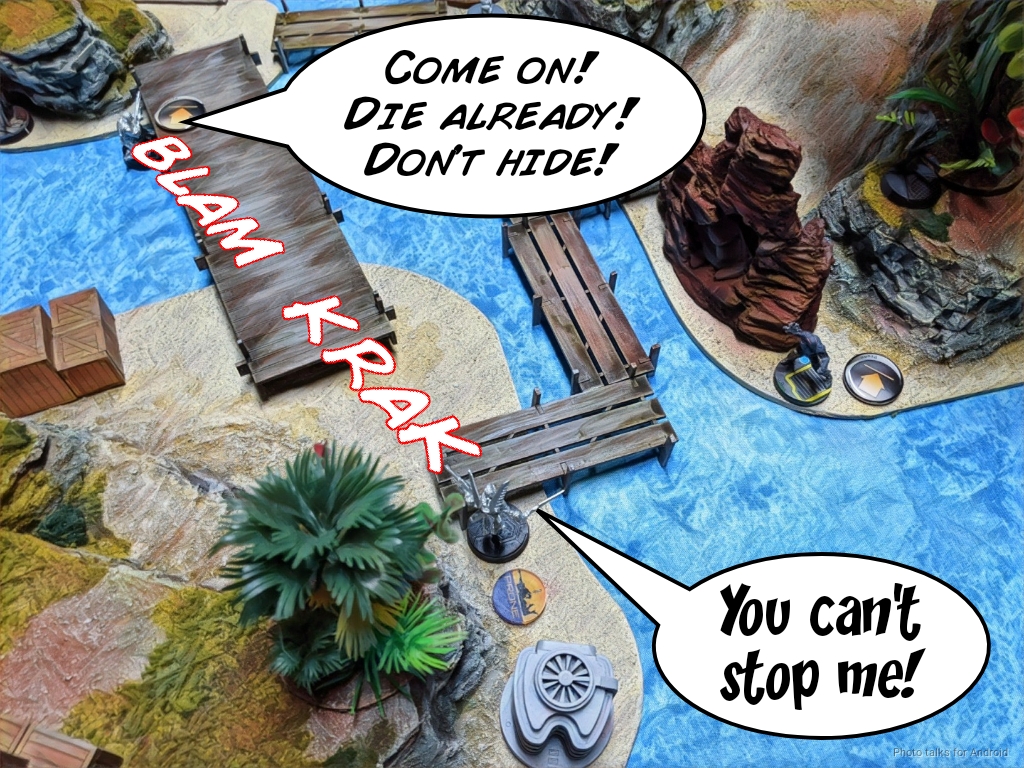
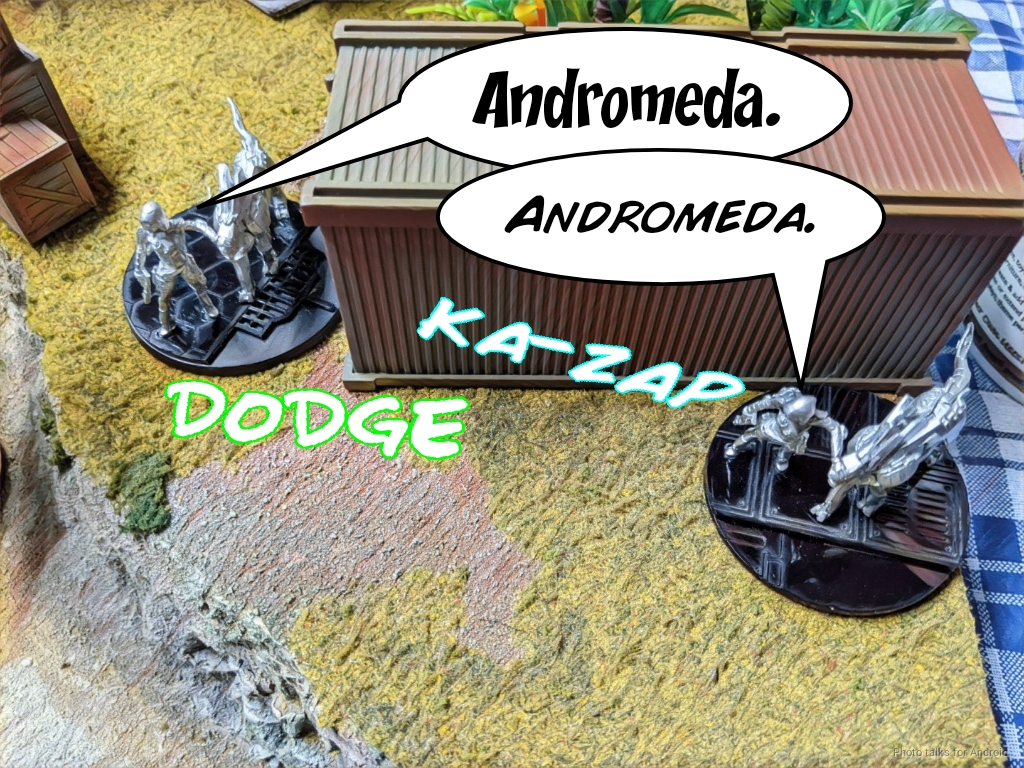
Adam bonks the server with Diomedes–I dodge out of fear as I want to preserve my orders. He’s then content to leave Diomedes there pinning my Lynx and decides to go after Andromeda, figuring that she’s my last way to victory. If he can get rid of her, he can send in either his link or his own Andromeda and try to take out my server with the Rogue AI in it. My Gangbuster on that side slows Andromeda down a little bit but gets flash pulsed.
We then have an Andromeda off–I try to zapper his Andromeda but he dodges closer…
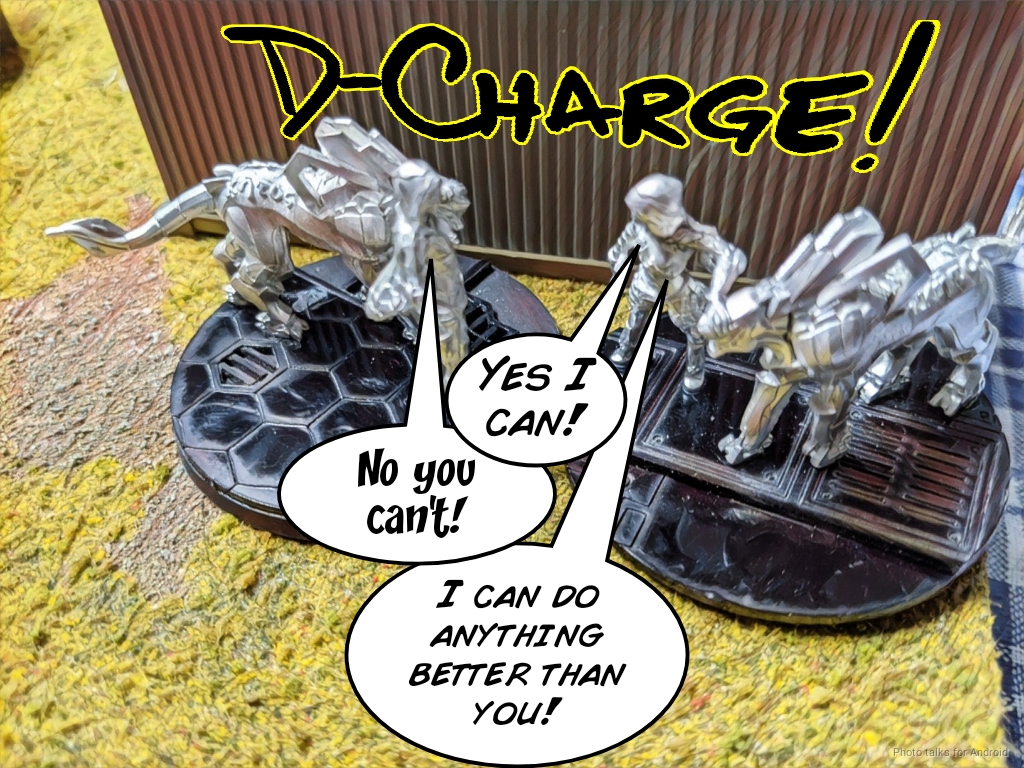
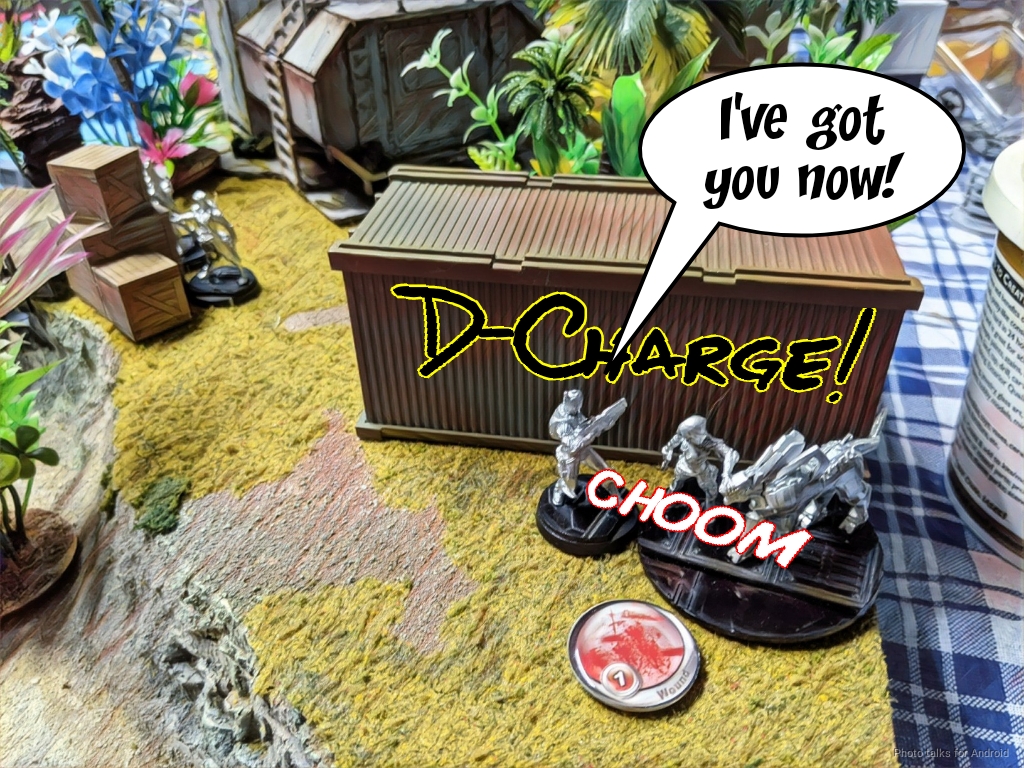
and enters close combat! Two Andromedas enter! Which one will leave? It turns out that my Andromeda is the better one and I D-Charge Adam’s off the table.
Adam then sends in the link, getting Phoenix flash pulsed on the way by my lovely Warcor, Rhonda Burgandy, who is hiding in the trees.
Adam throws his remaining Myrmidon into close combat with Andromeda, doing a wound with its chain rifle before it eventually goes down to a CC D-Charge.
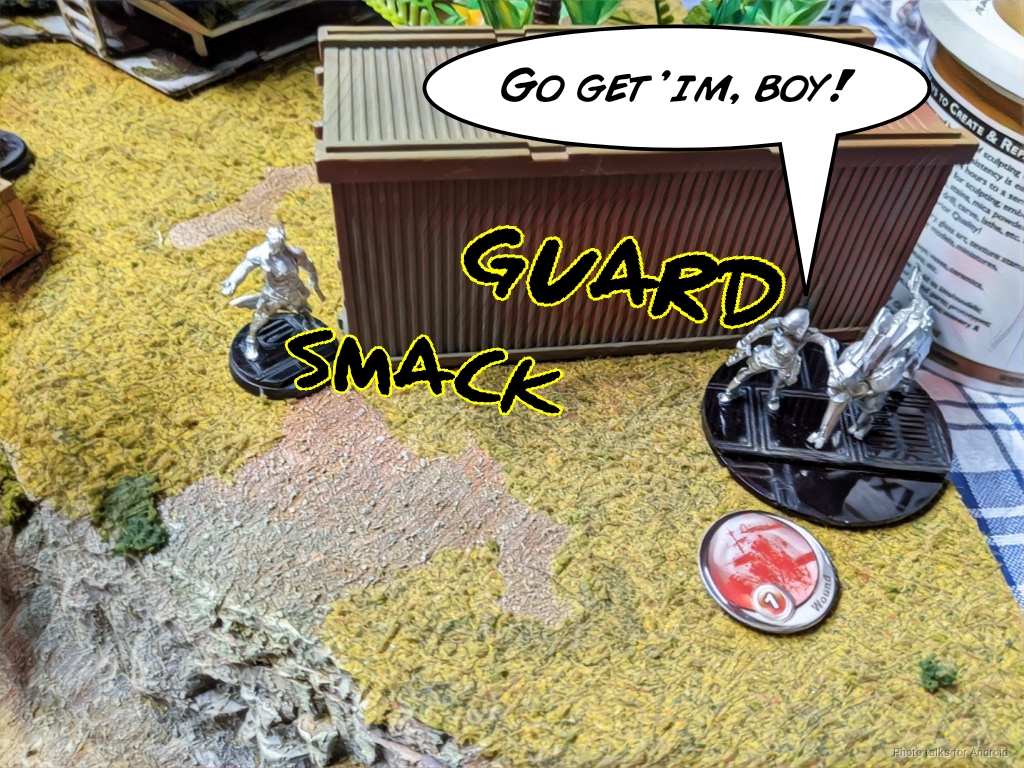
Finally, Macheon has a go and drops Andromeda in close combat thanks to my declaring Guard. I don’t think Guard was the right call here, I just wanted to try it for fun.
Adam buffs the TR bot and gets it into an overwatch position before passing turn.
Bottom of 3 – O-12
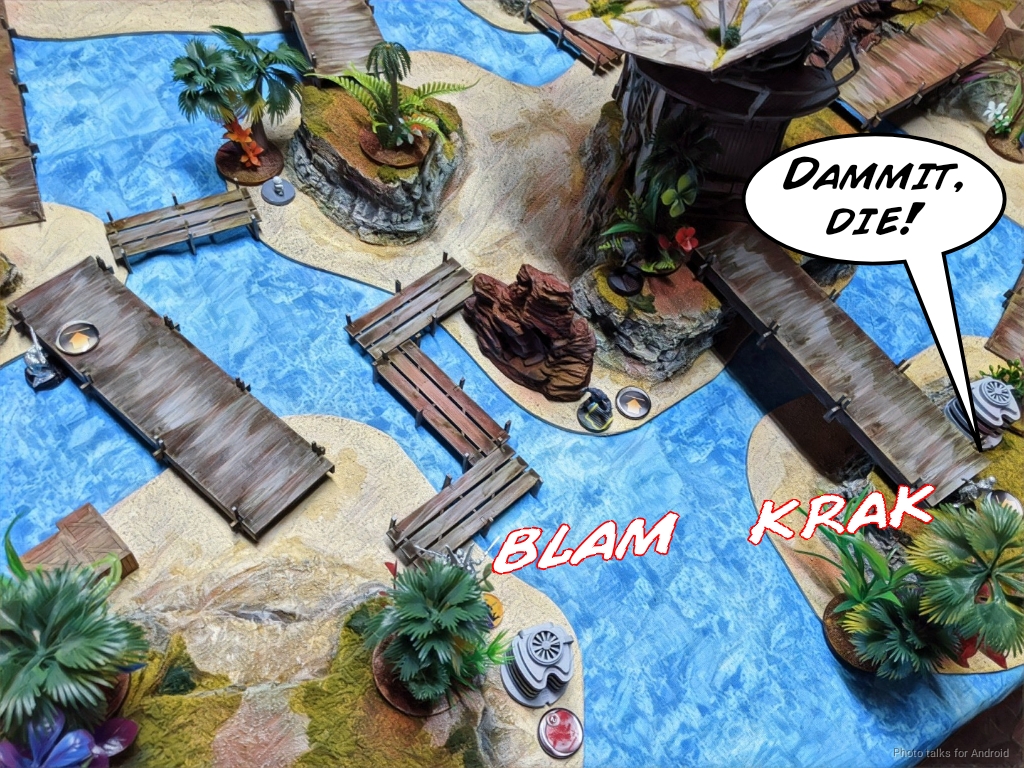
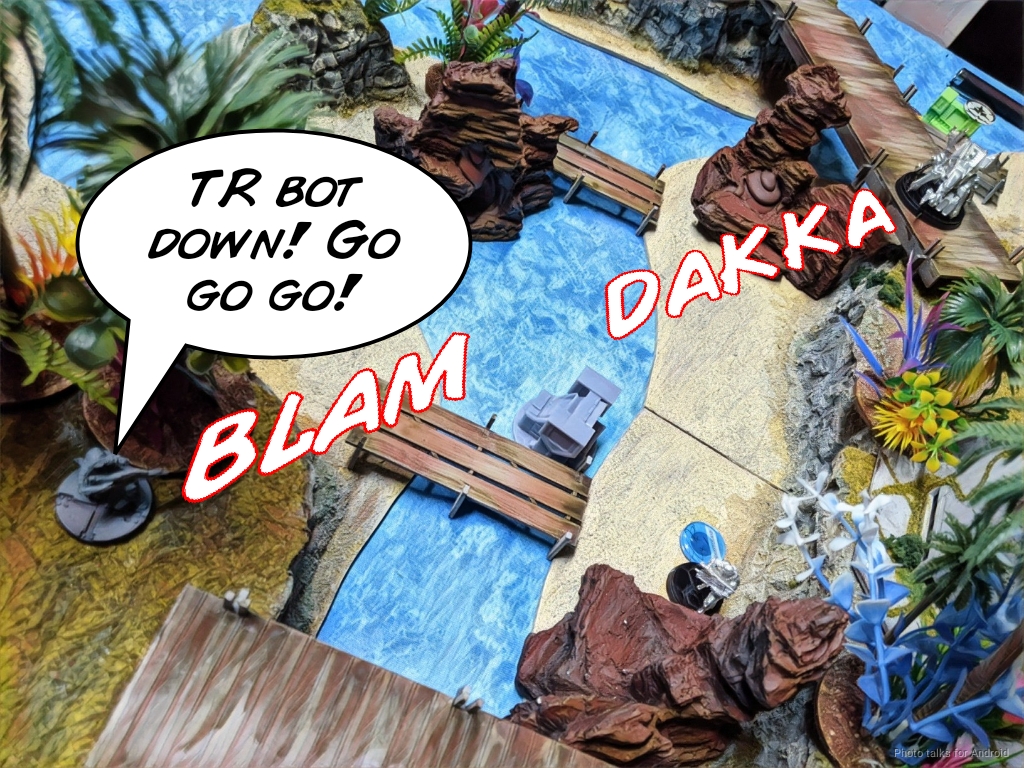
Okay. This is about as good as it gets. I have enough orders to get the Razor to where it needs to go, but I need to clear the TR bot. The Gangbuster does that before getting vaporized by Phoenix and Macheon, but that’s enough.
The Razor executes my plan flawlessly, grabbing the DATAPACK, gunning down an Lamedh, and erasing the Rogue AI from Adam’s server with the Data Erasure program. I was even prepared to get into close combat and D-Charge it.
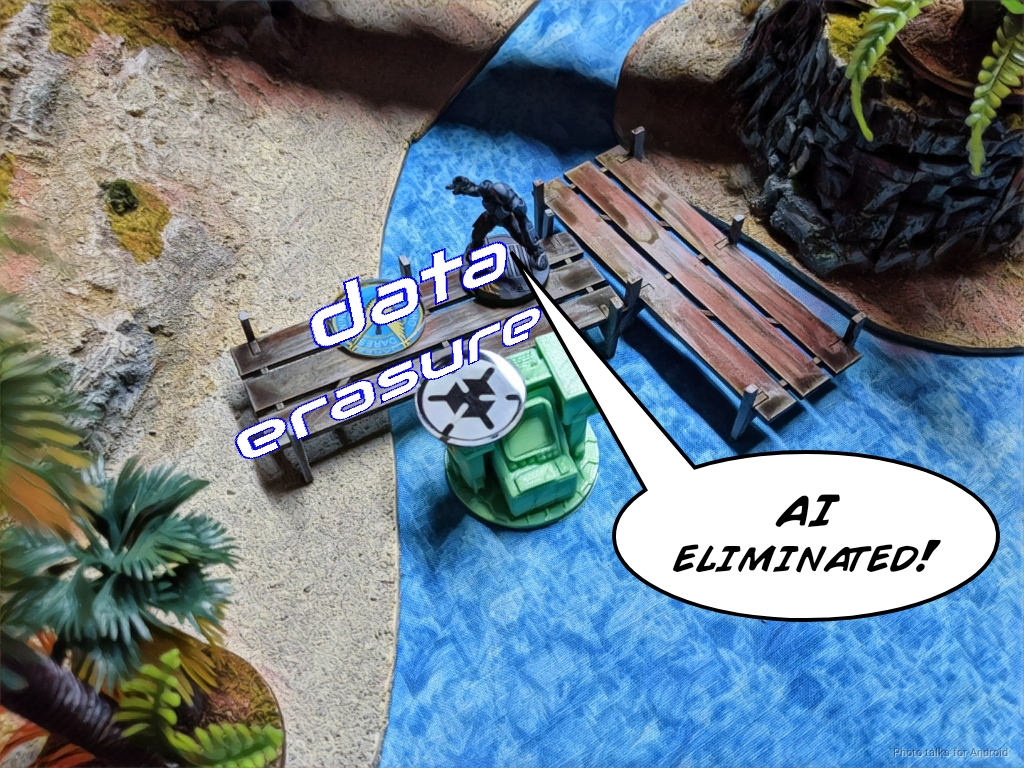
I had one more order so I just move-moved the Razor to secure Adam’s HVT and we call the game.
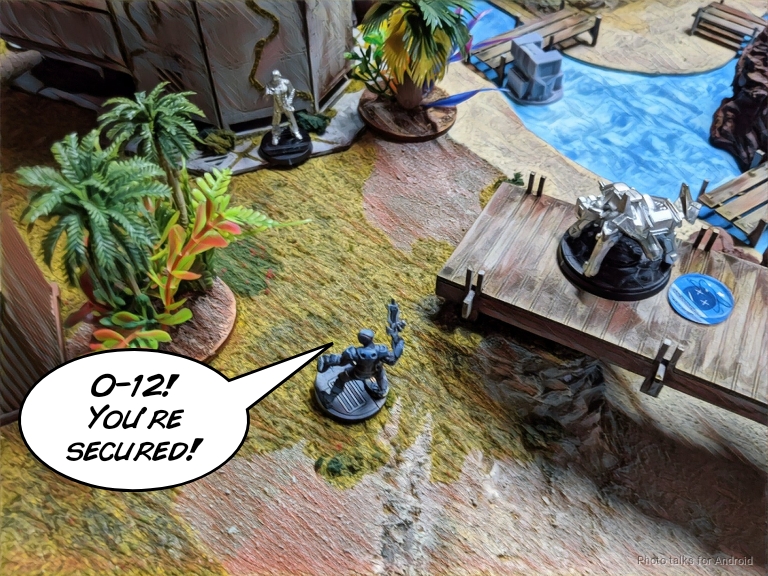
I’ve destroyed the server with the Rogue AI for 3 points, destroyed the same number of servers for 1 point, have protected my Rogue AI for 2 points, have activated a console, and Secured the HVT.
8-3 O-12 Victory!
Post Game Analysis
Well, I had a plan, and it went more or less exactly as I intended. I had a few hiccups–needlessly sacrificing the Sirius to go after Scylla and not revealing the Lynx to shoot Diomedes were both pretty bad. Aside from those two things, I left the table feeling pretty good about my execution. Adam did quite well too. I think his idea of going after a non-Rogue AI server was good, especially since he felt very confident in his ability to keep me from destroying any of his with Andromeda and my designated Uberhacker (yes that’s what it’s called) down at the bottom of Turn 3.
All in all, I think Adam had a good plan based on the available information. I don’t think I’ll be able to do something like this to him again. I am REALLY looking forward to getting some serious work done with that Lynx though. Not much else to say about the game in general–I do think that there’s maybe something in taking a Kappa Hacker, a Sirius Hacker, and a Sirius Red Fury or something. That dilutes the midfield hacking, but amps up the midfield face punching. There’s also the consideration between the combi versus the KHD Gangbuster, and I think in this case I made the right call.
Thanks for reading, and stay safe out there!

Pingback: Mission 028: Kauyon Deployment – Bromad Academy
Pingback: Ajax Strike – MERC Recon