Cateran’s Day in the Sun
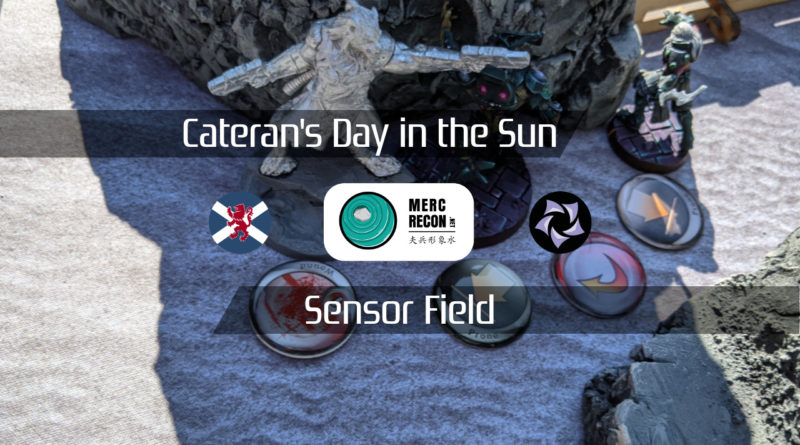
It’s been awhile since I had a game with Erik (Zelaponeepus), so I drove up to his place to have a game in the backyard. This also let me meet his handsome new puppy, Hatch!
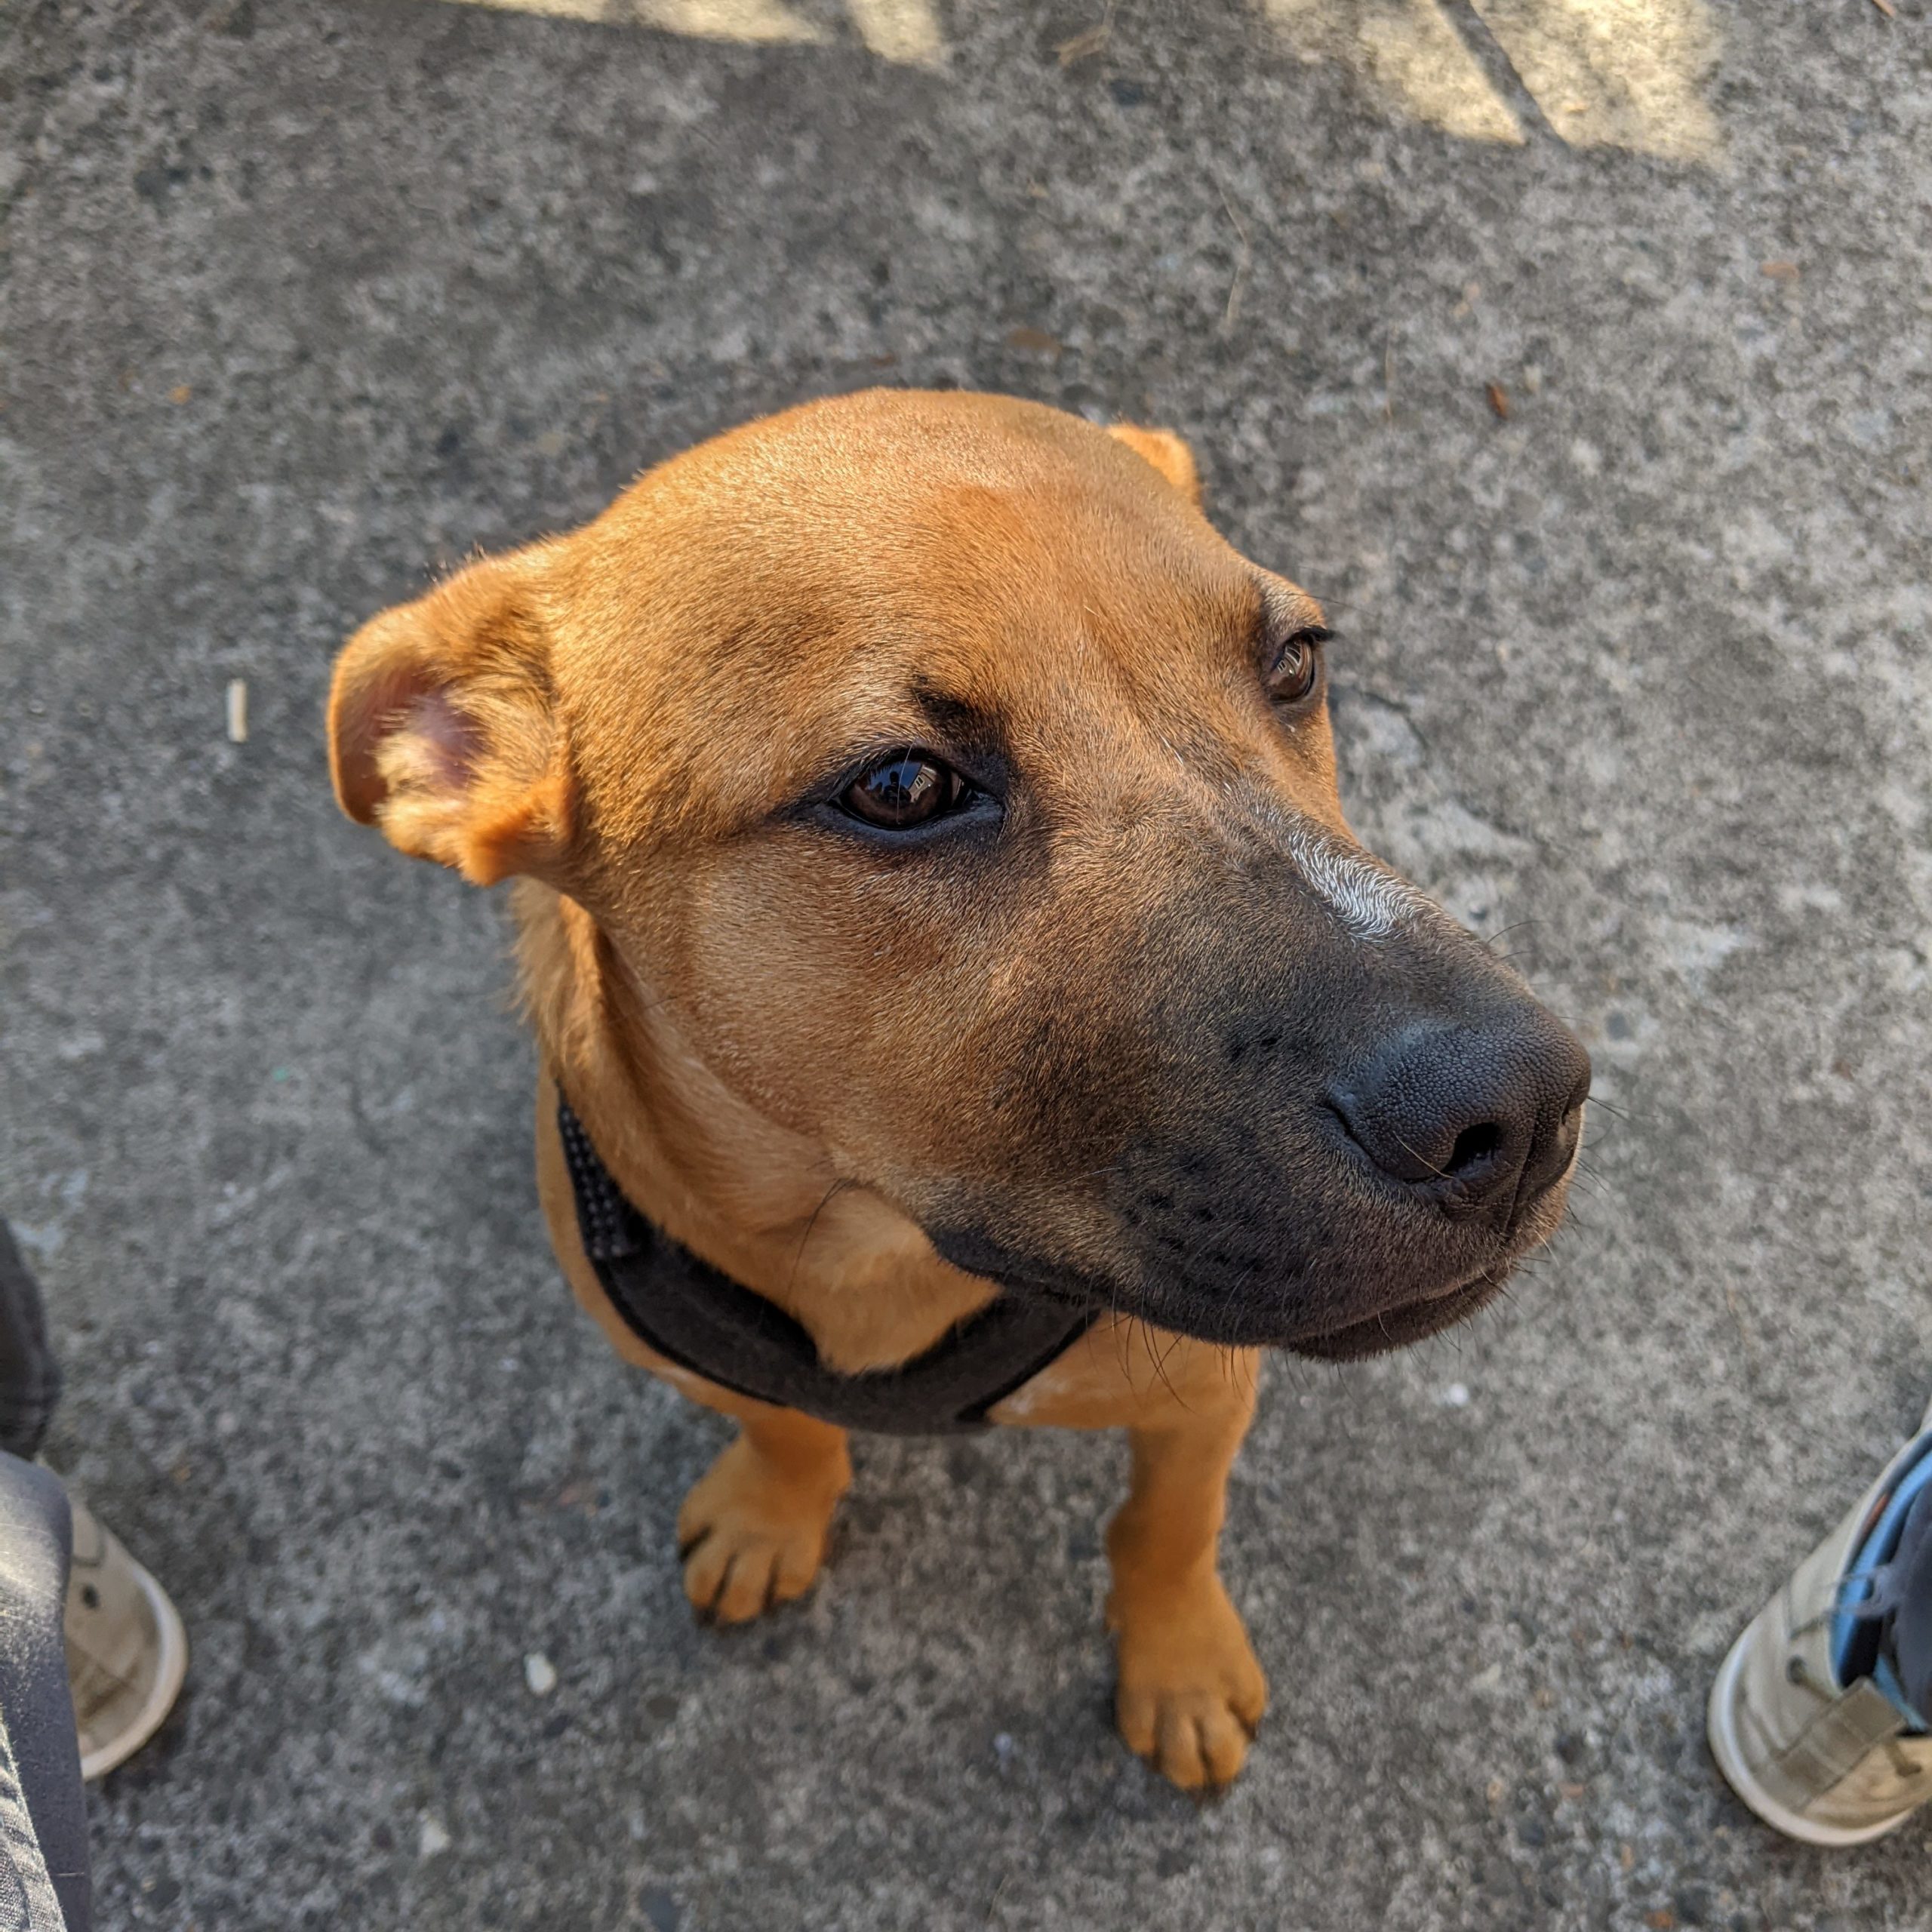
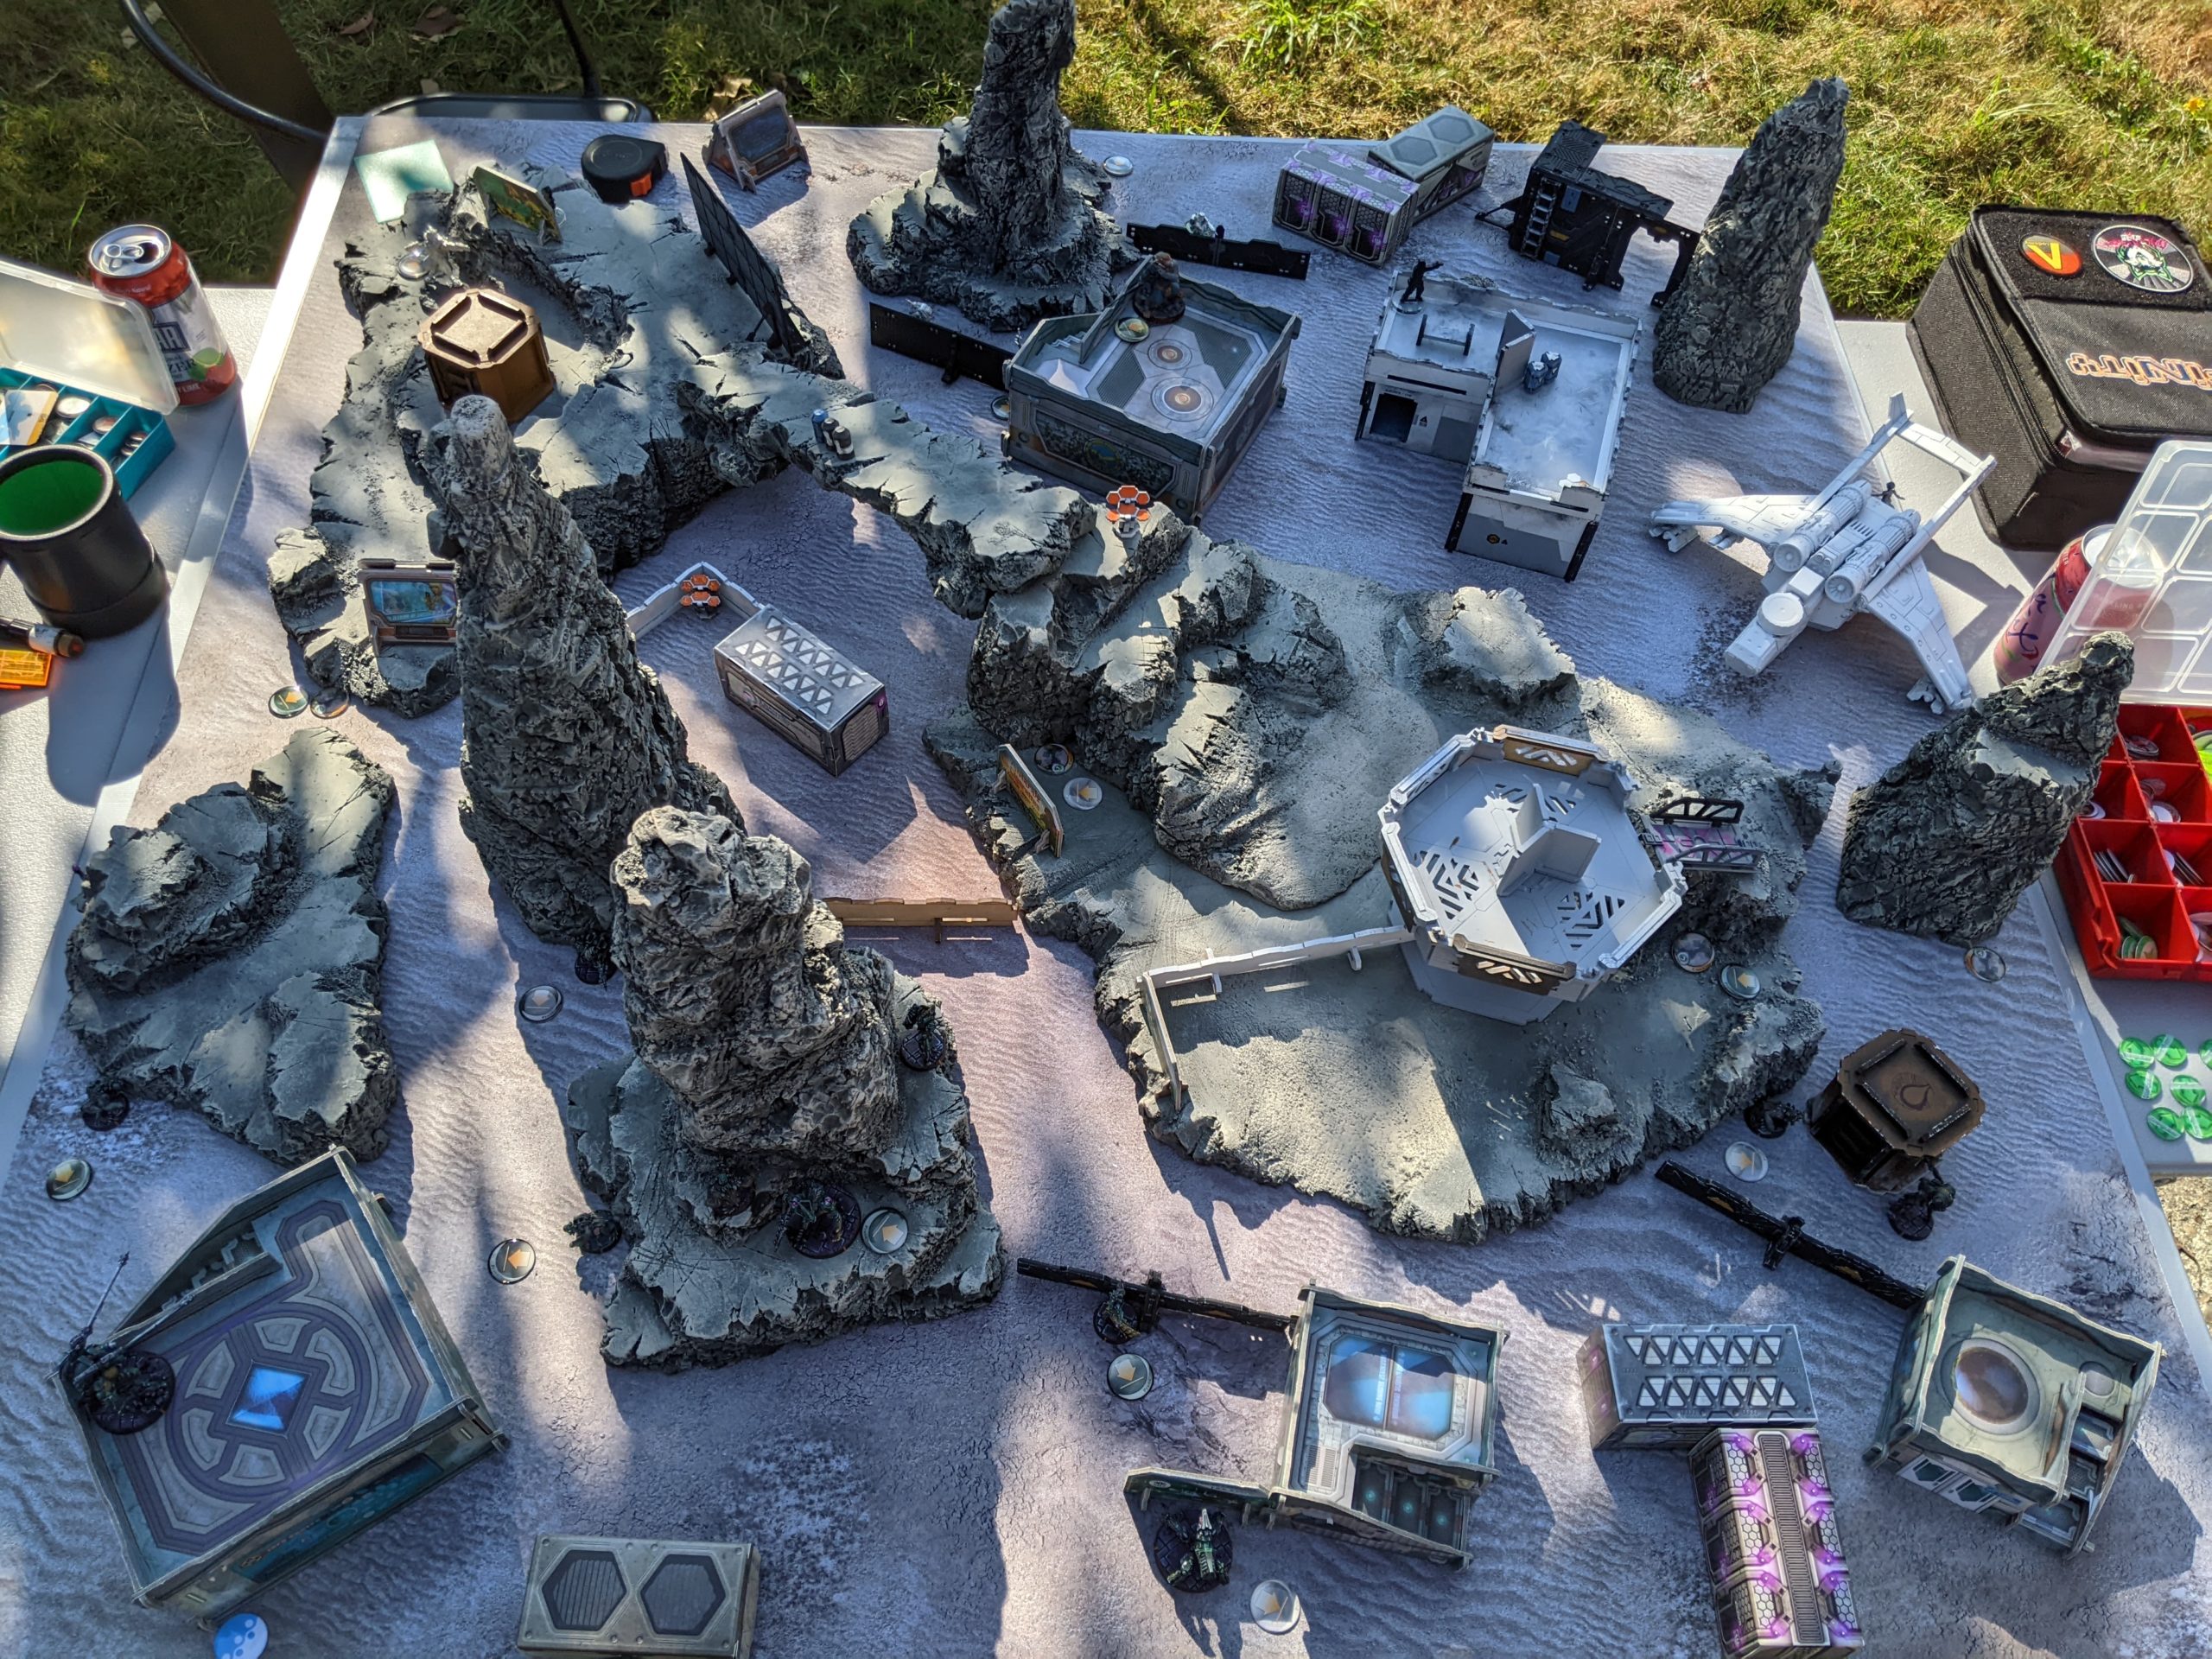
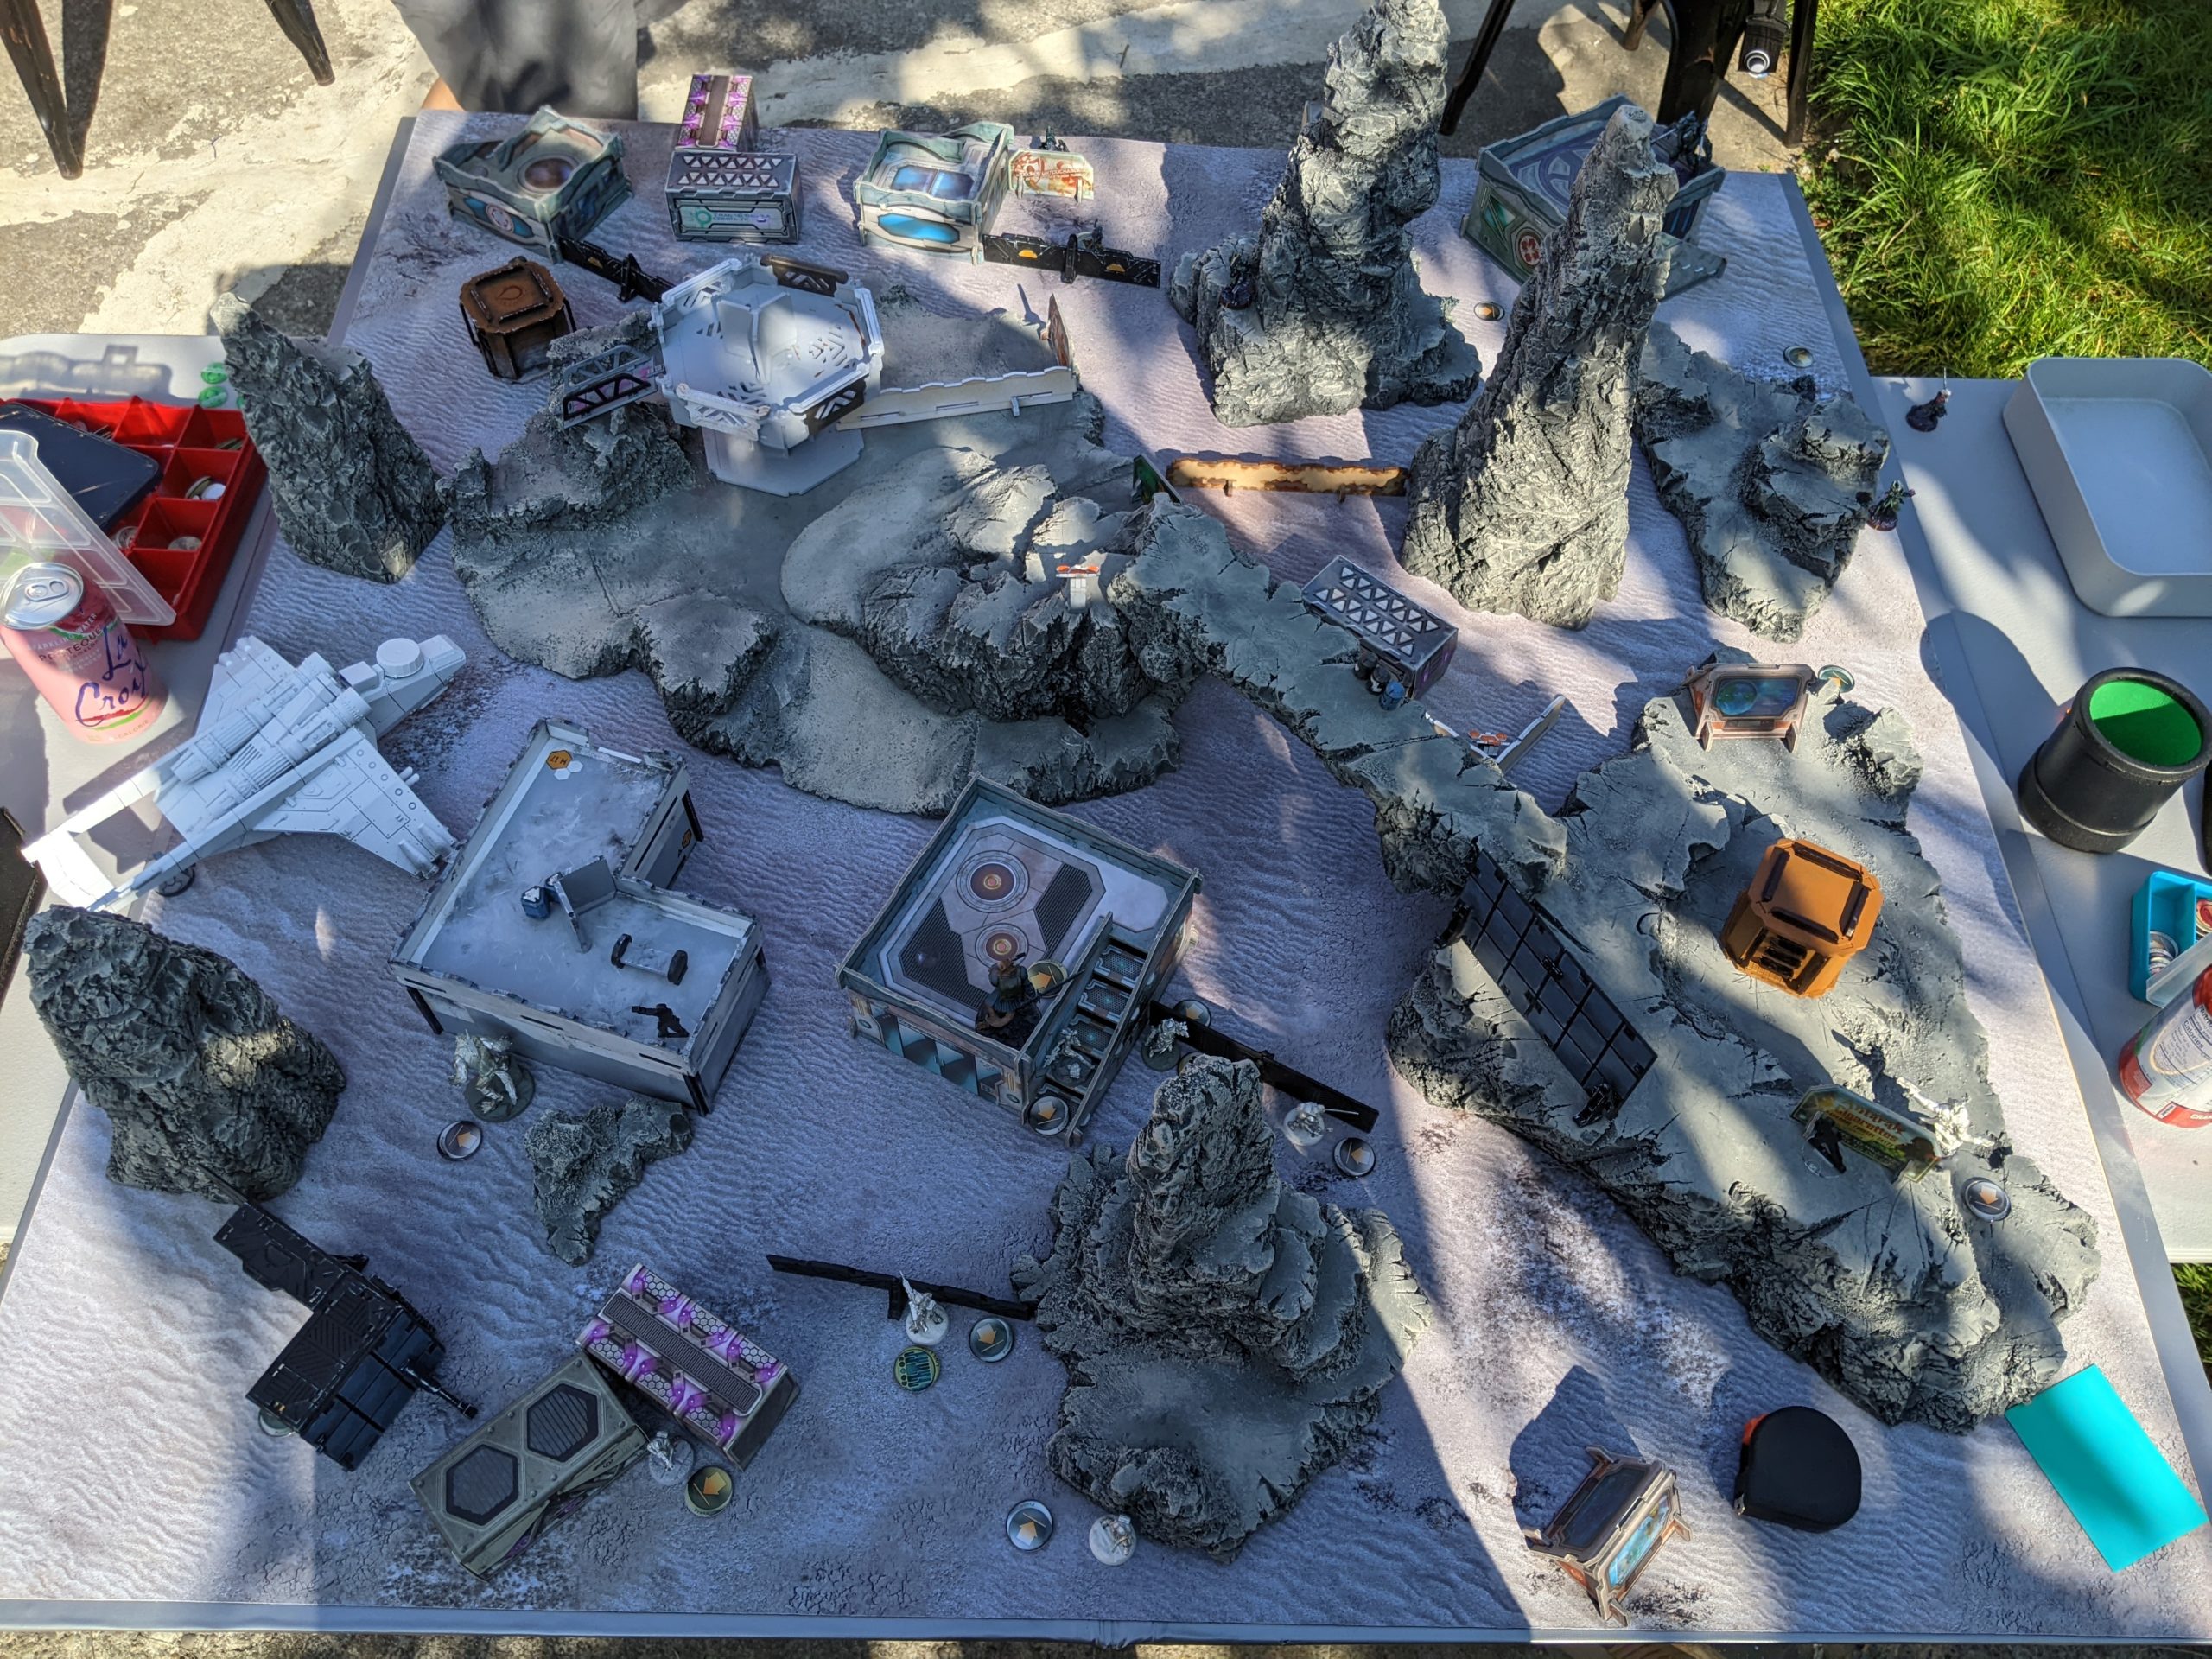
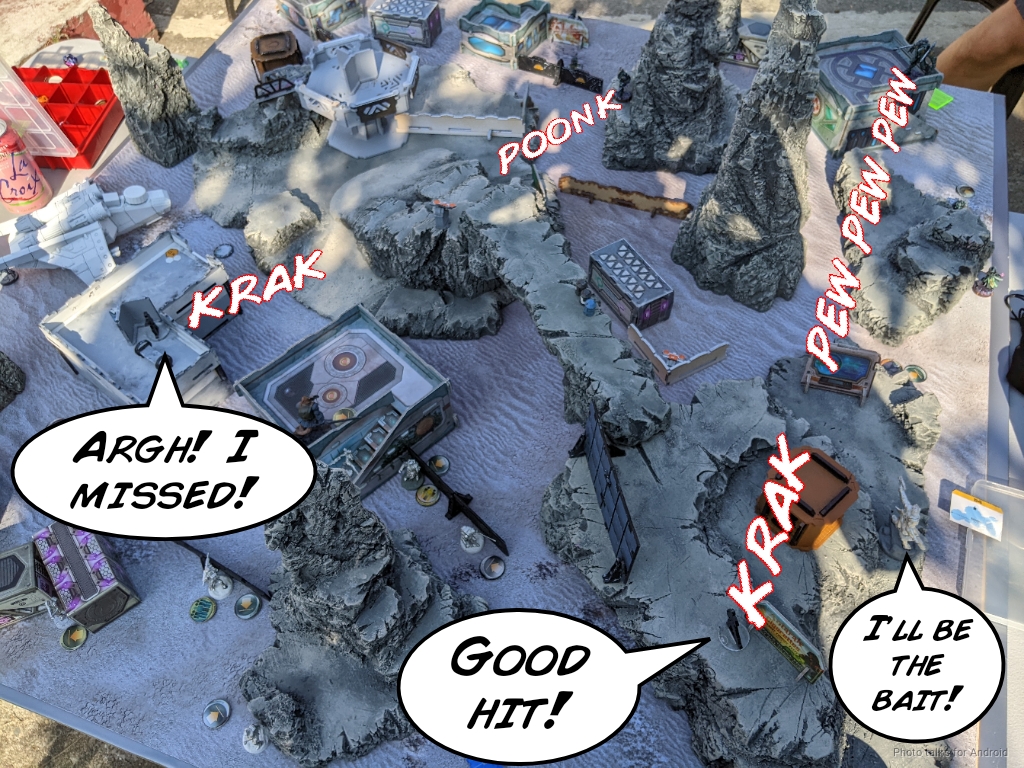
Erik’s table has come a long way since I last played on it:
The addition of the foam hills and spires makes a big difference!
Overview
Erik has signed up for the latest Infinity Global League, and as part of that they’re playing a custom mission by Inane.Imp called Sensor Field. Check here if you want the full details:
For those who just want the abbreviated version, it’s a mix of quadrant control missions and the old Multi-Scanner deployment with the Xenotech or whatever it was called. All of your specialists are carrying an infinite supply of Multi-Scanners which they can short skill place in base to base with them by passing a WIP roll. You want to have Multi-Scanners in as many quadrants as possible, and you want your opponent to have no Multi-Scanners, essentially.
Multi-Scanners are ARM/BTS 0 and have 2 Structure (they’re removed after going to 0 Structure), so you can just shoot them off the table with just about anything, but the two structure means you gotta actually try. There’s two main ways of getting points from Multi-Scanners. The first is easy–at the end of each game round, if you have more quadrants “scanned,” you get 2 points. If you tie on quadrants, you get 1 point. It doesn’t matter how many Multi-Scanners you have in a quadrant. As you have at least one that’s enough to count the quadrant as “scanned.”
The second way to get points is by being the only one with Multi Scanners in a quadrant next to the enemy deployment zone. You check and score this at the end of a game turn, so after each player’s turn. I imagine this mechanic is entirely intended to combat the “going second” advantage. As far as we could tell, this could get you two points per turn, so the maximum number of points available for scanners across both mechanics is 18. There are 6 turns and you can score up to 2 points at the end of each turn, and then there are 3 rounds and you can score up to 2 points at the end of each round. There are also points for killing more specialists by the end of the game and a single classified, bringing the maximum point total to a whopping 20.
As far as I can tell, his mission is intended for ITS play so you’re still capped at 10 points, and your opponent presumably isn’t going to be so cooperative to let you just scan all the quadrants all the time.
I’ve only played the mission once now, and I’ll discuss my thoughts about it in the post game, but it’s fun and most importantly, different.
- Mission: Sensor Field
- Forces: Caledonian Highlander Army versus Combined Army (300)
- Deploy First: CHA
- First Turn: CHA
I had no idea what Erik wanted to play before making and packing this list in my bag, so I had to just make do with it. I realized I haven’t ever put Calendonia on the table, so I had to do that. I was having some trouble making a list that I really liked, but then I remembered a game that Tony (Zhukov2) played against Erik on Tabletop Throwdown:
Long story short Tony was running multiple dogs and Wallace to coordinate them with the Inspiring Leadership order, which sounded amazingly fun. I made this monstrosity:
Not Sassy Enough
GROUP 1
7
CALEDONIAN MORMAER (NCO, X Visor) T2 Rifle, Chain-colt ( ) / Heavy Pistol, AP CC Weapon. (0 | 36)
ISOBEL McGREGOR T2 Rifle, D-Charges, E/M Mines, Flash Pulse / Assault Pistol, CC Weapon. (0.5 | 24)
HIGHLANDER GREY T2 Boarding Shotgun, Grenades, Smoke Grenades, D-Charges / Pistol, AP CC Weapon. (0 | 20)
VOLUNTEER (Paramedic) Rifle ( | MediKit) / Pistol, CC Weapon. (0 | 10)
GROUP 2
UXÍA McNEILL (Specialist Operative) Boarding Shotgun, D-Charges, Smoke Grenades / Assault Pistol(+1B), AP CC Weapon. (0 | 27)
5
3
WALLACE (Lieutenant) T2 Rifle(+1 Dam), Light Shotgun, Smoke Grenades / Pistol, EXP CC Weapon. (0 | 35)
CAMERONIAN Chain Rifle(+1B), Grenades, Smoke Grenades / AP CC Weapon. (0 | 20)
McMURROUGH Chain Rifle(+1B), Grenades, Smoke Grenades / AP + DA CC Weapon. (0 | 27)
CATERAN T2 Sniper Rifle / Pistol, AP CC Weapon. (1 | 23)
4 SWC | 299 Points | Open in Infinity Army
It has two Caterans, two Cameronians, McMurrough and Wallace in one group. I’m told that I could swap one of the Caterans down to a regular Sniper and then gain a warcor for an additional order, but T2 is pretty important in my mind. Worth considering depending on the mission. The other group is two links, one with the scary AF Mormaer with T2 Rifle and the other with a Grey HMG. Both have access to smoke and specialists, and the Mormaer link has a T2 boarding shotgun Grey in there to do some close in work if I need it. And of course no CHA list is truly complete without Uxia.
Erik’s Combined Army journey has stabilized on this list. It’s a variant of my Santa’s Coming to Town list but with a Charontid instead of the Anathematic. He also has some playstyle preference swaps, i.e. a Shrouded KHD instead of Greif, and the addition of a Daturazi for smoke.
Erik (Zelaponeepus)
GROUP 1GROUP 2
CHARONTID (Lieutenant, Multispectral Visor L3) Heavy Machine Gun, Nanopulser ( ) / Heavy Pistol, Shock CC Weapon. (1 | 70)
OVERDRON Plasma Sniper Rifle(+1B) / Shock CC Weapon. (1.5 | 58)
STALDRON Flash Pulse / CC Weapon. (0 | 0)
RINDAK (Paramedic, Forward Deployment [+8″]) MULTI Rifle(+1B), Blitzen / Heavy Pistol, PARA CC Weapon. (0 | 37)
CALIBAN (Engineer, Deactivator) Submachine Gun, Pulzar, D-Charges ( | GizmoKit) / Pistol, CC Weapon. (0 | 28)
SHROUDED (Hacker, Killer Hacking Device) Combi Rifle, Shock Mines ( ) / Pistol, CC Weapon. (0 | 25)
Bit (Hacker], Killer Hacking Device [UPGRADE: Oblivion]) Submachine Gun, Pitcher ( | Deployable Repeater]) / Pistol, CC Weapon. (0.5 | 21)
IKADRON (Baggage, Repeater) Light Flamethrower(+1B), Flash Pulse / Pistol, PARA CC Weapon(-3). (0 | 9)
DĀTURAZI Combi Rifle, Smoke Grenades / Heavy Pistol, Shock CC Weapon. (0 | 18)
LIBERTO (Minelayer) Light Shotgun, Shock Mines / Pistol, CC Weapon. (1 | 8)
TAIGHA Chain-colt / AP + Shock CC Weapon. (0 | 6)
4 SWC | 298 Points | Open in Infinity Army
It’s a good list but relies very heavily on the Overdron and Charontid to get itself out of trouble. I can’t really say anything different about my list, of course. I don’t think either is particularly easy to pilot, but Erik’s up to the task.
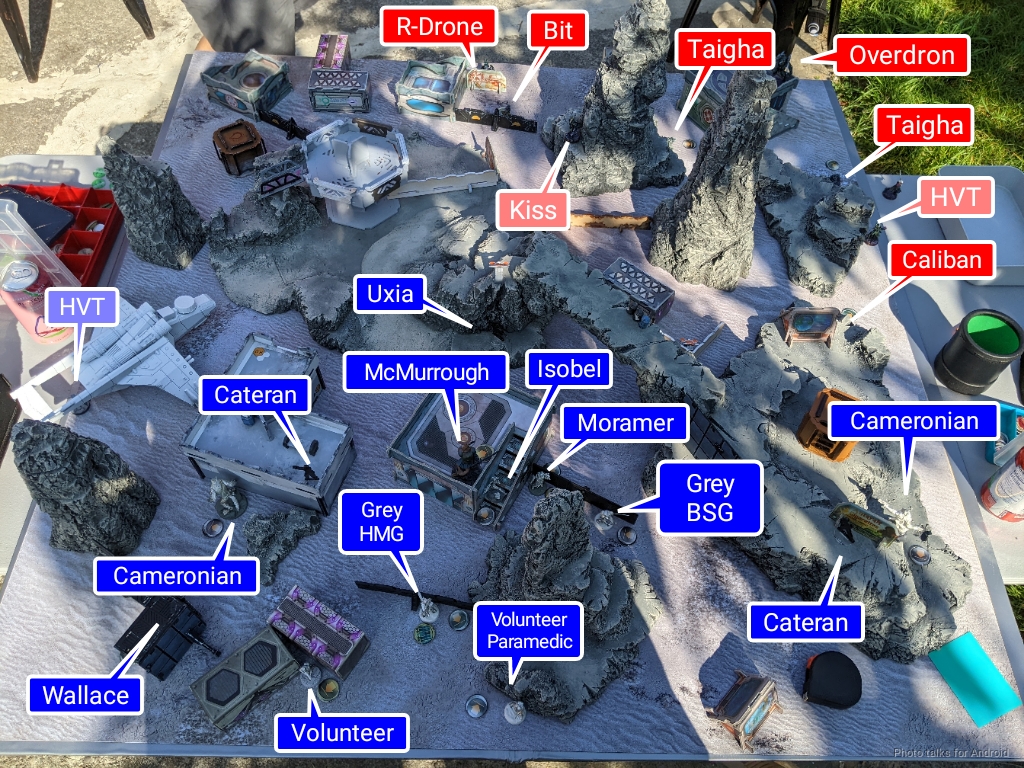
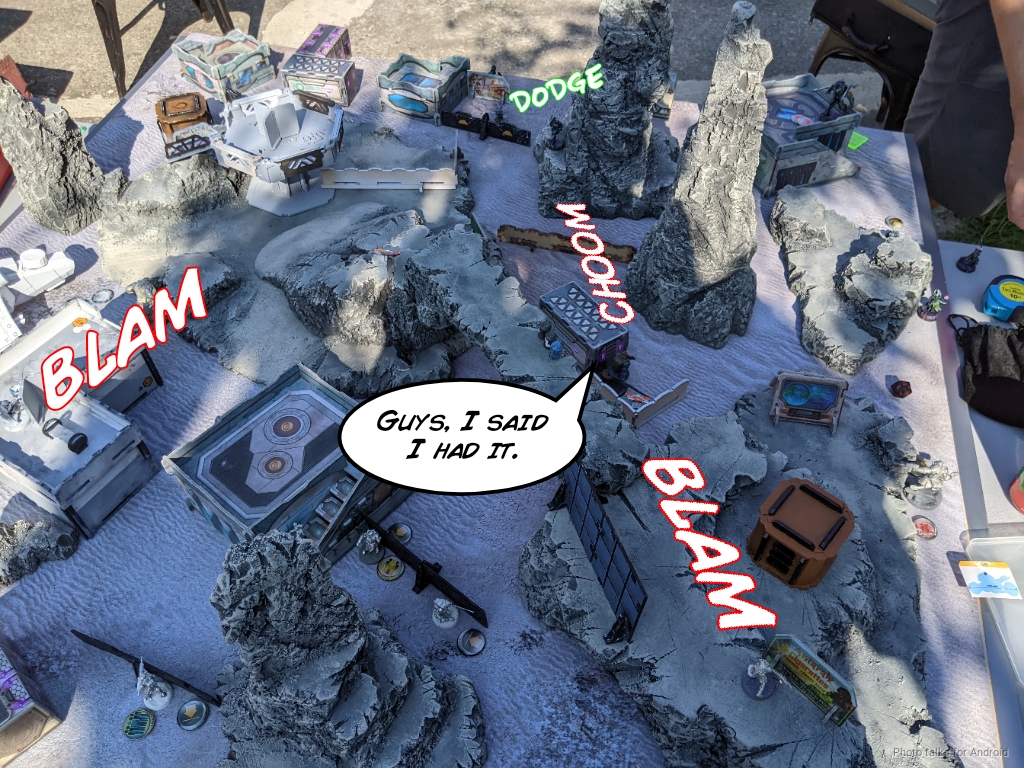
Deployment
I forget who won the rolloff but I ended up going first with Erik taking deployment. I took a look at the map and decided that I would hold McMurrough and Uxia in reserve. I put both Cateran in elevated positions covering different angles from either side of the table, then threatened a pair of dogs by, well, putting a pair of Cameronians down on the table.
I wasn’t super worried about something like a Rasyat or Speculo, so I put Wallace all by his lonesome in a building behind one of the Cameronians. It was pretty unlikely that a Taigha would make it all the way there unscathed. I tucked the Grey HMG and his two Volunteer buddies in the back of my deployment zone, and then put Isobel, the Mormaer, and the Grey just in front of them.
The plan was to game the mission by just placing two scanners with Isobel in both near quadrants on the roof of the building, basically guaranteeing their safety. I could do the same with Uxia once she showed up in the midfield.
Erik gave mea a denied flank. The weaker flank was “just” a Libertos, a Taigha, and an Ikadron. Everything else was on the left side of the table. The Charontid hid behind a big piece of rock protected by Kiss, three Taigha, a Daturazi, and the Rindak. Erik was very worried about me missile-ing a dog into his face, it would seem! The Caliban and Shrouded were even further up, but with the Shrouded more centrally located.
I think the Caliban’s placement is a huge mistake. It’s right in front of a Cameronian, who has all of the tools required to kill it immediately. The Shrouded is at least in a better position, as at the time McMurrough was still in reserve. I think it’s absolutely okay to not make use of all 8″ of the Caliban’s forward deployment if that means it’s alive when it’s your turn.
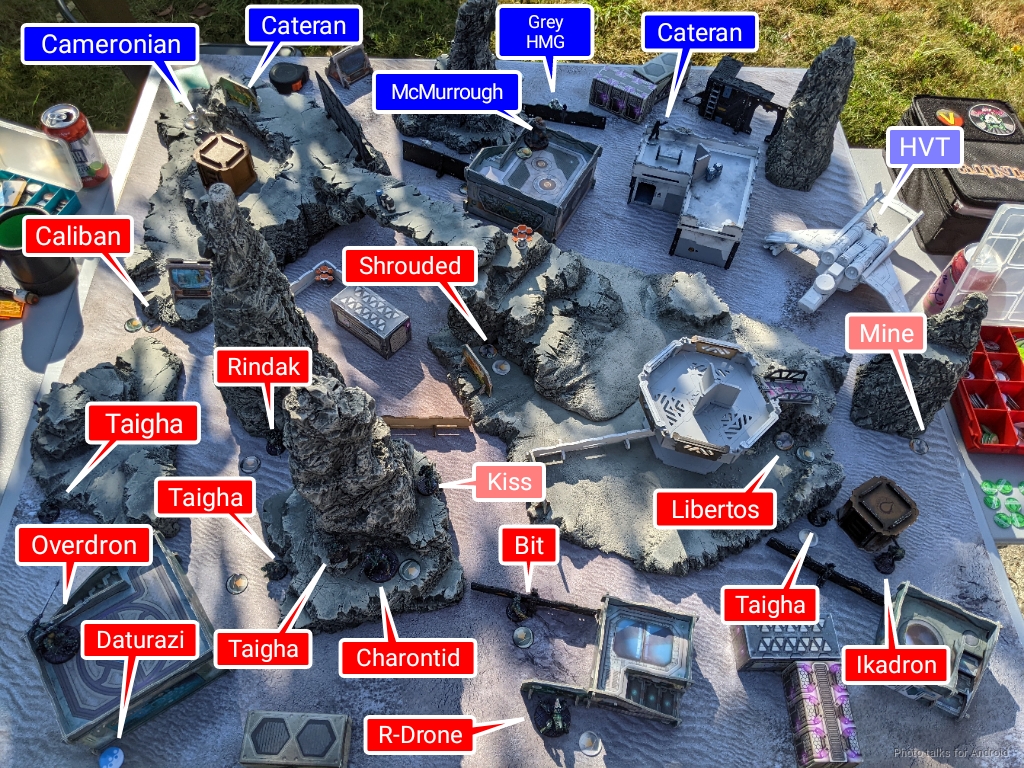
In any case, I put McMurrough down on the central roof next to Isobel with Uxia right in front of him, and then the Overdron showed up on a building in the corner of Erik’s deployment zone covering McMurrough and one of the Cameronians.
Turn 1
Top of 1 – CHA
Erik takes two orders from my primary group, the one with all my specialists, which I think is correct for this mission, but rather dangerous given what’s in the other group. I’m forced to cancel the impetuous orders for McMurrough and the Cameronian that’s being watched by the Overdron, but the third dog scoots up and throws some smoke in case I need it later.
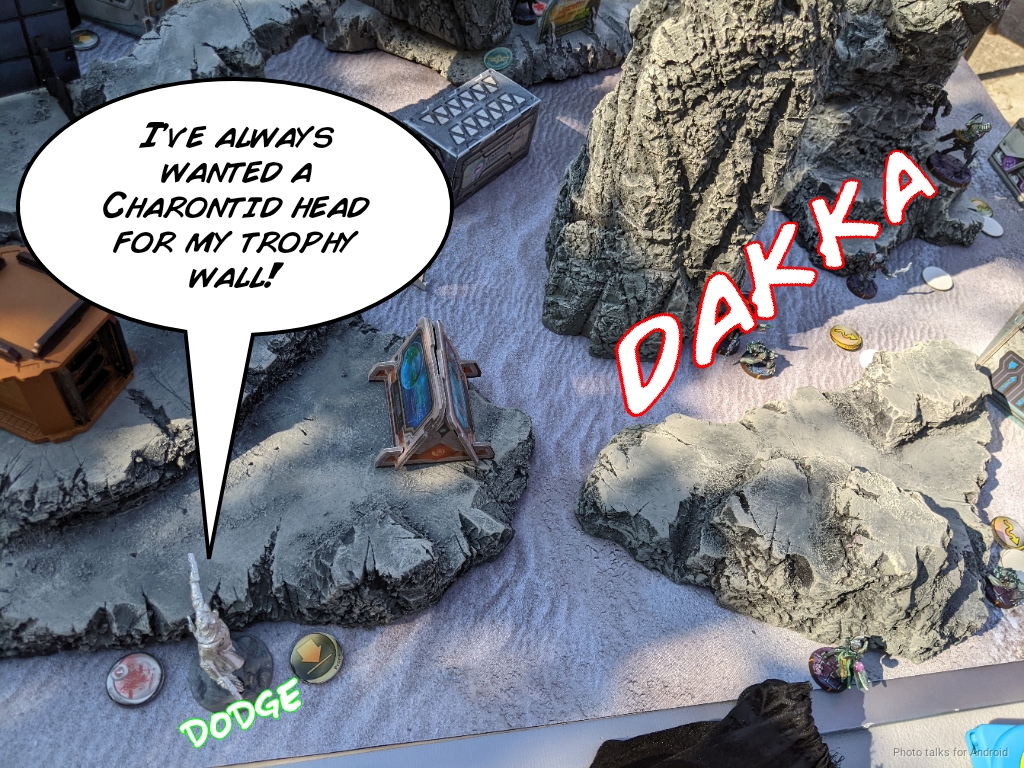
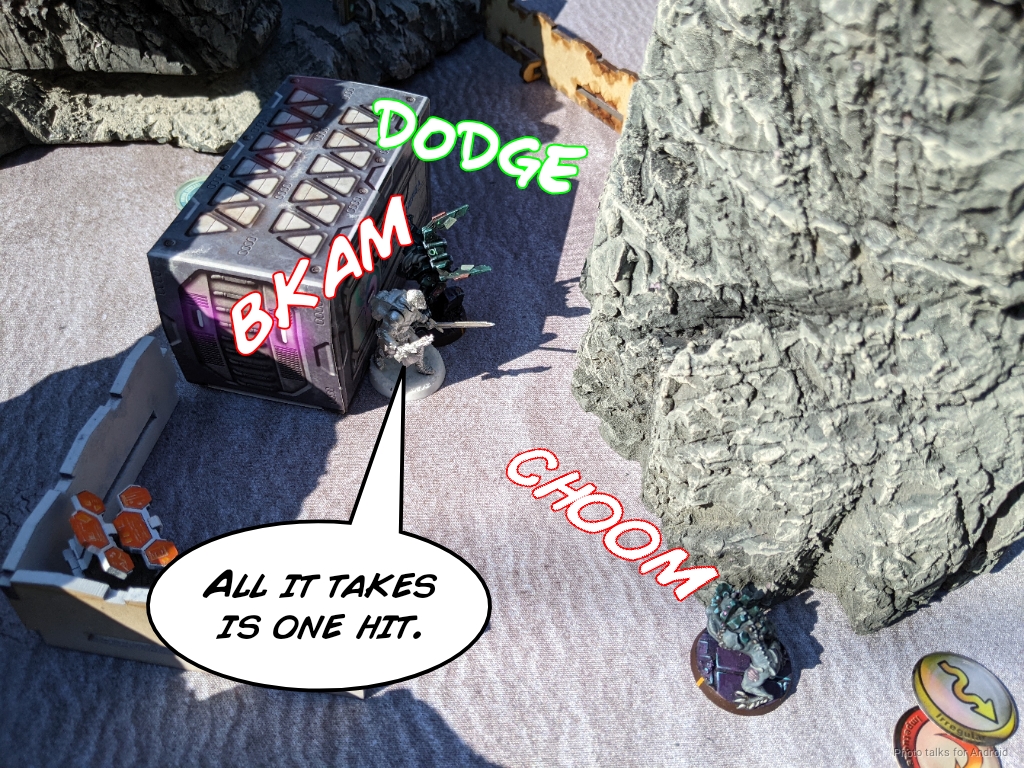
I use Wallace’s inspiring leadership order to coordinate an order between the Caterans and the Cameronian watched by the Overdron, hoping to bait a shot on the Cameronian from Erik. He doesn’t fall for it and delays against the Caterans. I reveal them and take shots, one uncontested and one face to face. Kiss can see the uncontested Cateran so he takes a shot with his ADHL.
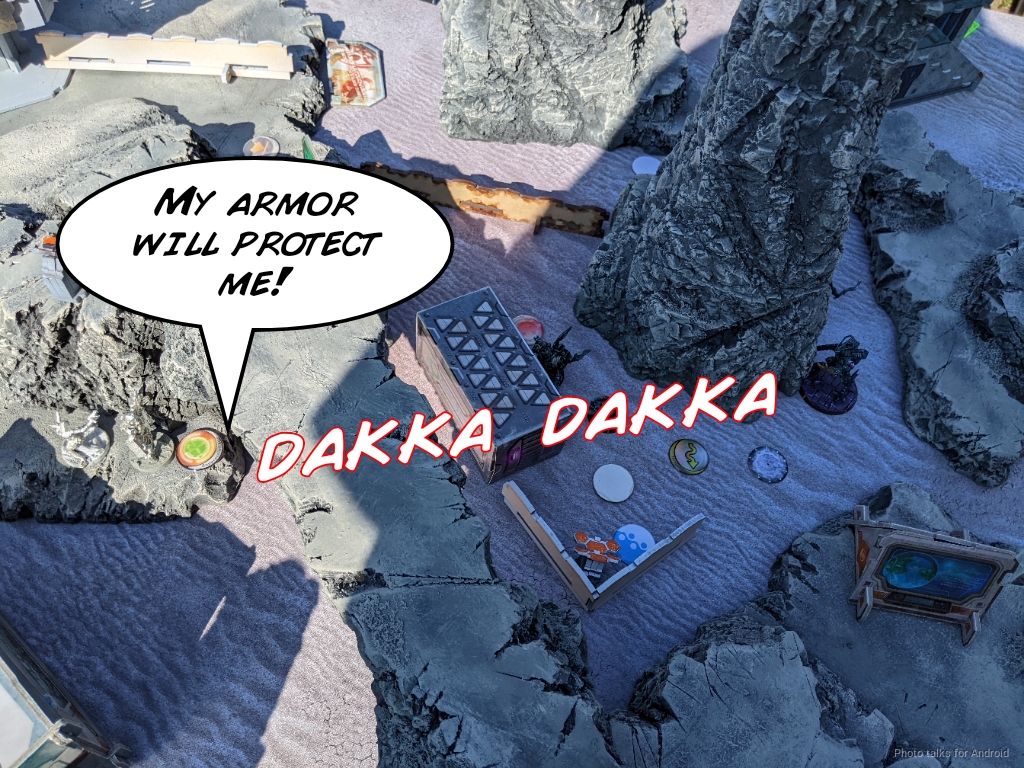
Even though the Overdron is ARM 9 in cover, failing an ARM save here will be disastrous! The uncontested Cateran and Kiss both miss, but I win the face to face and Erik fails the ARM save, putting two wounds on the Overdron!
I spend another order on the Cateran on my right to put another two wounds on the Overdron, taking it out of the fight. A slight improvement here would have been to use the left Cateran, because in an additional two orders I would’ve been able to catch the Overdron out of cover, i.e. move-shoot with the Overdron in cover, then move again and then the Overdron is out of cover. I wasn’t 100% sure that this was possible and I didn’t want to give Kiss more opportunities to glue me, so I went with the slightly more conservative if inefficient play.
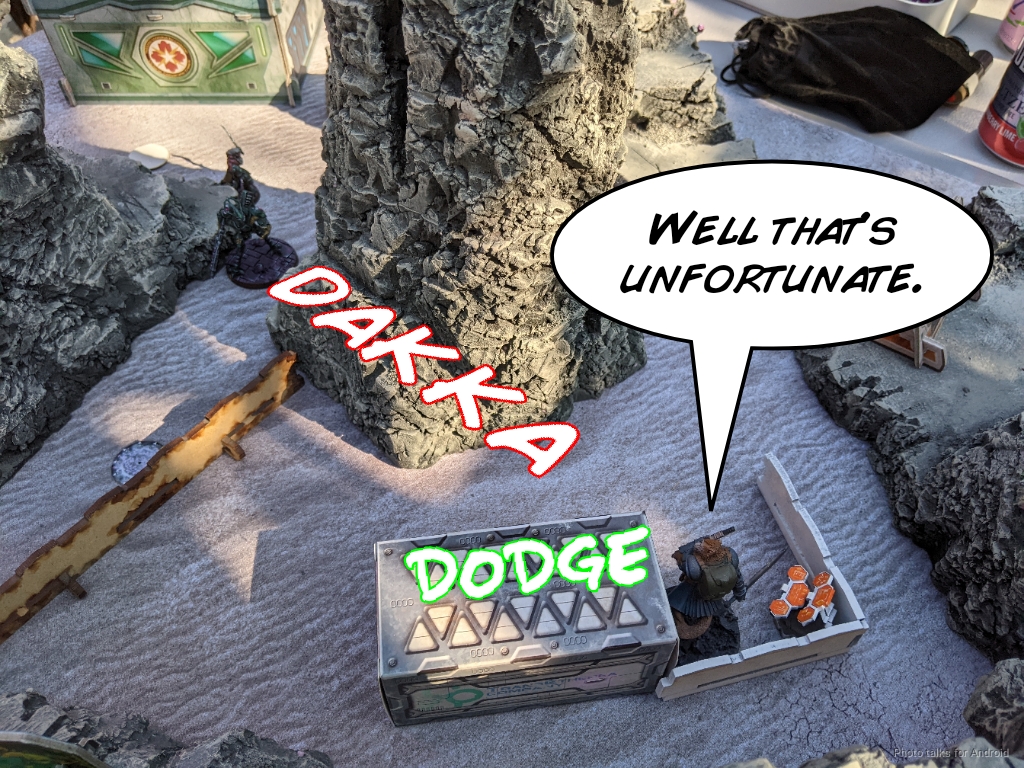
I bring the Cameronian all the way up to see the Caliban, and Erik second guesses himself a few too many times. He eventually decides to reveal the Caliban and Pulzar, which is absolutely incorrect, in my opinion–forcing me to spend the order to discover and then potentially intuitive attack is the right way to drain orders from me. We both fail all our saves, but that’s way more impactful for the Caliban who is chain rifled off the table.
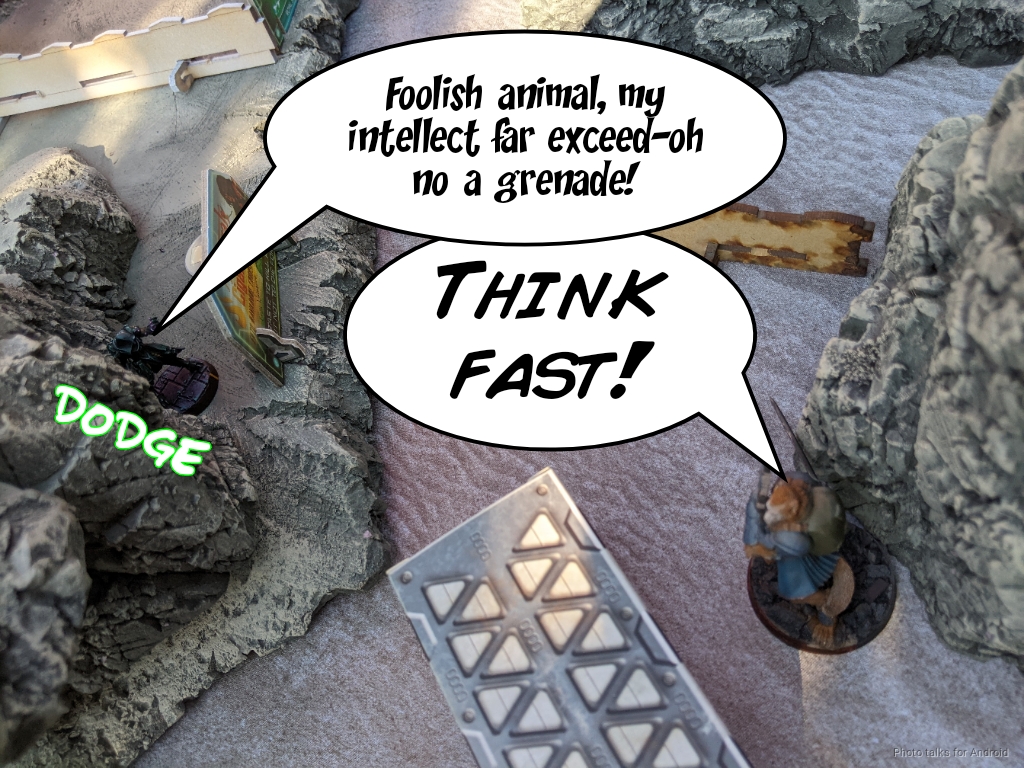
Erik is nothing if not a quick learner, so he forces McMurrough to discover the Shrouded.
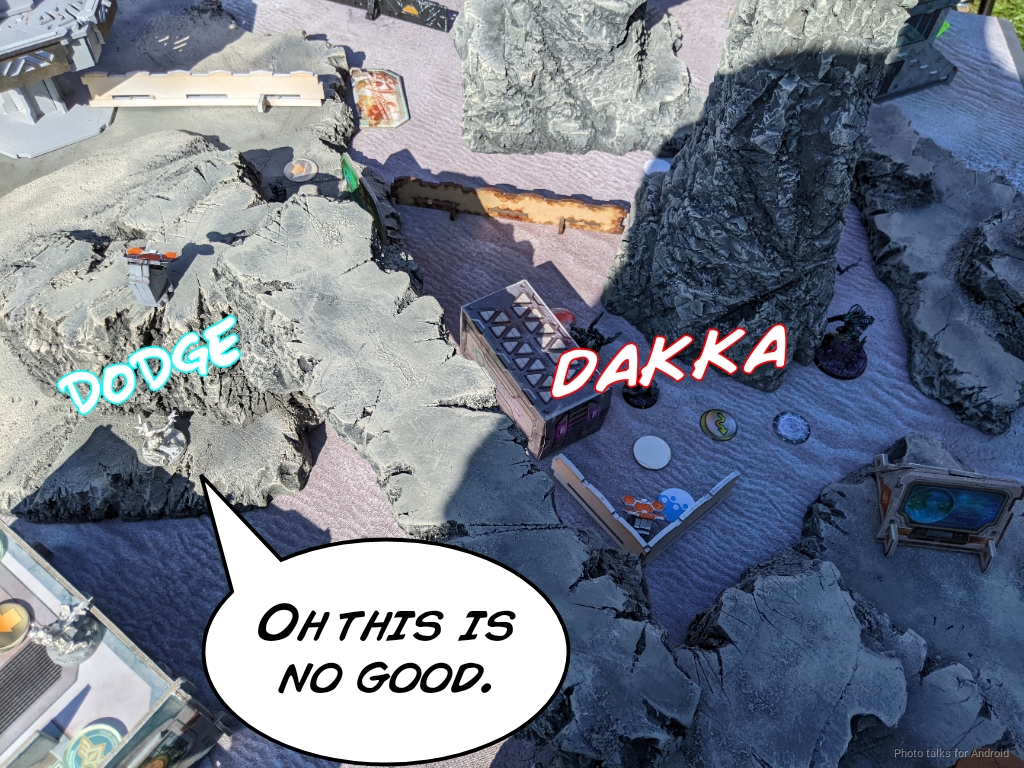
The Shrouded dodges on my next order so I fastball a grenade at it and take it out.
I’d like to get two points on the table with Uxia, but I don’t want to waste orders on Kiss with Uxia. I want to correct McMurrough’s position and hide one of the Caterans from the Charontid, so I coordinate an order to take out Kiss with two T2 snipers and a chain rifle from McMurrough. Needless to say, Kiss is gone.
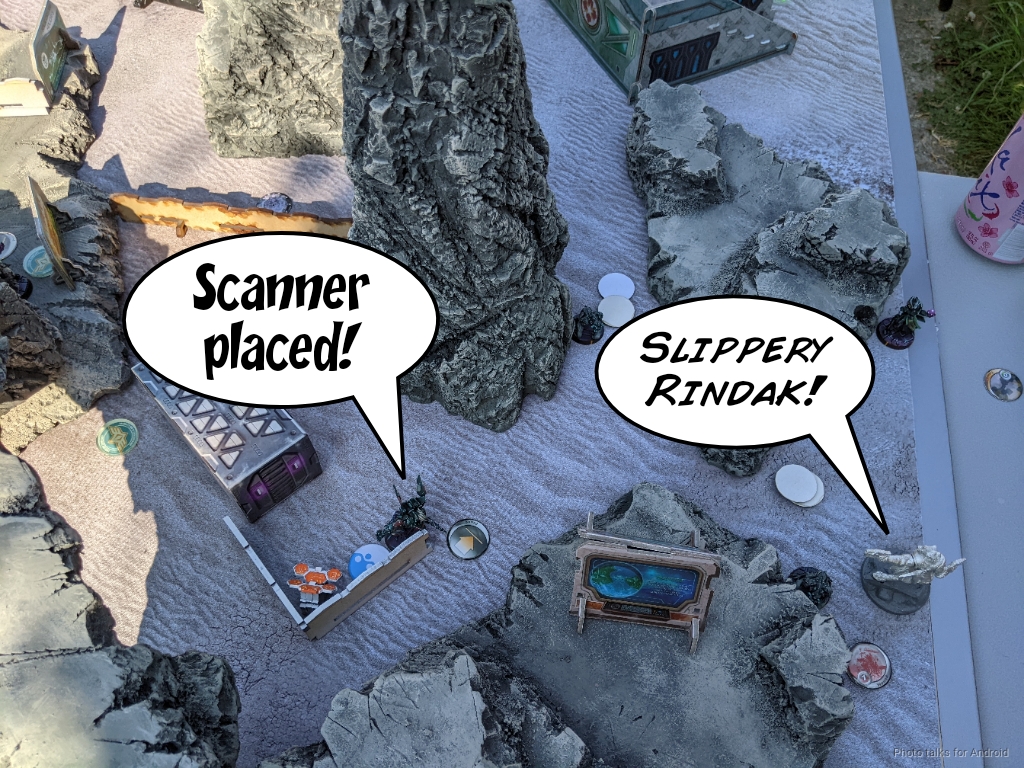
Uxia’s then free to put down a pair of scanners. I fail a bunch of WIP rolls though, and misjudge the quadrants. Clearly I should’ve used my HVT as a measuring stick like in Biotechvore…
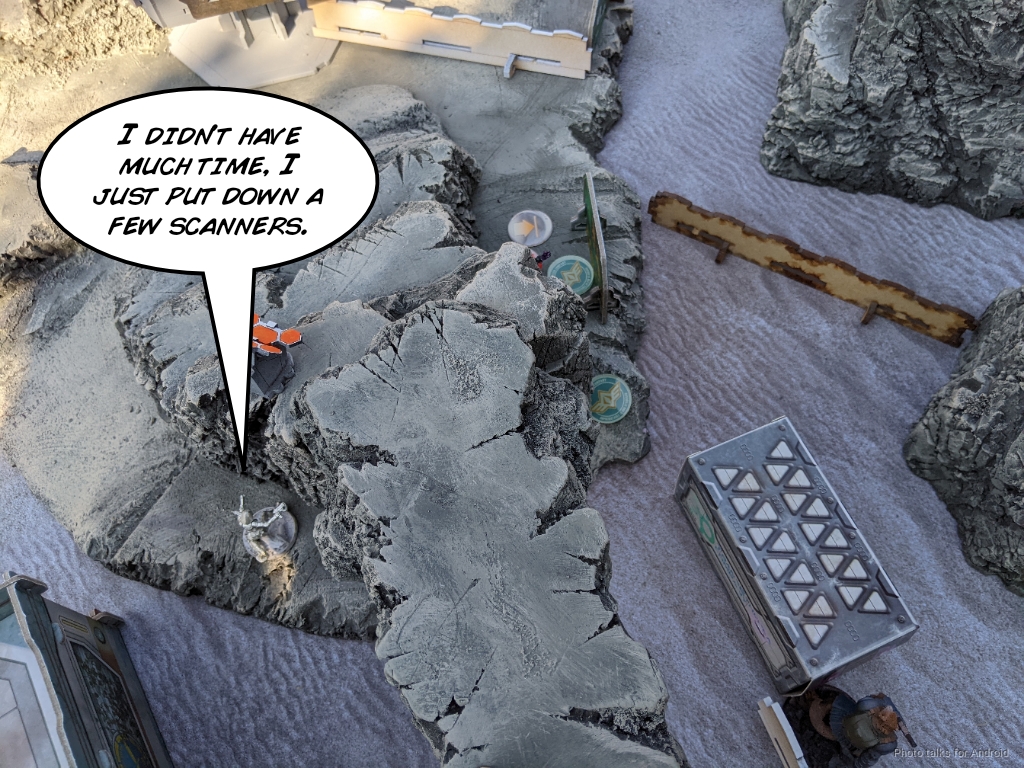
In any case, my misjudgement of the quadrants results in me placing a scanner in both right quadrants, near and far. Erik has no scanners down, since he hasn’t had a turn yet, so I’m the only one with a scanner near his DZ. This gives me an early 1-0 lead. The Shrouded gets back up with regen, and then it’s Erik’s turn.
Bottom of 1 – Combined Army
Some of the Taigha make their way forward, but the real important thing is that the Daturazi lands some smoke.
On its way forward, the Charontid tries to take down the Cameronian that was wounded by the Caliban, but PH 16 is still really hard to get past, even for a Charontid. I dodge out of LoF and protect the order.
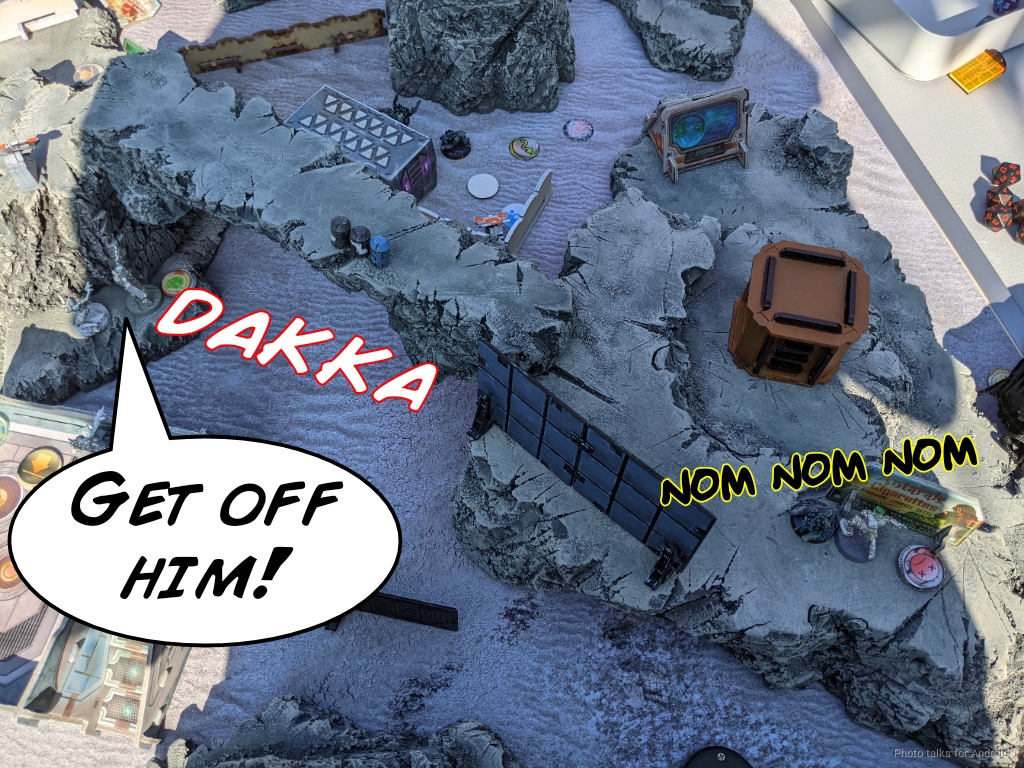
McMurrough is not as lucky, and dies in a single round of shooting to the Charontid within 16″.
The Charontid keeps pushing and takes down the Cateran it can see, then retreats to safety behind the rock.
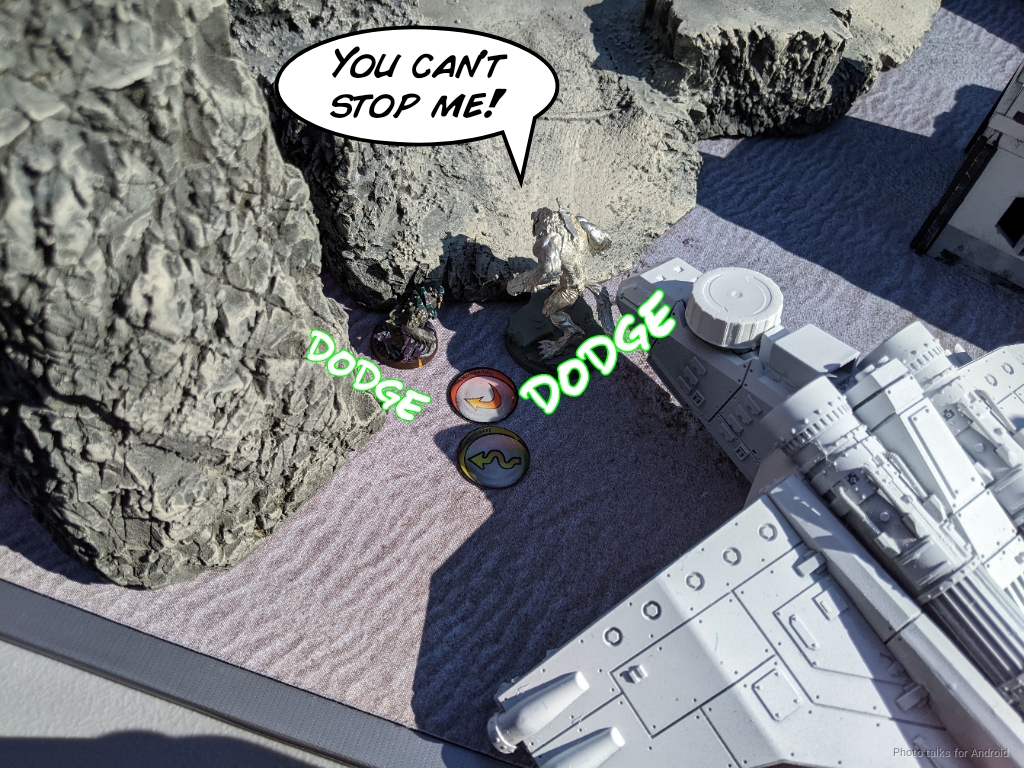
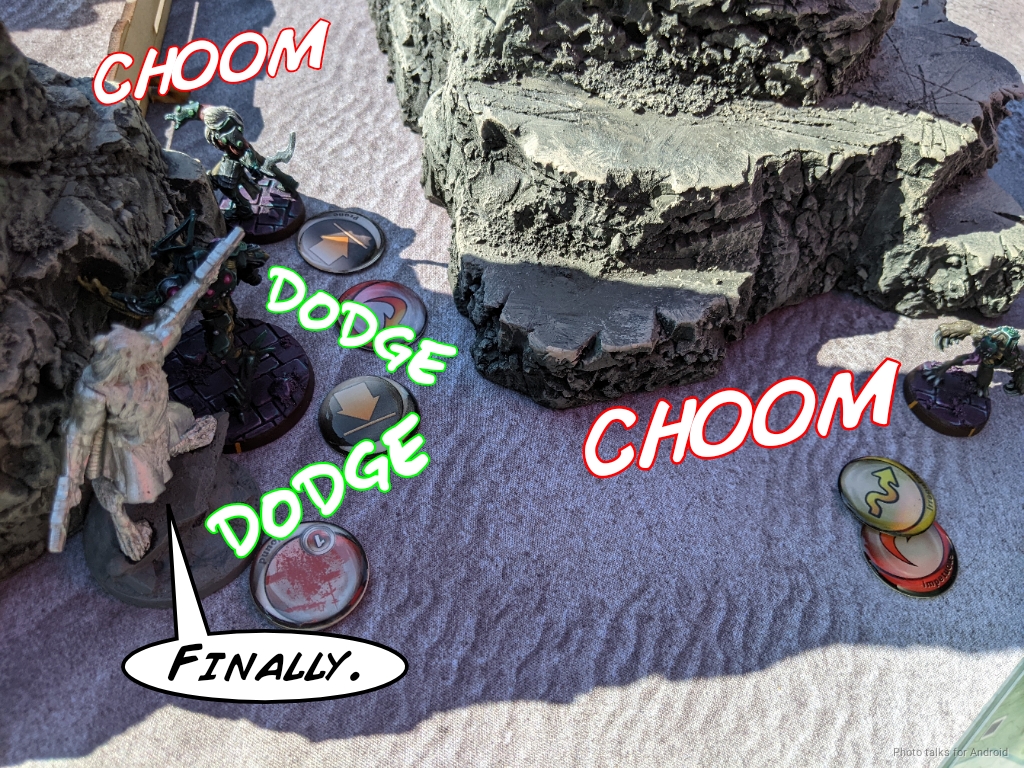
The Taigha and Rindak push forward, but now I start dodging with the wounded Cameronian on my right.
I eventually dodge forward enough to threaten the Rindak, but it manages to dodge away and place a scanner of its own before Erik is out of orders.
Due to my earlier misjudging of the scanner placement, I actually have a scanner in the quadrant that Erik has his scanner in, so I cancel out his point for having a scanner next to my DZ, and I’ve got a scanner in two quadrants to his one. I’m also still hanging onto a scanner alone in a quadrant neighboring his DZ, so I’ve now got a 4-0 lead.
Turn 2
Top of 2 – CHA
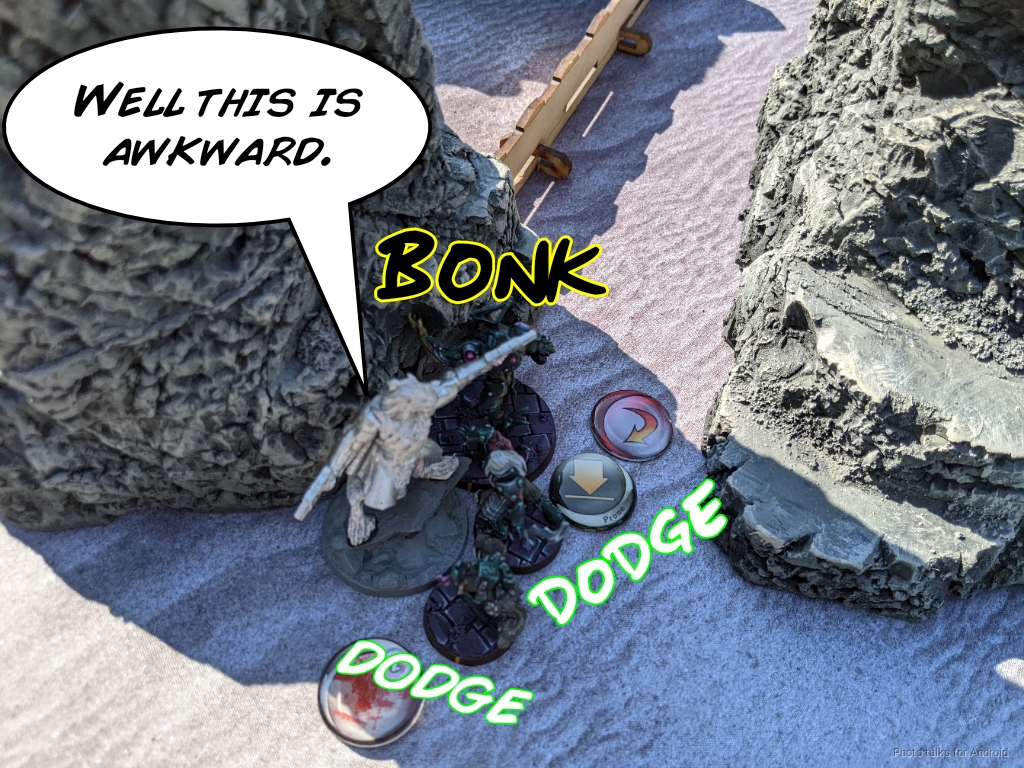
McMurrough is dead, and the Cameronian on my left is standing next to a Taigha, and we both dodge away from one another.
I have to move the Cameronian into base to base with the nearest Taigha, so I do that while everyone dodges, including the dog.
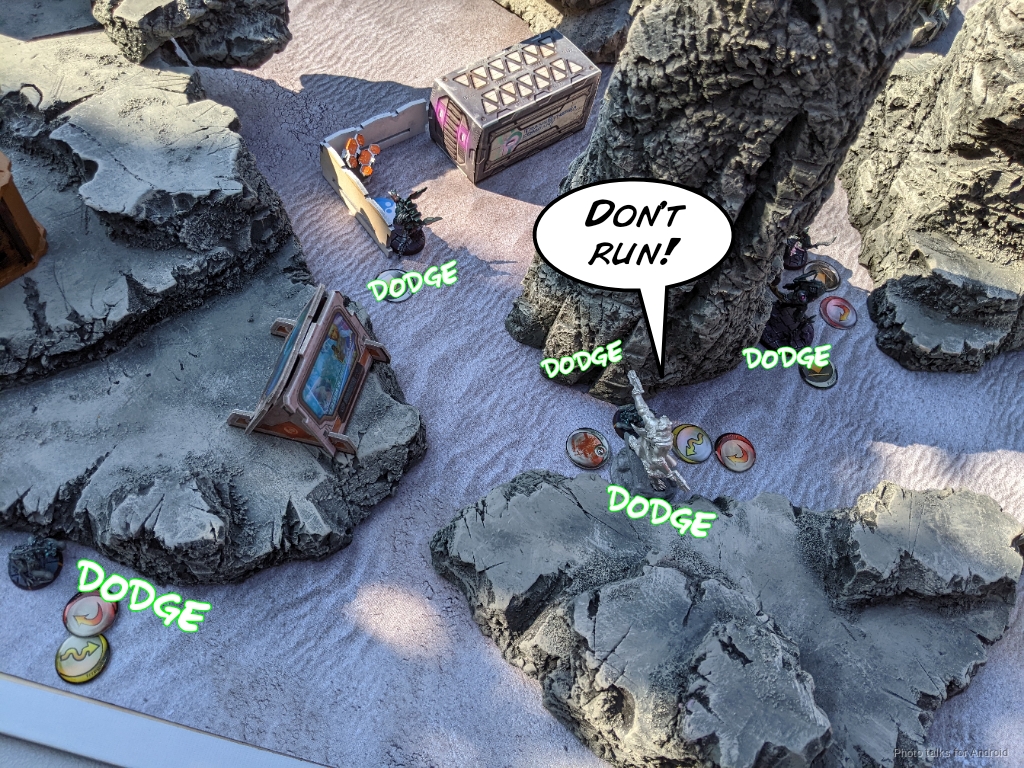
I want to get rid of the Rindak, so I send in the Highlander Grey T2 boarding shotgun while dropping scanners with Isobel on the building roof as planned. The Rindak is of course real good at dodging, and I’m forced to go dogged as the result of a Taigha’s chain colt.
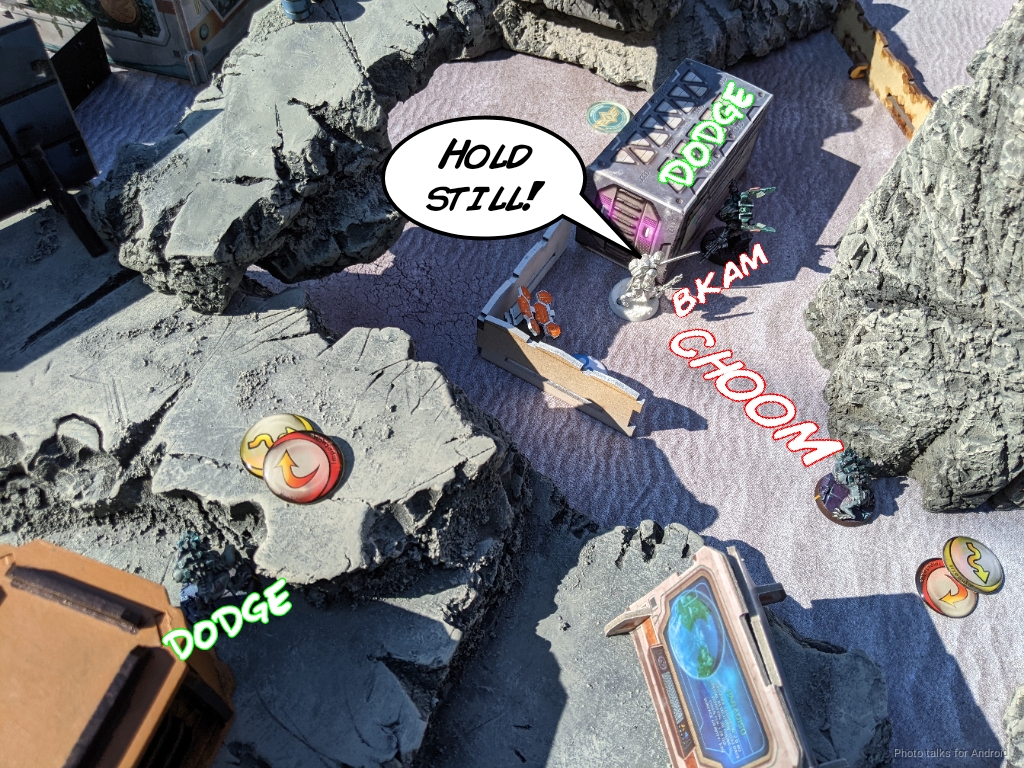
I scoot into close combat, pass the chain colt save, and sneak a single T2 boarding shotgun slug through the Rindak’s armor, taking it unconscious.
Edit: Burlesford caught a mistake here, the Rindak only has NWI, so T2 would kersplat it off the table. Good catch, thanks!
My last order in that pool is to put the Mormaer into suppression.
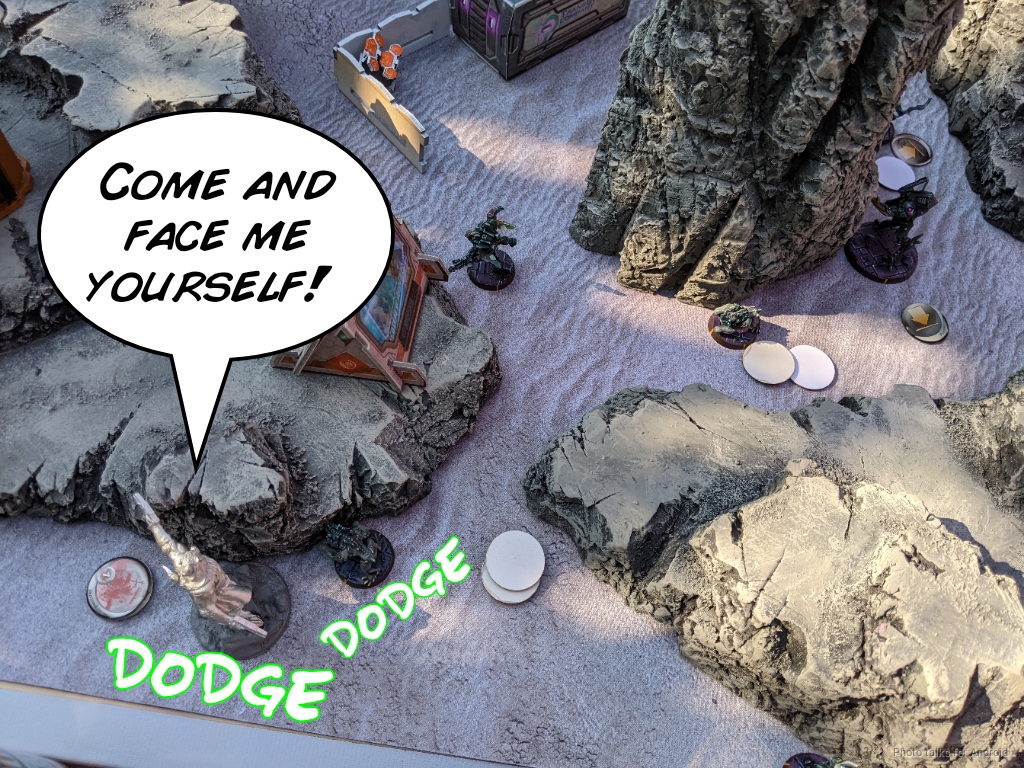
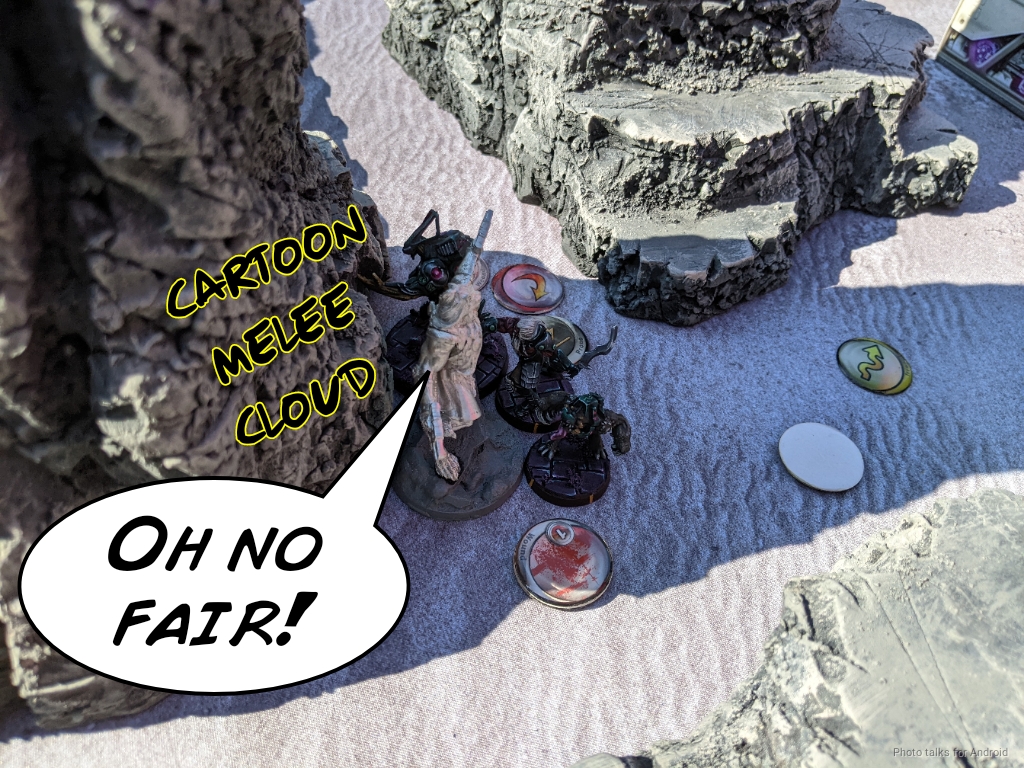
I’ve got a comfortable lead here, so I decide to do something silly and move the Cameronian into close combat. The Daturazi and nearby Taigha both template, and the Charontid dodges. The right move here, I think, is to chain rifle them both back, but I dodge instead for the lulz.
I do this mainly because I want to CC the Charontid for the memes. I manage to do a wound, but as I’m trying to beat down the Charontid both the Taigha and the Daturazi dodge into close combat.
I’m still the only one with uncontested scanners, so my lead is now 5-0.
Bottom of 2 – Combined Army
I immediately lose the Cameronian to Taigha berserk (although the Taigha does die). Very silly outcome which could have been avoided, but I as I said before I knew this wasn’t the most optimal solution.
One of the remaining Taigha gets extreme prejudice off of my downed Cateran in my backfield, but my Mormaer gets revenge.
The Daturazi puts down more smoke for the Charontid, and then I lose both the Mormaer…
and Uxia. Obviously this would have been prevented if I put chain rifles into the Daturazi and dropped it, so this is my punishment.
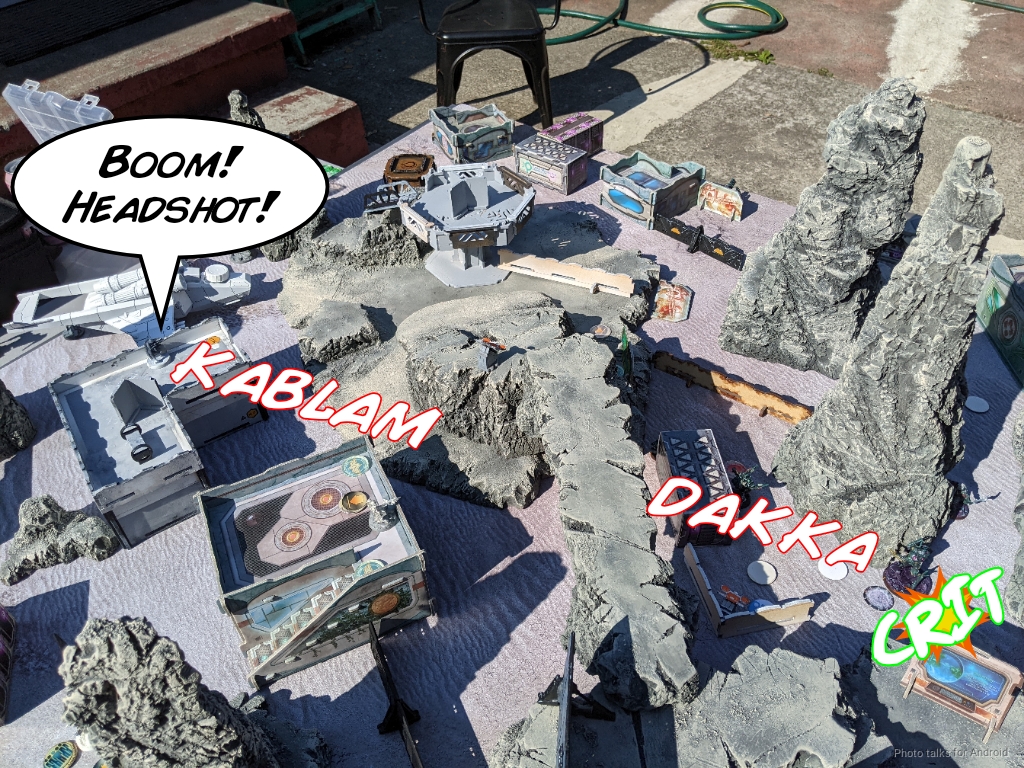
The Charontid gets cocky now and tries to down the Cateran. I decide to take the shot through smoke and land a T2 crit. Erik puckers up and rolls the dice, passing barely.
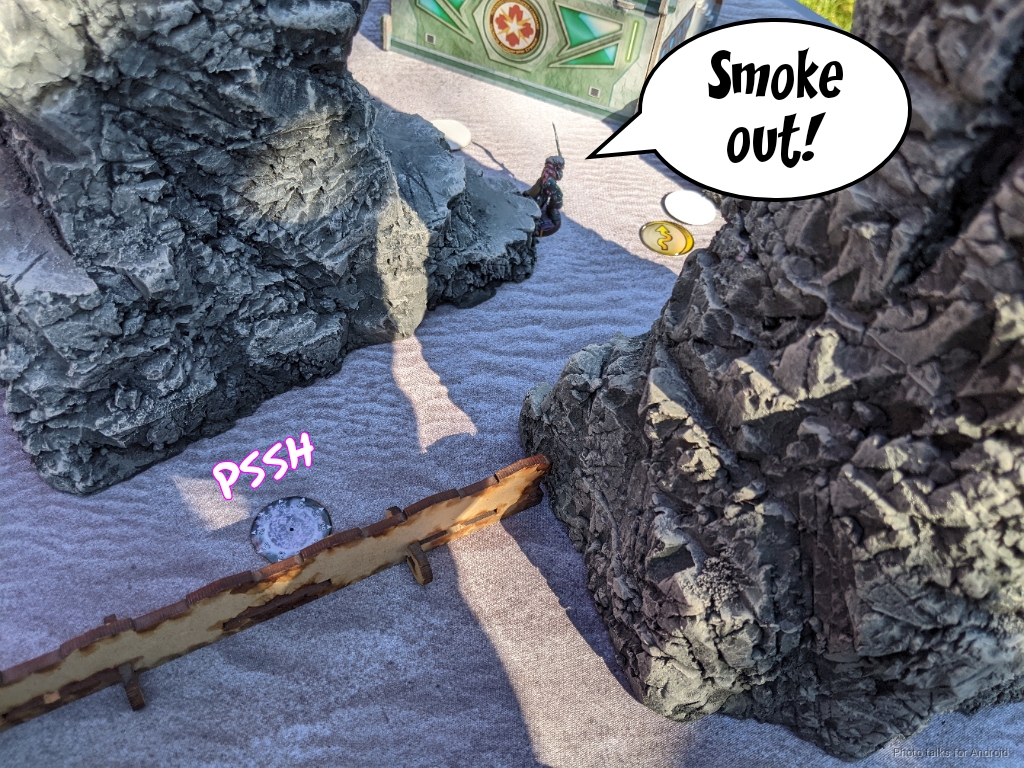
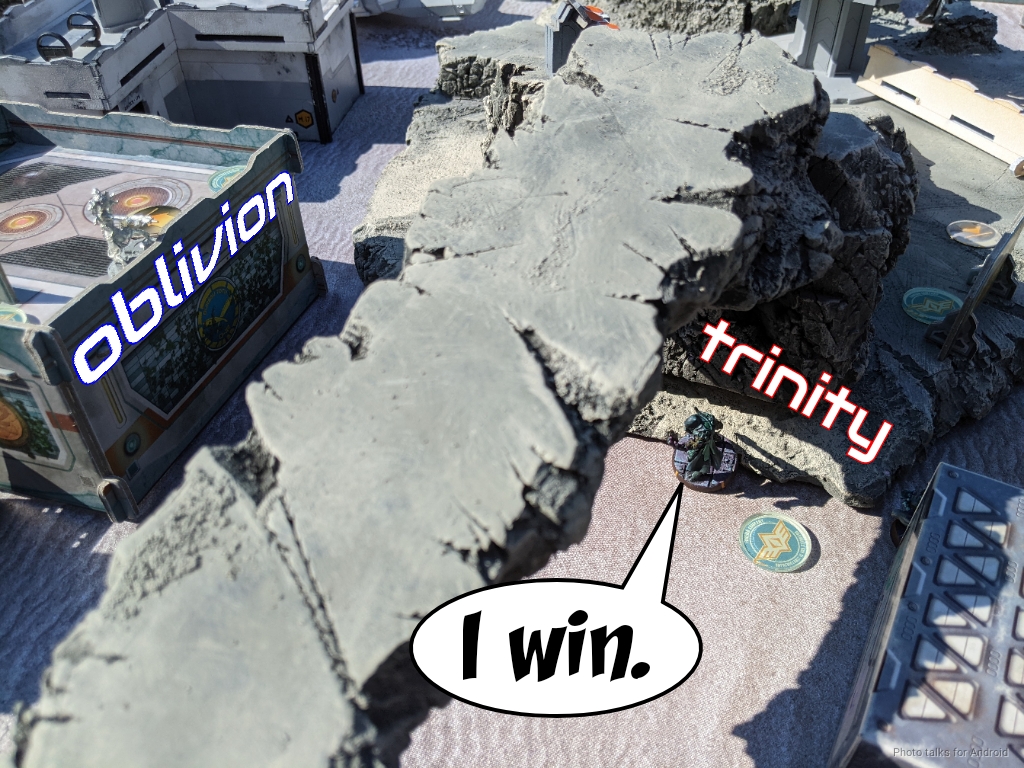
The Charontid wisely sneaks away and hides, but the Shrouded is more bold and kills Isobel with Trinity.
The Shrouded then spends a few orders trying to shoot the scanners that Uxia placed off the table, but only manages to put a wound on one of them. It then fails to place its own scanner, which is not good for Erik. This gets me to an 8-1 lead.
Turn 3
Top of 3 – CHA
I’d really like to get one more scanner down in Erik’s far zone, which will get me some more points. I move Wallace and the Cameronian into the first group with my last command token to get effectively three more orders in there. My last Cameronian dodge clears a mine with its impetuous order.
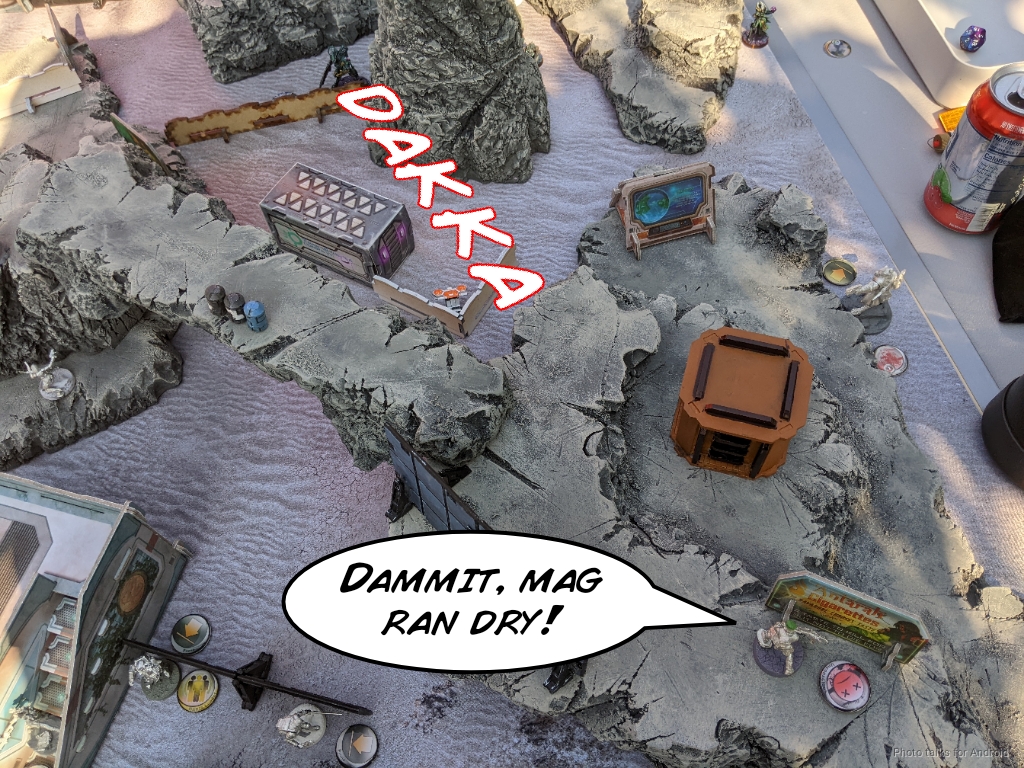
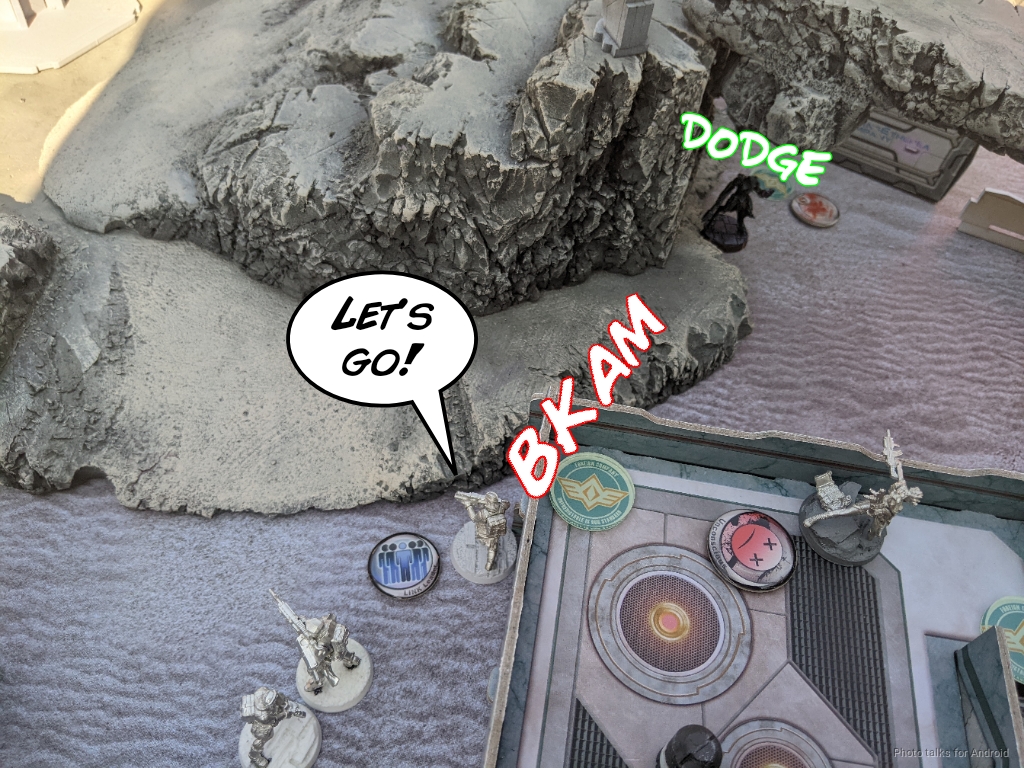
I advance my volunteer core up to try and shotgun the Shrouded down, but Erik rolls well on his dodge and I miss.
I shift the Cateran to a spot where the Charontid won’t be able to shoot it easily and then get a scanner down with the Volunteer Paramedic just barely. I have to even burn Wallace’s coordinated to get me the last WIP roll, breaking the link.
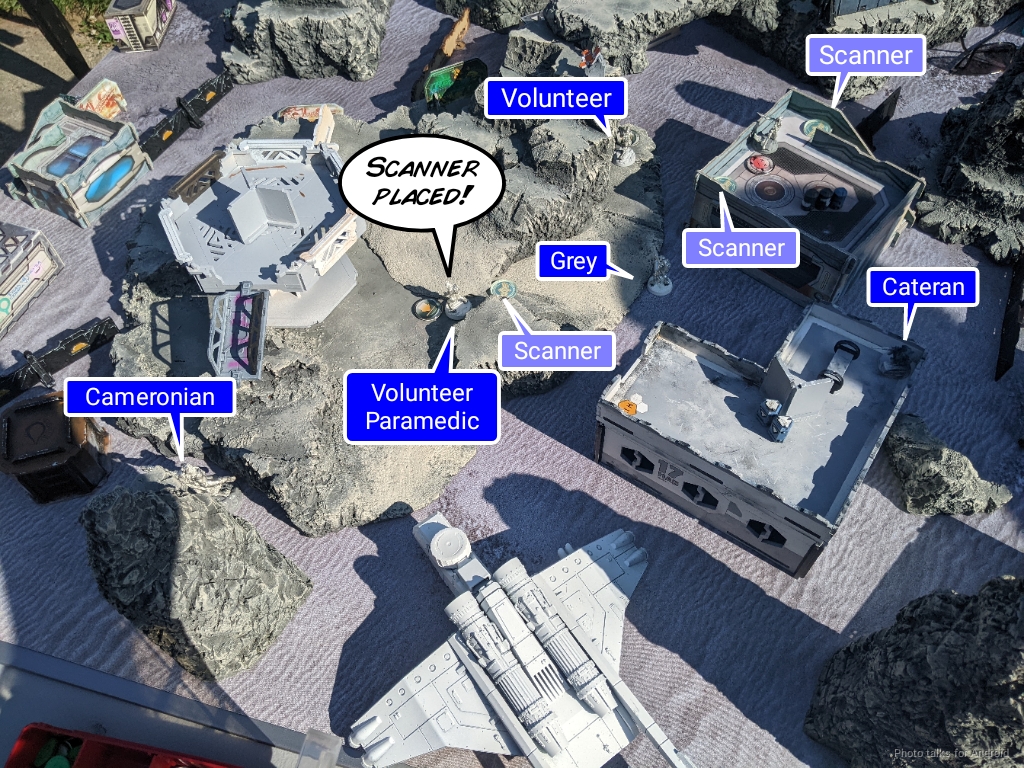
Erik doesn’t have a scanner in his near quadrants, so I score both of them, bringing me to the max of 10 to Erik’s one.
Bottom of 3 – Combined Army
At this point all I can do is just try to deny points as best I can. My Grey HMG goes dogged thanks to a Taigha berserking in, but I do KO the Taigha.
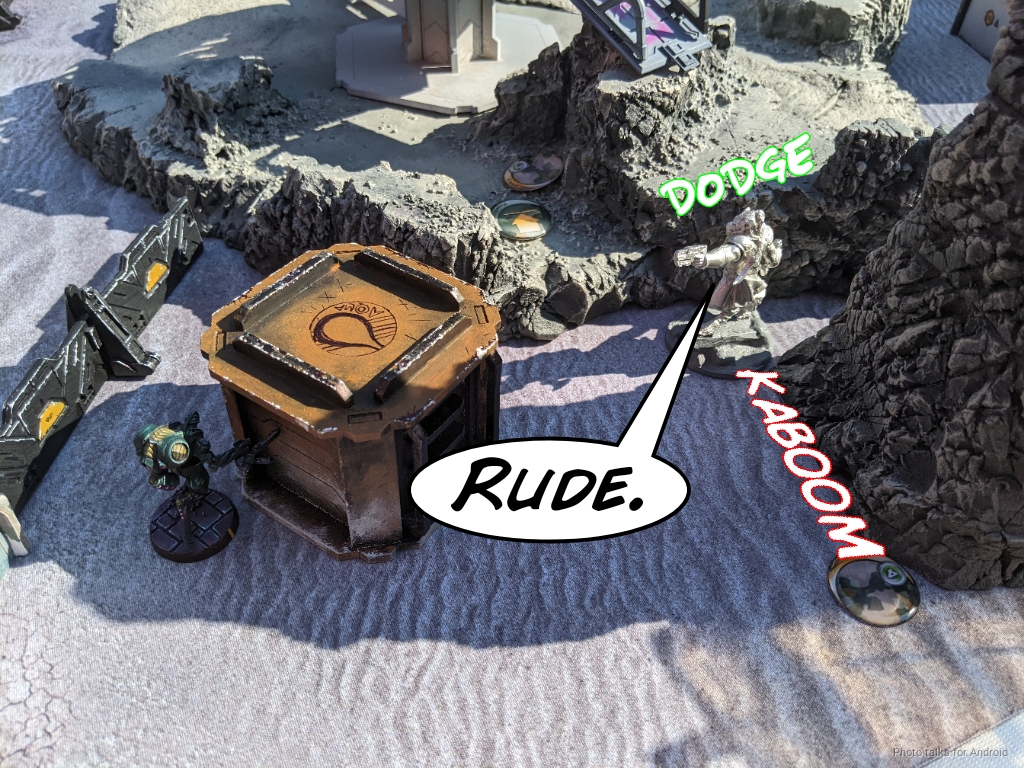
Erik blows up the Volunteer Paramedic and the scanner it just placed by sacrificing the Libertos.
Then the Charontid finishes off the Highlander Grey.

Erik spends the rest of his turn moving the Shrouded around dropping enough scanners to have more scanners than me, bringing the final score to a
10-3, 78-143 Caledonian Highlander Army Victory!
Post Game Analysis
Well, after the game, Erik asked me what he could have done to improve his position, and my answer was: “actually play the mission.” I think he got very distracted by trying to kill all my stuff with the Charontid and didn’t really spend any significant resources on trying to get objectives done on his turn. In his defense, we did mess up the Shrouded a little–we both forgot it has Regeneration, so when he went to paramedic it up with the Rindak we retconned that he could roll PH and he passed. This saved him an order, but he was down a midfield specialist for a significant number of orders on his first turn.
Still, the Rindak is well suited to doing objectives, and there wasn’t any reason it shouldn’t do them. As he put it, we both tunnel visioned hard on the Cameronian on my right. I agree with that–I definitely didn’t play it very well. Removing the Charontid’s only smoke source would have definitely evened the playing field pretty significantly for me. I should have just traded the Cameronian for the Daturazi, especially since the Charontid failed its dodge on my way in. I was just too excited to CC down the Charontid, which is actually not a very efficient thing to do. McMurrough would obviously have been the better choice there, but he was dead.
On that note, I think I didn’t do a good enough job of protecting him. He was definitely way too far advanced. Even just putting him prone on the other side of the box he died near would have been better. In contrast, I was happy with my usage of the Cateran to remove the Overdron though. That felt correct to me. Perhaps the better play would have been to individually shoot with both Caterans to get surprise shot bonuses twice (and higher burst), and then use Wallace’s coordinated if the Overdron is still up.
I’m a little annoyed that I lost so much material to the Charontid. A lot of it was just unnecessarily aggressive positioning, and some of it was just running out of orders to fix things. The two do go hand in hand though. In any case, my early focus on objective play paid off handsomely over the course of the game. The mission rewards consistent focus on mission objectives over killing. I will say that killing the scanners is quite hard, even the sloppiest placement is difficult to deal with if the placing specialist is sort of guarding the scanner. I had hoped to use the Highlander Grey BSG to take out the Rindak and then take out the scanner, but I was just unable to do that because I ran out of orders.
I’m not disappointed by my first outing with Caledonia. I enjoy the toolkit and the challenge of piloting a skew list like this with three dog warriors. I look forward to trying out some more of their tools as I gain more familiarity with the faction. I’m also happy to report that Erik won his IGL game 10-2 after this practice game–practice makes perfect! Thanks for reading.