Fuel for the Fire
General consensus is Neoterra Bolts suck, right? Well, let’s just set them on fire! All joking aside, I think they’re fine and actually quite toolboxy. I don’t play NCA, but I would be happy to take them if I did. Finally got another game in against one of our local NCA players, Isaac. I’ve played him other times, but not his NCA. It’s been a long, long time since I played his NCA, but in spite of that he’s been keeping up on my shenanigans and had a few tricks up his sleeve this game!
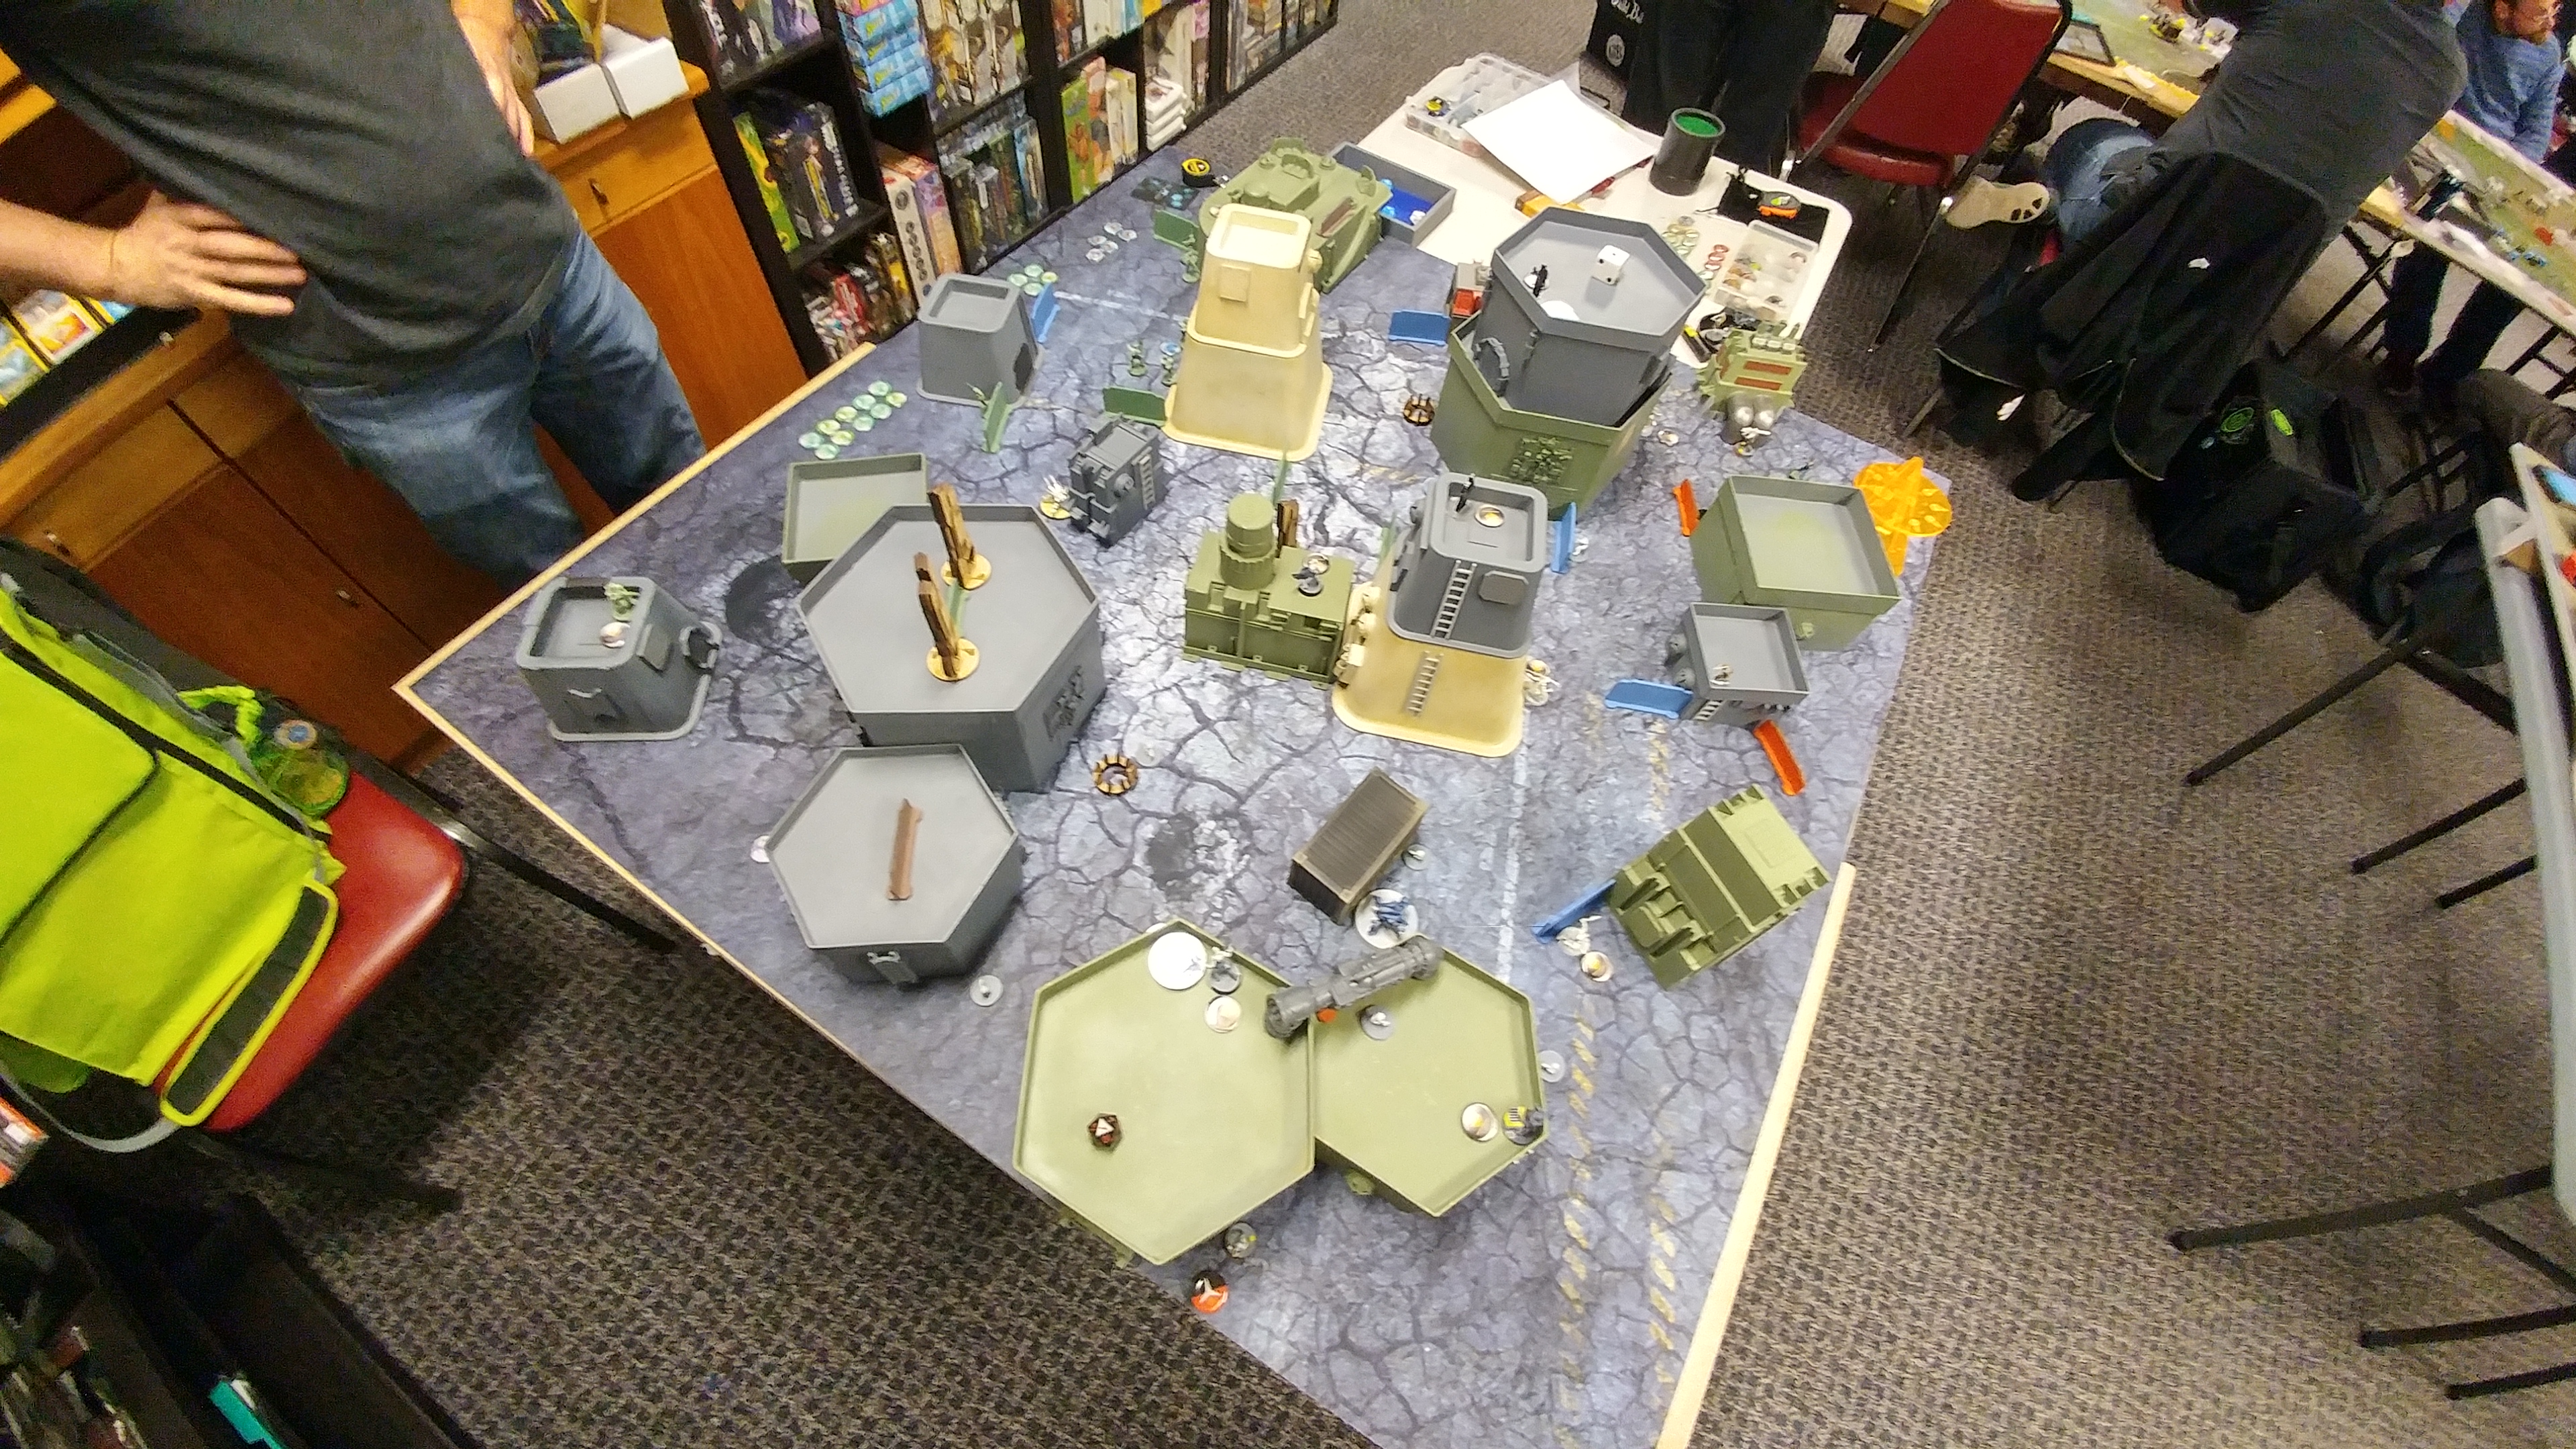
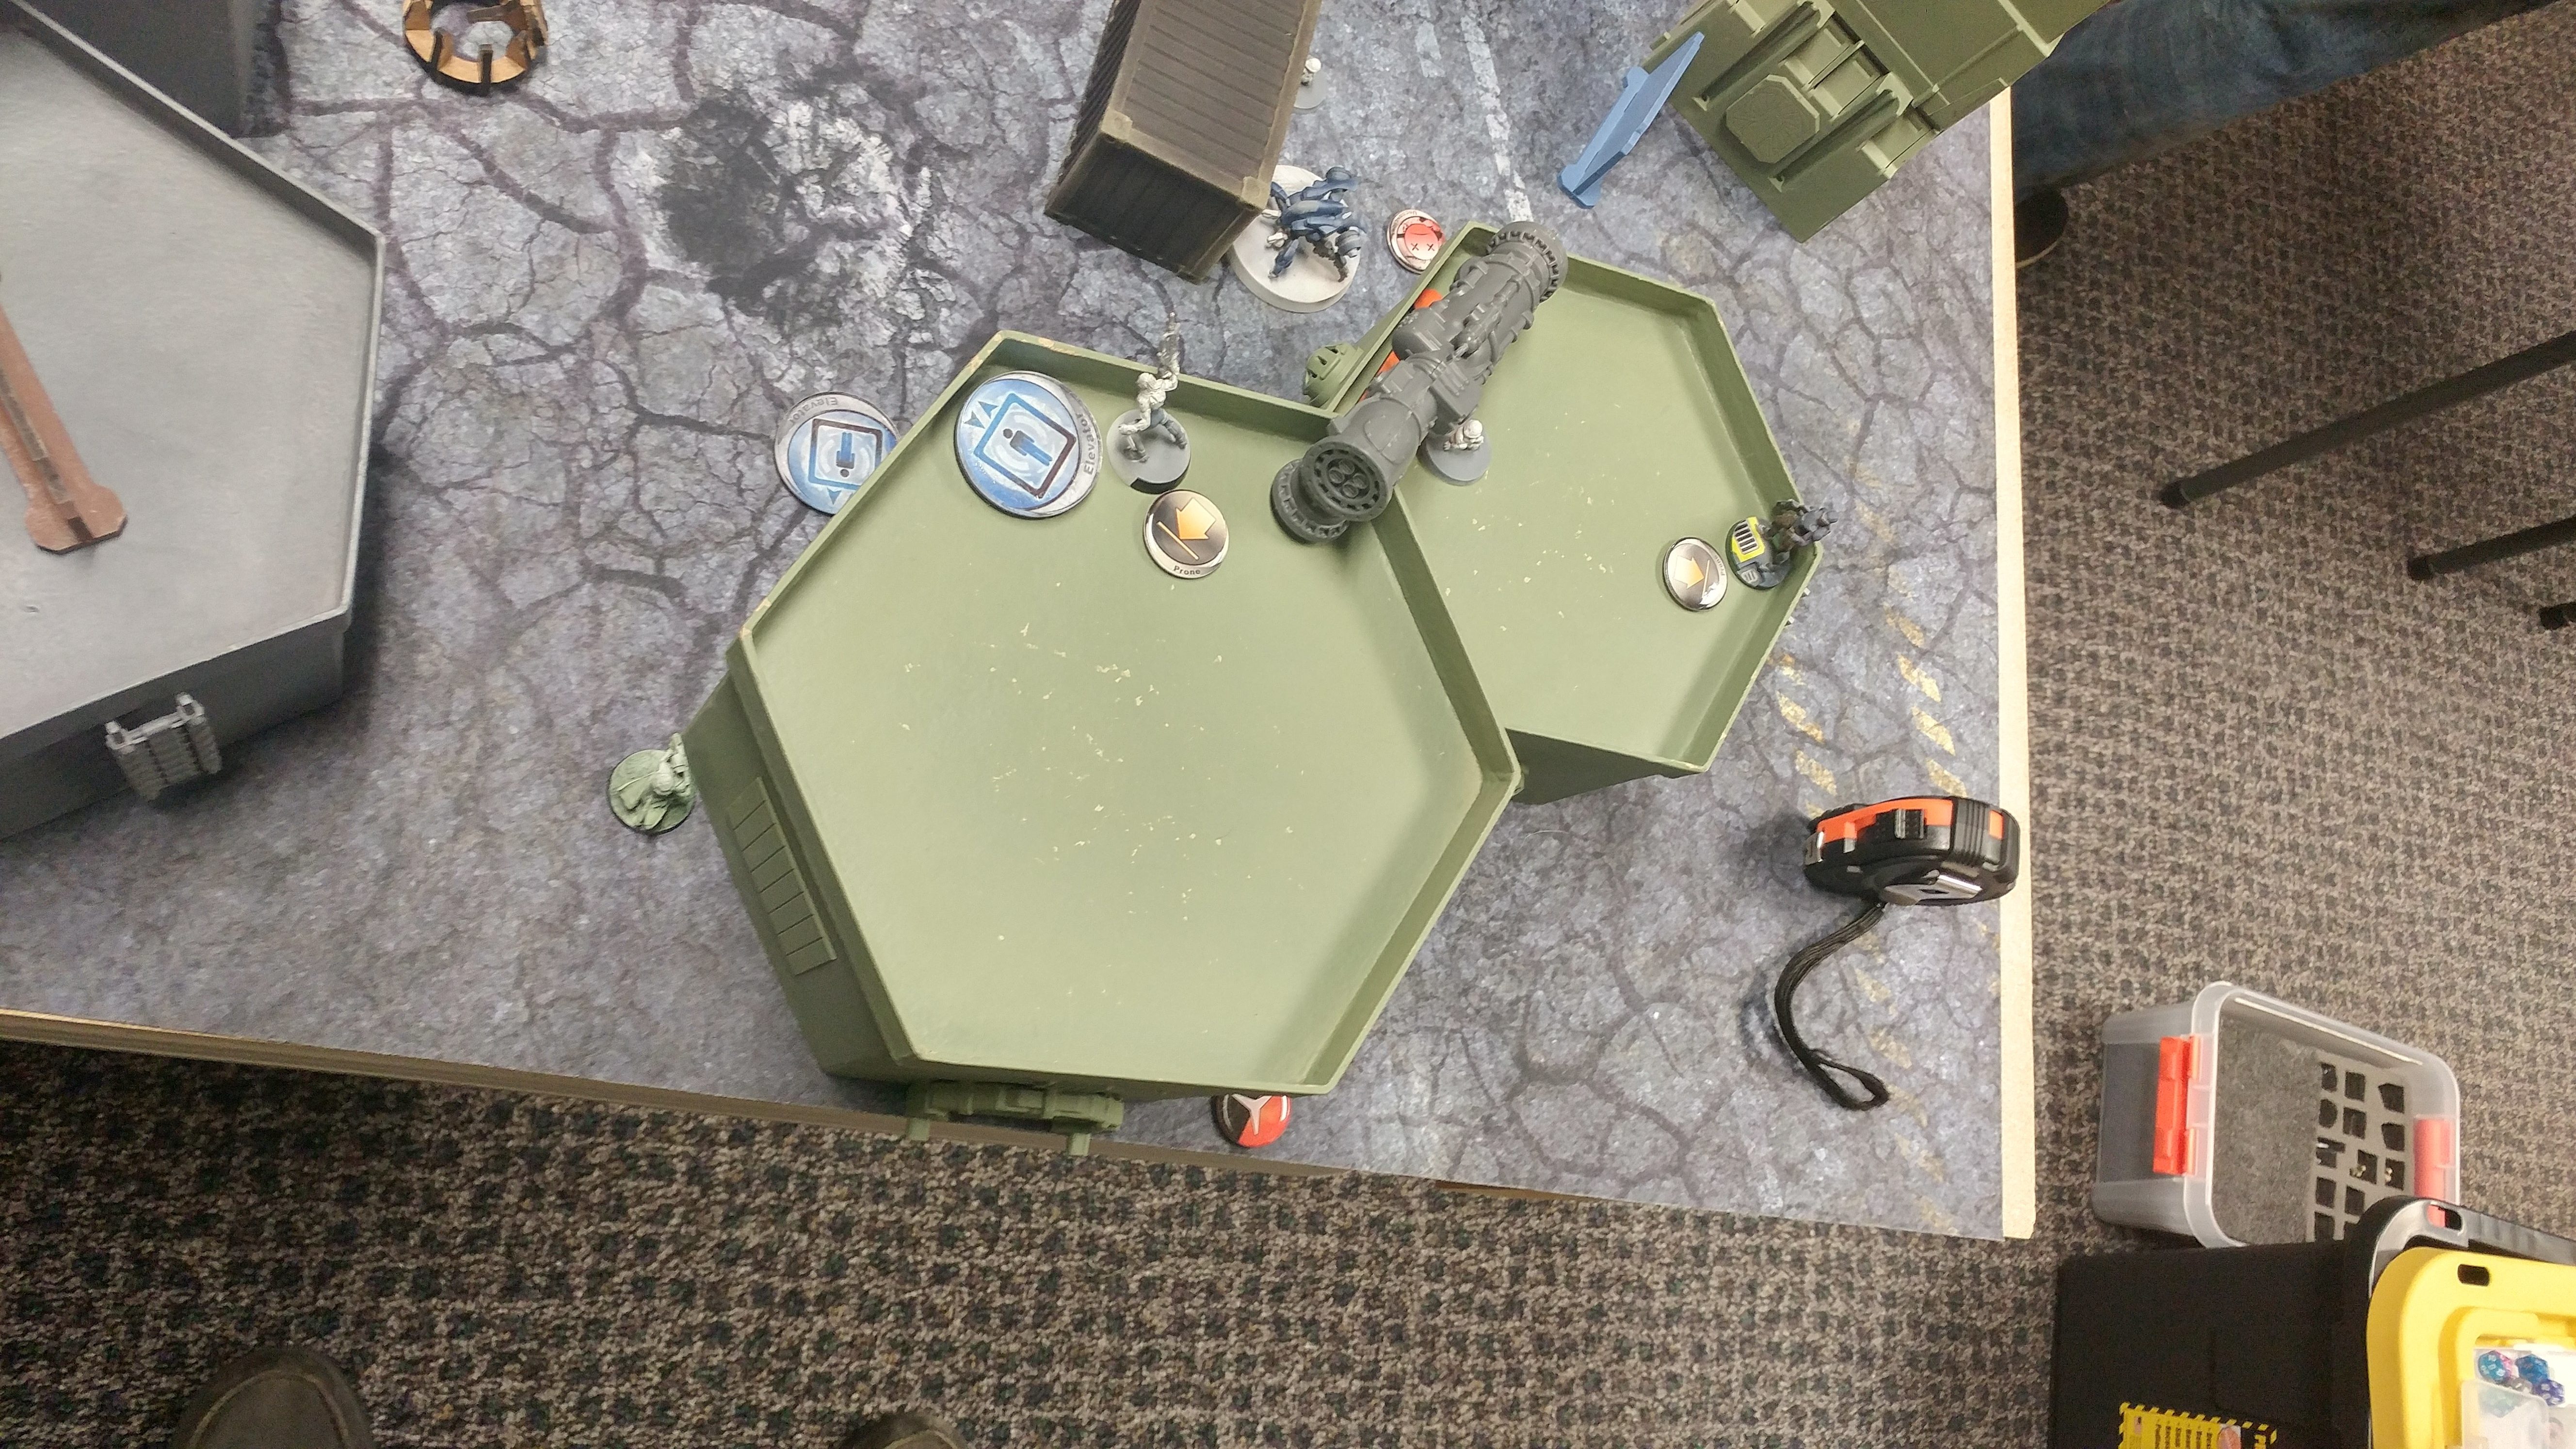
 I won the rolloff and chose deployment, taking the side with an elevated position inside of the 16″ deployment zones that covered as much of the board as possible. It also had much more space to tuck guys away in.
Overview
- Mission: Acquisition
- Forces: Nomads versus Neoterra Capitaline Army
- Deploy First: NCA
- First Turn: NCA
[img]https://assets.infinitythegame.net/infinityarmy/img/_logosweb/logo_501.png[/img][b] The Grid? [/b]
[b]GROUP 1 | [/b][img]https://assets.infinitythegame.net/infinityarmy/img/_logosweb/orden_regular.png[/img]7 [img]https://assets.infinitythegame.net/infinityarmy/img/_logosweb/orden_irregular.png[/img]2
[img]https://assets.infinitythegame.net/infinityarmy/img/_logosweb/501/logo_16.png[/img] [b]INTERVENTOR Hacker Lieutenant (Hacking Device Plus)[/b] Combi Rifle, 1 FastPanda / Pistol, Knife. (0.5 | [b]27[/b])
[img]https://assets.infinitythegame.net/infinityarmy/img/_logosweb/501/logo_49.png[/img] [b]TASKMASTER[/b] Red Fury, Pulzar, CrazyKoalas + TinBot A (Deflector L1) / Heavy Pistol, DA CCW. (1 | [b]53[/b])
[img]https://assets.infinitythegame.net/infinityarmy/img/_logosweb/501/logo_26.png[/img] [b]PROWLER[/b] Spitfire, D-Charges / Pistol, CCW. (2 | [b]36[/b])
[img]https://assets.infinitythegame.net/infinityarmy/img/_logosweb/501/logo_30.png[/img] [b]MORAN (Forward Observer)[/b] Combi Rifle, CrazyKoalas (2) / Pistol, Knife. (0.5 | [b]22[/b])
[img]https://assets.infinitythegame.net/infinityarmy/img/_logosweb/501/logo_30.png[/img] [b]MORAN (Forward Observer)[/b] Combi Rifle, CrazyKoalas (2) / Pistol, Knife. (0.5 | [b]22[/b])
[img]https://assets.infinitythegame.net/infinityarmy/img/_logosweb/501/logo_9.png[/img] [b]BANDIT Hacker (Killer Hacking Device)[/b] Light Shotgun, Adhesive Launcher / Pistol, DA CCW. (0 | [b]25[/b])
[img]https://assets.infinitythegame.net/infinityarmy/img/_logosweb/501/logo_9.png[/img] [b]BANDIT Hacker (Killer Hacking Device)[/b] Light Shotgun, Adhesive Launcher / Pistol, DA CCW. (0 | [b]25[/b])
[img]https://assets.infinitythegame.net/infinityarmy/img/_logosweb/501/logo_33.png[/img] [b]LUNOKHOD[/b] Heavy Shotgun, Akrylat-Kanone, D-Charges, CrazyKoalas (2) / Electric Pulse. (0 | [b]24[/b])
[img]https://assets.infinitythegame.net/infinityarmy/img/_logosweb/501/logo_24.png[/img] [b]TOMCAT Engineer[/b] Combi Rifle + Light Flamethrower, D-Charges / Pistol, Knife. (0 | [b]22[/b])[b]GROUP 2 | [/b][img]https://assets.infinitythegame.net/infinityarmy/img/_logosweb/orden_regular.png[/img]2 [img]https://assets.infinitythegame.net/infinityarmy/img/_logosweb/orden_irregular.png[/img]3 [img]https://assets.infinitythegame.net/infinityarmy/img/_logosweb/orden_impetuosa.png[/img]3
[img]https://assets.infinitythegame.net/infinityarmy/img/_logosweb/501/logo_13.png[/img] [b]JAGUAR[/b] Adhesive Launcher, Panzerfaust / Pistol, DA CCW. (0.5 | [b]13[/b])
[img]https://assets.infinitythegame.net/infinityarmy/img/_logosweb/501/logo_13.png[/img] [b]JAGUAR[/b] Adhesive Launcher, Panzerfaust / Pistol, DA CCW. (0.5 | [b]13[/b])
[img]https://assets.infinitythegame.net/infinityarmy/img/_logosweb/501/logo_12.png[/img] [b]MORLOCK[/b] Chain Rifle, Smoke Grenades / Pistol, DA CCW. (0 | [b]6[/b])
[img]https://assets.infinitythegame.net/infinityarmy/img/_logosweb/501/logo_12.png[/img] [b]MORLOCK[/b] Chain Rifle, Smoke Grenades / Pistol, DA CCW. (0 | [b]6[/b])
[img]https://assets.infinitythegame.net/infinityarmy/img/_logosweb/501/logo_12.png[/img] [b]MORLOCK[/b] Chain Rifle, Smoke Grenades / Pistol, DA CCW. (0 | [b]6[/b])
[b] 5.5 SWC | 300 Points |[/b] Open in Infinity Army
[img]https://assets.infinitythegame.net/infinityarmy/img/_logosweb/logo_104.png[/img][b] Neoterran Capitaline Army[/b]
[b]GROUP 1 | [/b][img]https://assets.infinitythegame.net/infinityarmy/img/_logosweb/orden_regular.png[/img]10
[img]https://assets.infinitythegame.net/infinityarmy/img/_logosweb/104/logo_3.png[/img] [b]BOLT[/b] Boarding Shotgun, E/M Grenades / Pistol, Knife. (0 | [b]19[/b])
[img]https://assets.infinitythegame.net/infinityarmy/img/_logosweb/104/logo_3.png[/img] [b]BOLT[/b] Combi Rifle + Light Shotgun, Drop Bears / Pistol, Knife. (0 | [b]25[/b])
[img]https://assets.infinitythegame.net/infinityarmy/img/_logosweb/104/logo_3.png[/img] [b]BOLT Paramedic (MediKit)[/b] Combi Rifle + Light Shotgun / Pistol, Knife. (0 | [b]24[/b])
[img]https://assets.infinitythegame.net/infinityarmy/img/_logosweb/104/logo_3.png[/img] [b]BOLT[/b] Spitfire / Pistol, Knife. (1.5 | [b]24[/b])
[img]https://assets.infinitythegame.net/infinityarmy/img/_logosweb/104/logo_3.png[/img] [b]BOLT[/b] MULTI Sniper Rifle / Pistol, Knife. (1.5 | [b]26[/b])[img]https://assets.infinitythegame.net/infinityarmy/img/_logosweb/104/logo_4.png[/img] [b]HEXA Hacker (Killer Hacking Device)[/b] Combi Rifle / Pistol, Electric Pulse. (0 | [b]27[/b])
[img]https://assets.infinitythegame.net/infinityarmy/img/_logosweb/104/logo_12.png[/img] [b]SIERRA DRONBOT[/b] HMG / Electric Pulse. (1 | [b]25[/b])
[img]https://assets.infinitythegame.net/infinityarmy/img/_logosweb/104/logo_11.png[/img] [b]PATHFINDER DRONBOT[/b] Combi Rifle, Sniffer / Electric Pulse. (0 | [b]16[/b])[img]https://assets.infinitythegame.net/infinityarmy/img/_logosweb/104/logo_26.png[/img] [b]BLACK FRIAR (Albedo, Biometric Visor L1)[/b] MULTI Rifle, Nanopulser, Drop Bears / Pistol, CC Weapon. (0 | [b]28[/b])
[img]https://assets.infinitythegame.net/infinityarmy/img/_logosweb/104/logo_14.png[/img] [b]FUGAZI DRONBOT[/b] Flash Pulse, Sniffer / Electric Pulse. (0 | [b]8[/b])
[b]GROUP 2 | [/b][img]https://assets.infinitythegame.net/infinityarmy/img/_logosweb/orden_regular.png[/img]5
[img]https://assets.infinitythegame.net/infinityarmy/img/_logosweb/104/logo_2.png[/img] [b]FUSILIER[/b] Combi Rifle / Pistol, Knife. (0 | [b]10[/b])
[img]https://assets.infinitythegame.net/infinityarmy/img/_logosweb/104/logo_2.png[/img] [b]FUSILIER Hacker (Hacking Device)[/b] Combi Rifle / Pistol, Knife. (0.5 | [b]18[/b])
[img]https://assets.infinitythegame.net/infinityarmy/img/_logosweb/104/logo_14.png[/img] [b]FUGAZI DRONBOT[/b] Flash Pulse, Sniffer / Electric Pulse. (0 | [b]8[/b])
[img]https://assets.infinitythegame.net/infinityarmy/img/_logosweb/104/logo_2.png[/img] [b]FUSILIER Lieutenant[/b] Combi Rifle / Pistol, Knife. (0 | [b]10[/b])
[img]https://assets.infinitythegame.net/infinityarmy/img/_logosweb/104/logo_4.png[/img] [b]HEXA[/b] MULTI Sniper Rifle / Pistol, Electric Pulse. (1.5 | [b]32[/b])
[b] 6 SWC | 300 Points | [/b]Open in Infinity Army
Deployment
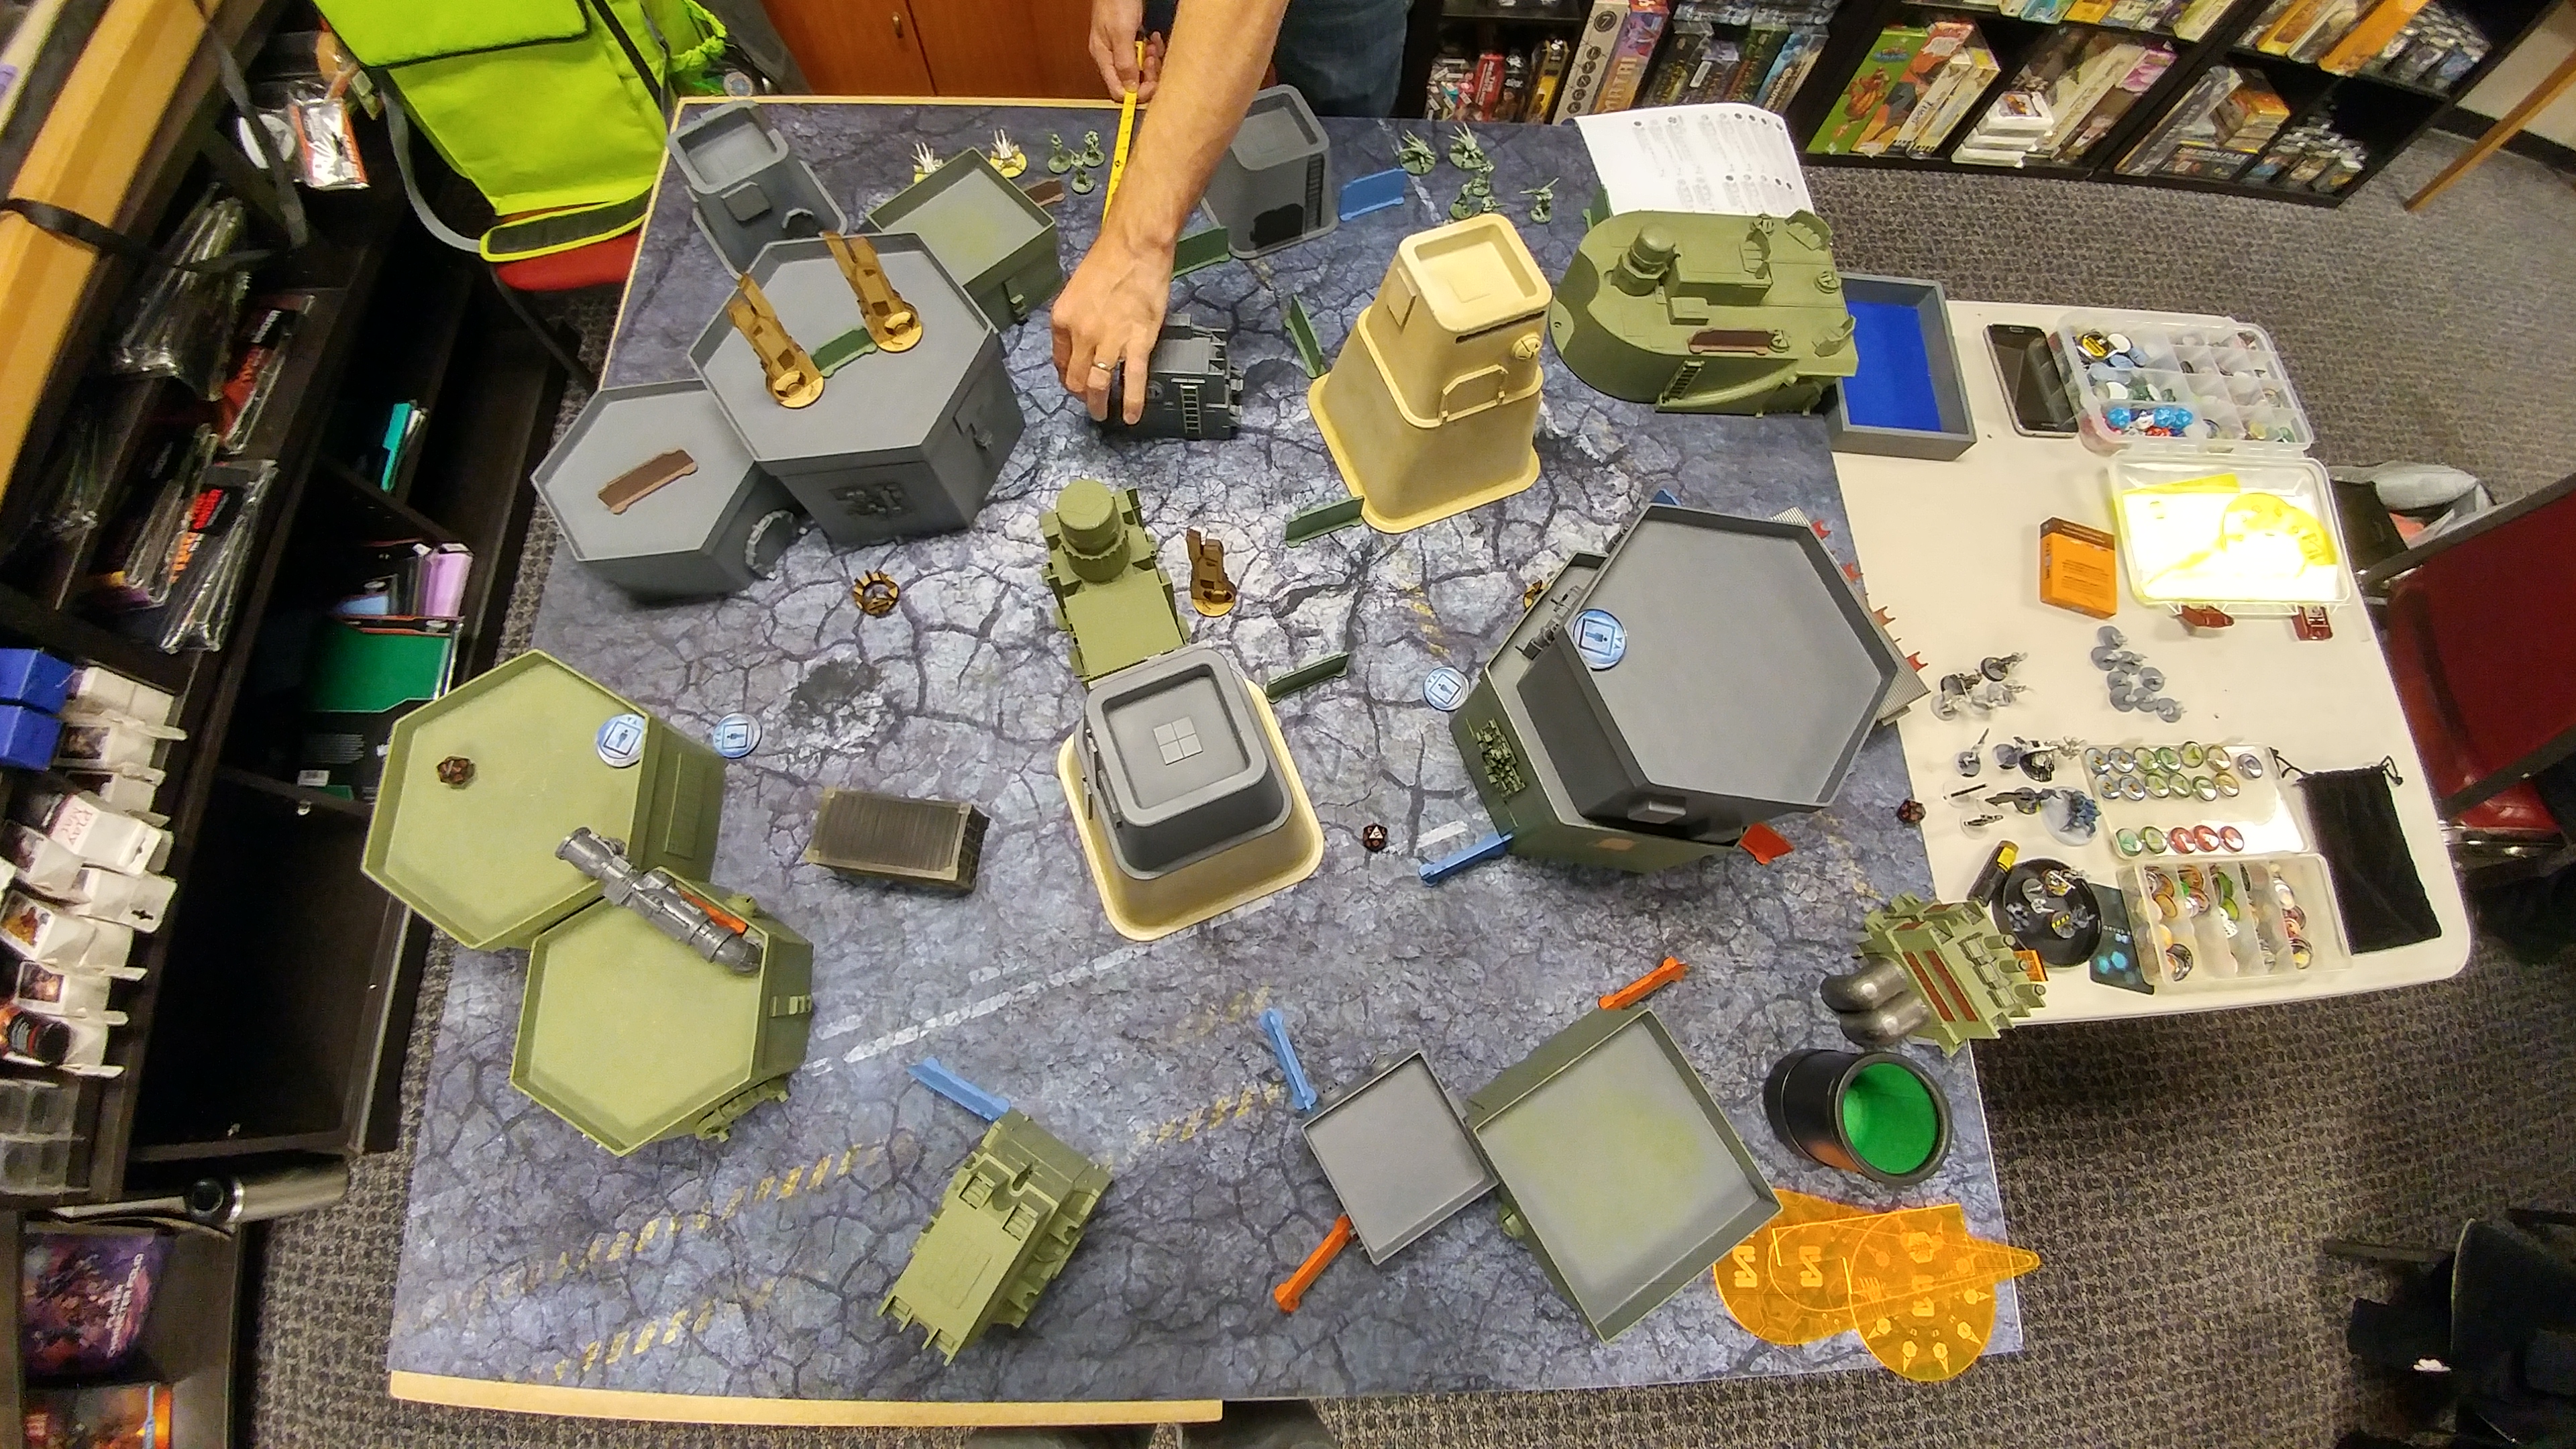
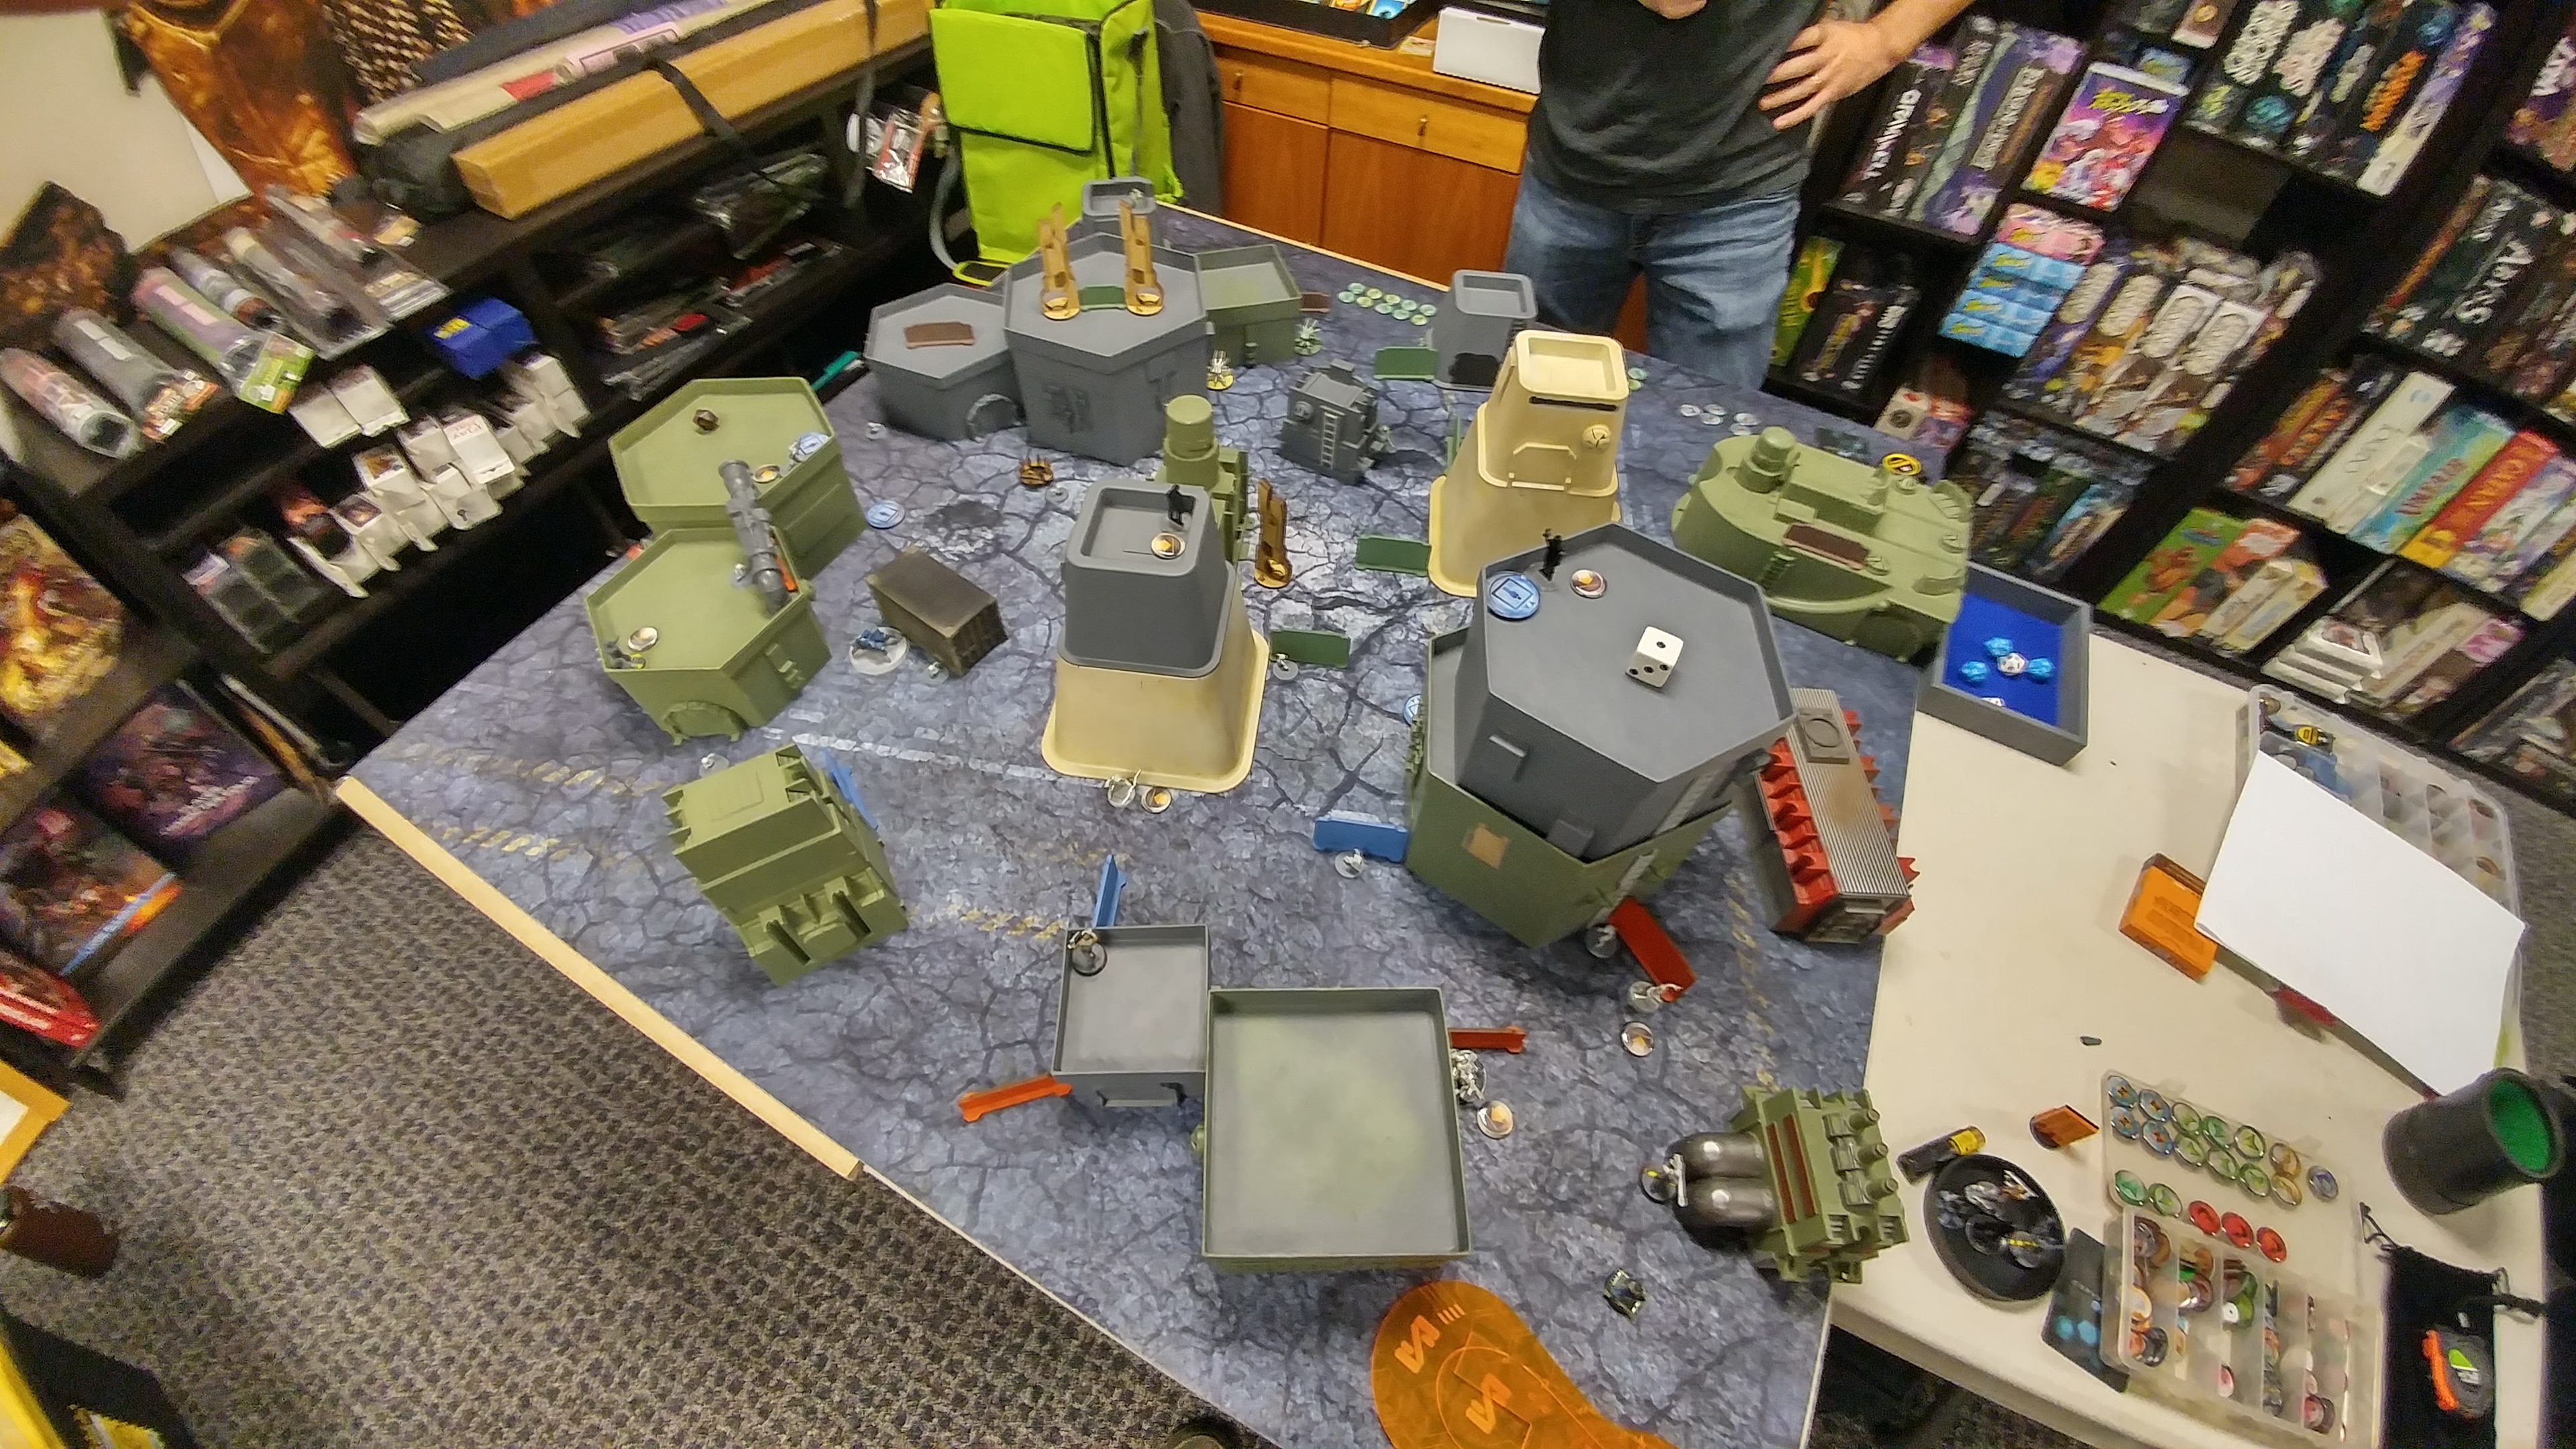
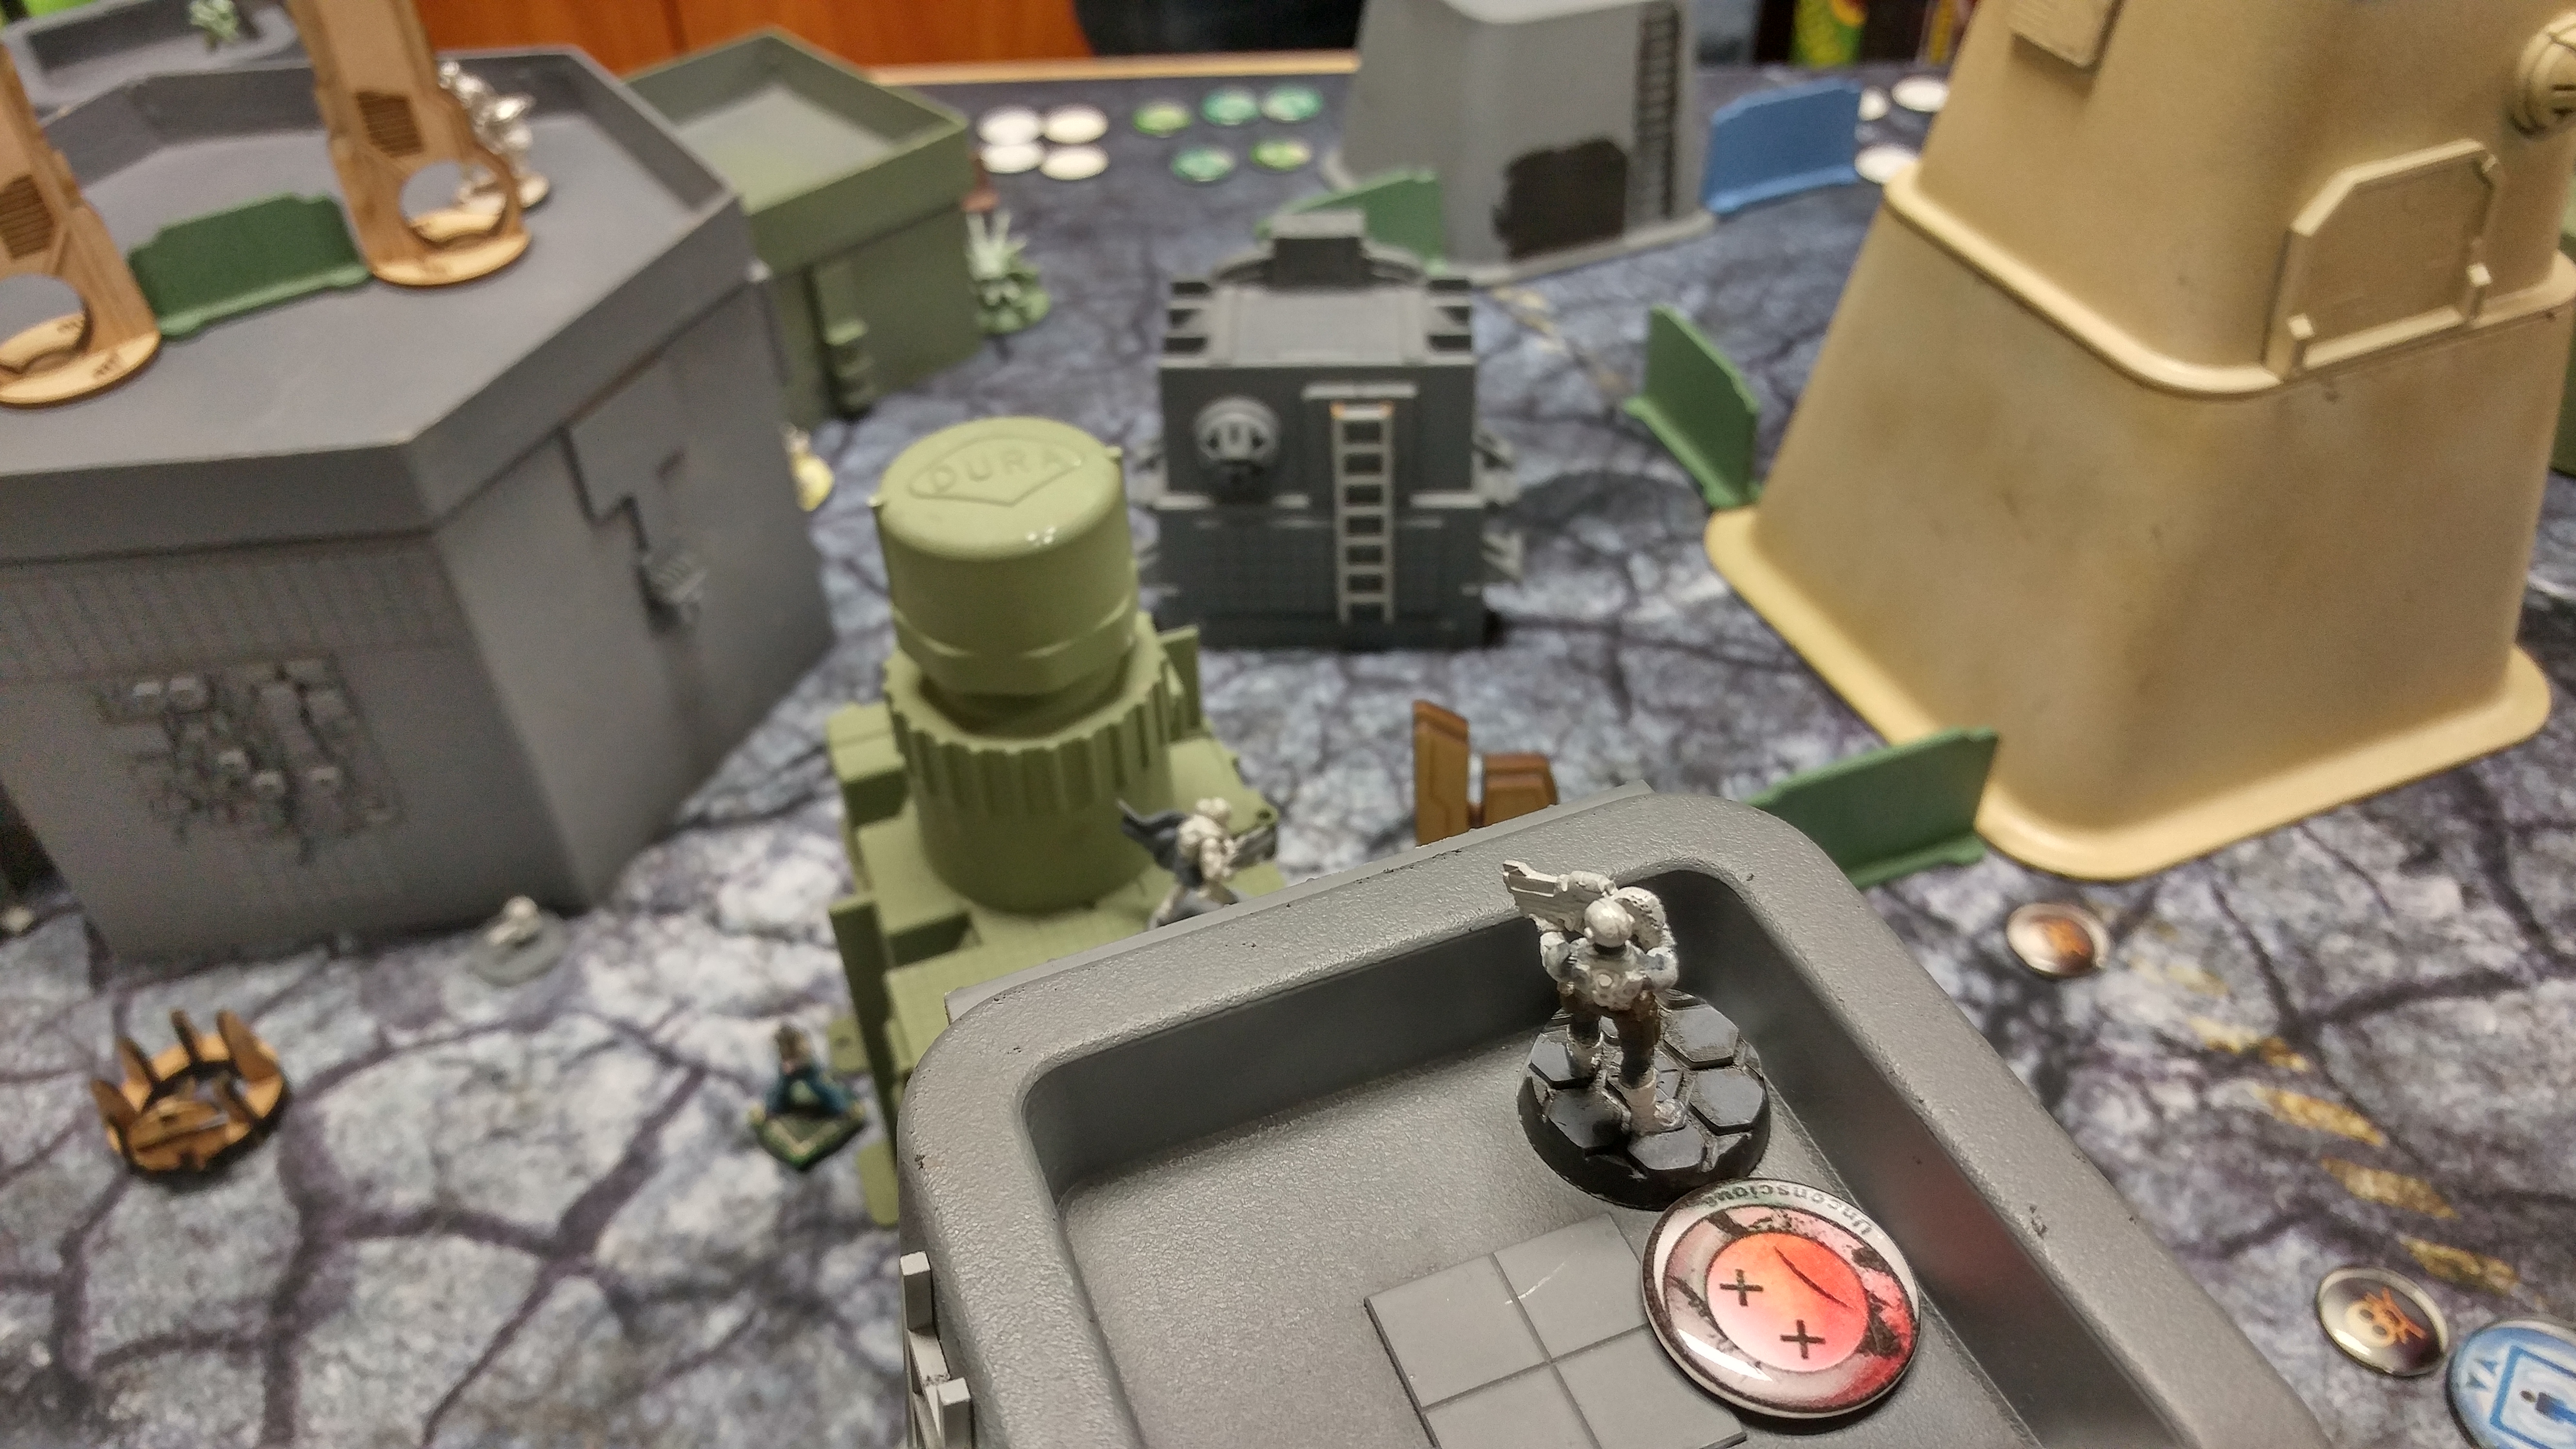
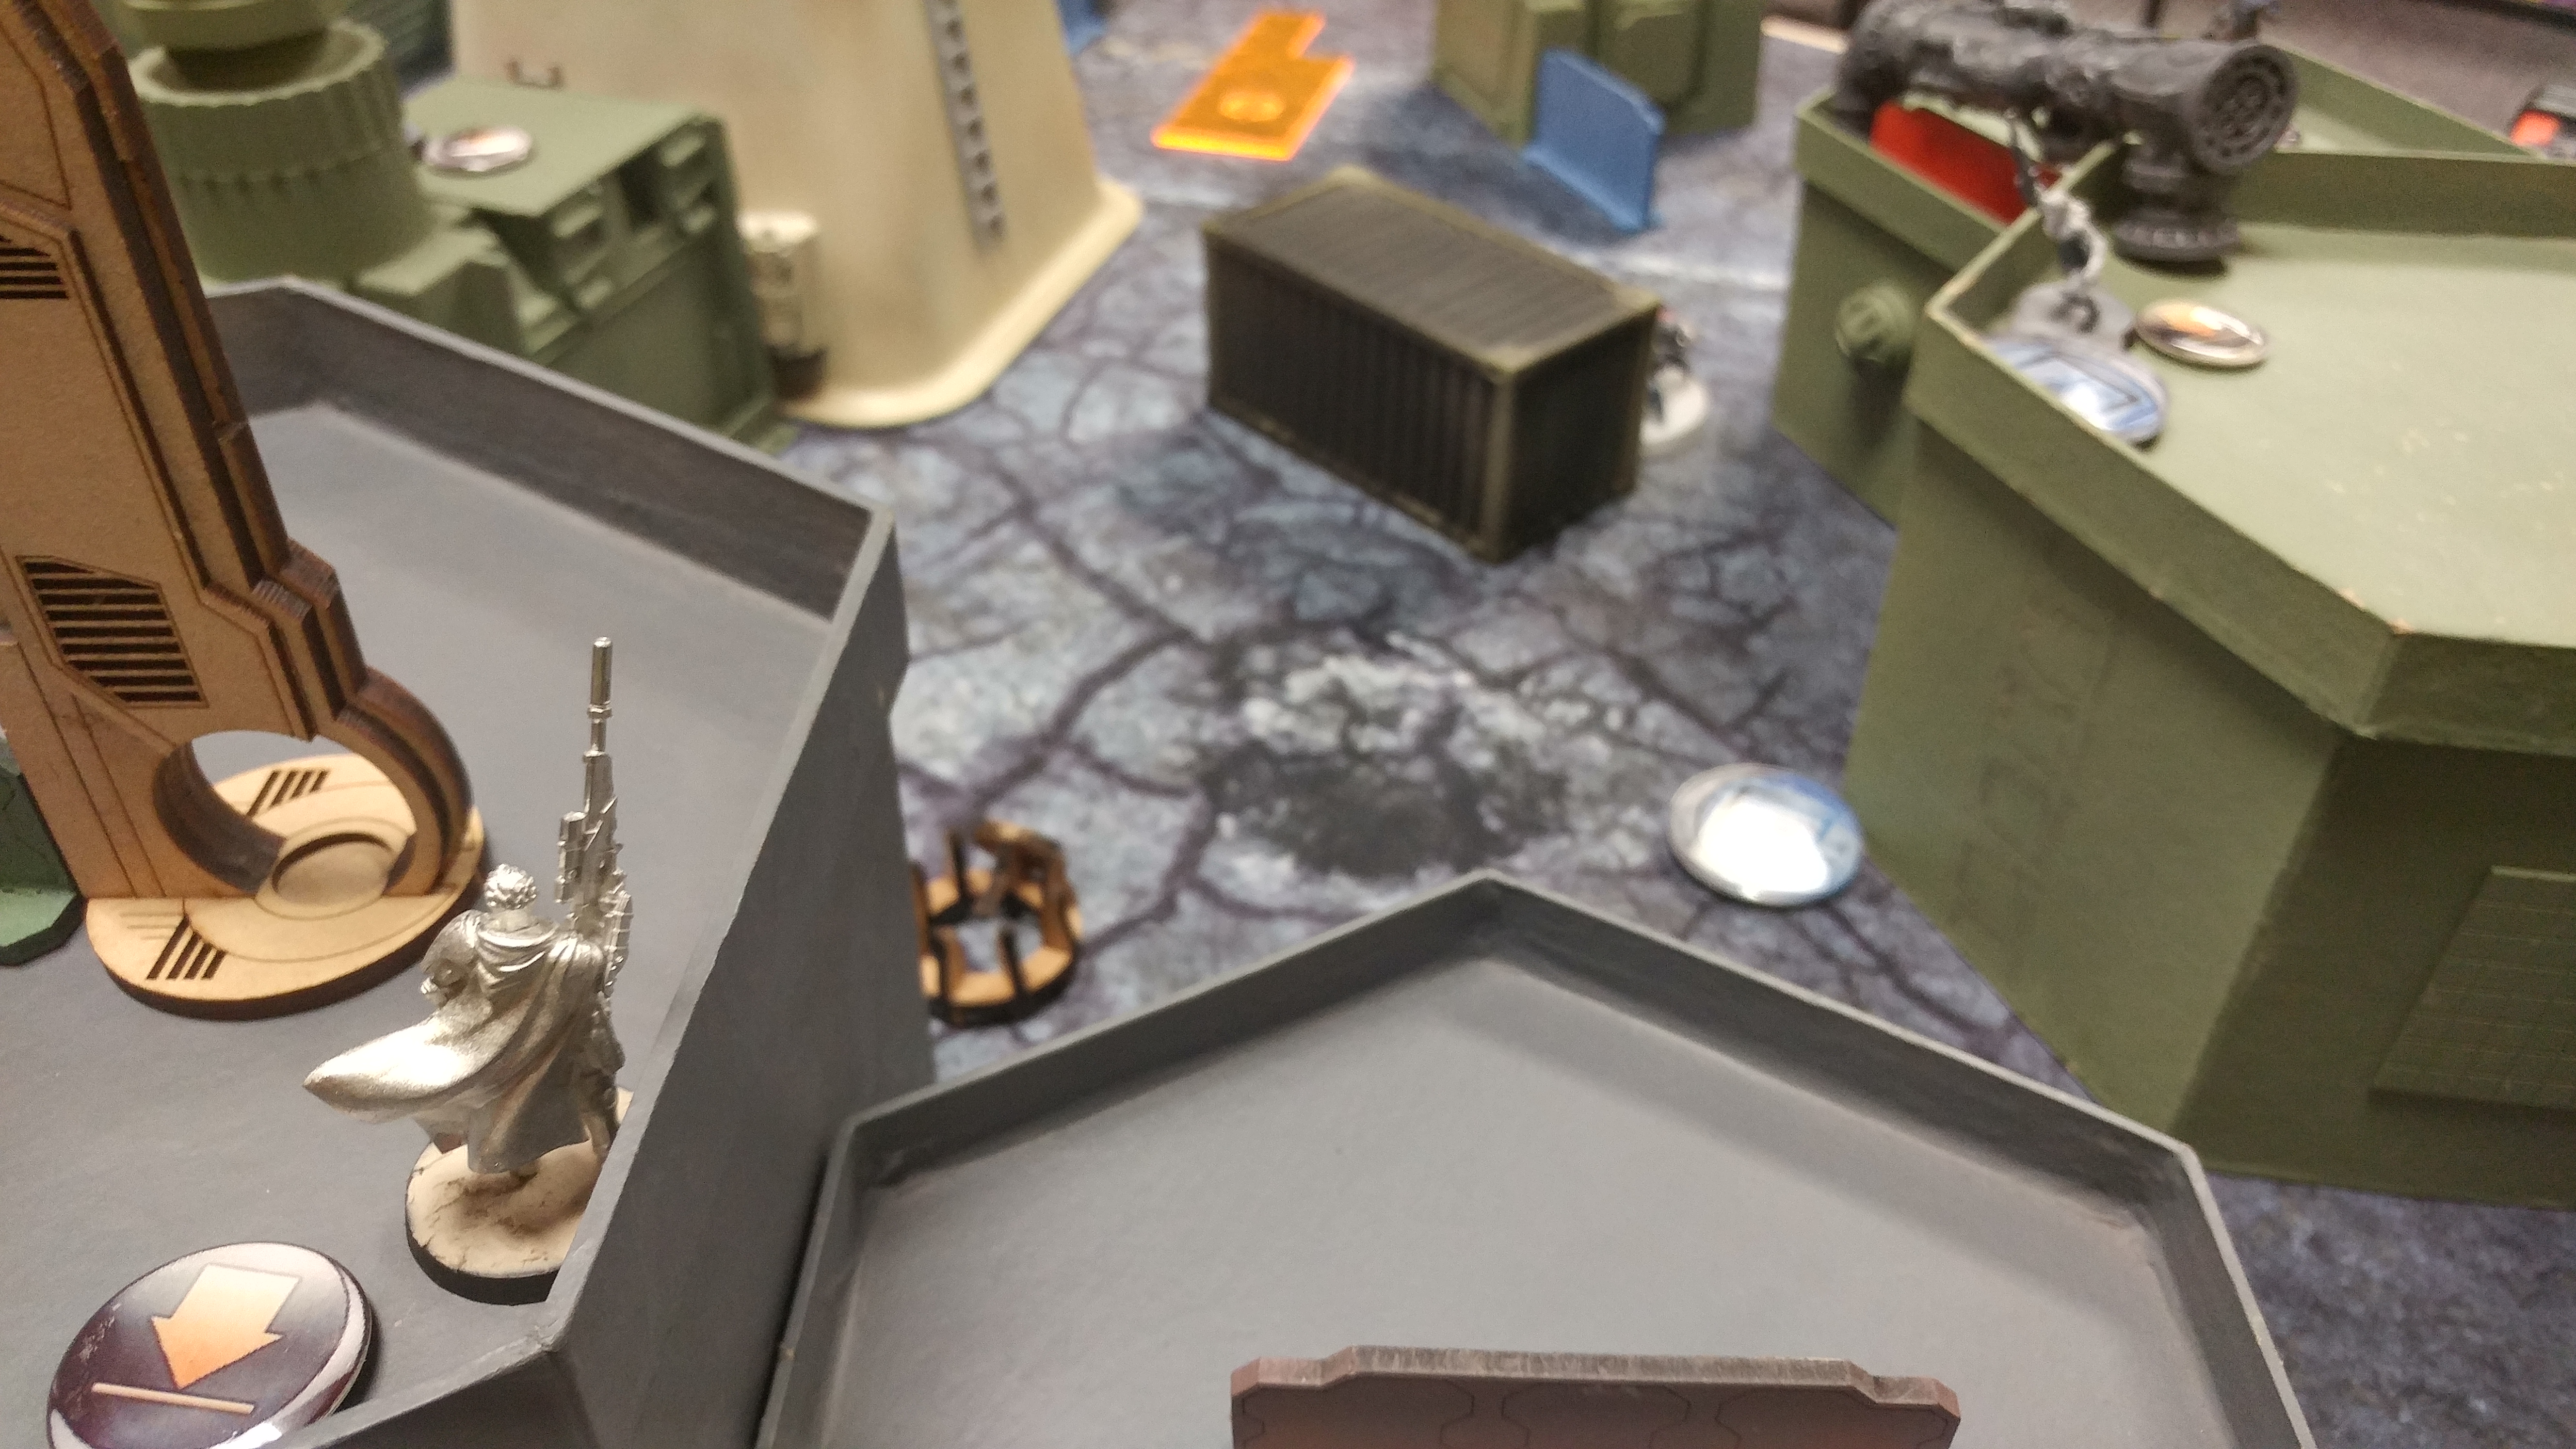
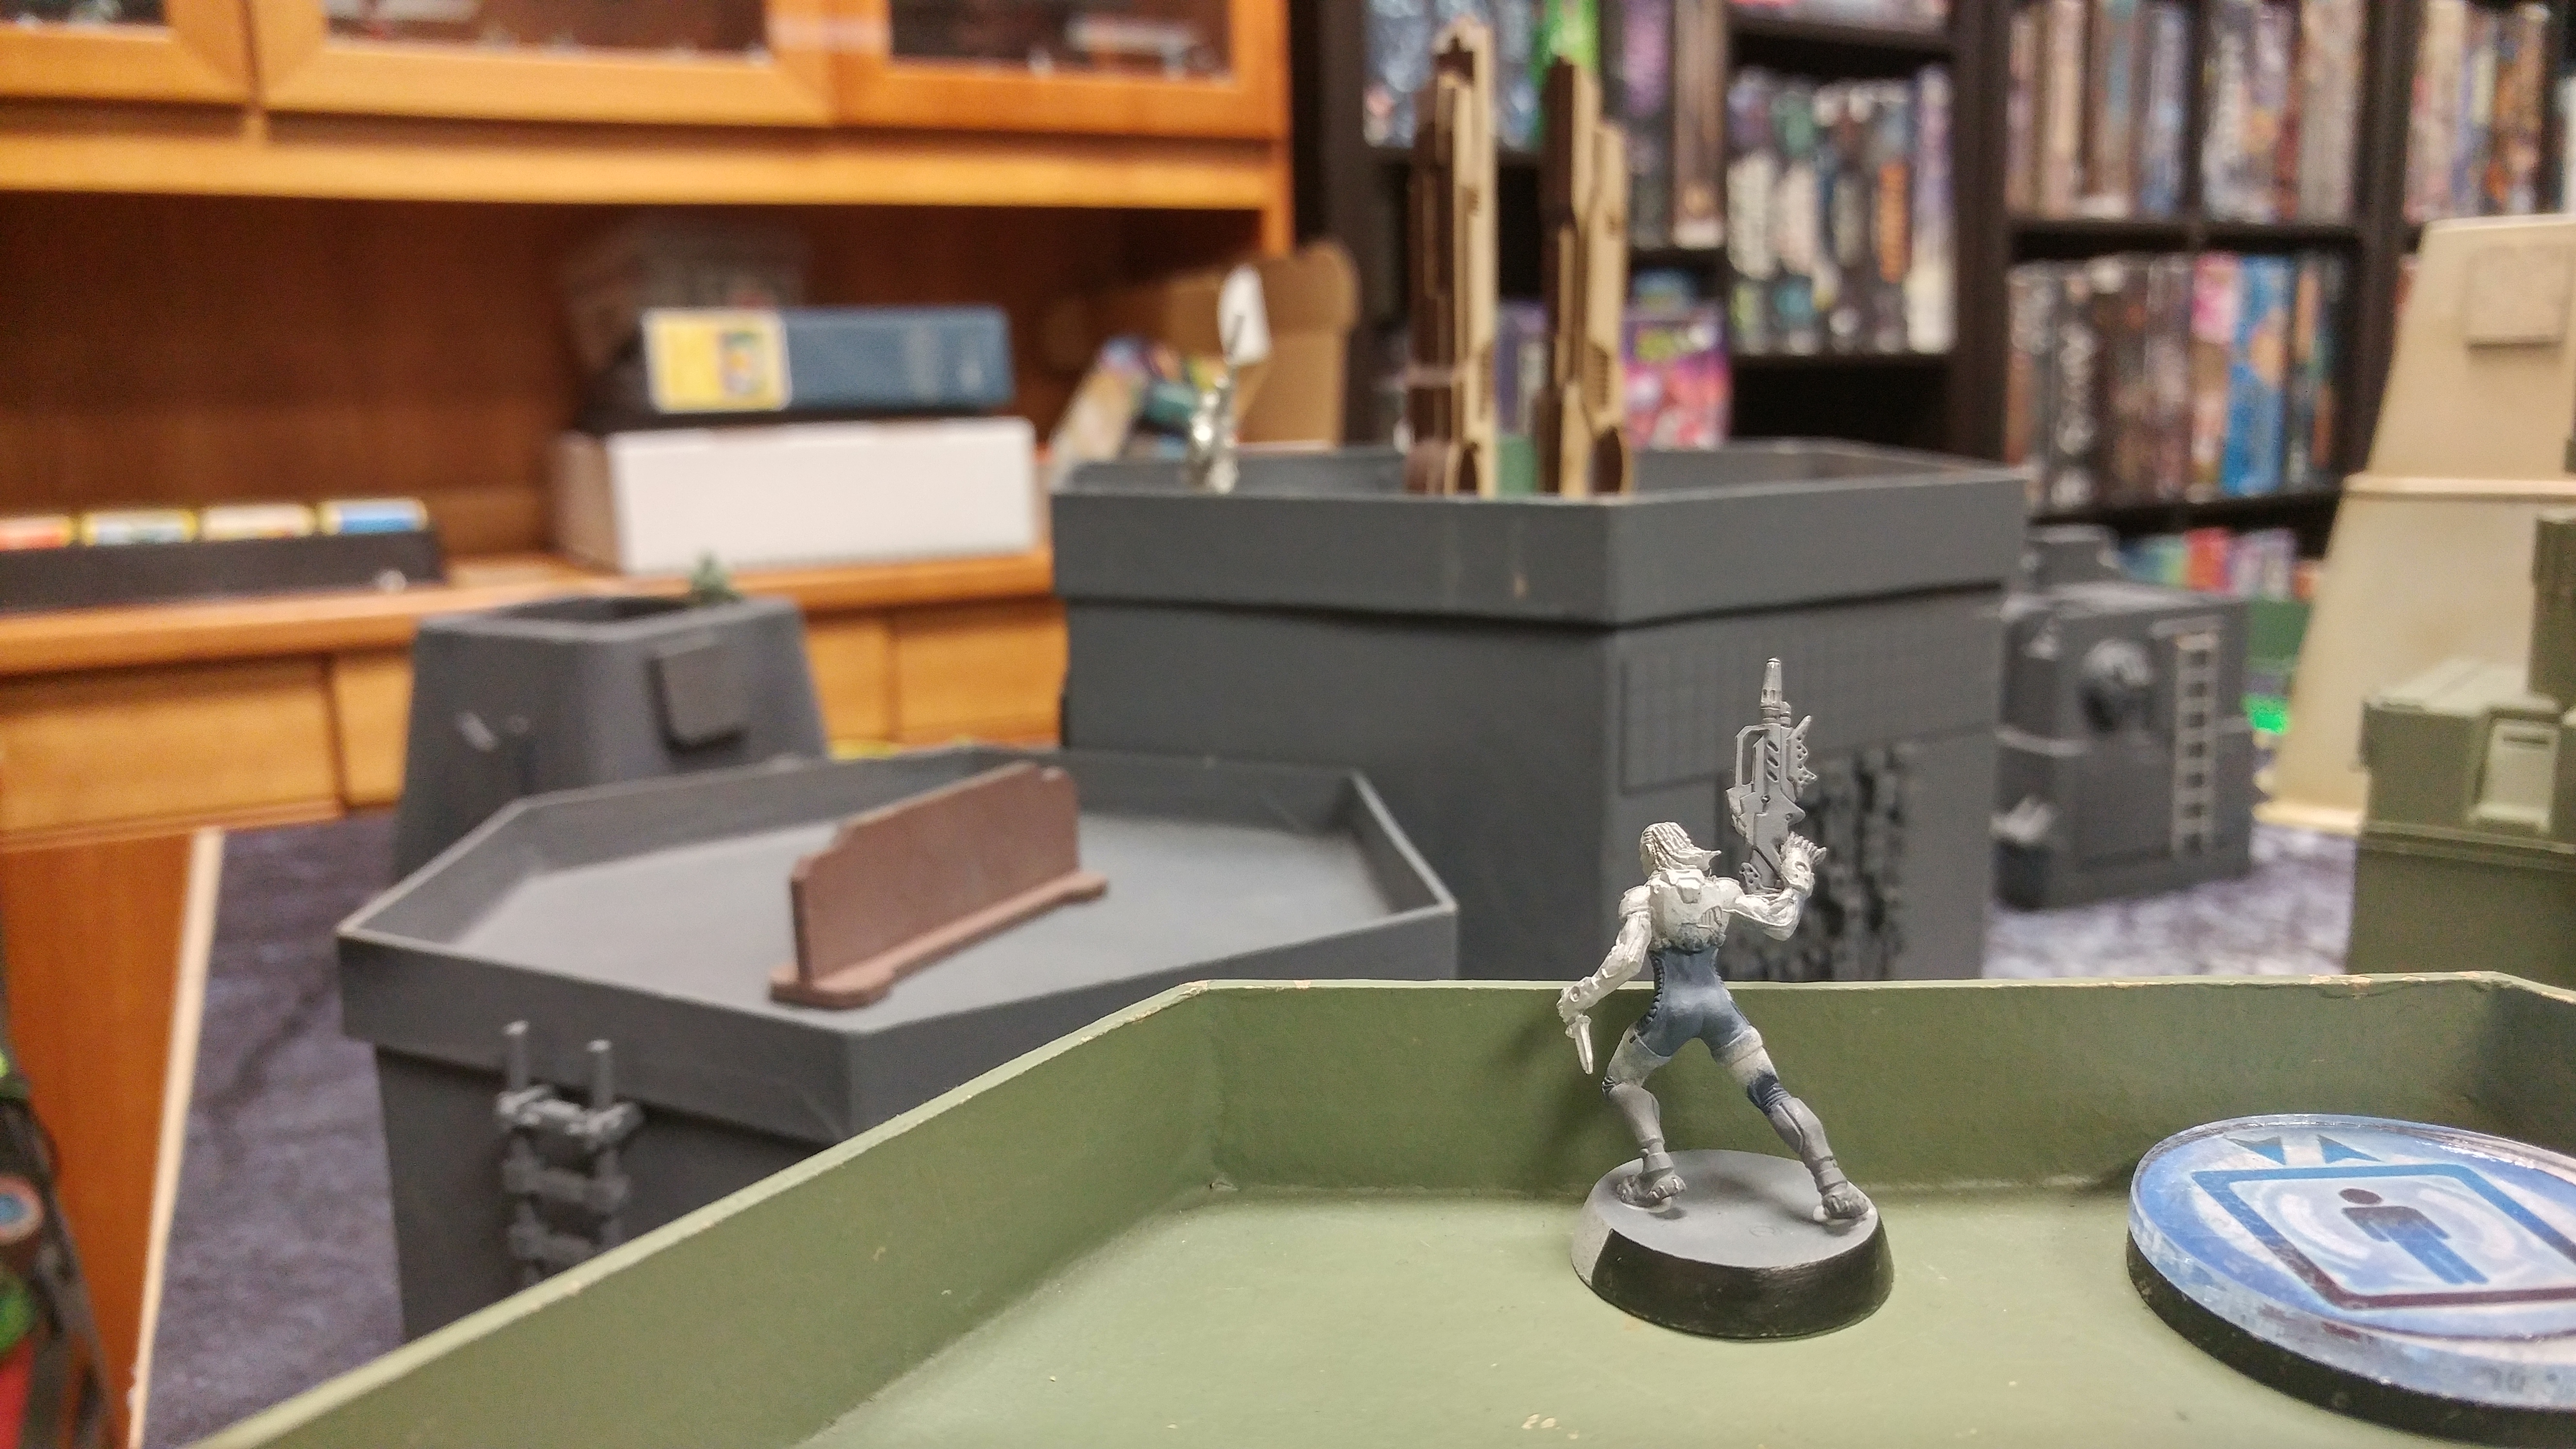
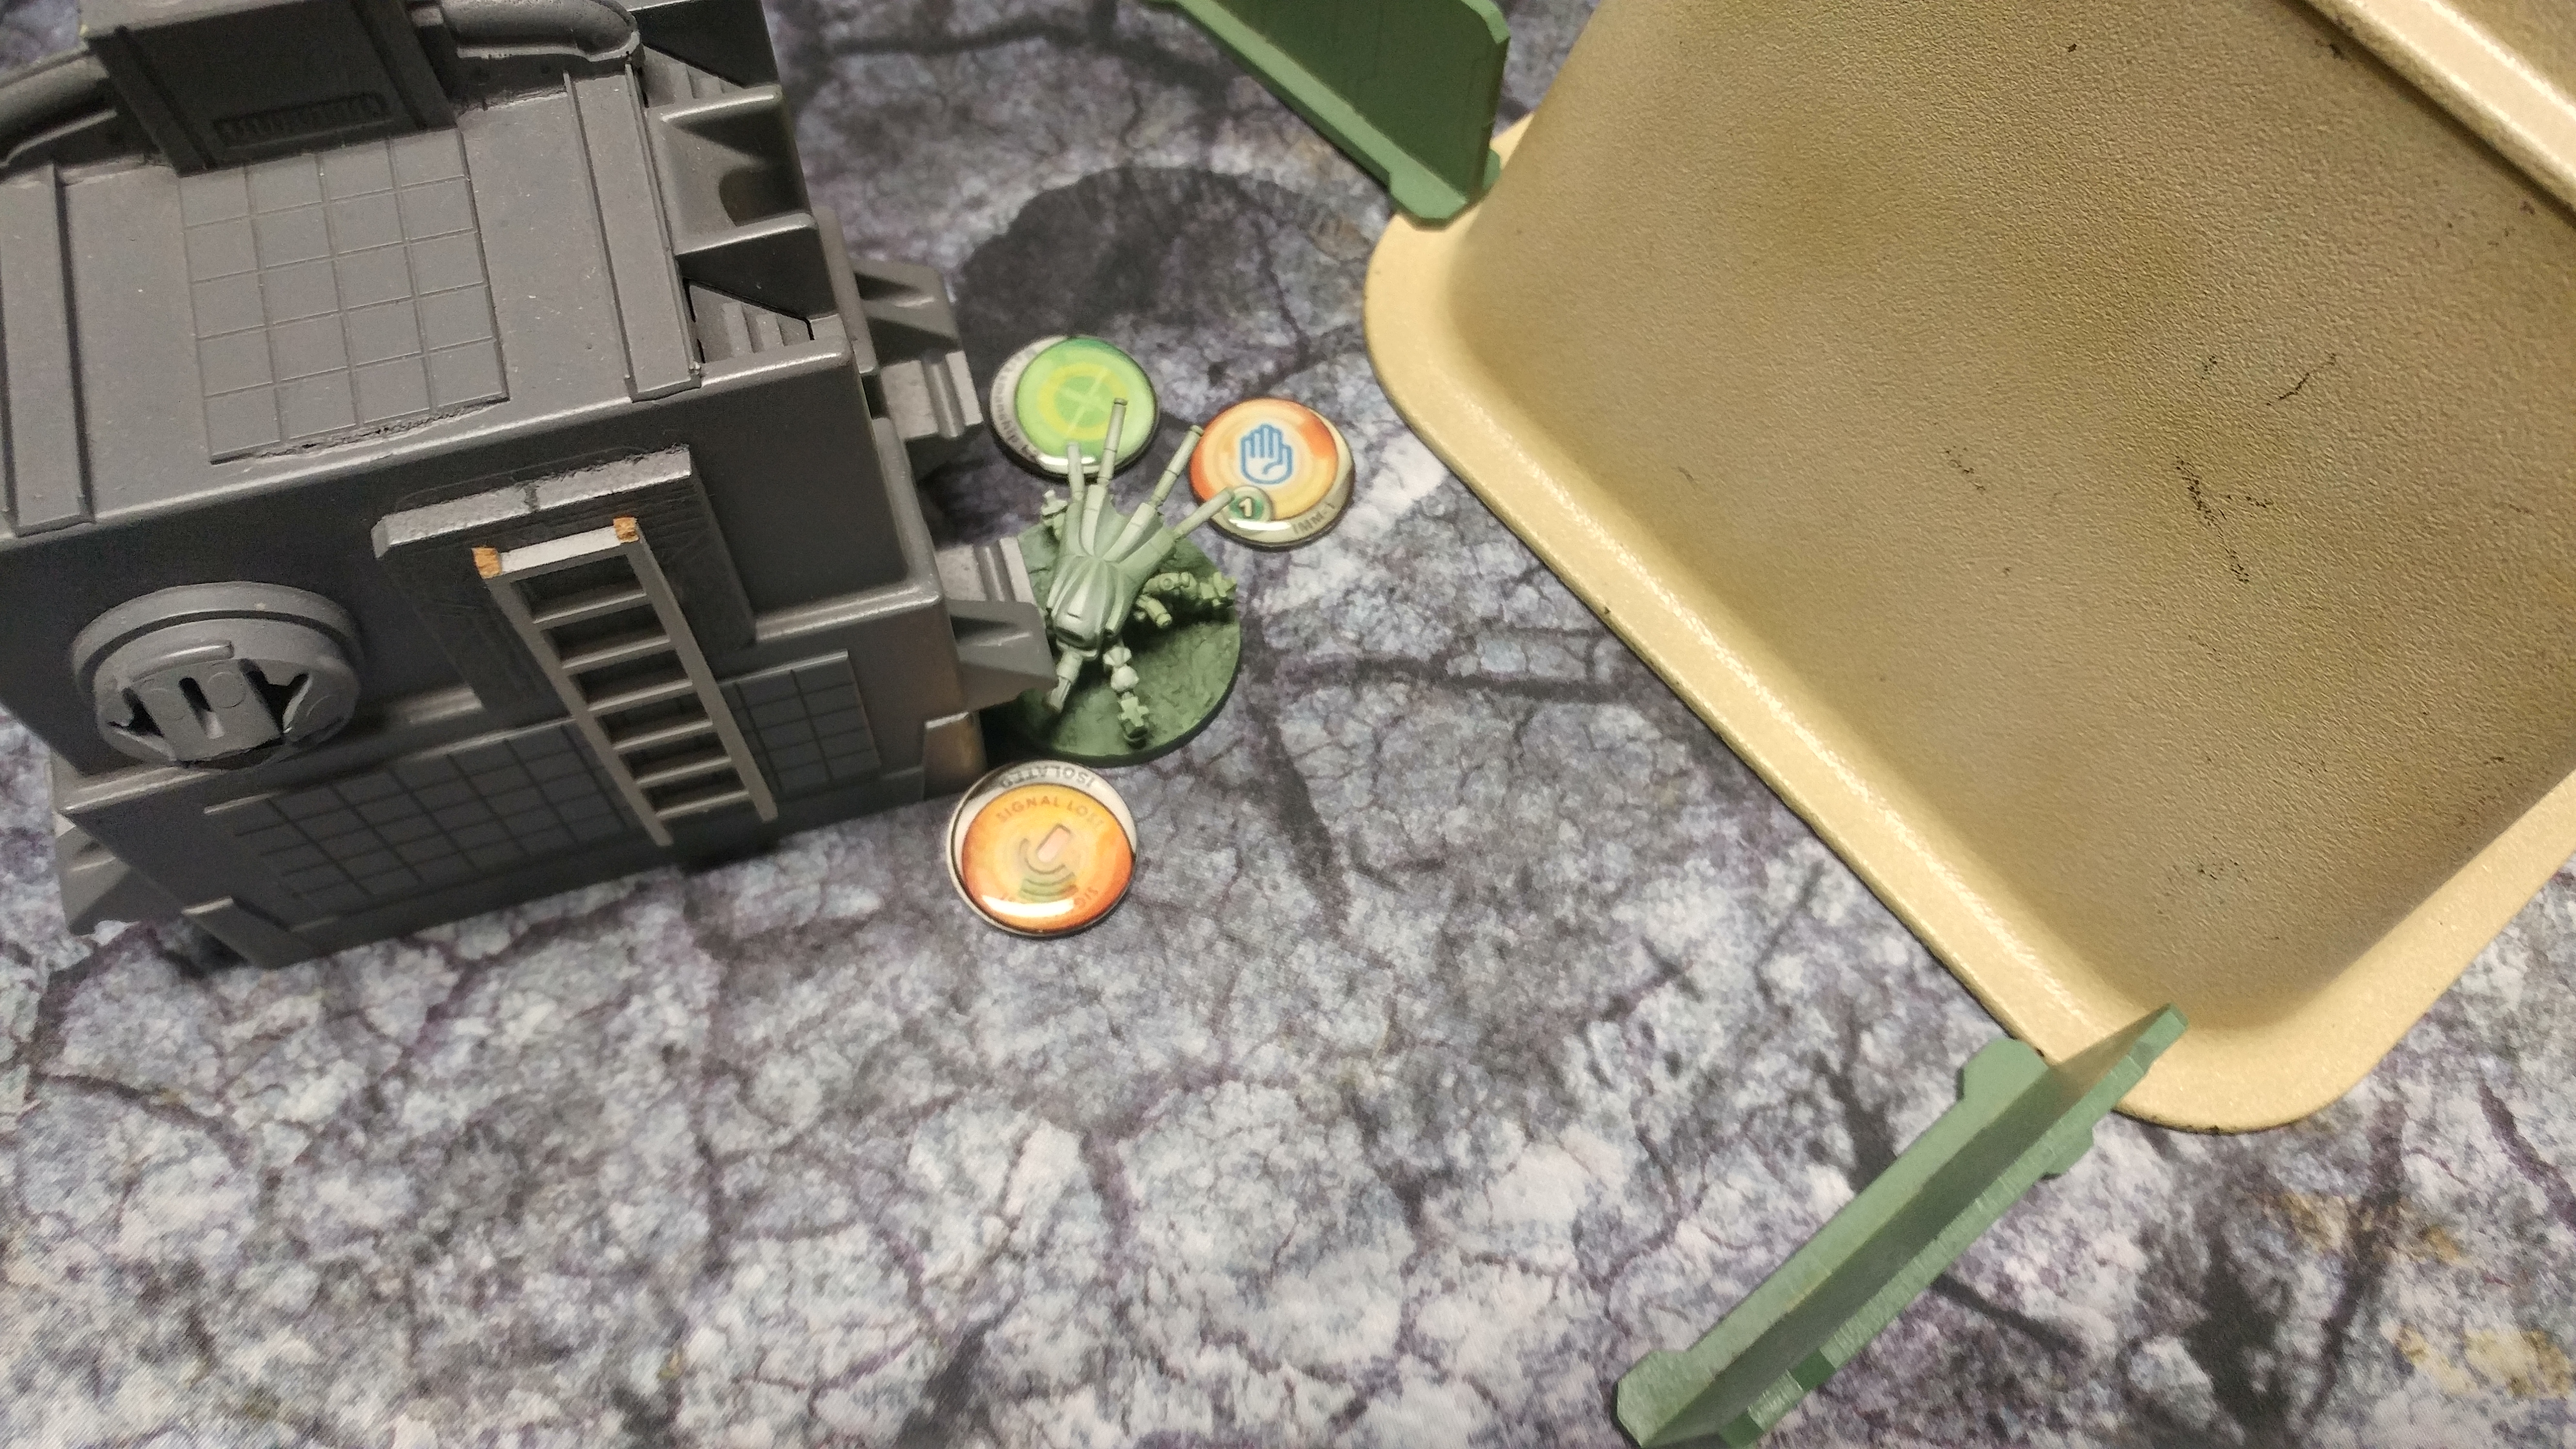
We used some elevator tokens that Isaac had made to simplify the process of getting off these ridiculously tall buildings. His bolt link team set up on my right flank (the picture below is from my left), ready to advance up the field, backed up by a Fusilier prone on the olive building and a Fusilier hacker in the back. His REMs set up in a cluster in the middle of the field to contest the central area, and his two Hexas came down on my left flank, with the MSR up top behind the cool MDF antenna things in HD, and the Hexa KHD tucked behind the two grey hexagonal buildings.
 His Black Friar MULTI Rifle hid behind a small building in the center of his deployment zone, and then it was my turn to deploy. I put my Taskmaster on the right, prone, defended by his Crazy Koalas, a Morlock and a Jaguar Panzerfaust. Funnily enough, the Jaguar Panzerfaust couldn’t really see up the field at all, barely being able to see the corner of the red and grey rectangular building. He could see over the red and grey building, which turned out to be relevant. In any case, I didn’t bend over to have a look, but it ended up working out. My other Jaguar was on overwatch, looking over the center of the board, with the approach to him covered by a Morlock that rolled 8-4 MOV. My Lunokhod defended the approach to my Interventor, who was on a roof, and I doubled-down on the Koala net on that side by throwing a Moran on the roof in front of the Interventor. I attempted to get land a Bandit over the centerline, but she ended up failing her roll and came in on my left board edge, protected by the green hexagonal buildings. My other Bandit deployed next to the elevator “doors” on the tall hexagonal building, with my last Moran covering the Tech Coffin with his Koalas from the center.
 I think his reserve was the TR bot, which contested the middle of the field and my left flank. I deployed my Prowler prone on a roof in the center of the board, intending to reveal it and drop a single model before it went down itself.
Turn 1
Top of Turn 1 – NCA
I steal two orders from the pool with the Bolts, and they start schlepping their way up the field. The Bolt Sniper drops my Jaguar Panzerfaust in the center and does some fancy footwork to get to the 8-4MOV Morlock as well, dropping him as well. Drat! I was practically salivating at the thought of being able to get that guy into chain rifle range of the link. Isaac’s link tosses some drop bears to mine up the central objective, and castles up his Bolts with a BSG watching the Jaguar’s and Morlock’s approach on my right after trying to E/M grenade my warbands unsuccessfully. Sadly, the Koala that is triggered by this bounces off the Bolt’s BTS. Not great. He throws his hacker into suppression in his backfield in case I start raining Hellcats on him, then moves the Fusilier on the olive building over the little hump on it to get another LoF to the Jaguar/Morlock’s approach. Unfortunately, the Jaguar can see this and panzerfausts the Fusilier off the table.
Bottom of Turn 1 – Nomads
Isaac has presented me with a tough situation! I cancel the right Morlock’s order and let the left Morlock die to the TR bot. I roll the Jaguar around the corner to try and ADHL the Bolt that’s there, but the link team bonuses prevail and I am forced to make (and pass) an ARM save. I try again, spending the now dead Morlock’s irregular order, and the Bolt finally blasts him off the table with a shotgun blast. I canceled the Morlock’s order because I didn’t want to give him a shotgun template on both the Morlock and the Jaguar. The Morlock spends her irregular order and successfully drops the Bolt BSG with her chain rifle, but dies in the process. Doesn’t matter. The way is clear!
“Hey Boss, are Bolts good?” radioed the Moran from his perch in the middle of the battlefield. “I dunno,” replied Zero Cool the Interventor. “They move slow and I hear it costs a lot to outfit them.”
“Yeah, but they look so cool in their armor! Big red targets for heads,” mused the Moran, sighting down his combi-rifle. “I was watching a Maya cast the other day and some PanO guys were shitting all over the Bolts.” chimed in the other Moran. “Yeah, I watched the same vid. They were complaining that they don’t have flamethrowers like our Wildcats do. They’re really upset about that,” agreed the first Moran.
“I have a flamethrower,” chuckled the Tomcat, slinking around the corner. “I’ll go show it to them!”
I walk on a Tomcat and flamethrower four Bolts in 1 shot. Fuel for the “Bolts are Bad” Fire! The unconscious BSG Bolt gets fried in his armor along with the Spitfire Bolt, but the MSR Bolt dodges around the corner of the building. I waffle for a good minute about what to do next. The Bolt MSR is still up or I would try to hit the team with my Moran that’s in the middle on a roof. Eventually, I just throw my arms up and walk the Tomcat up further to get an angle where I can hit the Drop Bear Bolt and the MSR Bolt again. Probably should’ve coordinated this order with the Moran. This time, the MSR Bolt goes down in flames, but the Drop Bear Bolt dodges out of the way. He broke the link to shoot me with the Paramedic’s shotgun from behind the blue barricade, and the Tomcat goes down. I dismantle the remaining two members of the link the old fashioned way, with weight of fire from the Moran’s combi-rifle. Thankfully I’m just outside of the closest mine’s range. I managed to get a shot from behind the Drop Bear Bolt and thus was able to F2F them separately with my full burst. Okay. Link team gone, lots of pressure off my right flank. Now to deal with the Black Friar.
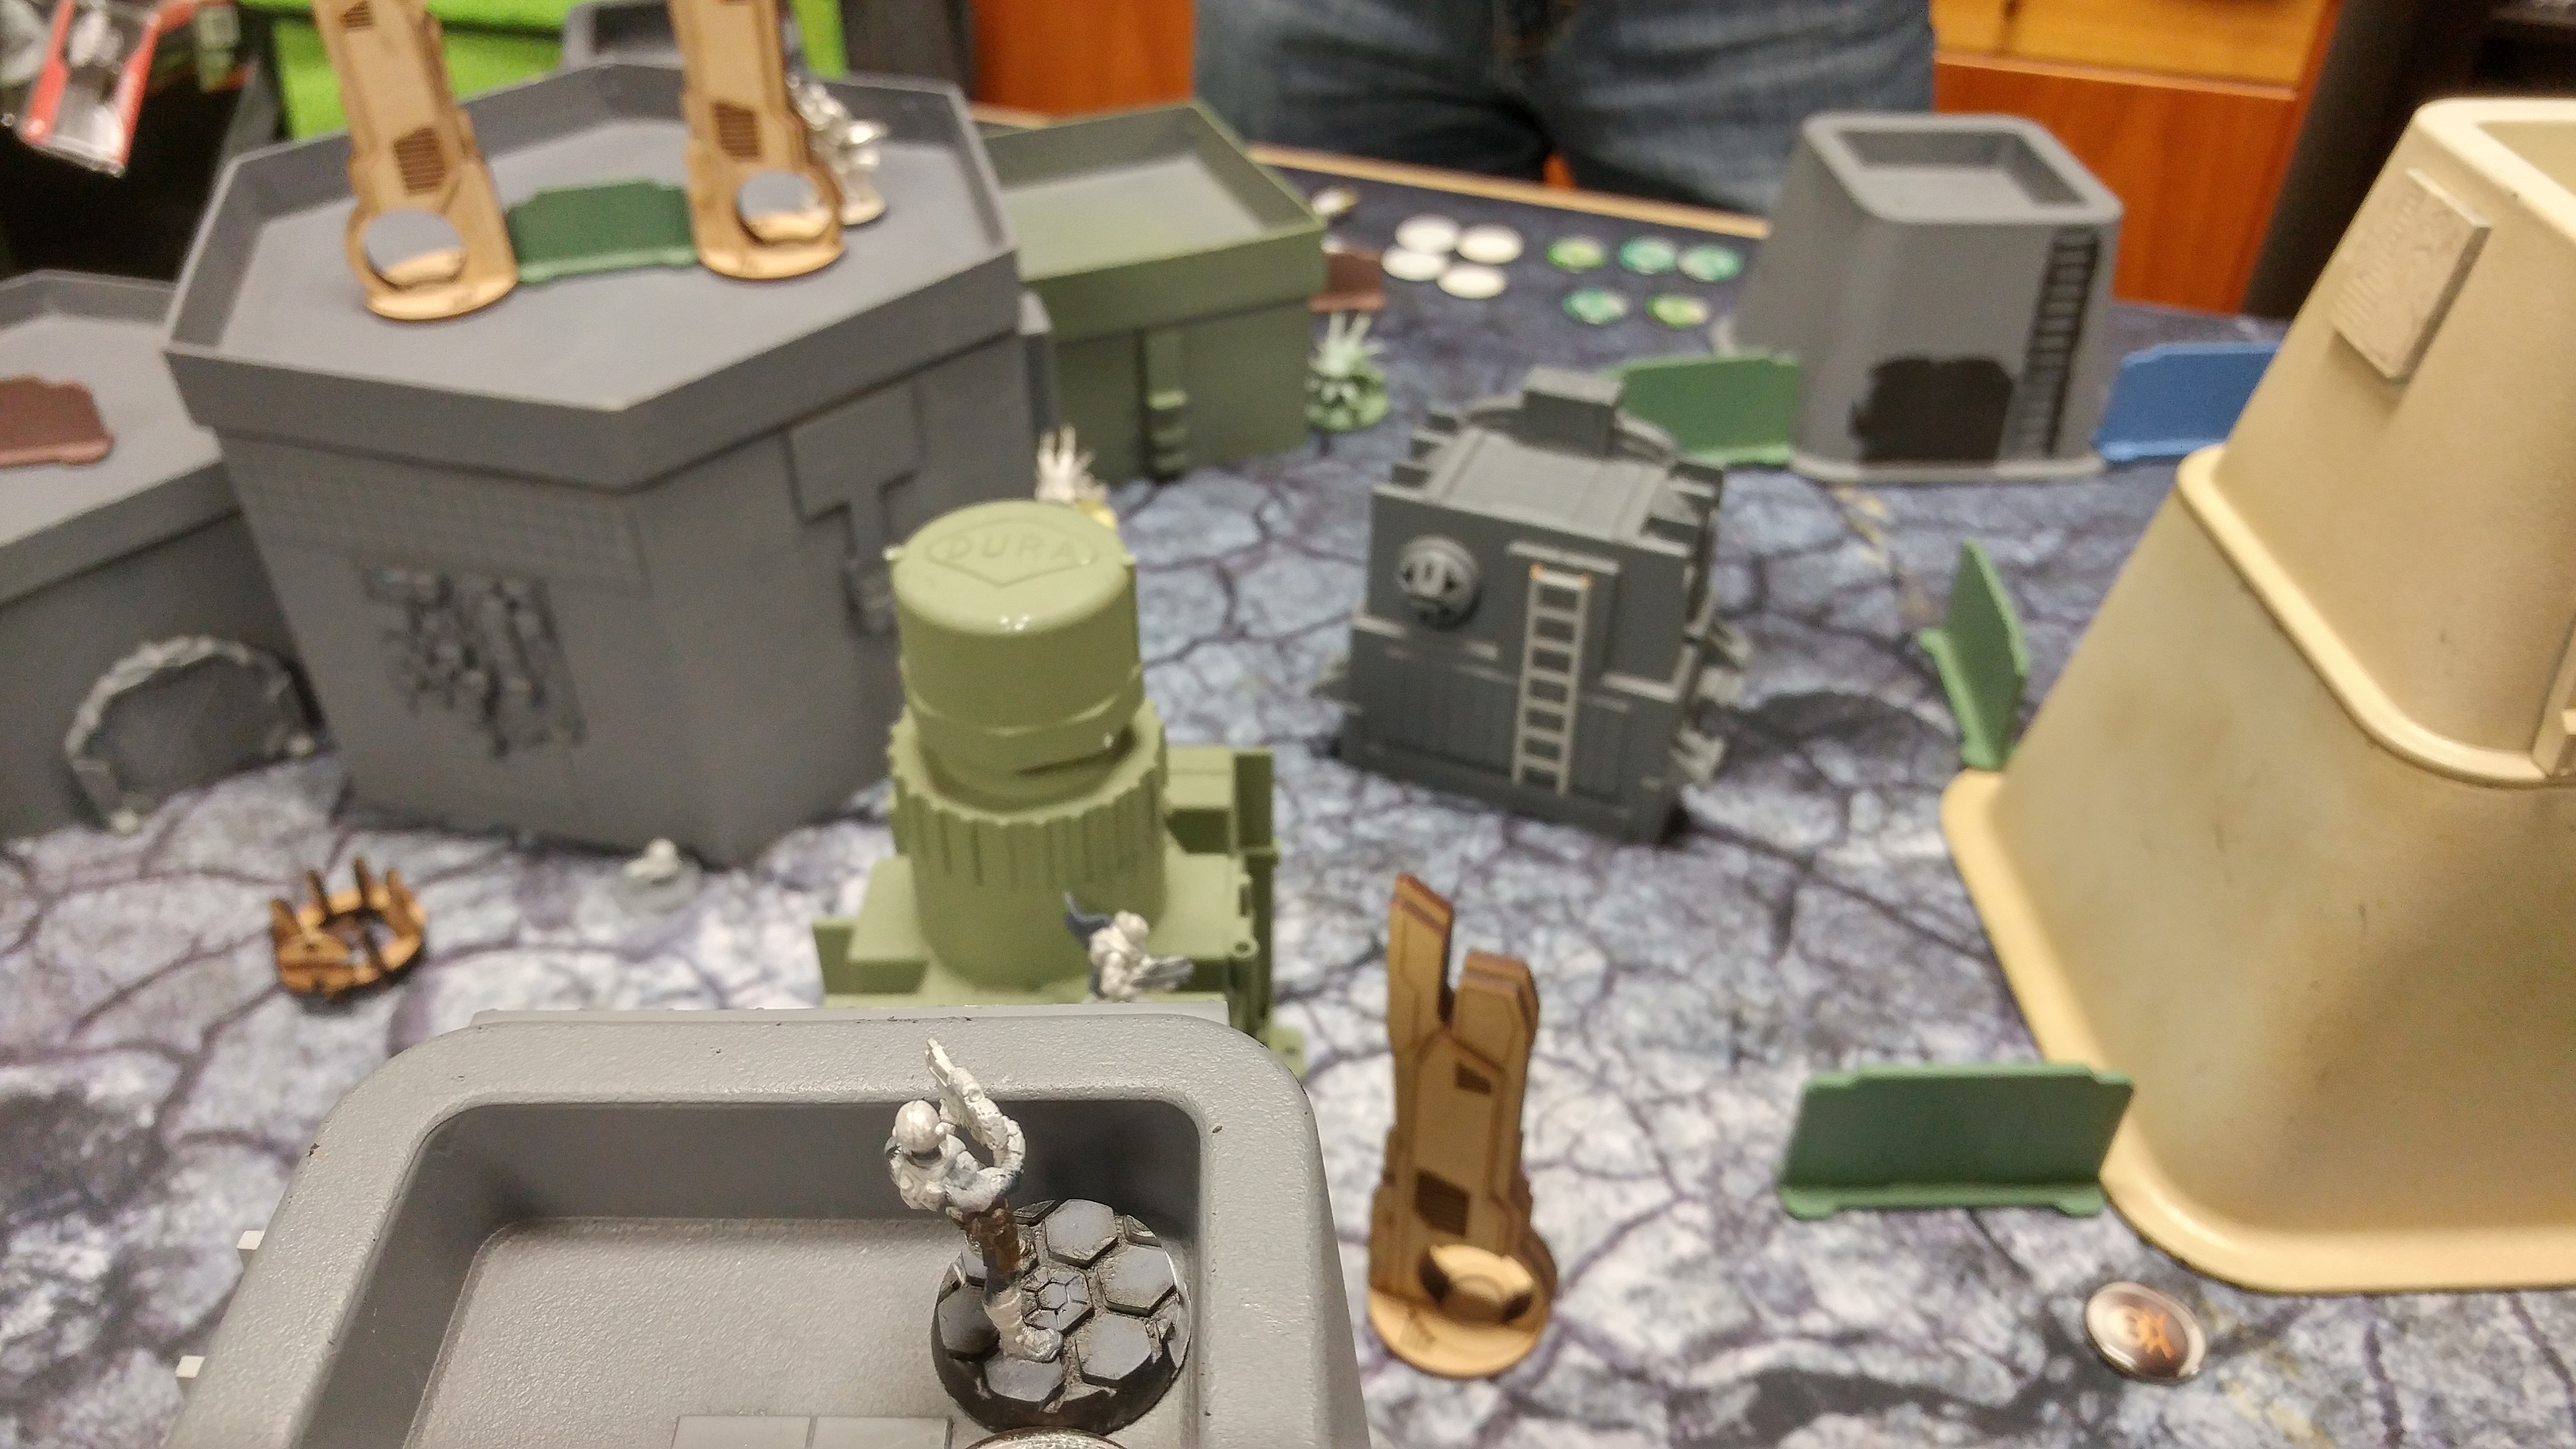
I stand up the Prowler, and he reveals a TO Camo marker, which waits for my second short skill. I blast the Black Friar with three shots from the Spitfire and the TR bot with a single shot to ensure it gets surprise-shotted. The TR bot and the Prowler can’t hit each other, but the Black Friar goes down like a sack of pious potatoes. The Hexa does hit the Prowler, but my Prowler tanks the DA shots like a champ.
 I flip the Bandit’s irregular order (the one that failed her infiltrate roll) and split burst against the Hexa and the TR bot, but go down in a hail of gunfire. I don’t have much else at this point, so I move the other Bandit into the elevator and buff the Lunokhod to have Burst 2 with my Interventor.
Turn 2
Top of Turn 2 – NCA
So, he needs to clear out some CKs to free up his Hexa MSR, so the TR bot zips around the corner, narrowly avoiding the Moran’s repeater net and guns down the two Koalas that are covering the Hexa. Now that the Hexa is freed up, it shuffles to the right, prone, and then pops up to gun down the Lunokhod.
 The Hexa KHD dashes up the table in a Hail Mary play, declaring Redrum against my Interventor through the Moran’s repeater. He gets his surprise modifier, but I hack him back with Breakwater and my two Bandit KHDs bring some rum to the party as well. The Hexa goes down, its brain leaking out of it ears, with my Interventor unscathed.
 With his last order, he scoots the TR bot back into cover, covering the central Tech Coffin.
Bottom of Turn 2 – Nomads
Most of my Koalas are destroyed or disabled at this point, and I need to deal with the TR bot, Hexa MSR, and the mines in the middle of the field. I coordinate an order, scooting the left Moran up to the lip of the the roof he’s on, the middle Moran closer to the TR bot (staying outside of mine range) and advance the Taskmaster, using his remaining Crazy Koala to clear out the drop bears.
 I pop the left Moran up and gun down the Hexa with some lucky rolls. I activate the elevator the Bandit’s in, now that the mines are gone, but she gets flash pulsed on the way to flipping the objective on the right. We actually forgot that button pushing is an attack and therefore was illegal, but I’ll alter the final score to the game to reflect the illegal action. At the very least getting the Bandit to dominate the console was a good idea, so I would’ve done it stunned or not. I attempt to move my other Bandit into the fight, but it’s a looong way around the building.
Turn 3
Top of Turn 3 – NCA
The TR bot gets buff (do you even HMG, bro?), scoots up a bit, and guns down the Moran on the left, but he’s now in repeater range! I immobilize it with my Interventor. He tries to reset, and I Oblivion it successfully, locking it in place as Isaac can’t spend any more orders on it now.
 He runs his hacker all the way up the field, gunning down my Bandit on the way to coup de grâce the Tomcat for a classified.
Bottom of Turn 3 – Nomads
I am pretty low on orders at this point. I’m down to the Interventor, a Moran, and the Taskmaster for regular orders. The Taskmaster runs up the field, gunning down the Fusilier Hacker on the way, and slides into home plate, base to base with the center objective.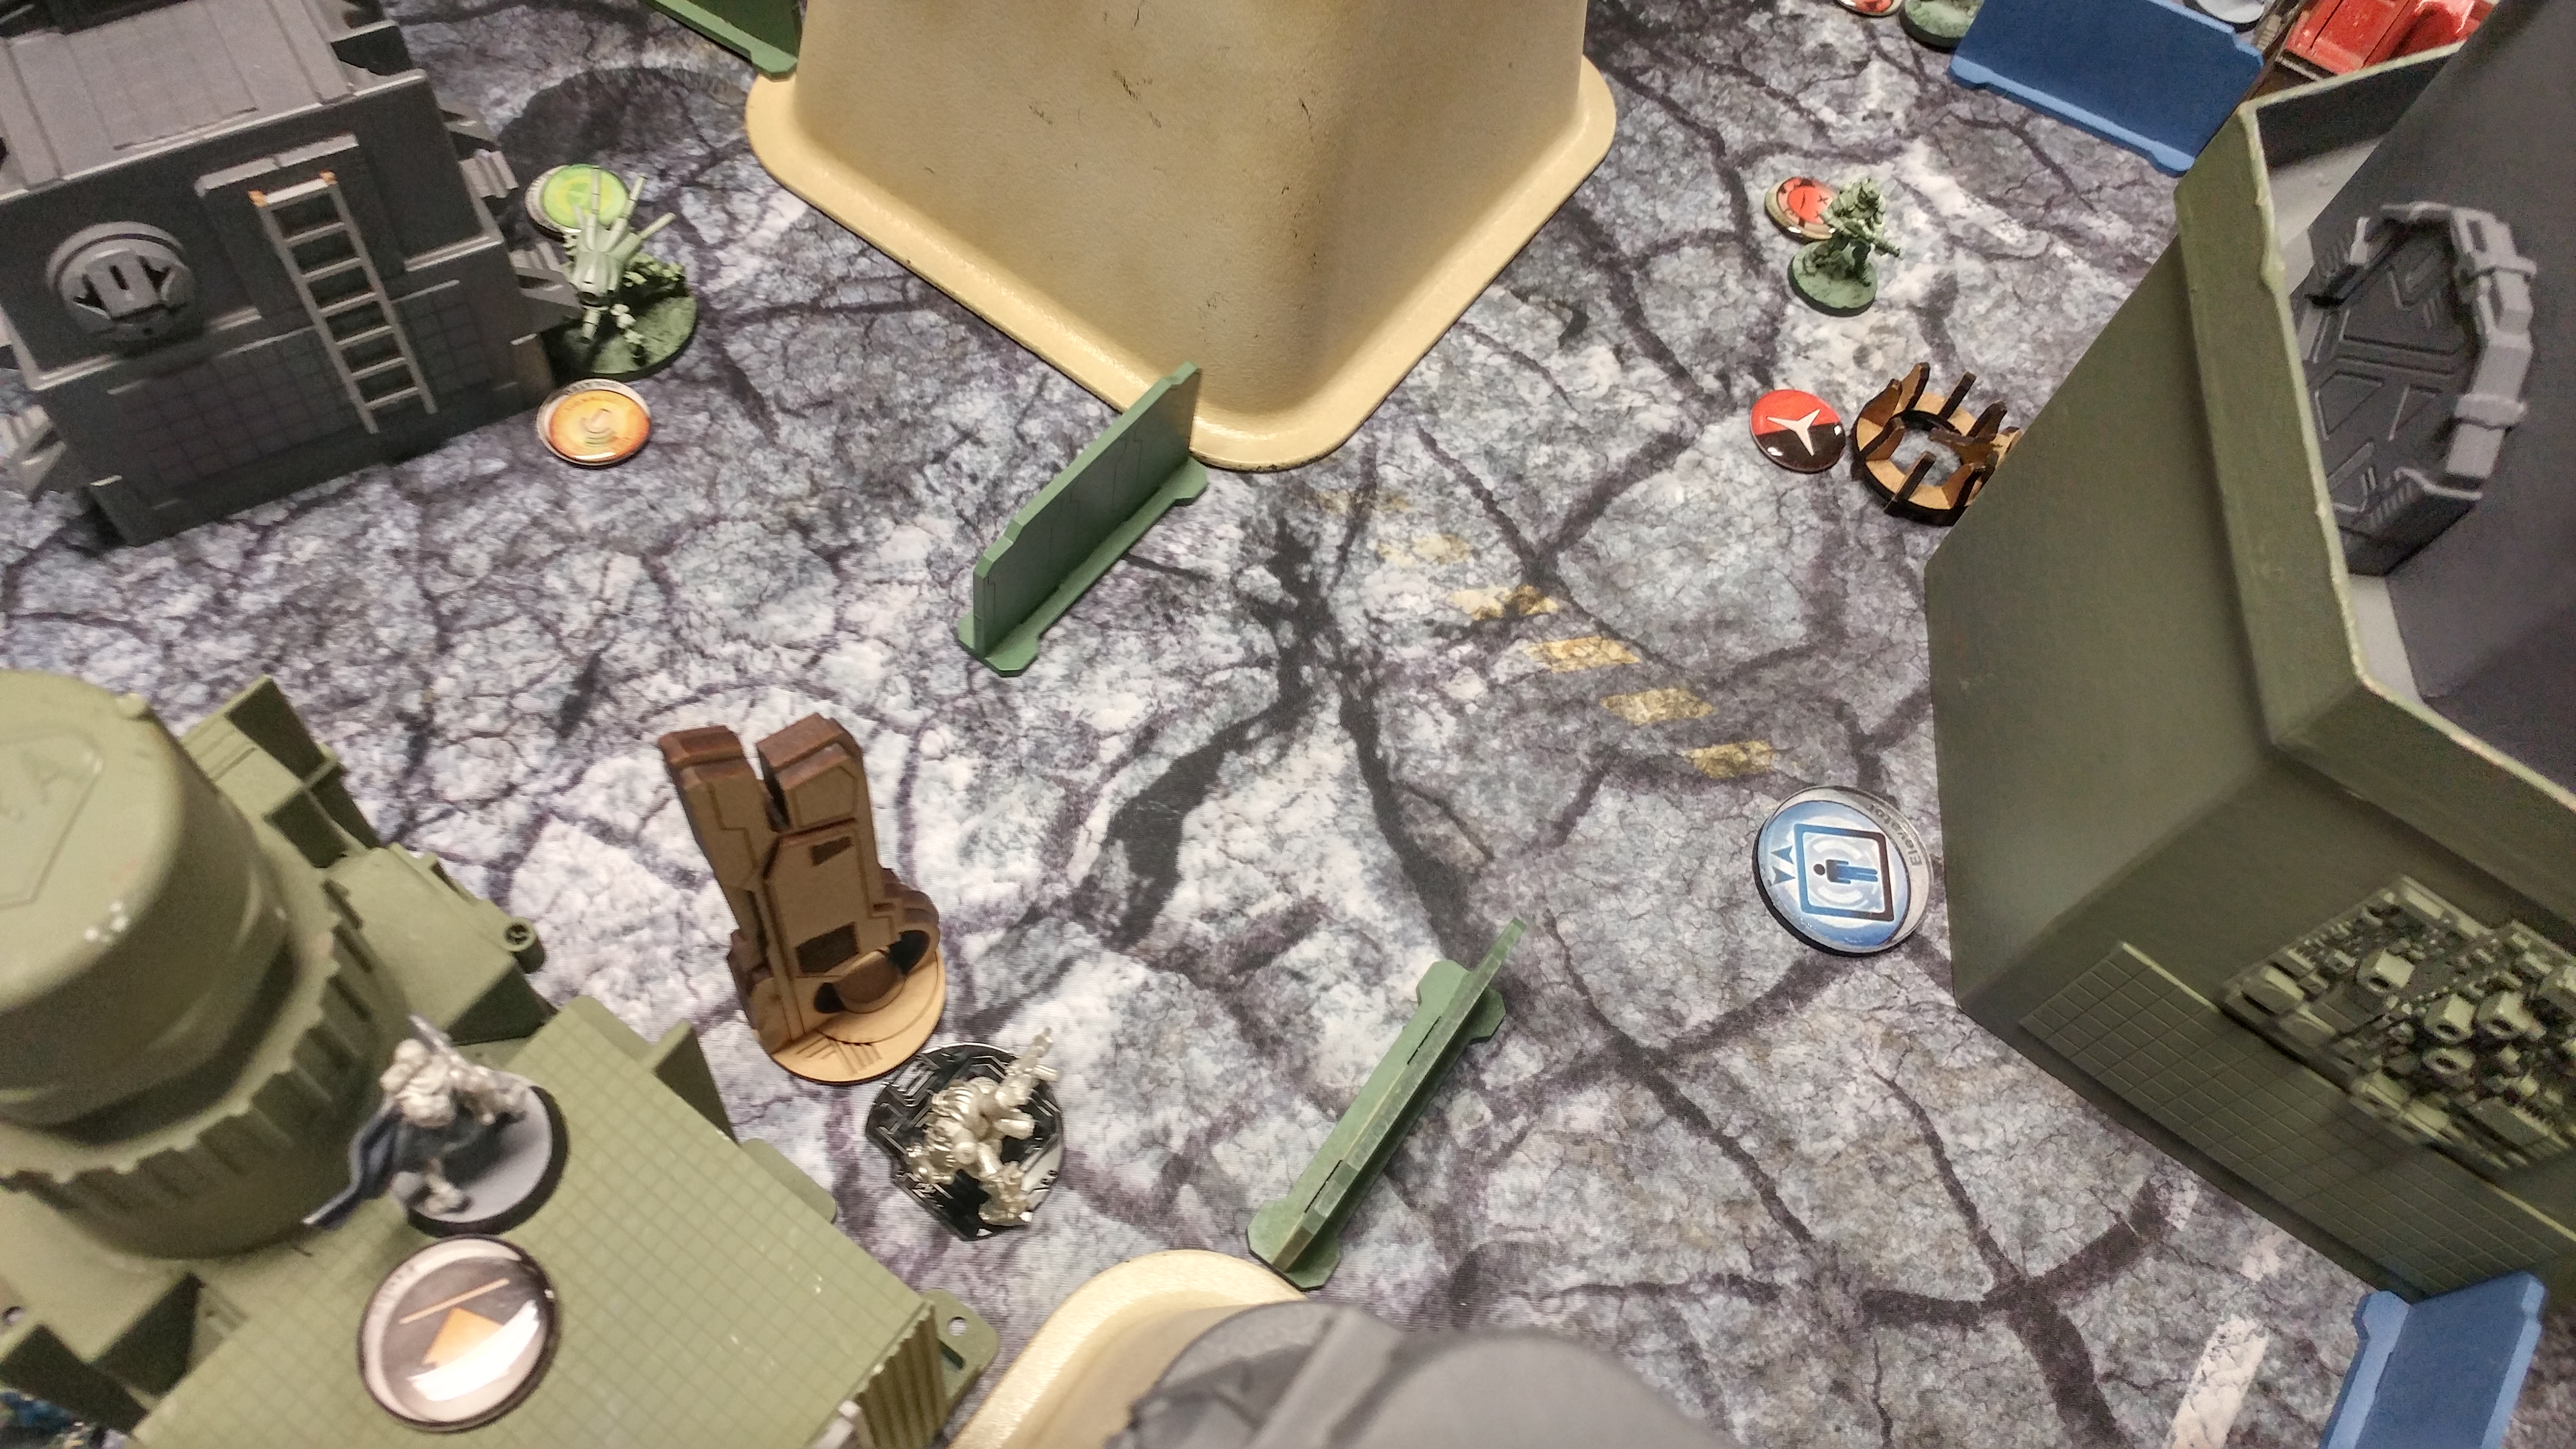 I throw my Interventor’s Lt order at spotlighting the frozen TR bot for my classified and make my roll!
6-1 Nomad Victory!
Notes
- I had a bit of a deployment kerfuffle with the 8-4 Morlock. I should’ve put him in better cover and thus had another chain rifle up to deal with the bolts.
- I also had a really weird situation where the Morlock and the Jaguar on the right generated a free shotgun template for the Bolt BSG there, forcing me to cancel an impetuous order, probably wasting a perfectly good order.
- Good use of the Tomcat this game! Light flamethrower for the win.
- The Koala/hacking net was pretty effective at gumming up his REMs in his deployment zone, letting me be really conservative in my deployment. Really I only left the Jaguars out to ARO things, and the one on the right was pretty tucked away by accident. The Morlock wasn’t supposed to be out at all, but Isaac managed to find an angle.
- Eyeball LoF during deployment! I know the terrain pretty well at the store, but sometimes it pays to actually get down to an Intruder’s eye view and actually look.
- Before I start a super important internet fight, let me say that I honestly think Bolts are fine. I like having the MSR and a Spitfire in the link. You could probably afford to ditch the Spitfire or the MSR to save on SWC. I might use the MSR at over 16″ and combi’s under 16″, spending the Spitfire SWC on a Bulleteer or something to have another gun on the other side of the field.
- Isaac and I talked after the game, and we sorta arrived at the conclusion that Bolts give you reasons to be close: Drop Bears, E/M Grenades, hacking, shotguns, etc. That was why he pushed them up so aggressively first turn, hoping to catch my Taskmaster with an E/M grenade.
- I think he overextended a lot as a result, letting me pincer them with the Tomcat and Moran, and also having them within 1 move to be in chain rifle range. If they had hung back, he would have had a few orders clearing some Koalas or something, and then it’d take me a few orders to get into chain rifle range and he’d be more than close enough to drop E/M grenades on me later. This also gives me less room to bring in my Tomcat, because of the 16″ deployment zones.
- Having a reputation for dropping Hellcats on everyone costs them orders! Nothing wrong with having guys in suppression in your DZ, but if they’re facing the back edge and I don’t have Hellcats it’s an order that you’re not shooting me with.
- Probably should’ve coordinated an order with the Tomcat and the Moran in the center to gun down the Bolts…. but I’d have needed to target the Bolt Paramedic with the Moran and the other Bolts with the Tomcat… so maybe not. Tough call, that’s why I waffled so much. I really wanted the Tomcat alive over there to continue causing havoc, but just removing the link team also works.
- Ordinarily I’d say that having a repeater net on the table with an hacker Lt might be questionable, but having a BTS 9 hacker Lt with Breakwater and two KHDs of your own generally serves as a reasonable deterrent. If they manage to get a Redrum off, my KHDs ensure they only get a single shot.