One Man Bosozoku Gang
Went to Thursday game night and putzed around, just hanging out with the guys. There were only three of us for a bit so we just shot the shit waiting for a fourth to show up. Once someone did, Daniel and I ended up pairing up for a game, but neither of us really had strong opinions on what to play. Deadly Dance had come up in our earlier conversation as a hilariously janky mission with the rotating quadrants and all, so we just decided to play it. I had packed my Gecko, so I was game, and Daniel had some fun JSA shenanigans in mind to try out, TAG or no TAG, so he was game too.
Overview
- Mission: Deadly Dance
- Forces: Jurisdictional Command of Corregidor versus Japanese Secessionist Army
- Deploy First: Corregidor
- First Turn: Corregidor
I was eager to redeem myself from my earlier list building fiasco with a similar list–not having a Haris Wildcat and having a Wildcat Haris is illegal! This time, however, since it was a take and hold ground mission, I took a baggage bot, and the mission sorta wants a TAG. The points costs were such that I ended up dropping a Bandit and the troublesome Wildcat Haris entirely for a Gecko, and then I swapped a Transductor Zond for an 8-point Salyut, so I couldn’t make the same mistake again, but I am aware of it! The core of the list remains the same, with the Jaguar Core and important things in the first list, like a Bandit, TAG, and Clockmaker, then an Intruder HMG, double Moran, and whatever orders I could cram in there for the second group. I had a few extra points lying around so I ended up taking a pair of Alguaciles, one of whom was my Lieutenant. It’s a pretty light-on-SWC list, but I didn’t really feel it this game, thanks to all the smoke letting me use the Core to their fullest extent.
[img]https://assets.infinitythegame.net/infinityarmy/img/_logosweb/logo_502.png[/img][b] Jurisdictional Command of Corregidor[/b]
[b]GROUP 1 | [/b][img]https://assets.infinitythegame.net/infinityarmy/img/_logosweb/orden_regular.png[/img]9 [img]https://assets.infinitythegame.net/infinityarmy/img/_logosweb/orden_irregular.png[/img]1
[img]https://assets.infinitythegame.net/infinityarmy/img/_logosweb/502/logo_1.png[/img] [b]ALGUACIL Lieutenant[/b] Combi Rifle / Pistol, Knife. (1 | [b]10[/b])
[img]https://assets.infinitythegame.net/infinityarmy/img/_logosweb/502/logo_25.png[/img] [b]SEÑOR MASSACRE[/b] Breaker Combi Rifle, E/M Grenades, Eclipse Grenades / Pistol, AP CCW, E/M CCW. (0 | [b]29[/b])
[img]https://assets.infinitythegame.net/infinityarmy/img/_logosweb/502/logo_11.png[/img] [b]JAGUAR[/b] Light Shotgun, Smoke Grenades / Pistol, E/M CCW. (0 | [b]13[/b])
[img]https://assets.infinitythegame.net/infinityarmy/img/_logosweb/502/logo_11.png[/img] [b]JAGUAR[/b] Chain Rifle, Smoke Grenades / Pistol, DA CCW. (0 | [b]10[/b])
[img]https://assets.infinitythegame.net/infinityarmy/img/_logosweb/502/logo_11.png[/img] [b]JAGUAR[/b] Adhesive Launcher, Panzerfaust / Pistol, DA CCW. (0.5 | [b]13[/b])
[img]https://assets.infinitythegame.net/infinityarmy/img/_logosweb/502/logo_11.png[/img] [b]JAGUAR[/b] Adhesive Launcher, Panzerfaust / Pistol, DA CCW. (0.5 | [b]13[/b])[img]https://assets.infinitythegame.net/infinityarmy/img/_logosweb/502/logo_8.png[/img] [b]GECKO[/b] Mk12, Chain-colt, Blitzen / . (0.5 | [b]54[/b])
[img]https://assets.infinitythegame.net/infinityarmy/img/_logosweb/sep.gif[/img] [img]https://assets.infinitythegame.net/infinityarmy/img/_logosweb/502/logo_8.png[/img] [b]GECKO PILOT[/b] 2 Assault Pistols, Knife. ([b][/b])
[img]https://assets.infinitythegame.net/infinityarmy/img/_logosweb/502/logo_21.png[/img] [b]SALYUT (Minesweeper, Repeater)[/b] Electric Pulse. (0 | [b]8[/b])
[img]https://assets.infinitythegame.net/infinityarmy/img/_logosweb/502/logo_12.png[/img] [b]CLOCKMAKER[/b] Combi Rifle, D-Charges / Pistol, Knife. (0 | [b]18[/b])
[img]https://assets.infinitythegame.net/infinityarmy/img/_logosweb/502/logo_20.png[/img] [b]ZONDBOT[/b] Electric Pulse. (0 | [b]3[/b])
[img]https://assets.infinitythegame.net/infinityarmy/img/_logosweb/502/logo_9.png[/img] [b]BANDIT Hacker (Killer Hacking Device)[/b] Light Shotgun, Adhesive Launcher / Pistol, DA CCW. (0 | [b]25[/b])[b]GROUP 2 | [/b][img]https://assets.infinitythegame.net/infinityarmy/img/_logosweb/orden_regular.png[/img]5
[img]https://assets.infinitythegame.net/infinityarmy/img/_logosweb/502/logo_5.png[/img] [b]INTRUDER[/b] HMG, Grenades / Pistol, CCW. (1.5 | [b]42[/b])
[img]https://assets.infinitythegame.net/infinityarmy/img/_logosweb/502/logo_10.png[/img] [b]MORAN (Forward Observer)[/b] Combi Rifle, CrazyKoalas (2) / Pistol, Knife. (0.5 | [b]22[/b])
[img]https://assets.infinitythegame.net/infinityarmy/img/_logosweb/502/logo_10.png[/img] [b]MORAN (Forward Observer)[/b] Combi Rifle, CrazyKoalas (2) / Pistol, Knife. (0.5 | [b]22[/b])
[img]https://assets.infinitythegame.net/infinityarmy/img/_logosweb/502/logo_1.png[/img] [b]ALGUACIL[/b] Combi Rifle / Pistol, Knife. (0 | [b]10[/b])
[img]https://assets.infinitythegame.net/infinityarmy/img/_logosweb/502/logo_17.png[/img] [b]TRANSDUCTOR ZOND[/b] Flash Pulse, Sniffer / Electric Pulse. (0 | [b]8[/b])
[b] 5 SWC | 300 Points |[/b] Open in Infinity Army
[img]https://assets.infinitythegame.net/infinityarmy/img/_logosweb/logo_903.png[/img][b] Japanese Secessionist Army[/b]
[b]GROUP 1 | [/b][img]https://assets.infinitythegame.net/infinityarmy/img/_logosweb/orden_regular.png[/img]9 [img]https://assets.infinitythegame.net/infinityarmy/img/_logosweb/orden_irregular.png[/img]1 [img]https://assets.infinitythegame.net/infinityarmy/img/_logosweb/orden_impetuosa.png[/img]3
[img]https://assets.infinitythegame.net/infinityarmy/img/_logosweb/903/logo_2.png[/img] [b]KEMPEI (Multispectral Visor L2)[/b] Shock Marksman Rifle / Pistol, CCW, Electric Pulse. (1 | [b]25[/b])
[img]https://assets.infinitythegame.net/infinityarmy/img/_logosweb/903/logo_2.png[/img] [b]KEMPEI (Chain of Command)[/b] Boarding Shotgun / Pistol, CCW, Electric Pulse. (0 | [b]21[/b])
[img]https://assets.infinitythegame.net/infinityarmy/img/_logosweb/903/logo_17.png[/img] [b]YURIKO ODA[/b] Combi Rifle + E/Mitter, D-Charges, Antipersonnel Mines / Pistol, CCW. (0 | [b]23[/b])
[img]https://assets.infinitythegame.net/infinityarmy/img/_logosweb/903/logo_1.png[/img] [b]KEISOTSU[/b] Missile Launcher / Pistol, Knife. (1.5 | [b]14[/b])
[img]https://assets.infinitythegame.net/infinityarmy/img/_logosweb/903/logo_1.png[/img] [b]KEISOTSU[/b] Missile Launcher / Pistol, Knife. (1.5 | [b]14[/b])[img]https://assets.infinitythegame.net/infinityarmy/img/_logosweb/903/logo_28.png[/img] [b]SAITO TOGAN (Specialist Operative)[/b] Combi Rifle, Smoke Grenades / Pistol, EXP CCW, Knife. (0 | [b]40[/b])
[img]https://assets.infinitythegame.net/infinityarmy/img/_logosweb/903/logo_26.png[/img] [b]MIYAMOTO MUSHASHI (Regular, Fireteam: Haris)[/b] Chain Rifle, Flash Pulse / Pistol, AP CCW, EXP CCW. (0.5 | [b]28[/b])
[img]https://assets.infinitythegame.net/infinityarmy/img/_logosweb/903/logo_6.png[/img] [b]TANKŌ[/b] Blitzen, Submachine Gun / Pistol, Monofilament CC Weapon, Shock CC Weapon. (0 | [b]23[/b])
[img]https://assets.infinitythegame.net/infinityarmy/img/_logosweb/903/logo_6.png[/img] [b]TANKŌ[/b] Blitzen, Submachine Gun / Pistol, Monofilament CC Weapon, Shock CC Weapon. (0 | [b]23[/b])[img]https://assets.infinitythegame.net/infinityarmy/img/_logosweb/903/logo_29.png[/img] [b]YOJIMBO[/b] Contender, Nanopulser, Smoke Grenades, CrazyKoalas (2) / Pistol, DA CCW. (0 | [b]21[/b])
[b]GROUP 2 | [/b][img]https://assets.infinitythegame.net/infinityarmy/img/_logosweb/orden_regular.png[/img]2 [img]https://assets.infinitythegame.net/infinityarmy/img/_logosweb/orden_impetuosa.png[/img]1
[img]https://assets.infinitythegame.net/infinityarmy/img/_logosweb/903/logo_15.png[/img] [b]KUROSHI RIDER Lieutenant[/b] Combi Rifle + Light Flamethrower / Breaker Pistol, AP + Shock CCW. (0 | [b]33[/b])
[img]https://assets.infinitythegame.net/infinityarmy/img/_logosweb/903/logo_11.png[/img] [b]NINJA (Forward Observer)[/b] Combi Rifle / Pistol, Shock CCW, Knife. (0 | [b]35[/b])
[b] 4.5 SWC | 300 Points |[/b] Open in Infinity Army
Deployment
My deployment zone was a bit barren, and I had two squishy Alguaciles to protect. I was a bit terrified of an Oniwaban coming to say hello, so I packed them into the corners of buildings trying to cover one another. The Jaguar Core piled itself into hopefully not shotgun formation–even if Daniel doesn’t bring an Oniwaban I have to honor it, and then I stuck the Intruder on a roof within a 4″ move of a good diagonal firelane deep into Daniel’s deployment zone. The Salyut was centrally located, out of LoF of most of the board at the start, because I wasn’t sure what quadrant I was going to get. I stuck the Morans on either side of the board, with the Bandit on the left. My Clockmaker was on the left, helping to cover that board edge along with a Transductor Zond against Oniwaban. I held my Gecko in reserve. I had chosen to go first, figuring I could at least run away my poor TAG away from any Oniwaban!
 Daniel’s ubiquitous keisotsu link showed up slightly to my left, with both ML Keisotsu in cover and ready to ARO the world! The Kempetai and Yuriko were wrapped around the nearest building, protected by Yojimbo and his Koalas.
 Daniel also brought the Musashi Haris, with a pair of my favorite Tanko profile, the SMG+Blitzen, also wrapped around a building, this time on my right (Daniel’s left). Behind them was Kuroshi Rider, ready to make her first impetuous move in total cover, basically. Smart positioning!
 Finally, Daniel dropped a Ninja and Saito Togan on the table, on the flanks, and I dropped my Gecko smack dab in the middle of the table, 4″ outside of my deployment zone thanks to the scenario’s TAG bonus.
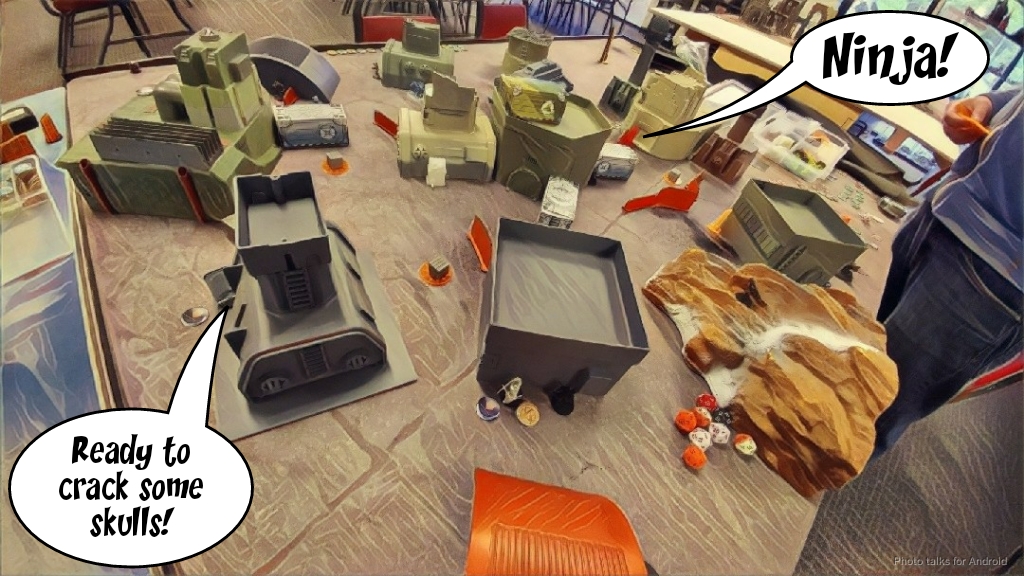 I think Yojimbo was actually Daniel’s reserve, as he usually is, but I forgot to take pre-reserve photos. We rolled for quadrants and both got my near-left quadrant as the desired one. That would make it easy for me and quite annoying for Daniel, which was unfortunate. I nominated my non-lieutenant Alguacil as my DataTracker and Daniel nominated his chain of command Kempetai. After our customary handshake and my forgetting to grab my measurement tool and spending five minutes looking for my tape measure only to realize it was just in front of me, we were off!
Turn 1
Top of Turn 1 – Corregidor
I generally don’t like going after Daniel’s Keisotsu missile launchers. They’re almost always not worth it, but I wanted the order efficiency of moving my link around without having to throw smoke all the time, so I risked it. After two orders of moving the link up to throw smoke for my Intruder, I gunned down the first Keisotsu ML. While the smoke wasn’t strictly necessary due to pie slicing and the fact that I can’t get the -6 thanks to SSL2, it did give me a little insurance just in case there was another TO model lurking somewhere. Another order, and the next Keisotsu ML went down. Now SSL2 was offline and a third move put me in LoF of the prone Yuriko–who thankfully was the non-panzerfaust version. She dodged, but good ol’ Intruder Banana has been spending some time at the range and dropped her. This had basically removed Daniel’s ARO presence, so I was able to dash my Jaguar core up my right flank. I attempted to E/M grenade the nearest Tanko and Mushashi, but the Tanko passed his BTS and Musashi dodged around the corner to make it extremely difficult for me to get a template on them both again. I had pushed my LSG Jaguar to the other side of the building, so I popped him out of cover, using the Tanko there to block LoF to Kuroshi Rider and managed to drop both the Tanko and Musashi, dealing them two wounds each.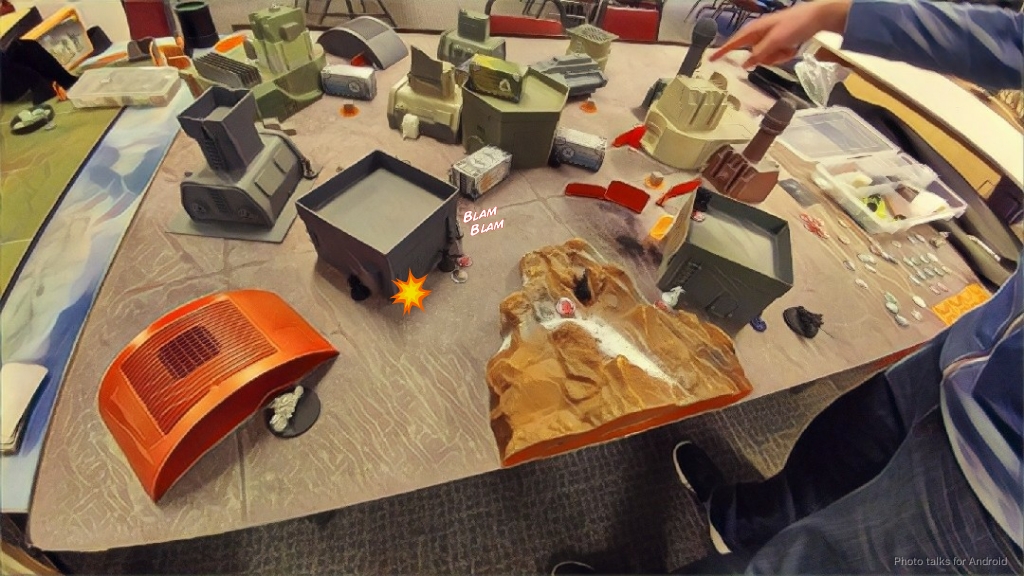 After moving the Gecko and Salyut into my near left quadrant to try and dominate it, I took the care to correct some positioning problems with the link, going as far as to break the LSG out, shuffling the rest around, then reforming the link to deny Kuroshi rider any AROs, spending a command token to flip the Bandit’s order regular to do this. Out of orders in my first pool, I used my Intruder to discover and then shoot Saito over two orders, the first being discover at within 8″. Saito crit with his combi, but thankfully I also crit with my HMG, breaking LoF on the second order and passing the turn. I had thought about moving the quadrants on Daniel by getting a specialist into base to base with one of the consoles, but I actually was in good shape to dominate the quadrant and unless some crazy stuff happened with the Ninja on the other side of the table I was going to be okay.
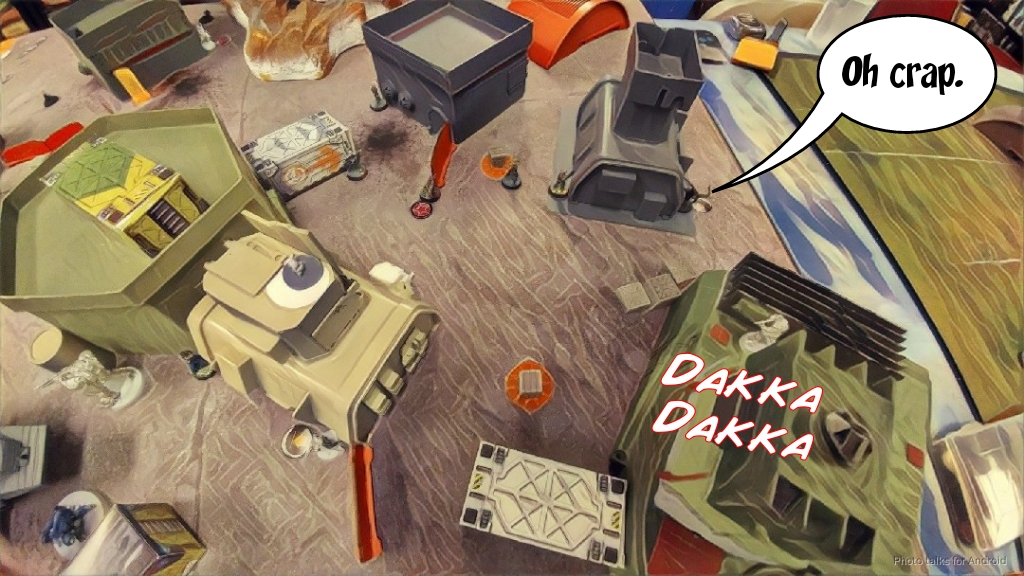
Bottom of Turn 1 – JSA
A host of impetuous orders triggered. Yojimbo came racing around the corner of the Kempetai’s building, throwing smoke to cover himself just in case. The Tanko came around the corner and tried to take out my Jaguar Panzerfaust on the right (the DA CCW sculpt) and Massacre. I responded by double chain-rifling, E/M grenading from outside of 8″, and firing ADHL at it. Daniel passed both ARM rolls for the chain rifle, I whiffed with my grenades, but one of the ADHL rounds did its job and glued the Tanko to the corner of the building. Thankfully Daniel missed Massacre with two dice. Phew!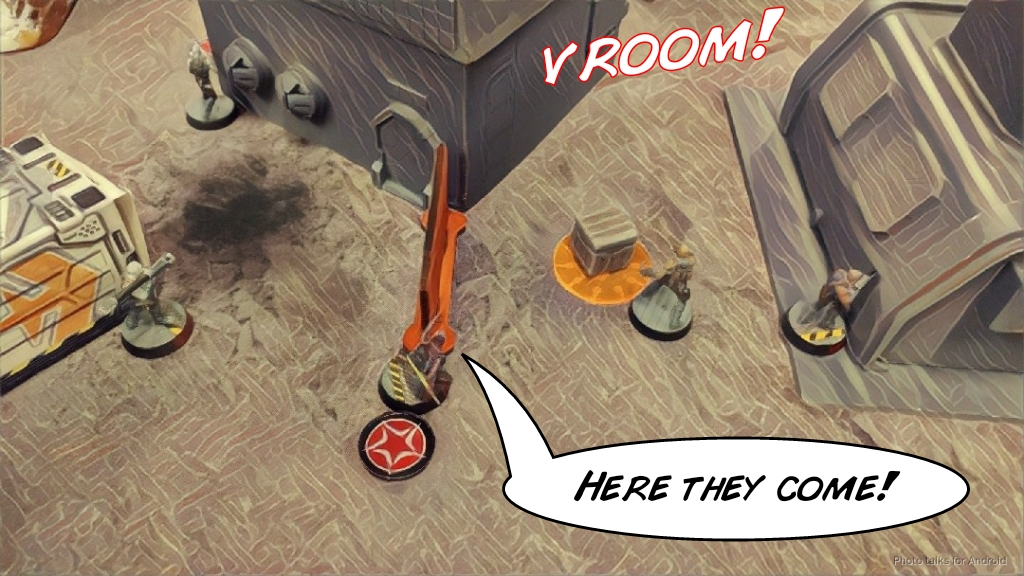 Kuroshi rider was next, roasting the LSG to a crisp, but not before eating two shotgun blasts to the face and dropping. Daniel poured some orders into Yojimbo, clearing one of my Moran’s Koalas on my left, then racing towards my Jaguar core.
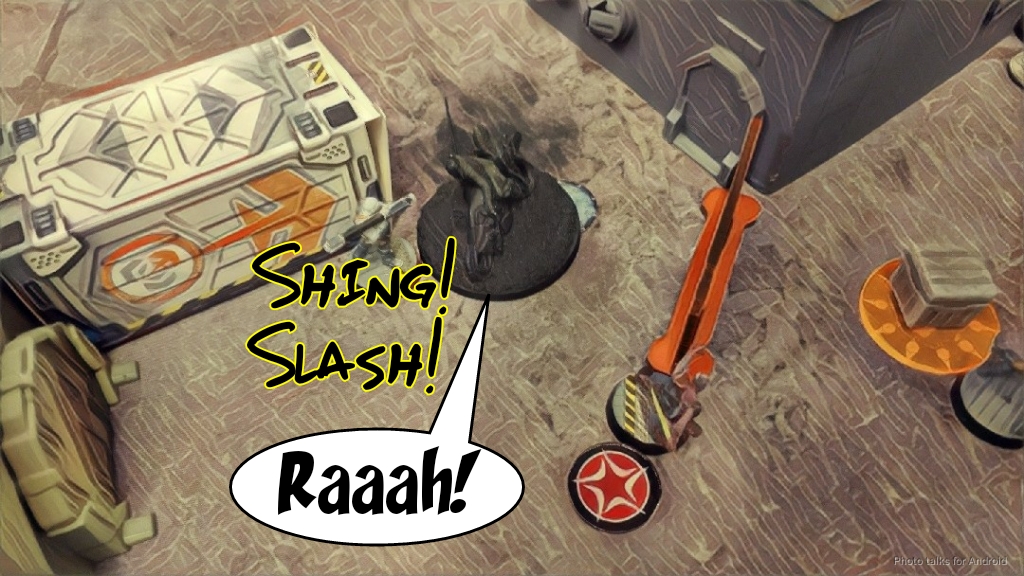 I lost my Jaguar Panzerfaust on that side to MA4, even in spite of my decent CC capabilities. I had been expending Yojimbo to go down my left flank, not attack the Jag core–that and I didn’t want to give Kuroshi rider a double target for her LFT, so I didn’t leave the Jaguar Panzerfaust out to watch Yojimbo’s approach. Yojimbo’s next target was Massacre.
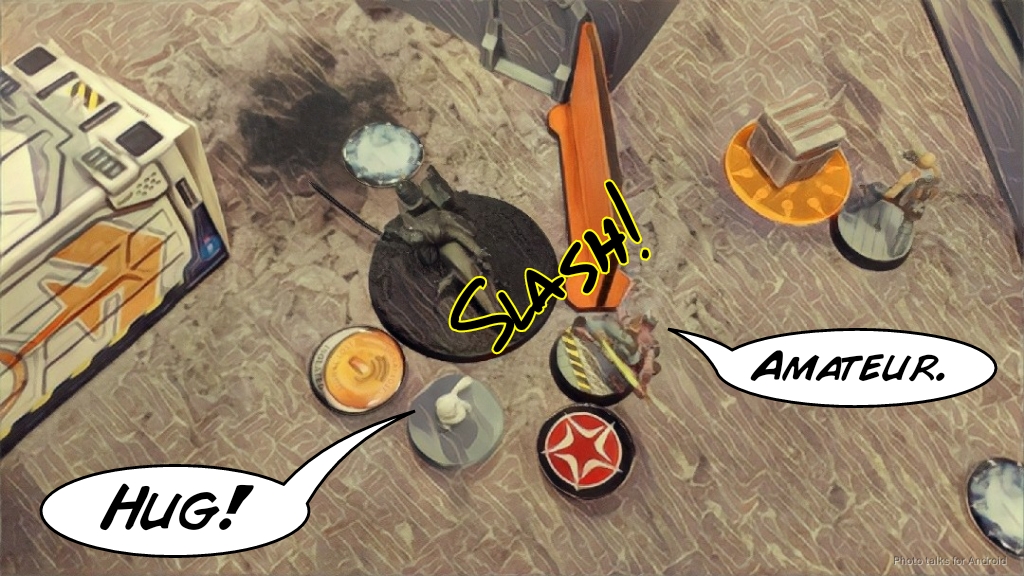 I’ve never gotten Massacre into close combat before, so I was excited to try him out! This also brought Yojimbo into range of a Koala, for some added shenanigans. After canceling Yojimbo’s MA4 thanks to NBW, I crit with my dual-wield on Massacre, isolating Yojimbo, and then Daniel failed both ARM rolls for the AP CCW and the Koala. I really don’t like that the dual wield rules make Massacre’s crits turn into E/M hits, but hey he’s awesome so I’ll just have to suck it up! This was a slightly better outcome than my last game versus Yojimbo, the one man Bosuzoku gang! Daniel really wanted to murder my link, so after throwing some smoke to cover himself from Massacre’s breaker combi, Saito rolled around the corner to deal with the two remaining Jaguars.
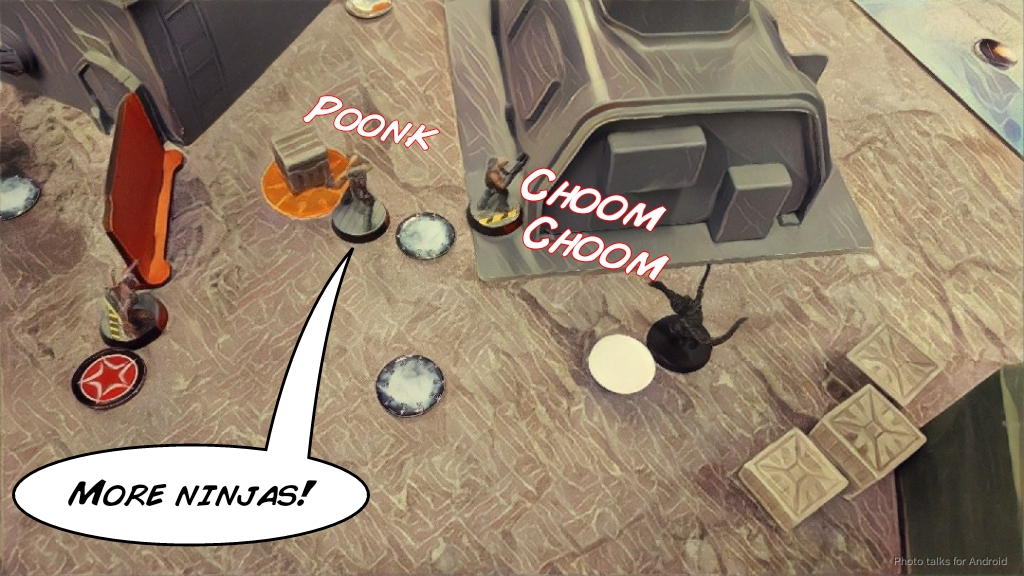 The chain rifle finished him off, but Saito’s second round of smoke protected him from getting glued, at least! At this point, Daniel was basically out of orders so he passed the turn to me, unwilling to spend the 2-3 orders he had remaining to rush his Kempetai out into the open and try to deal with the Gecko, Moran, and Bandit in the way of getting to that quadrant.
Turn 2
I was dominating the assigned quadrant with my TAG, so I got two points.
Top of Turn 2 – Corregidor
My Intruder didn’t have anything to shoot, so my first moves of the turn were to go for points. I picked up Extreme Prejudice by ganking the unconscious Tanko nearby with Massacre, then dashed the Jaguars across the table to the other side of Daniel’s deployment zone. I had to throw the Jaguar Panzerfaust in front of the mine to clear it, successfully dodging it, then came around the corner of the Keisotsu’s building to chain rifle them off the table.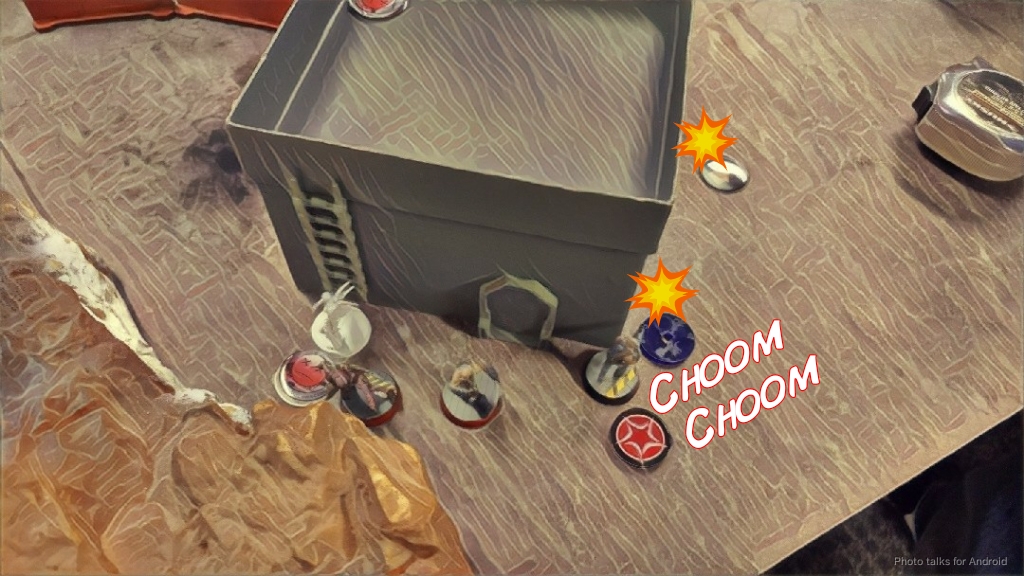 I thought about exposing the Gecko a little more, but decided against it, insteading throwing the Gecko into suppression and moving the Salyut into total cover. I had an order or two left, so I moved the Bandit into range of the Ninja’s TO camo token, and Daniel revealed it to take a shot at me, but surprise shot LSG beats a combi, even a TO combi.
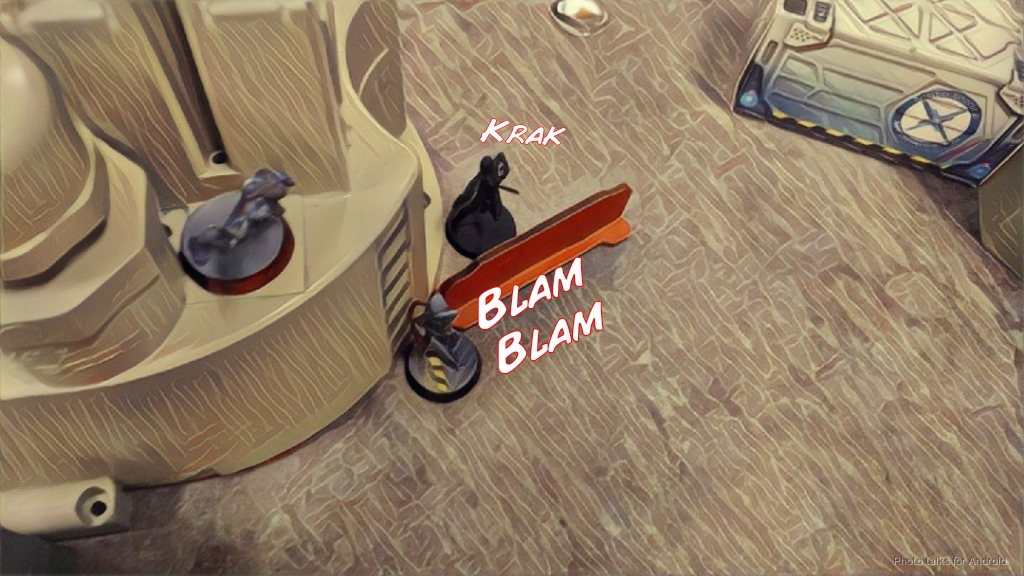 With my classified, killing the JSA DataTracker, and Daniel in retreat on the next turn, it was a
8-0 Corregidor Victory!
Daniel wasn’t exactly thrilled about the outcome of the game, but he was a consummate gentleman the entire time! A big thanks to him for being a good sport and sticking with it to the end. Never give up, never surrender!
Notes
Notes for Me
- Jaguar Core is pretty freaking terrifying. One of each profile is definitely the right call. I’m just not sure which profile to double up on. I really do like the Panzerfaust profile a lot, but I’m warming to the LSG one. There was a time I pooh-poohed it, but it’s really gross in the 5-man link.
- Massacre has all the tools. I really like that he has E/M grenades too.
- Morans did their job. I think I need to find a way to fit an AHD in this list.
- Hard to comment on the performance of the non-Intruder, non-Jaguar/Massacre parts of this list. They just sorta sat around and got me orders points. I’ll take it though. I liked my deployment of the Gecko and Salyut. Got really lucky with the quadrant rolls, but I think I had them in good spots to get where they needed to go if I had rolled a far quadrant, especially with Jaguar smoke and Intruder top cover.
- The original proposer of this list archetype uses an MSR Intruder as an ARO piece but I really like the HMG Intruder here as a active-turn killer. I personally don’t think the Intruder MSR makes for a good ARO piece, it’s too expensive and there are too many tricks.
- I think I could’ve saved an order by coup de grace-ing Yuriko instead of the Tanko. Very minor detail but it’s always good to note sources of inefficiency and how to improve!
- The dice were pretty one-sided this game, hopefully next game things are a little less swingy.
Notes for Daniel
- I definitely would’ve left a Tanko out to ARO my link with a Blitzen. Would’ve maybe cost you the Tanko, but it would’ve limited my rampage and possibly removed a Jaguar from the link, drastically reducing their effectiveness.
- The missiles should’ve definitely been deployed to cover my link at the start. That would’ve been super annoying to deal with. Blitzen + ML would’ve been awful.
- JSA has a hard time with Intruders, I think. You’re really hoping for crits against them, and the dice weren’t on your side this time.
- I managed to exploit a nice LoF keyhole to take out Yuriko, which was unfortunate. It’s hard to tell where those are sometimes.
- I see the Jaguars as a Devil Dog analogue. You have to deploy to ARO them or they will eat you. The problem is they have the guns to eat your ARO pieces, and the Intruder definitely does. It’s a tough problem, and Corregidor presents almost as difficult a one as USARF does. Tough matchup.
- Deploying your TO camo as TO camo markers is definitely a high-risk thing to do. It let me set up to counter your TO, which I think was a bit of a mistake. I think the reduction in orders is worth it.