Tohaa Biotechvore Double Feature
Adam’s got a Biotechvore Showdown planned, so a bunch of us got together to get some practice in. Than wanted to give things a go with his Tohaa, and I was fresh out of Adepticon’s Biotechvore showdown with 9-0 victory from my Corregidor. I pulled the same list out of my bag and we set up for a quick game. I had an equivalent StarCo list also in my handy-dandy Battlefoam Beta bag for later as well.
Game 1 – Wildfire, Wildfire!
 I haven’t played against Tohaa since the last time I played Jake, which was right about when N3 hit. I hadn’t seen Than across the table for a few months either, so it I was doubly lucky to get to hang out with him and play a now unfamiliar faction!
Overview
- Mission: Biotechvore
- Forces: Jurisdictional Command of Corregidor versus Tohaa (300)
- Deploy First: Tohaa
- First Turn: Tohaa
[img]https://assets.infinitythegame.net/infinityarmy/img/_logosweb/logo_502.png[/img][b] Biotechvore[/b]
[img]https://assets.infinitythegame.net/infinityarmy/img/_logosweb/502/logo_6.png[/img] [b]MOBILE BRIGADA Lieutenant[/b] MULTI Rifle + Light Flamethrower / Pistol, Knife. (0 | [b]39[/b])
[img]https://assets.infinitythegame.net/infinityarmy/img/_logosweb/502/logo_6.png[/img] [b]MOBILE BRIGADA[/b] HMG / Pistol, Knife. (2 | [b]42[/b])
[img]https://assets.infinitythegame.net/infinityarmy/img/_logosweb/502/logo_6.png[/img] [b]MOBILE BRIGADA[/b] Missile Launcher / Pistol, Knife. (2 | [b]40[/b])
[img]https://assets.infinitythegame.net/infinityarmy/img/_logosweb/502/logo_6.png[/img] [b]MOBILE BRIGADA[/b] Boarding Shotgun / Pistol, Knife. (0 | [b]33[/b])
[img]https://assets.infinitythegame.net/infinityarmy/img/_logosweb/502/logo_6.png[/img] [b]MOBILE BRIGADA[/b] Combi Rifle + 1 TinBot B (Deflector L2) / Pistol, Knife. (0.5 | [b]37[/b])[img]https://assets.infinitythegame.net/infinityarmy/img/_logosweb/502/logo_25.png[/img] [b]SEÑOR MASSACRE (Fireteam: Haris)[/b] Breaker Combi Rifle, E/M Grenades, Eclipse Grenades / Pistol, AP CCW, E/M CCW. (0.5 | [b]30[/b])
[img]https://assets.infinitythegame.net/infinityarmy/img/_logosweb/502/logo_11.png[/img] [b]JAGUAR[/b] Chain Rifle, Smoke Grenades / Pistol, DA CCW. (0 | [b]10[/b])
[img]https://assets.infinitythegame.net/infinityarmy/img/_logosweb/502/logo_11.png[/img] [b]JAGUAR[/b] Chain Rifle, Smoke Grenades / Pistol, DA CCW. (0 | [b]10[/b])[img]https://assets.infinitythegame.net/infinityarmy/img/_logosweb/502/logo_9.png[/img] [b]BANDIT Hacker (Assault Hacking Device)[/b] Light Shotgun, Adhesive Launcher / Pistol, DA CCW. (0.5 | [b]28[/b])
[img]https://assets.infinitythegame.net/infinityarmy/img/_logosweb/502/logo_26.png[/img] [b]McMURROUGH[/b] 2 Chain Rifles, Grenades, Smoke Grenades / Templar CCW (AP + DA). (0 | [b]31[/b])
[img]https://assets.infinitythegame.net/infinityarmy/img/_logosweb/orden_regular.png[/img]8 [img]https://assets.infinitythegame.net/infinityarmy/img/_logosweb/orden_irregular.png[/img]2 [img]https://assets.infinitythegame.net/infinityarmy/img/_logosweb/orden_impetuosa.png[/img]1 [b]| 5.5 SWC | 300 Points[/b] Open in Infinity Army
[img]https://assets.infinitythegame.net/infinityarmy/img/_logosweb/logo_801.png[/img][b] Biotechvore 1[/b]
[img]https://assets.infinitythegame.net/infinityarmy/img/_logosweb/801/logo_12.png[/img] [b]NEEMA Lieutenant (Advanced Command)[/b] Breaker Combi Rifle, Panzerfaust, Nanopulser / Viral Pistol, Shock CCW. (+1 | [b]46[/b])
[img]https://assets.infinitythegame.net/infinityarmy/img/_logosweb/801/logo_5.png[/img] [b]ECTROS[/b] HMG, Nanopulser / Pistol, Shock CC Weapon. (2 | [b]45[/b])
[img]https://assets.infinitythegame.net/infinityarmy/img/_logosweb/801/logo_24.png[/img] [b]SUKEUL (Forward Observer)[/b] K1 Combi Rifle, D-Charges / Pistol, Breaker Pistol, Knife. (0 | [b]32[/b])[img]https://assets.infinitythegame.net/infinityarmy/img/_logosweb/801/logo_3.png[/img] [b]GAO-RAEL[/b] Spitfire / Pistol, CCW. (1.5 | [b]33[/b])
[img]https://assets.infinitythegame.net/infinityarmy/img/_logosweb/801/logo_8.png[/img] [b]MAKAUL[/b] Heavy Flamethrower, Eclipse Grenades / Pistol, Viral CCW. (0 | [b]13[/b])[img]https://assets.infinitythegame.net/infinityarmy/img/_logosweb/801/logo_8.png[/img] [b]MAKAUL[/b] Heavy Flamethrower, Eclipse Grenades / Pistol, Viral CCW. (0 | [b]13[/b])
[img]https://assets.infinitythegame.net/infinityarmy/img/_logosweb/801/logo_20.png[/img] [b]KAELTAR (Chain of Command)[/b] Light Shotgun, Flash Pulse + 2 SymbioMates / Pistol, Electric Pulse. (0.5 | [b]21[/b])
[img]https://assets.infinitythegame.net/infinityarmy/img/_logosweb/801/logo_20.png[/img] [b]KAELTAR[/b] Light Shotgun, Flash Pulse + 2 SymbioBombs / Pistol, Electric Pulse. (0 | [b]15[/b])[img]https://assets.infinitythegame.net/infinityarmy/img/_logosweb/801/logo_19.png[/img] [b]ARMAND (Minelayer)[/b] MULTI Sniper, Nanopulser, Antipersonnel Mines / 2 Breaker Pistols, Shock CC Weapon, Knife. (1.5 | [b]42[/b])
[img]https://assets.infinitythegame.net/infinityarmy/img/_logosweb/801/logo_17.png[/img] [b]RASAIL[/b] Viral Combi Rifle + 1 Chaksa Peripheral / Pistol, Knife. (0 | [b]39[/b])
[img]https://assets.infinitythegame.net/infinityarmy/img/_logosweb/sep.gif[/img] [img]https://assets.infinitythegame.net/infinityarmy/img/_logosweb/801/logo_17.png[/img] [b]CHAKSA PERIPHERAL[/b] Heavy Flamethrower / Pistol, Knife. (- | [b]4[/b])
[img]https://assets.infinitythegame.net/infinityarmy/img/_logosweb/orden_regular.png[/img]10 [img]https://assets.infinitythegame.net/infinityarmy/img/_logosweb/orden_impetuosa.png[/img]2 [b]| 5.5 SWC | 299 Points |[/b] Open in Infinity Army
Deployment
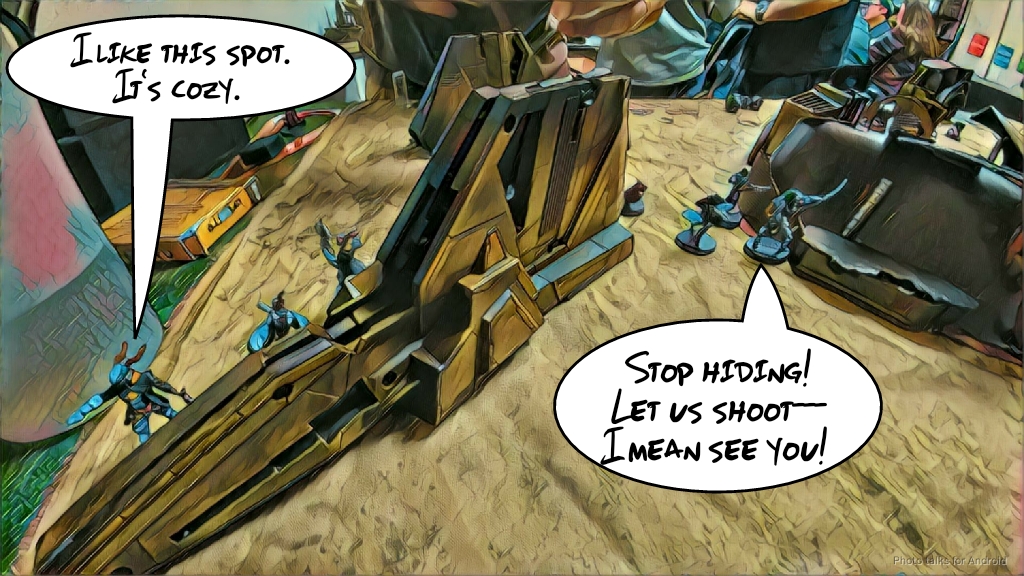
Than won the lieutenant roll off and decided to take first turn, which I think is usually the right call with Biotechvore. He set up Neema, the Gao Rael, and a Sukeul in a little blob in the middle, backed up by a Rasail, then dumped everything else on my left in little triad clumps.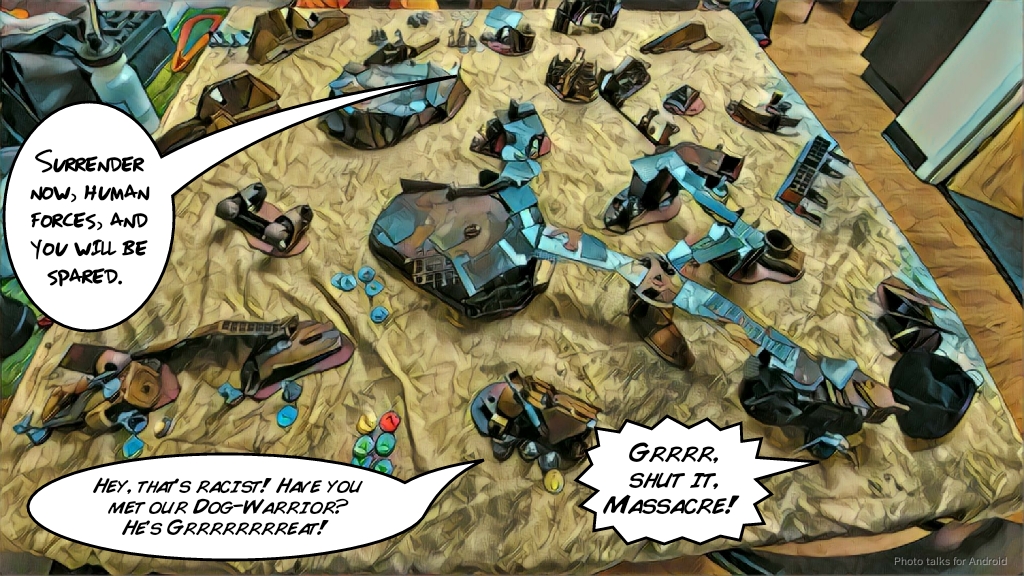 I agonized a bit over my deployment, since I have a missile launcher in my link and I wanted to template all those triads! I ended up settling for putting Massacre and his Haris in the middle behind cover and the Brigada team on the left with both the HMG and ML exposed. Leaving the ML exposed is almost mandatory in his scenario, but I really should’ve protected my HMG. I didn’t have a good place to put McMurrough, so he just went on the right to do some flanking. My Bandit did manage to stick the landing on a bridge near the center of the table though, threatening Neema’s advance.
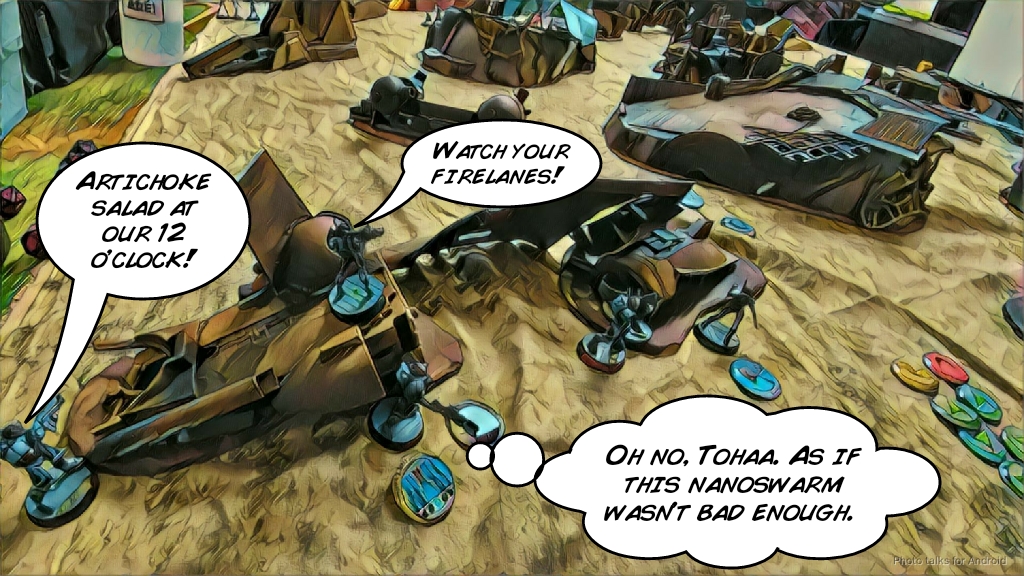 I didn’t really have a great plan for a reserve model. Perhaps I should’ve held the ML in reserve. Who knows. Anyway, Than drops Le Muet down from out of reserve, which is not great for me. After a hearty handshake, we’re off!
Turn 1
Top of Turn 1 – Tohaa
Than starts off his turn by wiping the Mobile Brigada HMG off the table with Le Muet. I fail all four ARM saves and just gently pick him up and put him back in his foam. Jeez. Le Muet tries to take out the ML Brigada, but she fares a little better, tanking the DA shots. Before he gets too invested in killing her, Than spends orders to get most of his triads out of the Biotechvore zone. I manage to catch one of his models with the missile launcher in the open but only managed to drop it to unconscious.
 A quick eclipse smoke toss later from the Makaul and Than gets his forces out of the killzone, using the Ectros HMG along the way to take out the Brigada ML.
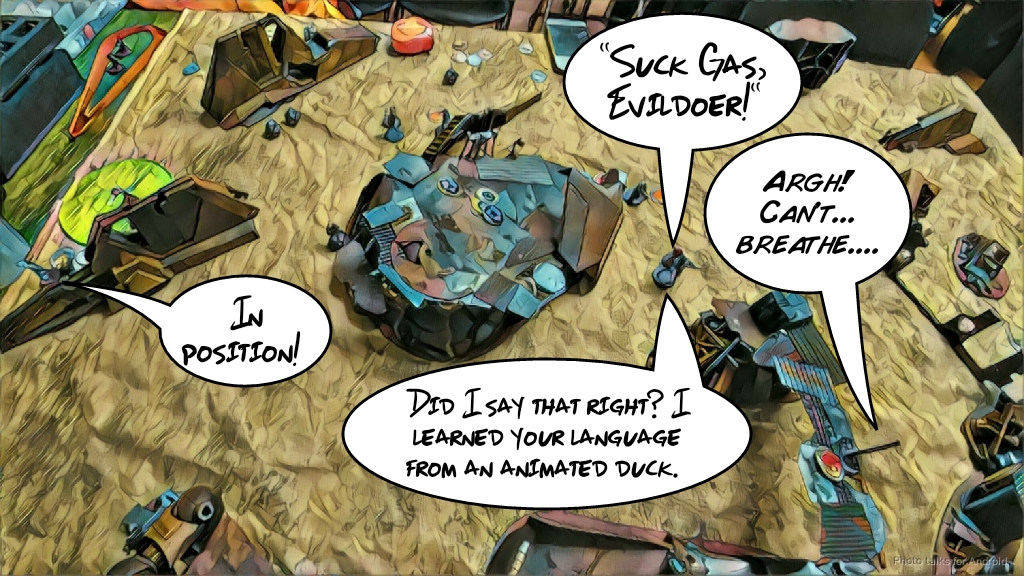 My two heavy hitters are gone, so I’m in trouble now. Neema moves further up into the midfield, trying to get a different angle on my Brigada. This puts her in range of my Bandit, who tries to Oblivion her. Sadly, Endgame beats out Oblivion and my Bandit goes down to horrible Tohaa perfume. Now that I’m sufficiently hobbled, Than passes the turn.
Bottom of Turn 1 – Corregidor
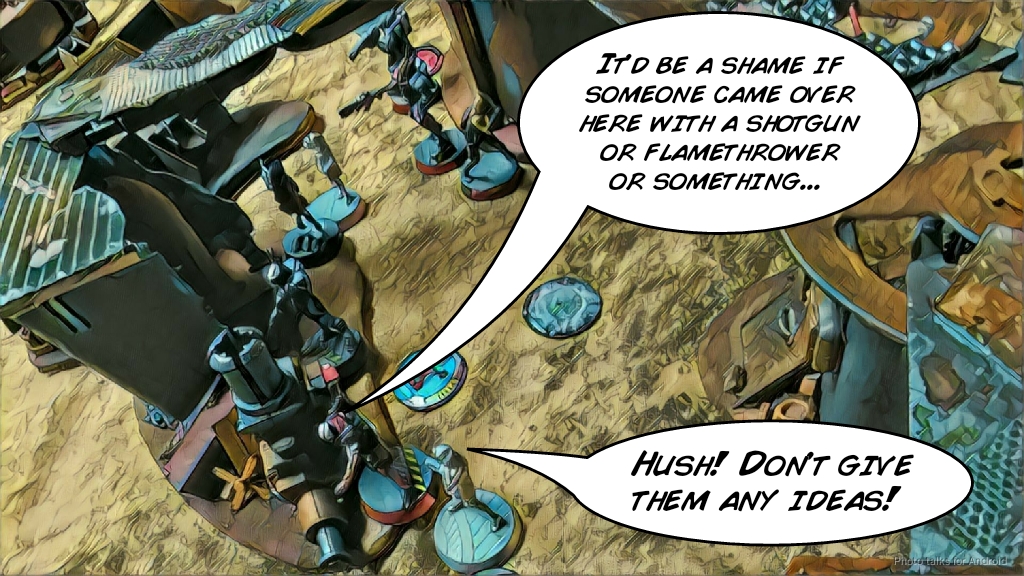
I just need to get everyone out of the zone ASAP, so I single-mindedly throw smoke with Massacre and rush everyone forward… into a big clump.
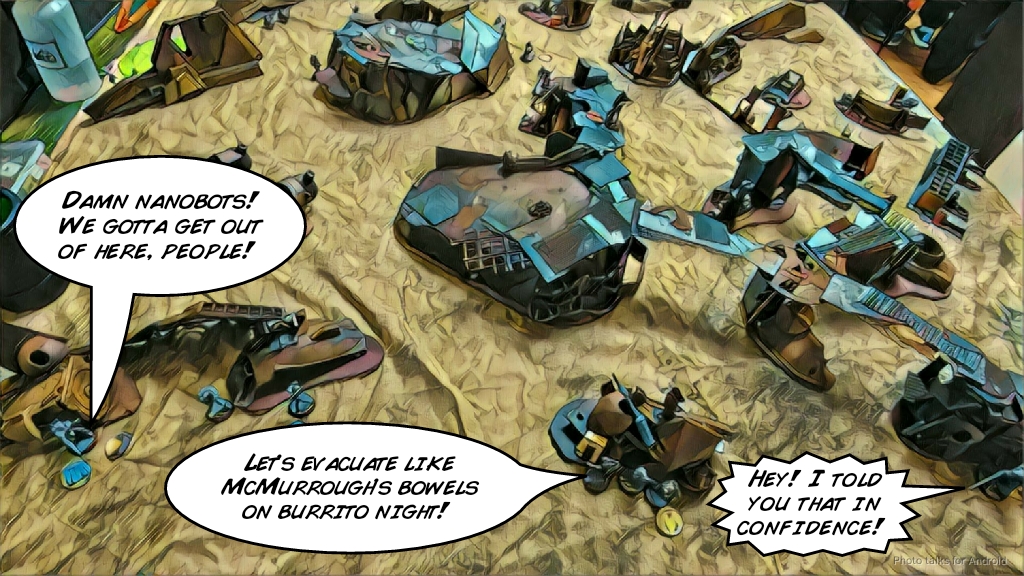 McMurrough and the two Jaguars aren’t out of the zone and get slagged by nanobees. McMurrough at least has two wounds and is still standing, but things are in pretty terrible shape.
Turn 2
Top of Turn 2 – Tohaa
Well, I’ve left Than a pile of models out of cover in the midfield, so he just guns them all down systematically with an assortment of Spitfires and HMGs.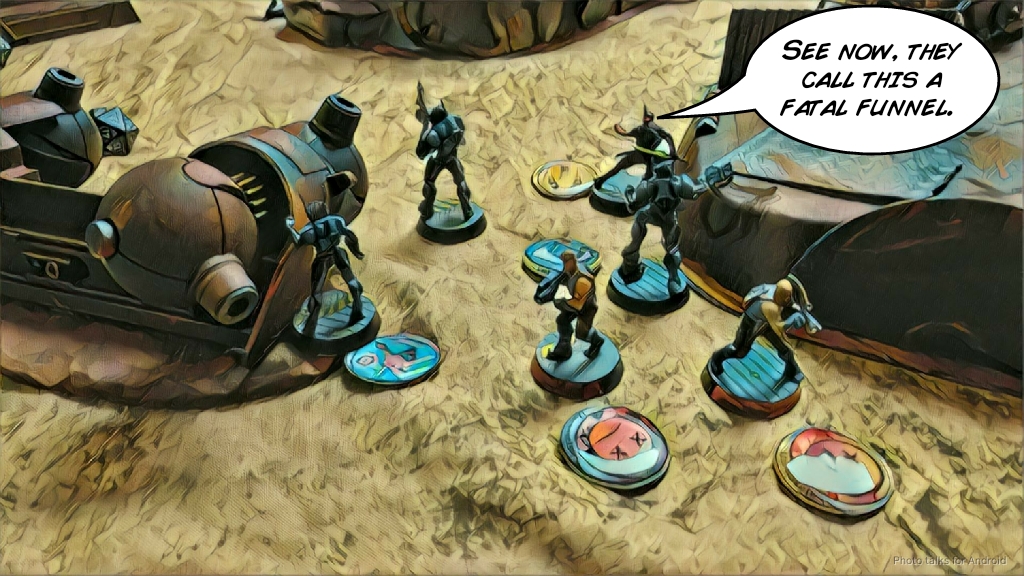 Neema makes her way towards my HVT to secure her, killing McMurrough on the way. At some point the Sukeul grabs Than’s classified by forward observing my HVT, and Than passes the turn back to me with only my Lieutenant on the table.
10-0 Tohaa Victory!
Given that we finished a game in about 45 minutes, Than graciously offered to give me another chance instead of just walking out in disgust at my poor performance. I certainly was disappointed in myself for not putting up much of a fight! I did manage to stave off tilt though, which was a positive point. Usually a game like that would’ve put me into a funk but Than is a really cheerful guy and kept me engaged and laughing the whole time, so a big thanks to him for keeping things light and fun while raking me over the coals!
Notes
- Yikes. I liked my table edge more, but I got too greedy with deploying the ML on the left. I only got one model with her, and then had to spend a few orders walking my link the long way around a large piece of terrain. That cost me the game for sure.
- Never leave your HMG exposed. Dumb dumb dumb.
- Really this game came down to greedy deployment on my end. I probably could’ve left the Brigada in the zone to tank the wounds for another turn and cruise-missiled Massacre straight at Neema for a Lieutenant assassination, hopefully after taking out the Kaeltar chain of command.
- The more I think about it, the more I think that I should’ve just left the HI in the zone till turn 2 and maximized the use of the Jaguars, Massacre, and McMurrough. Ideally all of my Brigada would’ve still be alive, but oh well. The game was lost in deployment but perhaps somewhat salvageable.
- Symbio-bombs are amazing on Neema. Mates are of course frustrating as all hell, but bombs are far more toolboxy, which I really like.
Game 2 – StarCo Calvary
 I brought out my StarCo for our second game, figuring I would try something different and to give Than a chance to fight something else. I was a little disappointed that this list doesn’t have any missiles or rockets, but I love the fact that I can take a core, haris, and duo without even breaking a sweat in StarCo.
Overview
- Mission: Biotechvore
- Forces: StarCo, Free Company of the Star versus Tohaa (300)
- Deploy First: Tohaa
- First Turn: Tohaa
[img]https://assets.infinitythegame.net/infinityarmy/img/_logosweb/logo_905.png[/img][b] Biotechvore[/b]
[img]https://assets.infinitythegame.net/infinityarmy/img/_logosweb/905/logo_6.png[/img] [b]MOBILE BRIGADA Lieutenant[/b] MULTI Rifle + Light Flamethrower / Pistol, Knife. (0 | [b]39[/b])
[img]https://assets.infinitythegame.net/infinityarmy/img/_logosweb/905/logo_6.png[/img] [b]MOBILE BRIGADA[/b] HMG / Pistol, Knife. (2 | [b]42[/b])
[img]https://assets.infinitythegame.net/infinityarmy/img/_logosweb/905/logo_6.png[/img] [b]MOBILE BRIGADA[/b] Combi Rifle + 1 TinBot B (Deflector L2) / Pistol, Knife. (0.5 | [b]37[/b])
[img]https://assets.infinitythegame.net/infinityarmy/img/_logosweb/905/logo_14.png[/img] [b]SEÑOR MASSACRE[/b] Boarding Shotgun, E/M Grenades, Eclipse Grenades / Pistol, AP CCW, E/M CCW. (0 | [b]26[/b])
[img]https://assets.infinitythegame.net/infinityarmy/img/_logosweb/905/logo_29.png[/img] [b]DAKTARI[/b] Combi Rifle / Pistol, Knife. (0 | [b]14[/b])[img]https://assets.infinitythegame.net/infinityarmy/img/_logosweb/905/logo_2.png[/img] [b]BRAWLER (Fireteam: Haris)[/b] Rifle + Light Shotgun / Pistol, Knife. (0.5 | [b]17[/b])
[img]https://assets.infinitythegame.net/infinityarmy/img/_logosweb/905/logo_2.png[/img] [b]BRAWLER (Multispectral Visor L2)[/b] MULTI Sniper / Pistol, Knife. (1.5 | [b]28[/b])
[img]https://assets.infinitythegame.net/infinityarmy/img/_logosweb/905/logo_15.png[/img] [b]SPECTOR (Regular)[/b] MULTI Rifle, Nanopulser, Drop Bears / Pistol, E/M2 CC Weapon. (0 | [b]36[/b])[img]https://assets.infinitythegame.net/infinityarmy/img/_logosweb/905/logo_18.png[/img] [b]EMILY (Chain of Command)[/b] Combi Rifle + Light Grenade Launcher (Normal and E/M), Nanopulser / Assault Pistol, Knife. (0.5 | [b]35[/b])
[img]https://assets.infinitythegame.net/infinityarmy/img/_logosweb/905/logo_17.png[/img] [b]UHAHU Hacker (Hacking Device Plus. UPGRADE: Icebreaker)[/b] Pitcher, D-Charges / Assault Pistol, Knife. (0.5 | [b]25[/b])
[img]https://assets.infinitythegame.net/infinityarmy/img/_logosweb/orden_regular.png[/img]10 [b]| 5.5 SWC | 299 Points |[/b] Open in Infinity Army
[img]https://assets.infinitythegame.net/infinityarmy/img/_logosweb/logo_801.png[/img][b] Tohaa[/b]
[img]https://assets.infinitythegame.net/infinityarmy/img/_logosweb/801/logo_12.png[/img] [b]NEEMA Lieutenant (Advanced Command)[/b] Spitfire, Nanopulser / Viral Pistol, Shock CCW. (1.5 | [b]48[/b])
[img]https://assets.infinitythegame.net/infinityarmy/img/_logosweb/801/logo_5.png[/img] [b]ECTROS[/b] Vulkan Shotgun, Nanopulser / Pistol, Shock CC Weapon. (0 | [b]38[/b])
[img]https://assets.infinitythegame.net/infinityarmy/img/_logosweb/801/logo_8.png[/img] [b]MAKAUL[/b] Heavy Flamethrower, Eclipse Grenades / Pistol, Viral CCW. (0 | [b]13[/b])[img]https://assets.infinitythegame.net/infinityarmy/img/_logosweb/801/logo_5.png[/img] [b]ECTROS[/b] HMG, Nanopulser / Pistol, Shock CC Weapon. (2 | [b]45[/b])
[img]https://assets.infinitythegame.net/infinityarmy/img/_logosweb/801/logo_24.png[/img] [b]SUKEUL (Forward Observer)[/b] K1 Combi Rifle, D-Charges / Pistol, Breaker Pistol, Knife. (0 | [b]32[/b])
[img]https://assets.infinitythegame.net/infinityarmy/img/_logosweb/801/logo_3.png[/img] [b]GAO-RAEL[/b] Spitfire / Pistol, CCW. (1.5 | [b]33[/b])[img]https://assets.infinitythegame.net/infinityarmy/img/_logosweb/801/logo_2.png[/img] [b]SAKIEL Paramedic (Medikit)[/b] Combi Rifle, Nimbus Plus Grenades / Pistol, Knife. (0 | [b]20[/b])
[img]https://assets.infinitythegame.net/infinityarmy/img/_logosweb/801/logo_20.png[/img] [b]KAELTAR (Chain of Command)[/b] Light Shotgun, Flash Pulse + 2 SymbioMates / Pistol, Electric Pulse. (0.5 | [b]21[/b])
[img]https://assets.infinitythegame.net/infinityarmy/img/_logosweb/801/logo_20.png[/img] [b]KAELTAR[/b] Light Shotgun, Flash Pulse + 2 SymbioBombs / Pistol, Electric Pulse. (0 | [b]15[/b])[img]https://assets.infinitythegame.net/infinityarmy/img/_logosweb/801/logo_16.png[/img] [b]KOTAIL (Forward Observer)[/b] Combi Rifle, E/M Grenades / Pistol, Knife. (0 | [b]33[/b])
[img]https://assets.infinitythegame.net/infinityarmy/img/_logosweb/orden_regular.png[/img]10 [img]https://assets.infinitythegame.net/infinityarmy/img/_logosweb/orden_impetuosa.png[/img]1 [b]| 5.5 SWC | 298 Points |[/b] Open in Infinity Army
Deployment
Than hadn’t realized that the deployment zones were 8″ and not the usual 12″ before our first game, so he took the opportunity to tweak his list some. After winning the roll again and choosing to go first, Than did basically the same deployment, strong on my left side. From right to left (my perspective) it started iwth the Ectros HMG, Sukeul FO and Gao Rael. Neema, the shotgun Ectros and the Makaul were next, with Kaeltar and Sakiel making up the final triad on my left.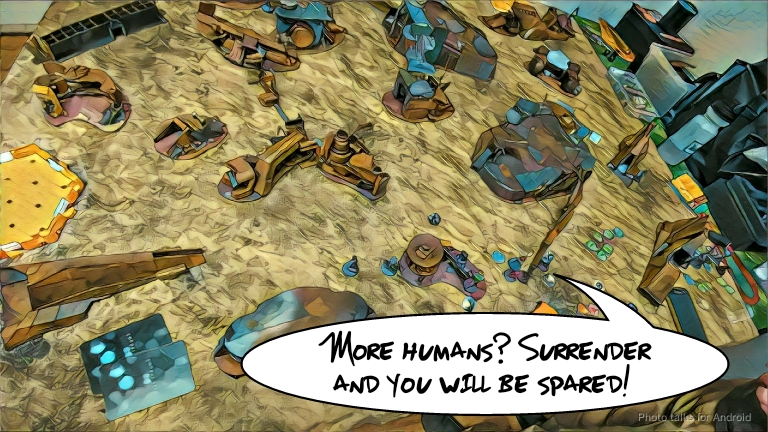 I really didn’t trust the piece of long terrain on the left anymore, so ignored it entirely and deployed everyone on the right. I interleaved the Brigada core and the Brawler Haris on the right, with Uhahu and Emily in the middle where Massacre and his Jaguars had been the last game.
 Than dropped the Kotail near the Ectros HMG and then I put down my Brawler MSV2 MSR on a roof covering the entire board. I fully expected to lose the Brawler, but hopefully at least take something out while doing so.
Turn 1
Top of Turn 1 – Tohaa
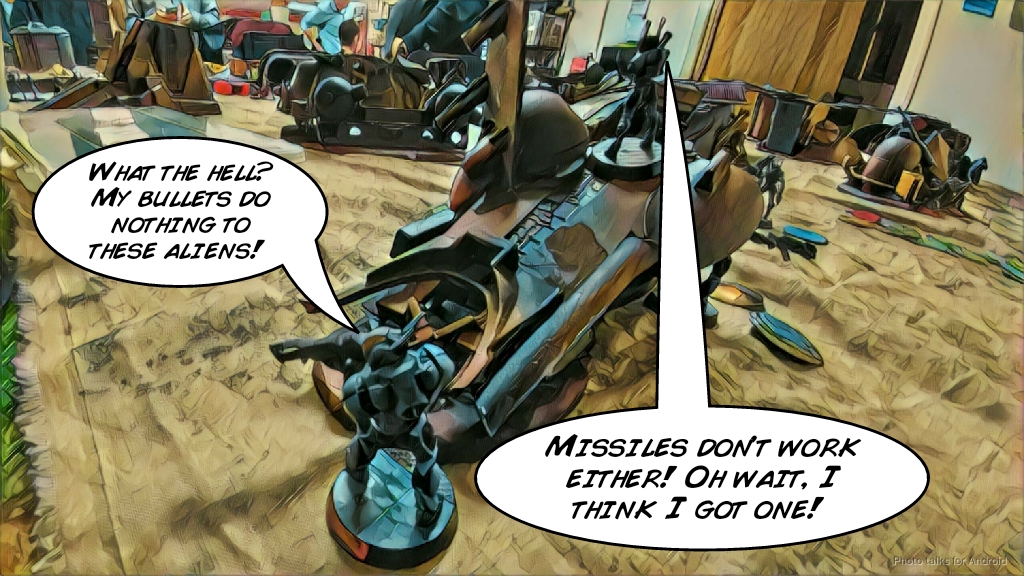
Than starts his turn out by doing sneaky Tohaa shenanigans. His Ectros HMG has both a mate and a bomb attached, so he just runs it out into the open in full view of my Brawler MSR. I shoot but don’t crit, and he just mates away the DA shots and drops a Mirrorball template.
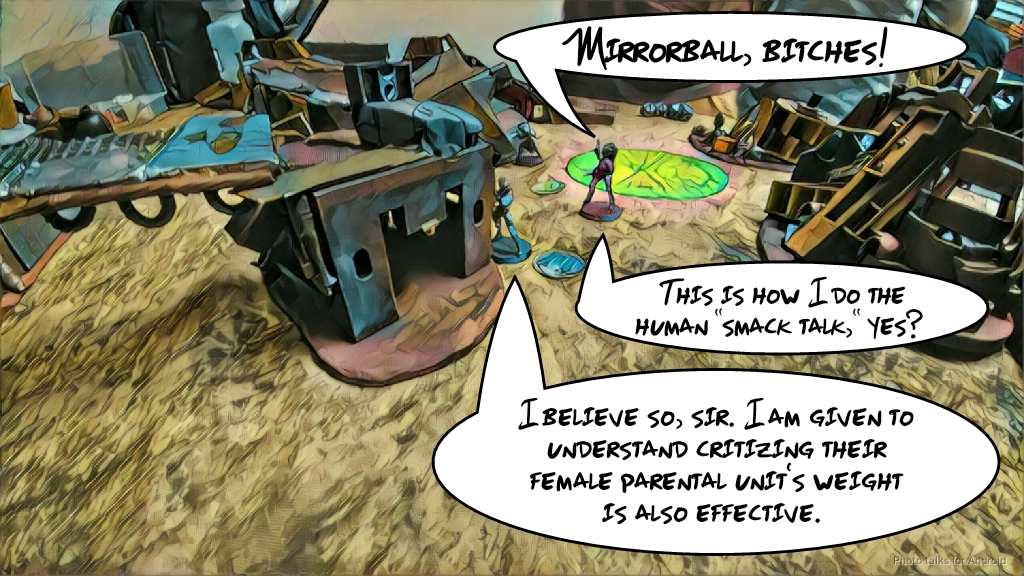 His next order is spend on the HMG again, this time shooting at my Brawler. I play the odds and shoot back, and am rewarded by canceling all but one hit, which I barely tank. I immediately drop prone to preserve my order pool, leaving Than free to move around the board.
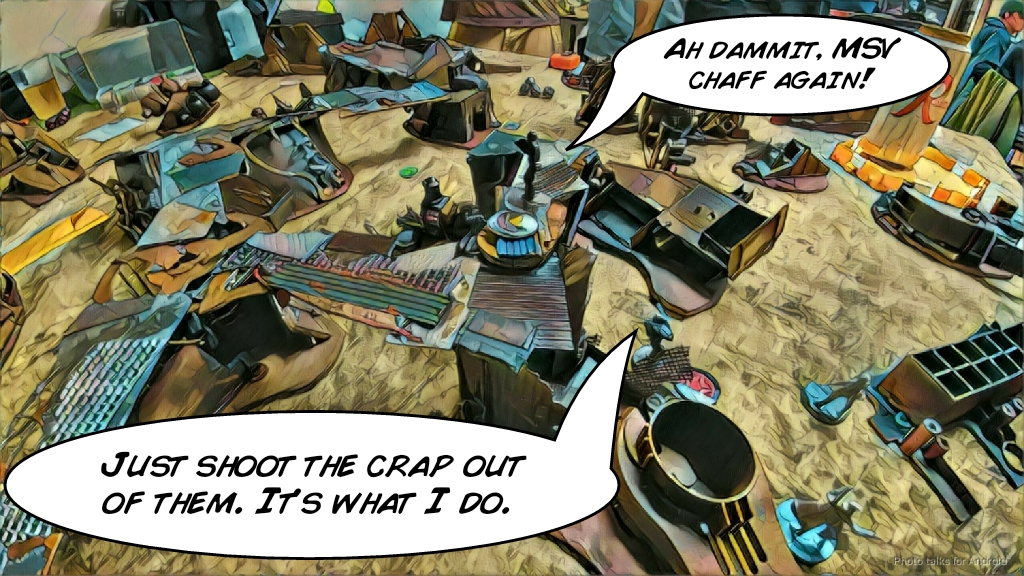 Than spends all his orders getting his Kaeltar into the same position he had them last game, protected by a large LoF-blocking dorsal fin-like structure. Neema and crew poke out a little to get out of the death zone, but Than knows I don’t have much in the way of templates except Emily’s LGL.
 With that, Than passes the turn.
Bottom of Turn 1 – StarCo
I’ve got an intact order pool this time, so I just advance everyone under the cover of Massacre’s smoke into some semblance of a defensive line.
 The Brawler MSR runs up the catwalk and drops prone as everyone moves up, and I’ve got enough orders to fire a pitcher to cover Ectros HMG, Sukeul, and Gao Rael with a hacking zone. Uhahu then spotlights the Sukeul and Emily drops an E/M grenade on them on 19’s. Sadly, I roll really low and everyone dodges except for the Gao Rael, who is isolated. Emily and Uhahu are a bit out of position as a result of the spec fire taking a full order, but at least the successful Spotlight gets me a classified.
Turn 2
Top of Turn 2 – Tohaa
Than takes out Emily with the isolated Gao Rael, then uses Neema and Mirrorball to take out my MSV2 Brawler, Massacre, and my TinBot Brigada. I manage to plink down the Makaul as Neema’s triad advances, but she and the Vulkan shotgun make it to safety in the midfield before I can do anything to them. Than’s now ready to walk up the big central structure to see my whole team on his turn. The HMG Ectros tries to escape the hacking net but takes a wound and is isolated by Uhahu before anything else can happen. The Sukuel does manage to plant a D-Charge on a building before Than passes the turn.
Bottom of Turn 2 – StarCo
My Daktari picks everyone back up except the MSV2 Brawler (which will be relevant later), and I settle the link into slightly better positions, using the HMG Brigada to drop the HMG Ectros. This does let the Sukeul blow the D-Charge in ARO, getting Than a classified.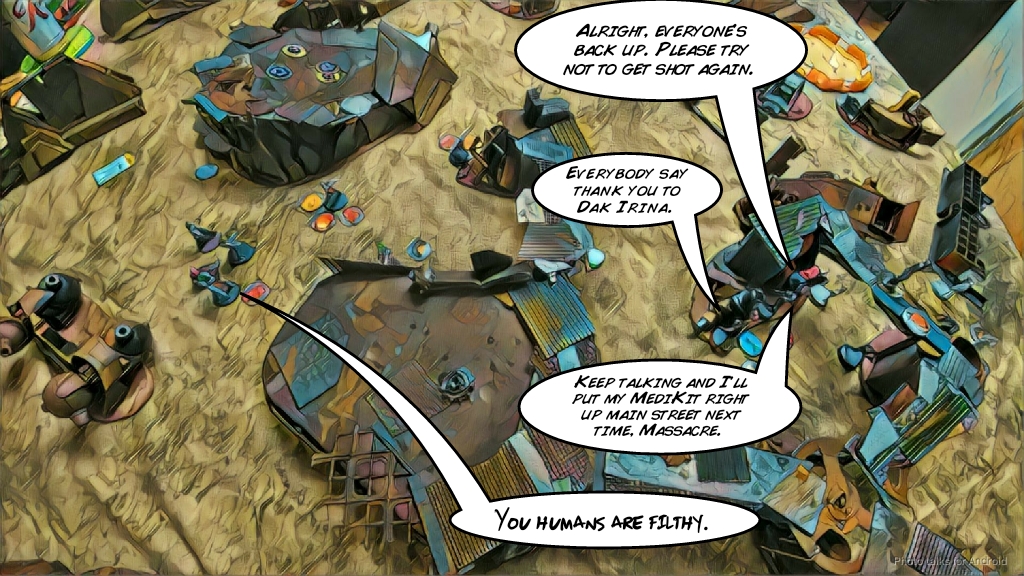 Emily forces the Spitfire Gao Rael into cover and I pass the turn.
Turn 3
Top of Turn 3 – Tohaa
The Gao Rael guns Emily down for good before retreating further around the corner of some terrain. Than pushes Neema and the remaining Ectros up onto the building overlooking my forces, taking hacking attempts on the way until he’s forced to spend the order to shoot the repeater off the table. The Ectros opens up on my link with his Vulkan shotgun but is outside of 8″. He’s forced to choose the shot that will cover the most guys–my TinBot Brigada, Massacre, my Daktari, and Uhahu, leaving Massacre uncontested. Since he’s far away–too far for Uhahu’s assault pistol to be of use, I dodge with her and shoot with everyone else save Massacre, who is within 8″ and throws some E/M grenades.
 A fistful of dice later and the Ectros and Uhahu are off the table, with everyone else unscathed. Than spends his last order pushing his Sakiel paramedic into the open, bringing back both the Makaul and the Ectros HMG by splitting burst on his MediKit at long range. Talk about lucky rolls! Neema is standing on the central building, in view of whoever wants to walk around the corner.
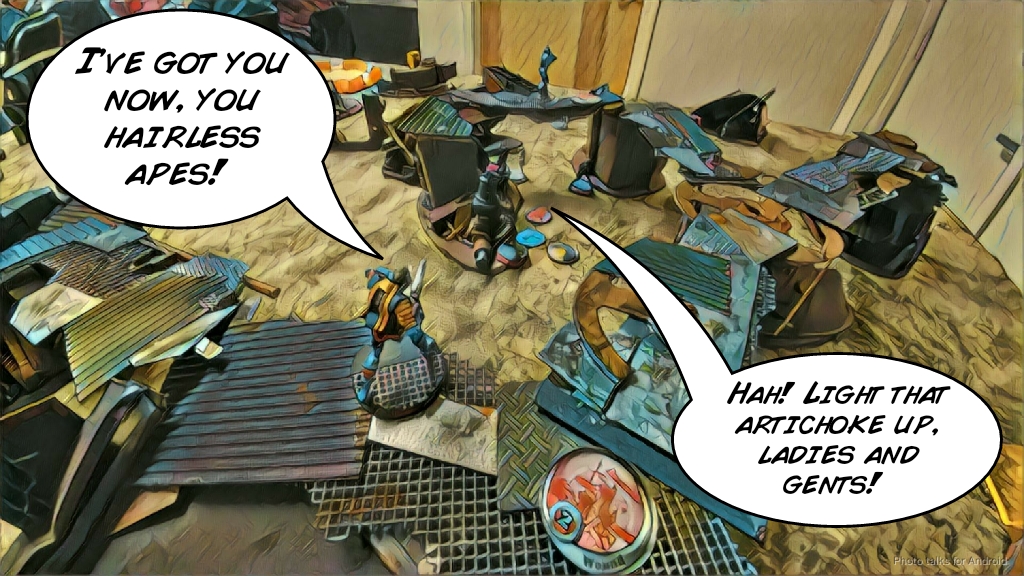
Bottom of Turn 3 – StarCo
I’ve got a Sukeul and a bunch of other stuff watching my link so I break it and activate just the Brigada HMG. I really don’t want Than to drop any smoke with the Makaul so I dump most of my HMG’s dice into the Makaul with only one at the Ectros HMG. I’m rewarded with a bunch of successes, dropping both Tohaa in one order. Another order gets me a downed Sakiel, and after reforming the link, Massacre finally shotguns down the Sukeul and the Gao Rael, but fails to E/M grenade Neema in place so I can blast her off the table. I attempt it anyway, with her attempting to dodge prone against my HMG. Sadly, Than makes enough saves to keep her alive with a single wound, dropping her prone with me basically out of orders to do much of anything. Had I spent the order to pick up the Brawler, I could’ve had a last shot on Neema from his vantage point. Ah well. After we tally up the classifieds and army points, it’s a
7-3 StarCo, Free Company of the Star, Victory!
Notes
- Deployment was much smarter this time. I kept all my links intact through the entirety of the first turn, which felt pretty good. I did cede a large amount of the board to Than, but that’s mostly okay in Biotechvore if you can basically turn it into a left to right game, i.e. both players spend the first turn flipping the board 90 degrees and start a new game on Turn 2, so to speak.
- Doctors in links are amazing, mainly for positioning reasons.
- I kept my HMG Brigada protected the whole game, so I’ll pat myself on the back for that one.
- I didn’t miss a big template weapon like a ML or an HRL this game–I thought I would.
- Emily/Uhahu are super order hungry! Gotta watch out for that.
- Raoul did absolutely nothing this game. I think in a non-biotechvore LI list I will not take him in the Brawler Haris, unless I’m trying to something weird like make an aggressive, pushing Haris.
- I really like the Massacre + Daktari + Brigada core. It is really powerful, even if it doesn’t get as steep a discount as say a Janissary + Hafza core (which will be coming soon!).
- This is my third game of Biotechvore now, and I’m convinced that it’s all about deployment. Really all that matters is how to protect your troops on turn 1 to get them into position on turn 2. You have to spend a lot of time thinking about your path of advance and how many orders you need to get your guys up the field. This is precisely what I failed to do in Game 1, and exactly what I did in Game 2, which much improved results.
- I definitely need more practice. Hopefully the tournament goes well!