Avalanche Trigger
With March Mambo, our Deadly Dance Showdown Tournament, out of the way, it was time to start practicing some more for Adepticon 2019. I asked Erik (Zelaponeepus) if he would join me for a game of either Power Pack or Supplies. He chose to take his latest infatuation, Hassassins, to a game of Supplies.
Overview
- Mission: Supplies
- Forces: Japanese Secessionist Army versus Hassassin Bahram (300)
- Deploy First: HB
- First Turn: HB
Not My Final Form
GROUP 1 |9
1
1
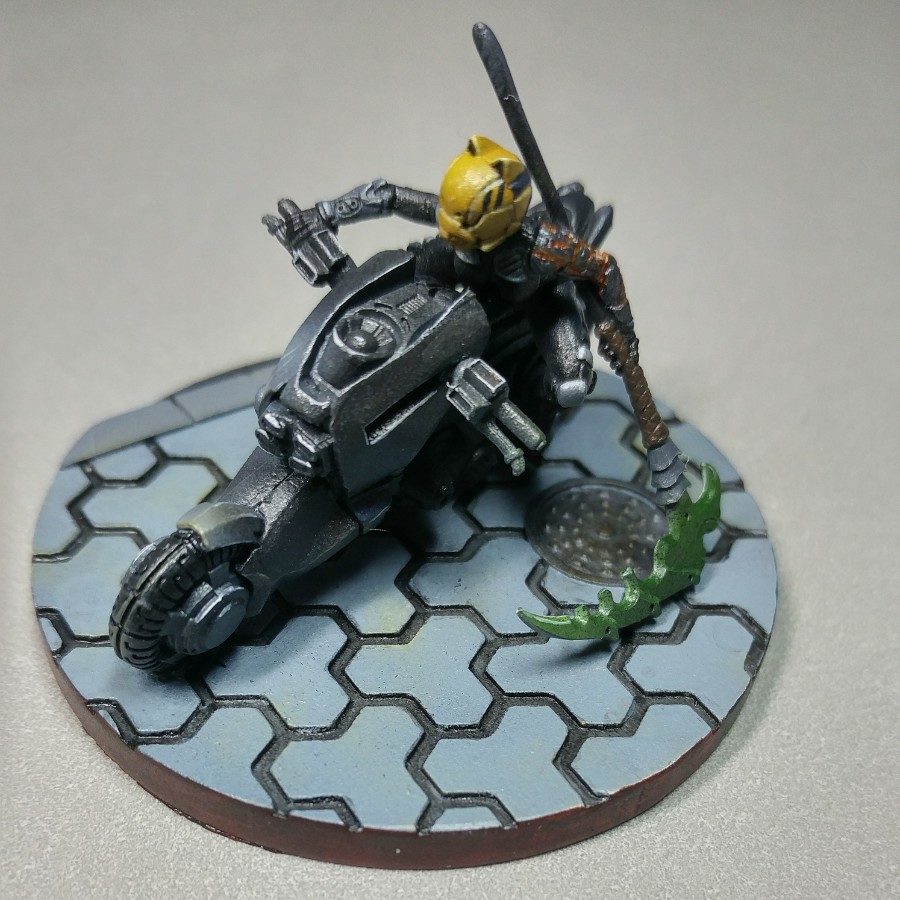
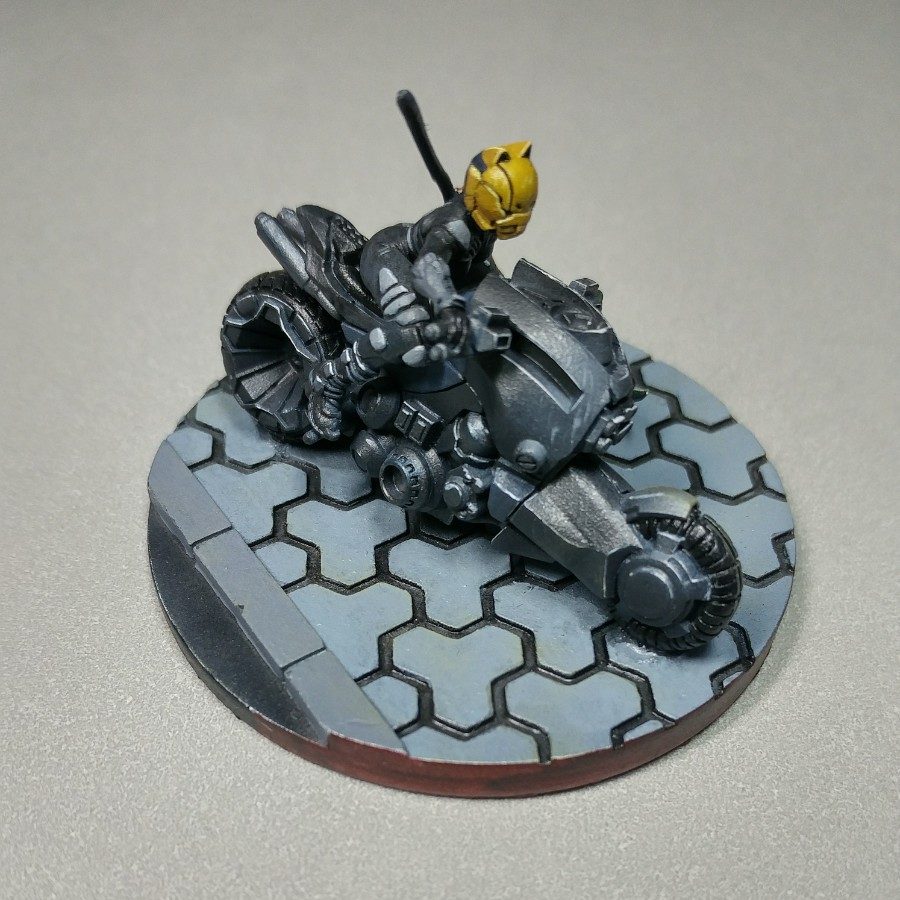
KUROSHI RIDER Lieutenant Combi Rifle + Light Flamethrower / Breaker Pistol, AP + Shock CCW. (0 | 33)
RYŪKEN (Forward Deployment L2, ODD) Submachine Gun, Antipersonnel Mines, D-Charges / 2 Breaker Pistols, Knife. (0.5 | 24)
KEMPEI (Multispectral Visor L2) Shock Marksman Rifle / Pistol, CCW, Electric Pulse. (1 | 25)
YURIKO ODA Combi Rifle + E/Mitter, D-Charges, Antipersonnel Mines / Pistol, CCW. (0 | 23)
KEISOTSU HMG / Pistol, Knife. (1 | 17)
GROUP 2 |
WARCOR (Aerocam) Flash Pulse / Stun Pistol, Knife. (0 | 3)
NINJA MULTI Sniper Rifle / Pistol, Shock CCW, Knife. (1.5 | 42)
TOKUSETSU EISEI Doctor (MediKit) Combi Rifle / Pistol, Knife. (0 | 14)
YÁOZĂO Electric Pulse. (0 | 3)
YOJIMBO Contender, Nanopulser, Smoke Grenades, CrazyKoalas (2) / Pistol, DA CCW. (0 | 21)
6 SWC | 300 Points | Open in Infinity Army
I’ve been really struggling with JSA list construction lately, especially for Adepticon. You’d think that the mission list of Power Pack, Decapitation, Supplies, and Firefight would make list building trivial, but it hasn’t. Part of the reason is I’m trying to juggle what I need to paint versus what models I’m sharing with Adam. We’re both taking two armies with a good deal of overlap between one set of armies, so we’ve been trying to solve a over-constrained list building problem of 1) what models do we have painted 2) what models can we paint in the limited time left before Adepticon 3) what models are being used by the other player for what tournament and 4) what will fit in the bag we’re taking to Adepticon. It’s making things unnecessarily difficult, but I think Pete (YueFei23) got it right when I was talking about some other form of list constraints in another context: “yet another way for WiseKensai to tie one arm behind his back.” I guess I do make things more complicated than they need to be!

For this game anyway, I made an executive decision to include Kuroshi Rider in the list, mostly because I had just “finished” painting her about 5 minutes before getting into the car to go to the game store. For some reason all the weathering powder got eaten by the varnish… anyway, I digress. Kuroshi was there, along with two Ryuken-9 SMGs because they’re pretty mandatory in my JSA these days. I’m also trying the Ryuken-9 HRL, just to add some more mines in my deployment zone.
I threw in a Doctor and a Ninja MSR, just to try that out too (that mini is pretty boring to paint, in my opinion), and then made a pretty shooty link out of a Kempetai SMR, Keisotsu HMG, and the usual cast of characters. Group two has Yojimbo because… vroom vroom Ninja things, and then I was left with 18 points so that became two Keisotsu for orders. A pretty decent amount of mine coverage, and a decent number of long range if middling BS guns. I knew I was going up against Hassassin Bahram so I knew I wanted some passive board control, especially since I might be going second.
Hassassin Bahram
GROUP 1 |
MUYIB Lieutenant Rifle + Light Grenade Launcher (Normal and Smoke Ammo.) / Pistol, Knife. (1.5 | 23)
LEILA SHARIF Hacker (Killer Hacking Device) Shock Marksman Rifle, D-Charges / Breaker Pistol, Knife. (0 | 20)
GROUP 2 |
HASSASSIN HUSAM YASBIR (Infiltration, Holoprojector L2) Rifle + Light Shotgun, Nanopulser, Smoke Grenades / Pistol, Viral CCW, Knife. (0 | 34)
FARZAN (Chain of Command) Boarding Shotgun / Pistol, Knife. (0 | 26)
FIDAY Boarding Shotgun, Smoke Grenades / Pistol, AP CCW, Knife. (0 | 29)
LASIQ Viral Sniper Rifle / Pistol, Knife. (1.5 | 25)
FANOUS REMOTE Flash Pulse, Sniffer / Electric Pulse. (0 | 8)
RAFIQ REMOTE Rifle + Light Shotgun, Sniffer / Electric Pulse. (0 | 16)
WARCOR (Aerocam) Flash Pulse / Stun Pistol, Knife. (0 | 3)
MUTTAWI’AH Chain Rifle, E/Marat, Jammer, Smoke Grenades / Pistol, Knife. (0 | 5)
5 SWC | 300 Points | Open in Infinity Army
Erik brought a pretty standard Hassassins list. Mutts and Muyibs, with Yasbir and a Lasiq for flavor. Not as board control heavy as something with Farzan minelayers and a ton of Daylami, but just enough. Looks good to me!
Erik wanted to go first, so I made him deploy first on what I thought was the worse side. Probably the case? I dunno. Anyway, the table itself was really open, without much cover to move around, so hard to remove ARO pieces were going to be a problem. I figured that between all three Ryuken, the Ninja MSR, and the linked guns I should be okay to fight my way out. Worst case Yojimbo could make some sick pool shots with his smoke grenade launcher?
Over the last few battle reports, I’ve started a new practice of using them to illustrate some aspect of play that I want to focus on. I don’t want to commit myself to doing this on every battle report–I foolishly committed myself to writing up every game I play and that’s caused a fair bit of trouble already, but I’m going to continue for this report.
SPOILER ALERT
I lose this game, and pretty badly too. Usually, when I lose a game, I have a pretty clear picture of why. I may not be able to recognize why during the game, or that it’s even happening, but after a few minutes of hemming and hawing during post game cleanup I’ve usually come up with a few things I want to discuss in the battle report that would’ve turned the game or at least improved my chances. Sometimes though, I’m just at a loss, even after sleeping on it. It’s taken me a few days to really arrive here and write this. Immediately after this game, I was feeling pretty glum, mostly because I wasn’t entirely sure what had gone wrong. No one likes losing, and I’ll be honest and say that I take it pretty hard at times, but I’m at my worst when I don’t know what I did wrong.
Erik shared my inability to enumerate any major mistakes, going as far as to say that I had taken risks but generally made sound tactical decisions, and that it was good to “get out all the bad luck before Adepticon.” Might as well get diced now, so to speak. Yes, there were some pretty important crits that happened, but I refuse to go on record and say that dice were the reason I lost any game, not just this one. Doubly so because on the car ride over I was listening to Episode 72 of White Noise with Jeremy Kinser and they had just stated the opinion of blaming the game on the dice is basically straight up disrespecting your opponent and your own agency (definitely something I agree with). I’m only human though, and at the time, it really felt like I had been diced.
END SPOILER
So in this report, I want to look at minor decisions and how they can trigger a snowball effect and cascade into a bigger avalanche of problems. As a corollary to this, there’s the issue of local optima versus the global optimum. In other words, making a bunch of isolated “pretty good” decisions doesn’t win you the game (in general). You should try to do the thing that will most likely win you the game all the time. I’m also going to try to describe a strategy to kick you out of hunting the local optima and get you focused back on the main game.
Part of the reason why we get so focused on local optima during the game is because we have limited working memory, and “tunnel vision” on the highest threat thing or even just the coolest strategy we want to employ. In many ways, this is a good thing–it improves play speed, helps us prioritize things, and can help us ignore red herrings. So when do we know if we’re falling prey to tunnel vision, or when we’re just focused? By coming up with a strong list of intentionally broad goals. I started thinking about this in a previous battle report, and I’m circling back now. I have thoughts about what my goals should have been, but I didn’t really go in with a solid plan at the time.
I’ll touch briefly on cognitive load here. I don’t want to make this battle report about that, but I do want to mention it as a nod to spiral learning. In my personal and professional life, I do a lot of optimization for cognitive load reduction. What do I mean by this? I tend to quickly assess a situation and evaluate options, discarding ones that may be viable but are too complex to implement. There are a lot of ways of describing this: the Keep It Simple Stupid (KISS) principle, or “perfect is the enemy of good.”
I’ll also let things “be magic” to go faster. I’m perfectly fine abstracting away some aspect of a system if I don’t need to understand it to do my work. Sometimes though, my cognitive load reducing techniques go too far. In other aspects of my life, particularly work, I have surrounded myself with colleagues who I rely on to gut check me on occasion and keep me focused on the bigger picture–especially in situations where I’ve discarded the “correct” option in favor of “laziness.” The best engineers are the laziest, right?
To bring things back to Infinity, one way I reduce cognitive load is by applying “chunking.” For example, all HMGs are equivalent. Now, before you start frothing at the mouth, I don’t actually think that, but it’s a useful abstraction. Yes, a Kamau HMG is scarier than a Metro HMG, but they’re both throwing fistfuls of dice at you–does it matter that one is higher BS with Mimetism? Are you going to set up an ARO differently? Does whether or not the HMG is linked make a difference in your leaving things out to ARO decision? Whatever you’re leaving out is likely to die, so I’d argue no! There are of course lots of nuance to these considerations, but a fine grained discussion of all of that belongs here in this blog, and not on the game table while your opponent is tapping their foot impatiently.
Sometimes chunking is bad though. I’ll get into specific examples of that later. Although Infinity is almost a “cooperative” game in some respects, your opponent is definitely not going to discourage you from making mistakes in a tournament setting! So, as a concrete plan moving forward to combat the wrong kinds of cognitive load reduction, I need to explictly write down my goals for a game to give me that “gut check” I need in Infinity.
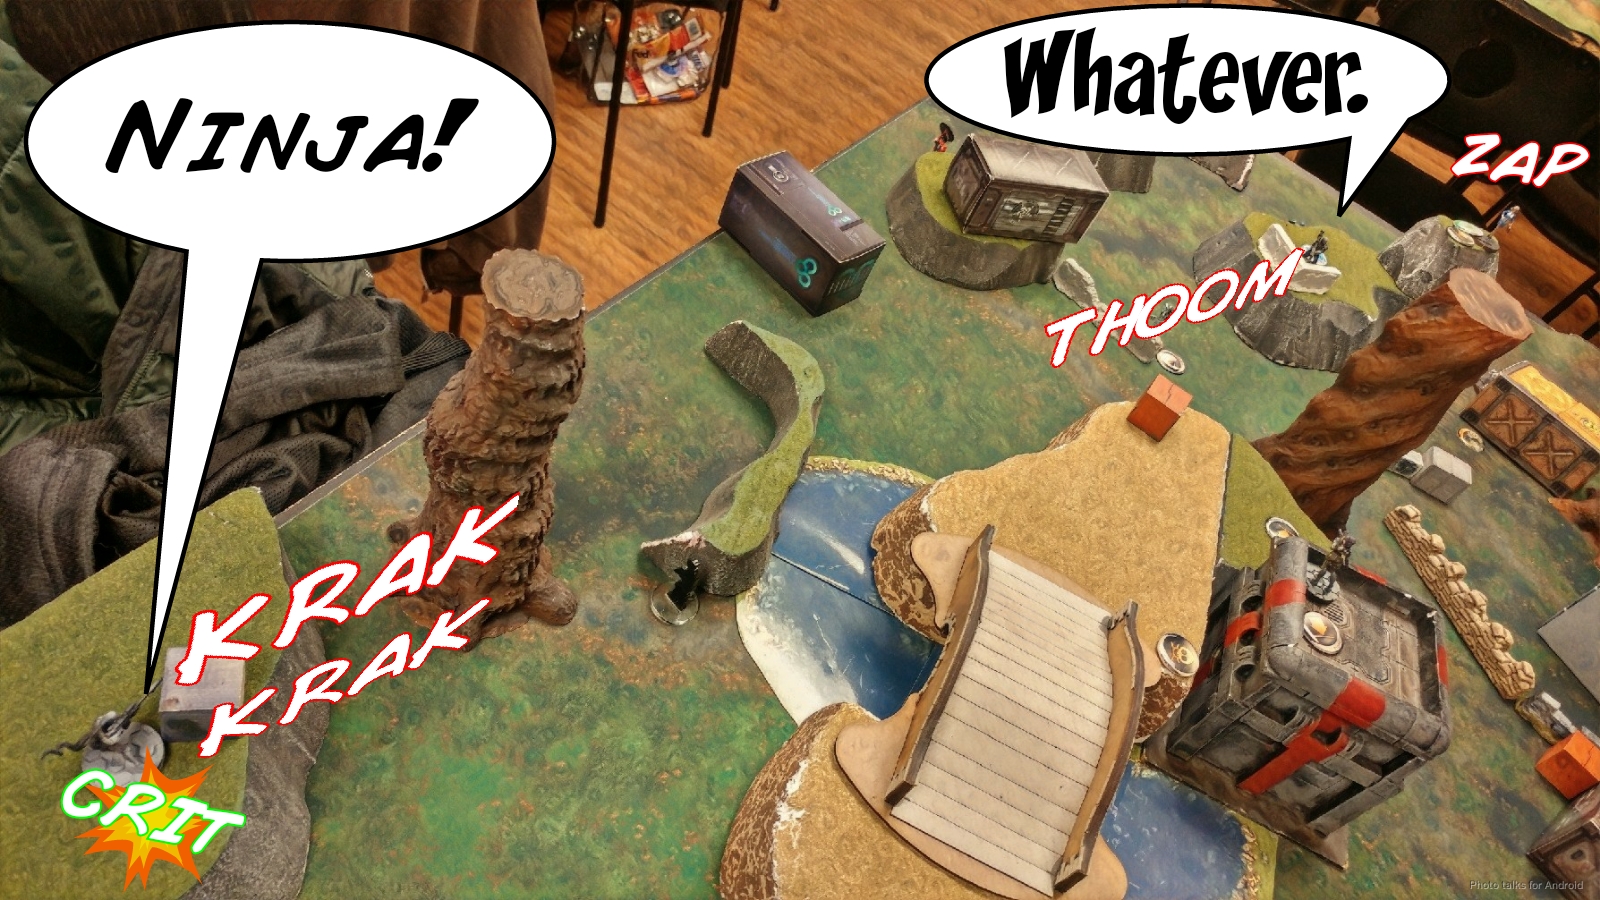
Deployment
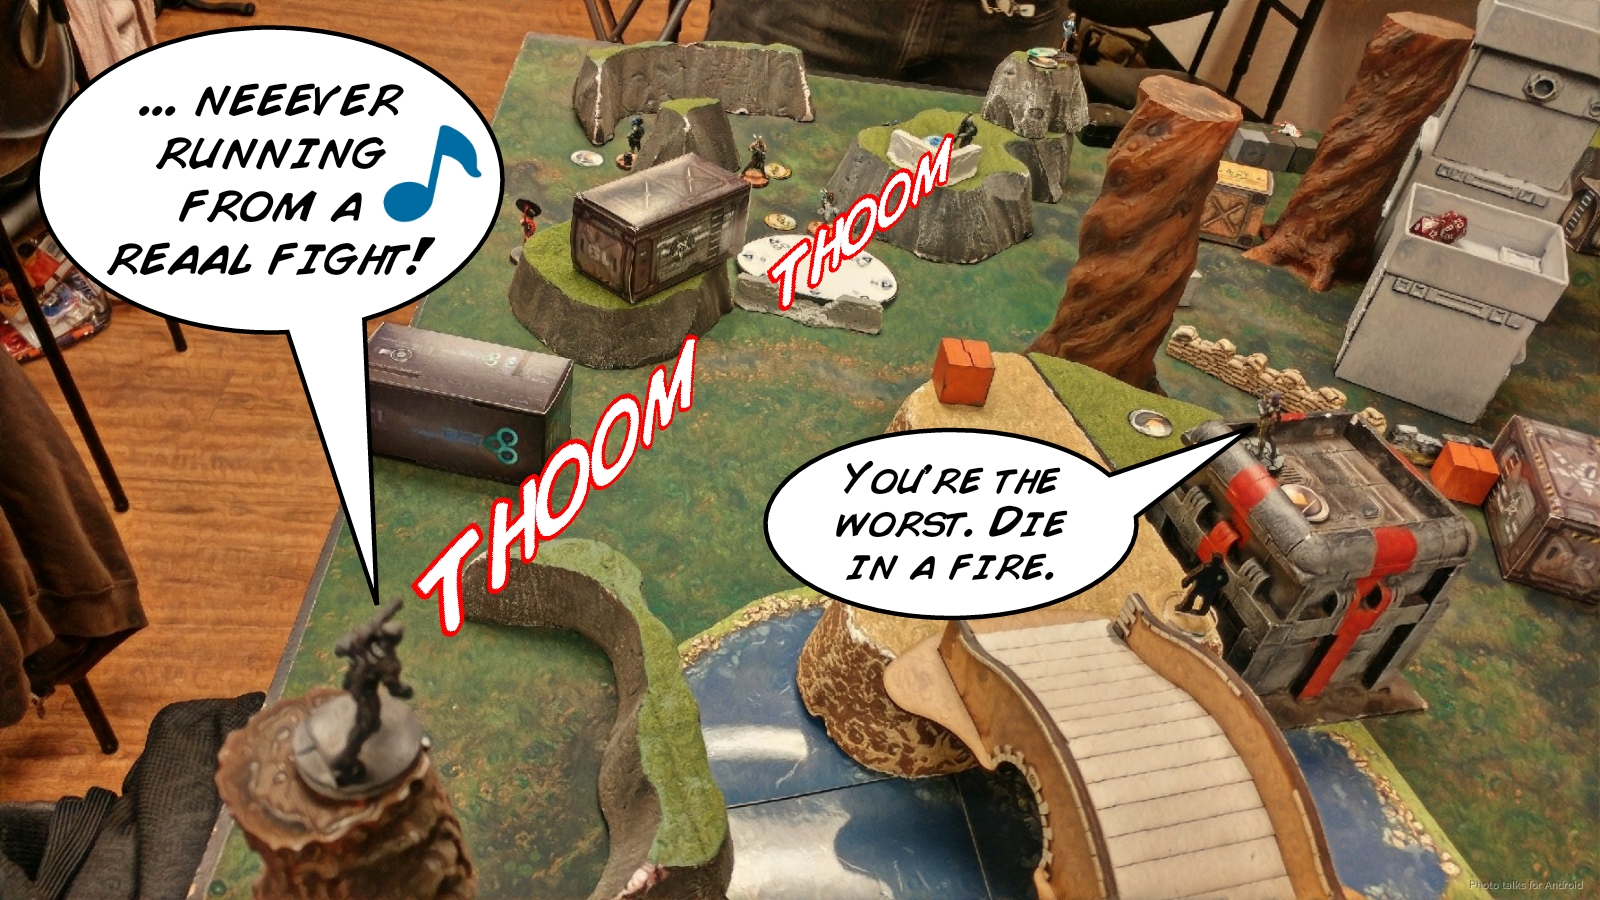
Okay! On to the game. Erik put his Muyibs on the right, mixed in with some Mutts and Leila. Of note is that his Muyib HRL is pretty much right at 8″ away from Leila, which would be relevant later. His Muyib LGL Lt (a profile I myself have been looking at) went on the right too, presumably as a backup link team member. A pair of bots went in the middle of his deployment zone with a Mutt in front. Like you do. Erik’s midfield presence was three Yasbirs and a Farzan CoC guy on the plateau near one of the objectives. The icing on the Hassassins cake was a Lasiq sniper on the left, behind a box, and a Warcor deployed on the highest thing in Erik’s deployment zone.
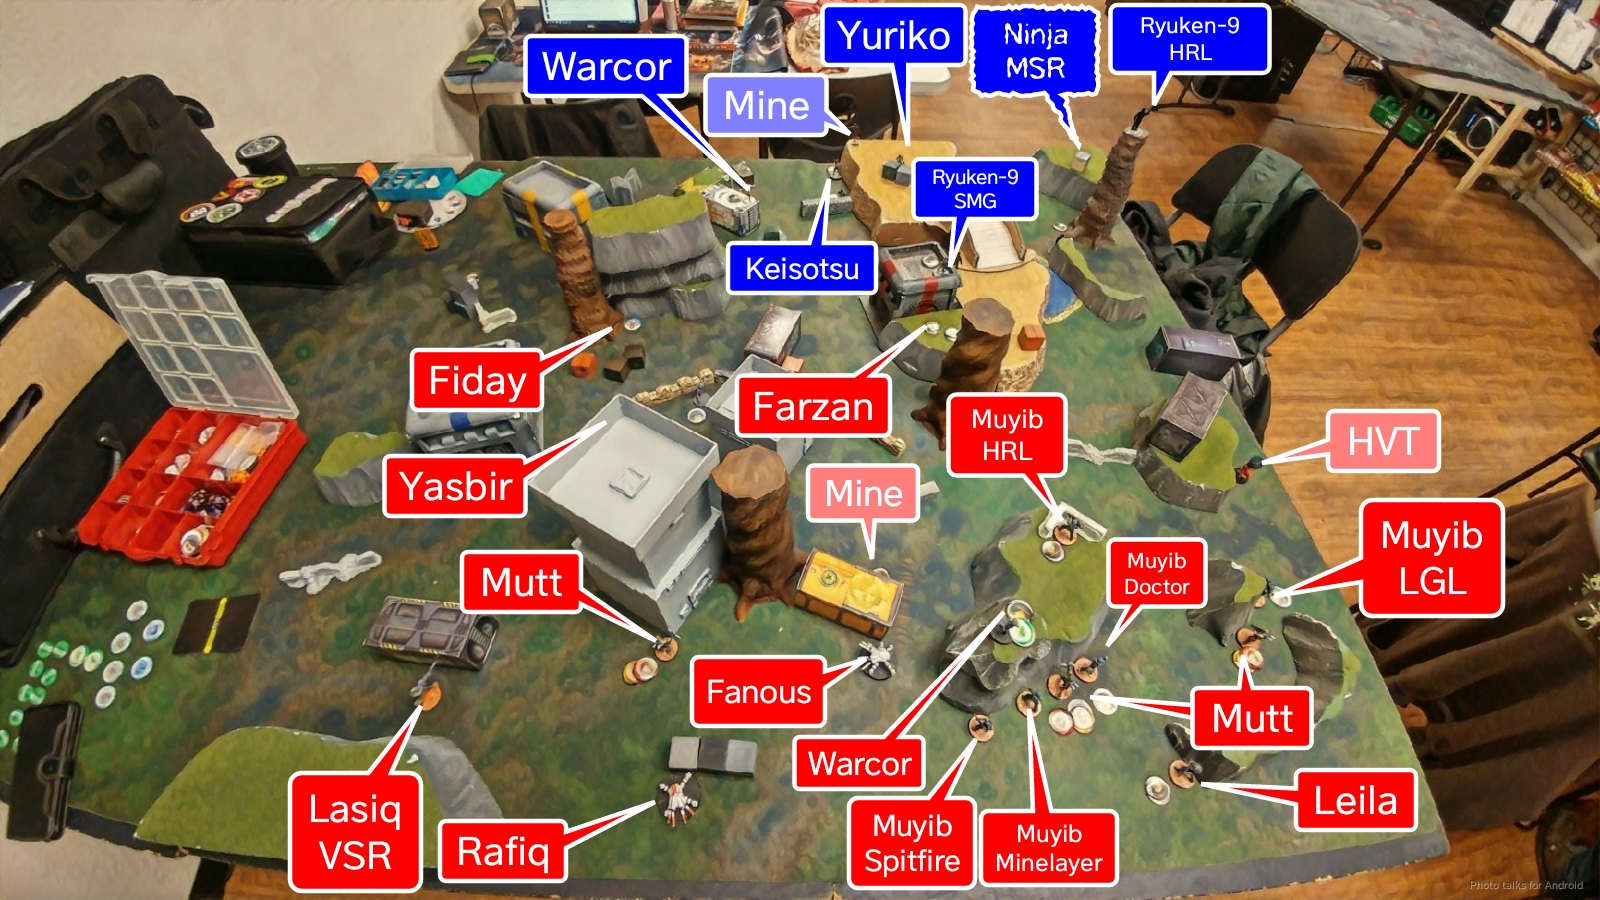
The way Erik had deployed his two Mutts on the left meant that I would get an HRL template onto members of his Muyib link if I deployed my Ryuken-9 HRL on top of a big tree… thingy. I opted to do so, putting his mine at the base of his tree to protect my vulnerable left flank from Mutt foot traffic. This, I think, was a minor mistake. Not because I put the HRL up there–it’s actually got a pretty commanding position, and I planned to put my Ninja MSR behind it to provide a similar set of potential AROs, which would really make things difficult for Erik.
The reason I think it was a mistake was because it set me up with a mental note in my head to use the Ryuken-9 HRL to shoot at juicy targets of opportunity, and because I set it up with the expectation for Erik to make a mistake. I don’t control Erik, and I can’t expect him to do any particular thing. I can try to force misplays, but if anything, I know I can expect consistently good decisions from Erik.

So, in short, I put the Ryuken-9 up there for the wrong reasons. In and of itself, the position wasn’t necessarily bad, but the bad reasons made me use the piece poorly later on. As for the Ryuken-9 SMGs, I felt pretty comfortable and confident with their placement and continue to feel the same even as I write this.
However, the rest of my deployment was troublesome. After getting greedy with the Ryuken-9, I was way too conservative with the rest of my deployment, which led to other problems. Fearing a Fiday (this goes back to my most recent report, which discusses psychological and other pressures), I got really anxious and over-compensated by incorrectly trying to reduce my cognitive load. I reduced my deployment to 1) AHH! A Fiday! Defense in depth! All the things! and 2) set up some cheeky AROs like I did with the Ryuken-9.
I think I did a great job of doing these two things. I set up a great ARO for Erik making a dumb mistake with his Mutts and set up a pretty decent anti-Fiday zone. I put mines in the right places, set up overlapping fields of fire with various members of my link, put sacrificial Keisotsu out on the flanks to attempt discovers or force a reveal, and even set up Yojimbo in a bad place for Yojimbo, but a good place for his Koalas.
All in all, the over-reaction over the Fiday created two major weaknesses in my deployment. The first was the link being too spread out to adequately support one another if I needed to change the link leader, especially if I needed to utilize things on the periphery, like Yuriko or the HMG. If you’ve been following my thoughts online for any reasonable length of time, you know that I’m not the biggest fan of links. In my mind, they constrain movement and therefore positioning, which is I think one of the most powerful problem solving tools in Infinity. So, even knowing that, I let myself fall into the trap!
The second major weakness was Yojimbo’s placement. I was quite pleased with my anti-Fiday Koala deployment, which while not impenetrable, was a very good deterrent. However, this great Koala placement meant that Yojimbo was pinned in place. If I moved him at all, his Koalas would generate AROs for the Muyib HRL. Even if Yojimbo wasn’t visible, I was putting the rest of my forces at risk of getting templated on my active turn. My plan at the time to overcome this was to just kill the Muyib HRL. I had several tools in position or planned to be in position to accomplish this goal, so I felt reasonably confident that I could unstick Yojimbo during my first turn and therefore made this concession knowingly. I still think that this was a reasonable concession given previous choices, but feel bad about it.
Erik read the room and wisely placed his Fiday away from my deployment zone, converting it to more of a soft power midfield piece than an DZ attack tool. This was definitely the right call on his part. I had held my Ninja in reserve, and placed it in a position covering the Muyib HRL. I think since I was already committed to using the Ninja to target the Muyib HRL, I should’ve held Yojimbo in reserve. He’s too useful a toolbox to be tied up on unnecessary defense duty, and I think that’s the real travesty of my deployment choices. In isolation, all of these decisions were mostly okay. As we’ll see, I actually got what I wanted: 1) cheeky AROs and 2) no Fiday in my DZ.
So what’s the problem? Well, I’ve written hundreds of words explaining and justifying my deployment decisions, but guess what: none of them have anything to with the mission at hand. I lied. There were three major deployment weaknesses. The third weakness is I didn’t have anything better than a reactionary plan or any significant pieces in positions to recover supply boxes, i.e. let Erik get the box and then go kill his box carrier and take it.
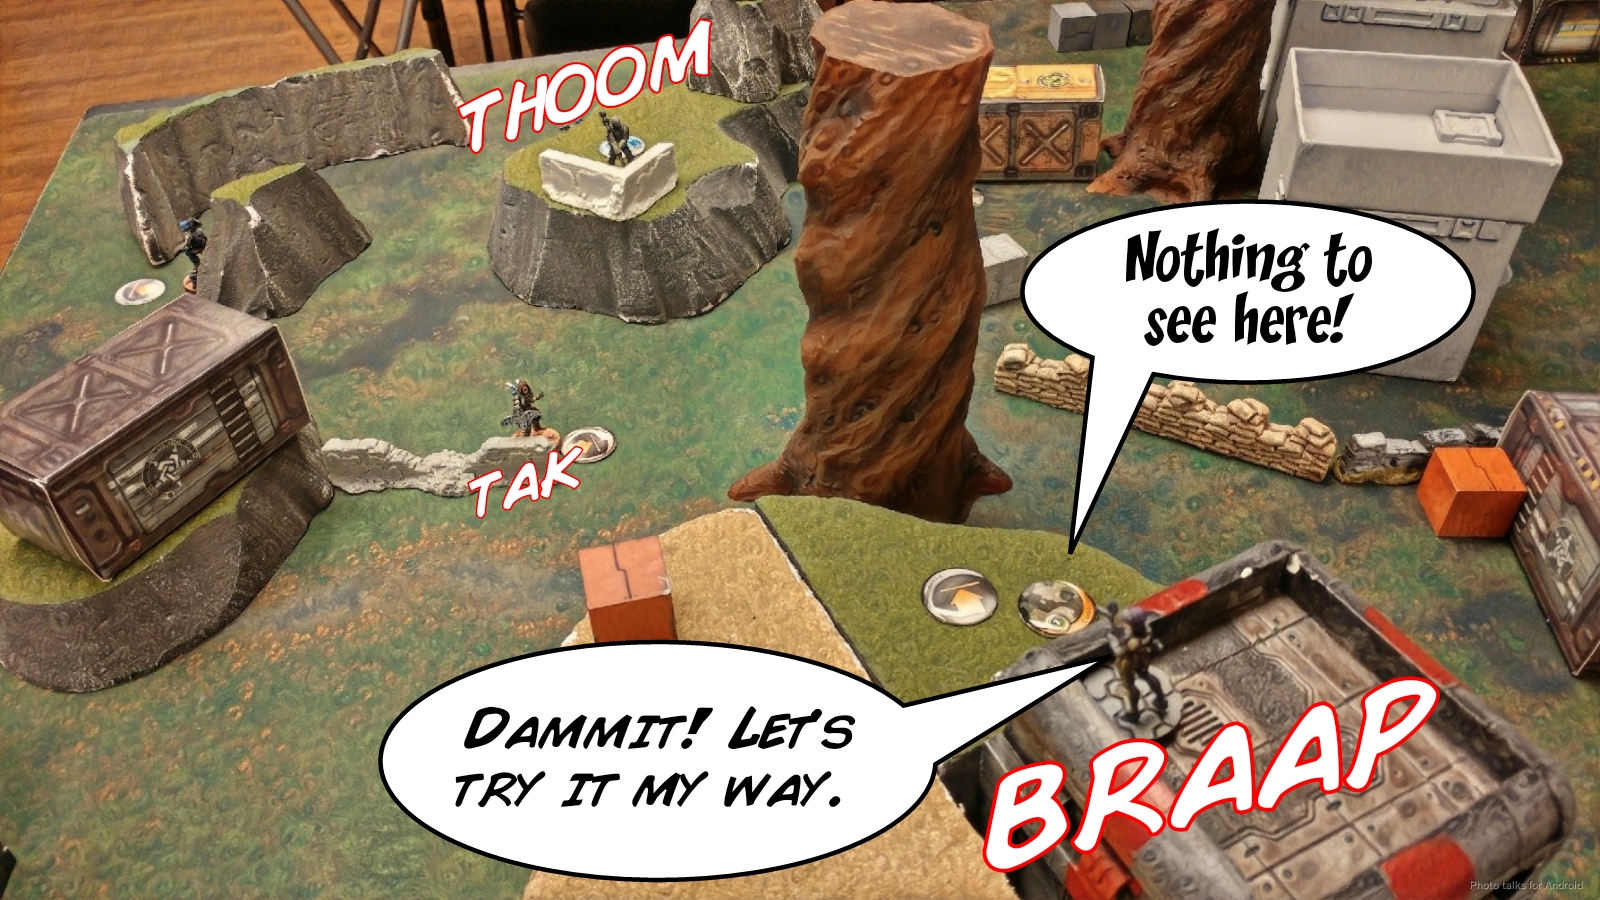
Turn 1
Top of 1 – HB
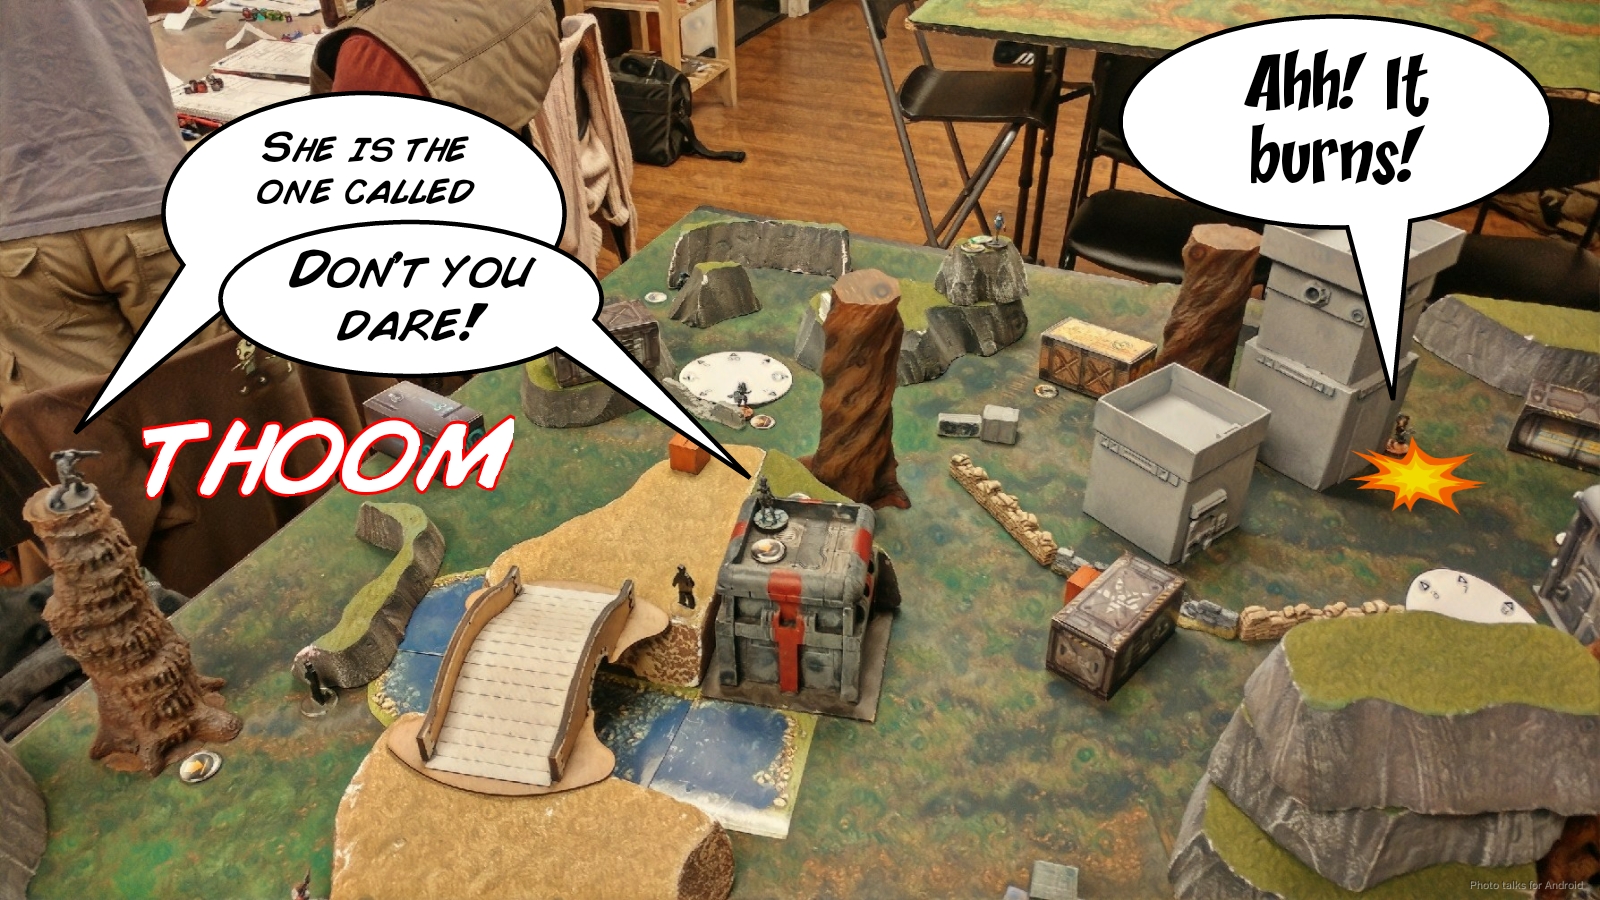
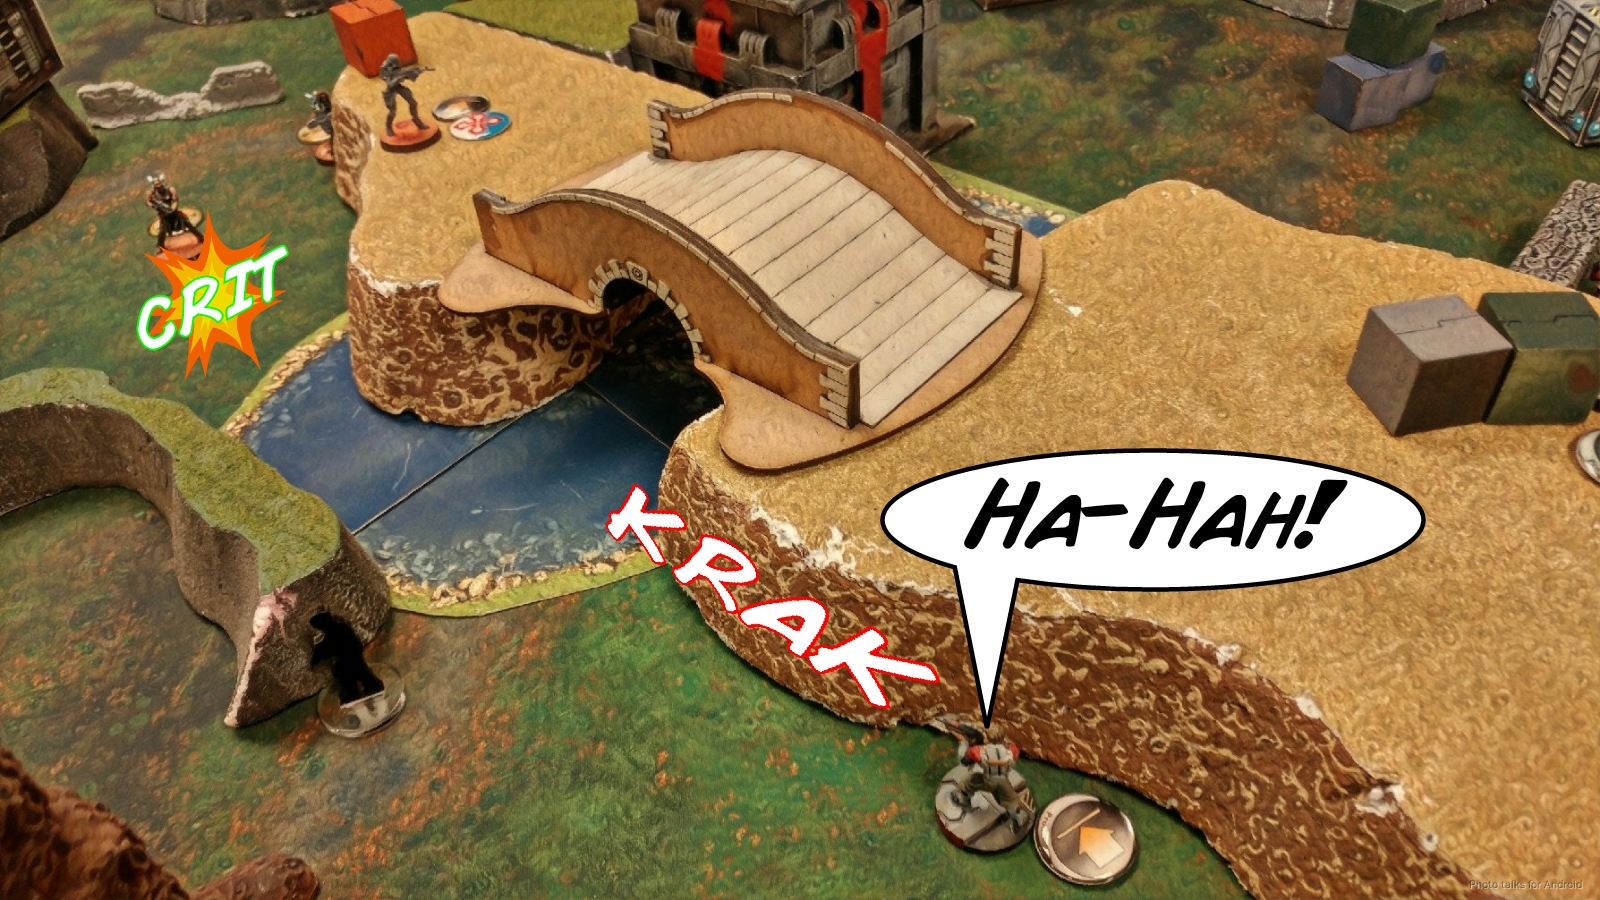
After I dock him two orders in his second group, Erik doesn’t make a mistake with his first order and properly orders his Mutt activations. The one that won’t generate an ARO from the Ryuken-9 HRL throws smoke (and lands it) for the Mutt that will, who advances safely.
The third Mutt move-moves into LoF on the second short skill, and because I had set myself for this mentally, I reveal the Ryuken-9 HRL and take a shot, whiffing. Blah.
Erik decides to punish this and moves his own HRL into position get a sliver of LoF around the Mutt’s smoke. I actually manage to win the face to face roll, using hit mode because of my elevation denying cover. Erik of course passes ARM.
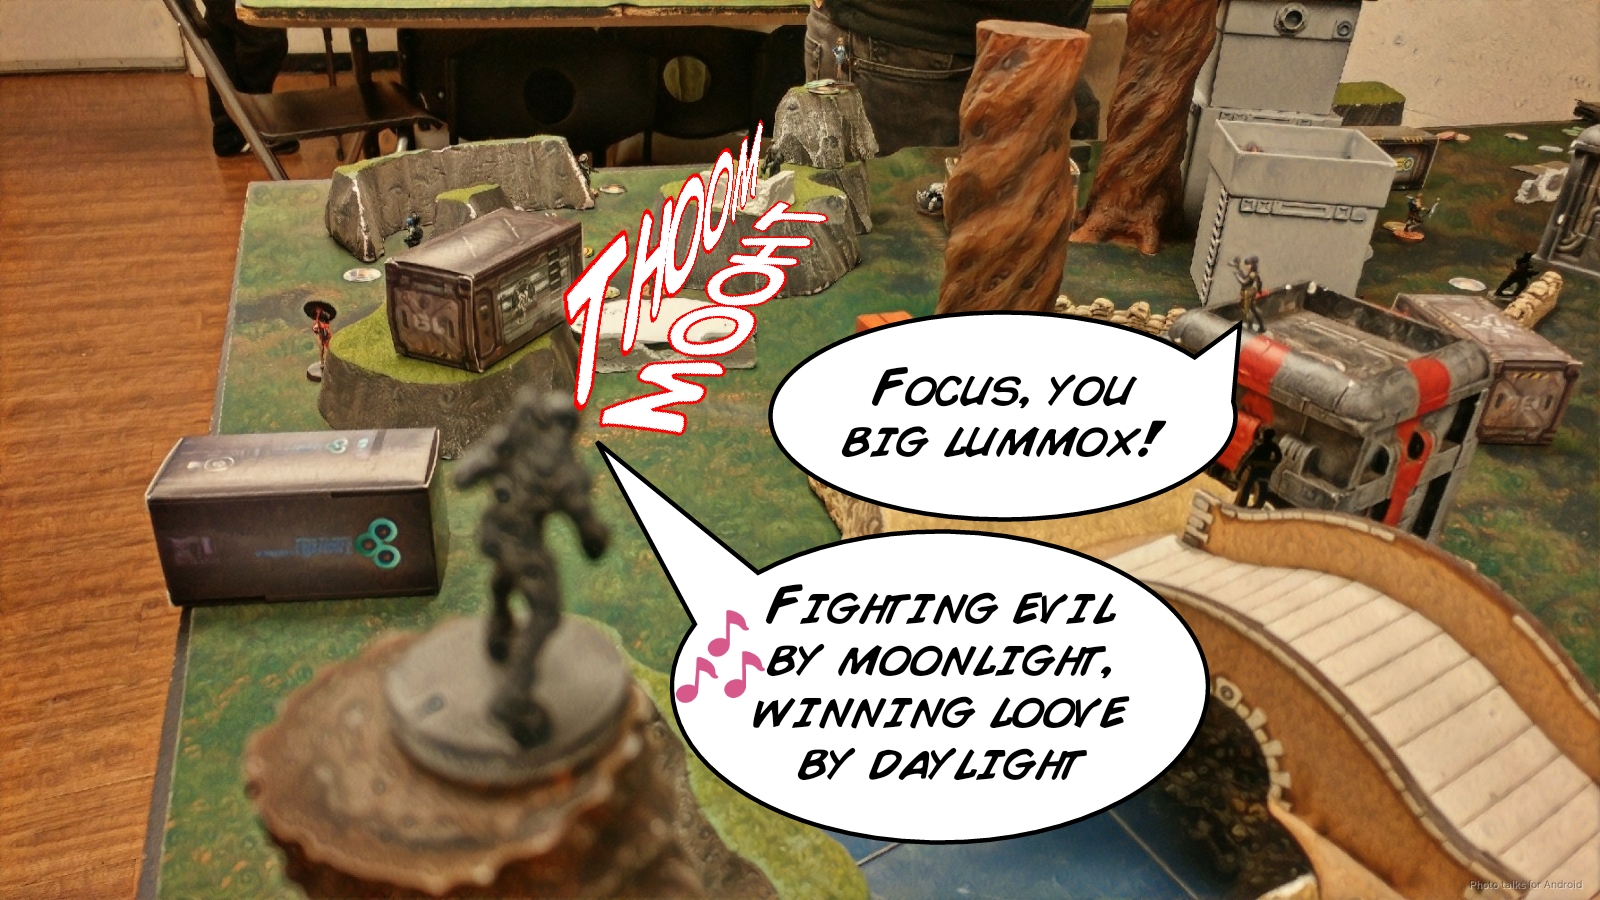
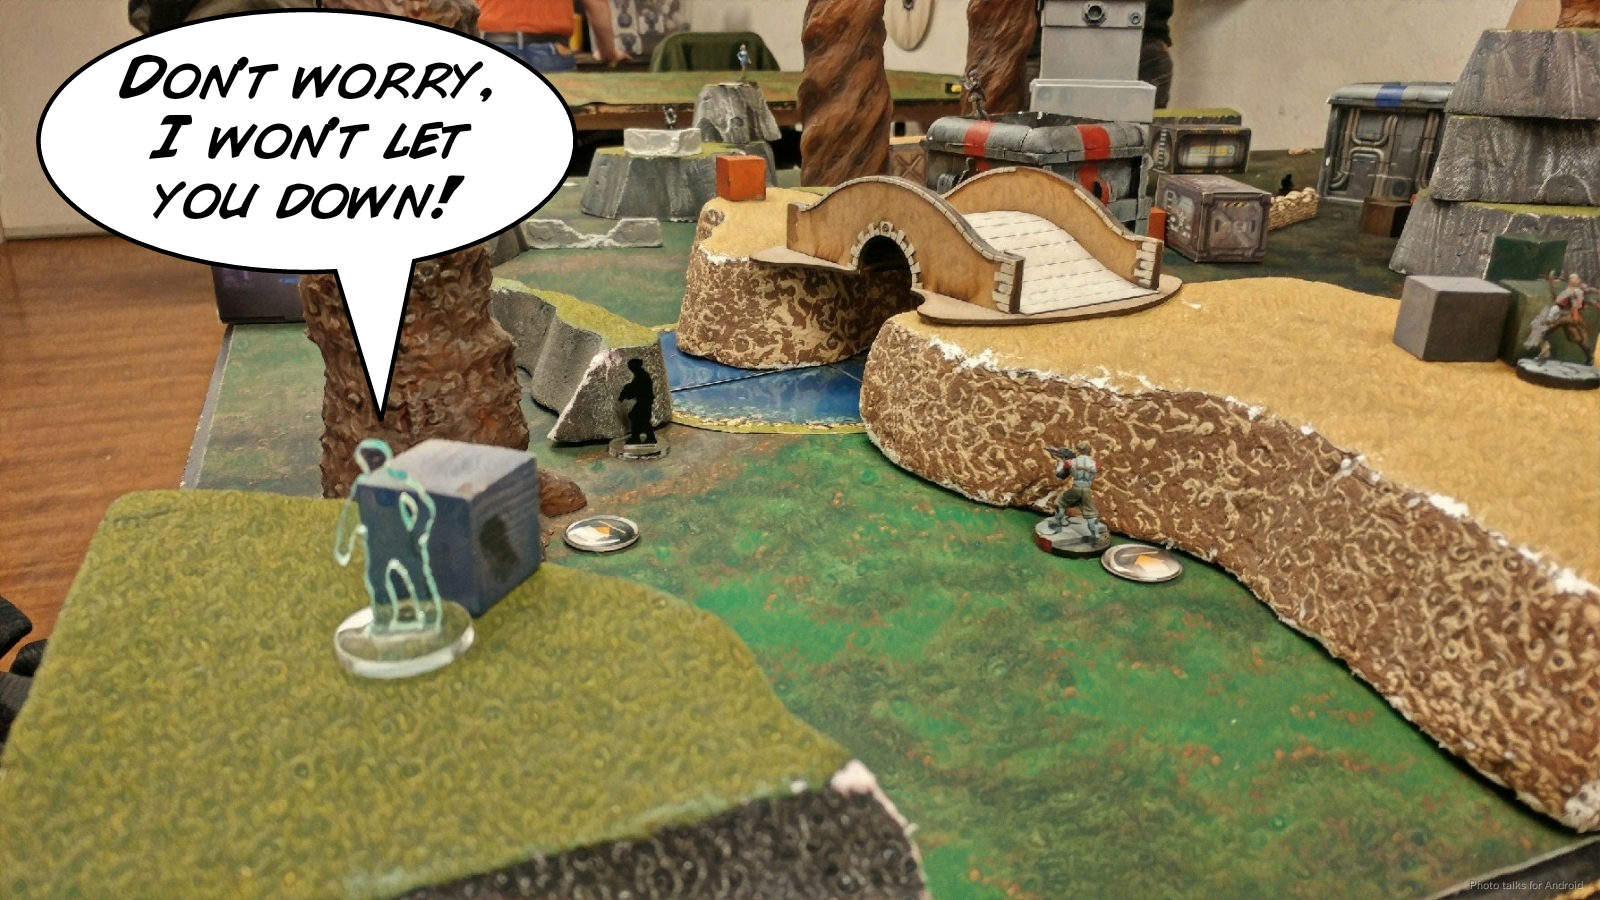
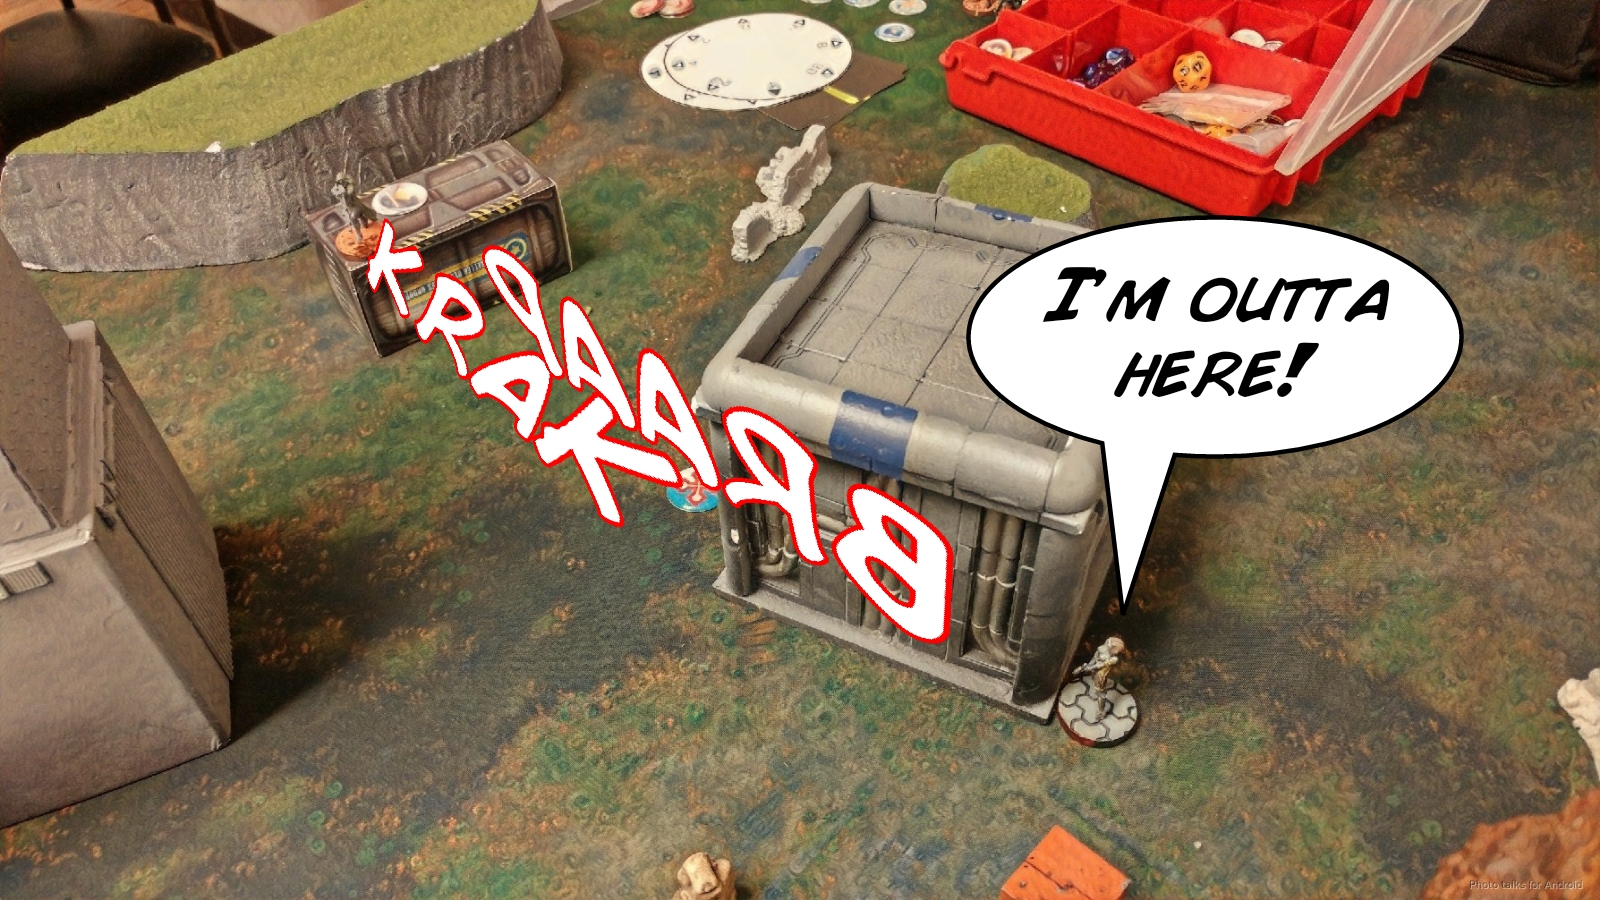
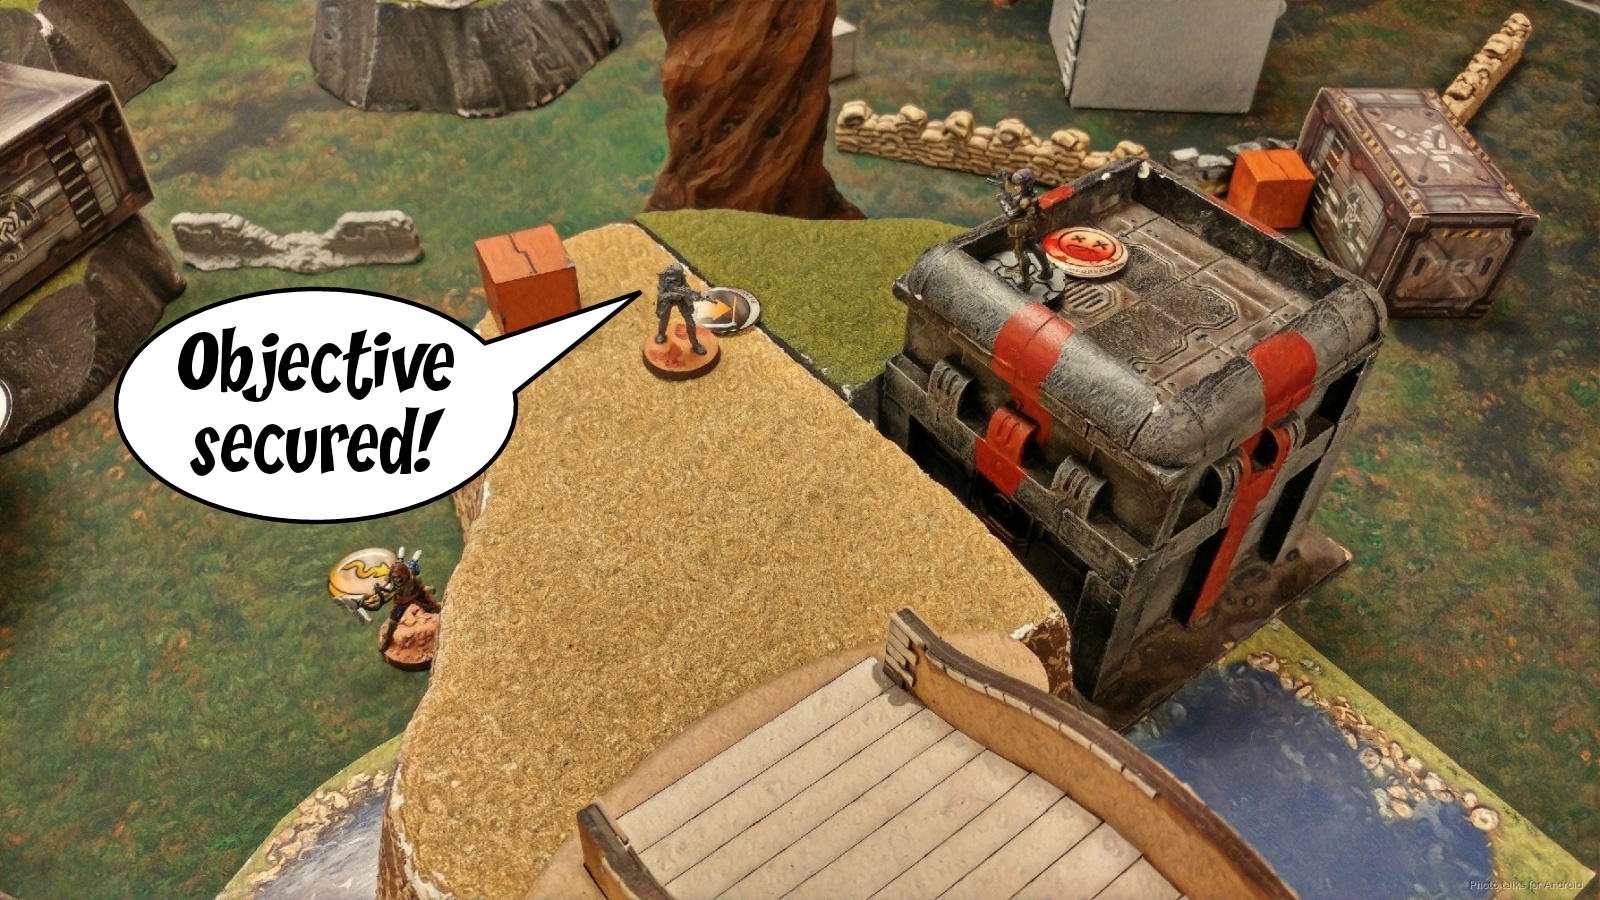
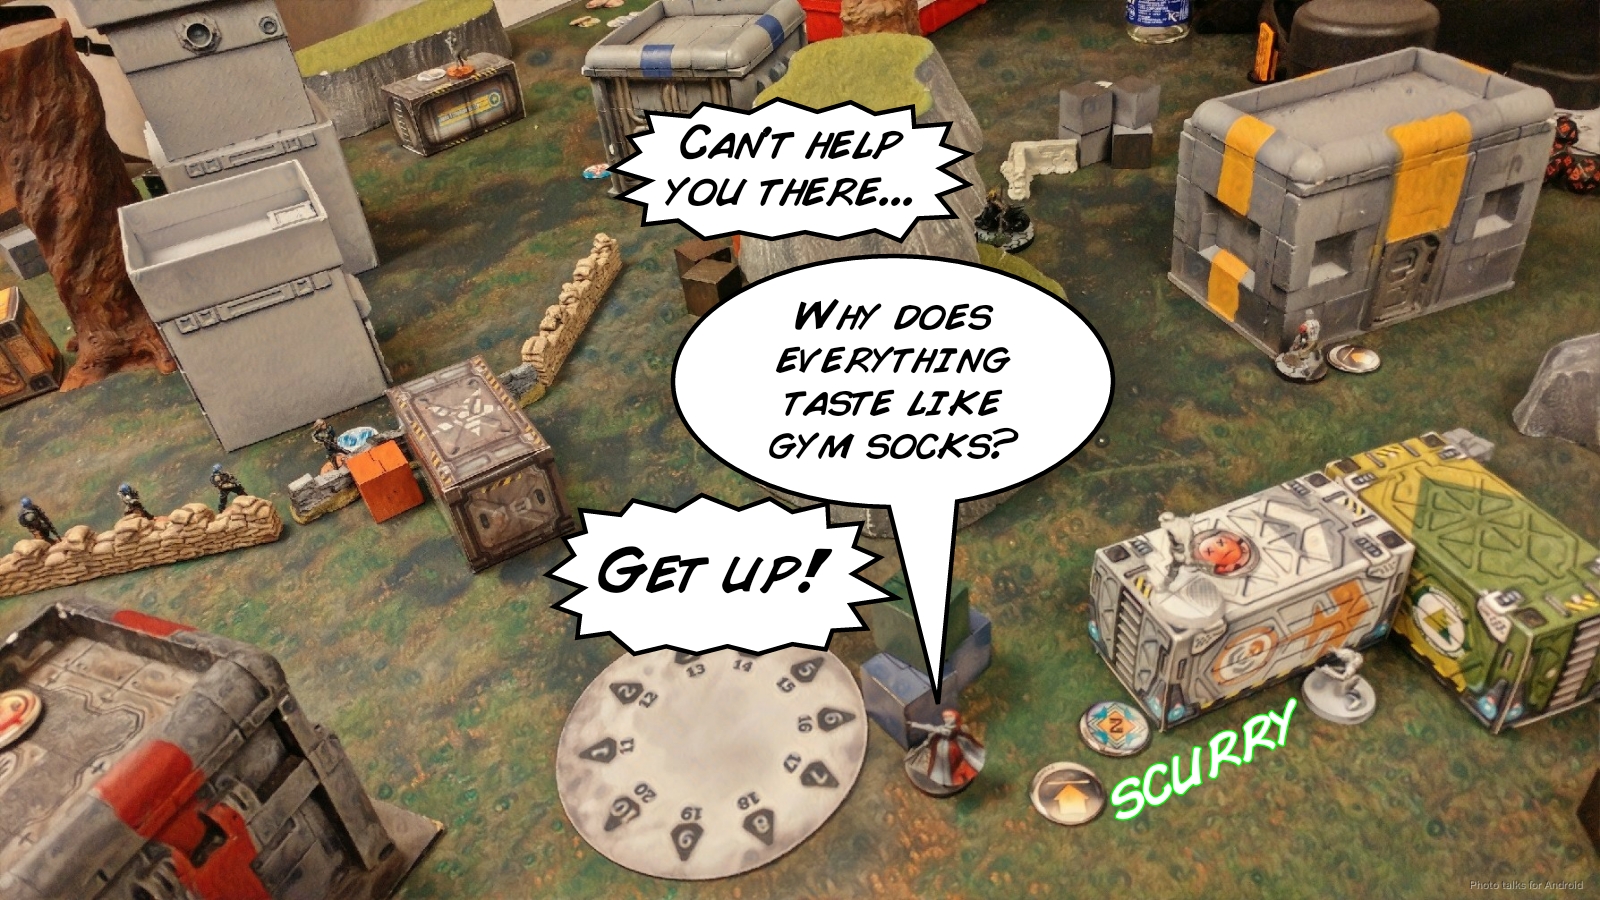
Unlike me, Erik knows how to win this mission, and throws some smoke with Yasbir to get him safely to a Tech-Coffin…
which he immediately pilfers and scurries away with his ill-gotten gains.
Erik has made a very minor mistake, in that he’s moved the HRL out of coherency with Leila, so he fixes that by moving her back into coherency and reforms the link.
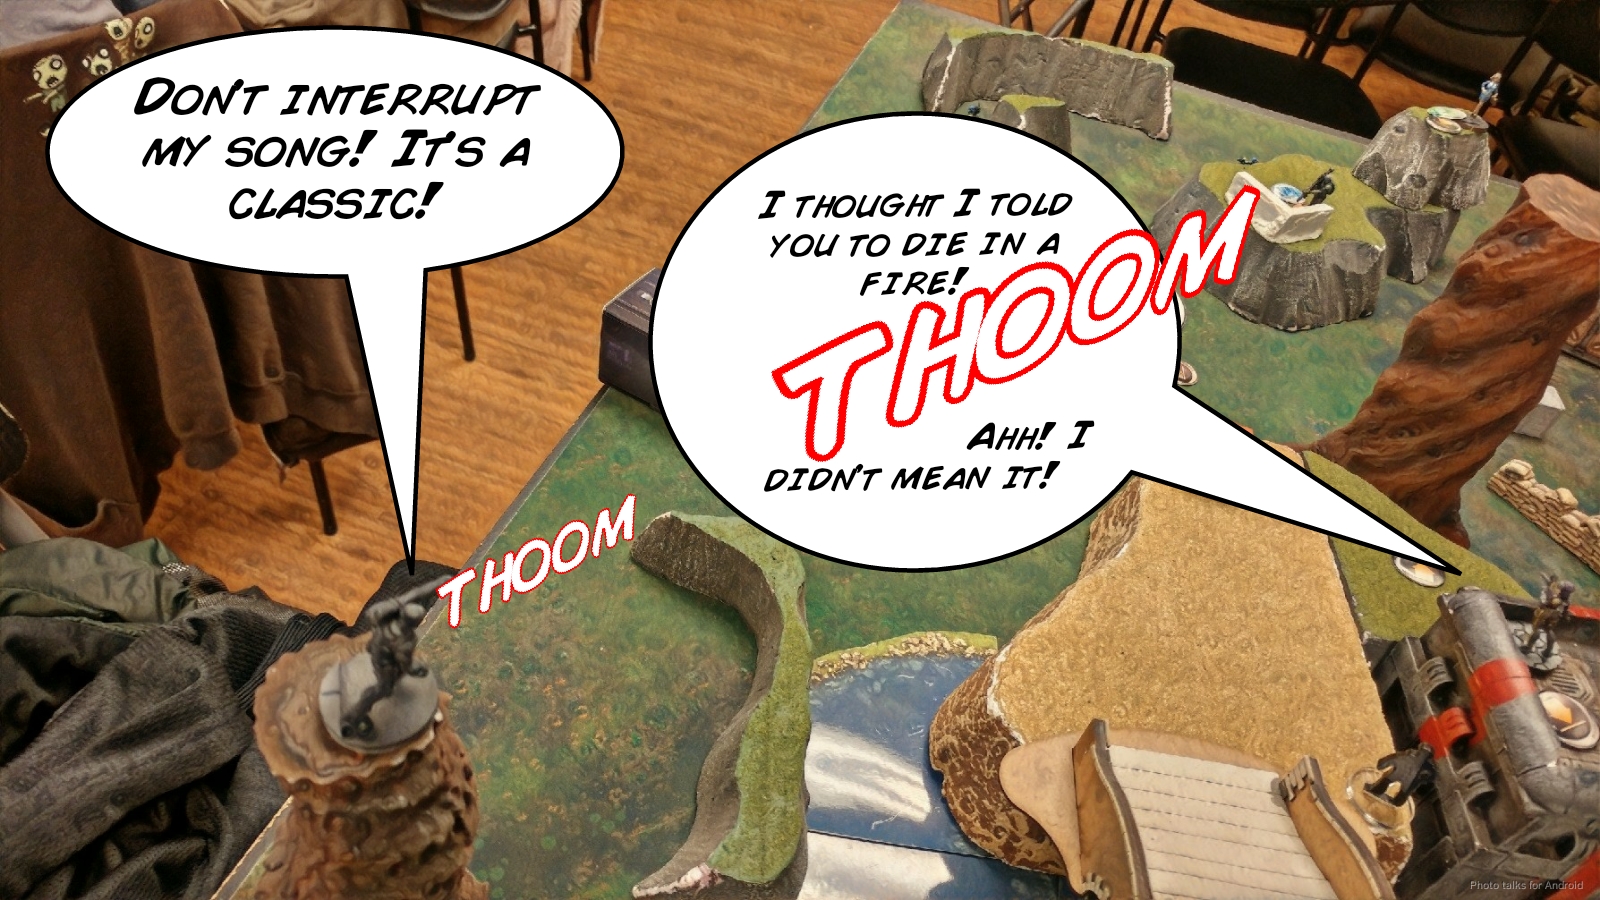
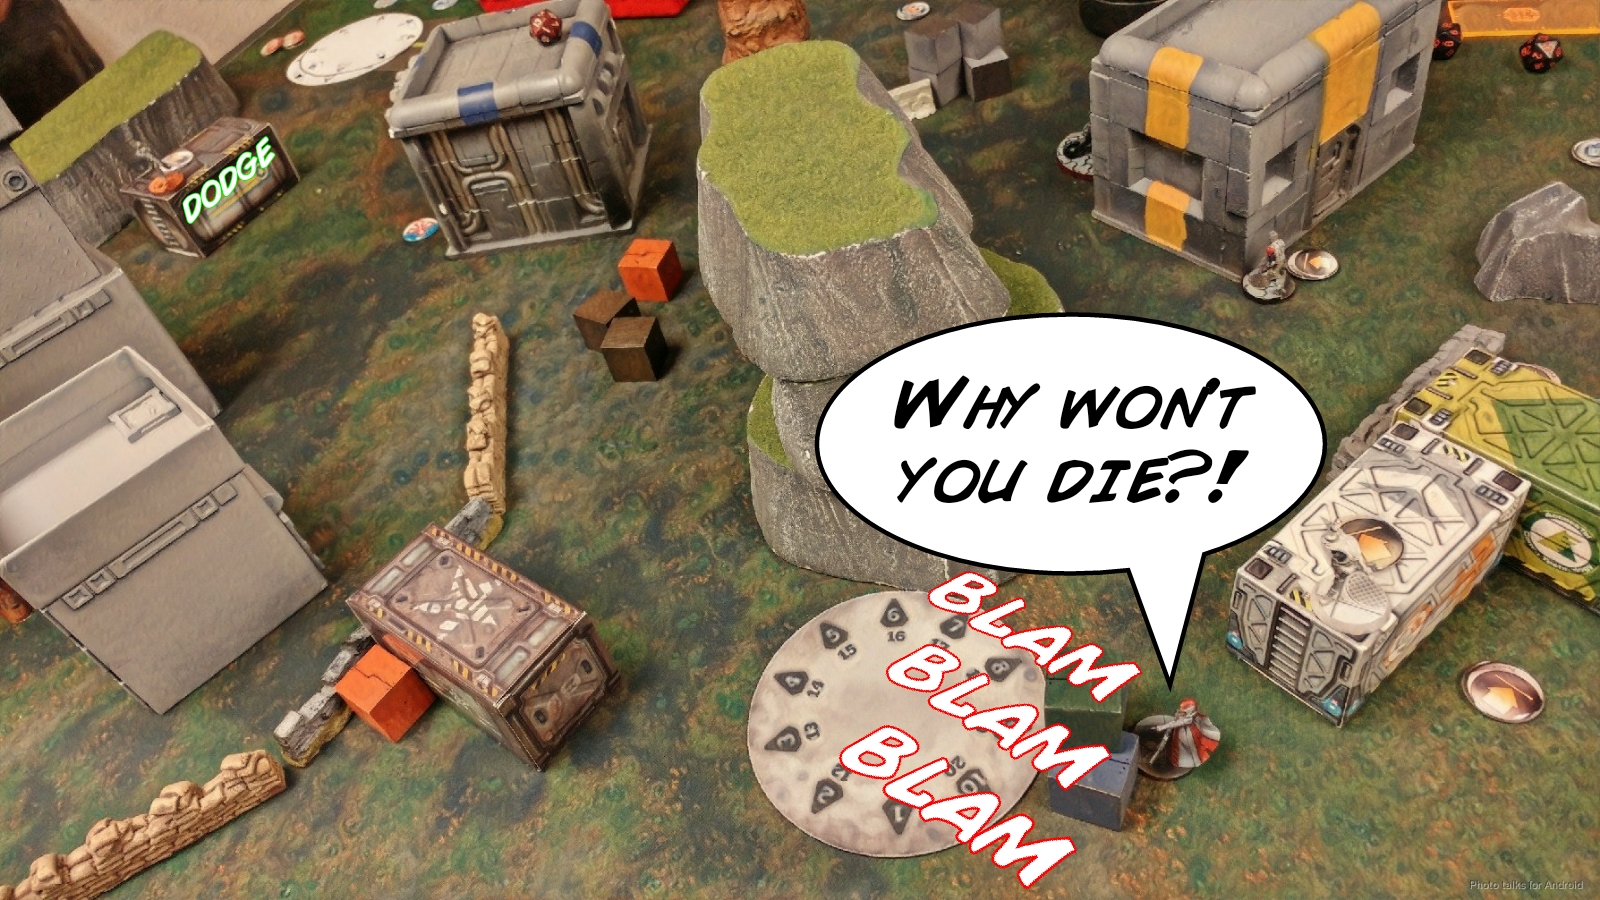
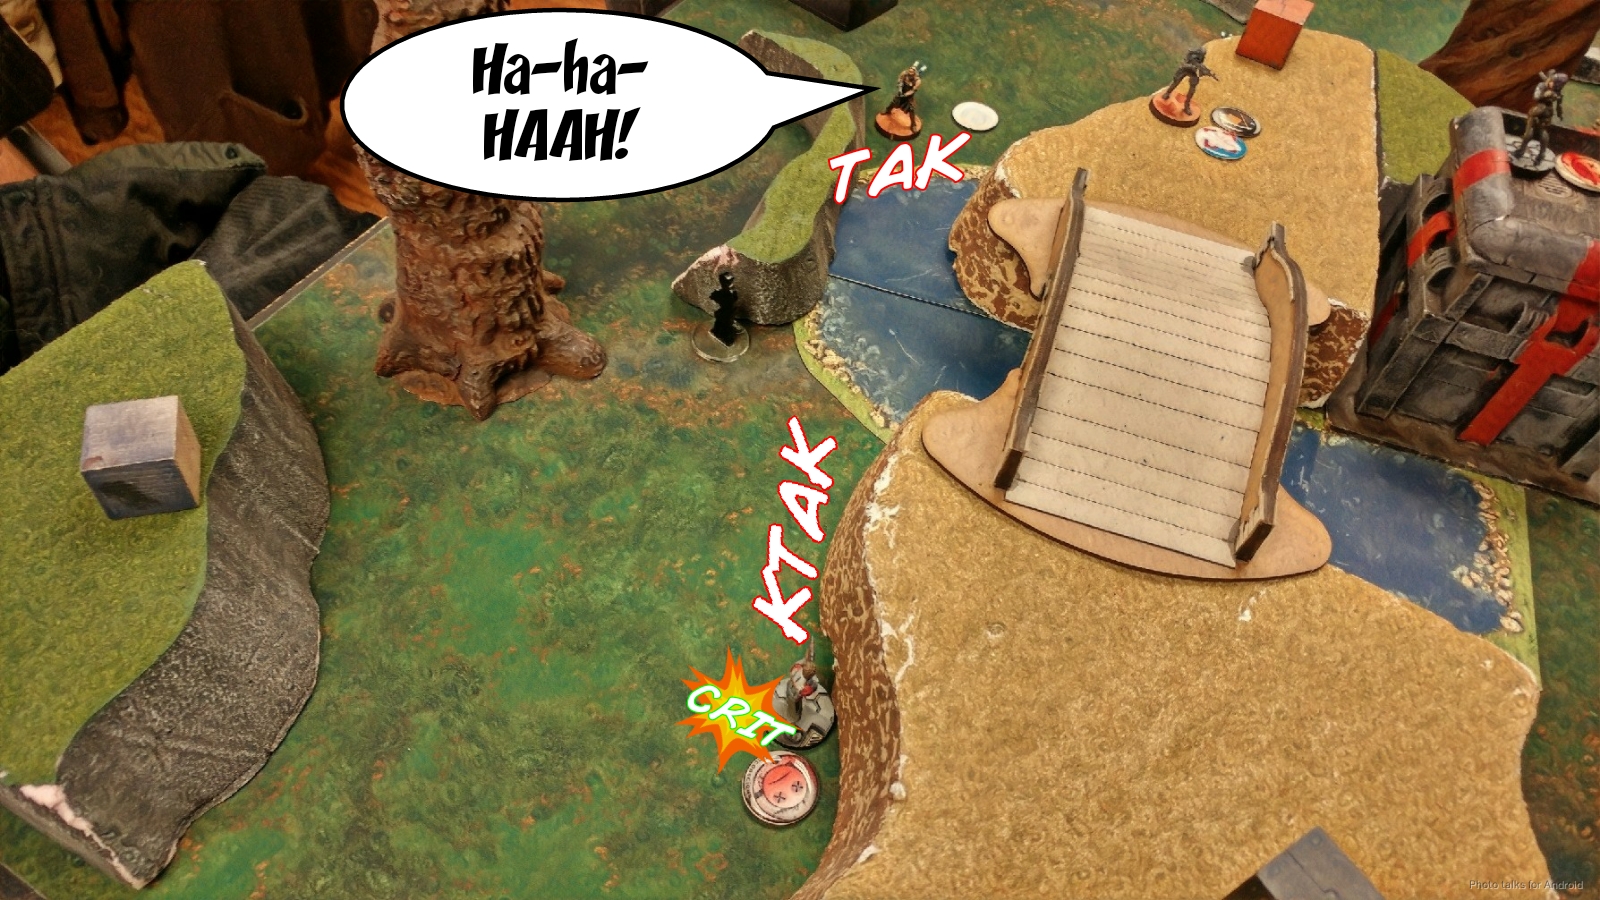
He then tries to kill my Ryuken-9 HRL I think twice with his HRL, but I pass and then he passes ARM.
He then retreats the Mutt on my right that I revealed the Ryuken for. This time, I kill it.
Erik makes another attempt to kill the Ryuken with his Muyib HRL, this time doing so.
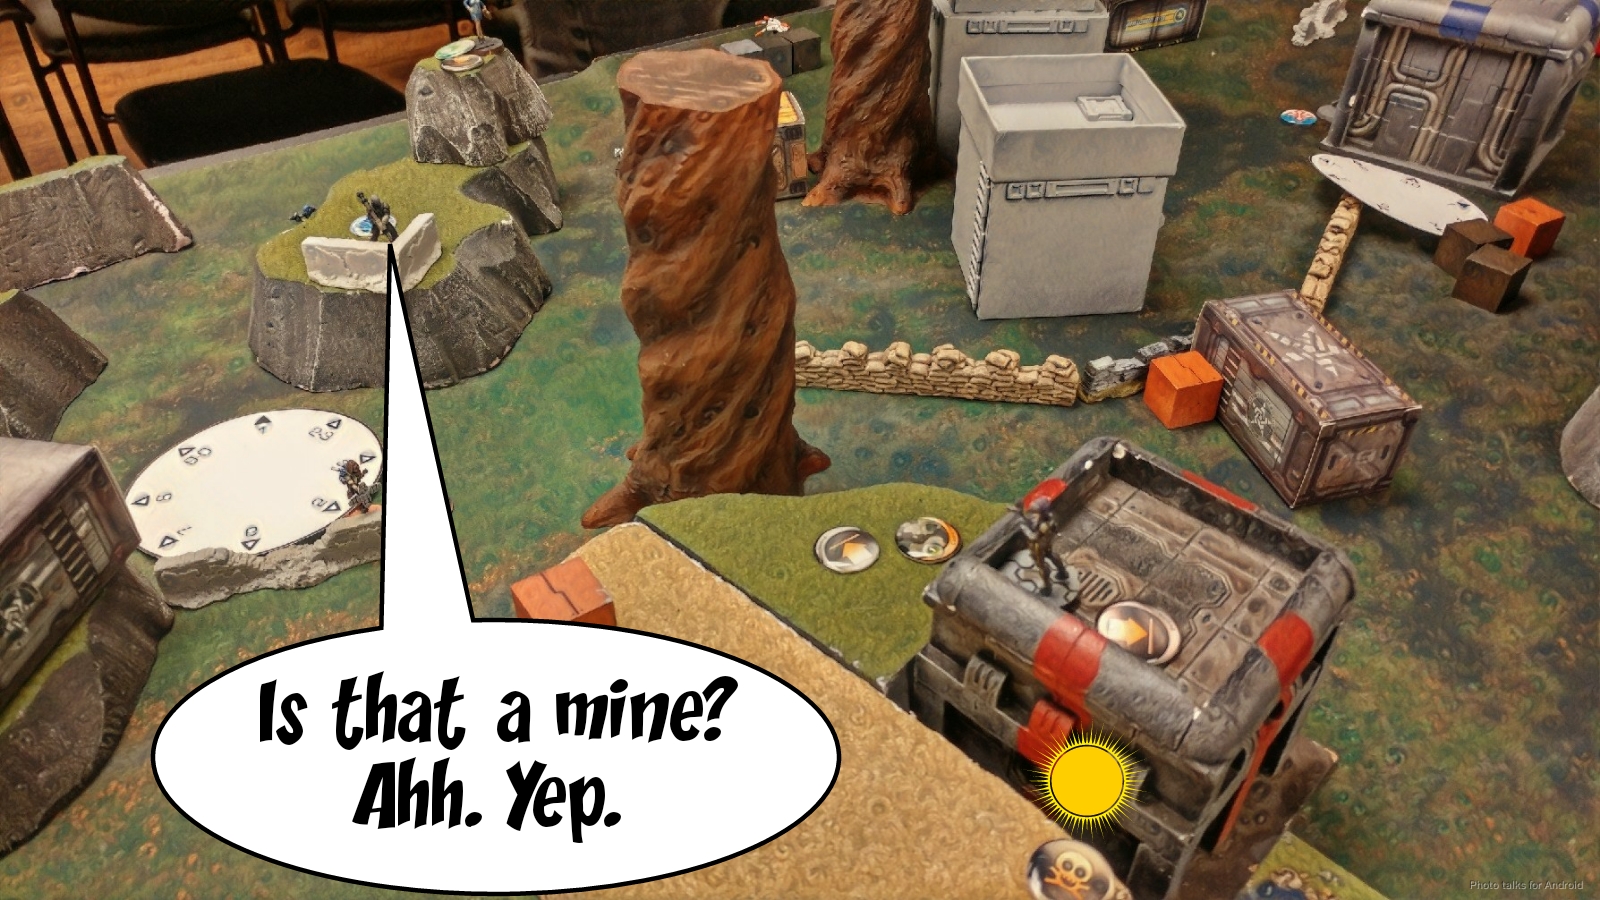
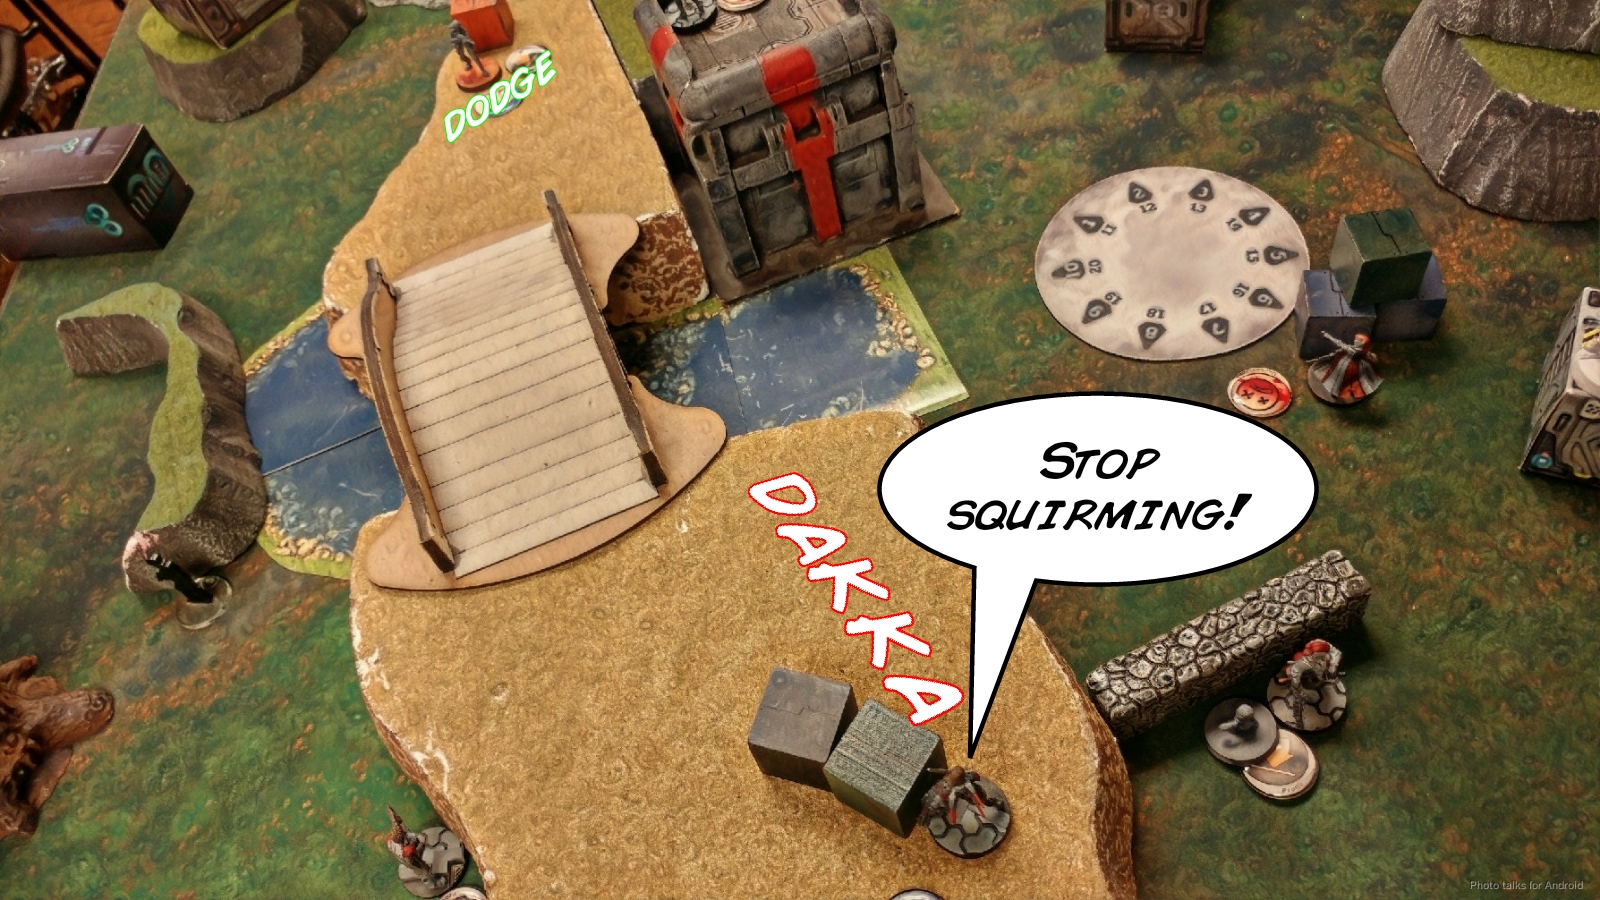
He moves the Muyib back into his original spot and discovers a mine that is pinning his Farzan on the top of the mesa/plateau thing, and then climbs the Lasiq up onto the top of the box it was hiding behind.
Well, I got exactly what I wanted–a successful exploration of the state space and a finding of a local optima. I had some cheeky AROs with my Ryuken-9 HRL, killed a Mutt (always a victory!), and sucked more than half of Erik’s first order pool down the drain while doing it.
I discussed this later with Erik, and he’s pretty convinced that had I not revealed the Ryuken HRL he probably wouldn’t have bothered with it. I didn’t really get a lot of value out of it. Erik probably would’ve shot at my Warcor (who failed a bunch of flash pulses as the Muyib HRL was doing its thing, by the way) and dealt with the mine pinning his Farzan instead. This is a pretty minor difference, but it does mean that I would have had a Ryuken HRL in play to do a coordinated order with later to take out the Muyib HRL.
It may seem like it was a good idea, because I had drained so many orders, but this was luck of the dice working in my favor. Running the numbers, it was approximately 60% in Erik’s favor versus my 16% to win that face to face. Knowing that, I think that I should file this (good) outcome away as a fluke and consider better options next time.
Bottom of 1 – JSA
I move up Kuroshi Rider in safety, and cancel Yojimbo’s order, because the Muyib HRL can see everything and I don’t want to lose half my link team to a Koala or Yojimbo moving. I then reveal the Ninja MSR and take the shot. I’ve got two on 11’s and Erik’s got two on 6’s, thanks to the Muyib’s X-Visor (X-Visors are so undervalued!). The odds aren’t amazing, but they’re not awful:
| 54.18 | 28.22 | 17.60 |
It’s worth noting that the Muyib’s X-Visor helped quite a bit here. Instead of two on 3’s it’s two on 6’s. I didn’t realize until I was writing this that the Ryuken-9 HRL also has an X-Visor, which will definitely change things about deploying it for me. X-Visored Heavy Pistol at 24″ is something to consider now as well…
Of course, my Ninja gets crit off the table. I attempt to take out the Muyib with my backup plan, a magazine full of shock rounds run through a Ryuken-9’s SMG. Here are the odds on that as well:
| 40.46 | 43.60 | 15.94 |
I die on my second attempt while a Mutt ineffectually blasts away with a pistol.
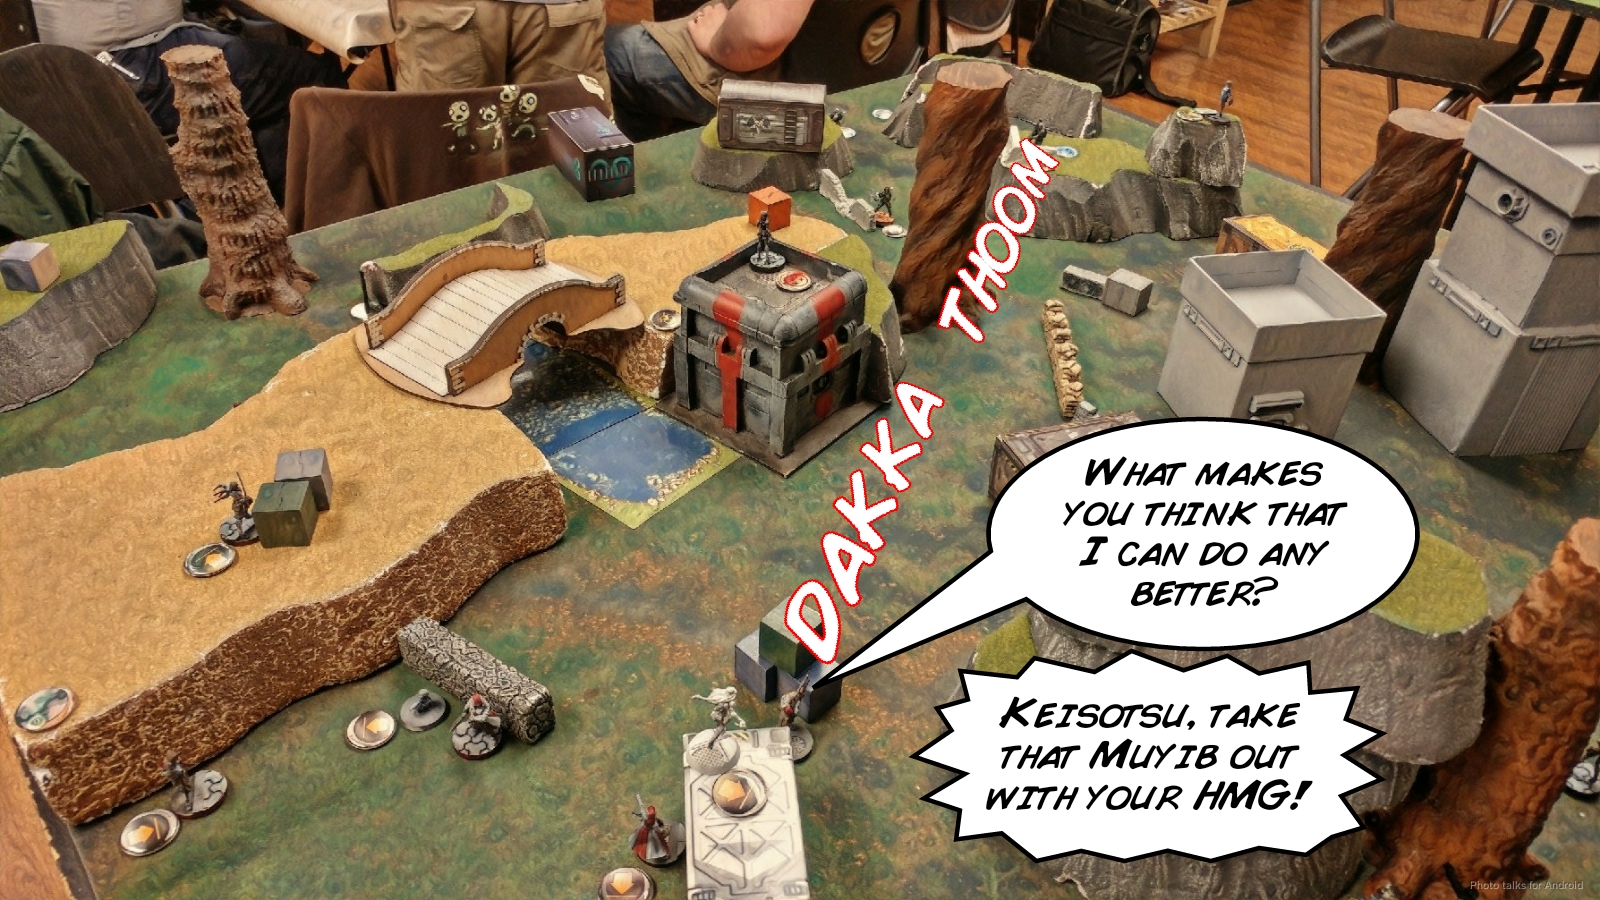
I’m down to my third choice, the Keisotsu HMG. I don’t have the ability to form a full 5-man link and have him as the leader, so I settle for a three-strong link. The odds here are bad.
| 3-man | 35.01 | 26.23 | 38.76 |
| 5-man | 45.51 | 26.93 | 27.56 |
The three man odds are too too close to even. Five on 10’s versus two on 15’s is a bad prospect. Even the full 5-man bonus isn’t great. Of course, unless you can zero someone out, there’s always a chance to lose a face to face, but I think you want to push your enemy as close to 10% as possible while at least doubling their face to face win percentage. I’m still dialing in on a rule of thumb for dice odds, but that seems good enough for now as a dice odds cognitive load reduction rule.
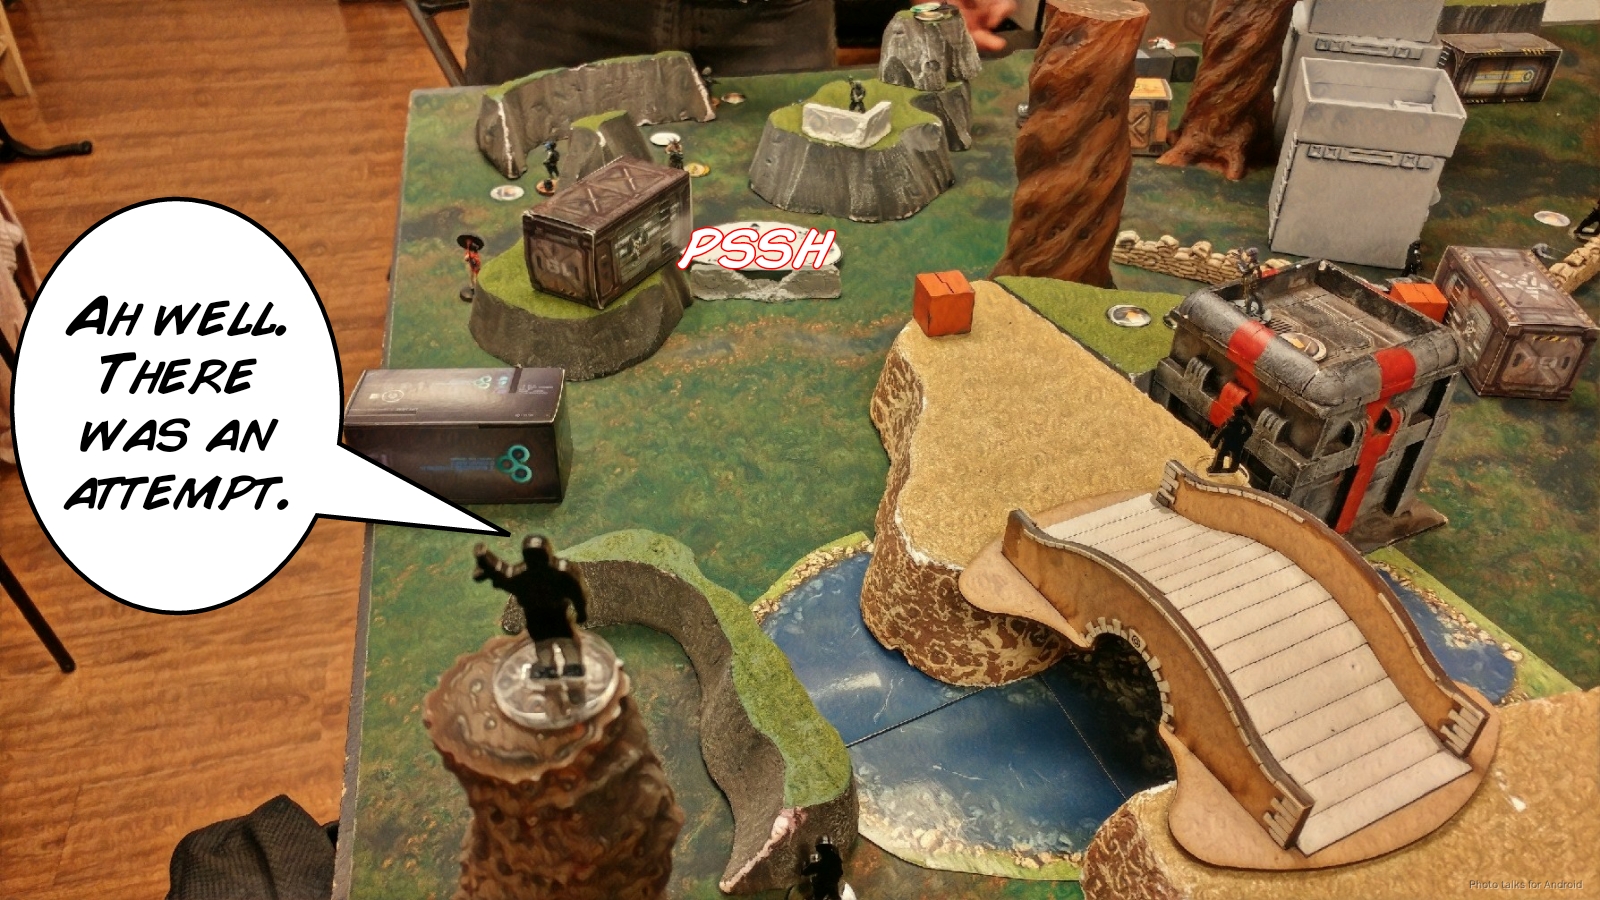
The Keisotsu was choice number three for a reason, and I lose him on the second order. I’m still tunnel visioned pretty hard on taking out Erik’s ARO pieces, because I’m playing from the perspective of getting the bikes into play, and that requires no AROs. I send in my remaining Ryuken-9 to clear out the right side and get into a fight with the Lasiq and the Fiday, splitting burst because the Fiday revealed.
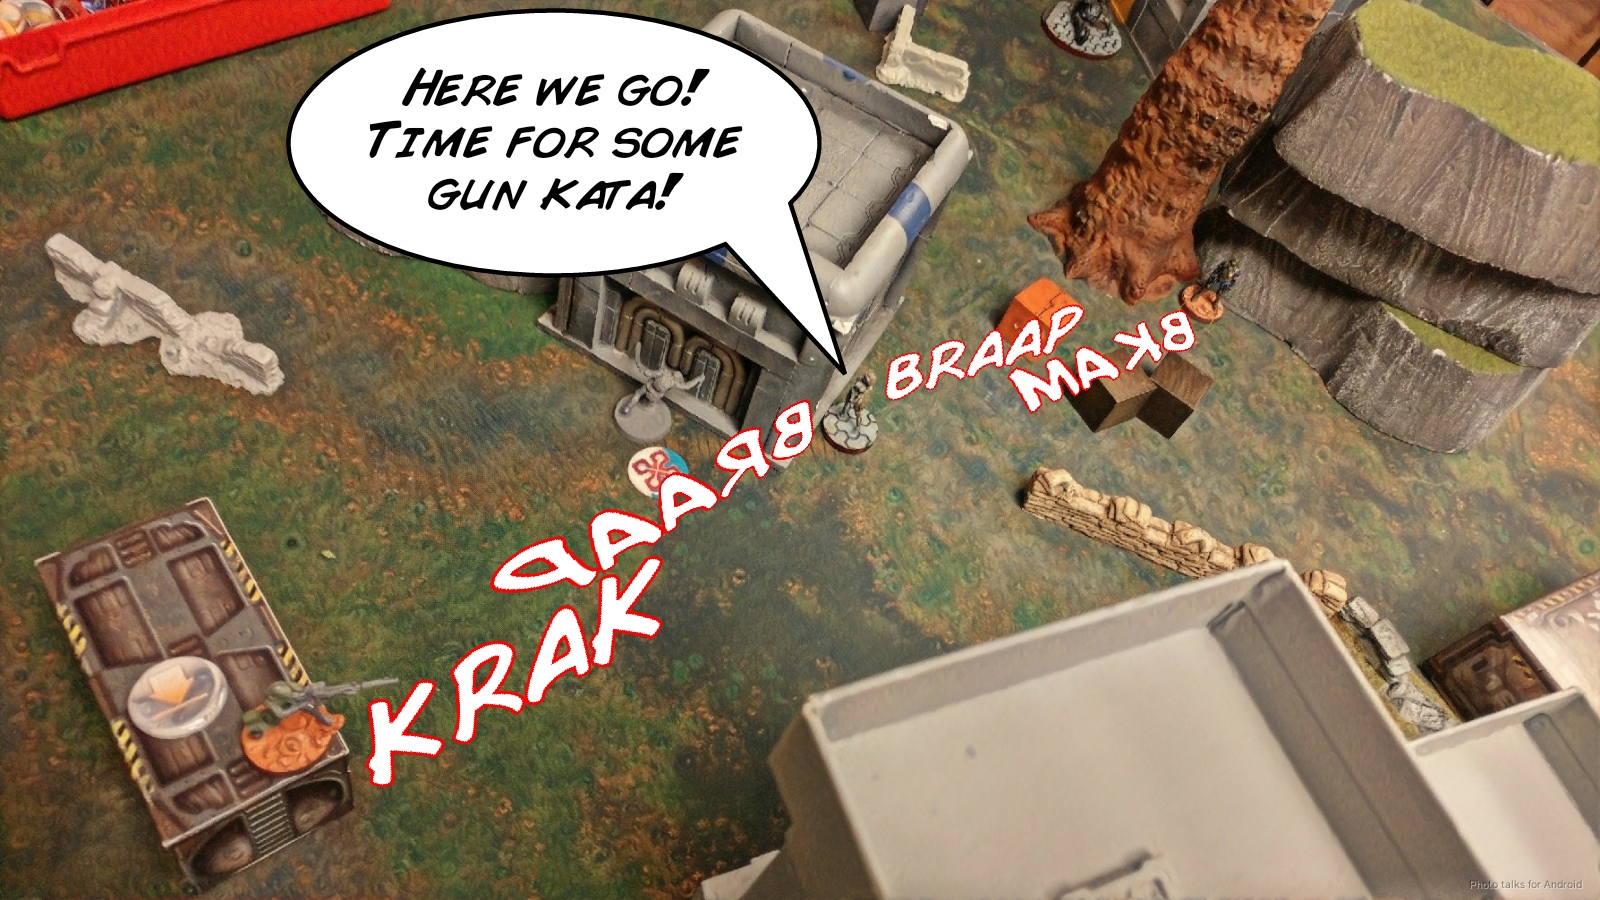
Thankfully, this time things go my way and I hit them both, killing the Fiday with shock ammo but failing to wound the Lasiq. I try again, this time throwing full burst at the Lasiq as I scoot away, and die.
As it turns out, this was a pretty safe exchange for me within 16″:
| 35.98 | 57.06 | 6.95 |
The Lasiq’s Mimetism really helped it though, as it took me from 9’s to 6’s, which is why that middle “draw” band in the odds is so large. That stray 1 that Erik rolled versus my fistful of whiffs will do it though. Hard to survive a viral sniper shot.
I then do what I should’ve done earlier and start leveraging smoke. I think some careful application of smoke would’ve let me reposition the full 5-man link, and then I can actually abuse the Kempetai’s MSV2. I reform a 3-man link with her in it and then send her after the Lasiq.
Erik wisely dodges, but I land two hits which he passes. I do it again, landing a third hit, but he passes again. This is apparently expected:
| 3-man | 33.91 | 30.94 | 35.16 |
| 5-man | 44.95 | 30.11 | 24.94 |
I try my luck against the Muyib HRL through smoke, which is just a TERRIBLE idea, apparently:
| 20.61 | 24.90 | 54.49 |
Thankfully, I am super lucky and don’t die, but I scoot my Kempetai to a position where the HRL can’t see… at least for now.
So, what went wrong here? The most obvious lesson is that I took some bad odds and I rightfully got punished for it. I think it’s a mistake to walk away with just that though. Why did I take the bad odds, and how can I avoid doing that in the future? Let’s look at the sequence of events again:
- Ninja versus Muyib HRL, dies, ok odds.
- Ryuken-9 versus Muyib HRL, dies, ok odds.
- 3-man Keisotsu HMG versus Muyib HRL, dies, bad odds.
- Ryuken-9 SMG versus Lasiq, dies, good odds.
- Yojimbo throws smoke for Kempetai SMR.
- 3-man Kempetai SMR versus Lasiq, fails, meh odds.
- 3-man Kempetai SMR versus Muyib, fails, bad odds.
The first two events are reasonable for me, I think. Things didn’t go my way, unfortunately, but I had a chance to recover. I’m frustrated, and I’m feeling a lot of order and positional pressure from that Muyib HRL (see The Unexpendables report for more discussion of pressure), so in an attempt to alleviate some of that order pressure, I don’t take the time to set myself up for good odds. What I should’ve done was used Yojimbo to set up smoke for the Kempetai SMR to get into good rangebands, buffed by a full 5-man link, and then gone after the Muyib HRL if that’s what I really wanted.
The loss of the Ryuken-9 on the right versus the Lasiq was unlikely but it happened. I can’t blame the loss of the game on it, because what that meant is that I had nothing to support my right flank and I was asking too much of that single Ryuken-9. Look at the difference between the resources I had available to go after the Muyib versus the Lasiq. I had a 4-deep reserve of tools to attempt it. On the right, I just had the Ryuken-9 and Kuroshi, and I didn’t want to risk Kuroshi so early. The Kempetai helped too on that side, but it was pretty even odds there.
Okay. I’ve talked a lot about things that went wrong, dice odds, but there isn’t a coherent story here yet. In an ideal world, here’s what I think should’ve happened:
- I recognize the psychological pressure of the Fiday for what it is, and commit to holding Yojimbo in reserve to respond to the Fiday with Koalas if Erik gets aggressive with it. Let’s assume he doesn’t, because even without Yojimbo my deployment zone is pretty hostile.
- I deploy Yojimbo in a position, say on the right by Kuroshi, to leverage his smoke against both the Lasiq and the Muyib, by driving him from right to left, shooting smoke all the way. This gets me smoke in front of the Lasiq and the Muyib.
- This requires that I reveal the Ryuken HRL to create psychological, positional, and order pressure on Erik to deal with it, which further discourages him from hunting my bikes on my right with his Fiday or Yasbir. I can also leave the Ninja in hidden deployment and use him later if anything goes wrong.
- I’m now left with a few options:
- I can advance the link and use the Kempetai SMR to attack the the Lasiq and the Muyib, but now I’m advanced and in Mutt range with my full link. This seems like an over-extension to me.
- I use a combination of Kuroshi, Yojimbo, and the Ryuken-9 on the right to deal with the Fiday and the Lasiq, hopefully kill Yasbir and then retreat with his box. I think this is the most impactful because it basically deletes Erik’s first turn efforts, and gives me a hole for the next turn due to a dead Lasiq.
- I commit some subset of the link to getting the central box and then retreat like a madman to get away from the Mutts. This seems weaker than the “go after Yasbir” option.
In any case, the takeaway here is that I made a bunch of small decisions that are good in a limited context. Yojimbo is in a great anti-Fiday postion, but I don’t have good mobility for him to support my units with smoke. I make some good initial decisions to take out some of Erik’s ARO pieces, but when things don’t go well, I over-commit. As a result, I’m left with a pretty busted up link, weakened flanks, and no development of my positioning on the board whatsoever. Erik is a box up, has dictated tempo, and I’m really low on options. The weight of all these little decisions is starting to add up, and the snow on the mountain is starting to shift…
Turn 2
Top of 2 – HB
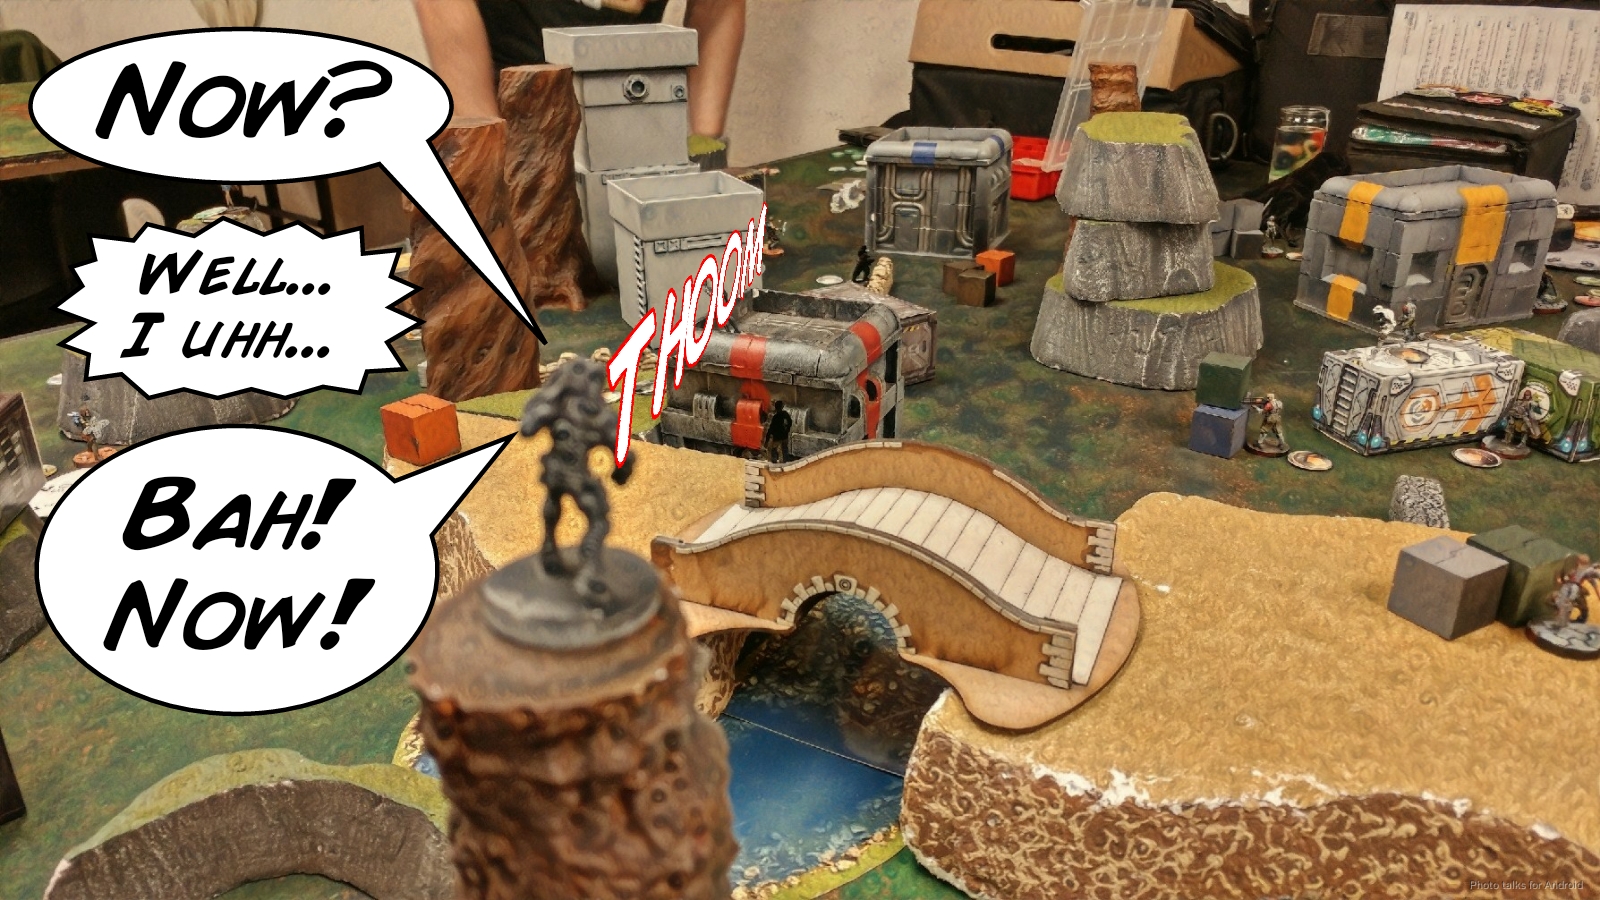
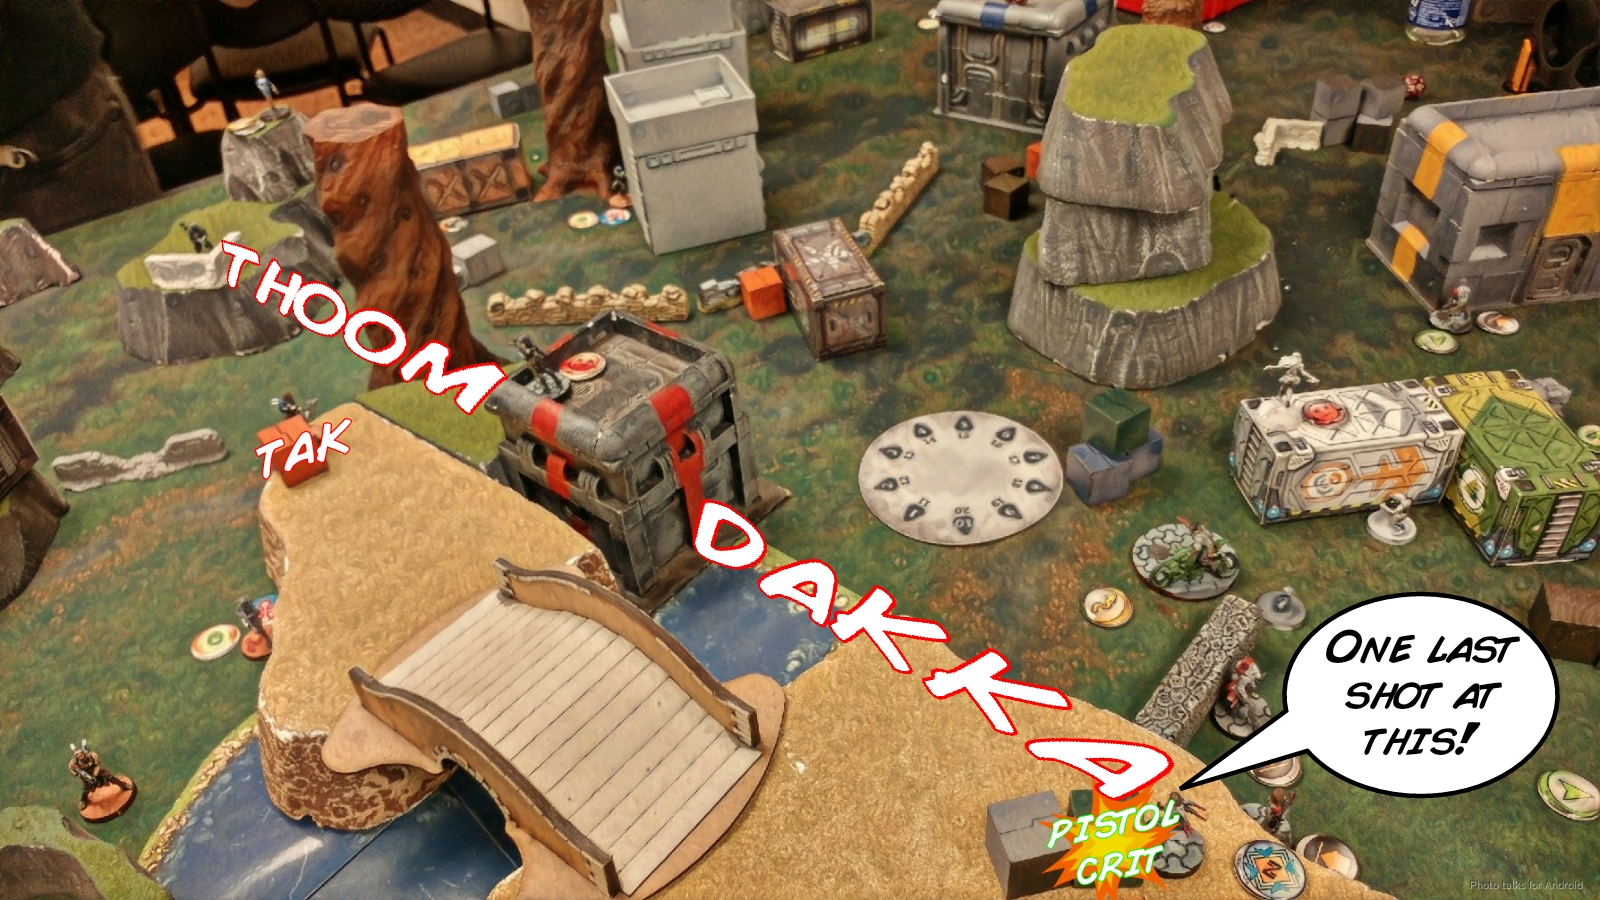
I made a silly mistake and left the Kempetai SMR in a place that Erik can see it with his Muyib HRL. Whoops. I lose it.
Erik then spends a few orders clearing the mine and my Warcor with the Muyib HRL, and then the Farzan has no trouble grabbing the box.
Erik then runs the whole link up and grabs the middle box, breaking the HRL out because it’s invincible, so who cares about link bonuses. He’s doing a great job of taking advantage of my terrible positioning and just running amok the field doing what you’re supposed to do. He ends by poking the Rafiq out to cover a firelane. The snow starts to rumble down the mountain…
Bottom of 2 – JSA
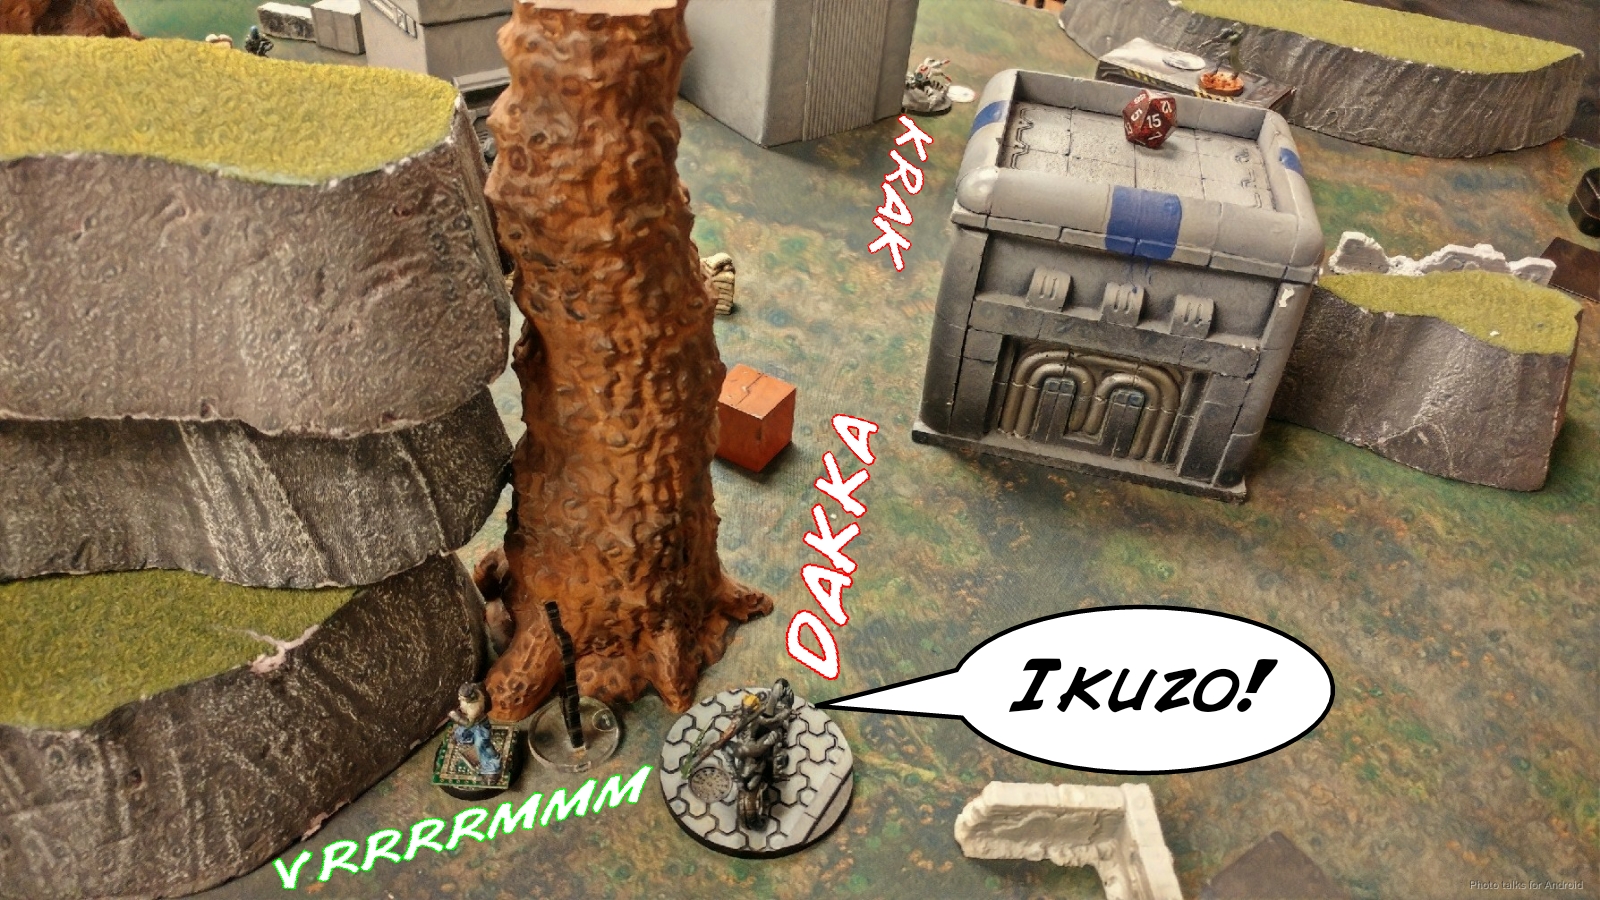
I’m under crazy order pressure now. I have to take big risks and hope for big rewards. What’s funny is that I’m finding that I function better under crazy pressure when I don’t have a lot of options left on the table. Clarity in defeat, I suppose. Reminds me of graduate school. Kuroshi uses her impetuous order to take out the Rafiq.
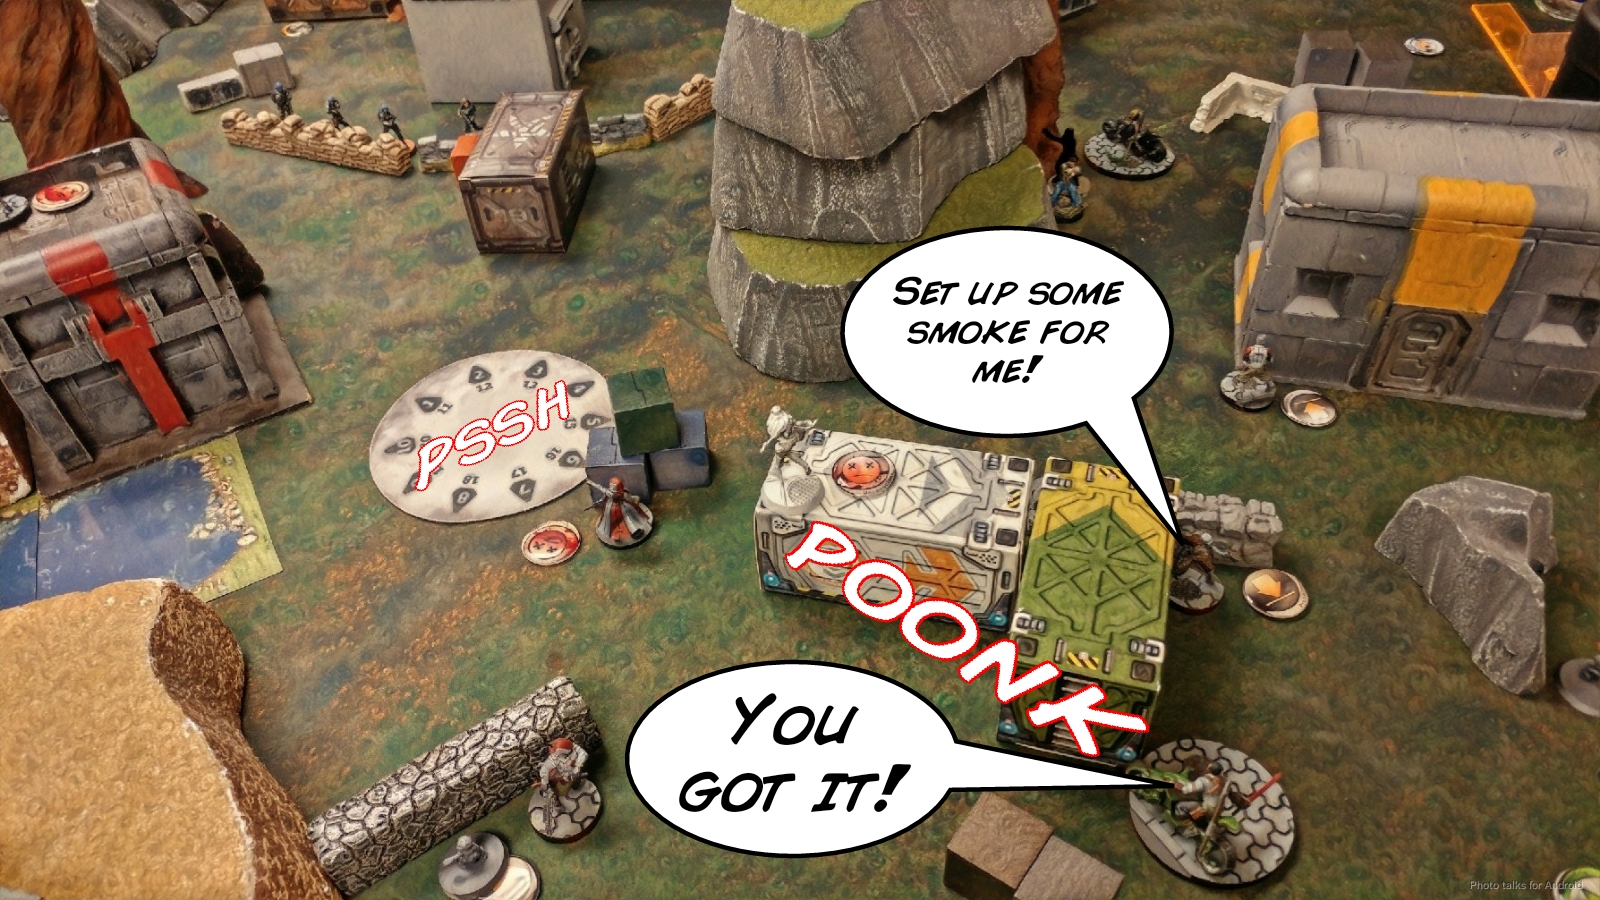
I’ve learned from my mistake of the first turn, and Yojimbo, after canceling his order, shoots smoke for the downed Kempetai SMR and the Doctor.
I try to play to the objective myself and attempt to take out the Farzan with Yuriko.
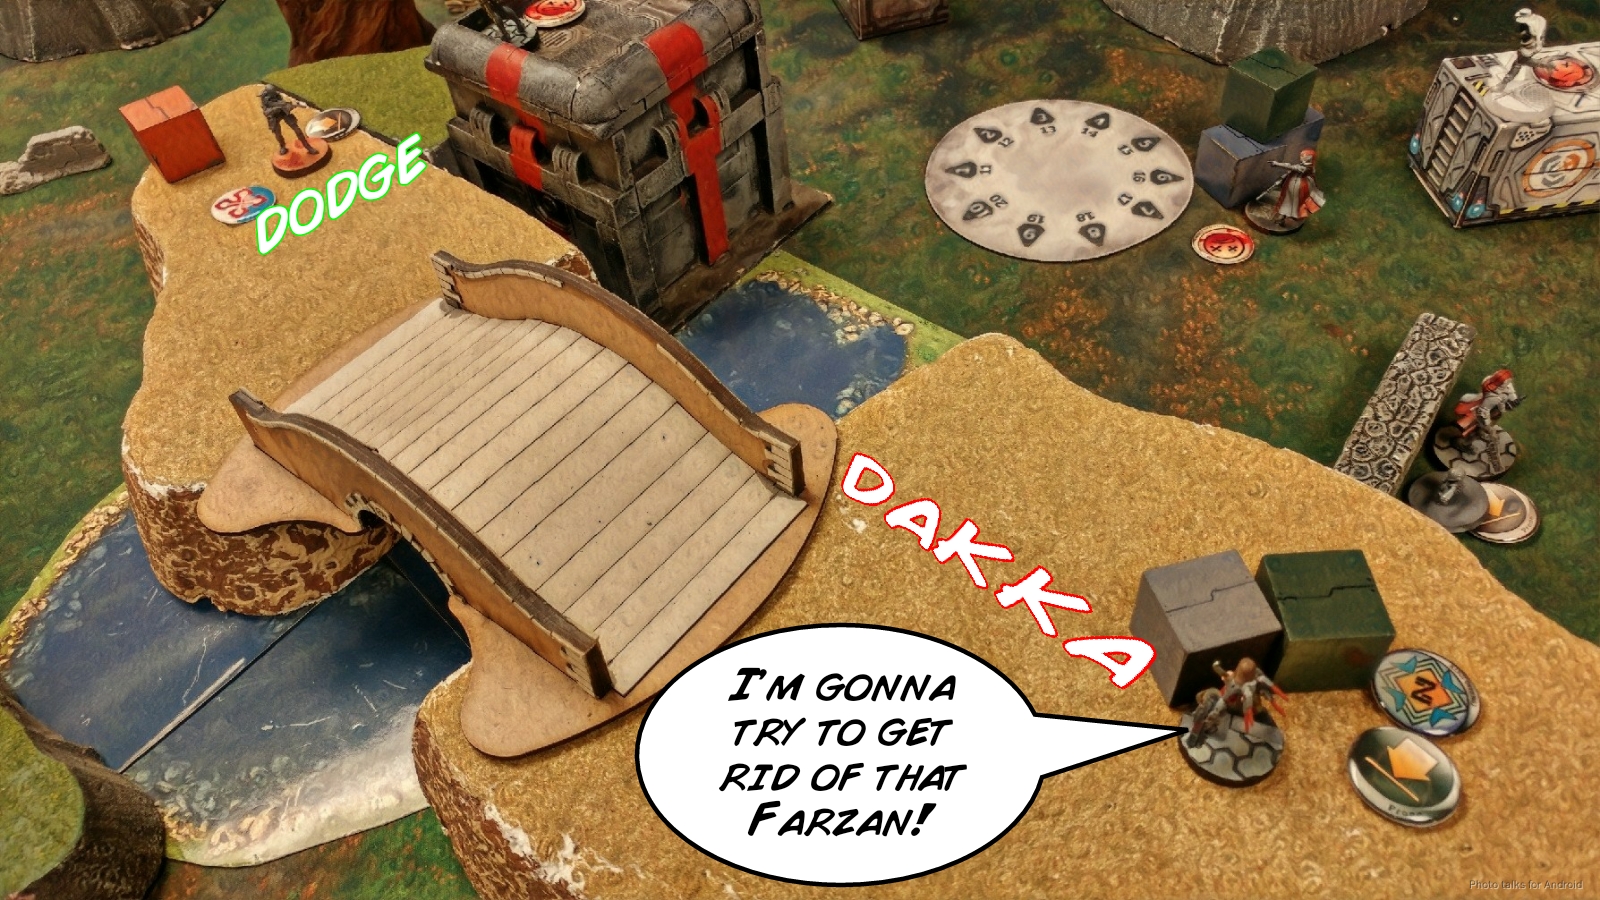
I attempt twice against the Farzan’s dodge, the first time the Farzan is in 16″, but it passes three ARM saves versus four dice of shooting with link bonuses, and then I try again after it fails guts out of 16″.
The odds are actually pretty good for me here inside 16″, but it’s a pretty big swing outside thanks to the Farzan’s camo.
| < 16" | 70.20 | 29.80 |
| > 16″ | 41.75 | 58.26 |
In any case, I pick the Kempetai back up with the Doctor, but this prevents me from throwing any more smoke with Yojimbo because I’m out of orders. Need to think more carefully about doctor positioning too.
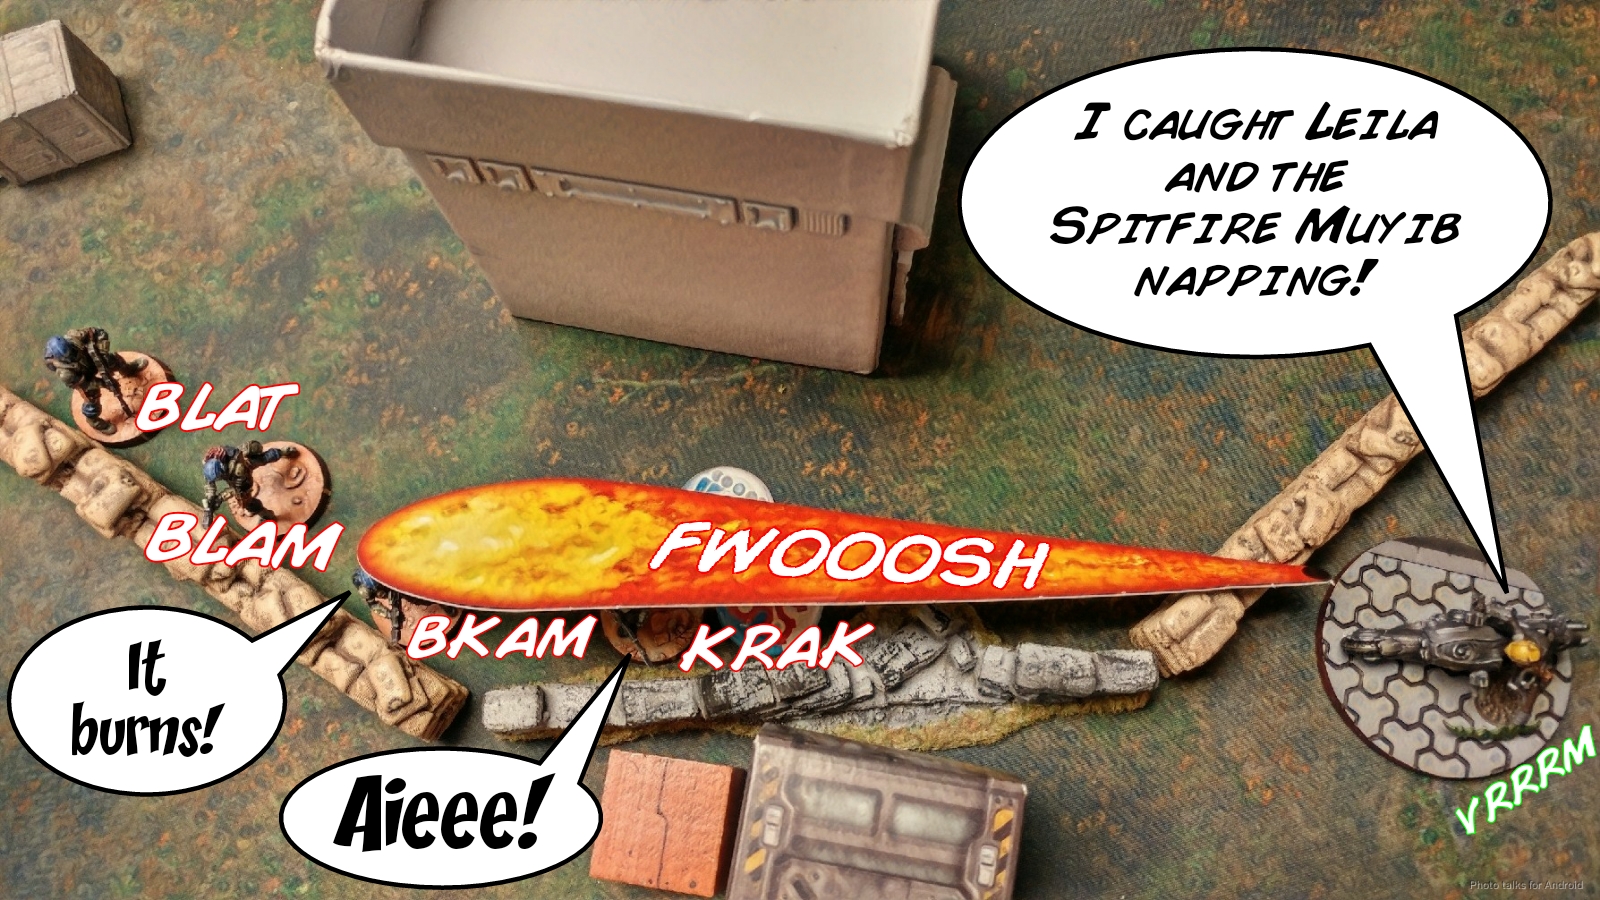
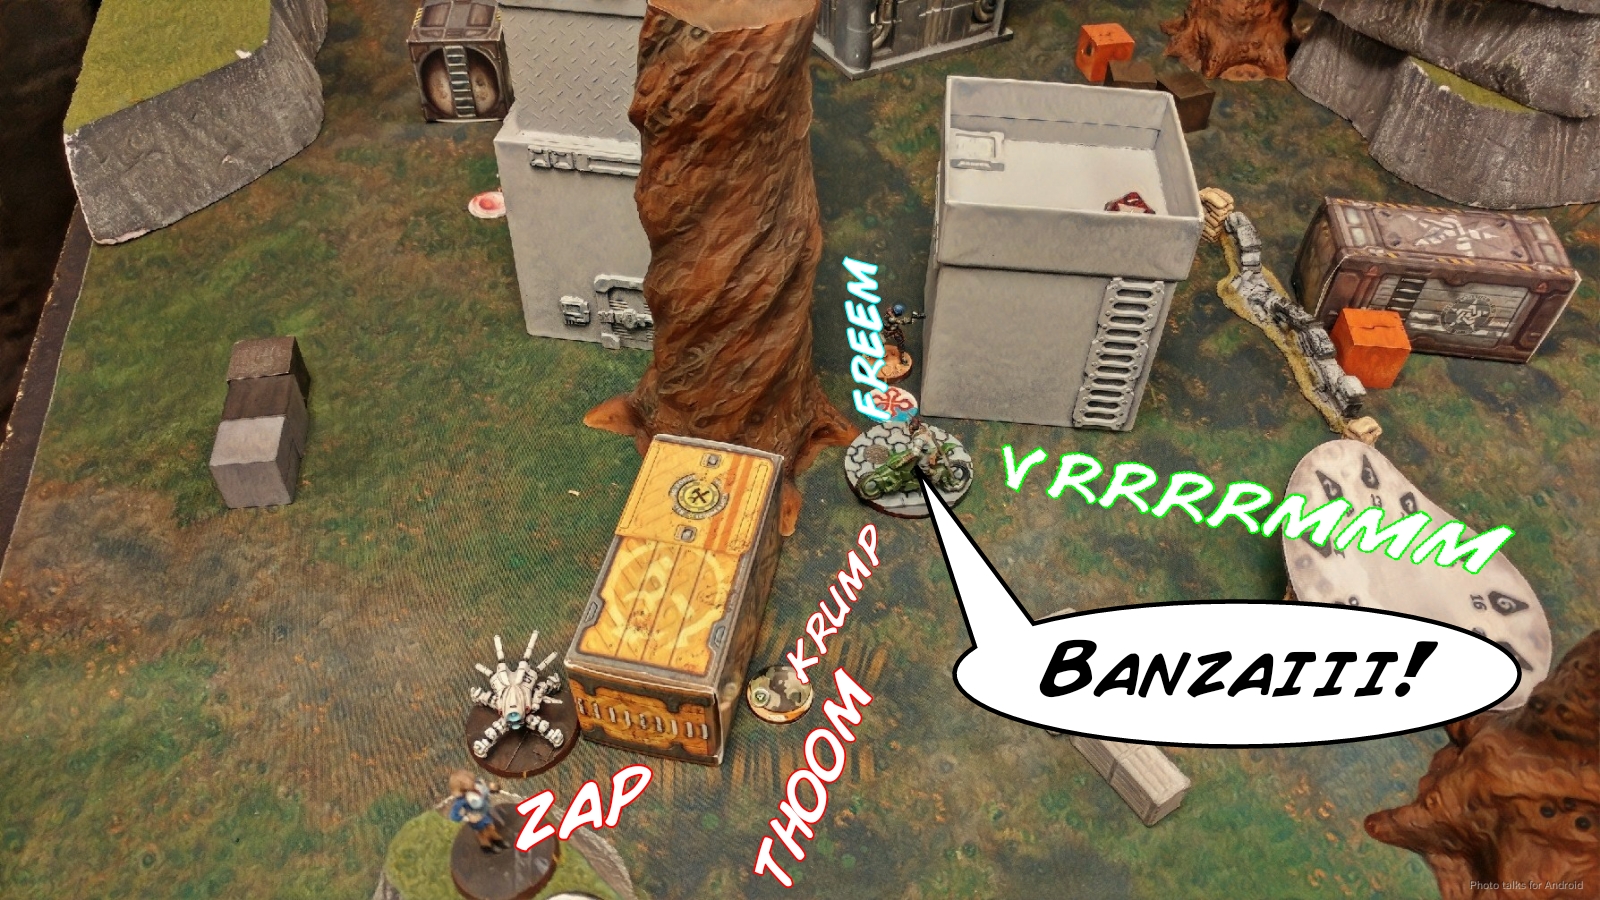
I then sacrifice Kuroshi Rider and flamethrower half of the 4-man Muyib link, roasting Leila and the Muyib Spitfire. Kuroshi of course dies in a hail of bullets.
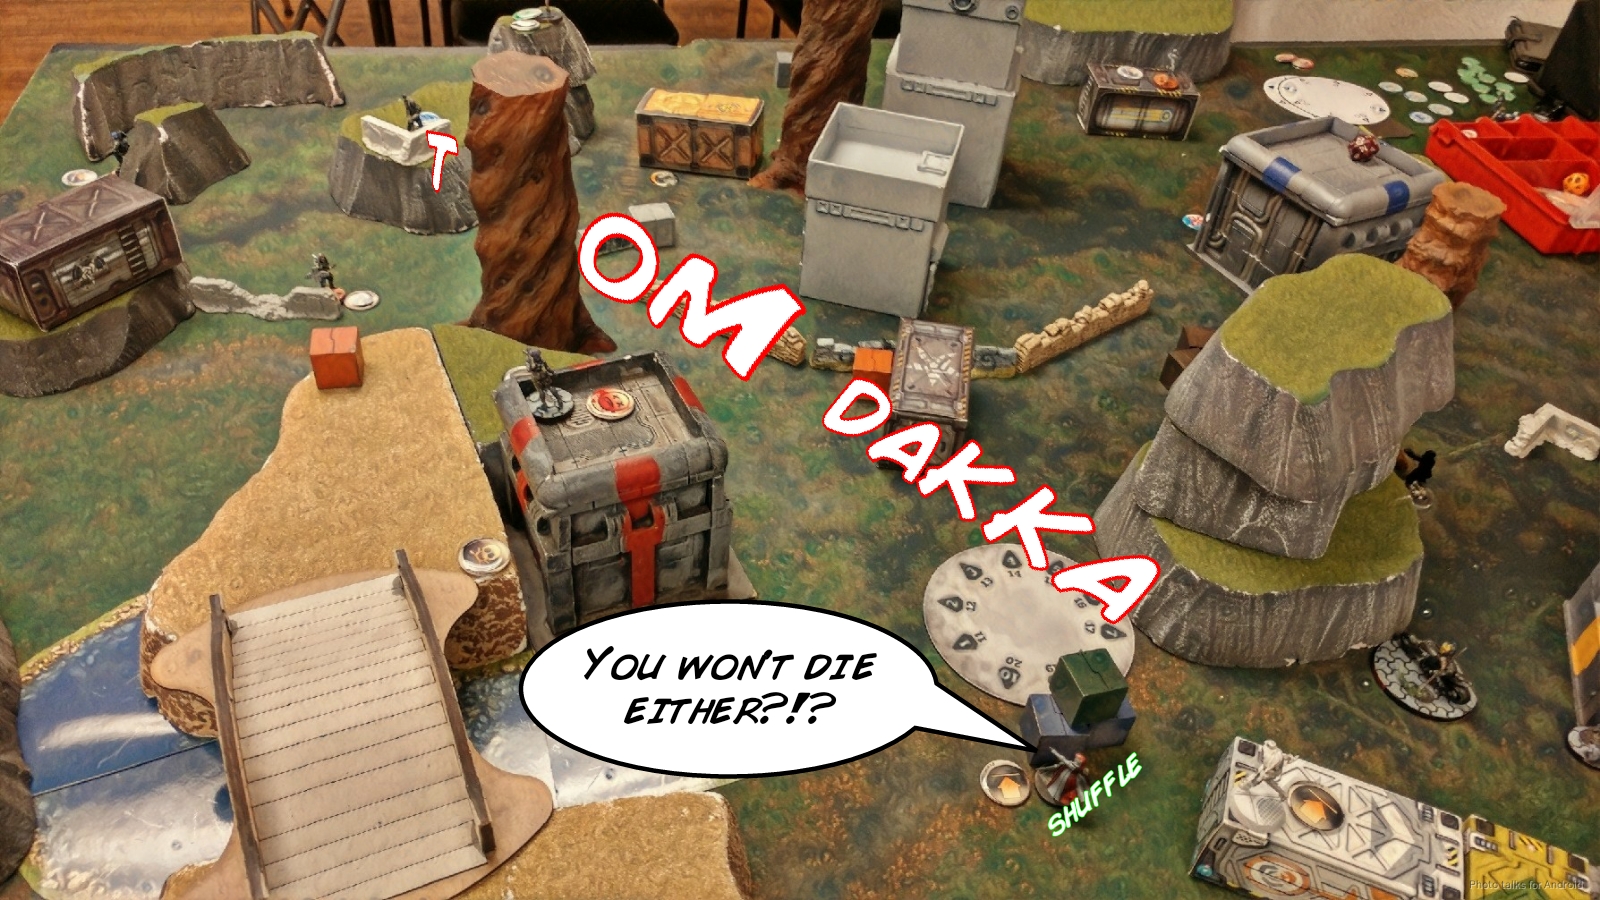
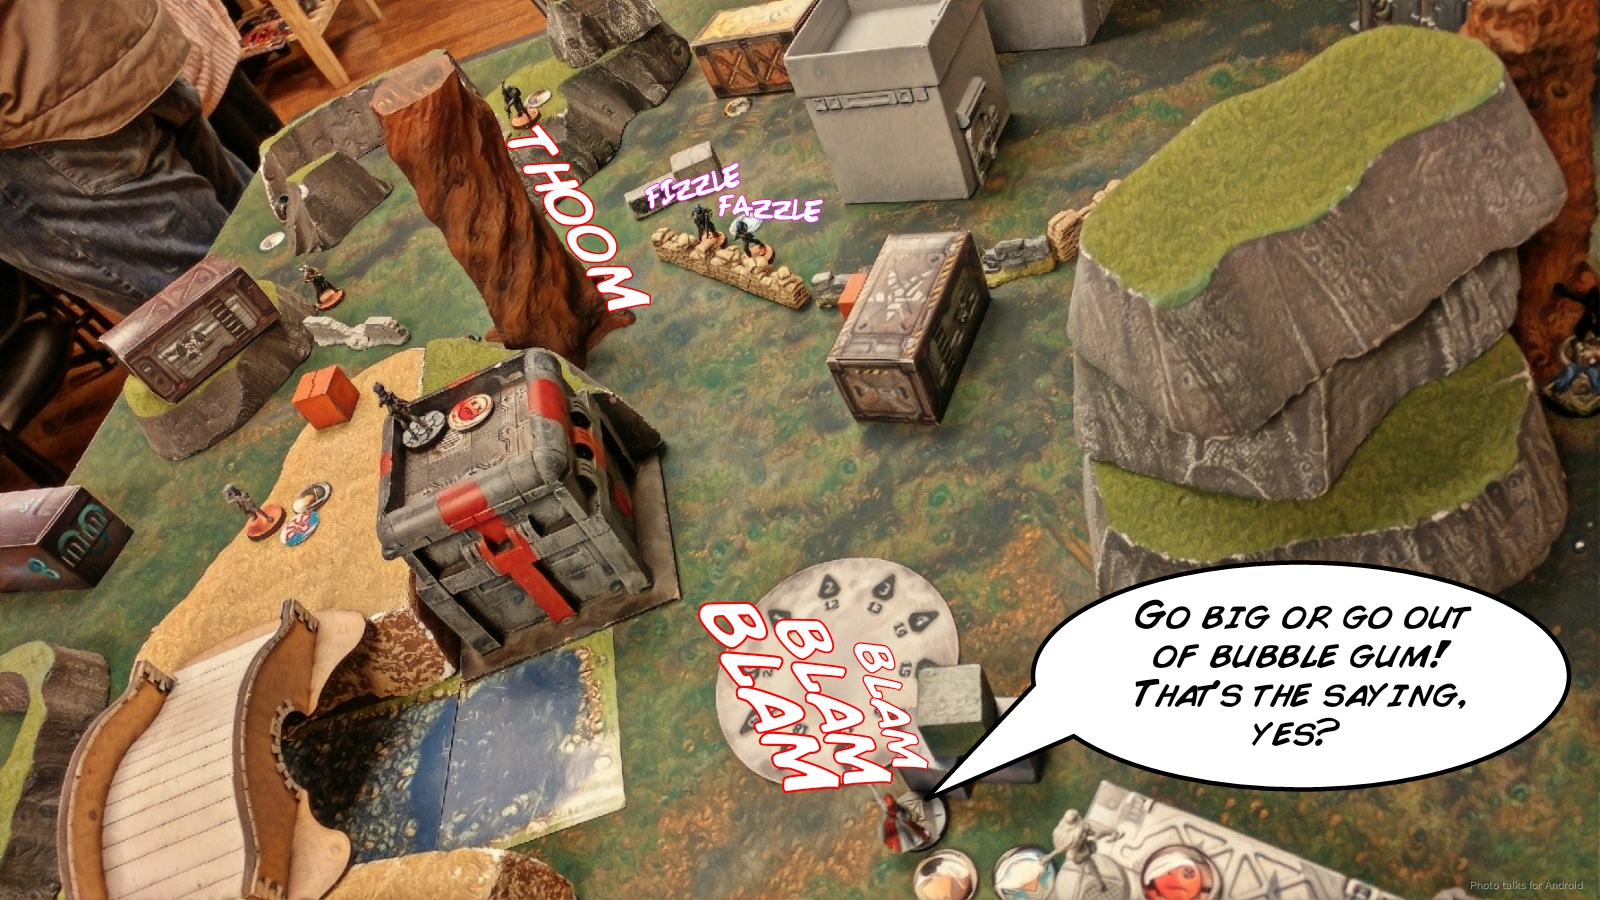
Then, I finally kill the Lasiq with the Kempetai through smoke after reforming the link to include the Kempetai and two others. I’m down to my last order, so I take a big risk by splitting burst against all three remaining Muyibs. I’m pretty sure that I’ve zeroed out the non-HRL Muyibs, and I’m right, so I get a normal roll each for them, and I’m hoping that I can get the HRL Muyib with two dice through smoke. I manage to drop one but not both non-HRL Muyibs.
As far as the fight with the HRL, the odds are pretty even here between the Kempetai and the Muyib. Since it’s this game, I lose and the Kempetai straight up dies:
| 23.70 | 61.30 | 14.99 |
All in all, not a terrible turn. I think given the mistakes in deployment and the previous turn, I had to spend a turn sacrificing pieces to set myself up for turn three. I think the correct decision here would’ve been to split burst against only the two zeroed out Muyibs, to better ensure both of them were dead and there would be a box that Erik would want to go after in the center. Yet another minor mistake, lost in the avalanche that’s now raging down the mountain
Turn 3
Top of 3 – HB
We have a pretty amusing exchange between one of Erik’s Mutts and my Keisotsu on the left. I crit it with my rifle versus its smoke..
Then it pistol crits me back. BAH!
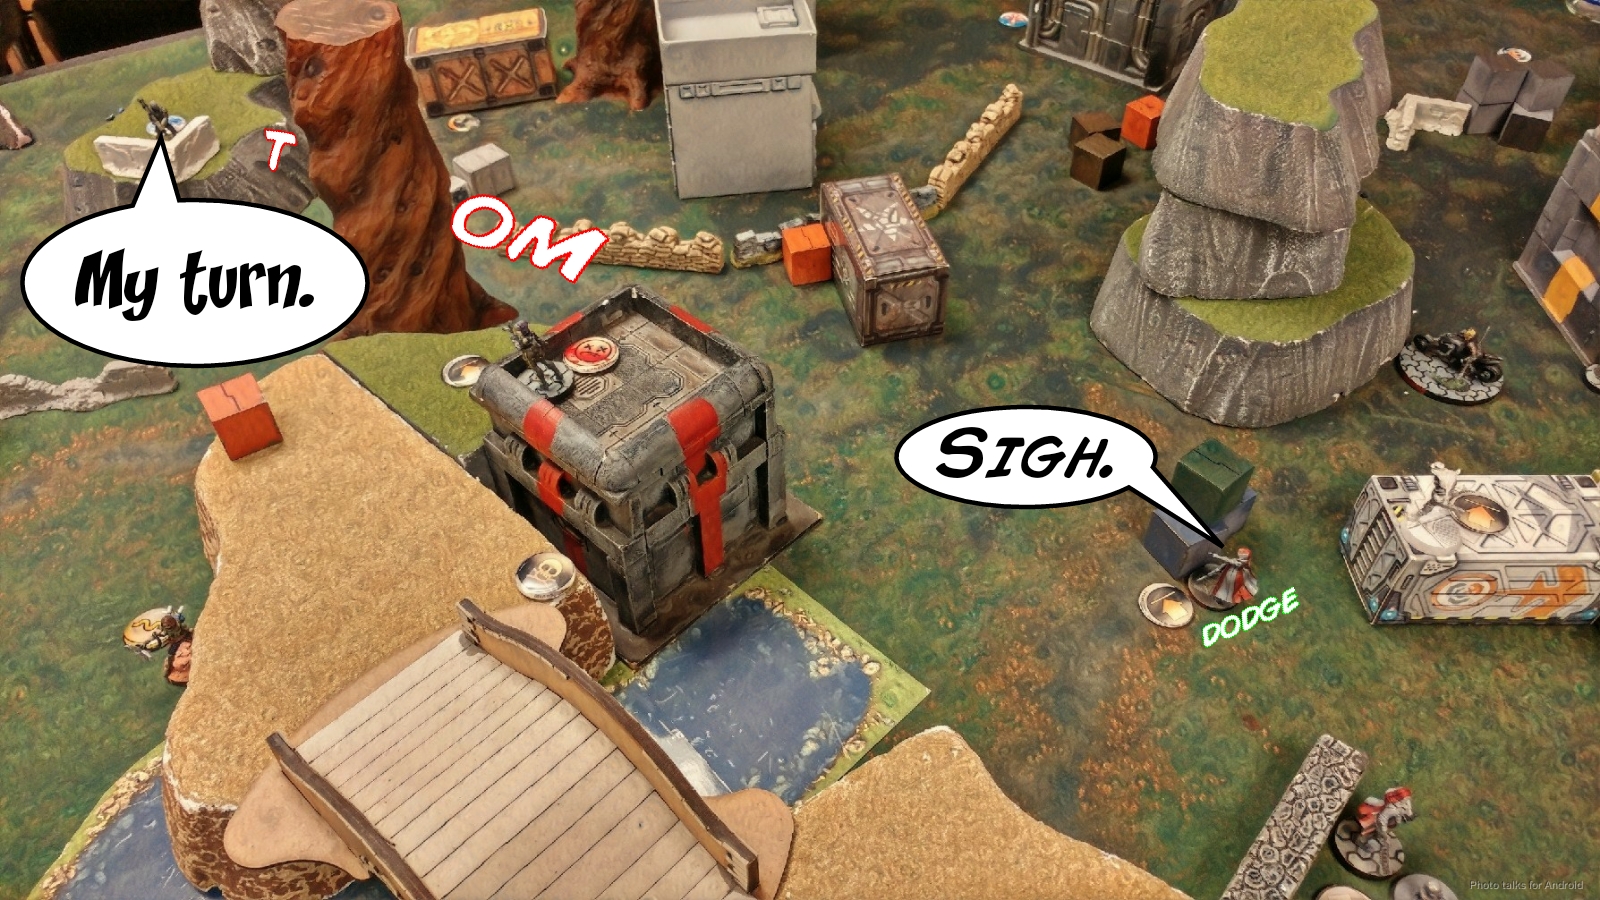
Erik spends the rest of his turn grabbing the central box with the Muyib that I failed to kill, retreating the Farzan by climbing it down off the mesa thing, and then retreating all three box carriers and throwing the two with rifles into suppression. He’s doing a great job of doing the right thing while I’m lost in the white noise of all the snow.
Bottom of 3 – JSA
Pressure’s on. All I can hope for is a draw. There’s now a hole where I can get Yojimbo out against only the Warcor, because there’s stuff near my deployment zone so I can change his required movement angle. I land smoke, and try to remove the Muyib one final time with Yuriko.
It’s risky, and the Muyib passes ARM. Again. UGGGGH.
| 32.44 | 40.63 | 26.92 |
I’d like to try again, but the Mutt that was hanging out nearby kills Yuriko with a crit. I’m out of options in my first combat group, so I use the Kempetai BSG and his lieutenant order and go kill the Farzan. At least that goes well. I’m out of orders to even attempt to pick up the box, so I don’t care that he dies to the HRL.
Yojimbo’s got a handful of orders, so I attempt to tie things up. I’ve basically got to land smoke against the warcor, kill Yasbir in suppression from outside of 24″ with my Contender, and then kill the Muyib holding the box with my Contender or Nanopulsar.
I manage to do one of those things, and only smoke out the Warcor, making it a
7-0 Hassassin Bahram Victory!

Post Game Analysis
Not much to say about Erik’s game here, other than that he did the correct things. He focused on the objectives, capitalized on my mistakes, and risked only what he needed to risk in ARO. It’s true that a lot of dice exchanges went his way, but I had plenty of opportunities to correct for that.
I’ve woven a lot of my game analysis into the report itself, so I just wanted to summarize things here as opposed to starting a new line of reasoning.
- Psychological pressure caused me to poorly deploy Yojimbo.
- This poor deployment limited my ability to effectively deploy smoke, and limited my mobility and tactical options.
- In isolation, I made reasonable decisions to extricate myself from the pit I had dug in deployment, but I optimized for alleviating order pressure instead of maximizing my odds and took some face to face rolls with bad odds.
- I also spent a lot of time thinking about removing AROs and not a lot of time thinking about objective play.
To address these shortcomings in my play, I intend to:
- Write 3 general goals for each game before game start.
- If I feel myself succumbing to pressure (and I could tell, I just didn’t act) refer myself to these goals before spending orders/declaring AROs.
- Re-evaluate plans formulated during the opponent’s turn before starting my turn.
- Formulate a reset cue to increase the likelihood that I do this. Taking a deep breath before I start my turn, for example.
I have a lot of thoughts rattling around my head about JSA, how they mesh with my playstyle, and where the sit within the grand scheme of Infinity. I’ll circle back after Adepticon with a more structured article, perhaps. I’m still grasping at a few nebulously formed thoughts.
This felt like a really long article–it certainly felt long as I was writing it. Hopefully it was helpful. Thanks for reading it, and thanks to Erik for giving me a fantastic practice game.