
Adepticon 2019 – ITS Championship
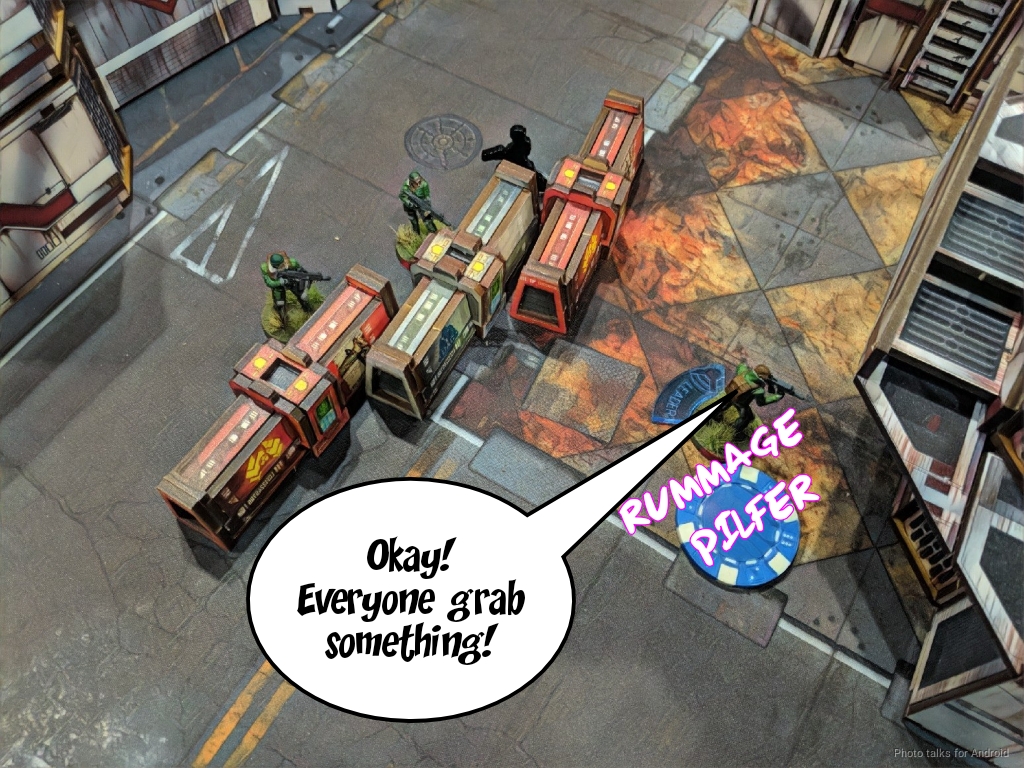
Finally back from Adepticon 2019, and it was a blast! Had a lovely flight on the way in, drooled over some beautiful minis painted up for Crystal Brush, and even was given a Toni Macayana patch by Carlos (Bostria) himself! Hopefully it wasn’t a mistake… :3

On the way! 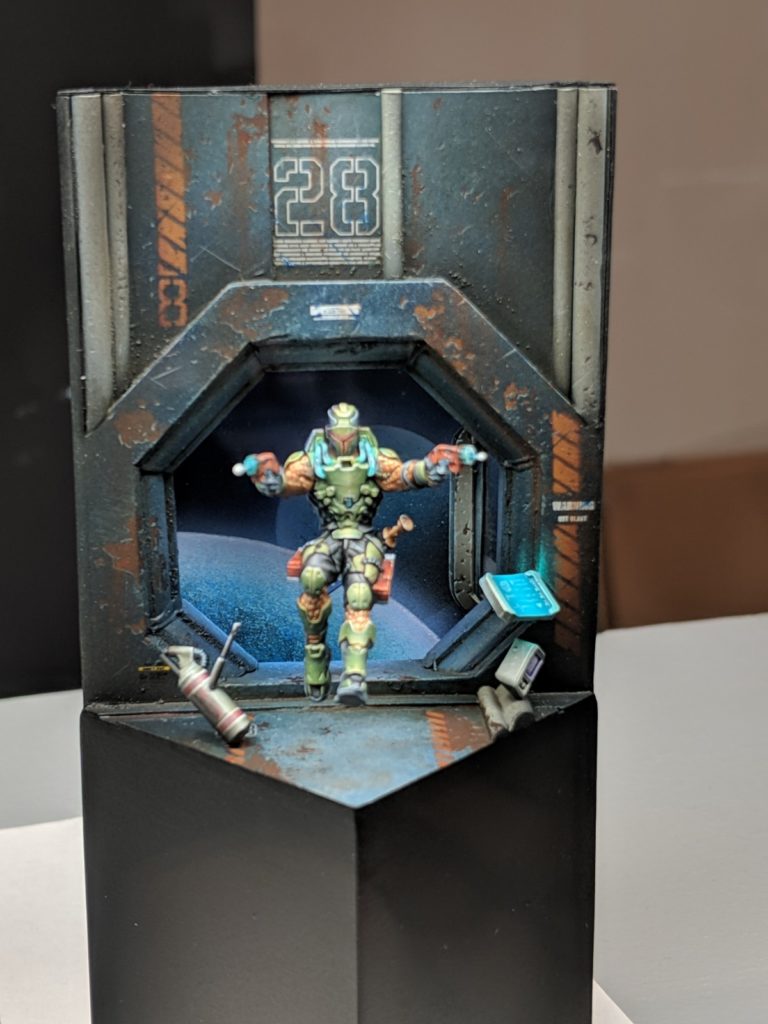
Epic Perseus 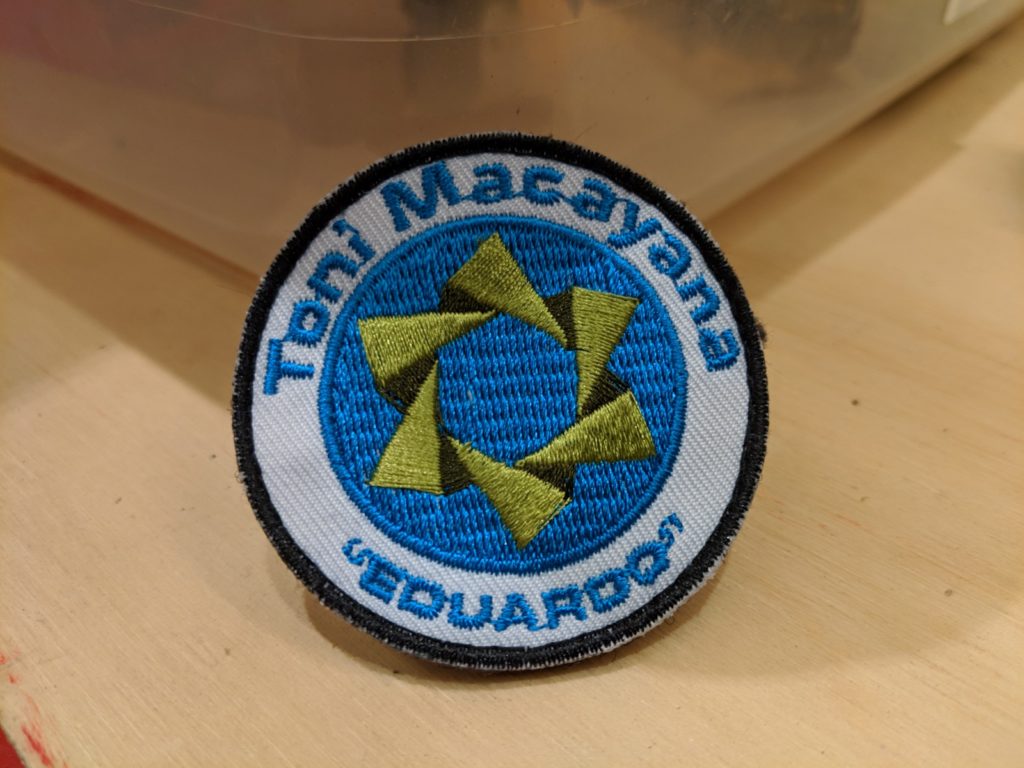
Rare Patch Acquired!
We didn’t have a ton of time to explore the vendor hall, but I at least got to play a demo of Cruel Seas against Adam (TheDiceAbide), which satisfied the naval wargame fanboy in me. Adam of course immediately rammed one of my ships, but I retaliated by sinking his tanker with a single torpedo that did 16d6 damage with exploding 6’s. Did something like 93 damage against a 80-something hit point model. Apparently torpedoes are OP! Rude.
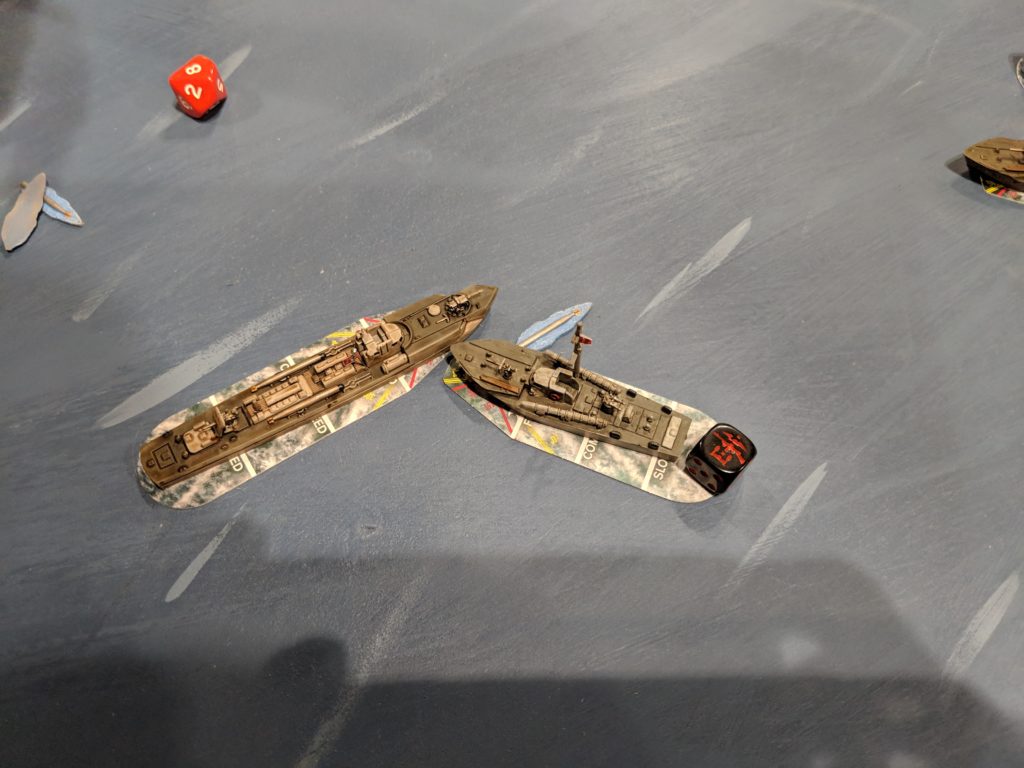
Adam’s Inevitable Ramming Action 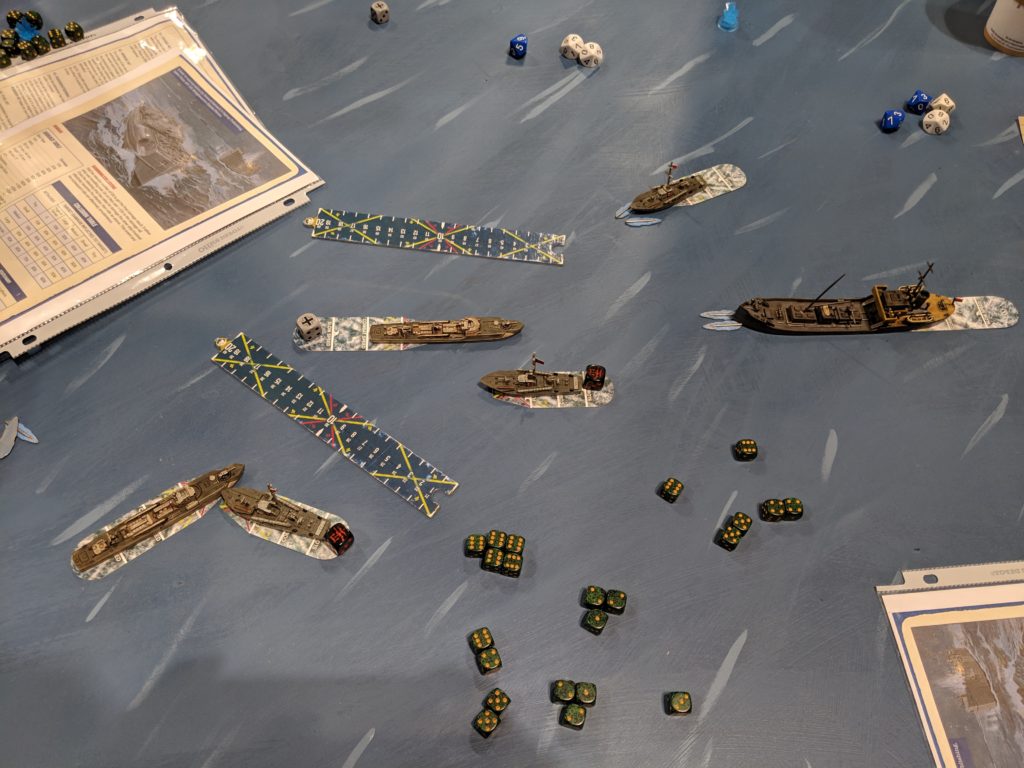
Direct Hit! Tanker Torpedoed!
Infinity-wise, this Adepticon was definitely less relaxing than the last one, which I think was due to being a little burnt out–this was my third tournament in a month, bringing my total number of games up to 13 in March. Or maybe it was because last year I was paired with Robert Paul as my partner for the team tournament and just watched as he wrecked our opponents… who knows!
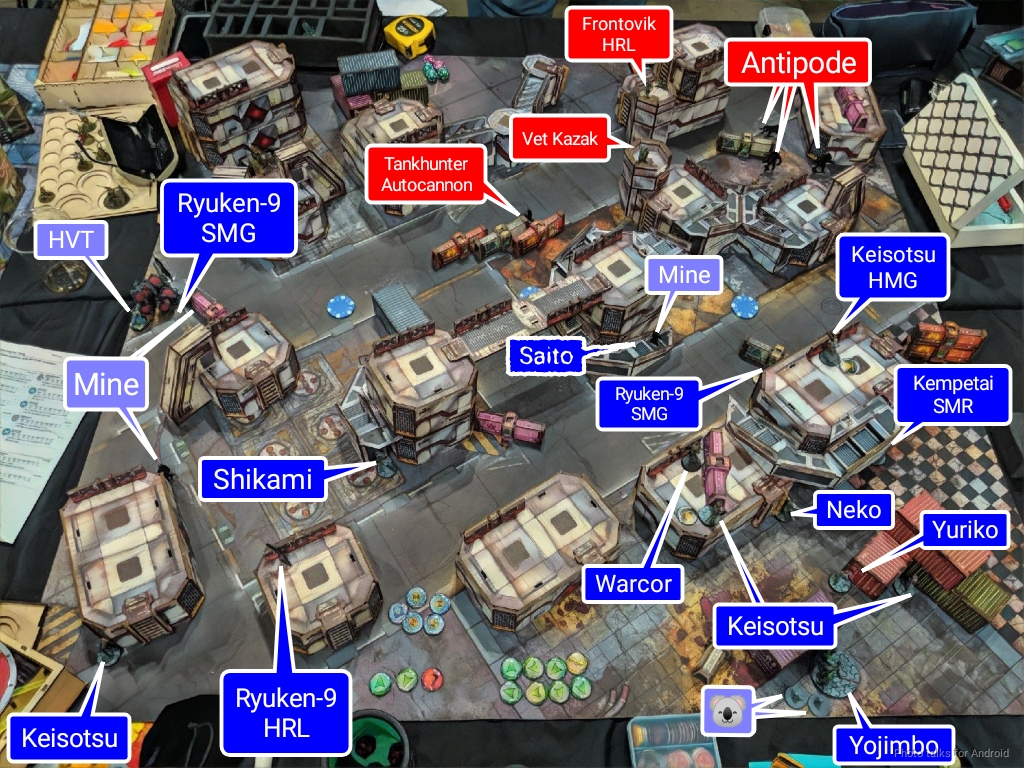
Those of you who have been following my recent posts know that I’ve been playing a lot of JSA recently, so it probably won’t surprise you that I took them to Adepticon. They’re working for me, but it still feels like a bit of a struggle at times. I’m trying to land on a list archetype that suits me. I don’t generally like links because they tend to push you towards bad deployment decisions by creating positional pressure, but JSA struggles with long distance engagements. That +3 BS in a 5-man link can be very important if you’re not planning on using Oniwaban/Ninjas to deal with long range threats that your Ryuken might have issues with.
I did something kinda stupid before a major tournament, which was to try and add some unfamiliar tools to my kit. In particular, I wanted to try the Ryuken-9 HRL, the Ninja MSR, and the Shikami, and really force myself to use them. I went back and forth on lists a lot trying to cram everything I wanted into a single list, then decided to come at the problem a different way: make lists to handle different board archetypes, and then just deal with the consequences of not having a particular tool. I made some concessions to the mission list, which was Power Pack, Decapitation, Supplies, and Firefight.
The core of both lists was three Ryuken-9: 2 SMGs and 1 HRL with Yojimbo and two Keisotsu to power on him in the second group. I put 5-man Keisotsu link in both lists (barf) and tailored my lieutenant choices and other support pieces to match the missions/terrain. Yuriko was in all of my lists as well, meaning I had a pretty good board control package if I ended up going second–four minelayers and Yojimbo’s Koalas. Van Zant was going to have a hard time getting on the table safely!
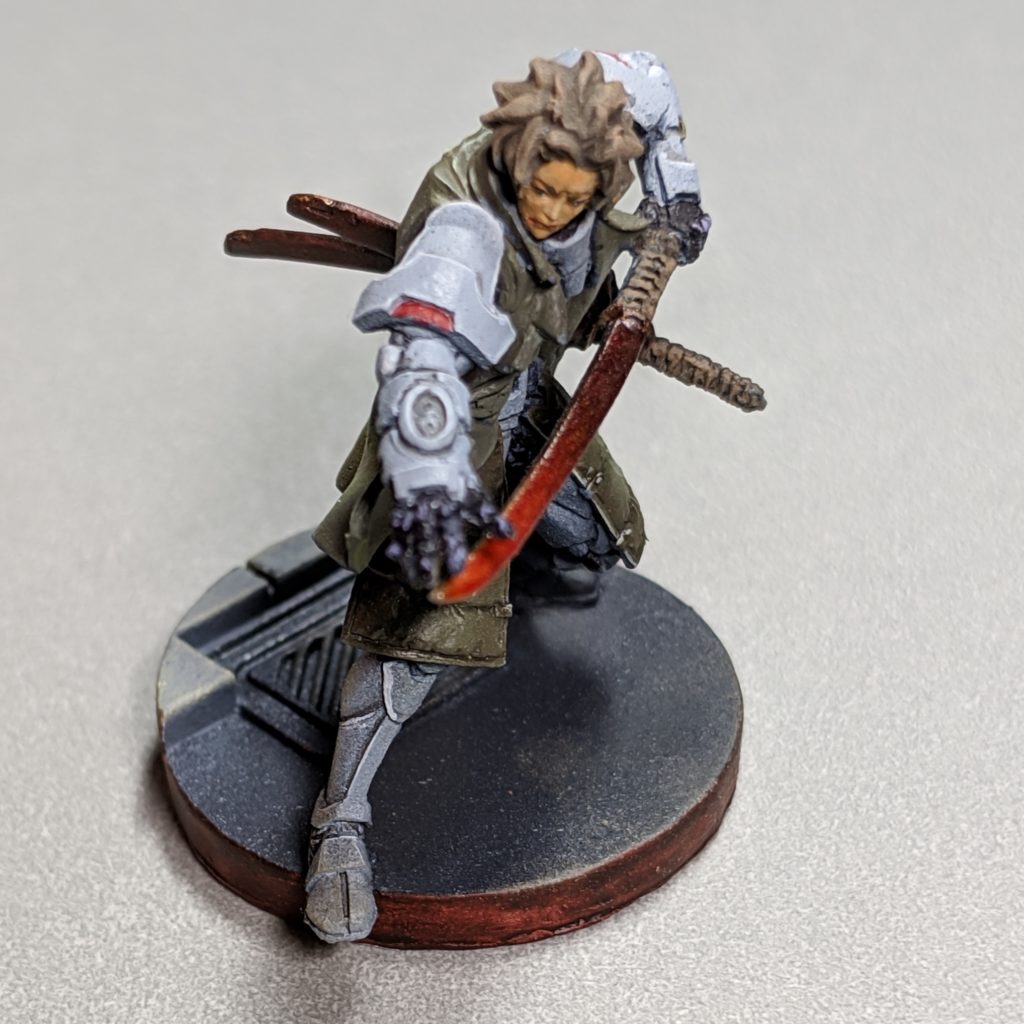
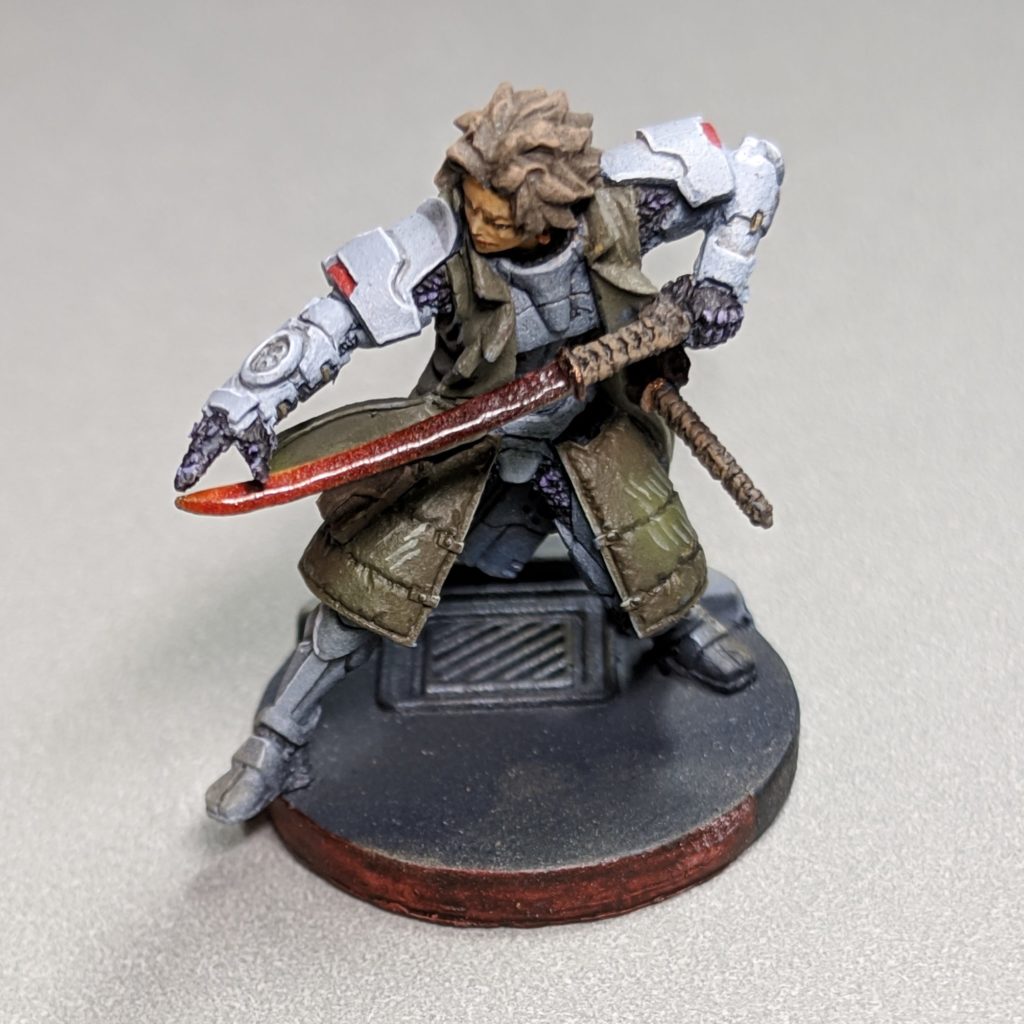
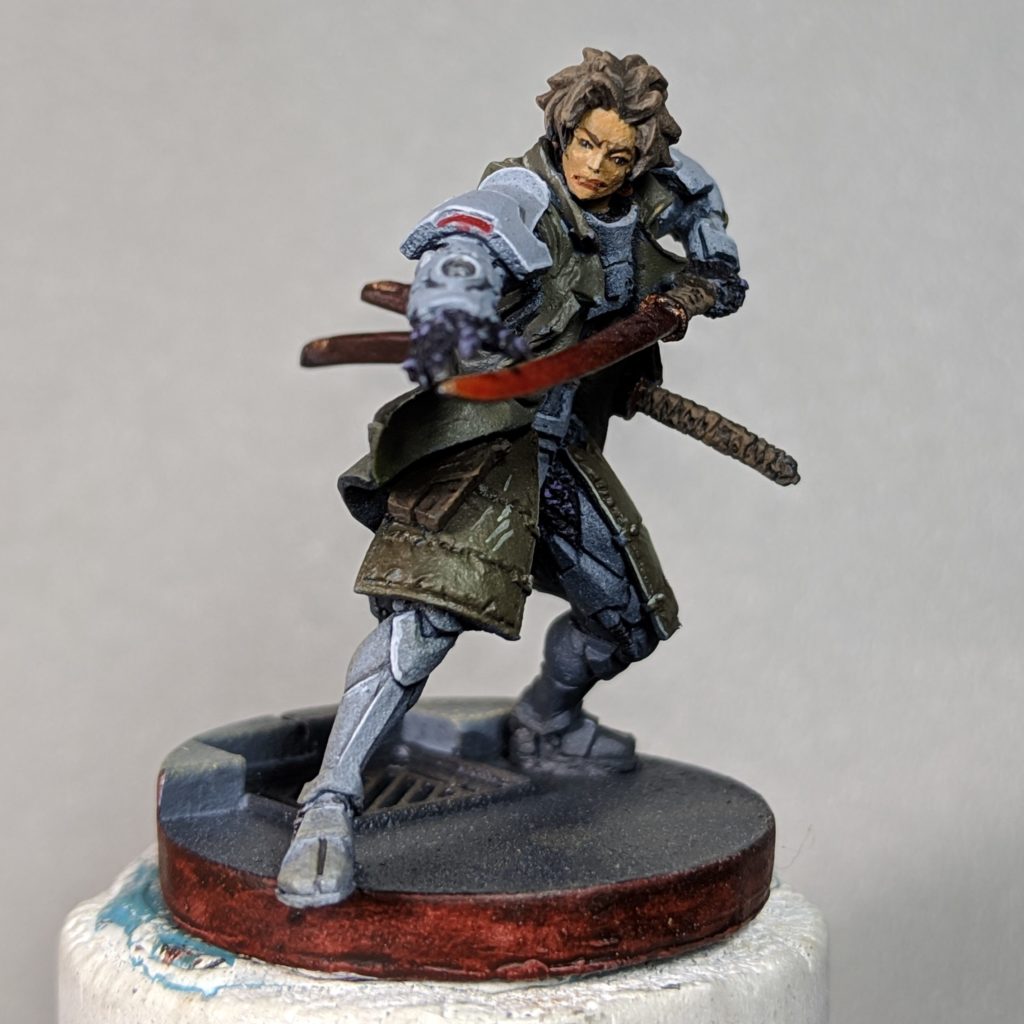
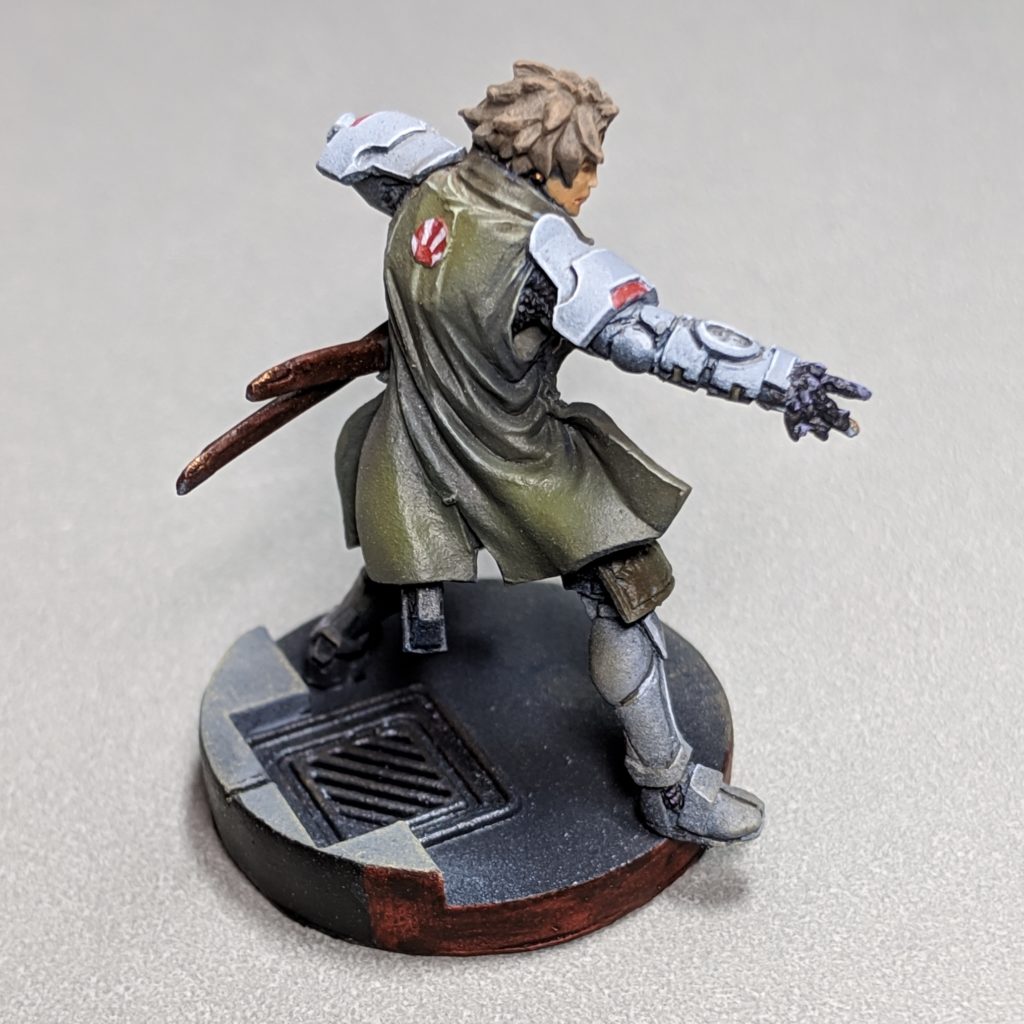
Not My Final Form
GROUP 1 |10
1
KUROSHI RIDER Lieutenant Combi Rifle + Light Flamethrower / Breaker Pistol, AP + Shock CCW. (0 | 33)
RYŪKEN (Forward Deployment L2, ODD) Submachine Gun, Antipersonnel Mines, D-Charges / 2 Breaker Pistols, Knife. (0.5 | 24)
KEMPEI (Multispectral Visor L2) Shock Marksman Rifle / Pistol, CCW, Electric Pulse. (1 | 25)
YURIKO ODA Combi Rifle + E/Mitter, D-Charges, Antipersonnel Mines / Pistol, CCW. (0 | 23)
KEISOTSU HMG / Pistol, Knife. (1 | 17)
GROUP 2 |
NINJA MULTI Sniper Rifle / Pistol, Shock CCW, Knife. (1.5 | 42)
2
TOKUSETSU EISEI Doctor (MediKit) Combi Rifle / Pistol, Knife. (0 | 14)
YÁOZĂO Electric Pulse. (0 | 3)
WARCOR (360º Visor) Flash Pulse / Stun Pistol, Knife. (0 | 3)
YOJIMBO Contender, Nanopulser, Smoke Grenades, CrazyKoalas (2) / Pistol, DA CCW. (0 | 21)
6 SWC | 300 Points | Open in Infinity Army
I made the “Not My Final Form” list to handle open boards, where I would need to clear out a TR bot on ARO duty or something. Between the Ninja MSR and the three Ryuken, I figured I could clear stuff out pretty efficiently. Once the AROs were gone, I could make up for the orders used to kill them with Kuroshi’s superior motorcycle-fueled button pushing efficiency–I learned that other metas call it “touching the butt(on)” which I found supremely (and childishly) amusing in my sleep-deprived state.
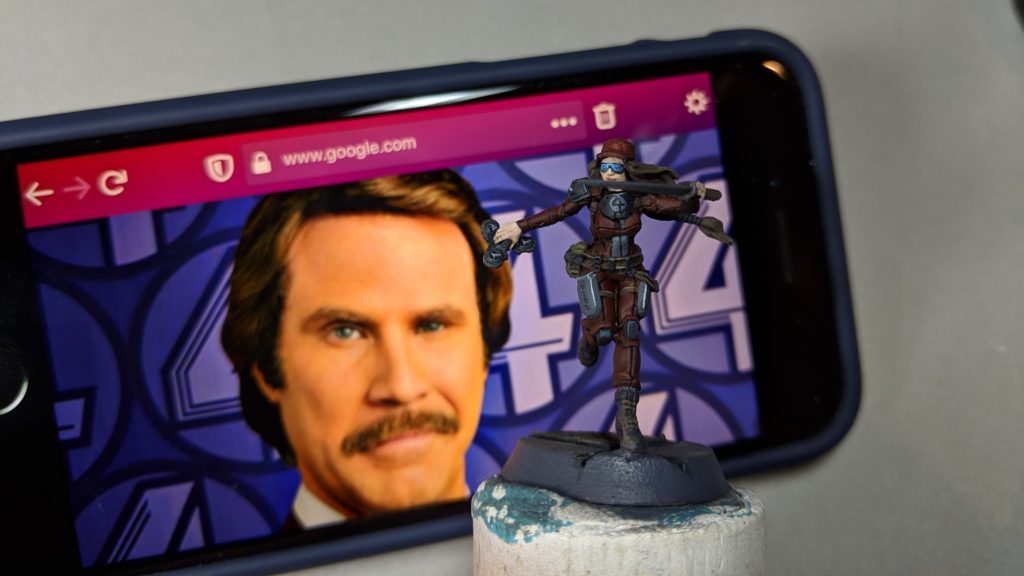
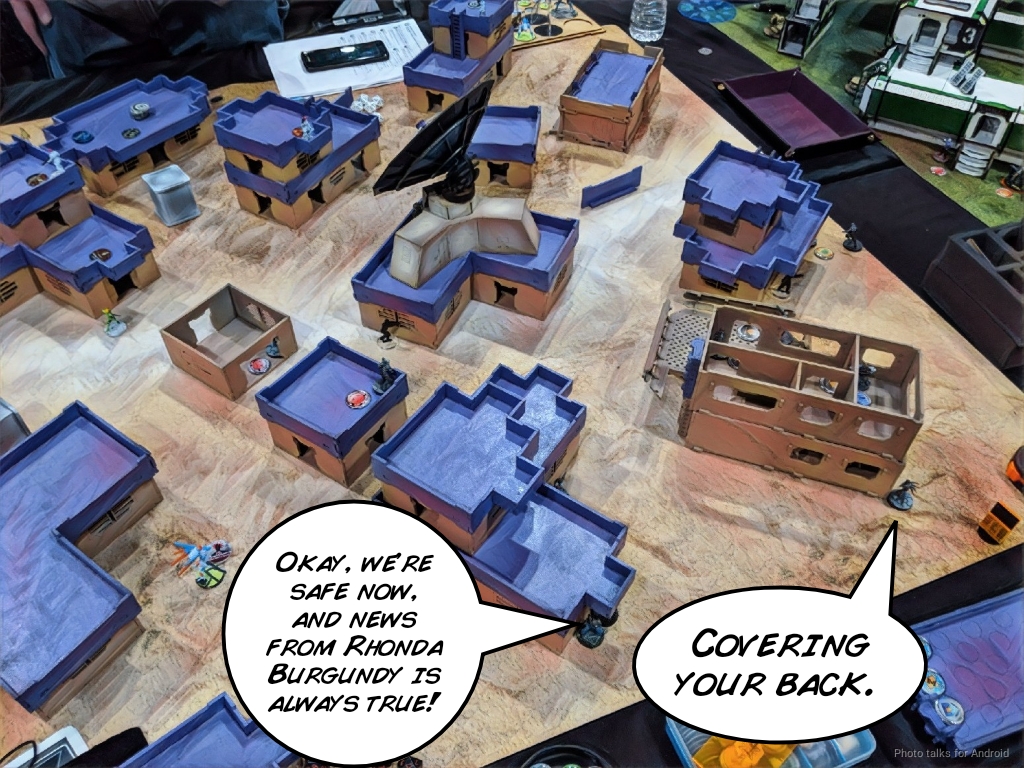
I’m also really enjoying aggressive Warcor usage, and not just because I kitbashed and painted up a sword-wielding Warcor I’m calling Rhonda Burgundy. I didn’t intend to, it’s just that I lost her arm, you see, and I had a random sword arm lying around..
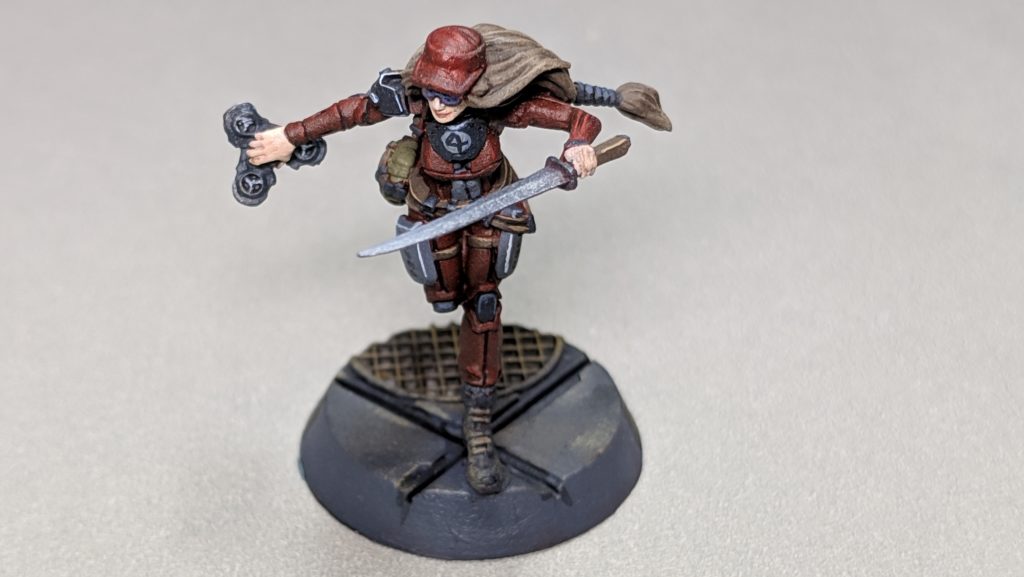
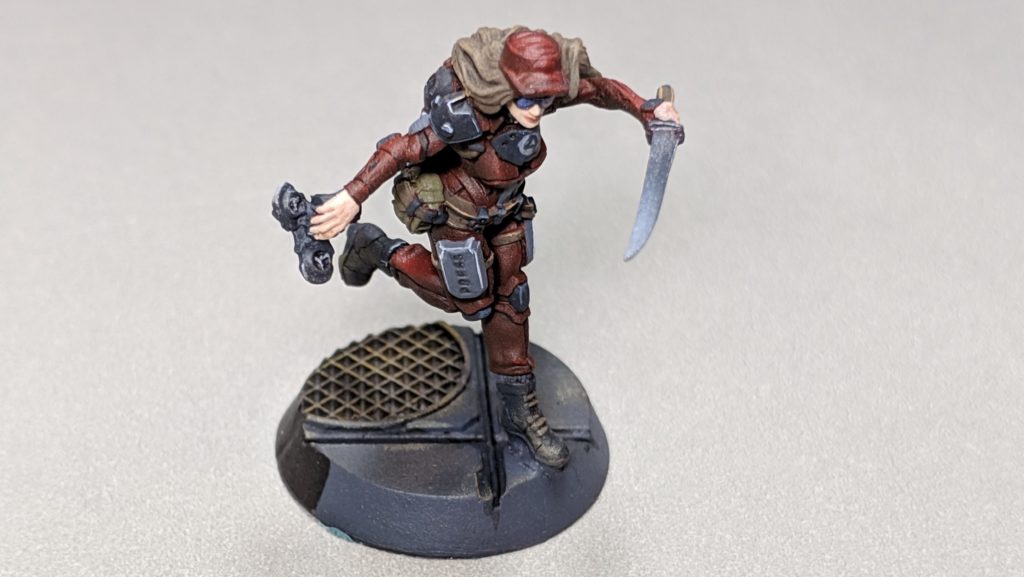
It’s often difficult to make adequate use of the Warcor’s irregular order, and while JSA isn’t particularly harsh on command token usage, with Keisotsu being rather rubbish at shooting they tend to have broken links often. There’s also a lot of dumb things that you need to do that you don’t want to dedicate real resources to: carting the Xenotech around, syncing your designated target and retreating with it, that sort of thing. The Warcor doesn’t have a gun and really shouldn’t be active-turn flash pulsing anything, so she’s perfect to go do all the stuff you don’t want a competent gunfighter doing.
As for the link, I took a MSV2 shock marksman and an HMG for long range firepower, Yuriko with an E/Mitter because that’s the correct profile (always choose the one with E/M), and a Kempetai BSG to get myself out of trouble if Kuroshi got herself killed. Not entirely sure why I took the doctor, but it’s not like a Doctor is a bad thing. The Warcor in the second group is a bit at odds with the stuff I outlined above, but this list was ostensibly for Supplies and I wanted more orders in group one.
My second list was designed for Decapitation and Power Pack. I floundered around trying to find a good, survivable lieutenant, and settled on Neko Oyama, who shockingly enough looks surprisingly like Michael Jackson.

I’ve been told I need to paint a white glove on one hand and reverse the colors of his firing arcs ’cause he walks backwards or something… anyway.
GROUP 1 |
OYAMA Lieutenant Chain Rifle, E/M Grenades / Breaker Pistol, AP CCW, EXP CCW. (0 | 28)
GROUP 2 |
SHIKAMI Contender, Nimbus Grenades / Assault Pistol, DA CCW, AP CCW, Knife. (0 | 45)
SAITO TOGAN (Specialist Operative) Combi Rifle, Smoke Grenades / Pistol, EXP CCW, Knife. (0 | 40)
4.5 SWC | 300 Points | Open in Infinity Army
Neko seems a pretty good Lt option against most things trying to kill him. He’s got a lot of hard “NO” options–if he hits you in CC you’re going to turn into a pile of goo. He’s got reasonable chances of winning a CC face to face and doing a wound against the scarier CC assassins with his MA3 against their MA3 (it was the best option, I tried them all), assuming he’s still got SSL2:
| Speculo | 63.23 | 17.25 | 19.50 |
| Al-Djabel | 48.71 | 21.13 | 30.16 |
| Kitsune | 39.27 | 27.73 | 33.00 |
Against most close range shooting attacks, it’s a pretty good idea to chuck an E/M grenade at your attacker, which will most likely stop them cold and let you deal with them on your turn, probably by shooting them in the back with a Ryuken-9’s SMG.
On the offensive, Saito is almost as good as Kitsune at being an assassin, and for Adepticon at least, JSA hadn’t officially lost his specialist profile yet, making him doubly useful. The Shikami is a good backup assassin, as Climbing+ and Super-Jump will let him get to rooftops where lieutenants are likely to be. In this list, since everything is so expensive and I really want orders for Saito and Yojimbo so Rhonda Burgundy gets to be in the main pool with all her friends.
I ended up taking the “Maximum Otaku” list with Saito and the Shikami for all four games. The first two missions were Power Pack and Decap, so that made sense, and the tables really made the choice easy for the last two games. I’ll talk about the list in context for each game below.
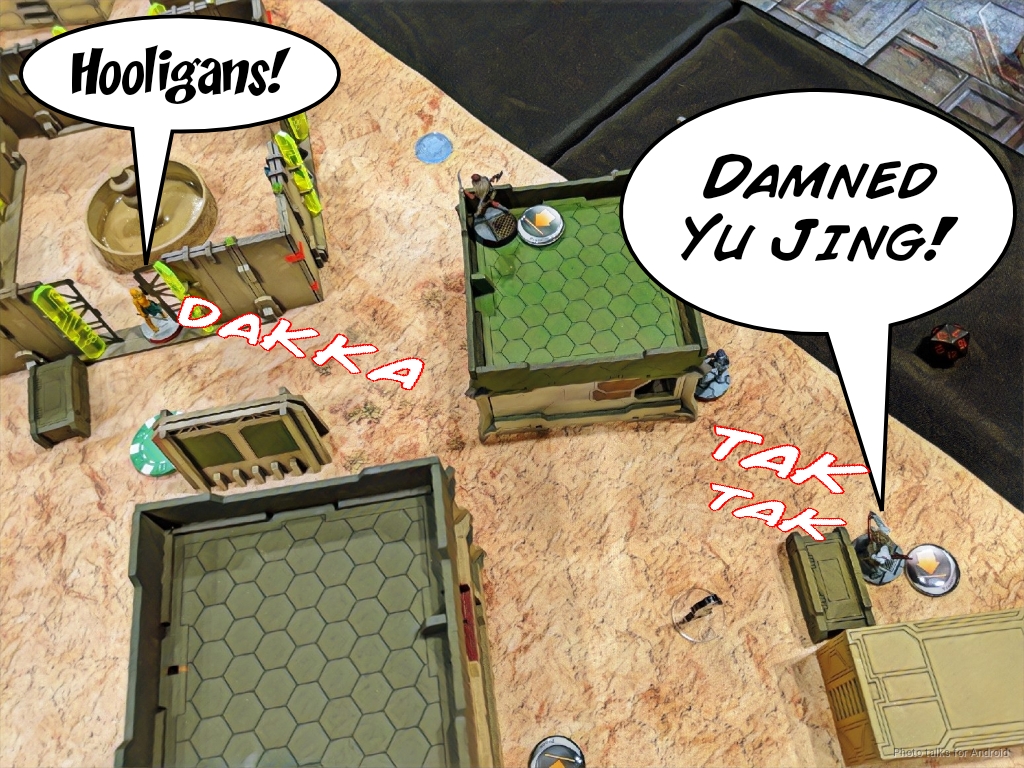
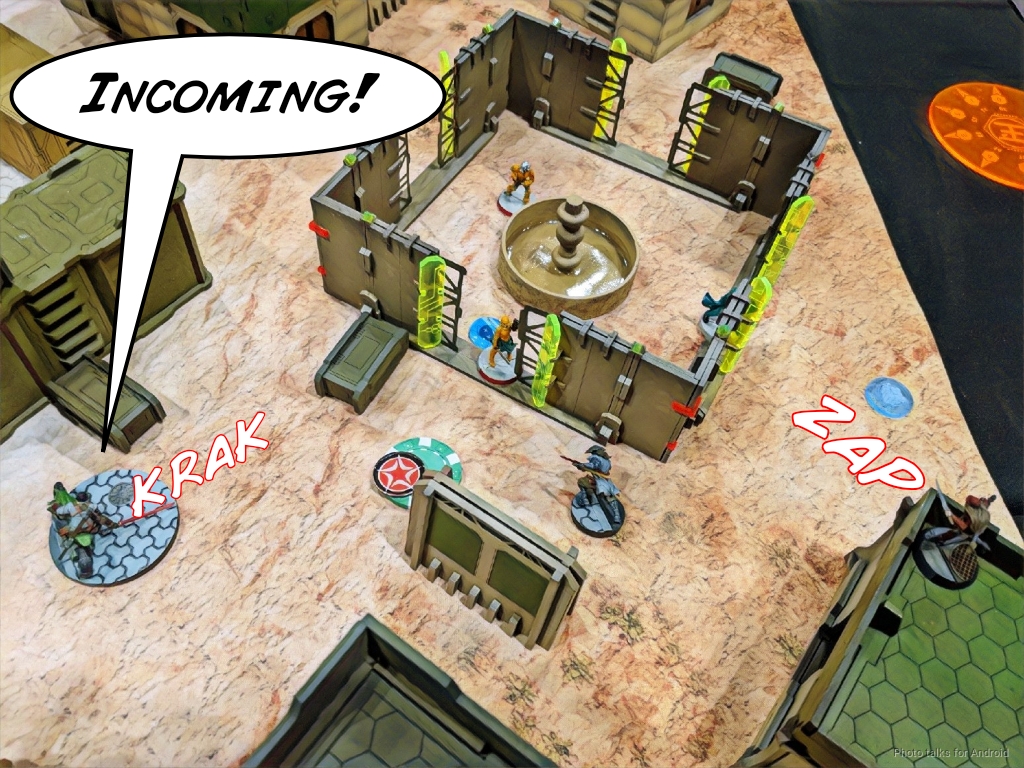
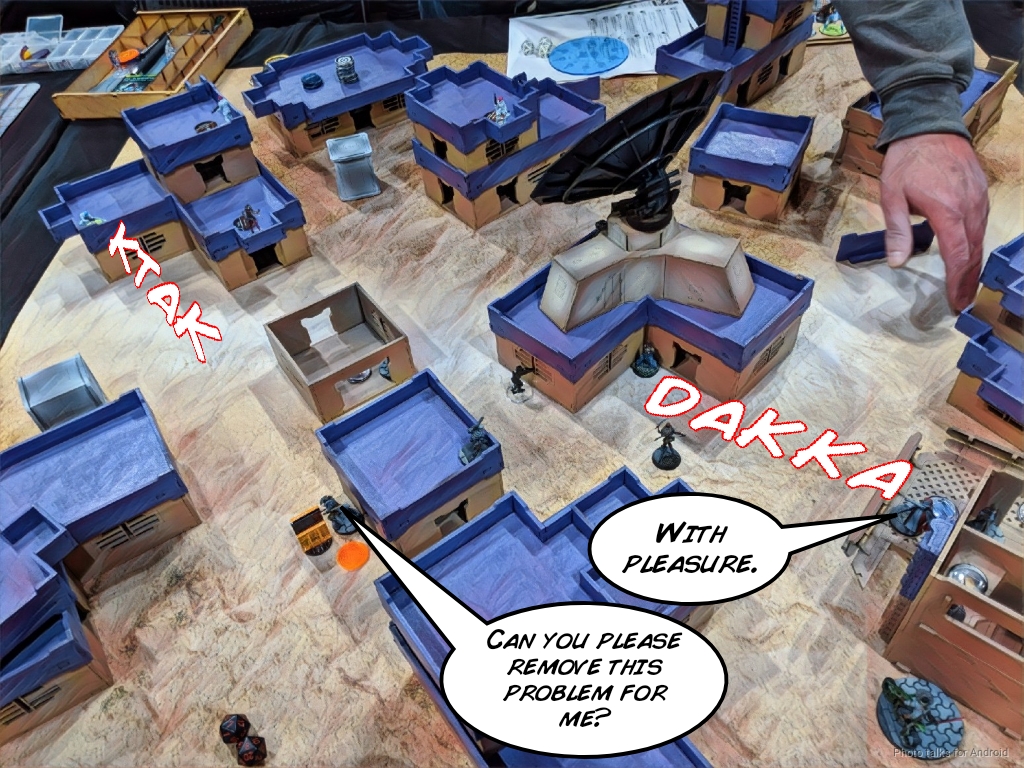
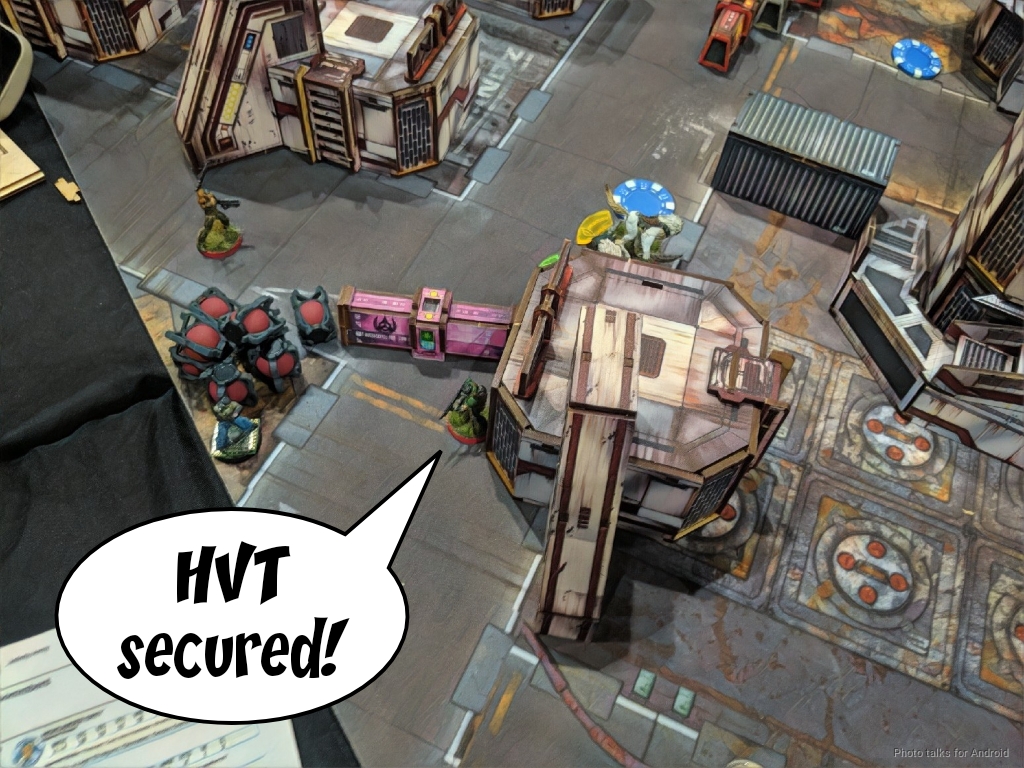
Game 1 – Whammy!

For game one, I got paired against James (RomanLegion) who is from my meta and sat next to me on the plane. Whammy! A bit of a bummer, but at least I knew what to expect: Kuang Shi spam supporting a Hsien, a Rui Shi, and/or a Su Jian.
Overview
- Mission: Power Pack
- Forces: Japanese Secessionist Army versus Imperial Service (300)
- Deploy First: ISS
- First Turn: ISS
GROUP 1 |
GROUP 2 |
4.5 SWC | 300 Points | Open in Infinity Army
I won the roll off and decided to encourage James to go first by choosing deployment. A bit dangerous, giving all his dogged chain rifles, but I really wanted to see where the Rui Shi was going. Knowing James, he would hold it or another attack piece in reserve, and I wanted to be in the opposite corner to maximize the distance attack pieces would have to traverse. I figured I could at least resist a Kuang Shi incursion with all the mines and Koalas I would have, but that’s never a guarantee.
I was hoping to find a place to put the Kempetai SMR to shock the Kuang Shi off the table that wasn’t immediately going to get her shot by a Rui Shi or something, and I figured I’d use some Ryuken in the other corner of the table to provide a little board presence there at least.
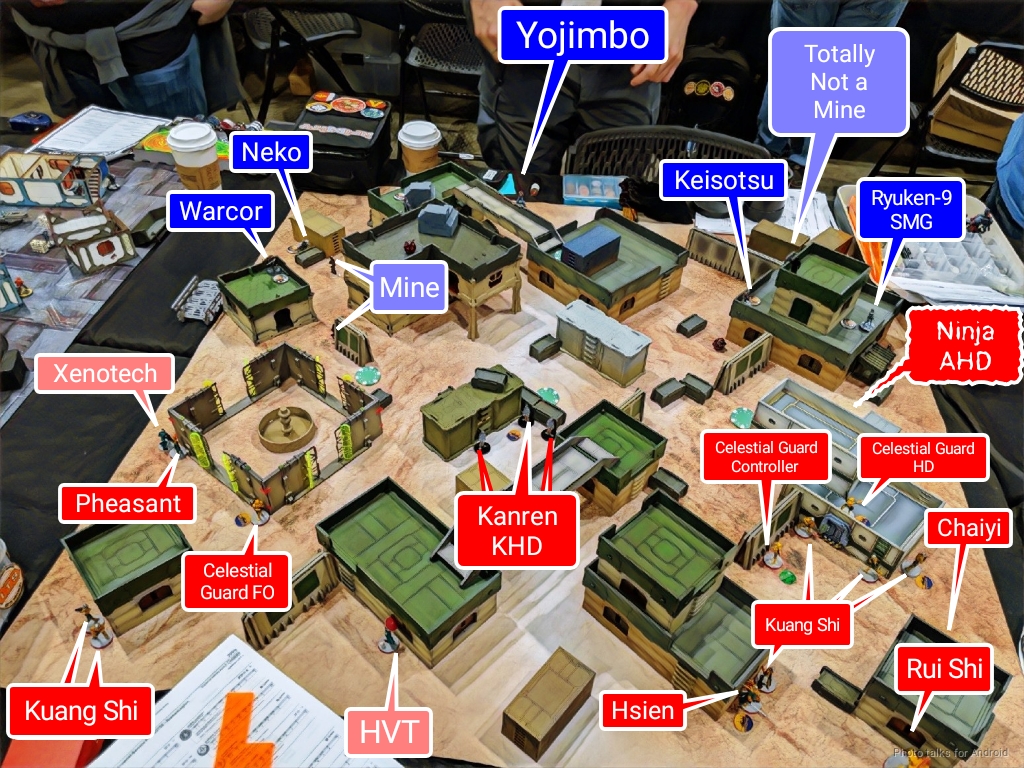
Game 1 – James
GROUP 1 |GROUP 2 |
HSIEN Lieutenant HMG, Nanopulser / Pistol, AP CCW. (2 | 61)
CELESTIAL GUARD Hacker (Hacking Device) Combi Rifle / Pistol, Knife. (0.5 | 21)
KǍNRÈN Hacker (Killer Hacking Device) Combi Rifle, Chain-colt / Pistol, Monofilament CC Weapon, Knife. (0 | 29)
GARUDA Tacbot HMG / Electric Pulse. (1.5 | 30)
NINJA Hacker (Assault Hacking Device) Combi Rifle / Pistol, Shock CCW, Knife. (0.5 | 40)
CHAĪYÌ Yaókòng Flash Pulse, Sniffer / Electric Pulse. (0 | 8)
PHEASANT IMPERIAL AGENT (Chain of Command, X Visor) Combi Rifle + E/Mitter, Stun Grenades / Pistol, DA CC Weapon. (0 | 34)
KUANG SHI Chain Rifle / Pistol, Knife. (0 | 5)
RUI SHI Spitfire / Electric Pulse. (1 | 20)
6 SWC | 298 Points | Open in Infinity Army
I obviously wasn’t aware of all of James’s list choices, like the Garuda, but as he started deploying it became clear that I was facing a Rui Shi and some other expensive attack piece. I also was expecting a Ninja, since he asked me to turn around, but my initial assessment of Kuang Shi spam plus 2-3 shooty things was spot on. I’m generally not a fan of this list style, but both Pete (YueFei23) and James have been making good use of it, so who am I to argue.
Deployment
I made James deploy first. He castled up on my left, putting his Kuang Shi link and the Rui Shi over there, so it would have access to smoke. The Kanren went in the middle (he holo’ed it as an FO, but whatever), and then he put the rest of his stuff on the left, including the singleton Kuang Shi that weren’t in a link.
I executed my plan to deploy in the diagonally opposite corner from all of James’s stuff, and castled up with mines and Koalas. I then feinted a Ryuken-9 HRL on a roof with a mine on my left, and then put the real Ryuken-9 watching the back table edge in what looked like a good spot for a mine. The SMG Ryuken went on the roof, just to make it hard for Kuang Shi to get up there without having to deal with her mine first.
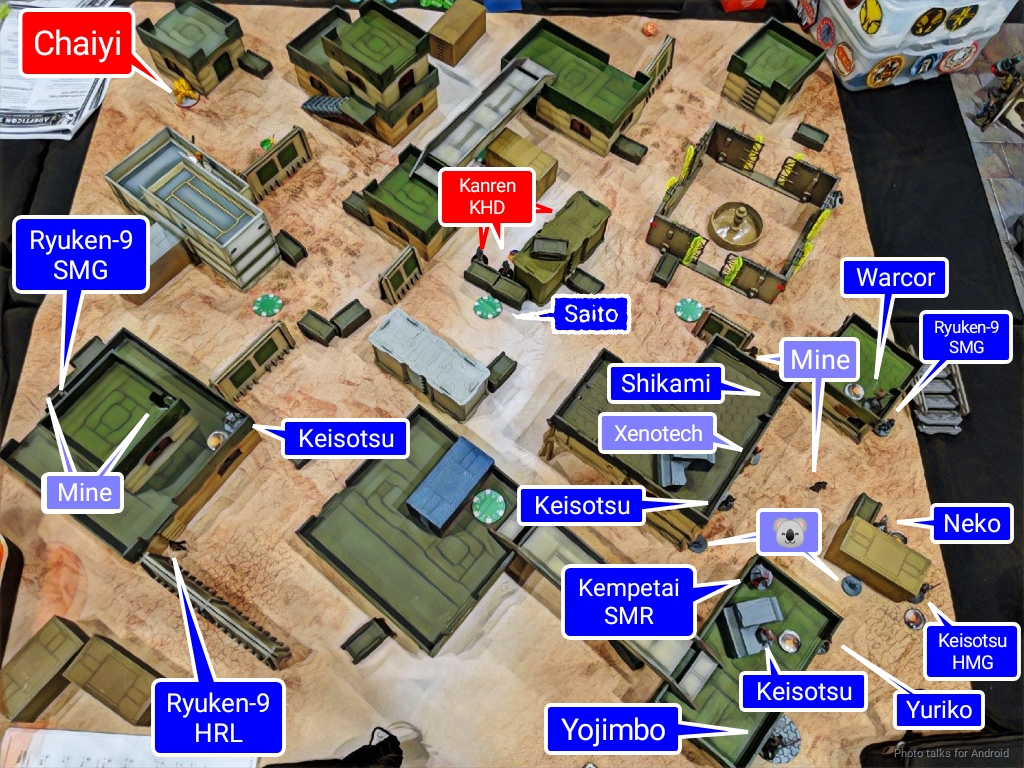
I figured James might want to try for a Lieutenant kill, so I gave him three options: Neko, who was up forward and watching a corner, and then two Keisotsu prone on rooftops, one heavily guarded, one just hanging out more or less by himself under the fake Ryuken-9 HRL. James then plunked his Hsien onto the table, near the Rui Shi. Excellent. All the threats are super far away. I responded by asking him to turn around so I could put Saito near the central objective. I figured I’d concede the left objective to James, and then take the center with Saito, and the right one with my Shikami.
I definitely was planning on using the Warcor’s order to do the Xenotech stuff, so I hid her on a roof, synced to the Xenotech. I put the Xenotech herself in an obnoxious position to hopefully cancel any chain rifle templates that might be walking around the corner.
My gameplan was to let James do whatever he liked on his side of the table in turn 1, probably grab some buttons, move the Rui Shi around, shuffle some Kuang Shi around, whatever. I did want to stop him as best I could from getting into my corners though, so I deployed the Kempetai out to shoot Kuang Shi and had my mines screening. Most of James’s specialists were in the center or on my right–sure, there was a CG Hacker on the roof on my left, but she wasn’t going anywhere quickly, so basically he was all in on the center and right objectives (from my perspective), which meant I could get the most return on investment for just flipping the antennas back. Then it was a simple matter of rocketing Yojimbo or probably the Shikami into his backfield to secure the console. I actually chose my side because my console was on the second story, and that would’ve been annoying to get to.
Turn 1
Top of 1 – ISS
Anyway, after James explained to me his order pools, I docked him two orders in the one with all his specialists. That meant all I had to do was deal with the Rui Shi xor the Kuang Shi–you can’t rambo both in the same pool, really. Hopefully I’d be able to shock some Kuang Shi off the table, which would further blunt the Rui Shi’s effectiveness on turn 2. The two unlinked Kuang Shi wander around aimlessly in his backfield, which is good for James–any further into the open and they’d be shocked off the table by my Kempetai.
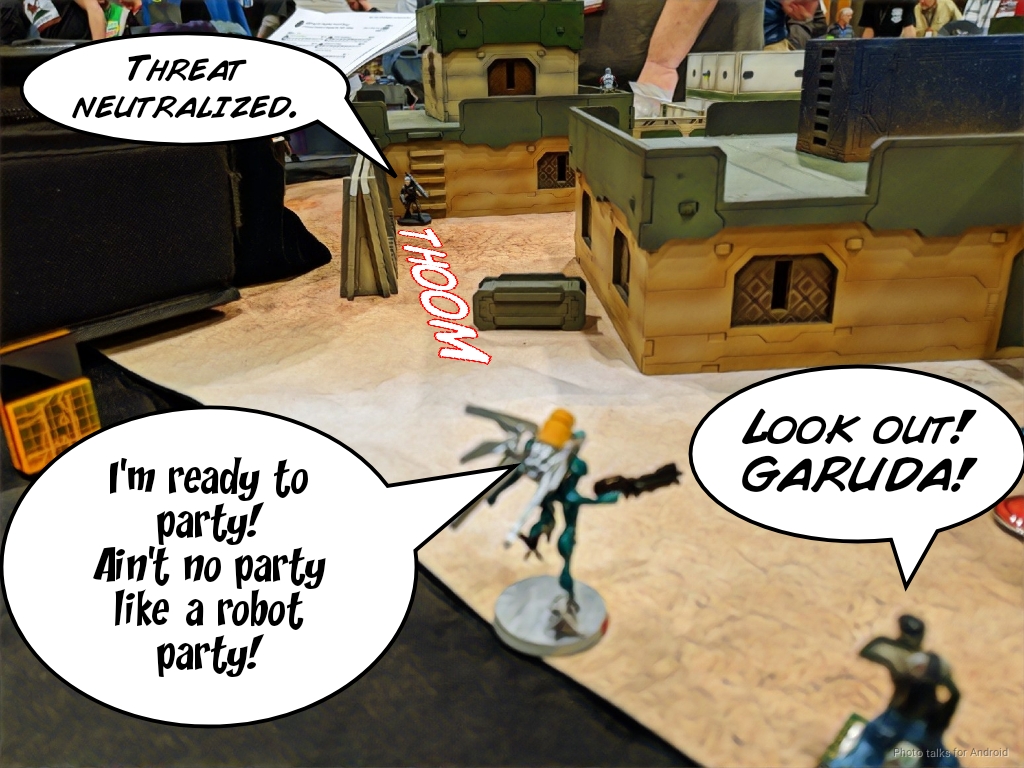
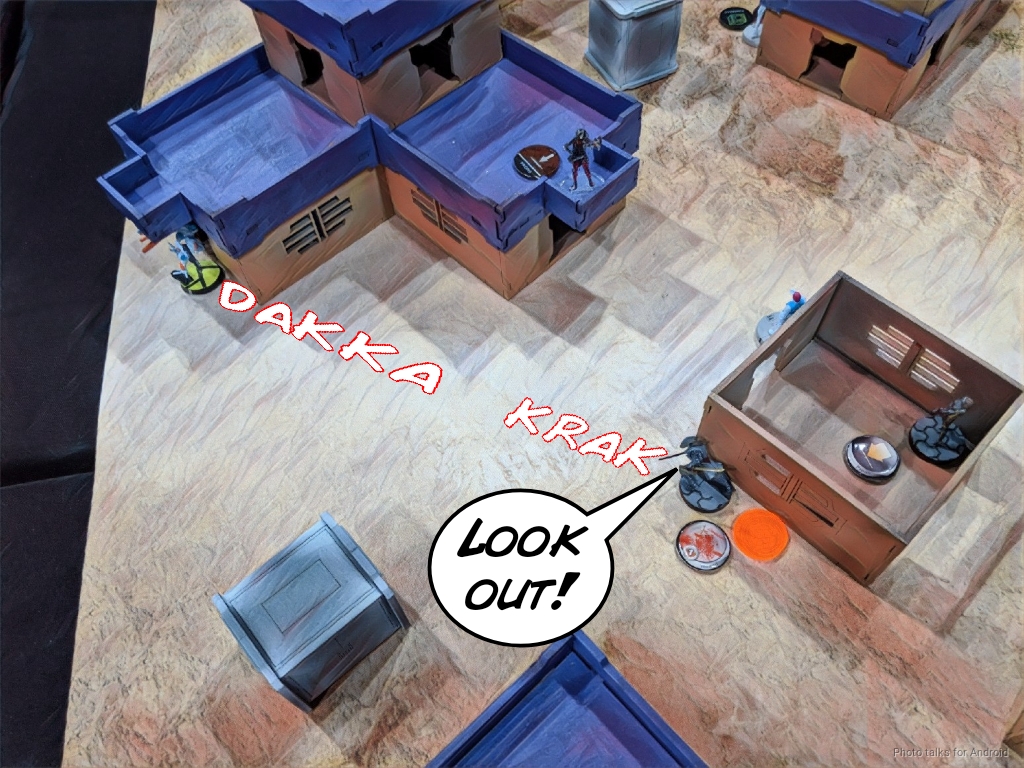
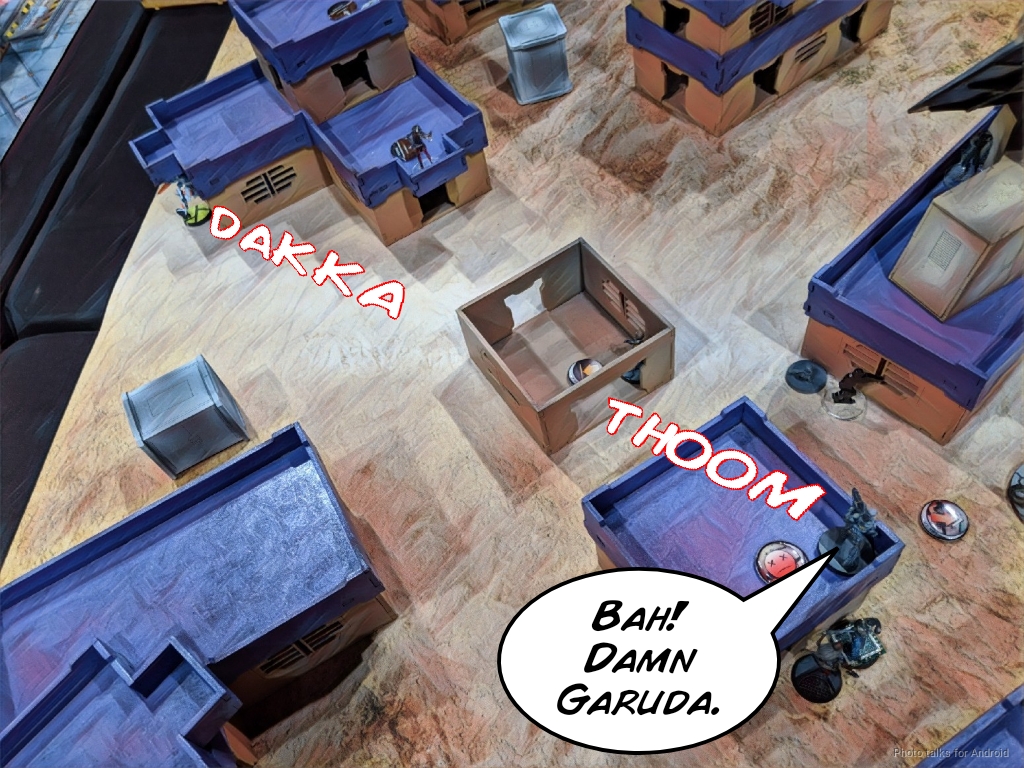
James actually surprised me by walking on a Garuda HMG behind me, in the little pocket between deployment zones. I haven’t played him in awhile, mostly because his work schedule is pretty atrocious and he hasn’t played in a month, and was not expecting AD. No matter, I had prepped for it, and my Ryuken’s HRL burned it off the table.
We had just spent the time waiting for things to start chatting with our friends about the importance of the Xenotech this mission, so James did that thing, walking the Xenotech forward so he could collect some data for his thesis or whatever it is these folks are doing.
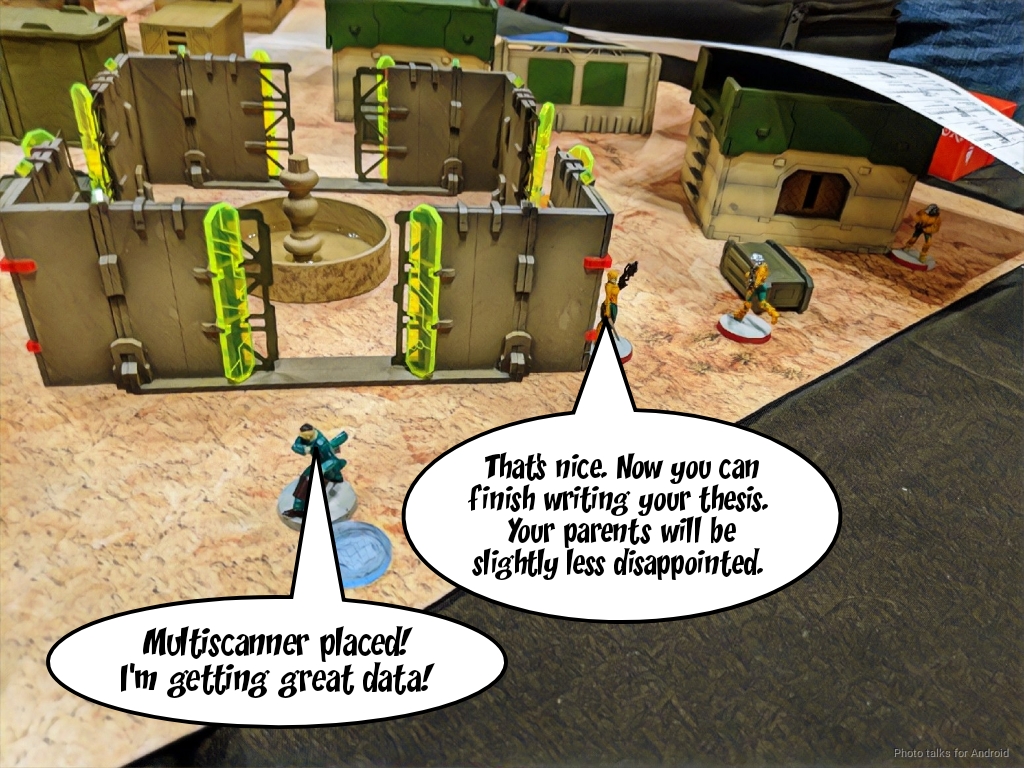
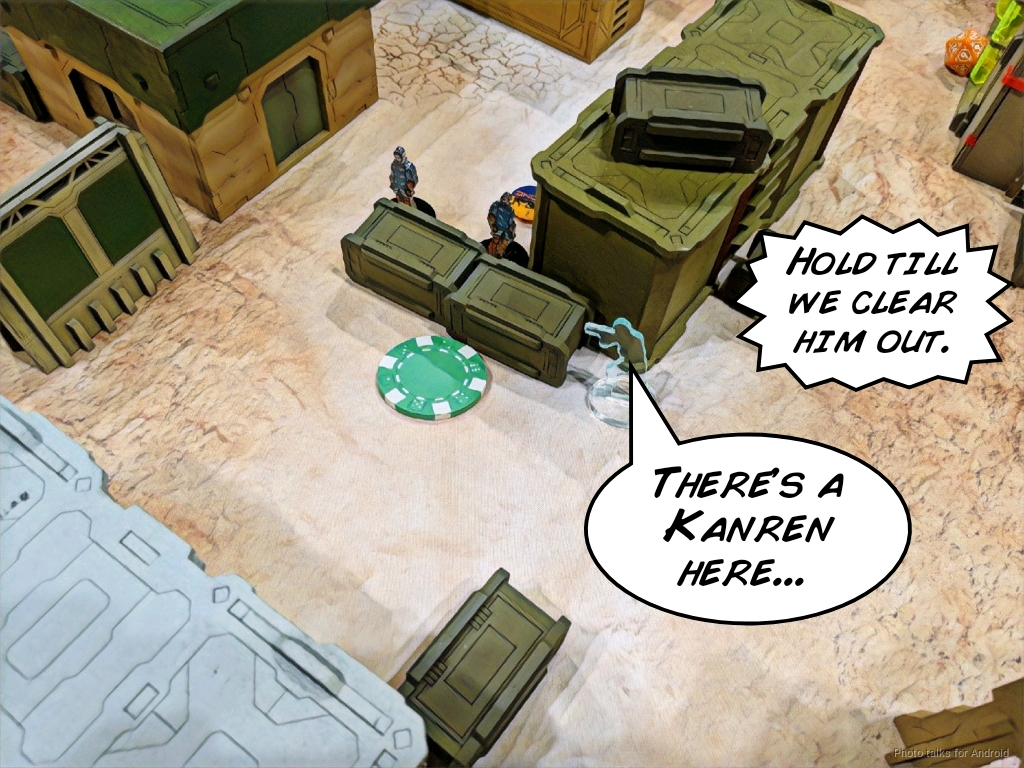
James continued to play to the objective, and hopped the Kanren over the barricade he was hiding behind to grab the central objective. A little early, in my opinion, but he has no idea that Saito is right there, so I can’t really make an accurate assessment of the order pressure he was feeling. Now that he felt like he had a good lead on objectives, it was safe to bring out the Rui Shi. First, he spec-fired some smoke to set up the smoke trick, and then tried to take out my Ryuken-9 HRL.
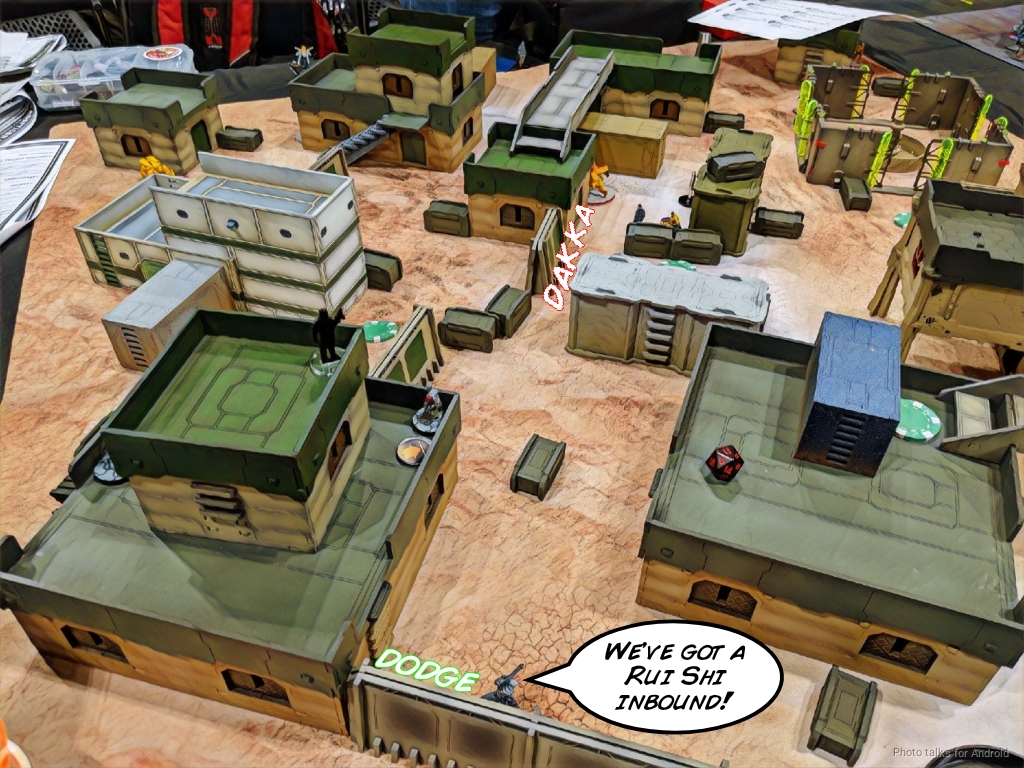
I crit dodge, which is probably the best possible outcome–I’m going to lose the Ryuken-9, and I want to waste a bunch of James’s orders. I suppose I could’ve shot back but that doesn’t seem like the best way to sell Mr. Batou’s life. James continues advancing, and sadly I can’t catch the Kanren under the blast template–can’t see the Rui Shi till it’s well past the Kanren. Disappointing, especially because I rolled a 1 to dodge, which would’ve hit the Kanren had I shot. Ah well, that’s not a real justification for shooting back. In any case, Mr. Batou has done his job and died well.
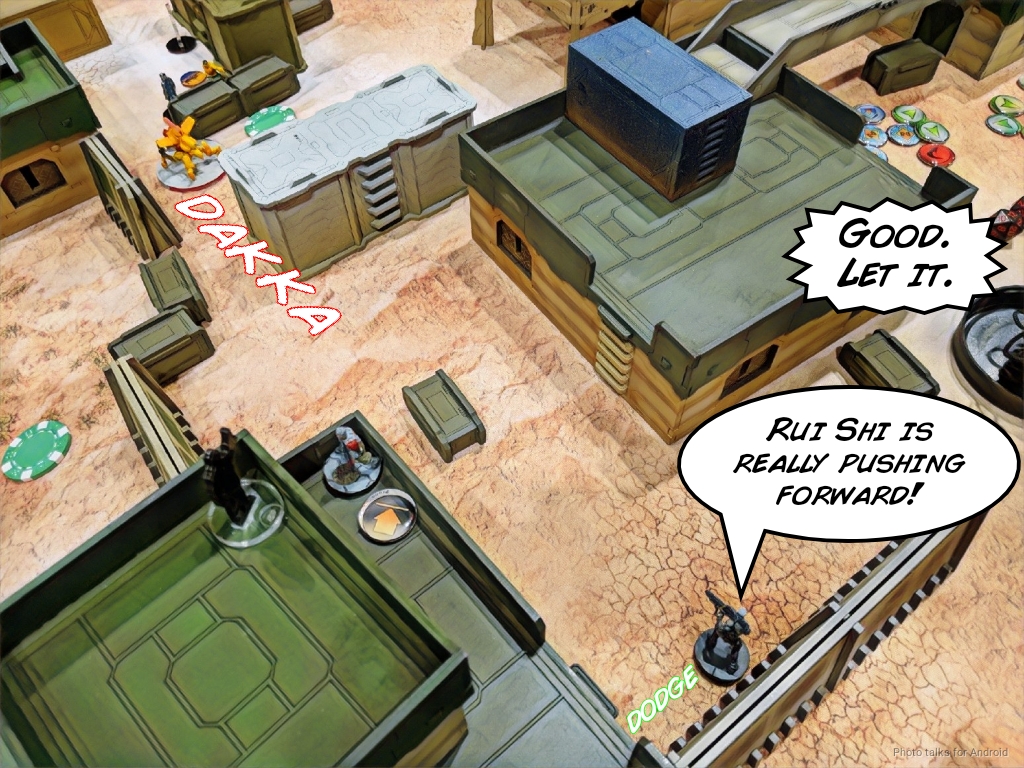
Much to my delight, James spends an order on the Rui Shi attempting to discover my mine and rolls really high, whiffing. He decides to set up suppressive fire on the Rui Shi and the Kanren. The Rui Shi is pointed directly to my right, and the Kanren is watching the center objective.
Bottom of 1 – JSA
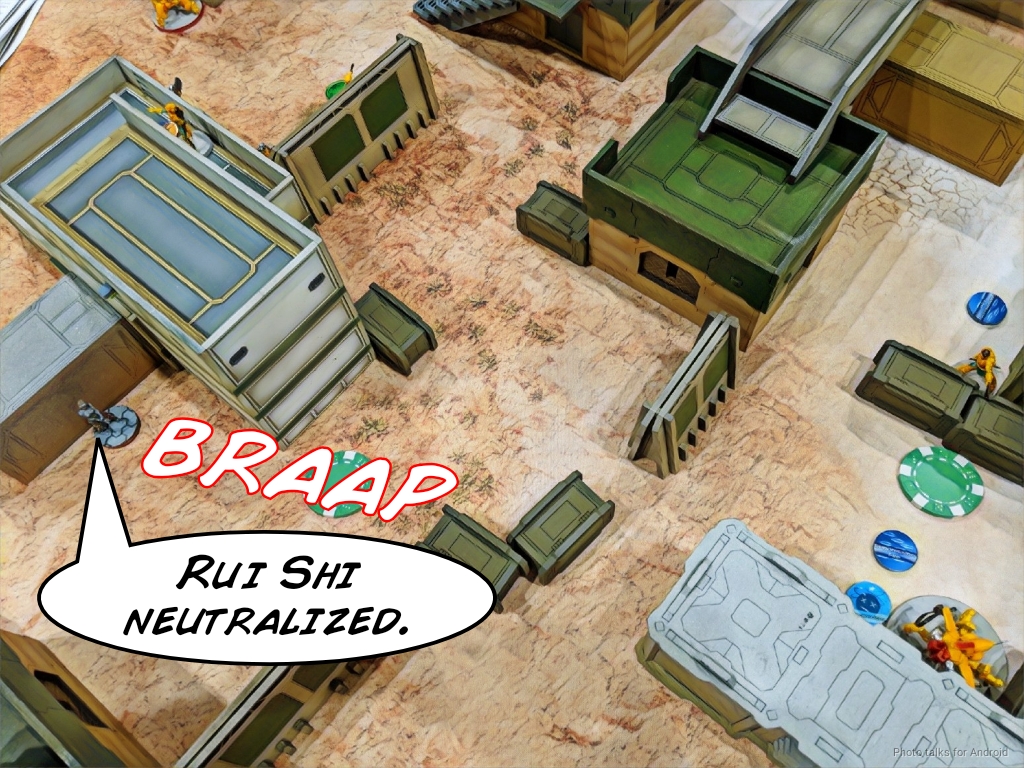
I’m immensely pleased with the Rui Shi’s facing, and quickly get Yojimbo’s order out of the way, moving him without breaking into LoF of anything and set up some smoke for my Kempetai. Then I hop the Ryuken-9 off the building on my left, and take a bit of a circuitous path around to avoid getting seen by the Kanren in suppressive. Then I have herjust pop a few bullets into the Rui Shi’s back, knocking it out. James tells me he doesn’t have a engineer, which is great news, so I move on to other things.
Now that the Rui Shi is gone, it’s time to take out the Kanren. I did it in this order for two reasons: 1) I don’t want to grant a Warning! to James to let him fix his Rui Shi’s facing, and 2) I want more orders to deal with the Rui Shi in case it didn’t go well. In any case, I use Yojimbo’s smoke, scurry the Kempetai into position, rubber banding the link around as I go (UGH stupid links) and then drop four shots onto the Kanren. Of course, he passes ARM and goes prone.
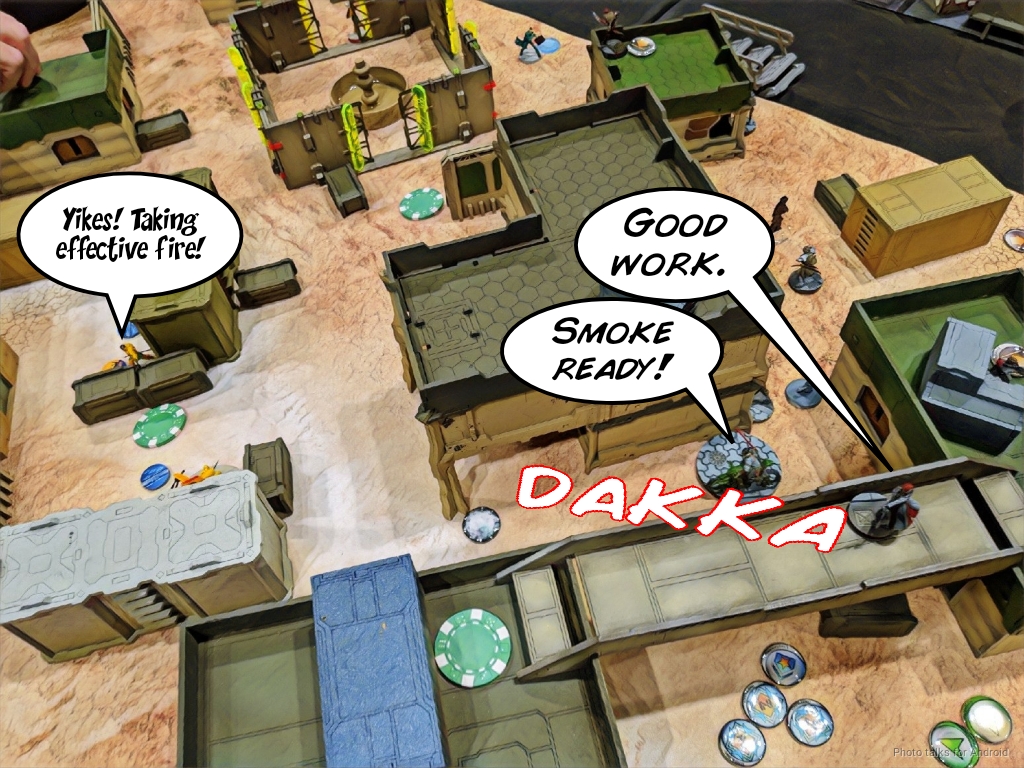
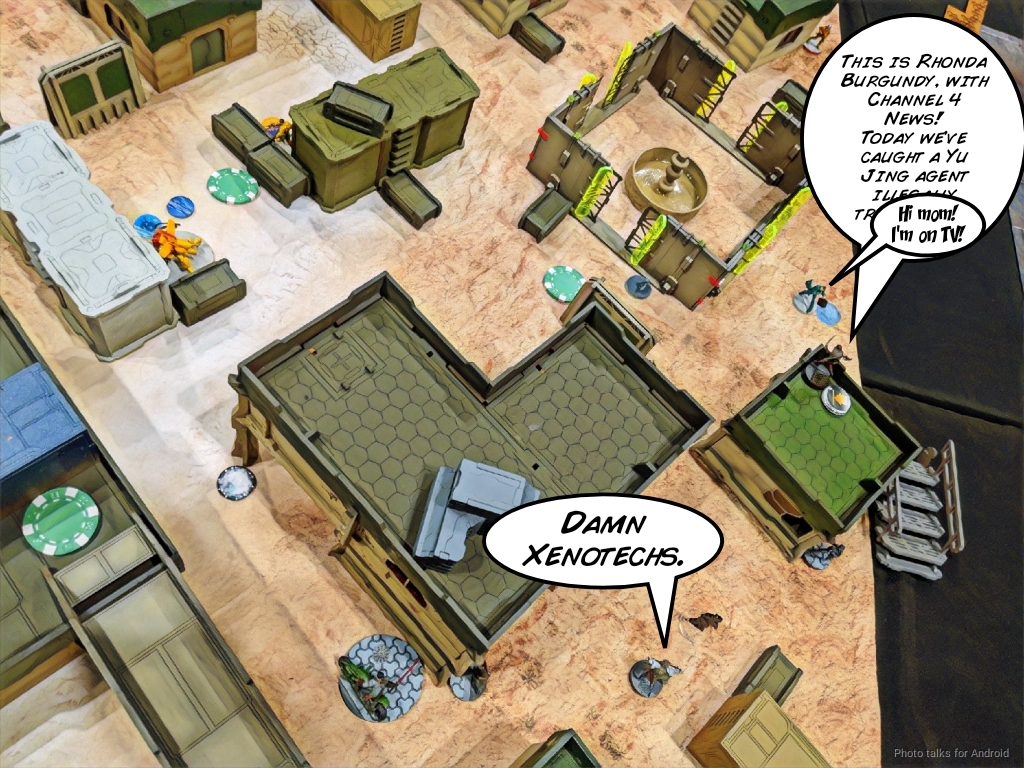
My turn to take care of Xenotech business, so I do so while Rhonda interviews our Yu Jing doctoral student.
Thankfully, I get it in one roll, and then have an order or two to reset my link’s positioning since the Kempetai dragged them along. I break the link to fix the Ryuken-9’s positioning on my left with a coordinated order to move the link members and the Ryuken, and this is the moment James chooses to reveal his Ninja AHD, right next to the Ryuken. I let him engage uncontested and just dropped a mine. Thankfully, one short skill move was most of what I needed, and that Ryuken was about as safe from shooting as possible in close combat anyway. I moved Yojimbo further forward and dropped off his Koalas in the Kuang Shis’ path then retreated him a little before passing the turn.
Turn 2
Top of 2 – ISS
James cleared the nearest Koala with his Kuang Shi, which let him move his Pheasant forward…
right into a mine.
The Pheasant passed ARM though, and started taking shots at Neko to get him out of the way. I figured I’d take the chances we were out of 16″ and used Neko’s pistol instead of throwing an E/M grenade, but both Neko and the Pheasant didn’t do any damage to each other.
James decided he really wanted that objective and just grabbed it, giving me a normal roll with Neko, who ended up knocking out the Pheasant with his breaker pistol. Sure, that seems fine!
I think James moved some Kuang Shi into the first pool, which gave him some orders to go after Yojimbo with his Hsien. On the way there, also much to my delight, he spec fired smoke and discovered the mine on the roof, which cost him a few orders to setup. The Hsien rolled rather poorly against Yojimbo though…
which let me pass the 1-2 ARM rolls on the hits that landed and fail guts around the corner.
James didn’t want Yojimbo to have free run of the board, so he pushed the Hsien up further, took out my Kempetai, and threw the Hsien into suppression watching the likely approach that Yojimbo would have to take.
Bottom of 2 – JSA
I wasn’t about to fall into James’s obvious trap, so I canceled Yojimbo’s impetuous order. Instead, I moved him away from the Hsien and set up smoke covering the center objective with Yojimbo’s smoke LGL. This let me get my Shikami over to the right objective, flipping it back to me. Unfortunately for James, this negated all of his hard work on that side and the sacrifice of the Pheasant to Neko’s breaker pistol.
With the smoke in place, I could easily walk Saito into base to base with the central objective, flipping that too, and then recamo. I did get discovered by a Kuang Shi on the way in, but it didn’t matter, I was already prone behind cover. Saito crit the Hsien in close combat, and his explosive CCW did the rest.
I’m a little low on orders in my main pool, so I can’t do much other than stand Rhonda Burgundy the Warcor up to ARO things before passing the turn. I’m sure James will have an opportunity to flip the antennas back on the top of 3, but I’ve got plenty of durable and/or nearby specialists to flip them back, and plenty of orders.
Turn 3
Top of 3 – ISS
James is in loss of lieutenant now, thanks to the Pheasant dying before the Hsien. He breaks the Kuang Shi link at the beginning of his turn to maximize the damage he can do, and then lets them run wild. Yojimbo manages to put a notch on his contender’s stock by taking out the remaining Kuang Shi on the right.
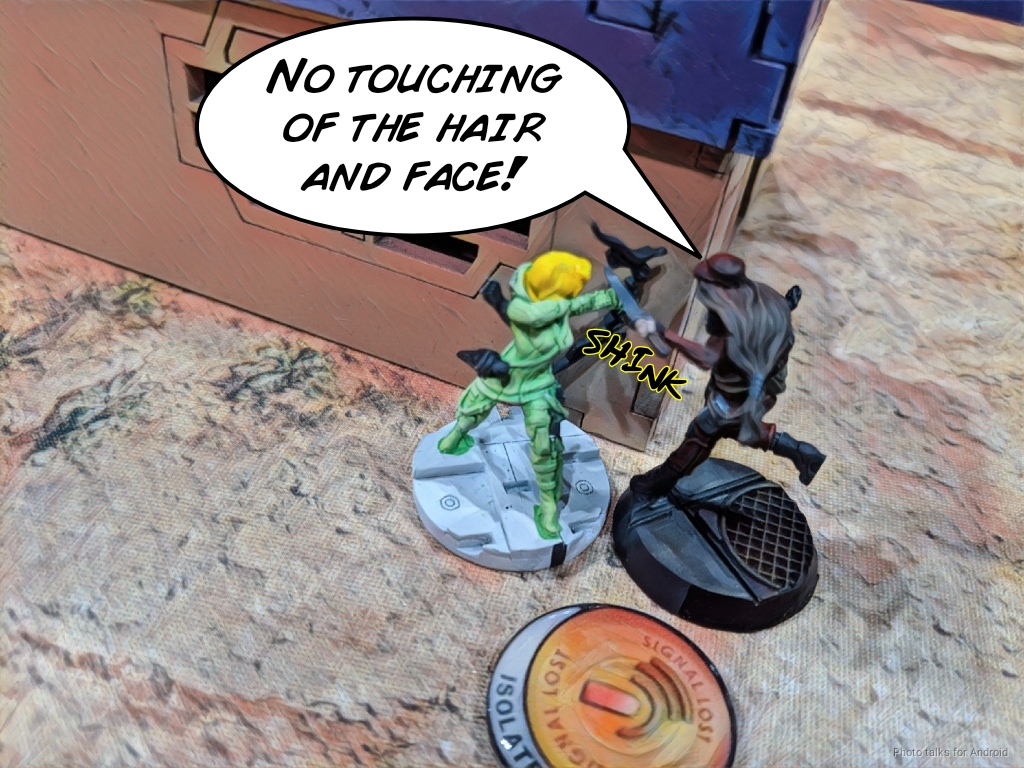
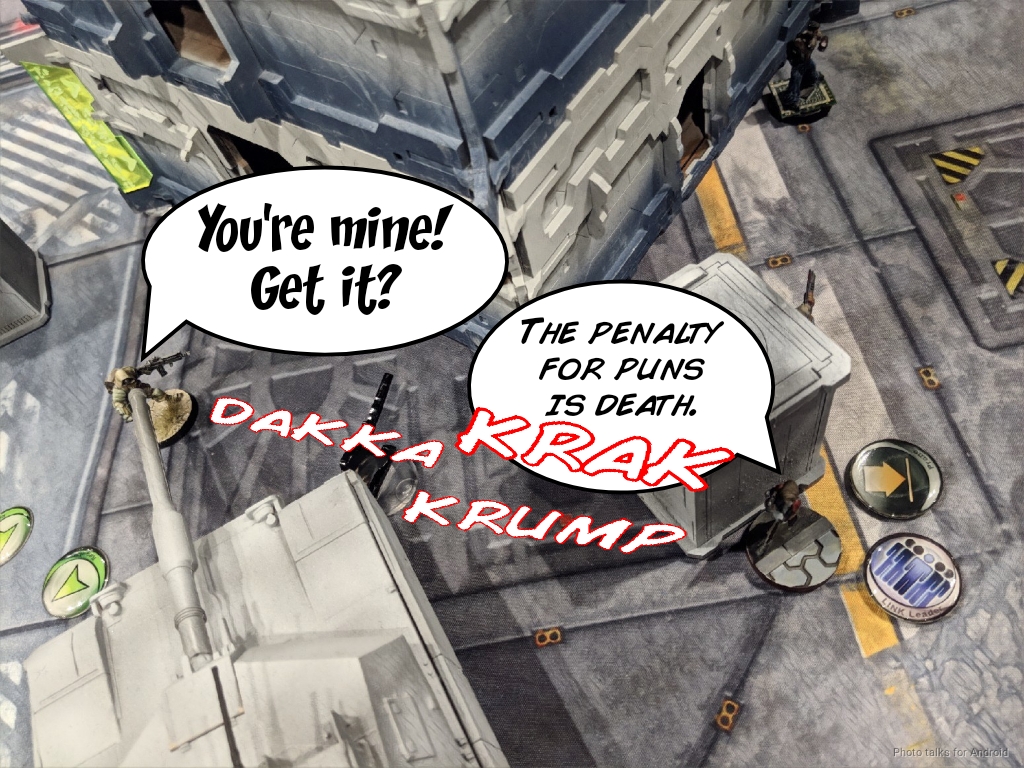
The next Kuang Shi to move is on the left, and James elects to shoot the Kuang Shi’s pistol into the close combat between my Ryuken and the Ninja. Of course, given the way things are going, this kills the Ninja instead of my Ryuken.
The other two advance behind it without incident, and then James spends the (traitorous? They’re already traitors, they’re Kuang Shi!) Kuang Shi’s irregular order to try and chain rifle my Ryuken, who dodges into cover. This sets off a mine, but the Kuang Shi tanks it like a champ.
This is actually a great thing, because the forward Kuang Shi is now blocking chain riles from the back two, Kuang Shi, because my Ryuken is far enough away that the template needs to more or less be directly pointed at her to hit her, so James is forced to move them both up and pistol her through a Saturation Zone. I’m a Ryuken-9 with ODD and cover, and this doesn’t go very well for them.
The remaining Kuang Shi takes a wide path to try and block Saito from advancing on my turn, but the Ryuken takes it out with a shock SMG round.
Now James starts going through the rest of his roster, trying to claw his way back into a dominant position by removing my advanced pieces. His Celestial Guard FO tries to shotgun Yojimbo, but Yojimbo just adds another notch to his contender, killing the Guardsman.
The Celestial Guard hacker fares a little better, standing up and putting Yojimbo into NWI against his smoke.
James gives it his all, and after grabbing the central objective again with the Kanren (against Saito’s whiffed ARO), he throws the Kanren, the Celestial Guard Kuang Shi Controller, and the Celestial Guard Hacker into suppression, all watching the console in his backfield.
Bottom of 3 – JSA
This does mean that the Kanren is facing backwards, so Yojimbo clears out that problem with his Nanopulsar, taking some ineffective fire from the CG Hacker in the process.
I use Saito to get some smoke in place to block the CG Kuang Shi controller and the hacker from seeing the rear objective, and then flip the left objective with Saito, bringing me back into the lead on objectives.
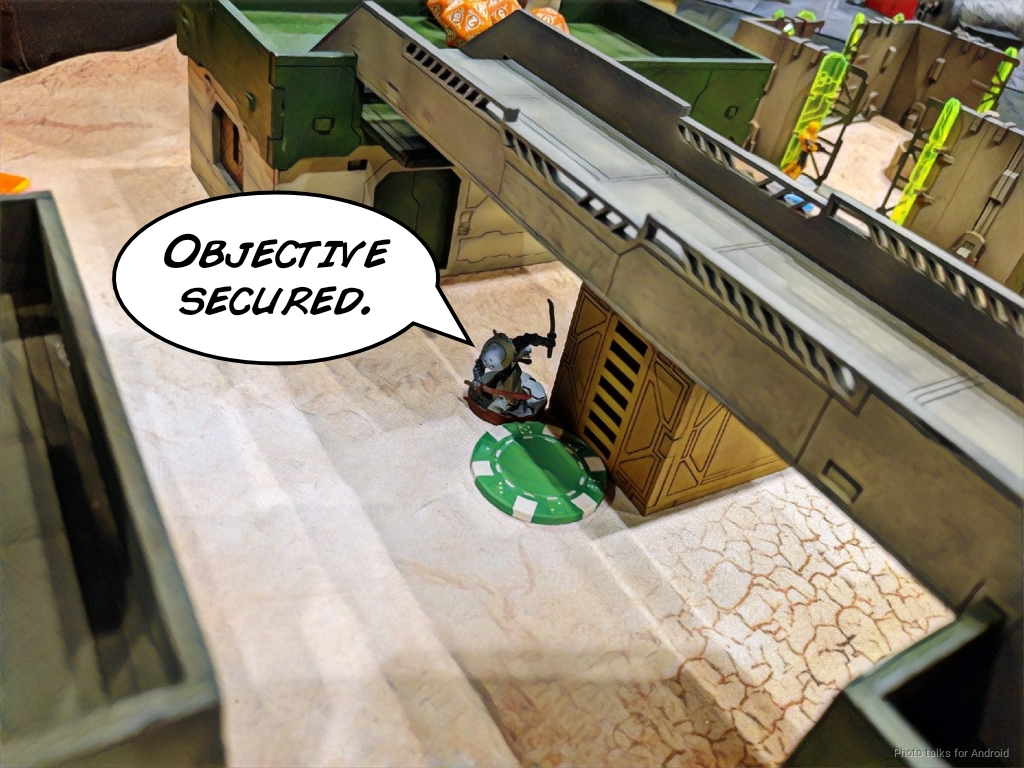
Then it’s just a matter of walking the Shikami into base to base with the console under the cover of smoke for a
10-2 Japanese Secessionist Army Victory!
Post Game Analysis
Definitely a good start to the day! A little bummed that I had to give someone from my meta a loss on their scorecard, but as we both said later, it was really nice to ease into the long day and shake off the rust with a friendly face.
I was really pleased with the board control package that 4 minelayers and 2 Koalas provided. This really helped me deal with the Kuang Shi that James always has–shock is all important against them!
While I got pretty lucky with some of the rolls, I think this game came down to consistently thinking about board control, conceding ground when necessary, and encouraging James to “waste” orders playing to the objective.
What do I mean by that? Well, I made it a very high activation energy prospect to get into my deployment zone and attack my order pool with all my mines, Koalas, and layered AROs–with screening elements to prevent the Kuang Shi from getting in there! This meant that the lowest energy thing was to run around in the midfield and push buttons, which on the surface is exactly what you’re supposed to do in Power Pack. However, if you’re going first you really have to defend the pushed buttons so I don’t just negate an order pool’s worth of effort by just flipping a button back to me, which is exactly what I did.
I think that because it was so much easier to hit the buttons, and there’s a lot of time and order pressure to do it in a tournament, James over-committed to them early. He even gave me normal rolls on 15’s to do it! He did set up some suppressive fire to protect them, but all of his elements (both the button pushers and the defenders) were over-extended without much support. This let me pick them apart with my board control elements like the Ryuken-9 taking out the Rui Shi from behind.
In contrast, I encouraged him to over-commit in turn 1, and then after clearing the way just flipped the buttons after I had won the battle for the midfield. Then I continued to hold the midfield for the rest of the game. For example, at the top of three, Saito was threatening to flip the two antennas that were still possible for James to grab. I think things would’ve gone much better for James there had he not been in Loss of Lieutenant.
He’s a bit of a victim of his own success–he’s been playing an aggressive Hsien and Rui Shi game, backed up by deep Kuang Shi fueled order pools, and has been doing well with them in our local meta. I think in the higher pressure tournament setting of Adepticon, he defaulted to being aggressive with them and over-extended, letting me remove the key pieces.
There were also a few unforced errors, like shooting the pistol into the Ninja/Ryuken fight. CCing the Ryuken was the correct call there. Clear the mines with a Kuang Shi, the move the Ninja to grab the last objective. That’s much harder for me to deal with–I probably have to spend orders on Yojimbo to do it, which means I’m not pushing buttons with Saito. Still though, it might’ve been too little too late–I concede the left objective, smoke the center as before, then Shikami the center objective back, and still have enough orders to make it to the console in the back for the 10-2 win.
James has come a long way since our first game! Great game as always, and hopefully next time we won’t see each other across the table at Adepticon!
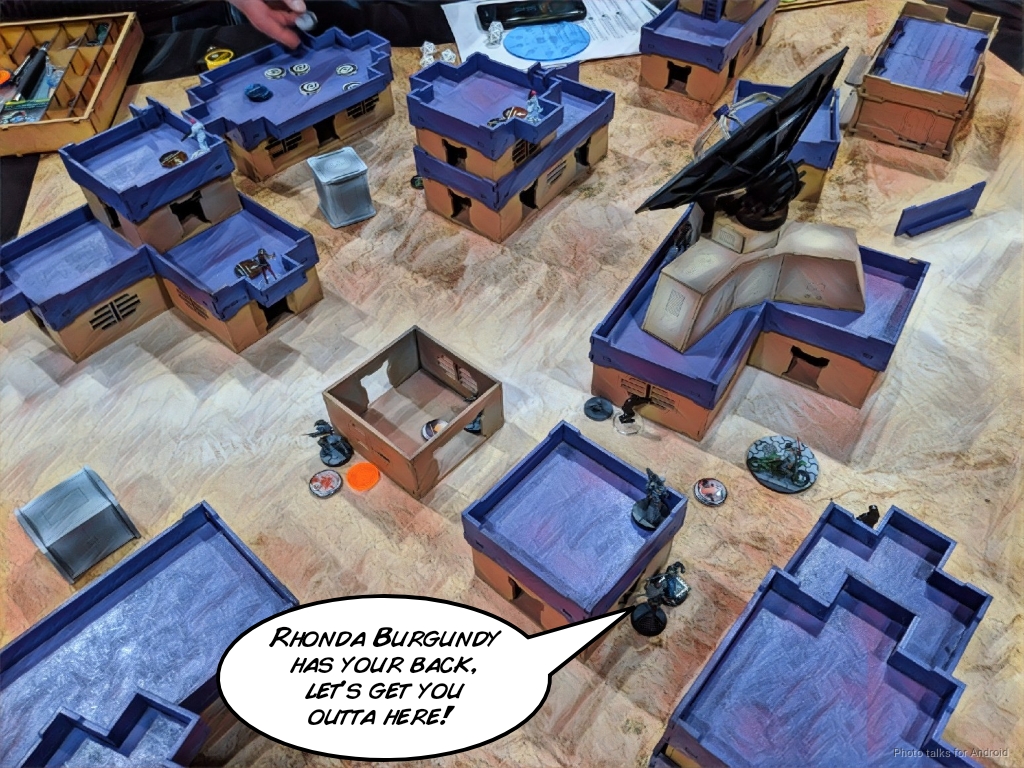
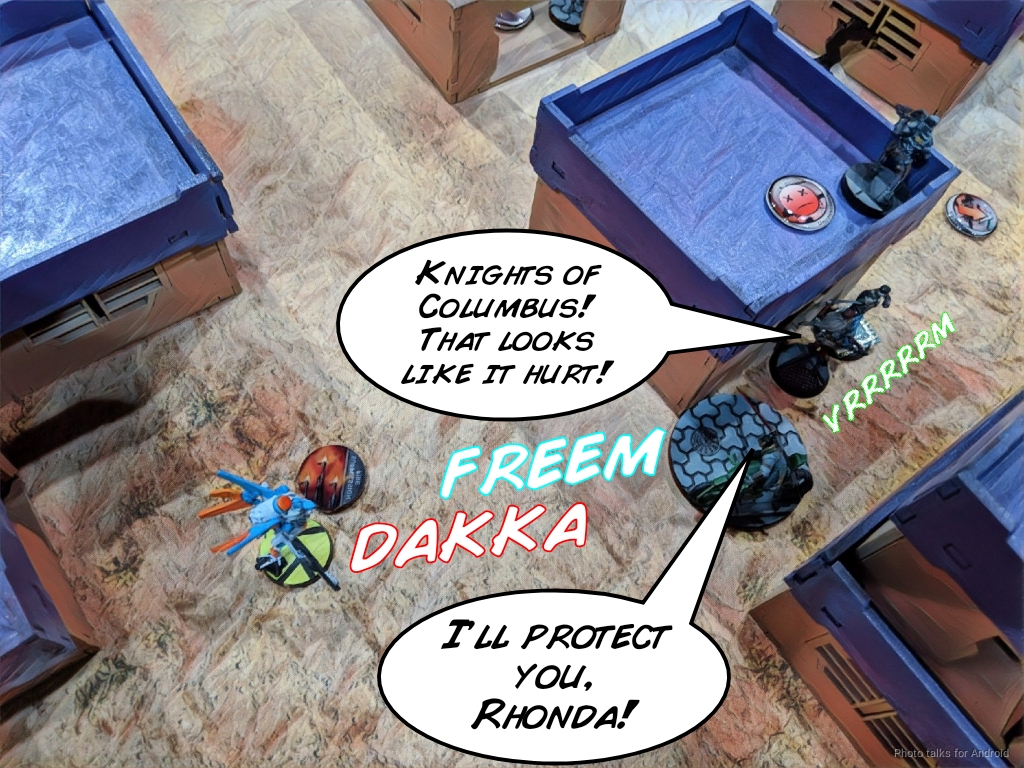
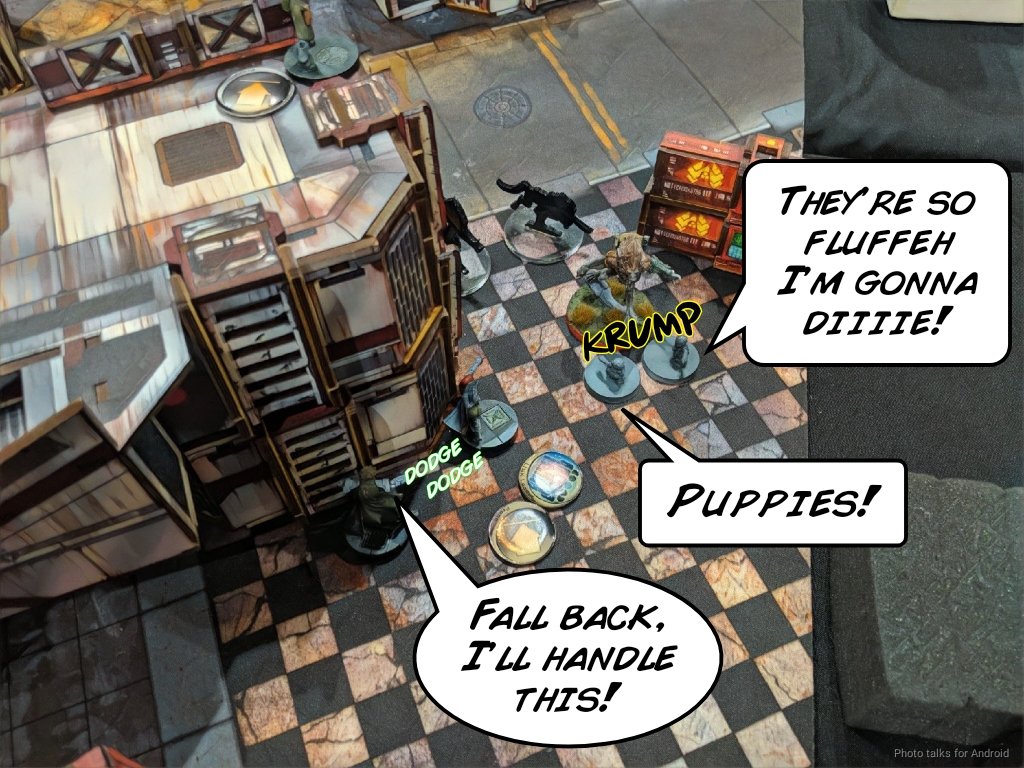
Game 2 – The Legend of Rhonda Burgundy

Game two was against Brandon Hall (LordMcSpank), who was really chill and informed me he was playing OSS. I’ll admit that I wasn’t particularly excited about facing ALEPH, as I have the least experience playing against them and historically have found it a bit of an uphill slog. I also am not a fan of the killing scenarios. I don’t think they’re super unbalanced or game breaking, but I do think they have a tendency to create negative play experiences. Brandon made up for all of that with his awesome attitude though!
Overview
- Mission: Decapitation
- Forces: Japanese Secessionist Army versus Operations Subsection (300)
- Deploy First: JSA
- First Turn: JSA
GROUP 1 |
GROUP 2 |
4.5 SWC | 300 Points | Open in Infinity Army
Well, this was the scenario that I designed the list for. Ideally, I would’ve had a full blown superior infiltration Oniwaban, but this is JSA and you can’t have everything you want. The game plan was to castle up Neko, guarded by his fireteam, and then use the Shikami and Saito to hunting. I was really relying on the Shikami to get to the Lieutenant due to Climbing+.
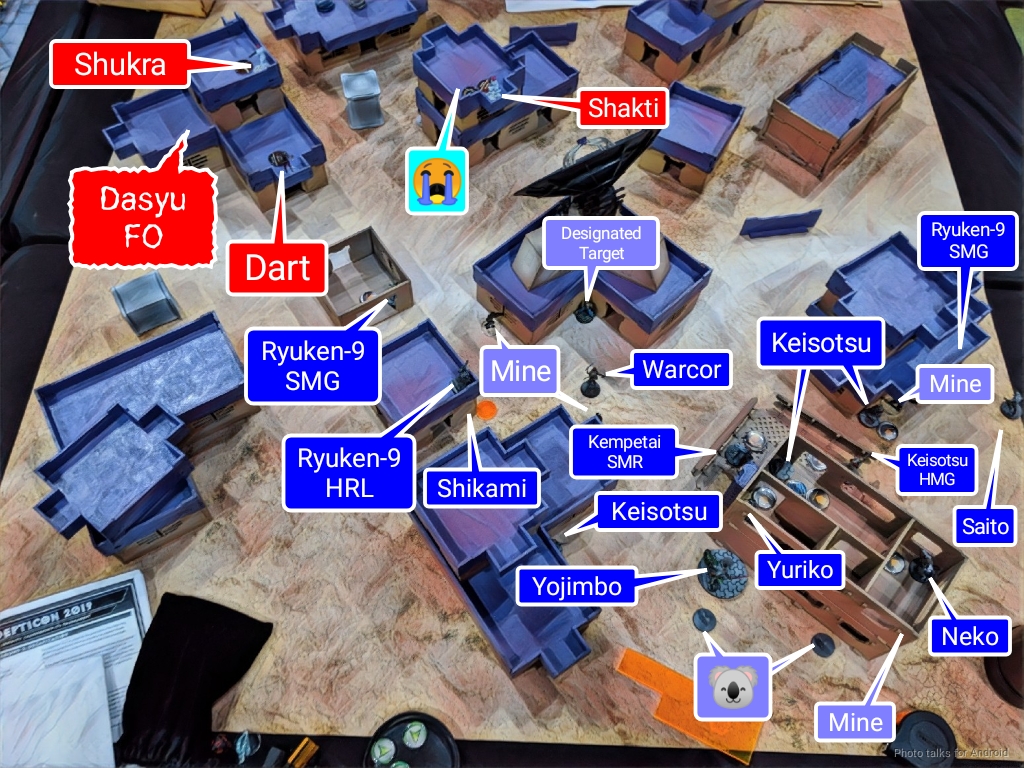
Game 2 – Brandon
SHAKTI Lieutenant Hacker (Killer Hacking Device. UPGRADE: Sucker Punch) Mk12, E/Marat / Heavy Pistol, Knife. (0 | 40)
SHUKRA (Chain of Command) Boarding Shotgun, Nanopulser / Pistol, Knife. (0 | 25)
PROXY Mk.1 Doctor (MediKit) Combi Rifle, Nanopulser / Pistol, Knife. (0 | 10)
PROXY Mk.5 (Forward Observer) 2 Submachine Guns, Nanopulser, E/M Grenades / Pistol, Knife. (0 | 10)
PROXY Mk.2 MULTI Sniper Rifle, Nanopulser / Pistol, Knife. (1.5 | 24)
NETROD . (0 | 4)
DART Submachine Gun, Viral Tactical Bow, Antipersonnel Mines / Pistol, Shock CC Weapon, Knife. (0 | 34)
DEVA (Multispectral Visor L2) Spitfire, Nanopulser / Pistol, Knife. (1 | 33)
NAGA (Minelayer) Boarding Shotgun, Antipersonnel Mines / Pistol, Knife. (0.5 | 27)
DASYU (Forward Observer) Combi Rifle, Nanopulser, Antipersonnel Mines / Pistol, Knife. (0 | 36)
GARUDA Tacbot Spitfire / Electric Pulse. (1.5 | 28)
I’m a little confused by this list. As far as I can tell it’s a Vanilla list? Not sure why Brandon told me it was an OSS list, possibly because his other list had links? Or maybe he was just being nice? It’s a great list, just a little confused by the “OSS” label.
Deployment
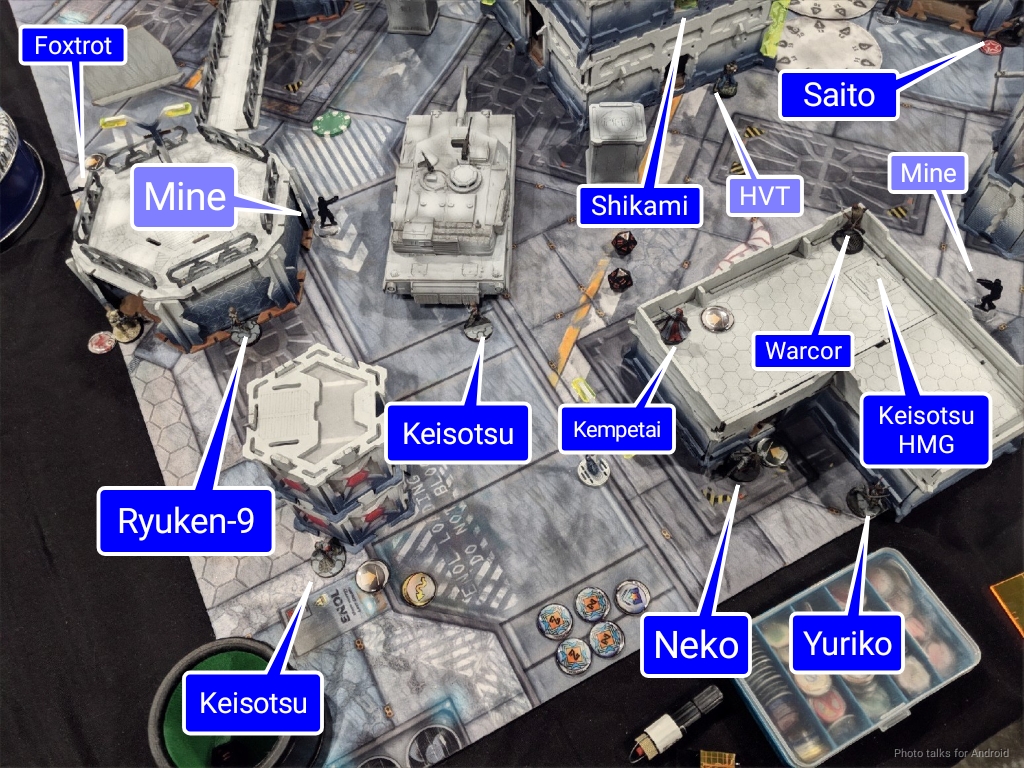
In any case, I won the roll so was more or less obligated to go first by the scenario. I castled Neko on the second floor of a building in the back right corner of my deployment zone, covered the top of the stairs with Yuriko, and the bottom with Yuriko’s mine. I stuck a Keisotsu guarding the next door on the way to Neko, and then left the HMG guy and my Kempetai MSV2 on the balcony to do the actual fighting.
Yojimbo was nearby, mostly protected by buildings from AROs for his advance, and then I put both Ryuken SMGs on my flanks. The HRL went on a roof on my left to sort of “balance out” my deployment, and then I stuck the Shikami nearby, protected by the Ryukens’ mines. I put Rhonda Burgundy the Warcor in a position to sync my Designated Target and retreat with him. Brandon’s turn to deploy.
He put Shakti on a roof, prone, and then stuck a bunch of other camo tokens on rooftops. Two on a roof prone in the midfield meant Nagas, and a third on the ground guarding the approach to his backfield meant one of the Nagas was a minelayer. Cool.
A Shukra went on the right, watching the ladder. Probably the chain of command one then, since it cares about getting shot in the back. It’s at this point that Brandon remembers his Netrod, which lands behind a building. Cool, that’s fine. He then plunks a Deva watching his designated target, who shows up basically right next to my Ryuken-9 on his left. It was a pretty rubbish table to deploy on for Decap, so I don’t blame him
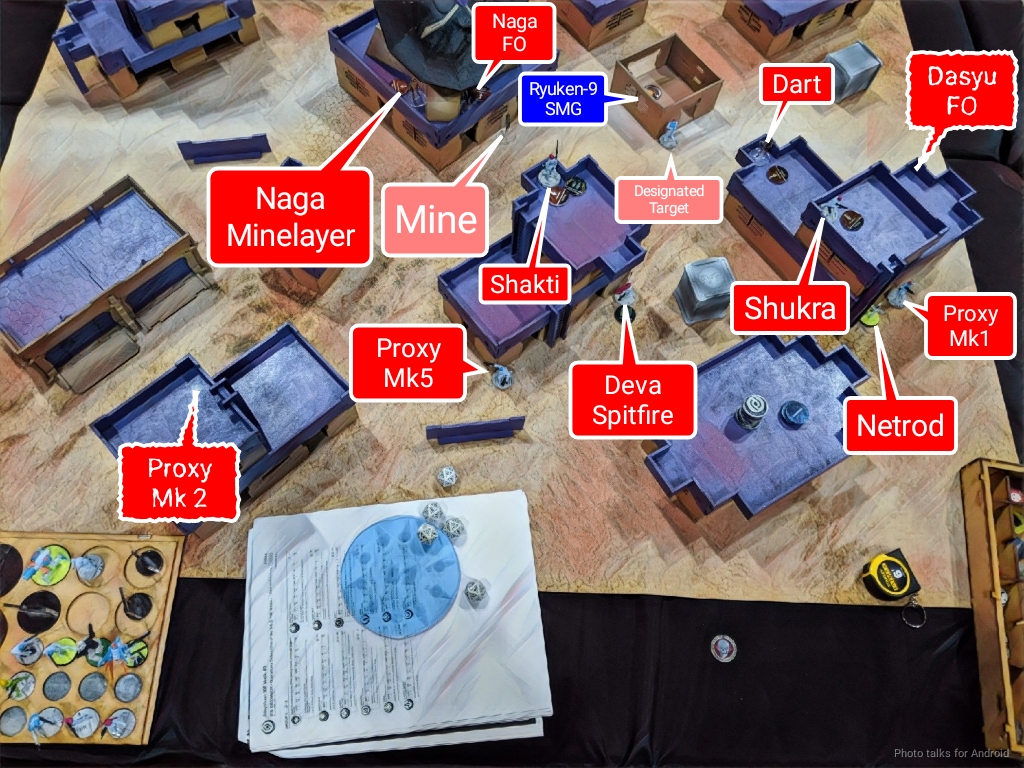
It’s at this point he shoos me away from the table to deploy some TO. I’m suspecting a Proxy Mk2, but when there aren’t any other proxies on the table, I know there’s a Dasyu or something lurking. Good thing I don’t have anything to killer hack, and Shikami have stealth.
My turn to reserve. I attempt to place Saito on the roof next to Shakti, who is just outside Brandon’s deployment zone thanks to being MI. I flub the roll and cry salty tears. Brandon puts down three Proxies–a Mk5 on the left, a Mk1 on the right, and the relevant one–a Mk2, on a building in the back left of his deployment zone. With the threat of TO on the table, I don’t want to risk losing a Ryuken Datatracker to some TO ARO, so I nominate the Shikami as my DataTracker. Brandon chooses his Deva.
Turn 1
Top of 1 – JSA
Yojimbo scoots forward without incident. The Deva is poking out a little bit, enough for the Ryuken-9 HRL to see, so I take the shot and land a crit! I get a fist bump from Brandon along with a passed ARM save against burning. The Deva fails guts back into cover. Sigh.
I start moving the Shikami up, and I’m caught by the thing I was worried about–a TO ARO. The Dasyu pops out and takes a shot. Thankfully, nothing happens. Yojimbo drops smoke in front of my Kempetai MSV2–I’m still worried about that Proxy Mk2, after all, and she deletes the Dasyu for me.
I throw the Shikami at the Designated Target and take it out with my assault pistol. The Deva thankfully whiffs, but this does bait out the Proxy Mk2, who manages to wound the Shikami. I briefly considered throwing a Nimbus grenade first to protect me, but this only drops the Deva from a 27% to a 21% chance to wound me and the Mk2 from a to 25.93% to 15.46%, while I drop from 78.70% chance to wound to 66.24%. If Brandon hadn’t docked me two orders, I would’ve considered it.
I’ve got smoke up, so I try to take out the Proxy Mk2 with my Kempetai. The numbers are great, but of course she dies.
| 56.39 | 34.09 | 9.52 |
Sigh. Well, I need to set up for the next turn, and I’ve got two orders left in the main pool. Rhonda grabs the Designated Target and makes a run for it!
I spend the rest of my orders in the second pool throwing a Koala under the bus
Bottom of 1 – OSS
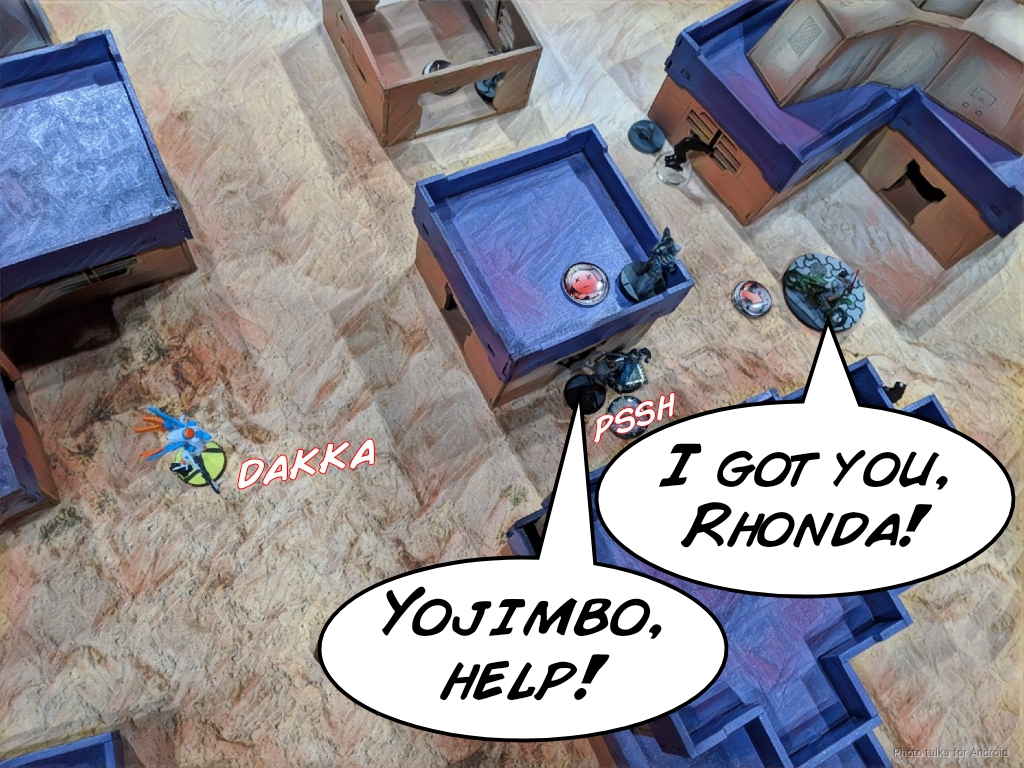
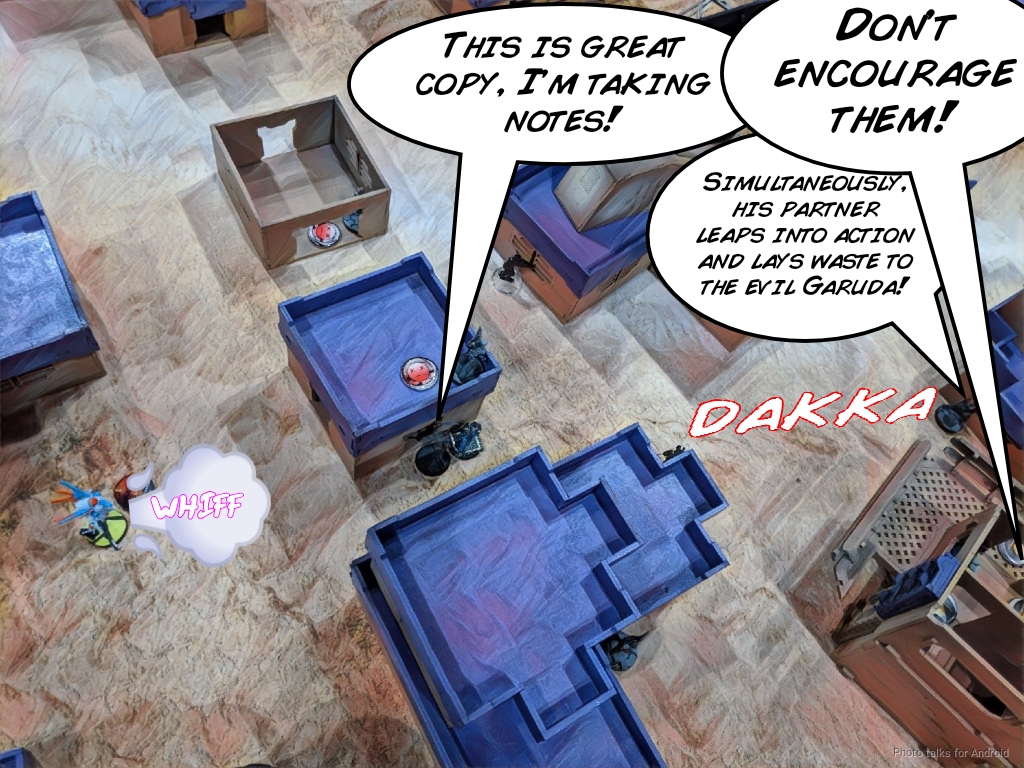
Brandon starts things off by trying to get his Deva into the right, but my Ryuken HRL comes through for me again and fries her to a crisp. Of course, ALEPH has deep pockets and his backup plan comes onto the table in the form of a Garuda. First, it takes out the Shikami. Dang and blast. There goes my plan to take out Shakti.
The Ryuken-9 SMG isn’t much help as the Garuda pie slices the HRL and takes it out
I get one shot on the Garuda with the SMG as it walks by, but I whiff. At least Yojimbo gets smoke down to protect himself against the Spitfire after taking a wound.

Thankfully, Rhonda is body blocking the Garuda from seeing the HVT, so between her flash pulse and Yojimbo’s smoke preventing additional shooting, my designated target lives.
Understandably frustrated, Shakti takes her rage out on one of my Koalas, killing it.
Both she and the Garuda go into suppressive fire.
Turn 2
Top of 2 – JSA
I debate canceling Yojimbo’s order, but I don’t really want to. I don’t have a great alternate plan to deal with the Garuda, so I just let him be impetuous and nanopulsar the Garuda.
Of course, Yojimbo dies and the Garuda lives. Bah. Probably not the best decision, but at least the game is moving forward! I try to clear the Garuda with my Ryuken-9 who’s nearby. Unfortunately, there’s a window through which Shakti can see her too, so between mimetism on the Garuda, the saturation zone inside buildings (an Adepticon rule), and all the suppressive fire, the Ryuken dies. Bad call on my part. I didn’t check for LoF first.
One of the downsides of tournament battle reports is that sometimes you forget stuff. There’s 4 games to remember and it takes awhile to process the photos and so on. I don’t remember what this Naga was doing out of camo. It moved up and shot at something on Brandon’s turn, but didn’t kill it. Maybe that’s where the wound on Yojimbo came from? I dunno.
In any case, it wasn’t in suppression because something was watching it and Brandon didn’t want to give me a free shot. I’m desperately low on options at this point, and I really want to clear this Naga so I can maybe go after Shakti in suppression. I throw an unlinked Keisotsu at the Naga, and blast it off the table.
You might think I’m lucky, but don’t underestimate the power of the humble BS 10 rifle!
| 47.45 | 36.75 | 15.80 |
That Garuda needs to go too, so I throw my other unlinked Keisotsu at it from what I think is outside 24″. Brandon has two other AROs to this, the Mk2 and Shakti, so he’s comfortable keeping the Garuda in suppression.
I’m right, and the Garuda can’t shoot ’cause we’re outside 24″. The Keisotsu gets pasted by the Mk2, but that’s okay, because I take out the Garuda by rolling two 3’s.
| 38.04 | 61.96 |
Almost a 40% chance! Don’t discount a combi rifle in the active turn! I retreat Rhonda and her charge all the way to my back table edge, figuring that they’re safe there.
I should’ve tucked them into the corner of the buildings in my deployment zone to better protect them with the Ryuken’s mines, but instead I spent the orders on getting Yuriko out of the building to protect Rhonda.
I’m pretty sure the reason I didn’t go after Shakti with my linked HMG was because I would’ve had to stand him up and move a little to get into LoF, but the Mk2 would get a shot at me…
| 76.66 | 23.34 |
As I would discover later, we were outside of 24″ and I had a 77% chance to wound and almost a 40% chance to straight up kill Shakti. Damn. Hindsight, right?
Bottom of 2 – OSS
So that random camo marker in the back? It was Dart. She climbs off the roof, runs all the way across the table, and kills my Designated Target.
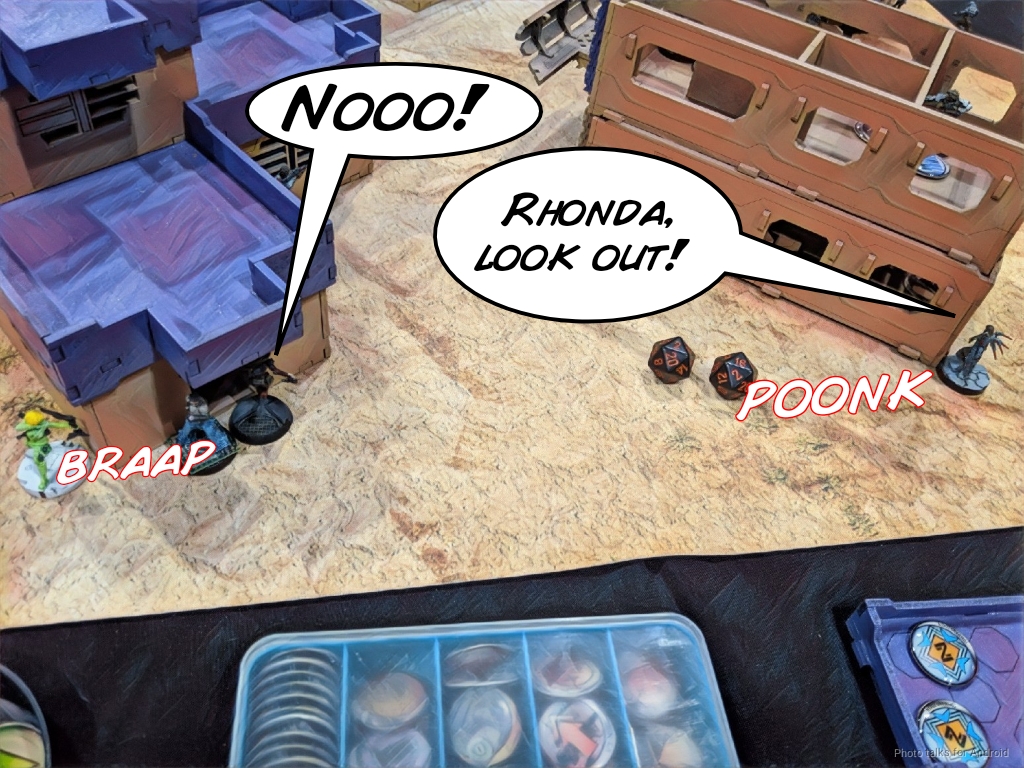
I stop her rampage with Yuriko’s E/Mitter, but the damage is done. Shakti tries to kill my Keisotsu HMG, which is when we discover we’re out of 24″.
She misses all her shots and I hit twice, doing a single wound. Brandon wisely falls prone.
| 21.81 | 32.40 | 45.80 |
I only had a 2% chance to take her completely out here though, so I can’t really be all that upset. Saito’s been pinned all game by the Mk2, so Brandon takes the opportunity to kill him now with the Mk2 against Saito’s smoke.
Turn 3
Top of 3 – JSA
I don’t really have many options now. Saito’s dead, everything is stuck in an awkward position, so I just go for killing more stuff. Dart’s expensive, so I go after her. Yuriko starts things off.
| 49.82 | 38.55 | 11.63 |
and dies. Bah. I reform the link and throw a combi Keisotsu at the problem.
| 41.37 | 43.84 | 14.80 |

who also dies. At this point I’m all out of orders except for Rhonda Burgundy’s… I modeled her with a sword, so I’m gonna use it! Channel 4 news team, assemble!!!
| 11.05 | 45.20 | 43.75 |
In our excitement at the ridiculousness of the situation, we totally forget that Dart is Bioimmune, and against all odds, Rhonda Burgundy knifes Dart in the face and shocks her off the table. Epic, if incorrect! It matters for VP, but it ends up not mattering at all for OP, since Dart would be isolated and in close combat, so in no position to do any more damage.
Bottom of 3 – OSS
Brandon finishes off the game by valiantly trying to take out Neko at 24″ with a boarding shotgun in a saturation zone. In discussing this with other folks post-game, they noted that doors are by default closed in Adepticon rules… so this wasn’t possible… but oh well.
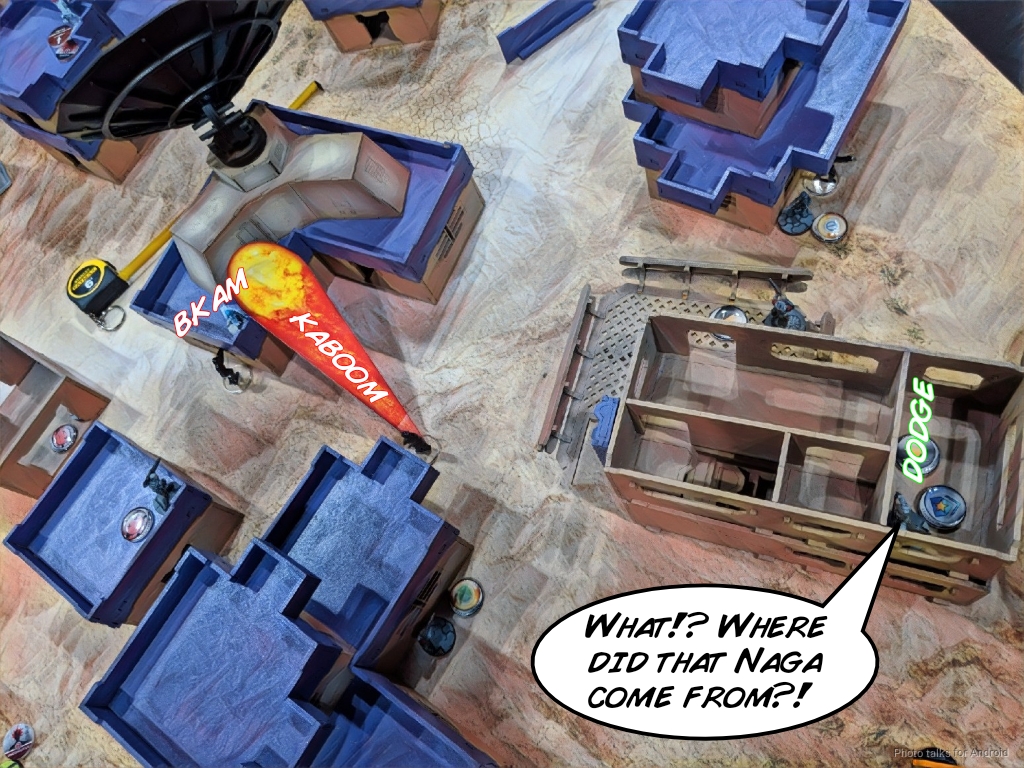
Anyway, the shot fails and I dodge Neko into total cover. While moving up to get better range bands and a new angle, a mine goes off and takes out the Naga. Brandon’s got a few more orders but we call it there at a
5 – 4 Japanese Secessionist Army Victory!
Post Game Analysis
Well, Brandon was a great opponent, but not a very tight game on my end. I think I missed some cues that there could be a Garuda incoming, and I also didn’t have much in the way of dealing with the Mk2 after the Kempetai and Yojimbo died.
I was happy with the way I leveraged singleton Keisotsu to get me out of trouble, and a little annoyed that I didn’t make an attempt on Shakti with the Keisotsu HMG, even day of, not just here writing with full information.
I deployed my mines and board control without thinking about the future position of my designated target, which let the Garuda and Dart really do some damage. Gotta think ahead!
I think the most disappointing part of this game (aside from flubbing Saito’s over-infiltration roll) was not hiding the Shikami better. With Saito “off the table” so to speak, I should’ve been much more careful with the Shikami, even retreating to a rooftop or something. I think the biggest feedback for me from this game is I need to see some more ALEPH across the table.
Thanks to Brandon for making it a really fun game, especially with our shared satisfaction in Rhonda Burgundy knifing Dart!
Game 3 – Super Jump Delight

After a decidedly meh lunch of salad in a box from the hotel, I was paired against one of the Schwebach brothers! Apparently the three brothers meet up every year at Adepticon, flying in from various parts of the country. That’s awesome! Of the three, I faced Eric (Ees) and his USARF. Funnily enough, two other members of crew I was hanging out with played the other two brothers!
GROUP 1 |
GROUP 2 |
4.5 SWC | 300 Points | Open in Infinity Army
I had originally planned on taking the other list for supplies…but once you see the table I was dealing with you’ll see why I chose the list. I figured Saito and the Shikami would grab two boxes, and I’d have to try to shoot the 3rd one off of Eric. Or Yojimbo it. I dunno.
Game 3 – Eric
GROUP 1 |
GRUNT Lieutenant Rifle / Pistol, Knife. (1 | 10)
ROSIE Light Rocket Launcher, Light Shotgun, D-Charges / Pistol, Knife. (0 | 22)
GROUP 2 |
BLACKJACK AP HMG, Chest Mines, D.E.P. / Heavy Pistol, CC Weapon. (2 | 36)
DESPERADO Chain Rifle, Smoke Grenades / 2 Assault Pistols, CC Weapon. (0 | 13)
WARCOR (360º Visor) Flash Pulse / Stun Pistol, Knife. (0 | 3)
FOXTROT (Forward Observer) Rifle, Antipersonnel Mines / Pistol, Knife. (0 | 18)
112 Light Shotgun / Pistol, CCW. (0 | 12)
HARDCASE FRONTIERSMAN Tactical Bow, Light Shotgun / Pistol, Knife. (0 | 12)
AIRBORNE RANGER (Forward Observer) Submachine Gun / Pistol, AP CC Weapon, Knife. (0 | 21)
6 SWC | 299 Points | Open in Infinity Army
Grunt defensive link for area denial, Blackjack to kill a big thing, Desperado missiles, and a ton of camo in the midfield for button pushing and problem solving. I’ve seen grosser, but this is pretty gross.
Deployment
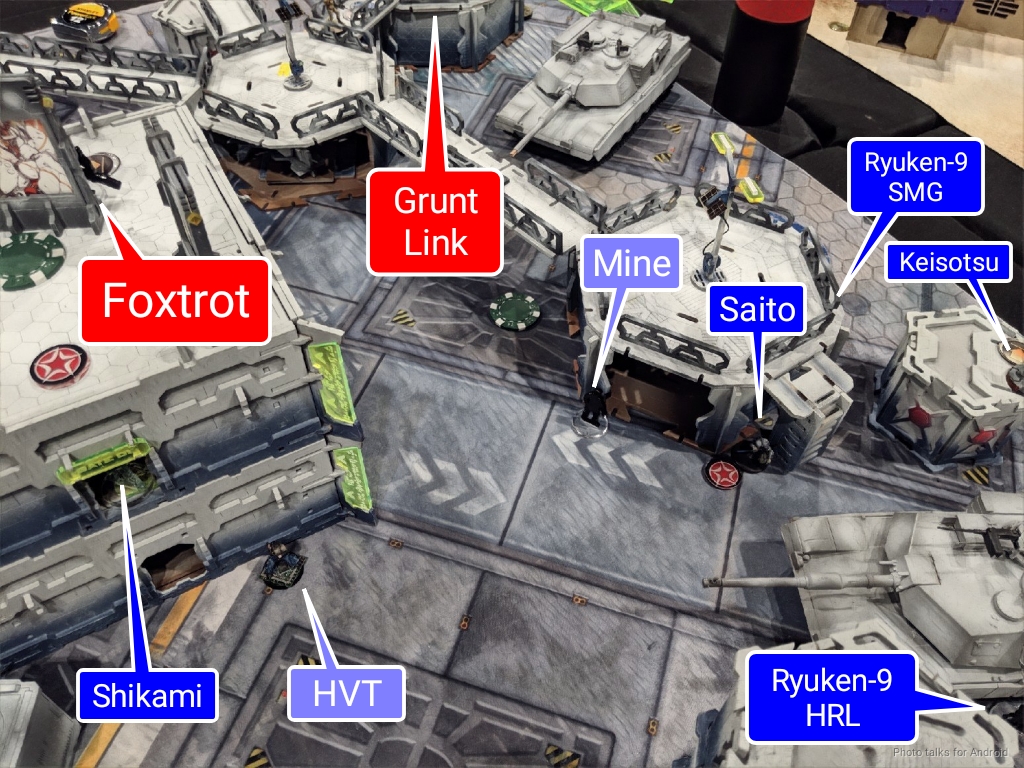
I was feeling pretty pooped at this point, and totally forgot to take pictures of deployment. I remembered basically at the end of my first turn. I’ll give you the highlights. I deploy first, and dump my link on a building in the mid-left of my deployment zone, with the HMG in a building and the Kempetai on a roof, prone. Ryuken and the spare Keistosu in group 2 on the flanks, as usual, and Yojimbo and the Ryuken HRL on the right.
I hide Saito on the ground, ready to smoke the right objective and get the box. There’s a 2 story building in the center, with the objective on the top, so that’s why I’m taking the Shikami, who is my reserve. My opponent puts his Grunt link on my right, two Foxtrots (I think) on the roof of the tall building in the center, and more camo tokens all over. The Blackjack AP HMG hangs out with the grunts, and then a Desperado goes on both sides. Other relevant stuff includes a warcor and a Foxtrot sniper on my left. Two infiltrating Grunts fail, but a third makes it just outside the left of my deployment zone.
I put the Shikami down in the middle, out of LoF, ready to get the box on the building, and maaaybe… the Blackjack was his reserve? I don’t remember. It’s been over a week since the tournament.
Turn 1
Top of 1 – JSA
My turn is very boring. Shikami super-jumps and climbing+’s his way to the center objective, snags it on the first roll, and Saito/Yojimbo smoke up the right objective and grab it before Saito scurries away. I’ve got a few orders to play with, but it takes all of them for Yuriko to take out the infiltrating Grunt near my deployment zone. I didn’t think it would take that much effort, so I didn’t bother putting a mine down with the nearby Ryuken.
| 62.84 | 23.00 | 14.16 |
It takes something like 4 orders. Absolutely necessary, but sigh. With my last order, I climb the Shikami off the roof and into the second story of the building, just to be a huge jerk!
I did remember to take some pictures though, so here’s the end of the turn situation. you can see the dead grunt at the left of frame here, and the building the link and warcor are hanging out on/in.
The situation on the left isn’t great, you can see the long-range AROs that Eric has set up against me, but the Shikami is safe in his second floor perch, or so I think. The Foxtrots on the roof will at least have to break camo to get in there.
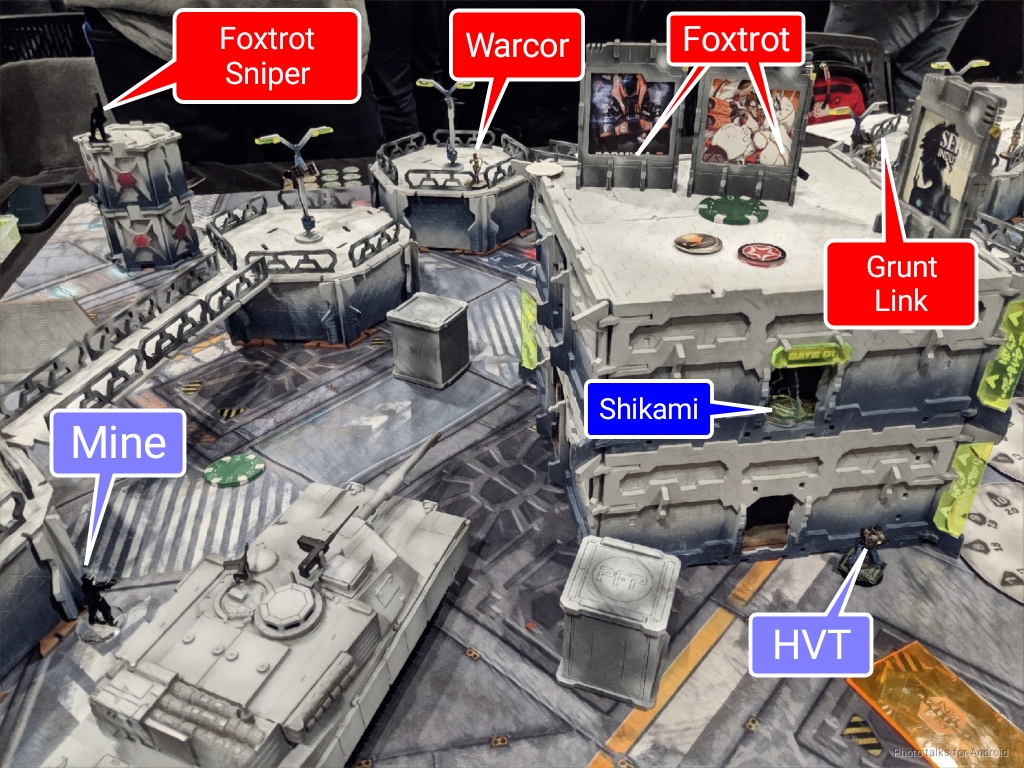
On the right you can see where Saito scooted away to. Yojimbo is right next to the Ryuken-9 HRL, and the Grunt link is opposing them. They were basically irrelevant most of the game.
Bottom of 1 – USARF
The Desperados rev up their engines and advance. Then, Eric reveals the Foxtrot sniper to take out Rhonda Burgundy, who protests vehemently, passes her save, and drops prone.
Eric loses the Desperado on the right to a move-move into a mine–just barely got in range. Bad luck!

He discovers the mine one the left with his Warcor, …
and the Desperado takes out the mine.

He keeps moving the Desperado up to chain rifle my Ryuken–I suppose I can contest the assault pistol with my SMG, but elect to drop a mine instead to improve my area control and defend my backfield.
| 26.00 | 40.21 | 43.79 |
Not terribad odds… but I think I made the right call…

Eric really wants to kill Yojimbo, so he drives away from the mine and into view of Yojimbo, who throws smoke. The Ryuken-9 HRL reveals–it’s too dangerous to leave the Desperado loose in my deployment zone, and he and Saito manage to knock it unconscious. I do lose Yojimbo though—dual assault pistols are ruuuude.
With my Ryuken on the left dead, this lets Eric bring on an Airborne Ranger FO on my left to grab the box, and he does so successfully, retreating her all the way around the building.
Turn 2
Top of 2 – JSA
We check LoF and it turns out the Foxtrot sniper can’t see behind the tank, so I start moving the link up while the Kempetai tries to gun down the Foxtrot sniper.
| 49.89 | 34.56 | 15.55 |
The odds are pretty meh… but…
I lose the F2F on the first exchange, pass ARM, and die on the second exchange.
I reform the link and the Keisotsu HMG gets it done, with better odds!
| 51.43 | 31.01 | 17.56 |
Maybe I should’ve started there. Blah.
I snag a classified by curbstomping the Desperado for Extreme Prejudice.
I don’t really have much else to do so I just retreat Saito further, and then settle the link into cover.
Bottom of 2 – USARF
Eric runs a Foxtrot out to try and clear out my link team. He drops a mine first and then tries to take out my Keisotsu, who is my link leader. I figure I might as well shoot back, and am rewarded with a dead Foxtrot and a tanked mine save.
Eric then spends the whole rest of his turn chasing down the Shikami. He climbs off the roof, giving me a free shot, which I whiff with the contender. I take a wound from the rifle, and fail guts out the window. In the moment, the TOs said it was fine because I could Kinematica L2 dodge down to the ground floor, but after doing some rules research I don’t think it’s legal. Maybe I can climbing plus fail guts out, or fail guts out the window and fall safely? I dunno. A dodge skill seems legal though. Anyway, it happened in the game, so my Shikami ended up on the ground floor.
Eric sends in a Hardcase, who dies to. a bunch of AROs while trying to shotgun the Shikami. I pass ARM and fail guts into the building. Eric climbs a Foxtrot all the way down and finally takes out the Shikami, but doens’t have enough orders to pick up the box.
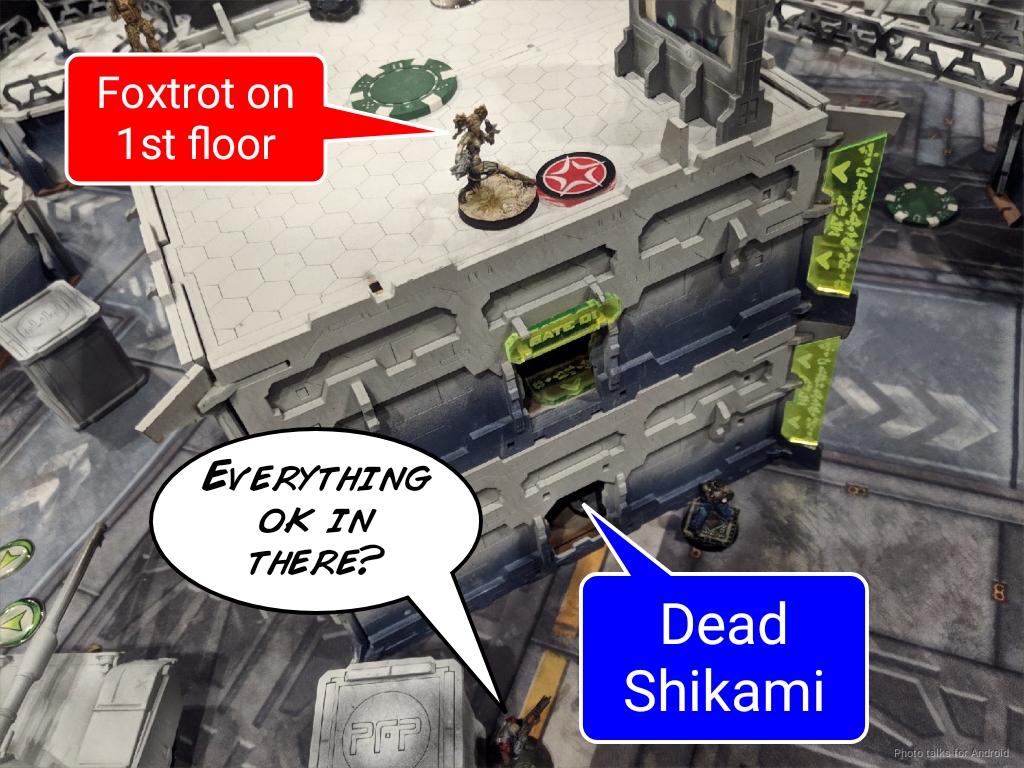
For simplicity and speed, we played the inside of the building on the roof, so the Foxtrot (Isobel) you see there is really on the ground floor. Eric also sets up his Blackjack for a third turn run.
Turn 3
Top of 3 – JSA
I try to clear the Blackjack with the Ryuken HRL… and fail.
No need to keep messing around, so I just send in Neko to go kill the Foxtrot, who drops a mine.
I Beserk the Foxtrot, who dies horribly, and the mine does a wound on Neko. I pick up the box and scurry away with Neko, setting up to protect him with the link. I spend Rhonda’s order standing her up after crawling out of LoF of the Grunt link.
Bottom of 3 – USARF
Eric sends in the Blackjack, who gets flash pulsed by Rhonda.
He tries to take out Neko with a Foxtrot, but Neko dodges to safety.
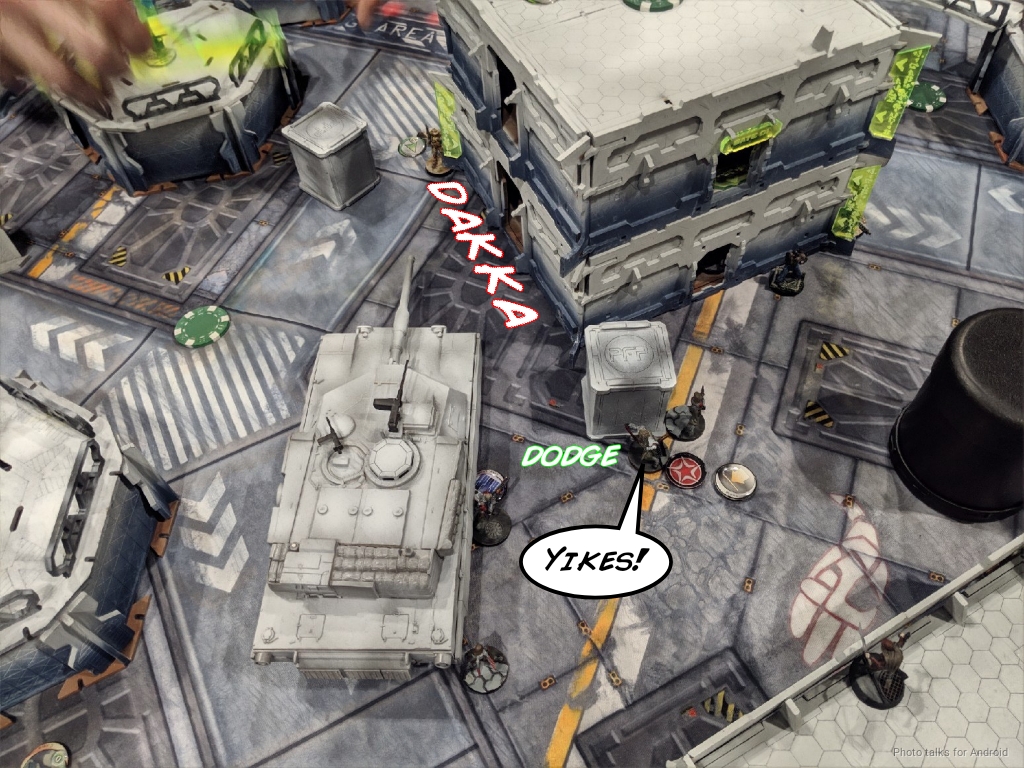
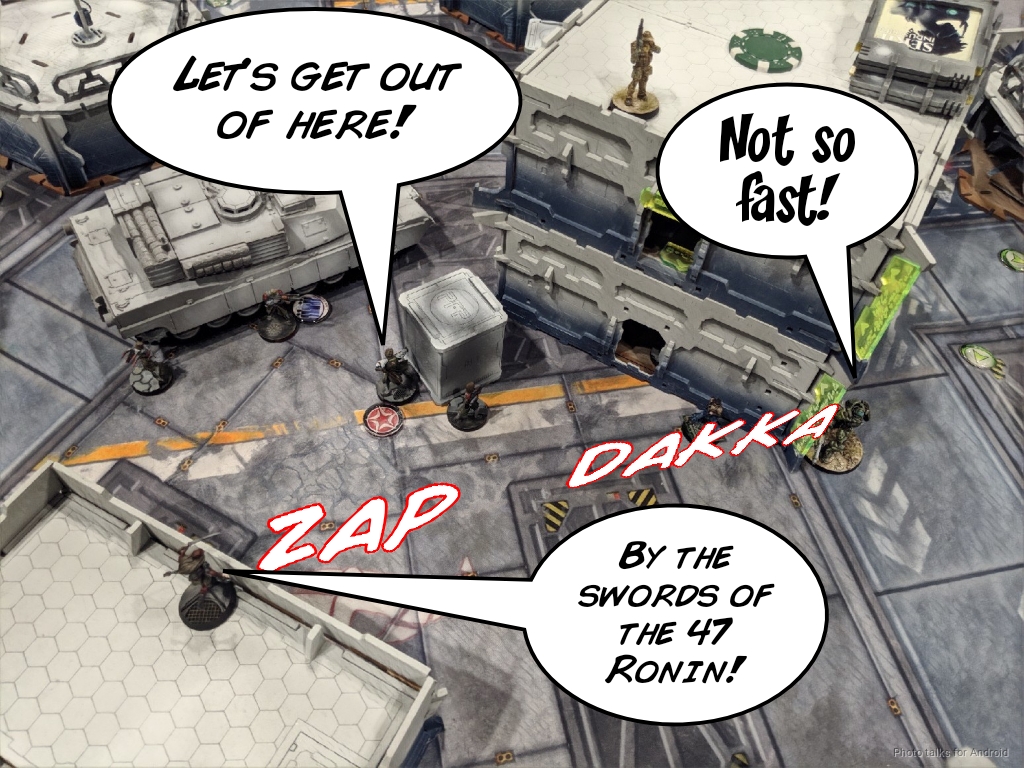
Finally, Eric runs the Foxtrot into the building, drops a mine just outside, passes all the ARM and BTS rolls from my Keisotsu, Saito, and Rhonda Burgundy, and then does an epic John Woo dive out of the building, shooting at Neko.
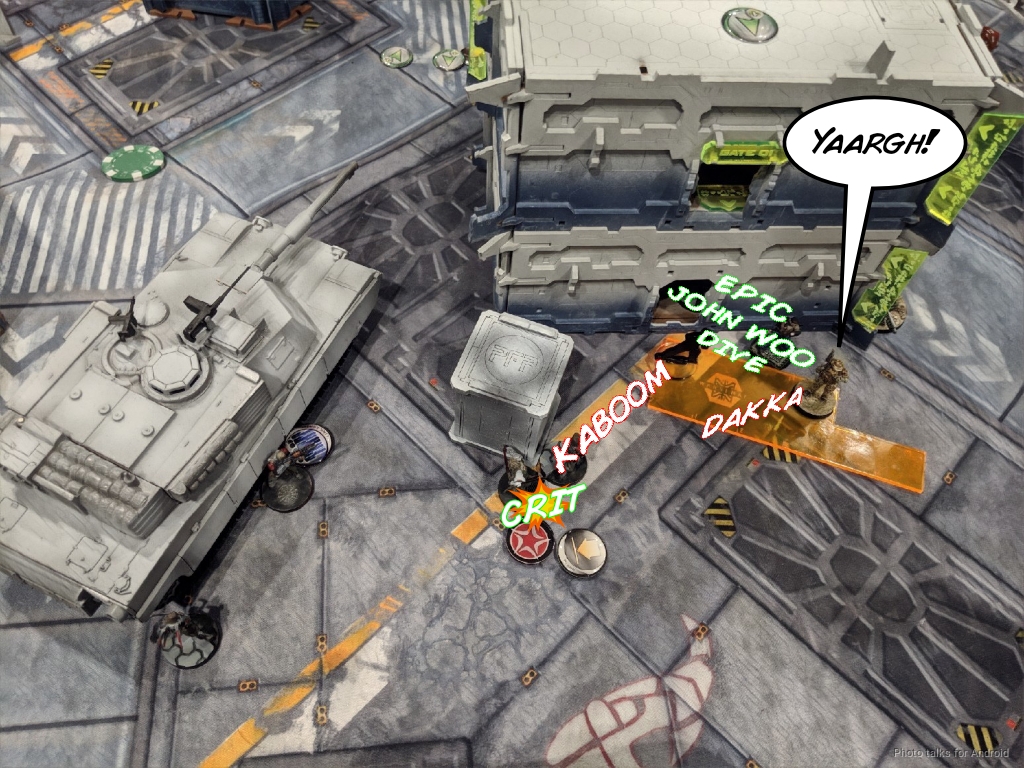
Of course, he crits, and it’s a
2 – 2 Tie!
Post Game Analysis
I probably could’ve held off the Grunt Infiltrator by E/Mittering it with Yuriko or something, or just putting a mine in the way. That would’ve let me the Shikami to safety on the roof in my backfield. I probably lose Saito then, though, so… I dunno.
I don’t think I used Yojimbo very well, but I. wasn’t really given a chance to due to Eric’s bloodlust. We talked about it afterwards, and he thought he shouldn’t have gone after Yojimbo with his Desperado, as it would’ve been a good piece to take out my box carriers, especially Saito.
I don’t think either of us made significant errors, it was a very tight game that ended up in a tie because we each made small errors that compounded. If anything I think Eric should’ve had this game, I had some pretty good ARO luck.
I was a little bummed that I lost the Kempetai versus the Foxtrot, but that’s Infinity. I’m happy with the way I recovered from losing the Shikami, but was a little annoyed that I overextended the link team. I had thought I might have enough orders to make it to see the Airborne Ranger, but realistically didn’t.
Bottom line, I was a little inefficient with my orders and ended up out of orders to do things like retreat my dudes to safety, especially the box carriers. I also didn’t have any bikes after Yojimbo died to go hunt down a box carrier. I think I need to make sure to split my smoke carriers too, which will help a lot.
Eric was a great opponent–we had some tough rules questions for the TOs related to Shikami, which slowed us down. In spite of all that, we kept things moving and managed to finish in time, but we were both in go fast mode. I had a lovely conversation with him and one of his brothers after the game between rounds though. I hope to see him at a future Adepticon, and maybe get a chance to play the other Schwebachs.
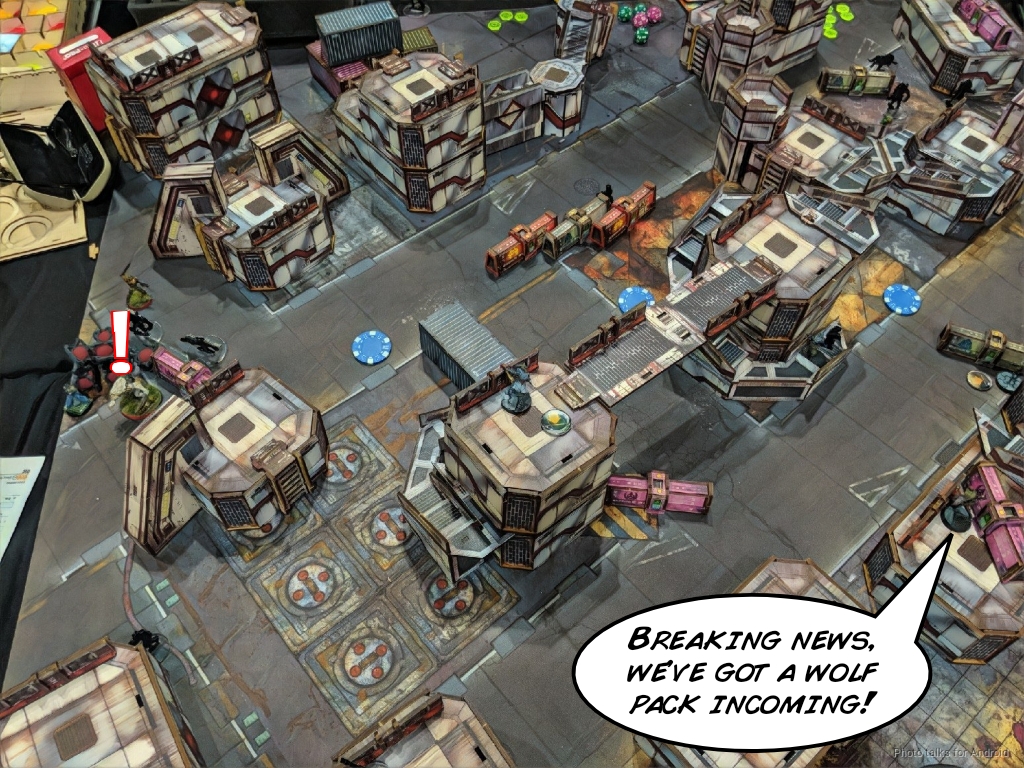
Game 4 – The Grand Melee
Game four was against Jerry (WarbossJerry) and his TAK. Two Ariadna lists in a row! Neither of us are fans of kill missions, so after commiserating about that for awhile, we got down to gaming. One minor annoyance was that whoever was on the table before had shoved a bunch of terrain out of the way to set up their table for paint judging, which cost us a few minutes of fixing that. Please don’t do that, or at least fix it! Come on, people.
GROUP 1 |
GROUP 2 |
4.5 SWC | 300 Points | Open in Infinity Army
I didn’t really see a need to change up my list, so I didn’t. I was already in the groove and didn’t want to change up my rhythm. Also, I suspected that Jerry would want the side of the table with the big wall on it to hide his Lieutenant behind, so I wanted a climbing plus Shikami to scale it.
Game 4 – Jerry
GROUP 1 |
VETERAN KAZAK AP HMG / Heavy Pistol, Knife. (2 | 47)
FRONTOVIK Heavy Rocket Launcher / Assault Pistol, Knife. (1.5 | 23)
LINE KAZAK Rifle / Pistol, Knife. (0 | 9)
GROUP 2 |
ASSAULT PACK . (0 | 25)

x3 ANTIPODE AP CC Weapon. (- | 15)
COLONEL VORONIN (Sensor) Lieutenant T2 Boarding Shotgun / Pistol, AP CCW. (0 | 21)
SPETSNAZ (CH: Mimetism, AD: Parachutist) Boarding Shotgun, Grenades / Pistol, AP CCW, Knife. (0 | 33)
SCOUT Boarding Shotgun, D-Charges, Antipersonnel Mines / Pistol, Knife. (0 | 25)
TANKHUNTER Portable Autocannon, D-Charges / Pistol, Knife. (1.5 | 34)
DOG-WARRIOR 2 Chain Rifles, Grenades, Smoke Grenades / AP CCW. (0 | 29)
5 SWC | 298 Points | Open in Infinity Army
I’m almost certain I have his combat groups wrong. Neat list though, and great paint jobs on the antipodes!
Deployment
I set up my link on the right, screened by a Ryuken and its mine. Yojimbo goes behind–there are lot of scary things in TAK so I wanted to give him enough room to ride on his impetuous order. The Keisotsu HMG goes on the top of a building to shoot at stuff as the link moves up.
I put the two Keisotsus from the second group on either side of the table, and do my best to make them look like Lieutenants. I’m aided by this because Jerry told me he has played against a bunch of JSA recently, so he should know the options. The other Ryuken go on the left, to be an additional threat. I put Rhonda up on a roof to be annoying, and then it’s over to Jerry for deployment.
Jerry puts an Antipode pack and controller on either side, a Tankhunter in the middle, and Voronin behind the aforementioned big wall.

If that wasn’t bad enough, there’s a Scout BSG on the right (unmarked, sorry) near my Ryuken, with a Dog Warrior behind. He completes his deployment by setting up a link for ARO on the left, with his Vet Kazak and Frontovik HRL out to ARO.
I deploy Saito in a position where he can set up for smoke to help the Kempetai, and I forget what Jerry held in reserve.
I nominate the heavily defended Keisotsu on the right as my DataTracker, and Jerry nominates Voronin.
Turn 1
Top of 1 – JSA
I cancel Yojimbo’s order, beacuse there’s a window where the HRL can catch him and some members of the link that I missed during deployment. No matter. Saito does what he’s supposed to, and blocks LoF to the Keisotsu HMG from both the Vet Kazak and the Frontovik with some smoke.
The Keisotsu can see two Line Kazaks though, so I start by forcing one into cover and taking another out. I take out the Frontovik HRL with the Kempetai outside of smoke…
and then take out the Vet Kazak through the smoke with the Kempetai. Okay! Shooty threats gone, just need to handle the dogs now.

I fix my link positioning, and pass turn after climbing the Shikami up a “tree” to hide him from the dogs and pushing Yojimbo into view of the right Antipode’s approach.
Bottom of 2 – TAK
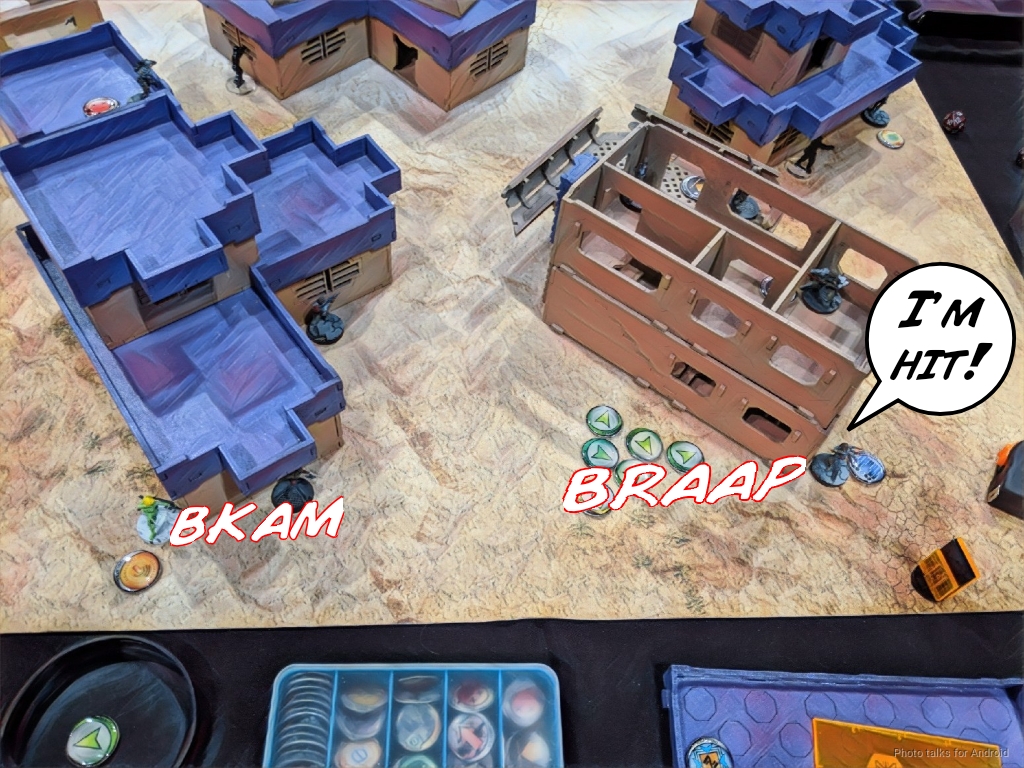
Jerry trades his Scout BSG for my Ryuken and clearing a mine while my HVT watches in horror.
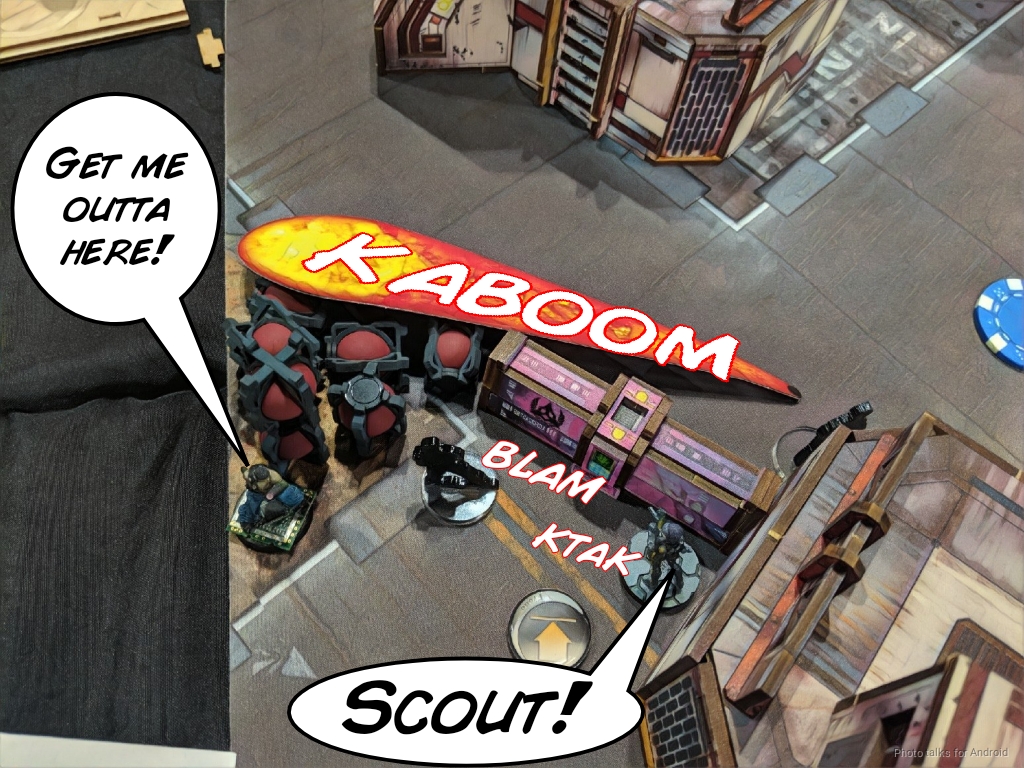
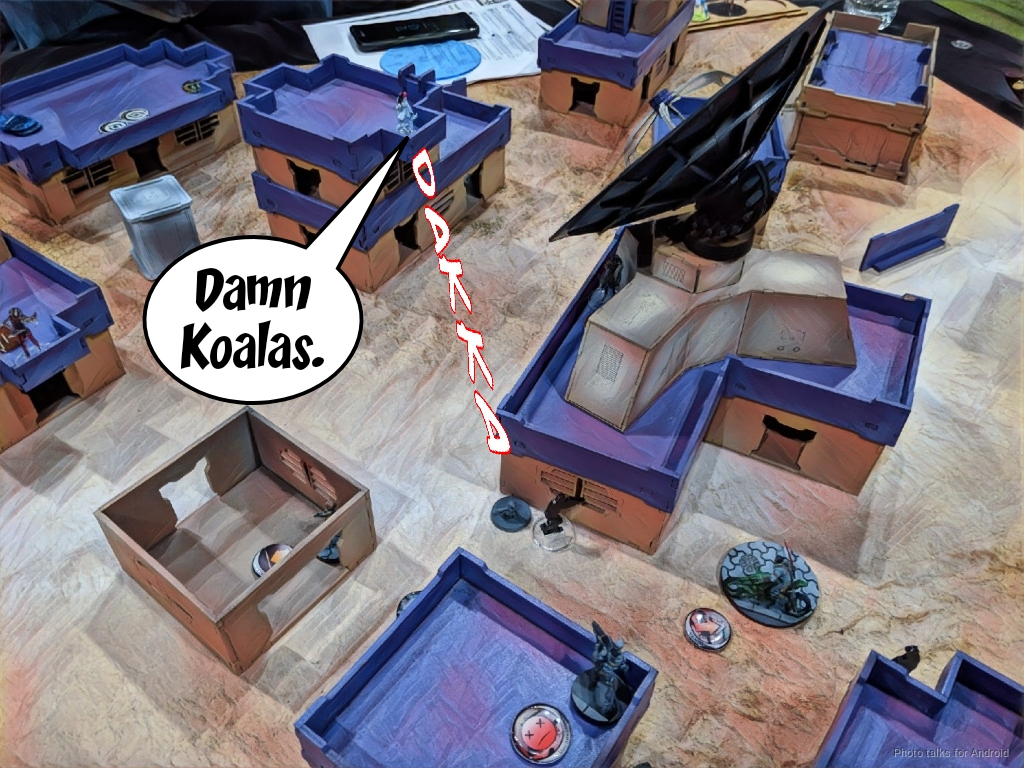
The Dog Warrior keeps moving up, and since this is Adepticon and the new Totall Immunity rules aren’t in effect, I Flash Pulse it for the last time with Rhonda!

The Antipodes on my left advance, and Rhonda discovers one. She’s been just killing it this whole tournament!
They sensor my HVT for a classified, discovering a mine in the process, and then Jerry goes for the Panoply…
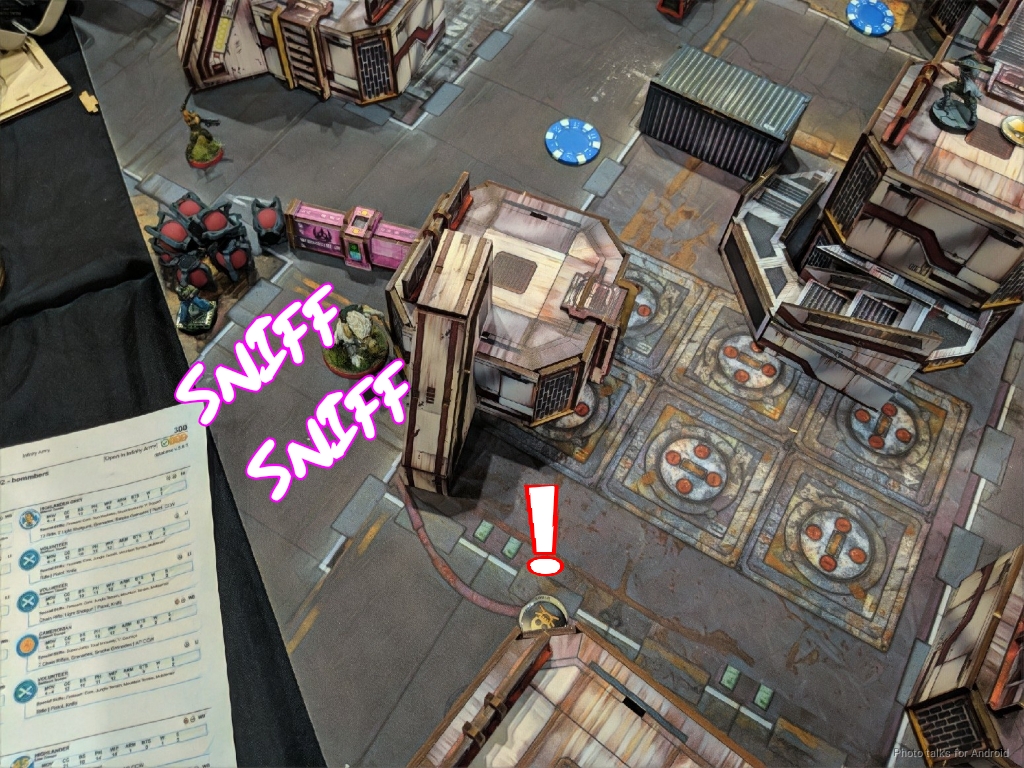
right under the watchful eye of my Ryuken-9 HRL, who knocks them all out.
Jerry brings on a Spetznaz BSG near my HVT, presumably to secure it, and then starts advancing the other Antipode pack.
They’re in view of a bunch of stuff so I manage to discover one. He keeps running them in, and one dies to Yojimbo’s Koalas while I use dodge to swap places between the Kempetai and Neko.
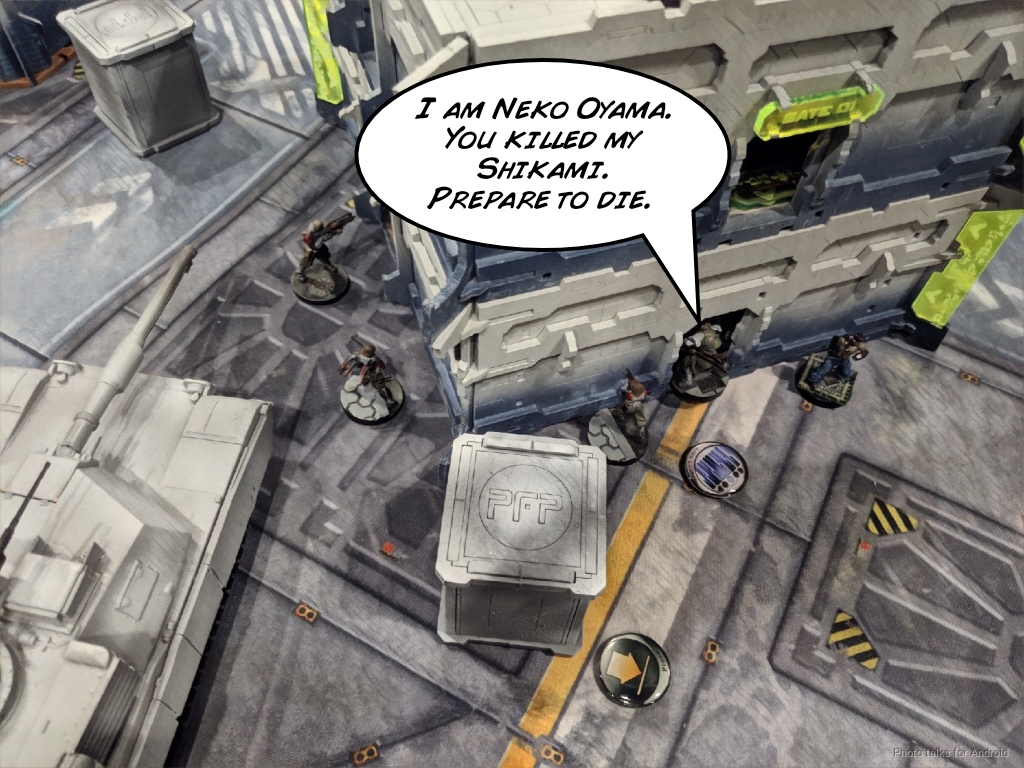
Jerry asks me for Neko’s statline, and then decides not to engage him due to his CC score. Instead, he jumps them up into base to base with the Keisotsu HMG, so everyone shoots and Neko chain rifles them.
They don’t survive, but neither does my Keisotsu HMG. I had planned on using it to take out the Dog Warrior on my turn, so that’s a bit of a bummer.
Jerry then goes all in on the Panoply plan. He forms a 3-man Line Kazak core, and then has each of them grab something from the central Panoply. Crazy!
There’s absolutely no way I’m going to bother with that anymore, so I guess that’s helpful in narrowing my focus.
Turn 2
Top of 2 – JSA
Yojimbo rides straight into a newly-acquired ADHL and gets glued.
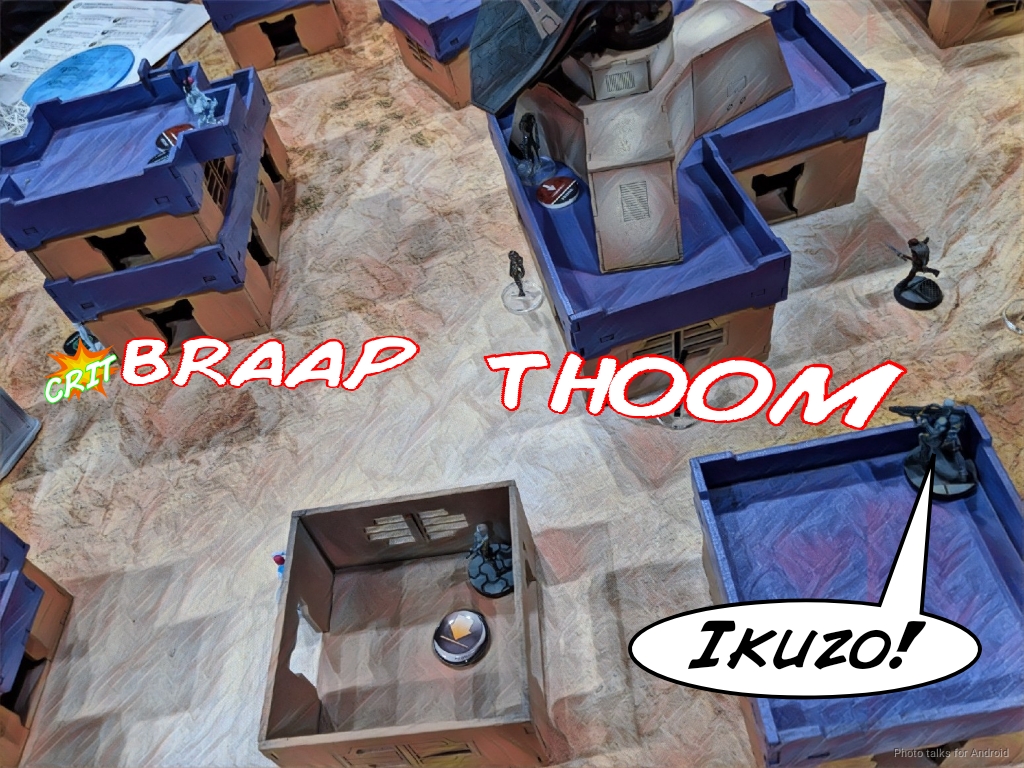
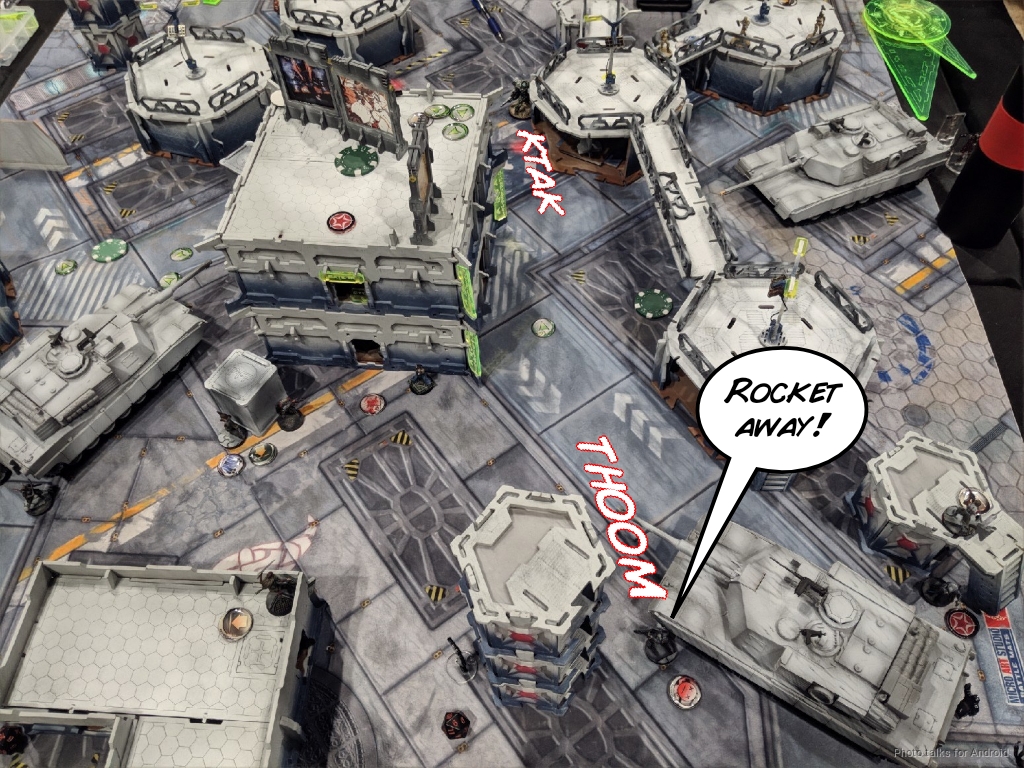
The Line Kazaks are in the right place to get rocketed, so I do that. I climb the Ryuken-9 HRL off his roof, take out the Kazak in base to base with the Panoply, and then cover a Kazak and the Tankhunter with a template.
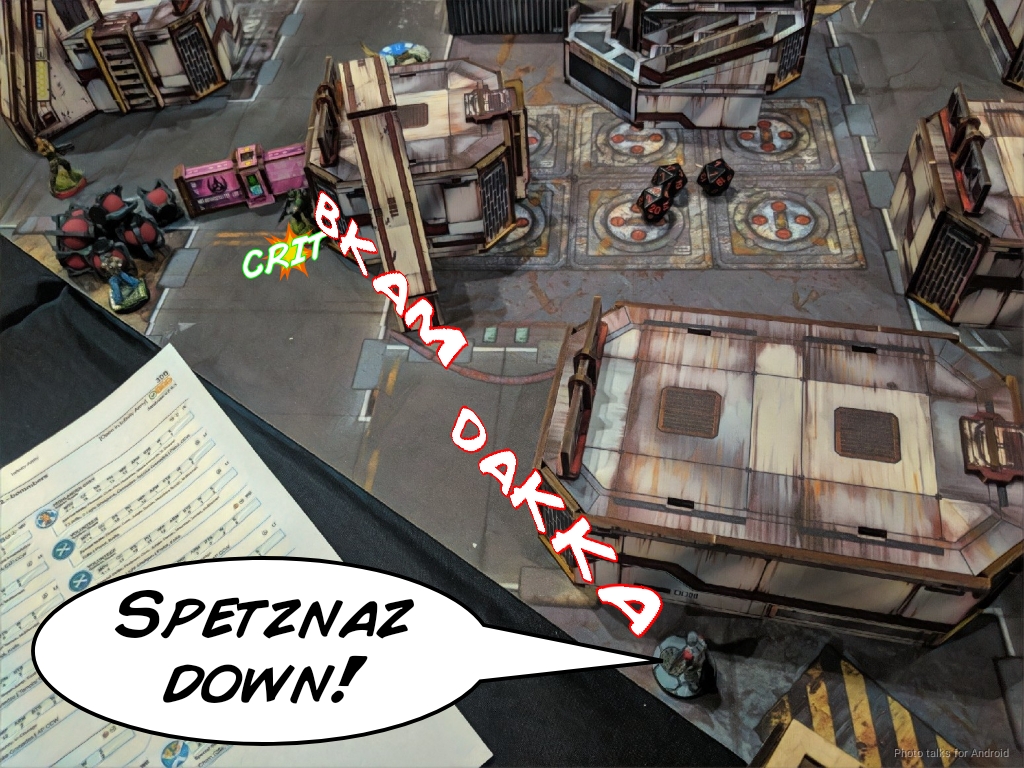
They both shoot back, but I beat their rolls and they’re burned off the table. Yuriko fixes Yojimbo, and then I set up for a Yojimbo run on turn 3. I notice that I’ve got an order to spend on a Keisotsu, so I use it to take out the Spetznaz with a crit.
Bottom of 2 – TAK
I’ve managed to convince Jerry that one of my Keisotsus is likely my lieutenant, so he sends in the Dog Warrior. It sets off a mine, takes a wound, and gets flash pulsed by Rhonda on the way in.
Jerry finishes his turn by running one Antipode controller up to get another thing out of the Panoply and throws the other into suppression near an advanced Yojimbo.
Turn 3
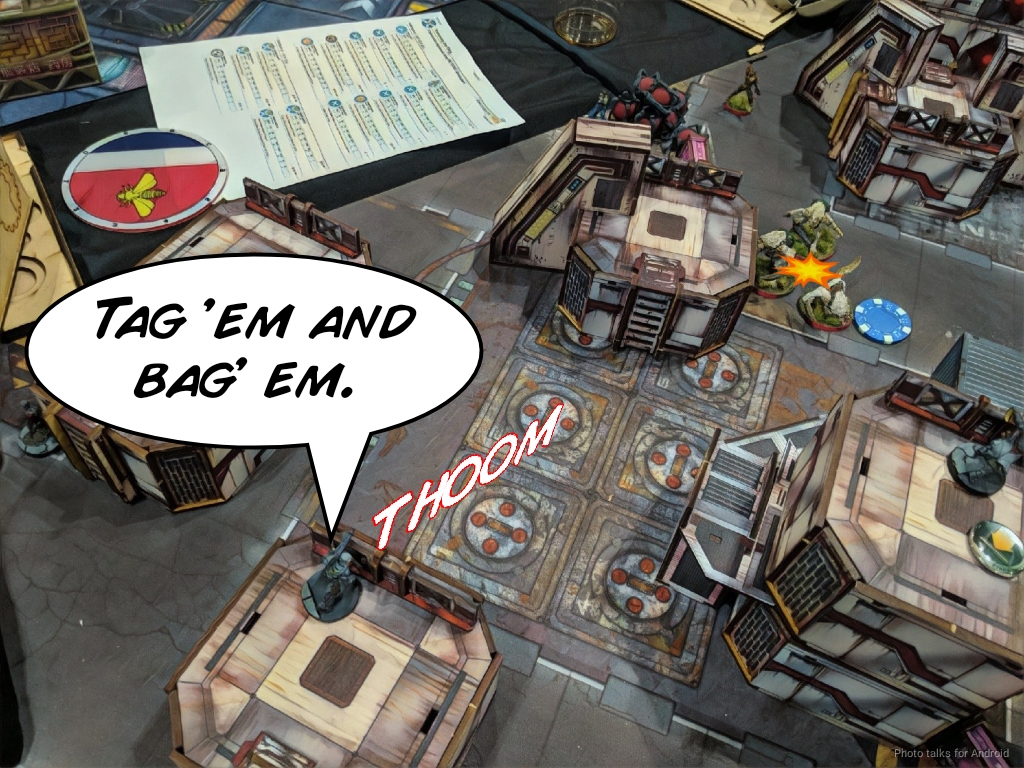
Top of 3 – JSA
I cancel Yojimbo’s order, no sense in losing him, and set up some smoke in the midfield just in case. The Shikami jumps off the roof, taking out the Antipode controller with an assault pistol.
A few orders later, and I’m on the roof above and behind Voronin. I used climbing+ to guarantee stealth, and the assault pistol does the rest.
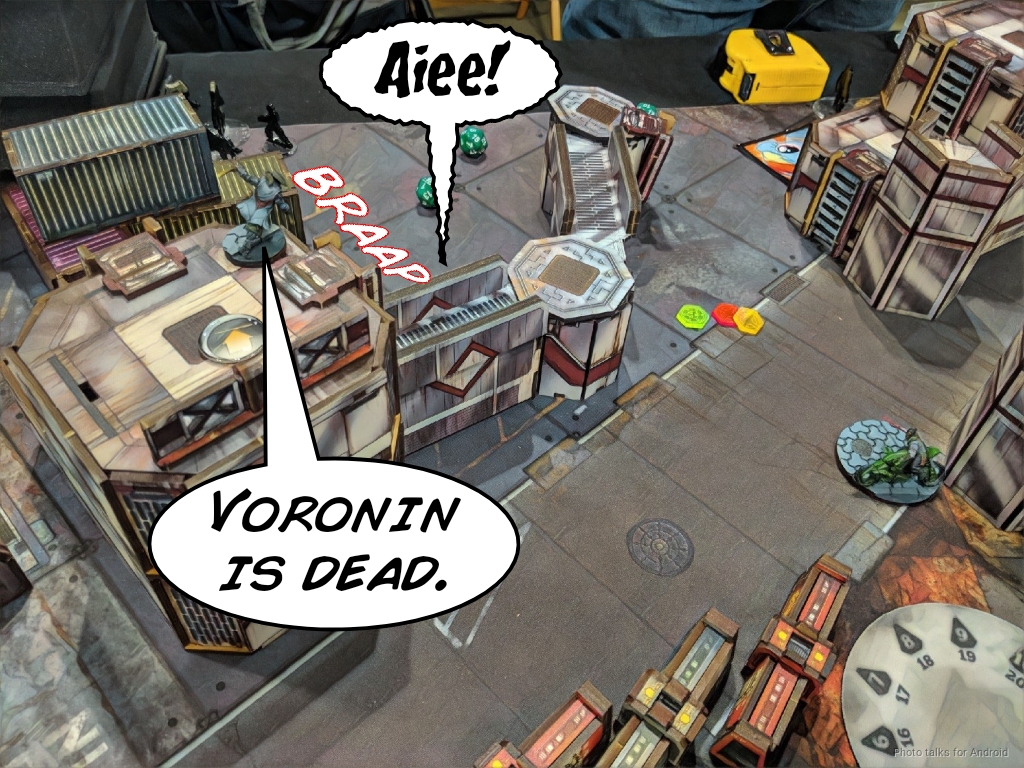
We call it there, and with a classified for each of us (forget what I did) it’s a
7-2 Japanese Secessionist Army Victory!
Post Game Analysis
That went very well for me. I was a little surprised by the extreme focus on grabbing stuff out of the Panoplies, but it definitely discouraged me from doing that. I was really worried about the Antipodes but managed to limit their damage reasonably well.
I think that had Jerry been more aggressive with the Antipodes on the left I would’ve been in trouble. I handled the ones on the right alright. Also, leaving stuff out against a link is always dangerous.
Thanks to Jerry for sticking with it after some pretty brutal turns and for giving me the treat of playing against some awesomely painted TAK!
Tournament Summary
Really happy with my JSA this tournament. With 2 majors, a minor, and a tie, I walked away in 7th place out of 50 or so people. I’ll take it!
I went in expecting to have to force myself to use my Shikami and my link, and rely on the Ryuken all the time, but the exact opposite happened. I think if you have a concrete plan to use the Shikami they can be quite powerful, especially if there’s a lot verticality to the board. I definitely need to continue practicing with them.
For now though, I want to move on to some of the newer armies, and revisit my vanilla Nomads. Thank you to all the TOs that organized all the Infinity events at Adepticon!
I had planned to play this in the Biotechvore Showdown on Sunday…
Biotechvore
BRAWLER Lieutenant Rifle + Light Shotgun / Pistol, Knife. (0 | 16)
WÚ MÍNG (Fireteam: Haris) Chain Rifle, Submachine Gun / Pistol, Knife. (0 | 25)
DRUZE (X Visor) Shock Marksman Rifle, Chain-colt / Viral Pistol, Knife. (0 | 27)
TANKŌ Flammenspeer, Contender / Pistol, Monofilament CC Weapon, Shock CC Weapon. (0 | 23)
FASID HMG + (Smoke and Normal) Light Grenade Launcher, Antipersonnel Mines / Heavy Pistol, Knife. (2 | 53)
NINJA MULTI Sniper Rifle / Pistol, Shock CCW, Knife. (1.5 | 42)
but Adam and I had to go schmooze some vendors for prize support for the Rose City Raid before hopping on a plane so we dropped. That and we were FRIED. We zombie walked through the airport and flew home…

Clear Skies 
Bands of Clouds 
The Mountains
Thanks for reading this mammoth 4-game report. I went a little lighter on analysis for brevity and my sanity, but I’m happy to discuss any of the games further!


Surprised to hear that 2 major, 1 minor and a draw only garnered 7th place.
Your reports were stellar as always! Great job translating the game to blog format, the combination of pics and text really bring the games to life.
Also great to see JSA in action. My meta has poo-pooed them into a disastrous joke status.
Awesome writeup, it took me whole weekend between family activities! Keep it up!
Awesome, thank you! By the way, which program did you use to edit the photos?
You’re welcome, I’m glad you enjoyed it. I use Prisma and PhotoTalks on my android phone.
Pingback: The Dice Abide LIVE #10: Swift as the Coursing River (Infinity Tempo Tactics) – Late Night Wargames