FLAILing Upwards
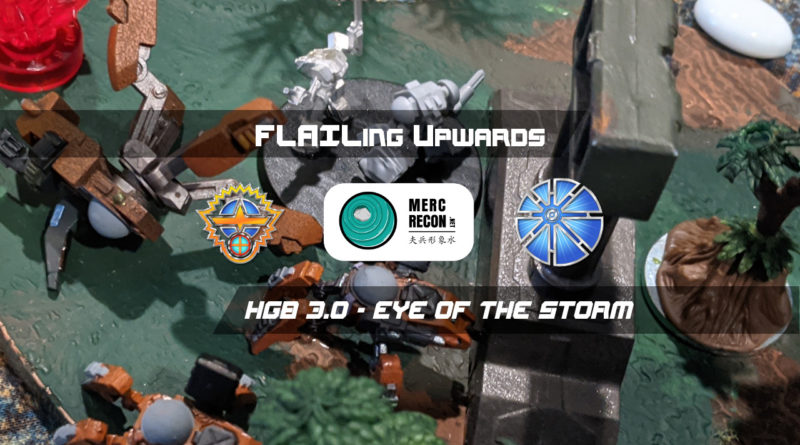
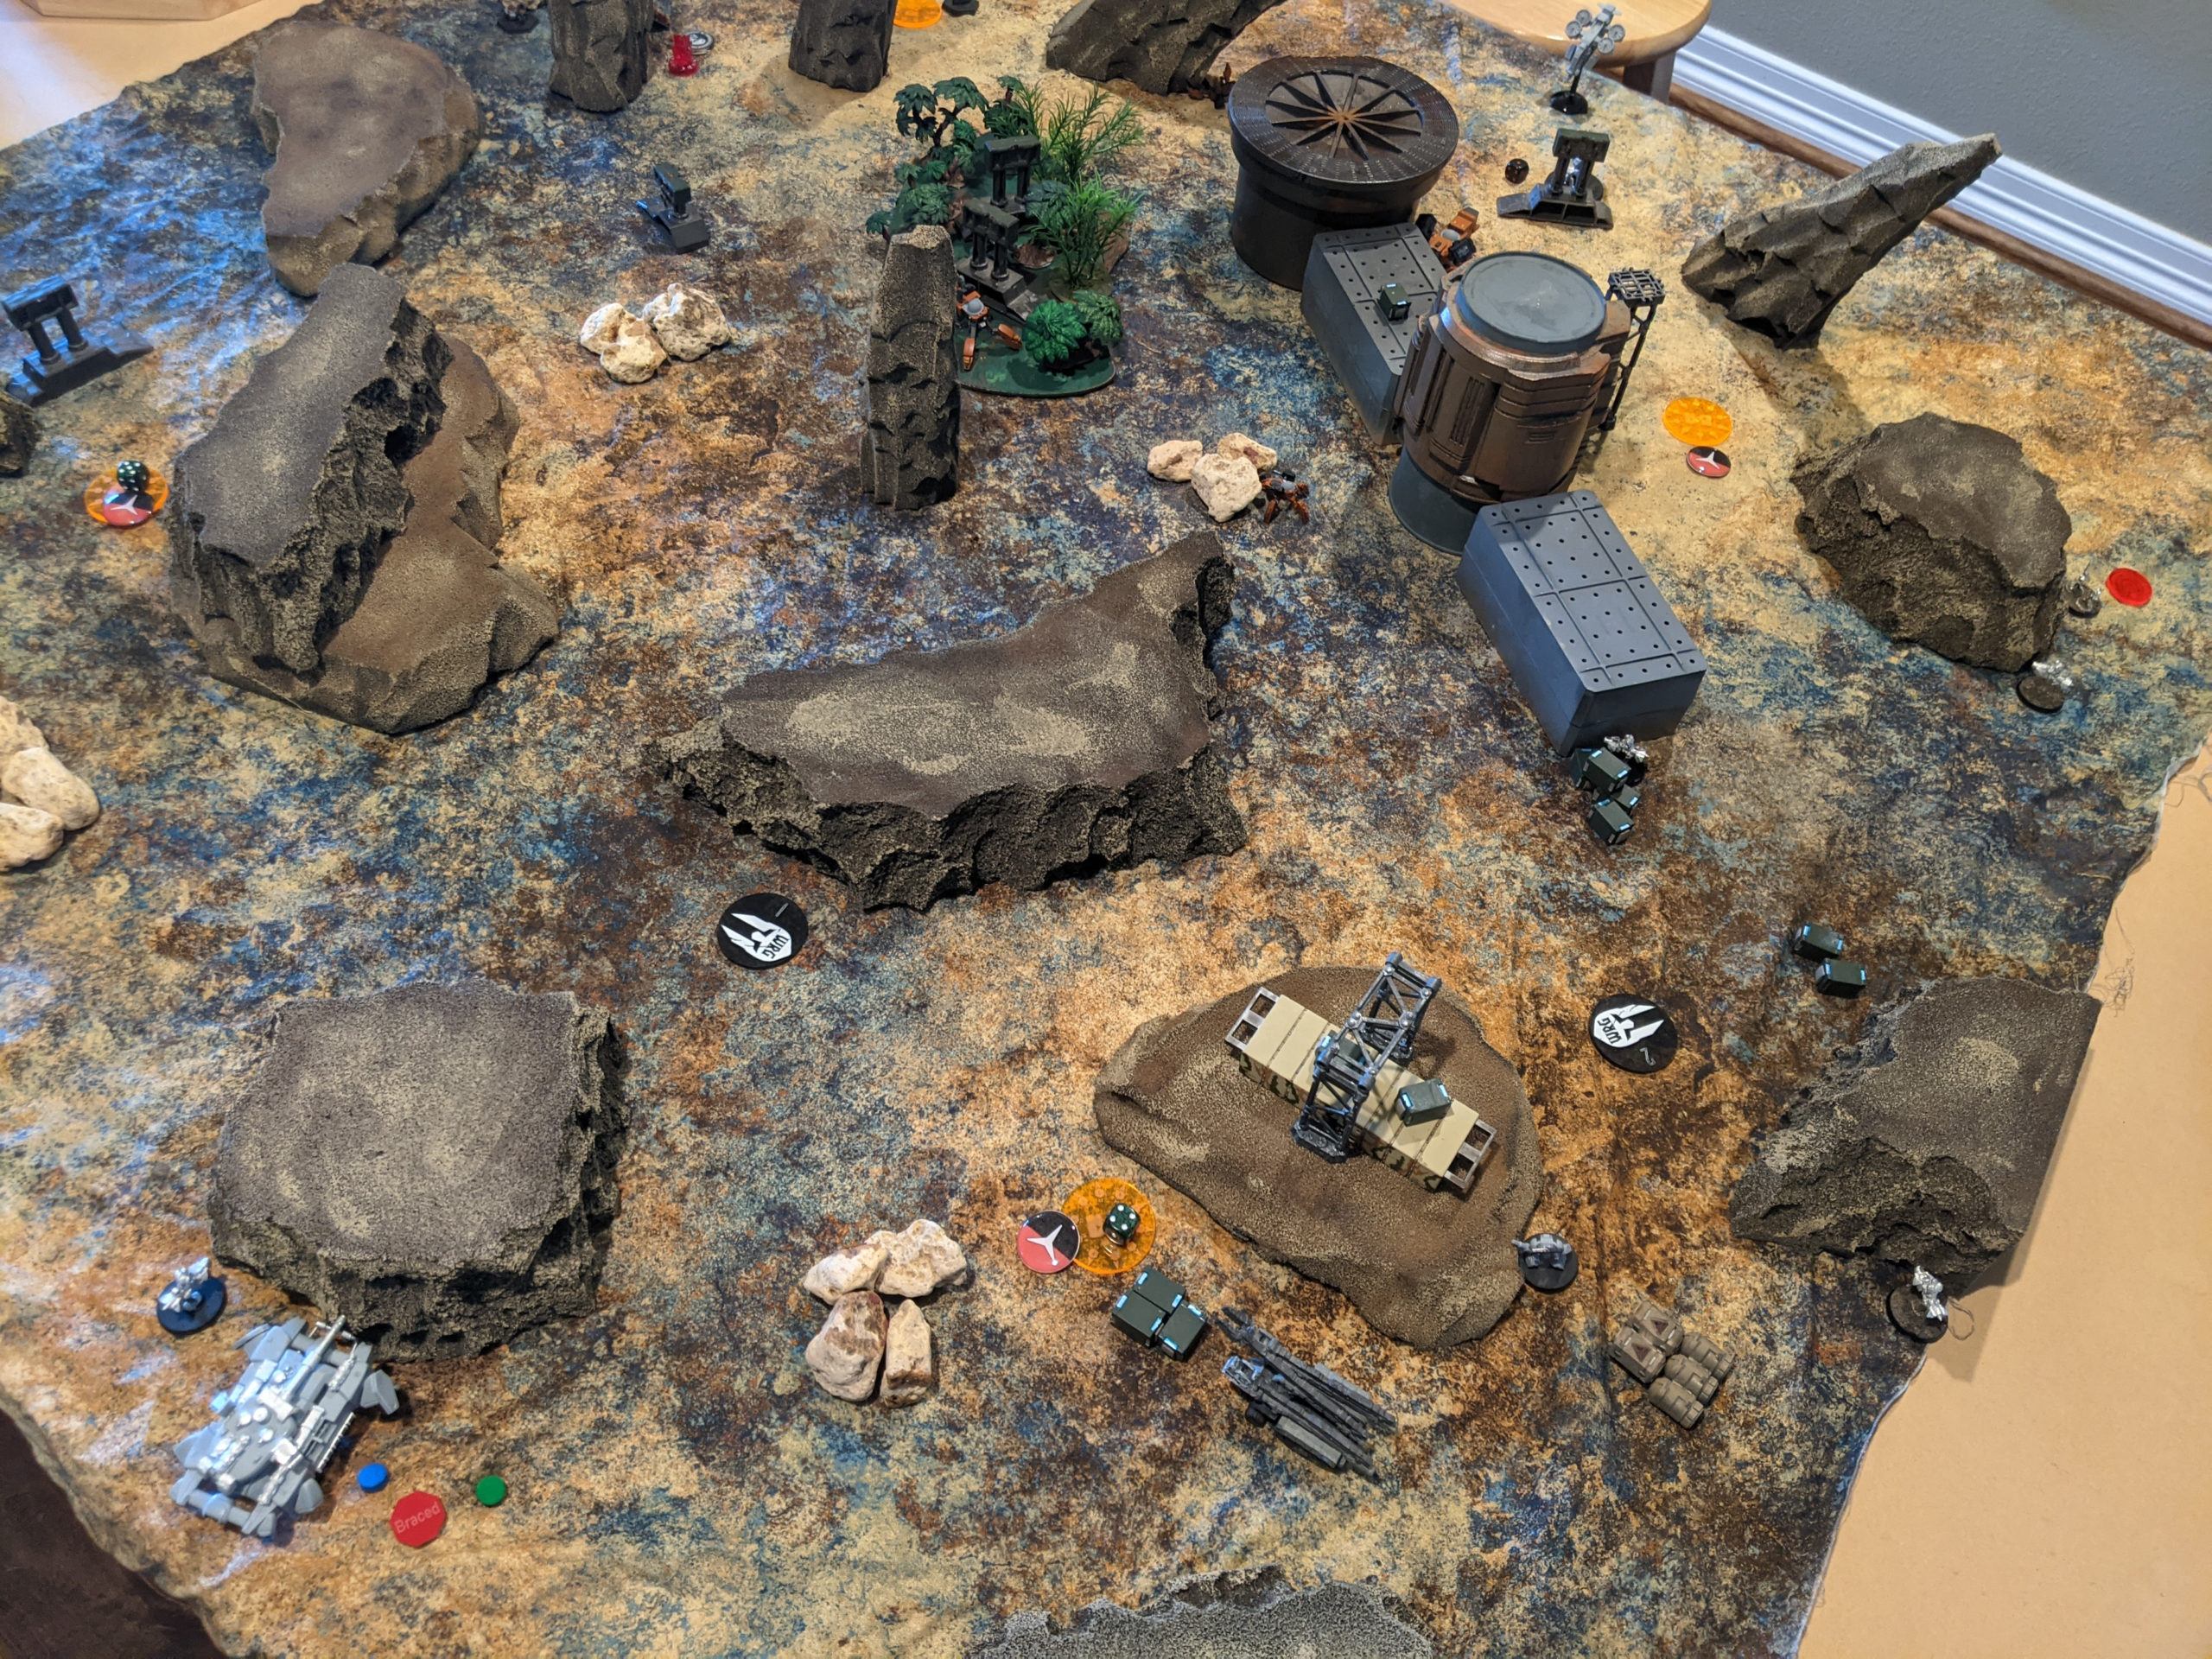
Than came by over the July 4th holiday weekend to test out his new Eye of the Storm scenario he’s been working on, and he brought this great Infinity table which we repurposed:
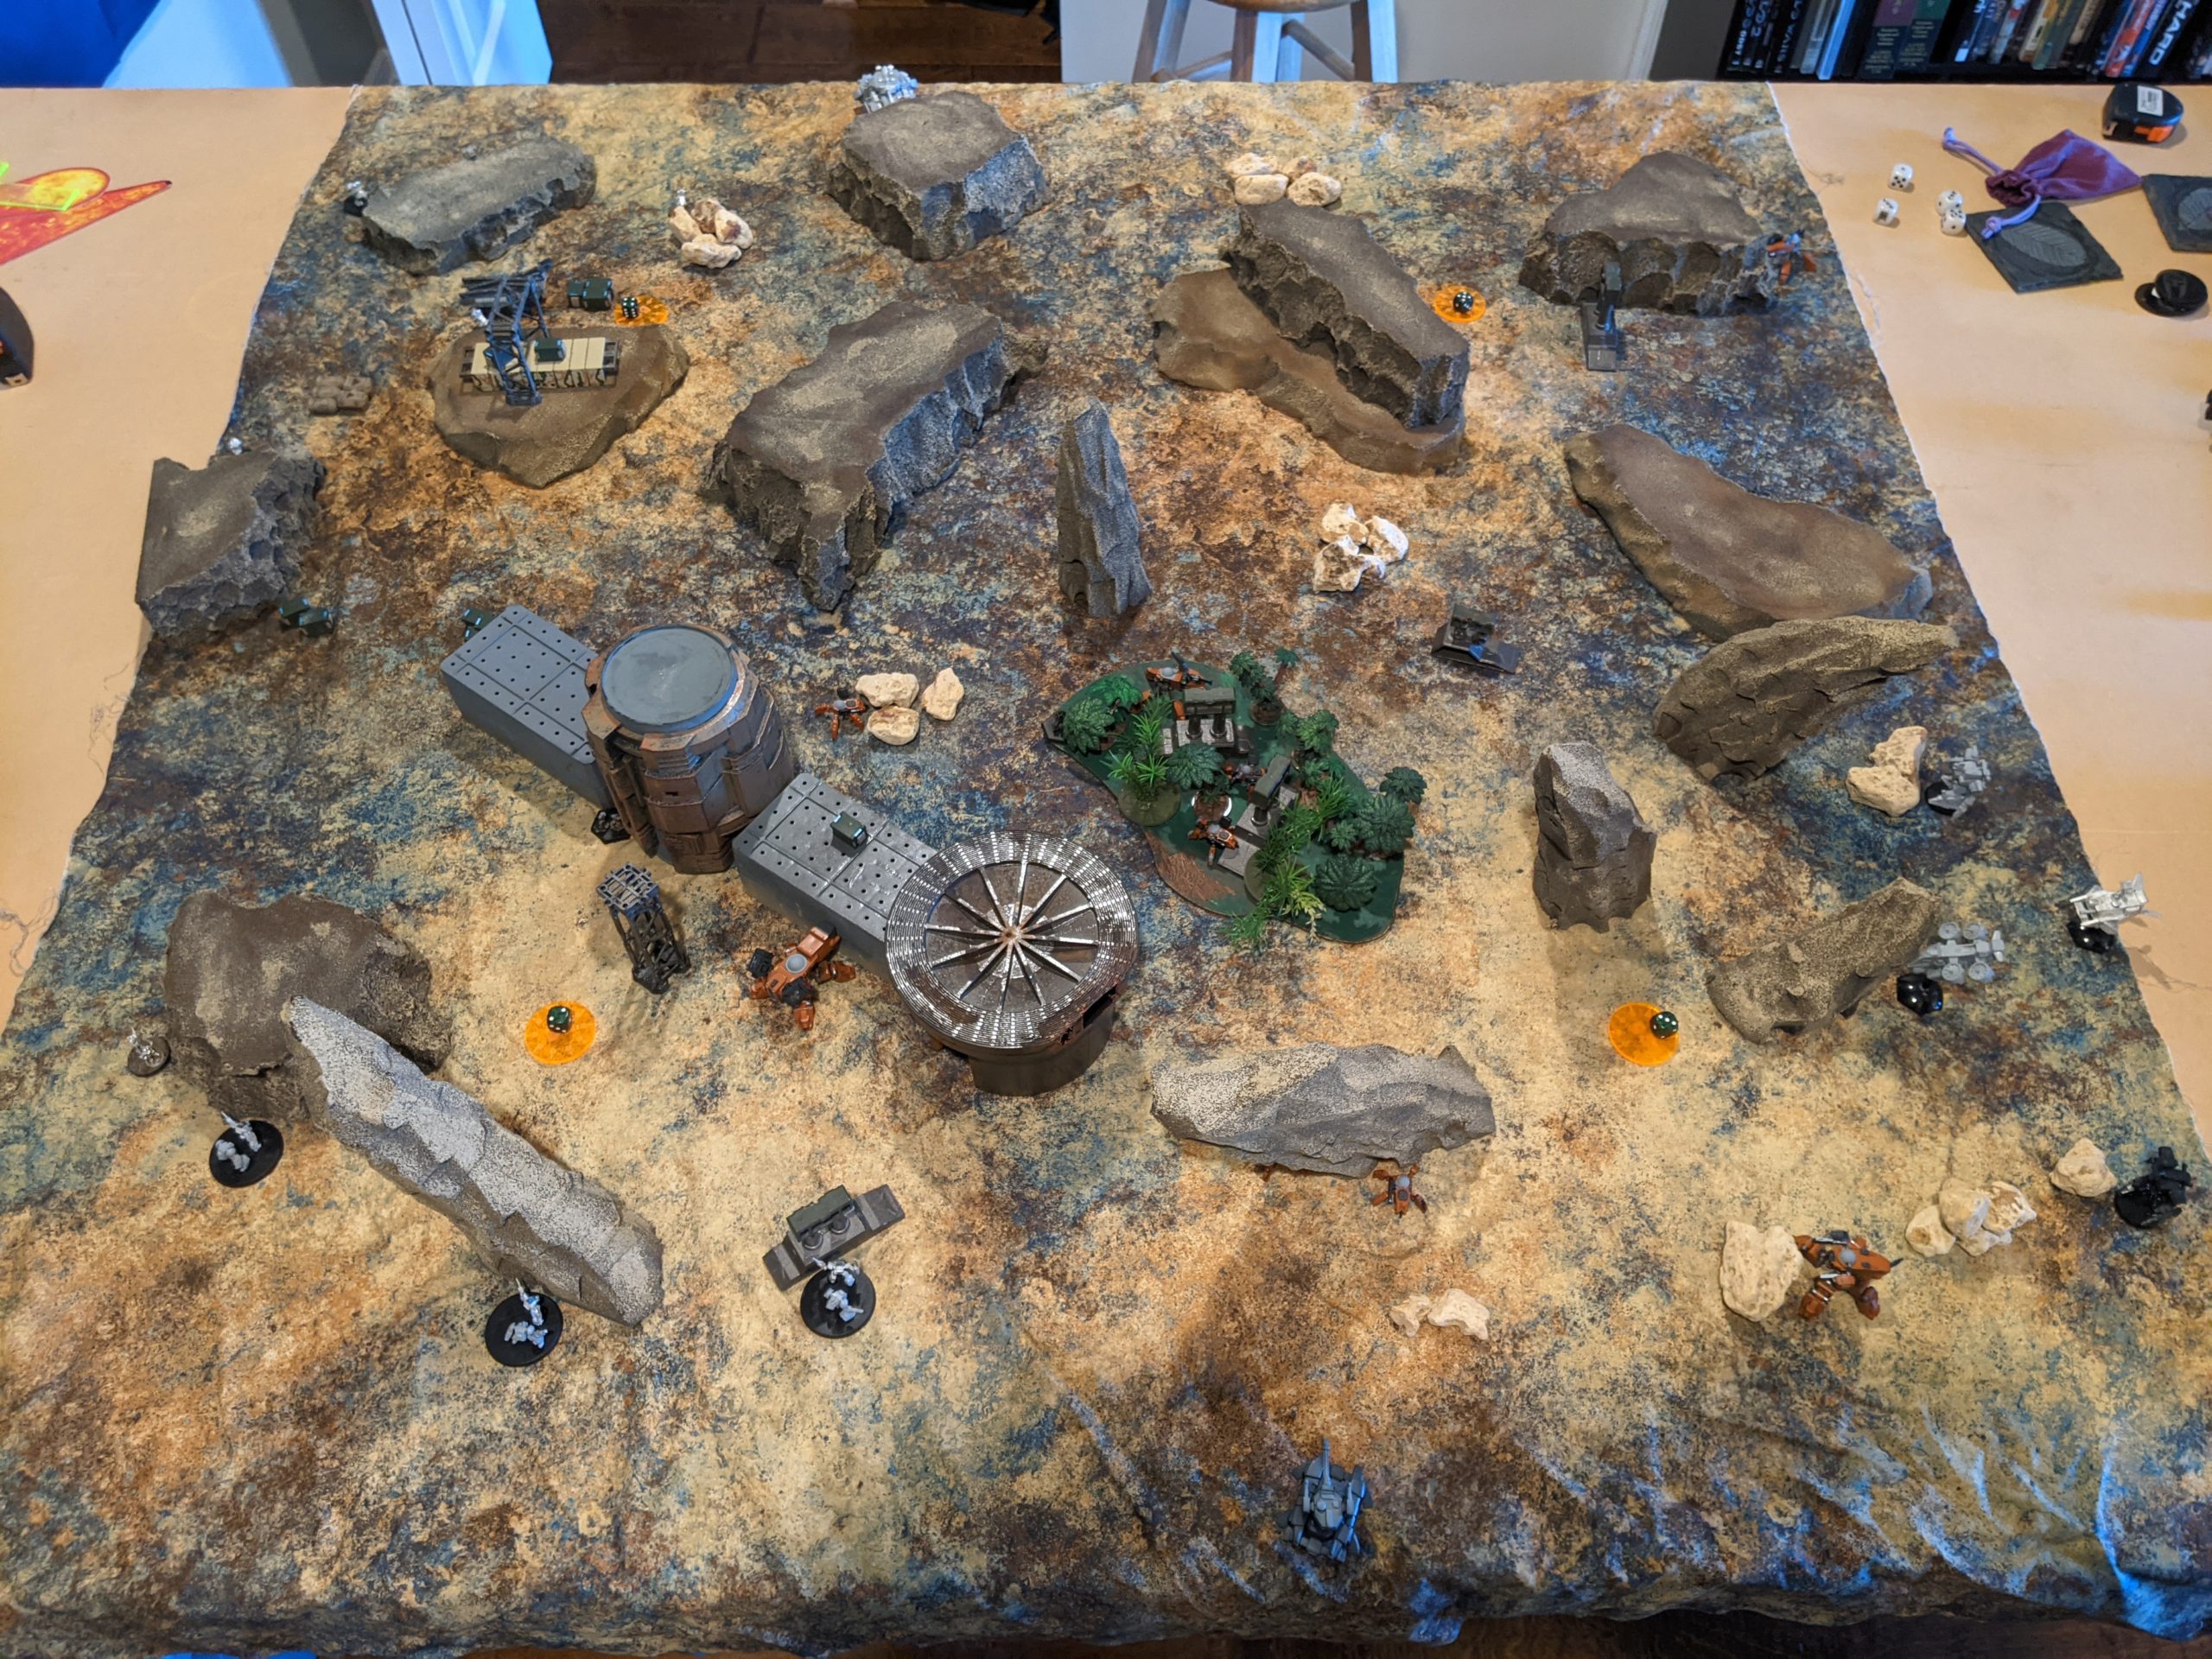
We even added a little oasis to add some greenery! If you’re interested in learning more about how he built this table, you can check out his terrain guide here:
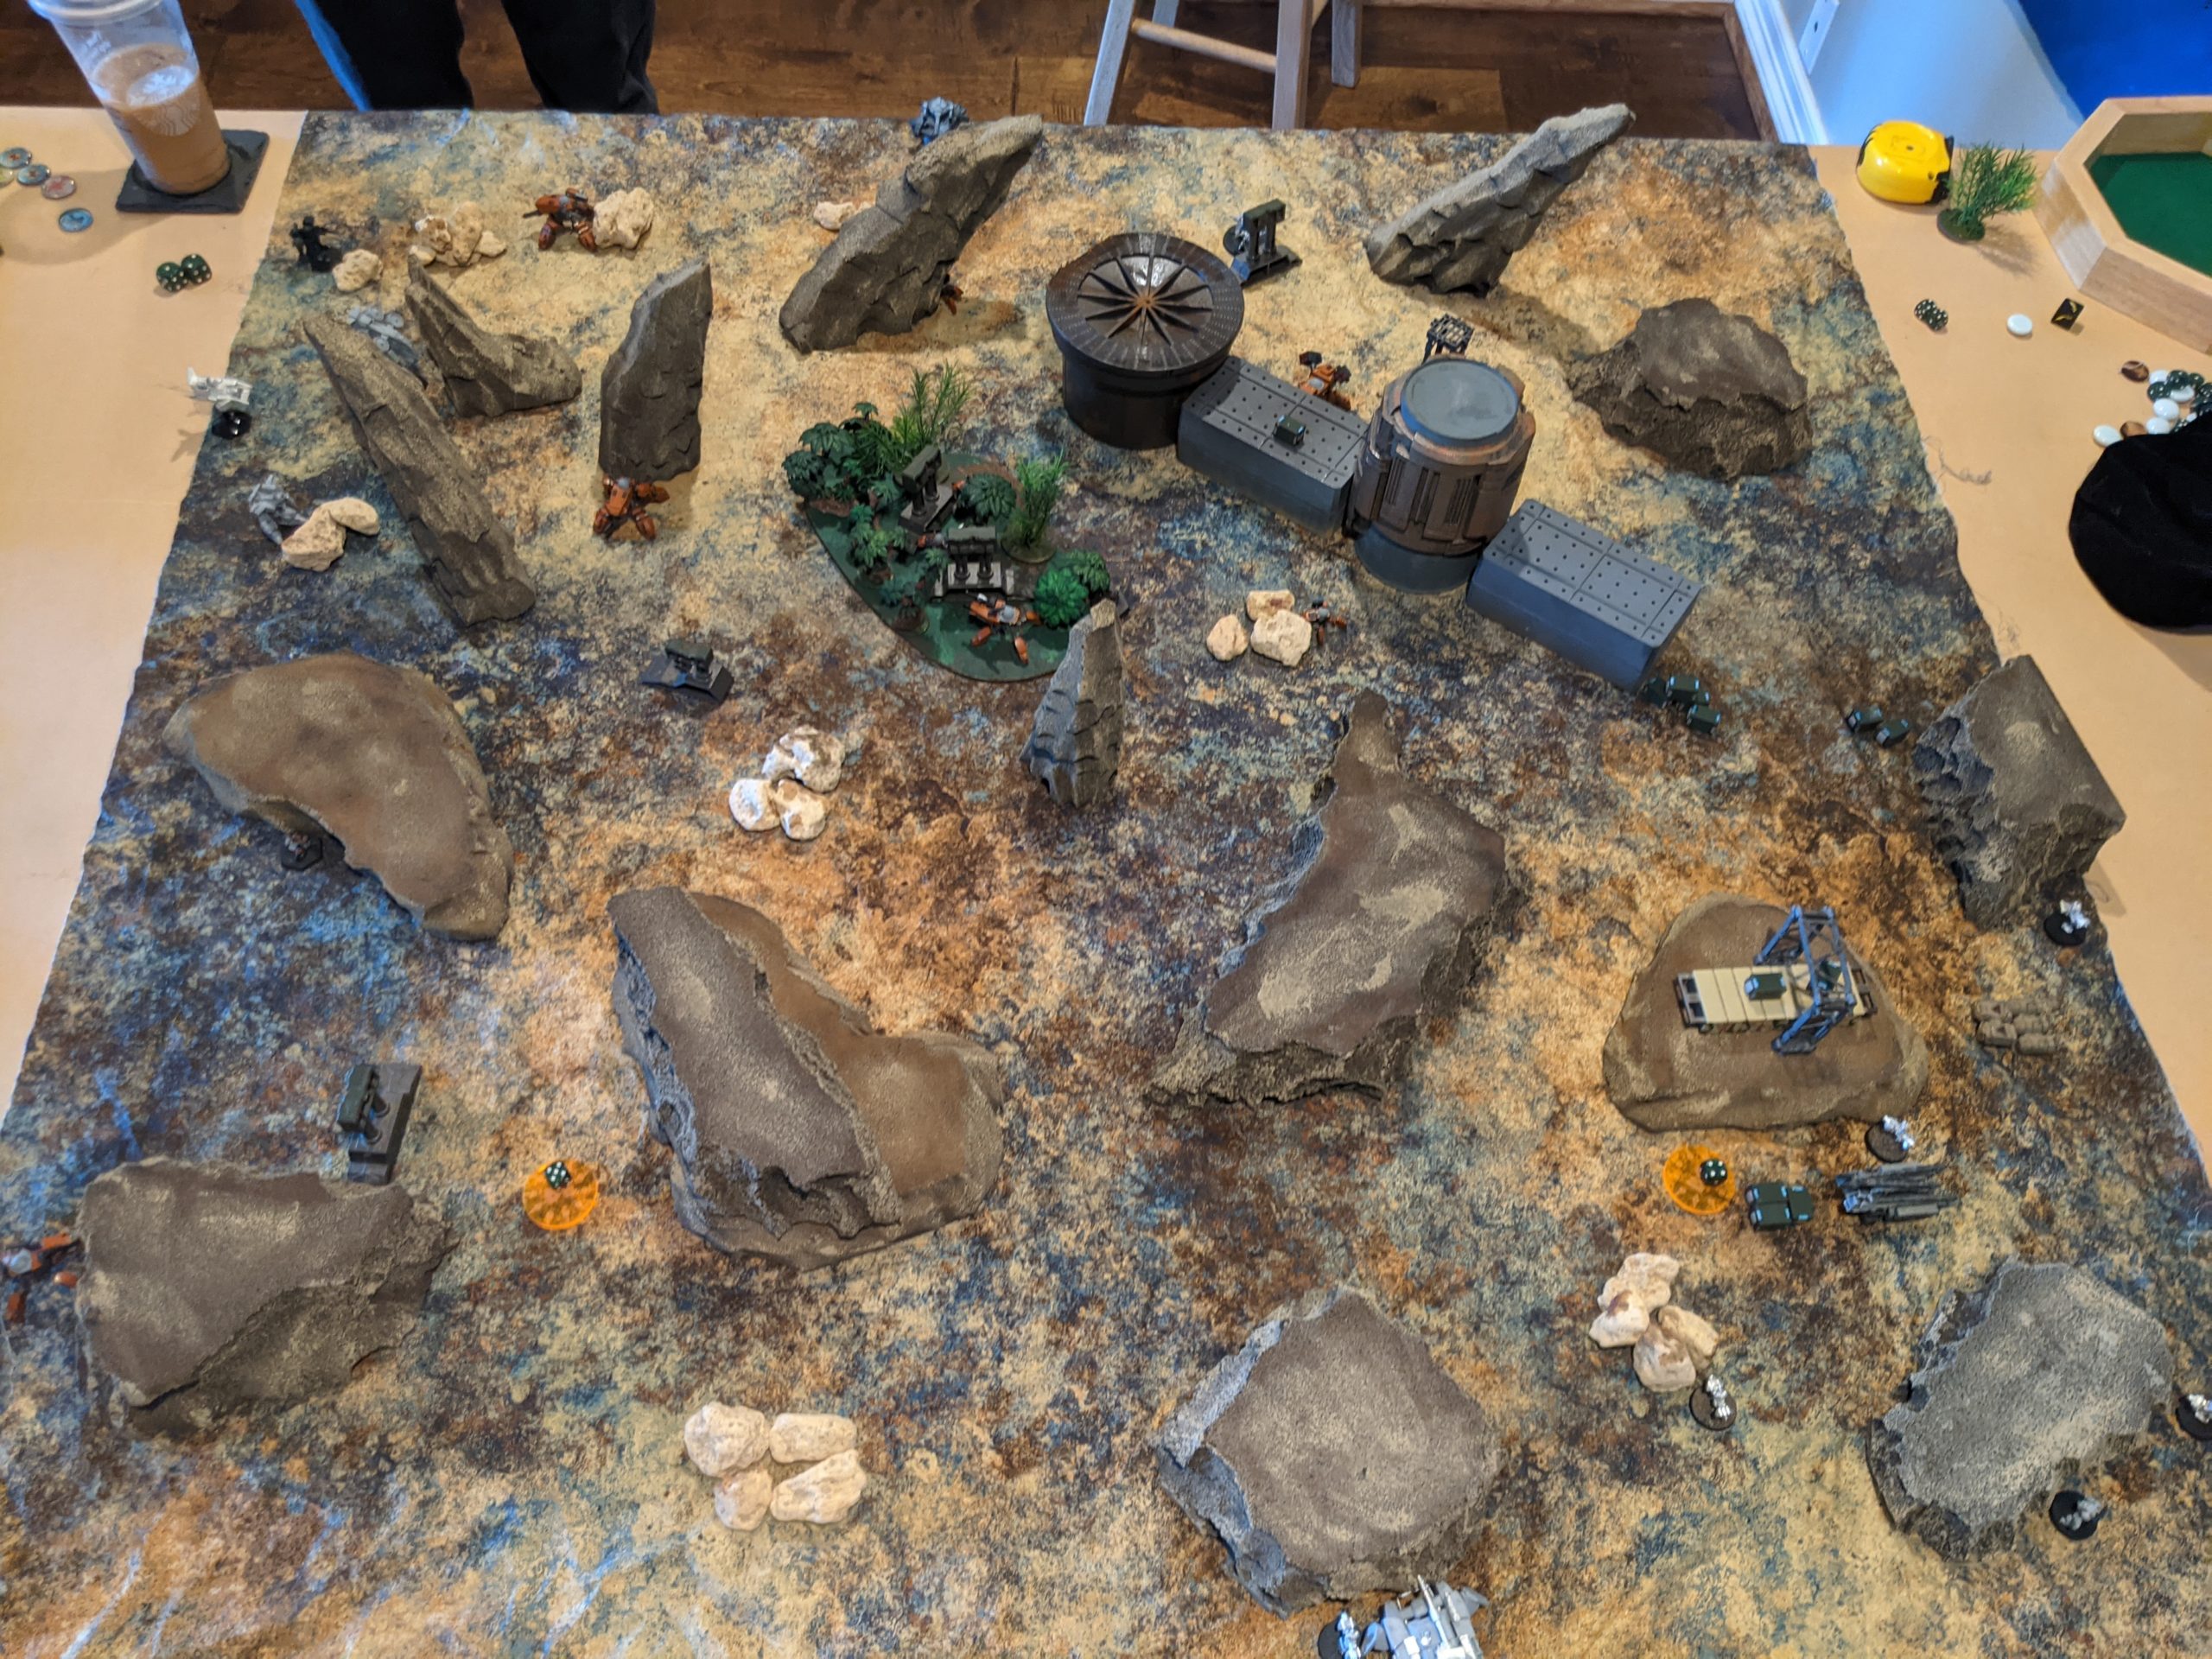
We had agreed to play 150 TV, which made the 4×4 table a little cramped. Nevertheless, we made it work.
Overview
We should perhaps discuss the scenario some, for context!
Eye of the Storm
While on route to battle two opposing forces found themselves embroiled in one of Terra Nova’s deadly Tempests. Units were caught in the worst of it and became disordered seeking shelter or trying to exploit the storm to get into position. As the eye of the storm passes over them, smaller detachments of the forces find themselves cut off and interspersed among their enemy.
Eye of the Storm was designed to be part of the HGBTS tournament system and thus expects 6 possible objective points from the normal Heavy Gear Blitz! objective system (3 secondary objectives total, each worth up to 2 points). It also offers 4 possible primary objective points, similar to the other HGBTS missions. We’ll get into those shortly.
Than is working on the official write up, but I’ll give you the condensed version that we played, in an order of operations list so you know what to do first:
1. Select Table Edges
Since the Capture, Hold, and Break the Line require a “deployment zone” to function properly, for the purposes of these objectives randomly select a table edge to be “yours,” with the other being your opponent’s. Deployment zones are the normal 12″ deployment zones for these objectives only, not for actual deployment. This means Capture/Hold markers must be placed within 12″ of the appropriate deployment zone, etc. Scoring Break the Line means you must be within 12″ of your opponent’s table edge, as selected in this step.
2. Divide the Table into a Grid of Sections
- A 4×4 table is divided into four 2×2 feet Grid sections and a 6×4 table is divided into four 3×2 feet Grid sections.
- Number the sections 1-4.
3. Deployment
- Players alternate deploying combat groups as normal, using the normal die roll to see who deploys the first group.
- Roll a d6 to determine which section your combat group must deploy in. On a 5, your opponent chooses the section. On a 6 you choose.
- The chosen section behaves as a deployment zone, with special deployment options available, e.g. you can be 6″ out for a RC group.
- You may not deploy within 6″ of an enemy model.
We randomize deployment to reflect the disorganized unit disposition due to the Terra Novan tempest. We didn’t restrict combat groups to having to deploy in formation, but we’re going to make that change for the next version of the mission.
4. Select Secondary Objectives
Players alternate selecting objectives as normal, based on their combat group roles. You must choose a total of three secondary objectives if able. If you’re playing with only one combat group, you’re denying yourself two points!
Note that you may have deployed in a way that enables you to score Break the Line without moving any models. This is intentional.
5. Primary Objectives
- Report Grid Position: Early in the battle units are trying to understand their position and re-establish contact with command. During rounds 1 and 2 any unit may perform a Detailed Scan on the center point of each Grid section. As usual this can be Jammed, and must be done from within 6” of the grid center (it can be helpful to place a token or piece of terrain at these locations). The player that reports the most positions gains 1 point. If there is a tie, neither player gains a point. The count of scanned sections resets at the end of each round.
- Control Grid Positions: Later in the battle, forces know that reinforcements are on the way and will need a beachhead. During rounds 3 and 4 the player with more TV in a grid at the end of a round Controls that Grid Section. The player who controls the most Grid Sections gains 1 point. If there is a tie, neither player gains a point. The count of controlled grid section is evaluated independently for round 3 and 4.
6. Additional Rules
To represent the poor visibility as the Tempest clears, on the first turn any shot outside of 18″ takes a -1d6 penalty. Shots beyond 36″ require sensor lock or forward observation. We’re going to streamline this rule, but it worked fine.
The winds of the Tempest also force all VTOLs to be Elevated for the entirety of the first turn.
Forces
I figured that I’d want some ability to fight in close as well as a way to support other forces in other grid sectors. To that end, a pair of F6-16 Anti Tank Frames and a Peregrine have either the force projection with the LATMs or the Peregrine’s fast speed to support other units.
My usual Hoverbike squad can be anywhere it needs to be, so I wasn’t worried about that. My close in fighting was going to be done by the LHT-67 Assault, with the HC-3 being able to project power where I need to. I threw in an MHT-68 Raider as well to shoot at big things.
| Name | TV | A | Weapons | Traits | |
|---|---|---|---|---|---|
| CG1 SK |
F6-16 Anti-Tank Command | 11 | 1 | »LPA, »LCW, LATM(LA:2) | Hands, Comms, SatUp, ECCM ((Aux)), CGL, IS:5+, CP:1, Rank:2 |
| F6-16 Anti-Tank | 10 | 1 | »LPA, »LCW, LATM(LA:2) | Hands | |
| Peregrine Gunship | 16 | 2 | »MRL(AA), MRP(Link) | Agile, VTOL | |
| CG2 GP |
Command FLAIL Squad LPZ,Single | 6 | 1 | »HMG, »MICW, LPZ | Comms, SatUp, Jetpack:4 |
| GREL Hoverbike Squad Jan,Single | 5 | 1 | »HIW, »MIGL, »MICW | Agile, JumpJets:2, Comms, SatUp | |
| GREL Hoverbike Squad Jan,Single | 5 | 1 | »HIW, »MIGL, »MICW | Agile, JumpJets:2, Comms, SatUp | |
| GREL Hoverbike Squad Jan,Single | 5 | 1 | »HIW, »MIGL, »MICW | Agile, JumpJets:2, Comms, SatUp | |
| GREL Hoverbike Squad Jan,Single | 5 | 1 | »HIW, »MIGL, »MICW | Agile, JumpJets:2, Comms, SatUp | |
| GREL Hoverbike Squad Jan,Single | 5 | 1 | »HIW, »MIGL, »MICW | Agile, JumpJets:2, Comms, SatUp | |
| MHT-68 Raider | 24 | 3 | MPL(T,Link), MATM(T), MABM(T) | Airdrop, JumpJets:2 (Aux), Sensors:24, TD | |
| CG3 RC |
LHT-67 Assault | 15 | 2 | »MFC(T,Link), MRL(T) | Agile, Airdrop, JumpJets:3 (Aux), Sensors:24, TD |
| HC-3 | 14 | 2 | »LLC, LRP | Agile, Airdrop, TD, Comms, SatUp, VulnH, ECM+, ECCM, Sensors:36, JumpJets:4 (Aux) | |
| CG4 SO |
Morgana FLAIL Squad LPZ | 8 | 1 | »HMG, »HICW(AP:1), LPZ | Agile, Brawl:1, Stealth, Jetpack:4 |
| Morgana FLAIL Squad LPZ | 8 | 1 | »HMG, »HICW(AP:1), LPZ | Agile, Brawl:1, Stealth, Jetpack:4 | |
| Morgana FLAIL Squad LPZ | 8 | 1 | »HMG, »HICW(AP:1), LPZ | Agile, Brawl:1, Stealth, Jetpack:4 | |
| Morgana GREL Sniper Squad Team | 5 | 1 | »MIW, »MICW, HIR(Silent) | Agile, Brawl:1, Stealth | |
| Total | 150 | 21 |
Finally, the Morgana squad was there to literally get into a knife fight. Than did some stuff that I haven’t really looked at before. He dramatically upgraded a pair of stock Kadesh mounts to Veterans with Brawl: 4 (Caprice Invasion Detatchment sublist upgrade to Brawl: 2, then the Brawl: +2 veteran upgrade) . Ruh-roh. He took a Ammon Buster as well to fulfill the big chonker requirements.
| Name | TV | A | Weapons | Traits | |
|---|---|---|---|---|---|
| CG1 SK |
Kadesh | 21 | 1 | »MRC, »MMG, MSG | React+, Stable, Brawl:4, ECM, Climber, Jetpack:4, CGL, IS:5+, CP:1, Rank:2, Vet, SP:1 |
| Kadesh | 21 | 1 | »MRC, »MMG, MSG | React+, Stable, Brawl:4, ECM, Climber, Jetpack:4, Vet, SP:1 | |
| Stalker Acco | 6 | 1 | »LFC, »LRP, »MMG, LSG | Agile, Climber, Stable, Conscript | |
| Stalker Acco | 6 | 1 | »LFC, »LRP, »MMG, LSG | Agile, Climber, Stable, Conscript | |
| Jackrabbit Recon Squad Single | 4 | 1 | »LIW, »LICW | Agile, TD, Comms | |
| CG2 RC |
Jammer Bashan Command | 16 | 1 | »MAC, LSG | React+, Brawl:1, Climber, ECM+, ECCM, Comms, SatUp, TD, Stable, SP:+1, CGL, IS:5+, CP:1, Rank:2 |
| Sniper Acco | 6 | 1 | »LRF, »LRP, »MMG, LSG | Agile, Climber, Stable, Conscript | |
| Sniper Acco | 6 | 1 | »LRF, »LRP, »MMG, LSG | Agile, Climber, Stable, Conscript | |
| Pyro Acco | 6 | 1 | »LFL, »LRP, »MMG, LSG | Agile, Climber, Stable, Conscript | |
| CG3 GP |
Ammon Buster | 32 | 2 | »MATM, »HMG, MSG | React+, Brawl:1, Climber, Stable, TD, CGL, IS:5+, CP:1, Rank:2 |
| Jackrabbit Recon Squad Single | 4 | 1 | »LIW, »LICW | Agile, TD, Comms | |
| Mortar Squad Team | 3 | 1 | »LIW, »LICW, MIM(Brace) | – | |
| CG4 SK |
Jammer Bashan | 19 | 1 | »MAC, LSG | React+, Brawl:1, Climber, ECM+, ECCM, Comms, SatUp, TD, Stable, Vet, SP:1, Duelist, Rule:+1D6_to_EW_rolls, Agile |
| Total | 150 | 14 |
The rest of his list was filled out with Jackrabbits, Acco, and Bashan to support everything else. He even took a Duelist Bashan with Agile and EW Specialist. Woof. That wasn’t going to be fun to deal with!
Editor’s note: Adam pointed out that Jackrabbits aren’t available to Caprice. Not a big deal.
Deployment
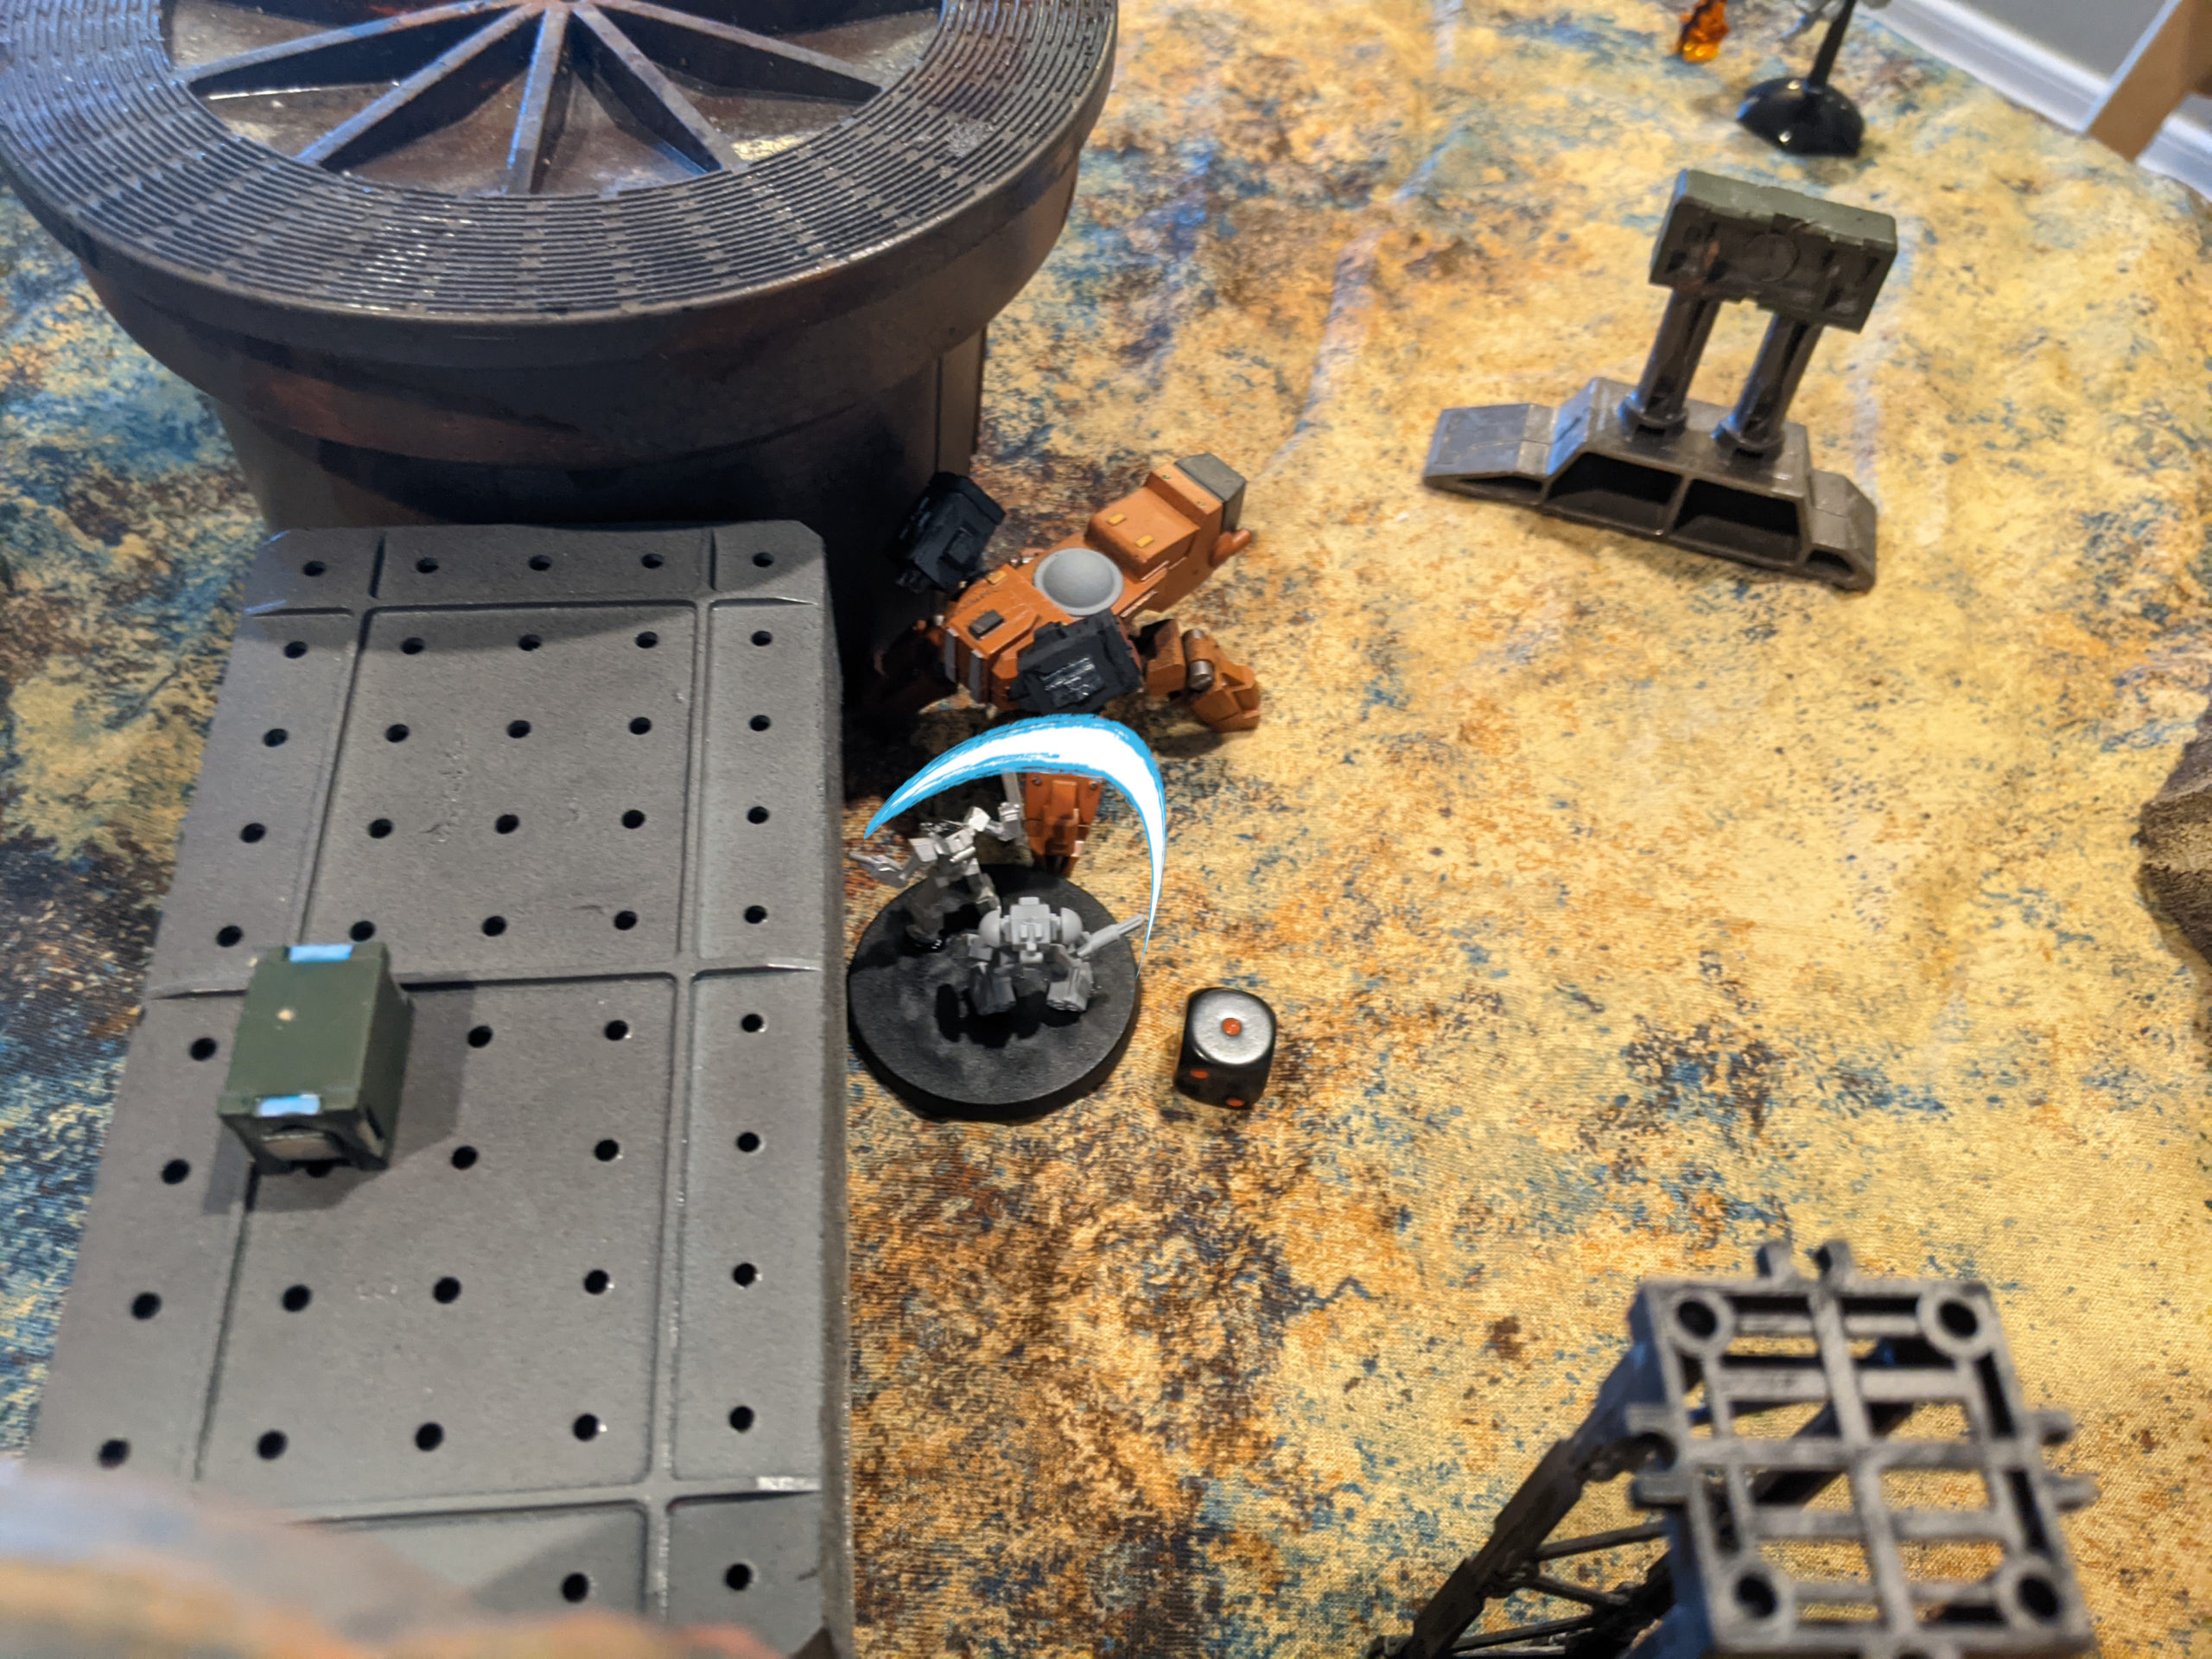
Than lost the deployment roll. He rolled the far right corner for his Ammon group and stuck his Ammon and the Mortar squad in cover. I rolled the far left corner for my F6-16 squad, which seemed okay to me as I wanted to sneak behind the Ammon and light it up with the particle accelerators.
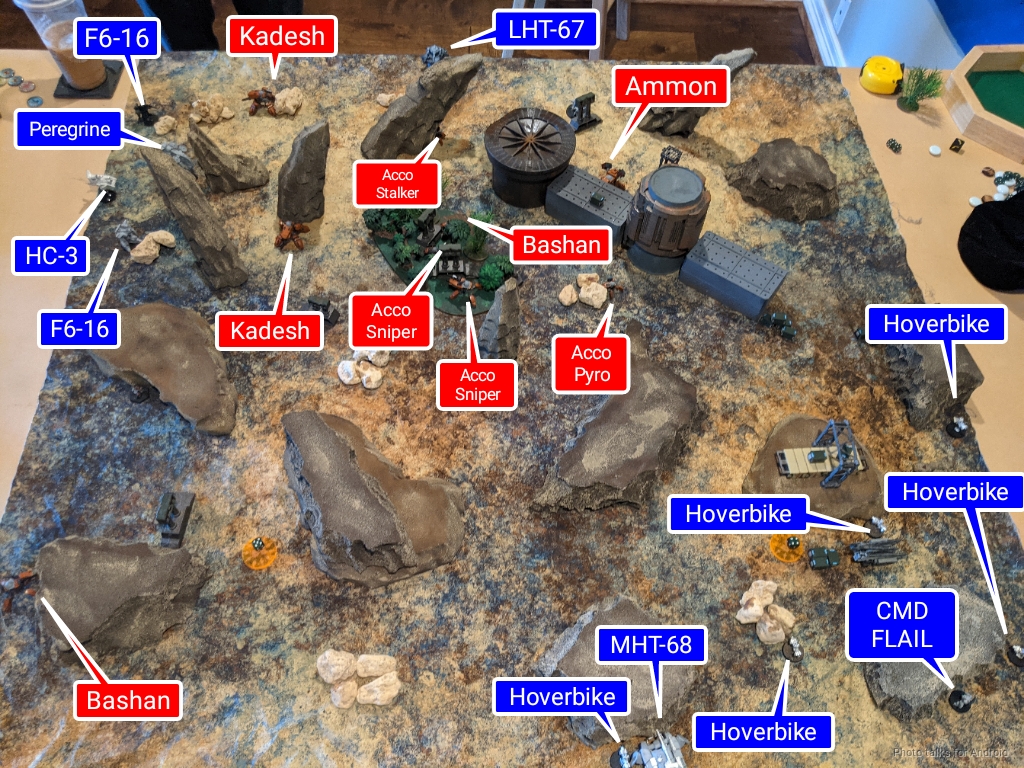
Than’s Bashan Duelist was next, and ended up by itself in the near left quadrant. My Hoverbikes and MHT-68 ended up on the near right quadrant, spread out.
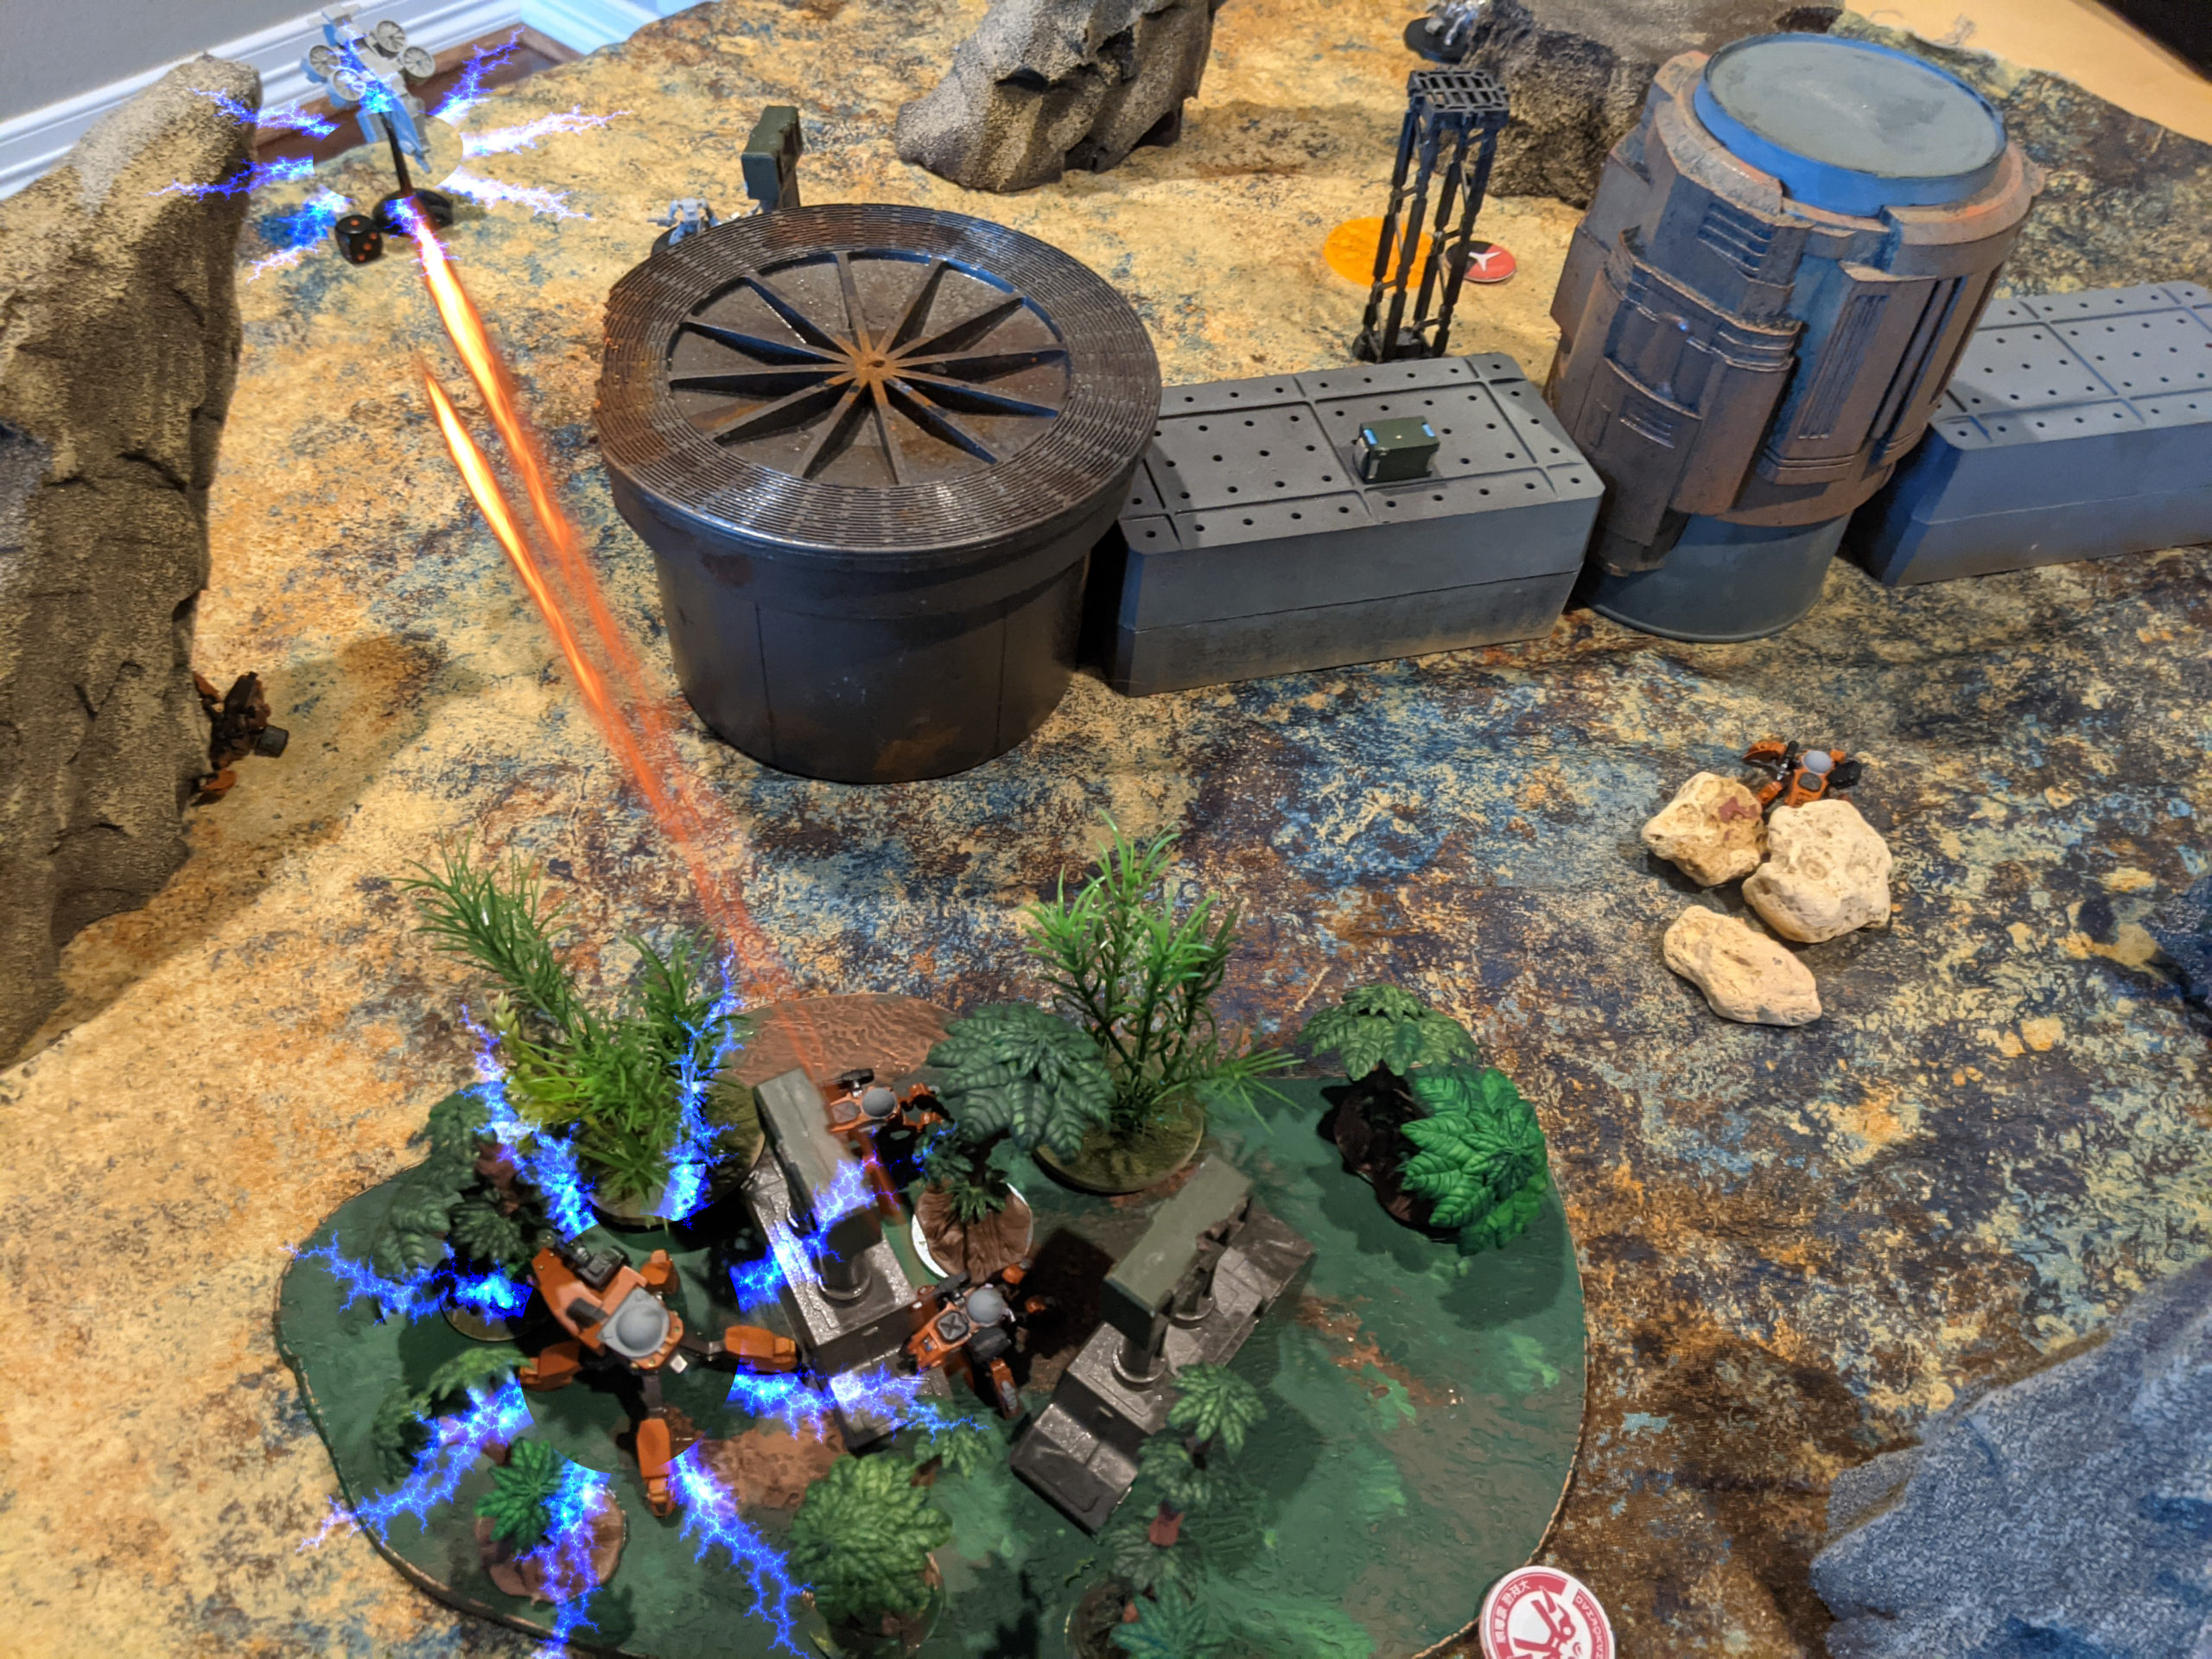
Than’s Recon CG ended up in the same quadrant as the Ammon, but used their recon deployment to take up residence in the oasis.

My Morgana arrived behind the Ammon, which I felt okay about. However, much to my dismay, the Kadesh with Brawl: 4 arrived in the same quadrant as my Peregrine and F6-16, with a pair of Accos with LFC to threaten my flails. I countered with an HC-3 and and LHT-67, hoping to activate first and escape the deadly spike guns of the Bashans.
This was going to be a bloody game!
Objectives
- CEF
- Assassinate
- Kadesh
- Bashan
- Break the Line
- Hold
- Assassinate
- Caprice
- Break the Line
- Break the Line
- Detailed Scan
- Morgana Sniper Team
- F6-16 Anti-Tank
We both chose Break the Line, as we both had forces on a side of the table that would work for it. Than ended up selecting Break the Line twice, in fact.
Fight!
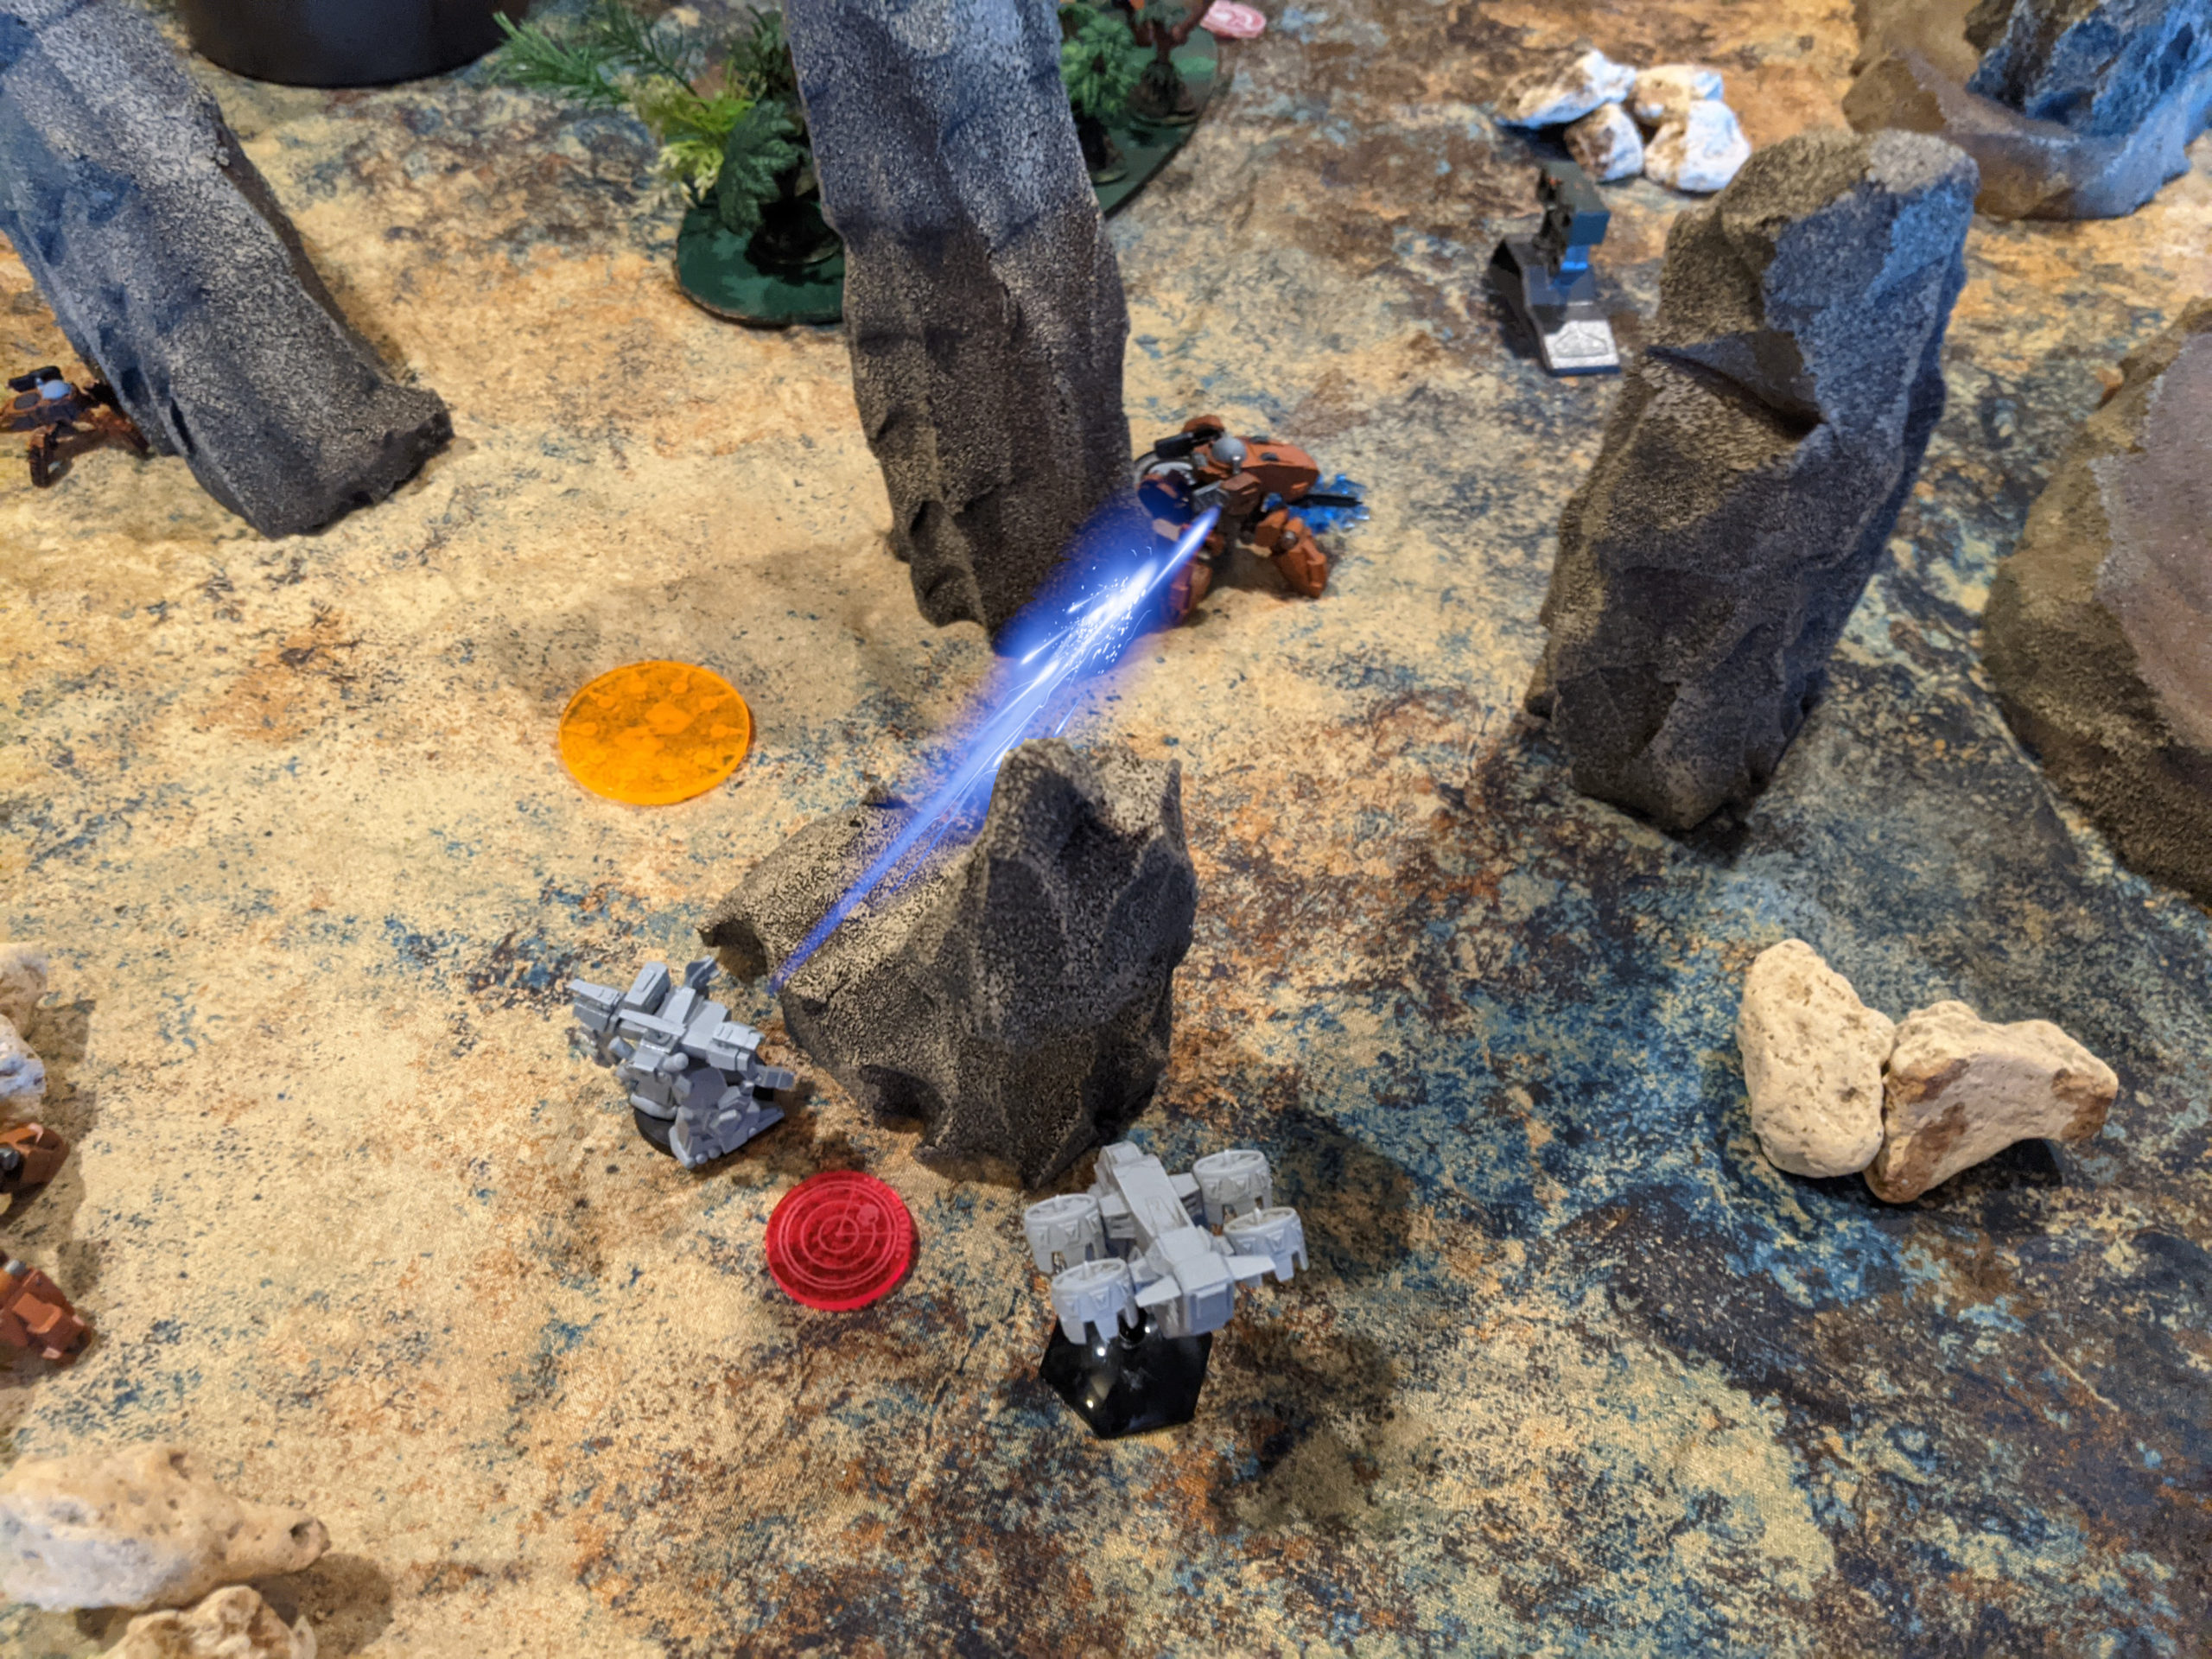
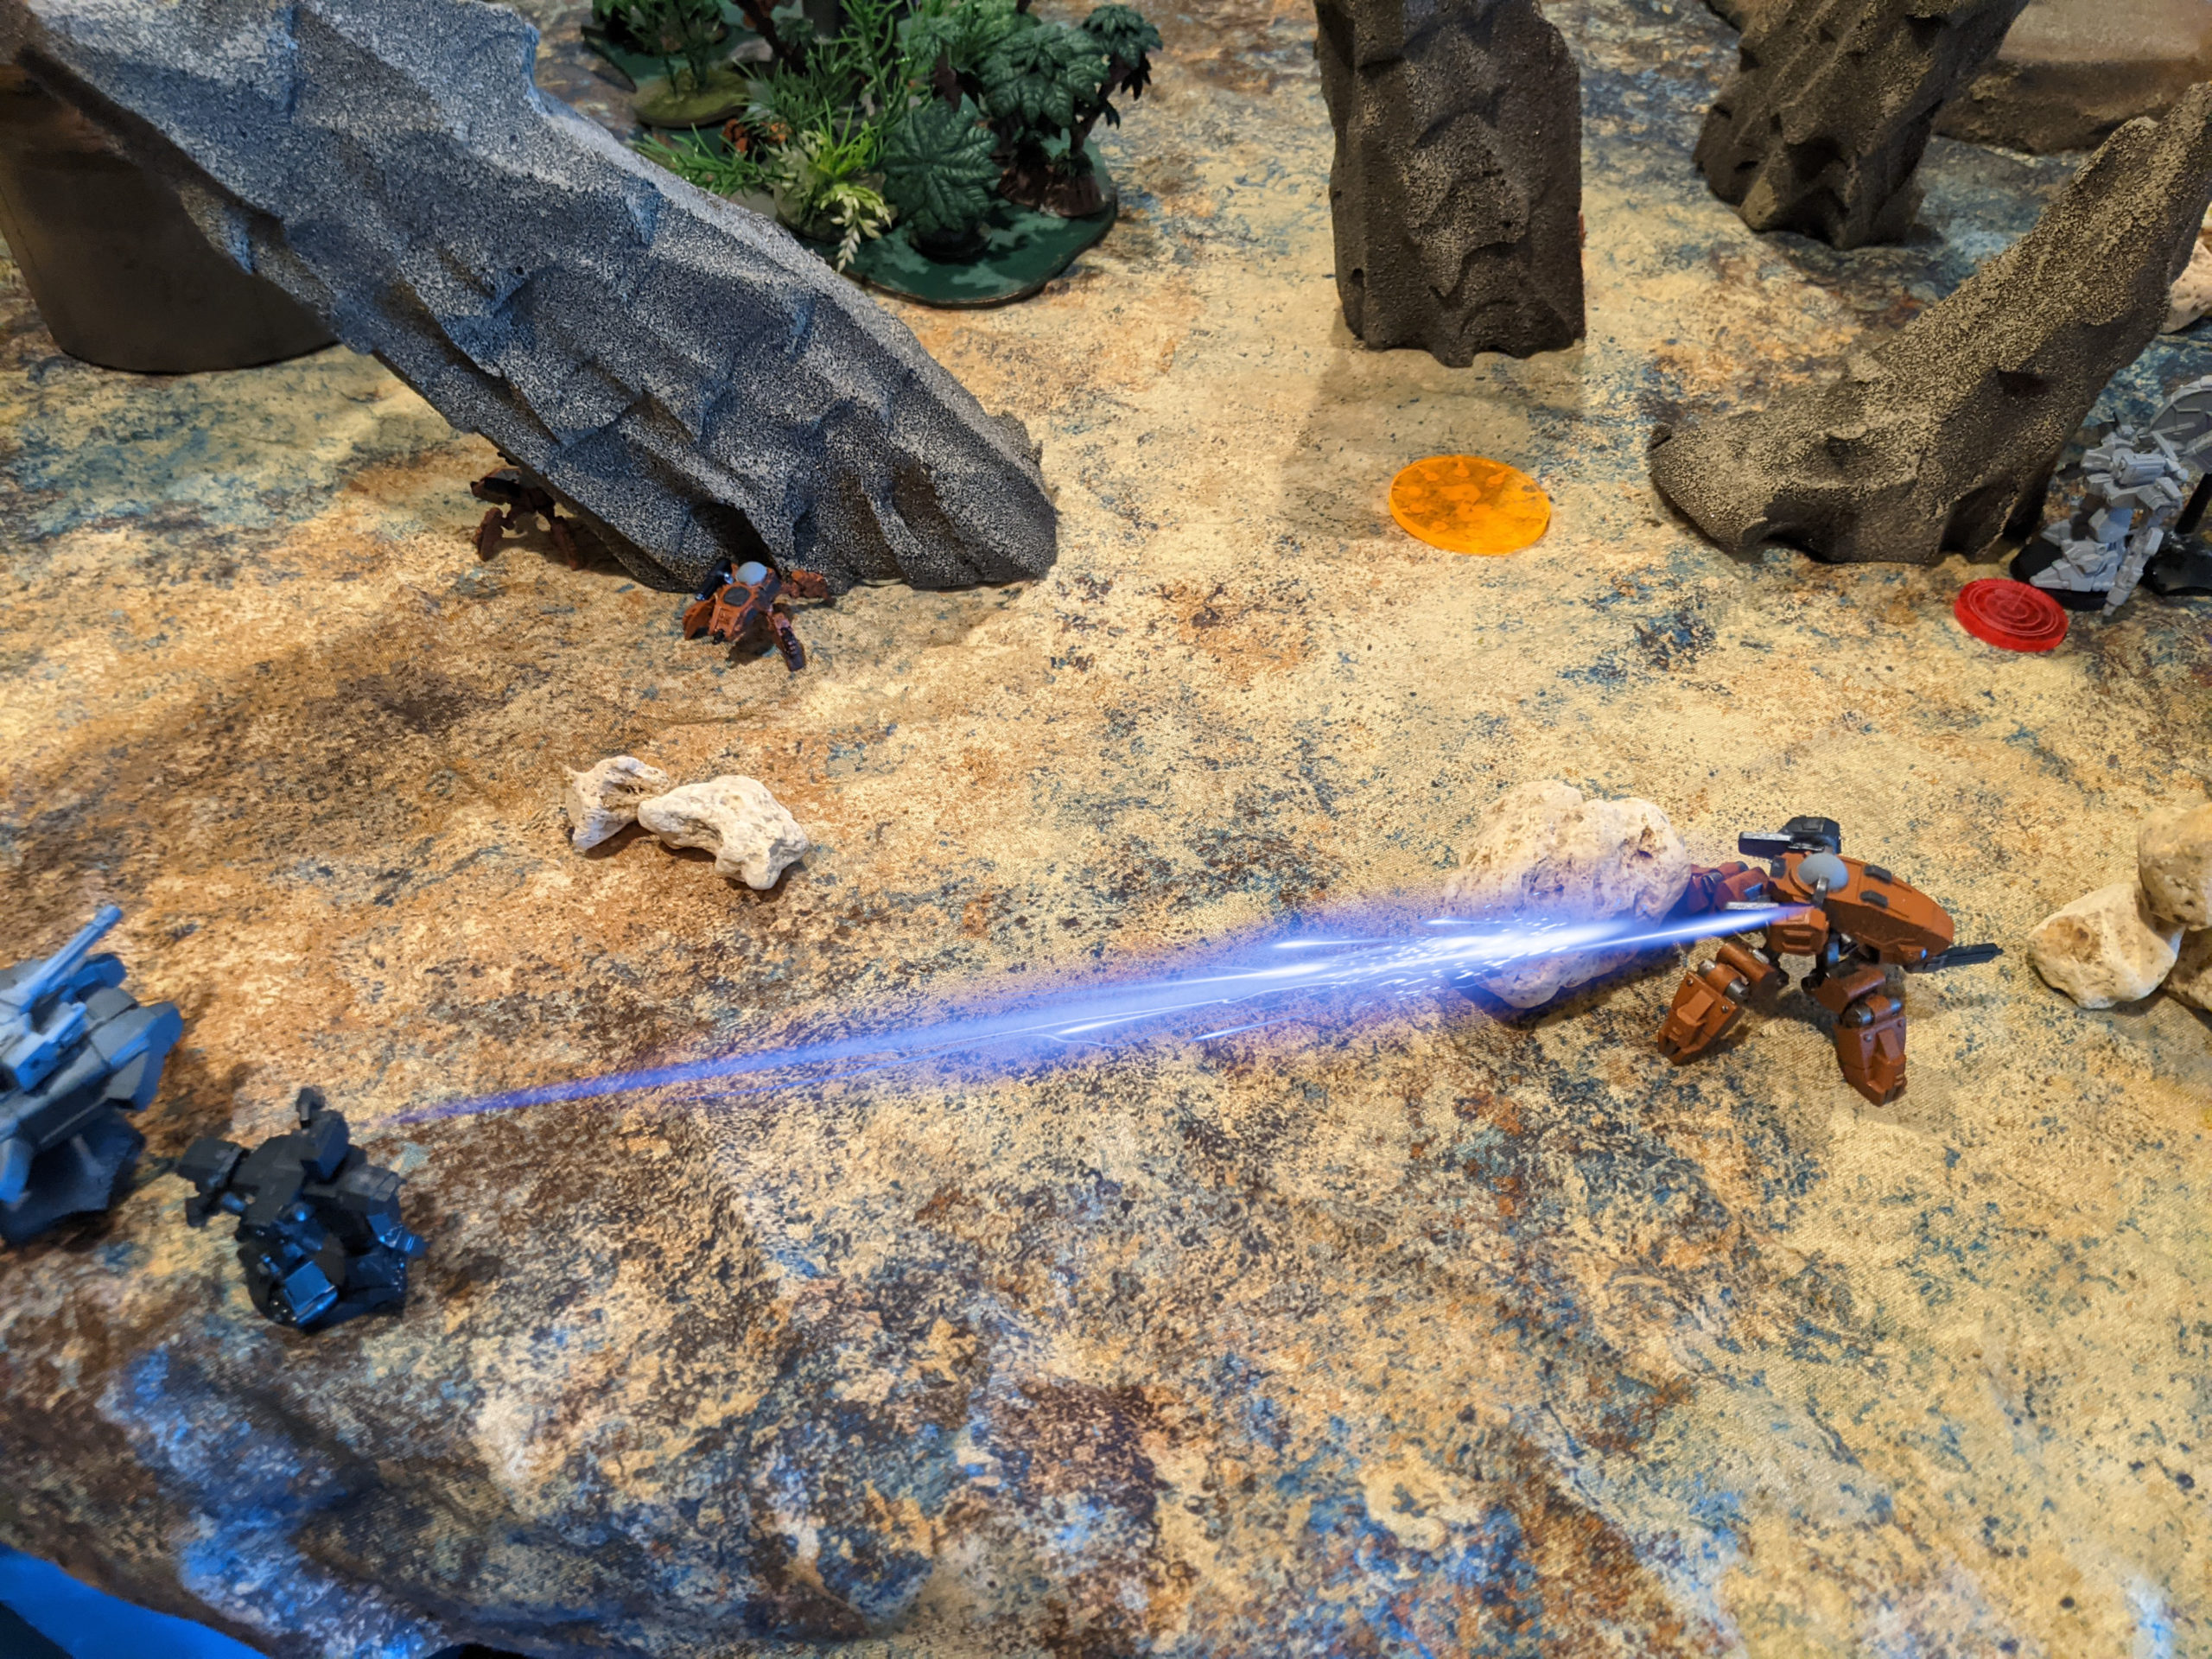
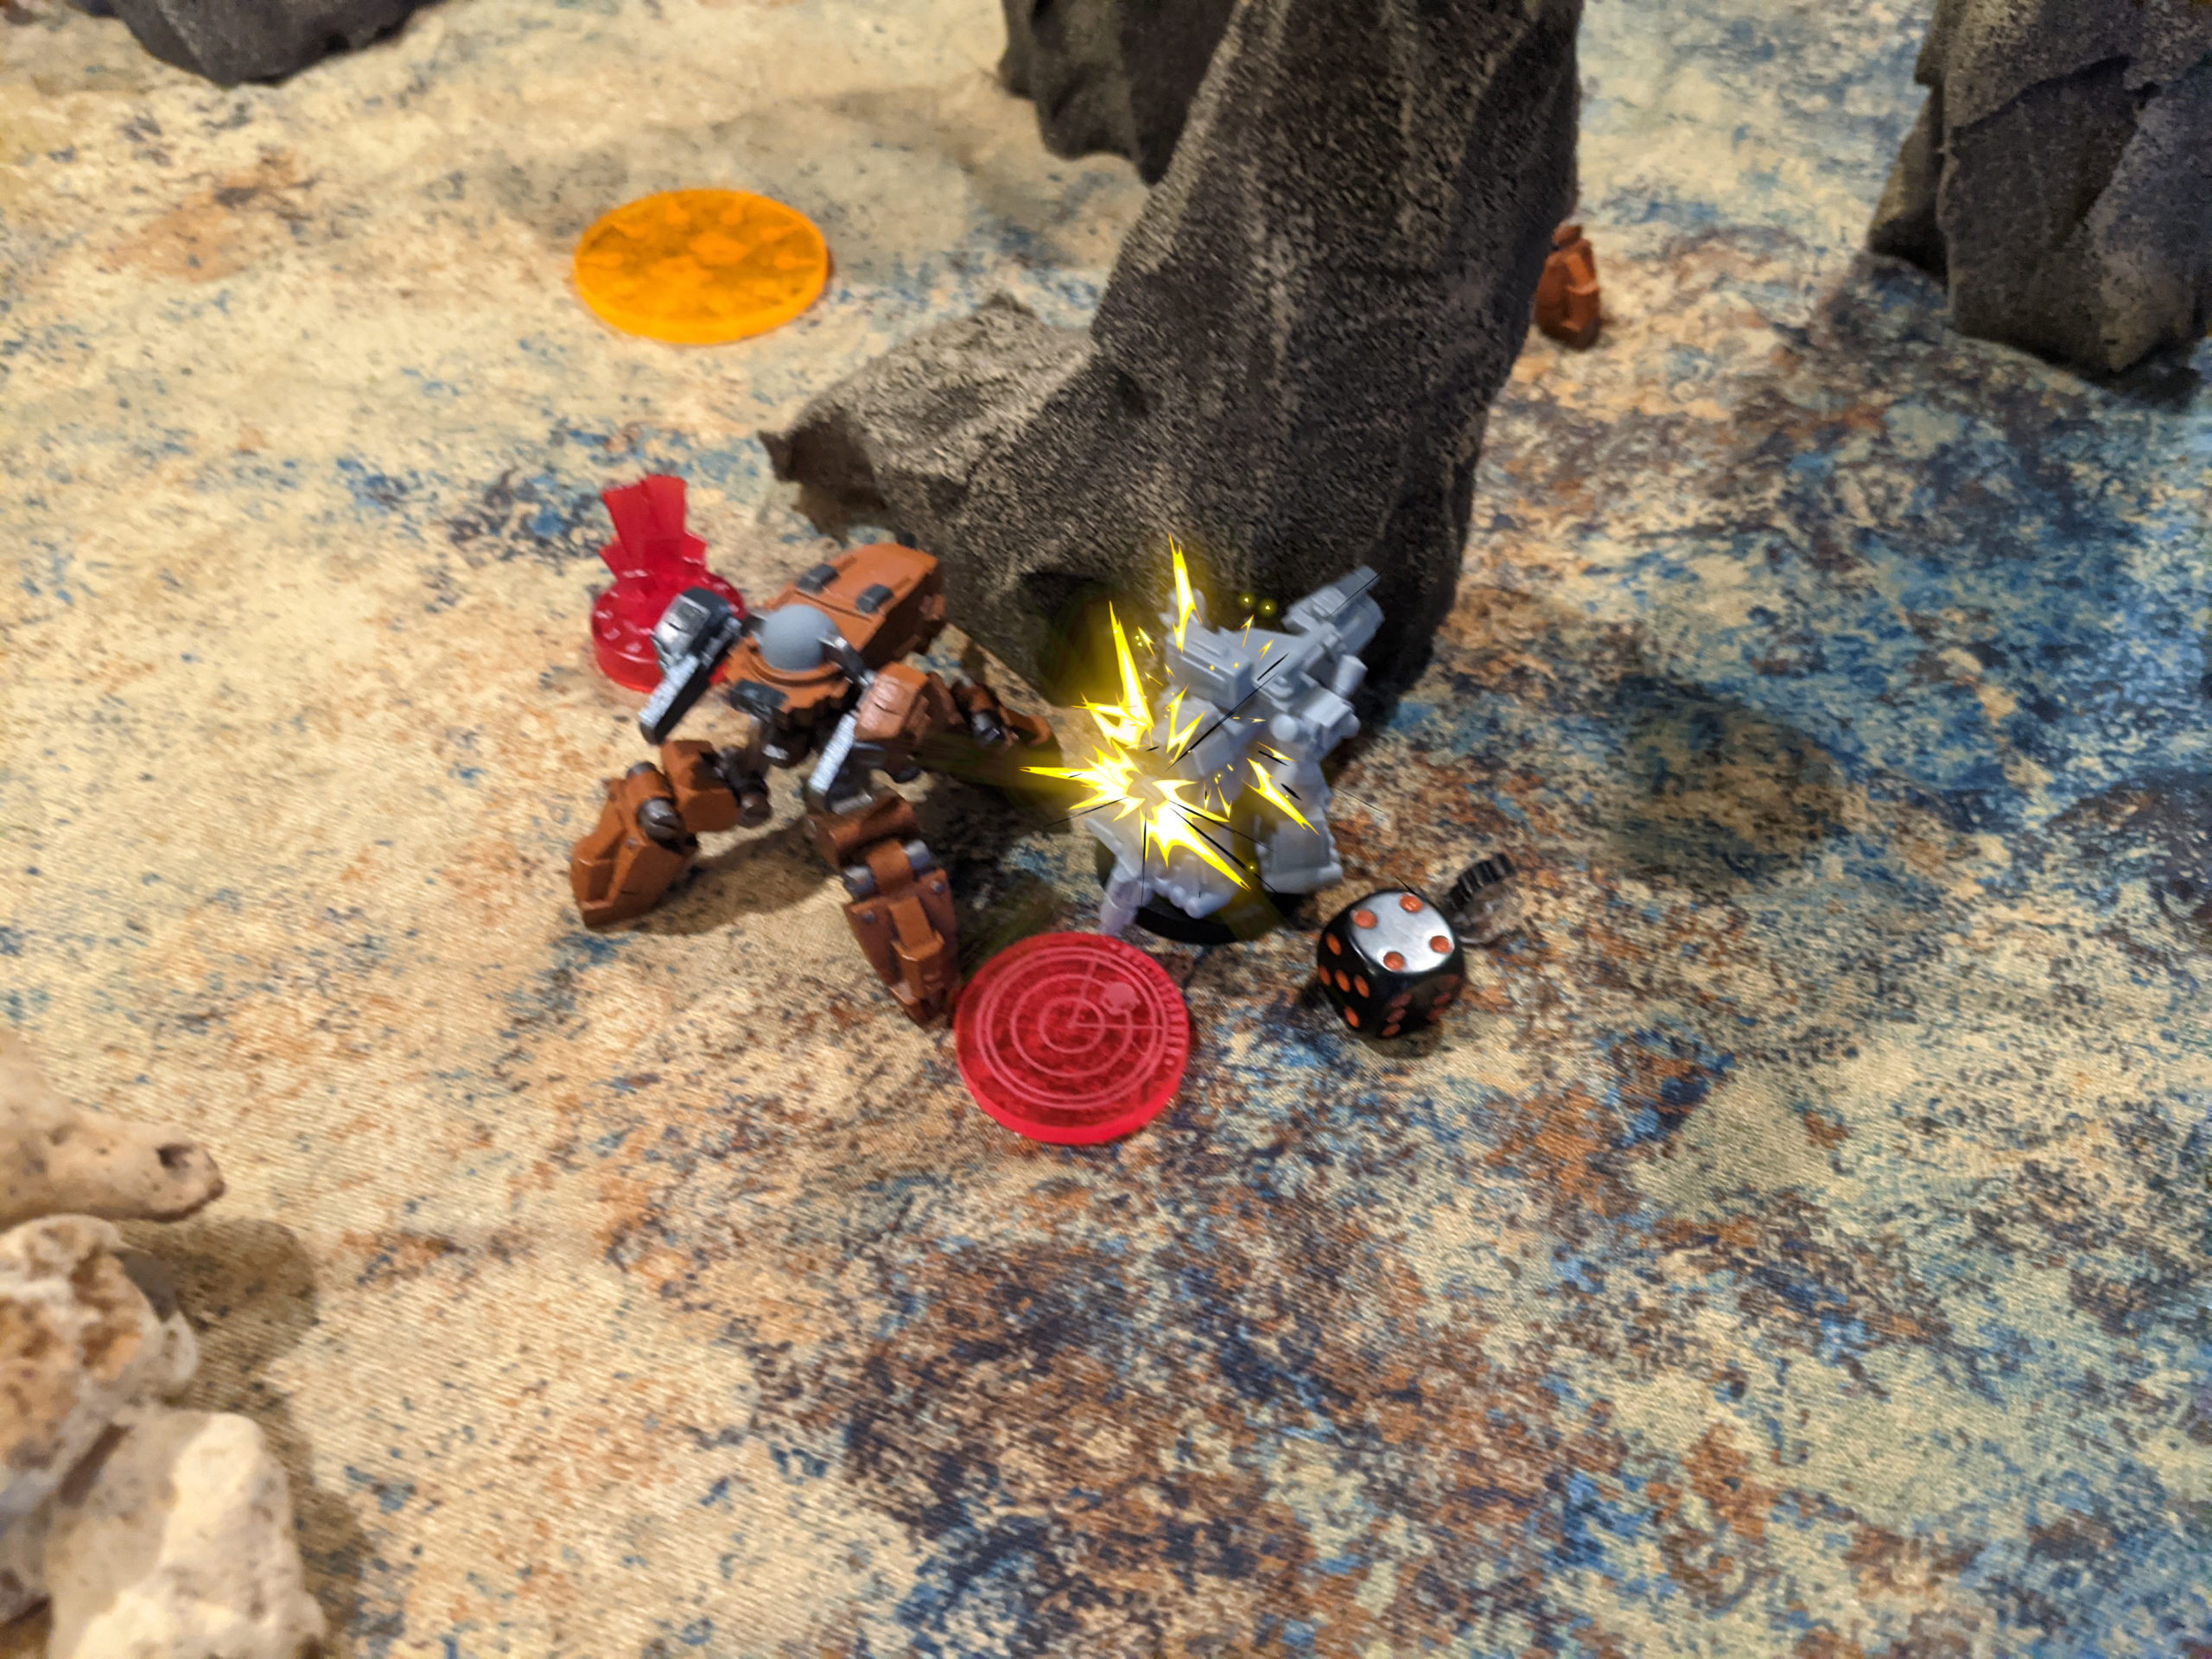
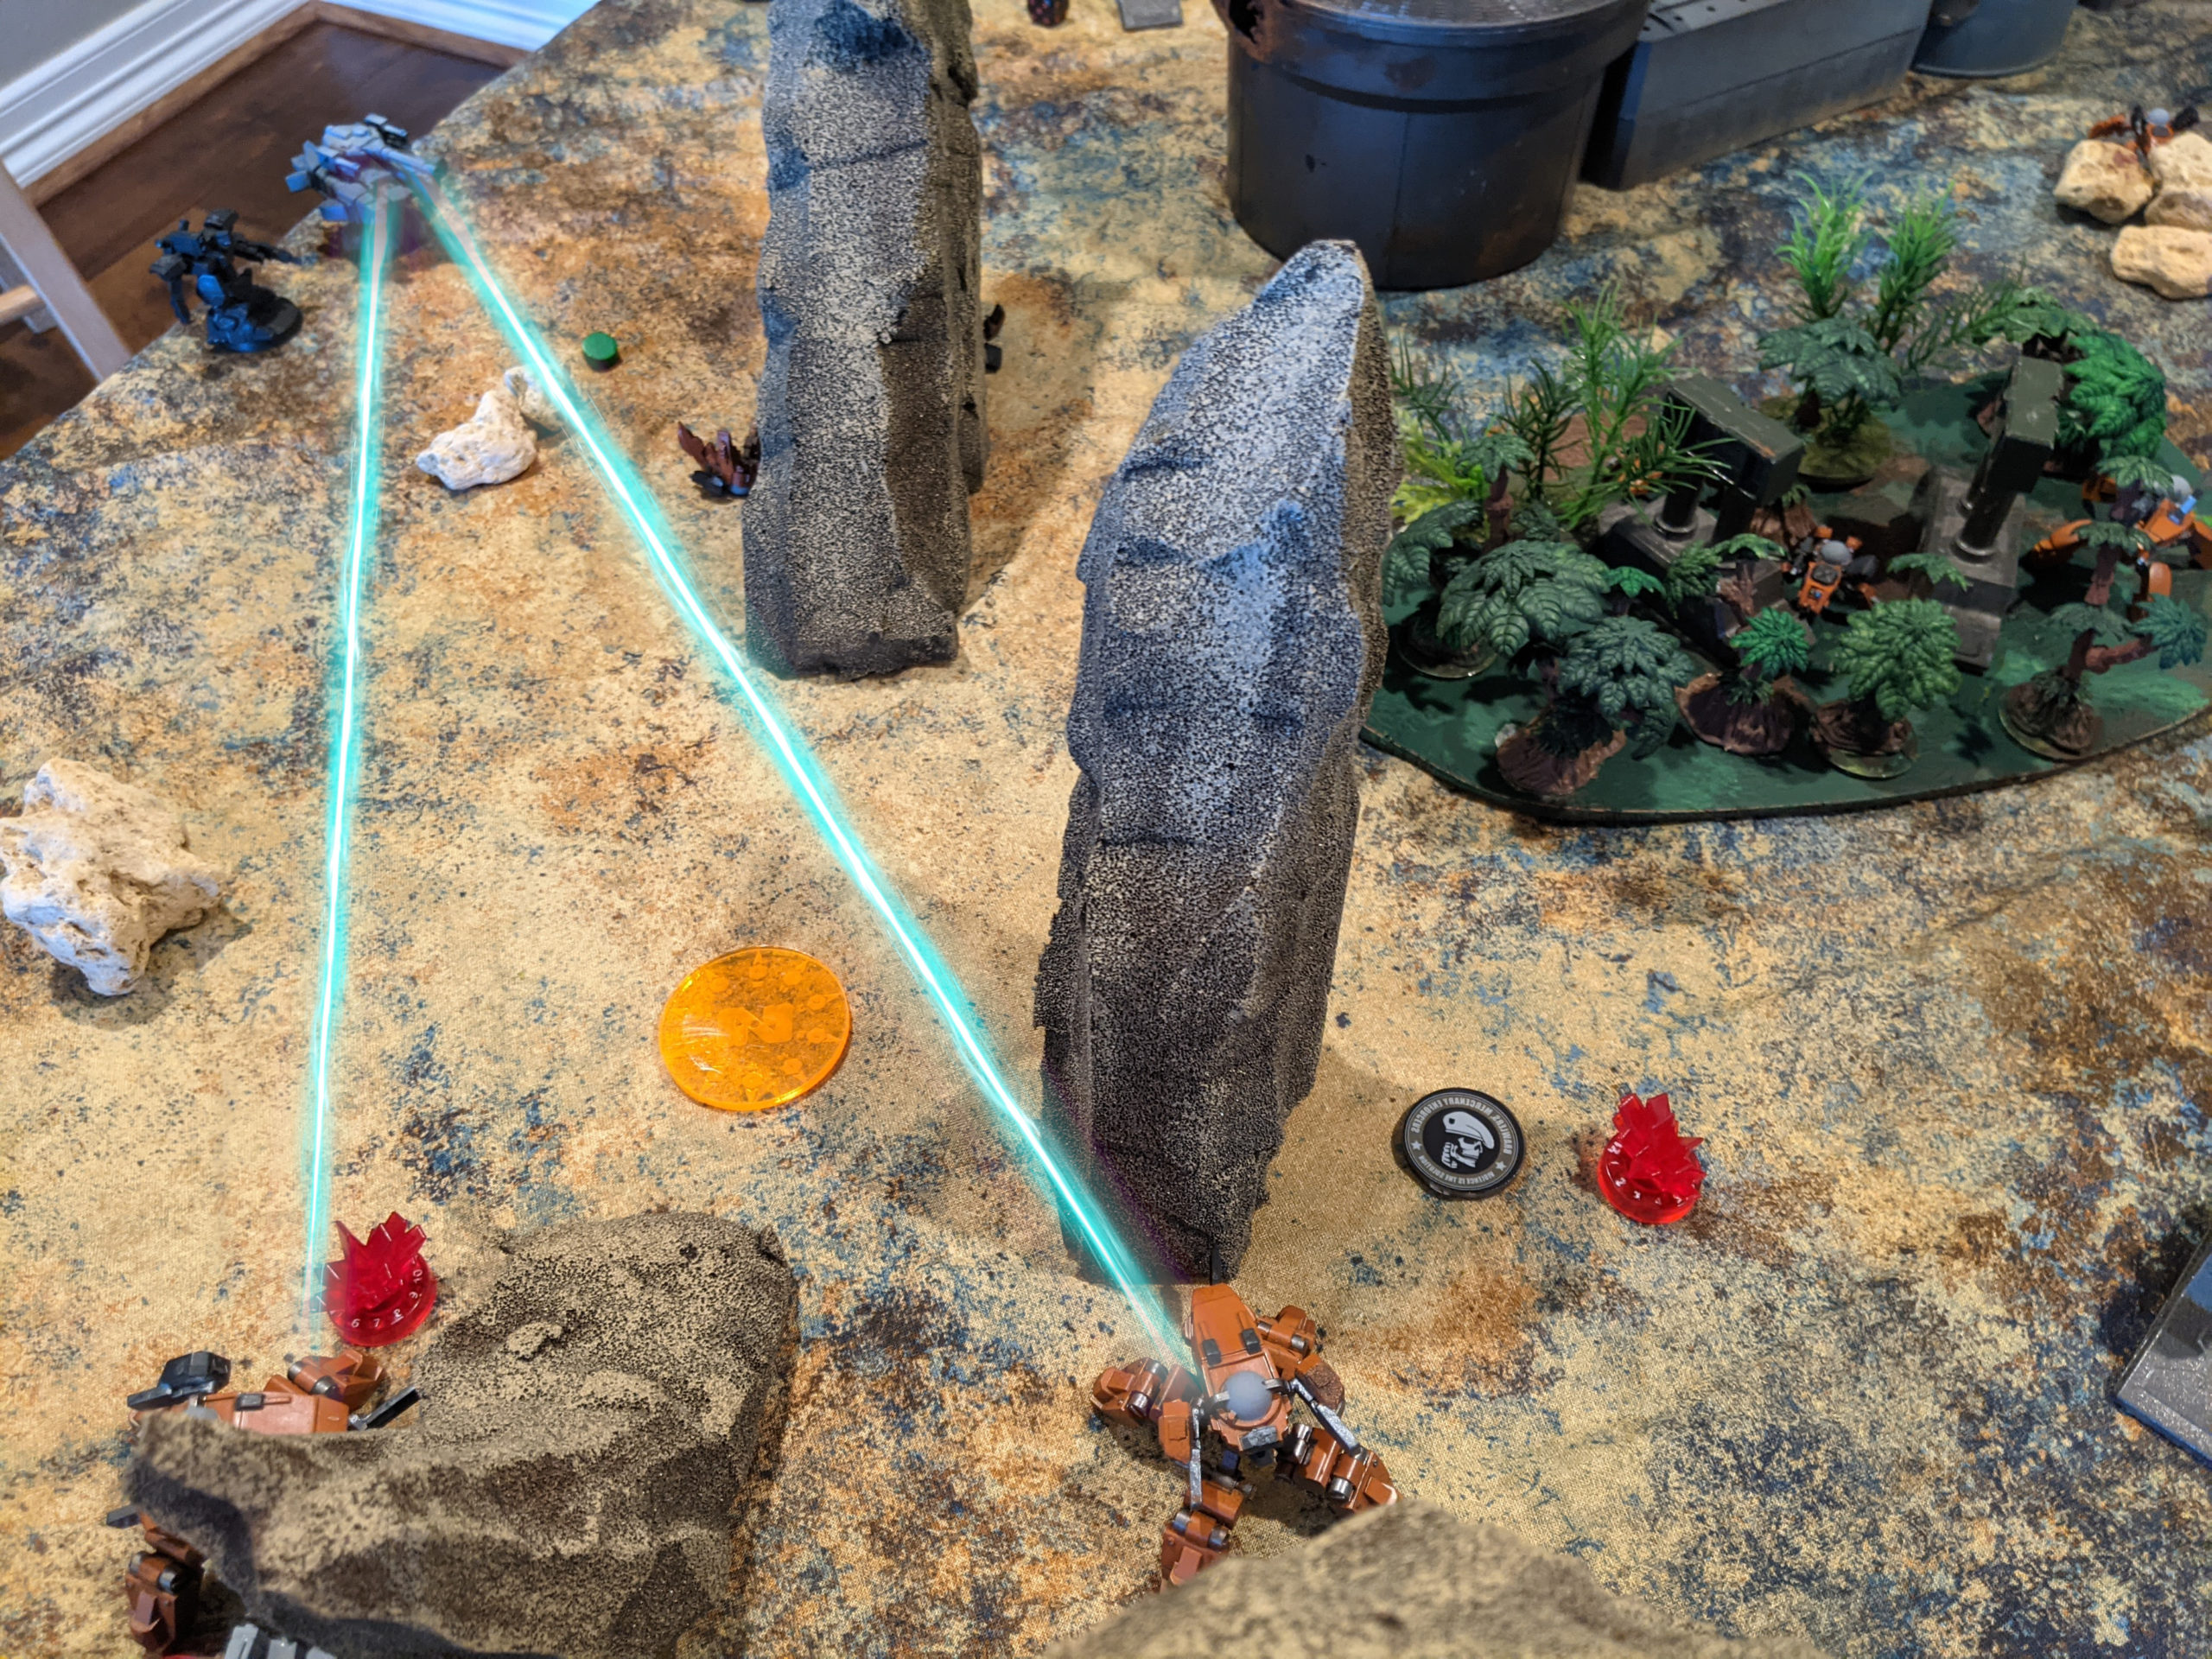
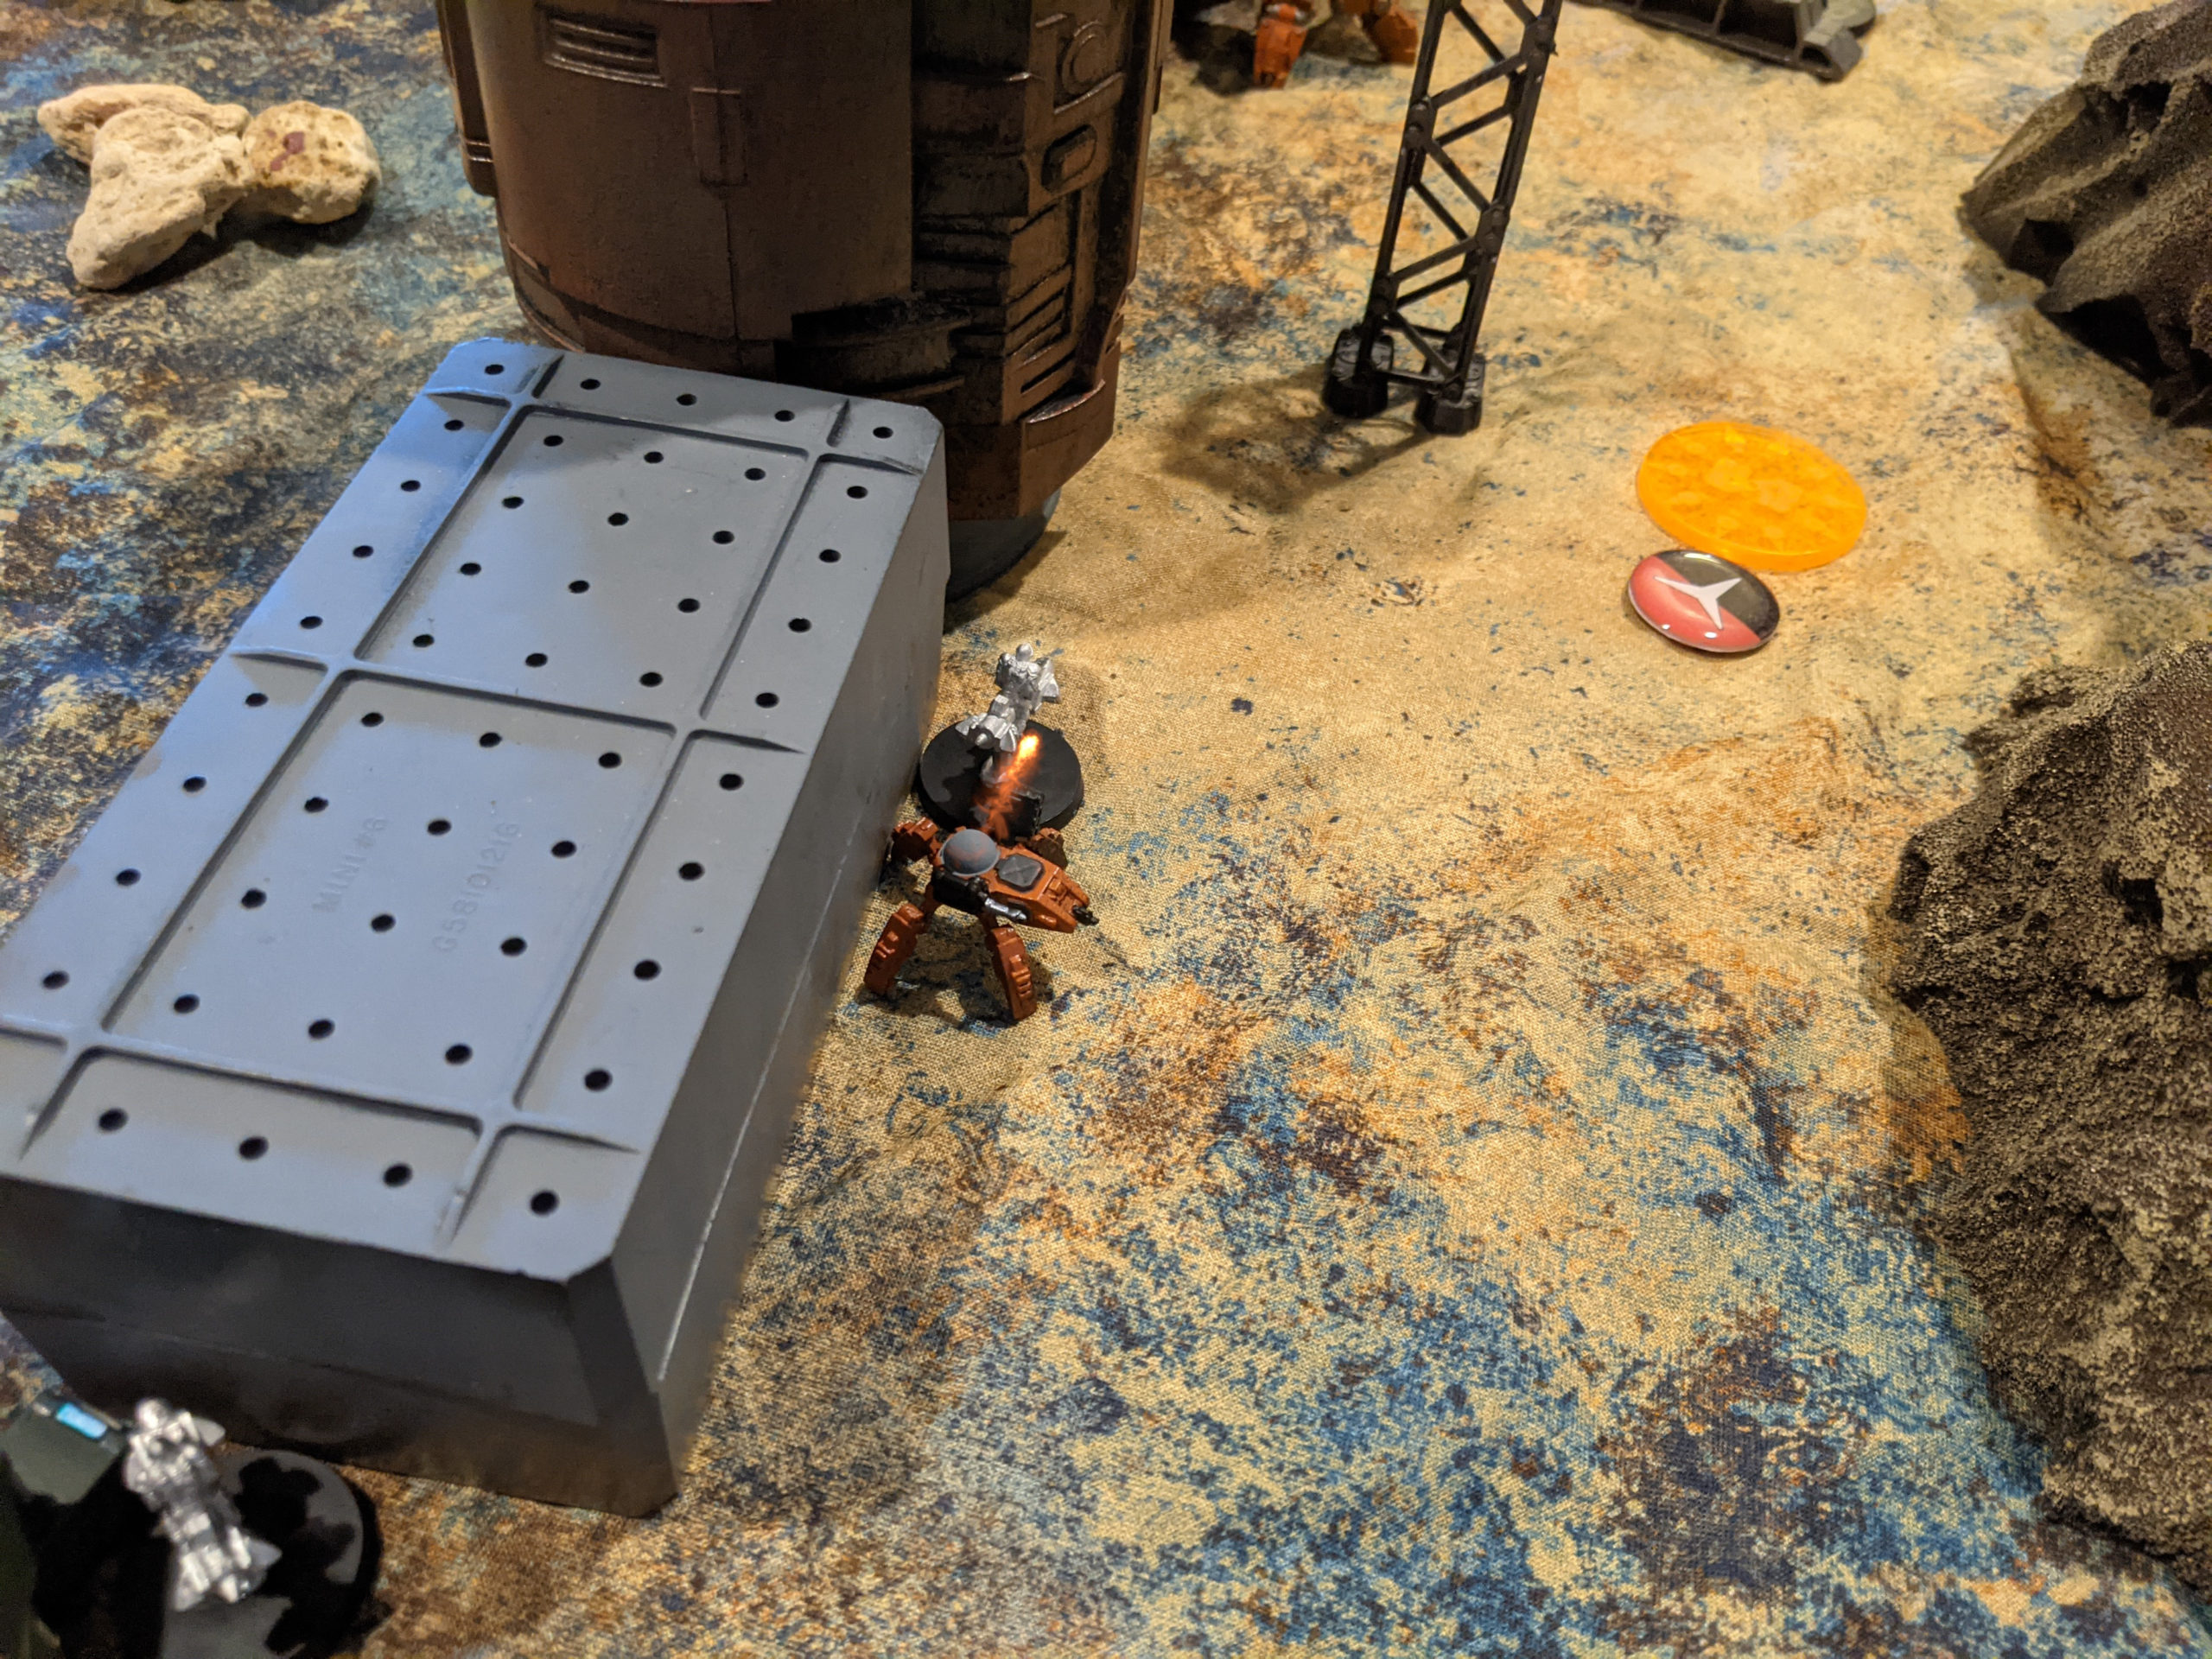
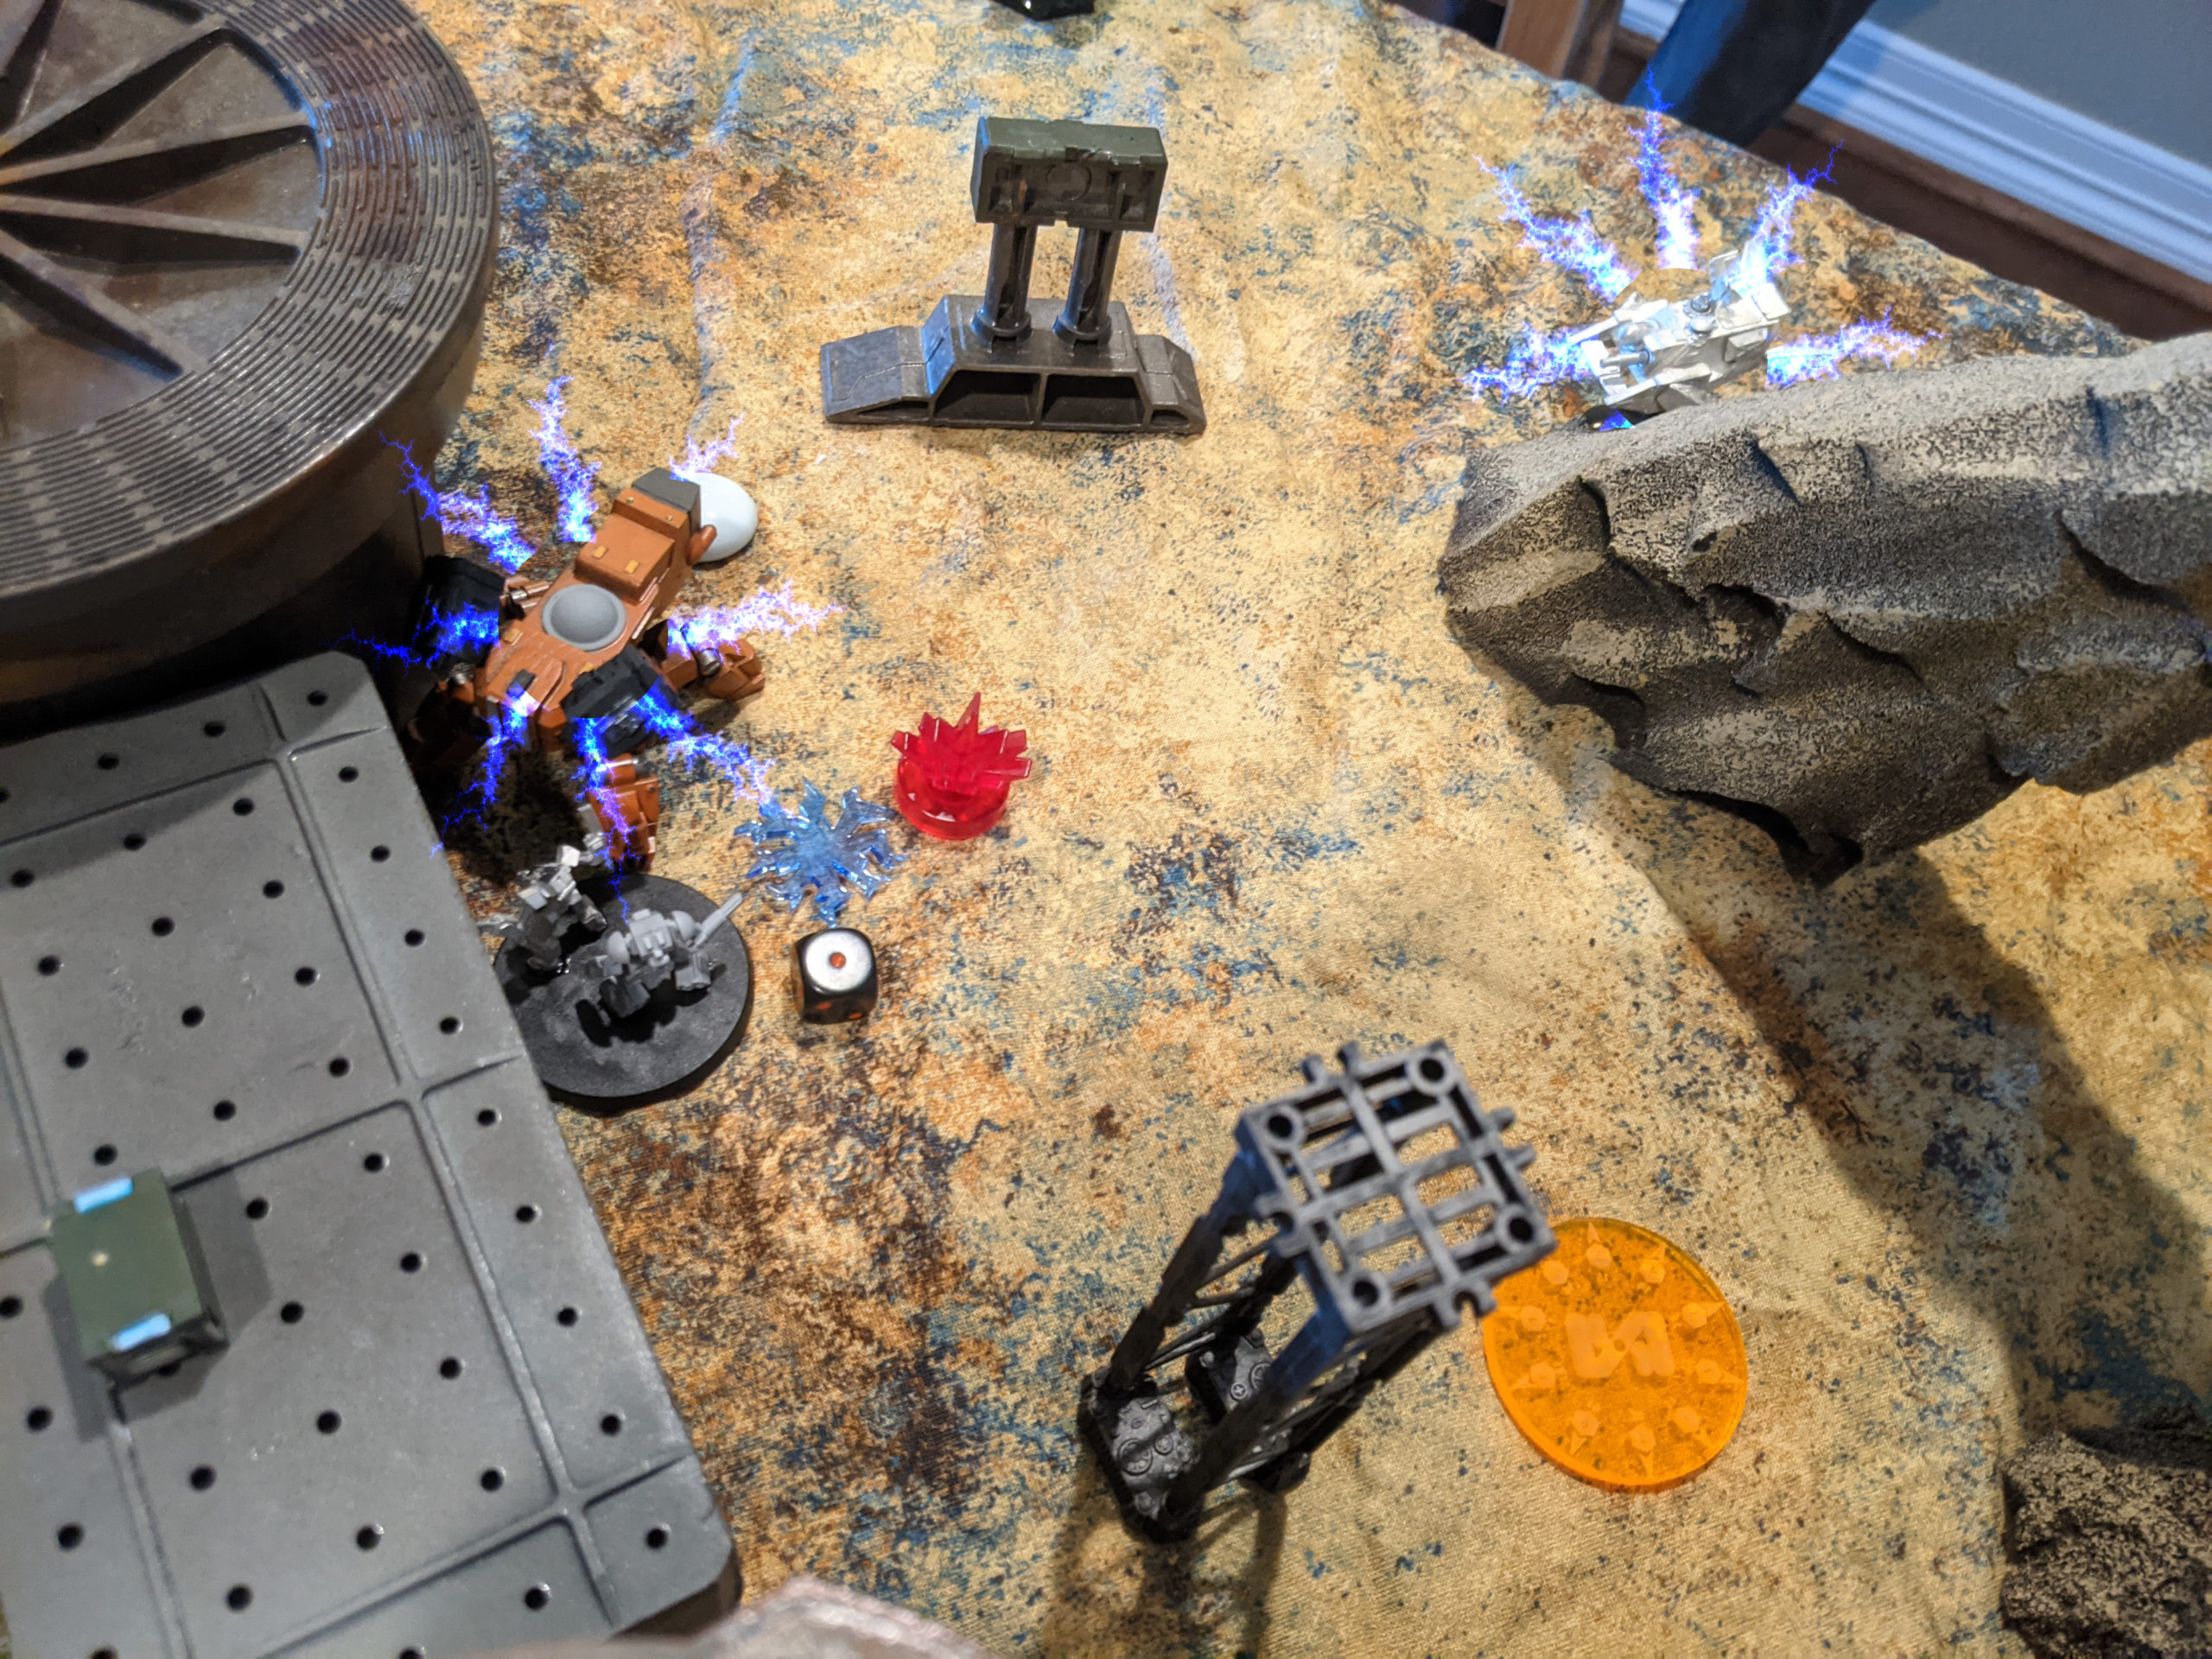
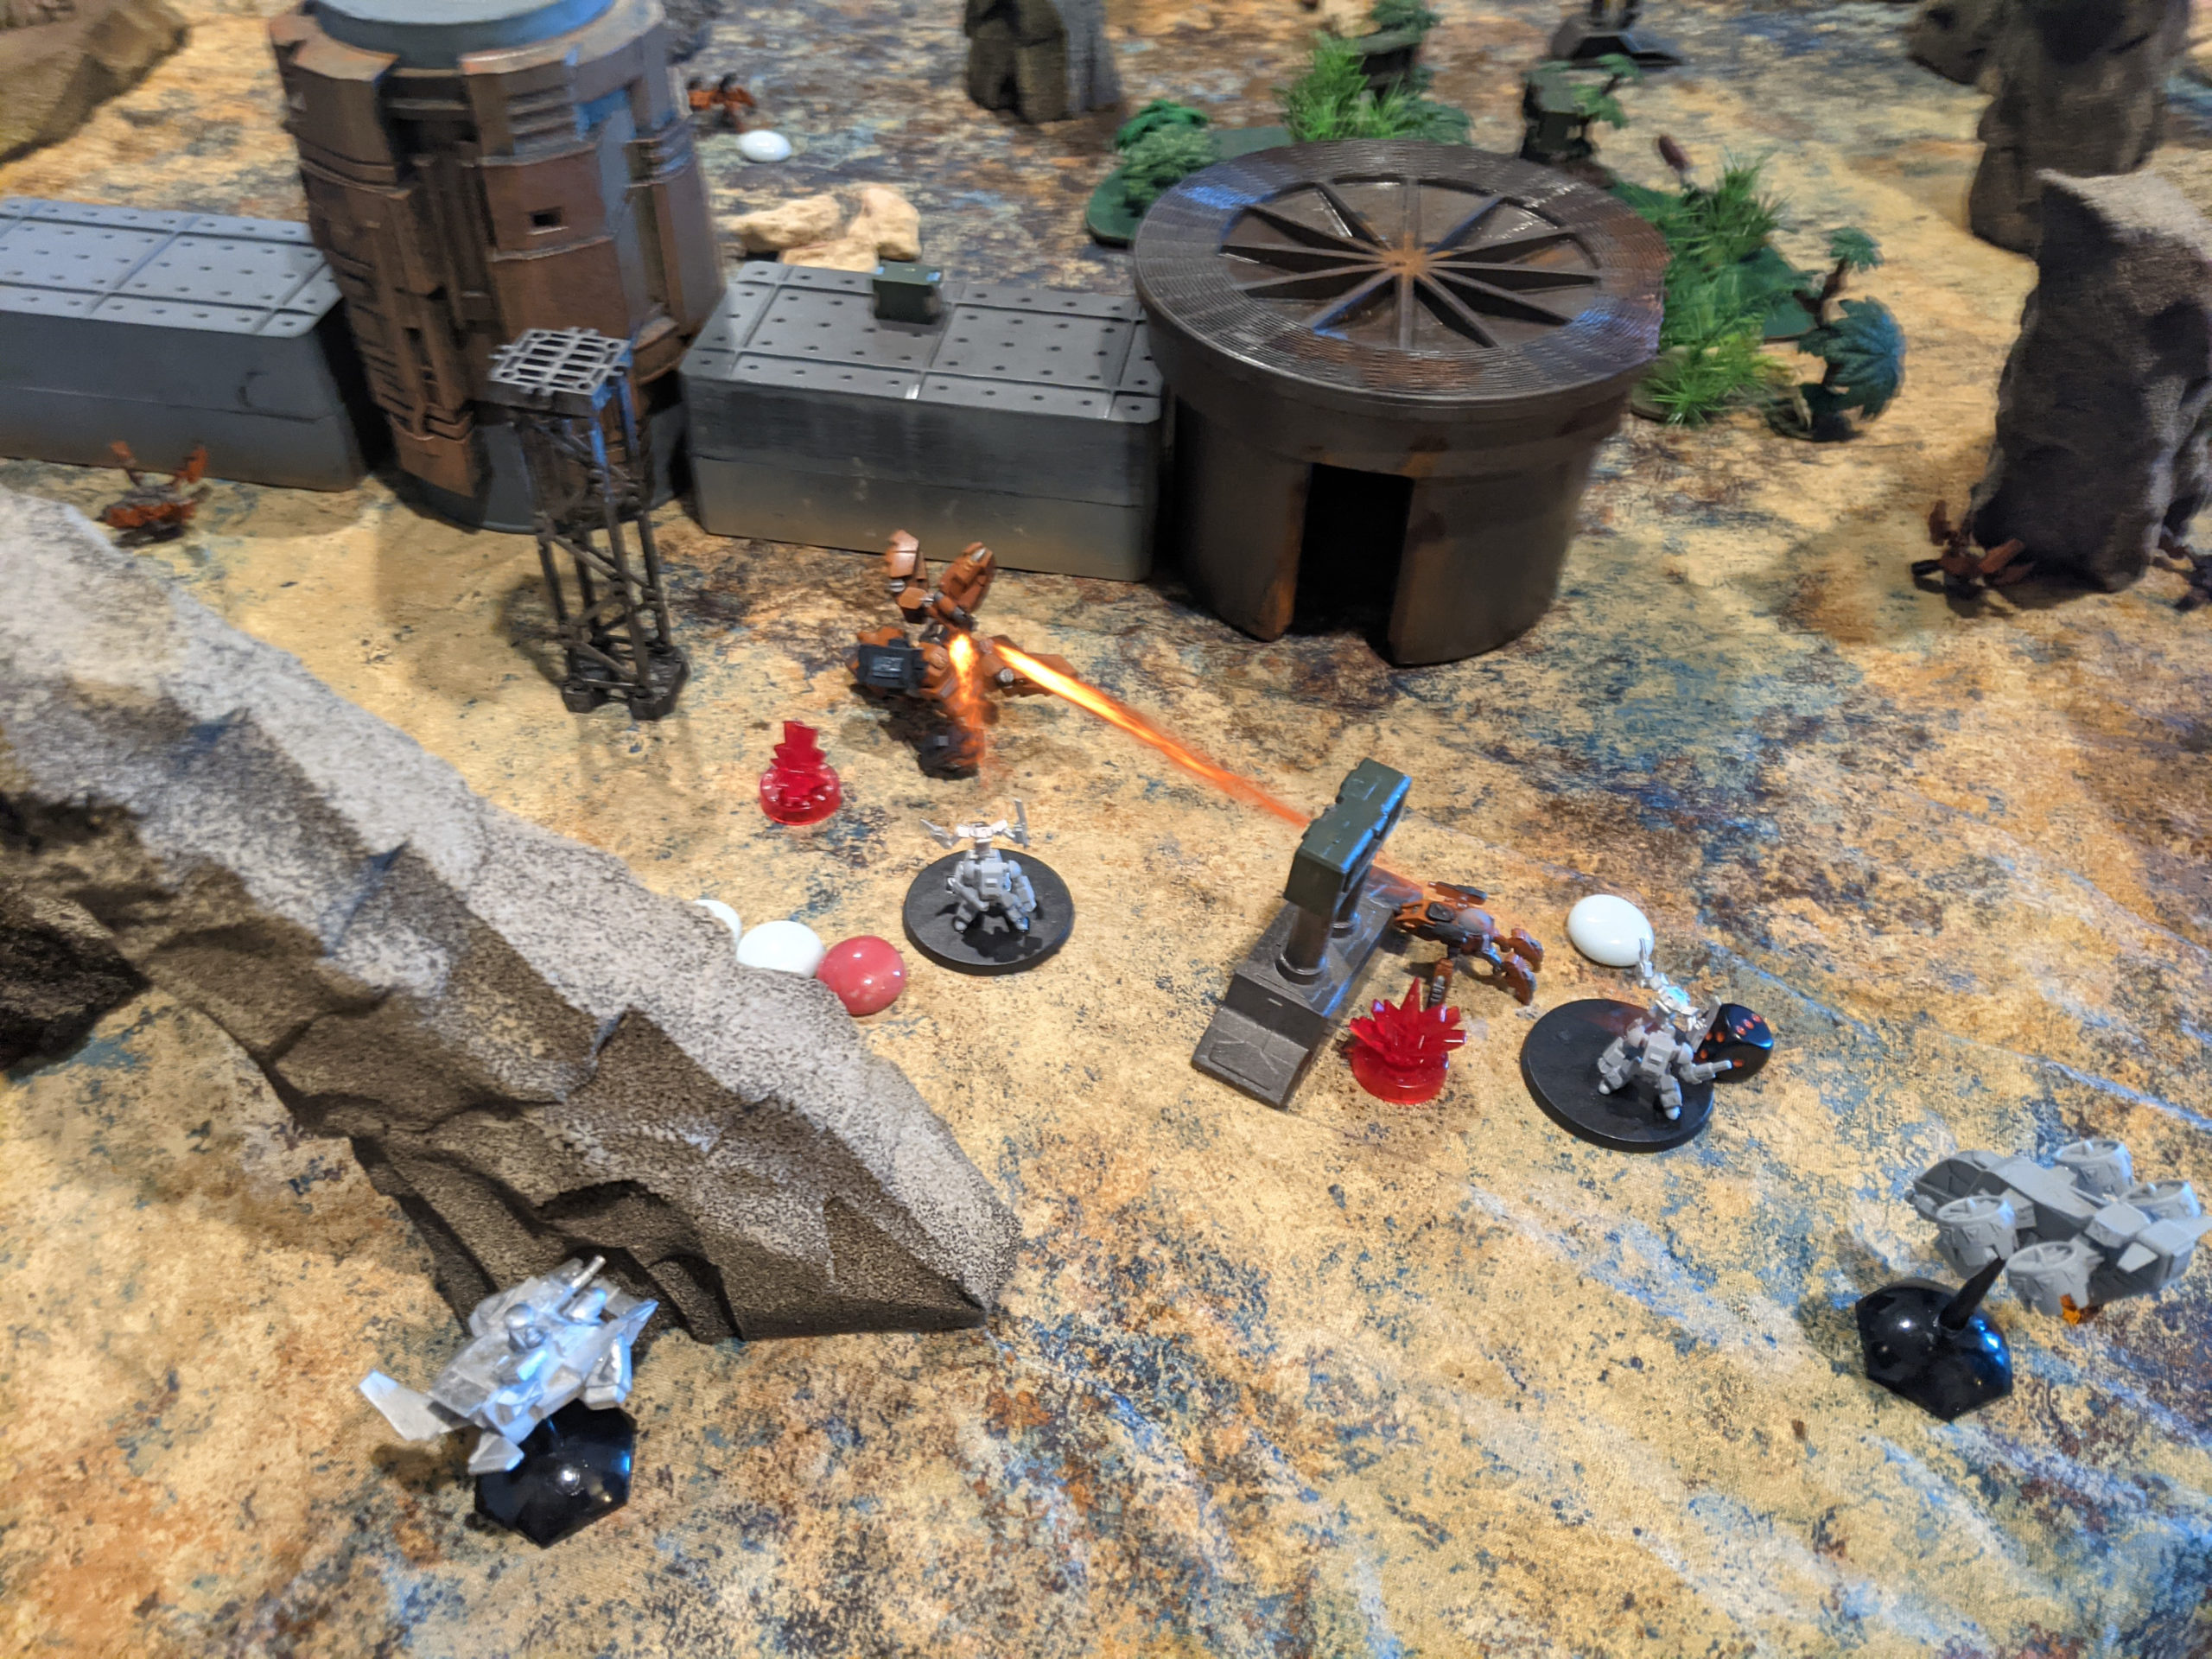
I (thankfully) won initiative and was immediately faced with difficult decisions. I opted to try and Haywire the two Kadesh to limit the damage of their Brawl: 4. If they can’t top speed to make it into melee range I can at least rely on ECM to help with their Rotary Cannons. I decided to throw up Let them Have It, but to prevent myself from getting Jammed I first moved to put heavy cover between me and the Kadesh before declaring the order. My F6-16 Anti-Tank Command then popped out and plinked two points off of one of the Kadesh with its particle accelerator. One of the Kadesh attempted to Rotary Cannon me as I was doing this, but the ECM from the HC-3 and top speed kept me safe.
The other F6-16 did the same thing, top-speeding to run away from the Kadesh.
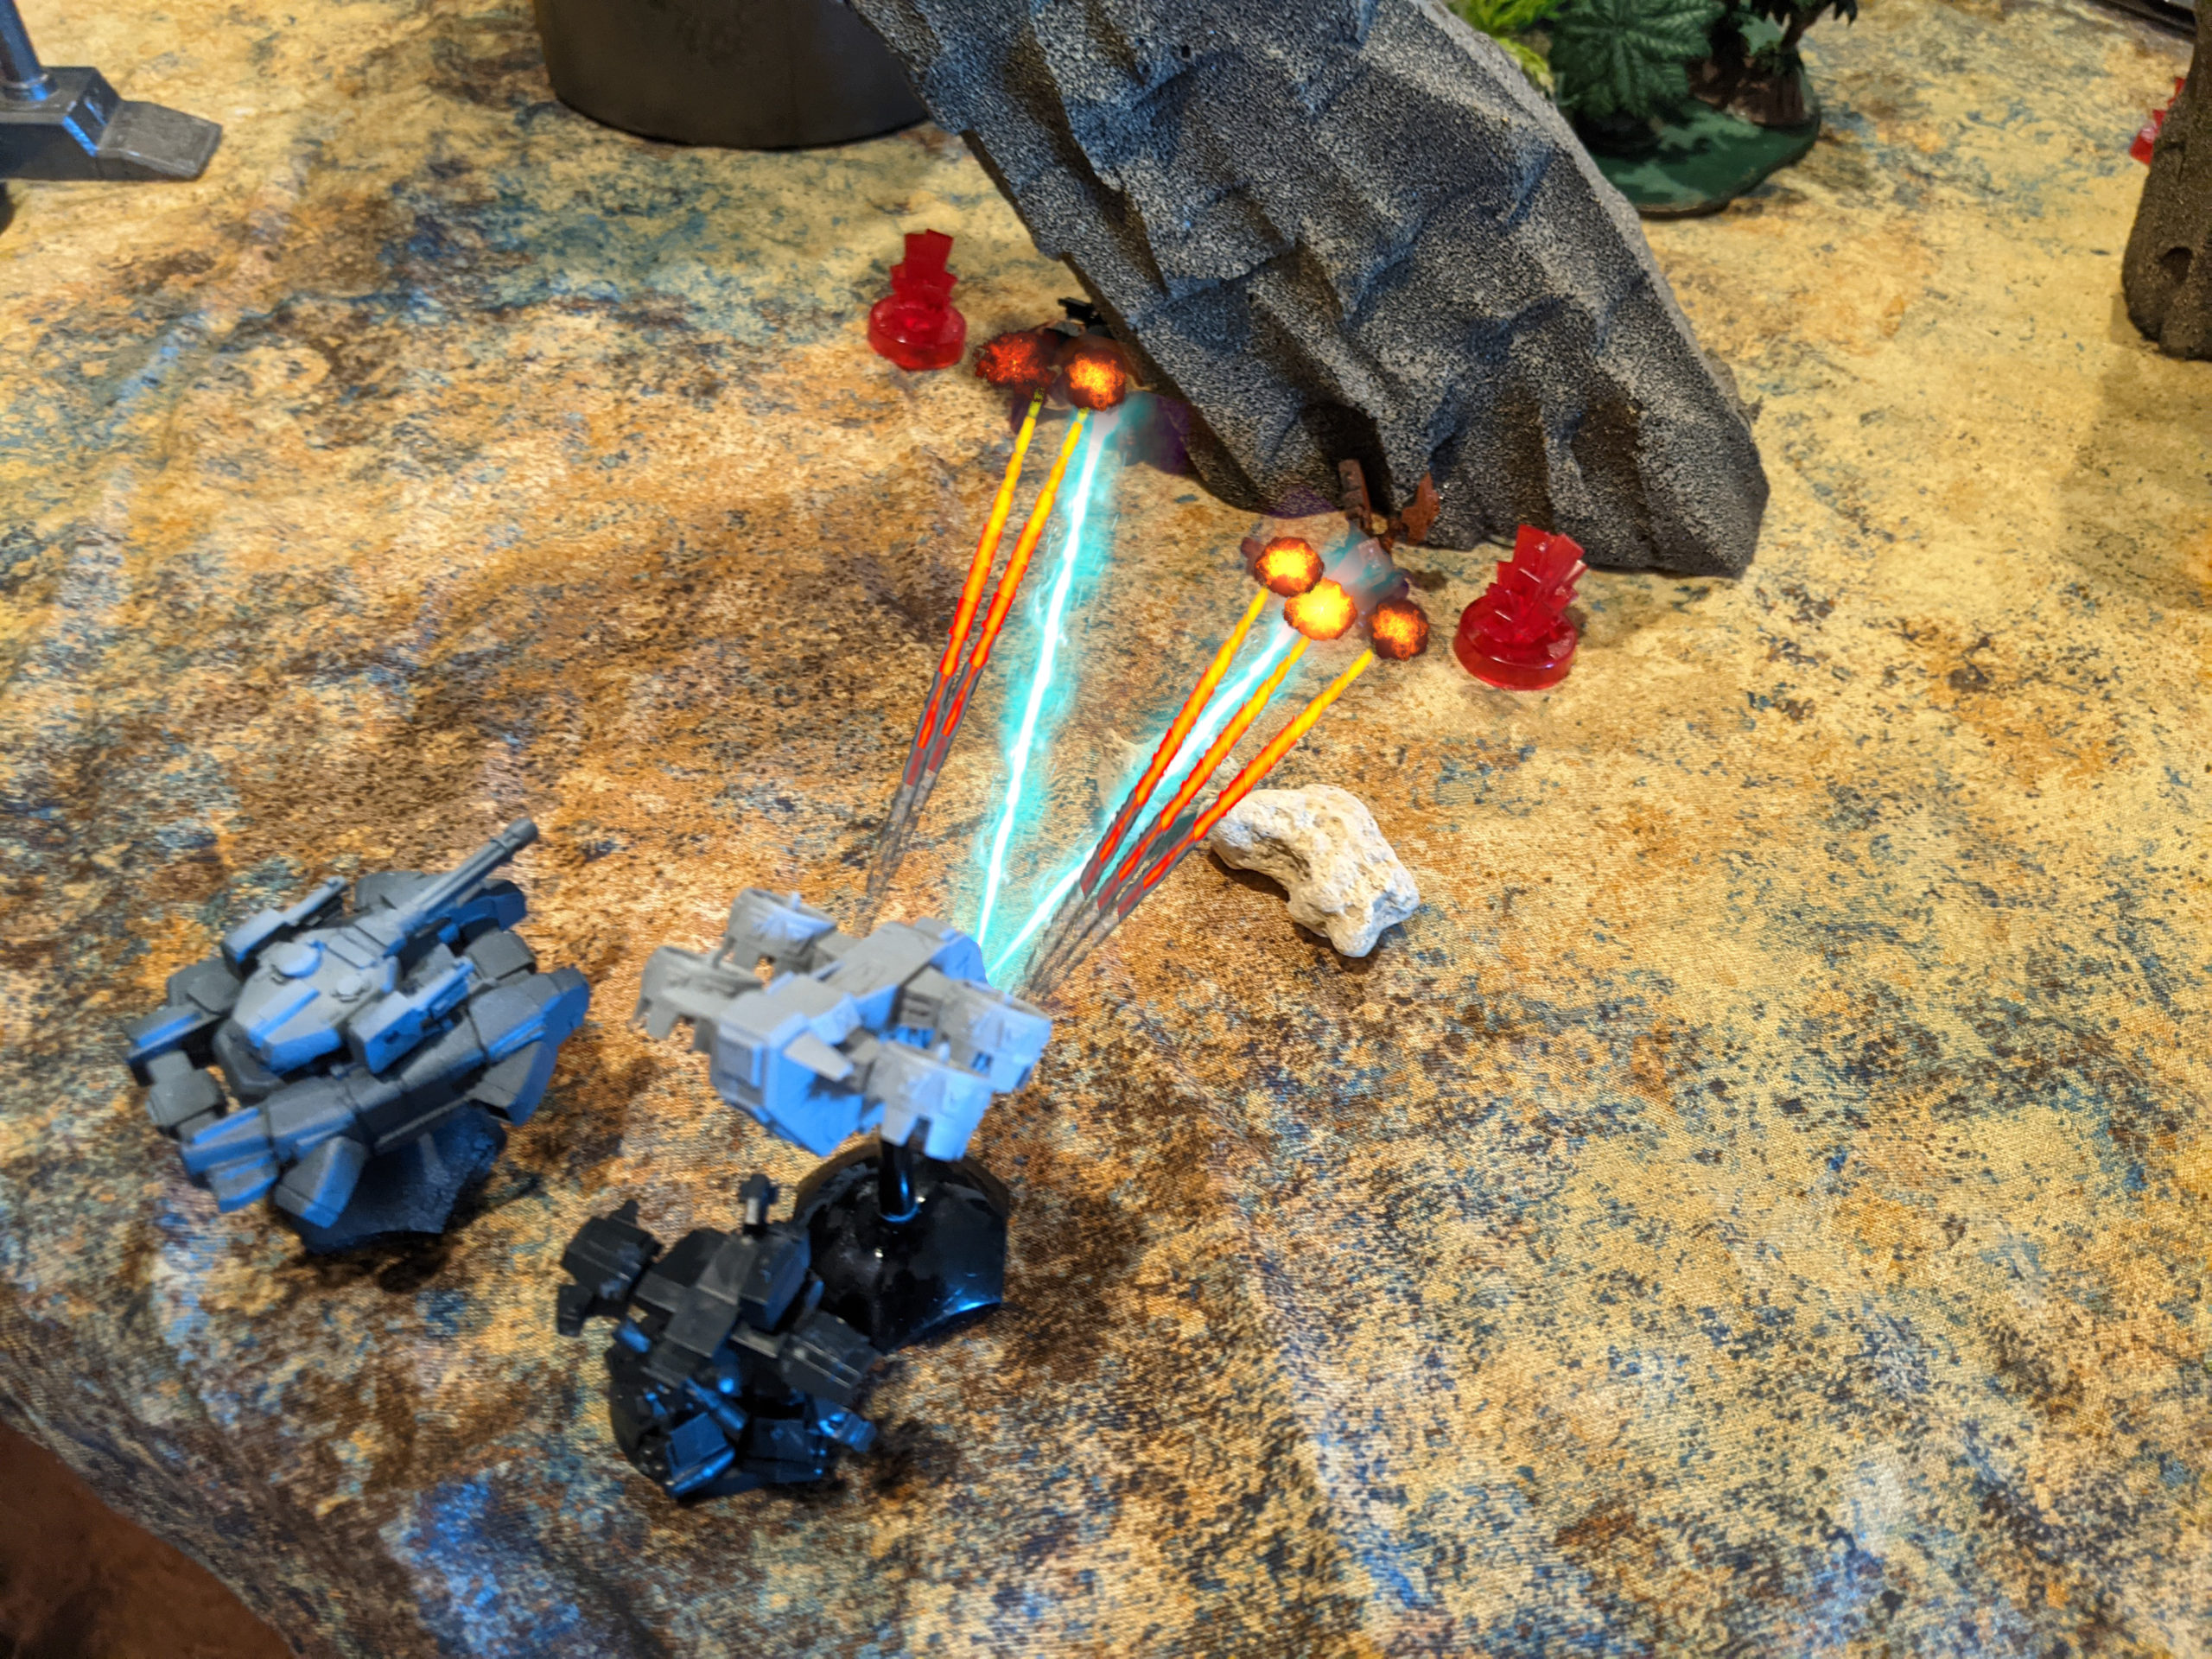
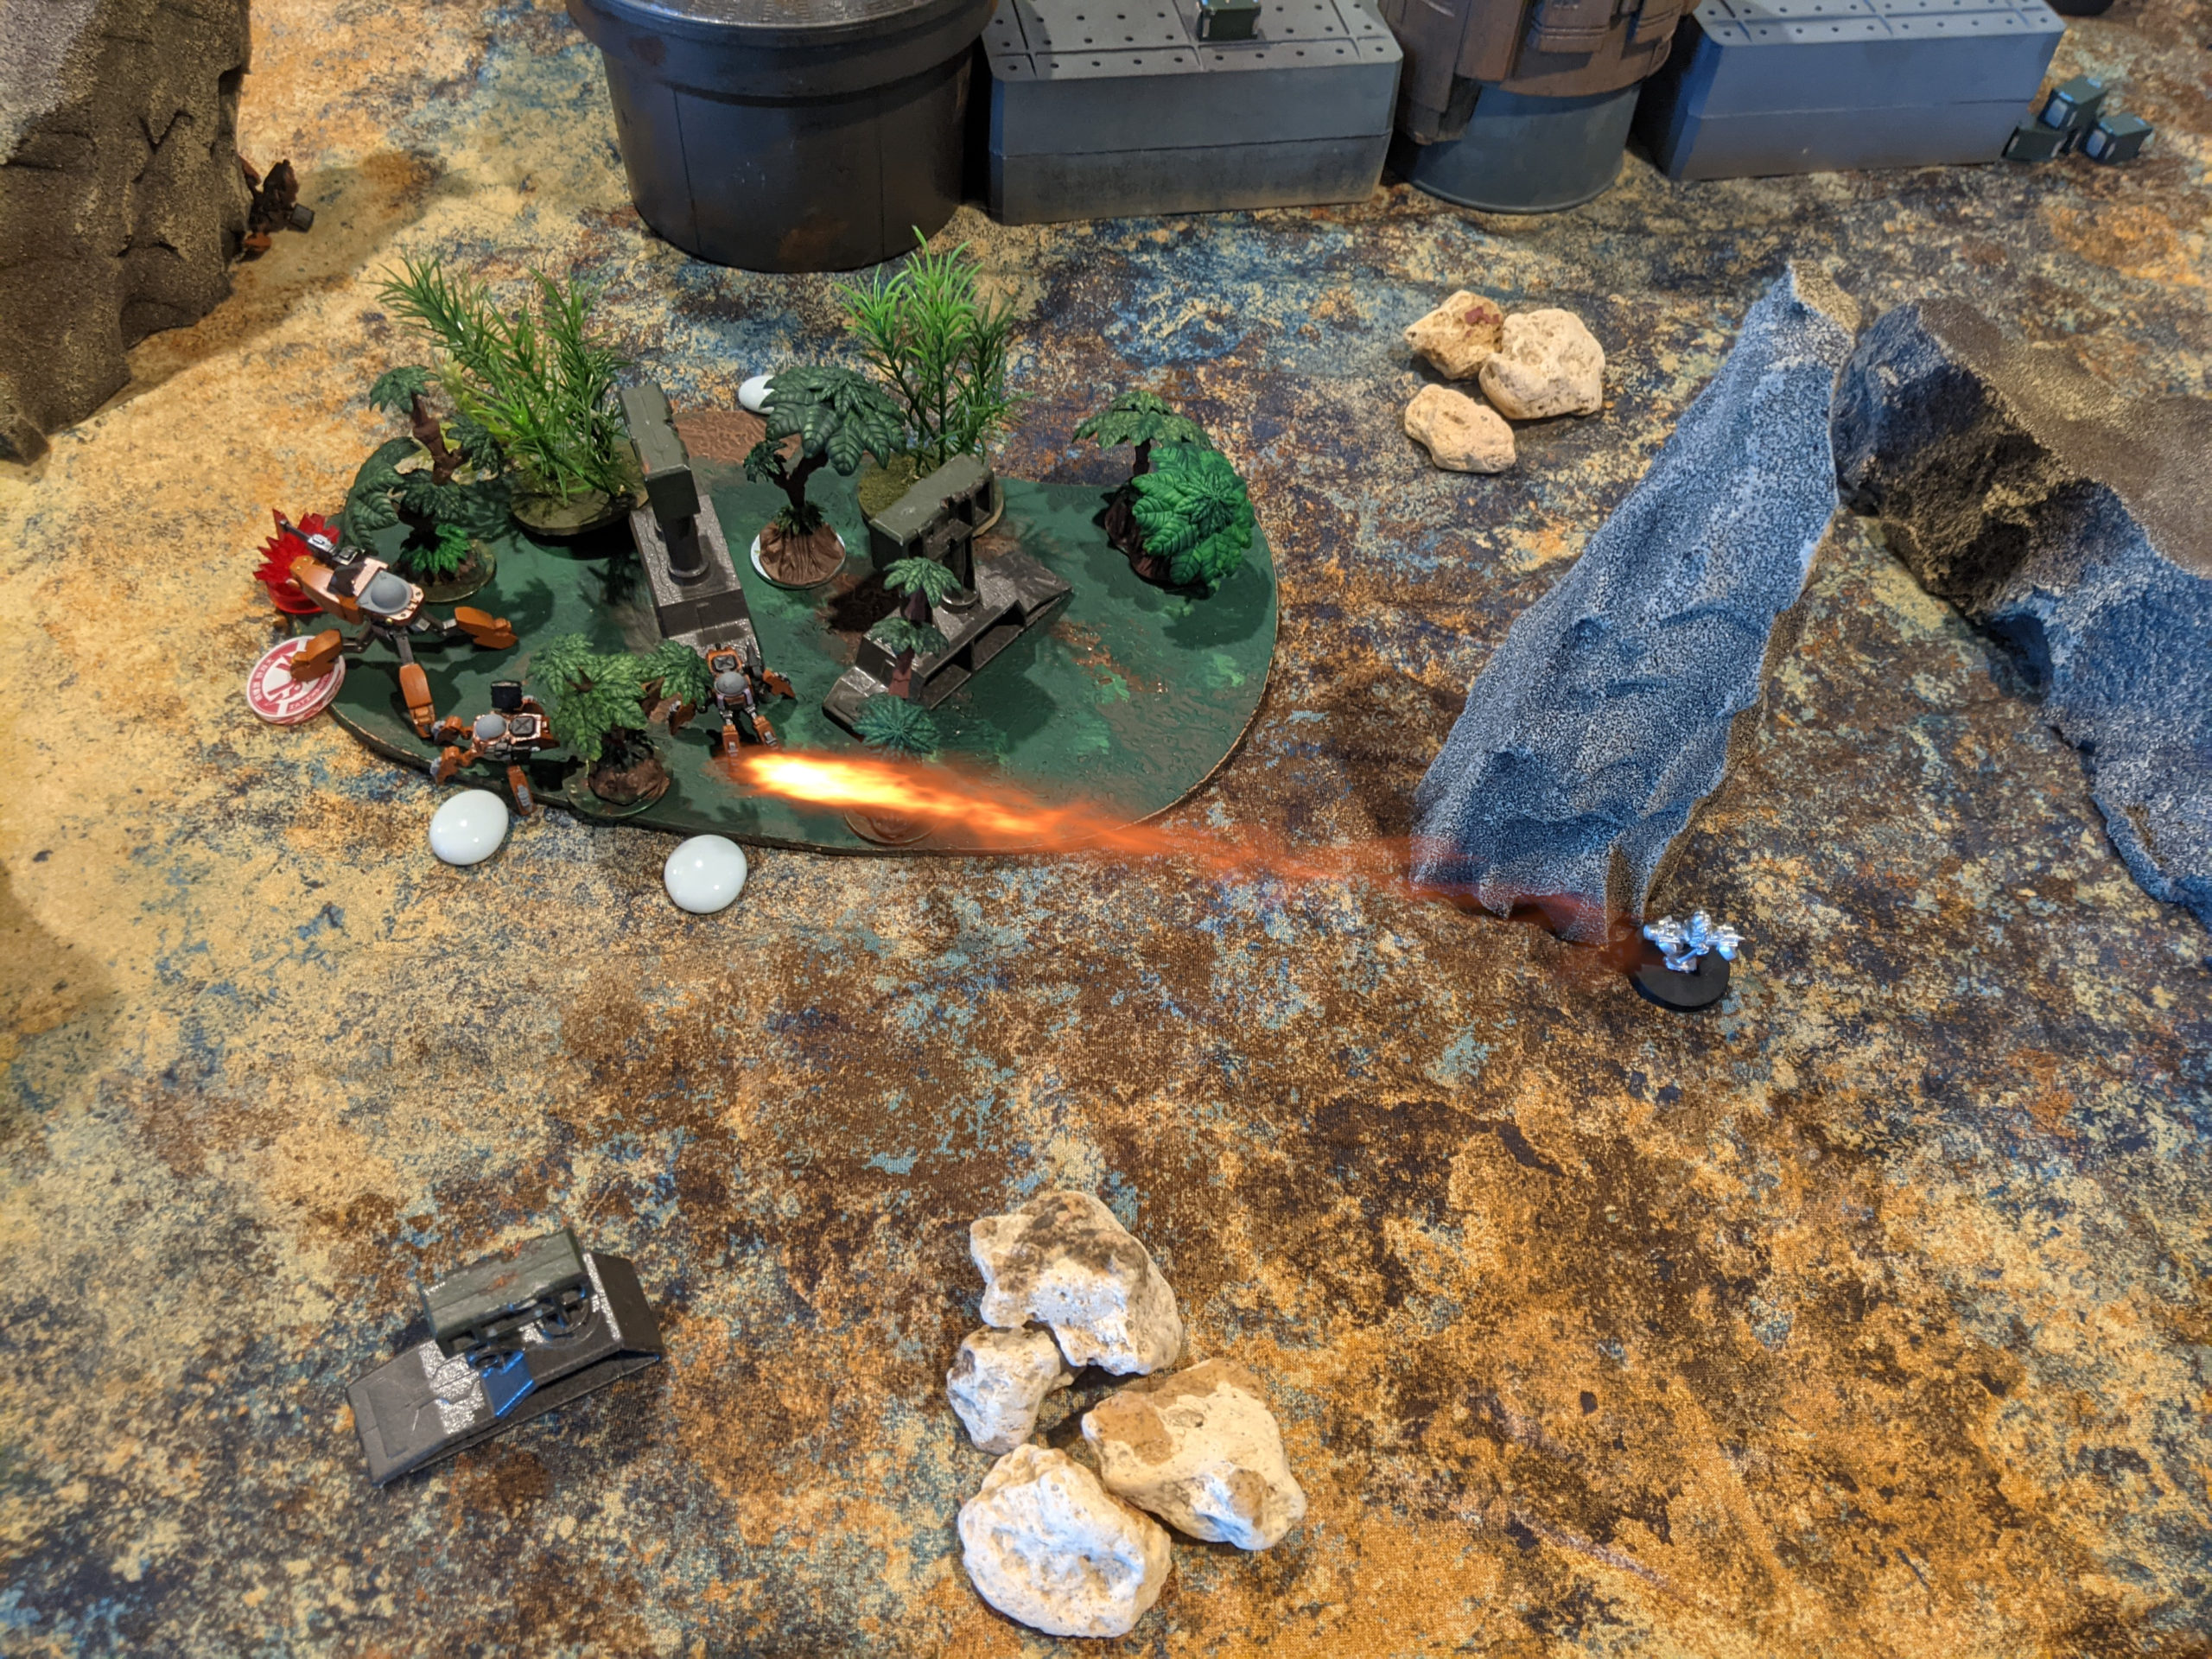
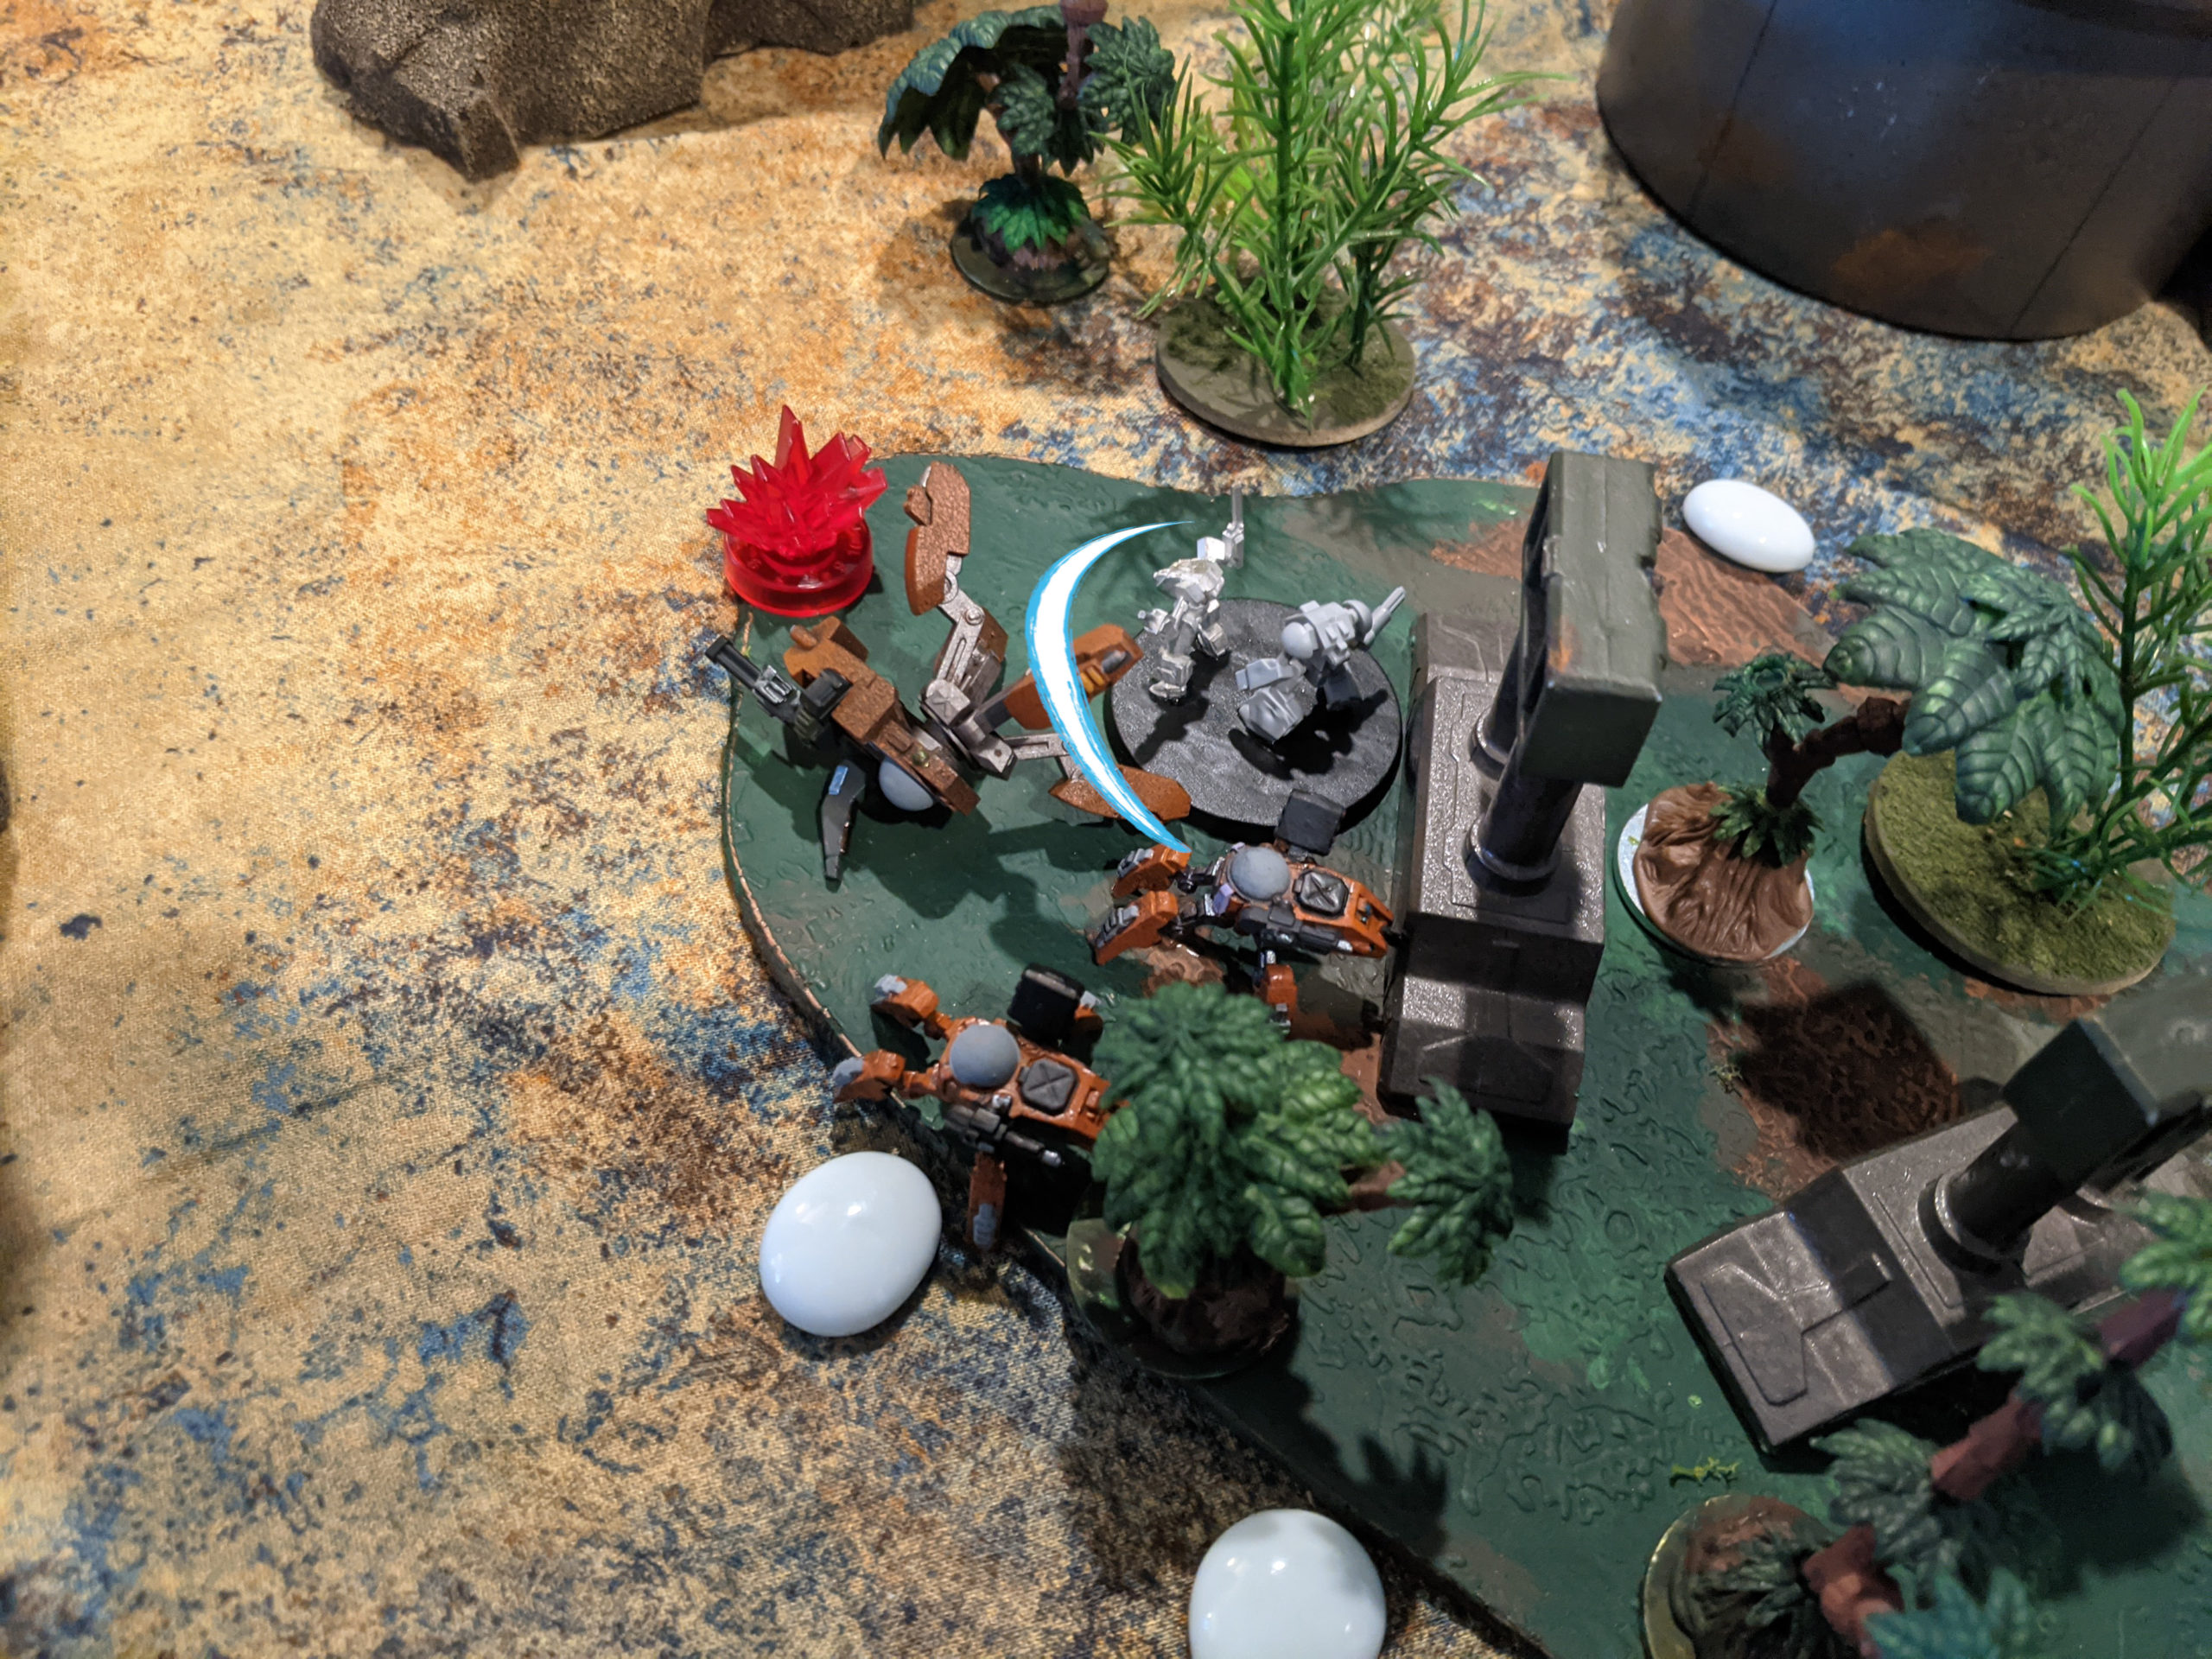
Now to protect my Morgana FLAIL from the Stalker Accos and their LFCs. I rolled the Peregrine over there and dumped a Rotary Laser and MRP pack ito them, killing one and bringing the other down to one structure left. Not a bad activation, if I dare say so.
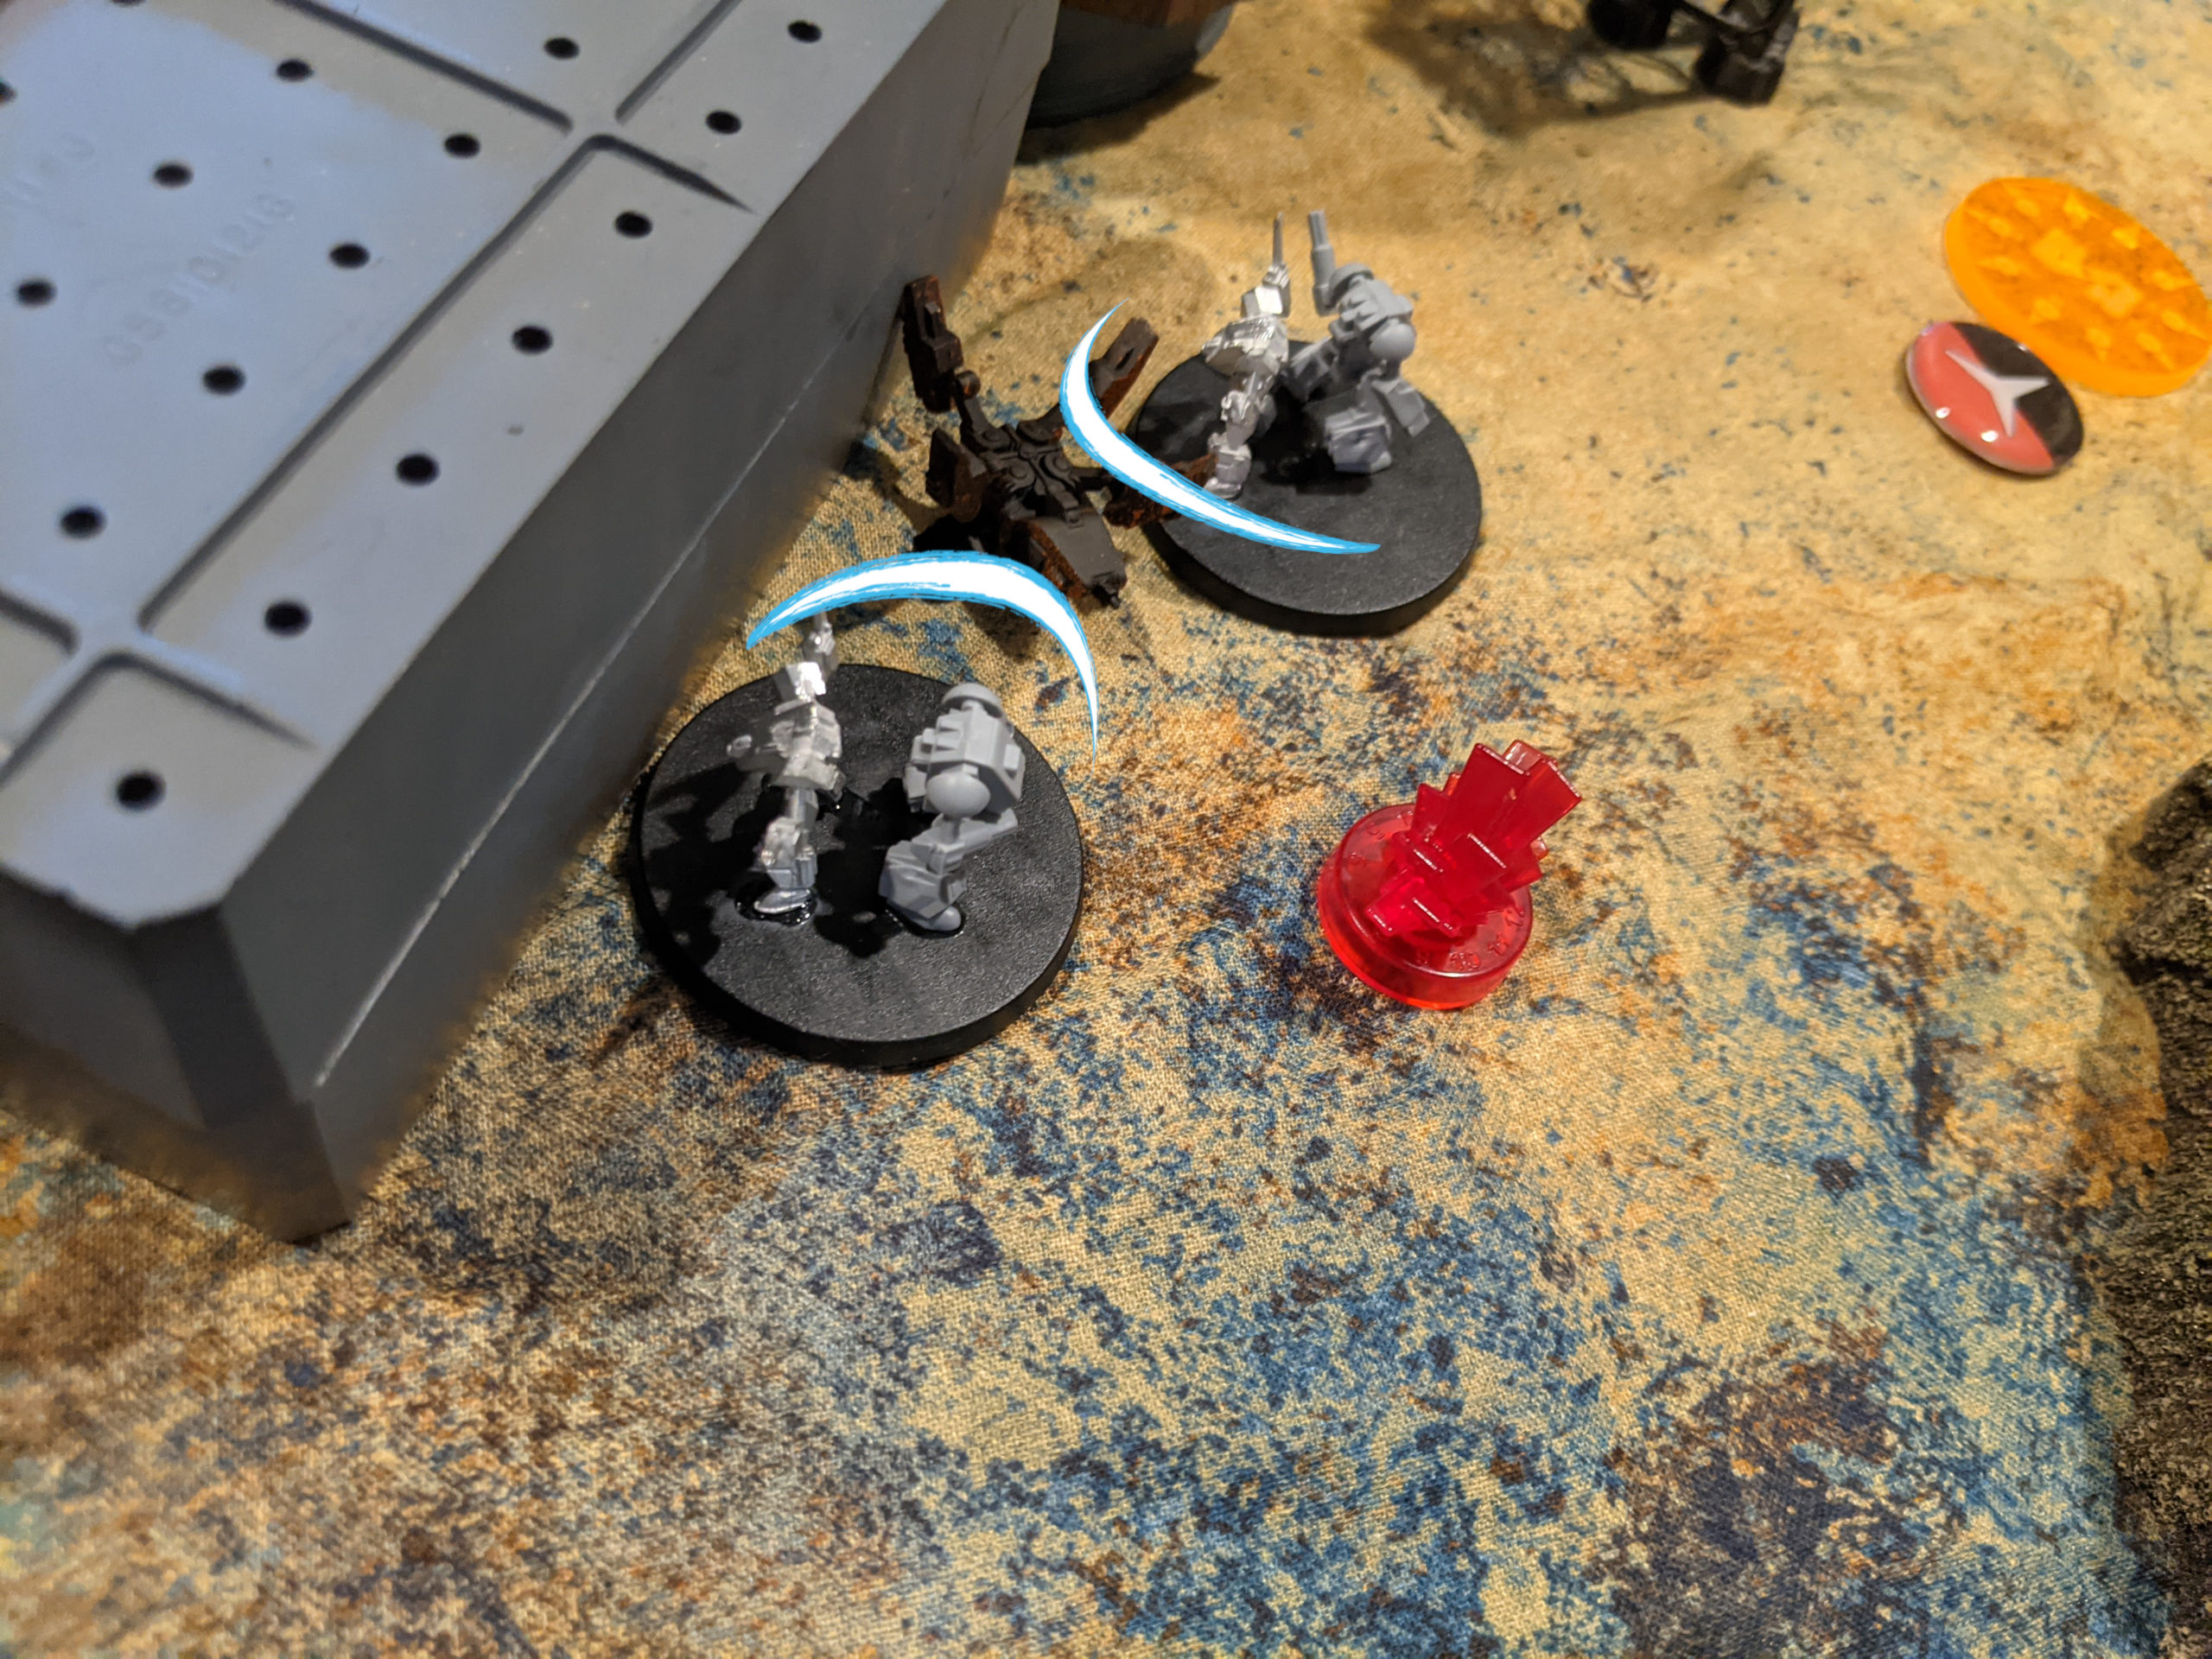
Than successfully got detailed scan my F6-16 Command with a Jackrabbit, beating my Jam attempt with the nearby HC-3. Booo!
The remaining Stalker Acco tried to take out one of my Morgana but only did one wound. The LHT-67 retaliated with its MFCs and blasted the Acco into scrap.
My F6-16 Command was just within melee range of one of the Haywired Kadesh though and took four points of damage! Scary stuff!
I split burst on my LHT-67 and lit up both Kadesh, crippling them both for real.
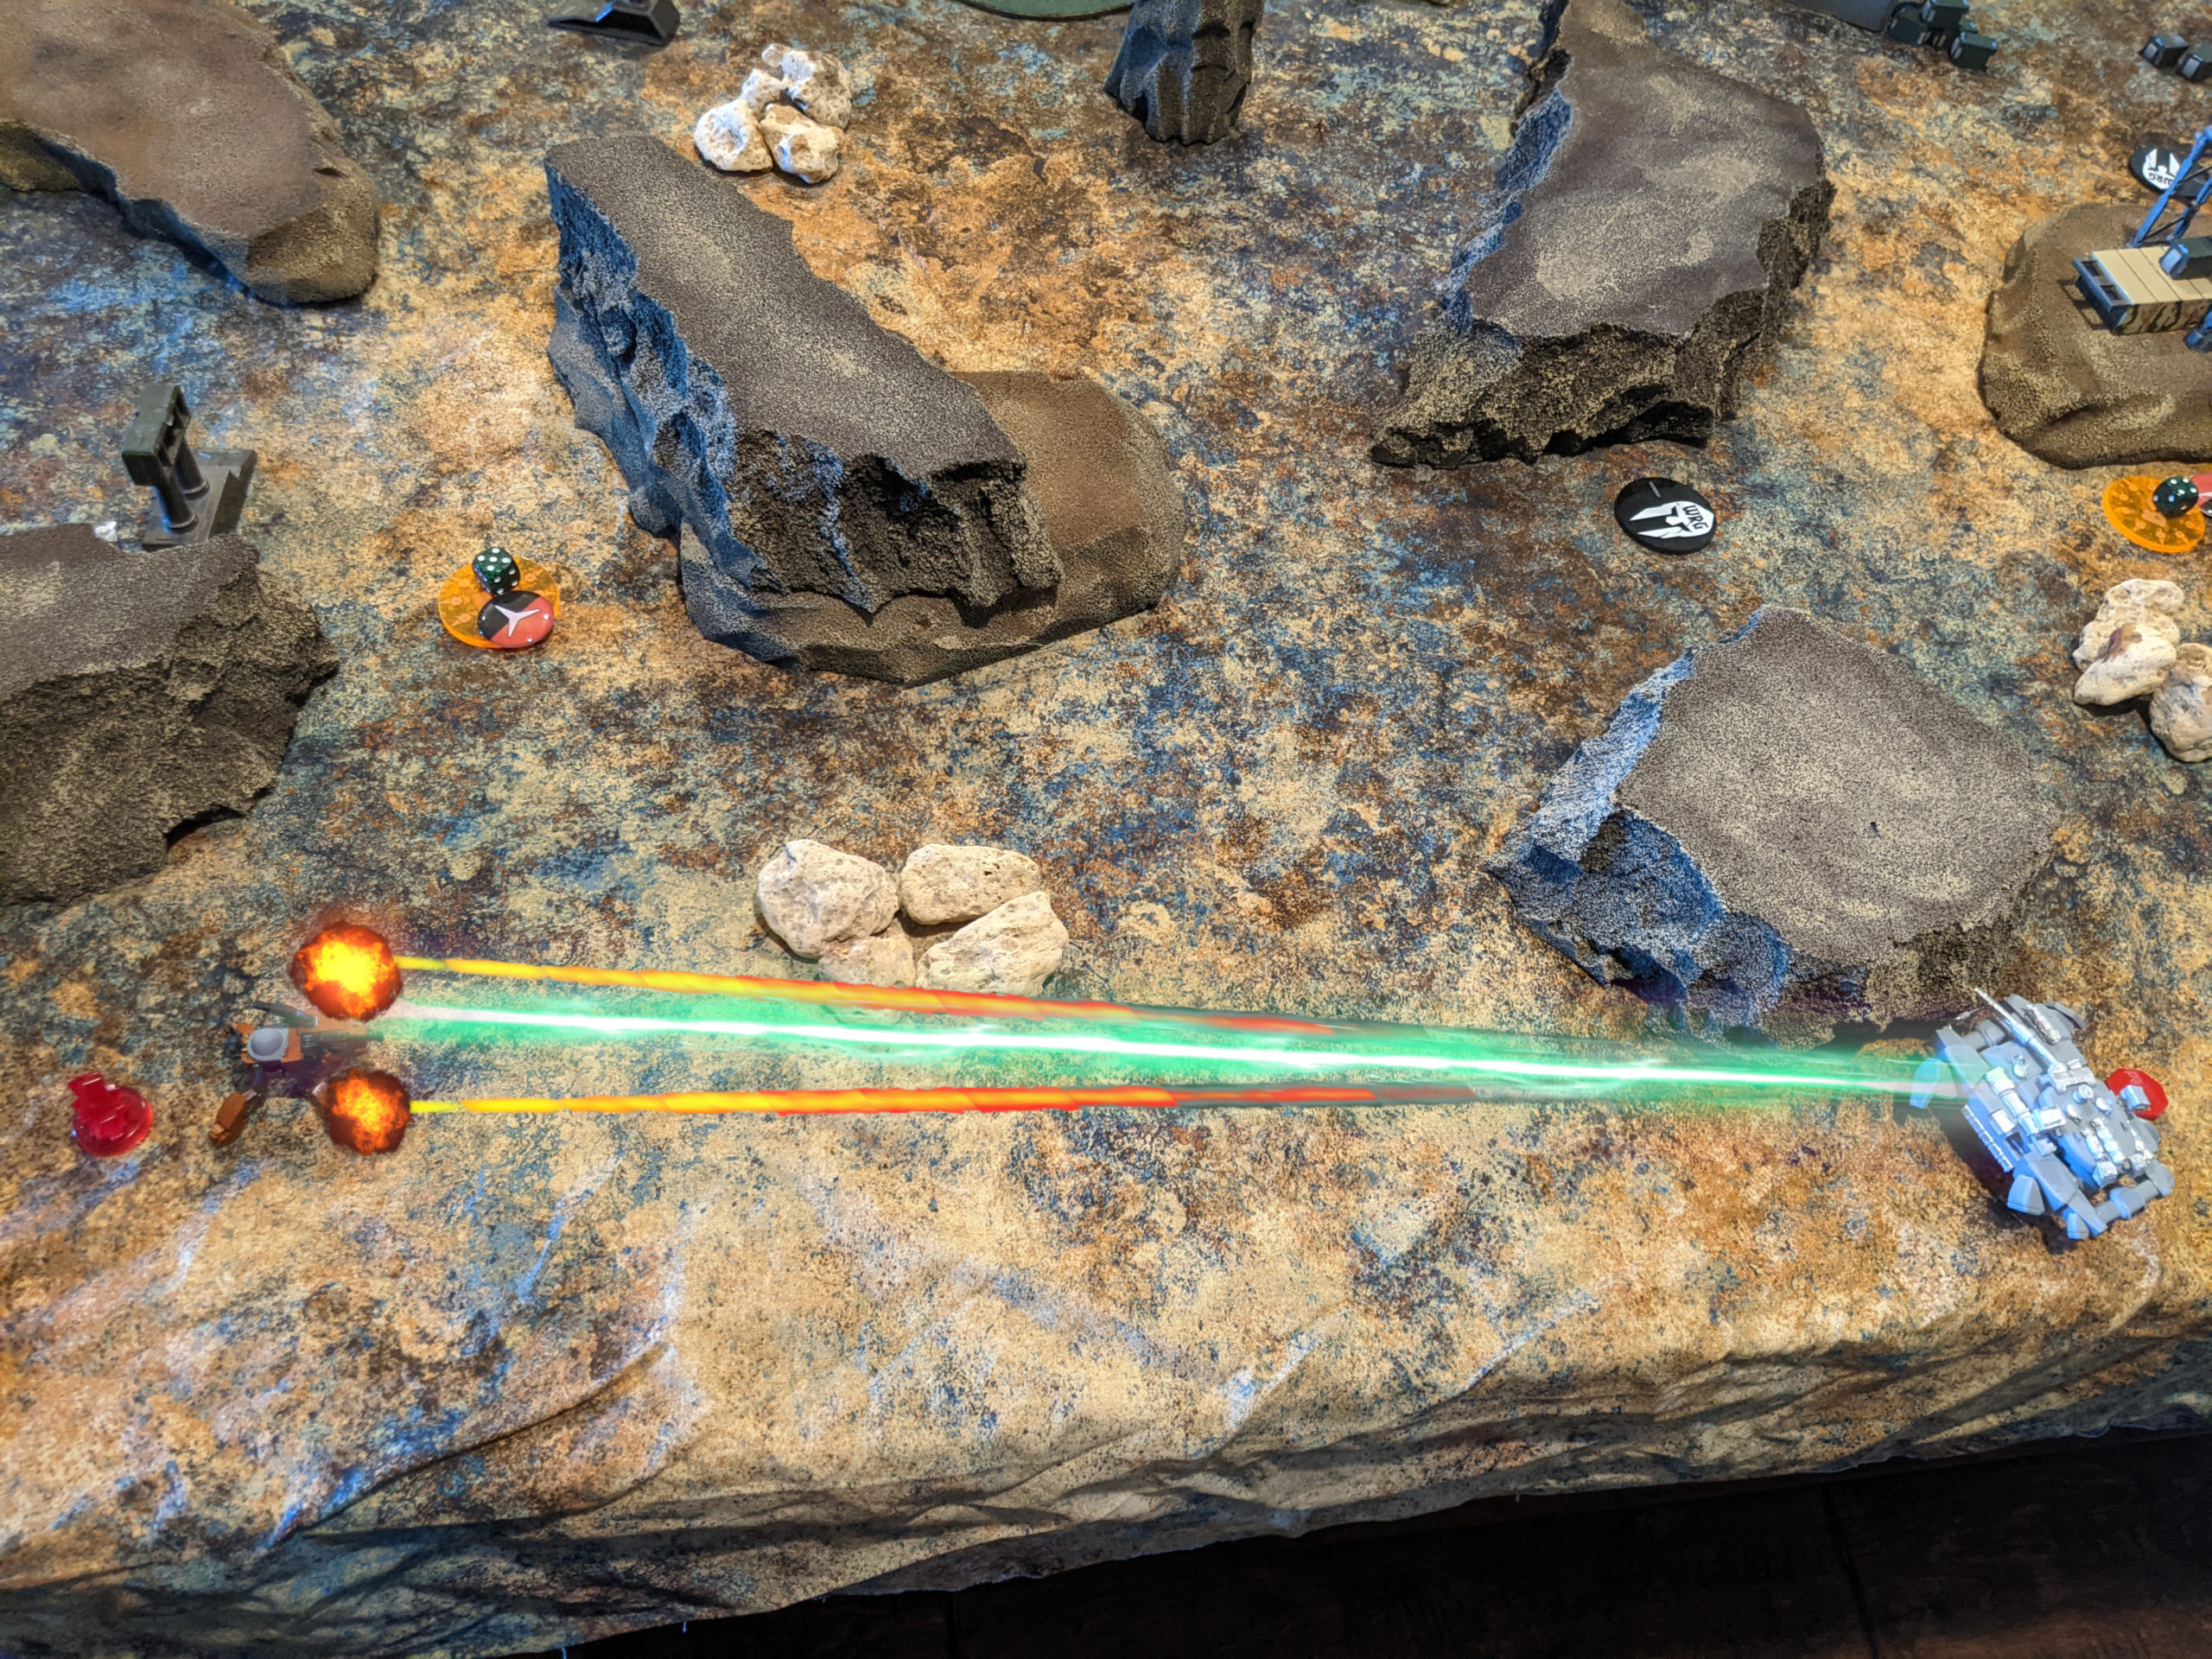
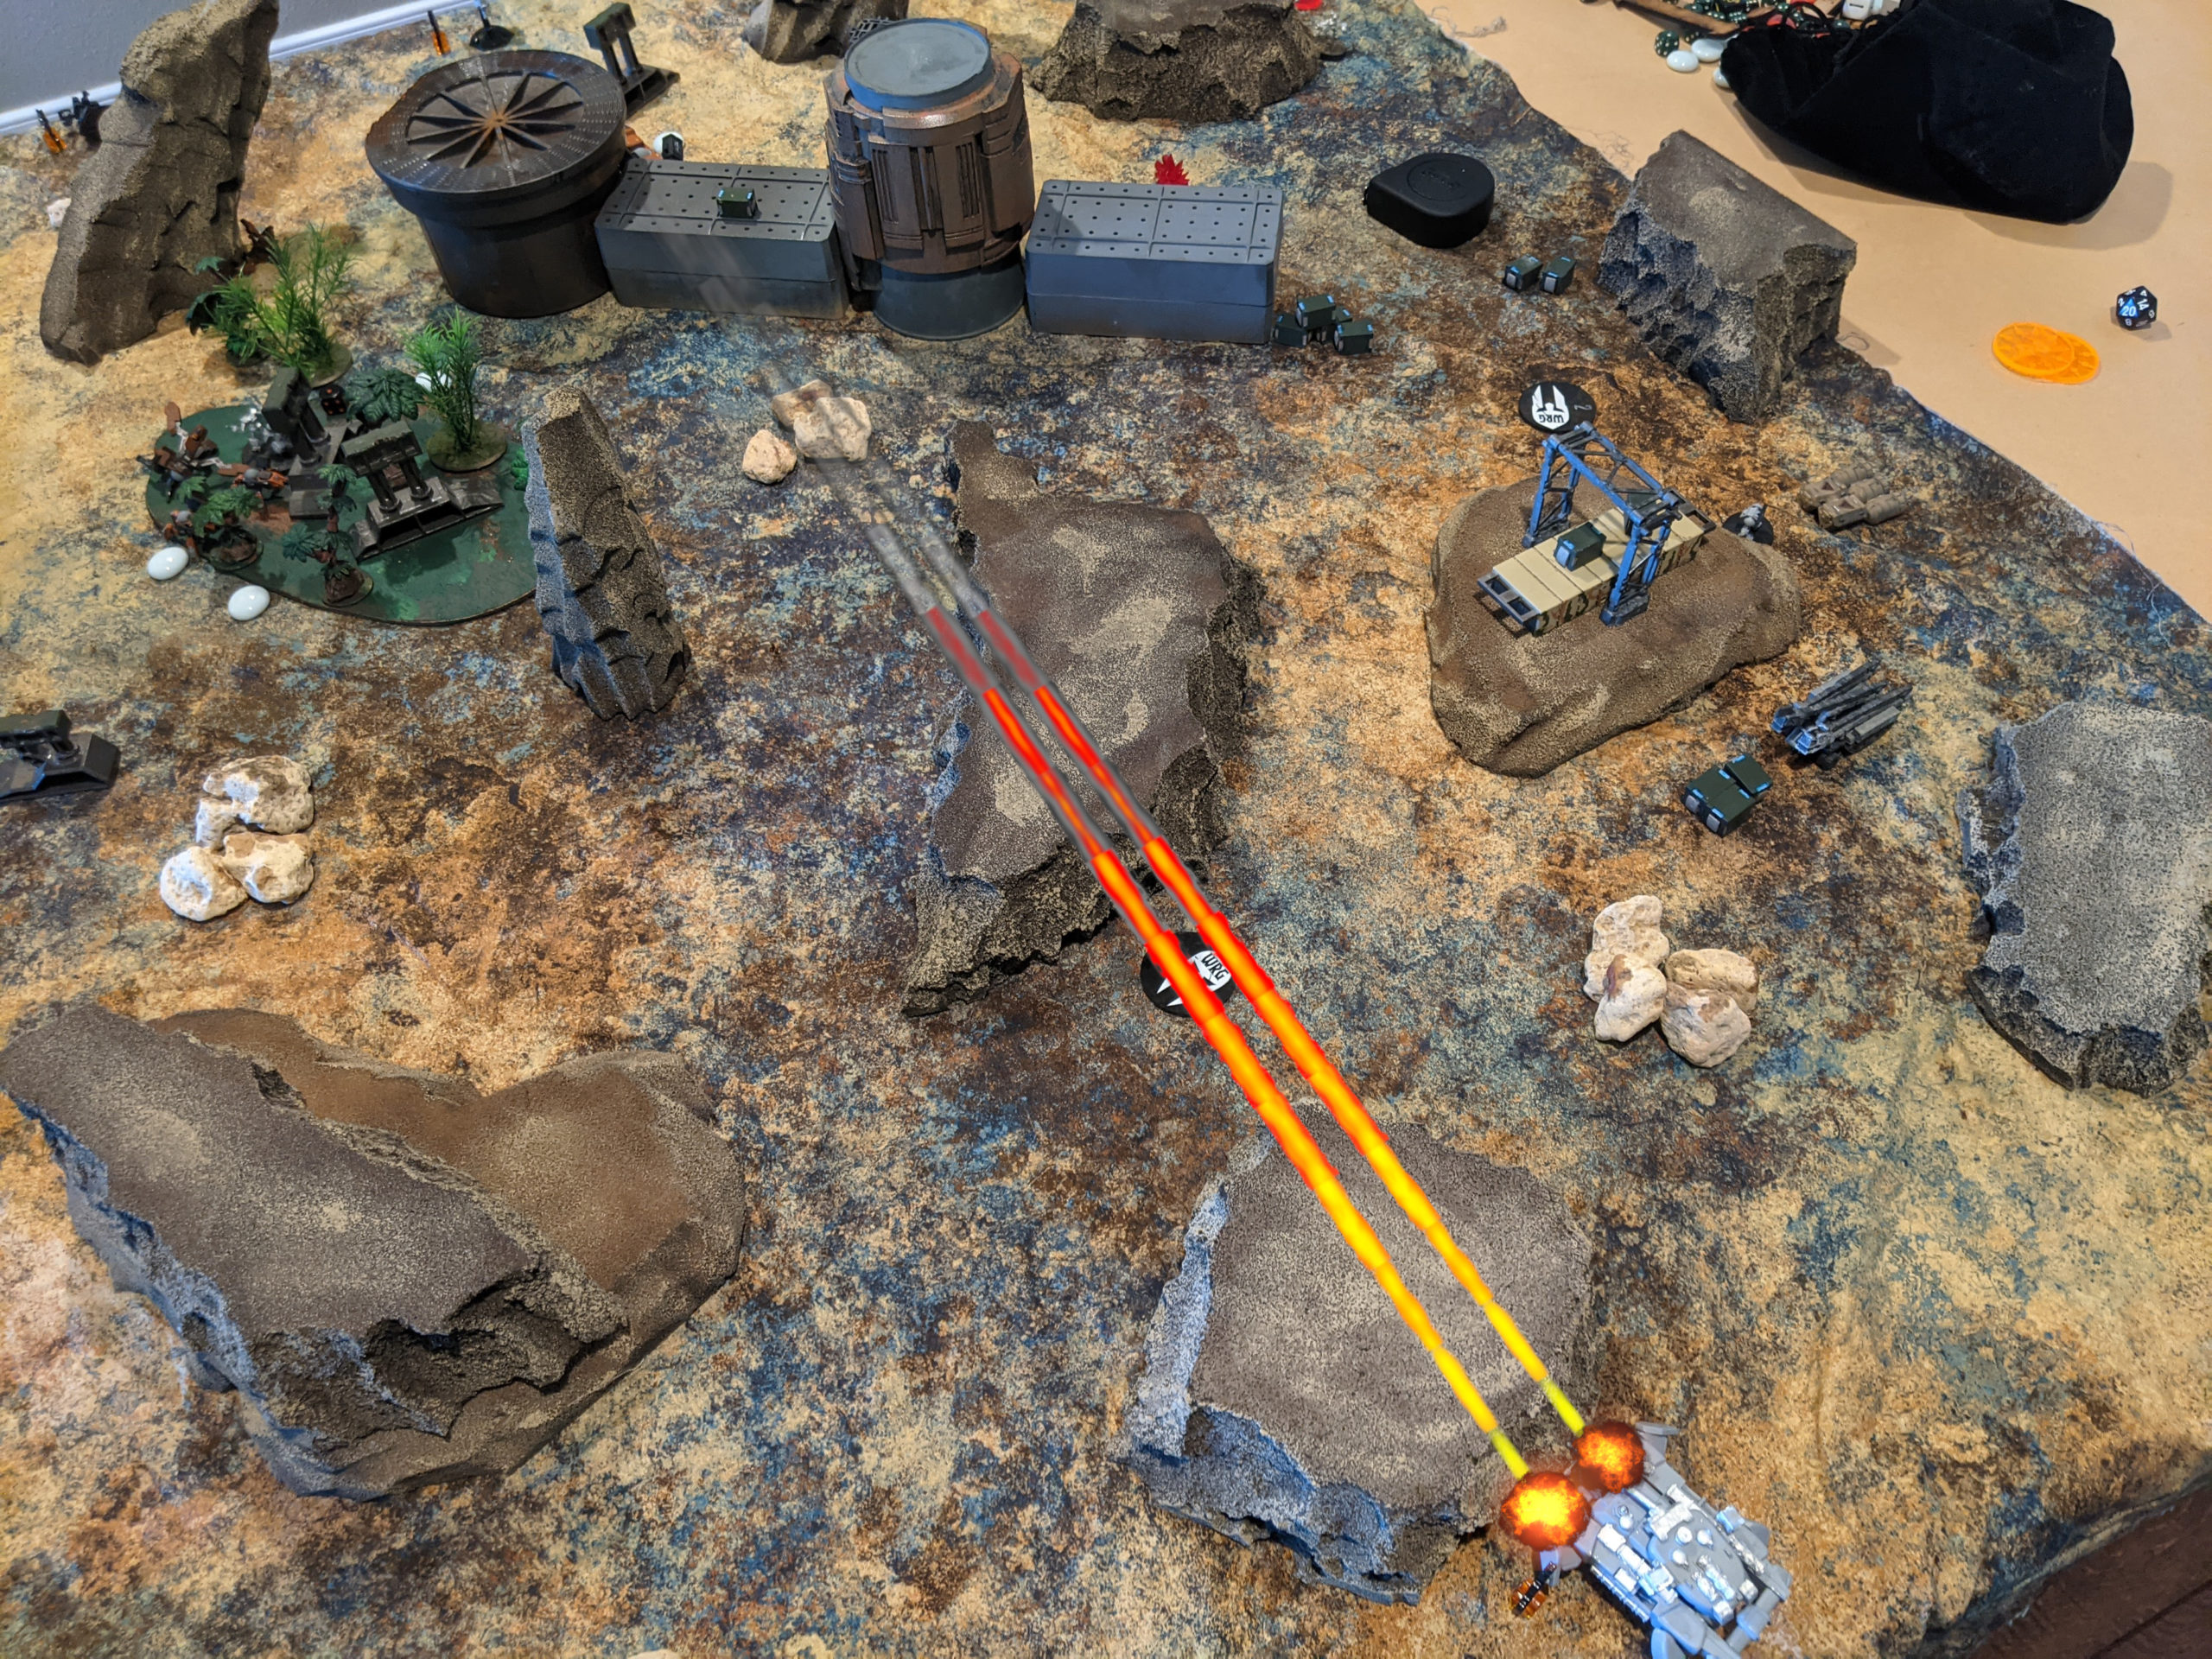
The HC-3 tried to FO the Jammer Bashan Duelist and succeeded, but the -1d6 from the MHT-68 being outside of 18″ with its MATM meant nothing happened. I lost one of my F6-16 Anti-Tanks to the Ammon though, with it just direct-firing a pair of MATMs at it and scrapping it.
My hoverbikes went on the attack next, clearing out a Mortar squad that had ineffectually fired at one of my nearby Morganas on Than’s last activation.
The rest of my hoverbikes zoomed around the table, securing 3/4 of the Report Grid Position objectives. Unfortunately I had foolishly braced my MHT-68, so I wasn’t able to move it and therefore lost two actions worth of shooting. Very stupid of me.
I didn’t have a great spot for my Peregrine to end after shooting the Accos, so it died to the Bashan’s ECM Hack setting up rifle fire from the Sniper Accos.
I lost a Hoverbike to the Pyro Acco as well.
My counterstroke was a pair of Morgana waltzing in and cutting the offending Pyro to ribbons.
I didn’t manage to hurt the Ammon much though, only putting one point of damage on it with the Vibroblades. I eventually remembered that I had taken the LPZ upgrade and started using that for the AP:2 instead of AP:1 later in the game.
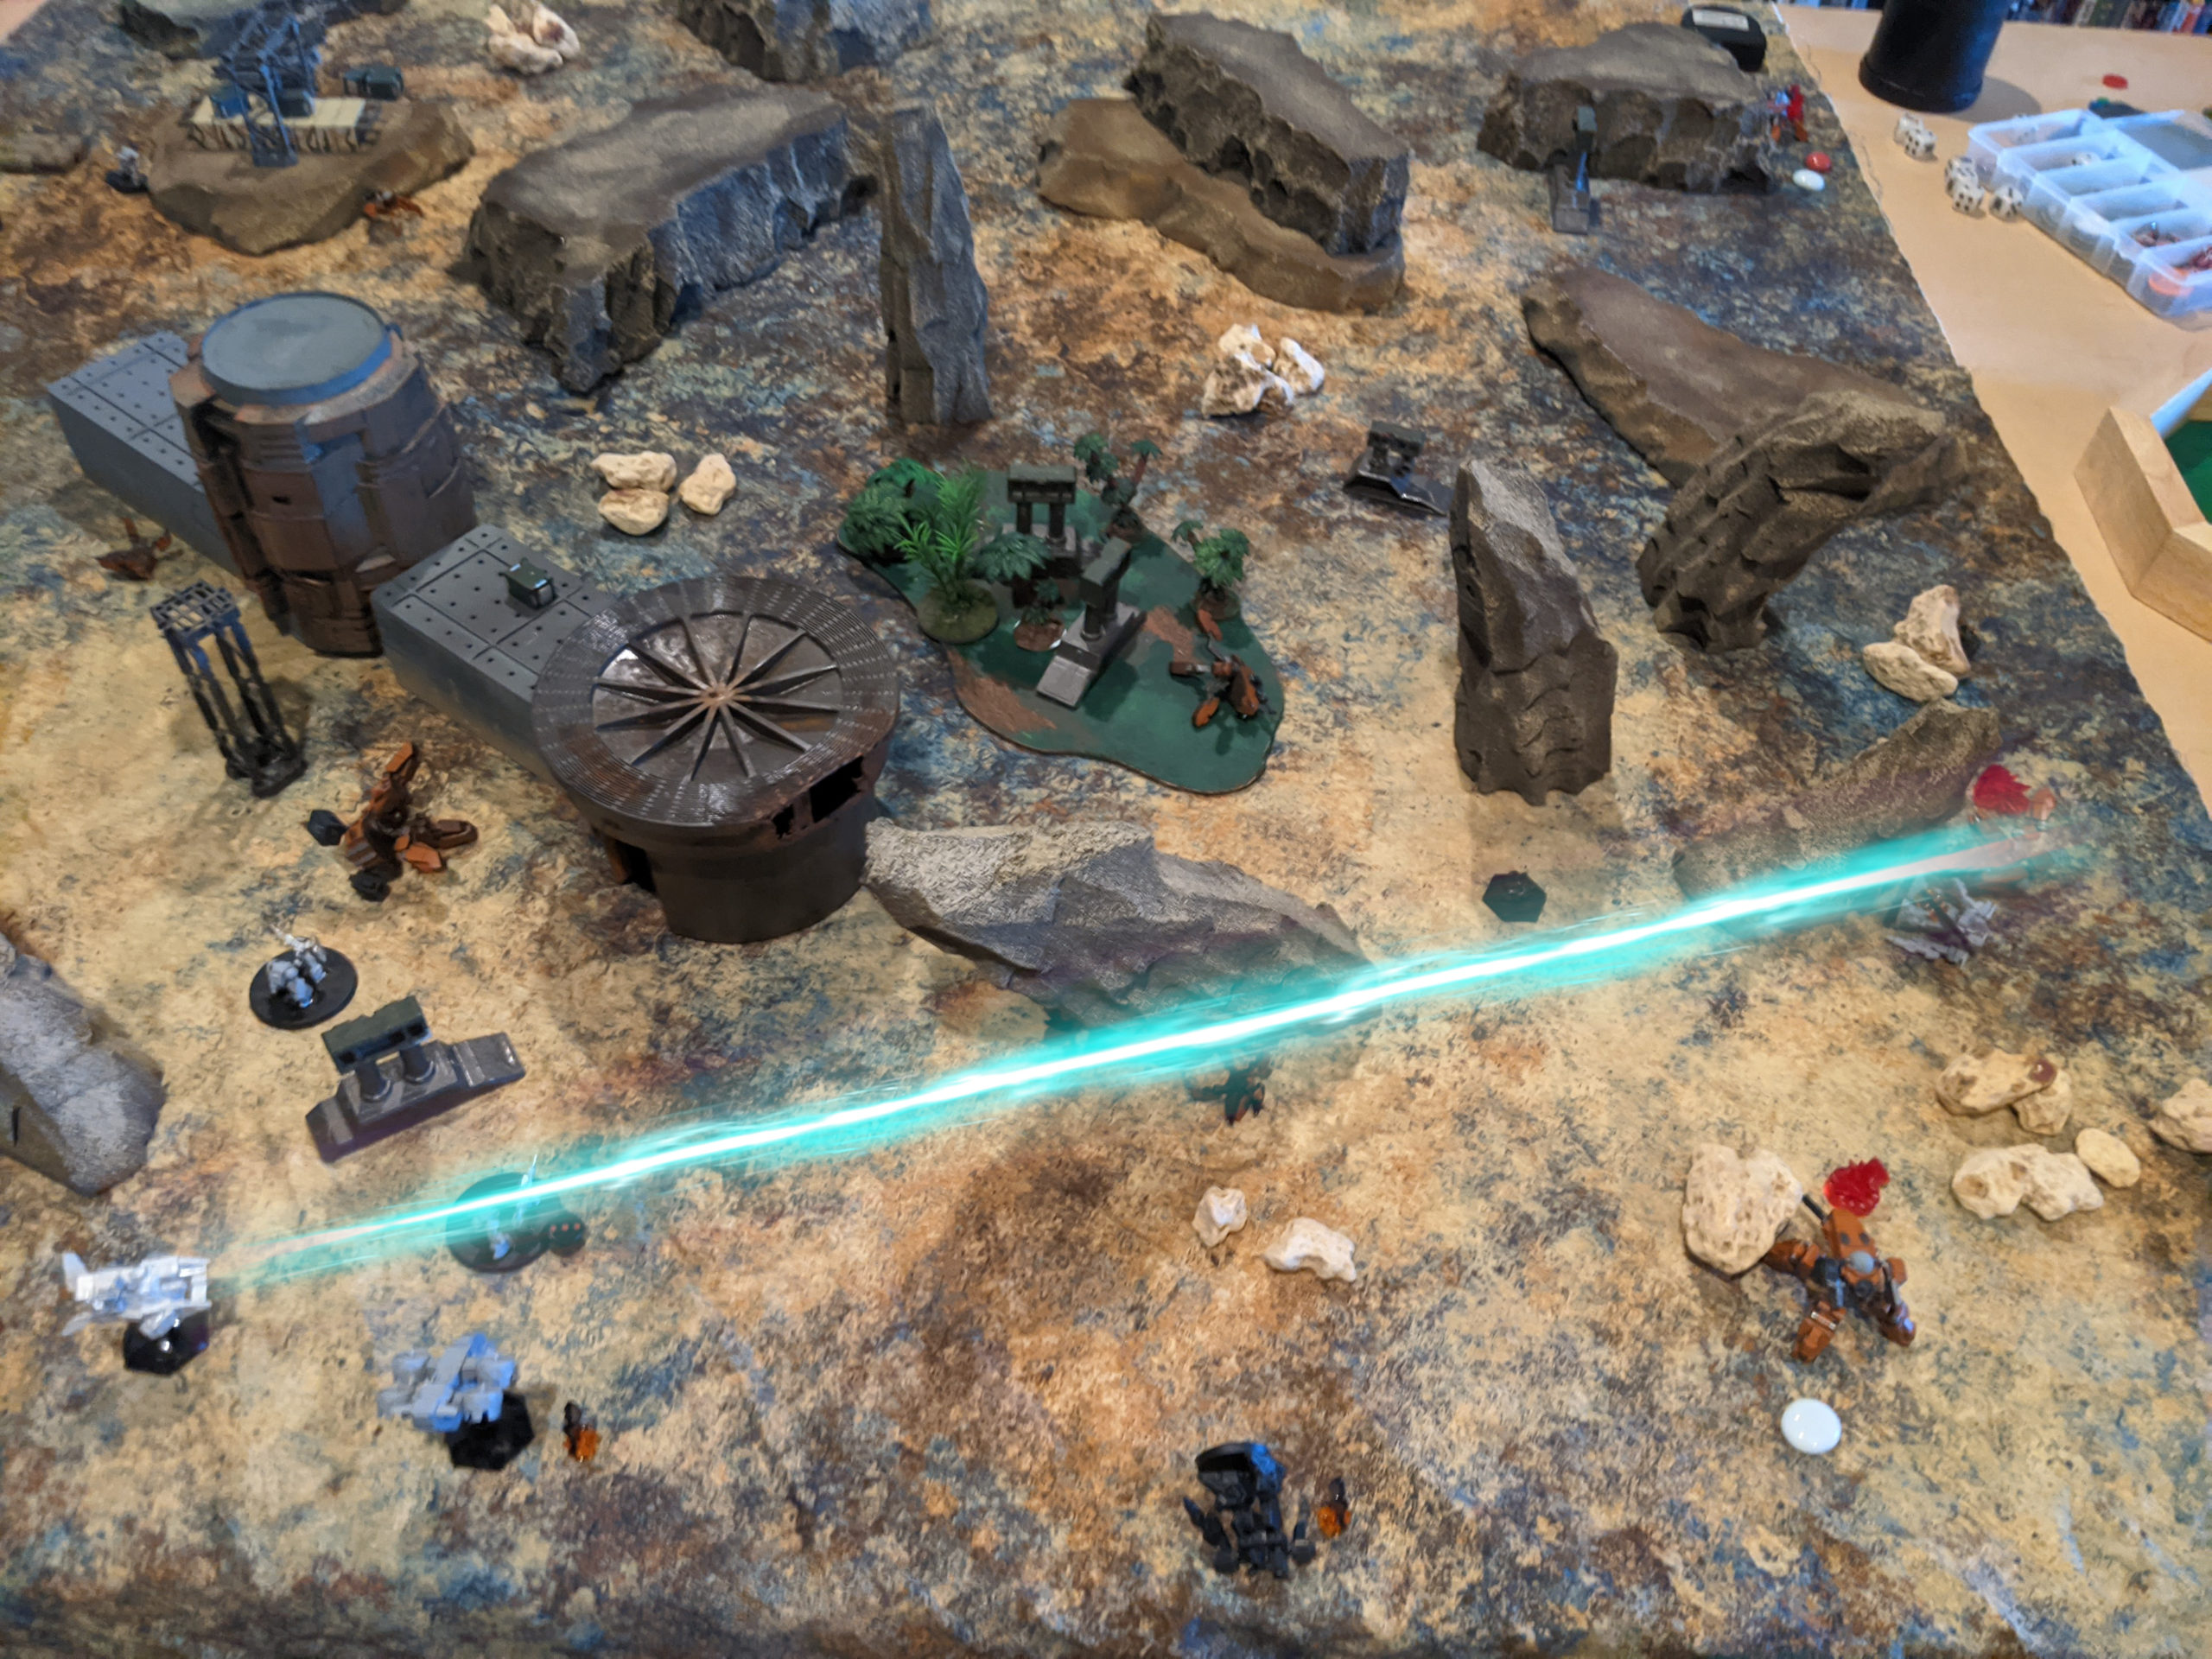
I had 3 objectives to Than’s 0, so that’s 1 point for me at the end of turn 1. At the top of two, I lost the F6-16 Command more spike gun attacks. After weathering some fire from the Kadesh and even an MATM from the Ammon on my LHT-67, it was back to me. I got my Hovercar all the way to see the Ammon and ECM Hacked it to set up for more Morgana nonsense later in the turn. The LHT-67 lit up the Kadesh again, doing a few more points of damage to each.
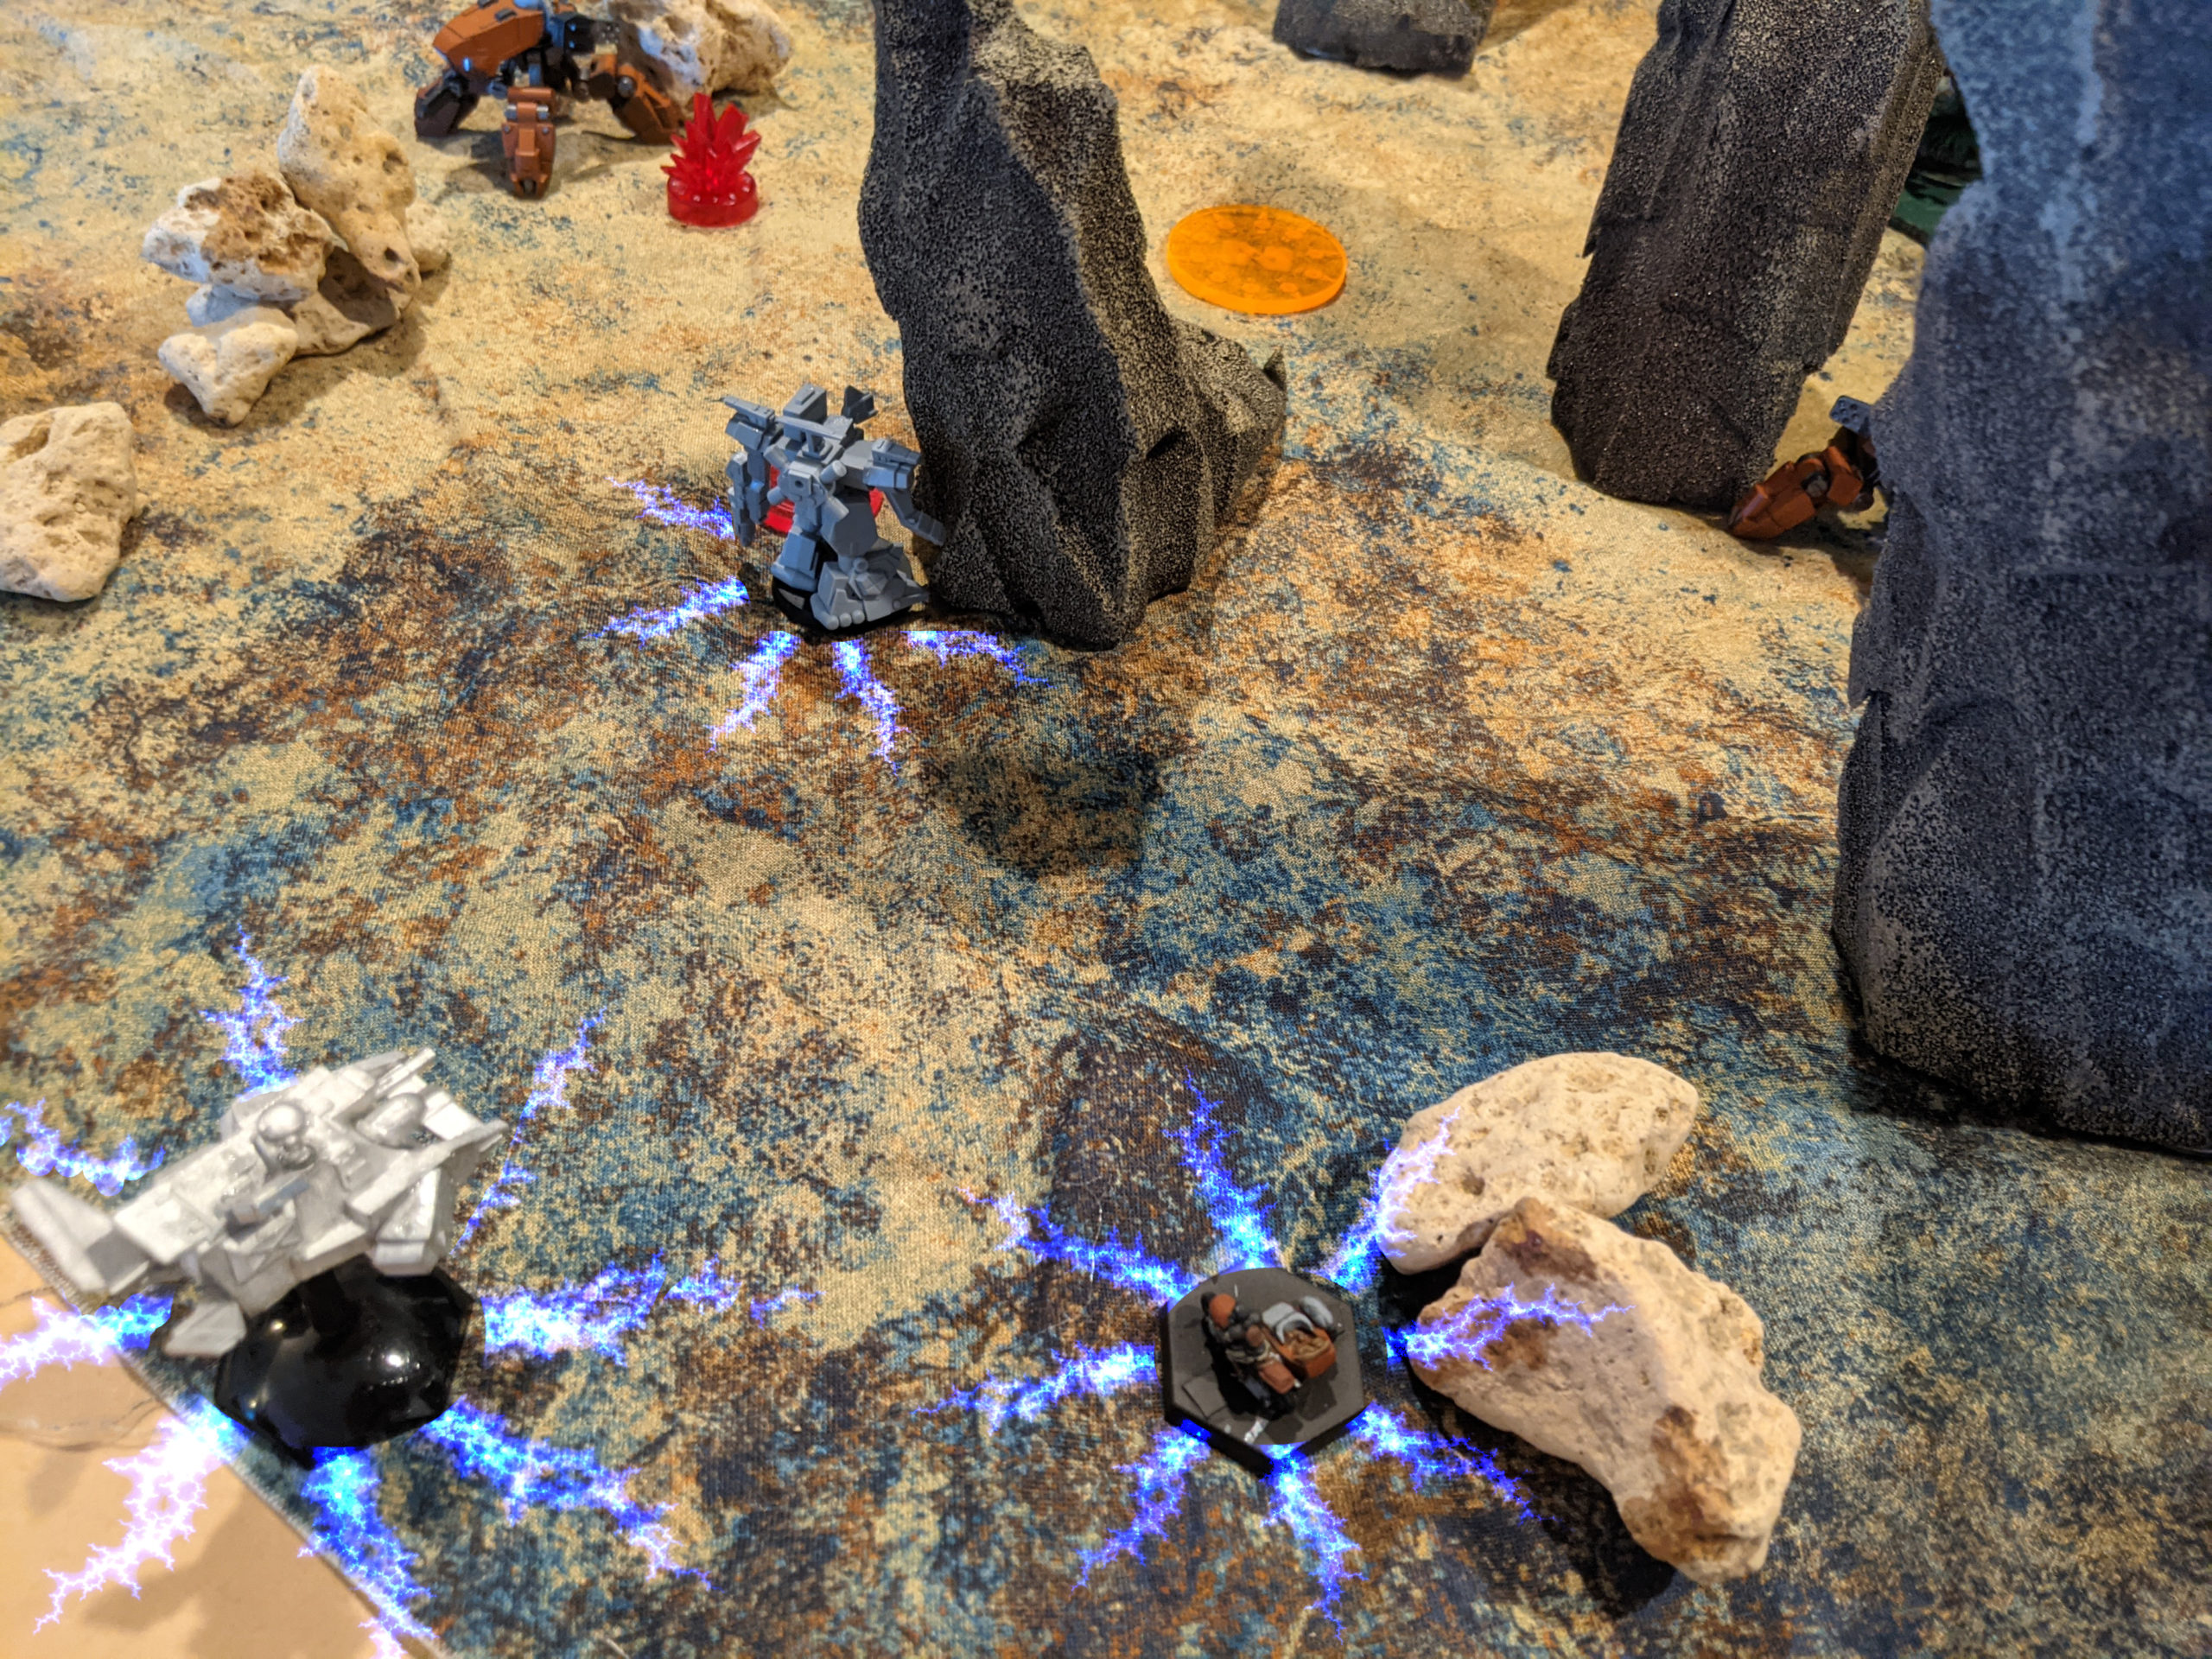
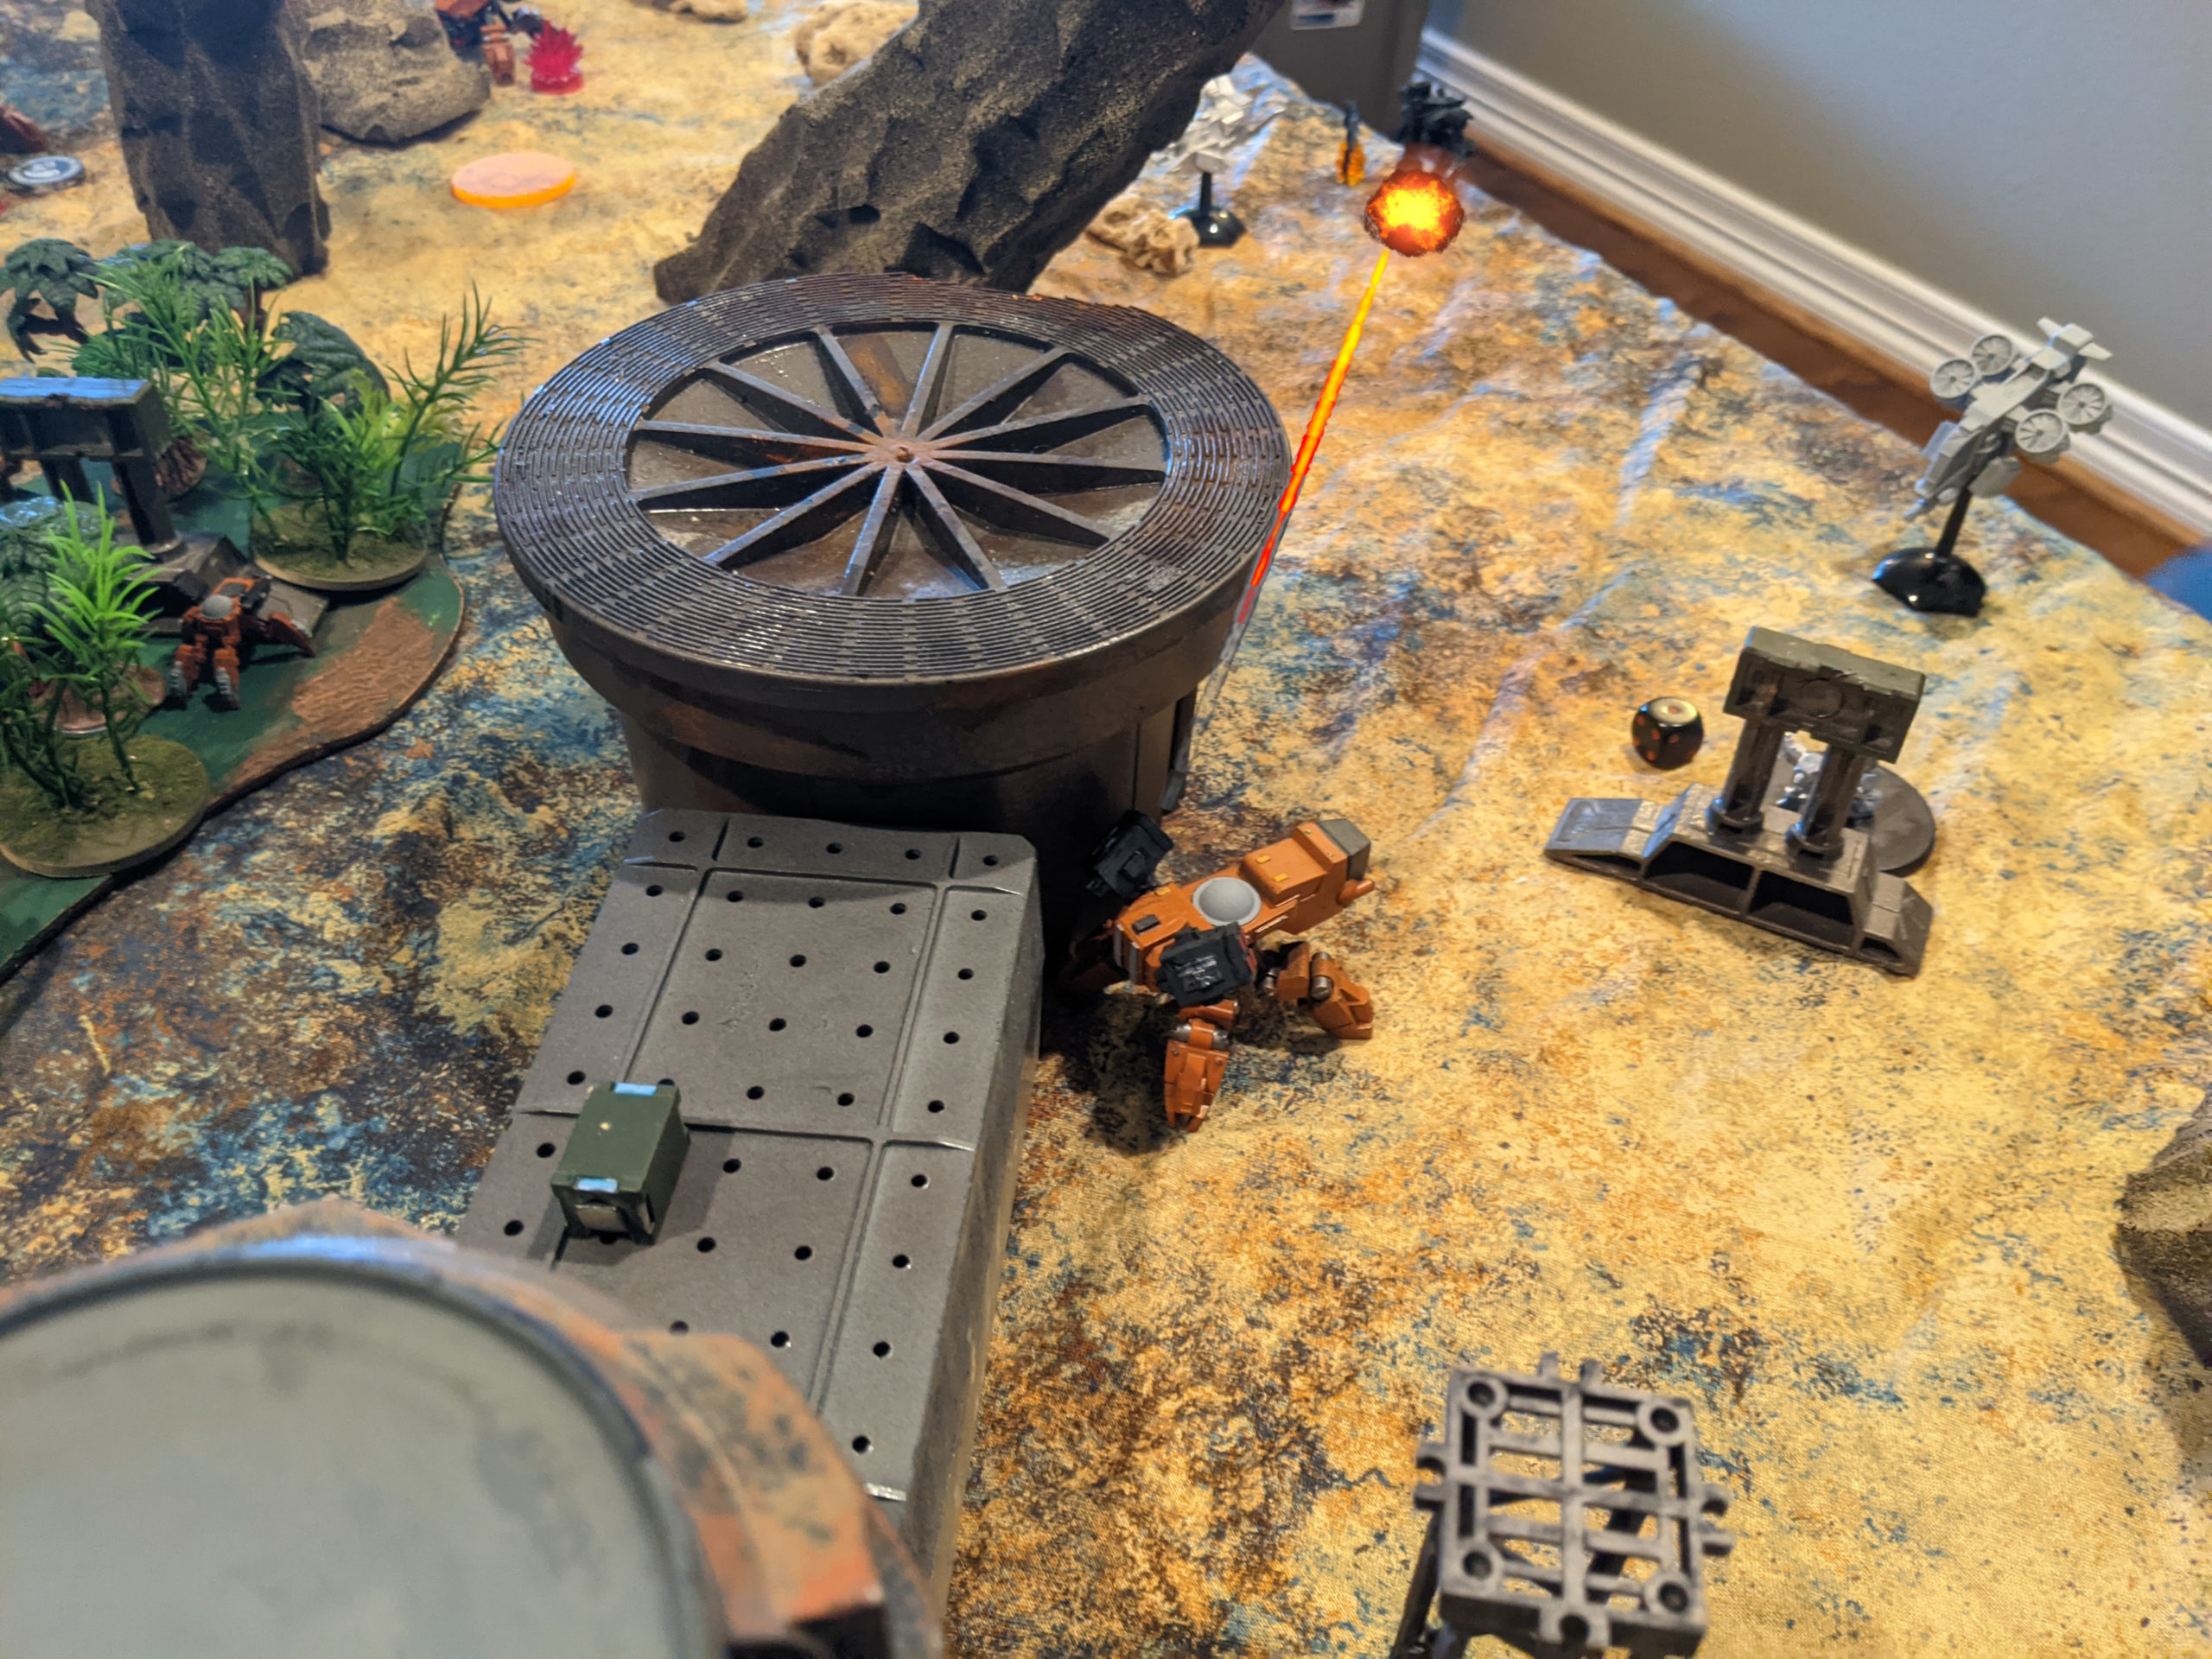
Than tried to Target Designate my MHT-68 with the Bashan Duelist, but thanks to the ECM from the Hovercar Haywiring the Ammon before it fired its last MATM no damage was sustained.
My MHT-68, feeling pretty smug at this point, braced and unloaded all three of its weapons at the Jammer Bashan, and whiffed hard, all three times. What a disappointment!
My poor LHT was finally destroyed by fire from the Bashan and Sniper Acco squad.
I tried to get cute and tag them with an MIGL from behind from a Hoverbike, but couldn’t break the ECM bubble entirely.
I did, however, scan all four objectives, making it very difficult for Than to get that point. Importantly though, I was able to damage the Bashan a little. At the end of this turn, we both scored one point for Break the Line, and I got another point for scanning more objectives.
On my next activation I was able to get a Morgana FLAIL into melee with my Bashan assassinate target and finish it off, bringing me to 4 points to Than’s 2 so far (1 Break the Line + 1 Detailed Scan).
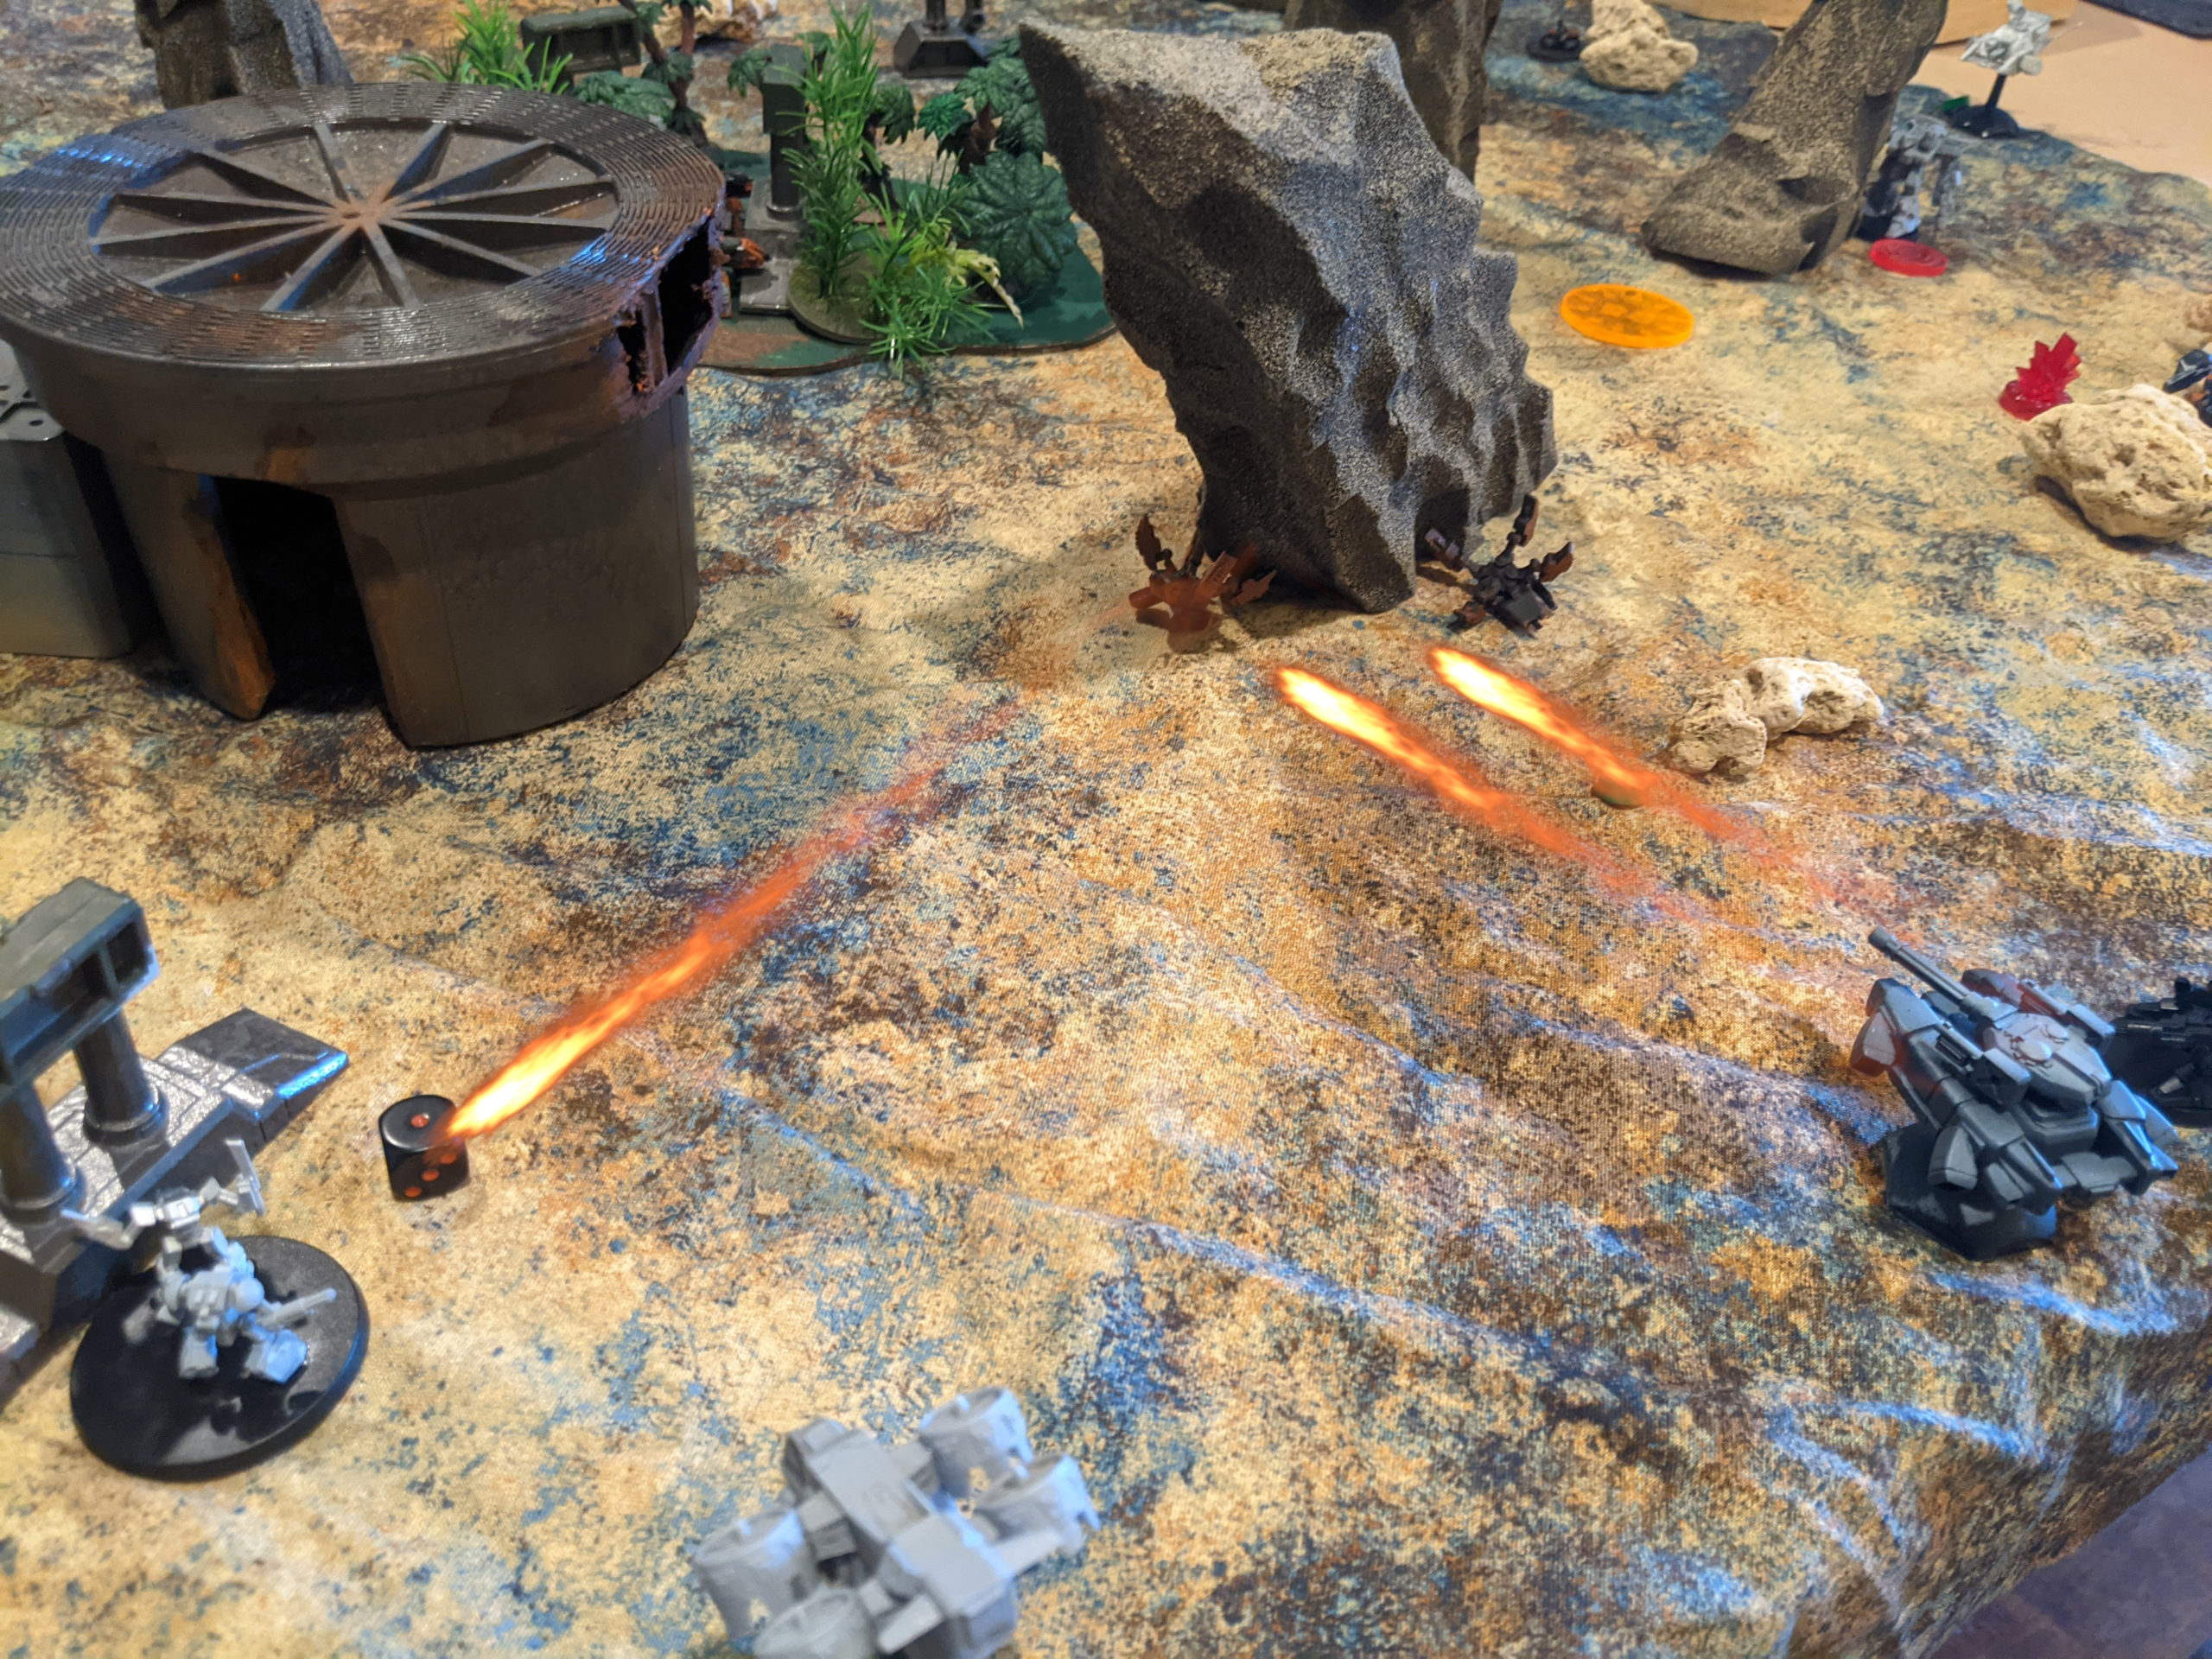
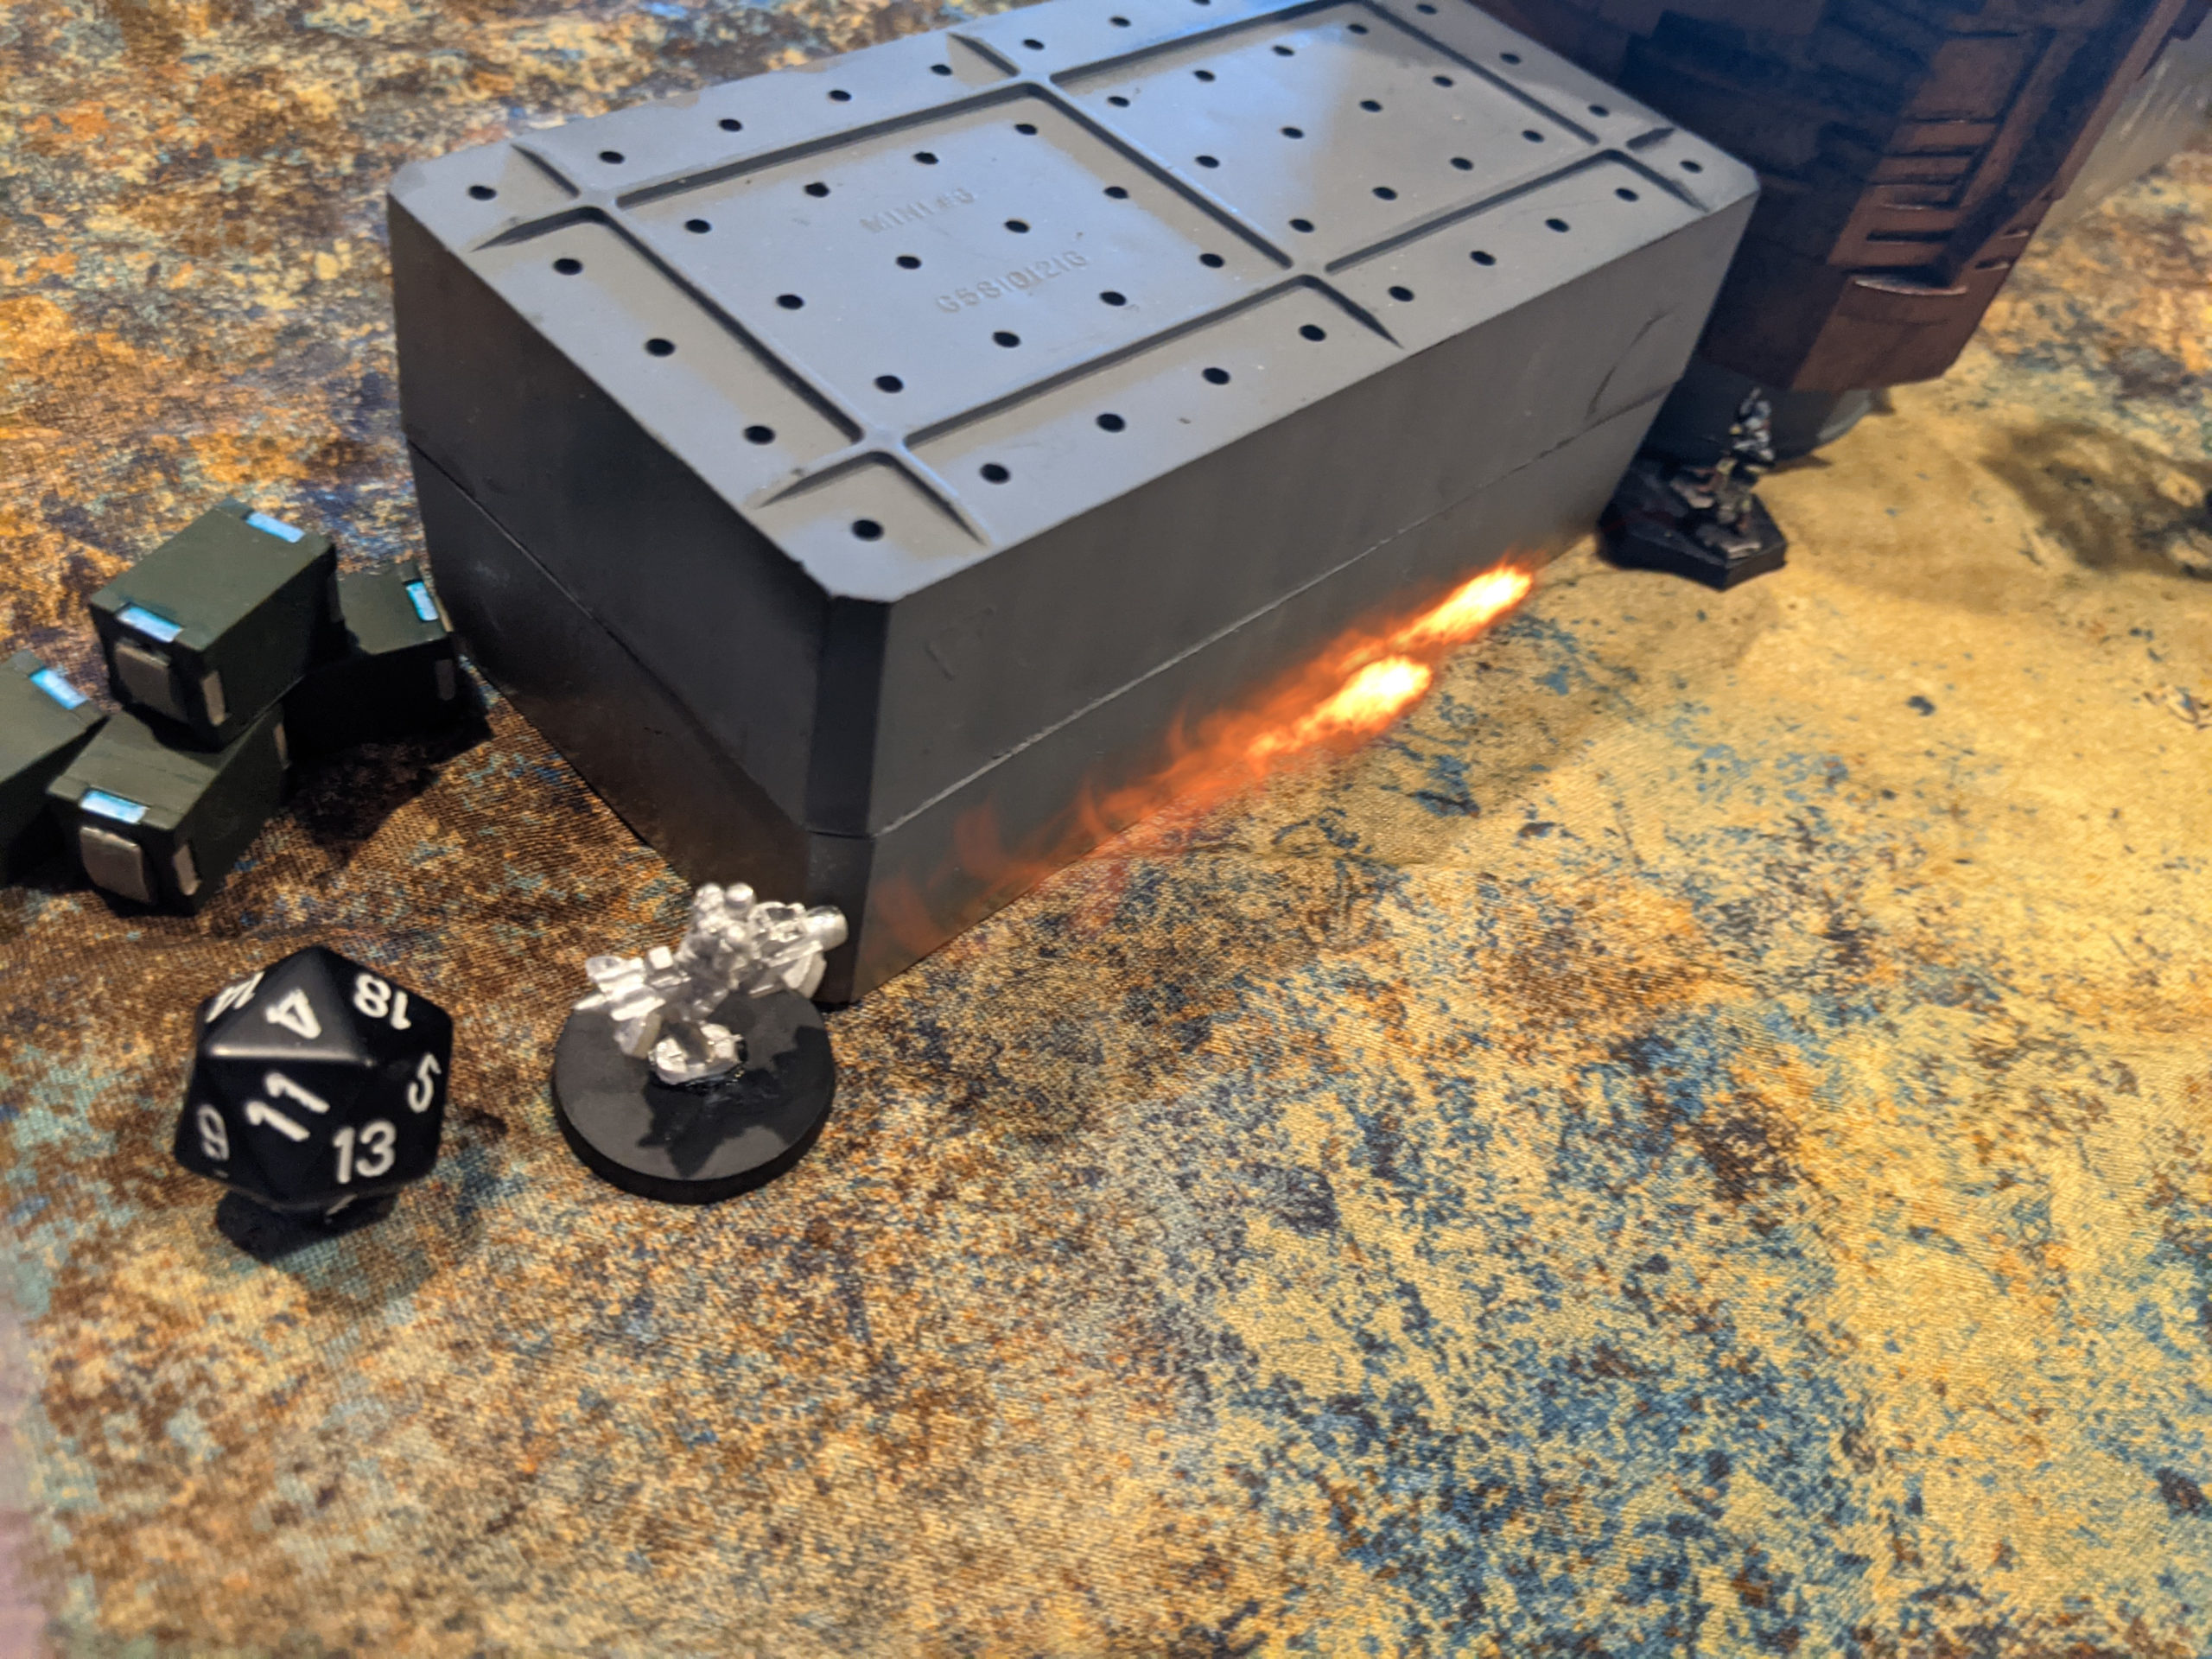
Than’s counterstrike was vicious though–his Bashan Duelist foward observed my MHT-68 again and a pair of MATMs from the Ammon pasted it. That HURT.
I tried to get another assassinate point, firing at the Kadesh that I was supposed to kill with my HC-3’s laser, to no avail.
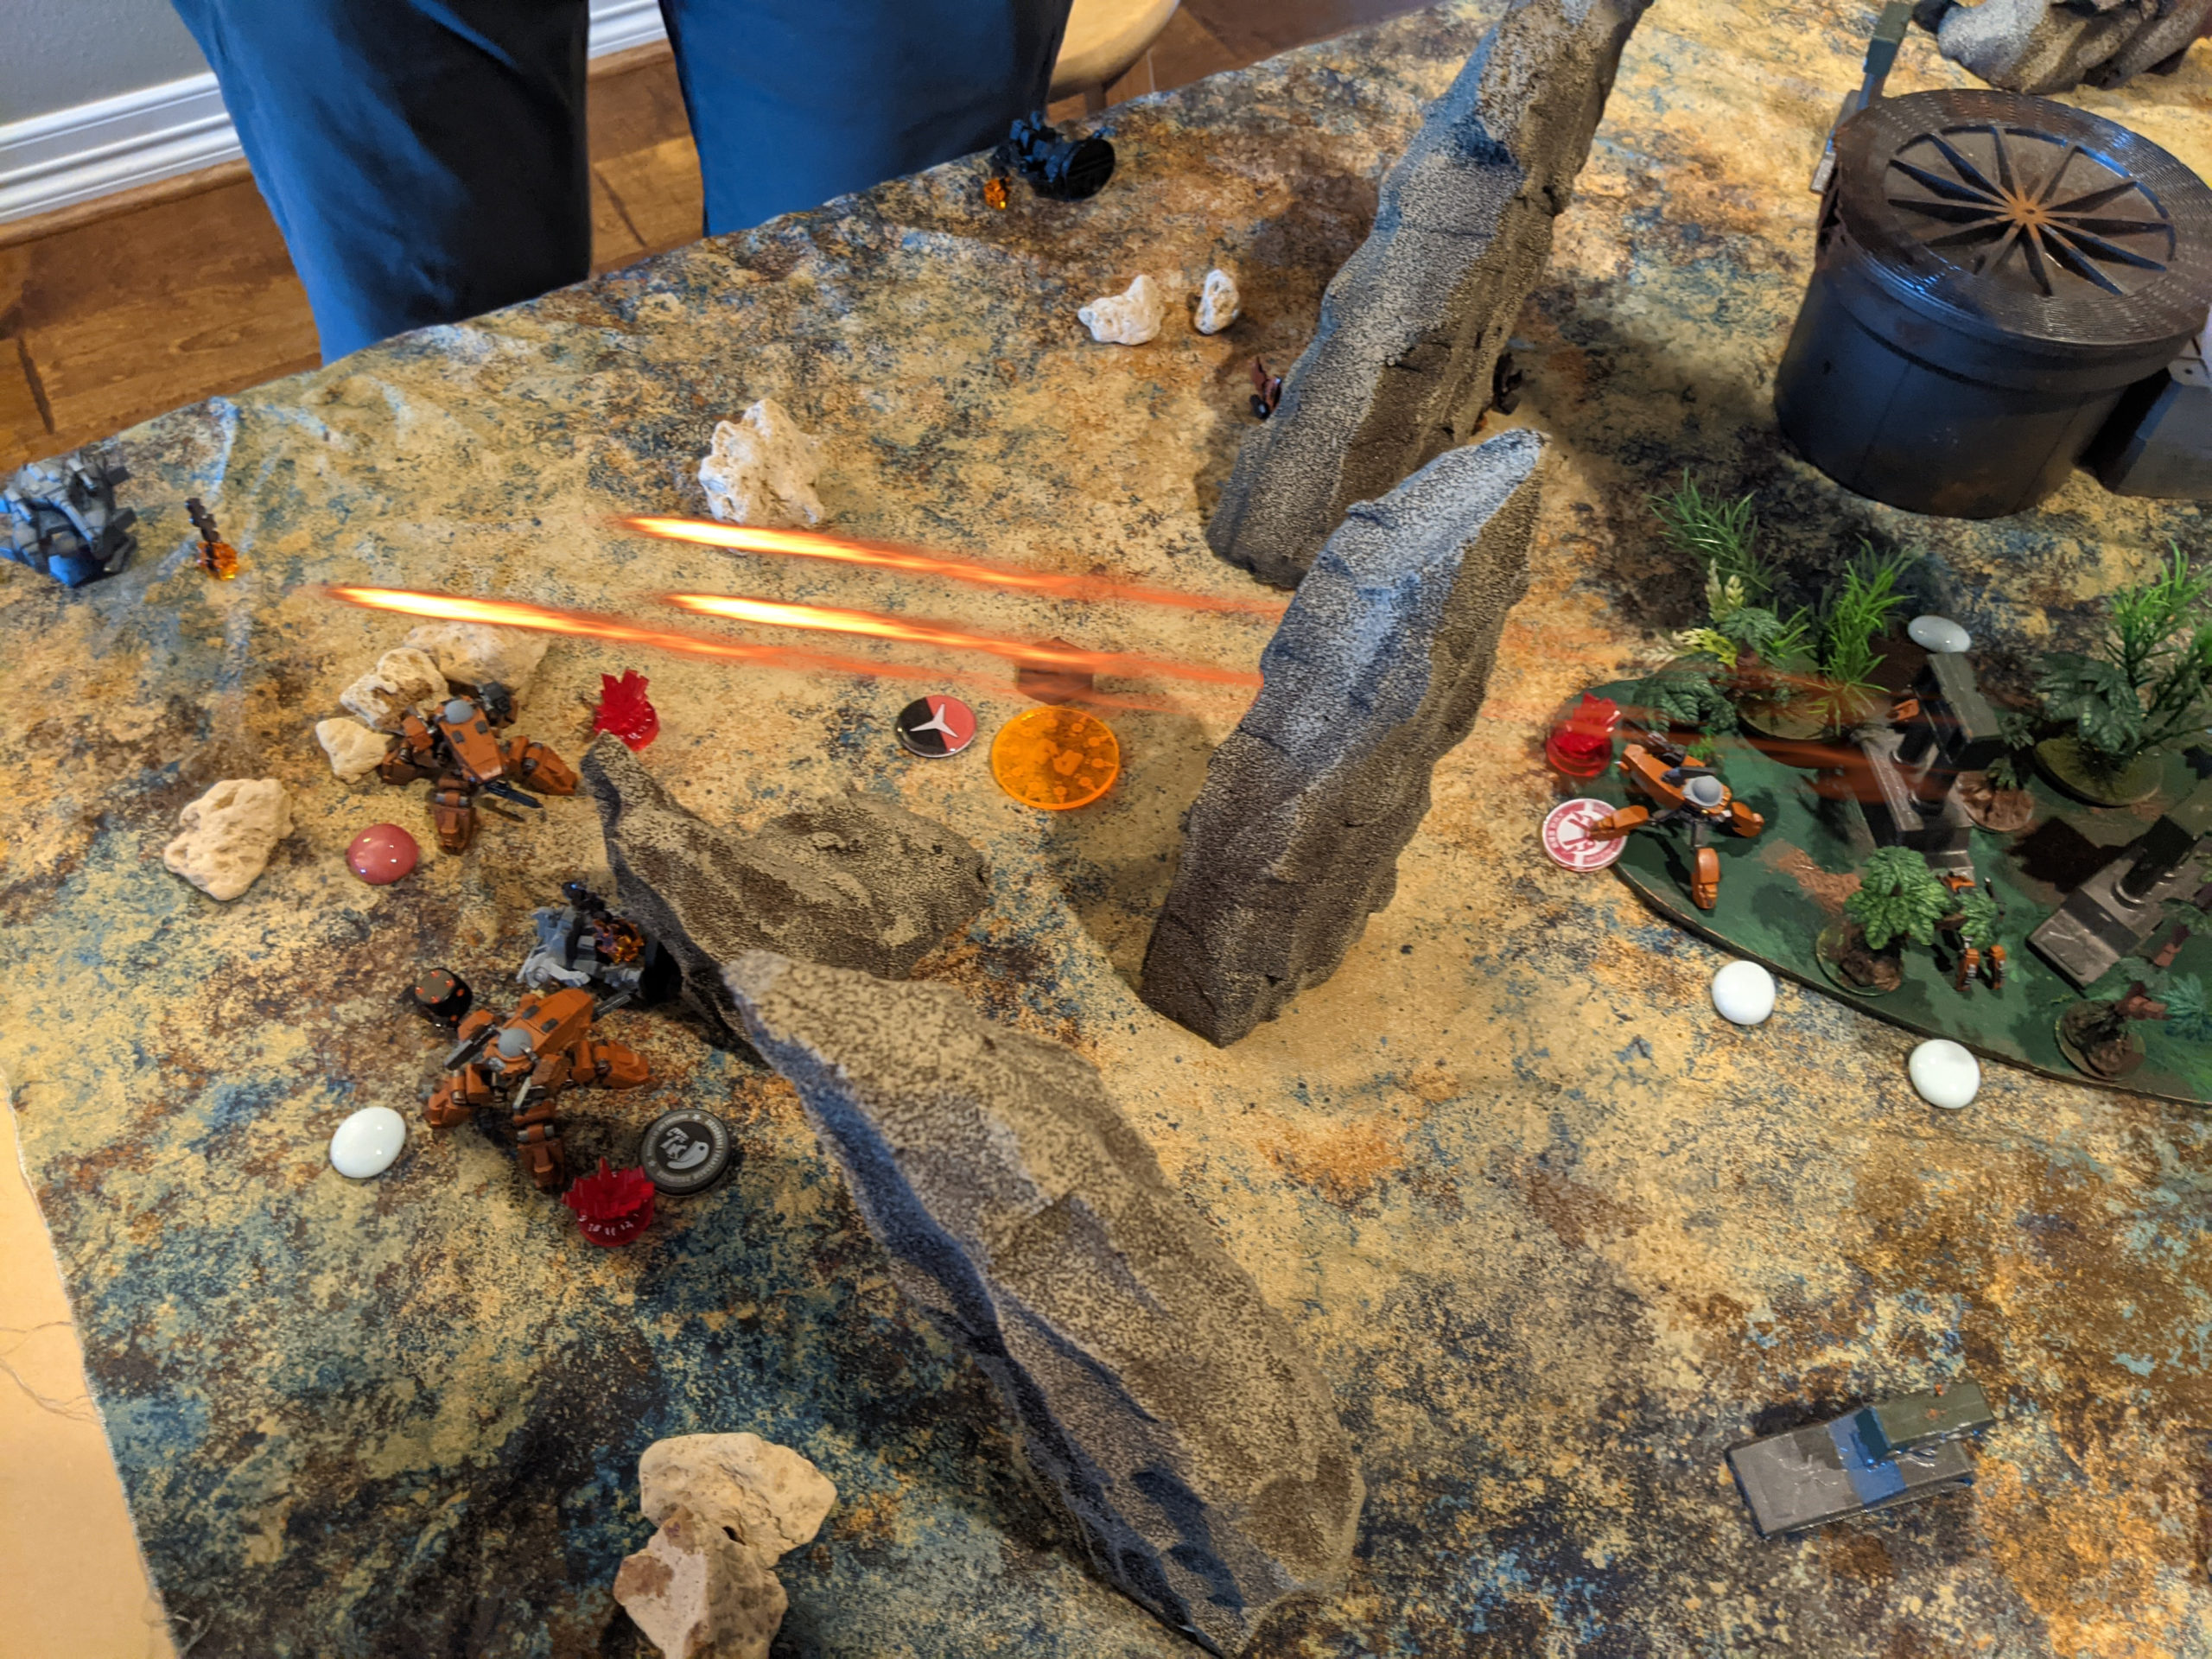
At this point we’re just jockeying for position to control table sections. I do some math and concede the sections to Than. He cleverly pushes an Acco towards my Hold Objectives to apply some pressure to me and then pushes the other Acco towards my Morgana Snipers to scan them. My Morgana FLAILs pile into the Ammon’s rear arc, firing Panzerfausts and crippling it. At the end of Turn 3, we both get another Break the Line point, but Than gets a point for controlling more sections. It’s now a 5-4 game in my favor, ever so slightly.
Turn 4 sees me kill the Ammon with Morgana, cripple the Acco that was trying to see my Sniper team to scan it, and secure one Hold Objective. I even manage to get the FLAILs in the middle of the table into combat with the Kadesh I need to kill, but I don’t roll very well and the FLAILs are finished off by (of all things) a Jackrabbit!
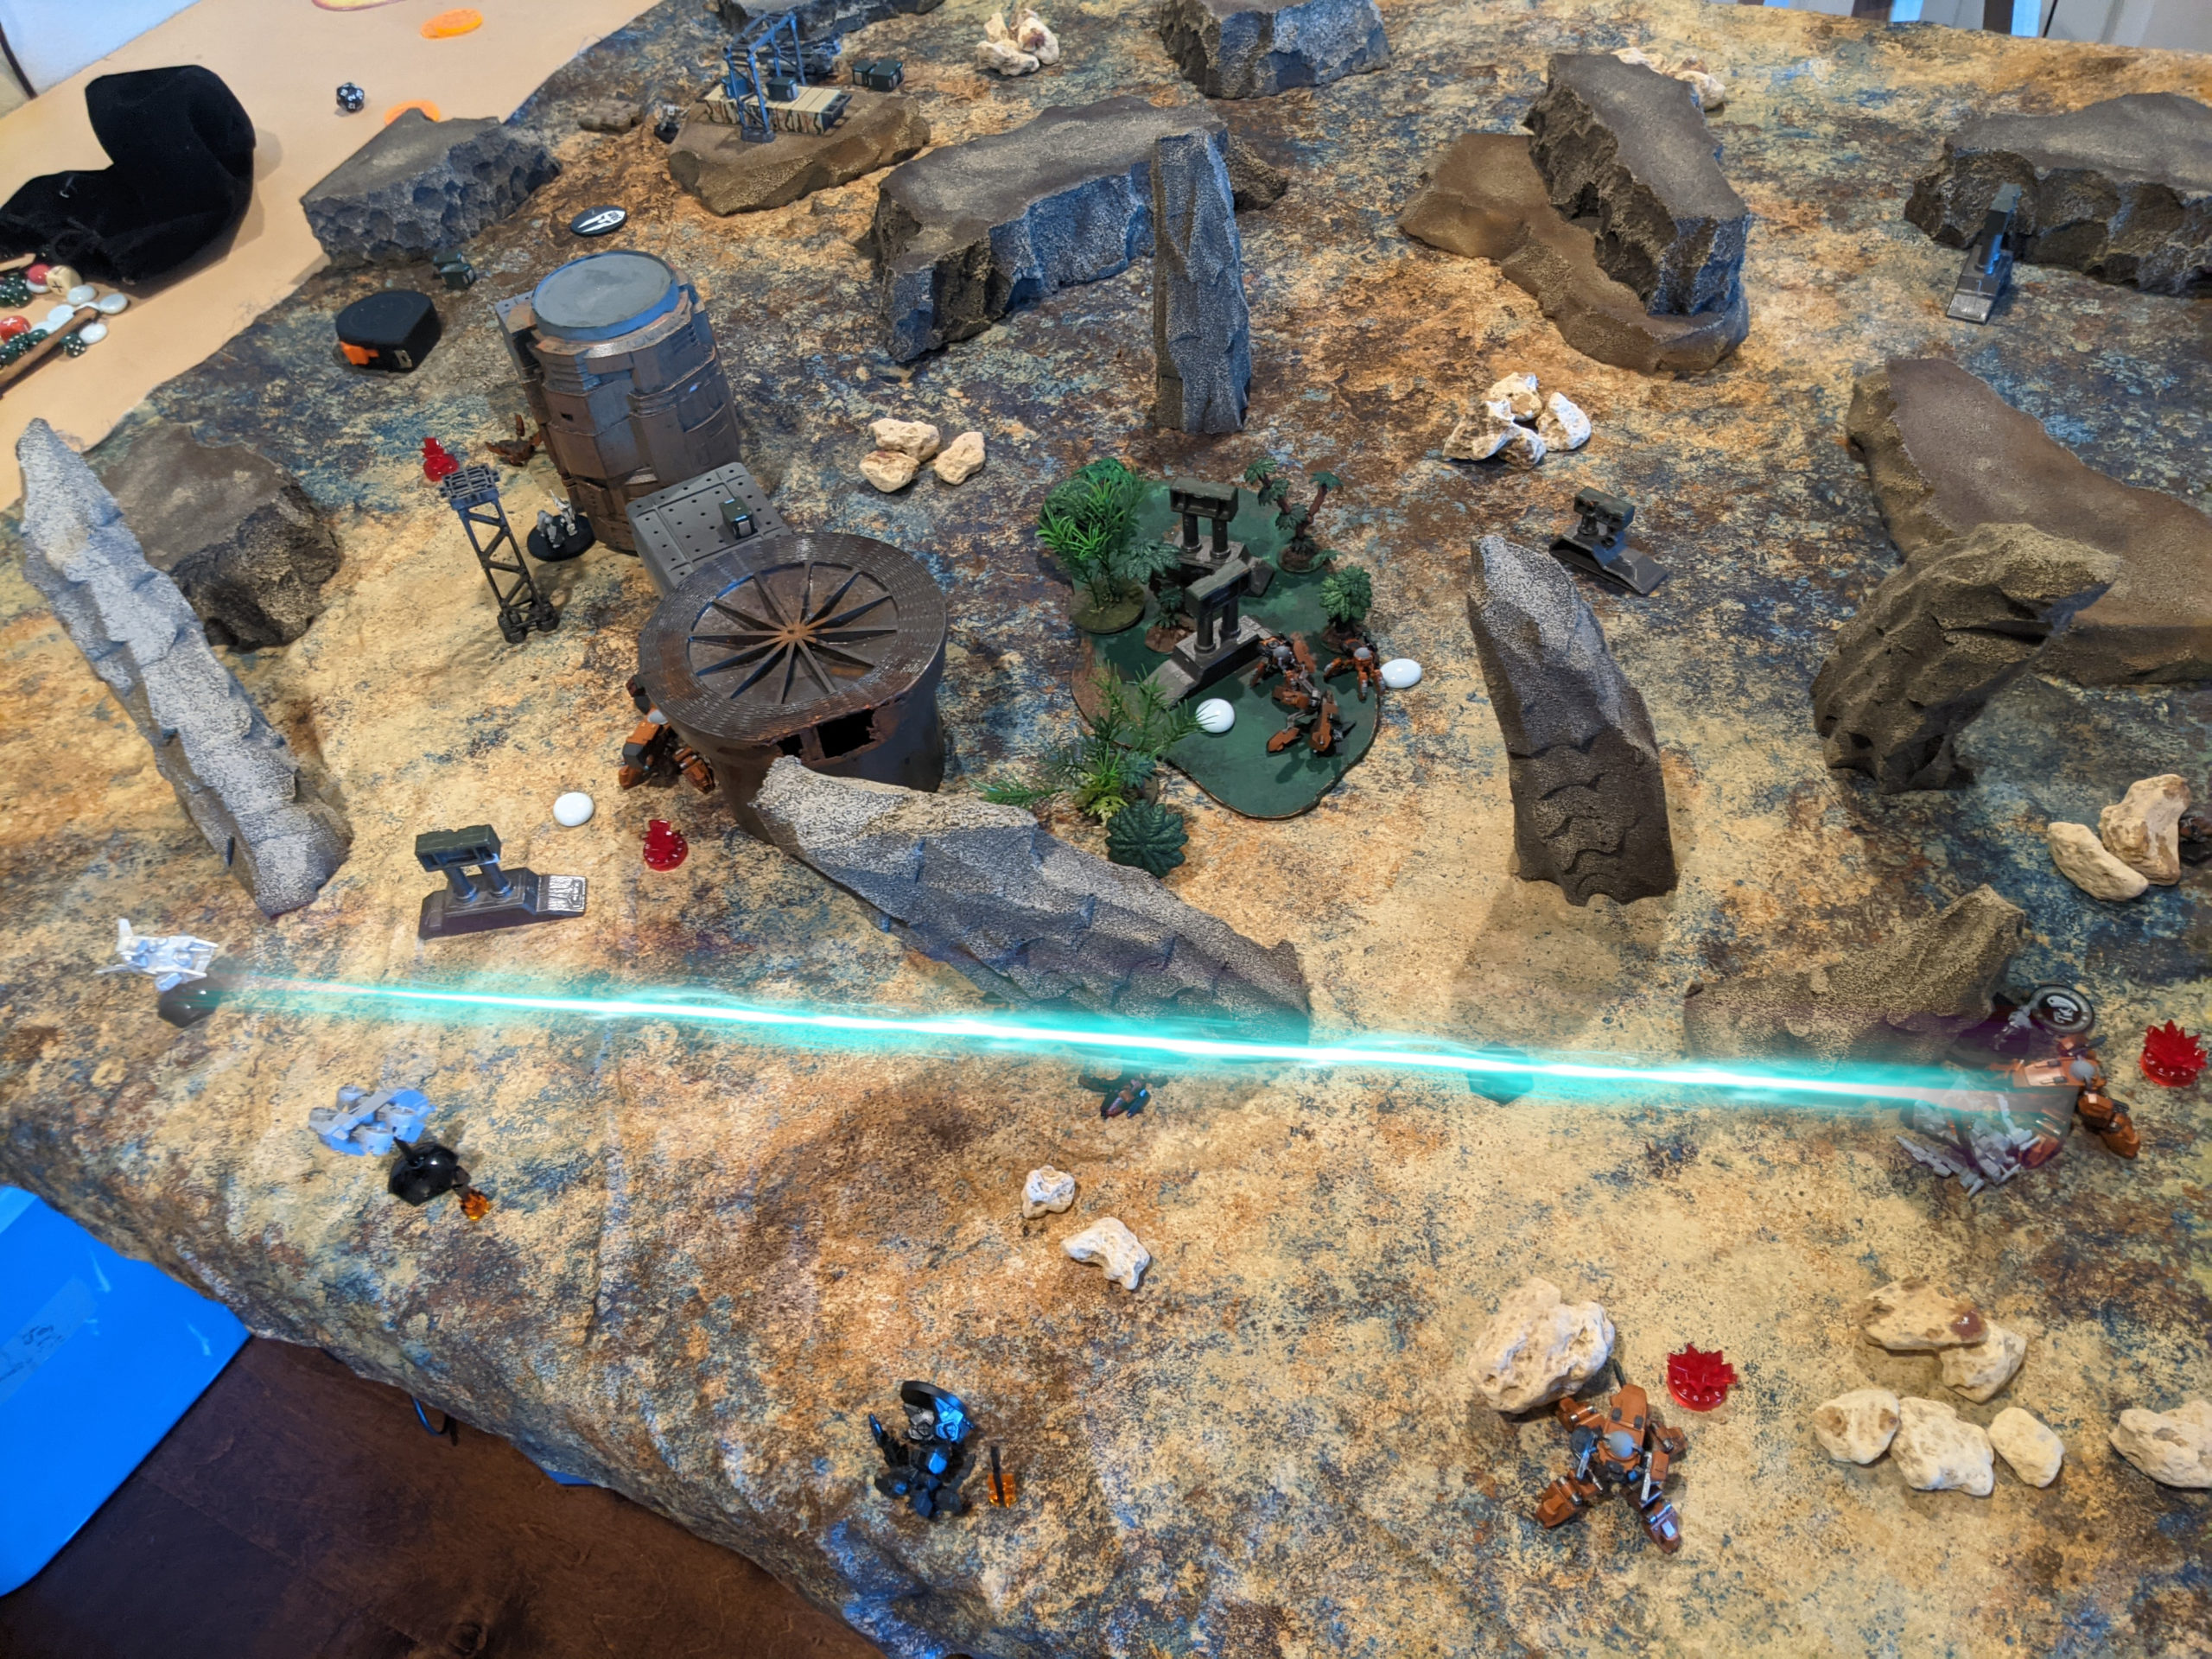
I manage to keep Than from contesting my Hold objective, but there’s no way I can keep him from having more sections or getting another Break the Line, meaning it’s going to be a 6-6 tie. My 2 Break the Line, 1 Assassinate, 2 More Sections Scanned versus Than’s 3 Break the Line, 1 Detailed Scan, and 2 More Sections Controlled. It all comes down to whether or not my Hovercar can kill his Kadesh. I fire the LLC at the Kadesh, doing one point of damage…
then ECM Hack it, and the Haywire damage on a 4+ finishes it off! That brings it to a
7-6 CEF Victory!
Post Game Analysis
First off, I really like the 2x F6-16 + Peregrine combat group, but may switch it up a little to use Anti-Tank FLAILs instead of the Peregrine. Adam has been haranguing me about how good the F6-16 Anti-Tanks are for their cost, and he’s definitely right. Very happy with their performance this game, in spite of them being stabbed to death by the Kadesh. The MHT-68 super under-performed, but that definitely was my issue and not the model’s, I think.
The scenario itself is very fun, and rewards unit durability, the ability to reposition units quickly, and a firm command of playing to the mission objectives. I think also that the requirements for the last two turns to hold sections of the table with more points as opposed to more models rewards taking higher point models. I tend to favor infantry, and was more or less unable to contest the table quadrants. Of all the scenarios I’ve played so far, this one really highlights unit attrition, especially in Turns 3 and 4 with the requirement to have more points in quadrants!
Bikes continue to be very very good, but are quite fragile and die to just about anything shooting at them. I’m debating taking even more bikes to offset this, but I really am enjoying their ability to do objectives and harass lighter enemy units. I’ve noticed my opponents tend to go after them with great gusto, which is annoying but they are so good for their cost. I get it.
Morgana FLAIL remain excellent attacking AR 8 or lower things, but really struggle with very heavily armored units. I don’t like throwing on LPZs on them, even though it ended up working out for me this time. I suspect upgrading regular FLAILs with LPZs will be more useful. Lots of stuff to think about there. What’s been really interesting is that I’ve been finding myself pushing out my LHT’s from my lists to make room for FLAILs.
I definitely made some mistakes in this game. The key one was bracing the MHT. I think my new rule for myself is to never Brace in CEF if at all possible. I had some positional issues in the quadrant with all the Kadesh, but I’ll chalk that up to not really playing much at close quarters like that. What’s interesting to me is that after this game I’ve completely rethought my approach to Caprice. Now I really want to leverage their Spike Guns and Brawl: 1. That solves a lot of problems for them, I think, and really fits in with their desire to just be in your face.
As far as more CEF-focused lessons I took from the game, I’m starting to hit that stride where I know what I like and I’m starting to evaluate other tools in the faction that are unfamiliar and uncomfortable. It’s been pretty interesting seeing how my unit evaluations shift over time with the added experience of more games in varied contexts.
On that note, I have a healthy amount of respect for the Rotary Cannon Kadesh now as well–those things are monsters with Stable and Focus. You can generate 5d6 on two targets with that in optimal range or 4d6 in suboptimal. That’s crazy good and super flexible. I’d been holding off on building more Caprice for awhile, but now I know what I’m going to build! I don’t know that you need to go all the way to Brawl: 2 or greater with them, but it’s worth considering.
Really, this just goes to show how important it is to play multiple people, and how important a tournament system is to the game. Both force you to play on different tables against different armies/playstyles with different objectives. It breaks stagnation in your strategy and forces you to re-evaluate unit evaluations. I think the Caprice Invasion Detachment with the discounts for Conscript are also really interesting to explore like Than did. I’m excited to build more Caprice lists now.
Anyway, that was a bit of a meandering ramble. Bottom line, the scenario works. We’ll release an updated version soon after some more playtesting, but things currently look like this:
- Quadrants – Both 4×4 and 6×4 tables are broken up into 4 equal quadrants. You roll 1-4 to determine where you CG must deploy, 5 your opponent chooses, 6 you choose.
- Deployment – Must deploy in formation, at least 6″ away from enemy models.
- Objectives – No change to the scoring system, that worked fine. Keep the randomly selected “normal” deployment zones for the purposes of Break the Line, Capture, and Hold.
- First Turn Modifiers – Rather than overcomplicate things with the shots over 18″ and 36″, we decided to just say “The whole table is covered in smoke for the first turn, i.e. everything gets a +1d6 defensive bonus. VTOLs must be elevated (and therefore do not get smoke bonuses) for the first turn.”
I don’t have any illusions about this tournament scenario being universally liked. I can already hear the criticisms about how it’s random and therefore not suitable for competitive play. To draw a line in the cultural sand, I tend to approach competitive play from the standpoint of a tournament evaluating players’ ability to adapt to a changing situation with limited resources. There’s plenty of randomness as well in a less variable mission–it’s a dice game, after all.
Furthermore, as a general note to those who like/don’t like certain scenarios in the HGB Tournament System, I’m with you. There are plenty of scenarios that I have strong opinions about across the various game systems I play, including this one. Just to set expectations, what we should be asking as users of the system is not “are all the scenarios to my liking?” but rather “are enough of the scenarios to my liking that I or my play group could run 3-5 mission tournament?”
Anyway, thanks for reading!