
Through the Motions
Alright. So. What do you do if you’ve lost the game at the bottom of 1 and you’re hoping for a miracle to turn it into a 0-1 loss? Do you keep playing? Do you just give up, rage quit, and go home? If the game is mathematically unwinnable, what’s the point of continuing?
It’s worth pointing out that my opponent, Obi, who was up from California for Memorial Day weekend, was gracious and kind the whole time. I was a bit sad about this game, but I wasn’t deep in the salt mines and ready to hurl dice across the room. Still, there was a real decision to make–do we keep playing this unwinnable game, or do I just concede, crack a beer, and catch up with my friend who I haven’t see in awhile? That’s the decision here–are the two of us going to get anything out finishing the game or should we spend our time hanging out instead? We’ll dig into that in this report, and I’m glad to have you along for the ride.
Overview
- Mission: Mindwipe
- Forces: Jurisdictional Command of Corregidor versus Tohaa (300)
- Deploy First: Tohaa
- First Turn: Tohaa
I’m doing something that I don’t want to do, which is to take a bunch of linkable models and put them in links. I really don’t enjoy playing links, I find them cumbersome and frustrating to use. They demonstrably work, looking at other people using them in games, but I have consistently disliked them. So, I’m forcing myself to play them, to see if I can’t sort it out.
Objectives
GROUP 1
9
MOBILE BRIGADA (Lieutenant) Boarding Shotgun / Pistol, CC Weapon. (0 | 32)
DAKTARI Combi Rifle ( | MediKit) / Pistol, CC Weapon. (0 | 14)
JAGUAR Chain Rifle, Smoke Grenades / Pistol, DA CC Weapon. (0 | 10)
TSYKLON Feuerbach, Pitcher / PARA CC Weapon(-6). (1 | 36)
EVADER (Engineer) AP Spitfire, D-Charges ( | GizmoKit, TinBot: Firewall [-3]) / Pistol, CC Weapon. (1.5 | 34)
JAZZ FTO undefined / undefined. (0.5 | 19)
VALERYA GROMOZ (Hacker) Combi Rifle, Zapper, Pitcher / Pistol, CC Weapon. (0.5 | 21)
GROUP 2
CARLOTA KOWALSKY Breaker Combi Rifle, Light Flamethrower, Adhesive Launcher(+1B), D-Charges / Pistol, CC Weapon. (0 | 30)
1
1
MORAN (Repeater) Combi Rifle, Flash Pulse, D-Charges, Crazykoala ( ) / Pistol, CC Weapon. (0.5 | 17)
TRANSDUCTOR ZOND Flash Pulse / PARA CC Weapon(-3). (0 | 7)
VERTIGO ZOND Missile Launcher / PARA CC Weapon(-3). (1.5 | 17)
McMURROUGH Chain Rifle(+1B), Grenades, Smoke Grenades / AP + DA CC Weapon. (0 | 27)
6 SWC | 299 Points | Open in Infinity Army
The list itself is uninteresting. It’s 15 orders of stuff that’s good in Corregidor. There are eight linkable things, and I can basically mix and match them however I want because 6 of the 8 things are wildcard. So. There’s that. Carlota and McMurrough, because duh, and then we’ve got some Morans and a Vertigo, because ostensibly that’s good too. I hate the list, but it’s fine. It works, it does things, it’s reasonably resilient to losing members of the link, and it has some guns. It noticeably doesn’t have answers to Le Muet, and it’s not very resilient to the loss of the Morans, but hey, this game isn’t supposed to be easy.
Yep
GROUP 1
NEEMA (Lieutenant [+1 Command Token]) Spitfire, Nanopulser / Viral Pistol, Shock CC Weapon. (1.5 | 42)
KOSUIL (Engineer) K1 Combi Rifle, D-Charges, AP Mines ( | GizmoKit) / Pistol, CC Weapon. (0 | 29)
MAKAUL Heavy Flamethrower, Contender, Eclipse Grenades / Pistol, DA CC Weapon. (0 | 13)
GROUP 2
JAAN STAAR Light Shotgun, Shock Mines / Viral Pistol(+1B), CC Weapon. (1 | 31)
GREIF-OP (Surprise Attack [-3], Impersonation [IMP-2]) Combi Rifle, D-Charges / Breaker Pistol(+1B), CC Weapon. (1 | 20)
CHAKSA AUXILIAR (Sensor, Baggage) Heavy Flamethrower(+1 Dam) ( ) / Pistol, CC Weapon. (0 | 10)
ARMAND (Multispectral Visor L1) MULTI Sniper Rifle, Nanopulser ( ) / Breaker Pistol(+1B), Shock CC Weapon. (1.5 | 39)
KAELTAR (Chain of Command) Light Shotgun, Flash Pulse, SymbioBomb ( | SymbioMate) / Pistol, PARA CC Weapon(-3). (0.5 | 21)
TAAGMA Breaker Combi Rifle, Nanopulser / Pistol, CC Weapon. (0 | 16)
CLIPSOS (Forward Observer) Combi Rifle, Flash Pulse, Shock Mines / Pistol, CC Weapon. (0 | 25)
KRAKOT RENEGADE Chain Rifle(+1B), Grenades / DA CC Weapon, Heavy Pistol. (0 | 14)
CUBE JÄGER (Paramedic) Submachine Gun, E/Mitter / Pistol, Monofilament CC Weapon. (0.5 | 19)
6 SWC | 299 Points | Open in Infinity Army
Obi’s list is fine–strong Neema triad, Clipsos to do the mission, and then Jan Staar and a Greif to bring it all home. Of course, Le Muet is a big deal here as well.
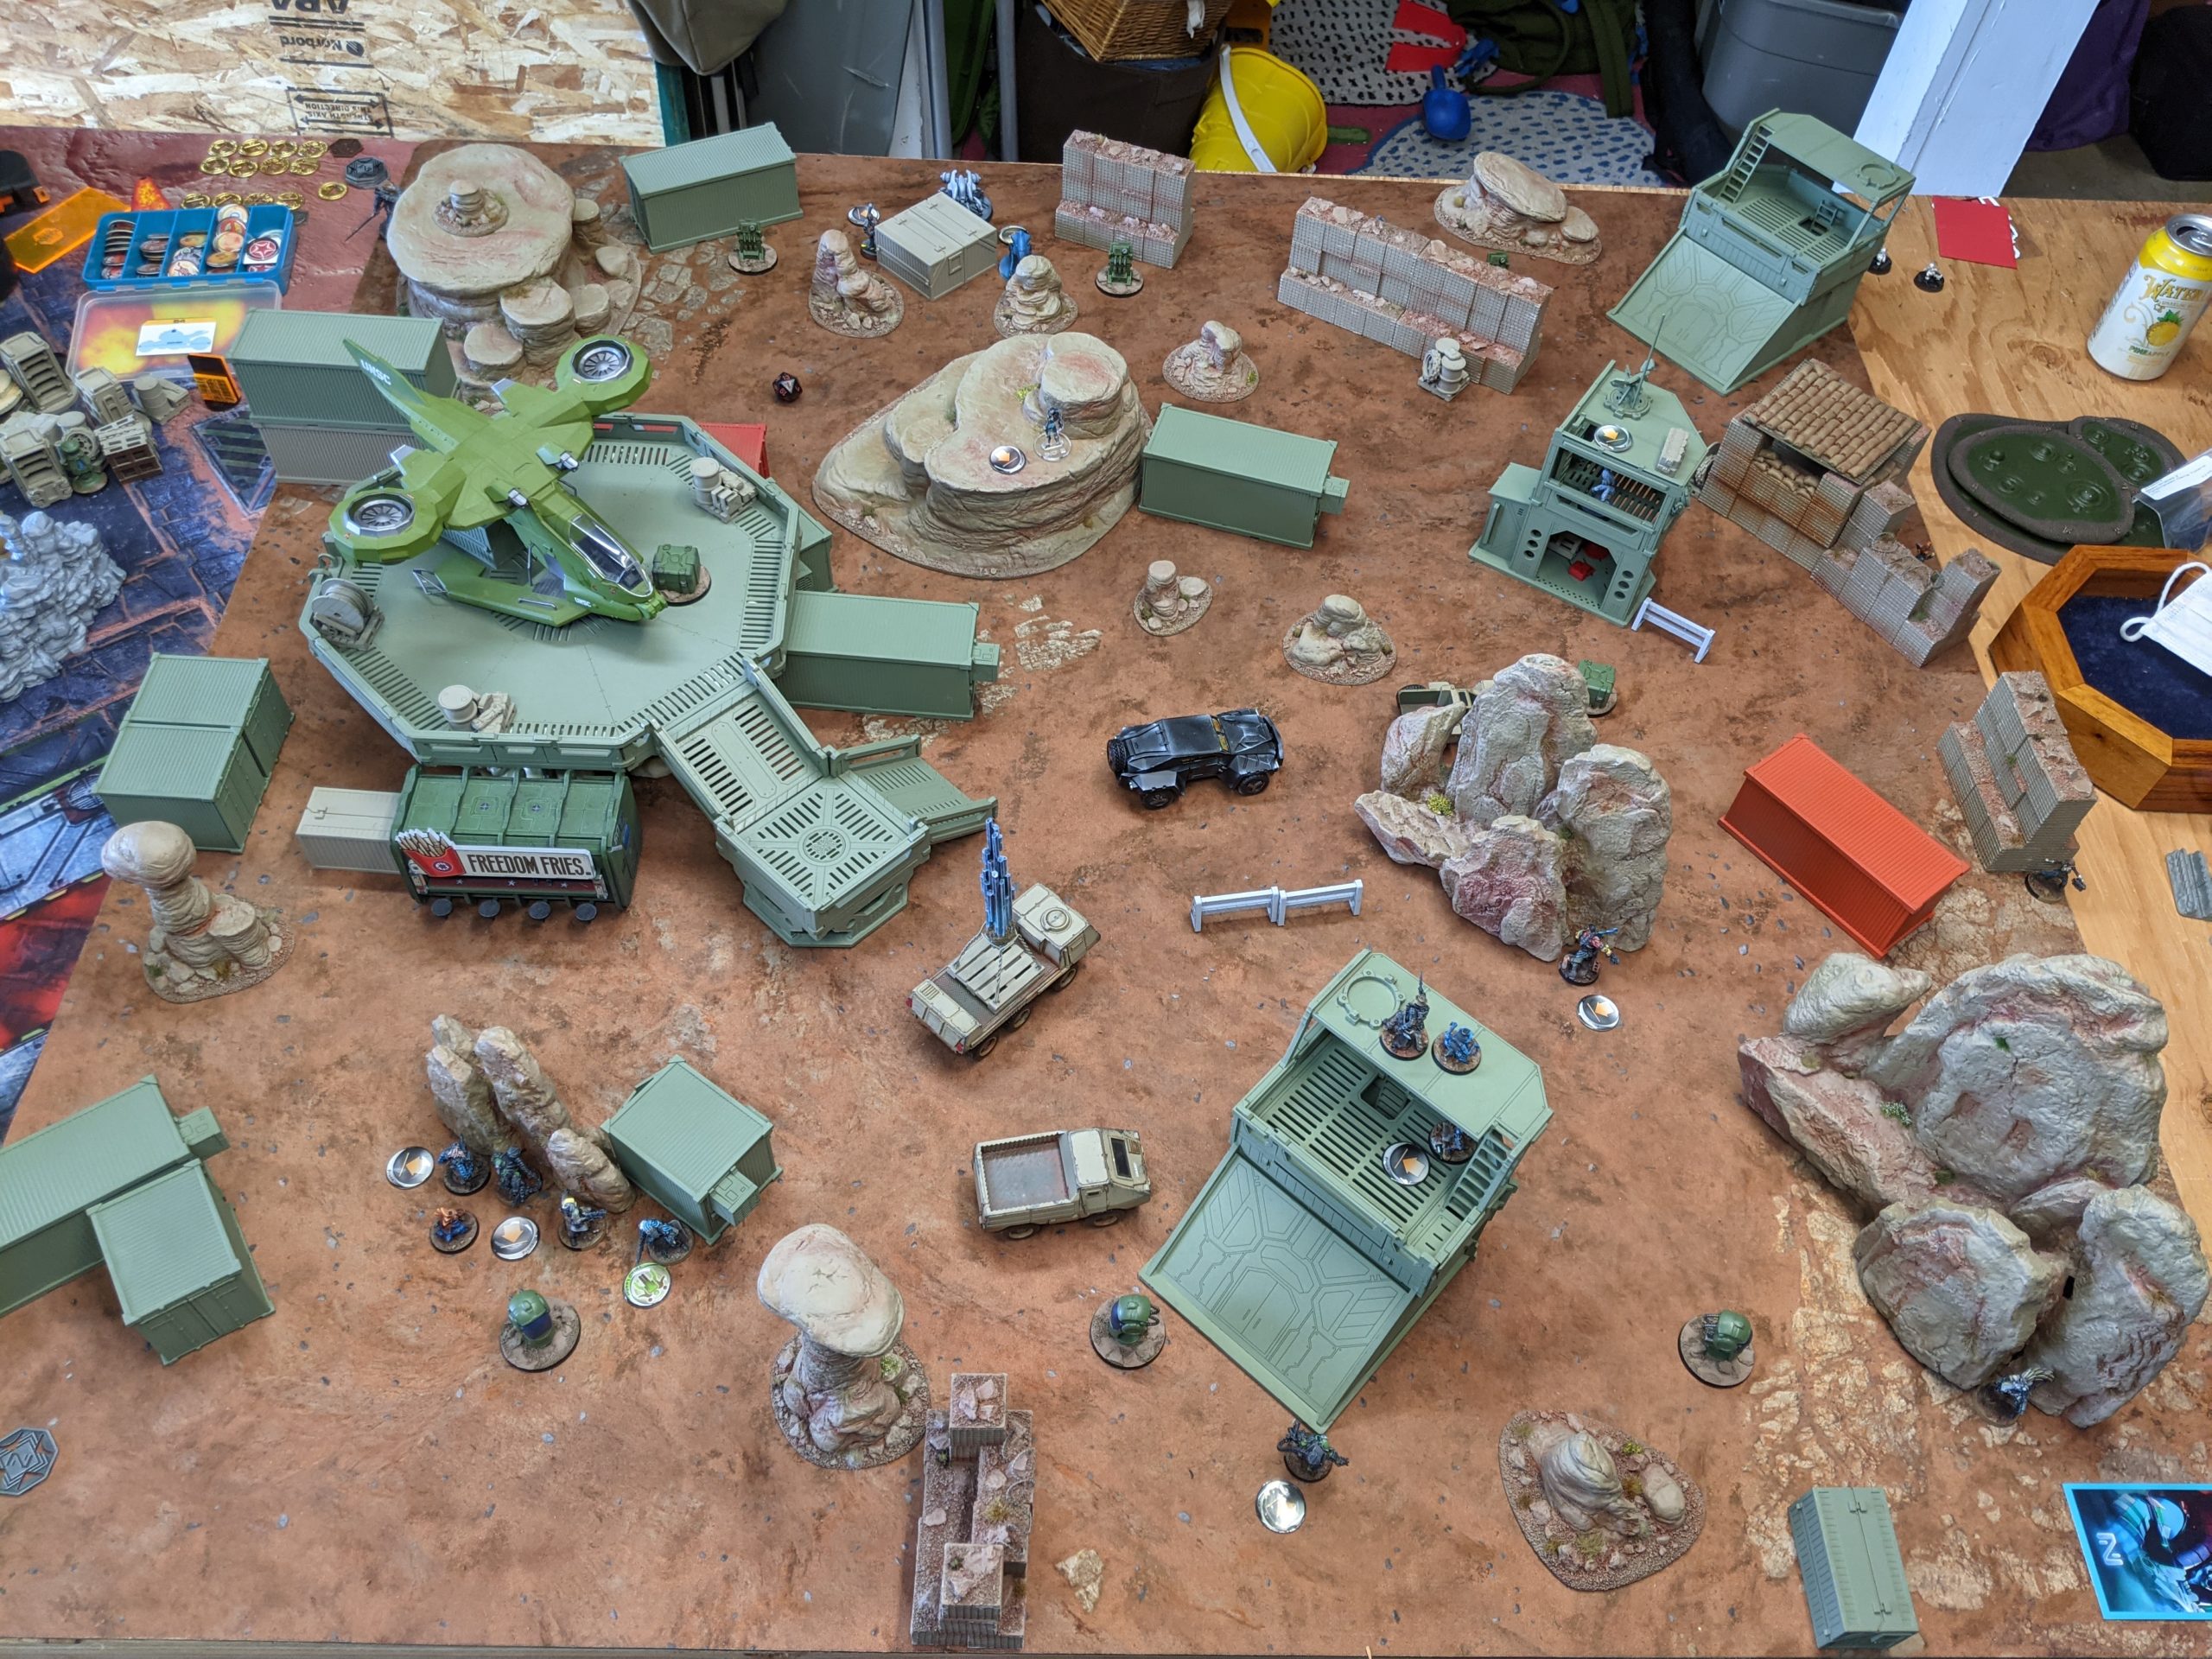
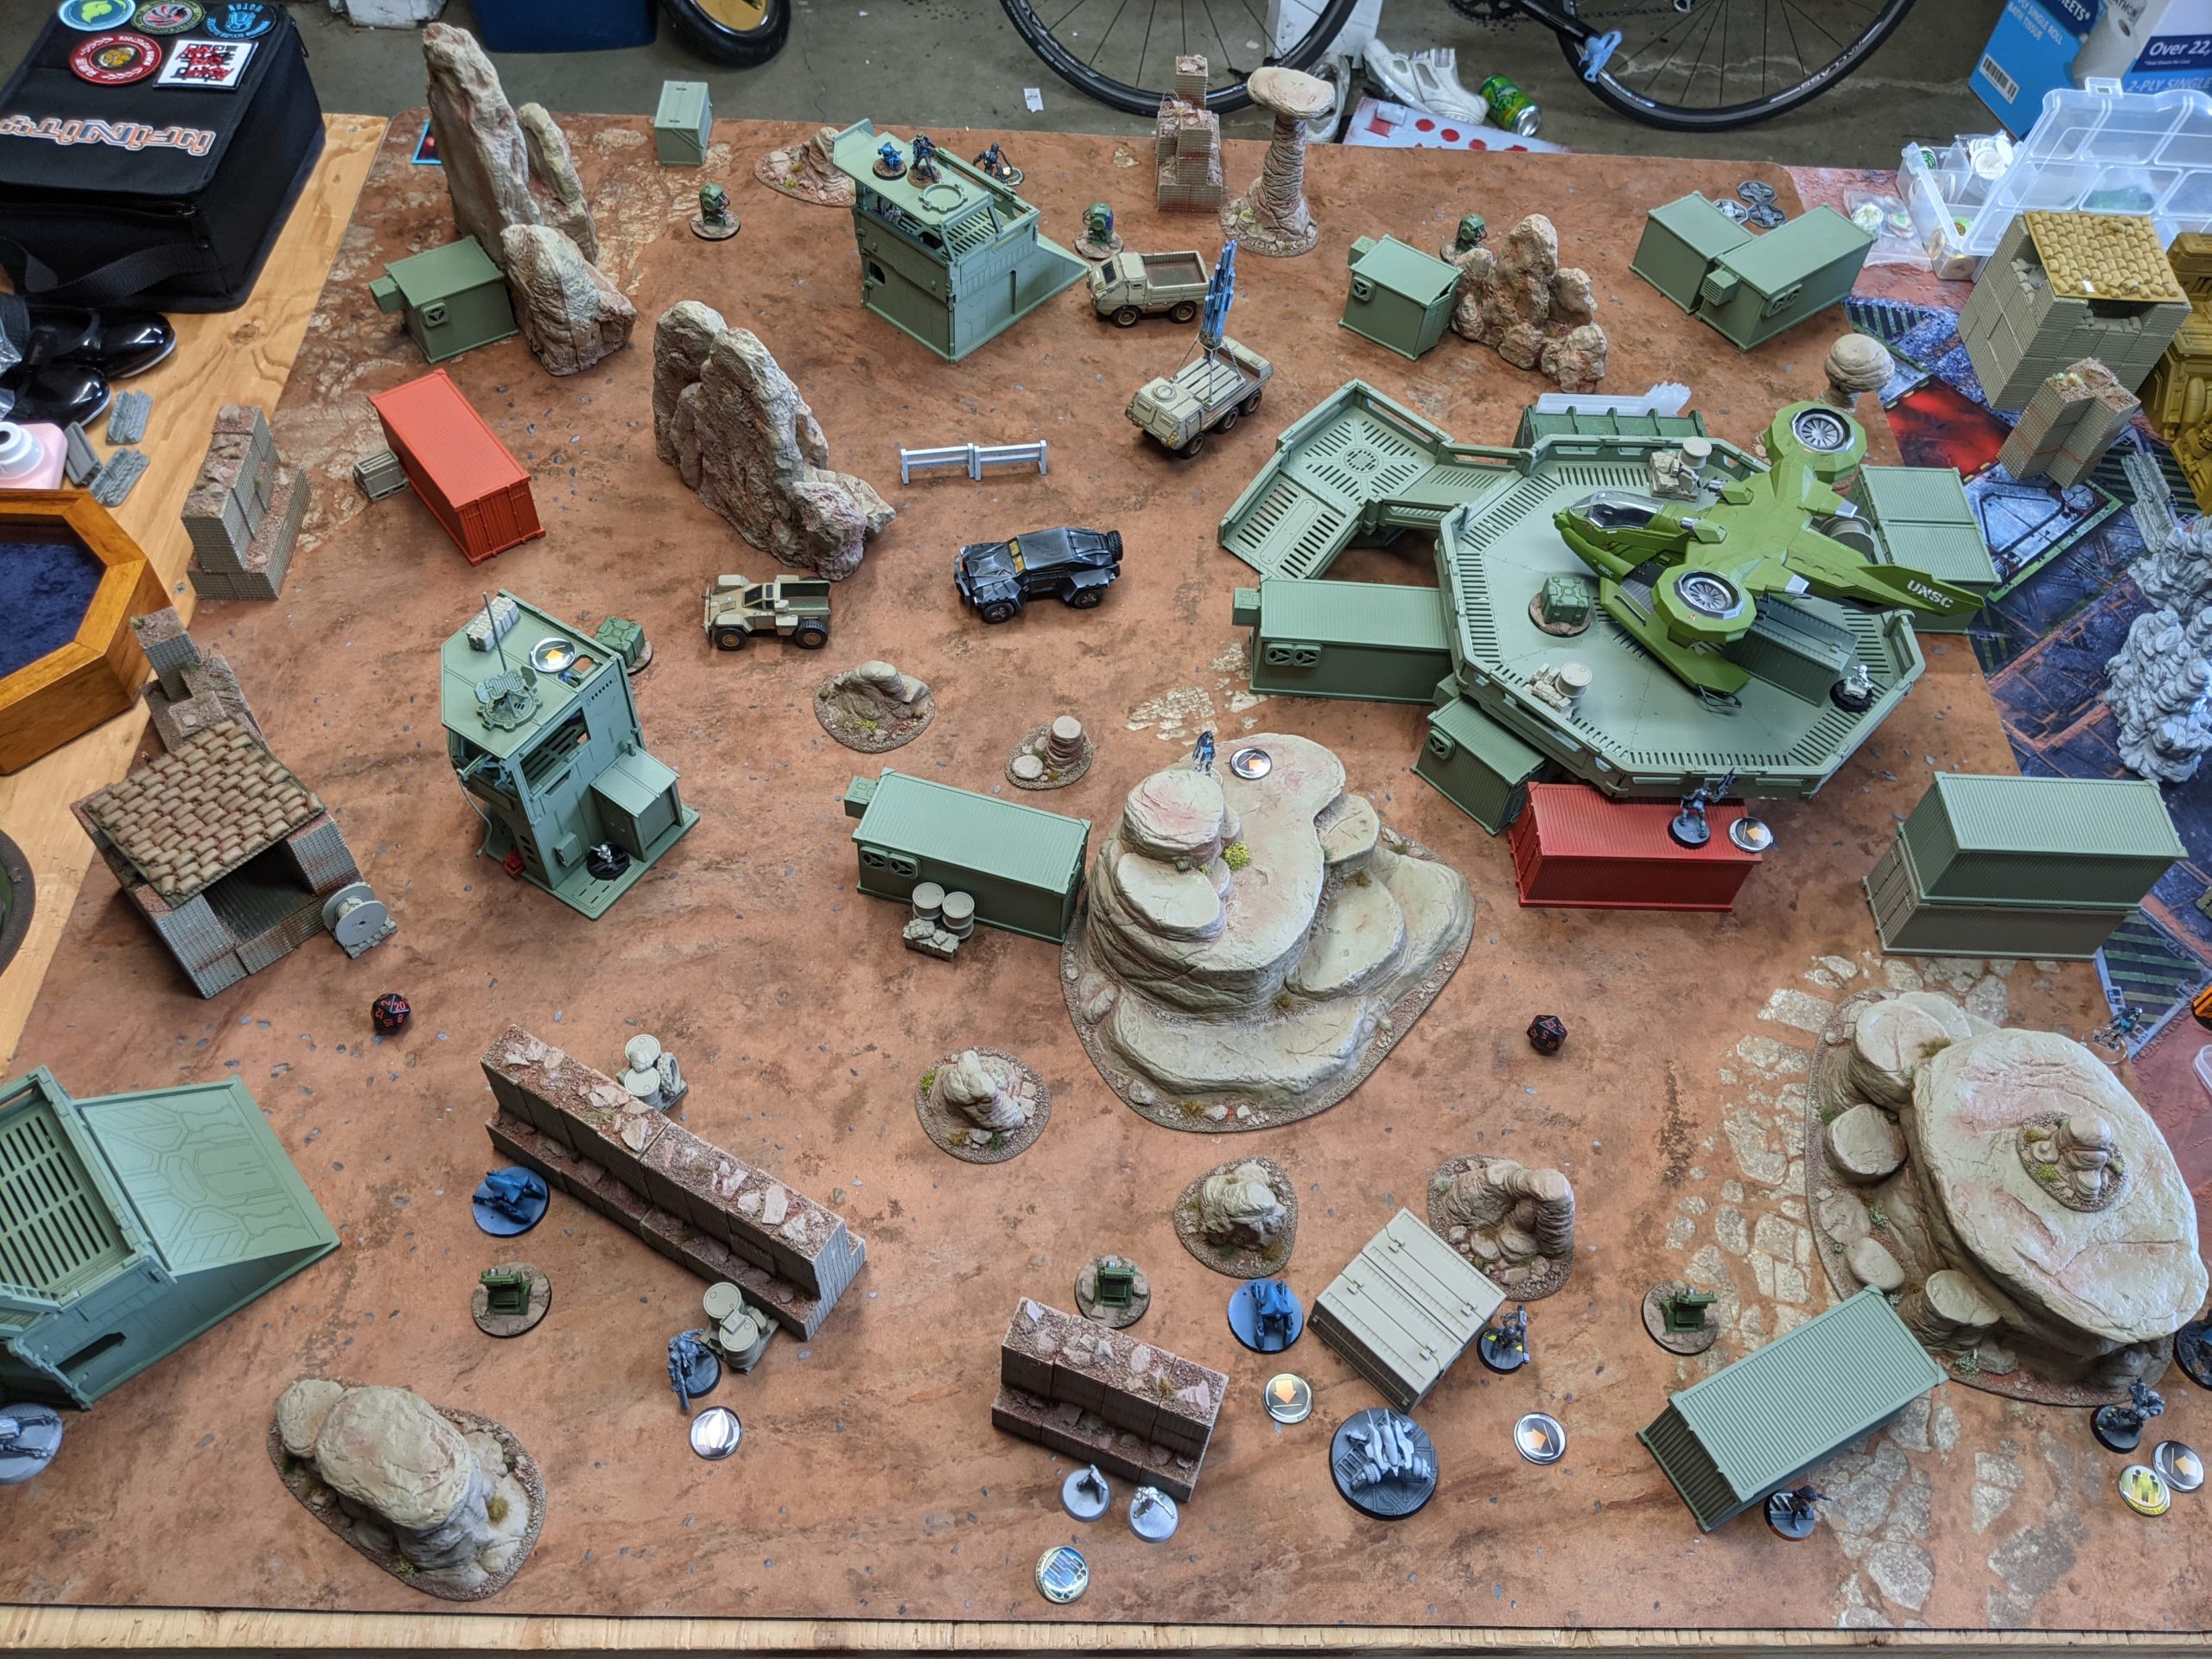
Turn 0 – Deployment
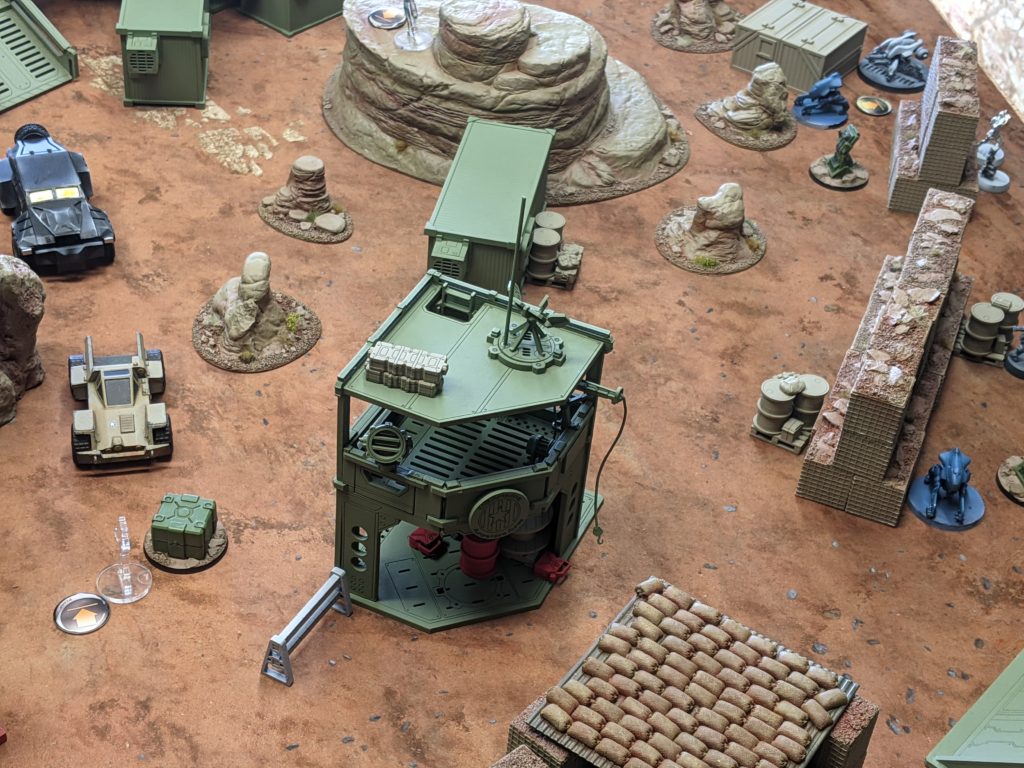
Obi’s deployment is fine. Clipsos on one of the consoles, bunch of stuff facing backwards to deal with Carlota. Neema castled up on the left, ready to move forward protected by the landing pad.
My deployment seems okay at first blush. 5-model link in the center, protecting one another and protecting the consoles. The Transductors are reasonably placed, and the Vertigo is covering the gap left behind the Transductor and the Evader. The Morans are a bit exposed, and I ceded the central rock formation to an impersonator. I’ll admit that I wasn’t thinking about Impersonator placement when I deployed, which means I lost in deployment. Still, the link itself is deployed reasonably. I’ll lose some members but there are stacked AROs.
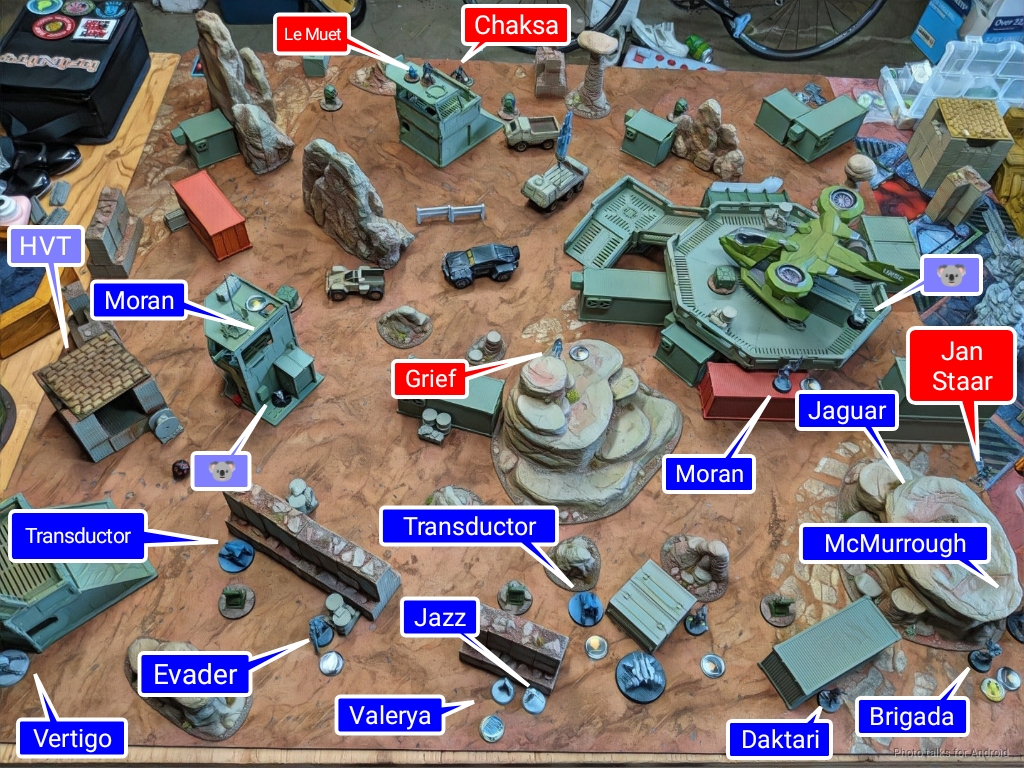
The other issue is that due to the presence of Le Muet, I had to keep my head down and therefore wasn’t as able to defend the Morans as much as I would have liked. Le Muet really dictated my deployment, but didn’t cripple it. I do think that the Morans are too vulnerable without backup though, and they’re pulling double duty as speedbumps and midfield specialists. I would really have preferred to play a vanilla Nomads list where I’m not forced to cart around unnecessary cruft and have some cheap midfield specialists to supplement the Morans, but that’s not what this exercise is about.
The real trouble is the Brigada/Jaguar/Daktari haris on the right. They’re deployed to prevent someone from moving up on them, but the Brigada is veyr exposed. Once the Impersonator tokens came down, I knew I was in trouble and I had to respond with McMurrough to have a hope to save the situation. I think that had I done something as simple as swap the Brigada and Valerya’s placements, this would have been a vastly different game. The Brigada and its ARM 5 is very strong, but a concerted effort will still kill it.
Turn 1
Top of 1 – Tohaa
I docked Obi 1 order, thanks to Counterintelligence. This was my first mistake after the disastrous deployment. I think Corregidor puts too much pressure on Command Tokens to be spending them on docking orders, even if you get two. With all the wildcards, you want tokens to be able to reform links and you want to be able to have a good recovery in the case of Loss of Lieutenant turn.
I had thought the Moran on the left in the building to be safe, but I was incorrect. Obi’s Krakot dodged the Koala and then Dodge-moved into LoF of the Tsyklon.
This was enough to allow him to double-chain rifle the Moran, trading the Krakot against the Tsyklon’s Feuerbach. Worth it.
This allowed the Clipsos to attempt to flip the console, but Obi failed the WIP roll.
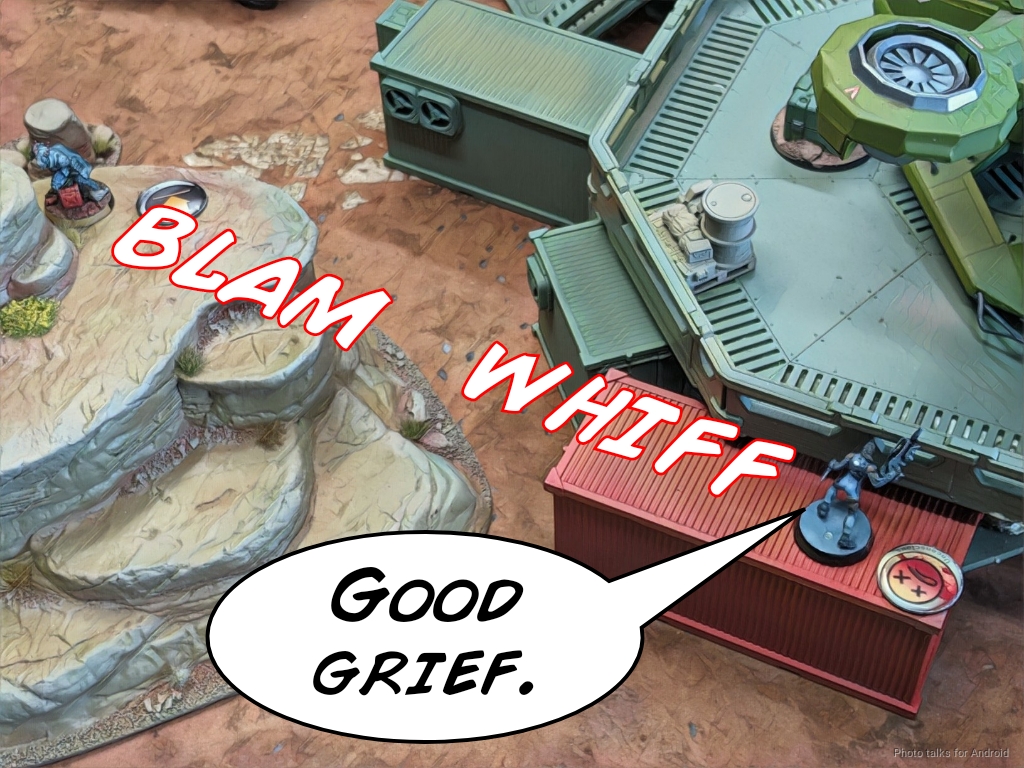
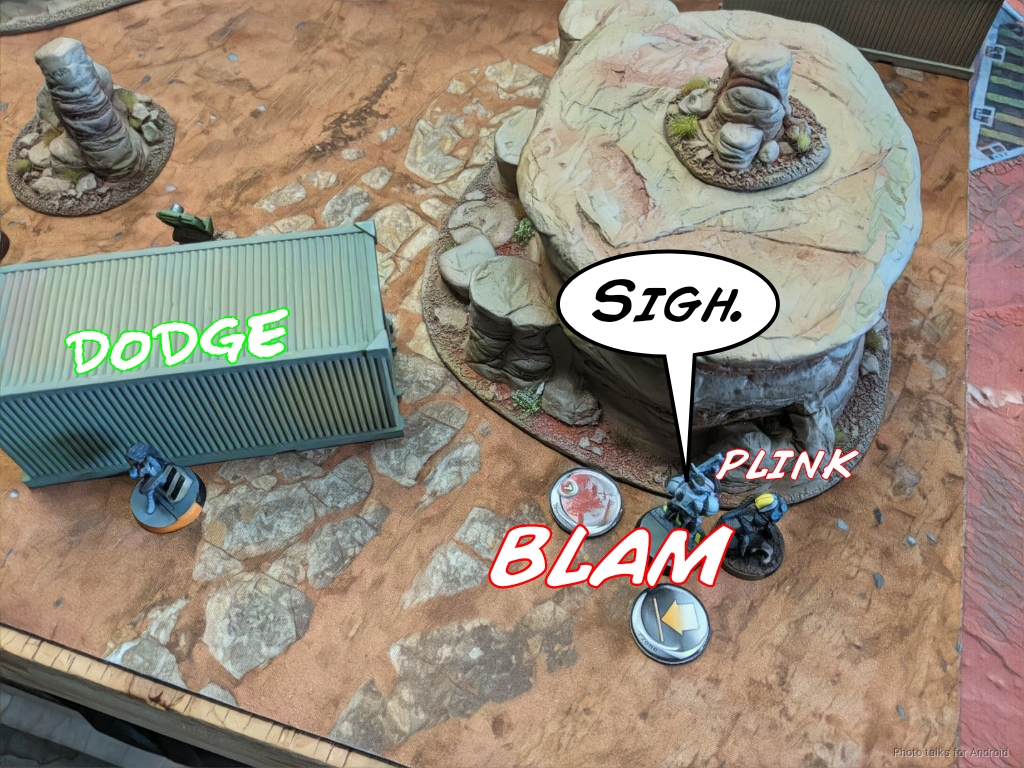
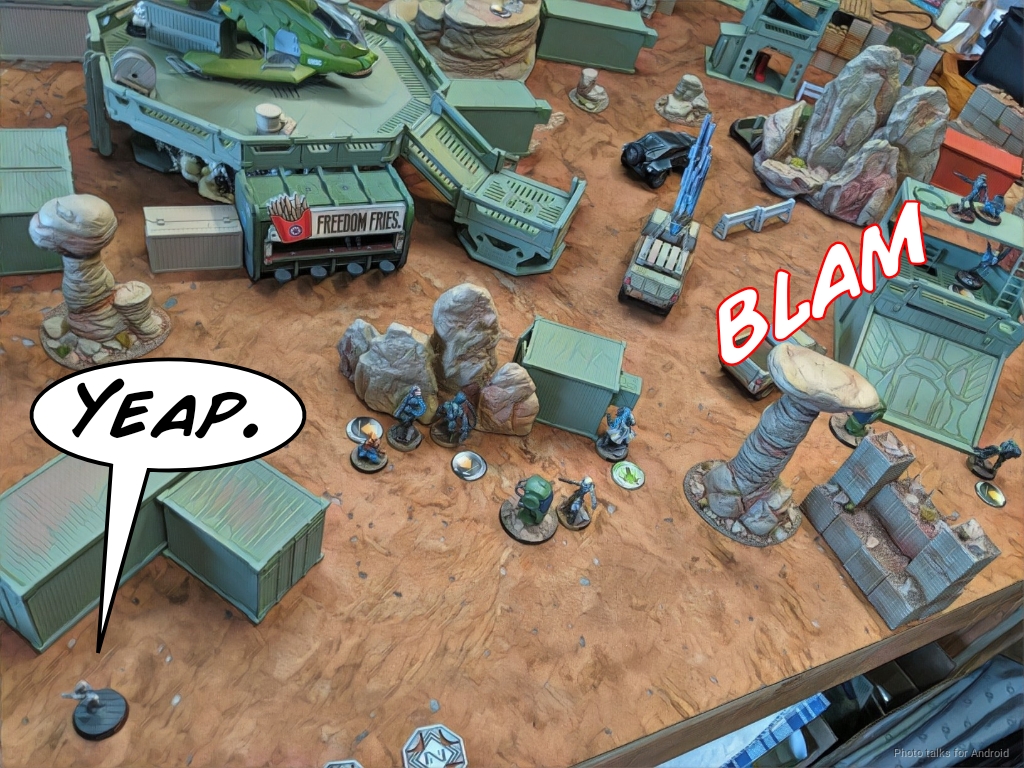
My other Moran died immediately to the Greif on the center rocks.
Then Obi attempted to kill McMurrough with Jan Staar, arguably the best tool Tohaa has for the job! He had placed Jan Staar behind my Jaguar, so I was forced to dodge with the Haris.
Edit: Jan Staar didn’t roll, I was just sloppy with my Jaguar’s facing.
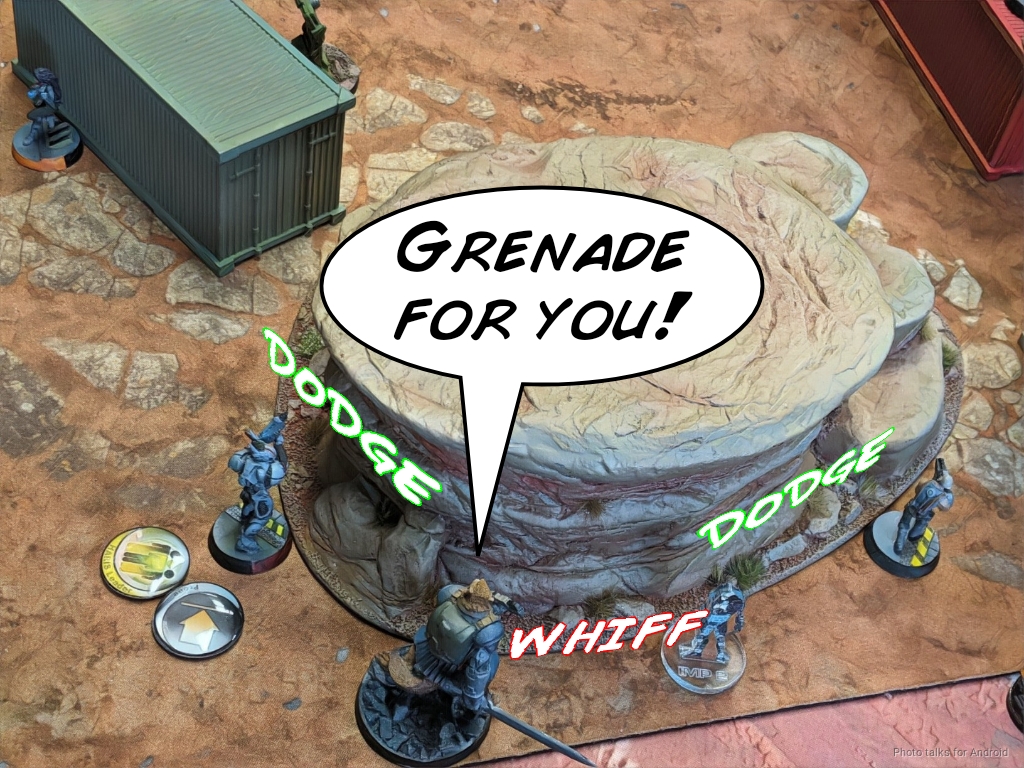
McMurrough threw a grenade and we both rolled 3’s, so nothing happened. I made another mistake here and didn’t dodge my Jaguar closer, instead just turning it around. Throwing smoke here probably wasn’t the best idea, especially because Jan Staar can move-dodge and I make my dodge move first as the reactive player, meaning he can always deny me base to base.
Edit: Clint informs me that dodge movement has the active player move first, so I suppose I could’ve caught him, so perhaps smoke was better here. Thanks Clint!
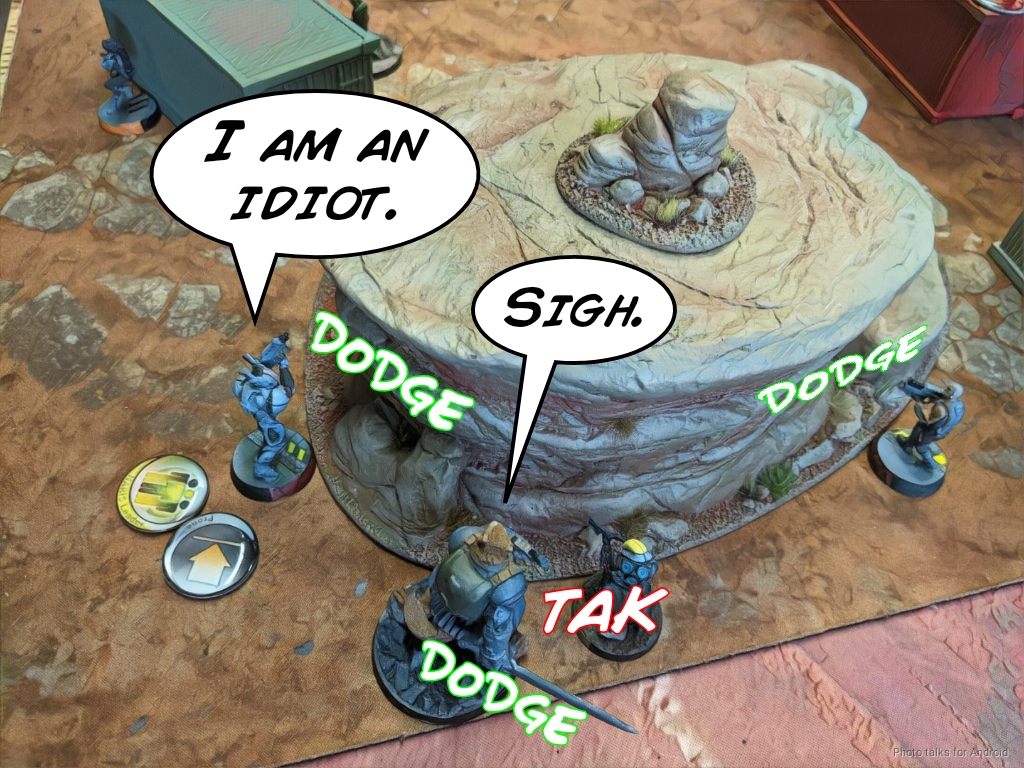
This meant the Jaguar wasn’t close enough to dodge into combat on the next move, which was a big deal. I really want to get McMurrough into combat, which will at least give me a chance of Berserking Jan Staar down, so I dodge with everyone again. I should’ve just chain rifled with the Jaguar and dodged with McMurrough. Jan Staar splits burst on his viral pistols and one shots both McMurrough and the Jaguar.
Jan Staar templates my Lieutenant next. I pass both saves and land a boarding shotgun hit, but Jan Staar makes his save too.
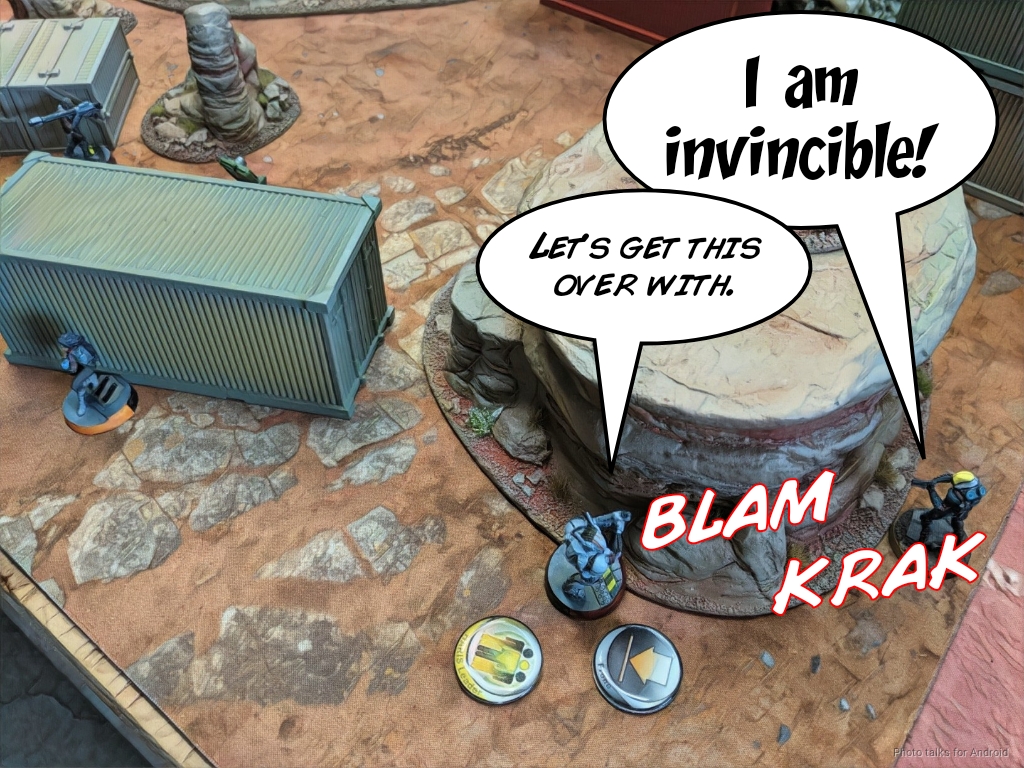
Jan Staar moves closer and attempts to catch my Daktari with the template, but we’re just out of range. I return fire with the Brigada and the Daktari, taking a wound with the Brigada. The Daktari whiffs and the Brigada fails to do a wound against an ARM roll of 20.

Jan Staar catches them both in templates on the next order. I fail the dodge on the Daktari, take two wounds on the Brigada, and the shotgun round bounces off Jan Staar again.
Jan Staar moves back around the rock and re-enters impersonation state. I think that I could have done a little better here by:
- Dodging my Brigada Lt into view when Jan Staar was engaging McMurrough
- Chain rifling with the Jaguar after the first dodge
That would have forced at least 2, if not more saves on Jan Staar, and that might have been enough. In any case, that was a small optimization in the face of a much larger problem, which was that I left my Lieutenant too exposed. I thought he could handle himself, but I guess I should always assume failure and look to pad with ablative bodies instead of relying on ARM 5. Jan Staar is really a good tool in this case as well because he can attack the Brigada’s lower BTS as well.
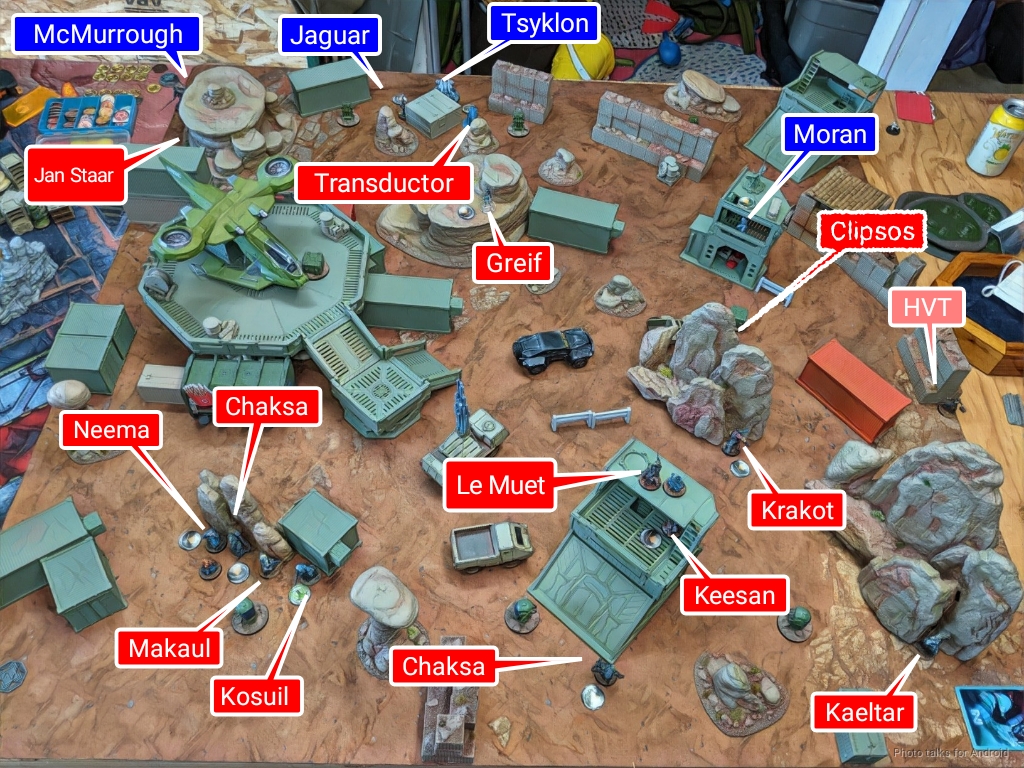
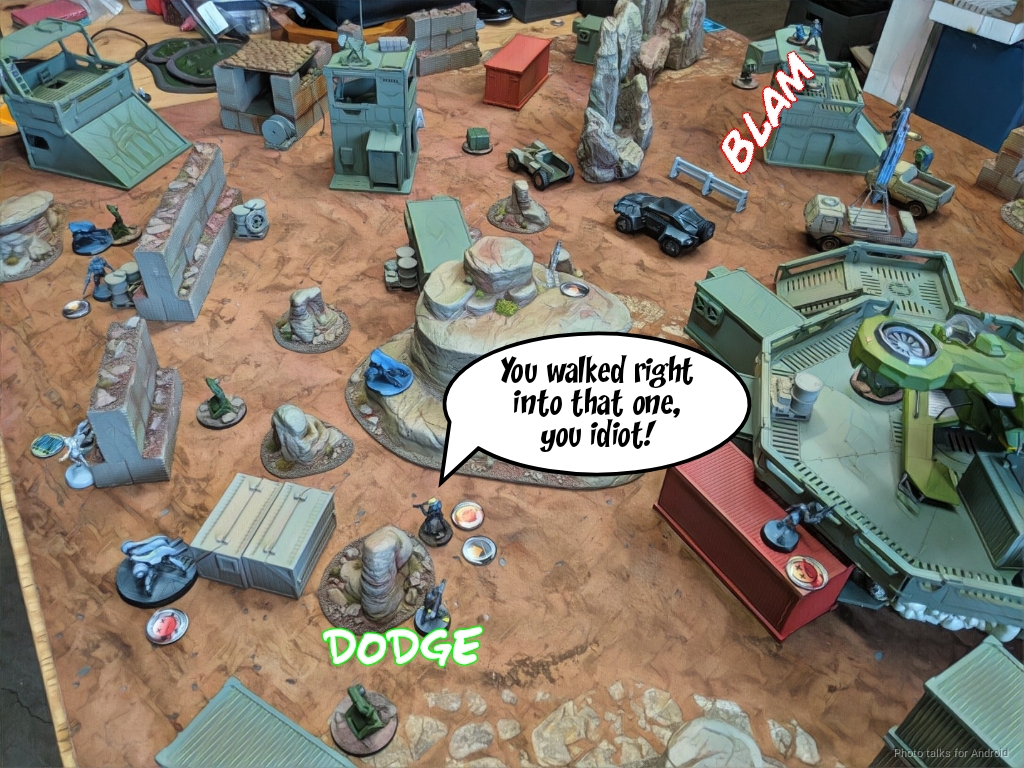
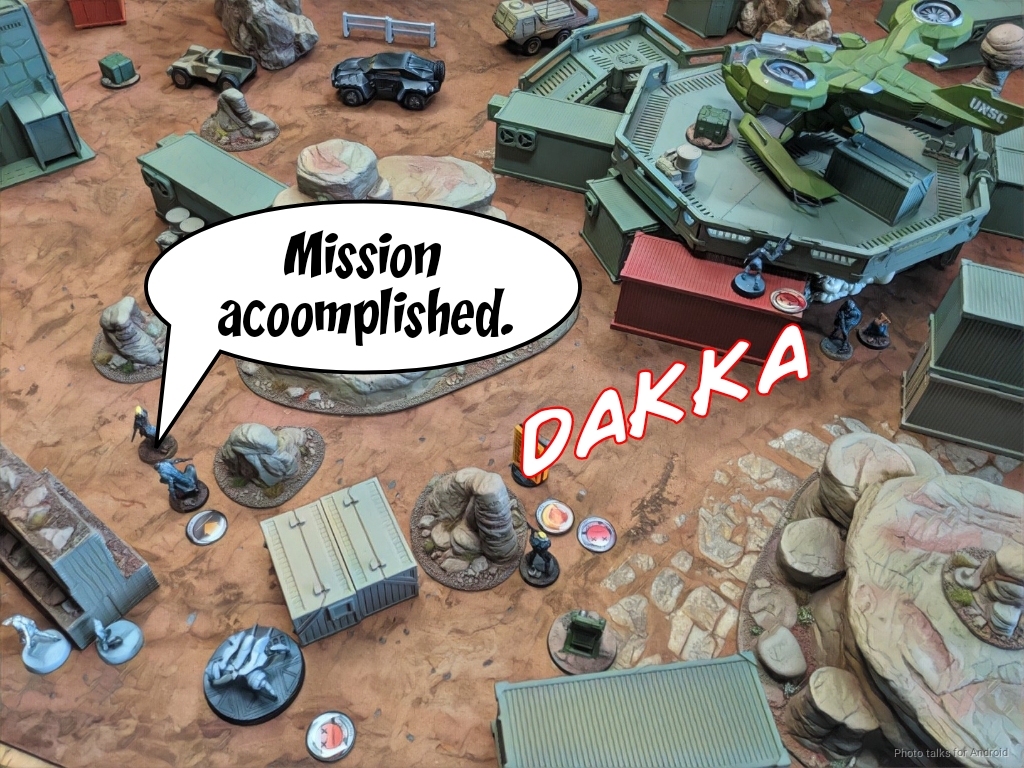
Bottom of 1 – Corregidor
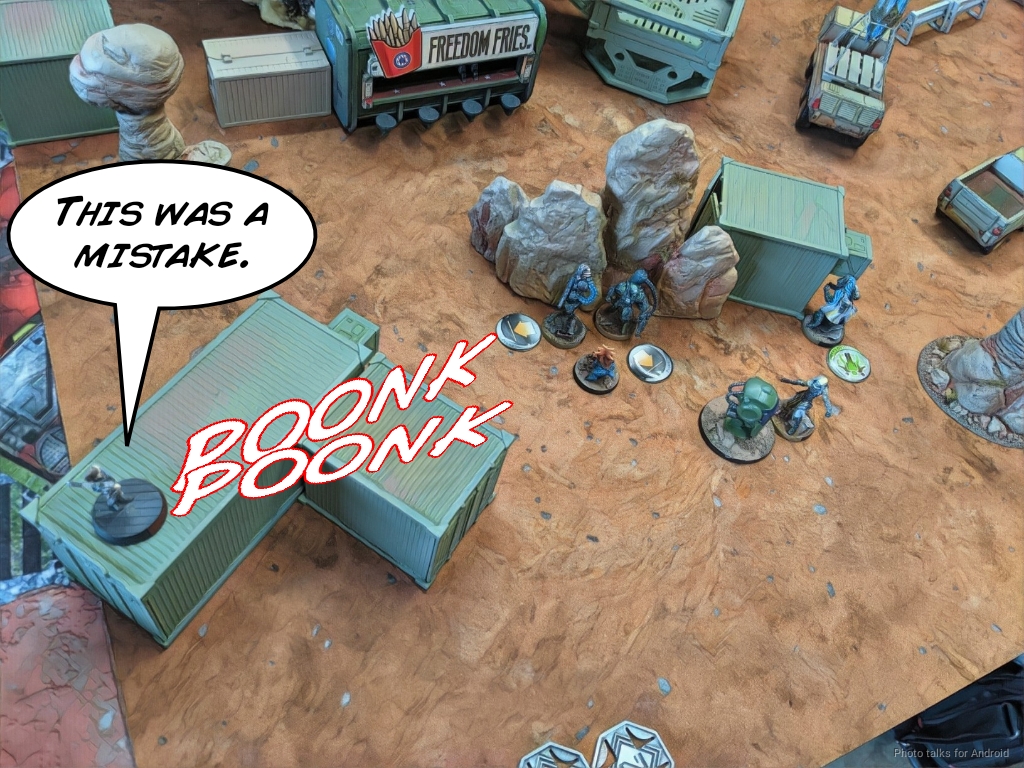
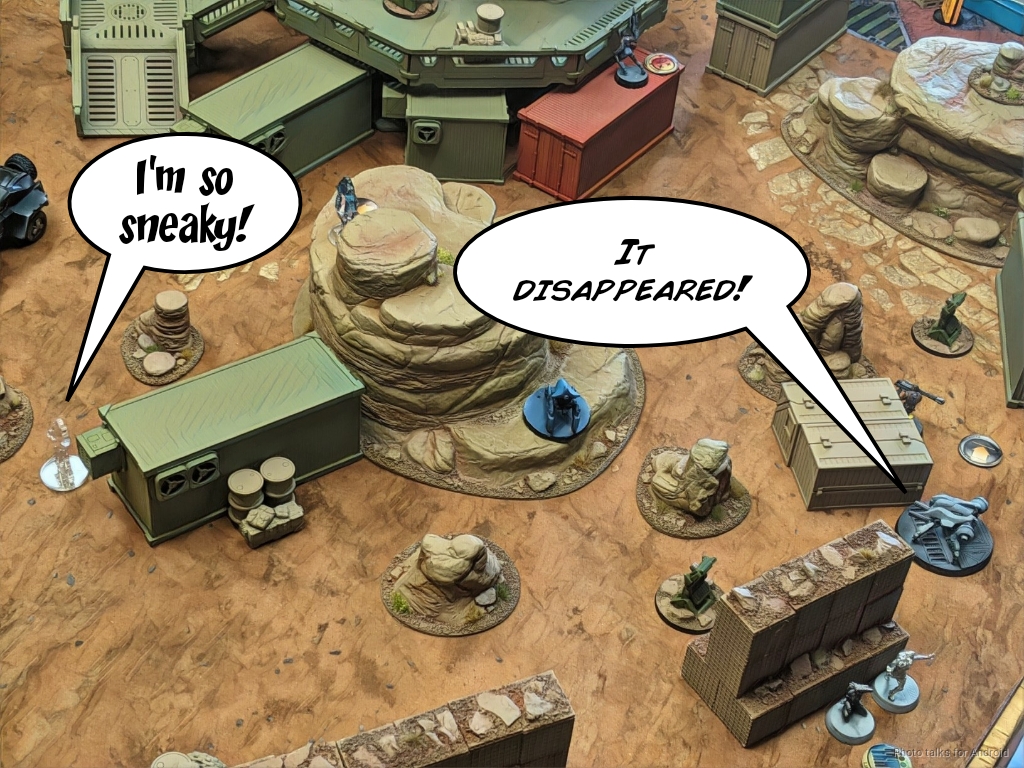
At this point, the game is barely salvageable. Jan Staar has no wounds on him, and both he and the Greif are back in impersonation state. I’m going to burn a ton of orders and command tokens trying to dig them out, and I don’t have anything in position. I’m pinned by Le Muet, so my link feels stuck. There are a few options open to me, which I don’t take because I’m dumb, bad at this game, and should feel bad about it! Let’s take a look at the board state near my link:
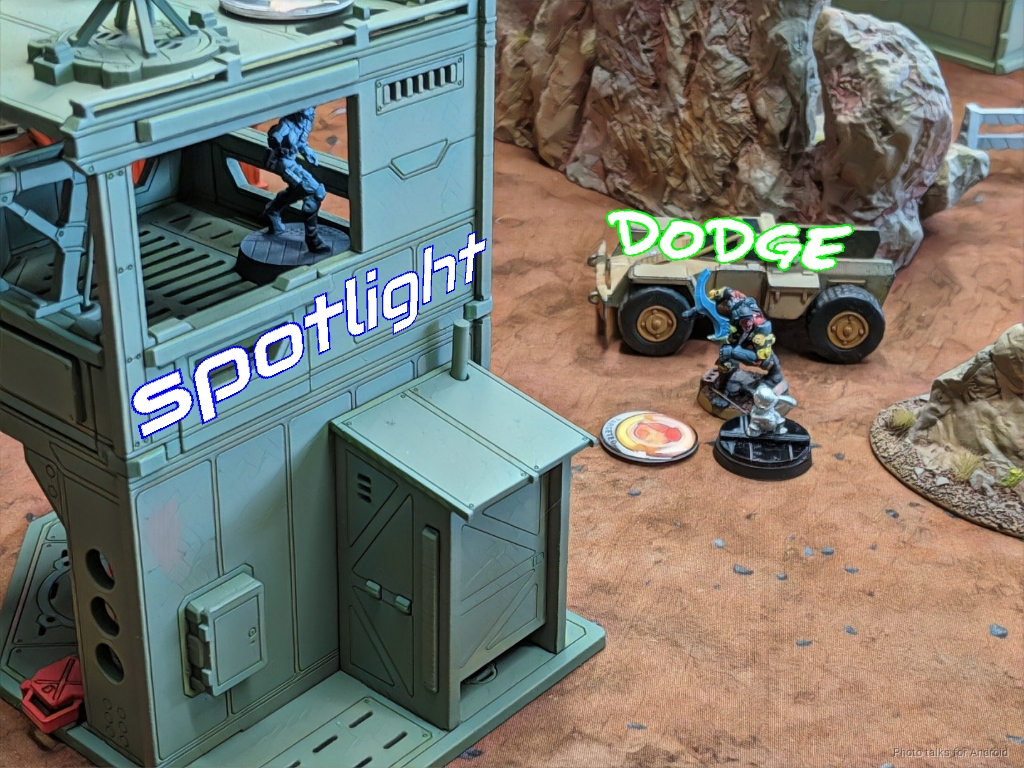
I need to remove the Greif. It has D-Charges and is Obi’s primary way of winning the game. It is on the rock formation at the top of the picture, in impersonation state. A reasonable line of play would be to move the Transductor forward to the base of the rock formation, then drop White Noise with Jazz on top of the Greif though the Transductor’s repeater. This will also block LoF to Le Muet. At this point, I can use the Jaguar Panzerfaust to attempt to discover the Greif by hopping on some boxes. If I’m successful, I can use Valerya to spotlight the Grief, and drop a missile on it with the Vertigo.
So far, in this hypothetical world, I’ve only spent irregular orders, and presumably would have removed a dangerous threat. Dealing with Jan Staar is a different issue though. Hopefully some of the maneuvering of pieces would allow me to improve my positioning to defend myself as well. I don’t think I had a realistic solution to deal with Jan Staar short of spending command tokens on something, but nothing that could get out from under the watchful eye of Le Muet. I’d probably have to had used the Tsyklon as well to attack the Greif.
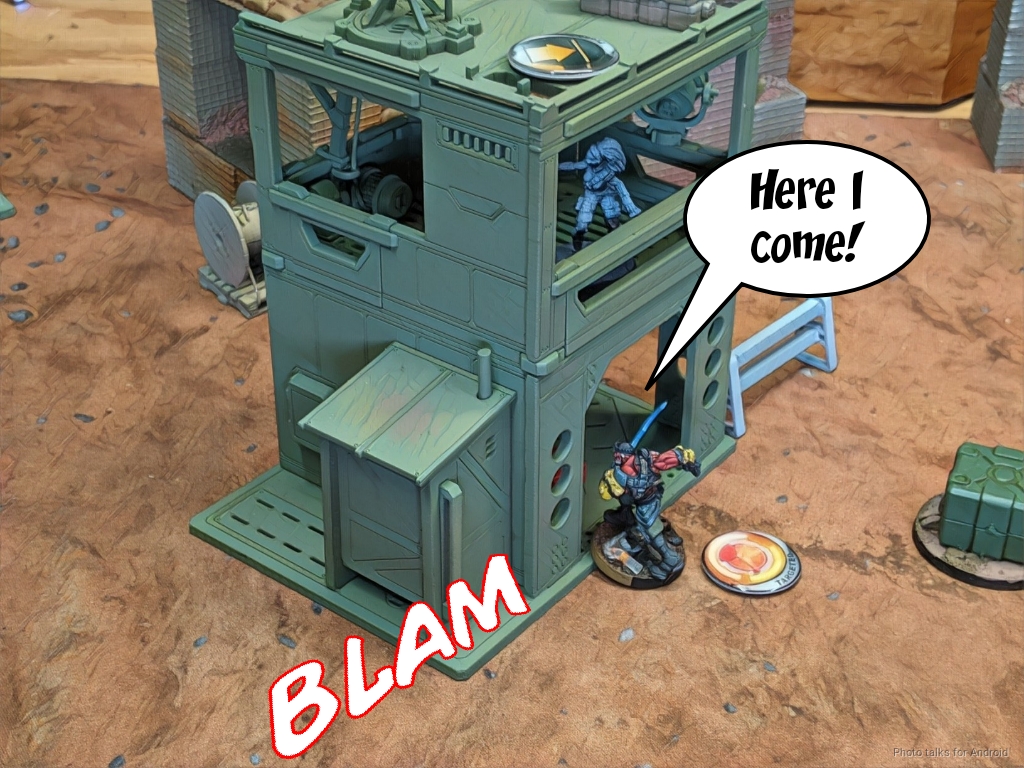
What I did instead was throw away any hope of getting myself back in the game by bringing on Carlota and attempting to ADHL elements of Neema’s haris. It takes me two orders because the Kosuil and Makaul both pass their PH saves against the glue gun, but I manage to do it. Unfortunately, there’s a Kaeltar looking over there which allows Le Muet to turn around.
I made a last ditch effort to pin Neema by gluing her, but she passes her save. Carlota miraculously manages to make her saves against Le Muet’s shot…
Turn 2
Top of 2 – Tohaa
…but I lose her immediately on Obi’s next turn. This was a colossal waste of resources, both in command tokens and Carlota, who is my only realistic way of busting a server now.
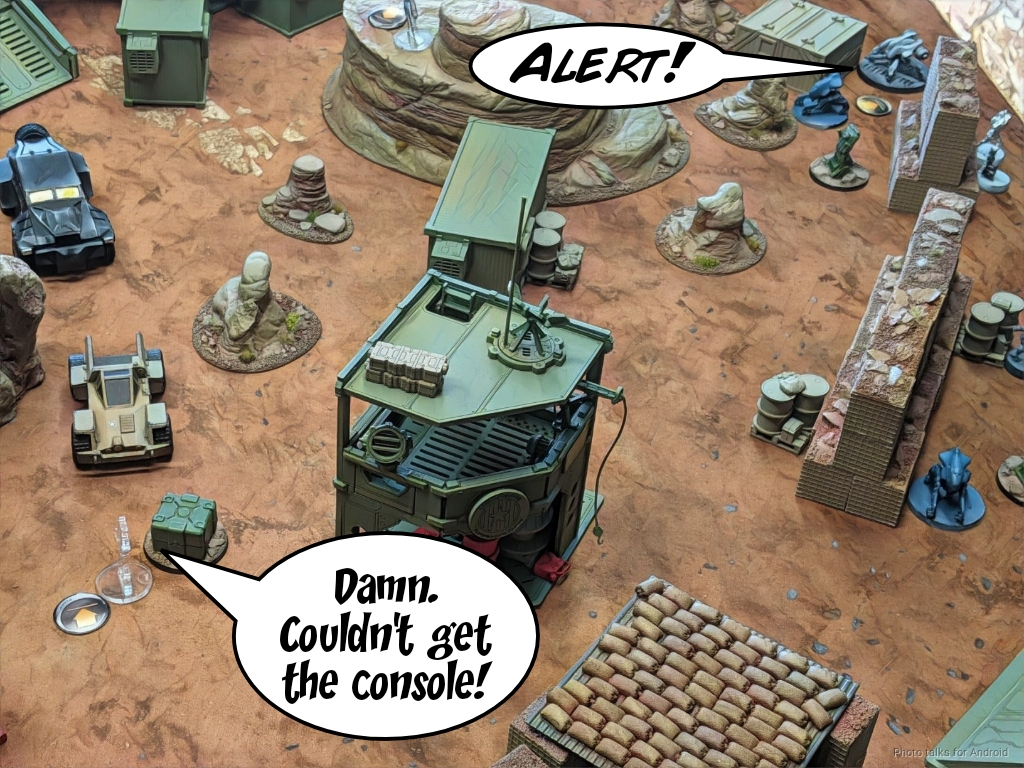
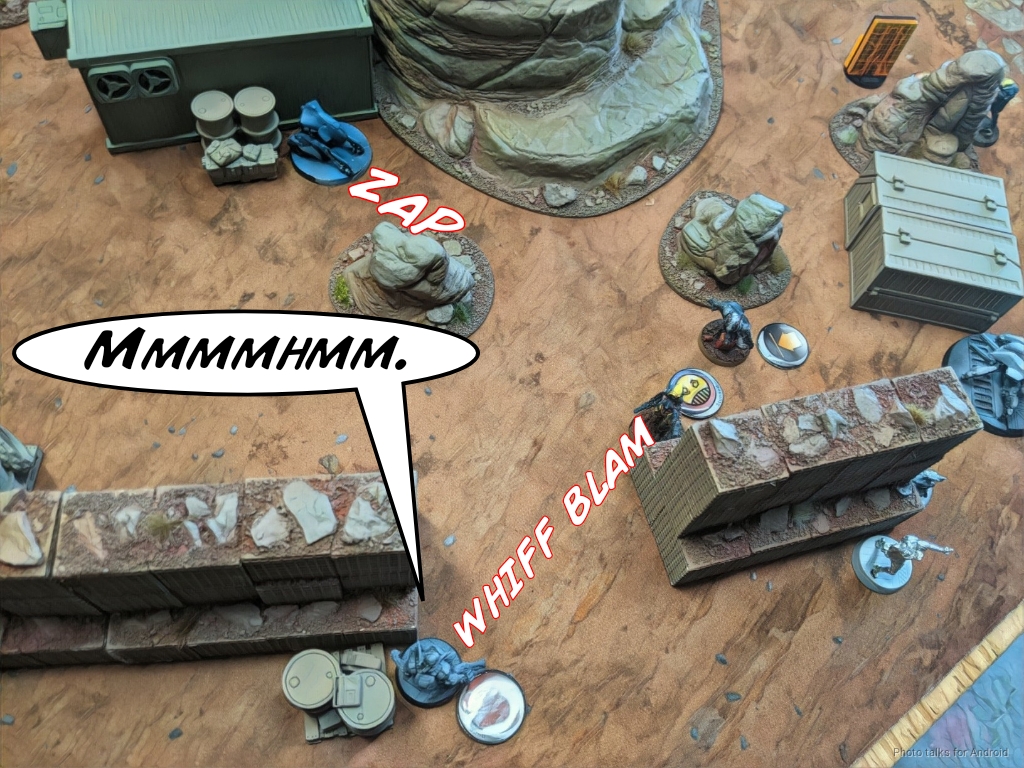
At this point, a part of me wanted to just concede the game and just go home (I was nursing the beginnings of a monster headache). However, I decided to push forward to see what I could learn from the process of serving as the simulation engine to let Obi finish out the game. Obi finally gets the console with his Clipsos and then moves it forward. I discover with the Tsyklon, but it just moves out of LoF and recamos.
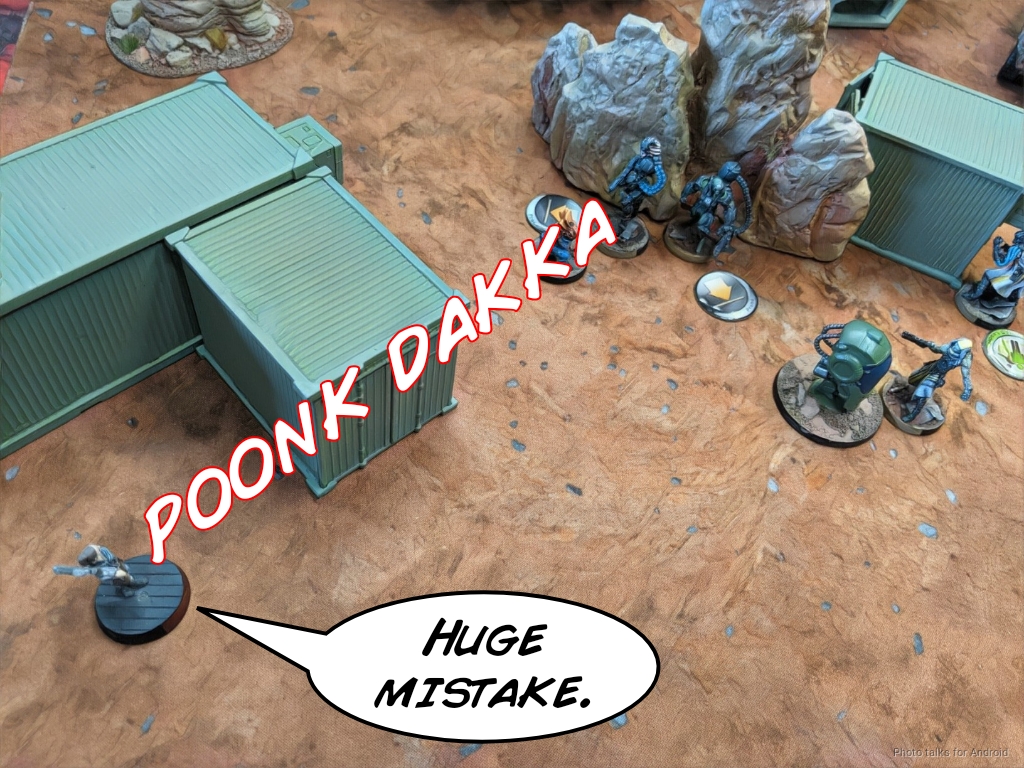
Jan Staar keeps attacking. I fail a spotlight roll and shots with the Tsyklon while the Jaguar attempts to chase Jan Staar by dodging closer. I should’ve just pistoled him or something. The Transductor manages to zap him with a flash pulse, but he passes both saves.
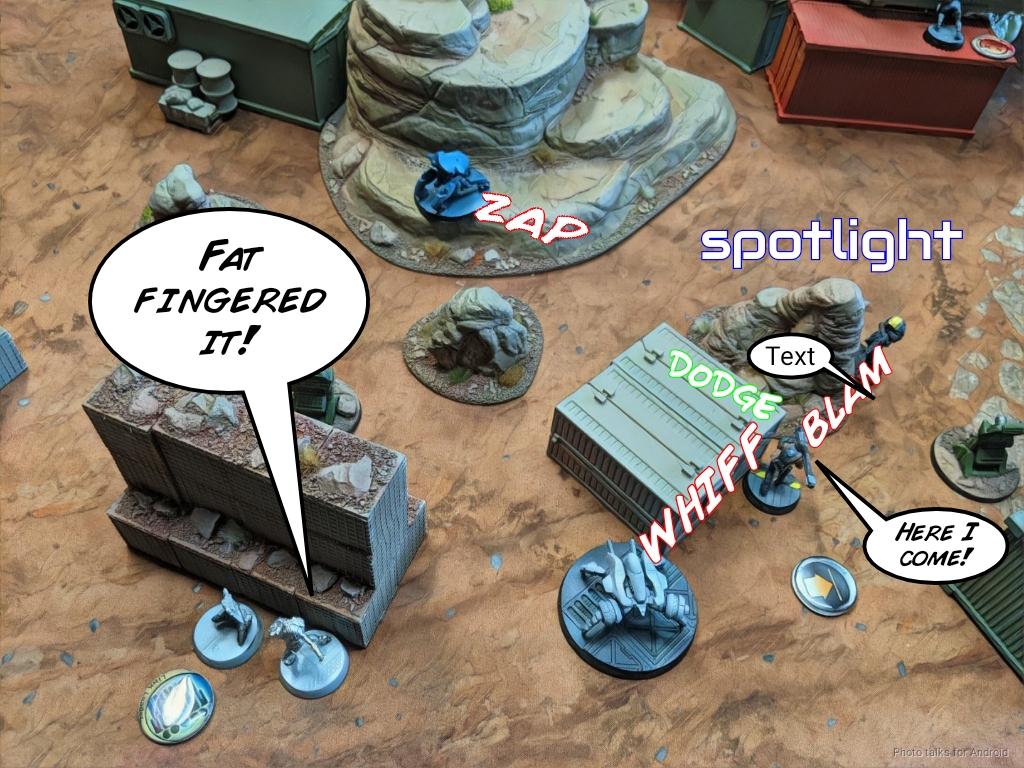
I lose the Tsyklon to the double template, and Jan Staar keeps attacking. I finally manage a spotlight and a flash pulse on him, but it’s too late.
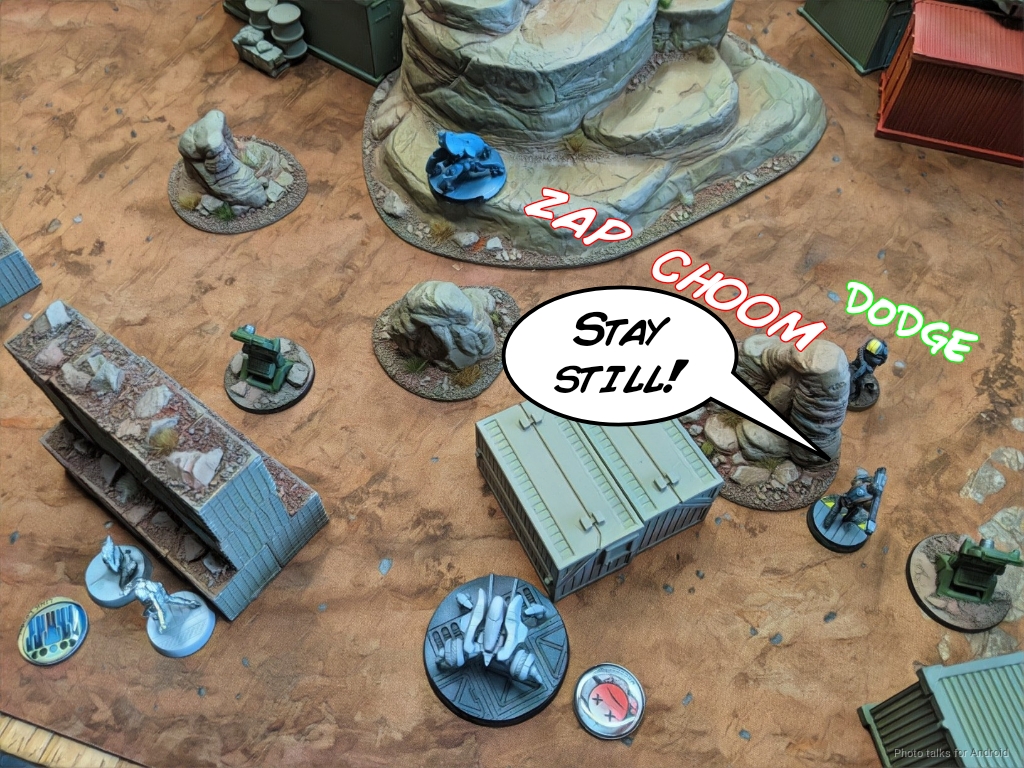
The Jaguar has moved into LoF of Le Muet, and I lose him.
Jan Staar is out of LoF of anything a short move later and re-impersonates.
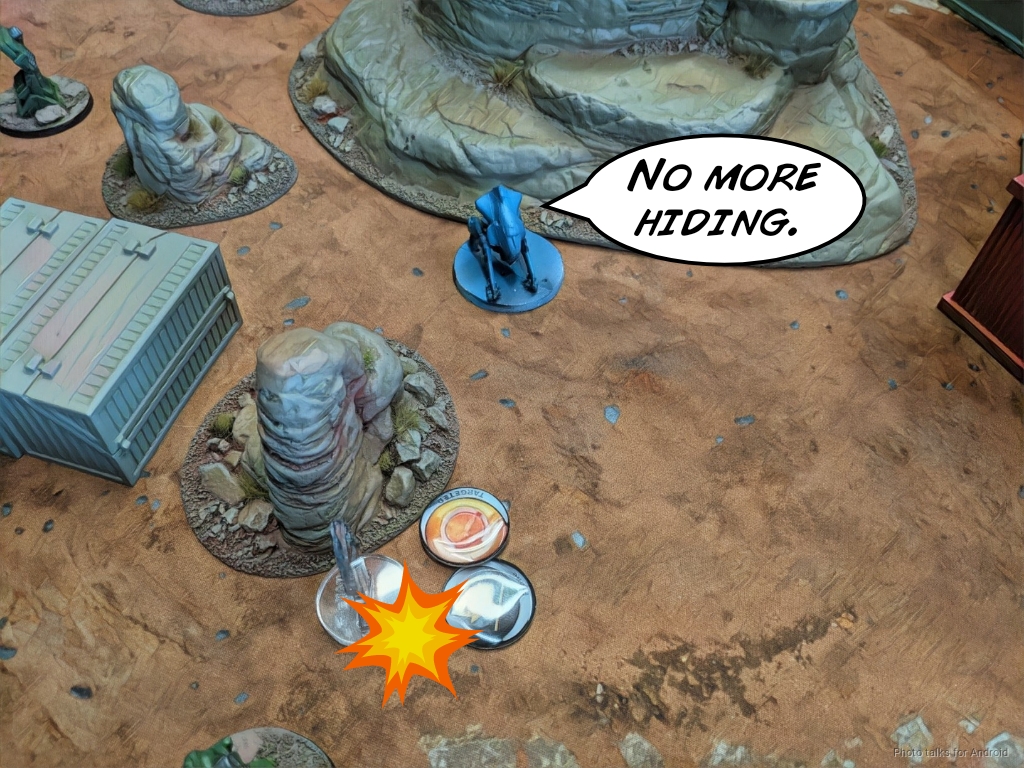
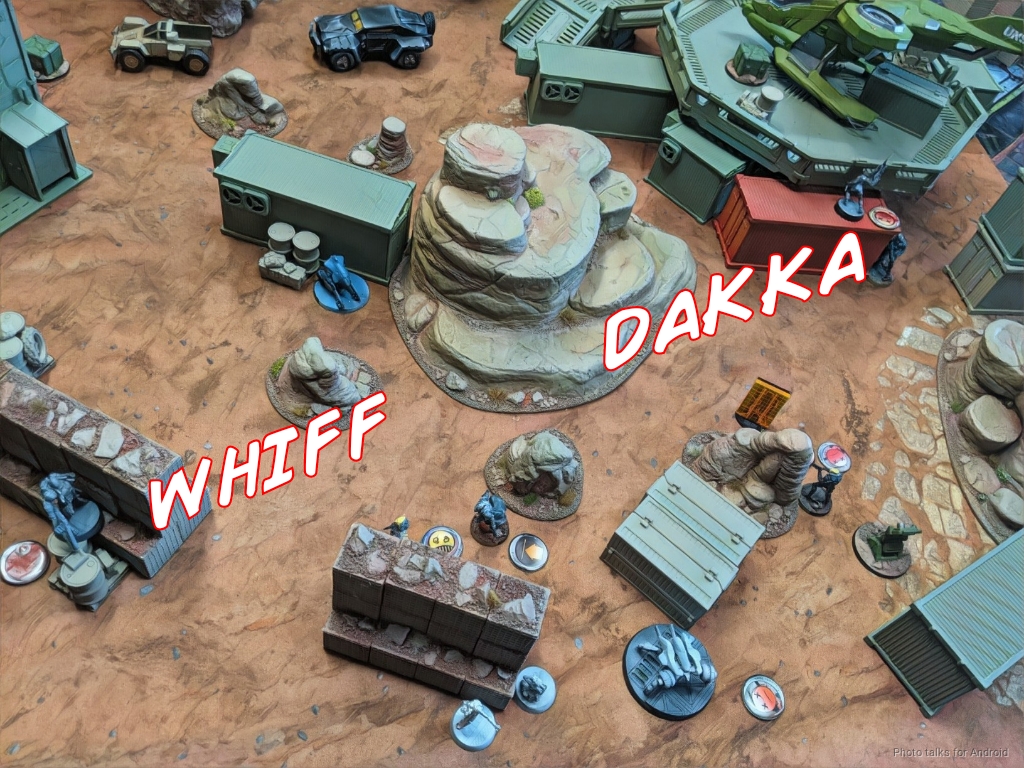
Bottom of 2 – Corregidor
I don’t have any fancy things to do this turn. I’m out of command tokens and only have three orders left in each pool. Unfortunately, I am not in retreat. I settle for discovering Jan Staar with a Transductor and dropping a missile on him. Shockingly, he fails some saves and dies.
I throw up White Noise for my Evader and try to discover the Clipsos, but that fails. I settle for bringing the Tsyklon back up with a Gizmokit.
Turn 3
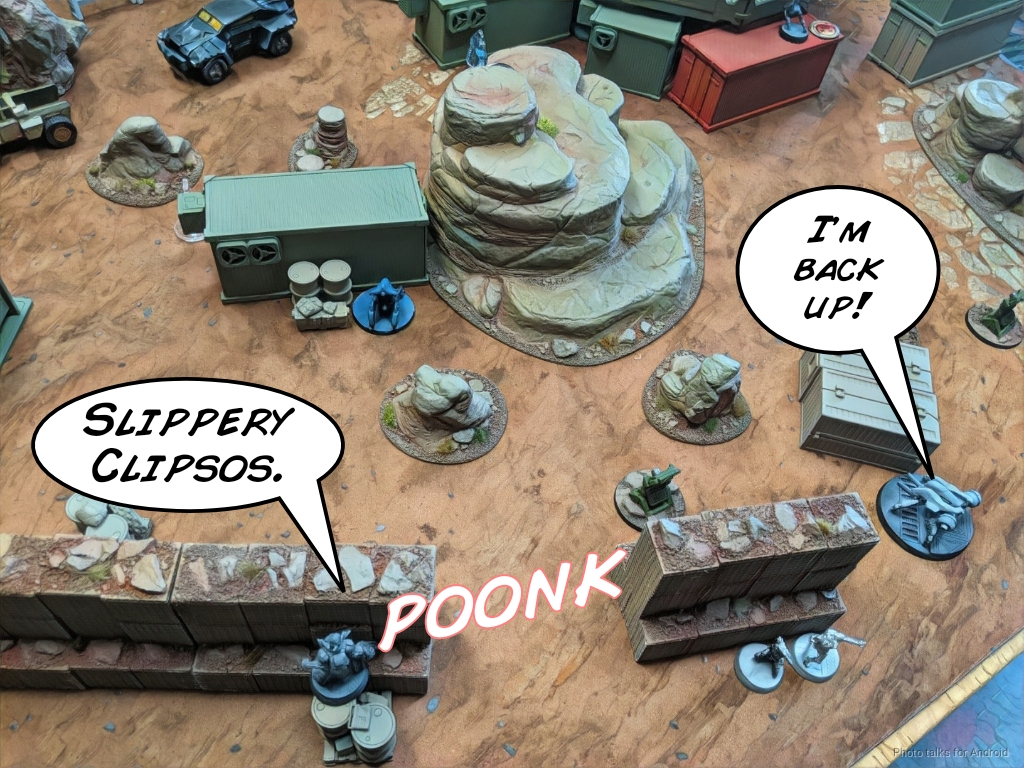
Top of 3 – Tohaa
We’re just going through the motions now so we can finish up the game. Obi clears my last Koala with Neema and then drops the Tsyklon with her Spitefire.
The Grief and the Clipsos tag team the appropriate server, and that’s that. Neema drops Valeyra, who had been dodging in a attempt to get a zapper on the Grief/Clipsos.
I had used my Evader’s Lt Order at the bottom of two, which painted a big target on him. I manage to only take one wound from the Clipsos, which gets stunned by the Transductor.
Neema tries, but I shrug off the fire and then fail guts away.
I had no way of improving my score, so we called it tehre. There was a Cube Jager parked next to my HVT, so it was a
10-0 Tohaa Victory!
Post Game Analysis
First off, thanks to Obi for that game. I don’t want any of this to reflect negatively on him! The outcome of this game was entirely due to my boneheadedness! So, why did I play this to completion, especially after I had dashed any hopes of winning at the bottom of turn 1? Because there are lessons in failure. So, what can we take away from this game? We can look at the small things:
- Bad Deployment – My Lieutenant was in a vulnerable position and I didn’t adequately defend against double impersonators.
- Bad Recovery in Loss of Lieutenant Turn – I’ve already outlined what I could’ve done better here. I had a reasonable chance of killing the Greif, and should absolutely not have used Carlota.
There are also lots of even smaller optimizations that I could’ve done, like chain rifling instead of dodging with the Jaguar a second time, moving the Brigada into the fight to Jan Staar has to fight McMurrough, the Jaguar, and shotguns. I also needed to leverage white noise more, and be way more careful with the Morans and their deployment.
The reason issue is that I lost sight of the mission objectives and was just responding to my opponent continuously. That’s a recipe for losing. It probably wouldn’t have fixed my deployment, but at least would’ve kept me focused on what to do during my LoL turn. Deployment was more me just being dumb and unfocused. Deploying links takes a surprising amount of brain power–you tend to stop thinking once you find a workable solution.
I don’t think there was a way for me to win this game. I just didn’t have the orders to get to the other console on the right after the Moran died, and I couldn’t use Carlota as she was the only real way for me to get D-Charges onto a server. Developing the Evader at the bottom of 1 would have been one option, but that would mean spending multiple orders (and command tokens) on Jazz to get White Noise down. WIP 14 isn’t guaranteed. There was, however, a way of fighting Obi to a narrow loss, which is what I should’ve been going for.
I’ve written hundreds of these battle reports now, and I’ve got plenty of wins and losses. I played this game through till the end to remind myself that this game is hard. It demands mastery of your mental faculties, not just the game mechanics. I didn’t get any rules wrong, forget any tricks like MSV+smoke that cost me the game, or anything like that. I just made some mistakes because I lost sight of the mission objectives. That has nothing to do with the game, but it has everything to do with how I focused my attention during the game. It could be have been any game system, or really any other activity.
Sometimes we need to take a step back and re-evaluate why we do things, and we need to feel the frustration of pushing through a loss to remind ourselves of lessons learned and forgotten. That’s why I did it. To remember to laser focus on the mission. I’ll be playing this list again. In fact, I’m going to play this list until I win with it. I hate the list. It’s not my playstyle, it’s uncomfortable, and it just feels wrong. But it’s not a bad list. I just need to play it better.
So, I leave this artifact with you, to remind you to learn from mistakes in your games and try to extract big picture lessons. Thanks for reading.
Pingback: Koala Space Program – MERC Recon